Cake Pops! Tips for Beginners.
I adore cake pops!
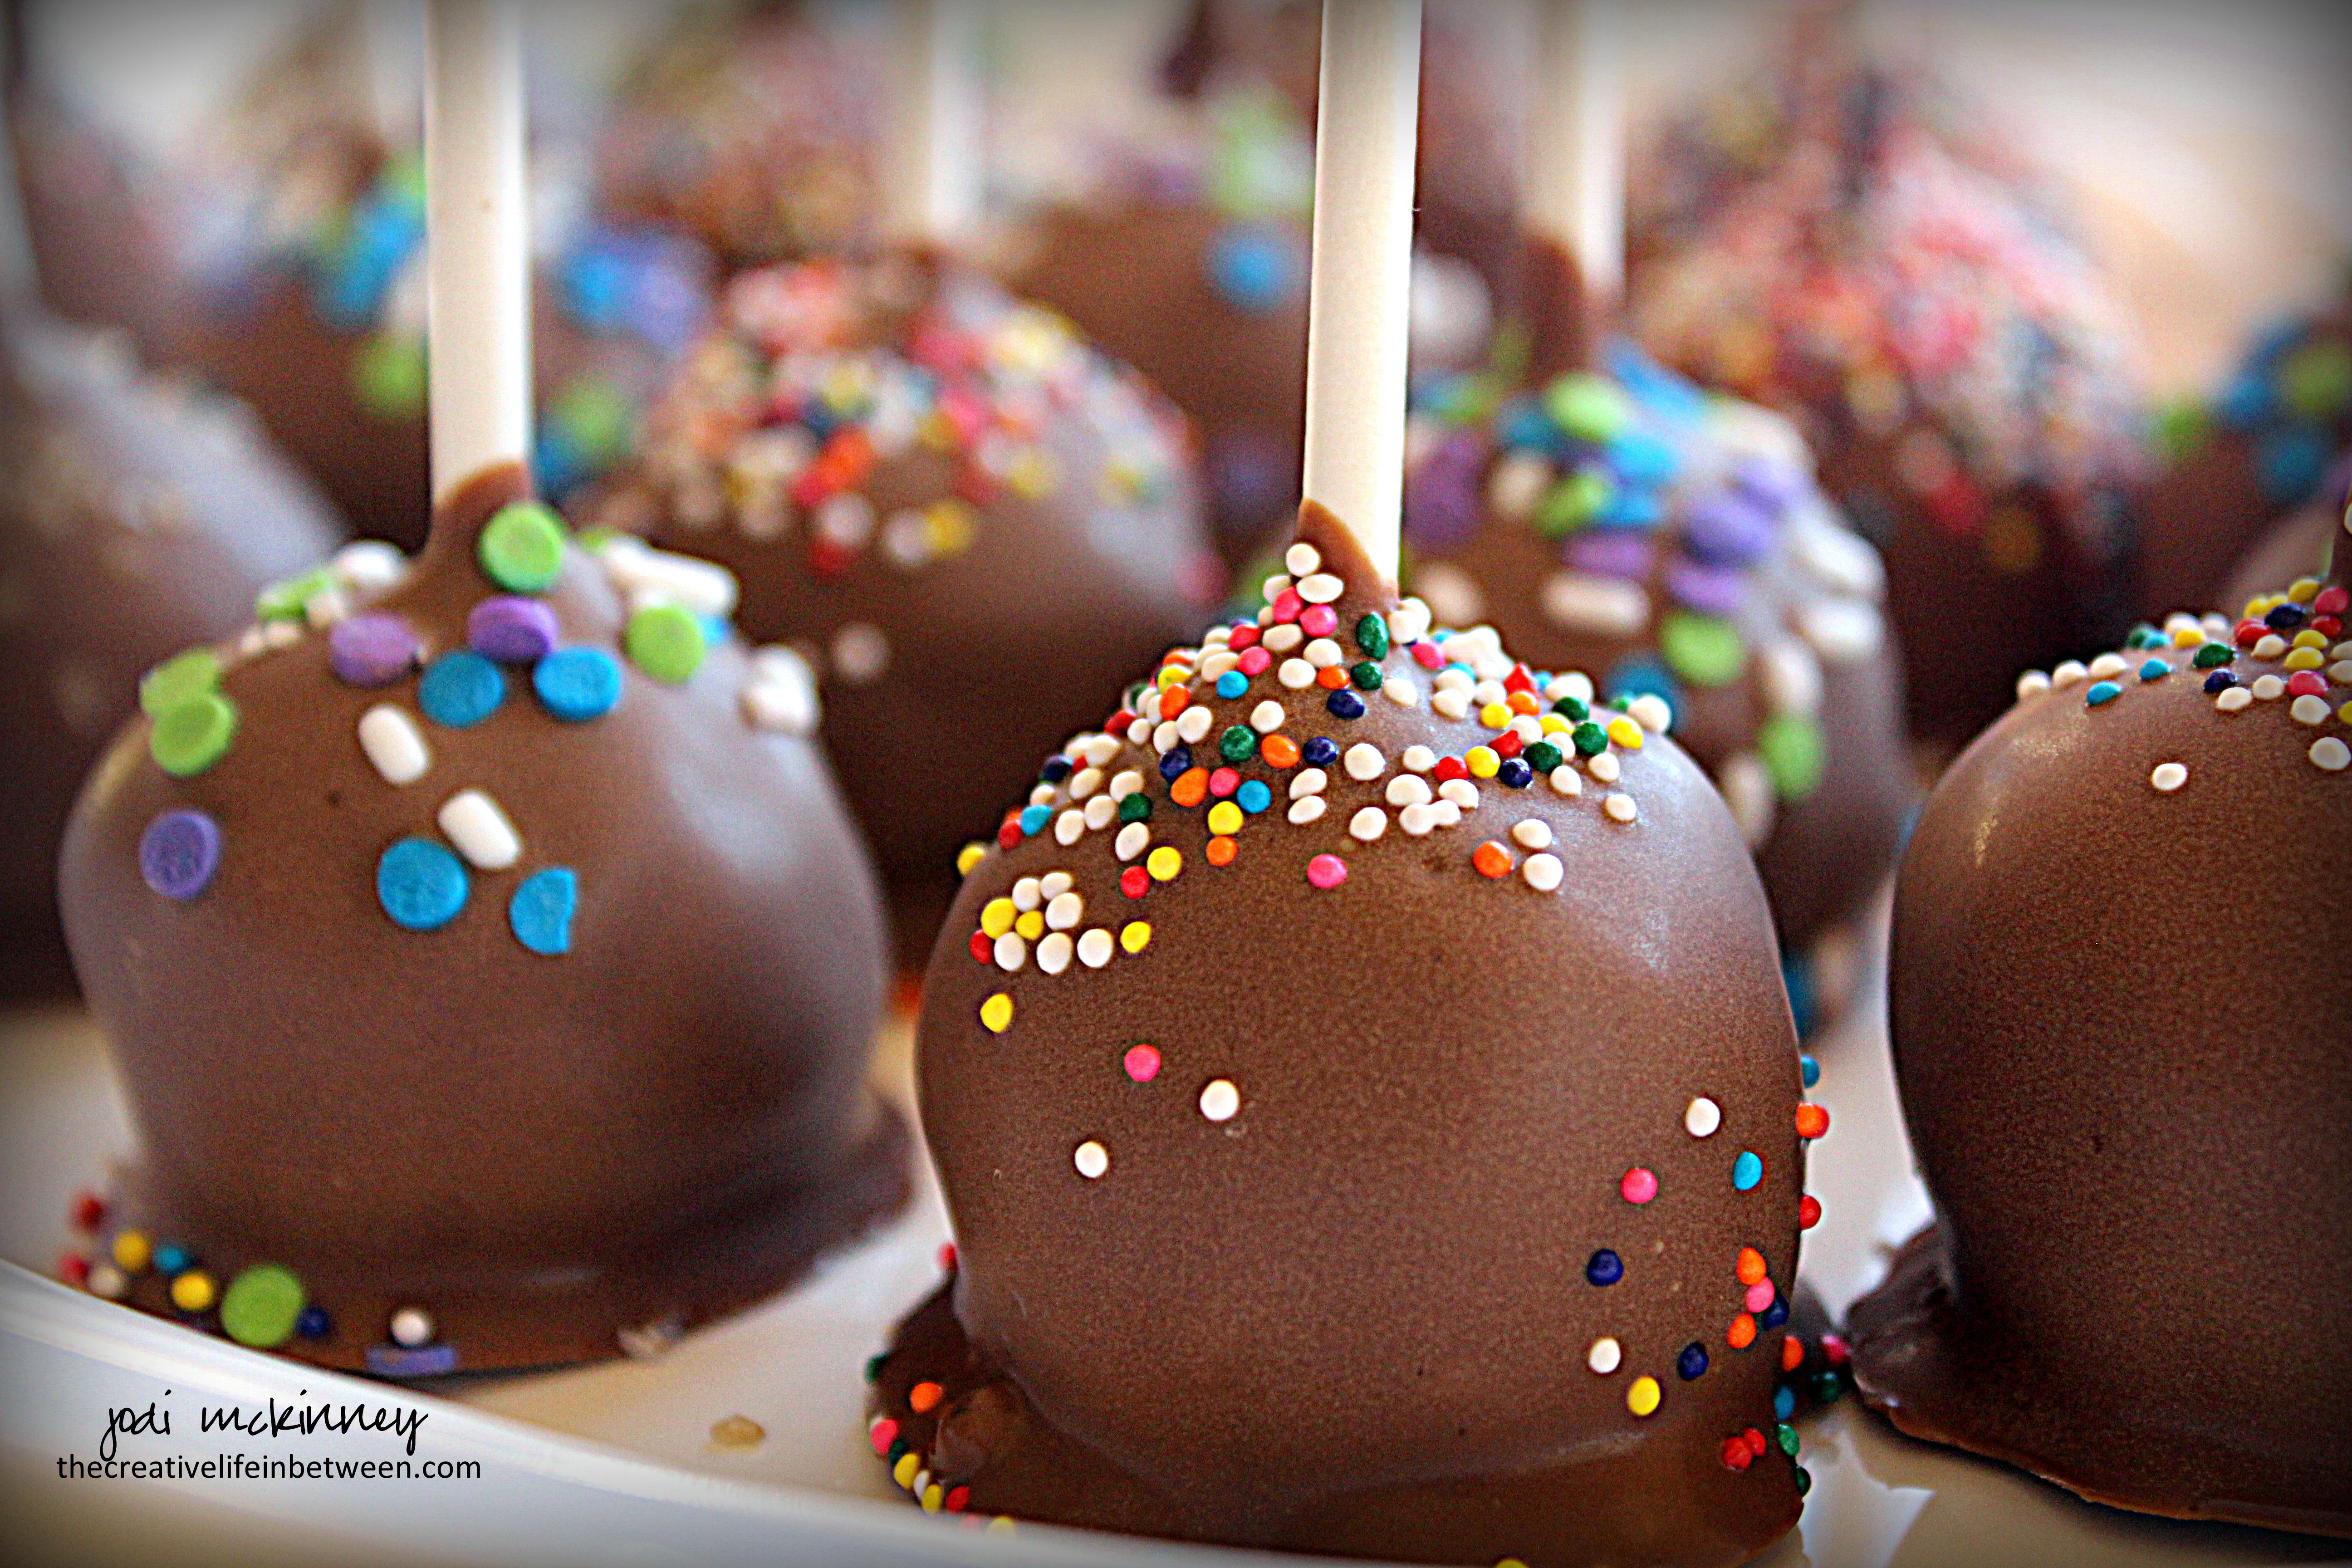
Because… really… what could be better than a bite-sized morsel of cake dunked in chocolate? And then maybe adorned with sprinkles?!
They are delicious and pretty and cute; but until this past weekend, I had never tried to make them.
I wanted to practice for an upcoming event or two, so I read and researched and asked around and gave them a whirl this past weekend.
They are really not that difficult, but there are a few tricks to success. I thought I would provide a few tips that helped make mine turn out delicious and beautiful! At least that is the consensus I got from the party I took them to as “practice” pops.

To make cake pops, bake a cake mix – whatever you favorite flavor is. Then follow these tips for success.
- Freeze cake – even if overnight. It allows you to plan ahead and also adds to the moisture of the cake. Simply place baked cake – crumbled, broken pieces, or all in one piece – in a large Ziploc bag in the freezer.
- 1 boxed cake mix makes approximately 3 dozen cake balls.
- When ready to assemble, defrost the cake and crumble to fine crumbs with your hands in the bag.
- Add only enough frosting (ready made works perfect) to add a bit of “glue” for forming and holding balls together. I used 1 heaping tablespoon – that is it! This allows your cake balls to truly taste like cake.
- Scoop crumb mixture with a small scoop to form uniformly-sized 1 inch balls. Then roll with your hands to round ball.
- Melt chocolate candy melts in microwave in a deep cup that is not too wide to allow for ease of dipping. It only takes 1 1/2 – 2 minutes.
- Dip tips of sticks into candy melts and insert into cake balls.
- Refrigerate or freeze for at least a half hour or several hours.
- Remelt chocolate at 30 second intervals until desired consistency.
- Dip cake balls on sticks into chocolate candy melts. Allow excess to drain.
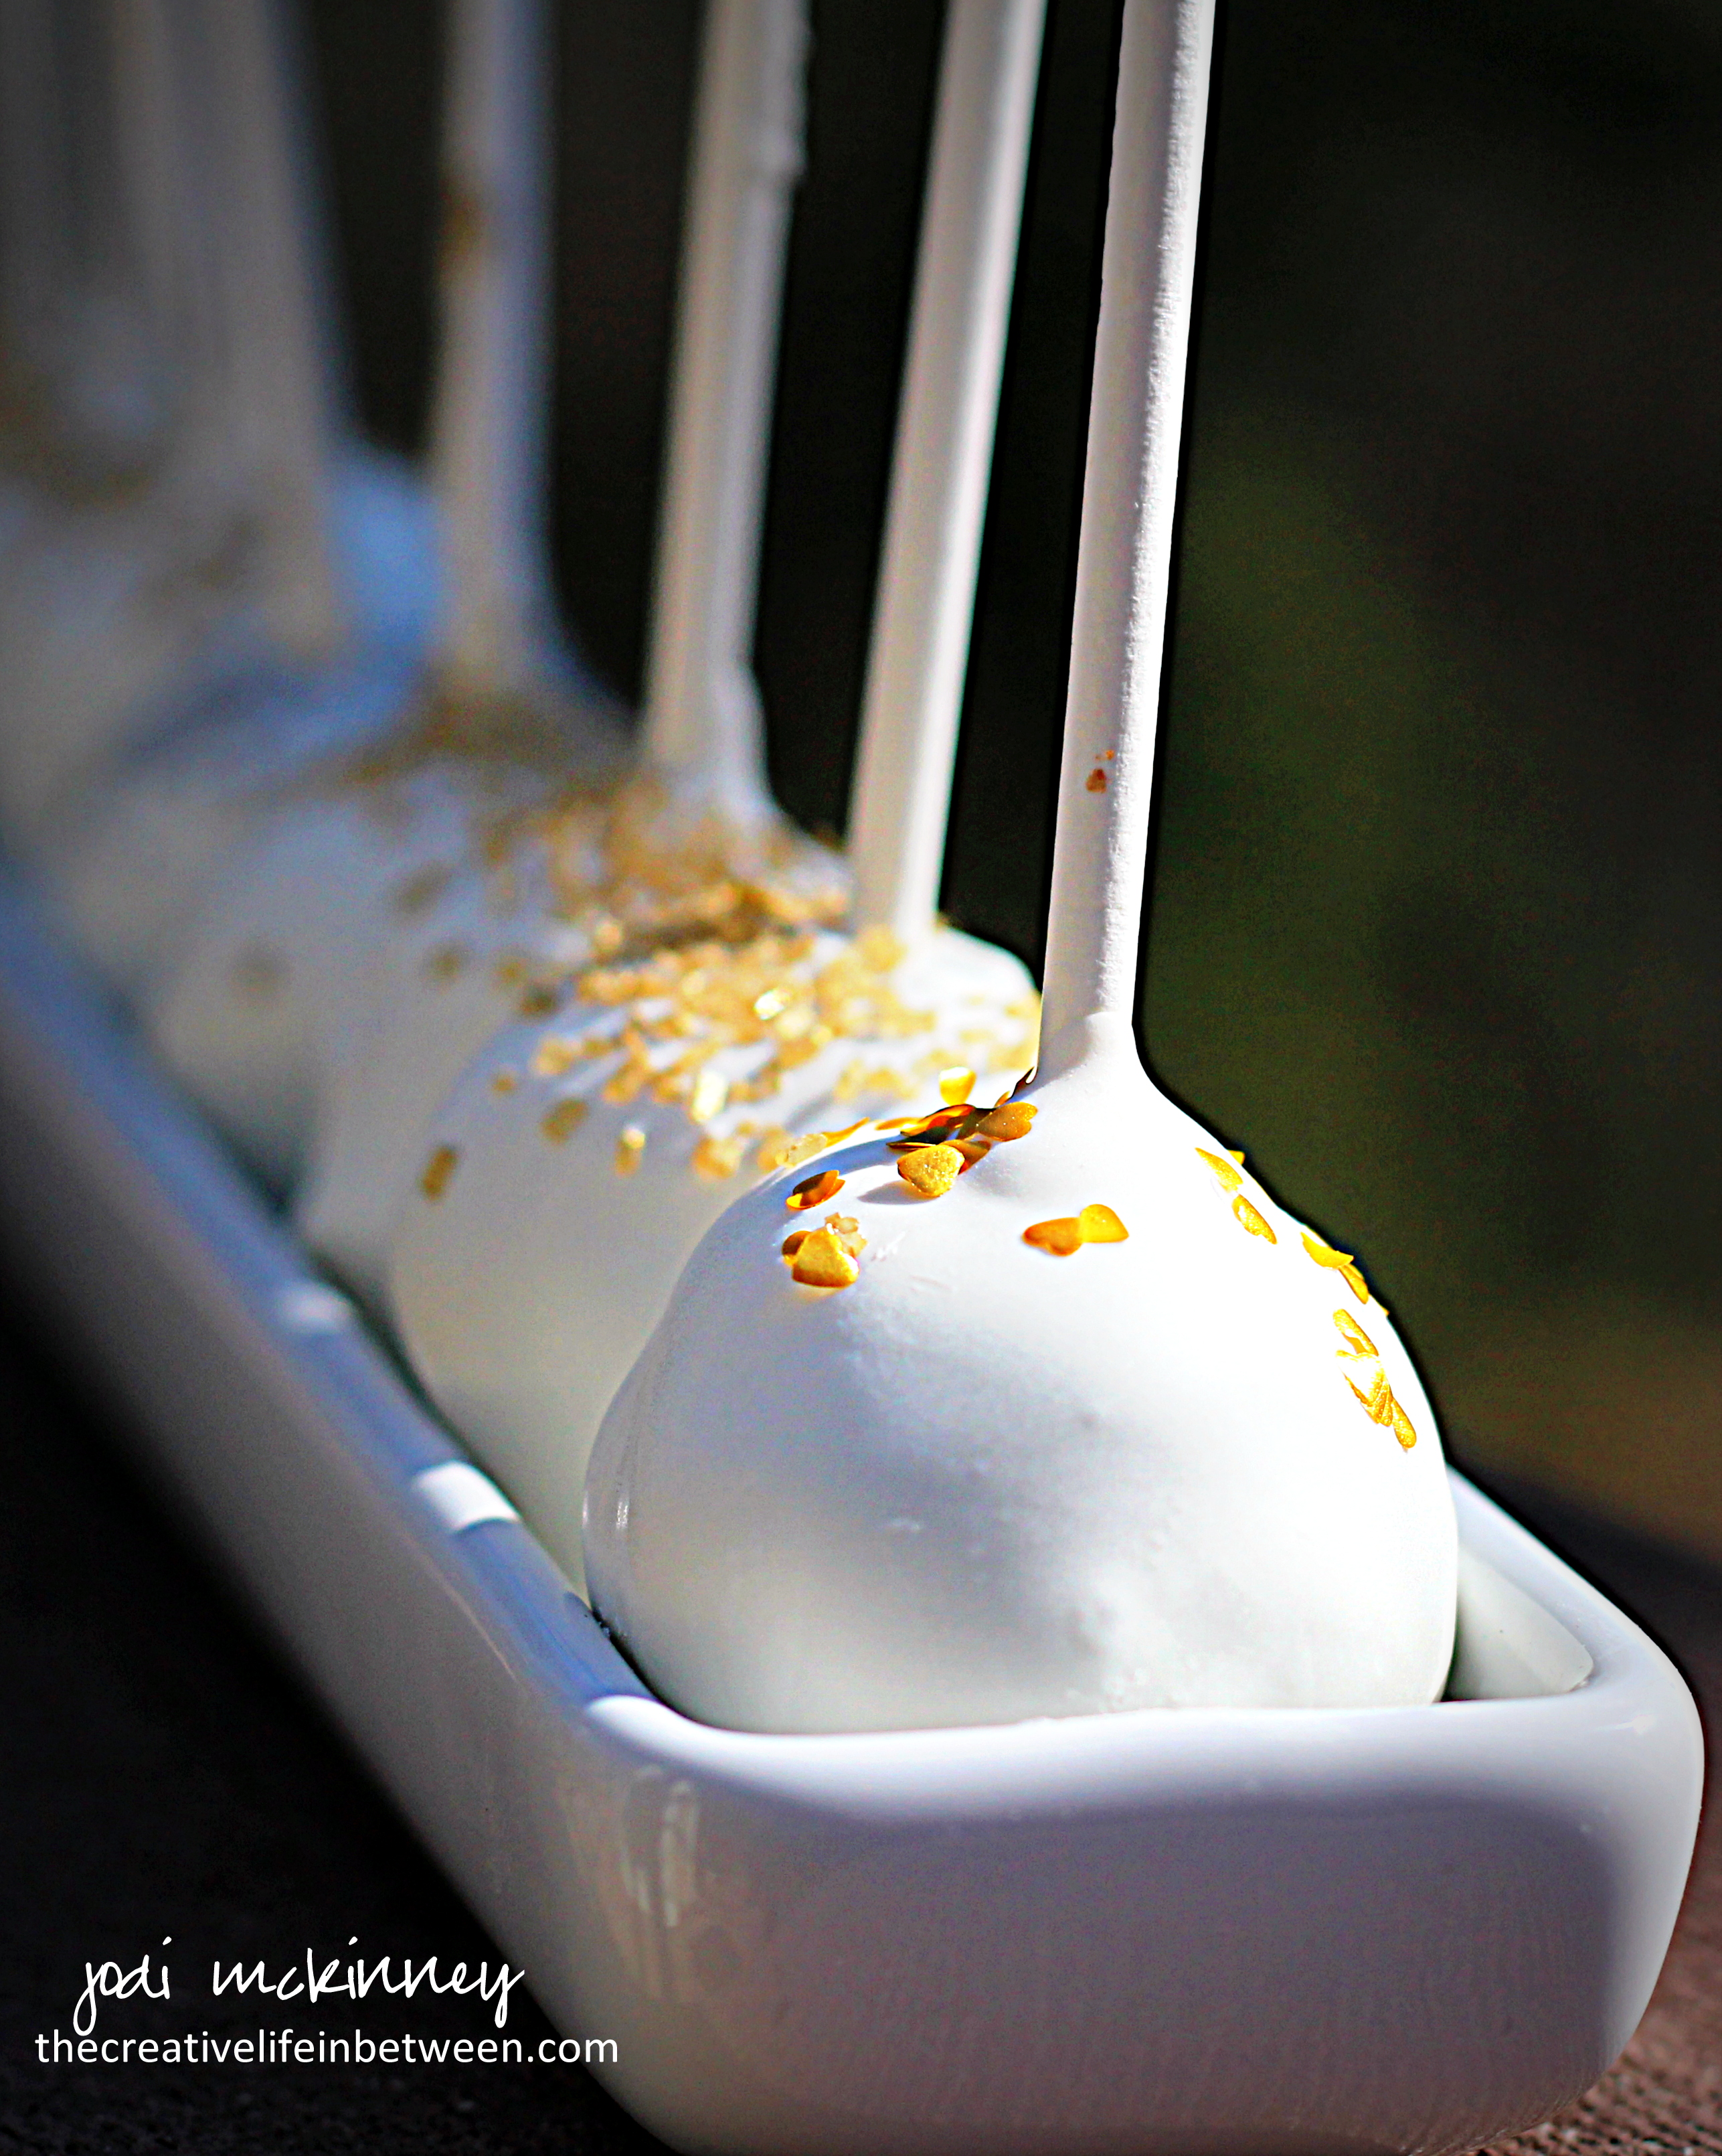
- Place on parchment paper if using with stick up, and sprinkle with jimmies or edible glitter.
- Stick into styrofoam if using cake ball up and decorate as desired.
- Make ahead up to 3-5 days if needed – no more than 7 days. (there are horror stories of moldy cake balls made too far ahead of time)
- I found this site – Heavenly Cake Pops – to be extremely informative.
Have fun and enjoy!
Cheers & Hugs,
Jodi

Wow! These look so amazing… !
LikeLiked by 1 person
Thanks Evelyn!
LikeLike
This is fantastic Jodi! Thanks so much for sharing your tips 😄 I too have never made cake pops although I’ve always wanted to. I really appreciate all your tips of success! Fabulous pictures, they all look super delicious great job!! 😄😄
LikeLiked by 1 person
Thanks linda! Enjoy!!!
LikeLiked by 1 person
How adorable. I think maybe I will try to make them for Easter.
LikeLiked by 1 person
👍they are so fun!
LikeLike
Yes, they are delicious, my co-worker always make them and she gives me few for my kids. For the grown-ups she adds wine in them! Yummy!
LikeLiked by 1 person
Oh yum!
LikeLiked by 1 person
Amazing Jodi! I am in awe at how creative you are! I would never go to that much trouble. (I hate to admit it). I really admire you over your unlimited talent!
LikeLiked by 1 person
Lol! Thanks PJ. It brings me joy to be creative ! We should all just do what makes us happy. Whatever that is. 😉👍❤
LikeLike
That is so true! I love the cake pops!
LikeLiked by 1 person
Yummy! these look amazing! I have always wanted to test out a cake pop recipe.
LikeLiked by 1 person
Oh do! You won’t be sorry! 🙂
LikeLike
I’ve never heard of these, yum!!
LikeLiked by 1 person
really!? well – glad to introduce you to them – now you must try them! DELISH!
LikeLiked by 1 person
This is something I’ve been looking at for years, and still haven’t made! They look like such fun to eat and perfect party food!
Jenna
LikeLiked by 1 person
Right?!?! Mee too! and they turned out great I thought! and Delish! Will be making more tomorrow 🙂
LikeLike
Oh god, I LOVE Cake Pops. I’m not “the baker” of the household, and since Kate has the gluten thing now, sh’e not baking the things she used to…so maybe I’ll try these myself. Thanks, Jodi!
LikeLiked by 1 person
oh do it do it Mark! Your granddaughter will adore you for it! ❤ I have a feeling you and I could have a lot of fun eating together LOL!
LikeLike
Cake Pops – easy to make and fun to eat – thanks Jodi! 🙂
LikeLiked by 1 person
indeedy! 🙂
LikeLiked by 1 person
oh my goodnessgracious! perfect, my grandkids are coming for the weekend and I needed an idea for my daughter’s birthday cake, so they could assist! whooooot! solved, thank you Jodi.
cake pops, and I’ve got the perfect gluten-free recipe for them. 😉
LikeLiked by 1 person
Yippeee! Have a BALL! a cake ball! 🙂
LikeLiked by 1 person
My gang loves cake pops they are worth the effort for parties, et cetera! Its fun decorating them. Woo-Hoo Jodi.
LikeLiked by 1 person
🙂
LikeLike
They look great! It is so nice to have tips Jodi!
LikeLiked by 1 person
🙂
LikeLiked by 1 person
They look really yummy! I like how you decorated them too! 💕😄 I had no clue how to make these so thanks for the tips and the recipe! 🍡
LikeLiked by 1 person
You are very welcome Jill
LikeLiked by 1 person
Thanks for the lesson’- I think I might make some for our easter party
LikeLike
YAY! I hope you do! Enjoy.
LikeLike
This actually sounds like something even I could do! hehe YUM!!!
LikeLike
Fun!! (K)
LikeLiked by 1 person
🙂
LikeLiked by 1 person
Thanks for this helpful information☀
LikeLiked by 1 person
You’re very welcome
LikeLiked by 1 person
Thanks for the tips! I have never tackled cake pops before but have heard they are harder than you would expect if you don’t know what you are doing, haha!
LikeLiked by 1 person
I had too – so I read a lot, watched youtube, and talked to friends. These tips helped me create them successfully! 🙂
LikeLiked by 1 person
They look good, Jodi. The ones I’d make wouldn’t look anything like, but they seem easy enough! 😀
LikeLiked by 1 person
You’ll never know unless you try! 🙂
LikeLiked by 1 person
Never say never… one day, Jodi. I’ll let you know! 🙂
LikeLiked by 1 person
You make everything seem so EASY! I’m sure I’d be a Pinterest Fail on this one, lol. One question though, do you dip into the melted chocolate a second time after they come out of the freezer? I kind of did a double take on that step. Just in case, ya’ know? 😉
LikeLiked by 1 person
LOL! Thanks Kathryn! but I know you can do this too. Only dipped once. Did I say twice?
LikeLiked by 1 person
IT’S READER ERROR, LOL! When I read ‘dip tips of sticks into candy melts’ my mind thought the cake balls themselves. 😀 I’ll keep it in mind for maybe some day, ha! xoxo
LikeLiked by 1 person
I can see where that seems confusing. Sorry! I’ll be making these again tomorrow 🙂
LikeLiked by 1 person
They look scrumptious! I thought there was a round cake pop pan somewhere and one baked them in one of those. Thanks for the lesson!
LikeLiked by 1 person
I’ve heard they exist too
LikeLiked by 1 person
Yay! Gonna try for sure! Next on my list 😋 Thanks Jodi 🙂
LikeLiked by 1 person
Woohoo!!
LikeLiked by 1 person
Oh yeah this seems to be doable but eating it and having a wonderful time will always always win. ❤ 😀 Thanks for sharing, Jodi!
LikeLiked by 1 person
😉
LikeLiked by 1 person
Thanks for these tips! I love cake pops, and your recipe is easier than the one I used. (My mom tried to make cake pops once, and she was pleased with the final product but said that it took her an hour to crumble up the cake! I have never figured out how in world it took her that long. Maybe she was using a toothpick?)
LikeLike
I love finger food…especially chocolate dessert finger food😀
LikeLiked by 1 person
LOL! Right!!??
LikeLiked by 1 person
Yummy, and lovely! Thanks for sharing!
LikeLiked by 1 person
😉💕
LikeLike
My DIL made some and mainly happy she used yellow cake and real butter, vanilla and powdered (confectioner’s) sugar.
LikeLiked by 1 person
I loove cake pops! These look really good! ❤ ❤
https://busybeeblogweb.wordpress.com
LikeLike