I used to have the best banana bread recipe years ago from Aunt Francie. (Aunt Francie is Marty’s 91 year old Aunt – who happens to be engaged and living with her 92 year old boyfriend – a random, but oh so cute piece of information 🙂 )
Somehow I seemed to have lost it, so I’ve been trying various banana bread recipes on the web every time I have a few over-ripe bananas to spare.

Sadly – none have even come close to comparing…
UNTIL NOW.
O… M… G…
I found a recipe for Extreme Banana Nut Bread and read the various comments and reviews. Seemed everyone LOVED it, but tweaked it this way or that.

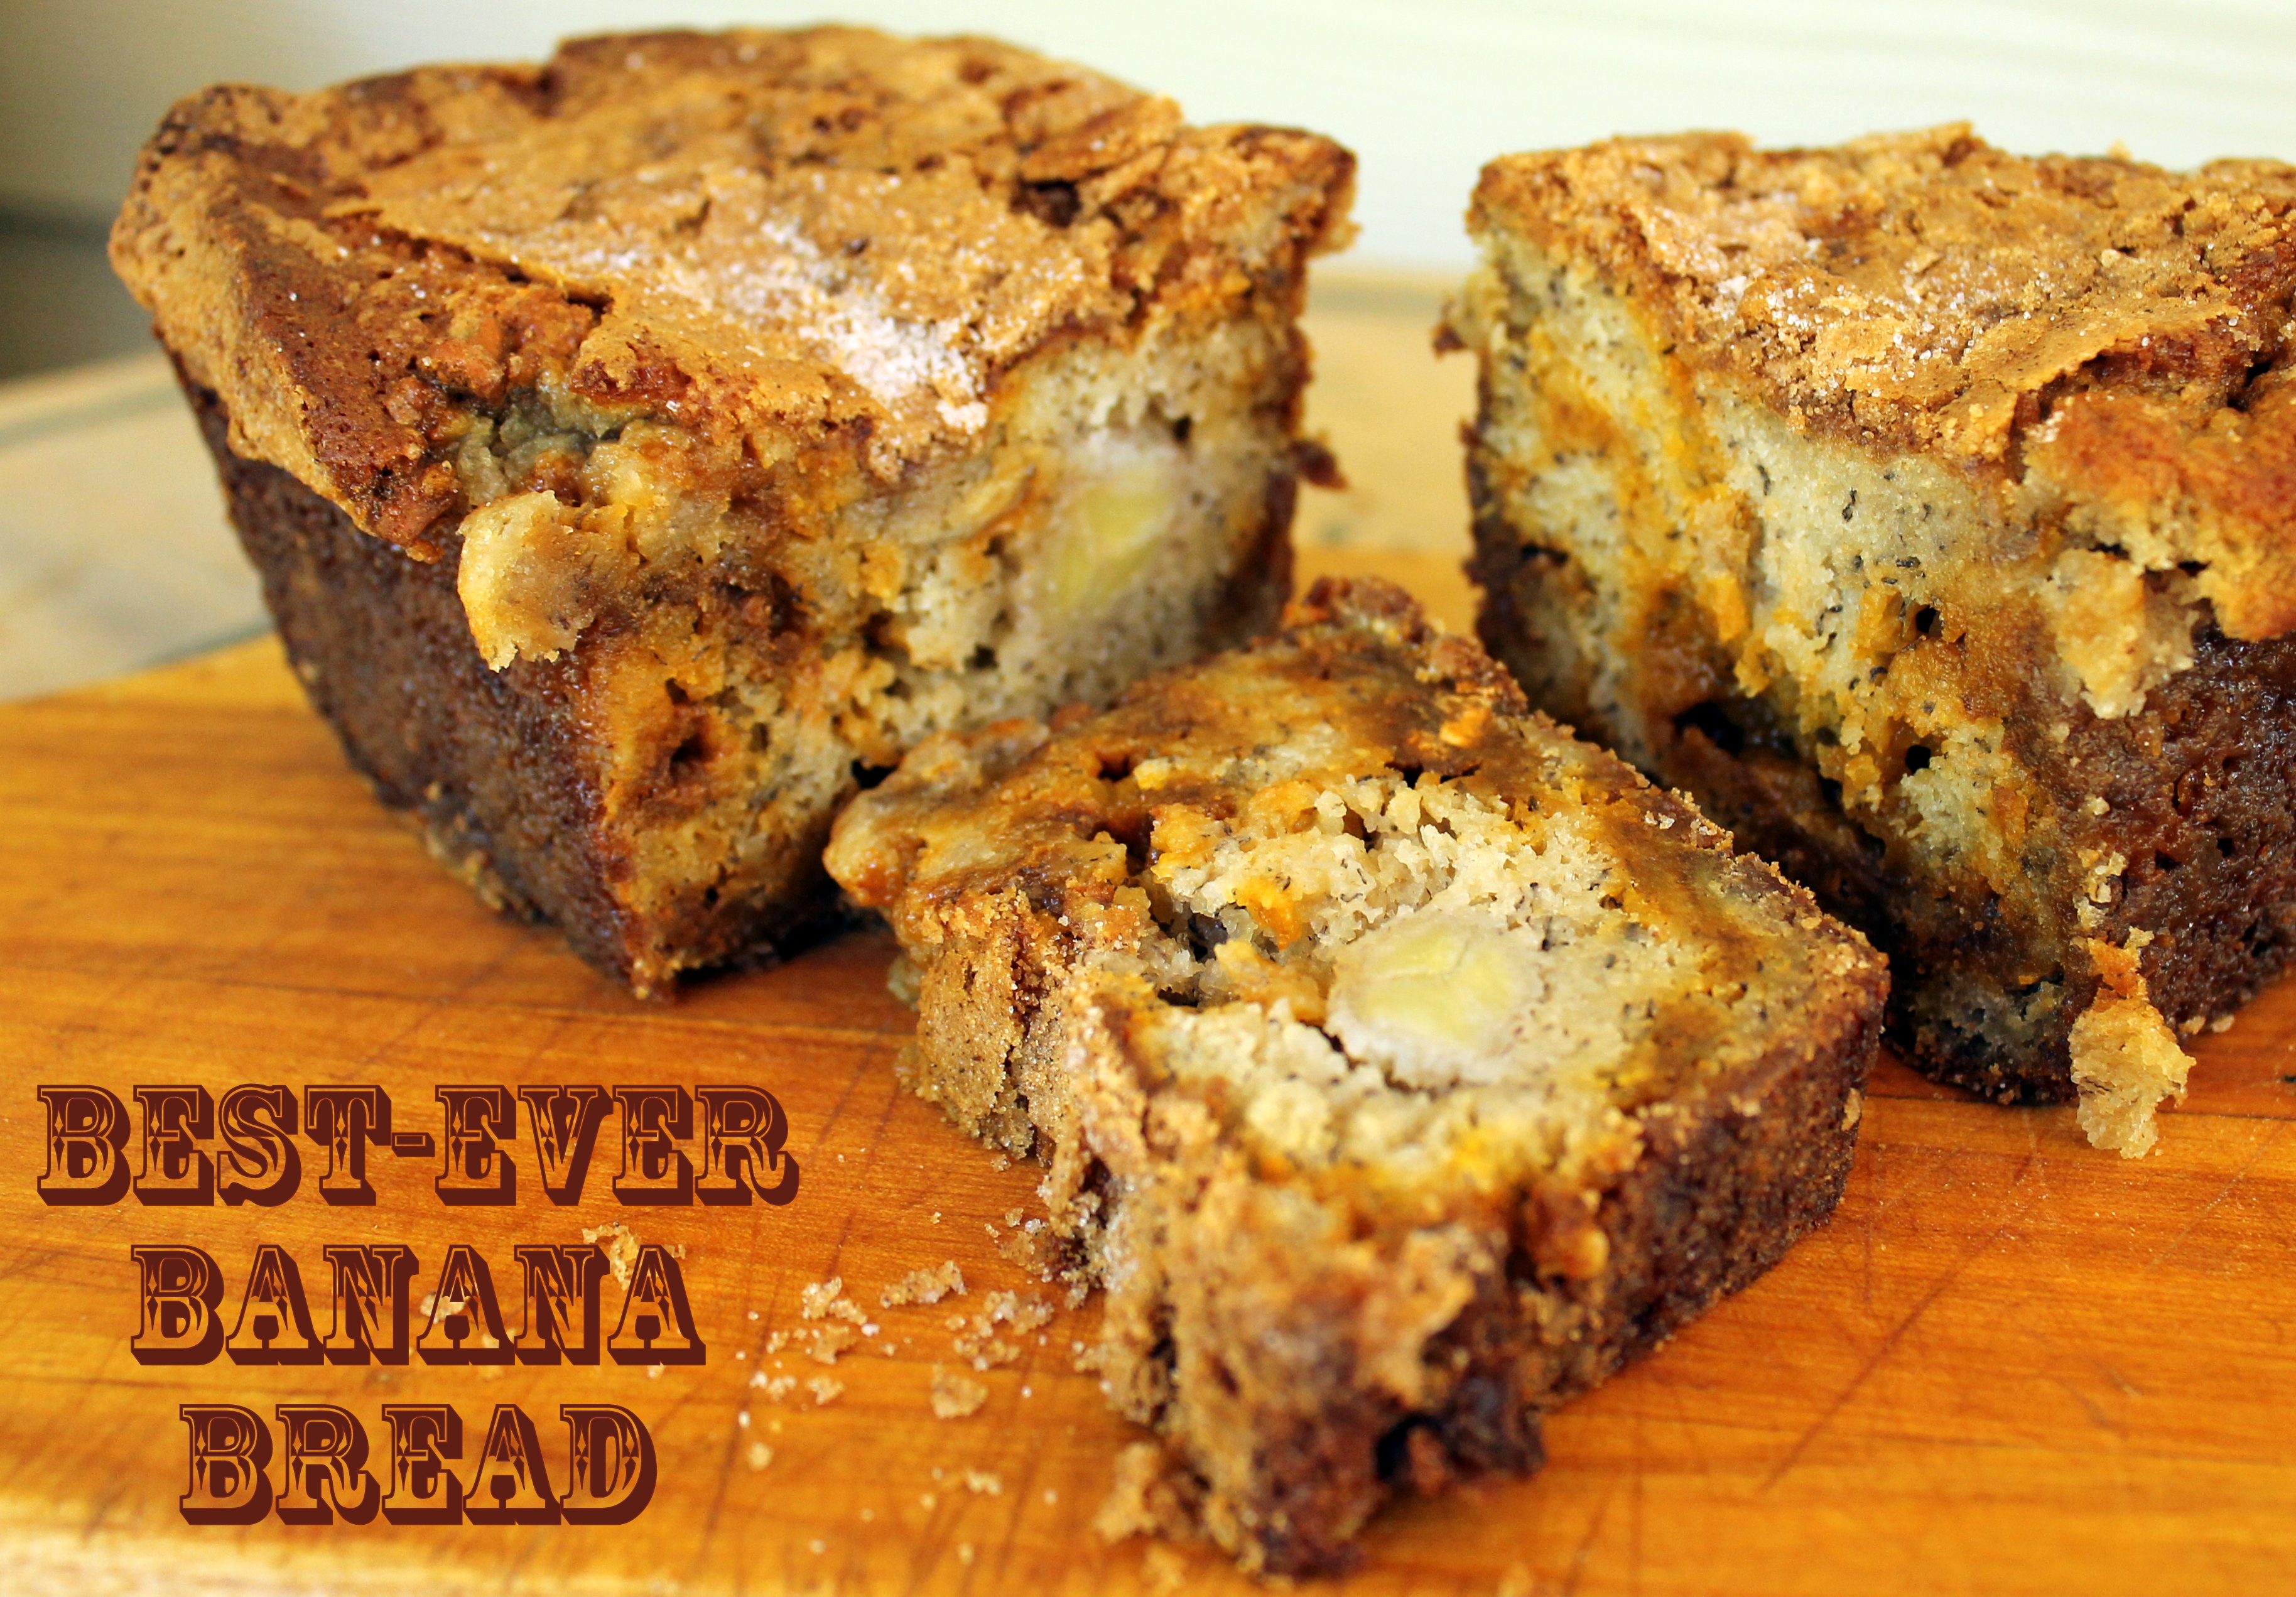
So I set out to put this extreme banana bread recipe to the test with my own little touches, and I have to say… THIS IS IT!
Dare I say even better than Aunt Francie’s?!
I made it three different ways for my first experiment.

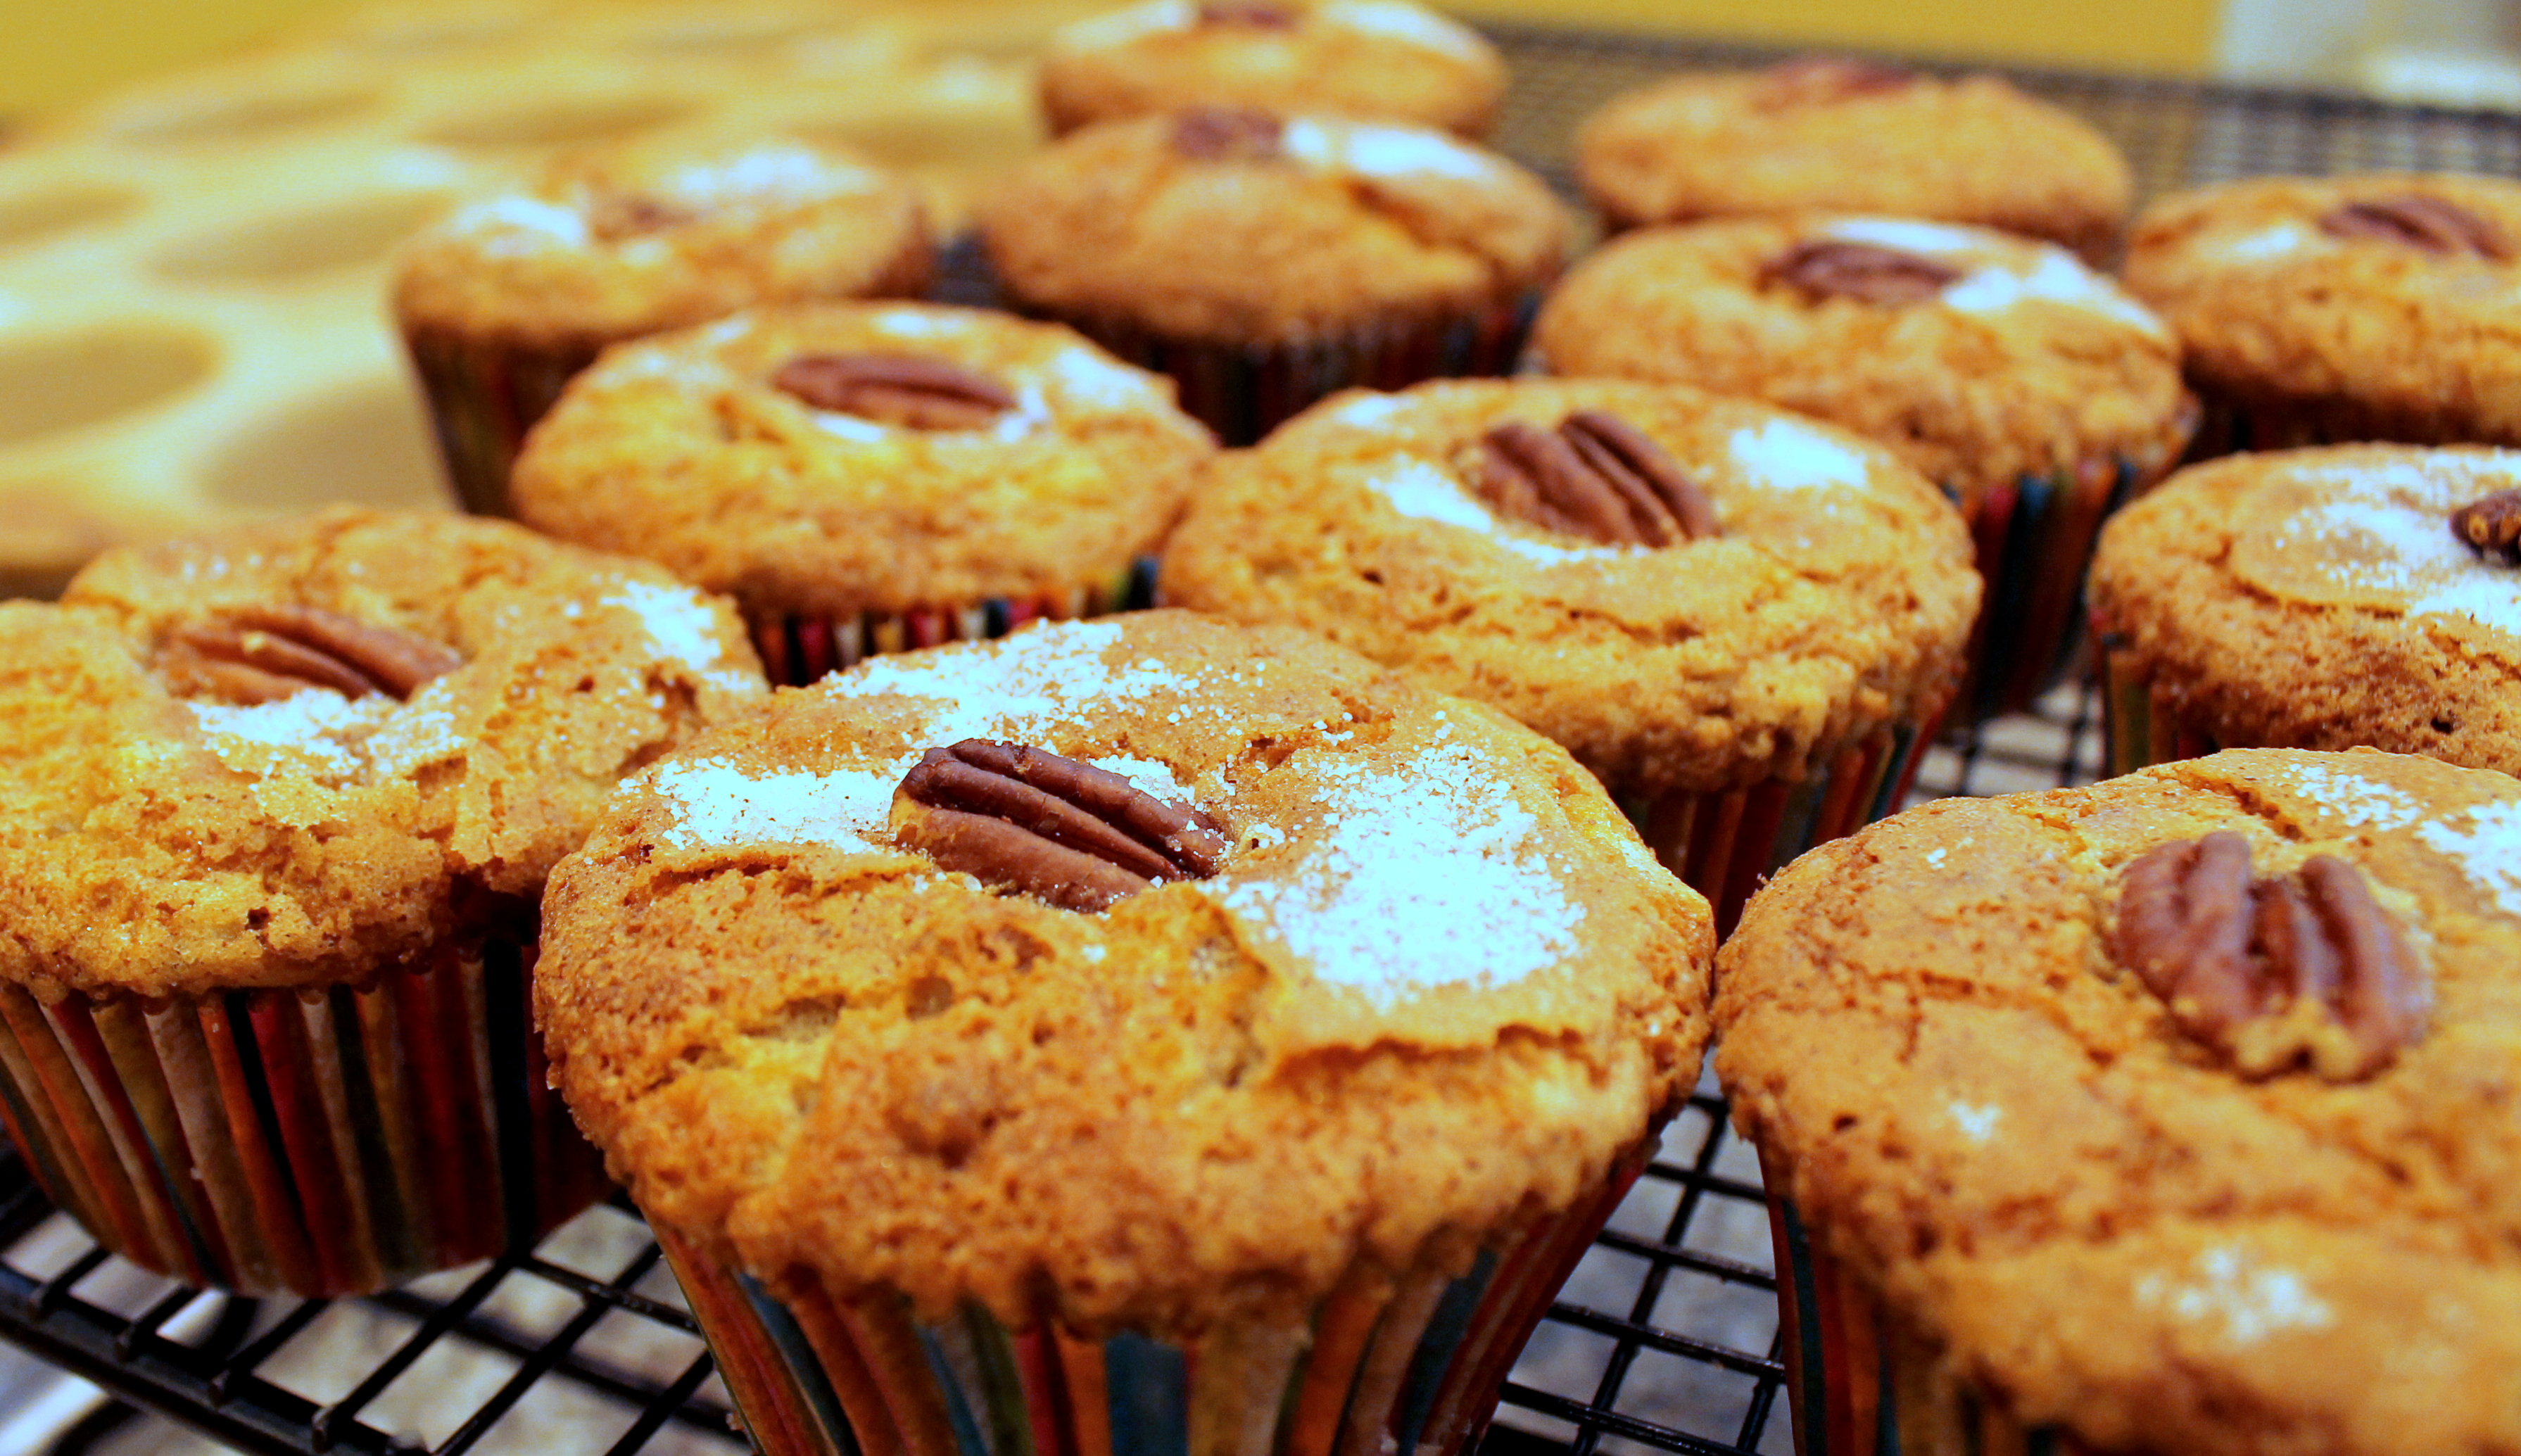
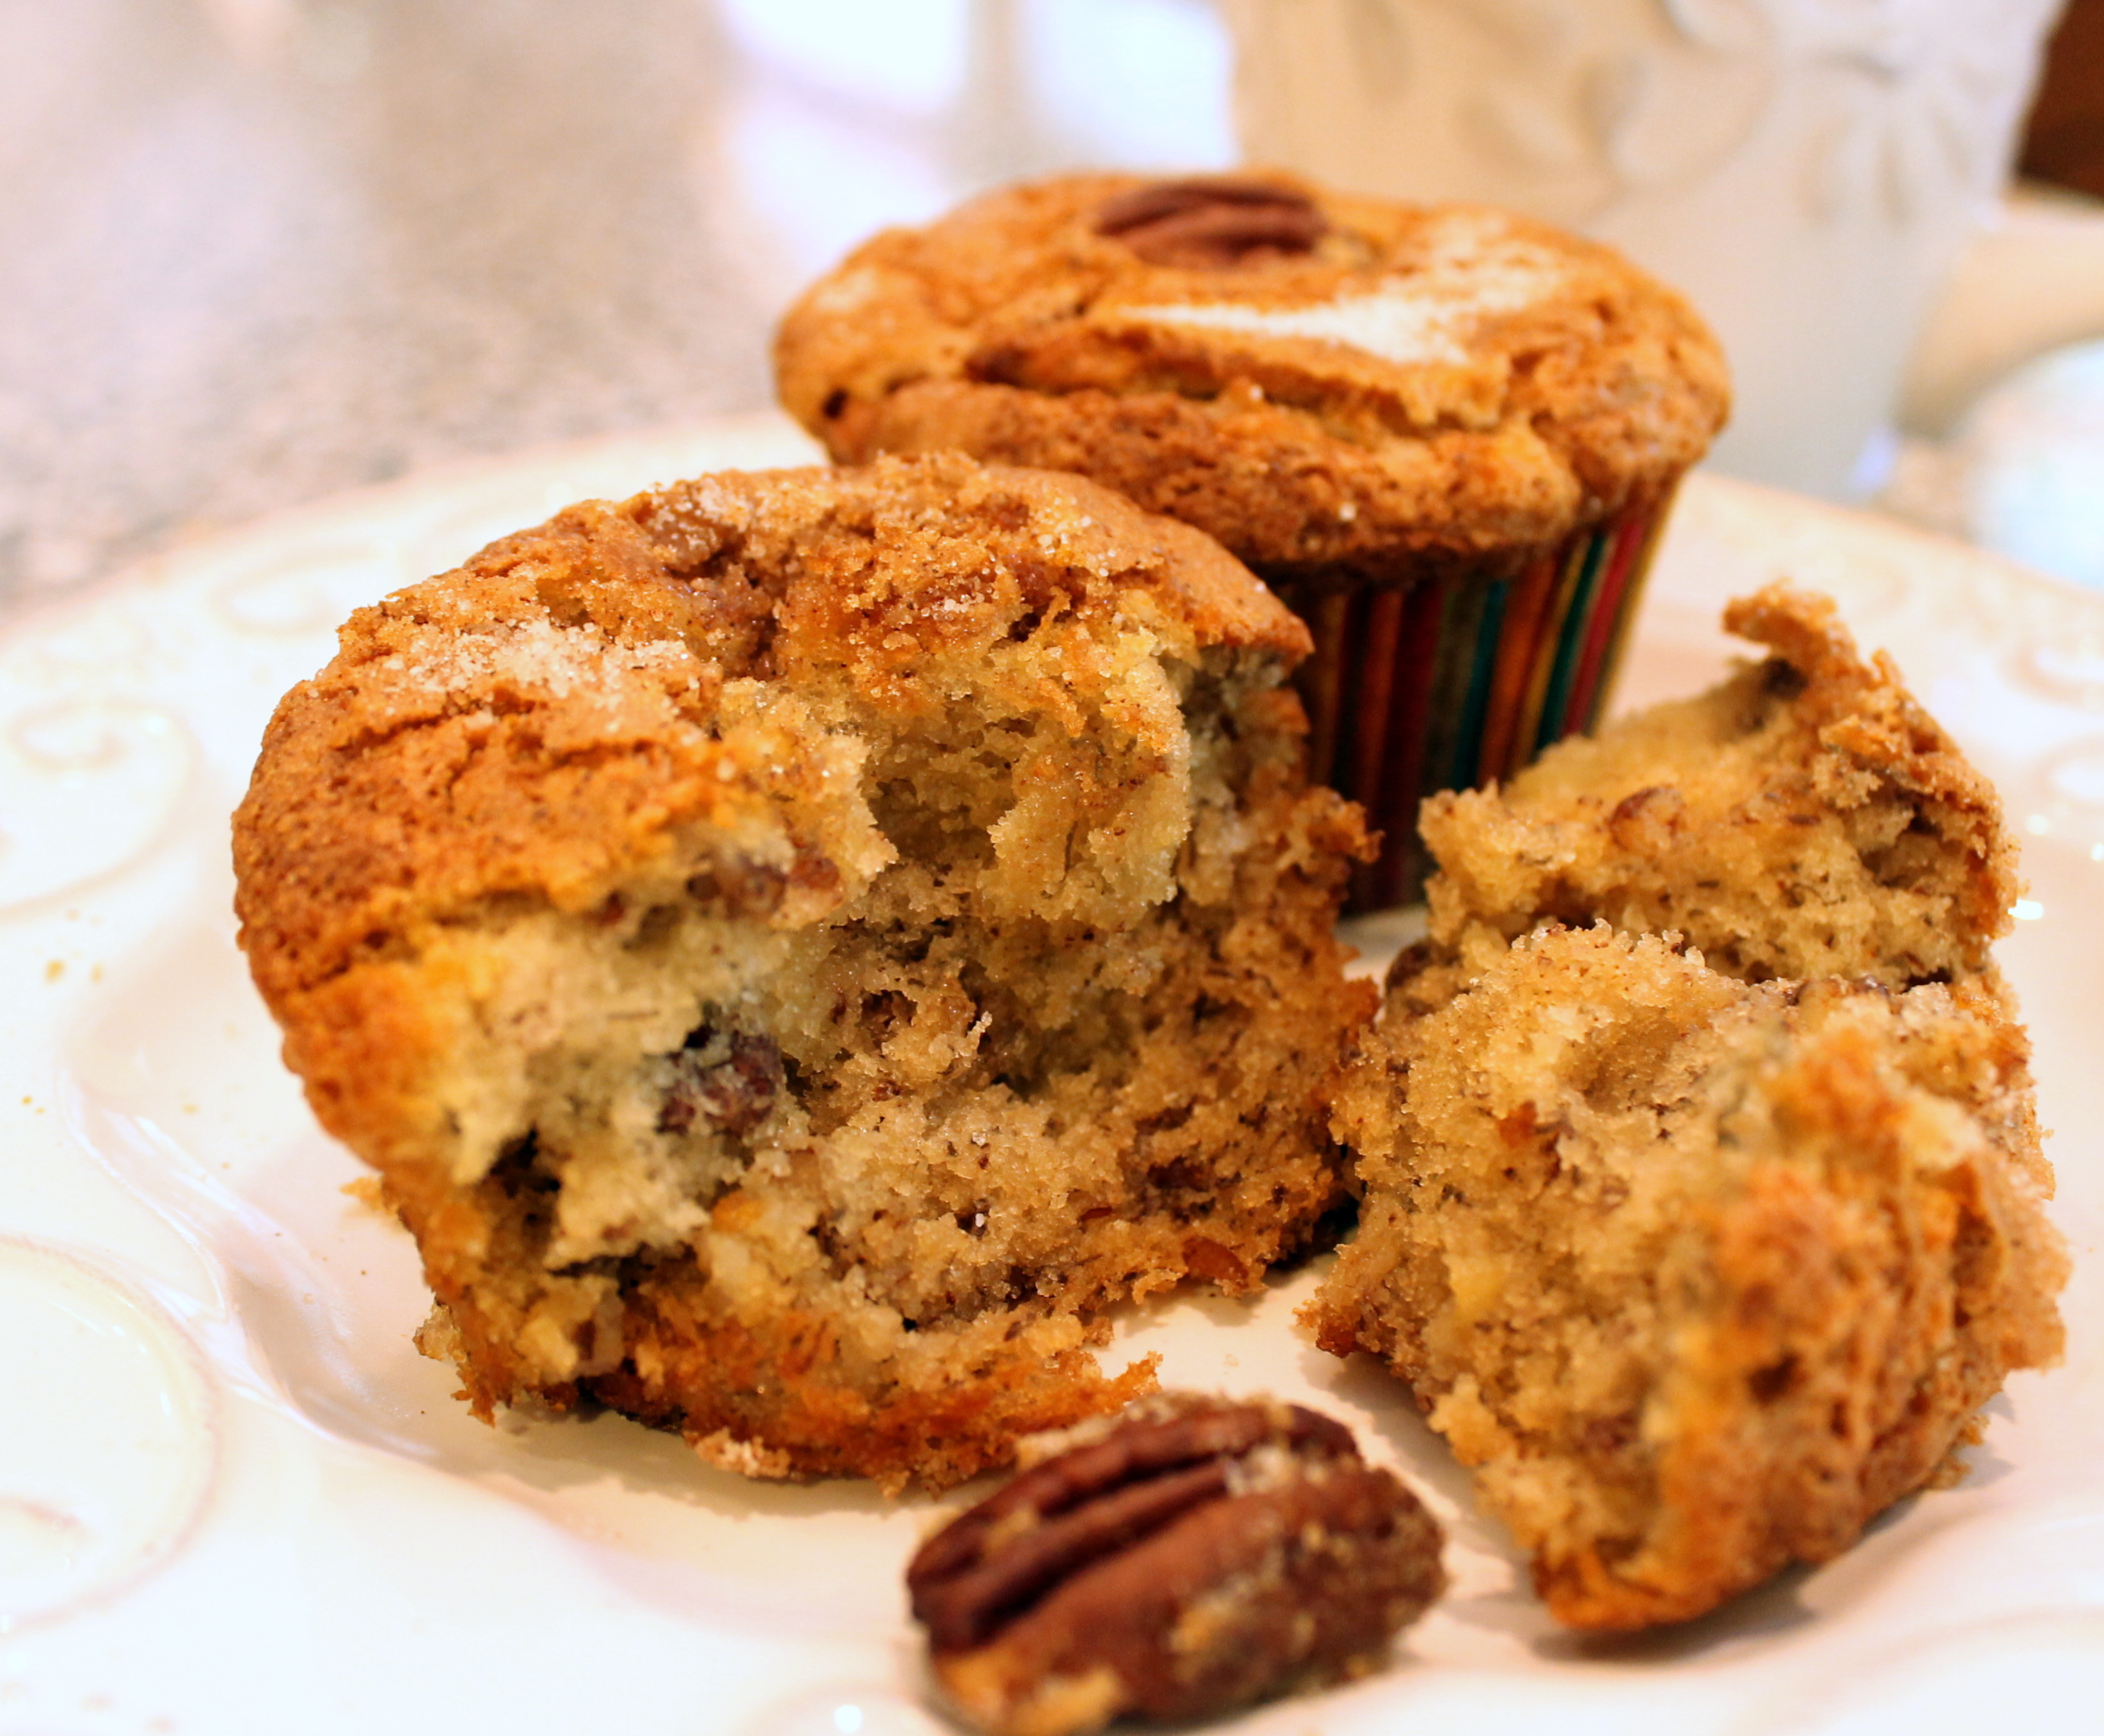
I divided the recipe into three separate batches. I added pecans to one batch, cinnamon chips to another batch, and kept the last batch plain. Then I made some loaves and some muffins.

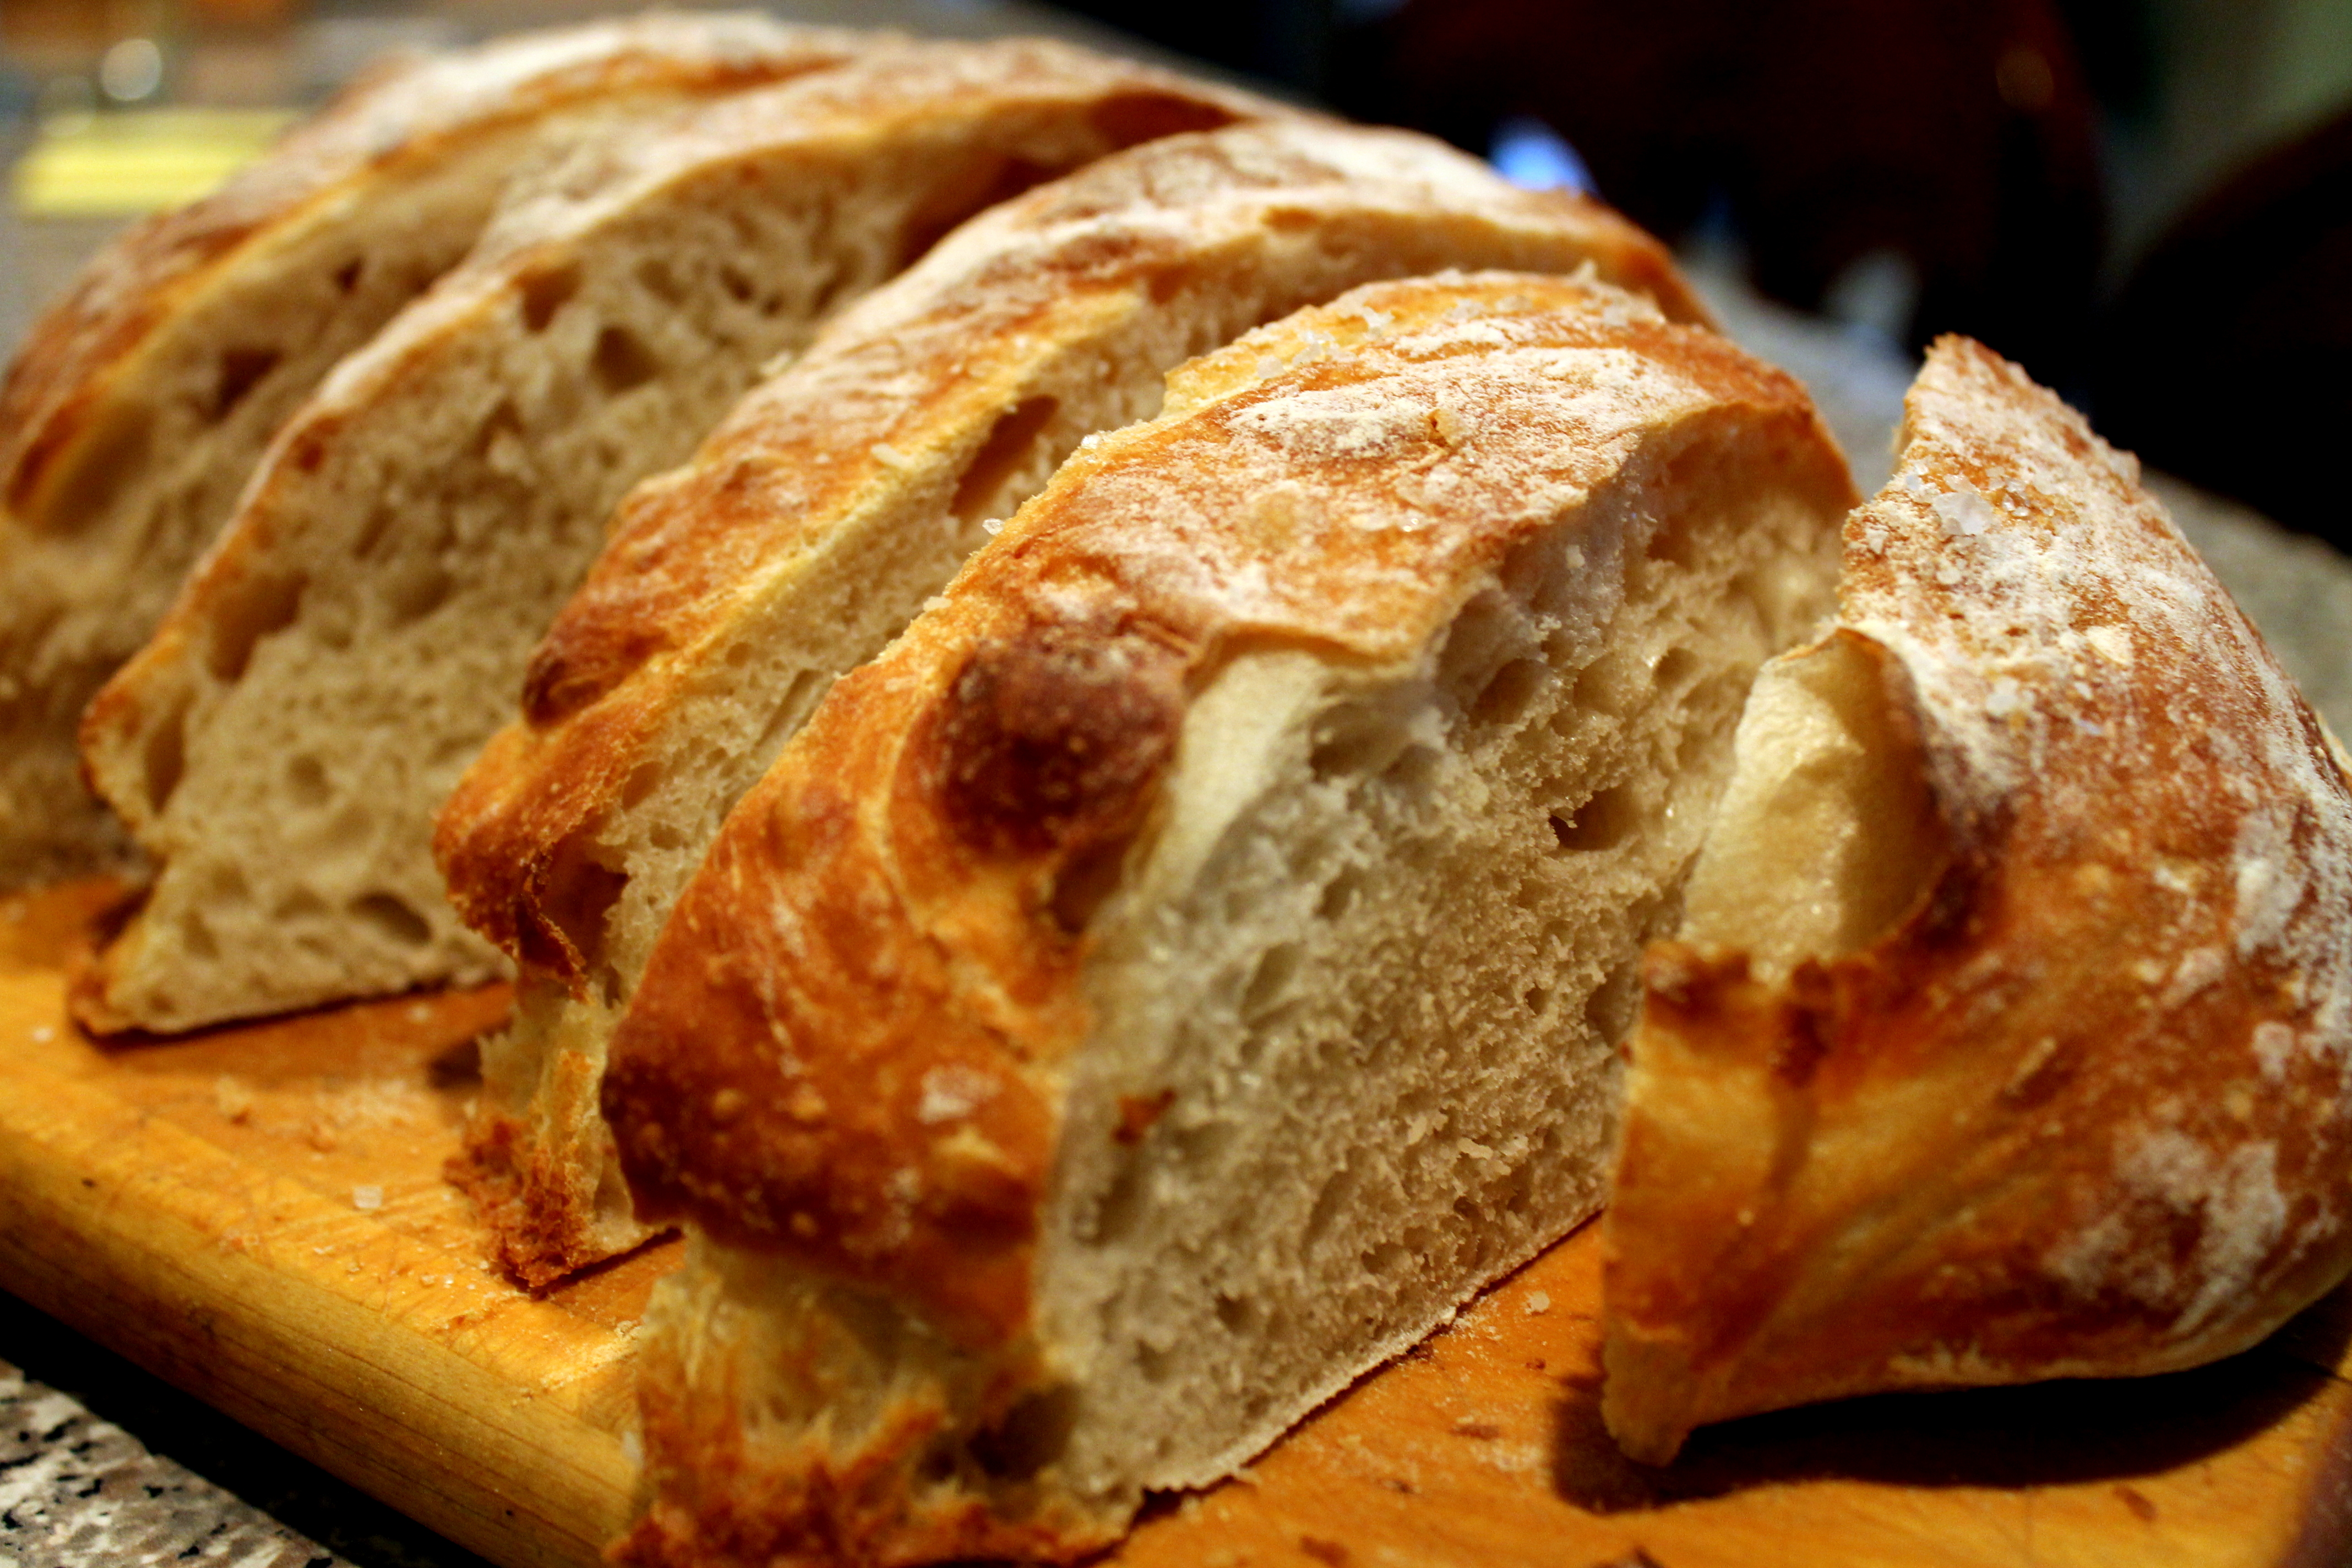
This bread is dense and sweet with crispy edges and a buttery, rich banana taste like no other.

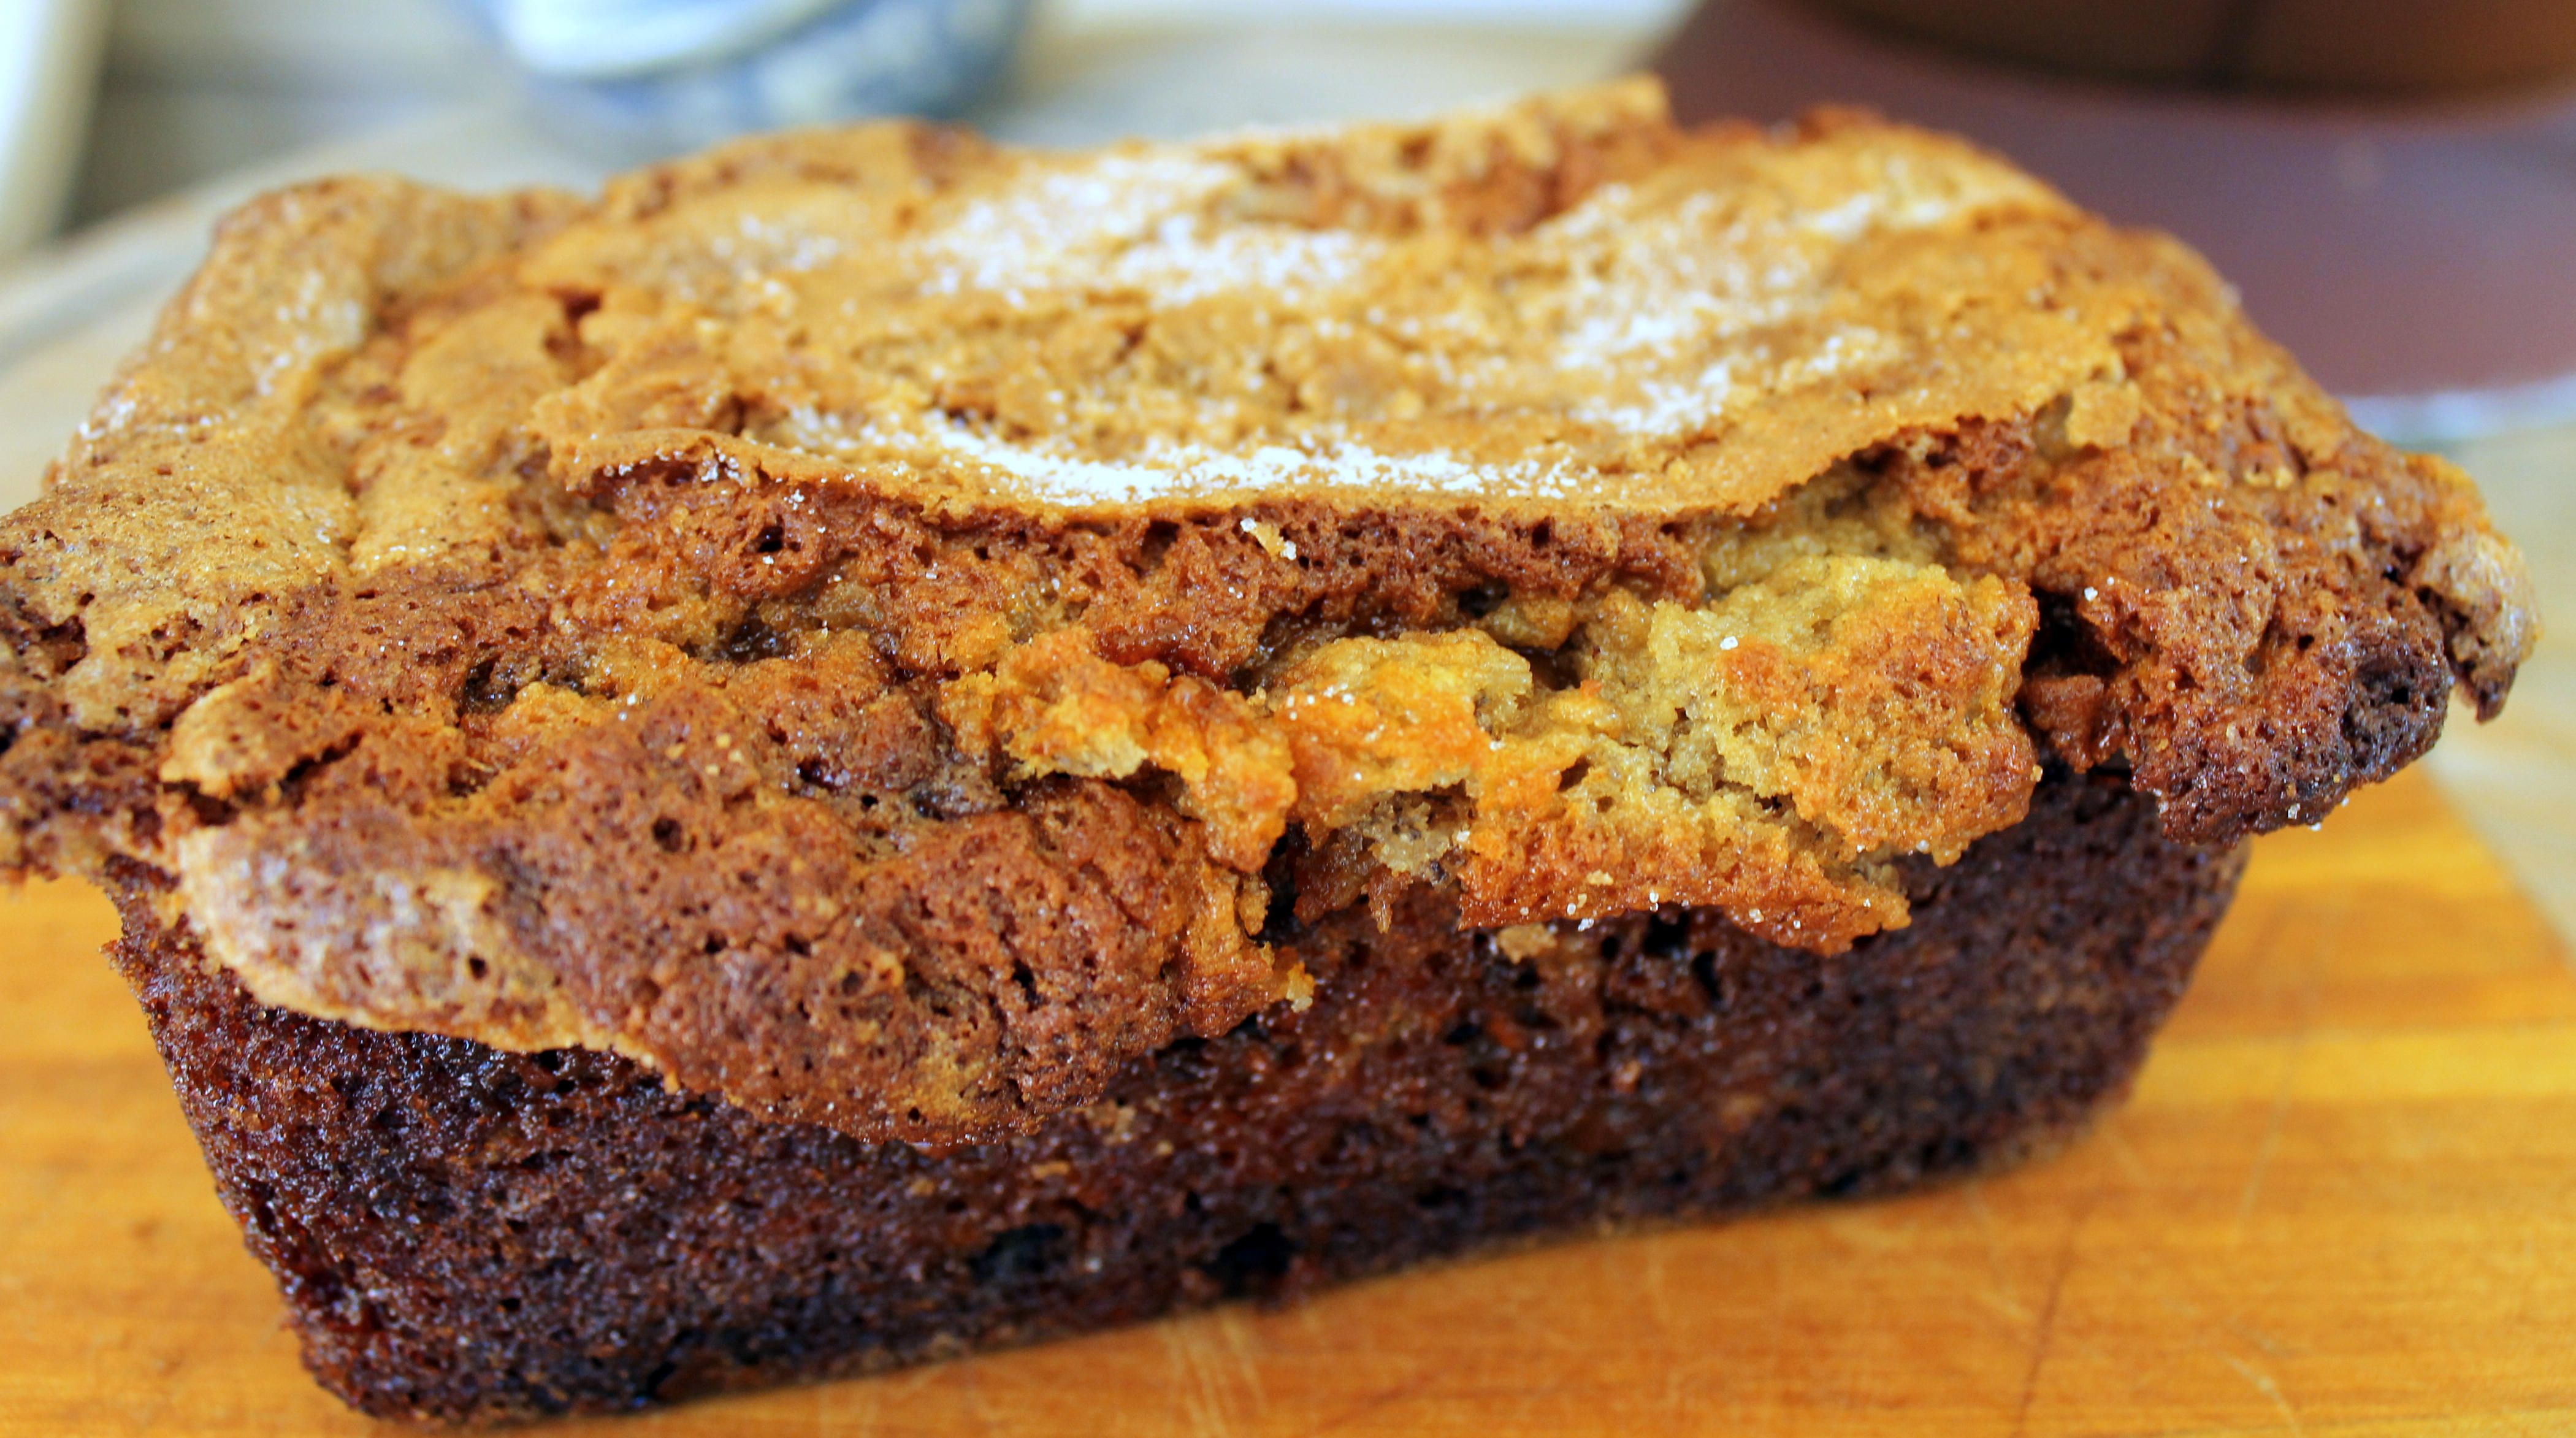
One of the new tricks I tried that made it even EXTRA AMAZING was greasing the pans with shortening and then coating with cinnamon sugar instead of the usual flour dusting.
WOWSERS! On top of the banany goodness, imagine a crust that taste like the cinnamon toast of our childhood days. OUTRAGEOUS!!
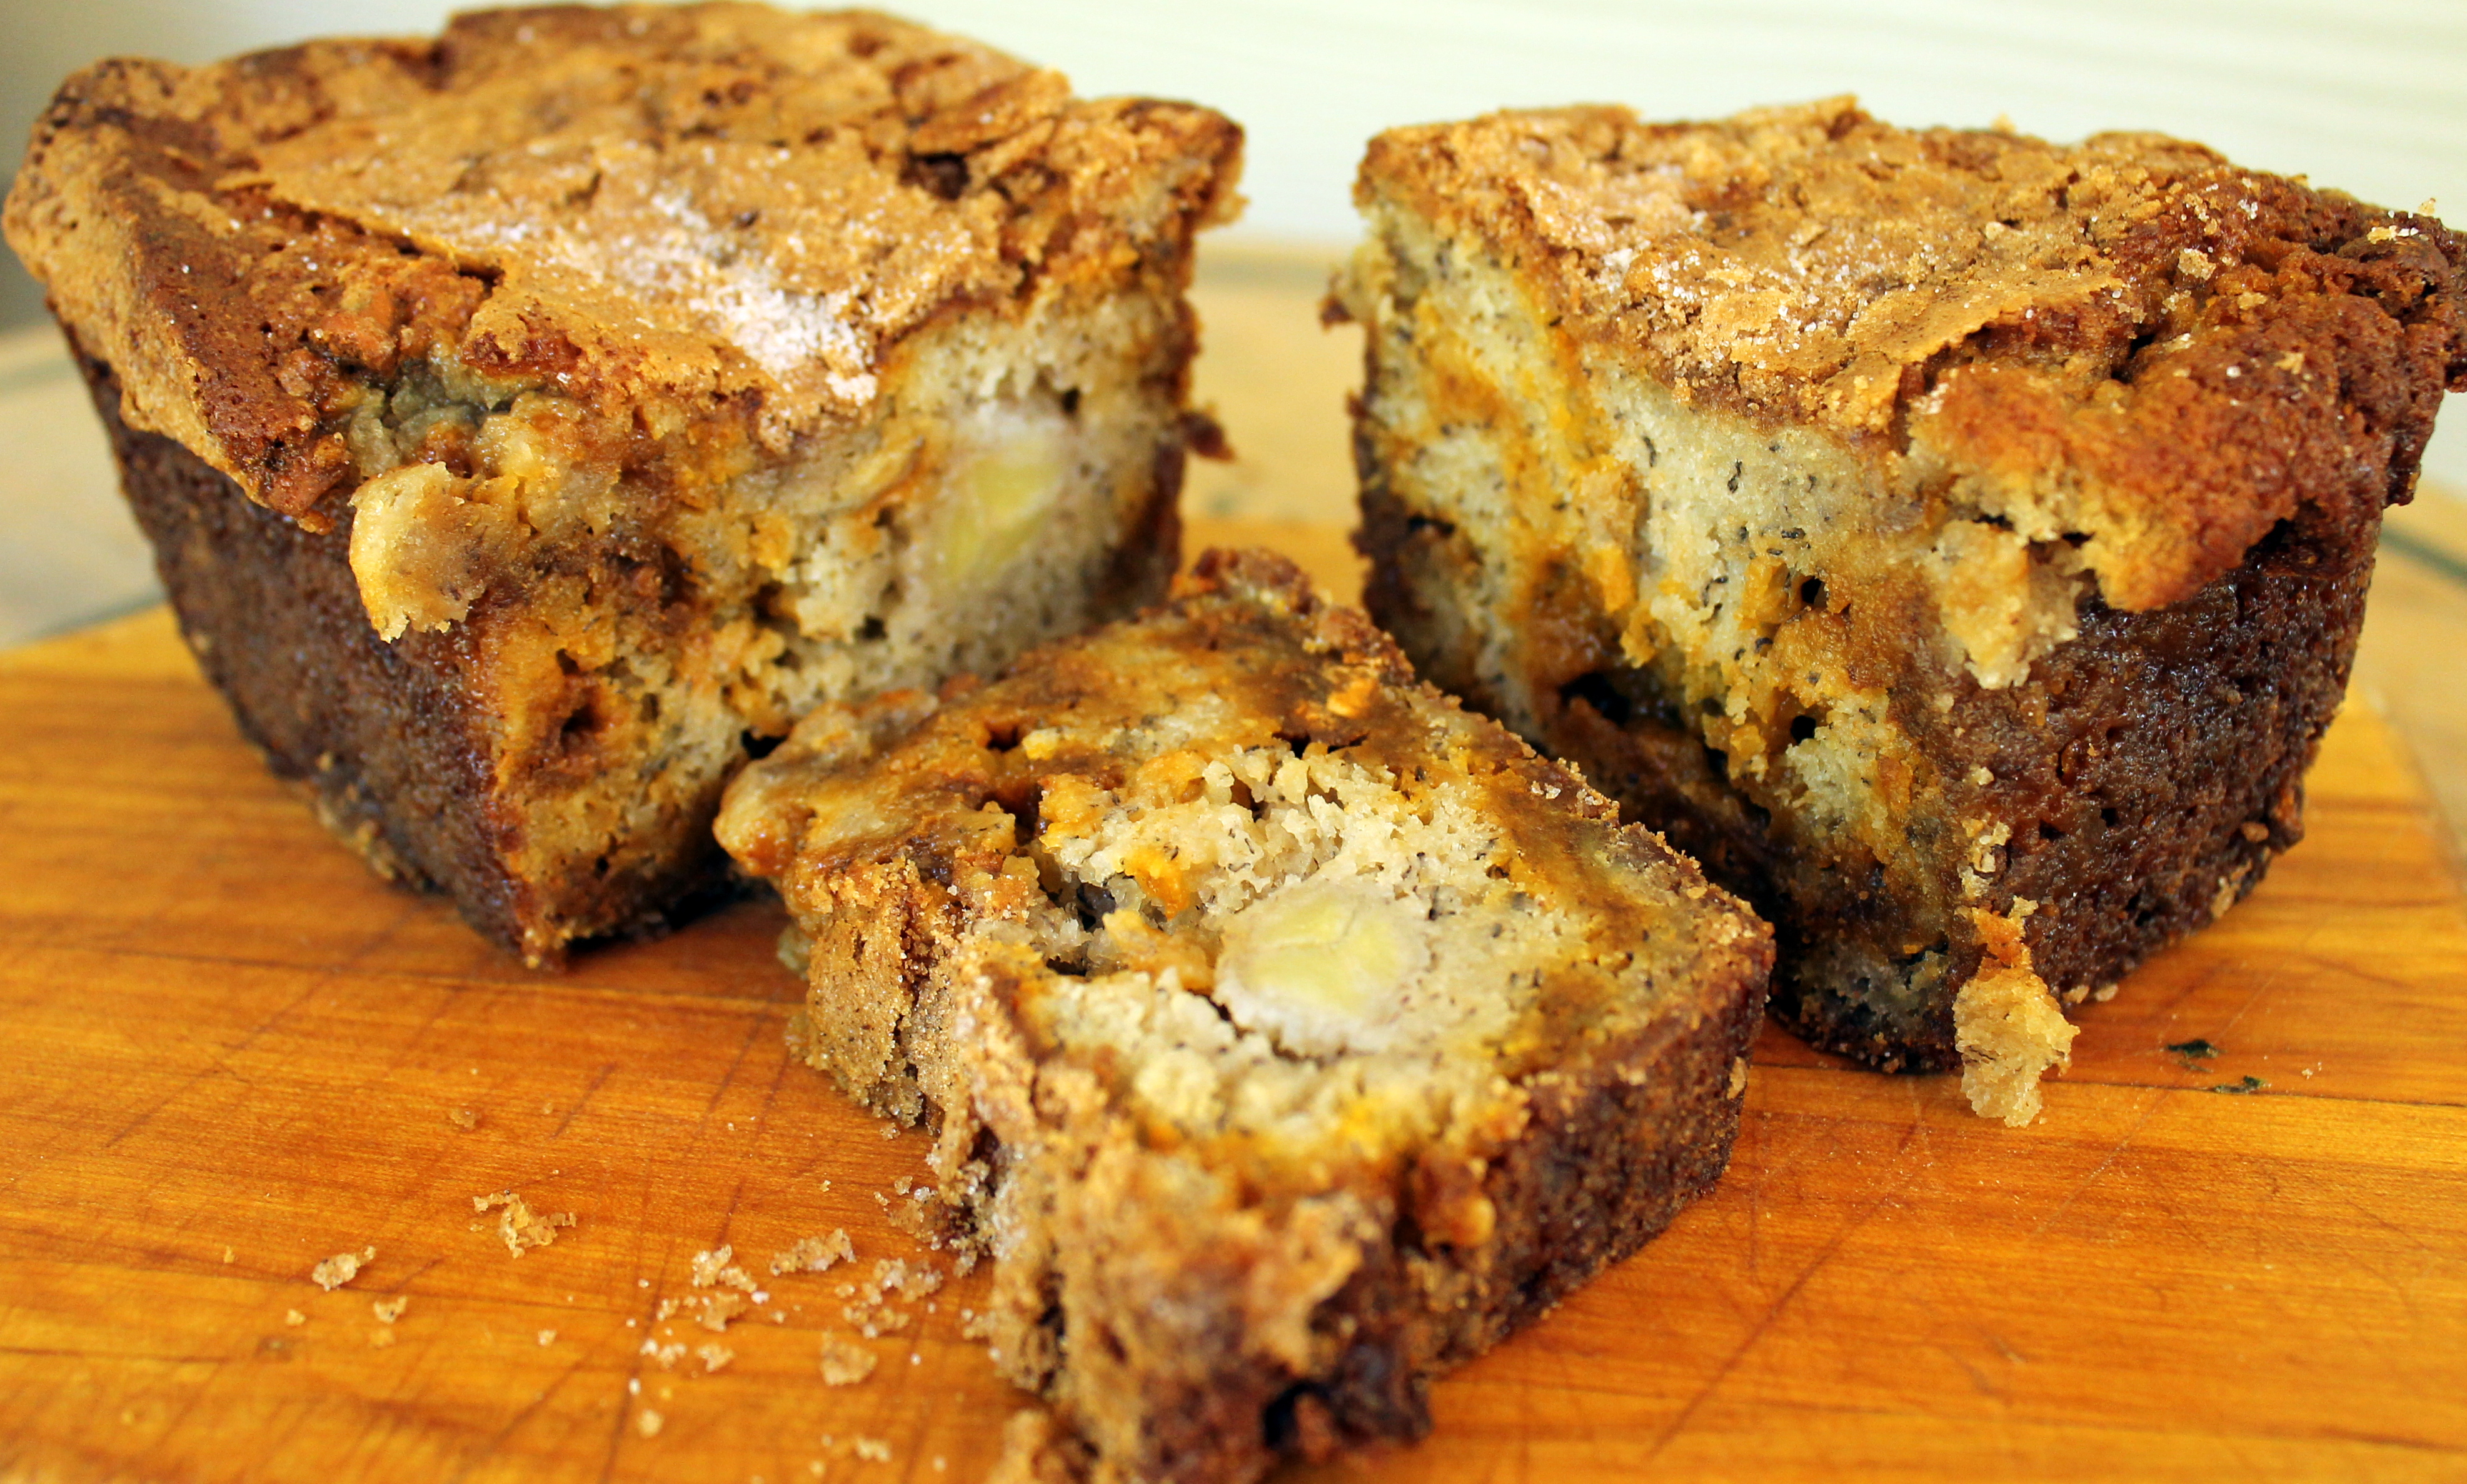
This bread doesn’t raise very high, and it isn’t fluffy or light in any way, shape or form. It is more rustic looking as it stays dense and ooeey gooeey. Some of mine ran over the edges and got extra crusty, but it only added to the awesomeness.

Not the most perfect loaves of bread to look at, but I dare you to try it and tell me if you’ve ever tasted better.
This is my new GO TO recipe for Banana Bread.
It is truly Extreme.
It is truly the BEST BANANA BREAD EVER.
—————-
Best Ever Banana Bread Recipe:
Ingredients:
1 cup white sugar
1 cup brown sugar
1 cup butter
4 eggs, beaten
1 Tbsp vanilla
2 cups flour
1 tsp salt
2 tsp baking soda
1 tsp baking powder
2 cups mashed over-ripe bananas
Optional: Pecans or Walnuts or Cinnamon Chips
Sugar and Cinnamon Mixture for coating pans
Preheat oven to 350 degrees F. Grease and cinnamon sugar coat pans (do the same way as you would with flour).
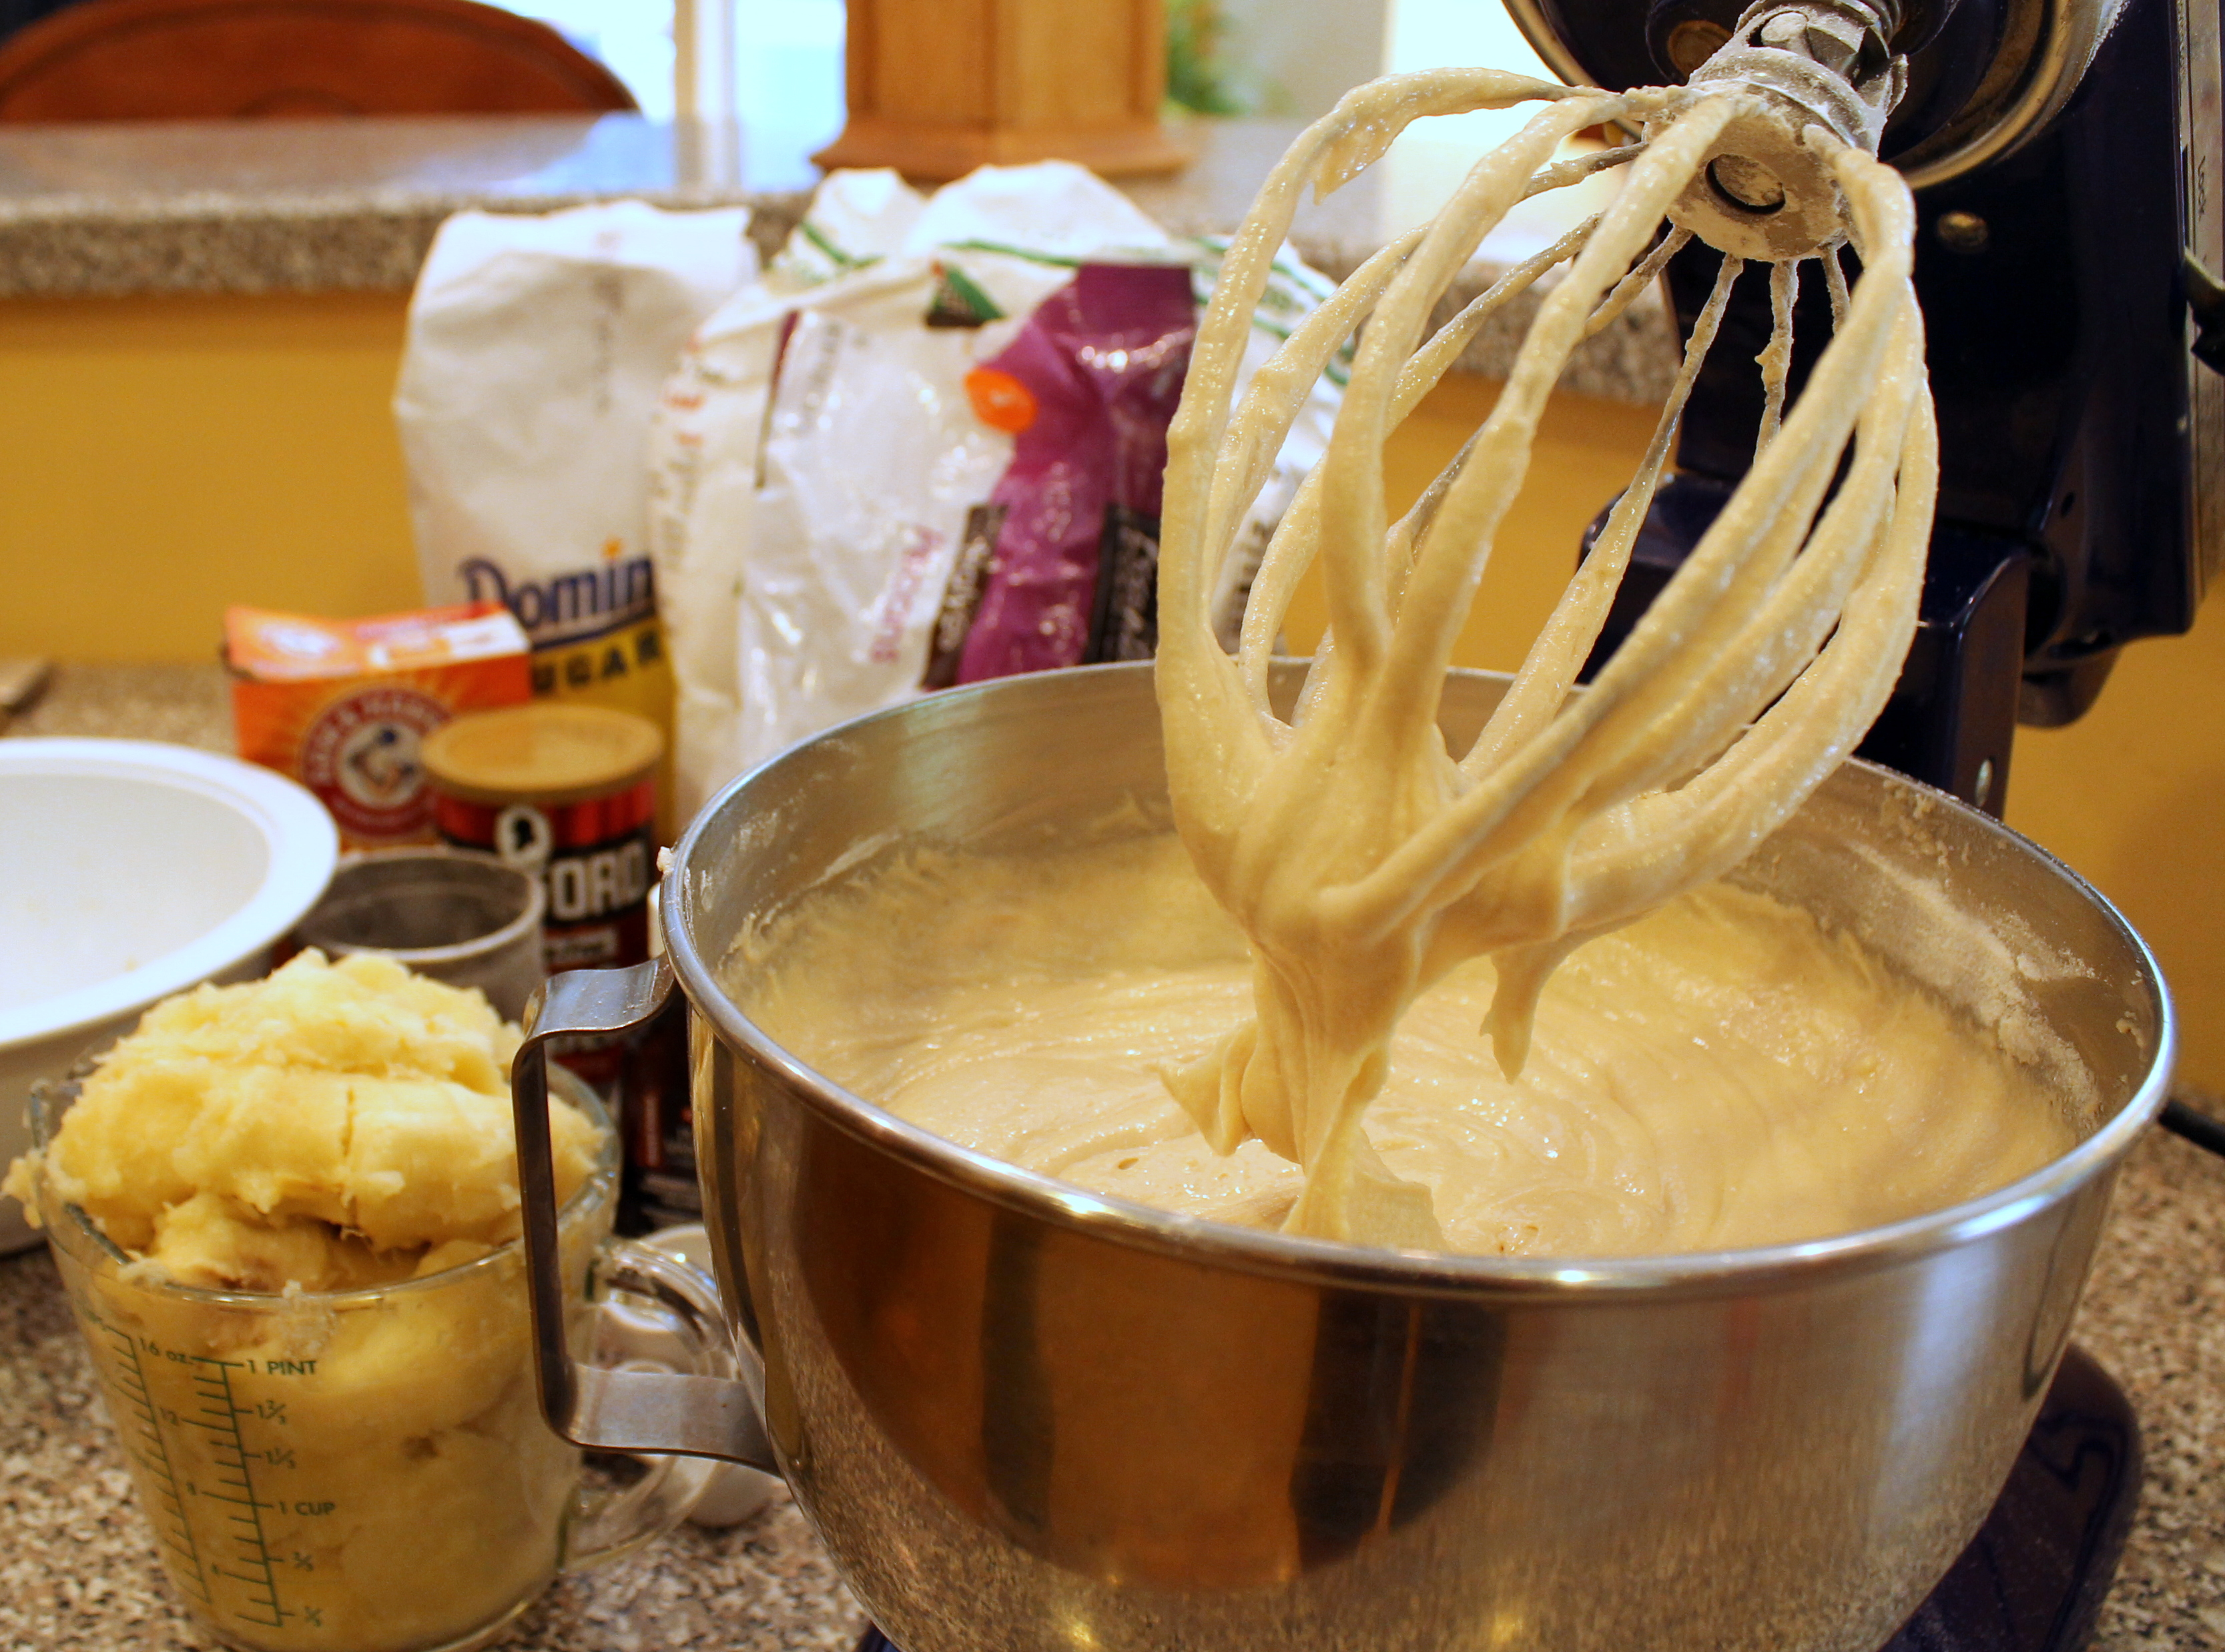
In mixer, beat together sugars and butter until creamy. Add beaten eggs and vanilla, and continue creaming until well beaten.
Combine flour, salt, baking soda and baking powder together, then add to creamed wet mixture, beating well with electric mixer.
Once that is all well combined, beat in the mashed bananas.
If using nuts or cinnamon chips, fold those gently in last.
Fill pans 3/4 full. Bake until toothpick inserted comes out clean. Let loaves cool in pan for about 5 mins, then remove to cooling rack to finish cooling.
Once cool, place in large Ziploc bag or wrap in aluminum foil and refrigerate.
BEST served if refrigerated for at least 2 hours first.
Large loaf pan needs to bake about an hour.
Mini loaf pans approximately 30 minutes.
Muffins approximately 20 mins.
WARNING WARNING WARNING
This recipe is NOT low-fat and may become HABIT FORMING!
ENJOY!
Cheers and Hugs,
Jodi
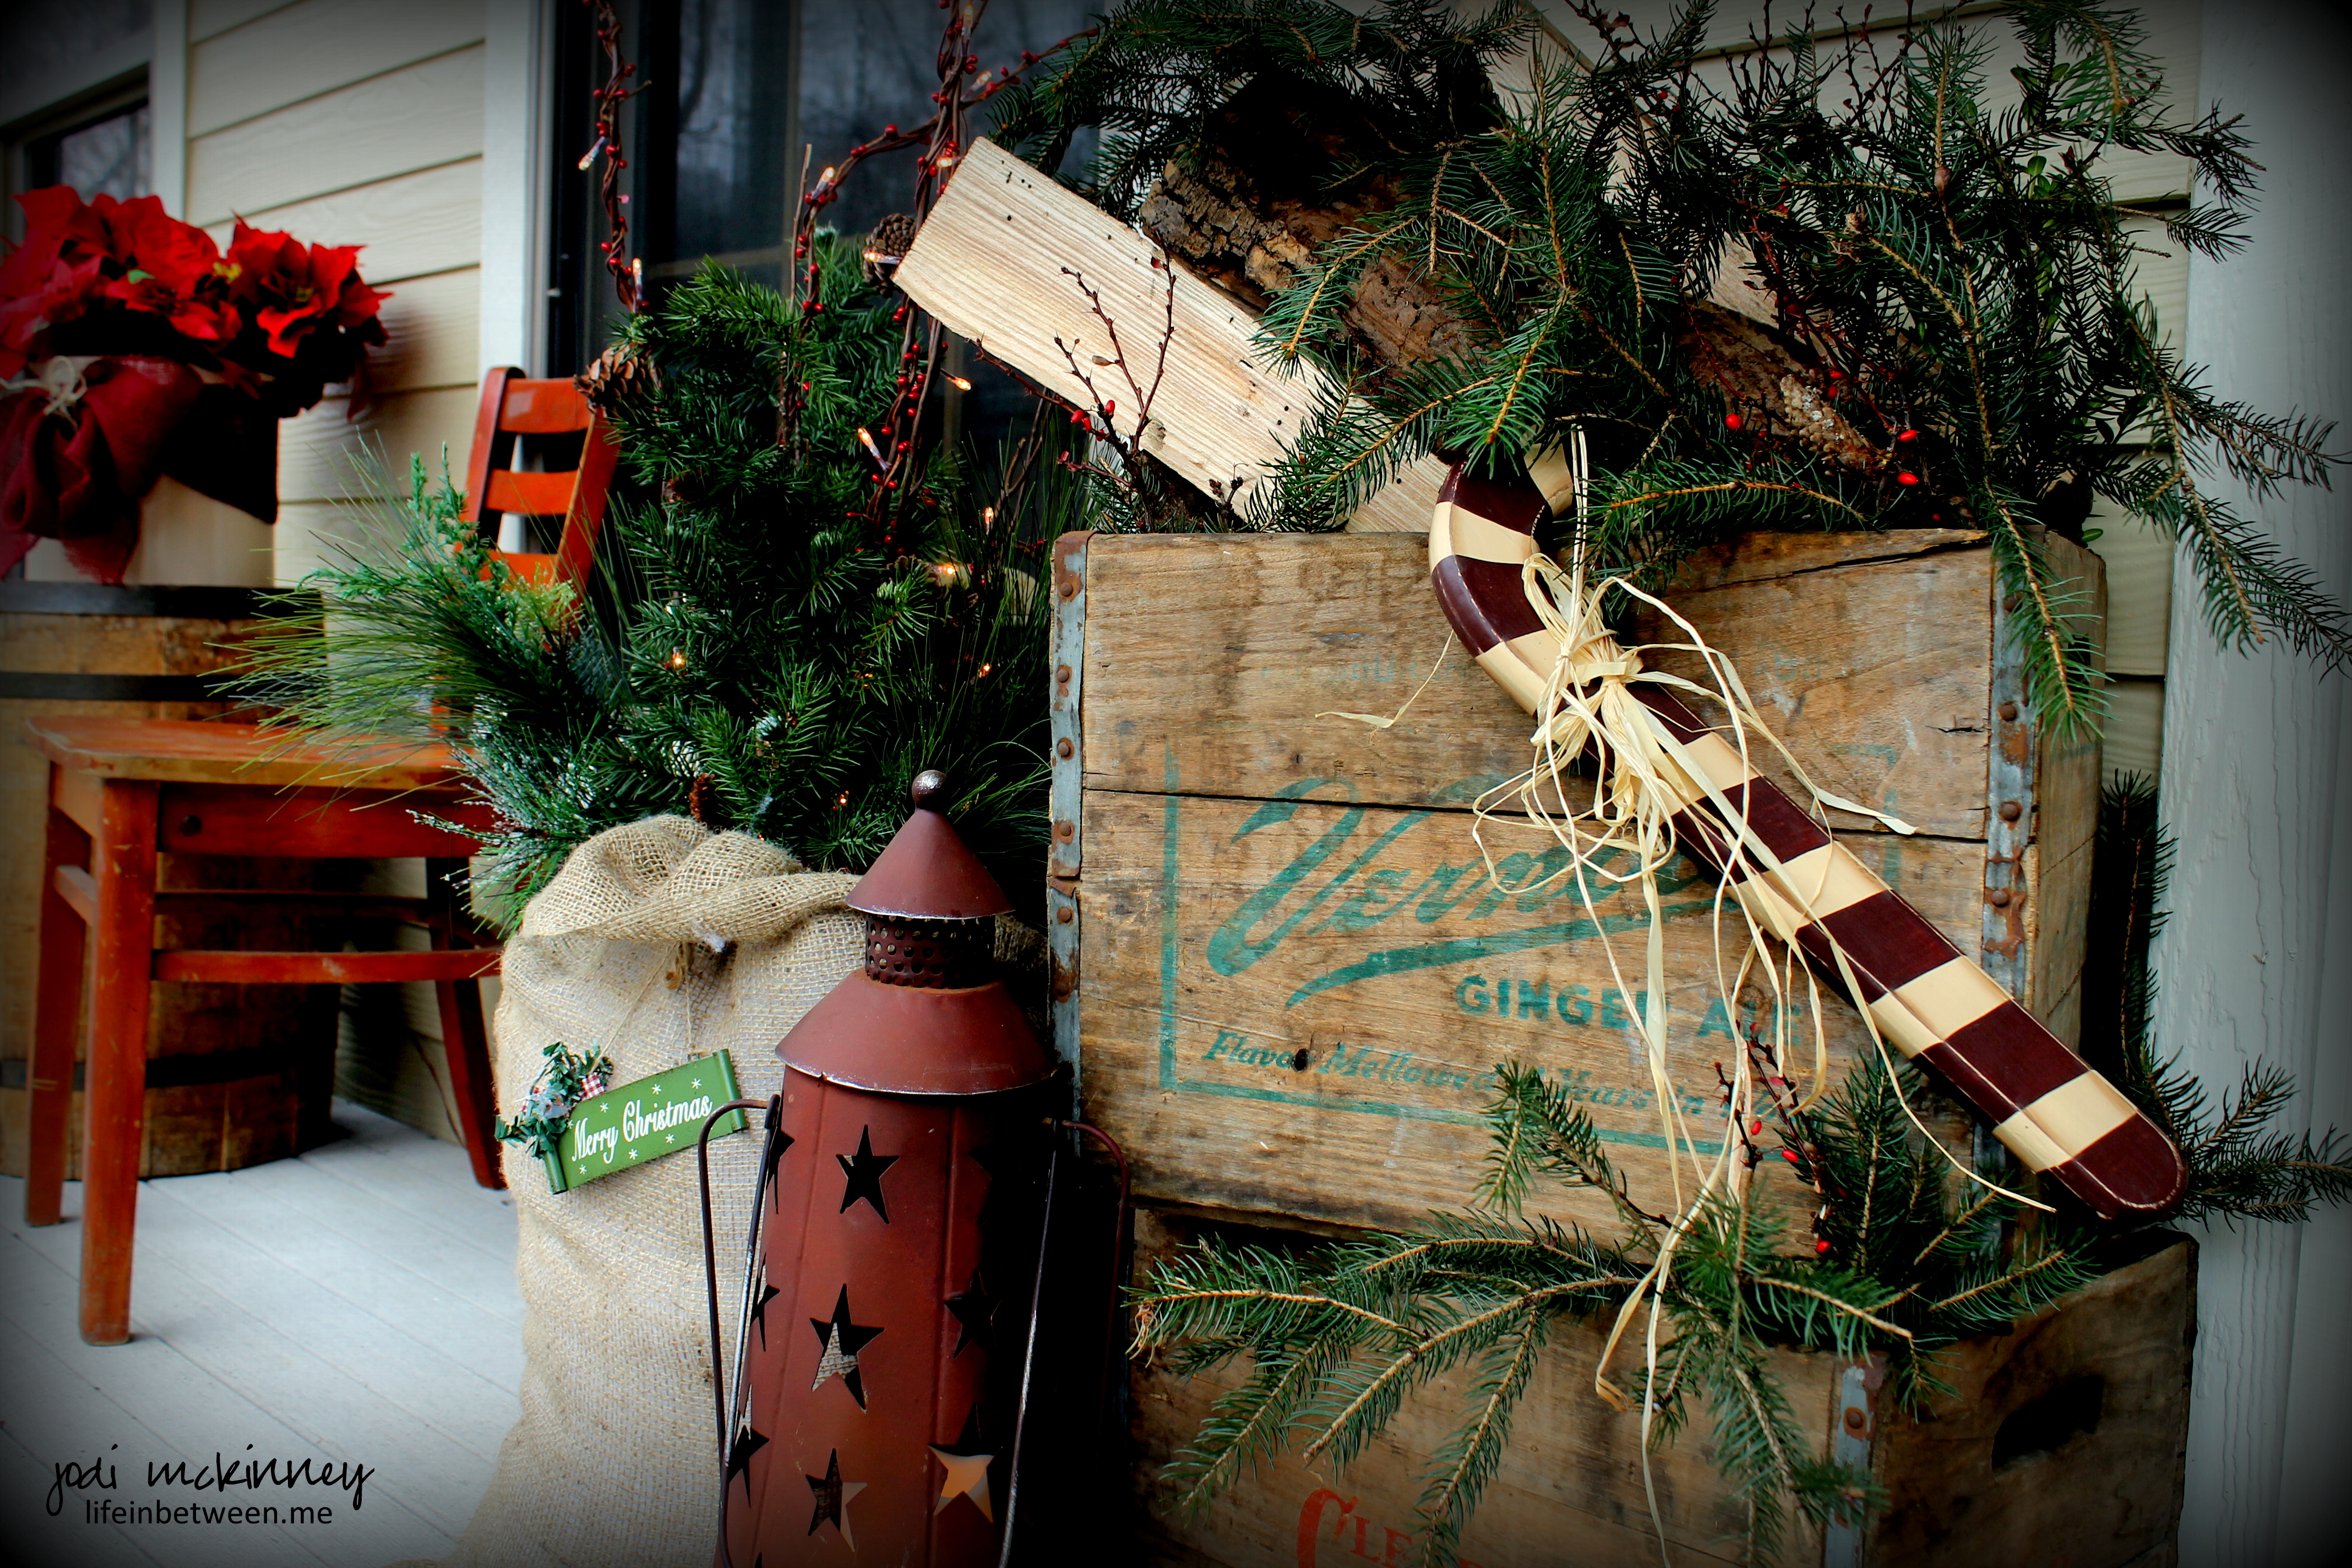 I had fun creating a woodsy rustic setting on the front porch with lots of fresh greenery, wood, red berries, burlap and pine cones in my fave antique crates I got for Mother’s day from Jake and Colleen. Out with the summer ferns, but not putting these beloved crates away. 🙂
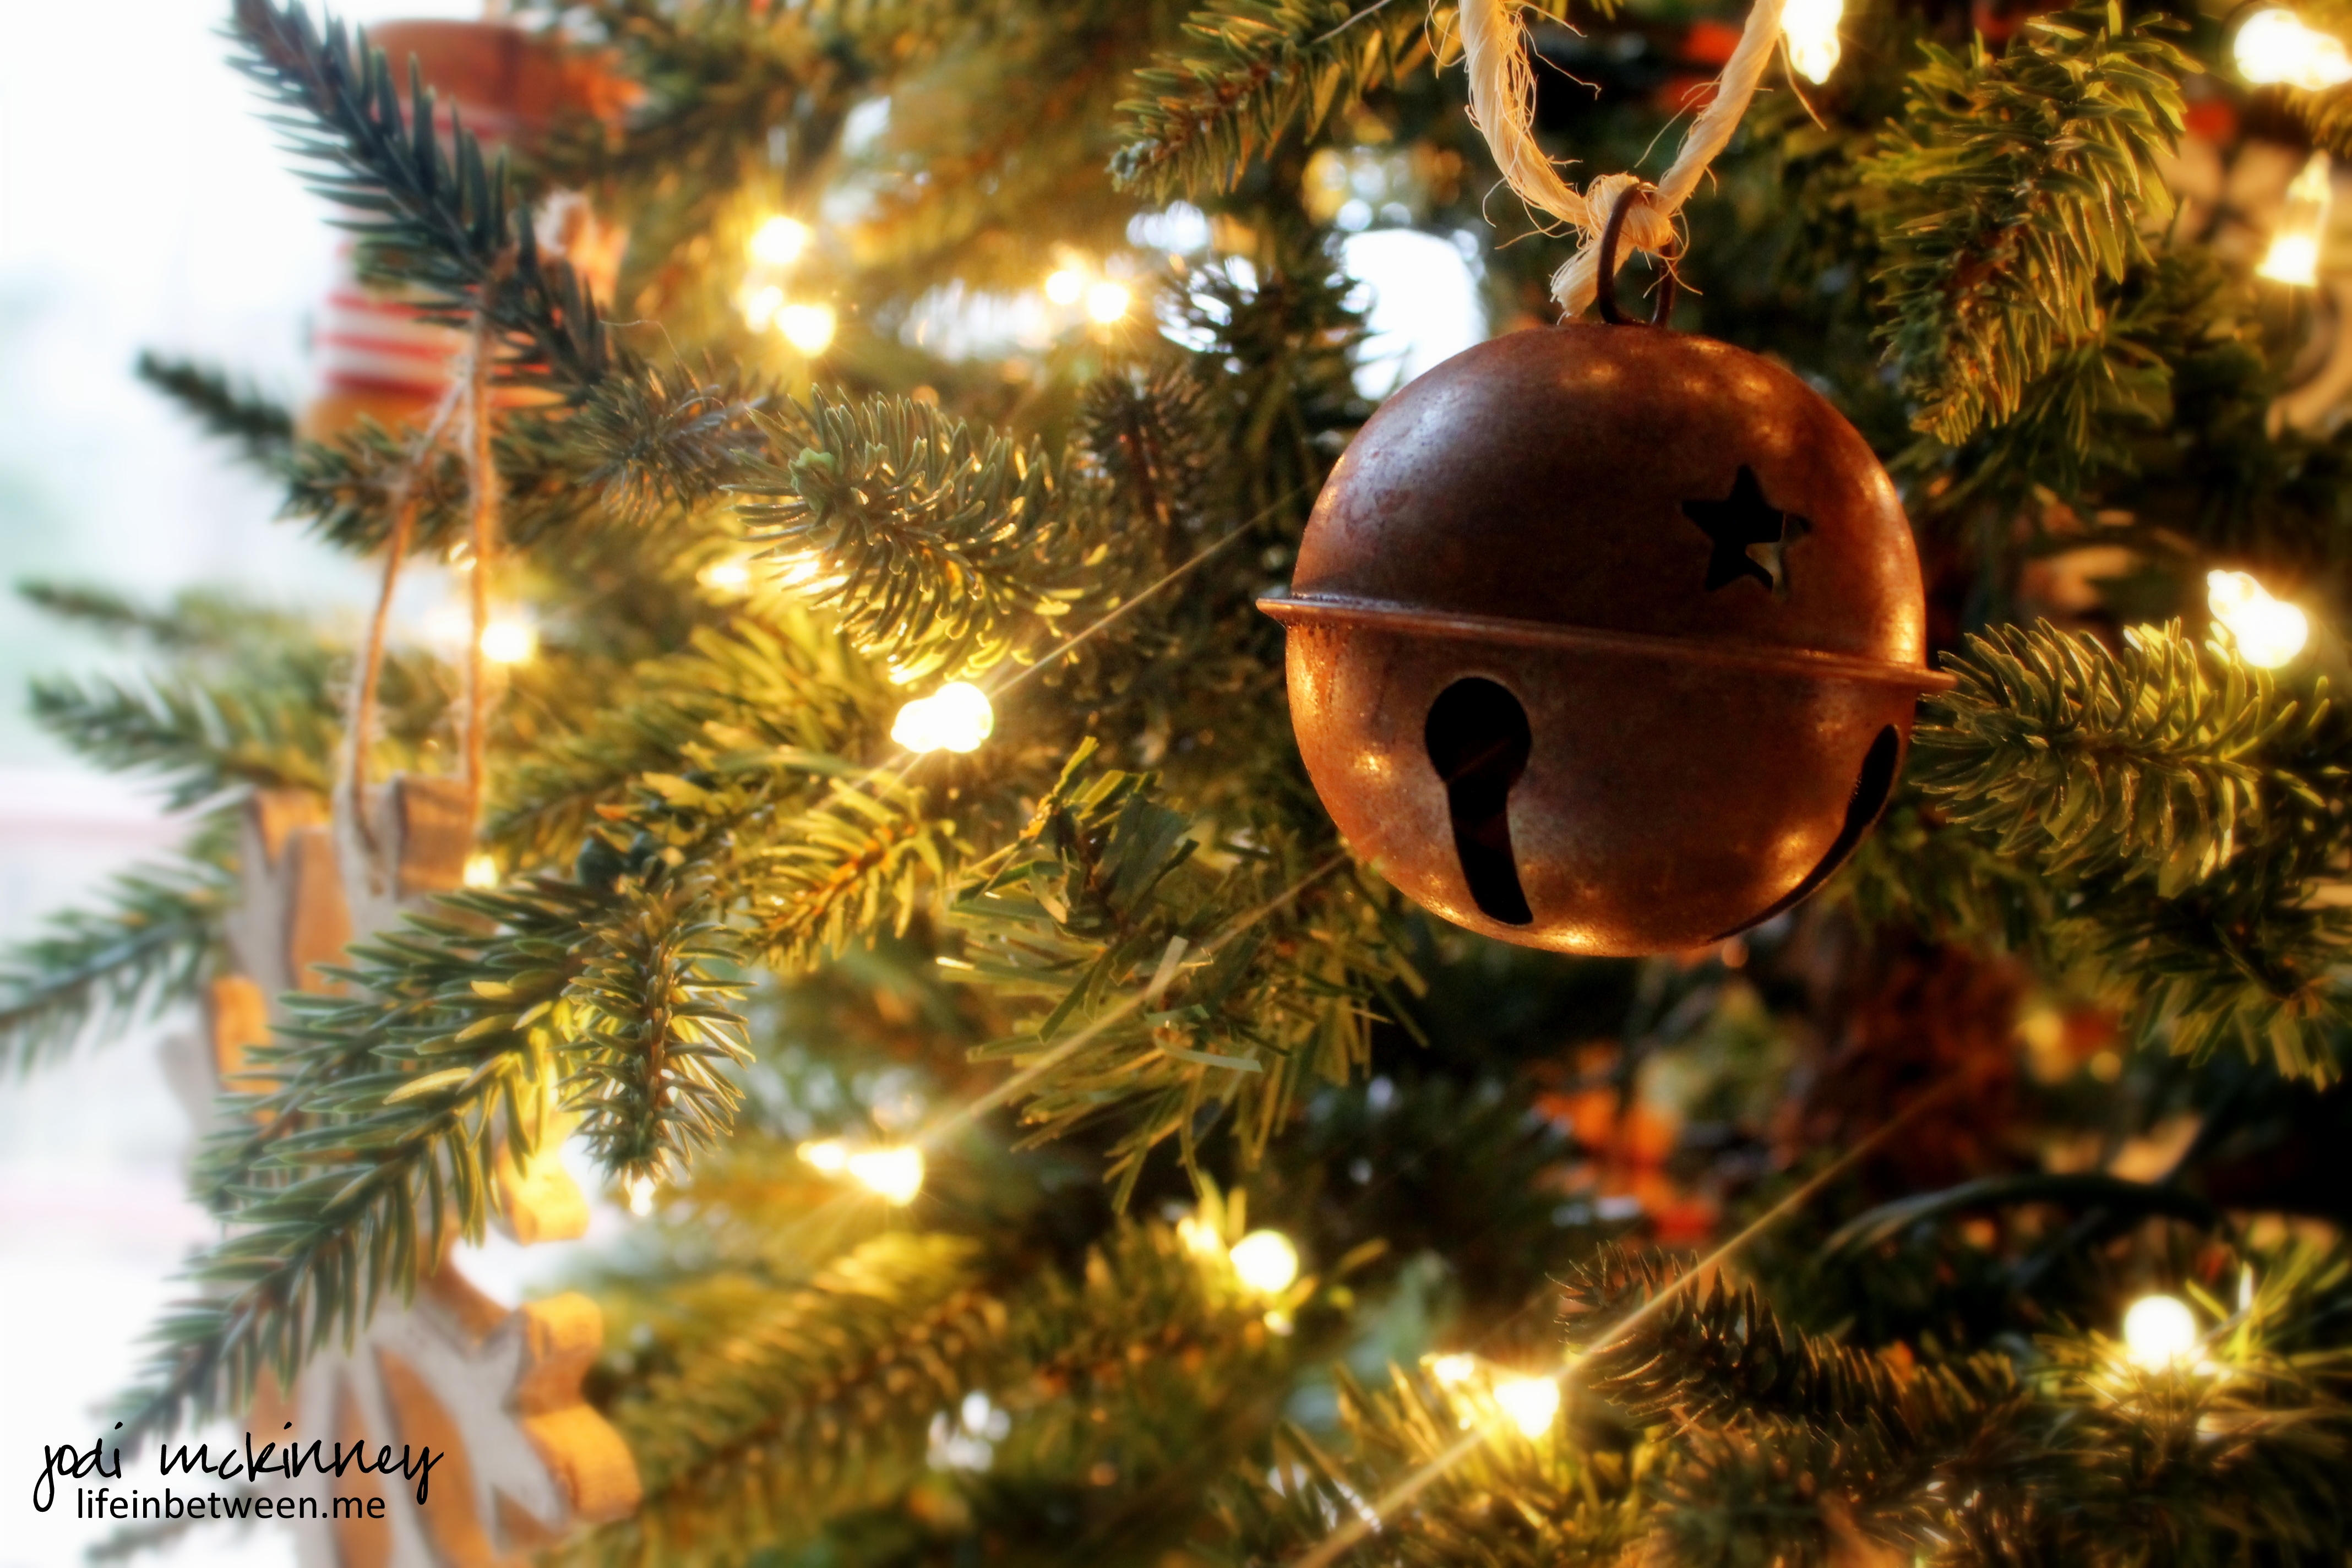 The tree is up…
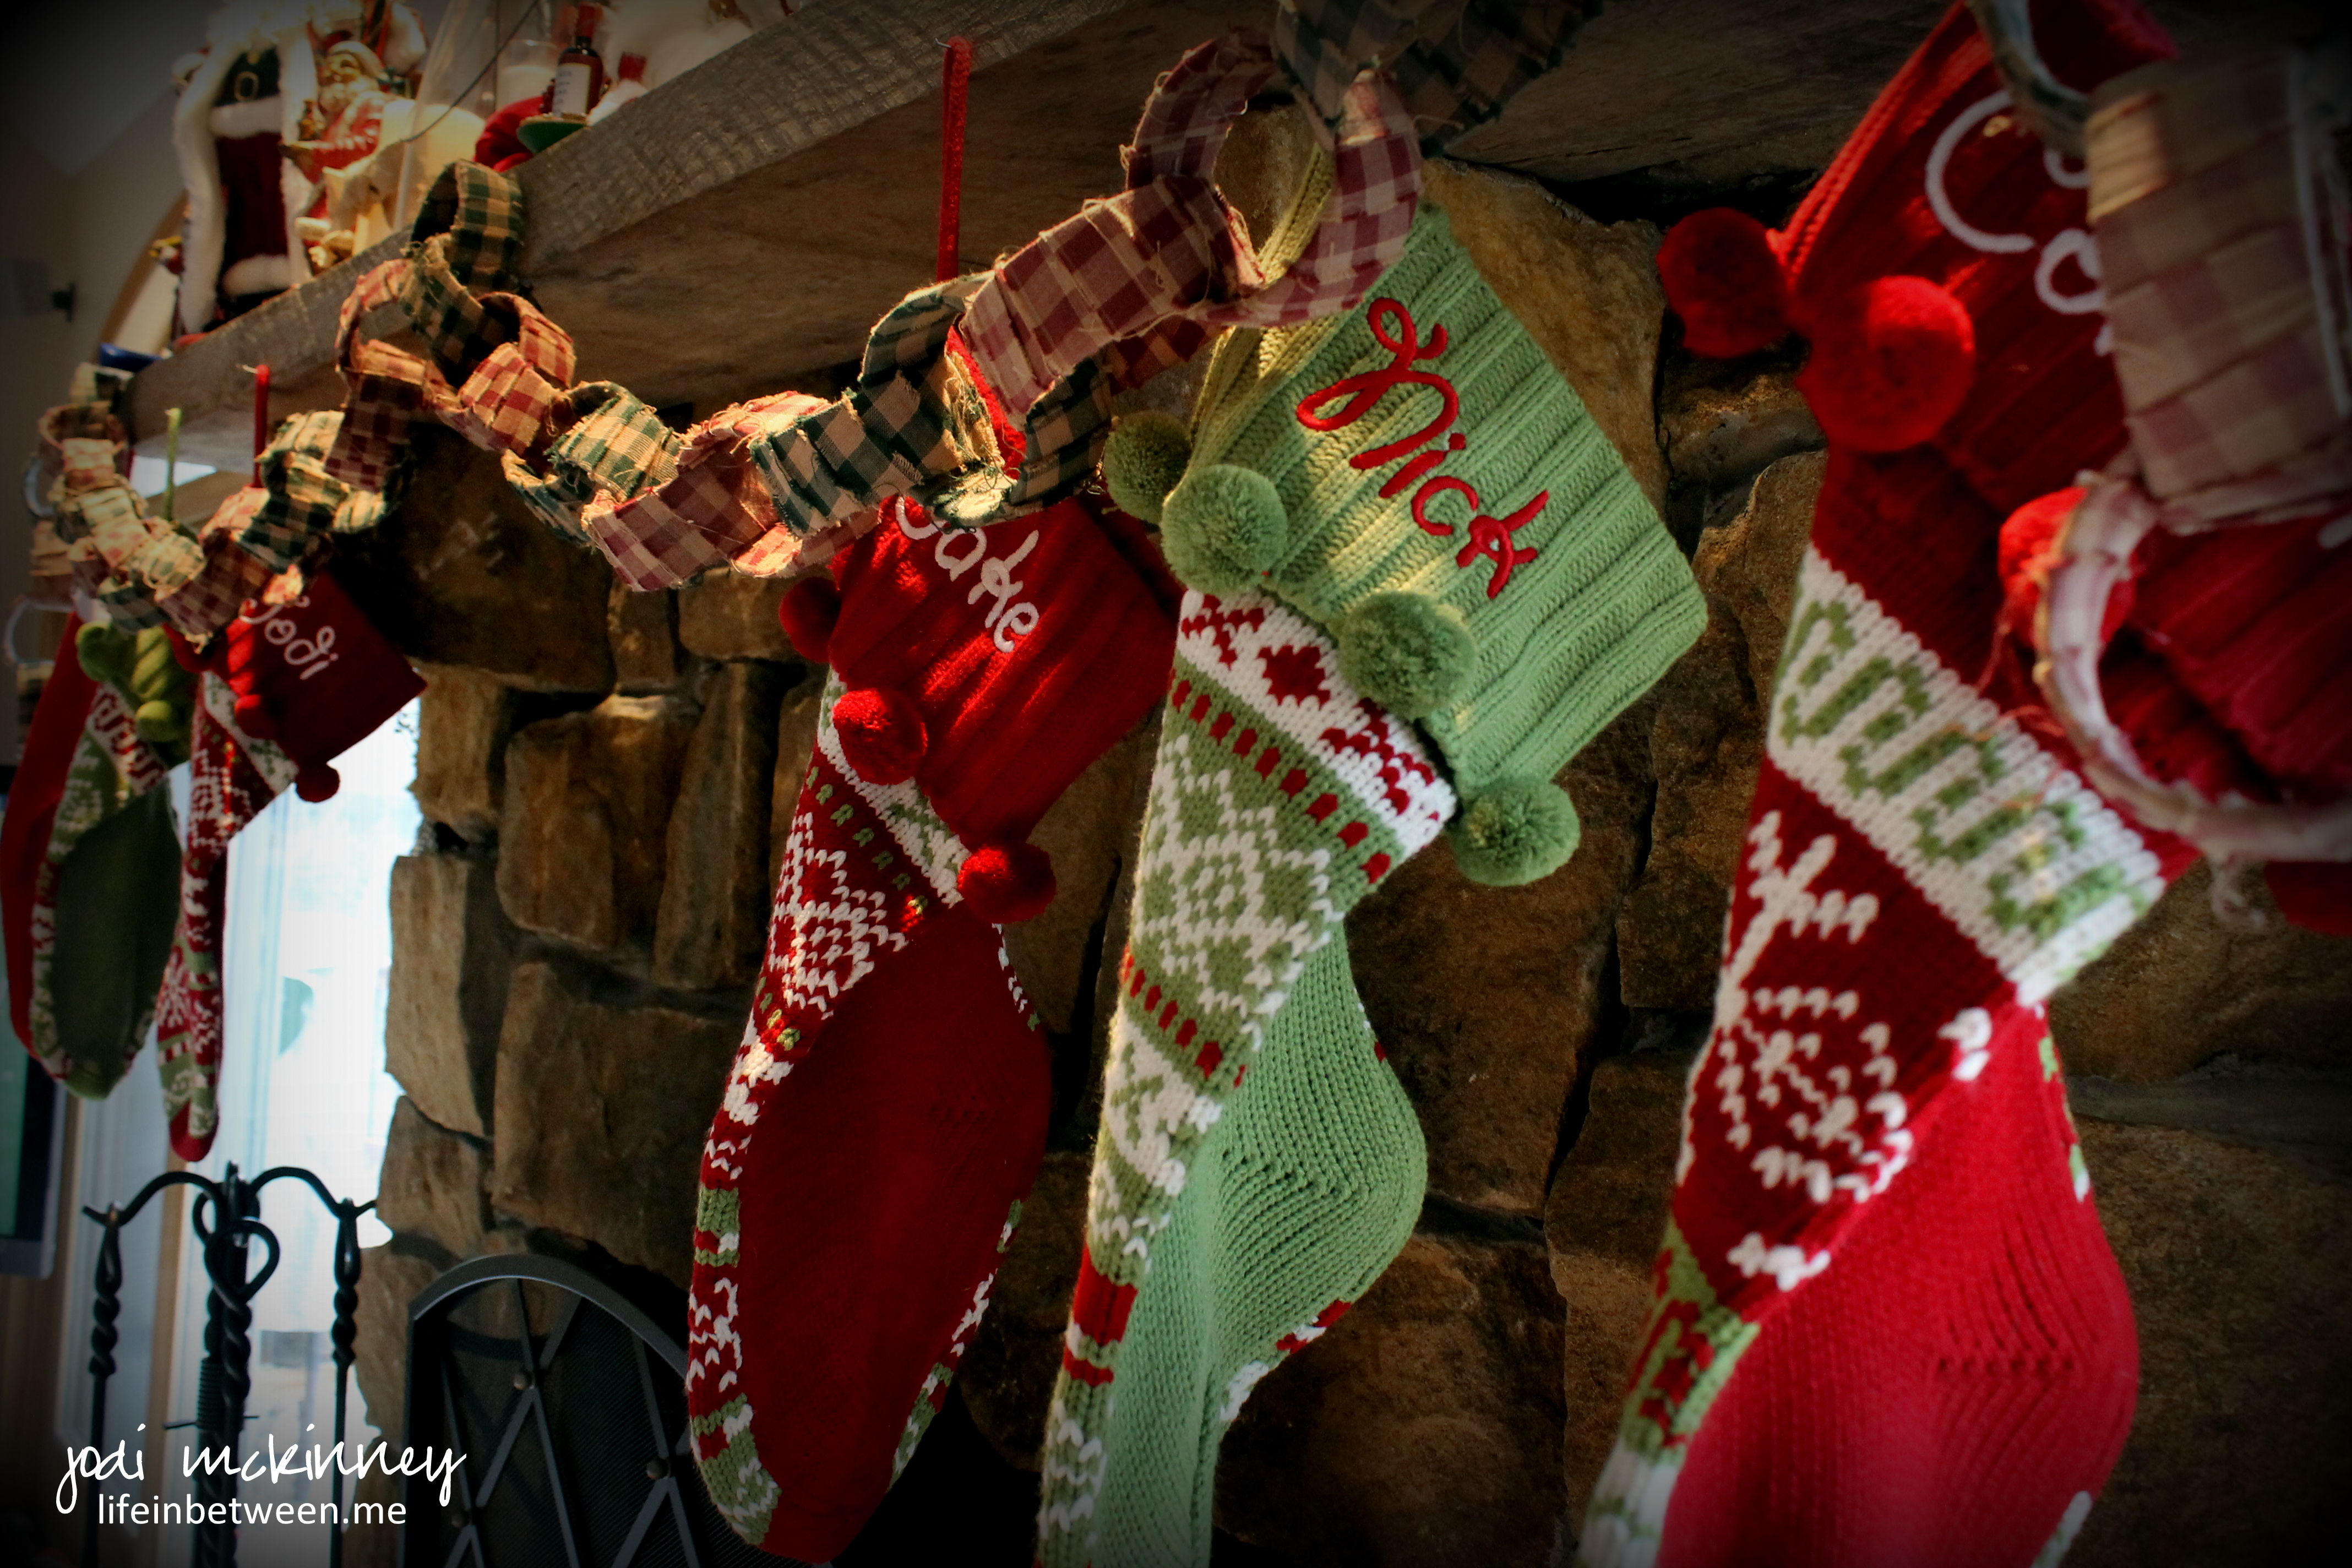 and the stockings are hung by the chimney with care.
 This Santa is chillin’ on the mantel with the some others (real Santas drink wine not milk)…
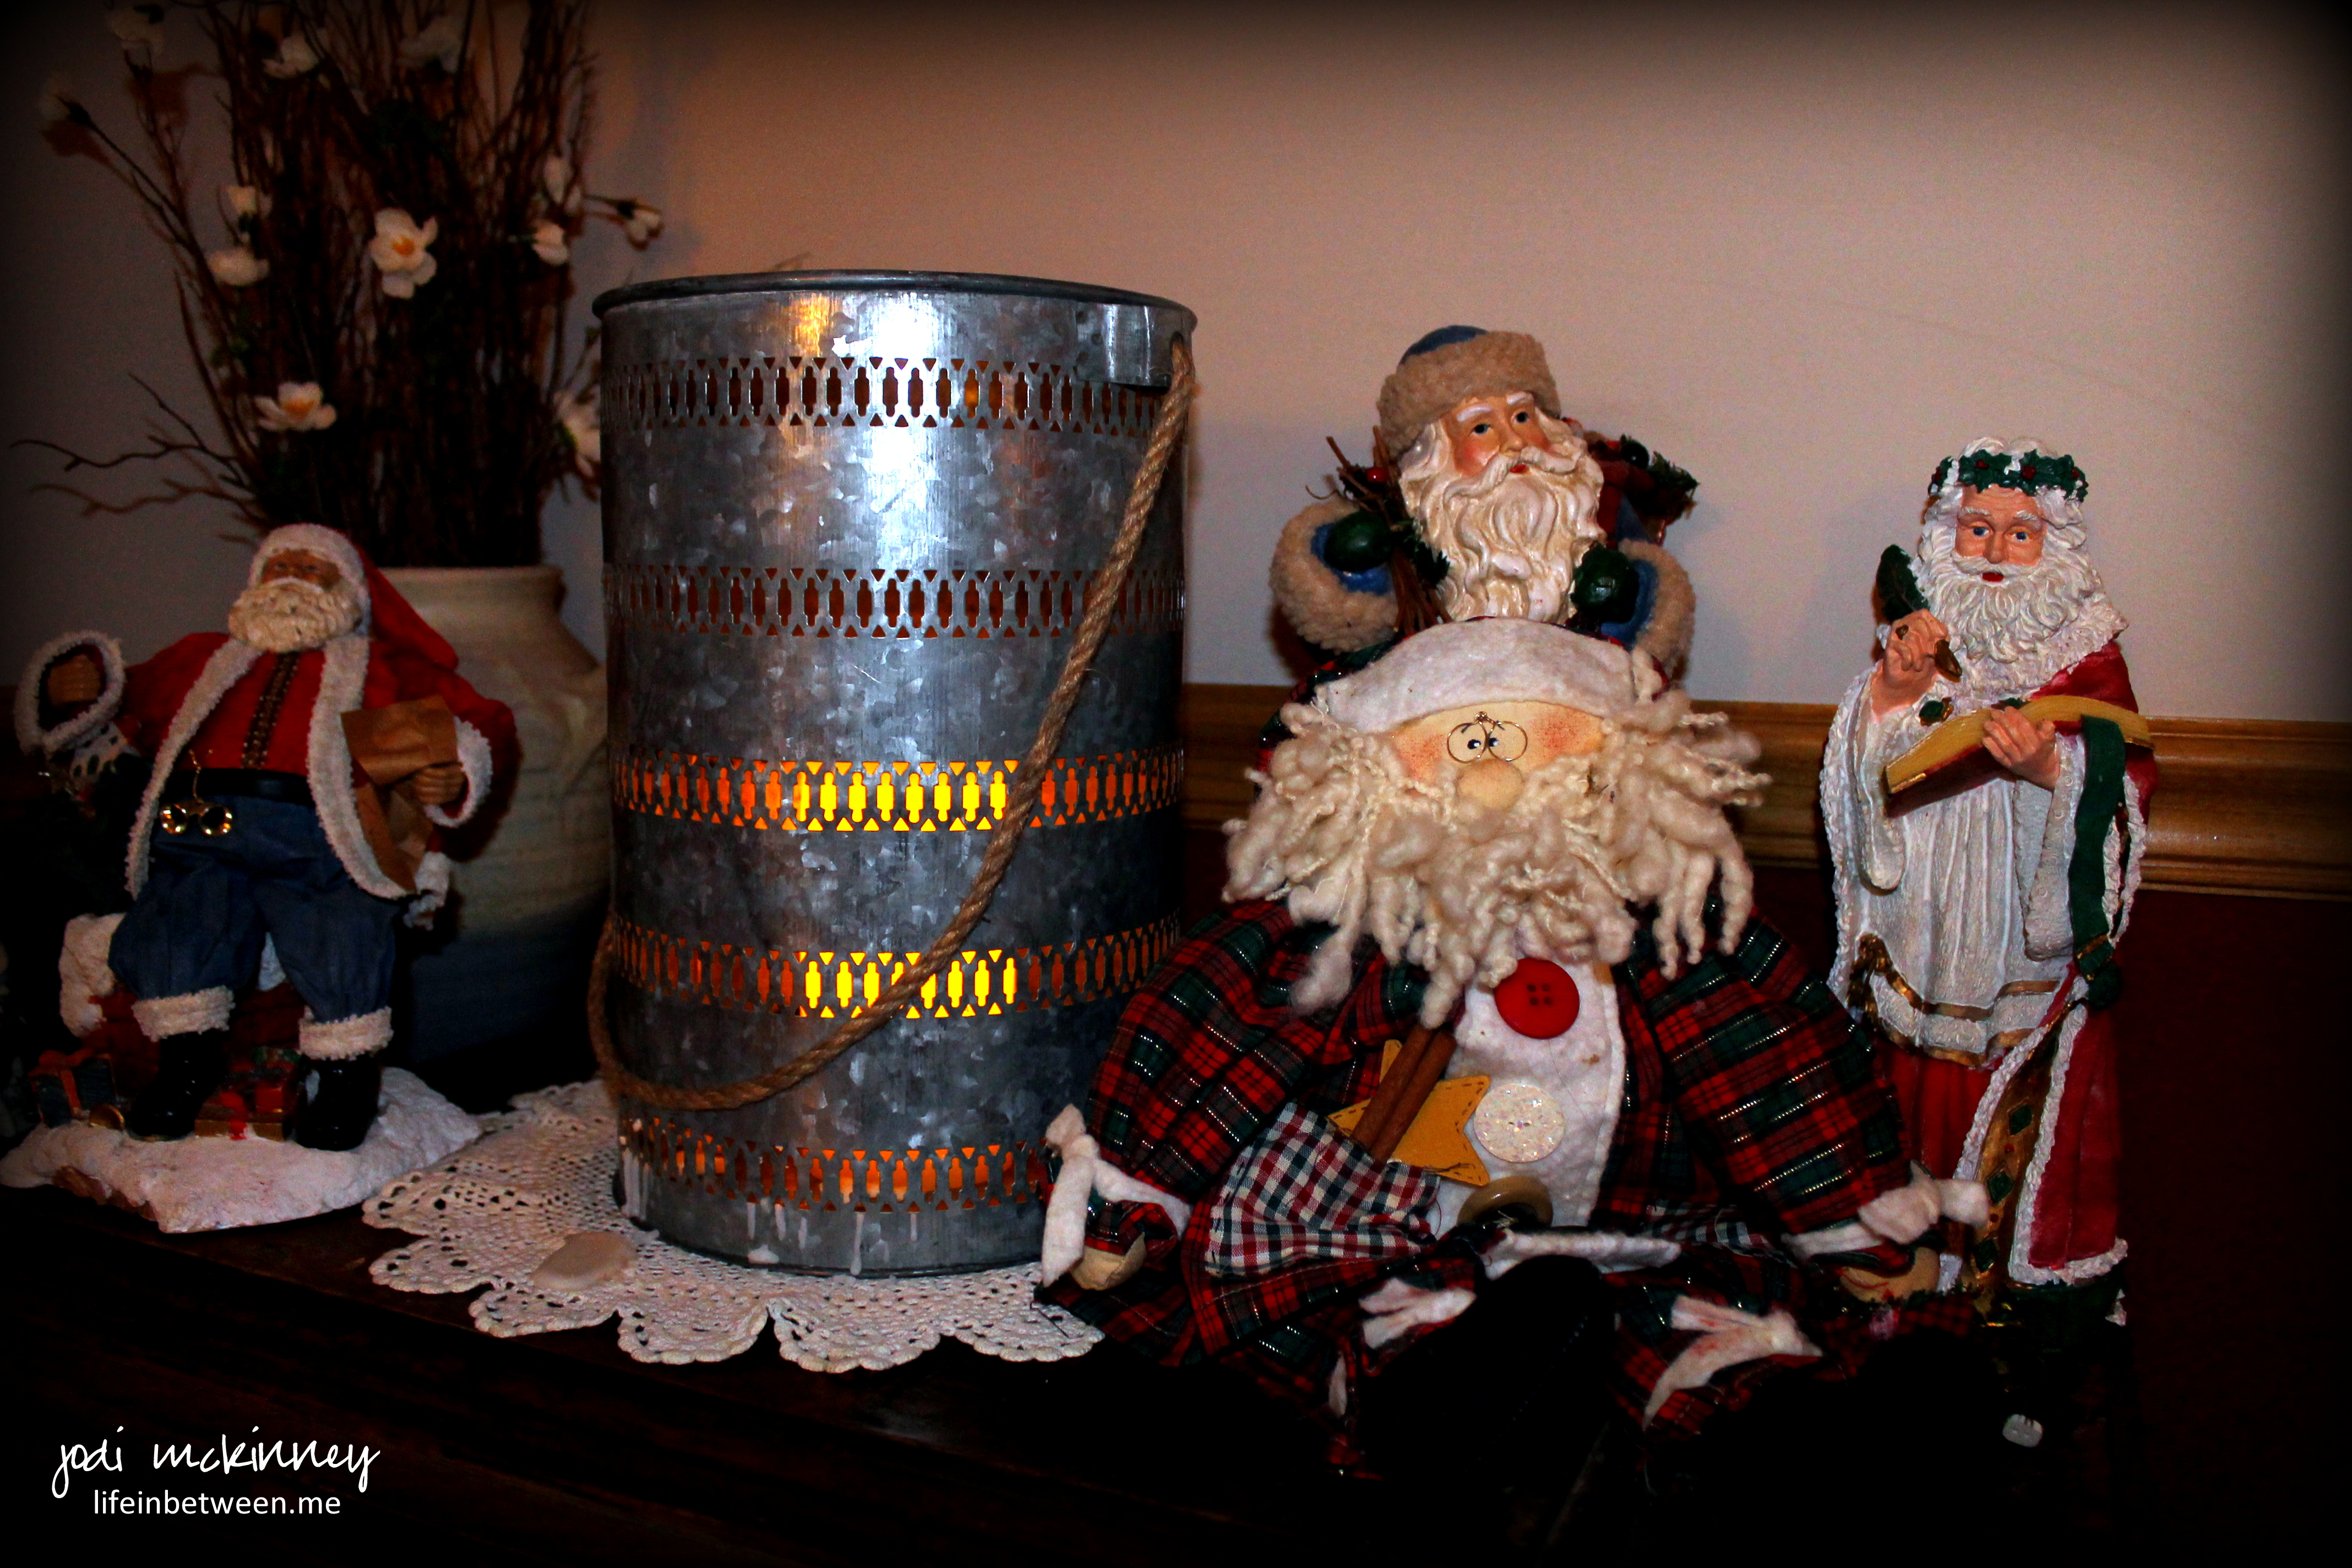 and other Santas pop up in just about every corner.
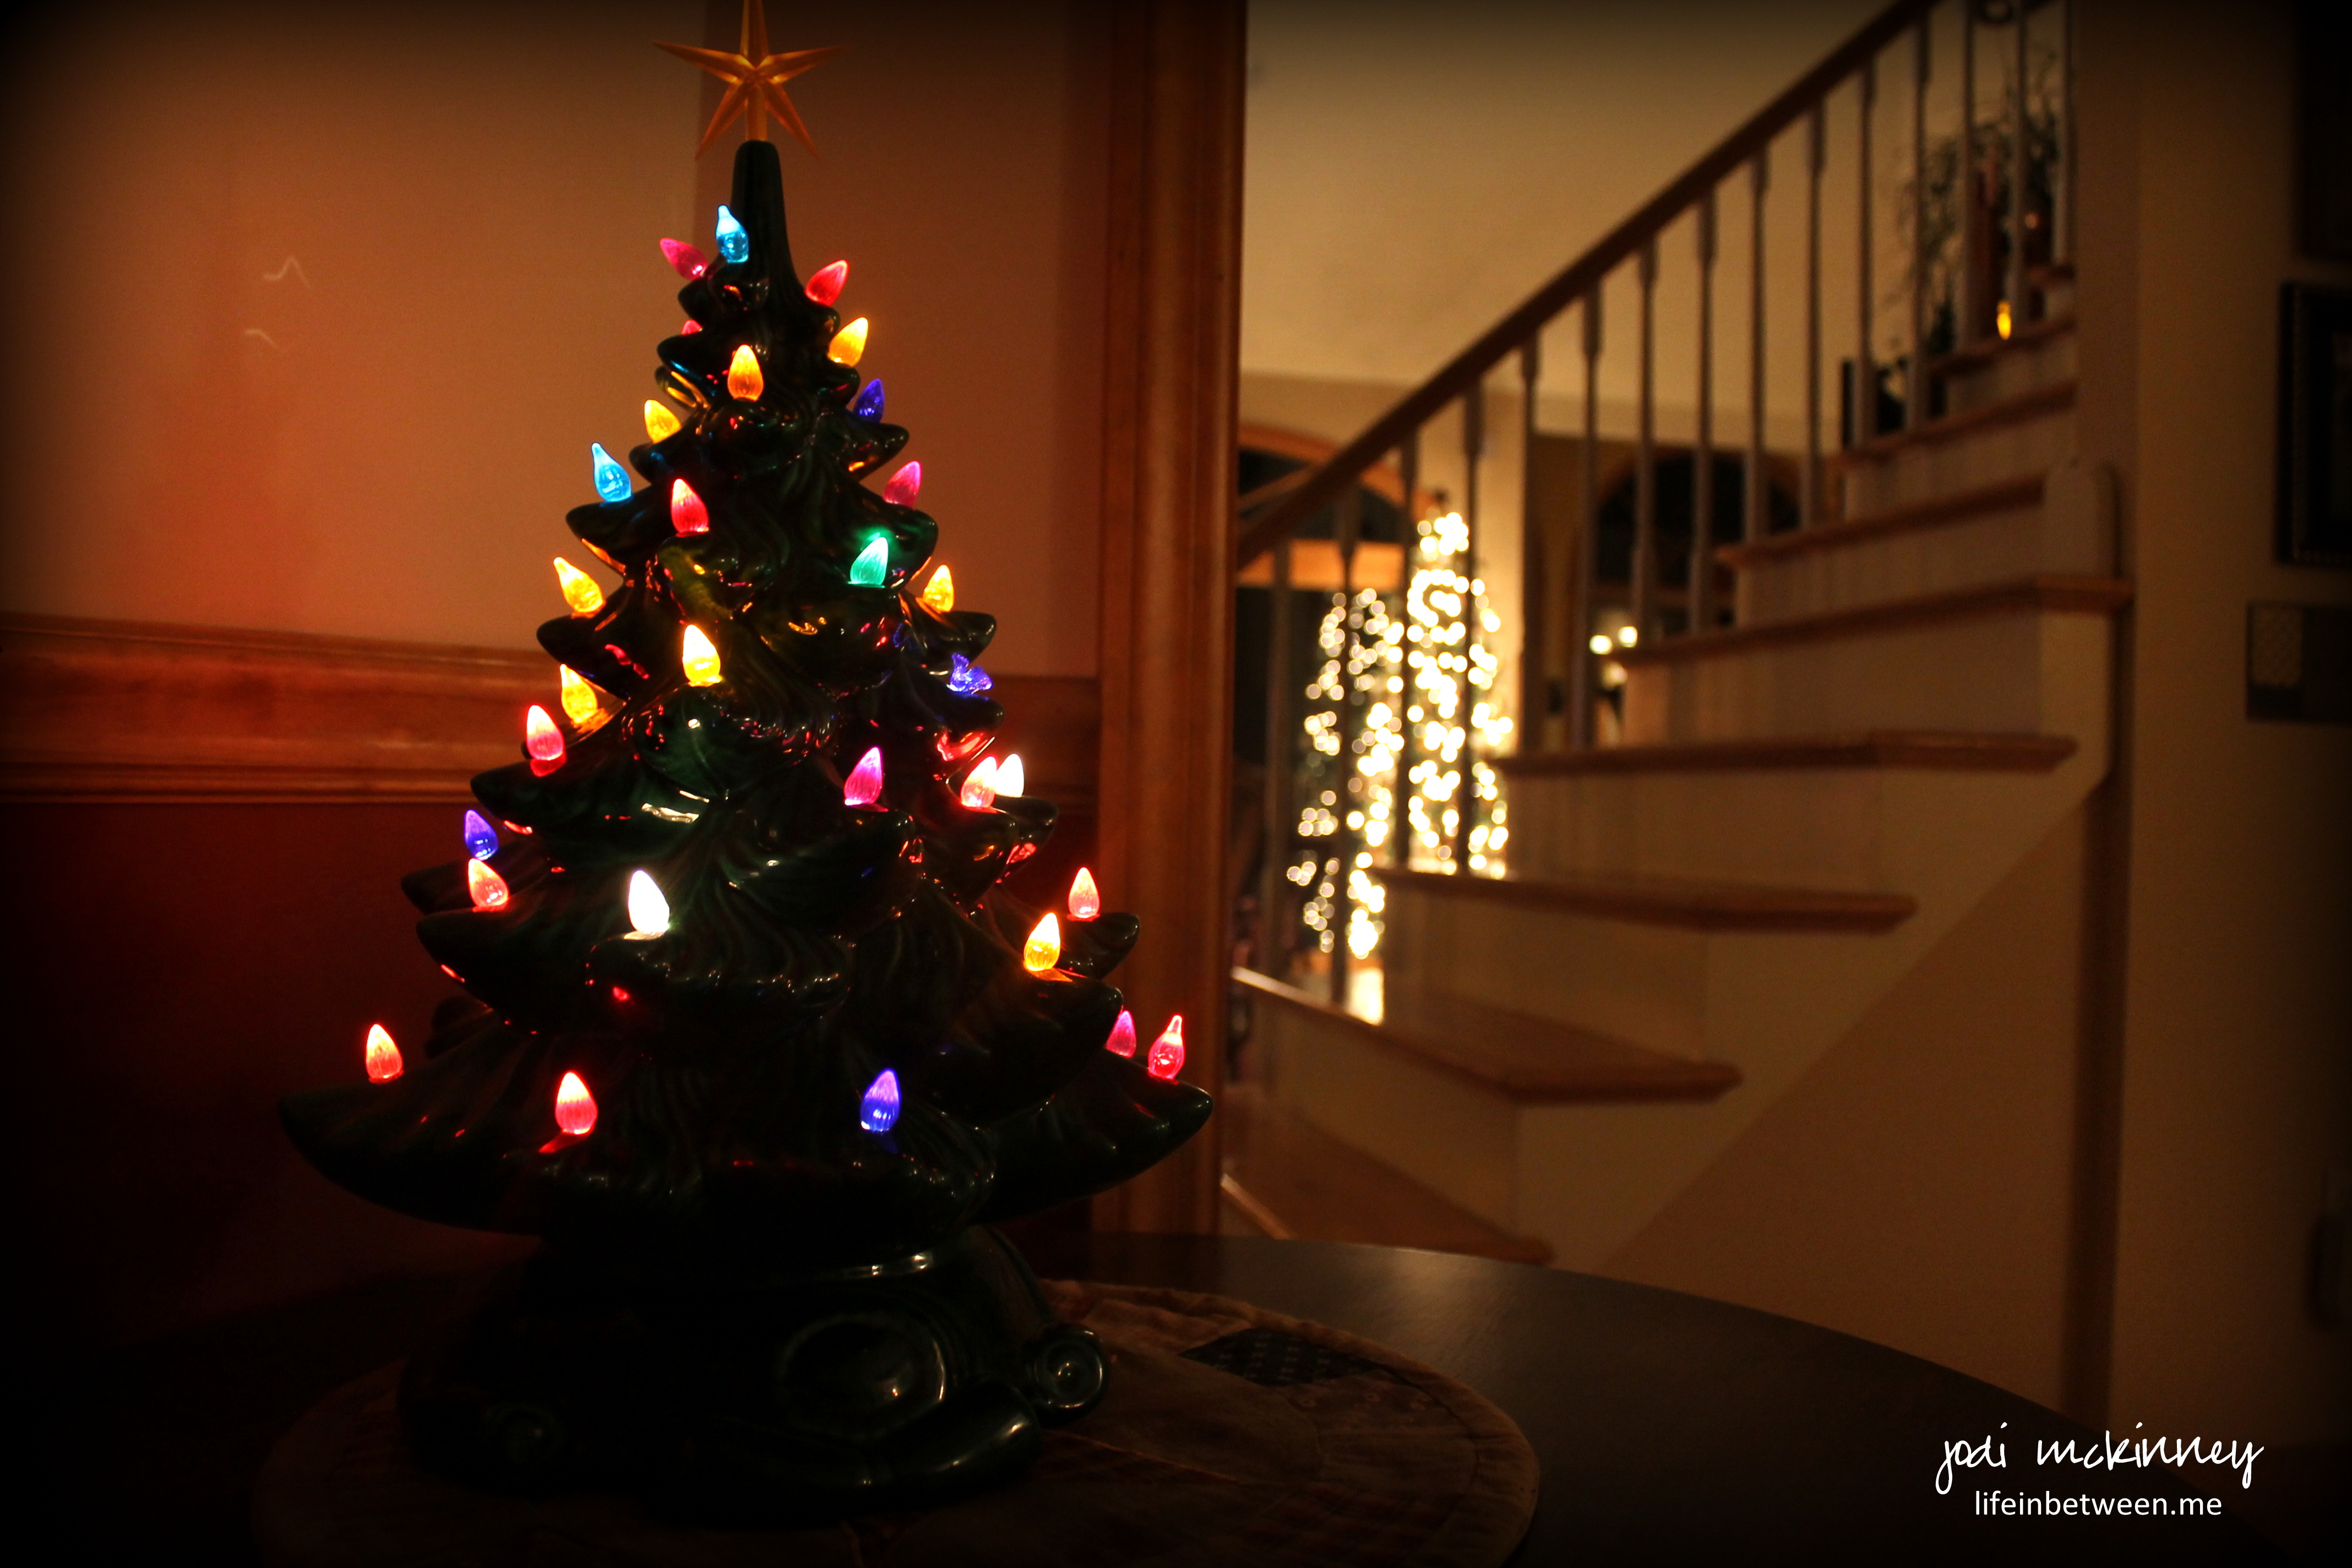 I love tucking this little ceramic tree in a special corner. It so reminds me of my Grandma.
 Snowies are chillin’ too.
 Wishing you toasty toes and a warm nose as we gear up for the holiday season!