Easy Festive Thin Mint Cookies.
Do you do holiday cookie baking?
Are you a traditionalist where you do the same cookies each year or do you like to try new and different things?
I’m a little of both. There are some things that I feel it just wouldn’t be the holidays without…
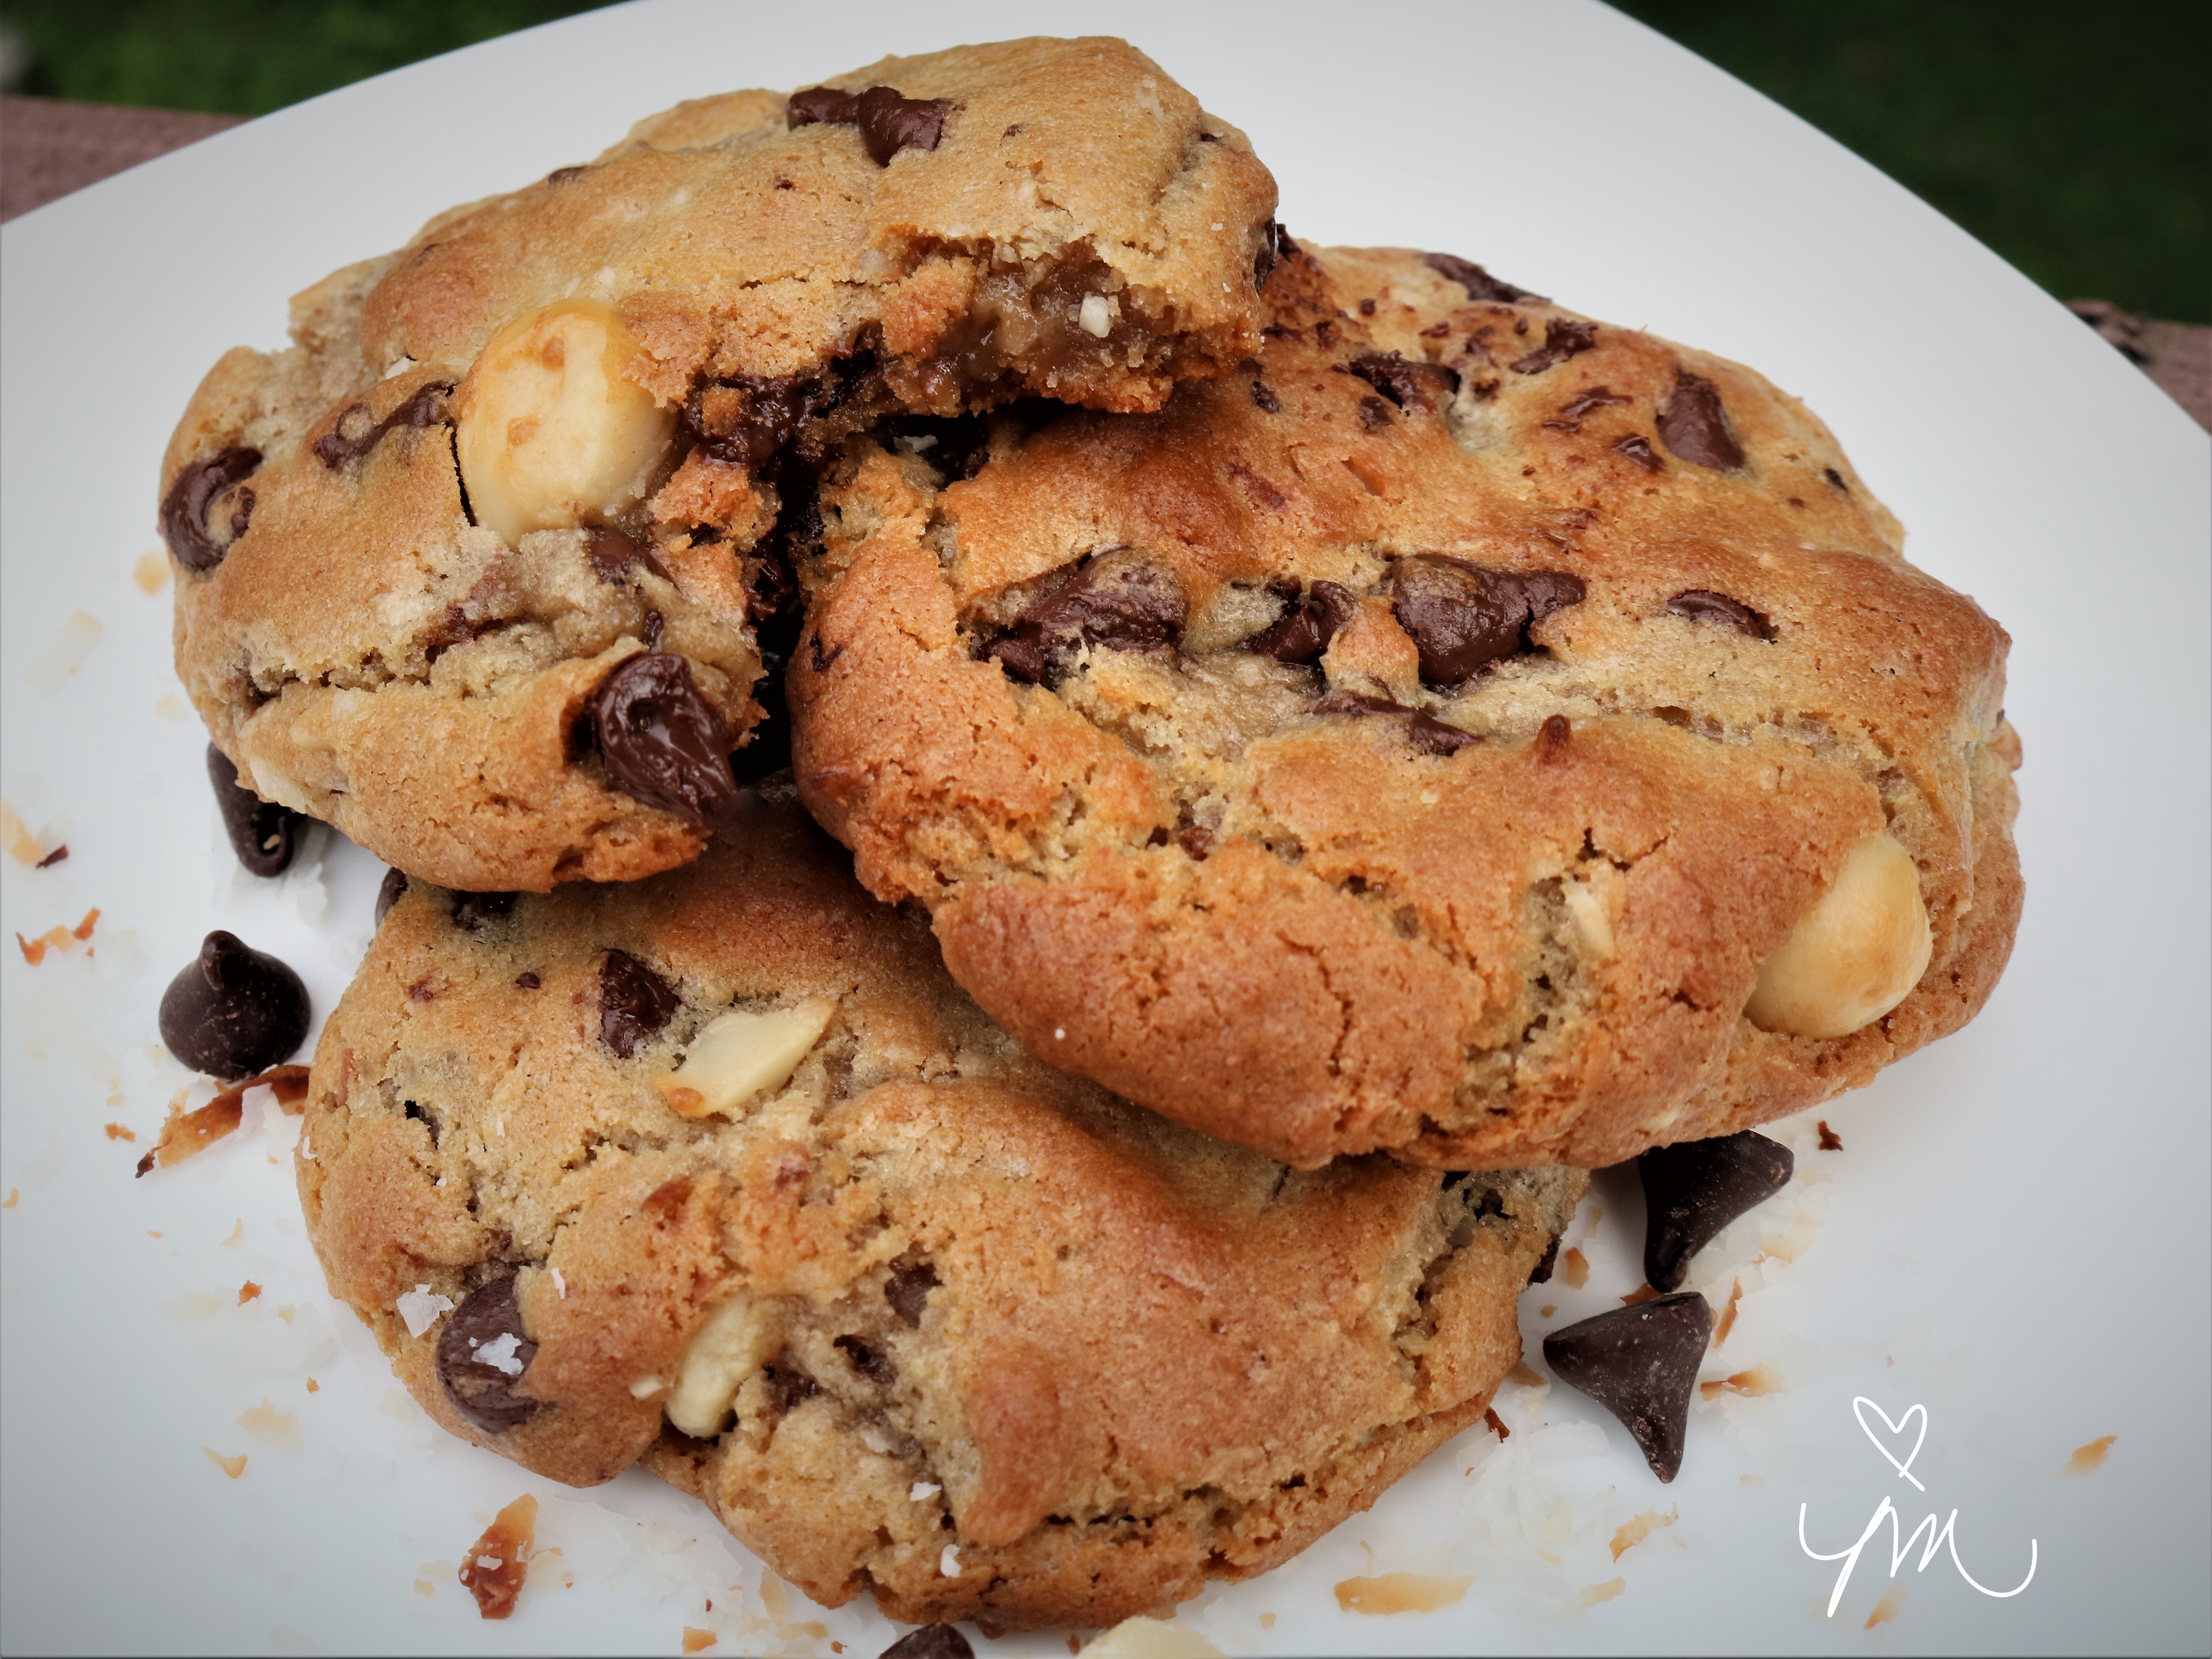
Like Grandma’s Apricot Nut Bread, Chocolate Chip Cookies, Homemade Chex Mix, and Apricot Kolaches.
But I love to try new things.
Sometimes I’m in the mood for spending hours in the kitchen…
and sometimes I want to bake/not bake. You know what I mean?
That is how I was feeling yesterday, so when I saw this TWO-INGREDIENT, No Bake “Cookie” recipe, I had to give it a try.

And wow did they deliver! It is crazy how they taste exactly like Girl Scout Thin Mint Cookies!
It’s really barely a “recipe,” but here is how you make them.
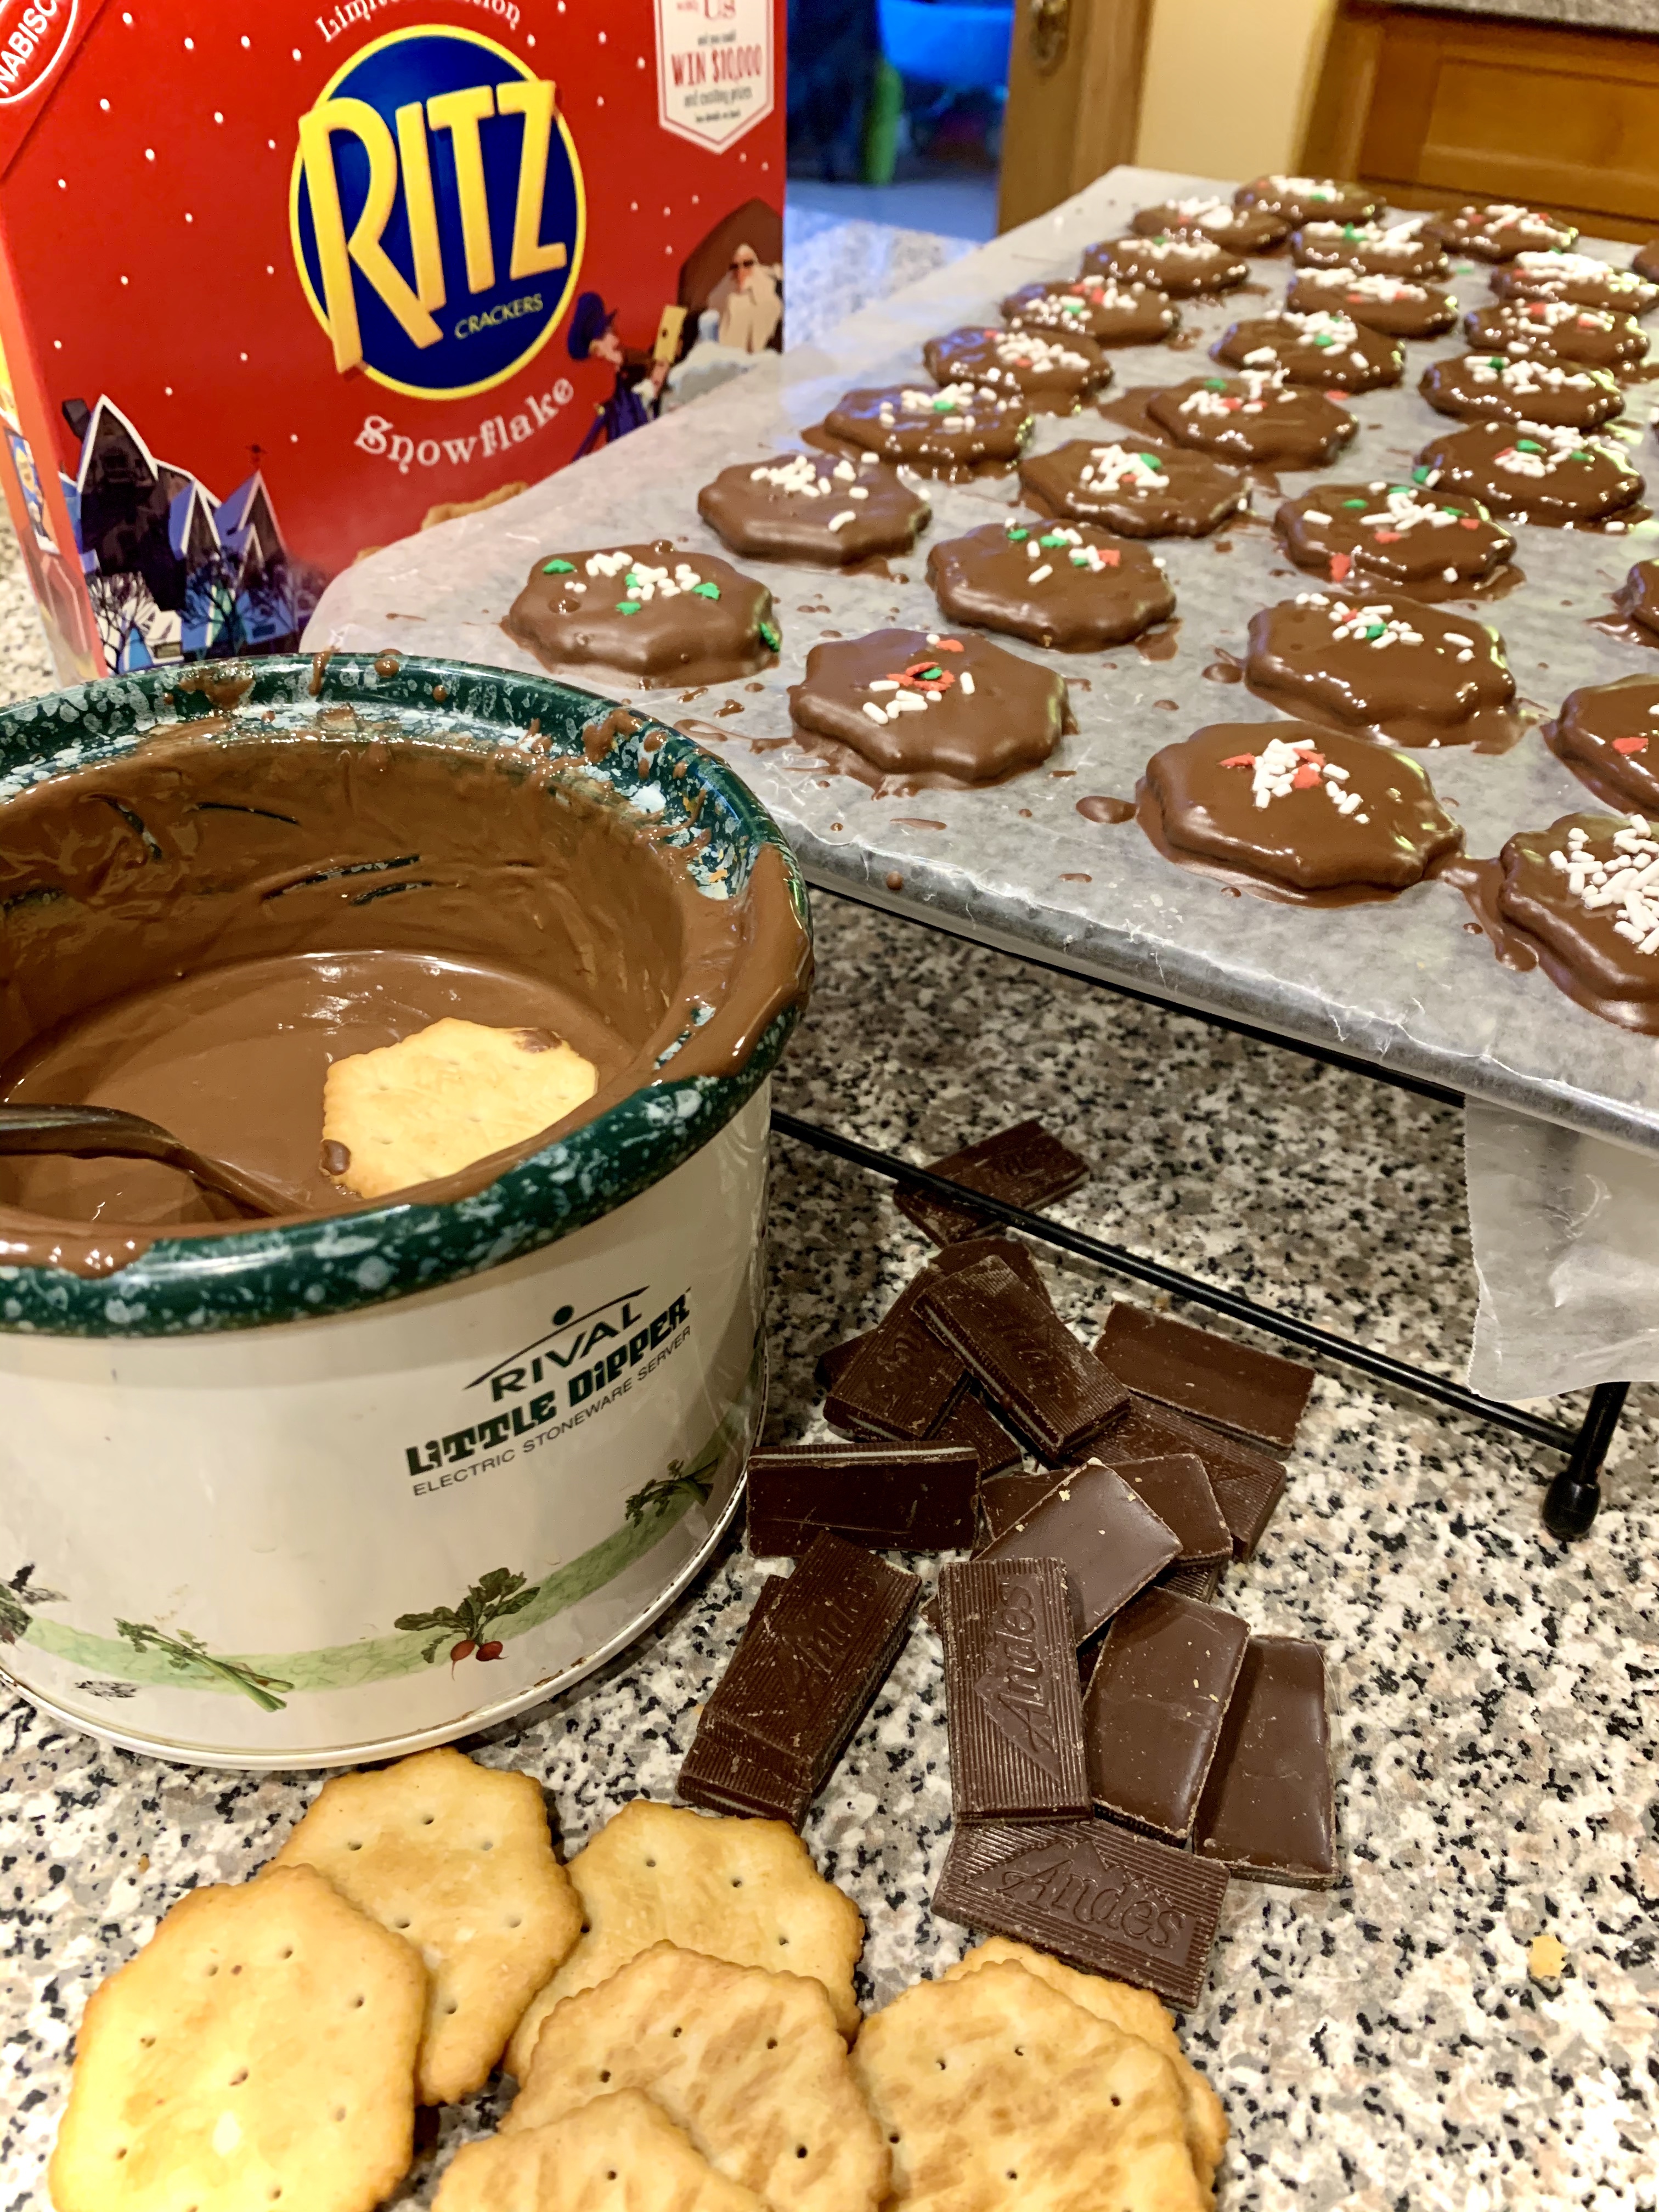
Easy Festive Thin Mint Cookies
Ingredients:
- Andes Creme De Menthe Chocolates
- Ritz Crackers (I used the holiday snowflake ones to be a little more festive)
Directions:
Melt Andes Mint Chocolates. Dip Ritz Crackers in melted chocolate. Sprinkle with festive sprinkles if desired. Allow to dry on waxed paper.
If you are looking for something quick and easy that everyone will love, I hope you will try these. Enjoy!
Cheers & Ho Ho Holiday Hugs,
Jodi