The Giving Plate Gift

givingplate 1

My BFF Jill is one of the most generous and amazing gifters I know, so I could not let this week of gift sharing pass without sharing her gift to me (and many) that is also a gift I can give.

What is better than receiving a gift you can give?

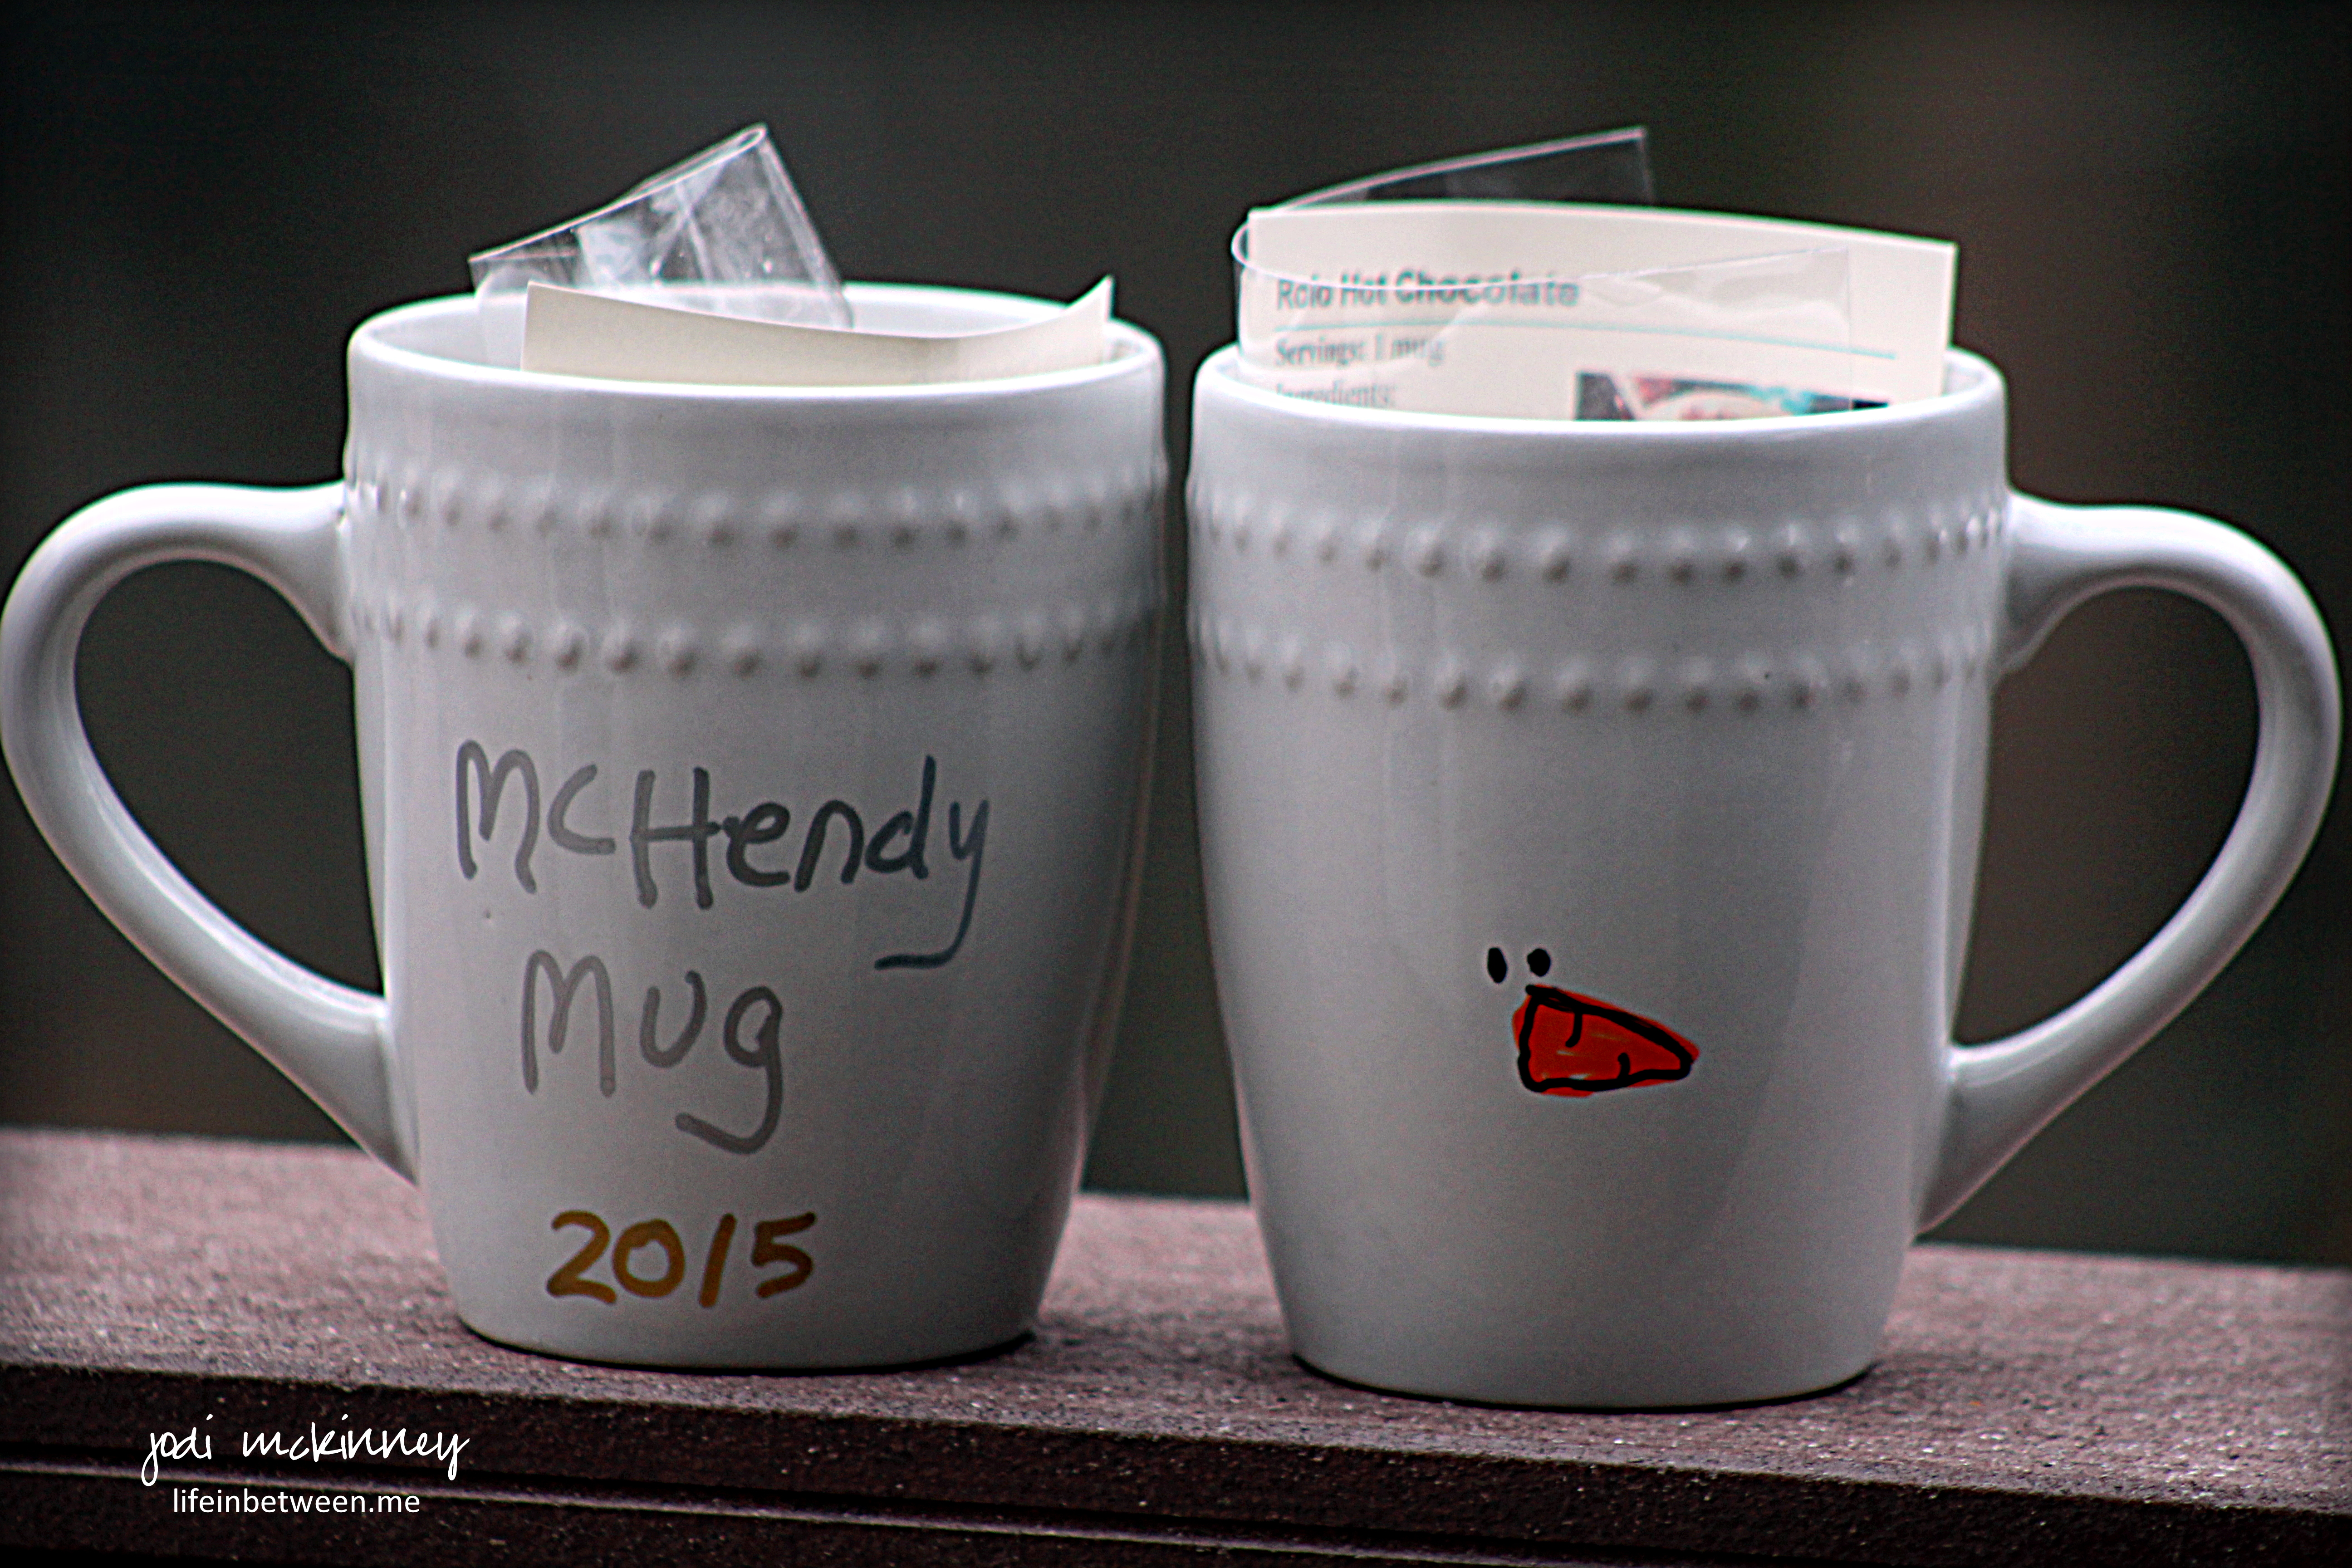
The #givingplate is a plate meant to be given away.  The recipient is asked to sign the back with a gold paint marker that is included,

givingplate 5

fill the plate with goodies or a meal or any kind of gift,

givingplate 2

and give it away.

givingplate 3

The person receiving it is asked to do the same,

givingplate 4

allowing the #givingplate to “tell the story.”

The story of its travels and those that gave and received it.

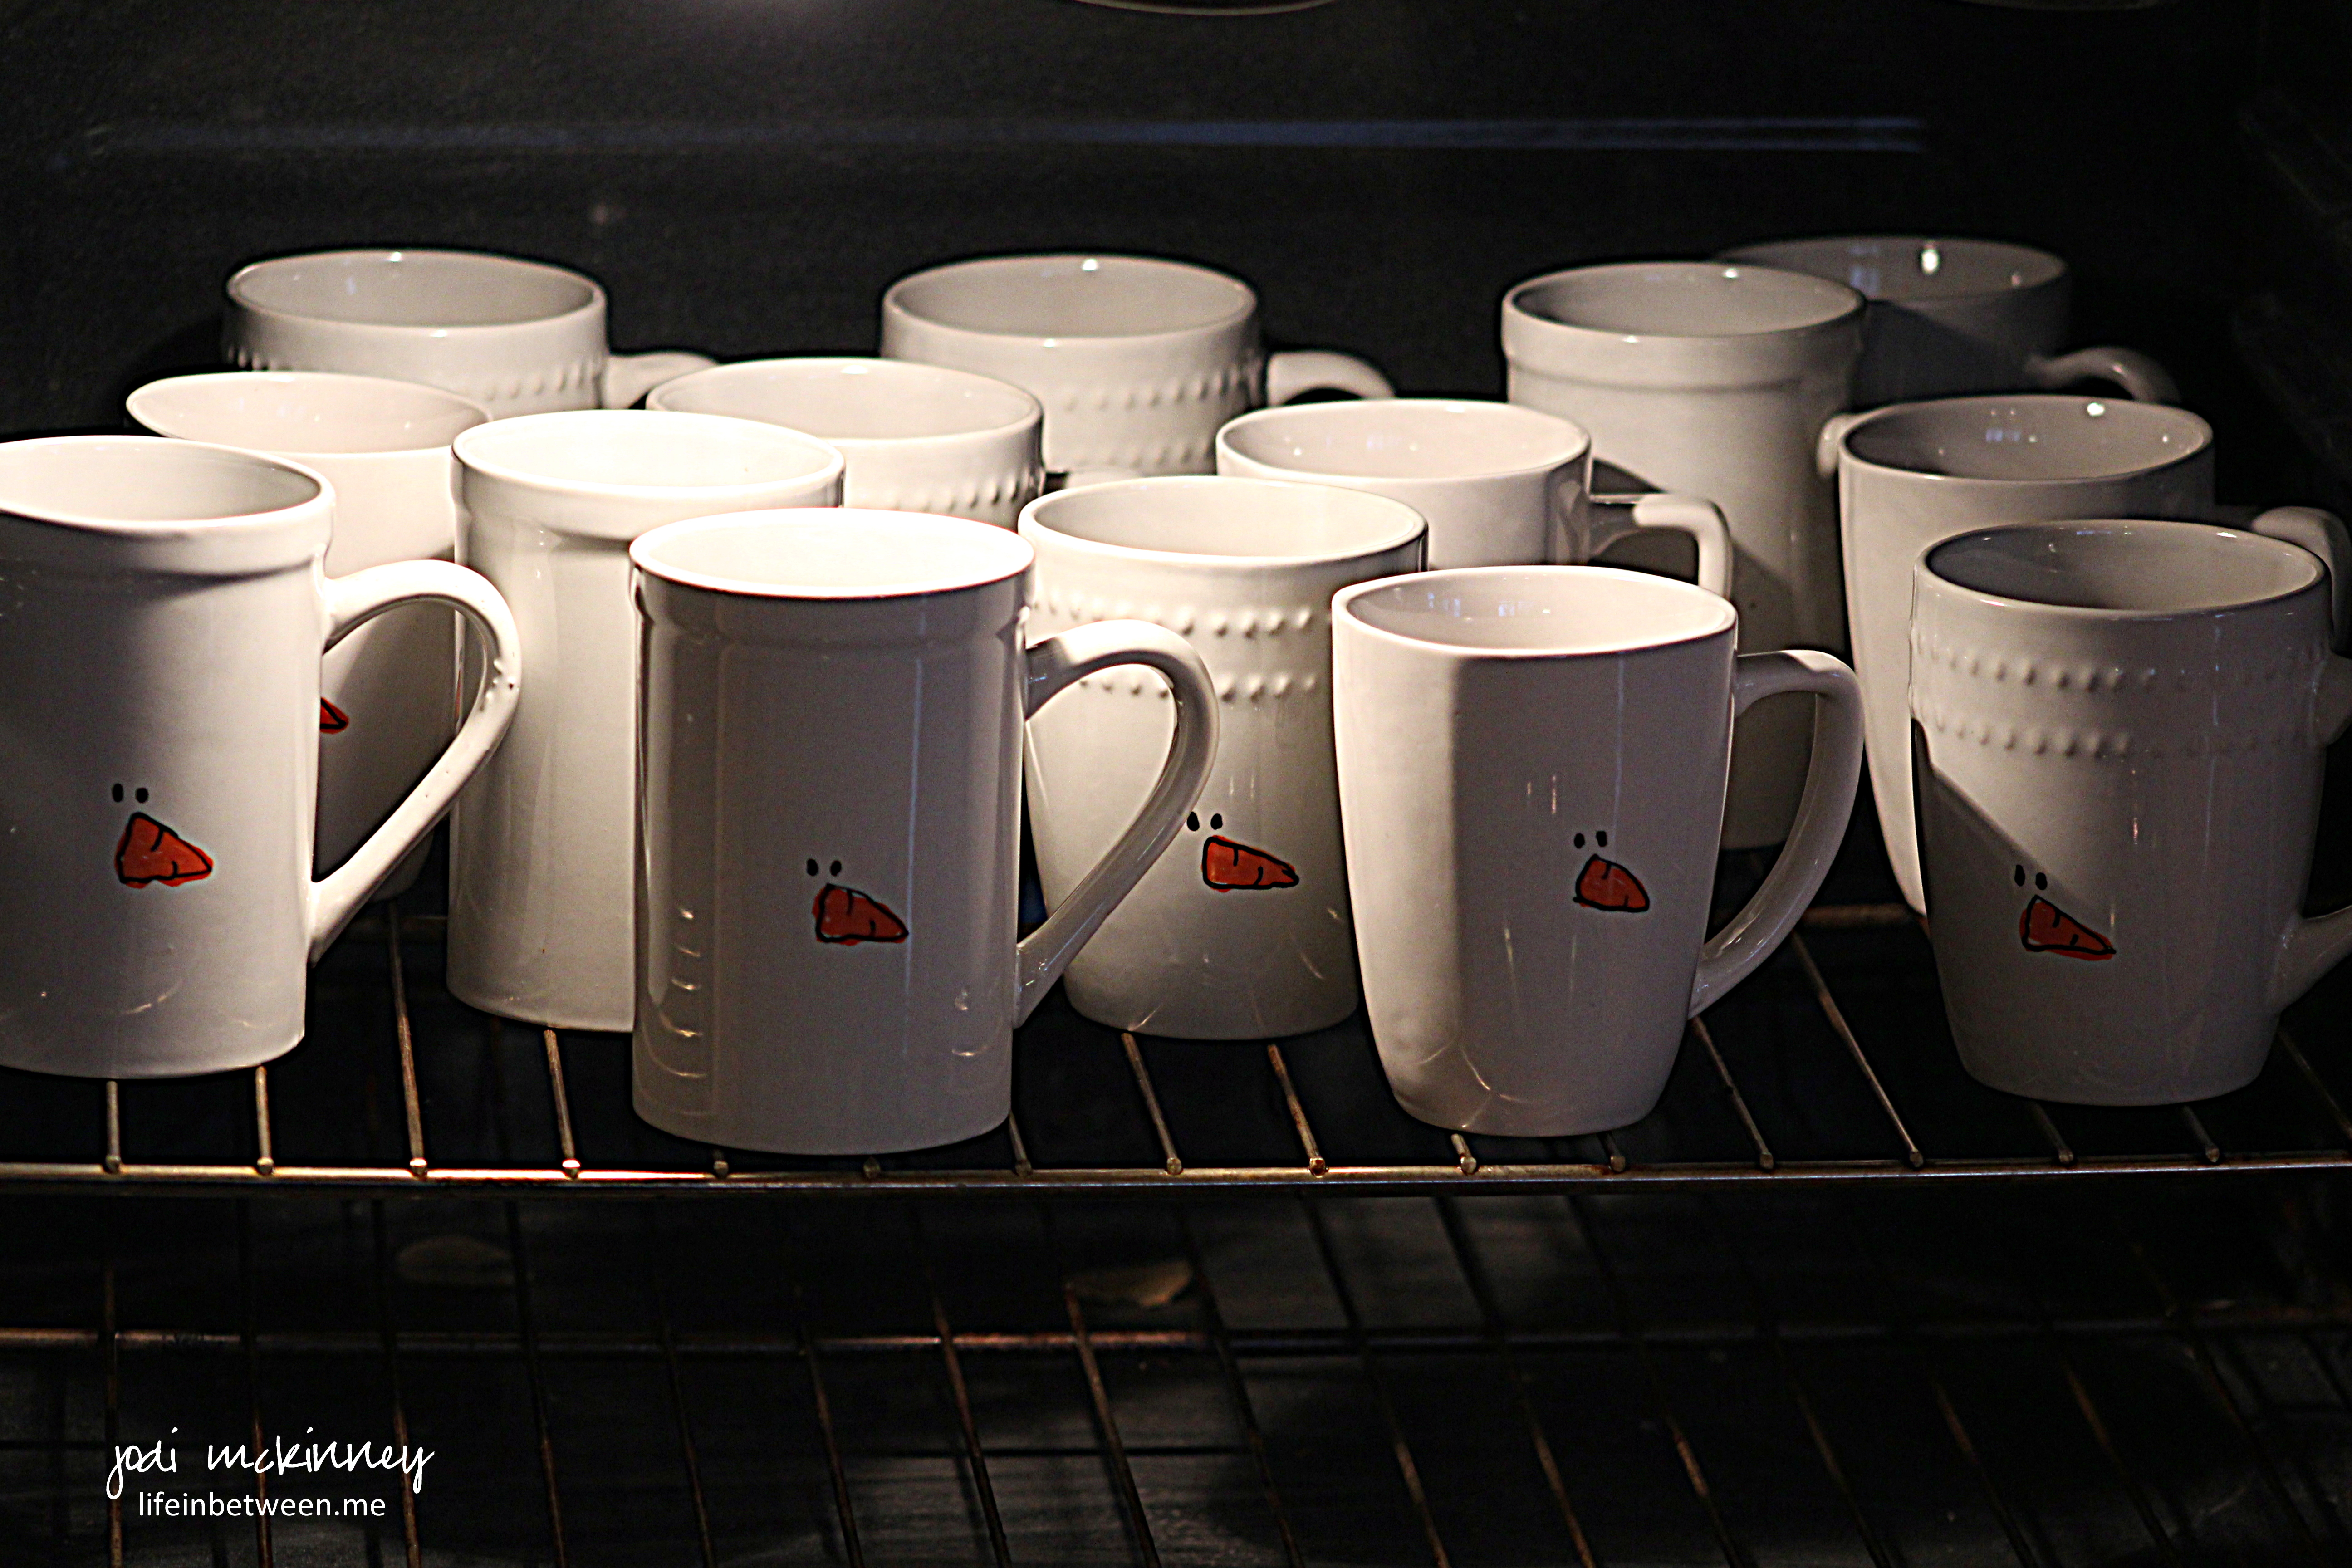
Jill spent several weeks going to a ceramic shop hand painting, glazing, and getting 20 or so of these plates made to share with friends and family.

The funniest thing about this gift is that it is one I almost did myself.

One day in early December, Jill and I were browsing at Home Goods, and I was looking at plates and started telling her an idea I had for a Christmas gift that is made by painting a message on a plate for people to give away and share.  I asked her what she thought of the idea.

She said, “Don’t do it.”

At first startled, I looked at her smiling, and I knew!

She was already doing it.

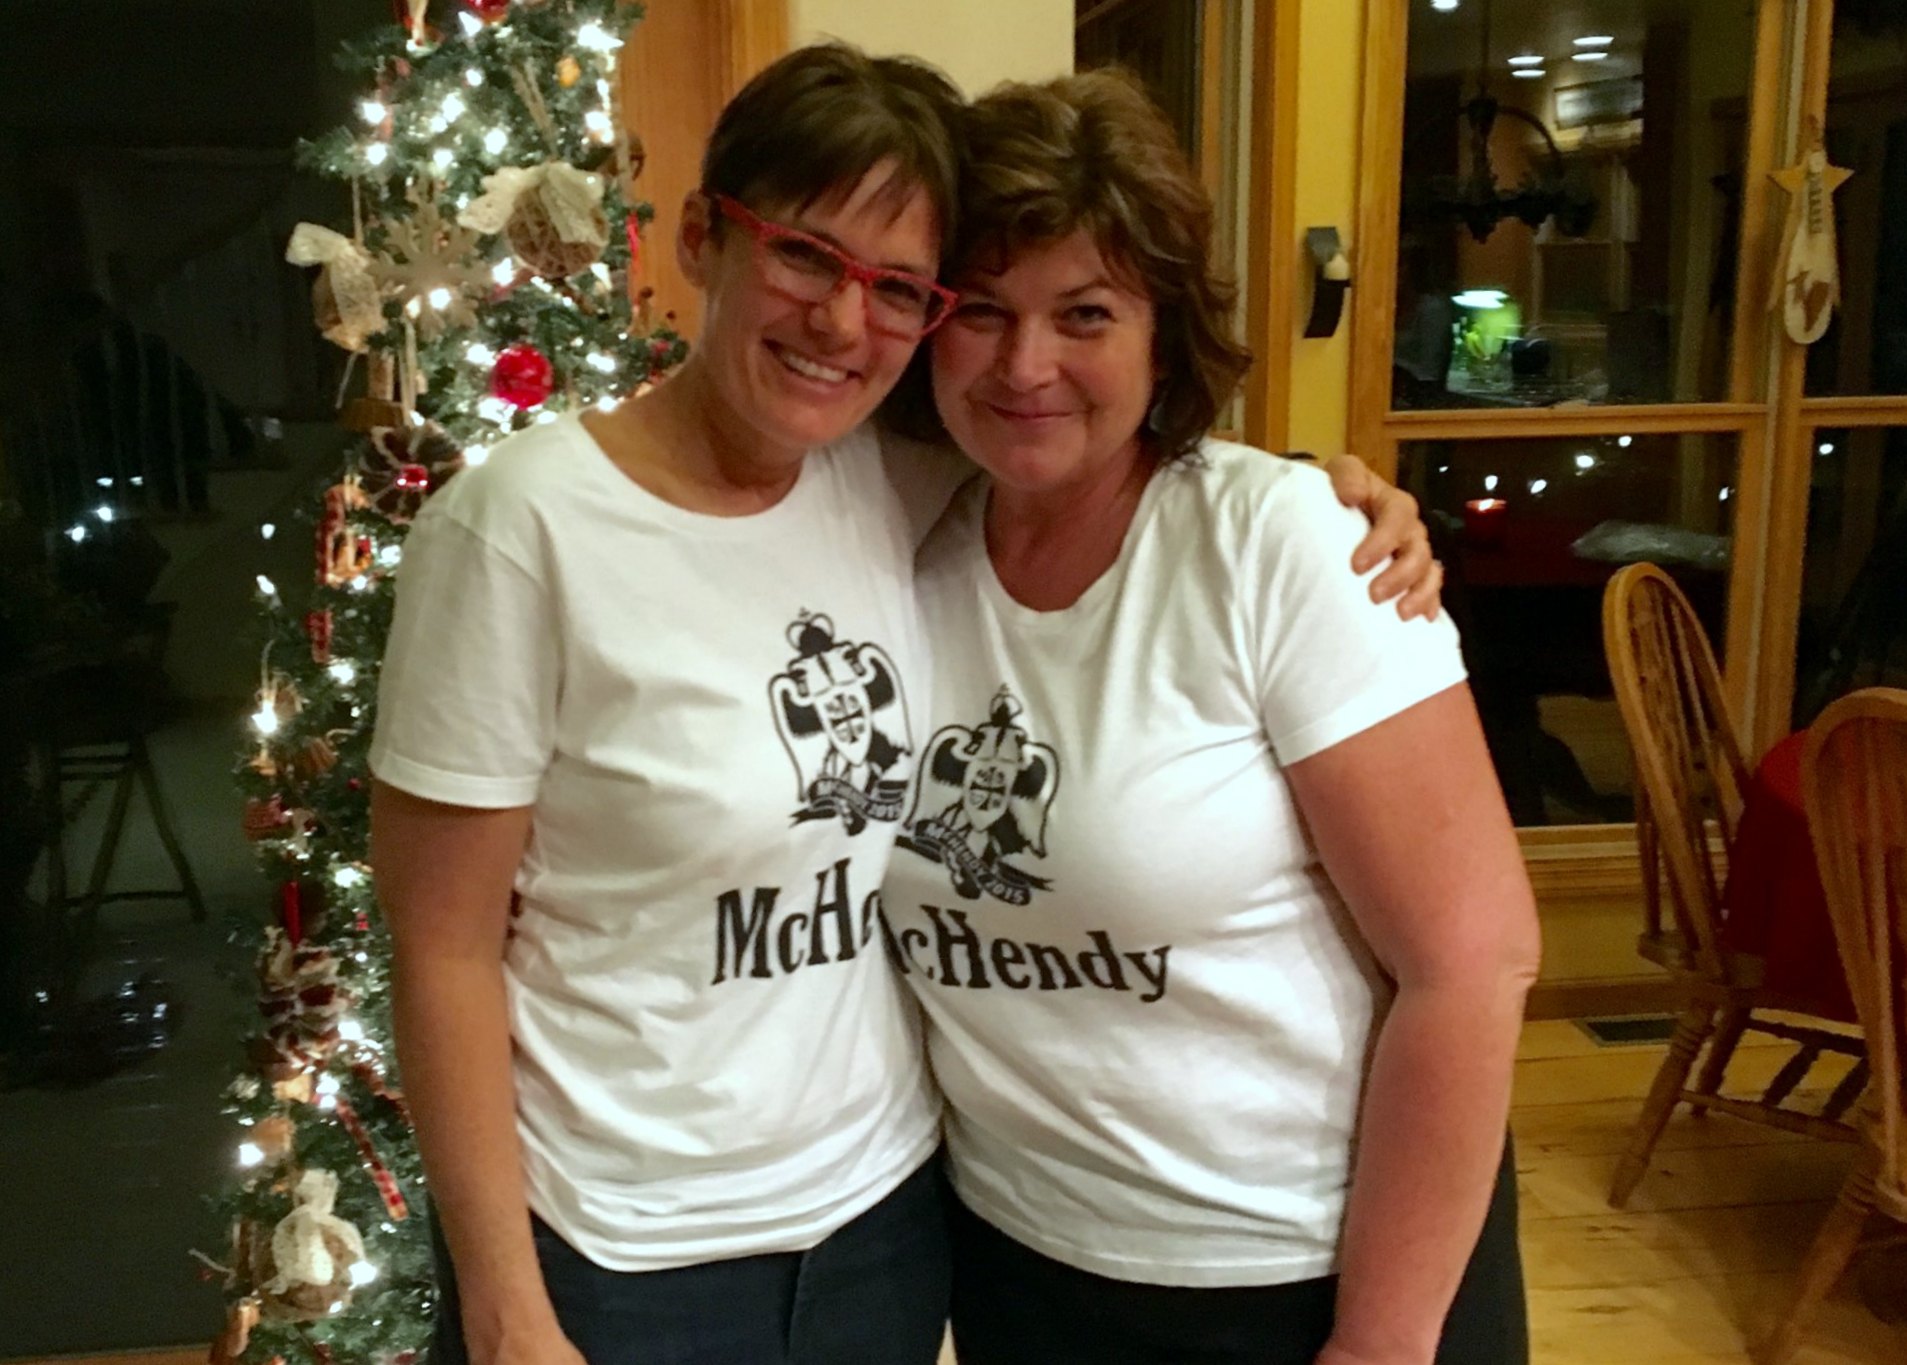
Quite the sign of “soul sistas” I say, when out of all the gifts we could think to create, we both think of this!

Mine would never have been done so lovely, so I am super happy she did it, and I got it, and I get to give it away!

Who knows – it may end up in one of your hands/homes one day!

#payitforward

Cheers & Hugs,

Jodi

Pink Clouds and Puddles

pink sky and puddles

One day last week

when it seemed to rain all day

the sky cleared up just enough

right before dusk

for Charlie and I to walk to the mailbox

at the end of the driveway

for a bit of a stretch

and the chance to deeply inhale

the damp, crisp, clean air.

When we turned around

to head back home

my jaw dropped open

and a gasp escaped

when this was the sight

that awaited our return.

Pink clouds and puddles

shimmering in the day’s last light.

No white Christmas,

but what is wrong with PINK?!

Cherish the moments of now.

Cheers & Hugs,

Jodi

A Special Cookbook from Mom

Nicks Cookbook from mom

I have one more special little homemade Christmas gift to share this week.  This is one I was excited to give to my son, Nick.

Nick had requested I put a cookbook together of his favorite recipes I make, and especially those that are EASY, so that he will have and be able to make wherever life takes him.

For the cover of this little book, I used a photo of our kitchen in the frenzy of pots boiling, cookies cooling, and flour and sugar and other ingredients out on the counter.  I am hoping as he takes this little book with him throughout his life, he will remember the smell and feel and love of our family kitchen.

For the intro page, I wrote Nick a short note:

Nicks cookbook from mom introduction page

Nick is a chicken lover, so I tried to remember all of his favorite chicken dishes.

nick cookbook chickfila chicken sandwiches

But remembering the “easy” part, I tried to include those simple things he always enjoyed.

Nicks Cookbook page

So – it’s not a masterpiece or an Amazon bestseller, but it is simple gesture of a Momma’s love that I hope Nick will treasure.

Cheers & Hugs,

Jodi

Hand Painted Snowman Mugs

painted snowman mug 2

One of our Christmas celebrations last week was our annual McHendy Christmas get-together.

For this celebration, I painted some snowmen mugs and filled them with Rolo chocolate caramel candies, mini marshmallows, and the recipe for Rolo Hot Chocolate that I featured here a few weeks ago to give to everyone.

painted snowman mug

On white ceramic mugs purchased from the Dollar Store, I painted little snowman coal eyes and carrot noses with Sharpie Oil Based Paint Markers on one side, and wrote McHendy Mug and the year on the other.

painted snowman mug 3

After painting them all, I let them cure for 24 hours.  I then placed them in a cold oven, set the temperature for 350 degrees F and “baked” for 30 minutes.  I turned the oven off after 30 minutes and let them cool completely in the oven without opening it.  I hope this works as it is the first time I tried.  They are supposed to be able to go through the dishwasher.

Wondering what a McHendy Christmas Celebration is?

Well – when you take two besties and their families that have so much love they actually form one big family, you combine their last names to create a new one.

jill and jodi mchendy christmas 2015

And you celebrate every year watching the “kids” grow, marry and add to the family, and count your blessings dearly!

Mchendy family 2015

My BFF Jill not only had these shirts printed for all the McHendys this year, she even created the McHendy family crest, which is full of love and meaning to both of our families.

McHendy crest

We can be born into families, and we can be loved into families.  No matter which way it happens, celebrate it, and cherish the moments!

Cheers & Hugs,

Jodi


Wooden Log Snowmen

Wooden log snowmen christmas 2015

I love making and giving handmade DIY Christmas and holiday gifts, so when I saw a similar snowman project created from logs, I fell in love with the idea and convinced hubby we should make these.

He was a real trooper and really did the hard work.  He gathered, cut, and sanded the logs, drilled holes and assembled them with dowel rods and glue.

I broke out the sewing machine and created little fleece hats and scarves.

And Voila!

Stinking cute primitive wooden log snowmen!

Wooden log snowmen christmas 2015 2

We were thrilled with how they turned out, made about 15 of them, and had so much fun giving them away.

Handmade with love from both of us and sharing a little piece of our woods.

Cheers & Hugs,

Jodi


A Homemade Special Family Coloring Book

Ellas coloring book

One of my favorite Christmas gifts I made to give this year was a special family coloring book I made for Ella.

Ella is my cousin’s daughter, and we have a very special bond.  She is very creative and artistic, so I was excited when my BFF Jill shared a fun site with me called ReallyColor.com where you can create your own coloring book pages from photographs.

Since I recently had the opportunity to do a family photo shoot of Ella and her family at Thanksgiving, I was excited to make some of these photos into coloring book pages in a special book for Ella to recreate.

Here are just a few of the pages.  I can’t wait to see what Ella does with them!

ella coloring book 1

Ella with Daddy and Mommy

ella coloring book 2

Brother Mason and Daddy


ella coloring book 3

Ella Tree Climbing

ella coloring book 4

Mommy, Ella, and Mimi

ella coloring book 5

Mason and Poppy (aka Oh Rob!)

ella coloring book 6

Mimi’s Greenhouse

Check out ReallyColor.com and convert some of your family photos into a fun project!

Cheers & Hugs,

Jodi

Chex Party Snack Mix

Chex Snack Mix

One of the things I make every holiday season for entertaining is Chex Party Snack Mix.

For those of us savory, salty snack lovers, this is a real crowd pleaser!

Chex Snack Mix 2

I cannot make this too far ahead of time or I will munch it all away a handful at a time!  It is so crazy addictive!

My BFF, Jill, loves this too, so I always make sure I have some around for our McHendy Christmas and New Year’s celebrations.

Through the years, many new variations of this snack mix have evolved, but we still love this classic.

Here is my recipe that was shared by my friend Barb many years ago.

Chex Party Snack Mix

Ingredients:Chex Snack Mix 2

  • 1   box each of Corn, Rice, and Wheat Chex cereals
  • 1 bag pretzel sticks (broken up)
  • 1 jar peanuts or can of mixed nuts, or any combination of nuts you like
  • 1 cup vegetable or canola oil
  • 1 1/2 tsp chili powder
  • 1 1/2 tsp celery salt
  • 1 1/2 tsp garlic salt
  • 2 tsp Tabsco sauce
  • 2 Tbsp Worcestershire sauce

Directions:

  • Mix  cereal, pretzels and peanuts together in large roaster pan.
  • In a separate bowl, whisk together oil, spices, Tobasco and Worcestershire sauce.
  • Pour over cereal mixture and incorporate well with a spoon or your hands to coat all.
  • Bake at 225 degrees F for 2 hours stirring every half hour.
  • Let cool, and store in Ziploc bags, jars, or canisters.

Enjoy!

Cheers & Hugs,

Jodi