The House by the Lake

The House by the Lake in Black and White Nostalgia - Lake Arthur, Moraine State Park - May 2017

The House by the Lake in Black and White Nostalgia – Lake Arthur, Moraine State Park – May 2017

I’d like to spend a day
in this house by the lake.

I’d spend some of the time
roaming the rooms

Looking and listening
and smelling and touching

Imagining the stories
of the occupants through the years.

I’d spend some of the time
on a reclining chair in the lawn

Watching the sailboats and fishing boats
and birds and fish and wildlife of the lake

Imagining the stories
of its occupants through the years.

I’d like to spend a day
in this house by the lake.

Cheers & Hugs,
Jodi

The Rest of the Gang from Moonbeam Farm

Dewey the Cat from Moonbeam Farm in Watercolor 8x10 140lb Cold Press

Dewey the Cat from Moonbeam Farm in Watercolor 8×10 140lb Cold Press

The Rest of the Gang from Moonbeam Farm.

I found a couple hours yesterday afternoon after a glorious, long holiday weekend to paint the other two characters that live on Moonbeam Farm with Odessa the Owl, who you may recall from a post last week.

Above is Dewey the cat.  Dewey is always hungry and always getting into mischief on the farm with his friends.

Below is Jaxon.  Jaxon is a magical Jackalope who often comes to Dewey’s rescue, but other times gets him into more trouble.

Jaxon the Jackalope on Moonbeam Farm in Watercolor 8x10 on 140lb Saunders Cold Press

Jaxon the Jackalope on Moonbeam Farm in Watercolor 8×10 on 140lb Saunders Cold Press

And in case you didn’t remember, this is Odessa.  Odessa is the wise (and wise-cracking) owl.

Odessa the Owl on Moonbeam Farm in Watercolor 8x10 140 lb Saunders Cold Press

Odessa the Owl on Moonbeam Farm in Watercolor 8×10 140 lb Saunders Cold Press

It was fun painting the animal characters that live on Moonbeam Farm and in the imagination of Carolyn and Colin who are working on a children’s book for kids from 1 to 101.

They’ve been sharing excerpts they collaboratively write  on Carolyn’s blog, and it’s been fun watching the characters and plot evolve.  Hope you’ll check it out and join the adventures!

Cheers & Hugs,
Jodi


A DIY Rainbow Clock

A DIY Rainbow Clock.

My BFF Jill is an “all the colors of the rainbow” kinda gal.

She loves color – bright, bold colors.

So when I came across this idea on Pinterest for a colorful clock made out of a wooden plant stand, I knew this was the gift for her birthday this year.

I found this approximately 12″ diameter circular plant stand on line at Ikea for under $10!  It came with wheels that could be attached so that you can use outdoors and move your plants around I suppose, but I just tucked the wheels away to save for some other use some day.

I simply divided the circle into 10 pie shapes from the center with a pencil and ruler and painted them with bright beautiful colors of indoor/outdoor grade acrylic paint I found at Walmart (Waverly Super-Premium Plaid).

I hit the whole thing with a spray of Krylon UV Resistant Clear Spray after the several layers of paint dried.

Then hubby came to the rescue to cut out a piece in the back and drill a hole in the center to add the battery-operated clock works.

And Voila!  A fun rainbow bright colorful indoor-outdoor clock!  It’s TIME to celebrate YOU Jill!  Where has the TIME gone?  I love our TIME together!

Cheers & Hugs,
Jodi


A Sweet Baby Baptism Card

Baby Girl Baptism Card

Baby Girl Baptism Card

A Sweet Baby Baptism Card.

It has been a while since I’ve played with card stock and embossing folders and the Cuttlebug, but I wanted to make a sweet and dainty and special card for a very special baby who is being baptized today.

As she is surrounded by family and friends who love her dearly today, my hope is that she grows up feeling completely loved and blessed by these people and others who are in her life and as she grows.  I hope the love she feels today is something that stays with her through good and bad times, ups and downs, ins and outs, and all arounds.

Cheers & Hugs,
Jodi


Odessa the Owl in Watercolor

Odessa the Barn Owl in Watercolor - 8x10 140lb Cold Press Saunders

Odessa the Barn Owl in Watercolor – 8×10 140lb Cold Press SaundersOdessa the Owl – A Wise Old Barn Owl in Watercolor.

A blogging friend, Carolyn, at Nuggets of Gold, challenged me to paint an owl in watercolor.  But not just any ole’ owl…

This had to be Odessa the very wise barn owl who is a character in a book she is collaborating on with another blogging friend, Colin, at A Dog’s Life.

I’m not sure if this is how she pictured Odessa, but this is how I do, so this is a little surprise for her.

If you want to learn more about the wise (and wise-cracking) Odessa and her friends at MoonBeam Farm, check out Carolyn’s blog to read the continuing saga that is soon to become a book!

Cheers & Hugs,
Jodi

Creamy Avocado Pasta

Creamy Avocado Pasta.

One day this week, I was in the mood for a creamy pasta with grilled chicken and broccoli.

At first I grabbed a jar of Alfredo sauce from the pantry – thinking hubby would enjoy that – and then I thought…. “Wait!  Isn’t there a healthier way to make a creamy pasta sauce?”

I had a few avocados on hand and wondered how they might work to make a creamy sauce.  After doing a little research on the web, I found this is kind of a “thing,” and I couldn’t wait to try.

I created this recipe by researching and combining ideas from several versions of recipes I found, and I have to admit- it was seriously flippin’ amazing!

Pasta covered in a creamy, dreamy, full flavored but HEALTHY sauce!!  What could be better?!

Goodbye Alfredo sauce.

Goodbye Mac’n Cheese.

Hello amazingly divine Creamy Avocado Pasta Sauce!

I steamed some fresh broccoli, and we grilled some marinated chicken breasts.  Putting these on top of a cup of Creamy Avocado Pasta made for a full and satisfying dinner.

You’ve got to try this!  Here’s my recipe.

Creamy Avocado Pasta

Ingredients:

  • 1 lb pasta of your choice
  • 2 ripe avocados
  • 2 cloves garlic, minced
  • 1/4 cup chopped fresh basil
  • 1/4 cup chopped fresh cilantro
  • 1 large or 2 small limes, juiced
  • 1/4 cup olive oil
  • 1/2 cup Greek yogurt or light sour cream
  • 1/2 tsp salt
  • 1 tsp freshly ground pepper

Directions:

Cook pasta in boiling salted water to al dente.  Reserve 1 cup pasta water, then drain and set pasta aside.

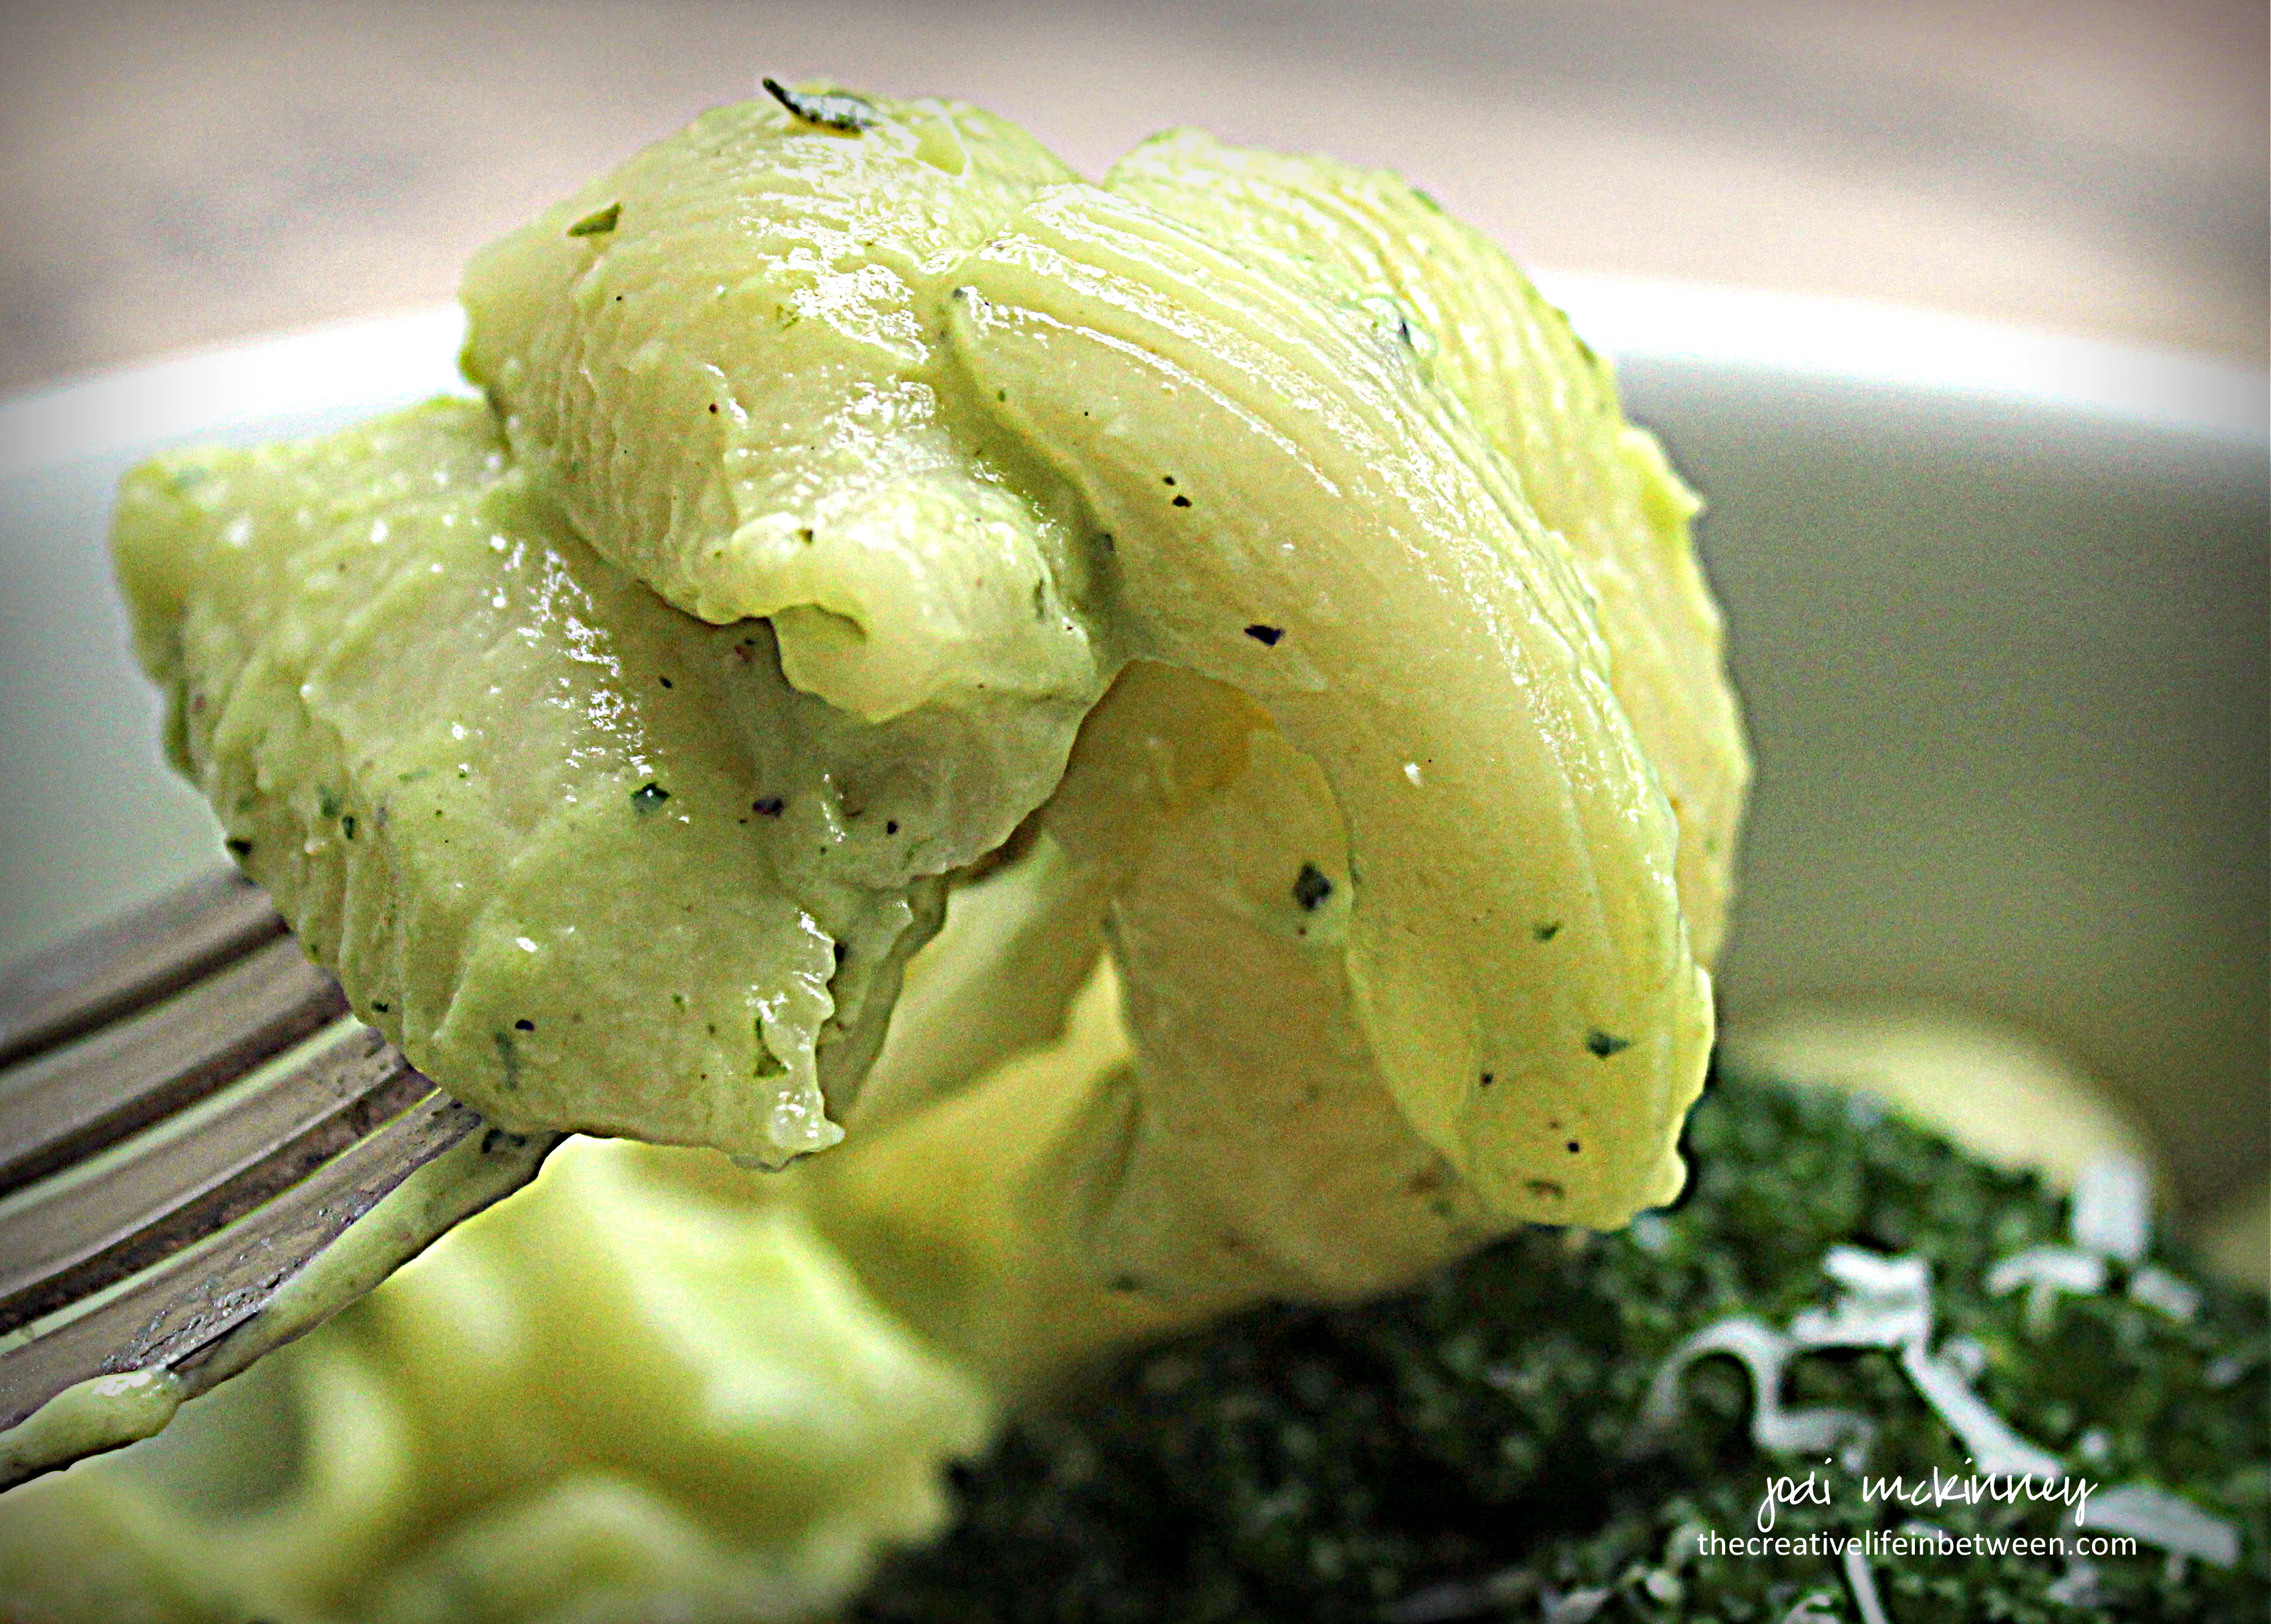
Cut avocados in half, remove the pit, and scoop out out the green flesh from the skin with a spoon.  Discard skin.  Put avocado in blender or food processor.  Add minced garlic, chopped fresh basil and cilantro, lime juice, olive oil, Greek yogurt or light sour cream, olive oil, salt and pepper, and 1/2 cup pasta water.  Blend/puree into a creamy sauce.  Add more pasta water as needed for desired consistency.

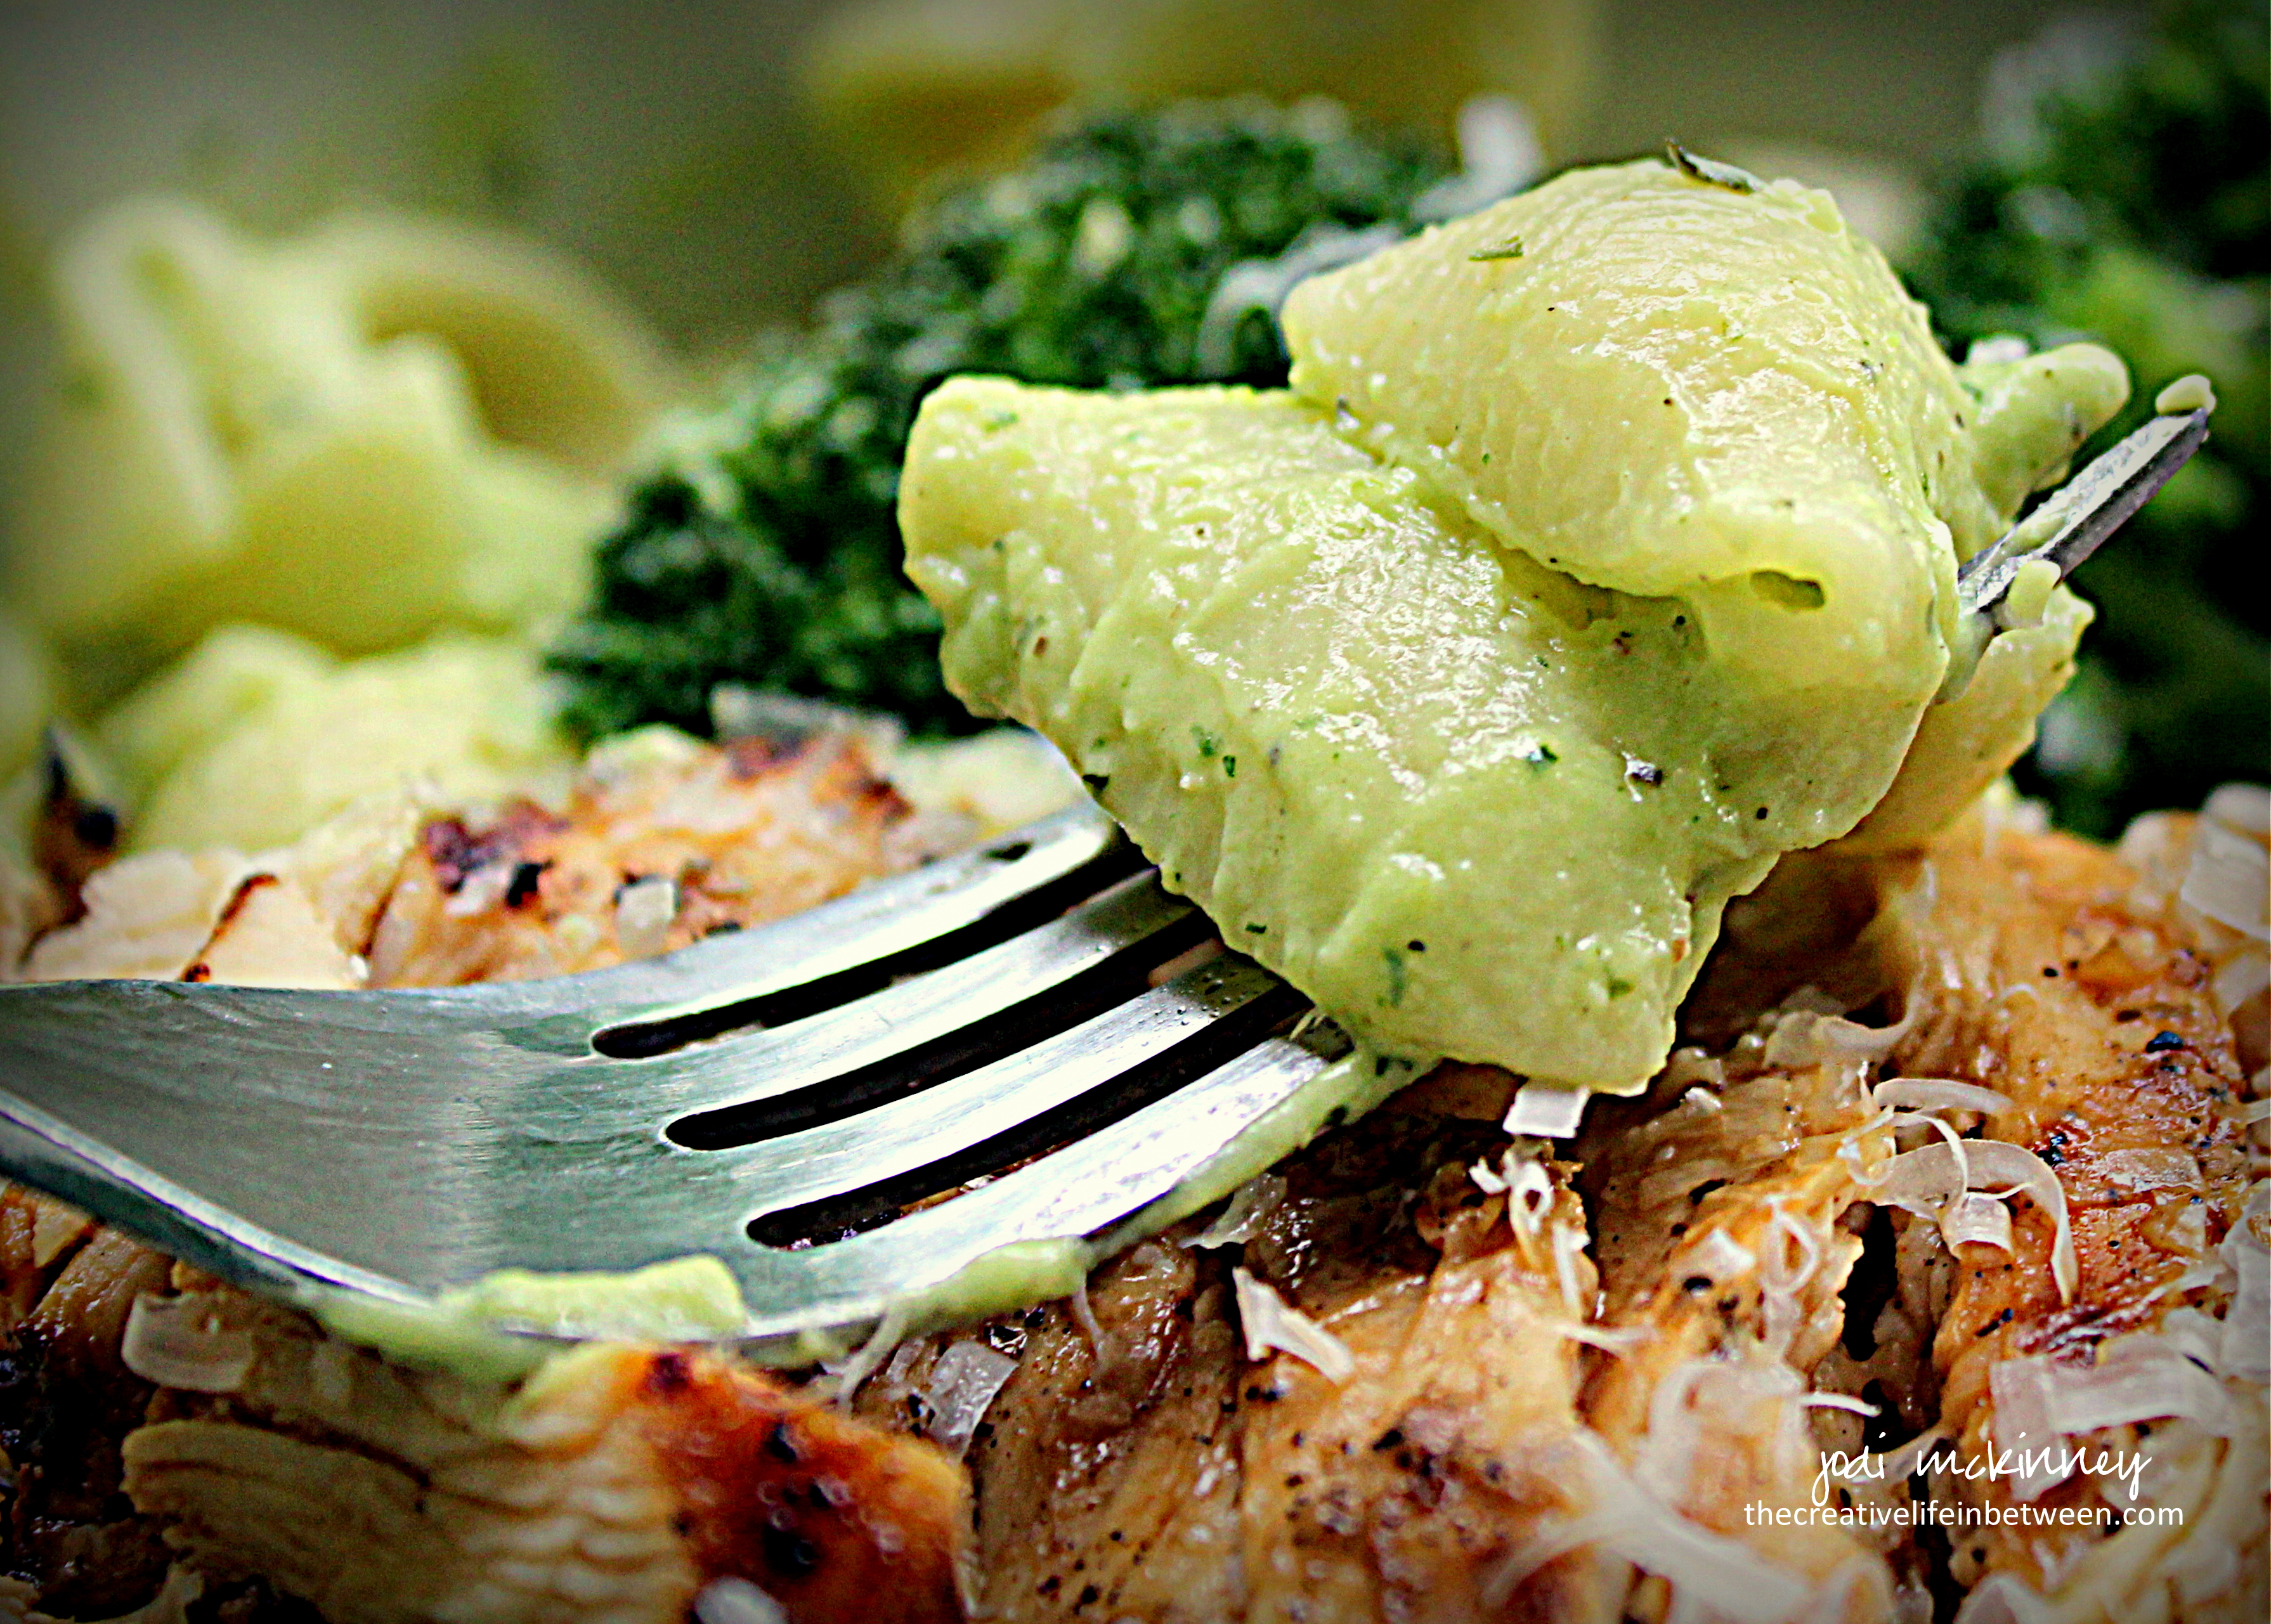
Toss with warm pasta, and serve immediately.

You can top with vegetables of your choice like cherry tomatoes and sweet corn, peas, asparagus, broccoli, green onions, pine nuts, or whatever you like.  You can also add a protein if you like – chicken, shrimp, crab meat, lobster, pork.  Sprinkle with a bit of freshly grated Parmesan for a bit of salty, nutty zip.  Or – you can just enjoy as is.  

Can’t wait to hear from those who try and what you think of it!  I’m a total fan!

Cheers & Hugs,
Jodi


After the Rain

After the rain
the world is a little softer –
edges blur and drip and shimmer.

After the rain
bright, beautiful reflections are illuminated
through droplets like liquid mirrors.

After the rain
the earth smells of growth
and life and freshness and hope.

After the rain
my heart feels renewed
and cleansed and full of new possibilities.

After the rain.

Cheers & Hugs,
Jodi

#Reflecting


Oreo Millionaire Shortbread

Oreo Millionaire Shortbread.

WARNING – WARNING – WARNING!

This recipe is ONLY for the most serious chocolate and salted caramel lovers.

Others – please disregard!

One of our friends who we meet up with every Thursday on our John’s Bar date night had a birthday last week.

Friends’ birthdays are always a great excuse for me to bake and try something new.

So for our sweet friend, Donna, I made these amazingly decadent Oreo Millionaire Shortbread cookie bars.

O… M… G!

What could be more indulgent than an Oreo cookie crust layered with homemade salted caramel and then topped with rich, creamy chocolate and sprinkled with additional Oreo crumbs?!?!

I found a recipe at Baking a Mess, but the recipe was in British weights and measures and contained ingredients I was not familiar with (caster sugar and golden syrup).  I did a little research into converting grams to cups and substitutes for the ingredients I didn’t have, and came up with this recipe below.

There wasn’t one left Thursday night for Donna to take home.  She had generously shared, and they were all devoured.

This is a real treat, but be warned, it is absolutely decadent, so only make when you are absolutely sure you need a luxurious indulgence!

Oreo Millionaire Shortbread

Ingredients:

Base:

  • 1 1/2 packages (14.3 oz) Oreo cookies
  • 1/2/ cup butter
  • 2 Tbsp flour

Caramel:

  • 1 14-oz can Sweetened Condensed Milk
  • 1 cup white sugar
  • 1 cup (sticks) butter
  • 2 Tbsp Karo Syrup
  • 1 Tbsp molasses
  • 1 tsp flaked sea salt

Topping:

  • 2 cups semi sweet chocolate chips
  • 1 cup reserved Oreo crumbs

Directions:

Preheat oven to 350 degrees F.  Line a 9×9 square baking stone or pan with parchment paper.  Finely crush Oreo cookies into crumbs.    Reserve 1 cup.  Combine remaining crumbs with melted butter and flour in bowl.  Pour into parchment lined baking pan and pat firmly.  Bake for 10 minutes.  Allow to cool.

On medium-low heat, put the all of the caramel ingredients (except the sea salt flakes) in a heavy saucepan.  Allow to boil, reduce and thicken into a golden caramel sauce, stirring occasionally.  This takes about 30 minutes.  Stir in the sea salt flakes and pour on top of the Oreo base.  Refrigerate approximately 2 hours.

Melt chocolate chips in microwave for 1 minute.  Stir.  Melt an additional 30 seconds.  Stir.  Pour over caramel layer and spread to cover entire surface.  Sprinkle with reserved Oreo crumbs.  Refrigerate a few hours before removing from pan by lifting parchment paper.

Cut into 36 squares.

Enjoy!

Cheers & Hugs,
Jodi


A 30th Birthday Money Flower Card

A 30th Birthday Money Flower Card.

If you are looking for a creative card and/or gift for a special 30 year old in your life, how about making them a money flower card?

I needed a special card for a very special young lady (my daughter-in-law, Colleen) who turned 30 this past weekend.  I was trying to think of something creative like the Happy Birthday Money Cake I made for my son (her hubby!) a few years ago.

For the card, I started with a piece of black (any color will do) poster board cut to approximately 20 inches wide by 10 inches high that I folded in half to form a large card.  I also used two pieces of white 8.5 x 11″ card stock, 30 $1 bills and 1 $20 bill, approximately 33 dimensional adhesive dots, Tombow Mono Multi Liquid glue, a small piece of ribbon, and some colorful Sharpie markers.

I rolled all of the dollar bills tightly and adhered the loose end of each with a dimensional adhesive dot to the first piece of white card stock in the shape of a flower.  I used the $20 as the flower stem rolling it the long way.  I then drew around the flower with colored Sharpie markers, added two leaves with “Happy” written in one and “Birthday” in the other.  I drew a big bold “30” in the center of the flower, tied a bow on the stem, and then glued it to the front of the folded poster board using the Tombow glue.

On the inside, I listed 30 things we love about Colleen.  (That was the really easy part!)

You could use this for other milestone birthdays too and create different shapes.  It might make a fun wedding, anniversary, or graduation card too.

It was really fun and super easy to make, and even more fun to give to her.

Make giving the gift of money fun and creative!

Cheers & Hugs,
Jodi