Happier than a Bird with a French Fry

Hey There

This card I am sharing today is a quite a diversion from my “usual” (if there even is such a thing), but oh how much fun it was to make!

I needed a birthday card for a special 14-year old boy, so pretty posies and sappy sentiments were not in order.

hey there inside

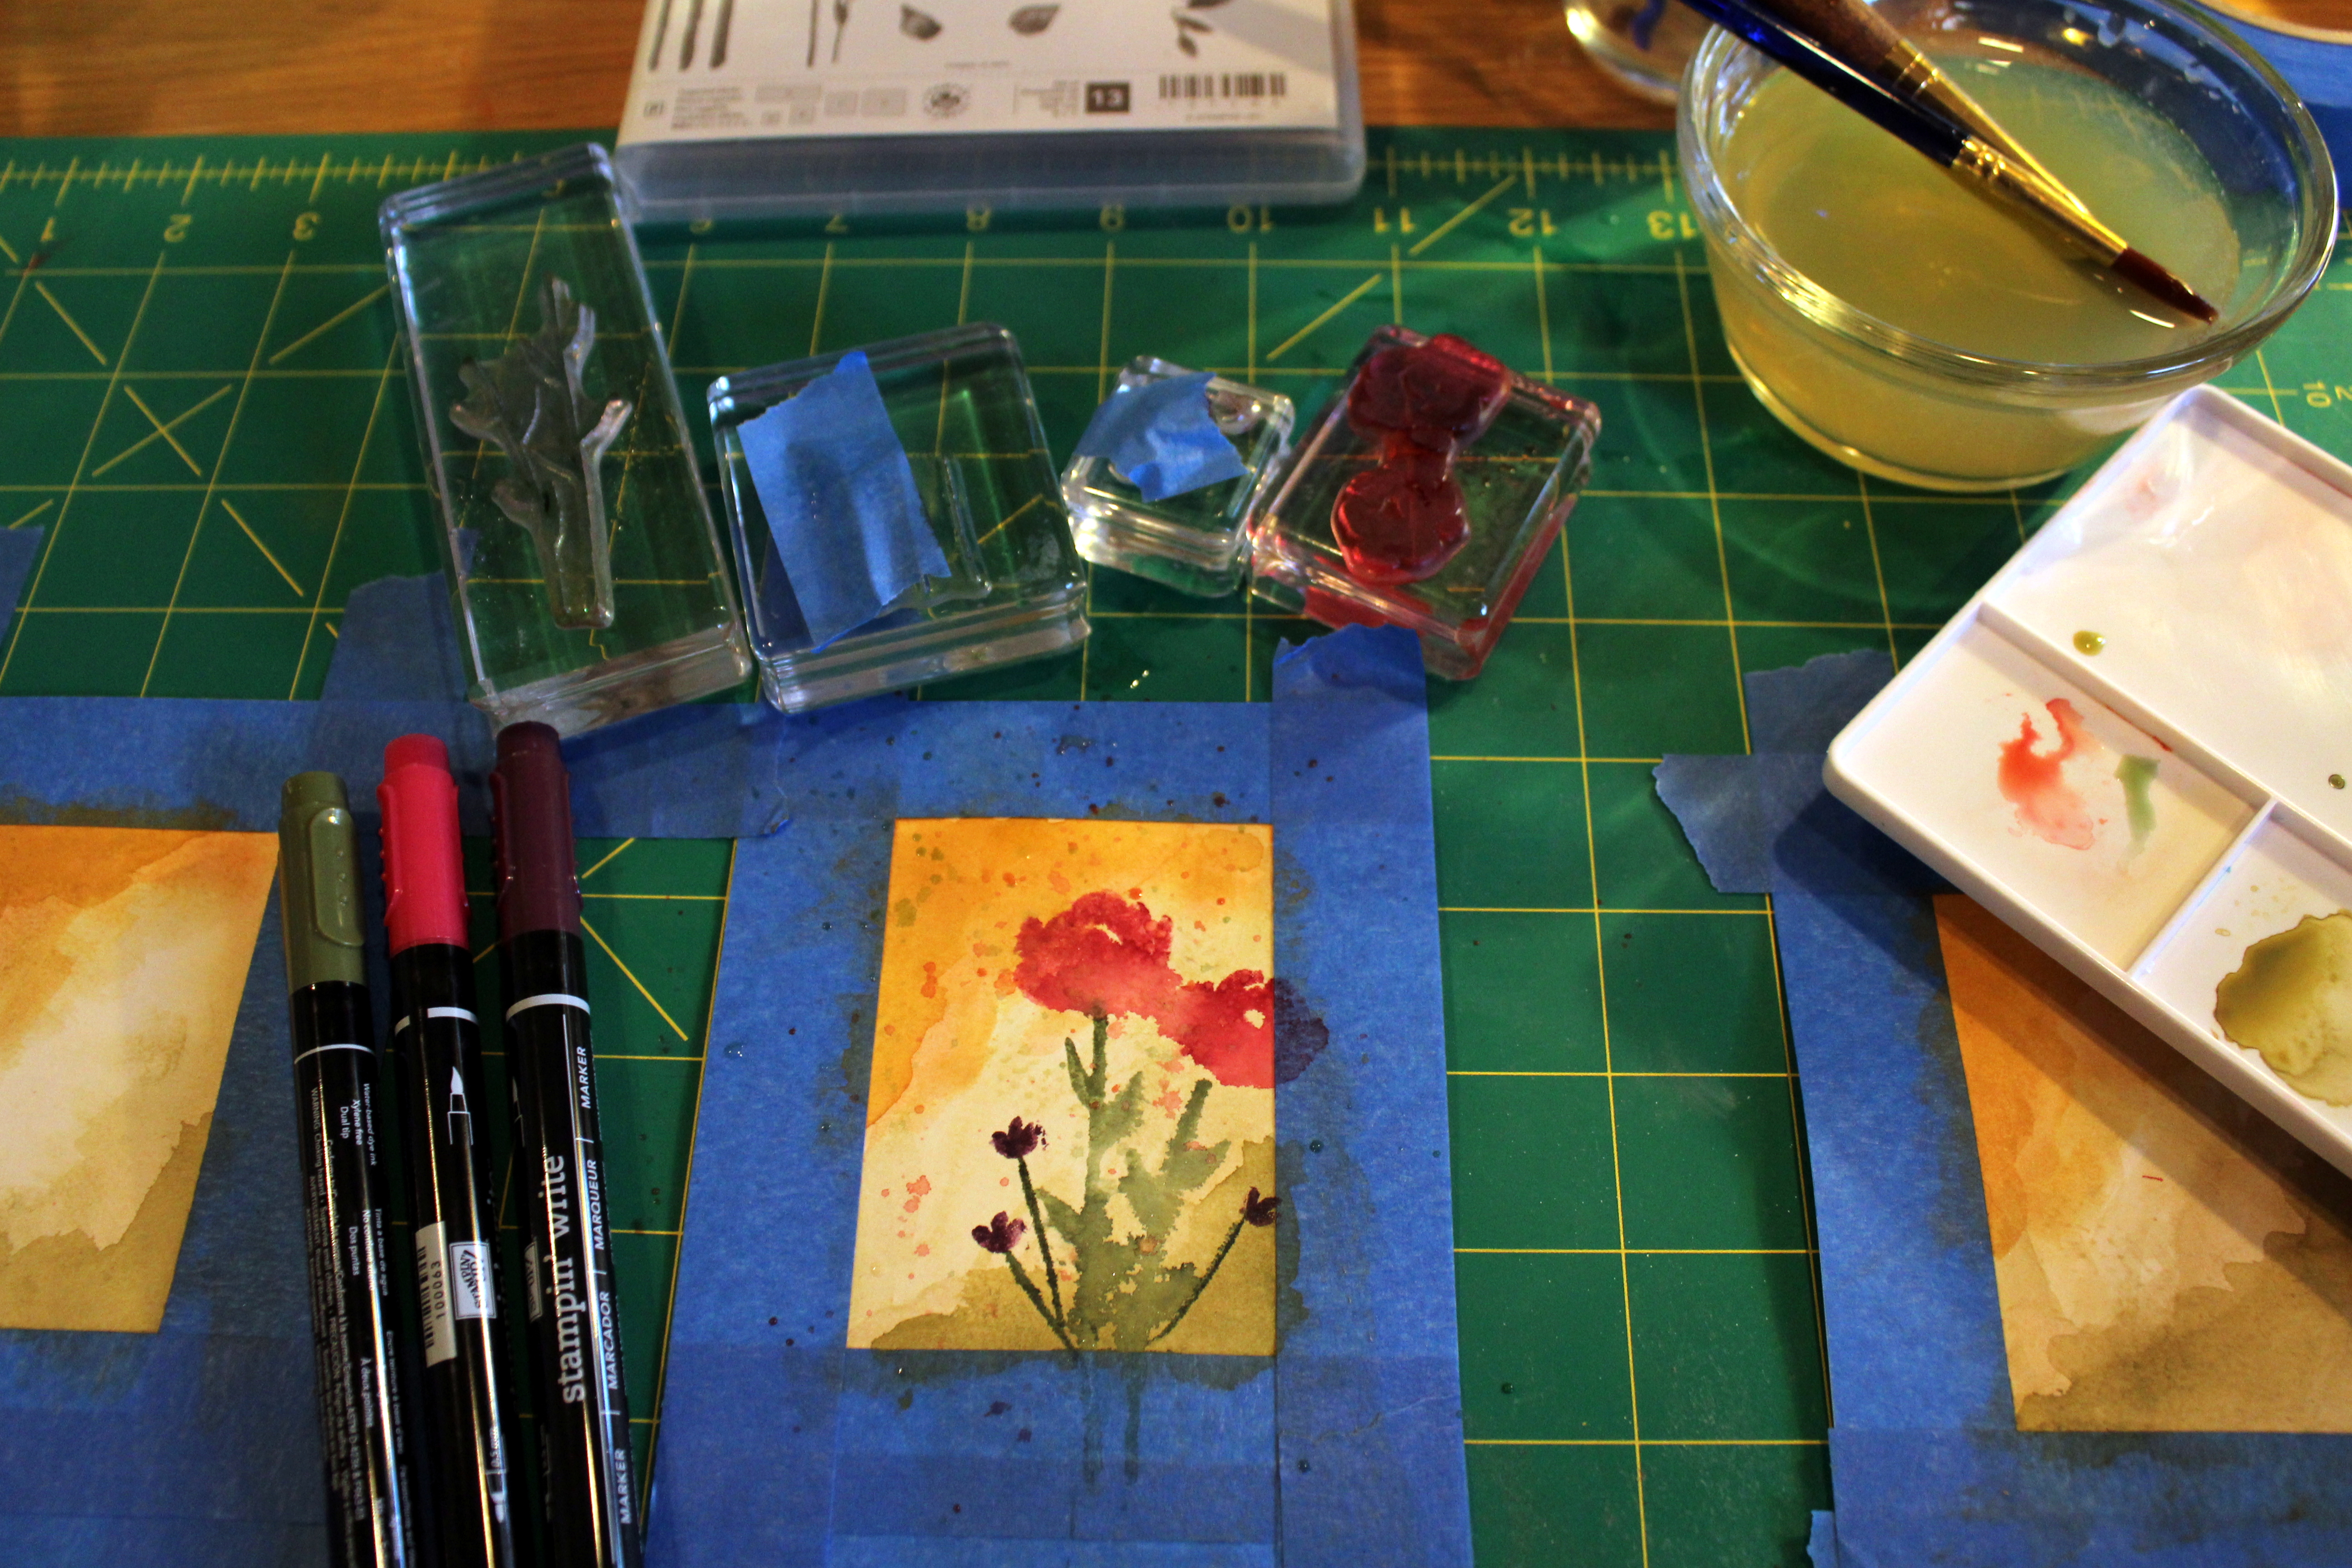
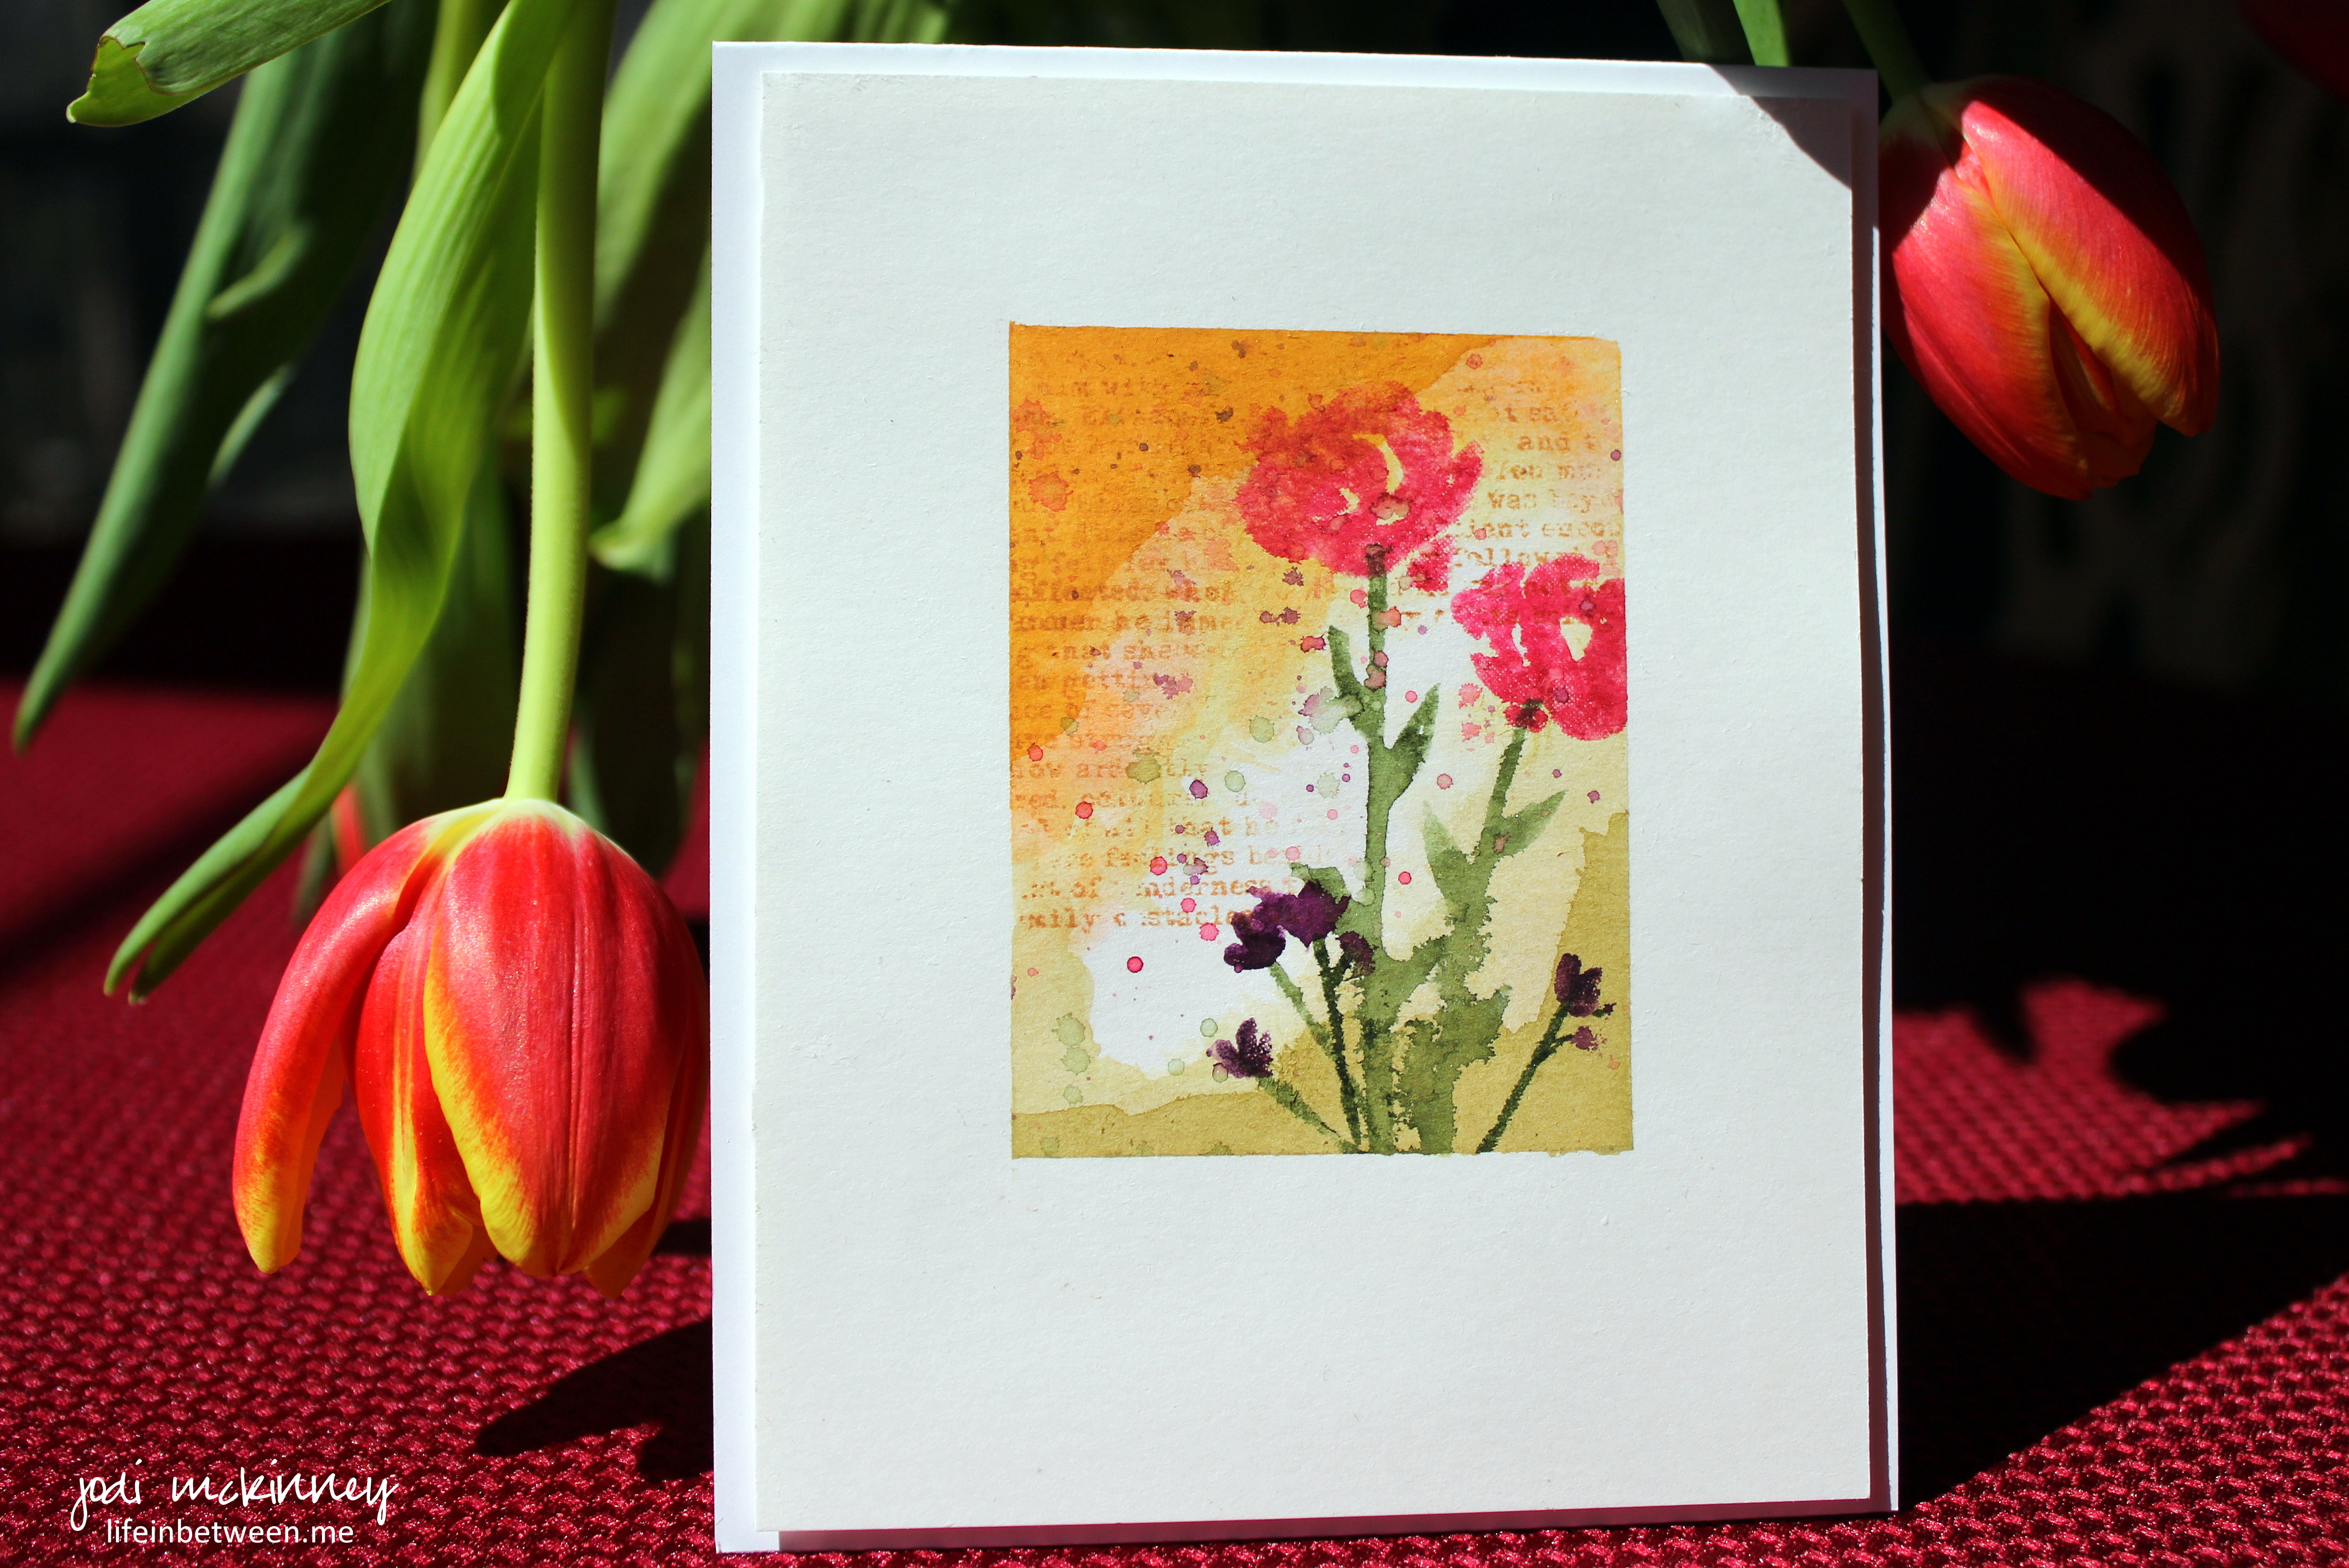
Remember last week when I shared my watercolor painted petals card and entered it into a new challenge, Can You Case it (CYCI#62)? 

Well…. lucky lucky me – I won!  Woohoo!  Happy dance!  🙂

So I was excited to see what the next challenge is, and this card is an entry for the CYCI#63 challenge.  It’s a sketch challenge, and here here is our sketch:

CYCI63-232x300

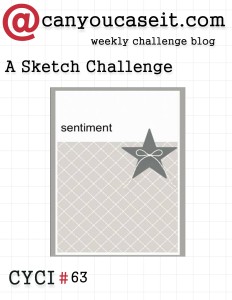
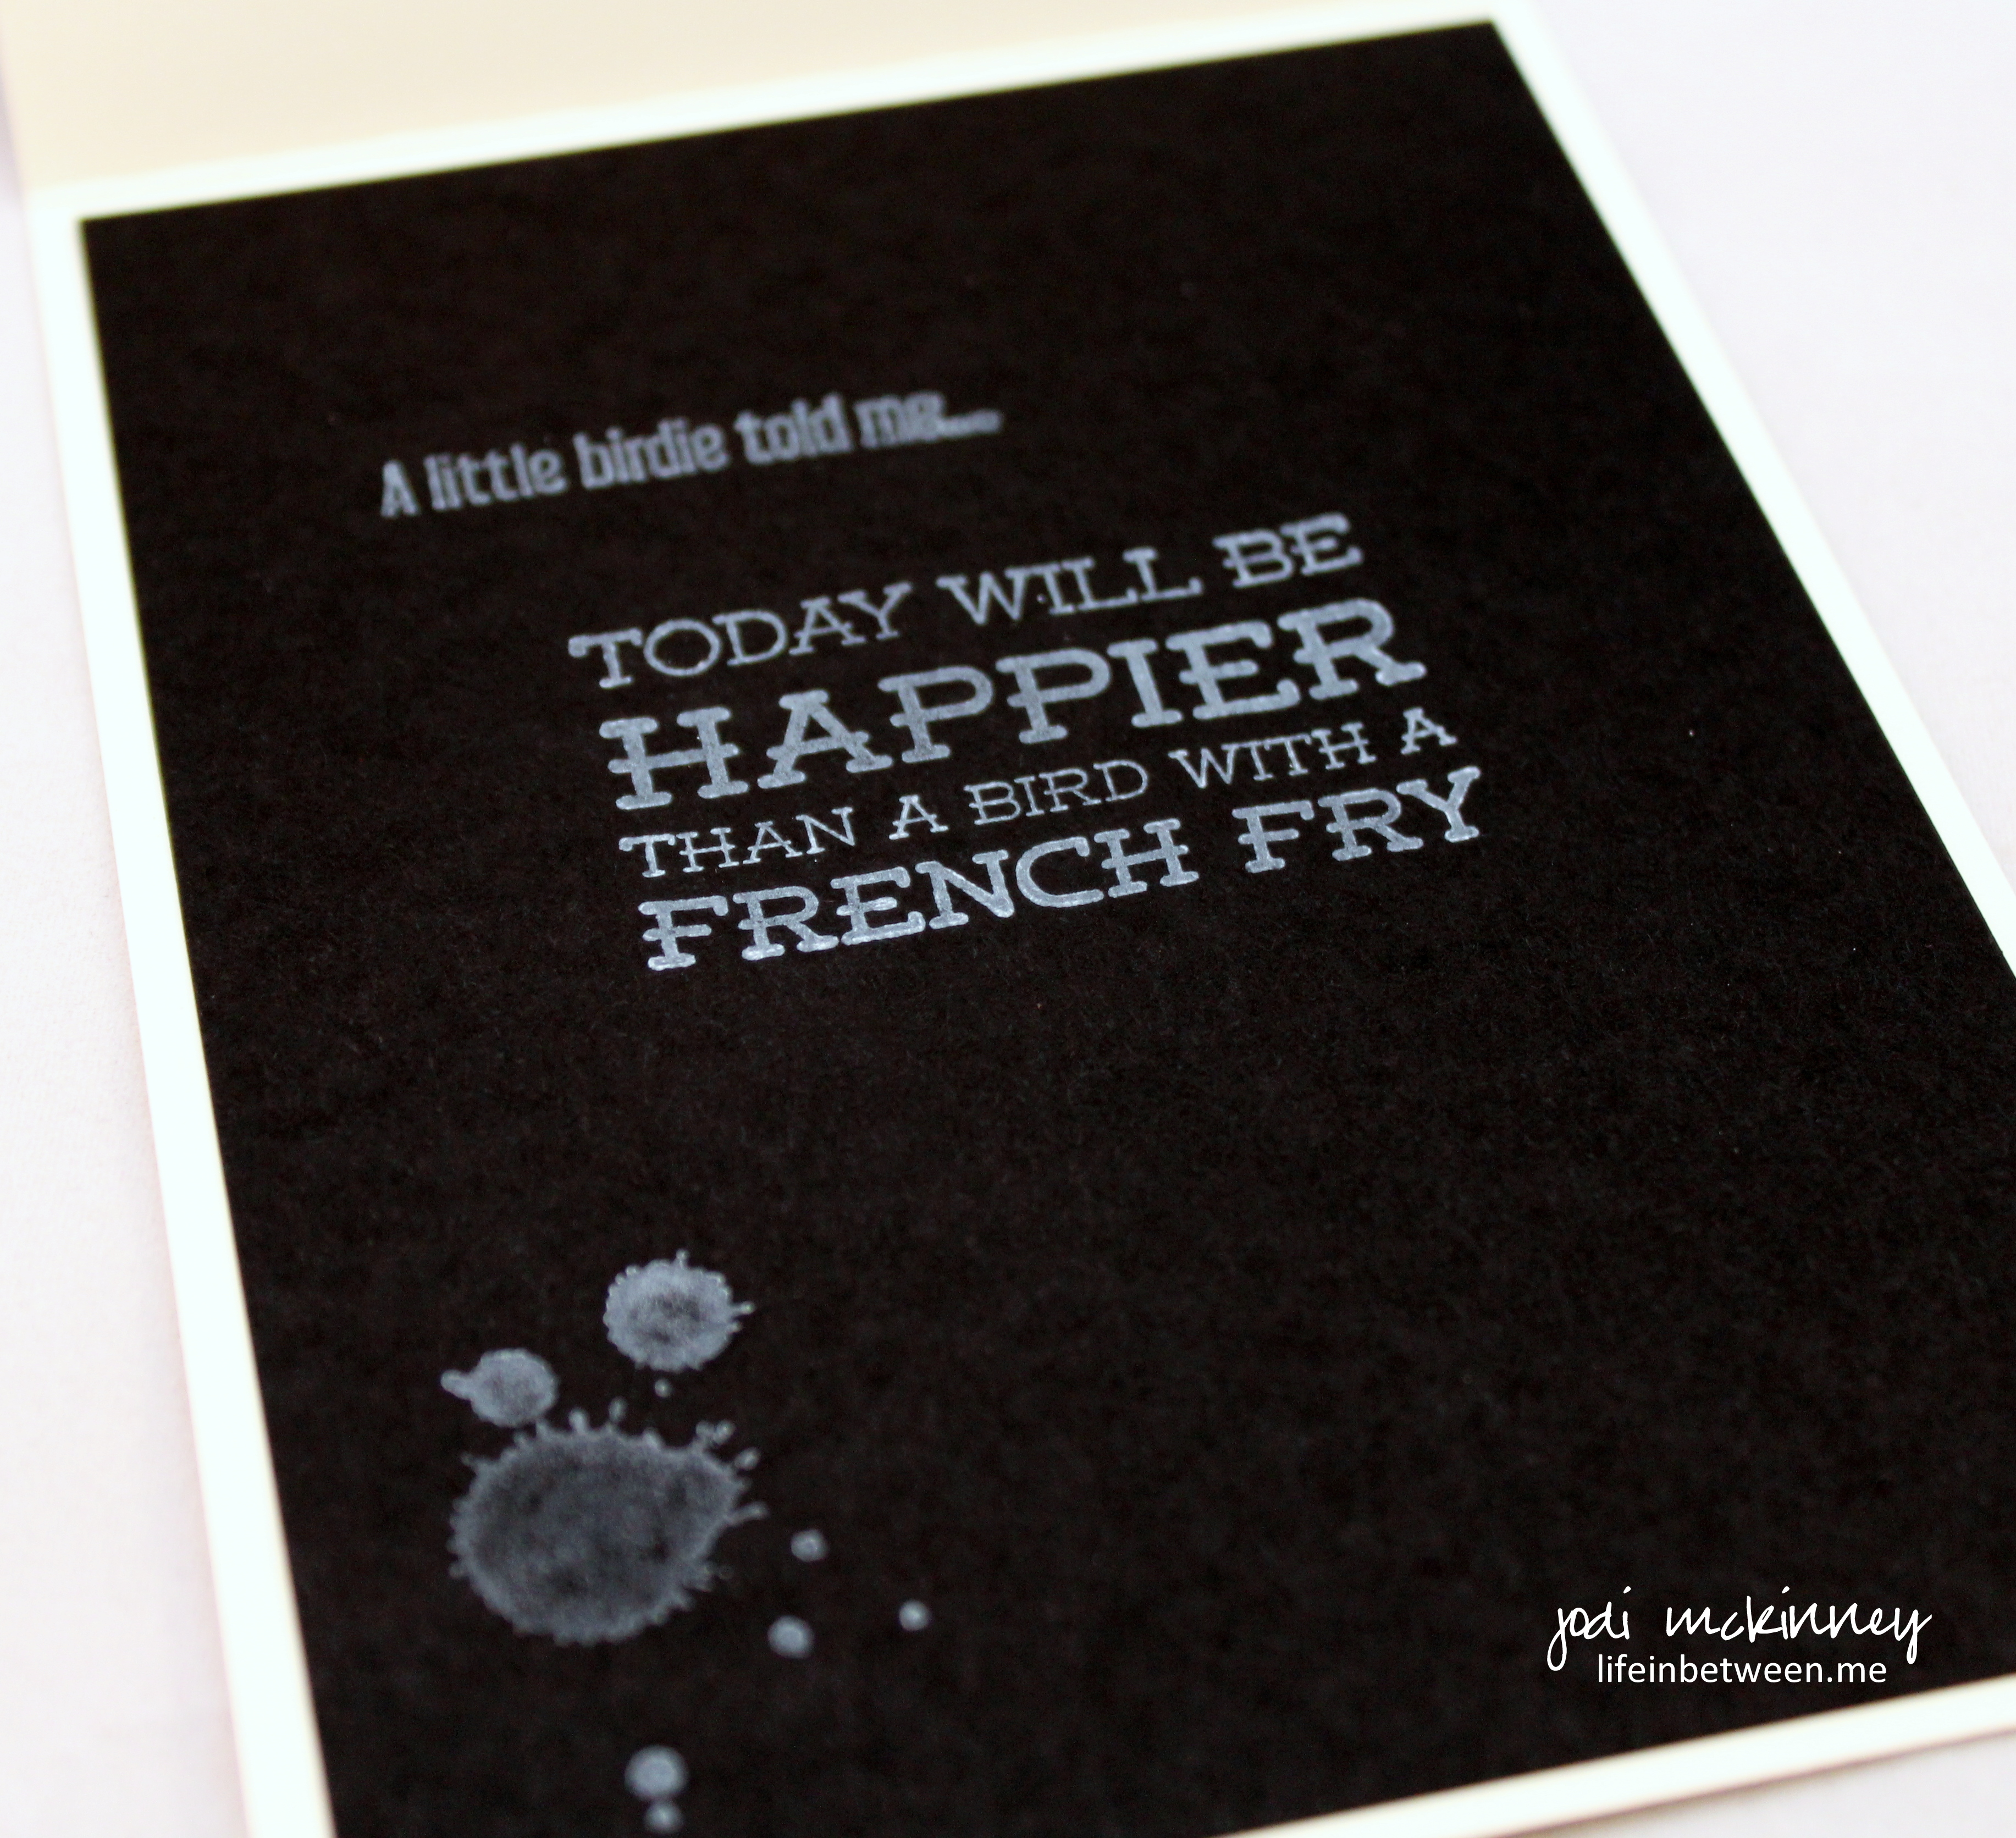
I tried to stay pretty true to the sketch.  What do you think?

Hey There

For this  card, I used the following materials:

  • StampinUp’s Just Sayin’ Stamp Set “hey there” stamp
  • StampinUp’s Just Sayin’ Framelit Die Set bubble die
  • StampinUp’s Gorgeous Grunge Stamp Set “ink blot” stamp
  • Jillibean’s You’re Tweet Stamp Set “little bird” stamp & “happier than a french fry” sentiment stamp
  • StampinUp’s Pumpkin Pie Orange Marker (for birdie’s beak)
  • StampinUp’s Adventure Bound Designer Series Paper “brick wall” paper
  • StampinUp’s Very Vanilla and Black Card Stock
  • Inks:  Stazon Black, SU White Craft Ink, Versa Mark, SU Tempting Turquoise
  • White Embossing Powder
  • Wink of Stella Clear Brush

Have a great day – in fact, I hope your day is Happier than a Bird with a French Fry!

By the way – have you ever seen a bird with a french fry??  I can say I have first hand!  A couple of years ago, a friend took me to this very specific “special” french fry place on the boardwalk in Ocean City, Maryland.  We got a batch of fries and were walking along talking, when out of nowhere and in no time at all (I hadn’t even tasted one fry yet), a bird swooped in to grab a fry, startling me to the point of throwing the fries in the air.  When they fell to the ground, about 50 hundred gabillion birds appeared, and the fries disappeared in about 1.5 seconds.  And to top it off……… the stinkin’ bird POOPED on my shoulder in the process.  So after that fiasco, I went to the ladies room to “wash” off my top, and back we headed to buy more fries.  When we arrived at the shop, it had closed for the day…..

I never did get to try those fries.  But the birds sure were happy!  🙂

Cheers & Hugs,
Jodi

PS  Happy Birthday Aaron!  With love from Aunt Jodi ❤

Is it You?

cardinal female

Is it you come to visit my sweet beloved Star?
Does your spirit fleetingly flutter from oh so afar?

Are you happy, and can you tell me if it is really true?
Is eternity the beautiful place they say we go to?

I miss your bright eyes, your warm heart, your infectious laughter.
I dream you’re with Grandpap dancing happily ever after.

Please guide me and show me the best way to be
your legacy, my hero, my matriarch, my cherished destiny.

Cheers & Hugs,
Jodi

Cardinals have long been believed to represent a loved one who has passed.  It is said that when you see one, it means your loved one is visiting you, and they usually show up when you most need them or miss them.  I have recently come to appreciate the delicate beauty of the female cardinal with her delicate coloring.  The bright red males get most of the attention, but I’m partial to these beauties.

This short poem is written in honor of my beloved Grandma Stella, my star; and this photo I took Saturday morning from our master bath window of Mrs.Cardinal briefly sitting in the dormant Rose of Sharon bush is being shared as part of the WordPress Weekly Photo Challenge:  Ephemeral.

Black Bean & Edamame Salad

Black Bean and Edamame Salad 1

I love legumes!

Unfortunately – the two guys I live with – do not…

So when I had some girls over last week, it was my chance to make this black bean and edamame salad as a nice accompaniment to our chicken fajitas.

Black Bean and Edamame Salad

This is one of those things I will sometimes make for myself as a high protein, high fiber, nutrient rich lunch to have on hand for a few days.  It holds up nicely, and the fresh cilantro really kicks it up!

You can really play with this recipe and use whatever you have or whatever you like.  Mix up the beans.  Marinade with YOUR favorite vinaigrette.  Add YOUR favorite veggies.  I daresay it is a smidge different every time I make it according to my mood or what I have on hand.

If you are a legume lover like me, I hope you will give it a try.  And… share your ideas and combos too!

Black Bean & Edamame Salad

2 cans black beans, drained and rinsed
1 cup edamame beans
2 cloves garlic, finely minced
1/4 cup sliced green onions
1/4 cup finely chopped celery
1 cup chopped red, orange, and/or yellow pepper
1/4 cup fresh cilantro, finely chopped
1 Tbsp Olive Oil
3 Tbsp Red Wine Vinegar
1/2 lime, juiced
Salt & Pepper to taste

Combine all ingredients in a large bowl, mix and refrigerate for a few hours to marinade.  Serve cold.

Enjoy!

Cheers & Hugs

Jodi

Rubber Ducky Diaper Cake

rubber ducky diaper cake

Looking for a fun baby shower gift?

How about taking a box of disposable diapers and making it into a “cake!”

Yesterday, I shared my Rubber Ducky Watercolor Card.  Here is another part of the gift that goes with it.  A gift bag full of baby hooded towels, and I am ready for the shower.

This is so simple to make.

I re-purposed an aluminum serving tray and hot glued a cardboard paper towel holder to the center.  I then took an 88-count box of Pampers Swaddler Diapers, rolling each diaper and holding it together with a rubber band.

Begin by placing the rolled diapers around the center paper towel tube.  Tie together with string, and then surround with another ring outside that.  Repeat four times for the bottom layer.  Then make the middle layer with two circles and the top layer with just one circle around the paper towel tube.  Cover the string/rubber bands with ribbon and make a decorative bow.  Decorate your cake with various rubber duckies and/or any other “theme” you choose to complete your gift cake.

Those of you that have been “lifeinbetweeners” for a while might remember the Birthday Money Cake I made for my son a few months ago.

Isn’t it fun to find creative ways to bake make cakes?!

What are you baking up today?

Cheers & Hugs,

Jodi

Chicks & Rubber Duckies

rubber duck 1

I’m going to a baby shower this weekend, so I had fun using the same technique I used for my Watercolor & Painted Petals Note Card to make this little bitty Rubber Ducky card.

rubber duck 2

I used the rubber ducky stamp from StampinUp’s Something for Baby stamp set and embellished with a white gel pen and pearl for the eye.

I can’t get enough of this fun technique and know I will be doing more of it.

And speaking of having fun and making cards, I had a few chicks over one night this week.  We ate chicken fajitas and Cadbury mini egg blondies, washed it down with some wine and G&Ts, stamped, and made…

chicks stamping

some CHICKS!  (Easter Chicks that is!)  So here we are… Chicks making Chicks!   Thanks to Head Chick Stacey for leading our “class.

chicks and chicks

Aren’t they cute?!

Easter Chick

Here is a video tutorial on how to make one similar done by Deb Valder.

We made ours a just a little different by adding a little holder for a Cadbury Egg.

Easter Chick side

Happy Friday from this crazy Chick!

Cheers & Hugs,

Jodi

Cadbury Mini Egg Blondie Bars

cadbury mini egg blondies

I’ve been randomly buying Easter candy to play with in baking (don’t you?!?) and couldn’t resist picking up a huge bag of Cadbury Mini Eggs just knowing they would be great in something (because they ARE great – right?!).

cadbury mini egg blondies 4

And according to one of my guests last night, these Cadbury Mini Egg Blondies are her new favorite.  (Thanks sweet Katie!)

cadbury mini egg blondies 5

When perusing for ideas, I came across this recipe by  Bakeaholic Mama.

cadbury mini egg blondies 2

And since the recipe only made an 8×8 pan, I obviously doubled it!  But then realized (after I began cutting them…) that doubling an 8×8 recipe in a 13×9 pan makes for some pretty thick blondies!  (Next time I would do in a bar pan if doubling.)

cadbury mini egg blondies 3

Since they were extra thick, I just cut them in smaller pieces.

Below is the single recipe.  Double it if you dare!  And if you don’t like blondies (boo to you!), these little mini eggs would taste great in a batch of brownies too!

Cadbury Mini Egg Blondies

Ingredients:

2 cups all-purpose flour
1/2 teaspoon baking soda
1/2 teaspoon salt
3/4 cup butter, melted
1 cup packed brown sugar
1/2 cup white sugar
1 tablespoon vanilla extract
1 egg
1 egg yolk
2 cups Cadbury Mini Eggs

Directions:

Combine flour, baking soda and salt in a medium bowl and set aside.

Cream melted butter with sugars using electric mixer.  Add vanilla and eggs, and beat until light and fluffy.

Slowly add in flour mixture until incorporated.

Fold in Mini Eggs.

Spread batter into a greased 8×8 or 9×9 baking dish.

Bake at 325 for about 40 minutes or until a tooth pick is inserted in the center and comes out clean. 

Let the bars cool for 30 minutes before slicing.

Recipe from Bakeaholicmama.com

ENJOY!

Cheers & Hugs,
Jodi

Easy Homemade Mongolian Beef

Mongolian Beef

Sometimes yummy, delicious food is not the best “subject” for photographing.  Like this absolutely amazing tasting Mongolian Beef.

Apparently it is a knock-off recipe to what is served at PF Chang’s (per Jo at JoCooks where I found this recipe), but I have never had it there.  If I go to PF Chang’s, it is Chicken Lettuce Wraps E V E R Y… single… time… period.

But I do try to make beef occasionally for Hubby who complains he fears he may grow feathers from eating chicken so many times a week.   I have tried Mongolian Beef from other places like our local Pan-Asian restaurant, Jimmy Wan’s; and I must say, this recipe could take on any that I have tried…

We LOVED this recipe.

I really wish I could have shot some better photos of this amazingness – – and I totally should have sprinkled it with some sesame seeds for the “photo shoot,” but I forgot!  UGH!  I guess I was too anxious to get eating.  And you will be too!

Here is the recipe you REALLY SHOULD TRY as adapted from JoCooks.com.  And it is SO easy too!

Easy Homemade Mongolian Beef

Ingredients:
2 lbs flank steak
½ cup cornstarch
½ cup vegetable oil

Sauce:
2 Tbsp vegetable oil
1 cup soy sauce
1 cup brown sugar
5 cloves garlic, minced
1 cup water

Garnish:
6 green onions, sliced

Directions:

Slice the steak into thin strips against the grain.

In a large Ziploc plastic bag, add the beef strips and cornstarch, and shake to completely coat the beef.

In a small sauce pan add the oil, soy sauce, brown sugar, garlic and water. Stir and cook over medium heat for 20 minutes or until sauce thickens and reduces.

Heat the vegetable oil in a skillet, add beef, and cook until browned. Pour sauce over the beef. Stir and cook for a few more minutes.

Serve over rice and garnish with green onions.


ENJOY!

Cheers & Hugs,
Jodi

Two – ooo Turtle Doves

Mourning Doves 032015

When I was younger, I laughed at my grandma, in-laws and later even my hubby, who is four years older (and dang it – I hate to admit – wiser!), when they would get so excited watching, feeding, and identifying birds.

And then guess what happened?

Yep – you guessed it!   I became fascinated with watching, feeding, and identifying birds…. (and add PHOTOGRAPHING to that too!)

A true sign of “maturity.” (the positive way of wording the reality of getting OLD!)

And now our kids laugh at us…  Hmmfff!  Some day their kids will laugh at them.

This pair of Mourning Doves, which I’ve come to learn are also referred to as Turtle Doves, made me think of the beloved Christmas Song “The Twelve Days of Christmas.” (hence my clever and witty post title – – tell me you got it and are singing along too?!??!!!)

They make a beautiful cooing noise and are so sweet.  This is one of the larger birds that come to the feeder on our deck, and they are like the gentle giants.   I think this pair is husband and wife.   🙂   I am fascinated with how the birds really pair up.  The cardinal male and female are almost constantly together.

If three french hens come to the feeders, I’ll be sure to share.

Cheers & Hugs,
Jodi

Watercolor & Painted Petals Note Card

mini watercolor painted petals

I really enjoy trying new techniques in creating handmade cards, so when I saw a tutorial done by Jill Foster for Penny Black featuring water coloring combined with stamping to create these mini watercolor creations with a clean and simple white on white background, I couldn’t  wait to make one.

mini watercolor painted petals 1

The technique includes masking off watercolor paper to create the “frame” and then watercoloring the background.  I used some golds and greens from my Sakura Koi Water Color Pocket Field Sketch Box (actually the only watercolors I own right now).  After drying, I stamped the flowers on using StampinUp’s Painted Petals stamp set by coloring them with my Stampin’ Write Markers in Rose Red, Blackberry Bliss and Mossy Meadow and then gently spritzing the stamp with water to loosen the look before stamping.

mini watercolor painted petals 2

I then used those same marker colors and added a little water to them in my watercolor tray to randomly tap splatters all over from a paint brush.  The last step involved using a Penny Black Footnotes stamp with Tim Holtz Distress Ink in “tea dye,” which I smudged for the vintage imperfect look before stamping on the top edge and corner.

mini watercolor painted petals 3

Once dry, I simply removed the masking tape (blue painter’s low-tack tape is easier to remove and less likely to lift the paper too), put some dimensional adhesive tape on the back and adhered to a white card base.

mini watercolor painted petals 4

I loved this technique and plan to try it with other colors and stamps, and I can’t wait to share this card with somebody special.

Wishing you a wonderful day and week.  Spend some time doing things you enjoy with people you love.

Cheers & Hugs,
Jodi

PS  I am submitting this card for a new challenge I just learned about at canyoucaseit.com where this week’s challenge is “Designer’s Choice.”

Designers-Choice-001

I won!  Thanks to the CYCI Designer Team for the great honor!

Winner-001

Thin Mint Chocolate Cupcakes

thin mint cupcakes

Imagine fresh baked chocolate cupcakes topped with icing that is “spiked” with Girl Scout Thin Mint Cookies (and then topped with one more to grow on!)

Yep – that’s what I baked yesterday…  in between a trip to the gym, putting out the patio furniture, a walk with Mikey, and caring for the toughest guy I’ve ever known (dear hubby) who is recovering from some shoulder repair surgery he had this past week like nobody I’ve ever seen!  (That’s my Marty!)

You may remember I recently made some Girl Scout Cookie Thin Mint Cookies (my youngest son, Nick’s favorite ever); so when I had the urge to bake some cupcakes and was considering what to make, I knew I had to try these when I came across this recipe by  Lizzy @ YourCupofCake.  Lizzy’s recipe called for using a boxed Devil’s Food Cake Mix, but I didn’t have that, so I made mine from scratch.

thin mint cupcake

I also baked mine a minute or two too long (darnit!).  I’m more of a cookie and pie baker than cake/cupcake, but I’m working on it.  And truthfully, I’m not sure you can beat a Duncan Hines Cake Mix, so don’t hesitate to use your favorite chocolate boxed cake mix or cake recipe for this.  The real KEY to this cupcake recipe is all in the icing!

thin mint cupcake and milk

So bake your favorite chocolate cupcakes, and then frost with this yumminess from YourCupofCake.

Thin Mint Chocolate Cupcakes

  • Servings: 14 cupcakes
  • Print
Ingredients:
14 Chocolate Cupcakes – baked and cooledthin mint cupcake 2
Thin Mint Frosting:
1 cup softened butter
1/3 cup unsweetened cocoa powder
2 tsp. vanilla extract
1 tsp. peppermint extract
1/4 cup milk
10 Thin Mint cookies, finely crushed & sifted
2 1/2 cups powdered sugar
Directions:
Beat butter with electric mixer for 2 minutes. Add cocoa powder, vanilla and peppermint extract and milk.  Beat again. Add crushed cookies and powdered sugar, and beat until smooth. Pipe onto cooled cupcakes.  Top with sprinkles and and an extra cookie if desired.
This is my second entry for this week’s WordPress Weekly Photo Challenge, because I just had to share something FRESHly baked!
Thanks to everyone who “liked” my photo yesterday, by the way!  In my 10 months of blogging so far, I received notice that yesterday’s post was my all-time favorite post for “Likes.”
I hope you like this one as well!  🙂
Cheers & Hugs,
Jodi