Quick & Easy Vegetable Lo Mein

quick-and-easy-vegetable-lo-mein-1

What do you make when you have A LOT of leftover spaghetti?

I made this super quick and easy vegetable lo mein last night while baking cookies for an upcoming cookie exchange.

quick-and-easy-vegetable-lo-mein-2

Are you like me and have a hard time judging how much spaghetti to cook?

Our youngest son came over Sunday, so I made one of his favorite chicken dishes, Pepperoni Chicken.  I wanted to make sure to make enough extra so he could take a meal or two home with him, so I got a teensy bit carried away and made two pounds of whole wheat spaghetti.

After I filled a gallon Ziploc bag about 2/3 full and he started calling “halt” to any more, I realized I still had half of what I made left.

quick-and-easy-vegetable-lo-mein-3

Since I had some leftover cut up veggies, tossing them together and making a quick sauce, made this dinner come together in about 10 minutes!  Can’t beat that – right?

You could really use any vegetables you have on hand.  Here is how I made mine.  Use it as a base recipe to flex to your taste!  I imagine mushroom lovers would totally enjoy them thrown in.  Want a protein?  Add some leftover chicken, pork, beef, or shrimp.  I’ll bet some steamed broccoli or fresh green beans and/or sliced sweet peppers would be great too!  You could even toss in some water chestnuts or peanuts, walnuts, or sliced almonds.

Quick & Easy Vegetable Lo Mein

Ingredients:

  • 1/2-1 lb spaghetti (I used whole wheat)
  • 2 Tbsp oil (olive, sesame, canola or vegetable)
  • 1/2 sweet onion chopped
  • 1 cup shredded or chopped carrots
  • 1 cup chopped celery
  • 1 cup green peas
  • Sauce – Whisk together:
    • 3 Tbsp soy sauce
    • 2 Tbsp teriyaki sauce
    • 2 Tbsp honey
    • 1/2 tsp ground ginger
    • Dash Sriracha hot sauce

Directions:

Heat oil in stir fry skillet.  Add vegetables and cook 3-5 minutes until crisp-tender.  Add spaghetti and sauce.  Cook until heated through 1-2 minutes.

That’s it!  Enjoy!

Cheers & Hugs,
Jodi

Best Ever Homemade Caramel Corn

caramel-corn-1

One of the things I make every holiday season for parties and gift-giving is homemade caramel corn.

This is not your ordinary caramel corn, however; and the secret is that its made with Hulless Puff-n-Corn instead of regular popcorn.

caramel-corn-3

Its super simple, makes a huge batch, and I have never taken it somewhere or given it away without being asked for the recipe.

caramel-corn-2

I got this recipe years ago from my dear friend, Pam, who is, by the way, one of the best Jewish “Christmas cookie” bakers I know!

Here’s the recipe, and be warned….. it is crazy addictive!

Best Ever Homemade Caramel Corn

  • Servings: huge batch
  • Print

Ingredients:caramel-corn-1


  • 2 6-oz bags Snyder Puff-n-Corn (or a brand you can get locally)
  • 2 sticks (1 cup) butter
  • 1 Tbsp peanut butter
  • 2 cups brown sugar, packed
  • 1/2 cup Karo light corn syrup
  • 1 tsp vanilla extract
  • 1/2 tsp baking soda

Directions:

Spray large roaster pan with Pam cooking spray, and empty both bags of Puff-n-Corn into it.  Preheat oven to 250 degrees F.

In a large saucepan melt butter and peanut butter over medium-high heat.  Once melted, add brown sugar and corn syrup.  Bring to a boil.  Stir constantly, and boil for 5 minutes.  Remove from heat.  Add vanilla and baking soda and stir well.  Pour mixture over popcorn, and stir well to coat.

Bake in oven for one hour, stirring every 15 minutes.  Allow to cool.

Enjoy!

Cheers & Hugs,
Jodi


Quick & Easy Crispy Pork Stir Fry


quick-and-easy-crispy-pork-stir-fry-02

Stir frying any kind of protein with your favorite veggies makes a quick, easy, and healthy weeknight dinner.

quick-and-easy-crispy-pork-stir-fry-01

Yesterday, I pulled a small piece of pork tenderloin out of the freezer in the morning with no idea what I was going to do with it.

By 6 pm, I decided I better figure out something to do with it.  After all, the spaghetti and meatballs I made for Sunday’s dinner, that hubby also ate leftovers of on Monday while I was out of town, and that we made into meatball hoagies  onTuesday was losing it’s charm and appeal!

quick-and-easy-crispy-pork-stir-fry-03

A quick “google” resulted in a few ideas I combined to come up with this quick and easy, but more importantly AMAZING Crispy Pork Stir Fry!  Coating the thinly sliced pork with seasoned salt and cornstarch before stir frying resulted in a wonderfully crispy coating and texture, and the simple sauce really packs a flavor punch!  You can use whatever veggies you have on hand or love.  Some may love mushrooms, snow peas, sugar snap peas, green beans, and/or water chestnuts.  Stir frying is one of my favorite ways to create a healthy, colorful, delicious, fast, and easy weeknight dinner.

Hope you give this a try!

Quick & Easy Crispy Pork Stir Fry

Ingredients:quick-and-easy-crispy-pork-stir-fry-01

  • 1 lb. pork tenderloin or sirloin, sliced thinly
  • 1 tsp seasoned salt
  • 1/3 cup cornstarch
  • 2 Tbsp Vegetable or Canola Oil
  • 1/2 large sweet onion, sliced
  • 3 cloves garlic, minced
  • 1 cup sliced sweet red, yellow and/or orange peppers
  • 1 cup steamed broccoli
  • Sauce
    • 2 cloves garlic, minced
    • 3 Tbsp brown sugar
    • 3 Tbsp soy sauce
    • 1 tsp freshly ground black pepper

Directions:

Sprinkle thinly sliced pork with seasoned salt and cornstarch in a bowl with a lid or Ziploc bag.  Shake to coat.

Prepare sauce by combining garlic, pepper, brown sugar, and soy sauce in a small bowl.  Stir well, and set aside.

Heat 1 Tbsp. oil in a large stir fry skillet over medium-high heat.  Add sliced onions, peppers, and minced garlic.  Stir fry approximately 2-3 minutes.  Remove from skillet, and set aside.  Add the other 1 Tbsp. oil and heat for 1 minute.  Add coated pork, and stir fry approximately 5 minutes.  Add steamed broccoli and return onion, peppers and garlic to skillet with all.  Stir fry an additional minute.  Add sauce and cook an additional 2 minutes.

Serve over steamed jasmine (or your favorite) rice.

Enjoy!

Cheers & Hugs,
Jodi

Pappardelle with Beef Ragu

beef-ragu-with-pappardelle-1

We had our first snow of the season here in Mars yesterday.

Not only did it snow, but it snowed ALL day!

After a 73 degree F day on Friday, it was quite a shock, but also such a glorious treat for a lazy Sunday to build a fire in the morning and burn it all day long while cooking and watching football and reading and resting.

After a very busy and exciting week, it was nice.  It was also the first day I didn’t see my new granddaughter since she was born, so I am thankful for text messages and IM pictures and so proud of her Mom and Dad for the amazing job they are doing.  They are naturals, and my heart is so very full.

beef-ragu-with-pappardelle-3

My belly is full too….. after making and feasting on this amazing recipe I tweaked a bit from Jamie Oliver’s recipe.

What a perfect dish to cook for hours on a cold day teasing our noses with the amazing aroma and warming the house with the oven on for hours.  Jamie Oliver does his in a pressure cooker.  You could also do this in the crockpot.  But we were home all day, and I was perfectly content to have the oven on.

beef-ragu-with-pappardelle-2

I swear I am a “wannabe” Italian!  I adore Italian food.  In Italian cuisine, ragu is a meat-based sauce that is commonly served with pasta.  Pappardelle are large, broad, flat pasta noodles that originate from the Tuscany region and are similar to wide fettuccine. The name derives from the verb “pappare,” which means to gobble up.

Isn’t Papparedelle so much more fun to say than wide noodles?  And doesn’t it sound so much more delicious?!

beef-ragu-with-pappardelle-4

Hubby said I could definitely make this for company!  It is so full of flavor!  I could just lick the sauce from a spoon!  And then…… when you top it with a tiny bit of finely grated orange zest and rosemary…. the flavors just BURST with freshness too.  The balance between tender slow cooking with deep, layered flavors and fresh, bright citrus – even though just a tiny bit – is simply amazing!

Here is the recipe as I slightly tweaked from Jamie Oliver’s recipe shared in The New York Times.  Hope you will give it a try.

Pappardelle with Beef Ragu

Ingredients:beef-ragu-with-pappardelle-2

  • 2 lbs boneless beef chuck roast, cut into 2-inch cubes
  • Salt and pepper to taste
  • 1 Tbsp olive oil
  • 2 sprigs fresh rosemary, plus 1 Tbsp finely chopped leaves for garnish
  • 2 sprigs fresh sage
  • 1 medium sweet onion, peeled and cut into chunks
  • 4 cloves garlic, finely chopped
  • 2 large carrots, peeled and thickly sliced
  • 3-4 celery stalks, thickly sliced
  • 1/2 cup sliced sweet red and yellow peppers (optional)
  • 2 cups dry red wine
  • 1 28-ounce can crushed tomatoes
  • 1 pound pappardelle
  • 4 Tbsp butter
  • 1 Tbsp finely grated orange zest
  • ½ cup freshly grated Parmigiano-Reggiano cheese

Directions:

Preheat oven to 275 degrees F.

Heat 1 Tbsp olive oil in dutch oven on stove top over medium-high heat.  Add beef cubes, and season with salt and pepper to taste.  Stir until beef is well browned on all sides, about 5 mins.  Add rosemary and sage sprigs, onion, garlic, carrots, celery, and sweet peppers. Continue cooking until vegetables are softened, about 5 more mins.

Add wine and continue to simmer until liquid has reduced by approximately half, about 15 minutes. Add tomatoes.  Secure lid and place in oven for 3 1/2 hours.

Cook pappardelle in boiling salted water for 6-7 minutes until al dente.   Drain and rinse in cold water.  Return pasta to pot.  Add butter and Parmigiano-Reggiano cheese.   Mix gently, cover with lid, and let butter melt.

Remove beef ragu from oven.  Discard herb stems and coarsely shred beef with two forks.

To serve, place pappardelle in shallow bowl, top with beef ragu, sprinkle with orange zest, finely minced rosemary and some more freshly grated Parmigiano-Reggiano.

Enjoy!

Cheers & Hugs,
Jodi

A Taste of Italy in the ‘Burgh

murante-girls

What a fun evening we had with friends this weekend when we had the privilege of enjoying a private dining experience at Merante’s special upstairs kitchen where “Mamma” Maria and her long-time assistant, Linda, made us feel like family around the Sunday supper table!

  • murante-marie-and-linda

What a unique experience this was!  Merante’s is a quaint Italian gift shop in the Bloomfield neighborhood of Pittsburgh, Pennsylvania where beautiful gifts from pasta bowls and fine ceramics (and even the game of Italy-Opoly) are sold and cooking classes and Italian-themed events are hosted.

My sweet, long-time (Italian!) friend, Mary, found this little gem and invited a group of friends (several months in advance, which is necessary due to its popularity) to bring a few bottles of wine and dine Italiano style (complete with clear plastic covered dining table cloth!).

murante-kitchen-table

Are you ready to see all the amazing food?!
A special thanks to Mary and Jill for sharing their iPhone photos with me to feature here.

I may have forgotten to bring my camera…
my iPhone may have been down to 3% battery…
and I may have been a bit too tipsy on red wine and sweet red sauce to take clear photos, but they were awesome to share!

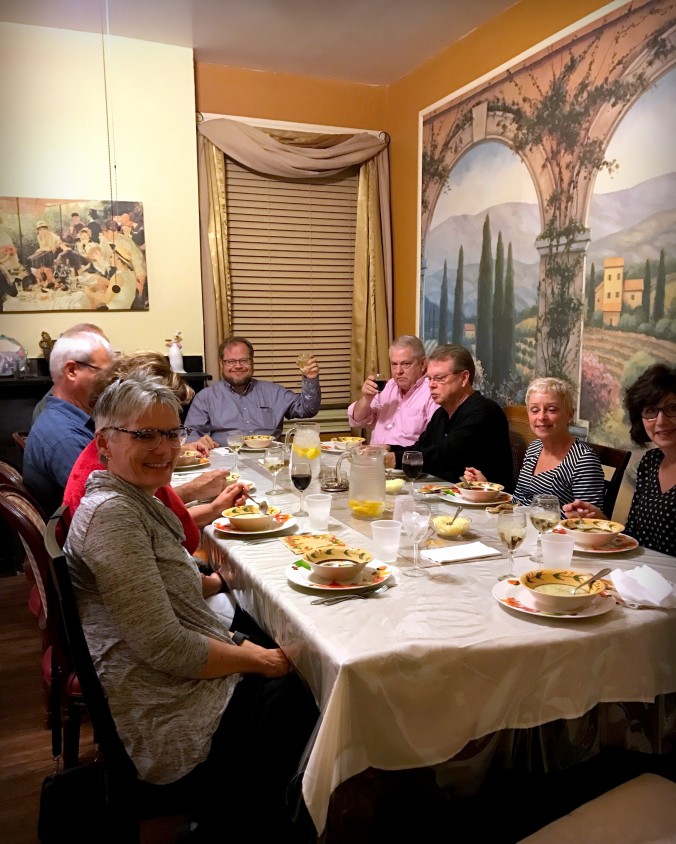
We arrived at 6 pm and climbed the stairs to the “apartment” above the shop.  We were escorted to the parlor where wine glasses and cork screws awaited our unloading of a “few” bottles of BYOB wine.

merante-wine

An amazing array of appetizers was served…
Seriously enough for a meal, and we could have been done!

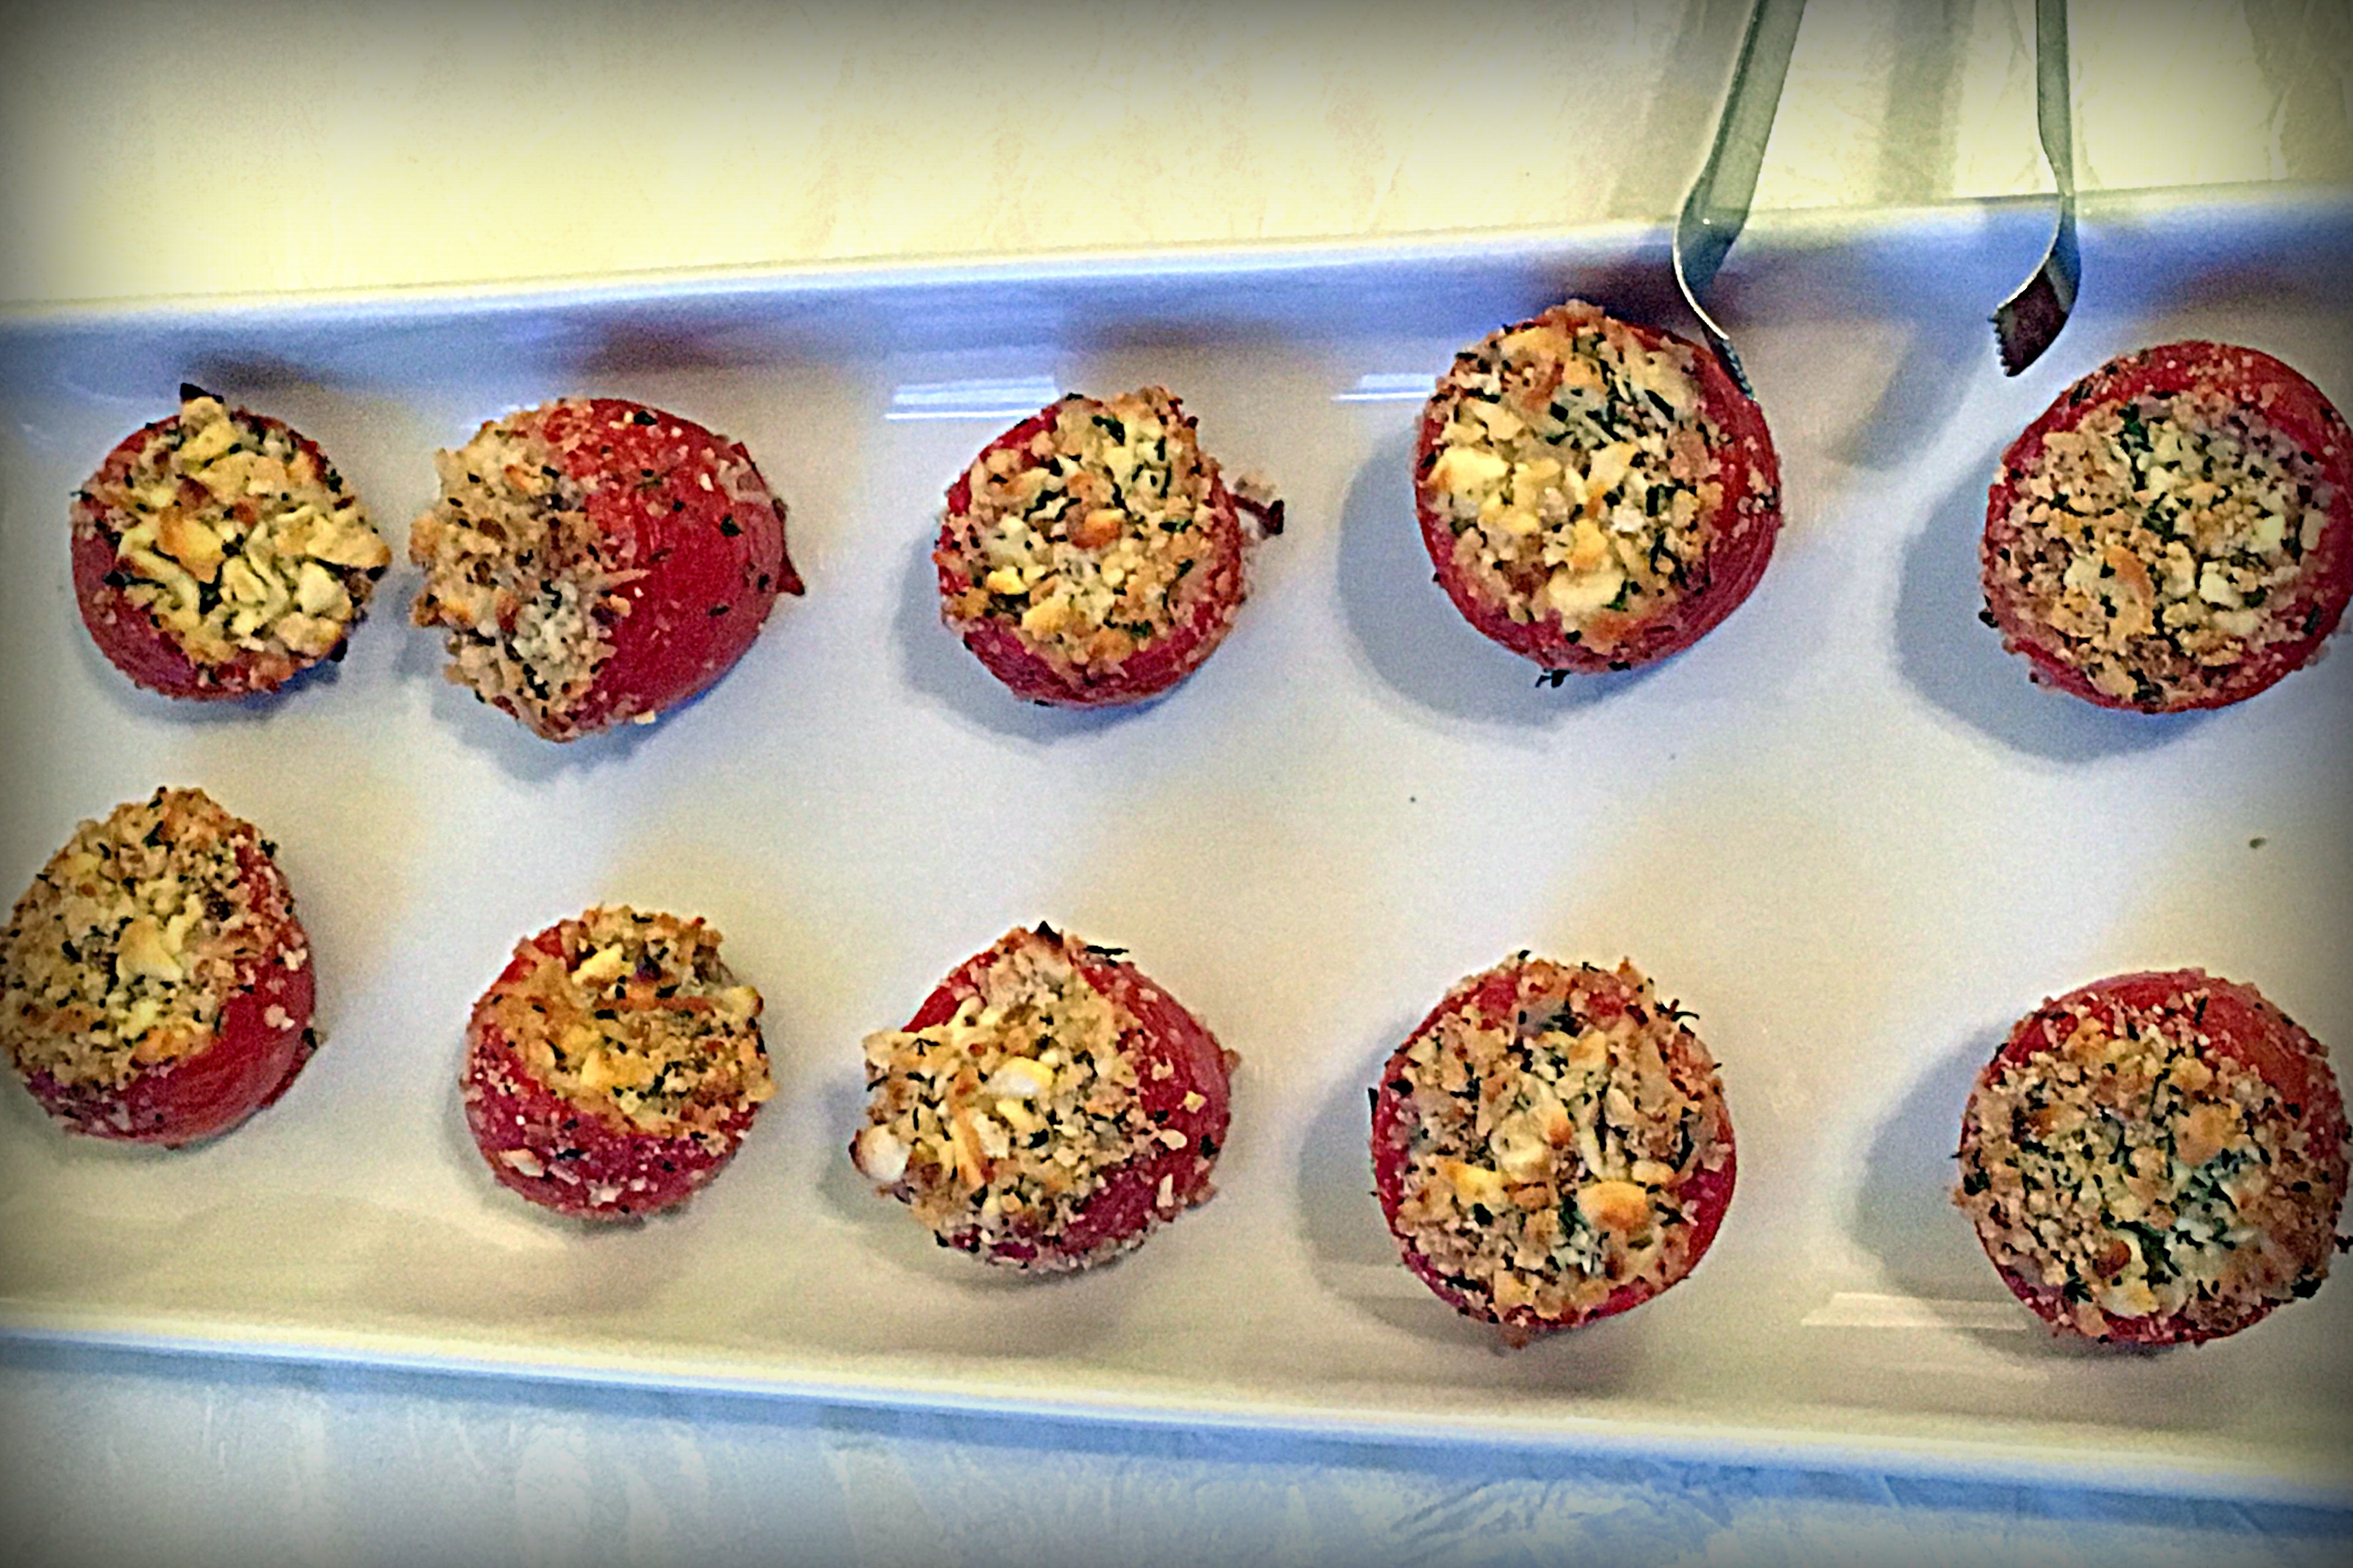
There were stuffed mushrooms…

murante-stuffed-mushrooms

and stuffed tomatoes (MY FAVE!).

murante-stuffed-tomatoes

There was succulent shrimp…

murante-shrimp

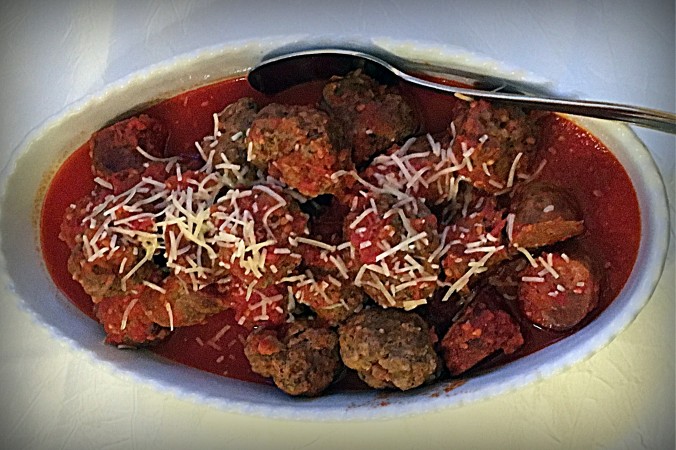
and there were spicy meatballs.

murante-meatballs

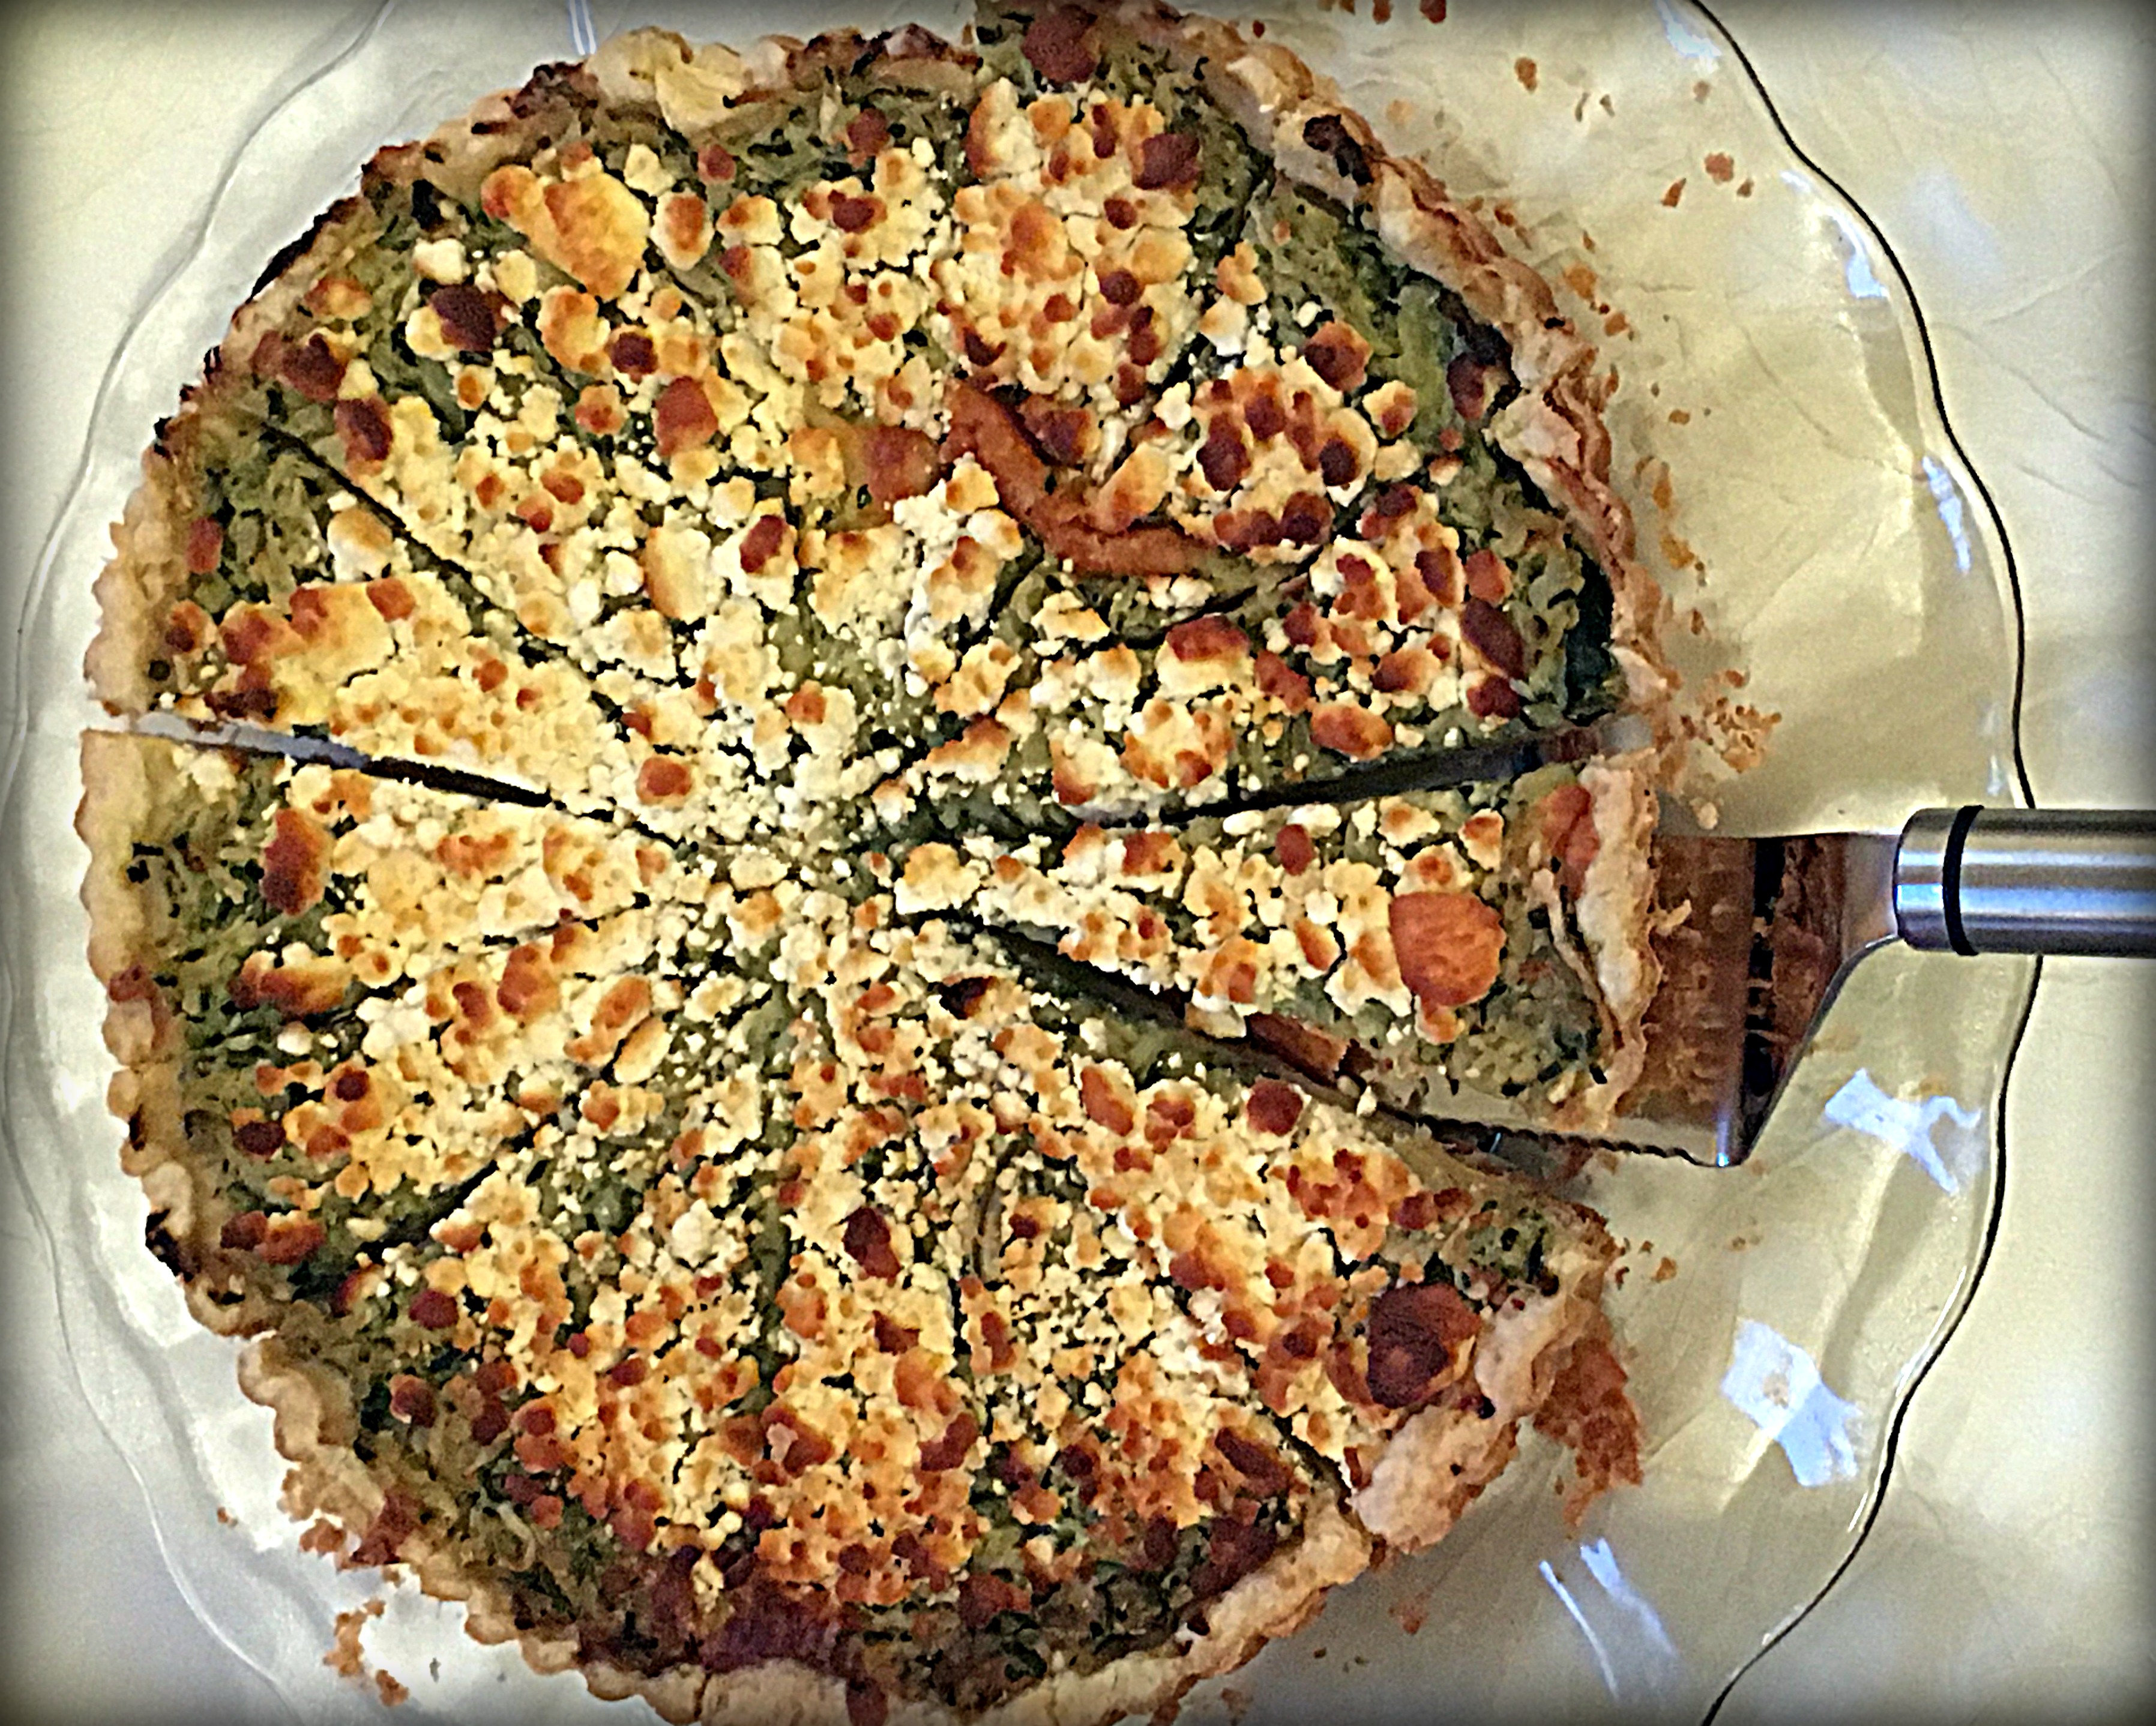
There was a cheesy quiche…

murante-quiche

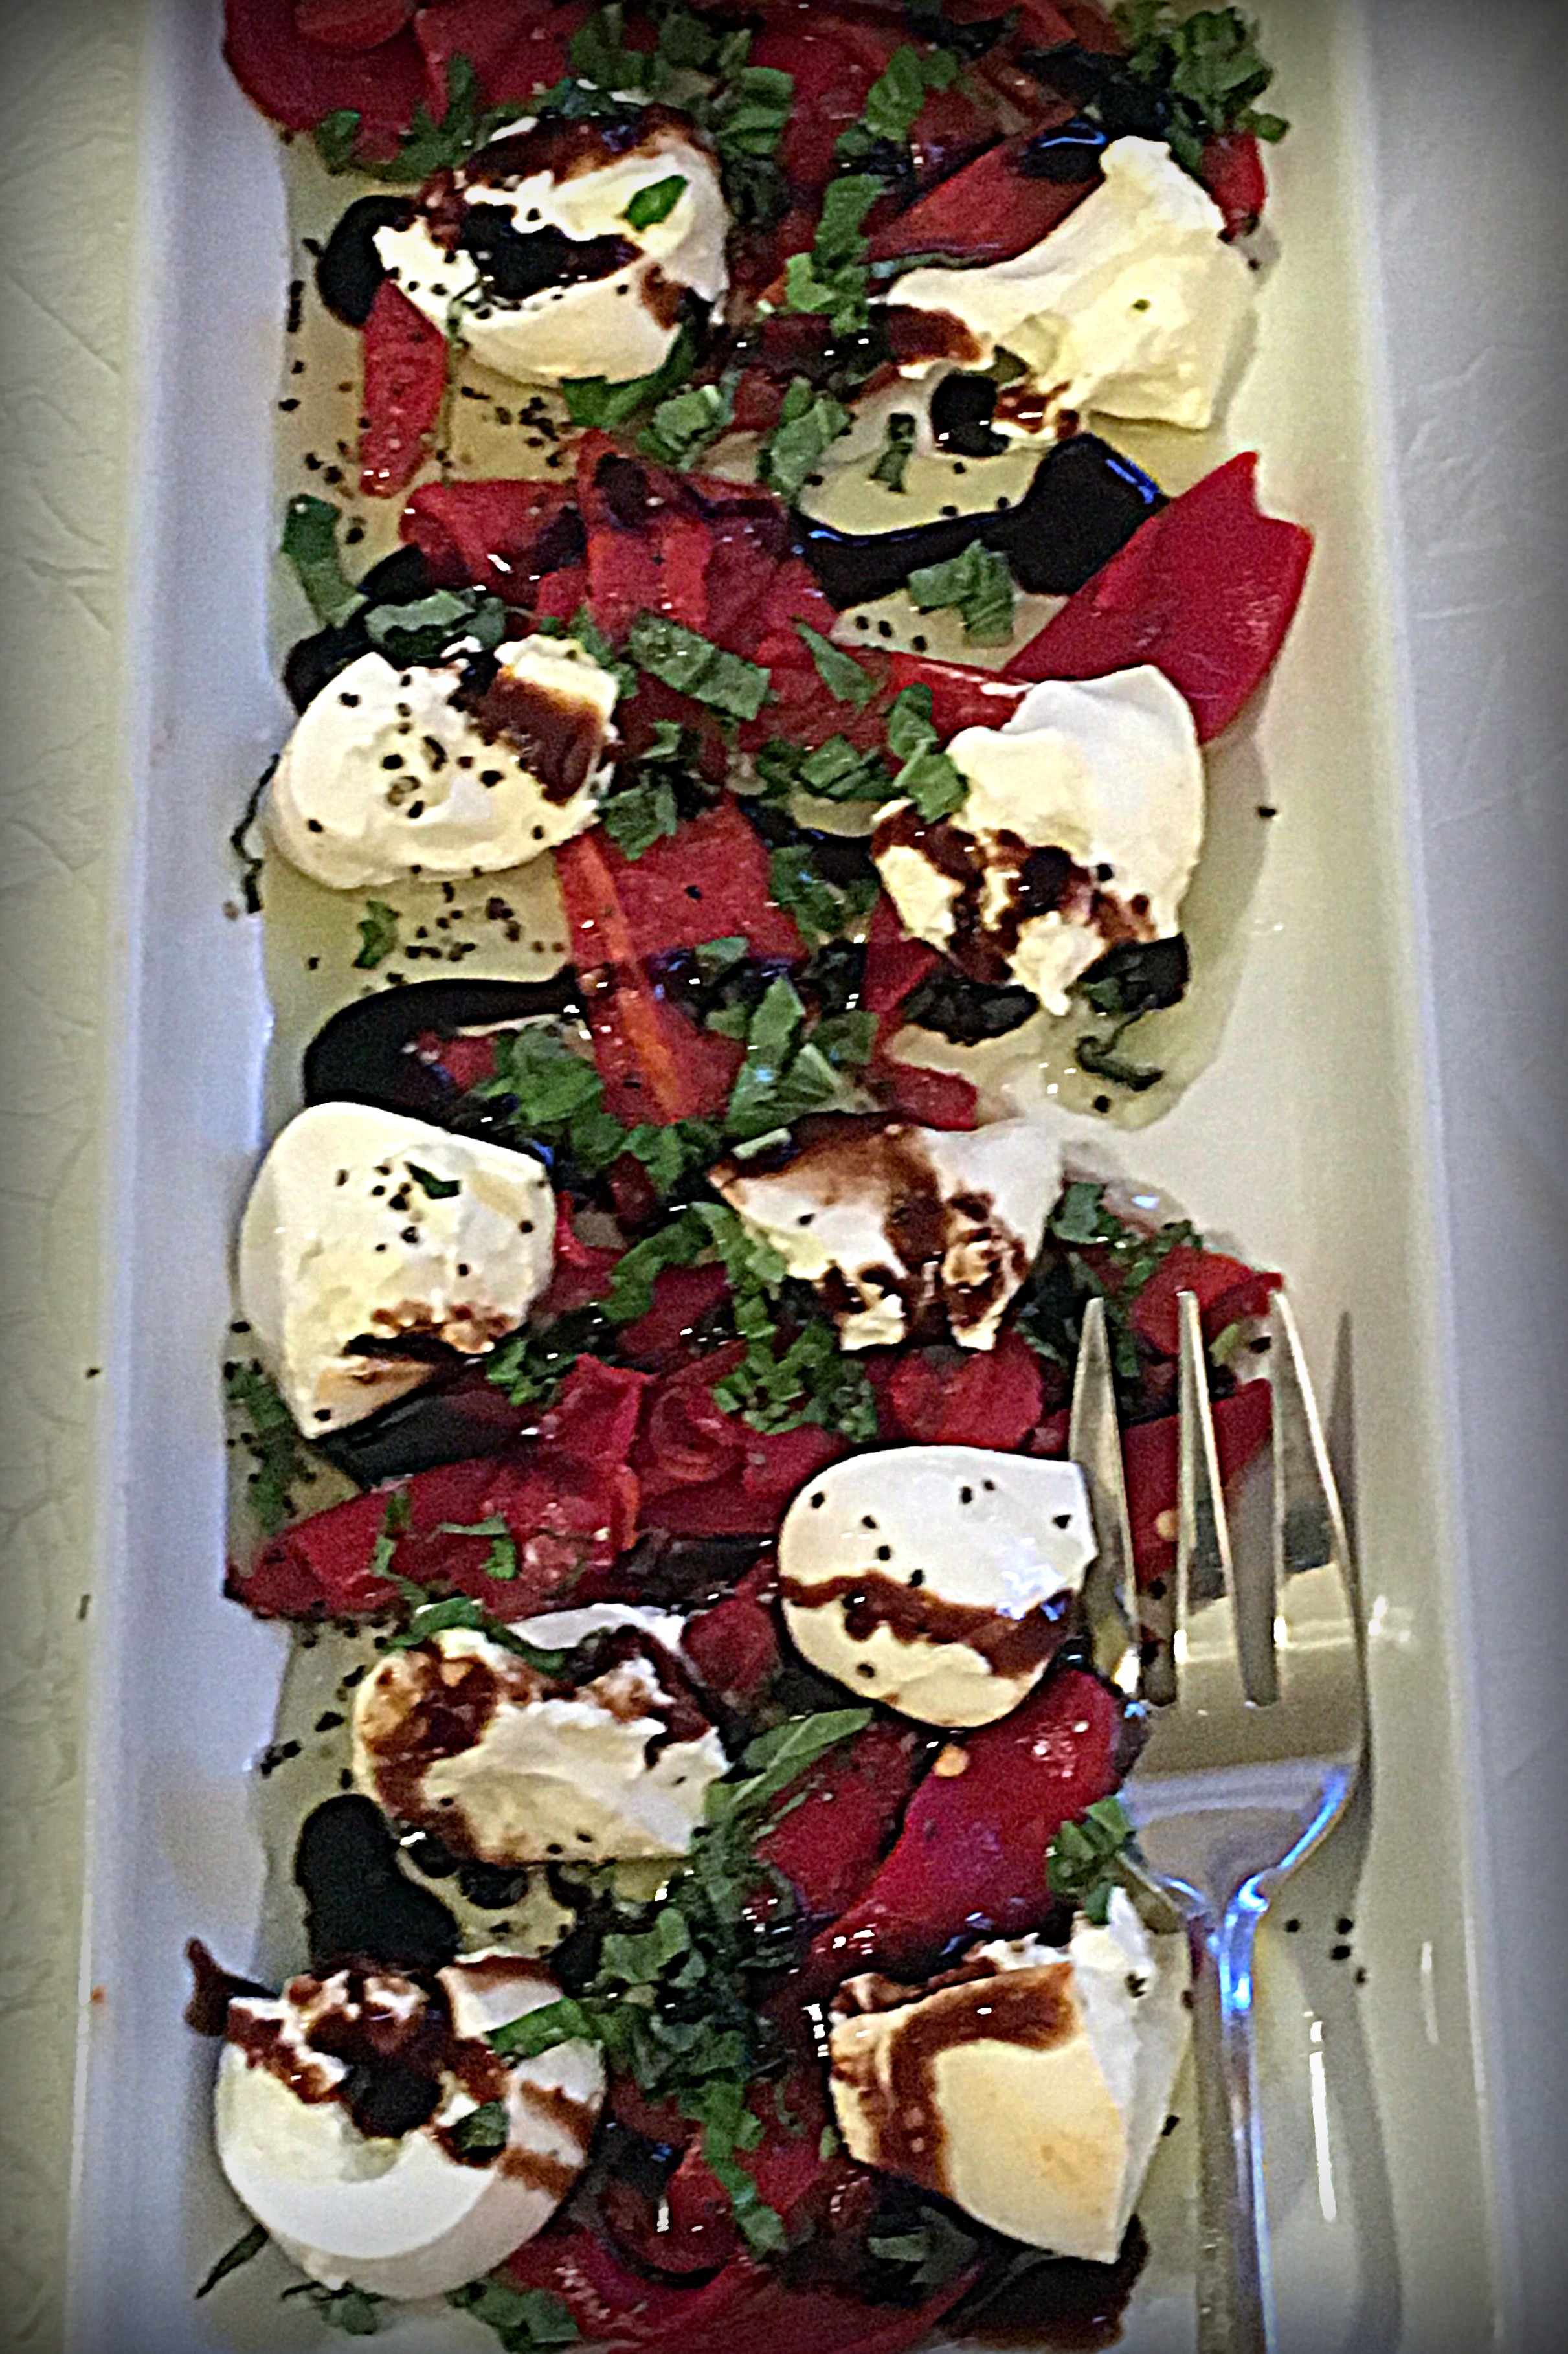
And the most divine version of Caprese with sweet roasted red peppers and plump mozzarella.

But this was only a teaser of what was to come!

murante-caprese

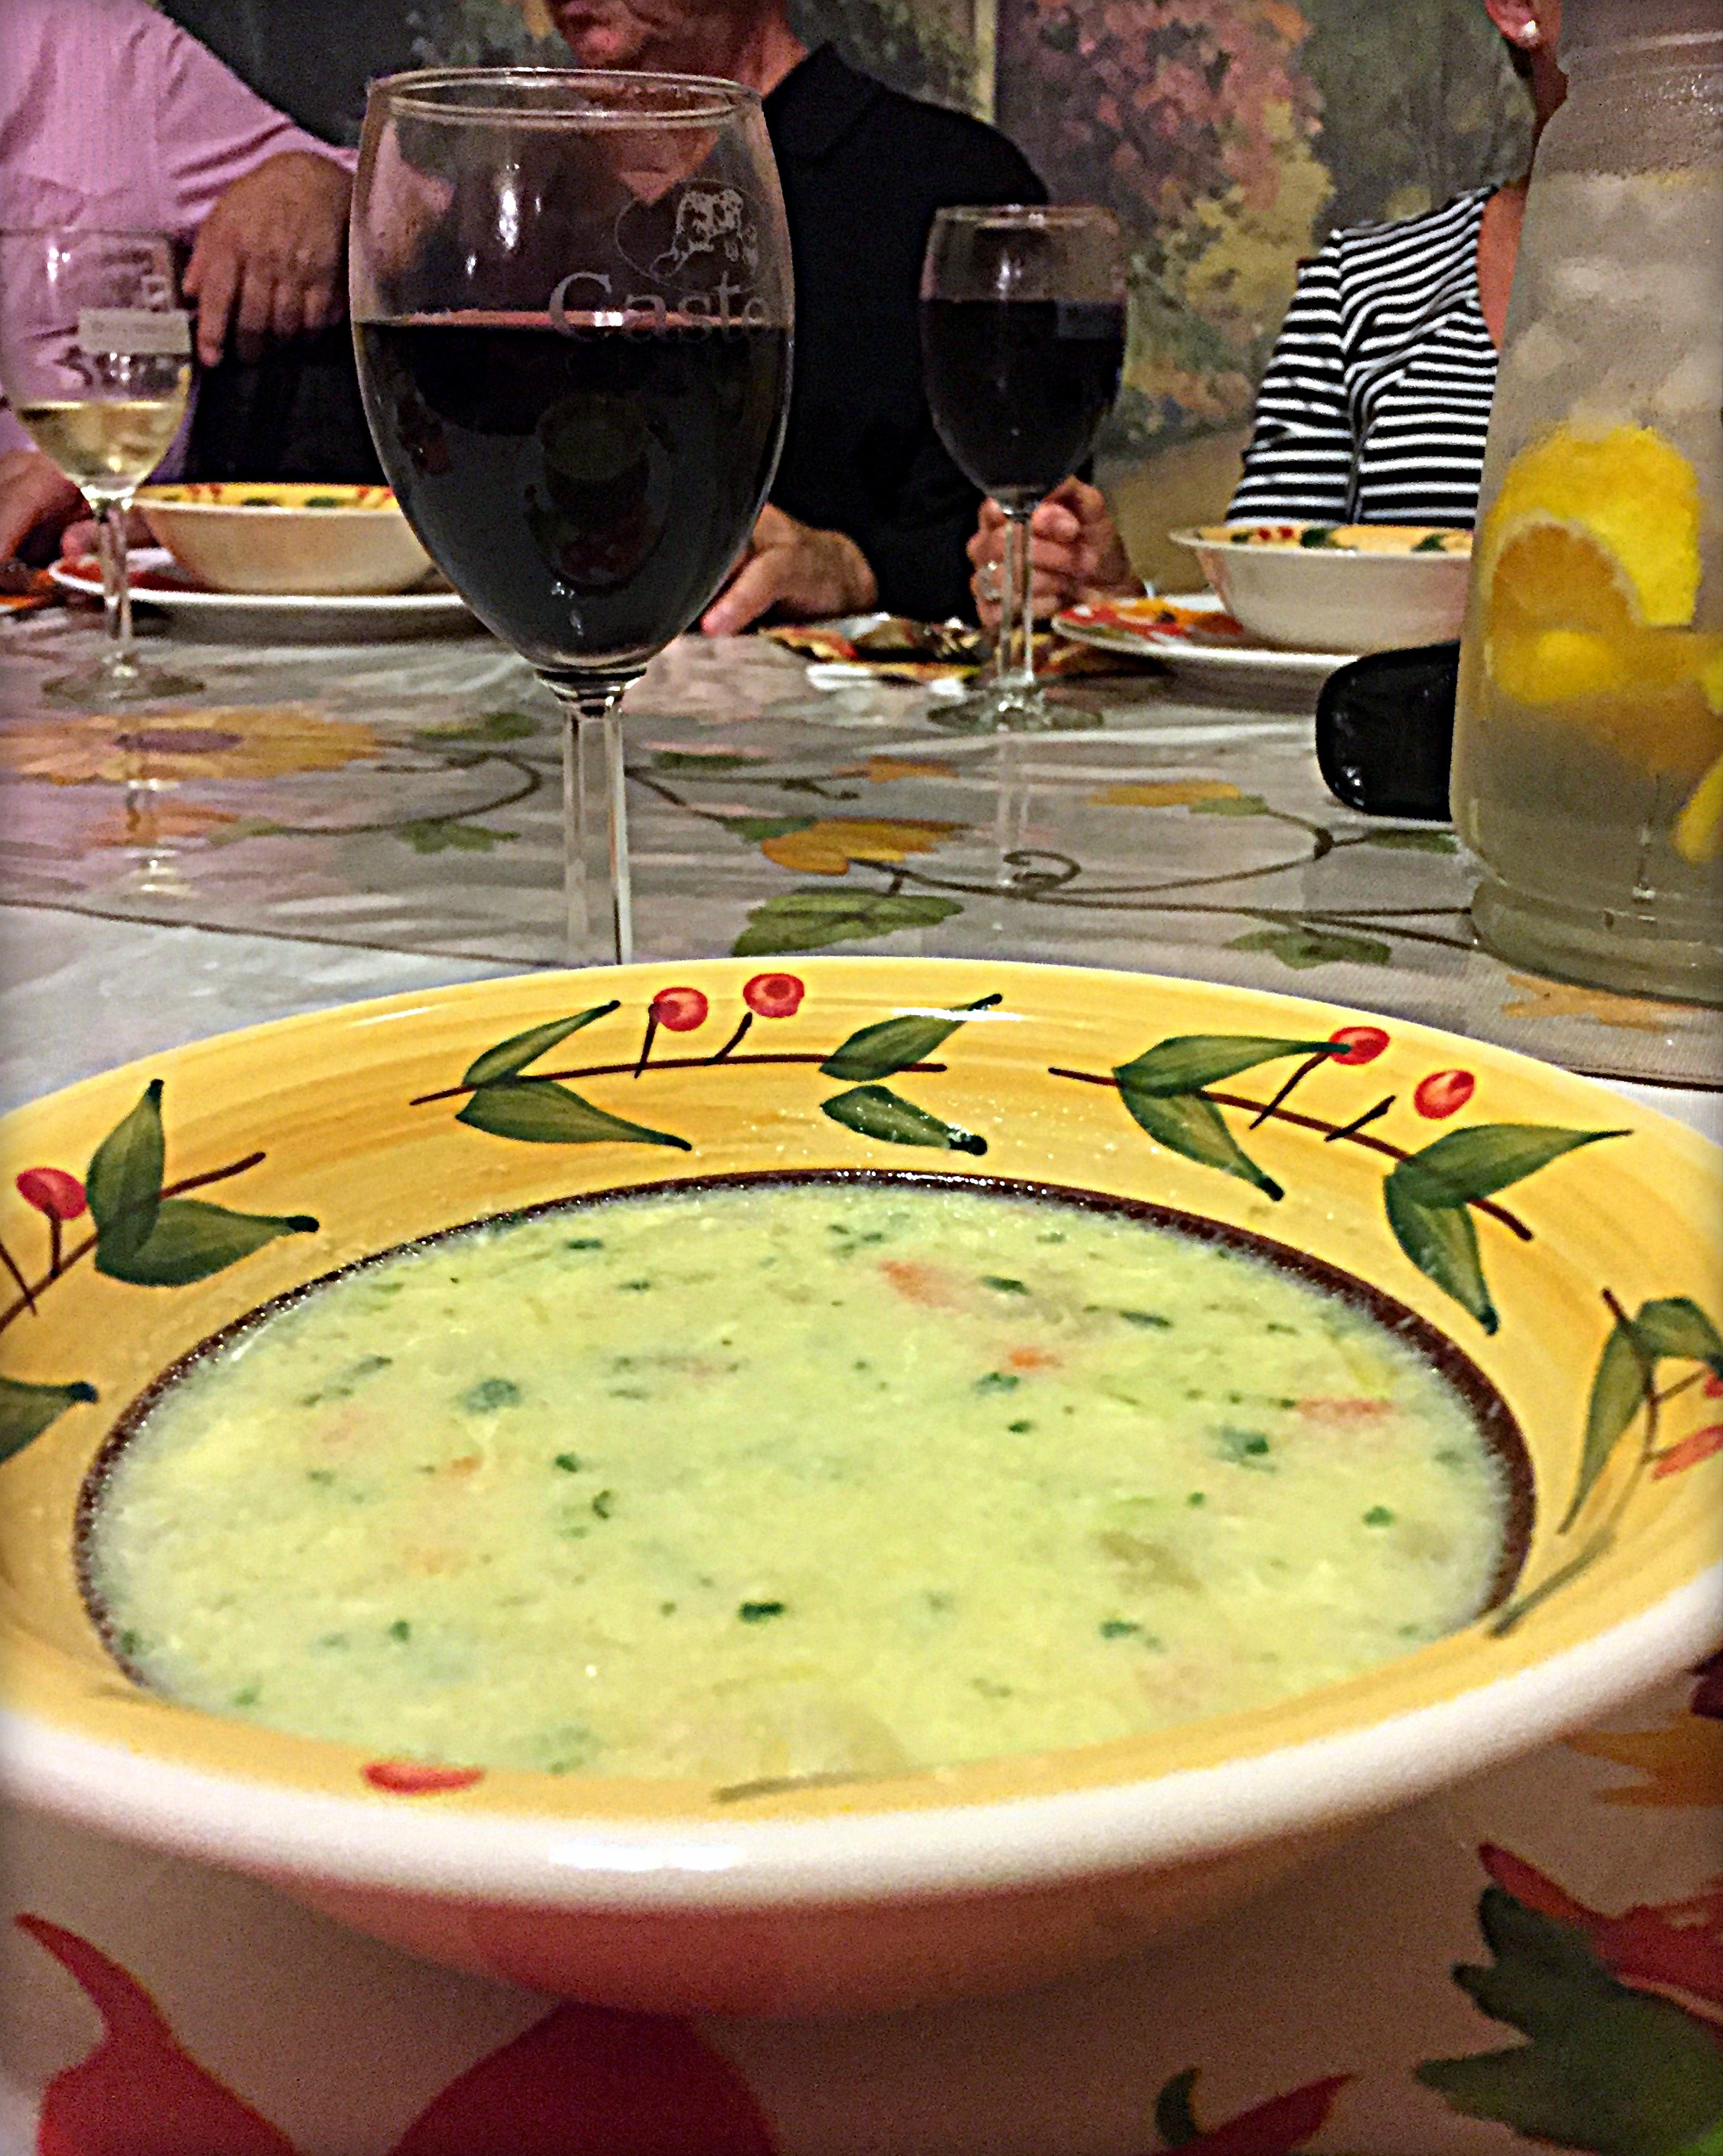
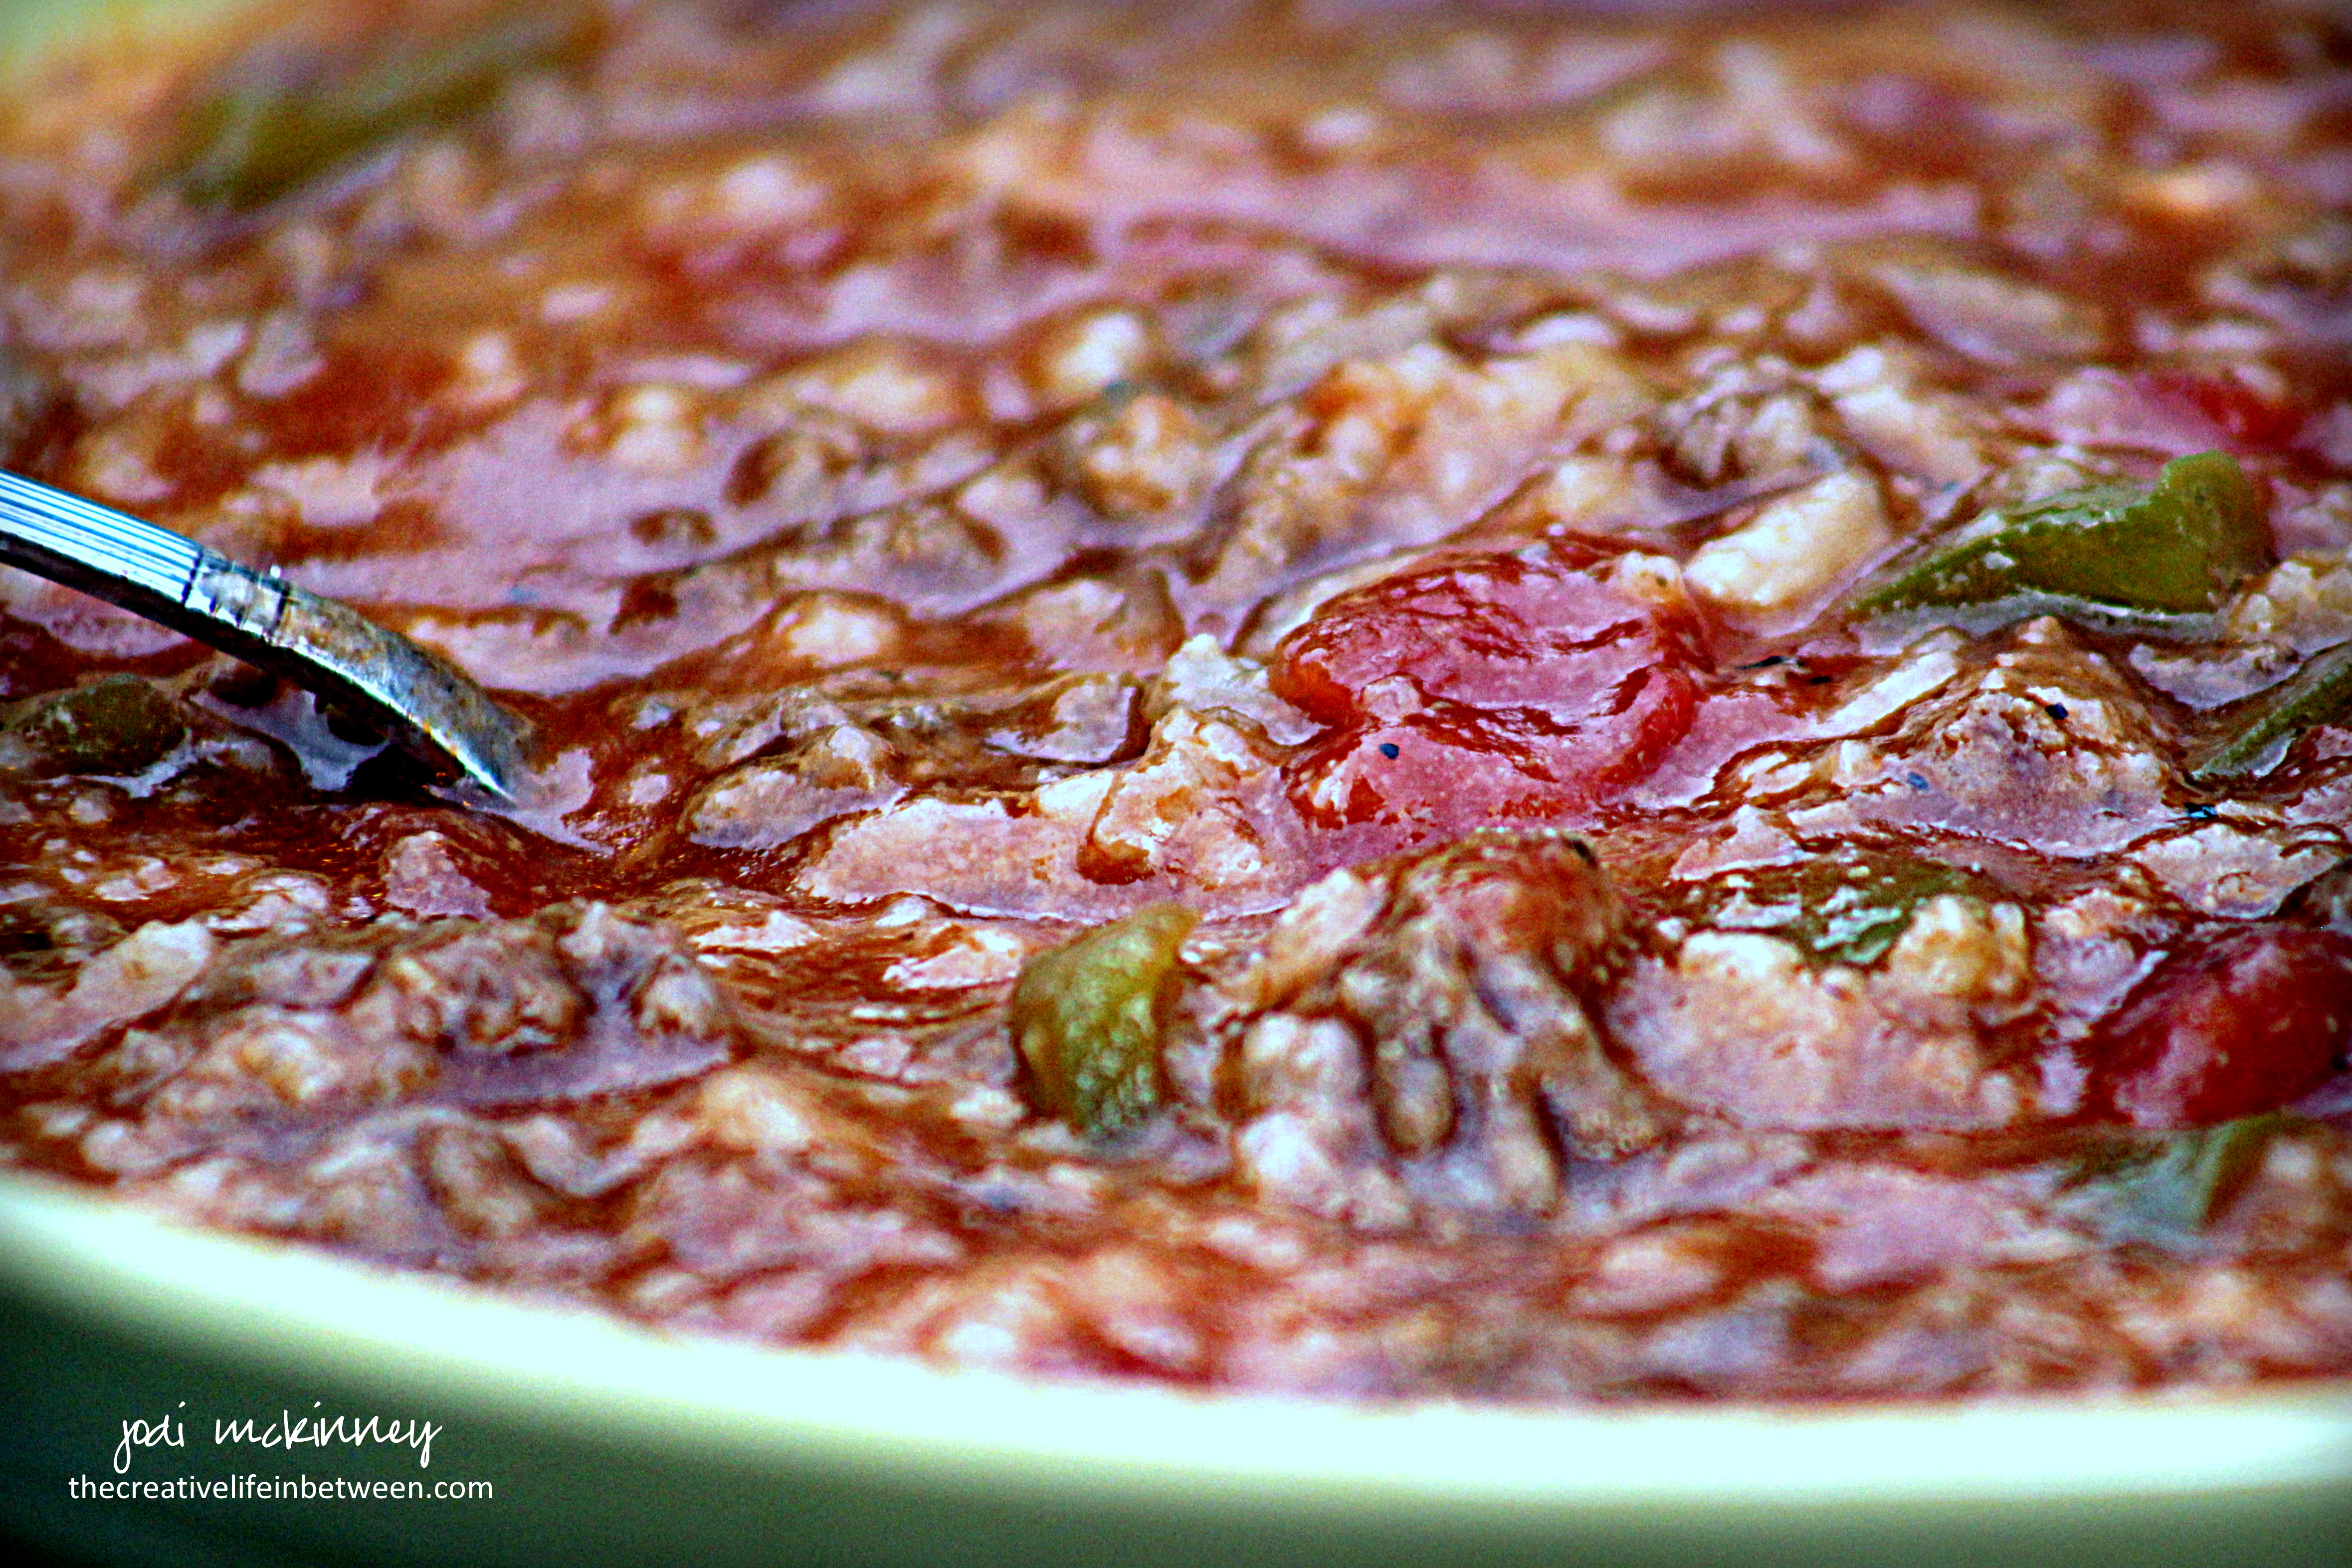
After a few cheers and intros, we moved into the kitchen where we began with the most amazing bowl of Stracciatella – an Italian soup that is made from a simple but flavorful chicken stock kept at a delicate simmer until  a creamy mixture of eggs, Parmesan cheese and Italian parsley are whisked in to form the “little threads” that take the place of pastina.  Grandma’s polish version was called “Egg Drop” soup.

murante-soup

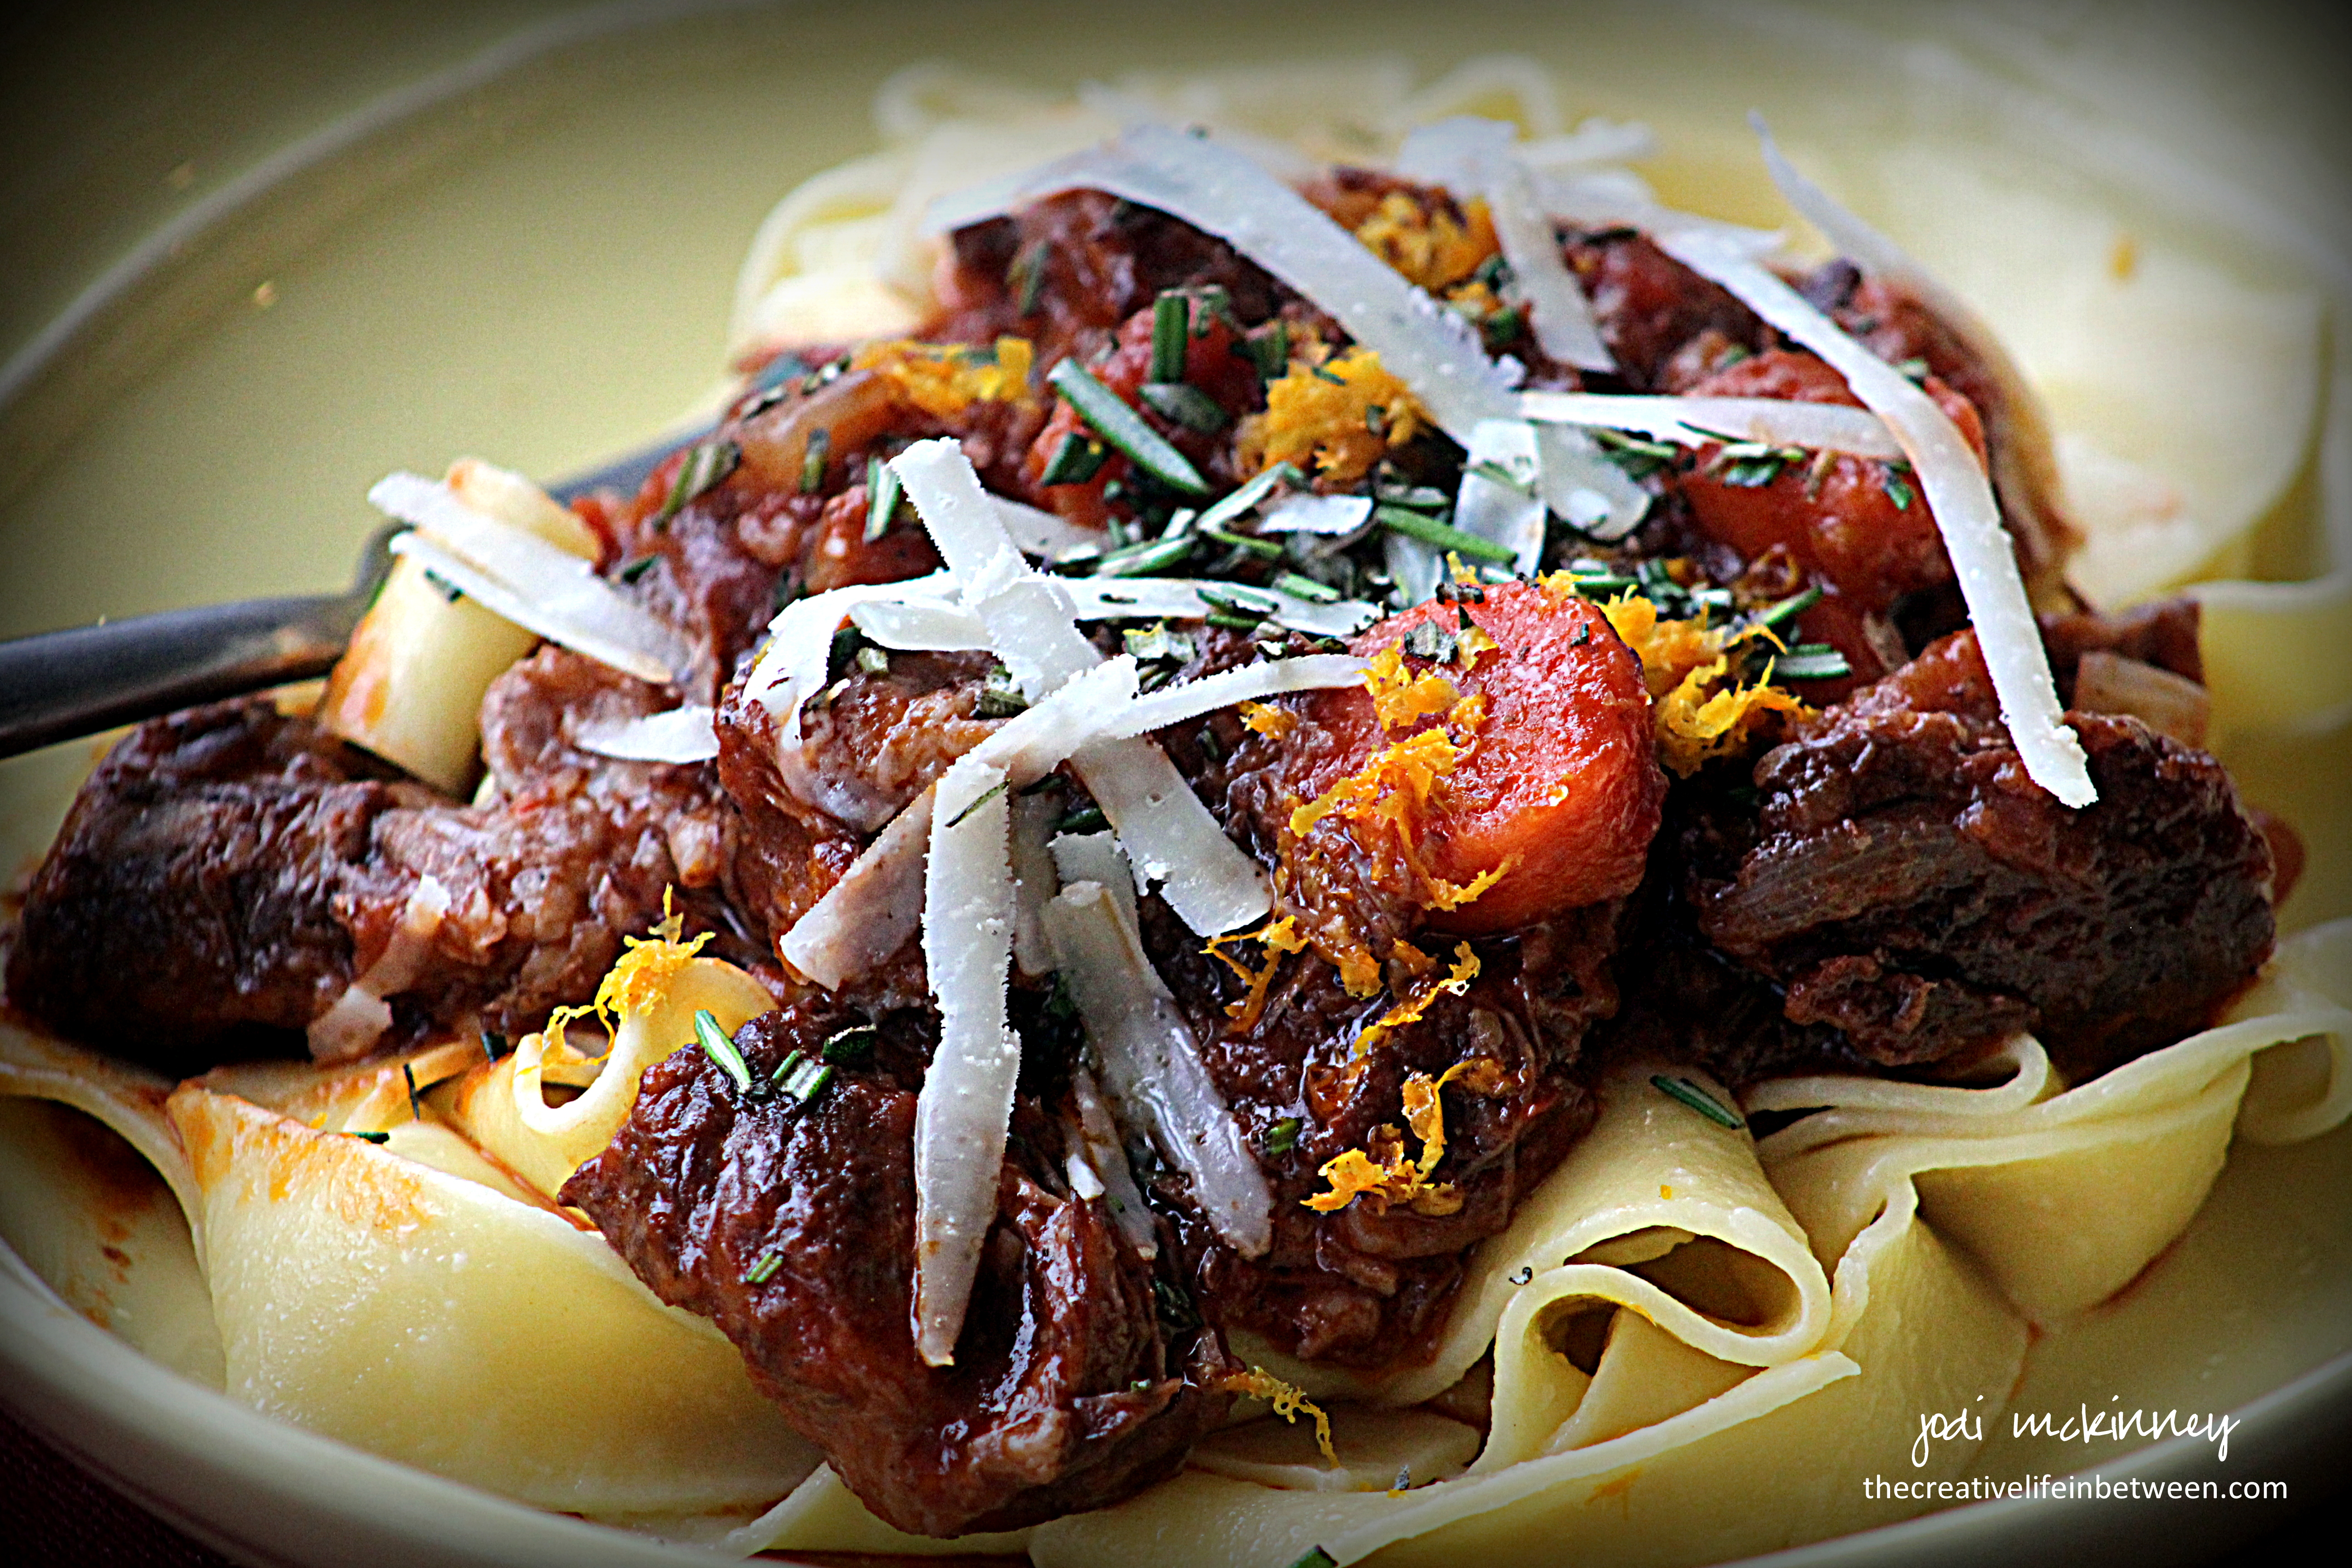
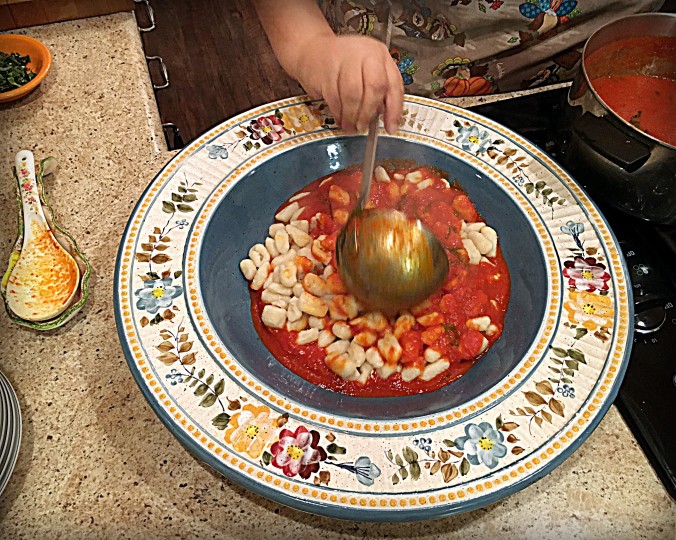
This may have been my favorite course, if it weren’t for the next, which was the pasta course!  Gnocchi alla Sorrentina is Maria’s handmade ricotta gnocchi gently turned with her creamy, dreamy red sauce and topped with tiny bits of fresh mozzarella and fresh basil.  THIS was absolutely my favorite course!

murante-gnocci

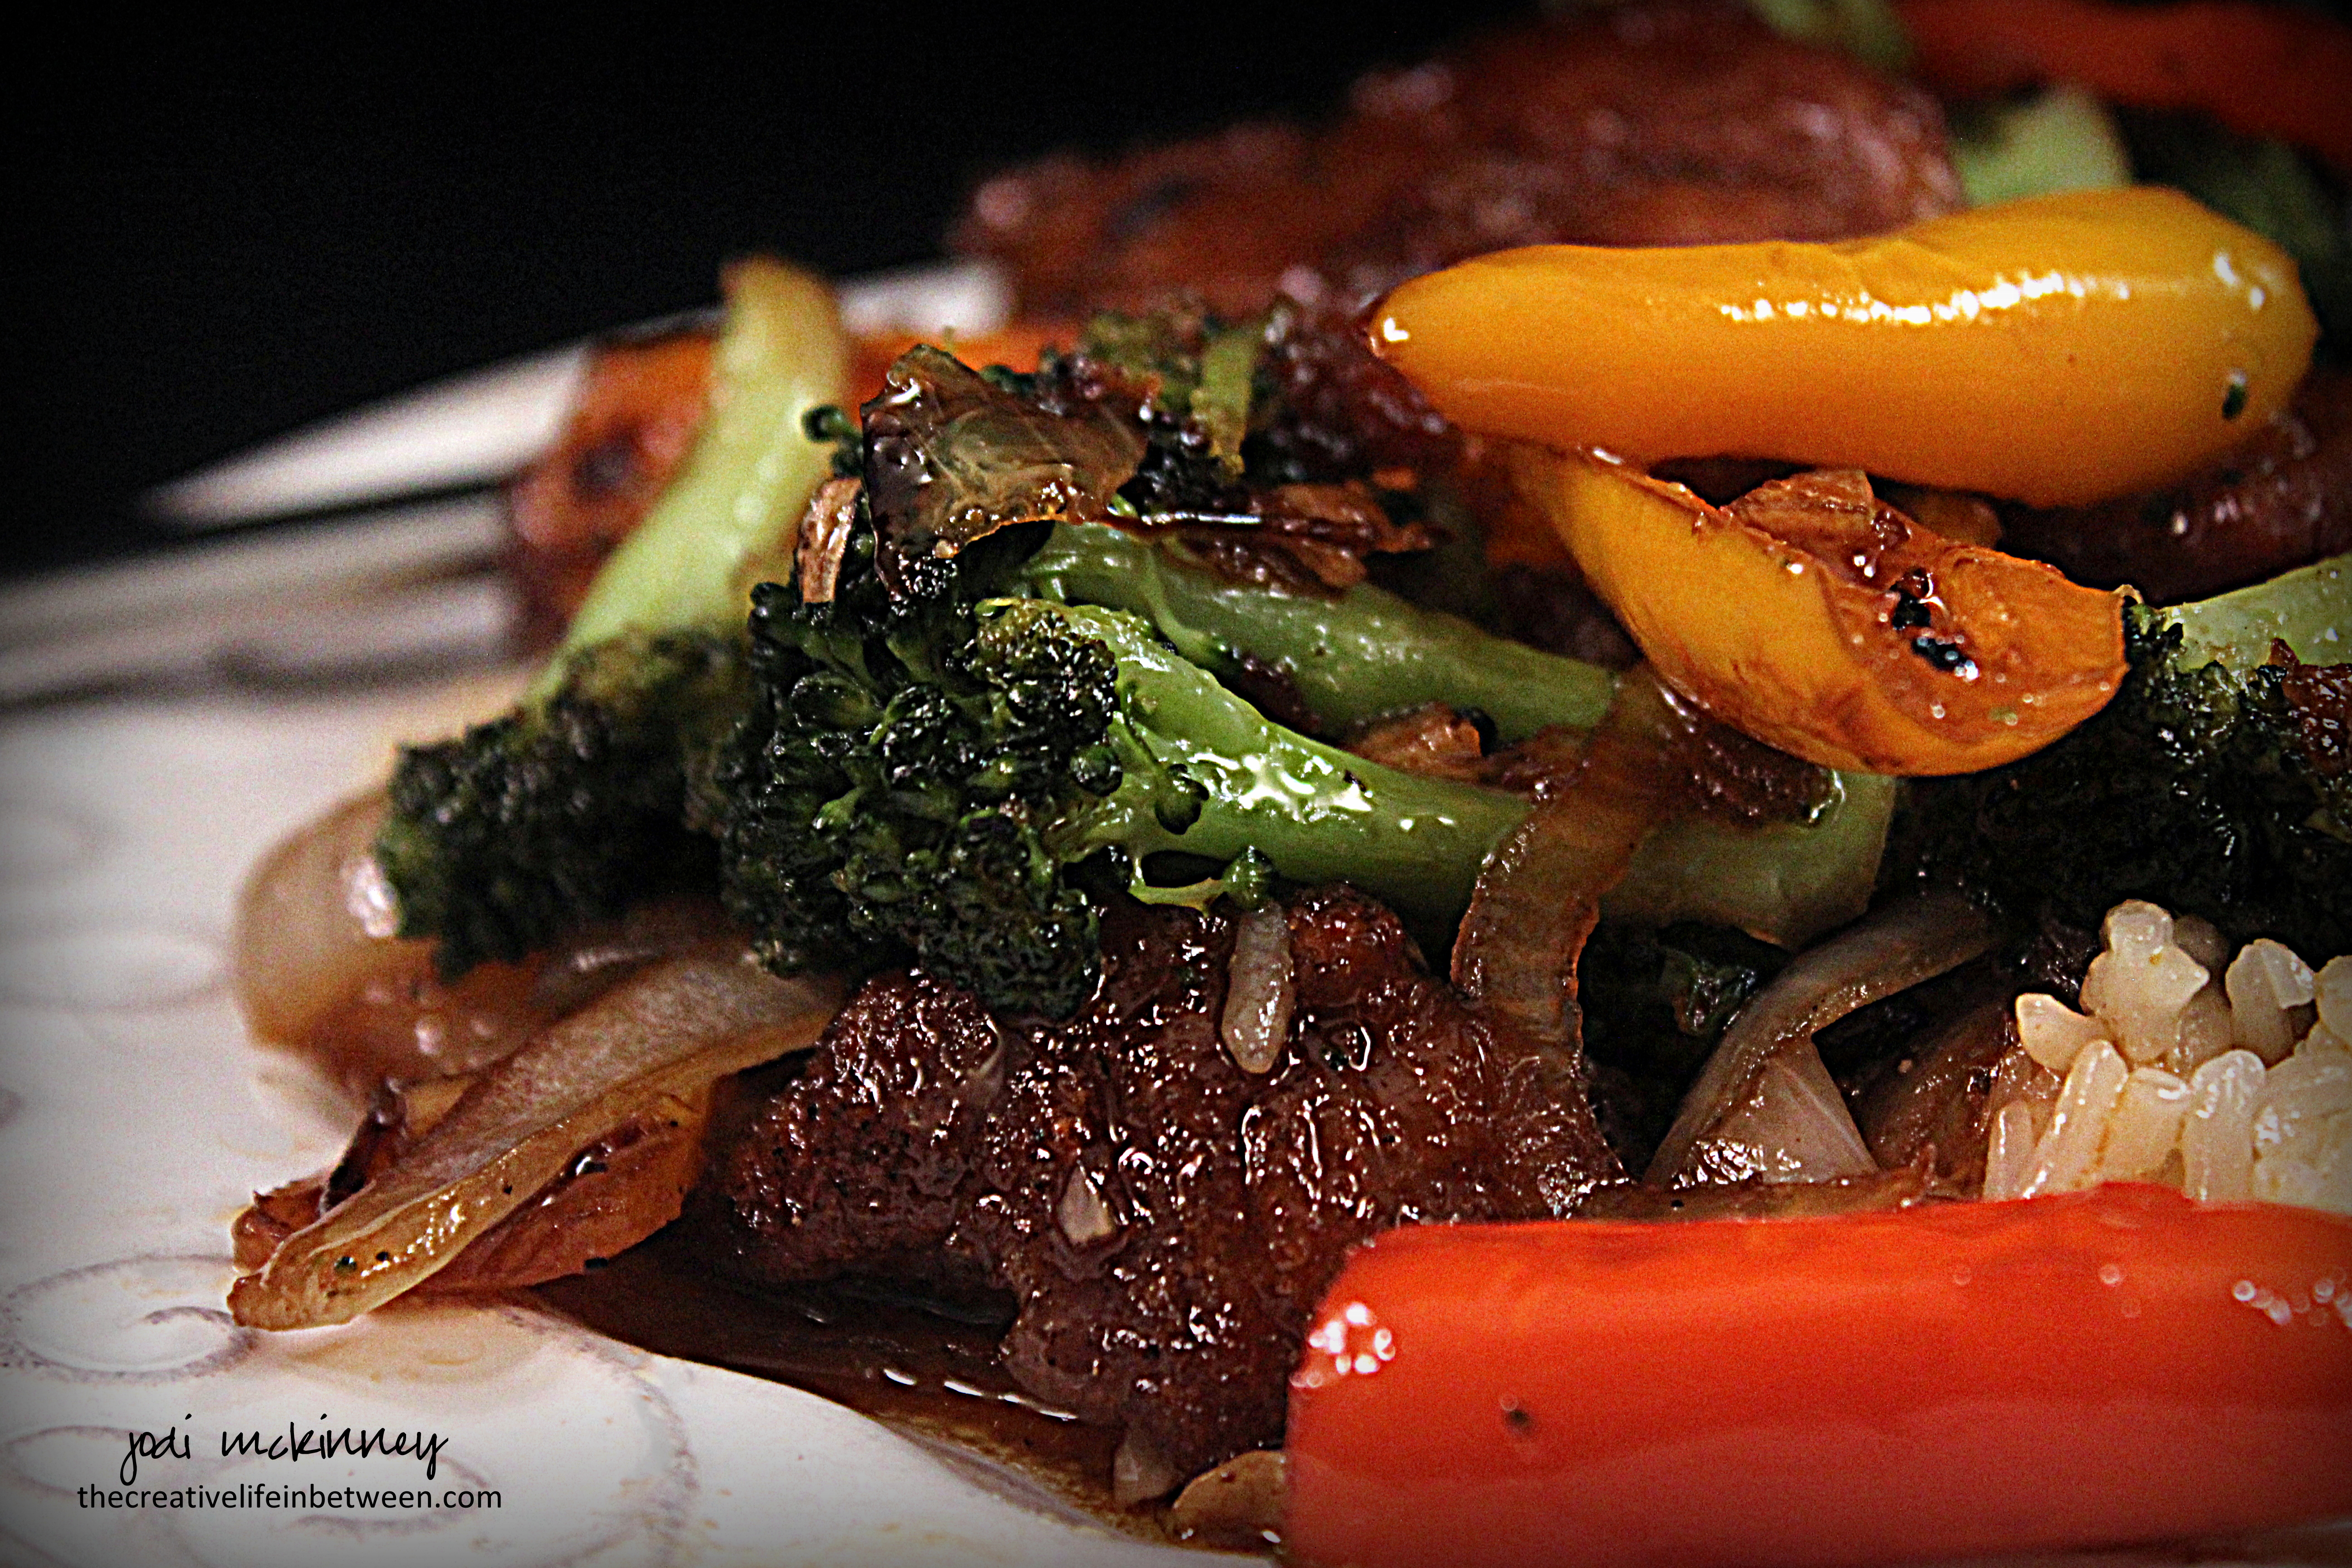
As if we weren’t absolutely full-bellied by now, the main course was served next.  Mary chose the juicy, tender roast tenderloin of pork, which was surrounded by a ring of seasoned roasted root veggies.  My favorite was the fresh beets!

murante-pork-roast-and-roasted-vegetables

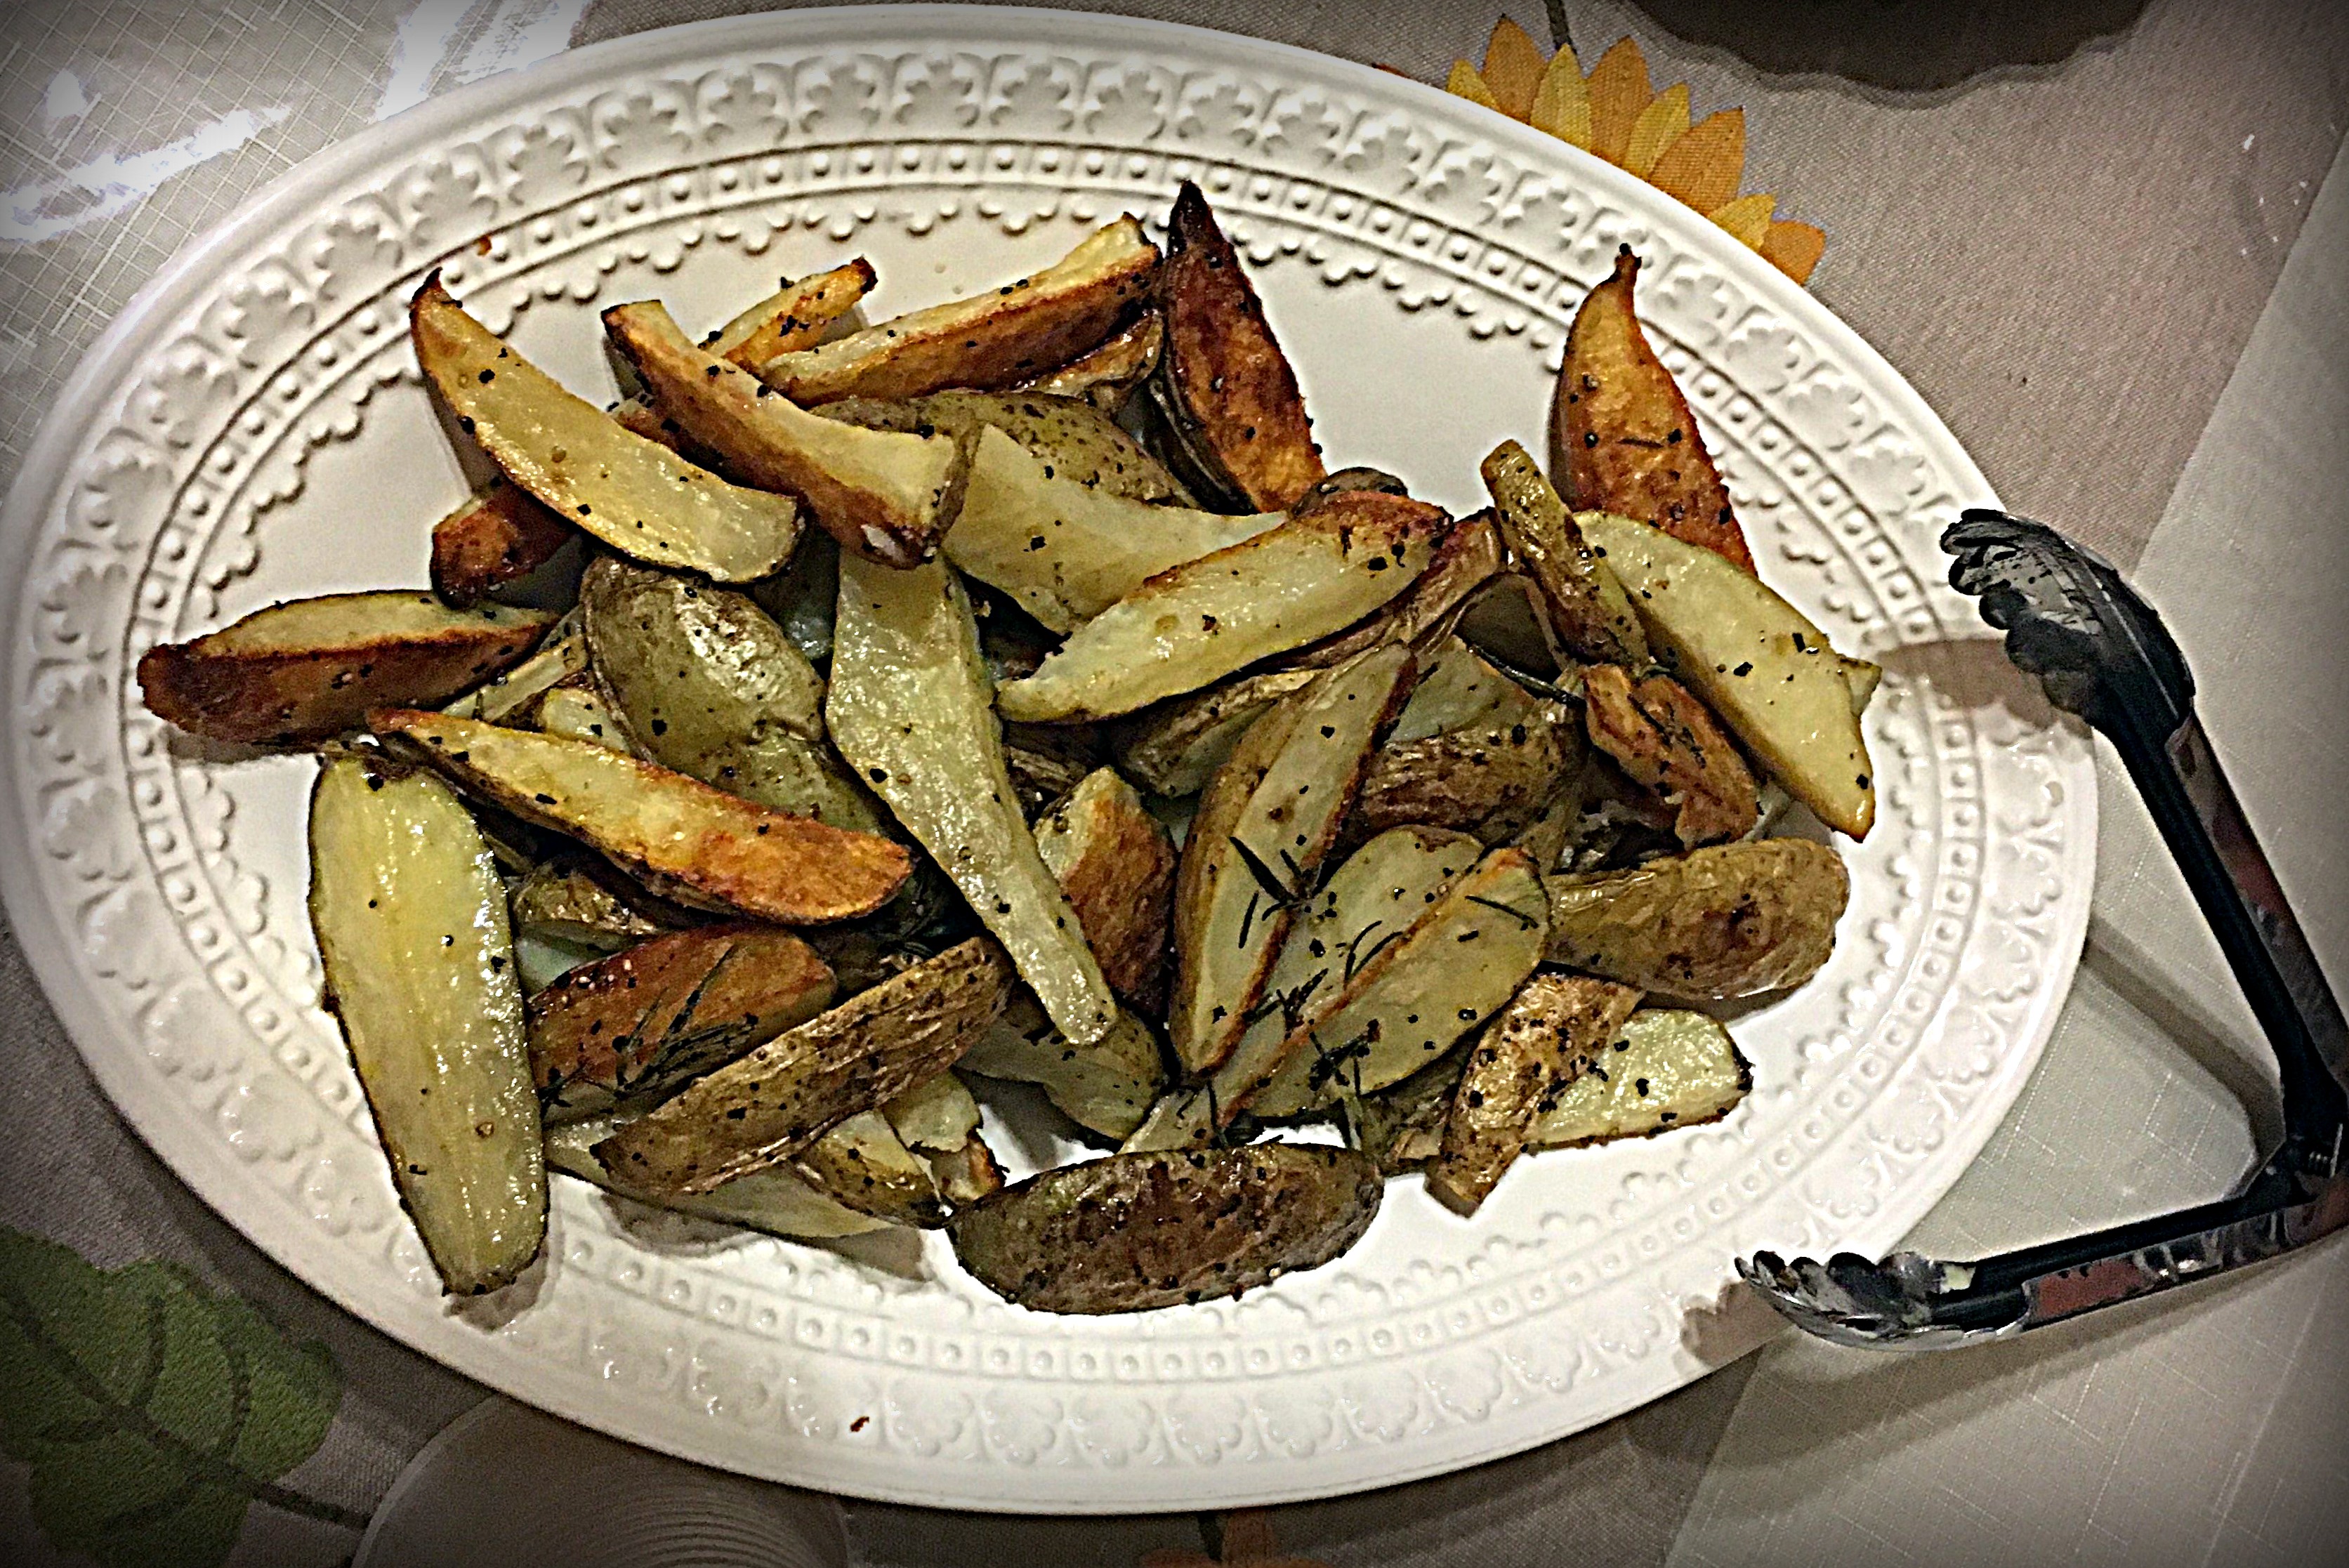
And because you get to also pick a vegetable (since cauliflower, beets, butternut squash and green beans are not enough!), we also had rosemary roasted potatoes.

murante-potatoes

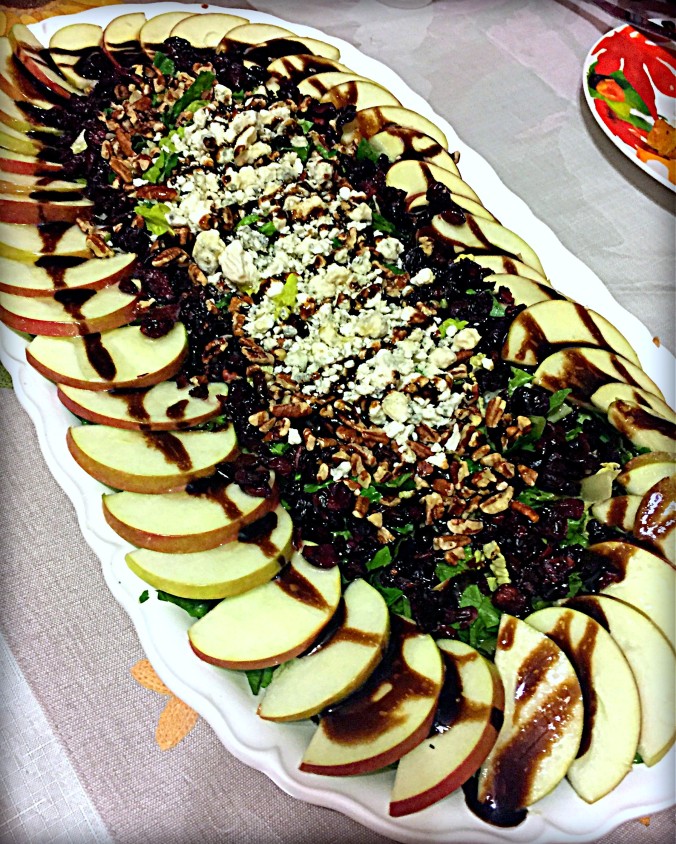
In true Italian style, the salad was served next (last before dessert), which is completely opposite of how most American restaurants serve salad first.  And this salad….  OMG…. if I weren’t so full, this may have won for my favorite course!  We had the most amazing Apple, Pecan, and Gorgonzola Romaine Salad with tart dried cranberries drizzled with tangy balsamic vinaigrette – a perfect combination of sweet, salty and crunchy…Yum!

murante-salad

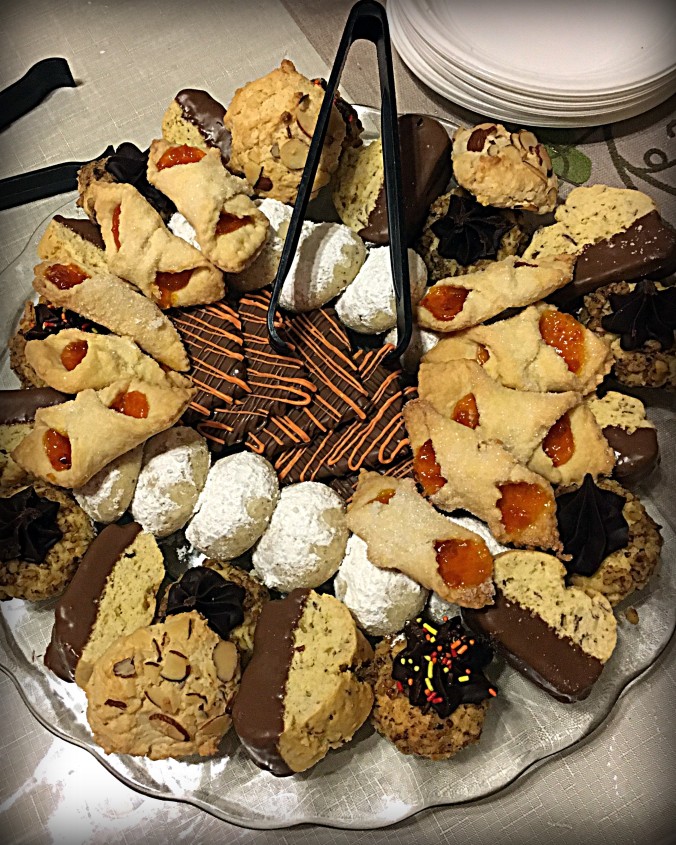
It was then time for dessert.

First, Maria placed an overflowing tray of Italian cookies in the center of the table.

murante-cookies

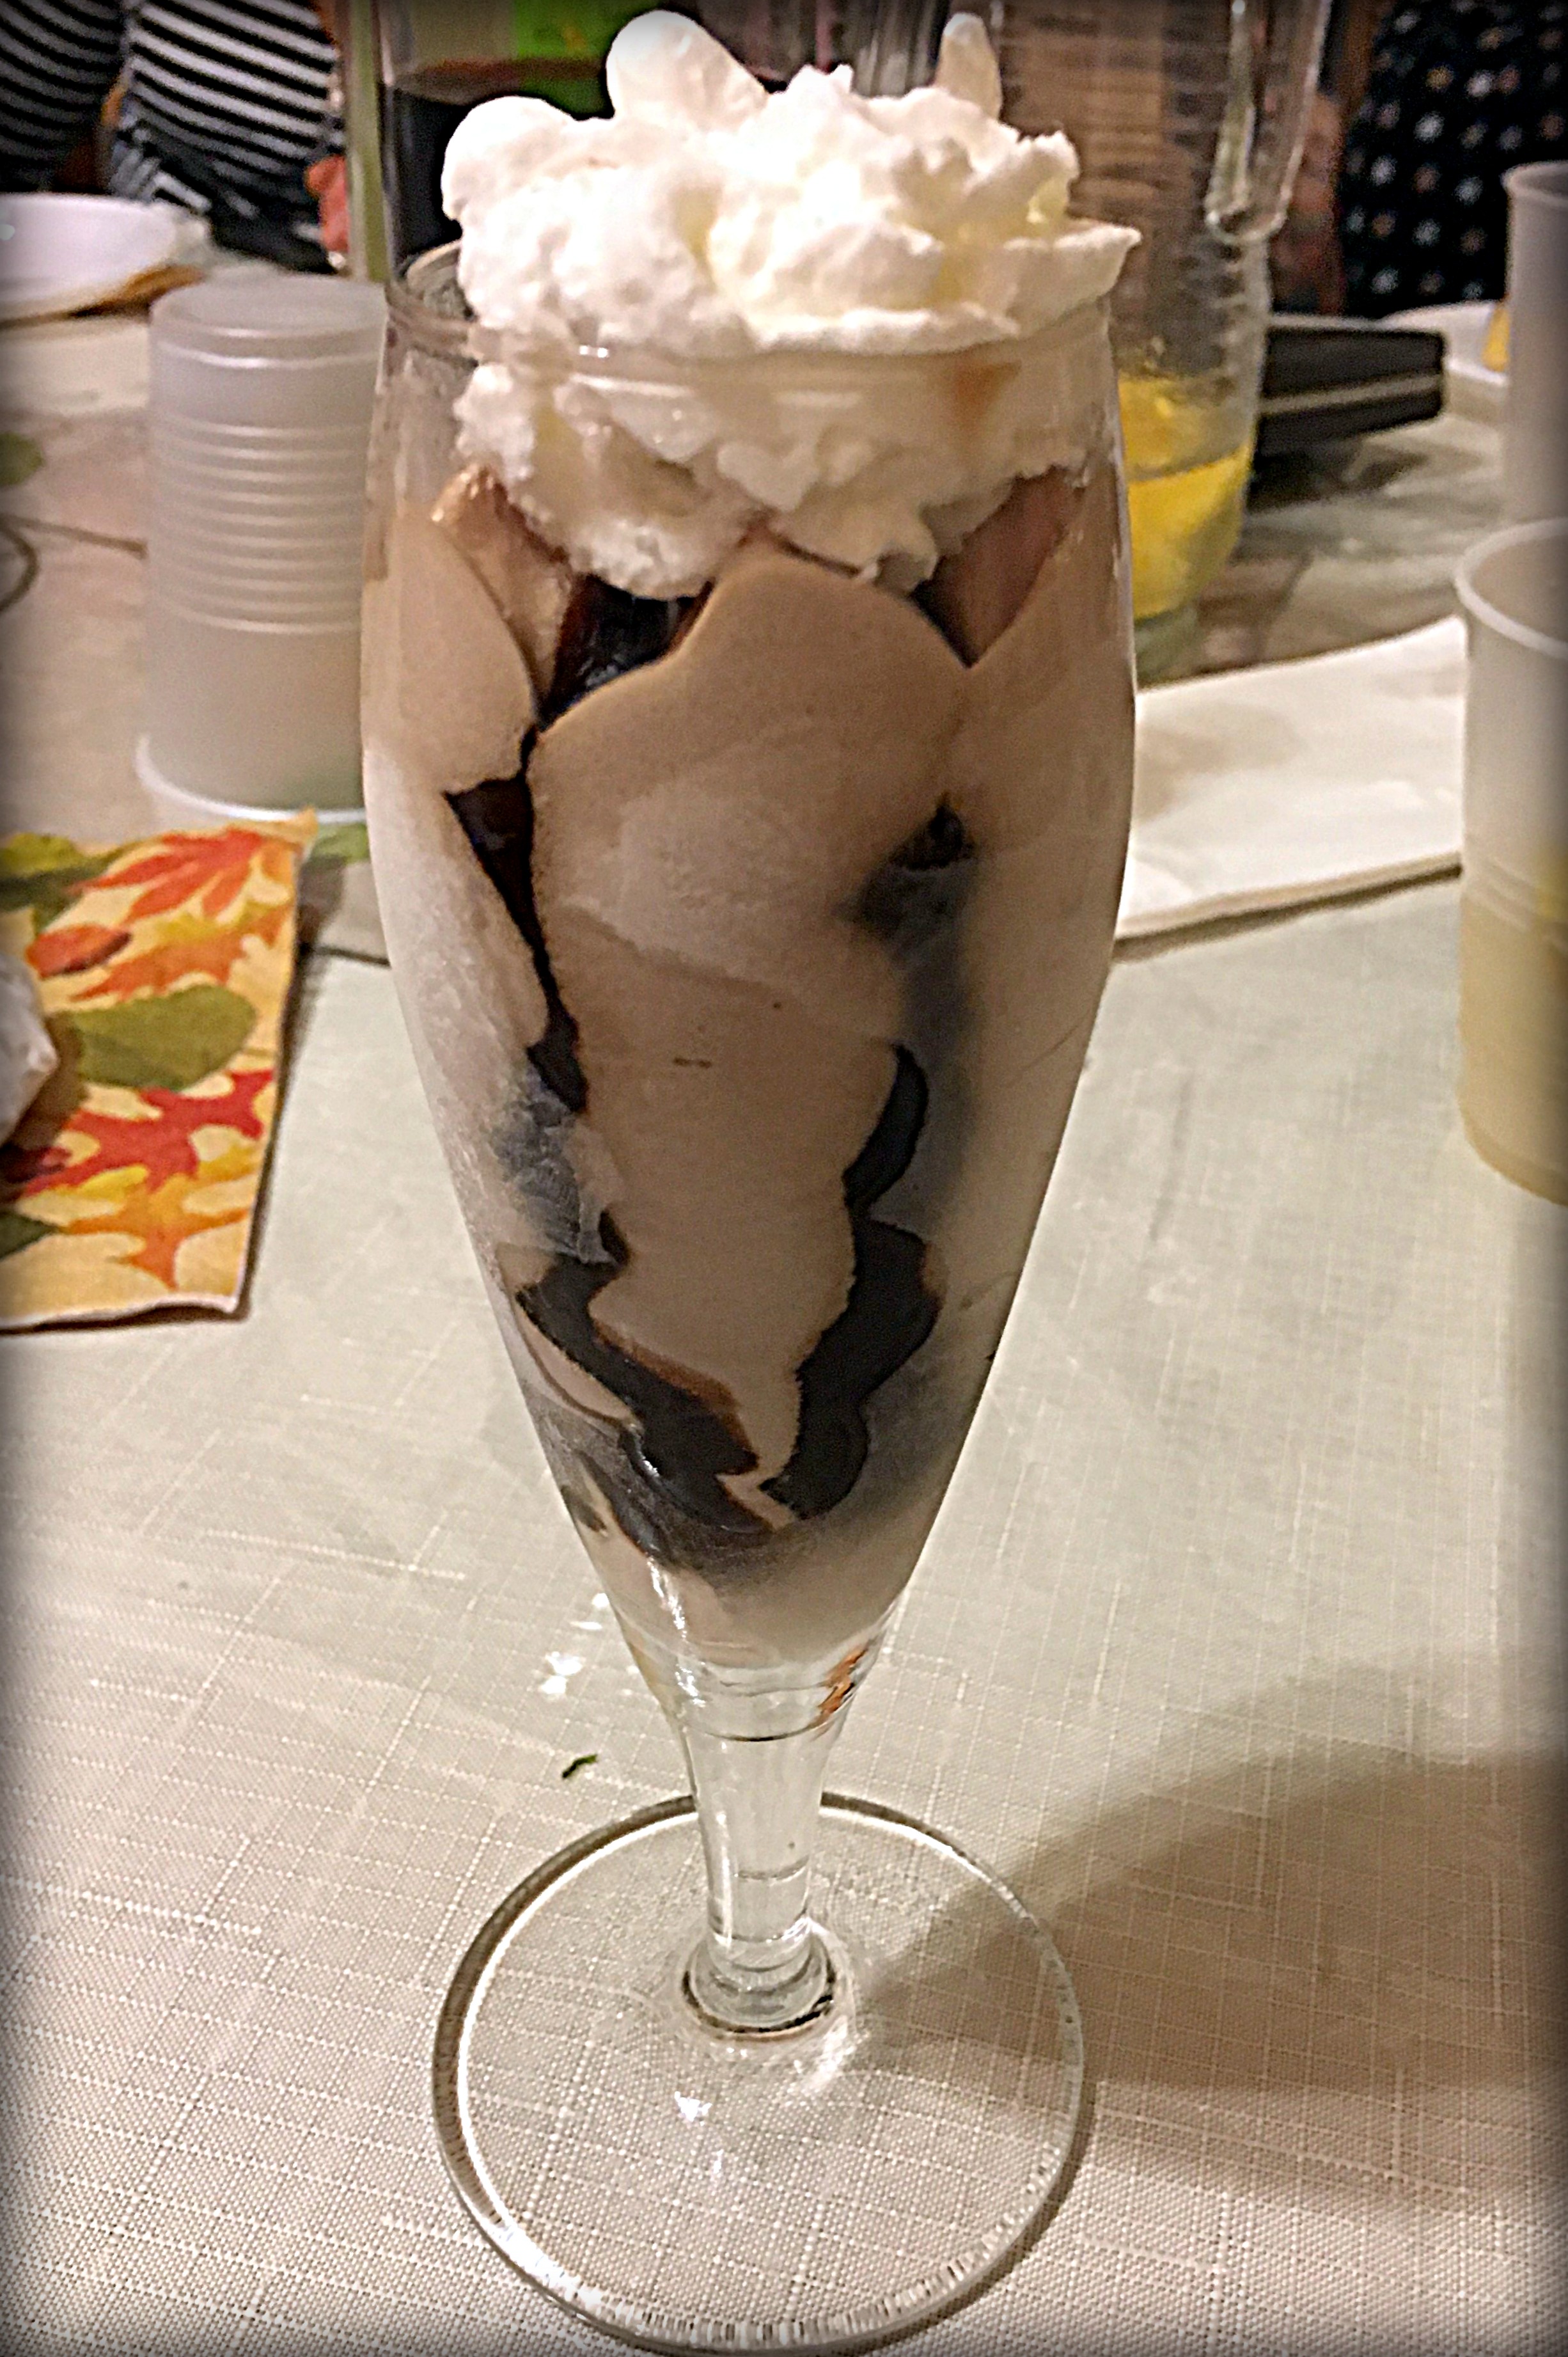
And, as if that wasn’t enough, a beautiful parfait of chocolate hazelnut gelato, shipped fresh from Italy, was served to each of us with a cup of freshly pressed and sweetened Espresso.

murante-hazelnut-and-chocolate-italian-gelato

I still can’t believe we ate all that food…

I can’t believe how sweet Maria and Linda were…

I can’t believe how reasonable the whole experience was!

And all of the leftovers were packed up in “to go” containers for us to continue to enjoy!

I couldn’t even bring myself to each a cookie that evening, but oh how glorious did the chocolate dipped biscotti taste the next morning with my coffee!

The only thing better than the amazing food was the wonderful fellowship of friends!  If you live in, or are ever planning to travel to the Pittsburgh area, what a treat it is to enjoy this special dining experience at Merante’s!

One day, I will actually get to visit Italy…

Until then, I will visit Maria at Merante’s and experience a little taste of Italy in the “Burgh!”

Cheers and Ciaos,
Jodi


\

Roasted Butternut Squash & Spinach Lasagna


roasted-butternut-squash-and-spinach-lasagna-1

Roasted Butternut Squash….
Fresh Baby Spinach…
Spicy Pepperoni…
Cheese, Cheese, and just a little more Cheese….

O. M. G!

This might seriously be the most delicious thing I have ever made…

Roasted Butternut Squash and Spinach Lasagna.

(Either that or I was just totally craving butternut squash…. which I was… but still…)

roasted-butternut-squash-and-spinach-lasagna-3

When I saw one of my blogging buddies, Jenna at The Painted Apron, share this recipe a few days ago, I could not resist making it that same evening!

roasted-butternut-squash-and-spinach-lasagna-2

I may have added a bit more cheese (because… well…. just because…) and Jodi’d it up a teensy bit, but Jenna totally gets the credit for sharing this amazingness!!!

This is one of those recipes where you kinda moan in delight after each bite.  (Well – at least I did!)  Hubby absolutely loved it too.  A LOT!

And when I shared some with my son, Nick – he called it “ridiculous!”

I think this might just be my absolute favorite lasagna recipe ever, and I can’t wait to make it again and share for company or a potluck or party.

Okay – I think I’ve told you enough how much I loved this.  Now – please – go make it – and tell me it isn’t so!

Roasted Butternut Squash & Spinach Lasagna

Ingredients:roasted-butternut-squash-and-spinach-lasagna-1

  • 6 Barilla Oven Ready Lasagna Pasta Sheets
  • 1 Butternut Squash, cubed
  • 3-4 cloves garlic, minced
  • Salt & Pepper
  • 1/4 tsp ground ginger
  • 3 Tbsp olive oil
  • 1/2 cup chopped pepperoni slices
  • 2-3 cups fresh baby spinach
  • 2 cups ricotta cheese
  • 6 oz (4 thick slices) fresh Mozzarella cheese
  • 1/4 cup freshly grated  Parmigiano Reggiano cheese

Parmesan Cream Sauce

  • 3/4 cup half and half
  • 1/4 cup white wine
  • 2 Tbsp butter
  • 2 Tbsp flour
  • 1 cup freshly grated  Parmigiano Reggiano cheese

Directions:

Place cubed butternut squash on a baking stone/sheet and sprinkle with salt, pepper, ginger, and minced garlic.   Roast at 425 degrees F for 20 mins.

Place chopped pepperoni slices on a paper towel or napkin lined plate and microwave on high for 20 seconds to render the fat.

Prepare sauce by combining butter, milk and wine (or water) in a small sauce pan over medium-high heat.  Bring to a boil.  Briskly whisk in flour until incorporated and thickened.  Stir in 1 cup Parmigiano Reggiano.

Spread about 1/4 sauce on the bottom of 9×9 square baking dish.   Place two lasagna sheets side by side on top of sauce.  Layer half of the roasted butternut squash on top, followed by half of the fresh spinach, half of ricotta, a sprinkle of salt and pepper, and half of the pepperoni.  Top with another 1/4 of sauce and repeat layers.

Top with remaining 2 sheets of lasagna and spread with remaining sauce.  Add sliced mozarella cheese and a few reserved pieces of pepperoni.  Finally top with 1/4 cup Parmigiano Reggiano.

Bake in 350 degree F oven uncovered for 30 minutes, or until hot and browned and bubbly.   Let set for 10 minutes before serving.  Enjoy!

Cheers & Hugs,
Jodi


Parmesan Garlic Roasted Spaghetti Squash

parmesan-garlic-spaghetti-squash-1

Parmesan Garlic Roasted Spaghetti Squash – oooo la la!

Spaghetti Squash may not the best photographic subject…. but oh what an easy and seriously delicious dish this is!

In the past, I have usually cooked my spaghetti squash in the microwave by simply poking fork holes in it and “steaming,” but this time, I decided to roast it in the oven, and OH boy did we love it!!!

parmesan-garlic-spaghetti-squash-3

In the past, I also typically put a tomato or marinara sauce or canned diced tomatoes with seasoning on it, and it was good and filling and low calorie, and a great vegetable, but this version……

is KICKED UP!

Not sure I can go back now!

And as full flavored as it is, it is so super simple.

Give it a try, and see what you think!

Ingredients:parmesan-garlic-spaghetti-squash-1

  • 1 large spaghetti squash
  • 1 Tbsp olive oil
  • Salt and Pepper
  • 6 Tbsp butter
  • 3-4 cloves fresh garlic, minced
  • 1/4 cup chicken broth (or vegetable broth to keep it completely vegetarian)
  • 1 cup freshly grated Parmigiana Reggiano Cheese

Directions:

Preheat oven to 400 degrees F.

Cut squash in half, scoop out seeds, drizzle with olive oil, and sprinkle with salt and pepper.  Place flesh down in a baking dish, and roast for approximately 30 minutes.

Remove from oven and let cool slightly to handle.  While it is cooling, melt butter in saucepan, add garlic and cook for a minute or two.  Add broth.  Stir in cheese.

Use a fork to scoop out spaghetti squash.  Add to saucepan.  Stir to coat.  Sprinkle with parsley and a little more cheese if you please.

Enjoy!

Cheers & Hugs,
Jodi

Stuffed Pepper Soup

stuffed-pepper-soup-2

If you are a soup lover like me – especially this time of year when the temperatures turn cooler and the days grow shorter – you are going to love this hearty, rich, and flavorful meal in a bowl.

stuffed-pepper-soup

If you love the taste of stuffed peppers, but not the fuss, you are going to be in heaven.

stuffed-pepper-soup-1

Stuffed Pepper Soup is one of my all-time faves.  You can make it on the stove top or throw it in the crock pot to simmer all day.  Your house is going to smell like Grandma’s kitchen, and your belly is going jump for joy!

Here is my easy, yummy recipe.

Stuffed Pepper Soup

Ingredients:stuffed-pepper-soup

  • 2 1/2 lbs. ground beef
  • 1/2 cup chopped onion
  • 3-4 cloves garlic, minced
  • 2 quarts water
  • 2 beef bouillon cubes
  • 1 28 oz. can tomato sauce
  • 1 28 oz. can diced tomatoes
  • 2 cups cooked white rice
  • 2 cups diced green pepper
  • 1/4 cup packed brown sugar
  • 2 tsp salt
  • 1 tsp black pepper

Directions:

In a large dutch oven, brown ground beef with onion and garlic.  Drain.  Stir in remaining ingredients, and bring to a boil.  Reduce heat, cover, and simmer for approximately one hour until peppers are tender and flavors have had the chance to blend.  Serve piping hot, and enjoy!

Cheers & Hugs,
Jodi

Crockpot Honey Garlic Chicken

crockpot-honey-garlic-chicken-2

It is such a great time of year to slow cook meals in the crockpot.  And if you love the sweet and spicy flair of many Asian chicken dishes, you are going to love this fast and easy way to make a real crowd pleaser.

crockpot-honey-garlic-chicken

It seriously goes together in under 10 minutes, makes your house smell wonderful all day, and creates a dinner that tastes like you slaved.

crockpot-honey-garlic-chicken-3

Serve it with your favorite rice or noodle.  My son even liked it shredded up on a bun as a sandwich as it is so tender and juicy and falls apart that easy.  Serve with a salad, and you know it – you have another….

Winner Winner Chicken Dinner!

I made this for the last dinner before my son moved out this weekend and sent the leftovers with him.  He can enjoy it again in his new home.

Here is the recipe the way I made it.  Feel free to adjust hot sauces and seasonings to your taste.

Crockpot Honey Garlic Chicken

Ingredients:crockpot-honey-garlic-chicken-2

  • 2 lbs. Boneless Chicken Breast and Thighs (combo or one or the other if you prefer)
  • 3/4 cup ketchup
  • 3/4 cup low sodium soy sauce
  • 1/2 cup honey
  • 1 Tbsp dried oregano
  • 2 Tbsp dried parsley
  • 1 Tbsp Sriracha hot sauce
  • 1 Tbsp Cholula hot sauce
  • 4-5 cloves fresh minced garlic
  • 1 tsp black pepper
  • 1 tsp smokey paprika chipotle (optional)

Directions:

  • Place chicken pieces in bottom of crockpot.
  • Combine remaining ingredients and pour over top of chicken.
  • Cook on low 4-5 hours.  Sprinkle with 1 Tbsp sesame seeds.
  • Serve over rice (I love brown rice and quinoa combo) and sprinkle with additional sesame seeds if desire.

Enjoy!

Cheers & Hugs,
Jodi

Crockpot Buffalo Chicken Mac ‘n Cheese

crockpot-buffalo-chicken-mac-n-cheese

While my furry son was busy playing pumpkin bowling in the front lawn the other day when I was at the office, my chicken-lovin‘* son (who is amazingly turning into quite the cook!) kindly prepared a scrumptious dinner for hubby and me to enjoy when we came home.

What a treat!

And ooohhh how I am going to miss this guy when he moves out soon…

Who doesn’t love a yummy macaroni and cheese recipe on a cool Autumn or winter day?  And buffalo chicken… well – I can eat that any which way.  But – mixed with mac ‘n cheese!!  WOWZA!  Holy Swooning Wowza!

This would be such a yummy dish to give to someone (you know when you want to help out when a family member or friend has a baby, a loved one is mourning, a new neighbor moves in across the street, a friend has surgery…) or take to a potluck event, because it is one of those recipes that keeps well and gets even better the next day or two as leftovers when the flavors fully meld.

This is a keeper friends!  Hope you’ll give it a try, because it is another Winner Winner Chicken Dinner!

Crockpot Buffalo Chicken Mac n Cheese*

Ingredients:crockpot-buffalo-chicken-mac-n-cheese

  • 1 lb. boneless skinless chicken breast
  • 2 cups chicken broth
  • 1/2 cup buffalo wing sauce (Nick made his by combining approximately 60% Franks Red Hot Original Cayene Pepper Sauce,  30% Cholula Hot Sauce, and 10% Sriracha Hot Chili )
  • 1 tsp garlic powder
  • 1/2 tsp onion powder
  • 1/4 tsp celery salt
  • 8 oz pasta (Nick used Penne, but you could use macaroni, shells, or any shape you like)
  • 3 Tbsp butter
  • 2 Tbsp flour
  • 2 1/2 cups milk
  • 2 cups shredded cheddar cheese

Directions:

Add chicken, broth, buffalo sauce and seasonings to crockpot.  Cover and cook on high for 3-4 hours or low for 6-8 hours.

Shred fully cooked chicken with fork and return to crockpot.  Add UNCOOKED pasta.  Stir to combine.  Cover and cook on high for 30-40 minutes until fully cooked.

Make cheese sauce separately by melting butter in a saucepan over medium-high heat.  Whisk in flour.  Slowly pour in milk while continuing to whisk until smooth.  Bring to a simmer for 4-5 minutes until sauce thickens enough to stick to a spoon.  Remove from heat and stir in cheese until melted and smooth.

Add cheese sauce to crockpot, and stir to combine.  Enjoy!

OPTIONAL:  If you like, top it right before serving with a sprinkle of freshly crumbed bleu cheese to kick it up about 10 notches!!  

Cheers & Hugs,
Jodi

*Nick found and slightly adapted this recipe from Jennifer @ Slow Cooker Gourmet

*For more yummy Winning Chicken Dinners, just type “Chicken” into the search box at the top right corner of  the blog or click here.