Red Velvet Oreo Chocolate Truffles (Cookie Balls)

Red Velvet Oreo Chocolate Truffles  (or Cookie Balls if we’re being less “fancy!”).

If you are looking for a simple, sweet, but festive little treat to share with friends or neighbors or with those you love, these little Red Velvet Oreo Chocolate Truffles might be just the ticket.

They are so simple to make, but turn out so elegant and delish!

You simply crush red velvet (or your favorite flavor) Oreo cookies in the food processor, mix with a block of cream cheese, and make into balls that you dip into chocolate.

Easy Peasy!

Sprinkles make them even more fun! (always!)

I gave little bags to neighbors with silly notes like “You are a SWEET neighbor” and “We LOVE having you for our neighbors.”  I shared others with friends and family.  They were a big hit!

Here is the recipe:

Red Velvet Oreo Chocolate Truffles (Cookie Balls)

Ingredients:

Directions:

Crush oreo cookies in food processor to fine crumbs.  Add softened cream cheese and combine until “dough” forms.

Roll dough mixture into approximately 30 one-inch balls.  Refrigerate for approximately 30 minutes.

Melt chocolate.  I put mine in a tall, microwave-safe cup for one minute, stir, and then microwave for 30 more seconds.

Dip balls into melted chocolate with a fork, allowing excess to drip.  Place on parchment paper.  Decorate with sprinkles if desired.  Allow to set approximately 30 minutes.

Enjoy!

Cheers & Hugs,
Jodi

Finger-Lickin’ Baby Back Ribs

Finger-Lickin’ Baby Back Ribs.

Any rib lovers out there?

We decided on ribs for our Super Bowl Sunday meal this past Sunday.  They are great football feasting food!

Hubby learned a great way to make them.

The secret to making them tender and fall-off-the-bone wonderful is in boiling them first in Coca-Cola.

After boiling them for a couple hours, you drain them, put them in a container, drench with your favorite barbecue sauce, cover tightly, and marinade overnight.

When you are ready to eat them, you simply throw them on the grill, or in our case, Hubby likes to throw them in our Pit Barrel Cooker and smoke them a bit.  In a half hour, you have the most amazing tender, fall-off-the bone, juicy pork ribs you’ve ever eaten.

I like to add a little more sauce on when I eat mine.  (I’m a little saucier than Hubby!)

I know many folks have their own way of making ribs with varying techniques – dry rubs, wet sauces, marinades, etc., but I have not found a way I like better than this simple full-proof recipe.

Hope you’ll give it a try and let me know.

Finger-Lickin' Baby Back Ribs

Ingredients:

Directions:

Cut ribs into 4 pieces.  Put in large pot.  Pour Coca-Cola over ribs until they are completely covered.  Put lid on pot, and bring to boil.  Reduce heat, and simmer about an hour or so until they are fully cooked.

Remove ribs from pot, and discard Coca-Cola.  Place ribs in airtight container.  Cover with barbecue sauce and lid.  Marinade overnight or for at least 6-8 hours.

A half hour before ready to serve, place on grill or in Pit Barrel Cooker and grill/heat through.

Serve with additional barbecue sauce if desired. 

Enjoy!

Cheers & Hugs,
Jodi

Raspberry-filled Vanilla Cupcakes

Raspberry-Filled Vanilla Cupcakes.

If you are looking for a super special, absolutely rock-your-world delicious treat to bake for your special Valentine(s), look no further thank these amazing Raspberry-Filled Vanilla Cupcakes!

I have always admired beautiful cupcakes and love those special gourmet ones that have surprise fillings and are extravagantly decorated, but I have never had much success making them.

I had the urge to give it another try yesterday after purchasing some fun sprinkles I was dying to use somehow.

Disclaimer – I have a weird “thing” for sprinkles and buy way more than I ever use!  I bought three different kinds of red/pink Valentiney ones and one big container of regular ones.  My granddaughter had fun shaking them in the cart while we were shopping!

I found a recipe at RockRecipes.com that I tweaked up a bit.  I was so excited with how beautiful and YUMMY they turned out.

When I handed one to Hubby to taste test, I said,  “Are you ready to have your world rocked by this?”

He loved it!

Here is how I made them.  Hope you give them a try.

Raspberry Filled Vanilla Cupcakes

Ingredients:

Cupcake Batter:

  • 1 1/2 cups flour
  • 1 1/2 tsp baking powder
  • 1/4 tsp salt
  • 1 stick (1/2 cup) butter, softened
  • 1 cup sugar
  • 2 eggs
  • 2 tsp. vanilla
  • 1/2 cup evaporated milk

Raspberry Filling:

  • 1 cup fresh raspberries
  • 1/4 cup sugar
  • 1 tsp corn starch
  • 1 oz. water

Vanilla Cream Cheese Frosting:

  • 1 stick (1/2 cup) butter, softened
  • 1/2 cup (4 oz.) cream cheese
  • 3 1/2 cups powdered sugar
  • 1 tsp vanilla
  • 2-3 Tbsp milk

Directions:

To make cupcakes, preheat oven to 325 degrees F.

Cream together butter and sugar until light and fluffy.  Add eggs, one at a time, beating until well incorporated.  Stir in vanilla.  Add baking powder and salt, then fold in flour.  Finally stir in milk to create batter.

Pour into paper-lined cupcake/muffin pan.  Bake for approximately 20 minutes, or until toothpick inserted into center comes out clean.

While cupcakes are baking, prepare raspberry filling by stirring 1 cup raspberries and 1/4 cup sugar in small saucepan.  Simmer over low heat for about 10 minutes.

Dissolve cornstarch in water, and slowly pour into boiling berries.  Stir constantly until thickened.  Allow to cool.

Prepare frosting by blending together butter, cream cheese, and vanilla.  Add powdered sugar and enough milk to make a smooth, creamy consistency.

When cupcakes are cooled, use an apple corer to remove a small section from center of cupcake.  Fill with raspberry filling.

Decorate with cream cheese frosting and sprinkles and fresh raspberries if desired.

Enjoy!

Cheers & Hugs,
Jodi

Easy Sausage & Vegetable Quiche


Easy Sausage and Vegetable Quiche.

For those days when you want a hearty, substantial supper, but don’t feel like putting a lot of time and effort into it, this simple recipe is just the ticket.

It’s full of protein and veggies and could really be eaten for breakfast, lunch or dinner!

The secret to it being easy is in the fact that you don’t have to prepare a crust.  You simply use a little bit of baking mix (like Biquick) to create an almost crust-like texture.

And the options are limitless for what you can put in for your protein and veggies.  Exchange the sausage for bacon or chicken or turkey or ground beef.   You could even leave the meat out and just add more veggies.  Throw in any favorite vegetables you have in your fridge – mushrooms, asparagus, cauliflower, spinach, kale, tomatoes…..  And use any kind of cheese you love.  Exchange the cheddar for Swiss or muenster or provolone or mozzarella or even blue cheese or feta.

You get the idea…  right?  Toss in whatever you like, and you can have a wide variety of quick and easy meals.

I was recently reminded of this recipe when I came across a version of it at The Speckled Pumpkin.  It reminded me of years ago making all of those “impossible” pies….  Impossible Cheeseburger Pie, Impossible Taco Pie, Impossible Lasagna Pie, Impossible Tuna Pie….  Anybody else remember the Impossible Pie craze?  I may be back in the mood for these!

Serve it with a salad or side of roasted potatoes or even some chunky applesauce.

Here is how I made mine for our Sunday Supper last night.

Easy Sausage and Vegetable Quiche

Ingredients:

  • 1 lb pork sausage, cooked and crumbled
  • 1/2 medium sweet onion, chopped
  • 1 red pepper, chopped
  • 1 1/2 cups chopped fresh broccoli
  • 1 cup shredded cheddar cheese
  • 4 eggs
  • 2 cups milk
  • 1 cup Bisquick baking mix (or your favorite)

Directions:

Preheat oven to 400 degrees F.

Put sausage in bottom of stoneware deep dish baker or your favorite 2-quart round casserole dish or deep dish pie pan.  Top with chopped onions, pepper, broccoli, and cheese.

In a medium bowl, beat the eggs, milk and baking mix with a wire whisk until well blended.  Pour over sausage, veggies and cheese.

Bake for approximately 40 minutes until knife inserted in center comes out clean. 

Enjoy!

Cheers & Hugs,
Jodi


Midnight Snack Attack Cookies

Midnight Snack Attack Cookies

Midnight Snack Attack Cookies.

Oh No She Didn’t!!

Oh Yes I did!!!

I made a cookie for those midnight cravings when you can’t decide if you want sweet or salty….. chips or peanuts….. a chocolate bar or a cookie……..

Yep…   I put it all together in one glorious cookie I’m calling the Midnight Snack Attack Cookie!

Midnight Snack Attack Cookies

I simply started with my go-to cookie dough recipe for chocolate chips, but reduced the flour a smidge to make these cookies a little crispier.  I then added some seasoned dry roasted peanuts and salty, crunchy potato chips with the semi-sweet chocolate chips.

The combination is HEAVENLY.

Use any kind of nuts you like.  How divine would these be with cashews or salty pecans??!!  I also think I would like to try them next time with barbecue potato chips.  I think it would really kick these up a notch!  Replace the chocolate chips with chopped Reese’s peanut butter cups or Butterfinger candy bars.

Go Crazy!  It IS a midnight snack attack fix after all…

Midnight Snack Attack Cookies

I received a gift basket of gourmet cookies for Christmas that had some fun combinations of cookies in them that inspired me to try these.  Can’t wait to hear what you think!

Here is my recipe.

Midnight Snack Attack Cookies

Ingredients:

4 sticks (1 lb.) butter, softened
1 1/2 cups packed brown sugar
1 1/2 cups white granulated sugar
2 tsp vanilla
4 eggs
2 tsp baking soda
2 tsp salt
4 3/4 cups all purpose flour
2 cups Nestle Semi Sweet Chocolate Chips
1 cup Planters Dry Roasted Peanuts
2 cups lightly crushed potato chips

Directions:

With electric mixer, beat butter and sugar together until completely incorporated. Add vanilla and eggs, and beat until light and fluffy. Add baking soda and salt, and mix another minute. Gradually add flour and beat until well incorporated, but do not overbeat.

Fold in chocolate chips and peanuts.  Place dough onto counter and gently add in potato chips, folding in with your hands and trying not to crush the potato chips too much.  Put dough in large Ziploc bag, and refrigerate for at least 2 hours or up to 2 days.

When ready to bake, preheat oven to 375 degrees F. With your hands, form a cookie dough ball about 1 inches in diameter.  Place on baking stone. Bake for approximately 11 minutes. Allow to cool on baking stone for 10 minutes, then remove to cooling rack to cool completely.

ENJOY!

Cheers & Hugs,
Jodi


Best Ever Apple Fritter Cake

Best Ever Apple Fritter Cake.

So… this happened the other day…. this absolutely amazing “cake” that is like a pan full of apple fritters.

O M G!

It might not be the healthiest or quickest or easiest to make….

but it is sooo worth it!

With all the snow and colds and flu and healing going on around here…. we needed some serious comfort food.  We needed the house to feel warm and smell wonderful.
We needed some sweetness.  We needed some yummy for our tummy.

Everyone I’ve shared this with pretty much moaned with delight.

And I am right now trying to ignore it calling me from the fridge!  (Eat me…. you know you want me…)


If you are in the mood to treat yourself….

Or need to treat yourself…

Look no further!

Here is the recipe that I slightly tweaked from Cookies and Cups.

Best Ever Apple Fritter Cake

Ingredients:Fillings:

  • 2 cups peeled and diced apples (I used 2 large Gala – use your favorite!)
  • 1/3 cup granulated sugar
  • 1 tsp. cinnamon
  • 2 Tbsp. cornstarch
  • 2 tsp. water
  • 1/2 cup brown sugar + 1 tsp cinnamon

Cake:

  • 1/3 cup butter, room temperature
  • 3/4 cup granulated sugar
  • 3/4 cup chunky applesauce
  • 2 tsp. vanilla
  • 2 eggs
  • 2 1/4 cup flour
  • 1 tsp. baking powder
  • 1 tsp. baking soda
  • 1/2 tsp salt
  • 1 tsp cinnamon
  • 1 cup Greek yogurt (or you can use sour cream)

Glaze:

  • 2 cups powdered sugar
  • 1/3 cup milk
  • 1 tsp. vanilla

Directions:

Fillings:

Combine apples, granulated sugar, cinnamon, cornstarch, and water in a medium saucepan.  Heat on medium-high heat for approximately 5 minutes until apples soften and a syrup forms.  Set aside.

Mix the brown sugar and cinnamon in a small bowl, and set aside as well.

Cake:

Preheat oven to 350 degrees F.

Blend butter and sugar for 3 minutes with electric mixer until fluffy.  Add applesauce, vanilla, and eggs, and mix until combined.  Gently mix in baking powder, baking soda, salt, and cinnamon.  Finally, add flour and Greek yogurt in alternating parts (flour, yogurt, flour, yogurt).  Mix until just combined.

Spread half of the cake in an Deep Dish Baking Stone (or your favorite 10-12 inch round or square or 11×13 rectangle baking dish).  Top with all of apple filling to cover batter.  Sprinkle with 2/3 of the brown sugar/cinnamon mixture.  Add remaining cake batter and top with remaining 1/3 brown sugar/cinnamon.

Bake approximately 30 minutes until center of cake is set, but do not overbake.

Glaze:

While cake is baking, prepare glaze by mixing powdered sugar, milk and vanilla in a medium bowl until smooth.

As soon as cake is removed from oven, poke holes using a butter knife or wooden spoon handle all over the cake – 20-30 pokes.  Pour glaze over the top, spreading to cover completely and allowing to soak in the holes and edges.

Allow glaze to set approximately 20 minutes, and cake is ready to serve warm.  Also very good refrigerated cold – just depends on your preference.  (In our case, hubby likes it warm, and I adore it cold!)

Enjoy!

Cheers & Hugs,
Jodi

Quick & Easy Egg Roll Lettuce Wraps

Egg Roll Lettuce Wraps.

I am so excited to share this recipe!

A friend on Facebook recently shared a recipe for a Sausage Egg Roll Bowl that had me so intrigued…

and so hungry….

that i couldn’t wait to try.

All the yummy ingredients of an egg roll without the deep fried wrapper in a bowl sounded divine!

But then I thought……  how about wrapping it in crisp Romaine lettuce leaves and making it into yummy, healthy, quick, and easy Egg Roll Lettuce Wraps?!

What I loved, and I think you will too, is how FAST and EASY this recipe is – especially for how DELICIOUS it is!

This is definitely a 20-minute meal from start to finish.  Who isn’t looking for one of these a few times a week?!

And there are so many possibilities for changing it up…  switch out chicken or turkey sausage for the pork sausage…  add raisins or craisins….  add walnuts or slivered almonds…  add chopped sweet red peppers or crisp celery or mushrooms…

I think the key ingredients to this recipe are the soy sauce (low-sodium!) and the sesame oil (I used Trader Joe’s Toasted Sesame Oil).

I am a salt LOVER, but I only buy low-sodium soy sauce (believe it or not).  If you want the full flavor of soy sauce without all the sodium, you will love low-sodium soy sauce.  In fact – you can add more flavor!  You can always add a dash of salt later if you really think it needs, but you can never take away too much of a salty flavor.

Here is the recipe as I slightly tweaked and made into a wrap!

I hope you will try, and I hope you love as much as I did!

Quick & Easy Egg Roll Lettuce Wraps

Ingredients1 lb bulk sausage (pork, chicken, turkey)

  • 1 14-oz bag Fresh Express Cole Slaw Shredded Cabbage & Carrots Mix
  • 4 cloves garlic, minced
  • 1 tsp ground ginger
  • 1-2 Tbsp. low-sodium soy sauce
  • 1/3 cup chopped green onions
  • 1 Tbsp sesame oil
  • 1 bunch fresh Romaine Lettuce

Directions

Cook sausage in a large stir-fry skillet over medium-high heat, stirring often to crumble, until fully cooked.

Add cabbage mix, garlic, ginger, and soy sauce.  Cook for 3-4 minutes until cabbage has softened a bit.

Remove from heat and top with green onions and drizzle with sesame oil.  Stir to combine.

Serve over a bed of fresh romaine leaves or scoop into leaves to serve.

Enjoy!

Cheers & Hugs,
Jodi

Butternut Squash, Caramelized Onion, & Feta Cheese Pizza

Butternut Squash, Caramelized Onion, and Feta Cheese Pizza.

I am always looking for new ways to enjoy butternut squash, so I did a quick search and found a variety of pizzas using butternut squash.  Yum!

The one I found that had the flavors I love (and ingredients I had on hand), called for mashing the butternut squash as the “sauce” on the pizza, but I prefer the taste of cubed and roasted butternut squash, so I changed it up.

Each roasted chunk gets a bit browned and even a bit crispy on the outside corners, but is soft and sweet and tender on the inside.   I prefer that texture to mashed.

And I might just possibly eat anything with caramelized onions on top.  Just saying…

Add feta cheese – and SCORE!

We had this for dinner with a tossed green salad.

If you are looking for a new twist on pizza or a meatless meal, this may just be the ticket!

Here is how I made it.  Hope you will give it a try.

Butternut Squash, Caramelized Onion, and Feta Cheese Pizza

Ingredients:

  • 1 medium butternut squash, cubed
  • 1 large sweet onion, sliced
  • 1/2 cup crumbled feta cheese
  • 2 Tbsp olive oil, divided
  • 1 Tbsp butter
  • 2 tsp brown sugar, divided
  • 1 Tbsp balsamic vinegar
  • salt & pepper to taste
  • Pizza dough or Pillsbury crescent roll tube

Directions:

Preheat oven to 400 degrees F.  Place cubed butternut squash on stoneware baking pan or baking sheet.  Drizzle with 1 Tbsp olive oil, 1 tsp brown sugar, salt and pepper.  Roast approximately 20 minutes, turning once midway through roasting, until slightly browned and tender.

While squash is roasting, saute onions in 1 Tbsp olive oil and 1 tsp. butter, salt and pepper over medium heat until onions begin to caramelize, approximately 10-15 minutes.  Add balsamic vinegar and brown sugar, and continue to cook for another 5 minutes.

Bake pizza crust five minutes short of done on a round baking stone.  Remove from oven, and layer butternut squash cubes, caramelized onions, and feta cheese on crust.  Return to oven for 5-10 minutes.  Serve immediately.

Enjoy!

Cheers & Hugs,
Jodi


Hearty Beef Barley Stoup & Homemade Beef Broth

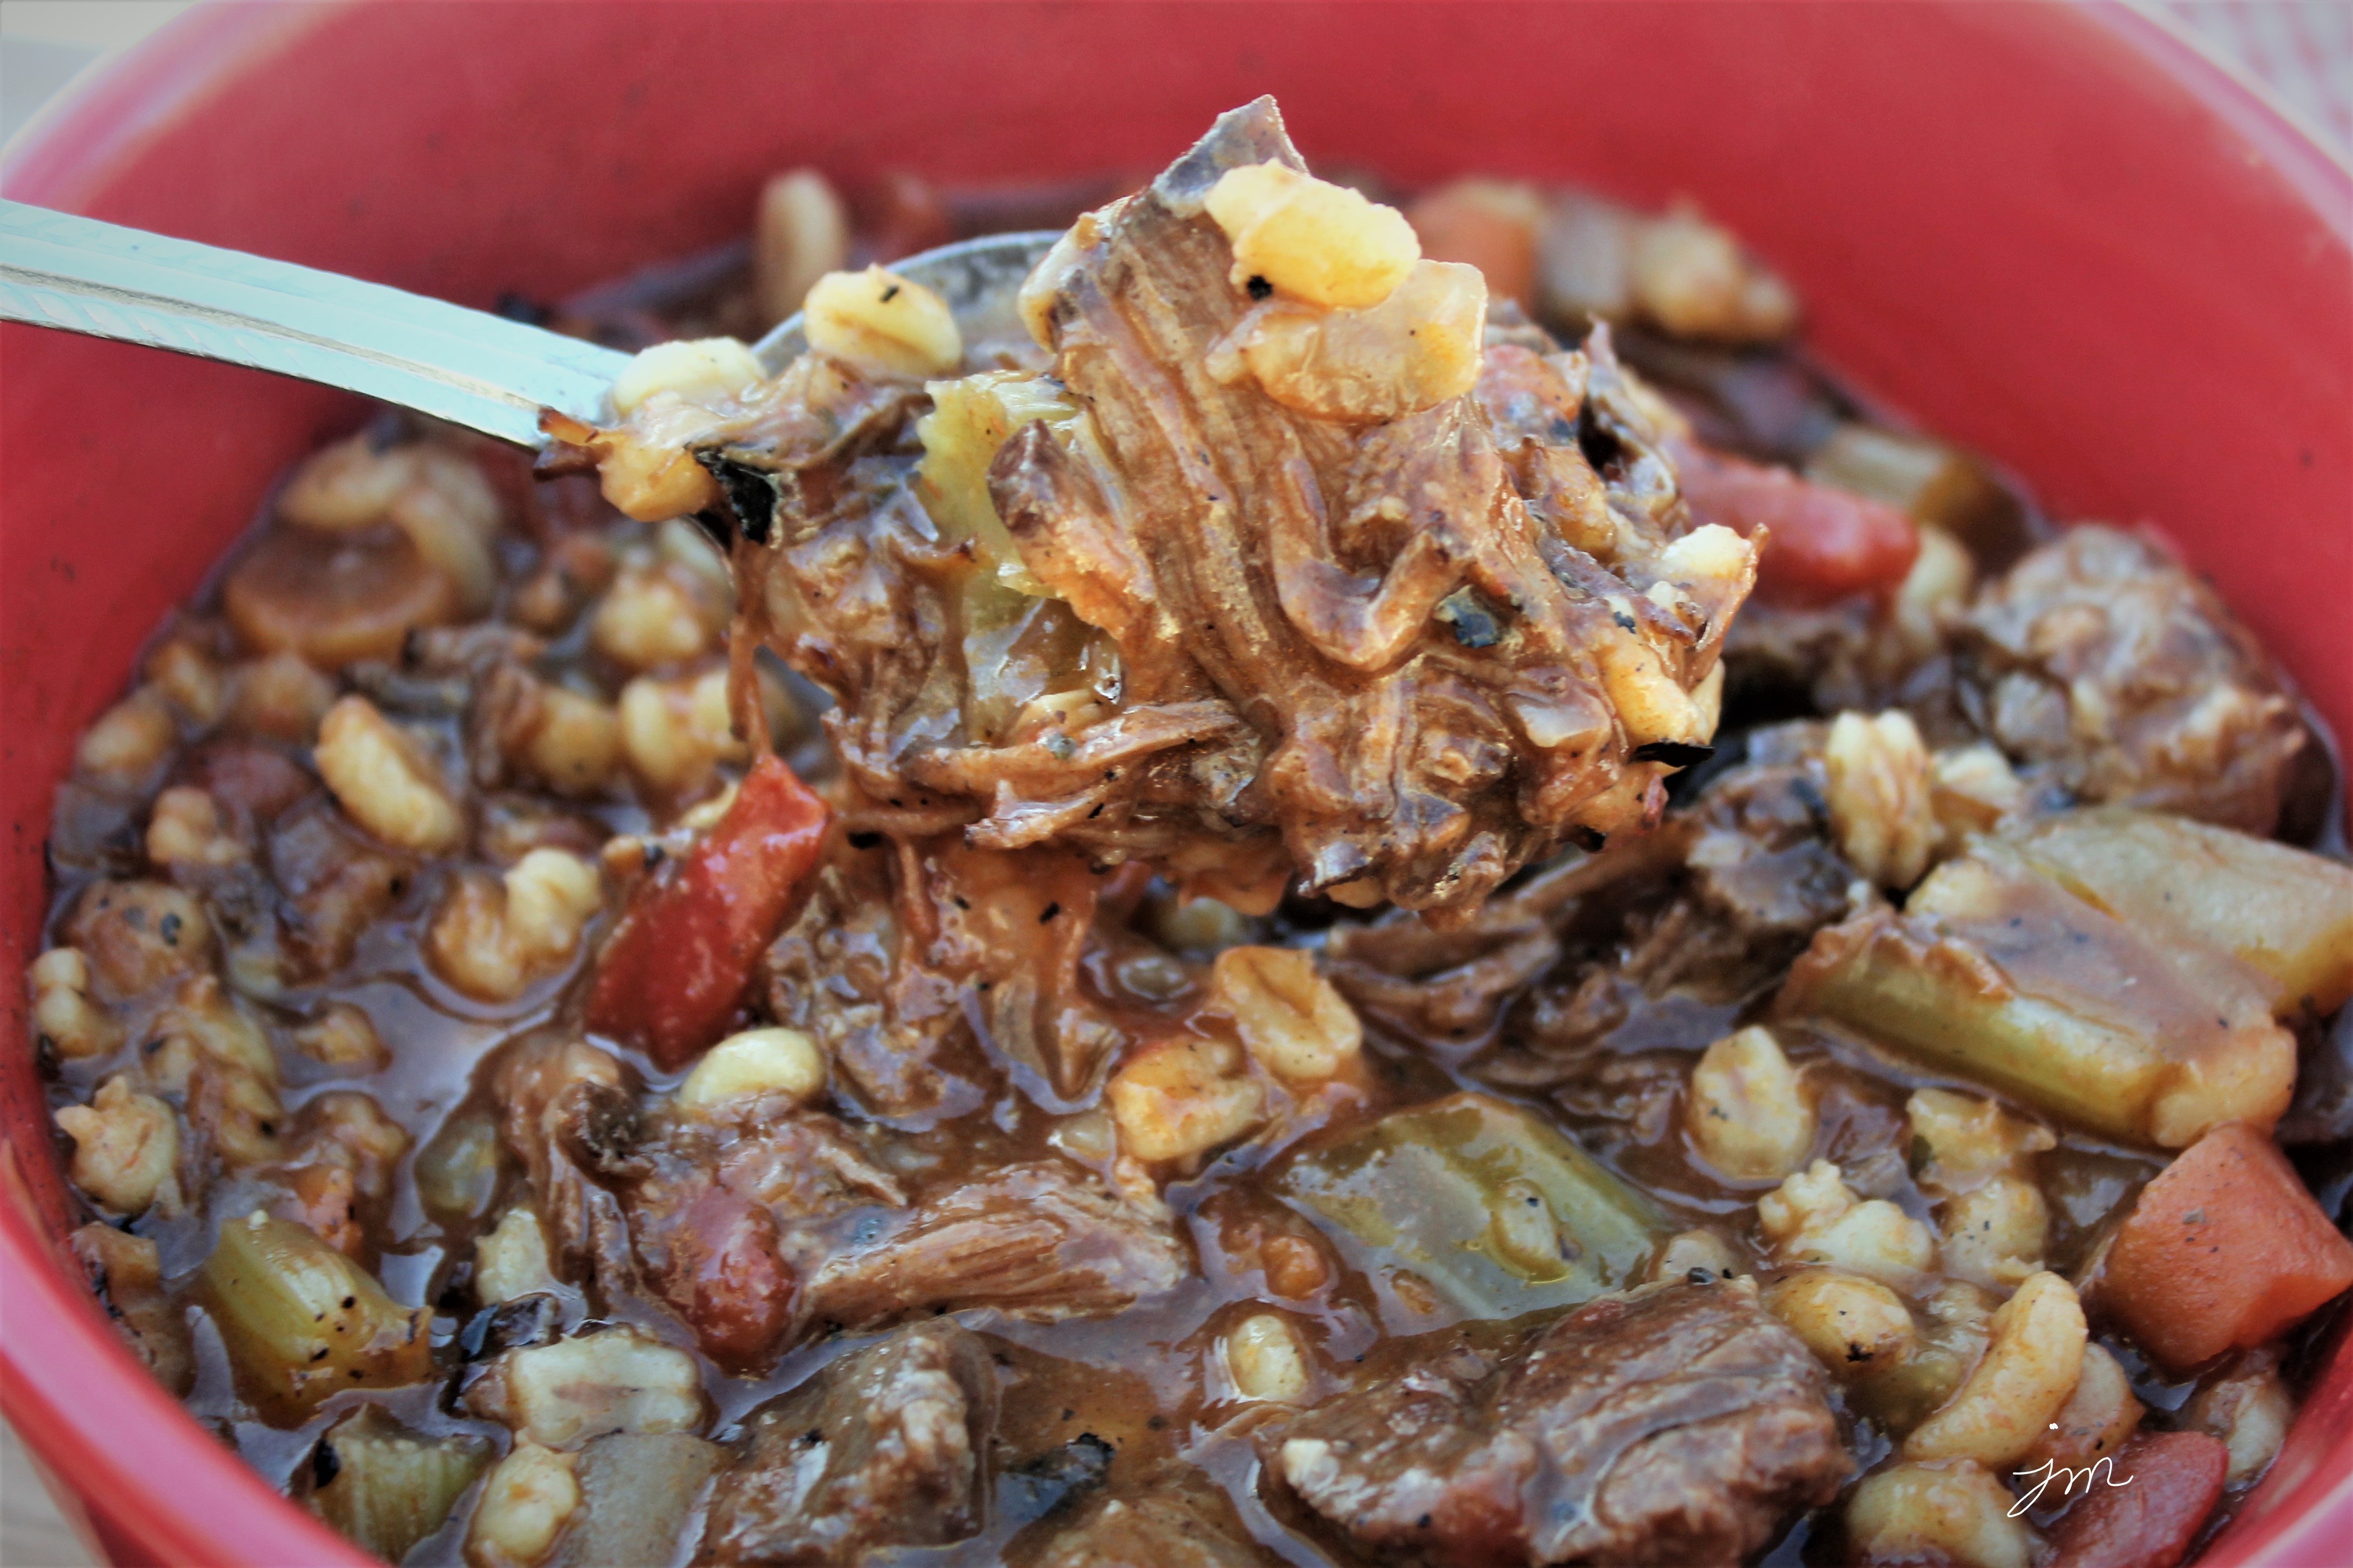
Hearty Beef Barley Stoup and Homemade Beef Broth.

Stoup…  Yep…  That is not a typo.

This “soup” recipe is so hearty, you might almost consider it a stew, so my clever blogging friend Kathryn at Another Foodie Blogger, aptly named this recipe Stoup.

I was dying to try this recipe, as I am a huge fan of soups, and a huge fan of barley.  (Grandma used to make a Beef Barley Soup, and I haven’t had it in years!)

Hubby is not much of a soup lover, but when I read Kathryn’s recipe and saw how hearty it was, I thought I might be able to get away with this one.

And did I ever!  Hubby actually ate it with a fork and happily ate leftovers the following night.

This is one of the best new recipes I have tried in a long time!  If all of Kathryn’s recipes are this amazing, I will be excited to try more.

This stoup literally tantalizes your taste buds with it’s bounty of complex textures and flavors, and I think what really took it over the top was the fact that I made homemade beef broth  for it (not canned beef broth or water and bouillon cubes).  I made the broth from scratch with beef bones ROASTED in the oven first with vegetables and then simmered for hours until it became a rich, dark brown pot of goodness.  I found the recipe at Taste of Home and will share below.

This recipe is not hard, but it takes time.  It is great for the type of weather we are experiencing in our part of the world right now… very cold and snowy.  It’s a recipe for when you have time to roast and simmer all day while you are home.  A recipe for when you are in the mood for chopping and dicing and then just totally curling up under a blanket by a fire with a crusty piece of bread to dunk in it and sop it up with.

I tweaked up Kathryn’s recipe just a bit.  She added mushrooms.  For those that like, please do add.  Mushrooms are one thing I just can’t eat.  Hubby on the other hand would have loved, but I just can’t put them in my mouth.  I added a bit more beef and veggies to make it even thicker.  And Barley is such a wonderful healthy grain.

I do hope you try this when you have time, and I hope you will visit Kathryn’s blog (or her Austin Street Taco Food Truck if you are anywhere near Bend, Oregon in the summertime) to check out some of her recipes.  She has become a great blogging friend.

Beef and Barley Stoup

Ingredients:

1 1/2 lb. high-quality beef roast, cut into 1 inch pieces
Salt and pepper, for seasoning meat
Flour, for dusting meat
2-3 tablespoons olive oil
1 cup chopped sweet onion
1 cup chopped carrots
1 cup chopped celery
1 tablespoon tomato paste
3 cloves garlic, minced
1/2 cup dry red wine
1 14.5-ounce can diced or stewed tomatoes
4 cups homemade beef broth (recipe follows)
1 bay leaf
3 small sprigs thyme (or 1/2 teaspoon dried)
1/2 cup uncooked pearl barley
Salt and pepper, to taste

Directions:

Season cubed meat with salt and pepper, then toss with some flour to dust it. In a large soup pot or dutch oven, heat olive oil over medium-high heat. Add beef to pot, and sear cubes on all sides until browned. Remove to a bowl and set aside.

Add onion, carrots, and celery to pot that you seared meat in, and cook 8-10 minutes to allow veggies to wilt and brown slightly. Add garlic and tomato paste in the last minute of cooking.

Pour in the red wine, and deglaze the pot by scraping up the browned bits. Add tomatoes, beef broth, bay leaf and thyme. Stir well to combine. Add the meat, including any accumulated juices in the bowl.

Bring to a boil, then stir in the barley. Reduce heat, cover and simmer for about 45-60 minutes or until the barley is cooked. Remove bay leaf and thyme sprigs and taste for additional salt and pepper.

Enjoy!

Best-Ever Homemade Beef Broth

  • Servings: approx 10 cups
  • Print

Ingredients:

4 lbs meaty beef bones (beef shanks or short ribs)
3-4 large carrots, cut into chunks
3-4 ribs of celery with green leafy tops, cut into chunks
2 large onions, quartered
1/2 cup warm water
3 bay leaves
3-4 large garlic cloves
1 tsp coarse black pepper or peppercorns
3-4 sprigs fresh parsley or 1 Tbsp dried parsley
1 tsp dried thyme
1 tsp dried oregano
1 beef bouillon cube
1 tsp salt
12 cups cold water

Directions:

Preheat oven to 450 degrees F.  In a large dutch oven, roast soup bones, uncovered, for 30 minutes.  Add carrots, celery, and onions, and roast an additional 30 minutes.

Remove from oven, and add warm water, stirring to loosen browned bits.  Add remaining ingredients.  Bring to a boil, and slowly boil for 30 minutes.  Reduce heat, and simmer, uncovered 4-5 hours.  Skim any foam that forms.

Remove bones (and send for Charlie!).  Strain broth through a colander, discarding solids.  If time allows, refrigerate to allow removing fat that forms on top.  Otherwise skim as best possible from top.

Broth can be refrigerated for up to 3 days or frozen for 4-6 months.

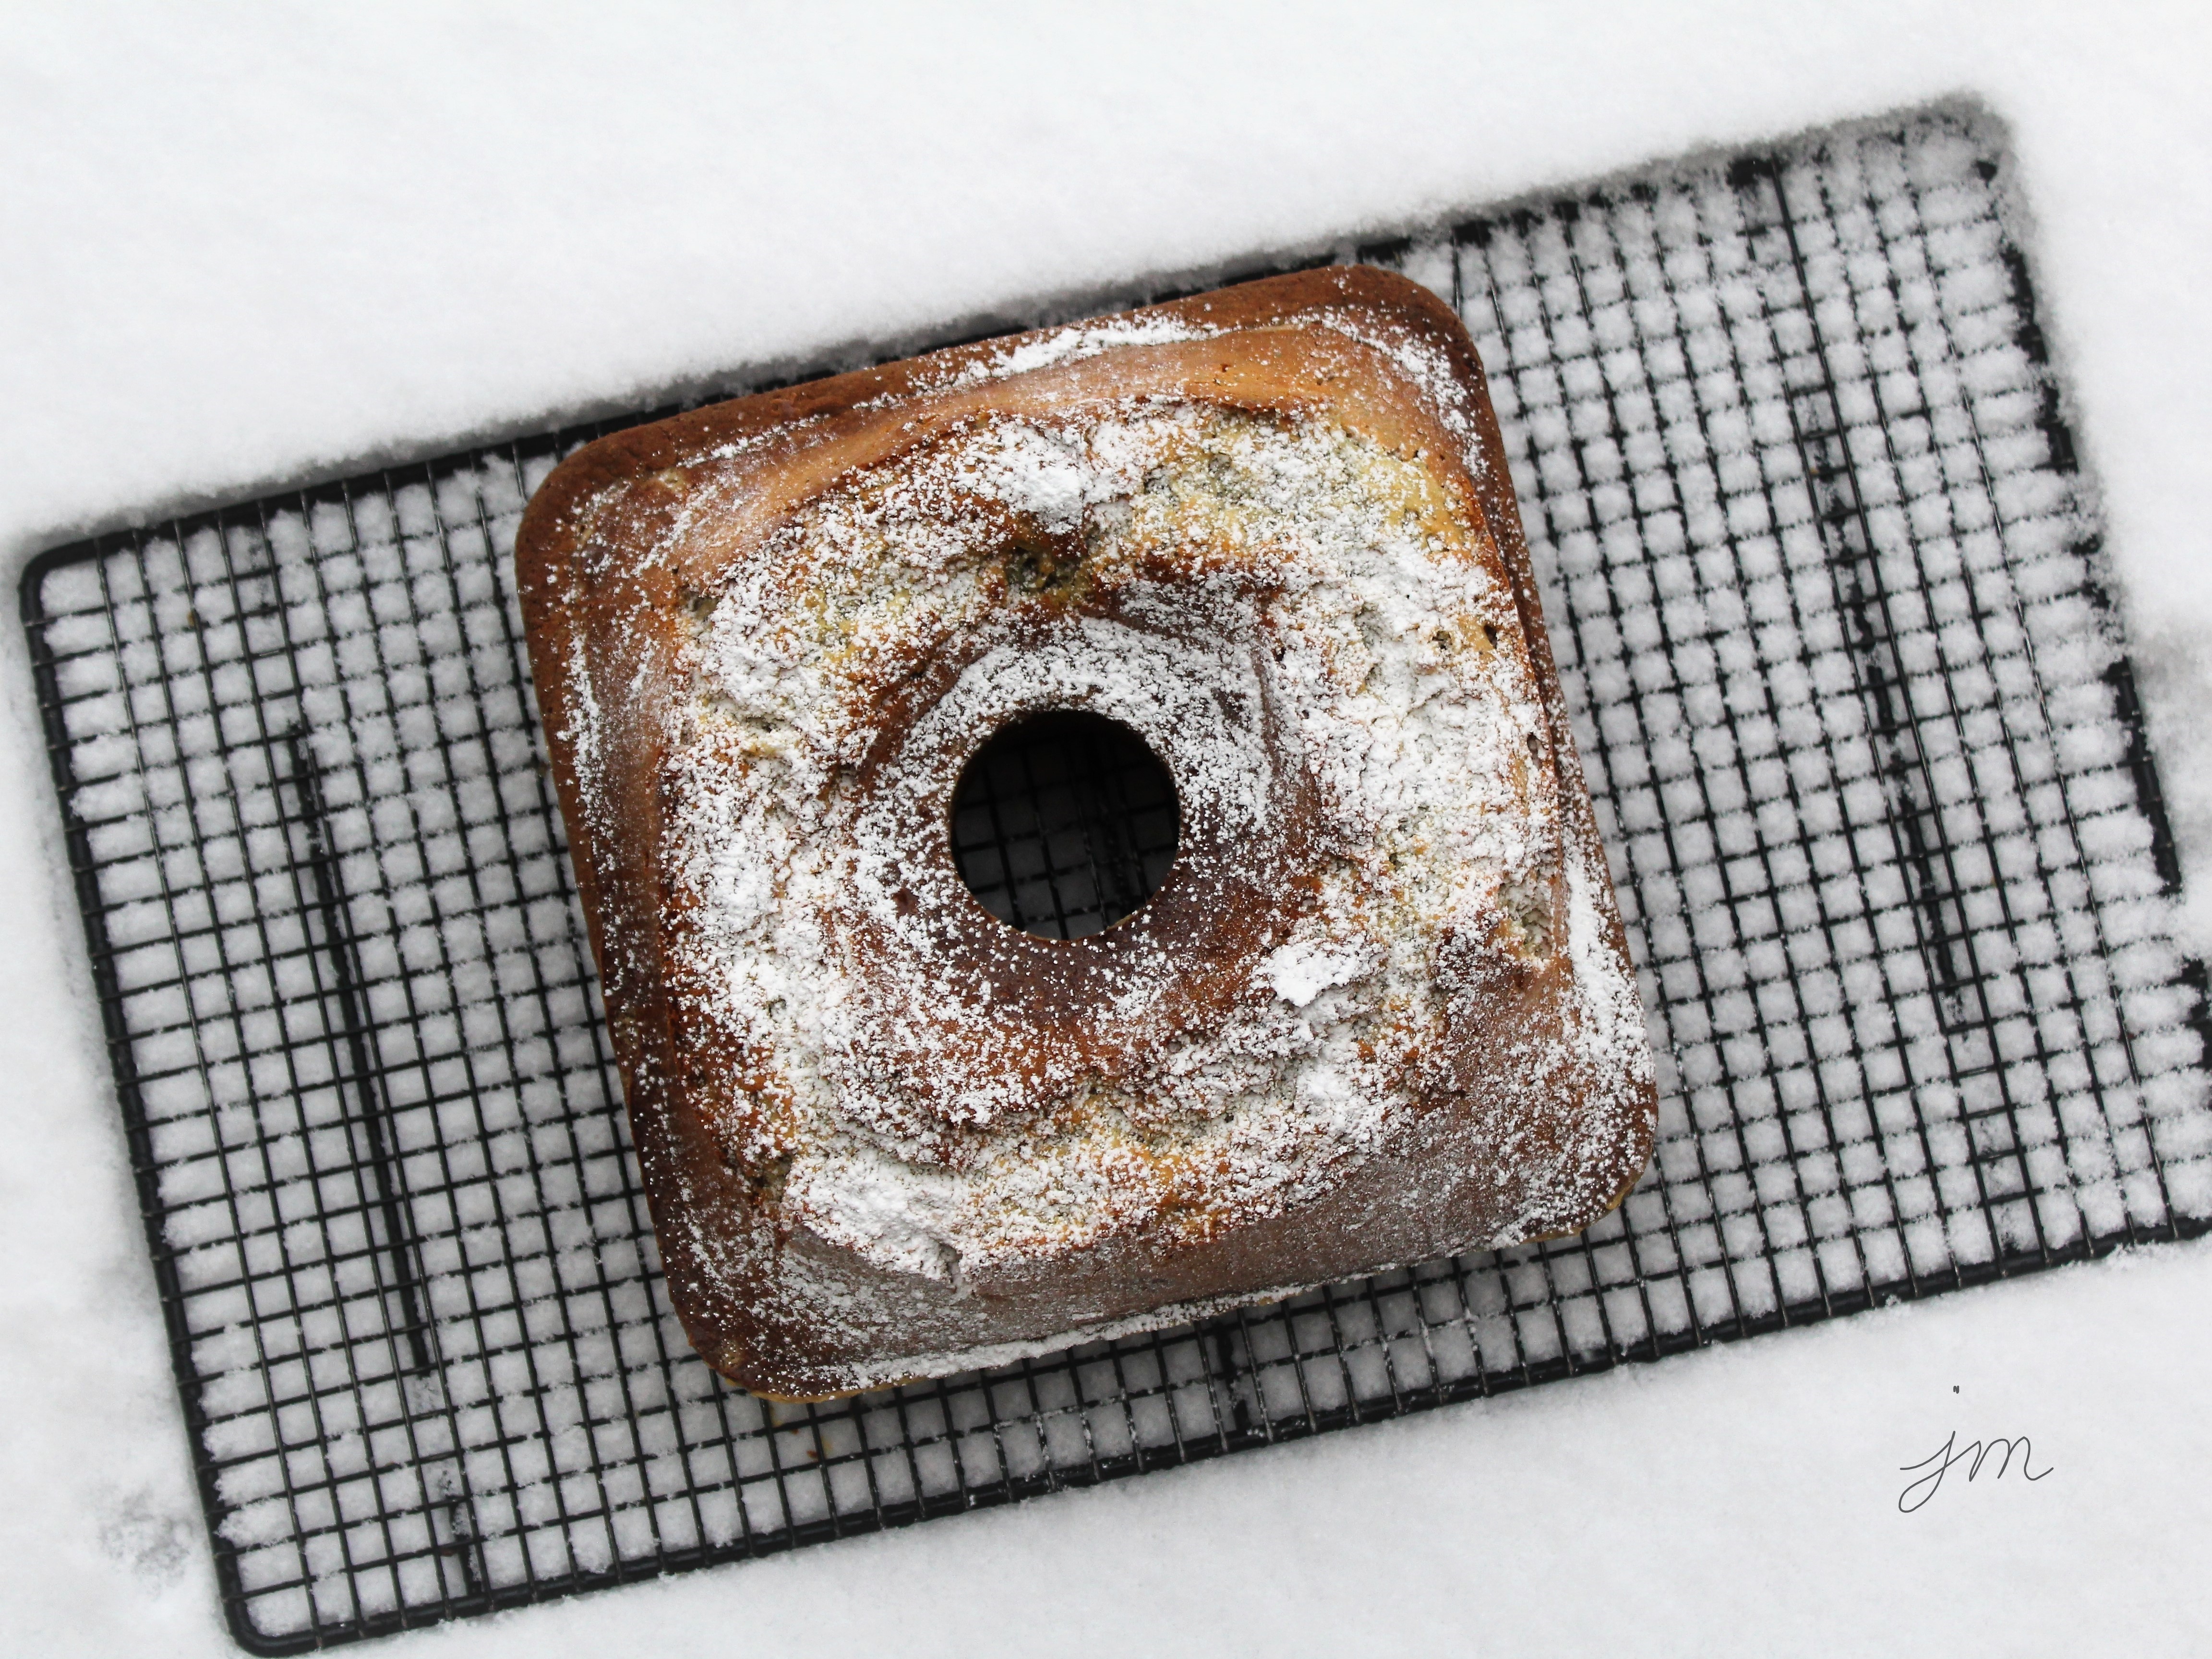
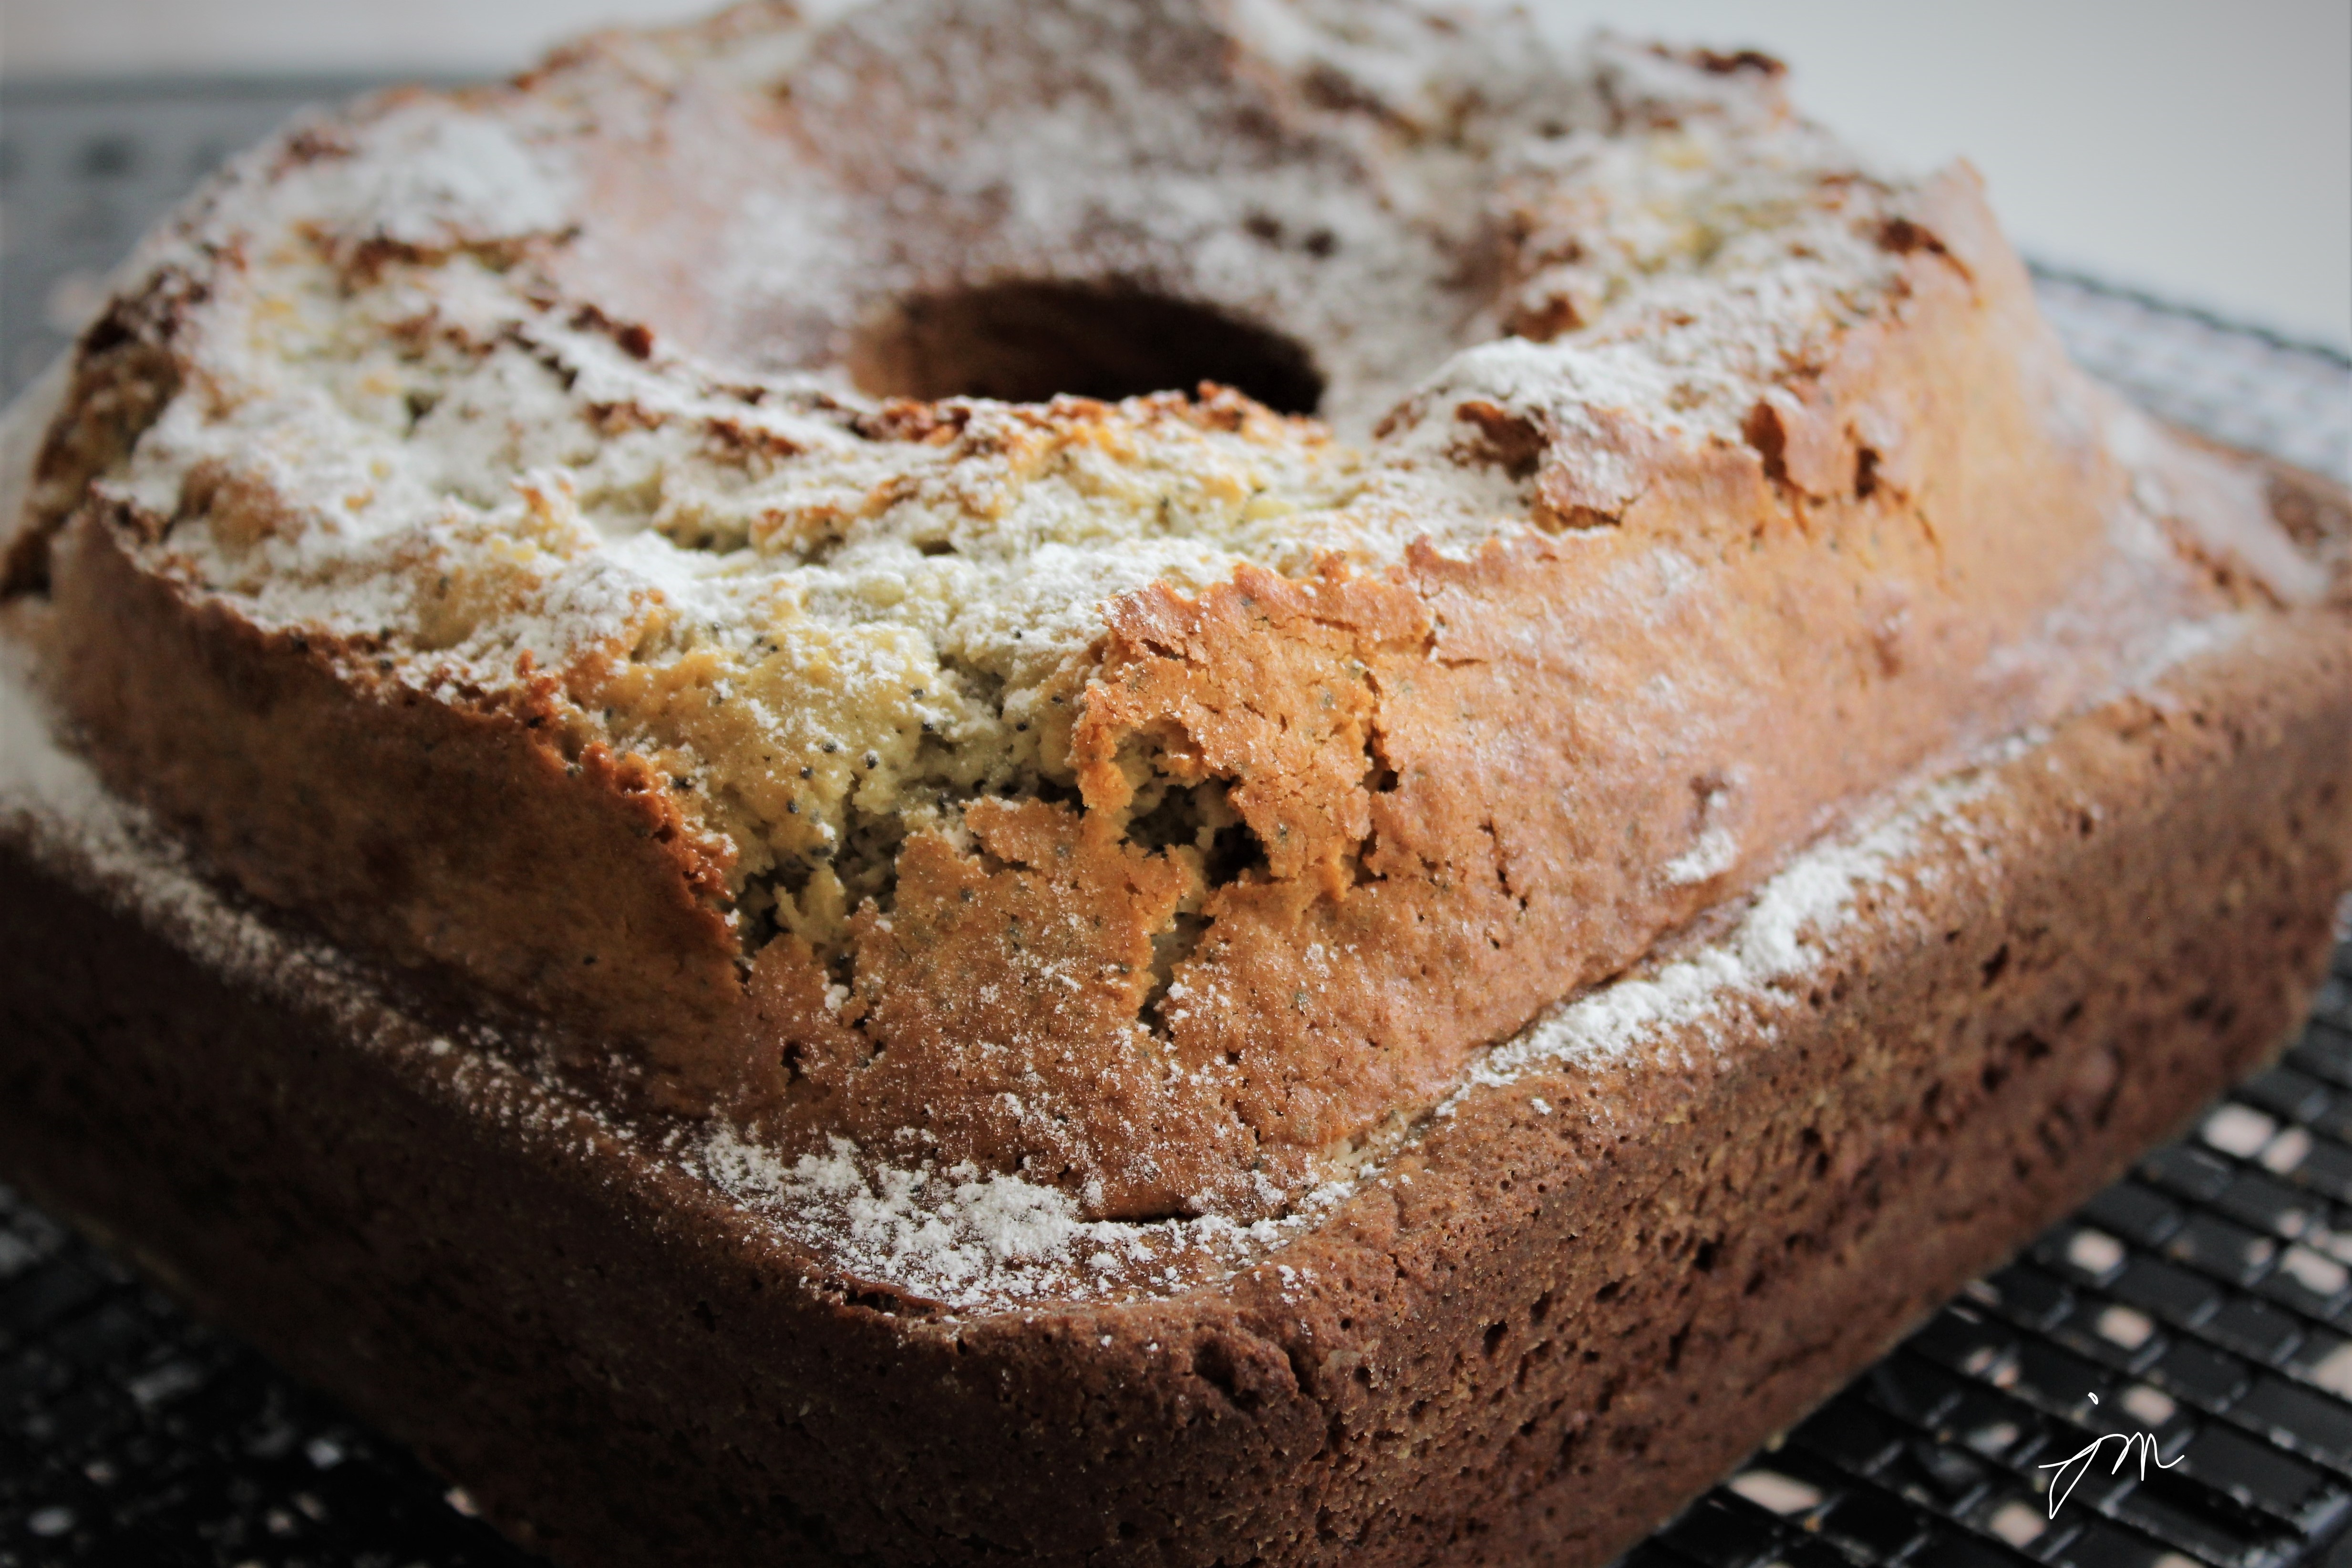
If you want a super easy, homemade crusty rustic bread to go with it, try this recipe.

Stay warm, and enjoy this hearty and healthy meal.

Cheers & Hugs,
Jodi


Grandma’s Old Fashioned Poppy Seed Cake

Grandma’s Old-Fashioned Poppy Seed Cake.

One of the things I love to do around my birthday is bake Grandma’s Old-Fashioned Poppy Seed Cake.

Having a birthday so close after Christmas, when everyone is really “over” sweets, Grandma made this simple cake for my birthday every year for as long as I can remember until she passed away.

May sound kind of strange that I like to bake my own cake these days, but I really do.  For me, it’s more than baking.  It’s reminiscing.  It’s sweet, loving memories.  It’s kind of a tribute to my Stella Star.

I use Grandma’s old tin measuring cup as I measure out the flour and sugar.  I grease and flour the pan – a square tube pan – because that is the way Grandma did it.   I crack eggs and stir and think of conversations Grandma and I had in the kitchen while she cooked and baked.  I put it in the oven and wait for the smell…. That smell that takes me right there to her kitchen.  Right back to that feeling of comfort and peace and unconditional love.

So yep – baking my cake gives me almost as much joy as eating it!

I love the way the outside is crisp and crunchy, and the inside is tender and moist and just a little sweet, but packed full of flavor.

This is a very basic cake.  A cake likely made in times when ingredients were simple, money was tight, and everything was made from scratch with love.  And I love it!

Do you have a recipe like this that is just as much of a memory as it is something to eat?  Something that is a ritual of love?

Here is our recipe:

Grandma's Easy Poppy Seed Cake

  • Servings: One Yummy Cake
  • Print

INGREDIENTS:
3 cups flour
2 cups sugar
1/2 tsp baking soda
1/2 tsp salt
4 eggs
1 tsp vanilla
1 cup vegetable oil
1 can evaporated milk
1/4 cup poppy seeds
DIRECTIONS:
Preheat oven to 350 degrees F.  Grease and flour 10 inch tube or bundt pan.
In a large bowl, mix dry ingredients.
Make a well in the center and add eggs, vanilla, oil, and milk.  Mix well.
Fold in poppy seeds.
Pour into prepared pan, and bake for 1 hour or until toothpick inserted into cake comes out clean.
Cool 10 minutes in pan, then turn onto rack to cool.

When cool, sprinkle generously with sifted powdered sugar.

Enjoy!
Cheers & Hugs,
Jodi