Making Homemade Polish Pierogies

pierogi homemade polish pittsburgh

We revived another one of Grandma’s Christmas traditions this year.  We made her homemade Polish pierogi recipe.

I don’t know how Grandma did all this work herself every year for our holiday meal.  She never asked anyone else to bring anything.  She did all the cooking, all the baking, hosted, and did all the clean up.  Occasionally I was asked to dry dishes….  and I complained!  UGH!  How could I have?!  If only we had the wisdom of experience and could turn back time to show our gratitude and appreciation…

I am fortunate enough to have my hubby, Marty, help with these little buggers.  There are not a lot of ingredients, but there are a few tedious steps, and the dough is a bit “tight” to roll out.  pierogi 1

In fact, you would laugh if you would have seen me climbing on a chair and kneeling on the kitchen counter to roll it out easier!  Much less strain on the back that way! 🙂

pierogi 2

We made the filling the day before and refrigerated overnight so it was easy to roll into little balls for the filling.

pierogi 3

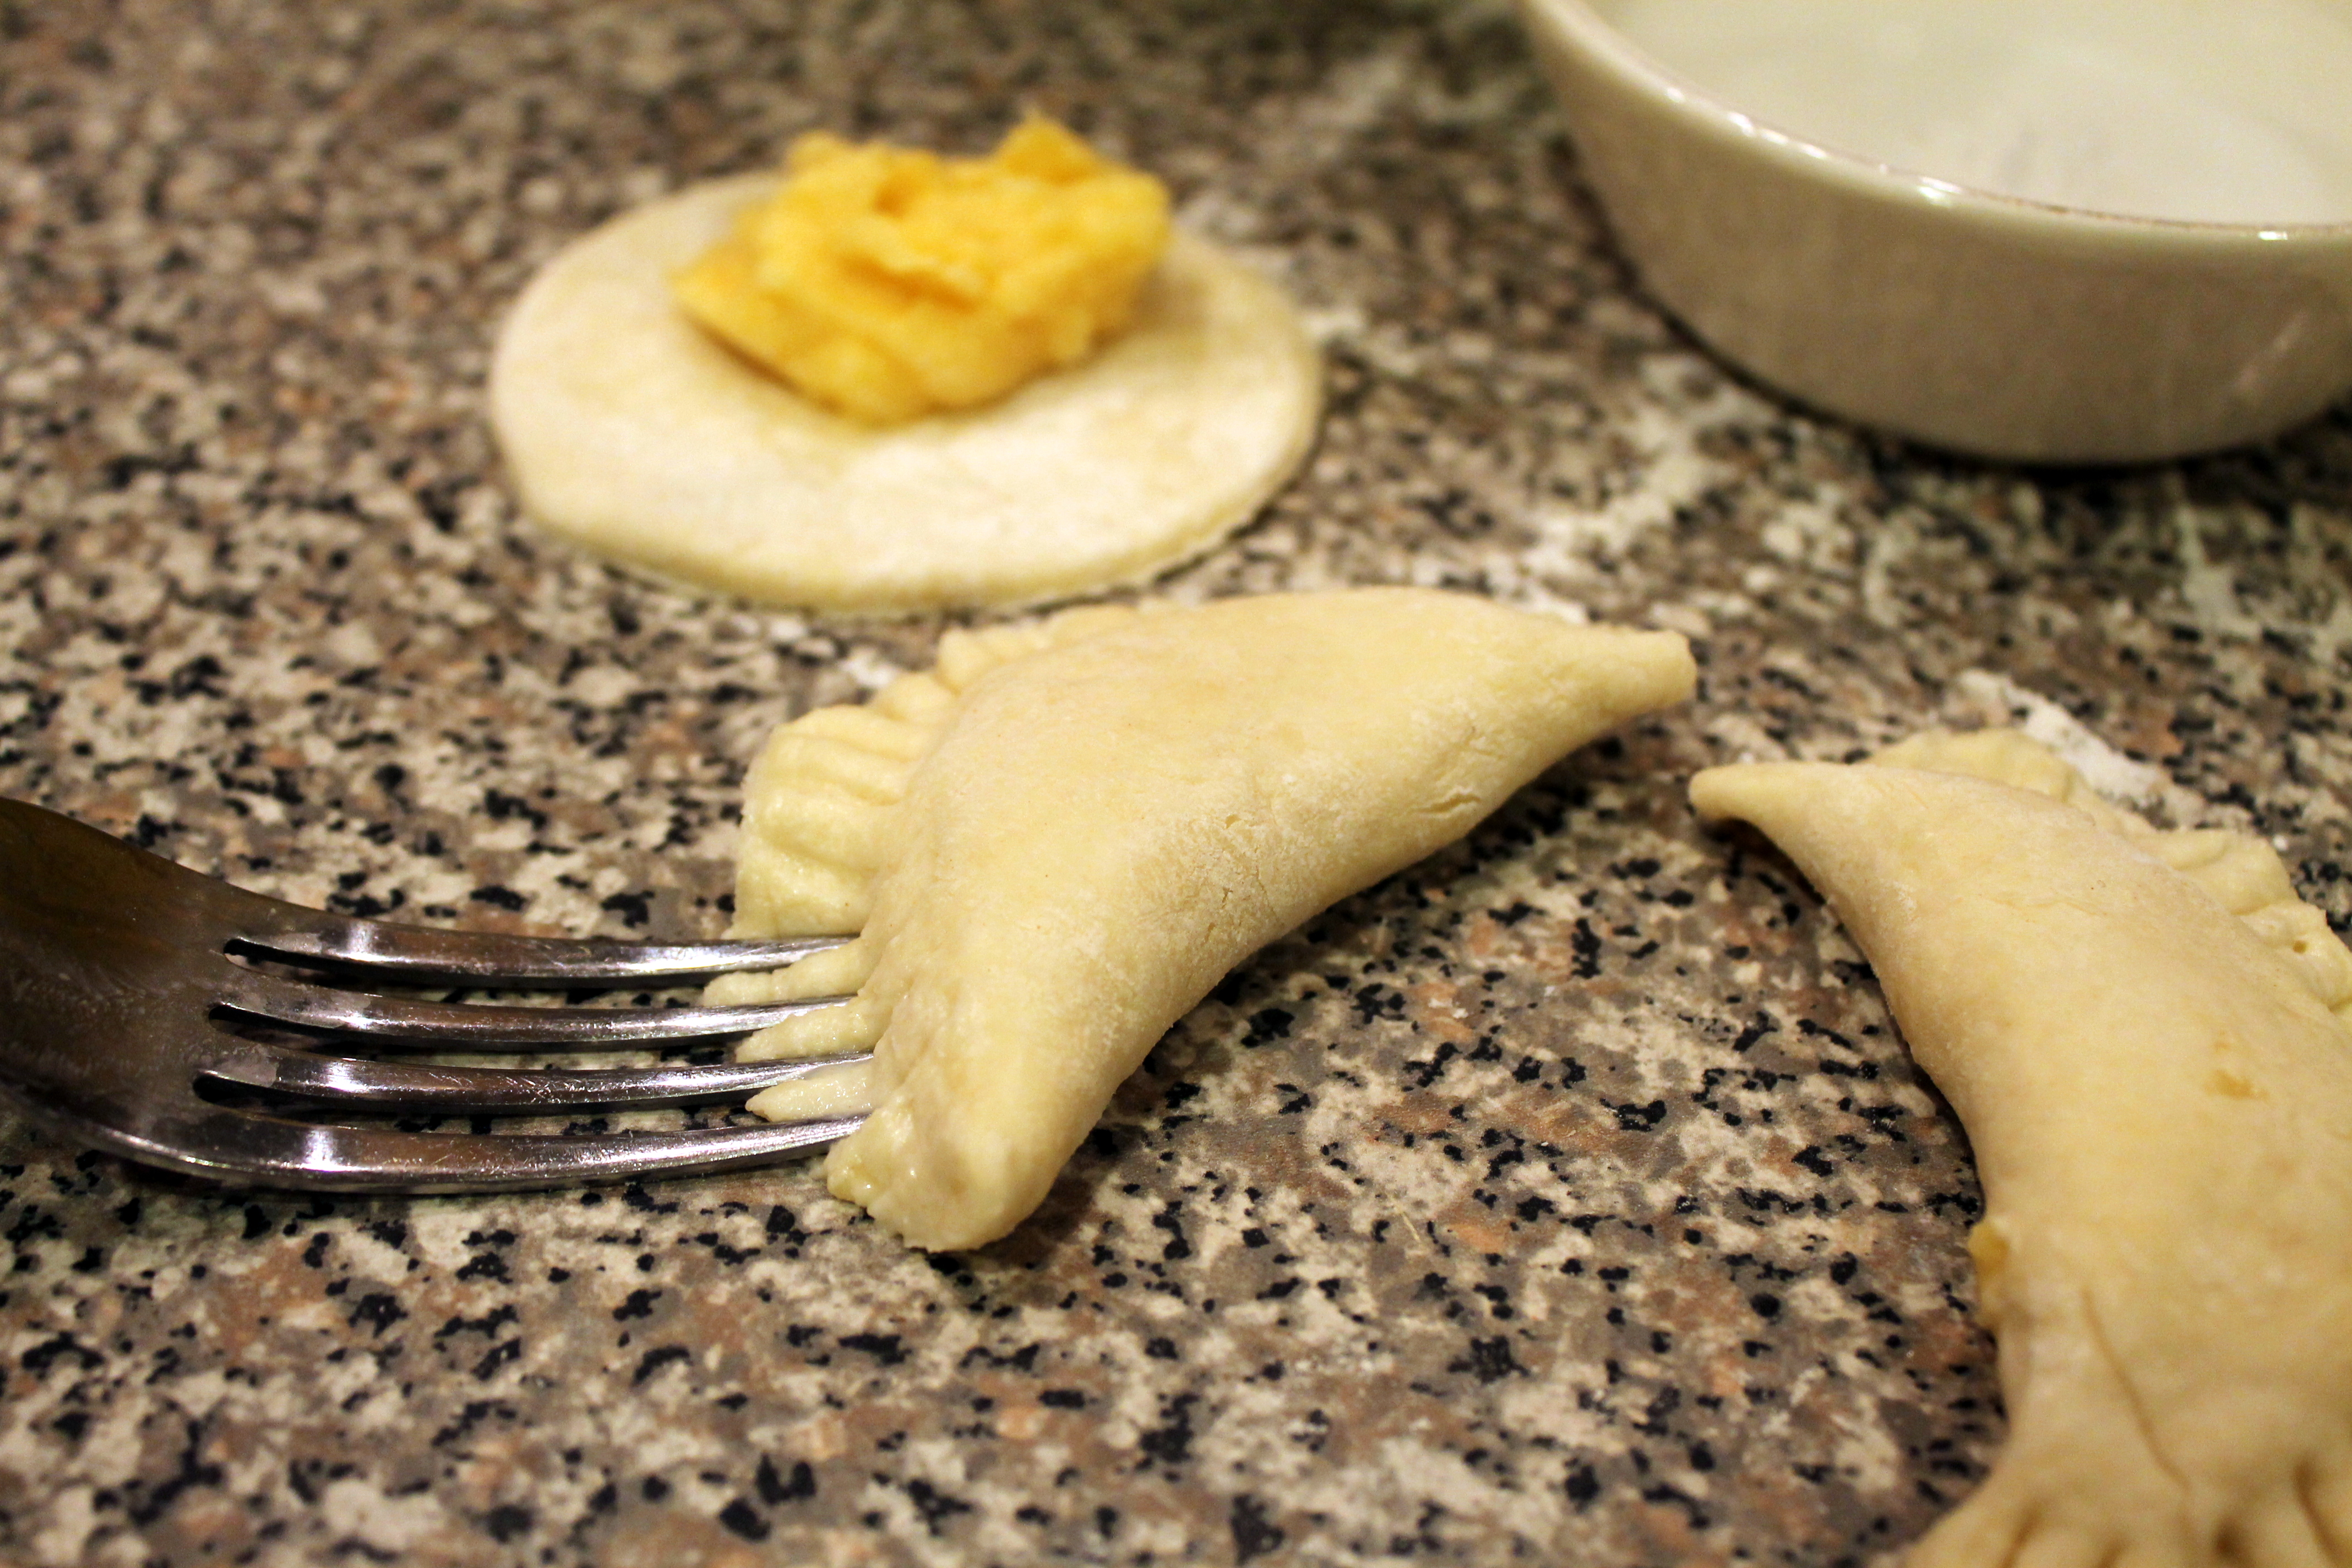
It is really important to seal them completely so the filling doesn’t seep out when boiling.

pierogi 4

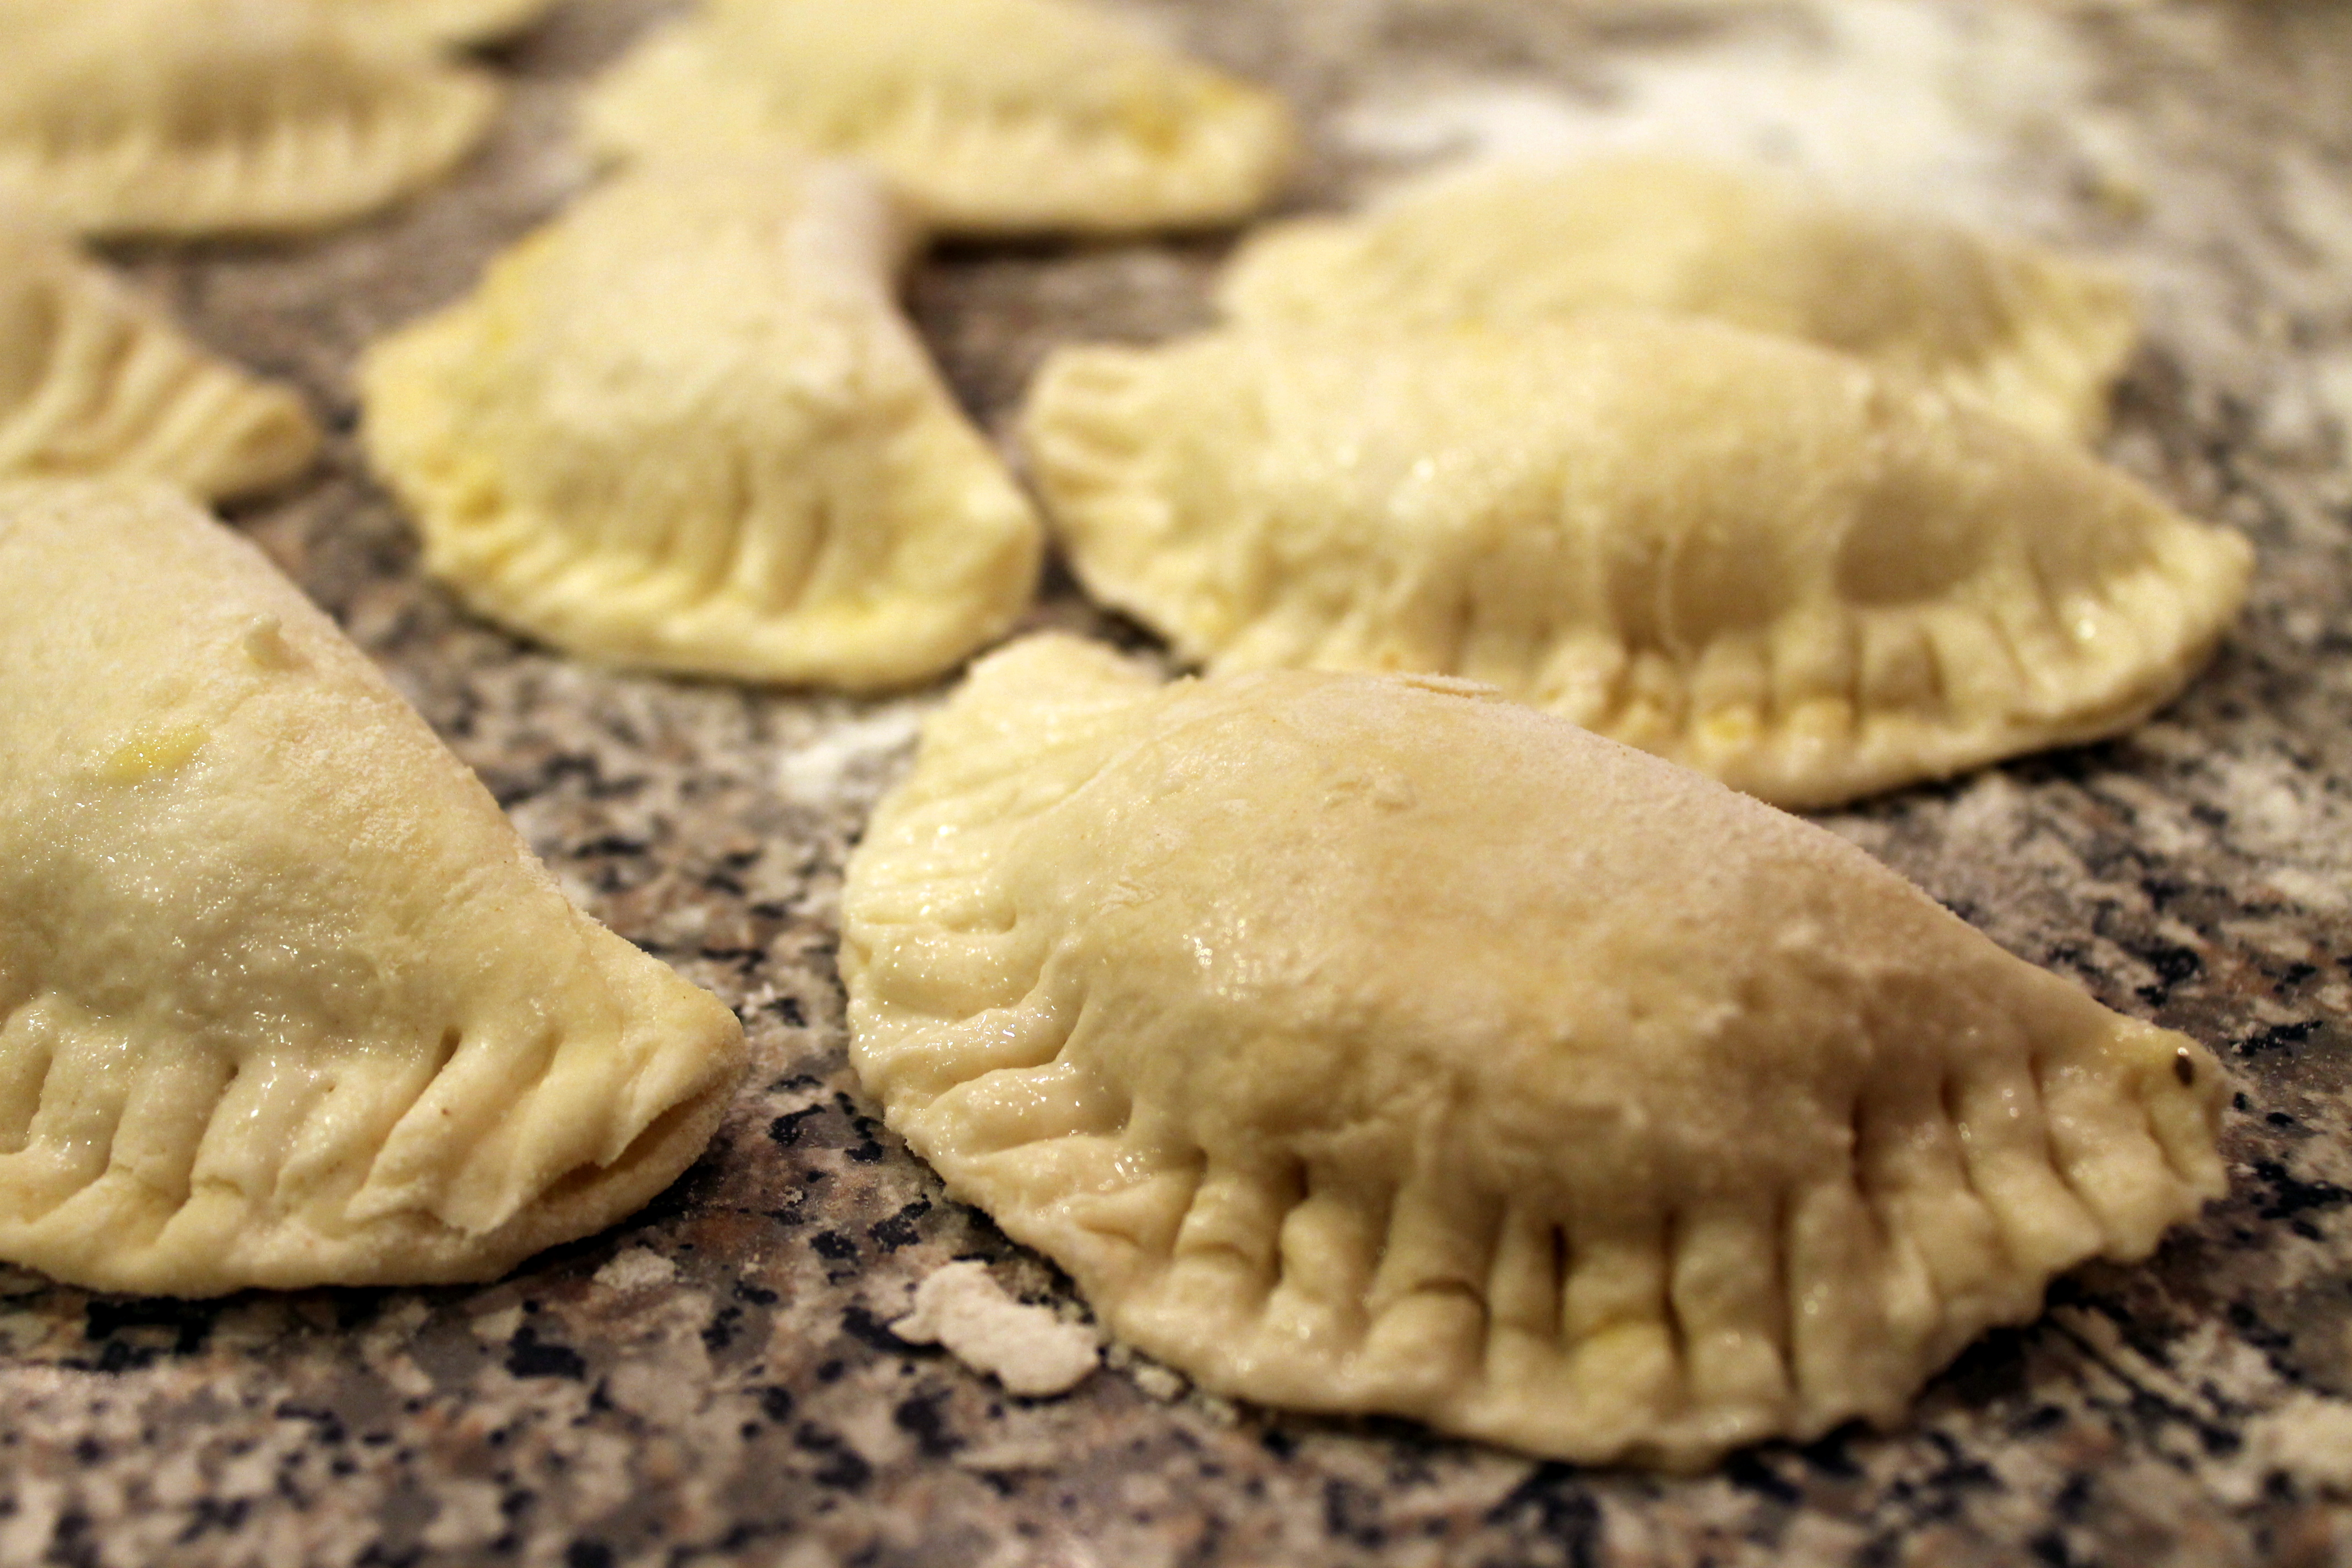
I use a little bit of water on my fingers to help seal, then pinch with tines of a fork.

pierogi 5

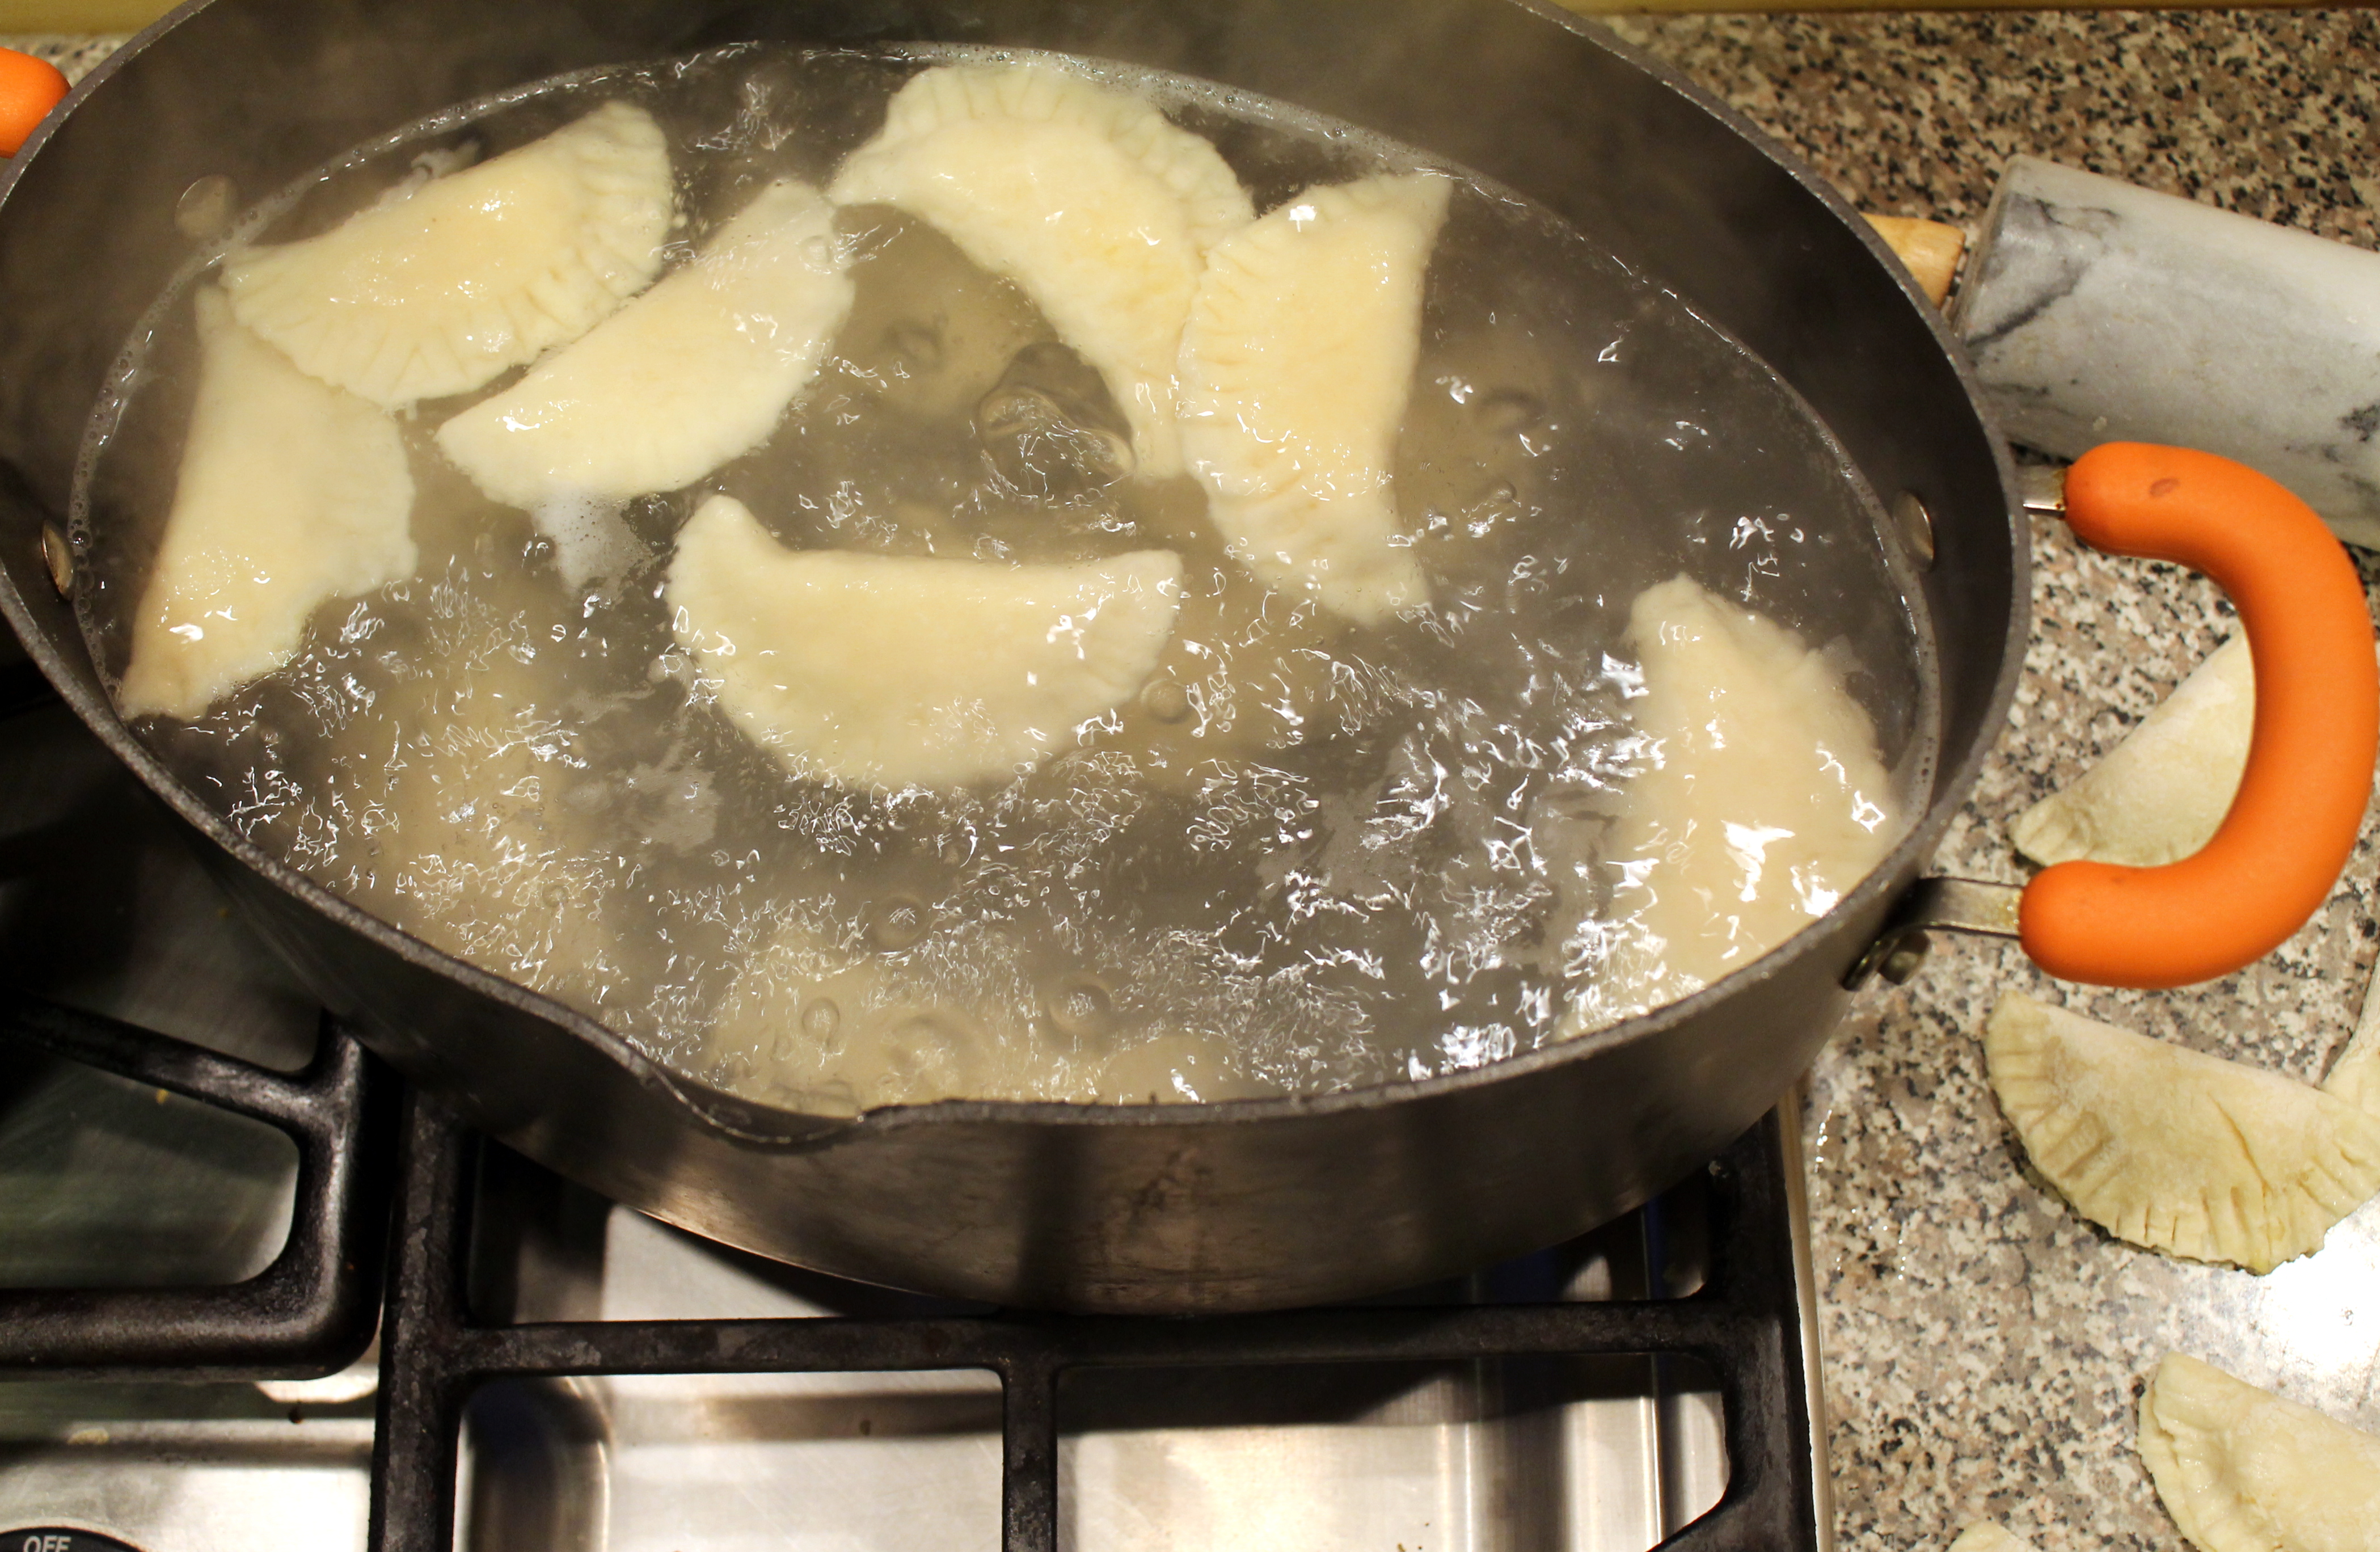
Boiling only takes a few minutes, and they are done when they float to the top.

pierogi 6

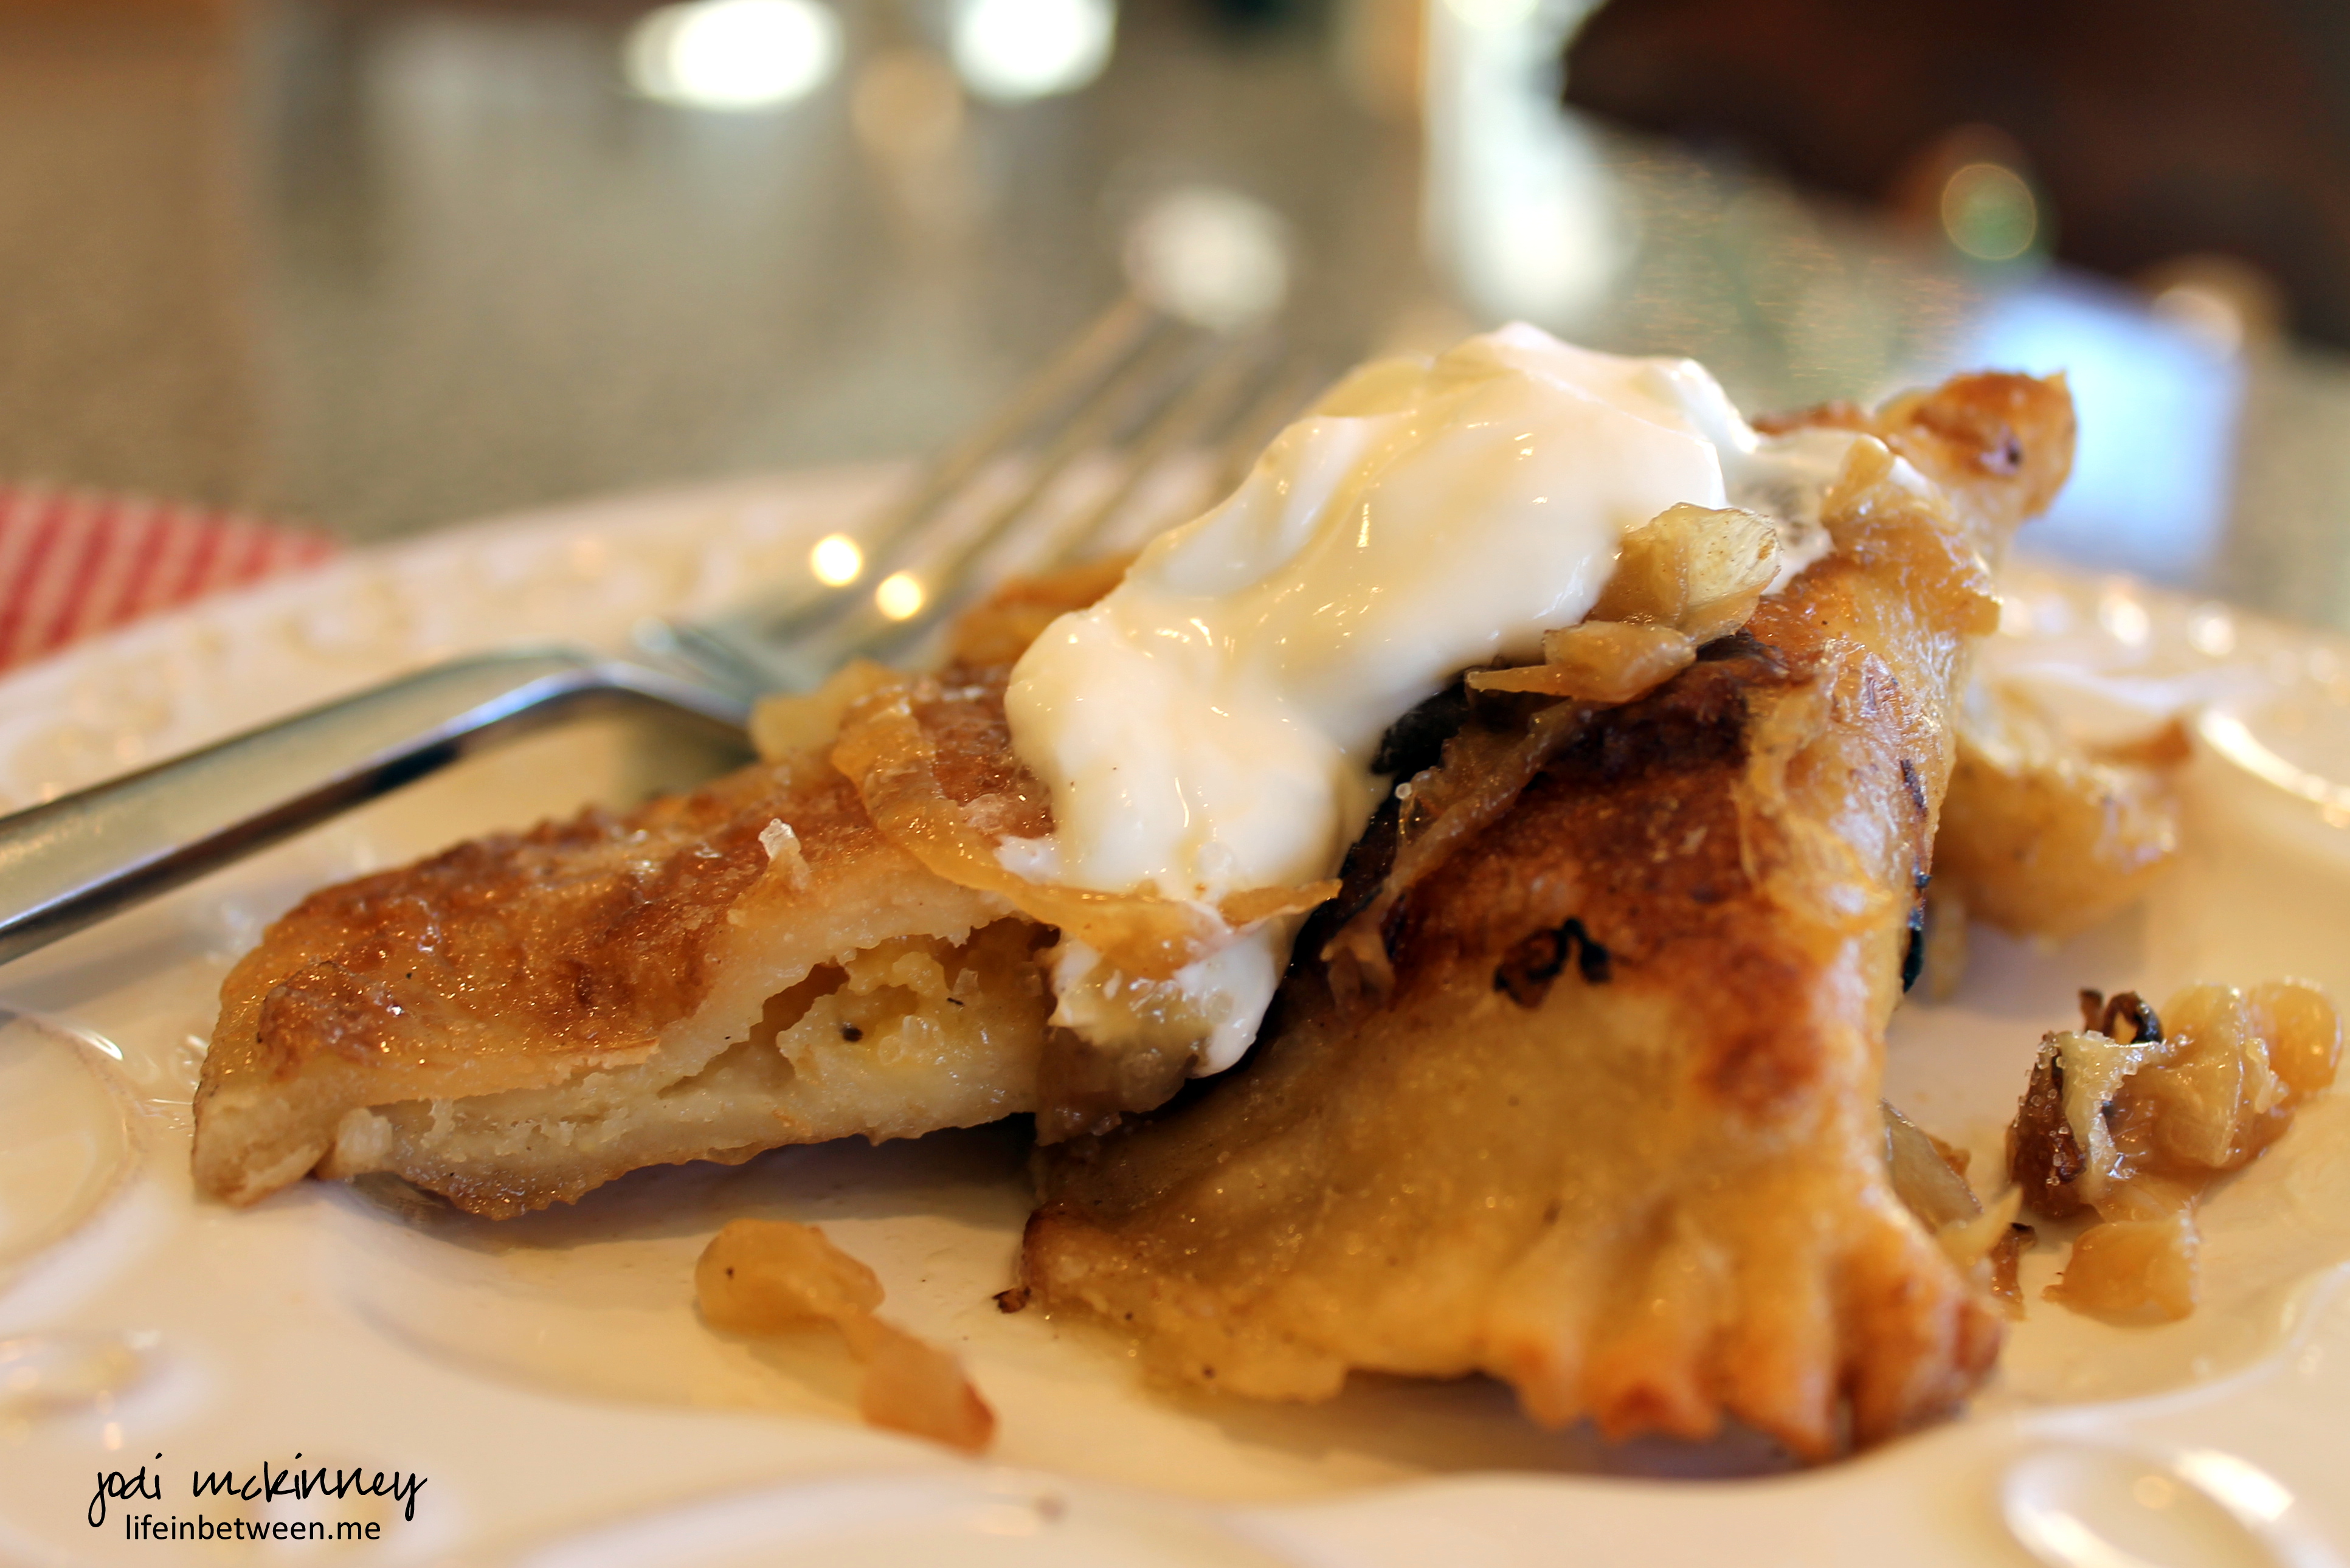
When ready to serve, fry the pierogies in a skillet with butter until golden brown.

pierogi 7

Then the really yummy part comes when you caramelize sweet onions in butter and layer in between your pile or bowlful or pan full of these wonderful little pasta pockets of cheesy potato goodness.

pierogi 8

Pierogies are a Polish tradition and a Pittsburgh tradition.  There are even several stores/restaurants that strictly sell and serve pierogies.  They can be made with a variety of fillings.  Our favorite is potatoes and cheese, but we also love them filled with homemade saurkraut sauteed in pork.  Others fill them with a cottage cheese or prune filling.  Grandma always pronounced them ‘pee dough gee‘.  Some people spell them ‘pieroghi’.

Whatever way you pronounce it or spell or fill it, pierogies are a wonderful treat and another fond memory of my dear Grandma, my Stella star.

pierogi homemade polish pittsburgh

Here is Grandma’s Polish Pierogi Recipe:

Dough:
4 cups flour
2 eggs
1 tsp salt
1 pint sour cream
2 Tbsp melted butter

Potato & Cheese Filling:

2 lbs. potatoes (I like to use Yukon Gold) Peeled, Boiled and Mashed
1/2 lb Shredded Extra Sharp Cheddar Cheese (do not use pre-shredded)
Salt to taste
2 Tbsp butter

For Filling: Mash potatoes, add rest of ingredients, and blend well. Chill until ready to use.

Assembling the Pierogies:
Mix all dough ingredients together and knead until dough is smooth.
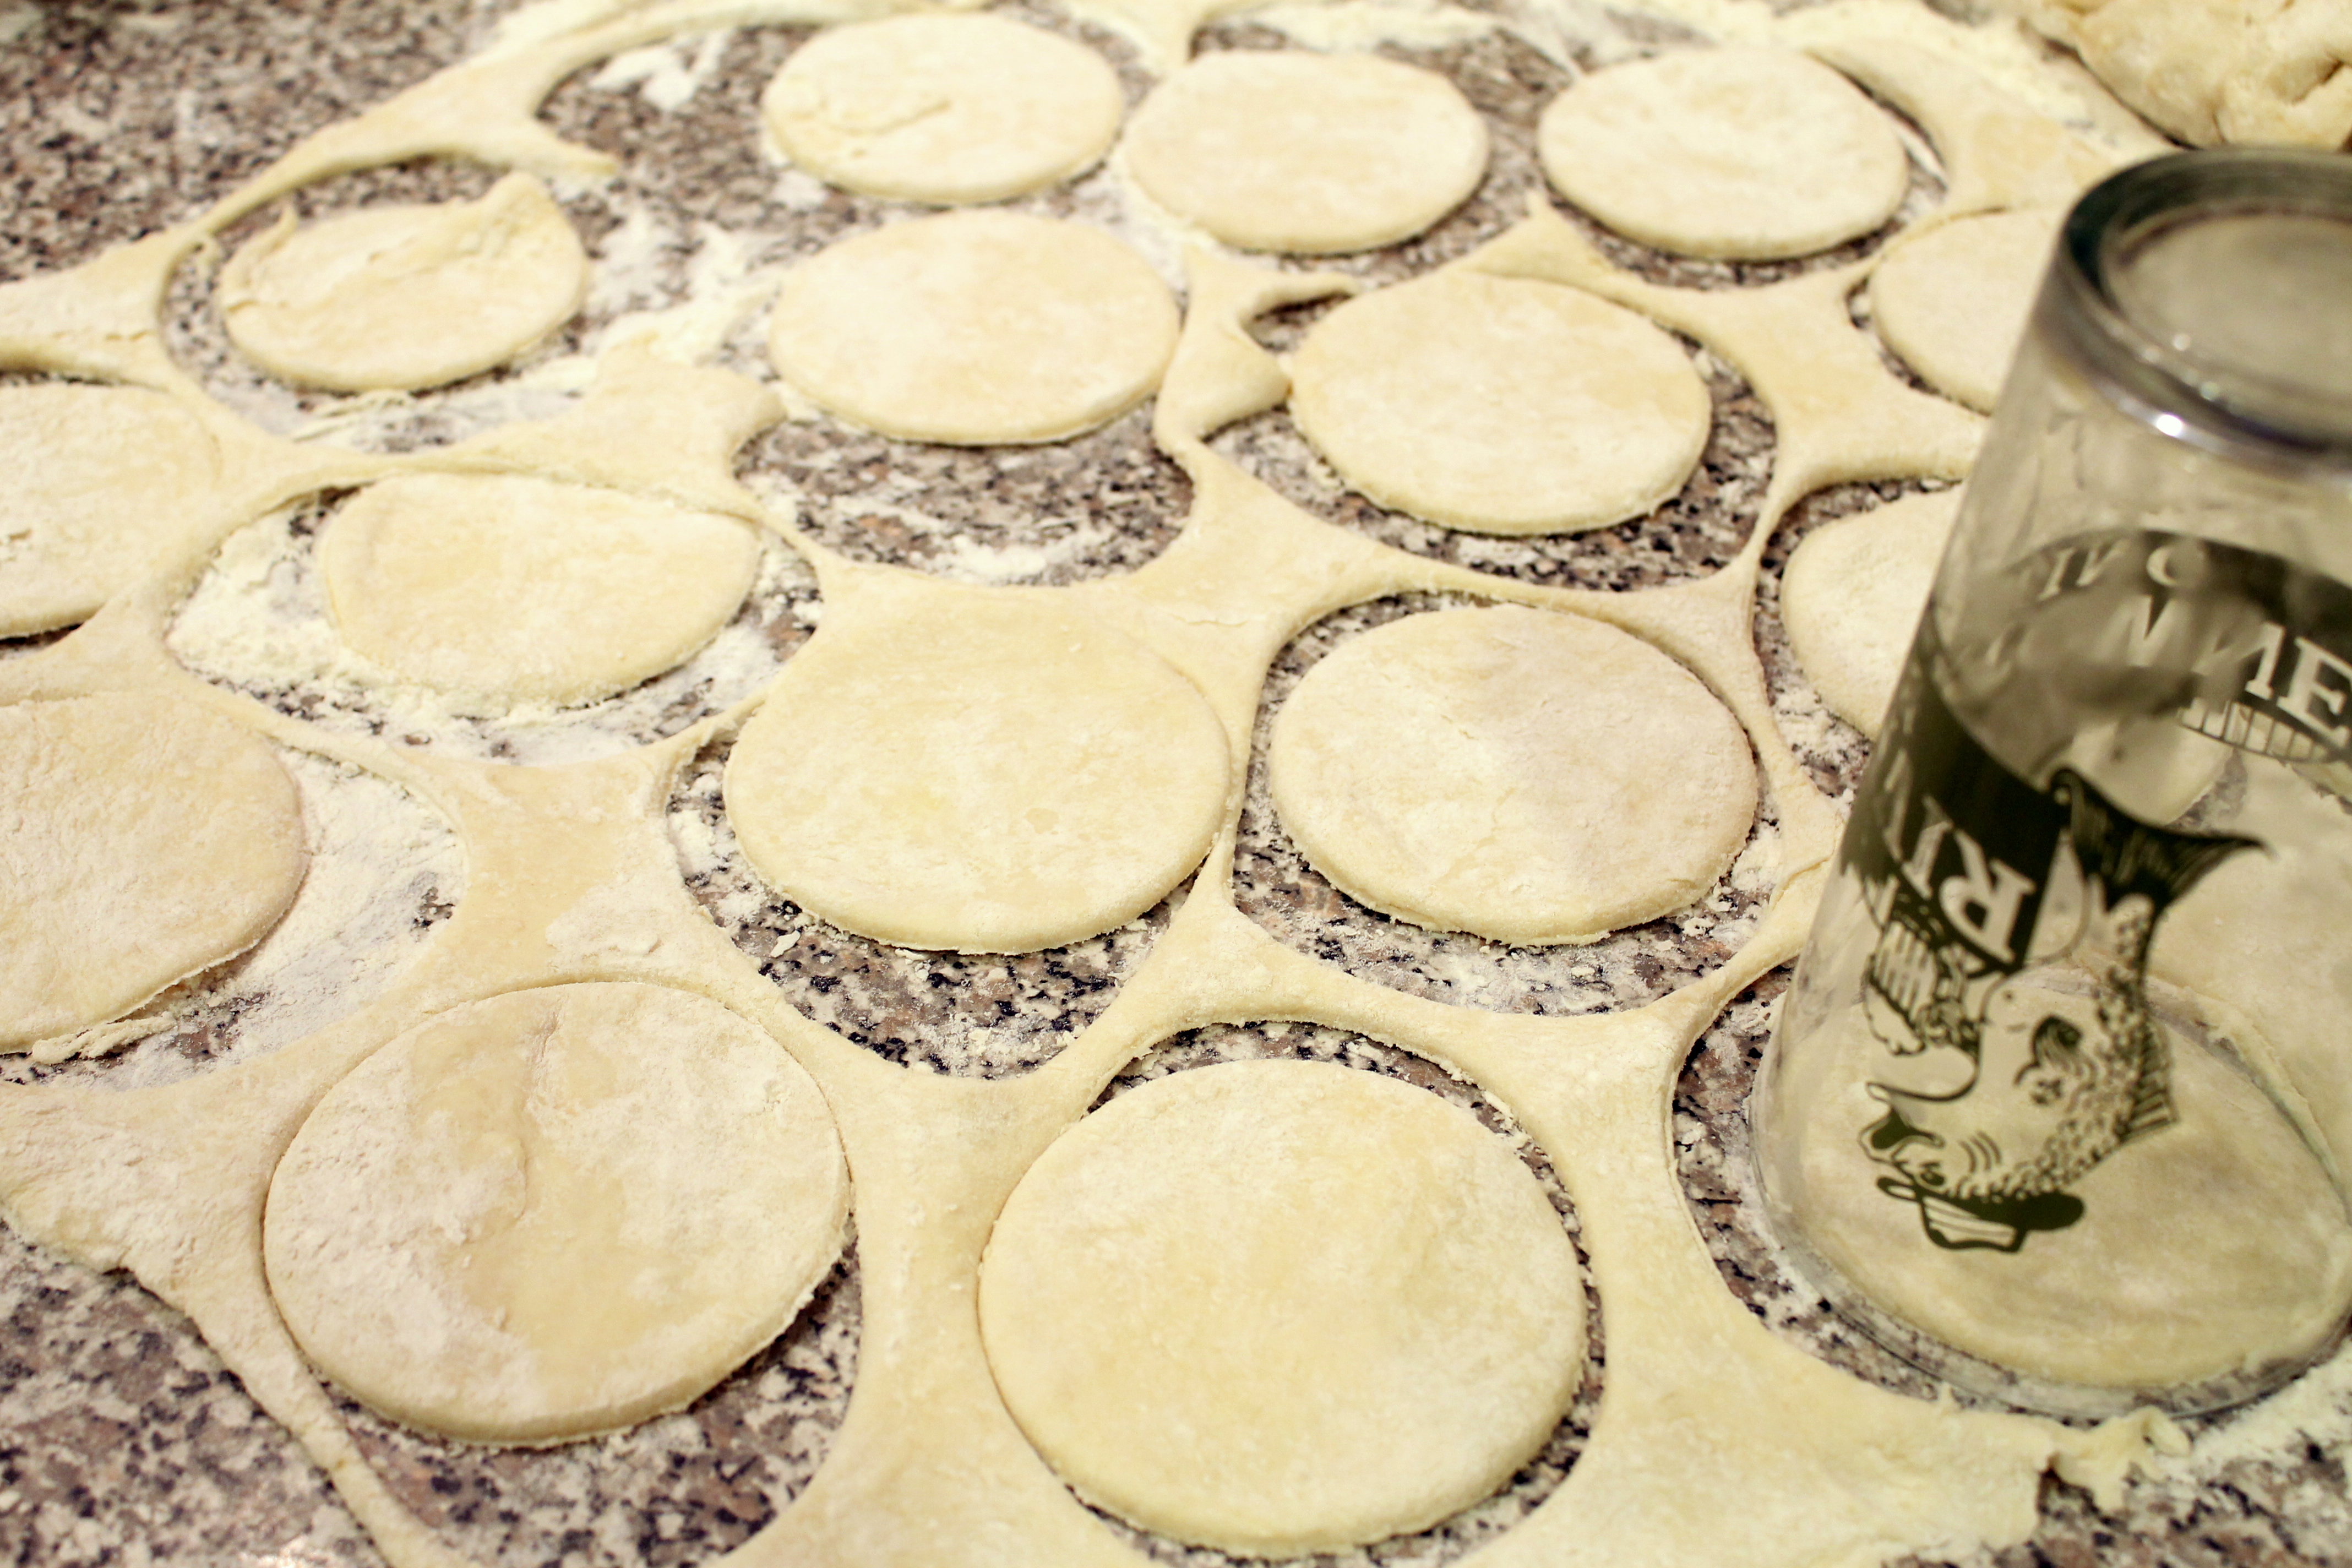
Roll out to approximately 1/4″ thickness and cut into 2-3″ circles with a drinking glass.
Add about a tablespoonful of filling to center, then fold over, seal, and crimp.
Place pierogies in boiling water and boil until they rise to the top, then remove.
When ready to serve, fry in butter in a skillet until golden brown.
Sauteed onions – the more the better are excellent served with pierogies.
We also love a dollop of sour cream on top.

Cheers & Hugs,
Jodi

Apricot Kolaches & Christmas Cookie Baking

I finally got around to some Christmas cookie baking this weekend, and the highlight for my gang is the Apricot Kolaches.

apricot kolaches

Mine are not quite as perfect and beautiful as Grandma used to make, but they are getting thumbs ups around here.  Apricot Kolaches are a traditional Polish tender cream cheese pastry cookie with a sweet-tart apricot filling.  Grandma was 100% Polish, and her cooking and baking were like none other!

apricot kolaches 3

I remember Grandma painstakingly measuring each 2 inch by 2 inch square so that every singly one looked exactly the same.  I don’t have nearly the patience, but I smile remembering those days in the kitchen with her.  I can also now relate to the aching back and feet she had at the end of the day after rolling, cutting, filling, folding, baking, cooling, packing up…  And I wish I had a young Jodi to rub my feet and massage my legs with Jergen’s cherry almond lotion like I did for Grandma in the evening after an all-day baking session.

apricot kolaches 2

But the joy on Marty’s and Nick’s faces and the “Mmmmm’s” that escape their lips between bites make it all worth it!

(and then I have to hurry up and freeze some or they would be gone quicker than it takes me to clean up the dishes!)

I also made some of my Jodi’s Almost Famous Chocolate Chip Cookies – a perennial favorite around here…

chocolate chip christmas cookies

…as well as some with dried blueberries and white chocolate chips using the same recipe (another of Marty’s faves).

And it wouldn’t be Christmas without some Peanut Butter Blossoms…

peanut butter cup cookies

And gotta have some Pittsburgh Thumbprint cookies too.  I made a batch with chocolate fudge and another with colorful sprinkles and green icing centers.

chocolate pittsburgh thumbprints

Here is the recipe I use for the Apricot Kolaches.

(The Chocolate Chips and Pittsburgh Thumbprints can be found by following the links to previous posts.)

apricot kolache making

APRICOT KOLACHES

2 8-oz blocks of cream cheese, softened
2 cups (4 sticks) butter, softened
5 cups all-purpose flour
1 1/2 cups apricot preserves or apricot filling (I use Baker’s)
1 Egg, beaten
Confectioner’s (Powdered) Sugar, for dusting

Beat cream cheese and butter on medium-high speed of stand mixer until light and fluffy, about 3 minutes.  Turn mixer on low, and gradually mix in the flour until a smooth dough forms.

Knead dough on lightly floured work surface, and gently form a ball.  Divide dough into fourths, flatten, and wrap each in plastic wrap.  Refrigerate at least 4 hours.

When ready to bake, preheat oven to 400 degrees F.  Line cookie sheet or baking stone with parchment paper.  Working with one piece of dough at a time (after bringing back to room temperature from refrigeration), roll out to approximately 1/8 inch thick rectangle.  Trim edges and cut dough into 2 inch squares.

Spoon about 1/2 teaspoon of apricot filling into the center of each square.

Fold one corner into the center, dab with the beaten egg, then bring the opposite corner into the center and press firmly to seal.

Place on parchment-lined cookie sheet, and bake for approximately 10 minutes.

Dust with confectioner’s sugar and cool on wire rack.

These cookies freeze well, and thaw quickly.

This recipe makes about a million ….  or at least feels like it when you are making them!  🙂
I hope you and your family will try these and enjoy them as much as we do.

Cheers & Sweet Hugs,
Jodi

Oh My Halupki! (Grandma-Style Stuffed Cabbage)

halupki cover

I think my Grandma made Halupki (stuffed cabbage to some) almost every week.

When Grandma cooked – even when it was just her towards the end of her life – she cooked for a small army…

Halupki pan 1

… and she ALWAYS made a care package for me.

I visited her at least once a week, and there was always a quart jar of some kind of homemade soup waiting for me in the fridge, usually a container of halupkis (or maybe stuffed peppers or something else that week), and then a bag full of goodies (cookies or cereal or candy or ALL three!) to treat the kids.

Grandma 80 birthday with Nick

Grandma’s 80th Birthday sharing her cake with Nick in our backyard

She kept an ongoing bag in the closet that she added to each time she shopped or made something so I always had a “Grandma Bag” to take home.  Sometimes she even picked up dish towels or other small kitchen tools.  She was always thinking of me, and always so giving.

I haven’t made halupkis in quite a while, so thought it would be fun to do.  (Funny how this blog has inspired me to stretch out of the normal chicken salad, pasta with meatballs, and other “usual” dinners to more creativity so I can blog about it…)  Definite bonus for Marty and family and friends that I share the “lovin’ from my oven” with 🙂 .

halupki 1

I hope Grandma would be proud of my halupkis – – – though hers were pure perfection – each sized the same in tight little cabbage packages – – – I’m not so fussy…

Halupki is a dish made of rice, beef, and pork encased in cabbage with a thin, sweet tomato sauce.  Every family has their own twist on this traditional “hunky” comfort food dish.

halupki pan closeup

One of Grandma’s tricks for her sauce was to mix tomato sauce, tomato soup and some of the water the cabbage was boiled in.

halupki 2

I hope you enjoy these with mashed potatoes – a must with Grandma’s halupkis.

halupki plated

Here is the recipe as I made it and as I recall from Grandma.

Makes: Enough for a small army (or approx. 60 halupkis)

Preheat oven to 350 degrees F.

3 large heads of cabbage, cored
2 lbs ground beef
2 lbs pound ground pork
2 lbs ground veal
1  1/2 lbs thick sliced bacon
4 cups cooked white rice
3/4 cup chopped onion
4 cloves garlic, minced
3 eggs
Salt and pepper to taste
2 28 oz can tomato sauce
4-5 Family size cans Campbell’s Tomato Soup

halupki pan closeup

Place cabbage in a deep pot and cover with water. Add salt to taste, and bring water to a boil.

Remove outer leaves as they begin to separate from cabbage head. Continue to pull leaves off while boiling for approximately 15 minutes. Trim thick center vein off cabbage leaves. Chop remaining core of cabbage and place in bottom of greased (I use Pam spray) roasting pan.

Reserve 4 cups of the cabbage water to mix with the tomato sauce and soup for sauce. Combine sauce ingredients and place 2 cupx over chopped cabbage in roasting pan.

Chop bacon into bite-sized pieces and fry. When cooked, drain off most of the grease, leaving enough in the pan to saute onions and garlic. Saute until translucent.

In a large bowl, combine ground beef, pork, veal, bacon, rice, onion, garlic, egg, salt and pepper.

Form oblong balls of meat mixture and place in center of cabbage leaves. Fold sides over filling and roll cabbage around meat.

Place in a roasting pan on top of chopped cabbage and sauce. When all are rolled and placed, pour remaining sauce over top of all.

Cover pan, and bake approximately 4 hours, basting every 30 minutes.
ENJOY!

71q-+ZrrnAL._SL1050_
Best Ever Blue Enamel Pot for Roasting Halupkis! You can get it HERE!

Cheers & Hugs,
Jodi