Hershey’s Kiss Brownie Bites

Hershey’s Kiss Brownie Bites
might just be the ultimate  little treat
for the inner chocoholic in
all of us (well – 99.999999% of us… Hard as it is to believe – there is an itsy bitsy, teeny tiny  population of people on this earth who do not like chocolate!)

But for the rest of us….
Imagine a bite-sized scoop of Ghiradelli Double Chocolate Brownie mix
baked to perfection of fudgy center with slightly hardened and cracked outside
in a mini muffin baking pan (be sure to line) and topped off with a smooth, creamy milk chocolate Hershey’s Kiss.

Not only are they sheer decadent delight, they are about as easy to make as desserts come.

I have started baking for my son’s wedding next month.  We have a unique tradition in our little part of the world that requires an overflowing cookie table at weddings.  The cookies are eaten for appetizers, dessert (along with wedding cake), and supplied to take home in to-go boxes.  I’m happily in charge of the cookie table for the wedding, so a baking I will go.

I started with these little brownie bites and will be stocking the freezer with chocolate chips and apricot kolaches and lots more in the coming weeks!

Wedding cookie table or not, you are going to want to try these.  Your friends and family will thank you, and you won’t be sorry!

Hershey's Kiss Brownie Bites

Ingredients:

Directions:

Preheat oven to 325 degrees F.

Line mini-muffin baking pan with foil mini-muffin liners.

Prepare brownie mix according to package directions by combining mix, water, oil, and egg.  Scoop batter into foil liners to 3/4 full.

Bake for approximately 12 minutes.  While brownie bites are baking, unwrap Hershey’s kisses.  Remove from oven and immediately insert a Hershey’s kiss into the center of each brownie bite.  Press gently.  Allow to cool.  The kisses take a while to set, so be careful.

Enjoy!

Cheers & Chocolate Kisses,
Jodi

Lemon Garlic Herb Marinated Pork Tenderloin

Lemon Garlic Herb Marinated Pork Tenderloin.

It’s what’s for dinner!

If you are a pork fan, like I am fast becoming, this marinated tenderloin is a MUST try!

It turns out tender and juicy with a fresh citrusy herb flavor that pairs great with potatoes and fresh vegetables for a delicious, easy weeknight dinner.

Prepare and marinade the meat the night before, then all you have to do is throw it on the grill for 10-15 minutes for dinner.

Leftovers are great sliced thinly for sandwiches or tossed in a stir-fry.  Such a bonus to get a couple completely different meals from one easy recipe.

Hope you will give it a try, and hope you enjoy as much as we did.

Lemon Garlic Herb Marinated Pork Tenderloin

Ingredients:

  • 4 Fresh Ripe Lemons, Juiced and Zest from one
  • 1/2 cup Olive Oil
  • 6 cloves Garlic, minced
  • 2 Tbsp chopped fresh Rosemary
  • 1  Tbsp chopped fresh Thyme (or 1 tsp dried)
  • 2 Tbsp Dijon Mustard
  • 1 tsp Salt
  • 1 tsp ground Black Pepper
  • 2 Pork Tenderloins (approx. 1 lb each)

Directions:

Make marinade by whisking together first 8 ingredients.  Pour into large Ziploc bag.  Add the pork tenderloins and coat.  Marinade overnight in refrigerator or at least 8 hours.

Preheat grill to 400 degrees F.   Place tenderloins on grill.  Discard excess marinade.  Grill 10-15 minutes or until meat reaches 135 degrees F.  Allow to rest 5-10 minutes.  Cut into thin slices to serve.

Enjoy with roasted new potatoes and steamed broccoli or your favorite vegetable.

Cheers & Hugs,
Jodi


*Recipe slightly adapted from Ina Garten’s Herb Marinated Pork Tenderloin

A Brunch & Bubbly Bridal Shower

I had the joy and privilege of hosting a Brunch & Bubbly Bridal Shower for my bright and bubbly daughter-in-law to be this past weekend.

I had fun decorating and preparing for our girly party!

Thanks to Matron of Honor and beautiful sister, Laura, and loving, gentle mom, Pat for co-hosting with me.

(And a super special thanks to my BFF Jill for taking all of these photos as well as helping with anything else needed while I was busy hosting.)

Liz was surrounded by the love of her Mom and three sisters…

and there is another beautiful girl on the way to add to this gang!

First things first – the Bubbly!

and a toast to the bride-to-be.

Friends and family attended.

Families mingled meeting and getting to know each other…

and several generations shared in the joy and love.

New moms and great grandmoms…

and moms with babies on the way,

and moms who get to share ❤ .

Then there was brunch.

Where we served a buffet of Chicken  Salad on Sliced Crostini, Crispy Veggies with Hummus, Fresh Fruit and Honey Walnut Brie, along with…

Mini BLTs served on Heart-shaped biscuits,

Loaded Deviled Eggs,

and a Strawberry Spinach Salad with Feta Cheese and Candied Pecans.

Aunt Kathy made the MOST amazing cupcakes I’ve every tasted!  Strawberry Lemon with Swiss Meringue Buttercream Frosting,

My friend, Pam who makes the most amazingly beautiful sugar cookiedoodles, made these gorgeous and delicious treats that we served along with my cookie pops.

The guests brought and shared amazing gifts for our newlyweds to be.

We played a few games.  Pretty simple ones really… Like guess the number of corks and gave away prizes when a timer went off during gift opening.

Some sweet and funny stories were shared when guests filled out a “Mad Lib” story…

and then chose to share with the group.

And then the groom-to-be (my son, Nick) arrived with flowers, smiles, and a tight hug.

Favors of Homemade Lavender Sugar Scrub were given to guests as a thank you before leaving.

A kiss and an “I love you” at the end of the day, but the beginning of a lifetime.  (with a little bit of sweet granddaughter drool on my shoulder)

It was a great day to celebrate a great young lady!

Love you Liz!

Cheers & Hugs,
Jodi

Thanks Jill!

Party Supplies:
Toasting Flutes for Mimosa Bar
Juice Carafes for Mimosa Bar
Tissue Paper Tassel Garland
Tissue Paper Pom Poms
Tissue Paper Honeycomb Balls

Cake Pops! Tips for Beginners


chocolate-dipped-german-chocolate-cake-pops

Cake Pops!  Tips for Beginners.

I adore cake pops!

Because… really…  what could be better than a bite-sized morsel of cake dunked in chocolate?  And then maybe adorned with sprinkles?!

They are delicious and pretty and cute; but until this past weekend, I had never tried to make them.

I wanted to practice for an upcoming event or two, so I read and researched and asked around and gave them a whirl this past weekend.

white-and-gold-elegant-cookie-pops

They are really not that difficult, but there are a few tricks to success.  I thought I would provide a few tips that helped make mine turn out delicious and beautiful!  At least that is the consensus I got from the party I took them to as “practice” pops.

cake-pops-german-chocolate-before-dipping

To make cake pops, bake a cake mix – whatever you favorite flavor is.  Then follow these tips for success.

  • Freeze cake – even if overnight.  It allows you to plan ahead and also adds to the moisture of the cake.  Simply place baked  cake – crumbled, broken pieces, or all in one piece – in a large Ziploc bag in the freezer.
  • 1 boxed cake mix  makes approximately 3 dozen cake balls.
  • When ready to assemble, defrost the cake and crumble to fine crumbs with your hands in the bag.
  • Add only enough frosting (ready made works perfect) to add a bit of “glue” for forming and holding balls together.  I used 1 heaping tablespoon – that is it!  This allows your cake balls to truly taste like cake.
  • Scoop crumb mixture with a small scoop to form uniformly-sized 1 inch balls.  Then roll with your hands to round ball.
  • Melt chocolate candy melts in microwave in a deep cup that is not too wide to allow for ease of dipping.  It only takes 1 1/2 – 2 minutes.
  • Dip tips of sticks into candy melts and insert into cake balls.
  • Refrigerate or freeze for at least a half hour or several hours.
  • Remelt chocolate at 30 second intervals until desired consistency.
  • Dip cake balls on sticks into chocolate candy melts.  Allow excess to drain.
  • Place on parchment paper if using with stick up, and sprinkle with jimmies or edible glitter.
  • Stick into styrofoam if using cake ball up and decorate as desired.
  • Make ahead up to 3-5 days if needed – no more than 7 days.  (there are horror stories of moldy cake balls made too far ahead of time)
  • I found this site – Heavenly Cake Pops – to be extremely informative.

Have fun and enjoy!

Cheers & Hugs,
Jodi

Peanut Butter Banana Bread with Chocolate Chips

peanut-butter-banana-bread-with-chocolate-chips

Peanut Butter Banana Bread with Chocolate Chips.

I had a few bananas hanging out that were getting very ripe, so I decided to make a loaf of banana bread yesterday morning.

Instead of making my usual, I wanted to try something different.  Knowing how yummy peanut butter toast is with sliced bananas (right??!!), I thought peanut butter would be a wonderful addition to banana bread.  And while I was at it, why not throw in a few chocolate chips?!

peanut-butter-banana-bread-with-chocolate-chips-2

Thinking I was a genius for coming up with this idea, I searched online just in case.  Well of course others had tried this combo!  (Where have I been?!) I found a few different versions, so I took what I liked from them and adapted to come up with this one below.  It was delish!  The peanut butter is subtle, but adds a wonderful new twist.  This bread is SUPER moist and really wonderful warm out of the oven.

Hope you’ll give this twist on banana bread a try!

Peanut Butter Banana Bread with Chocolate Chips

Ingredientspeanut-butter-banana-bread-with-chocolate-chips

  • 4 medium ripe bananas, mashed
  • 1/2 cup creamy peanut butter
  • 1/2 cup sugar
  • 1/2 cup brown sugar
  • 1/3 cup buttermilk (I make by mixing milk and a dash of vinegar)
  • 1/4 cup vegetable oil
  • 2 eggs
  • 2 tsp vanilla extract
  • 1 tsp baking soda
  • 1/4 tsp salt
  • 2 1/4 cups all-purpose flour
  • 1 cup semi-sweet chocolate chips or chunks

Directions:

Preheat oven to 350 degrees F.  Grease or spray a large bread loaf pan (of course I use a stoneware bread pan), then line with parchment paper allowing it to hang over the edges for easier removal.

In a large bowl, combine first 8 ingredients.  Mix well.  Add baking soda, salt, and flour.  Mix until combined.  Gently fold in chocolate chips reserving a handful to sprinkle on top. of batter.

Pour batter into prepared pan.  Bake approximately one hour or until toothpick inserted in center comes out clean.   If the bread starts getting too brown, place a tent of foil over top at around 45 minutes.

Cool in pan for 10 minutes, then lift out by grabbing parchment paper.  Cool on wire rack.  

Enjoy!

Cheers & Hugs,
Jodi

Five-Minute Homemade Rustic Artisan Bread

bread-5-minute-rustic-artisan-bread

Five-Minute Homemade Rustic Artisan Bread.

Aren’t these loaves beautiful?!  I recently found this recipe that makes homemade bread so easy!

bread-5-minute-rustic-artisan-bread-2

You can mix this dough together in five minutes.  Then it just needs to rest for two hours while you go about doing something… anything else.  After that, throw it in the fridge – for up to 14 days!  Whenever you want a fresh loaf of bread, grab a hunk of dough, and bake it.  Super simple, super delicious!

bread-5-minute-rustic-artisan-bread-3

So… disclaimer… you obviously can’t make it from start to finish in five minutes, but that really is all the longer the dough takes to mix together, and there is no kneading, so it really is a simple way to make warm, fresh, delicious homemade bread quickly and easily with just a few simple staple ingredients!

Five-Minute Homemade Rustic Artisan Bread

  • Servings: 4 1 lb loaves
  • Print

Ingredients:bread-5-minute-rustic-artisan-bread

  • 3 cups lukewarm water (approx. 100 degrees F)
  • 1 Tbsp active dry yeast
  • 1 1/2 Tbsp coarse salt (I love using Maldon Sea Salt Flakes)
  • 6 1/2 cups flour

Directions:

Pour water in large bowl.  Sprinkle with yeast and salt, and mix until dissolved.  Add flour all at once, and mix until completely incorporated.  That’s it!  Five minutes.  No kneading.

Place a clean kitchen towel over the bowl and let it sit for two hours.

After two hours, cover bowl with saran wrap (but not too tight as it needs a little vent for gases to escape), and throw it in the fridge.

Your dough is ready to use at anytime in the next 14 days.

When you are ready to bake a loaf, preheat oven to 450 degrees F.  Grab a hunk of dough with floured hands.  Do not punch it down, and do not knead or overwork it.  Gently shape as desired into a ball, loaf, rolls – whatever you like.  Place on a baking stone. (I bake absolutely EVERYthing on baking stones – cookies, bread, roasted vegetables, meatloaf, french fries – they are all I use in the oven – and the results are awesome!) You can let it rest for 30-40 minutes or bake right away – depending on the density you desire.  Dust top of dough with flour (and salt if desired).  Slash a few cuts in the dough with a serrated knife.

Place an empty metal broiler pan on bottom rack of oven and fill with warm water right before placing dough in oven.

Bake for 20-30 minutes until the crust is a rich brown color and firm to the touch.  Remove from oven and cool on wire rack.

Enjoy!

Cheers & Hugs,
Jodi

*original recipe found at Leite’s Culinara

Yellow & Green Grilled Chicken Spring Mix Salad

yellow-and-green-spring-mix-salad-1

Yellow & Green Grilled Chicken & Spring Mix Salad.

They say it is important to balance colors in our diet.

yellow-and-green-spring-mix-grilled-chicken-salad-2

I love to make salads from whatever I can find in the fridge and pantry – especially at lunch time – when it is only me, and I can make it whatever way I want!

I often make a large batch of grilled chicken during the week so I can have leftovers for salads and snacks.

I love mixing veggies and proteins and fruits and nuts in a beautiful, colorful meal.

yellow-and-green-spring-mix-grilled-chicken-salad-3

This yellow and green salad just “happened.”  I had not planned it to be yellow and green, but when it ended it up that way, I marveled at it’s beauty as well as it’s deliciousness.

For this “springy” lunch time salad in the middle of February – when the temperatures in our part of the world have been more spring-like than wintry – I found myself topping a bed of Spring Mix greens with beautiful yellows.

Enjoying yellows and greens not only in my salad, but in the air here in Mars in this beautiful stretch of Spring in February.

Yellow & Green Grilled Chicken & Spring Mix Salad

Ingredients:

  • 2 cups mixed greens -Spring Mix
  • 1/4 cup sliced Vidalia sweet onion
  • 1/2 cup yellow cherry tomatoes, halved
  • 1/4 cup shredded cheddar cheese
  • Handful of golden raisins
  • 1 grilled chicken breast, sliced
  • Balsamic Viniagrette Dressing
  • Salt & Pepper to taste

Directions:

Place Spring Mix salad greens in large salad bowl.

Add onion, tomatoes, shredded cheese, golden raisins and chicken.  A handful of walnuts and/or pumpkin or sunflower seeds  would be great too!

Drizzle with Balsamic Viniagrette and a dash of salt and pepper.

Enjoy!

Cheers & Hugs,
Jodi

Creamy Cauliflower Soup

creamy-cauliflower-soup-4

Creamy Cauliflower Soup.

Does anything warm you up more wonderfully on cold winter days than a steamy, creamy bowl of soup?

I made this yummy creamy, cheesy cauliflower soup one day this past week, and we absolutely loved it.

creamy-cauliflower-soup-1

When hubby, who typically prefers to eat lunch out during the work week, asked for a serving to take for lunch the next day, I knew I had a real winner on hand!

creamy-cauliflower-soup-2

It is chock full of delicious vegetables simmered in broth and then creamed by adding an easy cheesy roux and blending a bit.  You could completely cream it if you like, but I like to cream about half and leave plenty of hearty chunks of the cauliflower, celery, carrots and sweet red peppers.

creamy-cauliflower-soup-3

Fresh thyme really adds a fabulous fragrance and taste, and hot sauce is a great way to kick it up just a bit!

Imagine serving this with some crusty french or chewy ciabatta bread to dunk in it or alongside a sandwich or salad.

Hope you’ll give it a try, and hope you enjoy it as much as we did!

Creamy Cauliflower Soup

Ingredients:creamy-cauliflower-soup-4

  • I head cauliflower, broken into florets (5-6 cups)
  • 1 cup finely chopped carrot
  • 1/2 cup chopped celery
  • 1/2 cup chopped sweet onion
  • 1/2 cup chopped sweet red pepper
  • 1 tsp freshly chopped thyme
  • 3 cups chicken broth (I made from water and 3 tsp. chicken base)
  • 3 Tbsp butter
  • 3 Tbsp flour
  • Dash of salt and pepper to taste
  • 2 cups half and half or milk
  • 1 cup freshly grated sharp cheddar cheese (do not use pre-grated)
  • 2 tsp Cholula Hot Sauce (or you can use Sriracha or your favorite or none)

Directions:

  • Combine all vegetables, thyme, and chicken broth in a large pot.  Cover and bring to a boil.  Reduce heat, and simmer for 15 minutes.
  • In a medium saucepan, melt butter, then add flour, salt and pepper to create a roux.  Whisk half and half in slowly.  Bring to a boil over medium-high heat.  Cook and continue whisking for 2 minutes until thickened and smooth.  Turn heat off and stir in shredded cheese until melted.  Add hot sauce (if desired).
  • Pour creamy cheese mixture into vegetables and broth.  Stir until completely combined.
  • Puree to desired consistency using Immersion Blender leaving chunks of vegetables, but creating a creamy texture.
  • Ladle into bowls to serve.  

Cheers & Hugs,
Jodi


Strawberry Chocolate Ganache Tart with Oreo Cookie Crust

chocolate-strawberry-tart-valentines-day-couples-camp-dessert

Strawberry Chocolate Ganache Tart with Cookie Crust (No Bake).

You may recall seeing this dessert I made for our Valentine’s Couple Camp Party.  I promised then that I would share the recipe.

I have to tell you… this dessert is not only beautiful and elegant looking, it is so simple, uses only five basic ingredients, and is possibly the most luscious chocolate dessert I have EVER tasted.  And I’m really not exaggerating.  I absolutely loved this tart!

I typically make dessert, but just taste enough to know it is okay to serve.  This one, however… I not only had the evening of our party, I ate the last leftover slice!

I am certain I will make this tart again.. and again.  It is a great dessert for ANY occasion, any season, anybody.  I would take this to a summer picnic.  I would make this for a birthday “cake.”  I would make this for a Christmas dinner dessert.  I would make this for ANY reason.

chocolate-strawberry-tart-valentines-day-couples-camp-dessert-2

I originally came across this recipe posted by Mary at HomeisWheretheBoatis, and I only tweaked it slightly.  Thanks for sharing Mary!

I so hope you will give this a try, and I cannot wait to hear how you like it!

Strawberry Chocolate Ganache Tart with Oreo Cookie Crust (No Bake)

Ingredients:chocolate-strawberry-tart-valentines-day-couples-camp-dessert

  • 1 pkg. Oreo Cookies (approx. 32 cookies)
  • 1/2 cup (1 stick) butter, melted
  • 12 oz. of Your Favorite Chocolate (I used Baker’s German Sweet)
  • 1 1/2 cups Heavy Cream
  • Strawberries

Directions:

  • Place Oreo cookies in a gallon size Ziploc bag.  Then place entire bag in another bag to double (so you can crush them without making a mess!)  Crush Oreo cookies using a heavy rolling pin, your hands, or whatever way you prefer to smash them fine enough to make a crust from.  (The original recipe calls for pulsing them in a food processor, so feel free to do that if you have one.)  
  • Pour melted butter into the bag.  Zip to close again and  completely incorporate the cookie crumbs and butter using your hands.  Pour crumb and butter mixture into an 11″ tart pan.  Pat onto bottom and up sides of tart pan.  Refrigerate to firm up for one hour before preparing and adding filling.
  • To make filling, break up chocolate and place in a heat-proof bowl.  Bring heavy cream to a boil in a small sauce pan.  As soon as it boils, pour over chocolate.  Let sit for a couple minutes to soften the chocolate, then slowly whisk until until smooth and fully incorporated.  Pour into chilled, firm crust.  Refrigerate for 4-6 hours or overnight.
  • Garnish with strawberries (red raspberries would amazing too if you prefer!).  Drizzle melted chocolate over all if desired.  I also sprinkled just a tiny bit of sea salt flakes, which gave it an amazing, but subtle taste burst.  And then – any cookie crust crumbs that fall off when you remove the tart bottom from the sides of the pan can be thrown on top too. 

Enjoy!  I know you will!

Cheers & Hugs,
Jodi

A Valentine Couples Camp Party

valentines-day-couples-camp-toast-with-love-potion-cocktail-grand-marnier-champagne

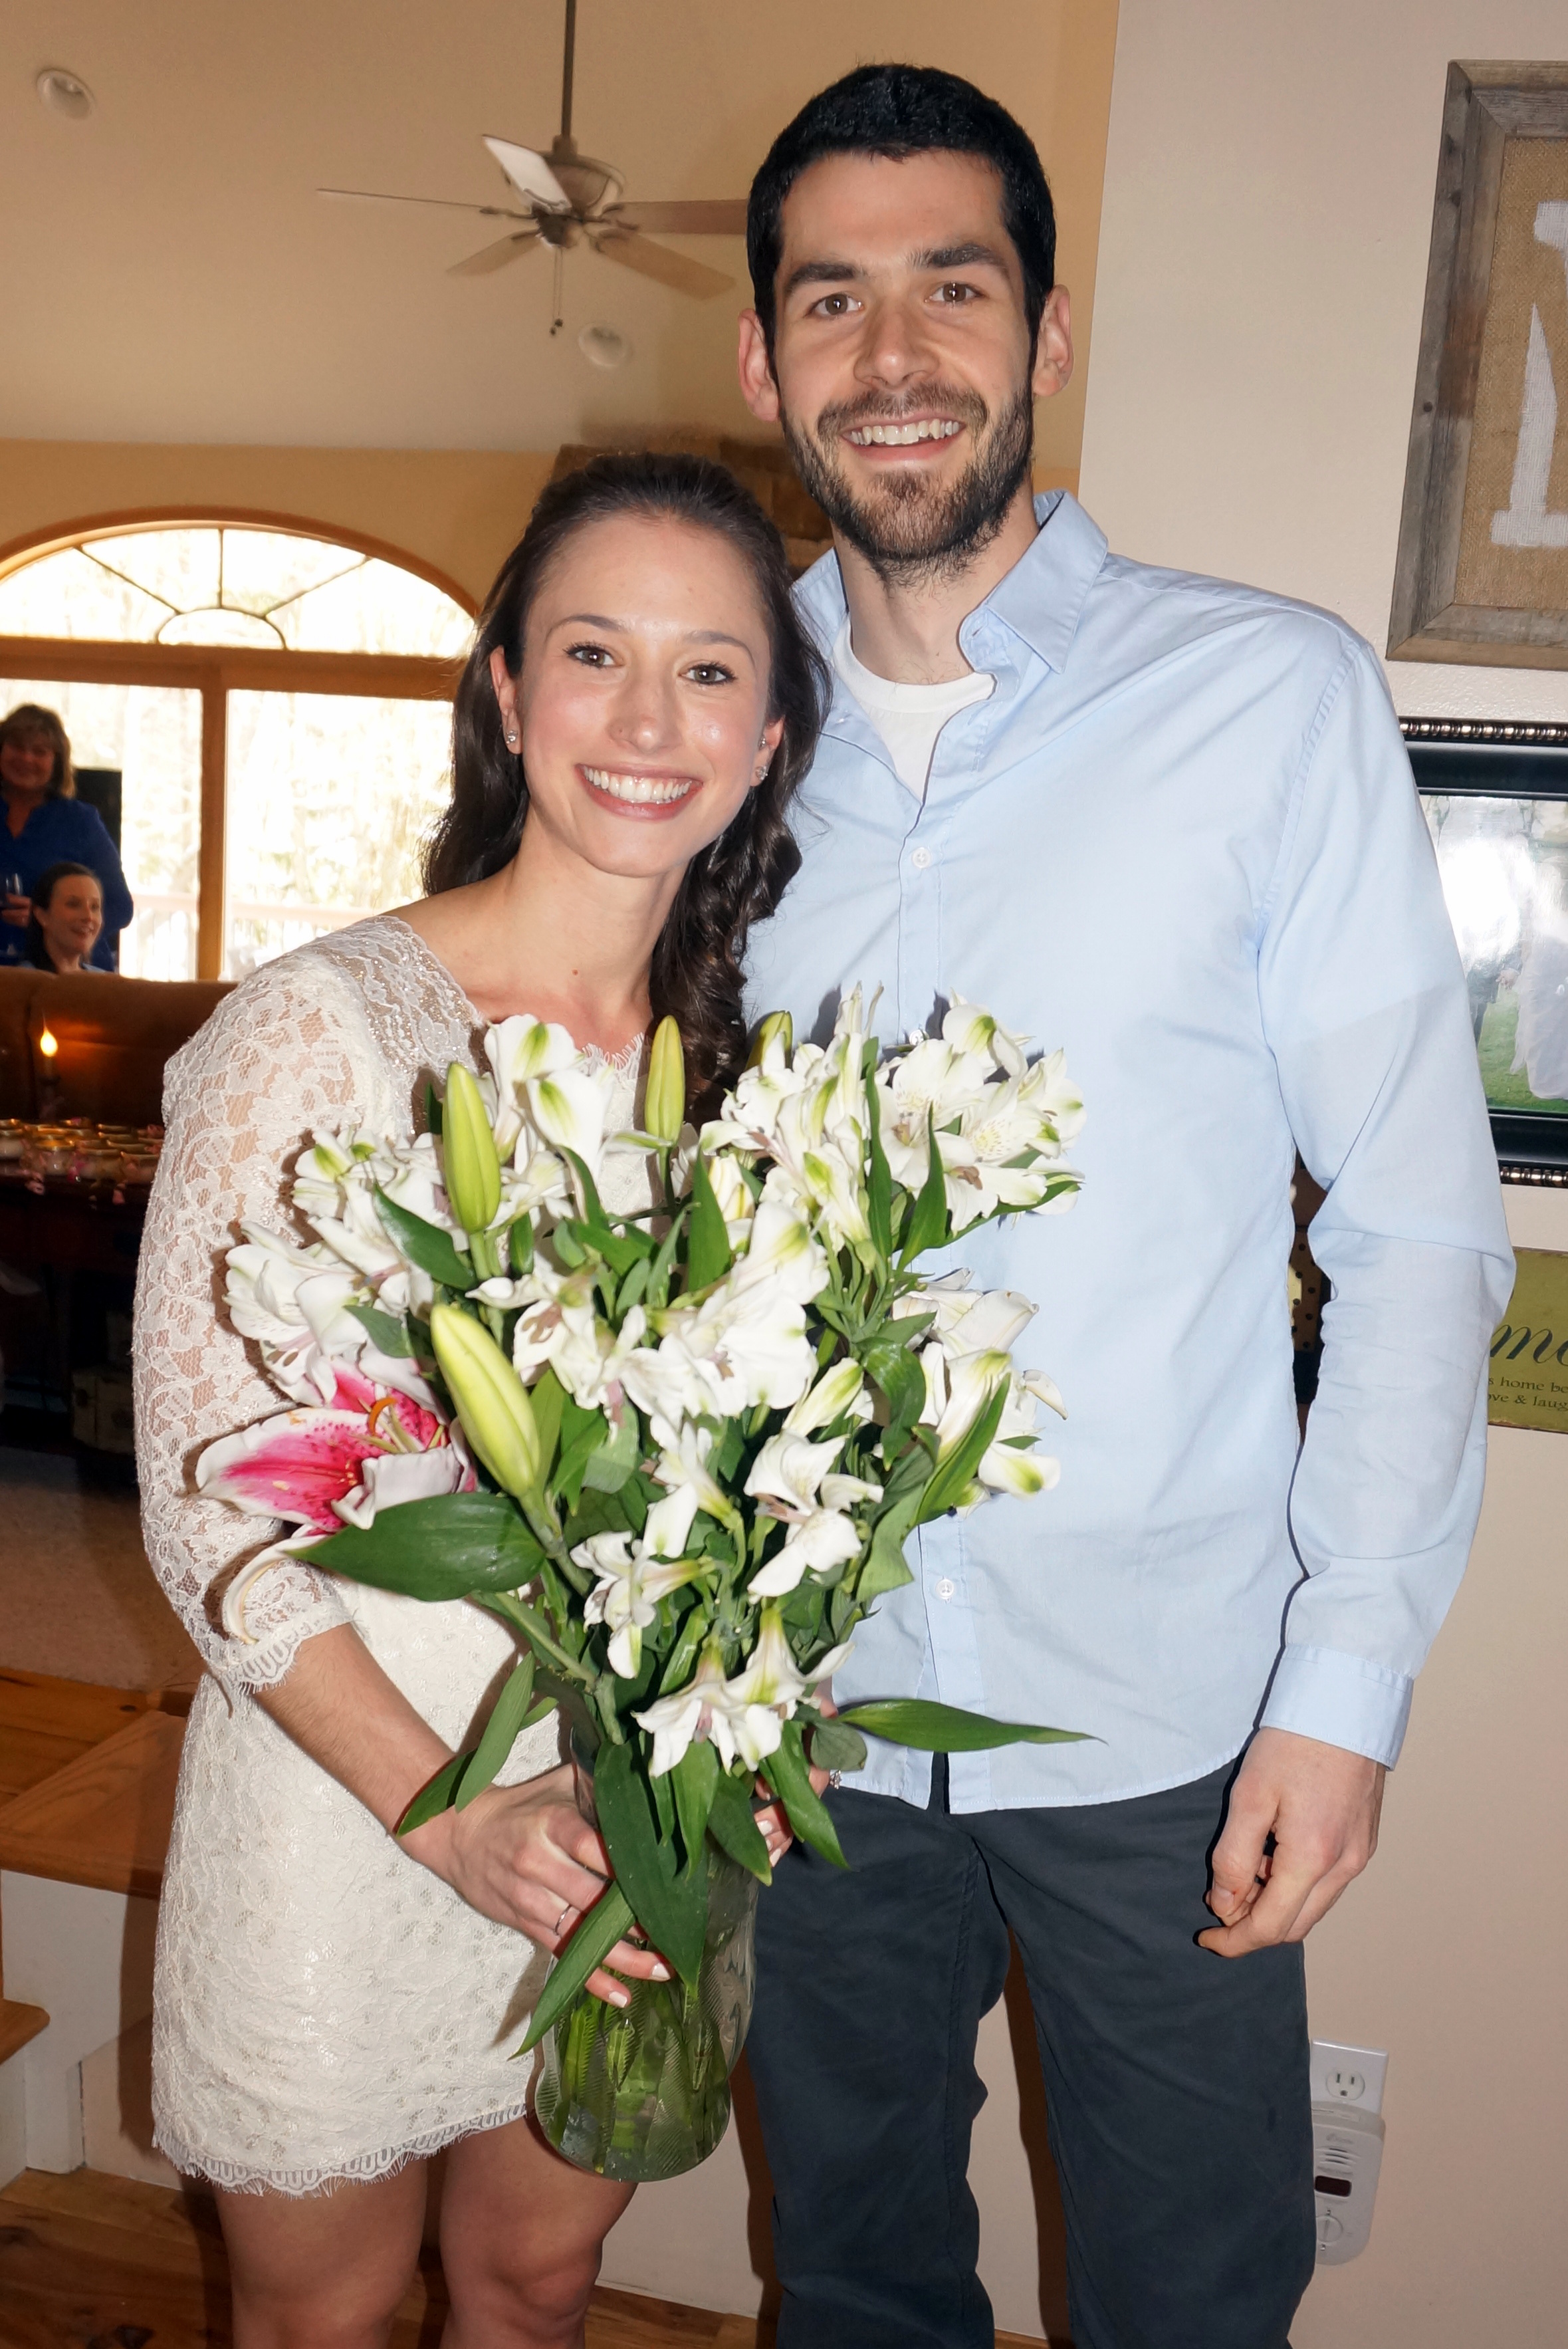
This past weekend, a gang of our bestie couple friends got together to celebrate love and friendship.

My McHendy “sister,’ Jill, and I collaborated to plan what we called “Valentine’s Couple Camp.”

Those of you that have been hanging around here at TheCreativeLifeinBetween for a while might remember our first Couple Camp Weekend Retreat that I posted about here.

Unfortunately, we missed a year… I guess weddings, babies, life… got us too involved.  But when Jill called a couple weeks ago and said we should do another Couples Camp for Valentine’s Day, I was all in and offered to host at our home.

And so we did.

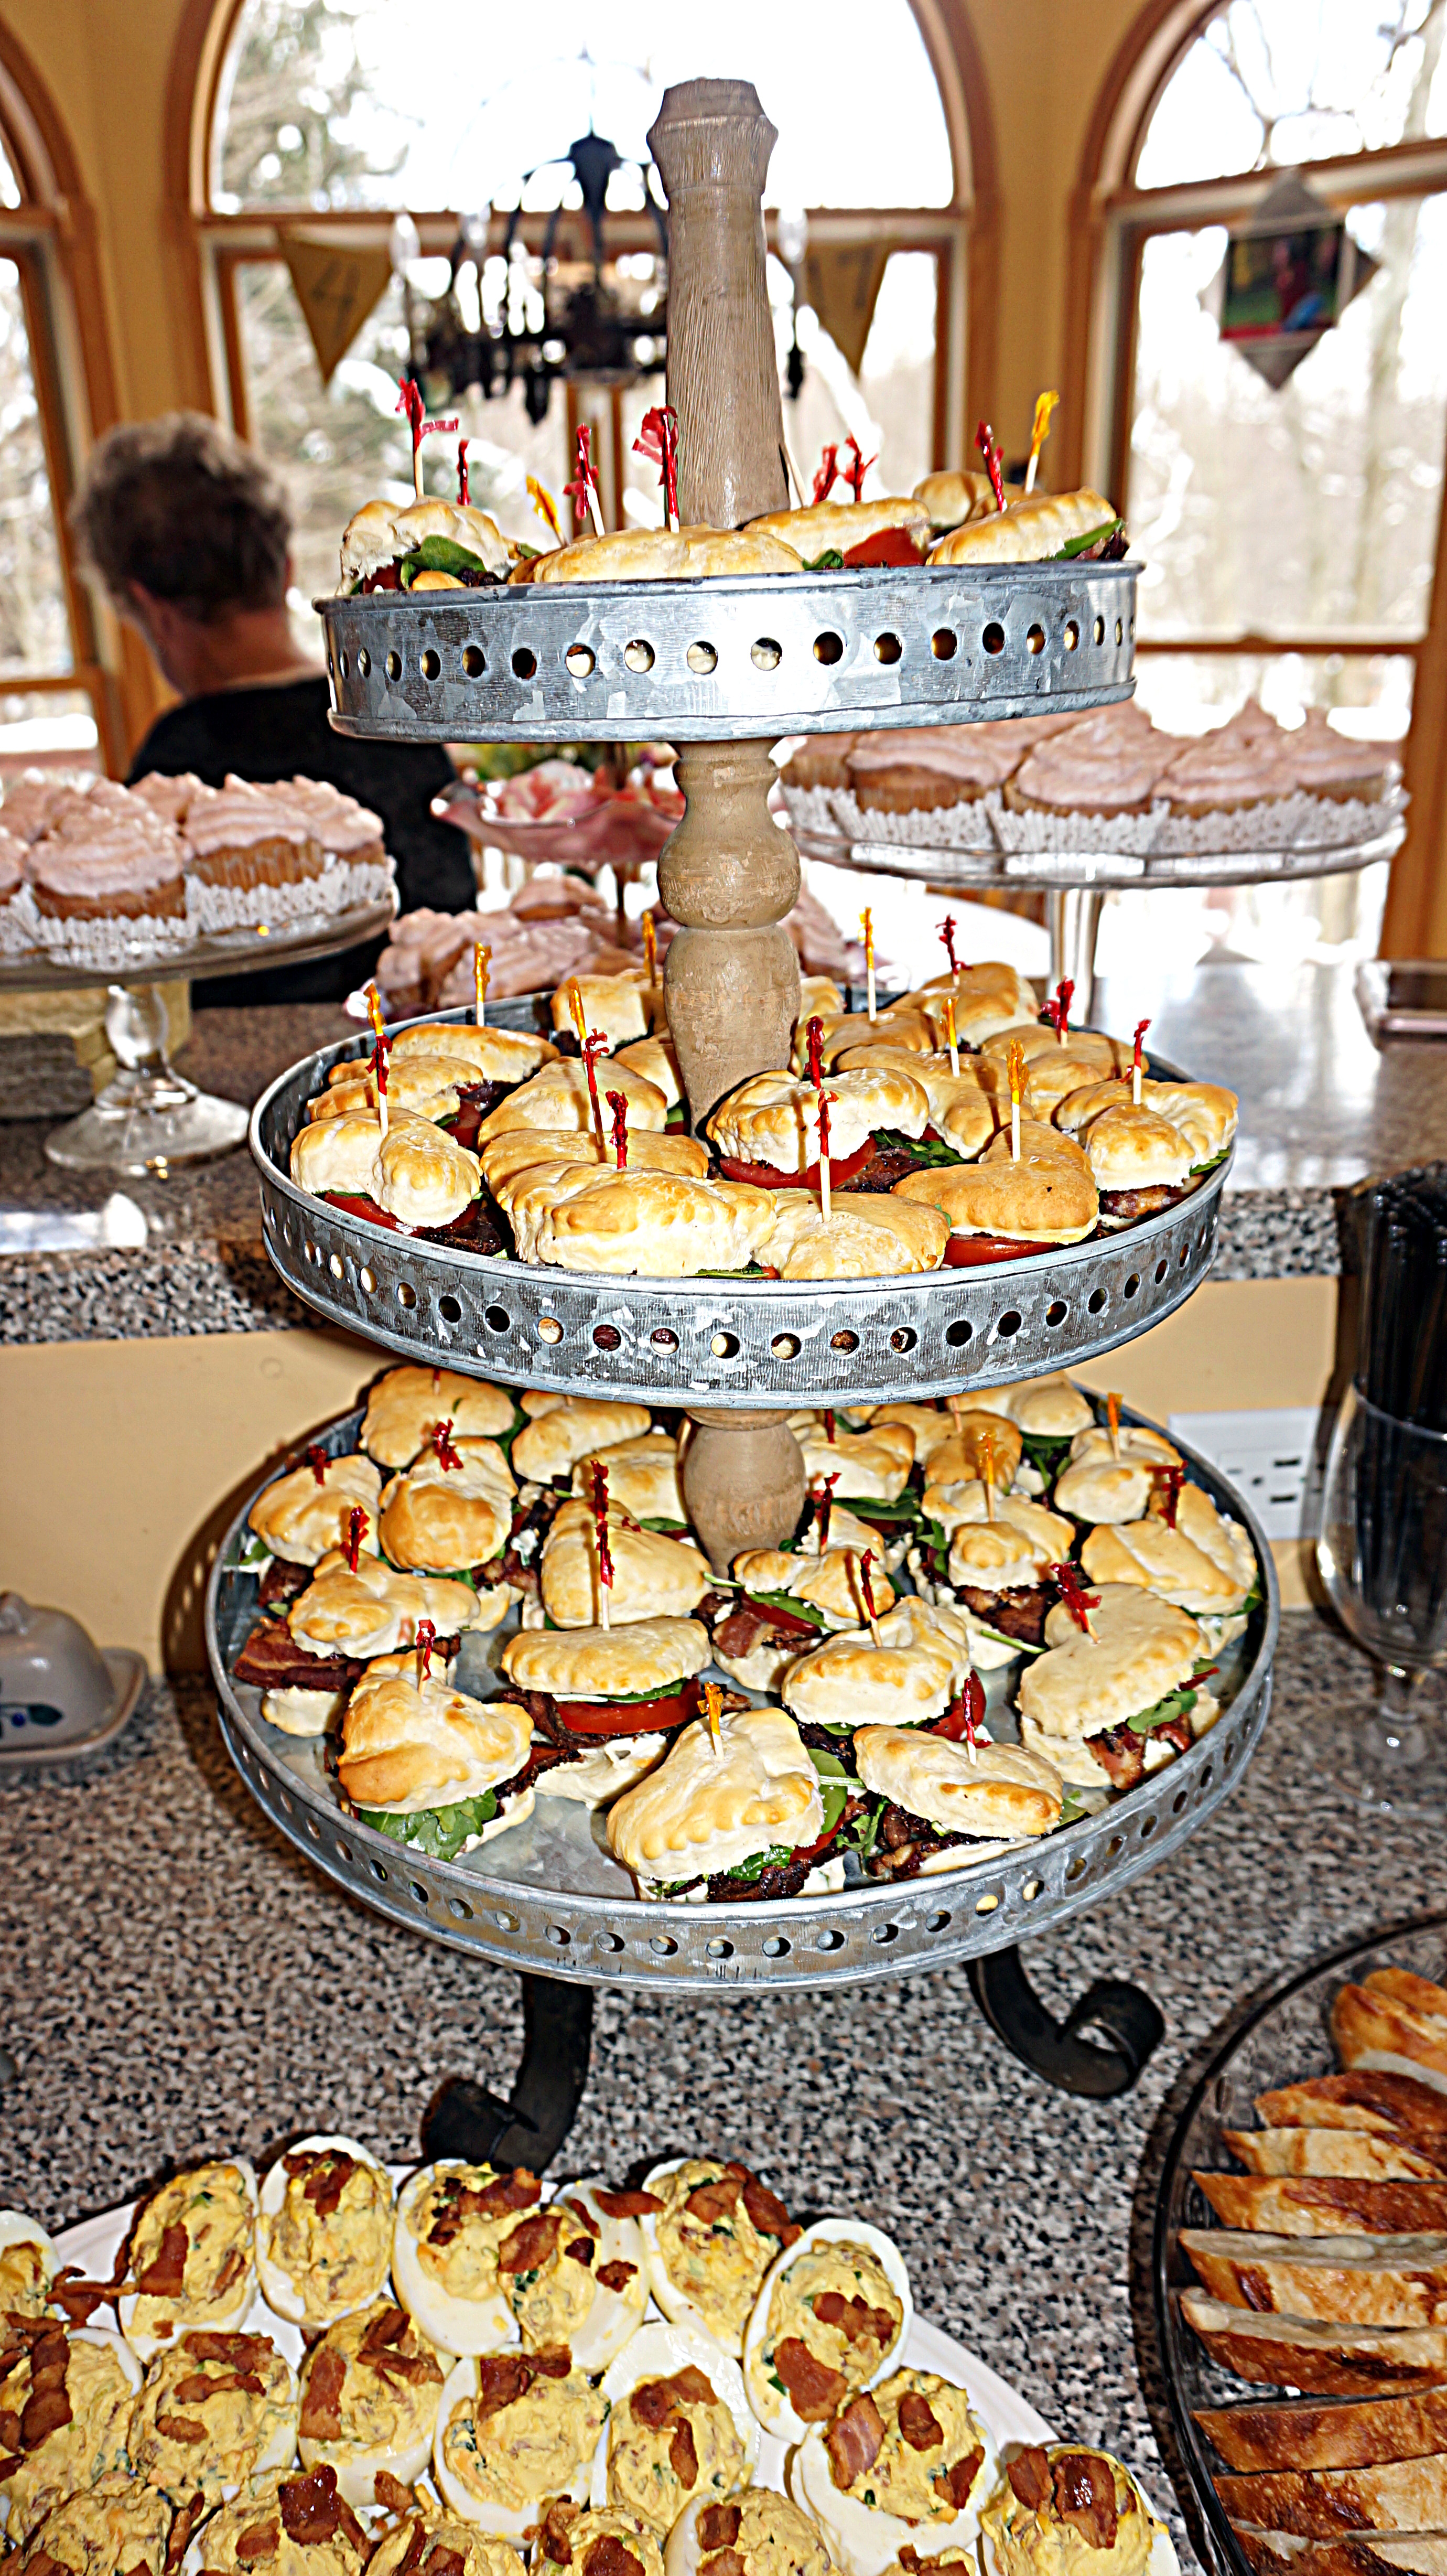
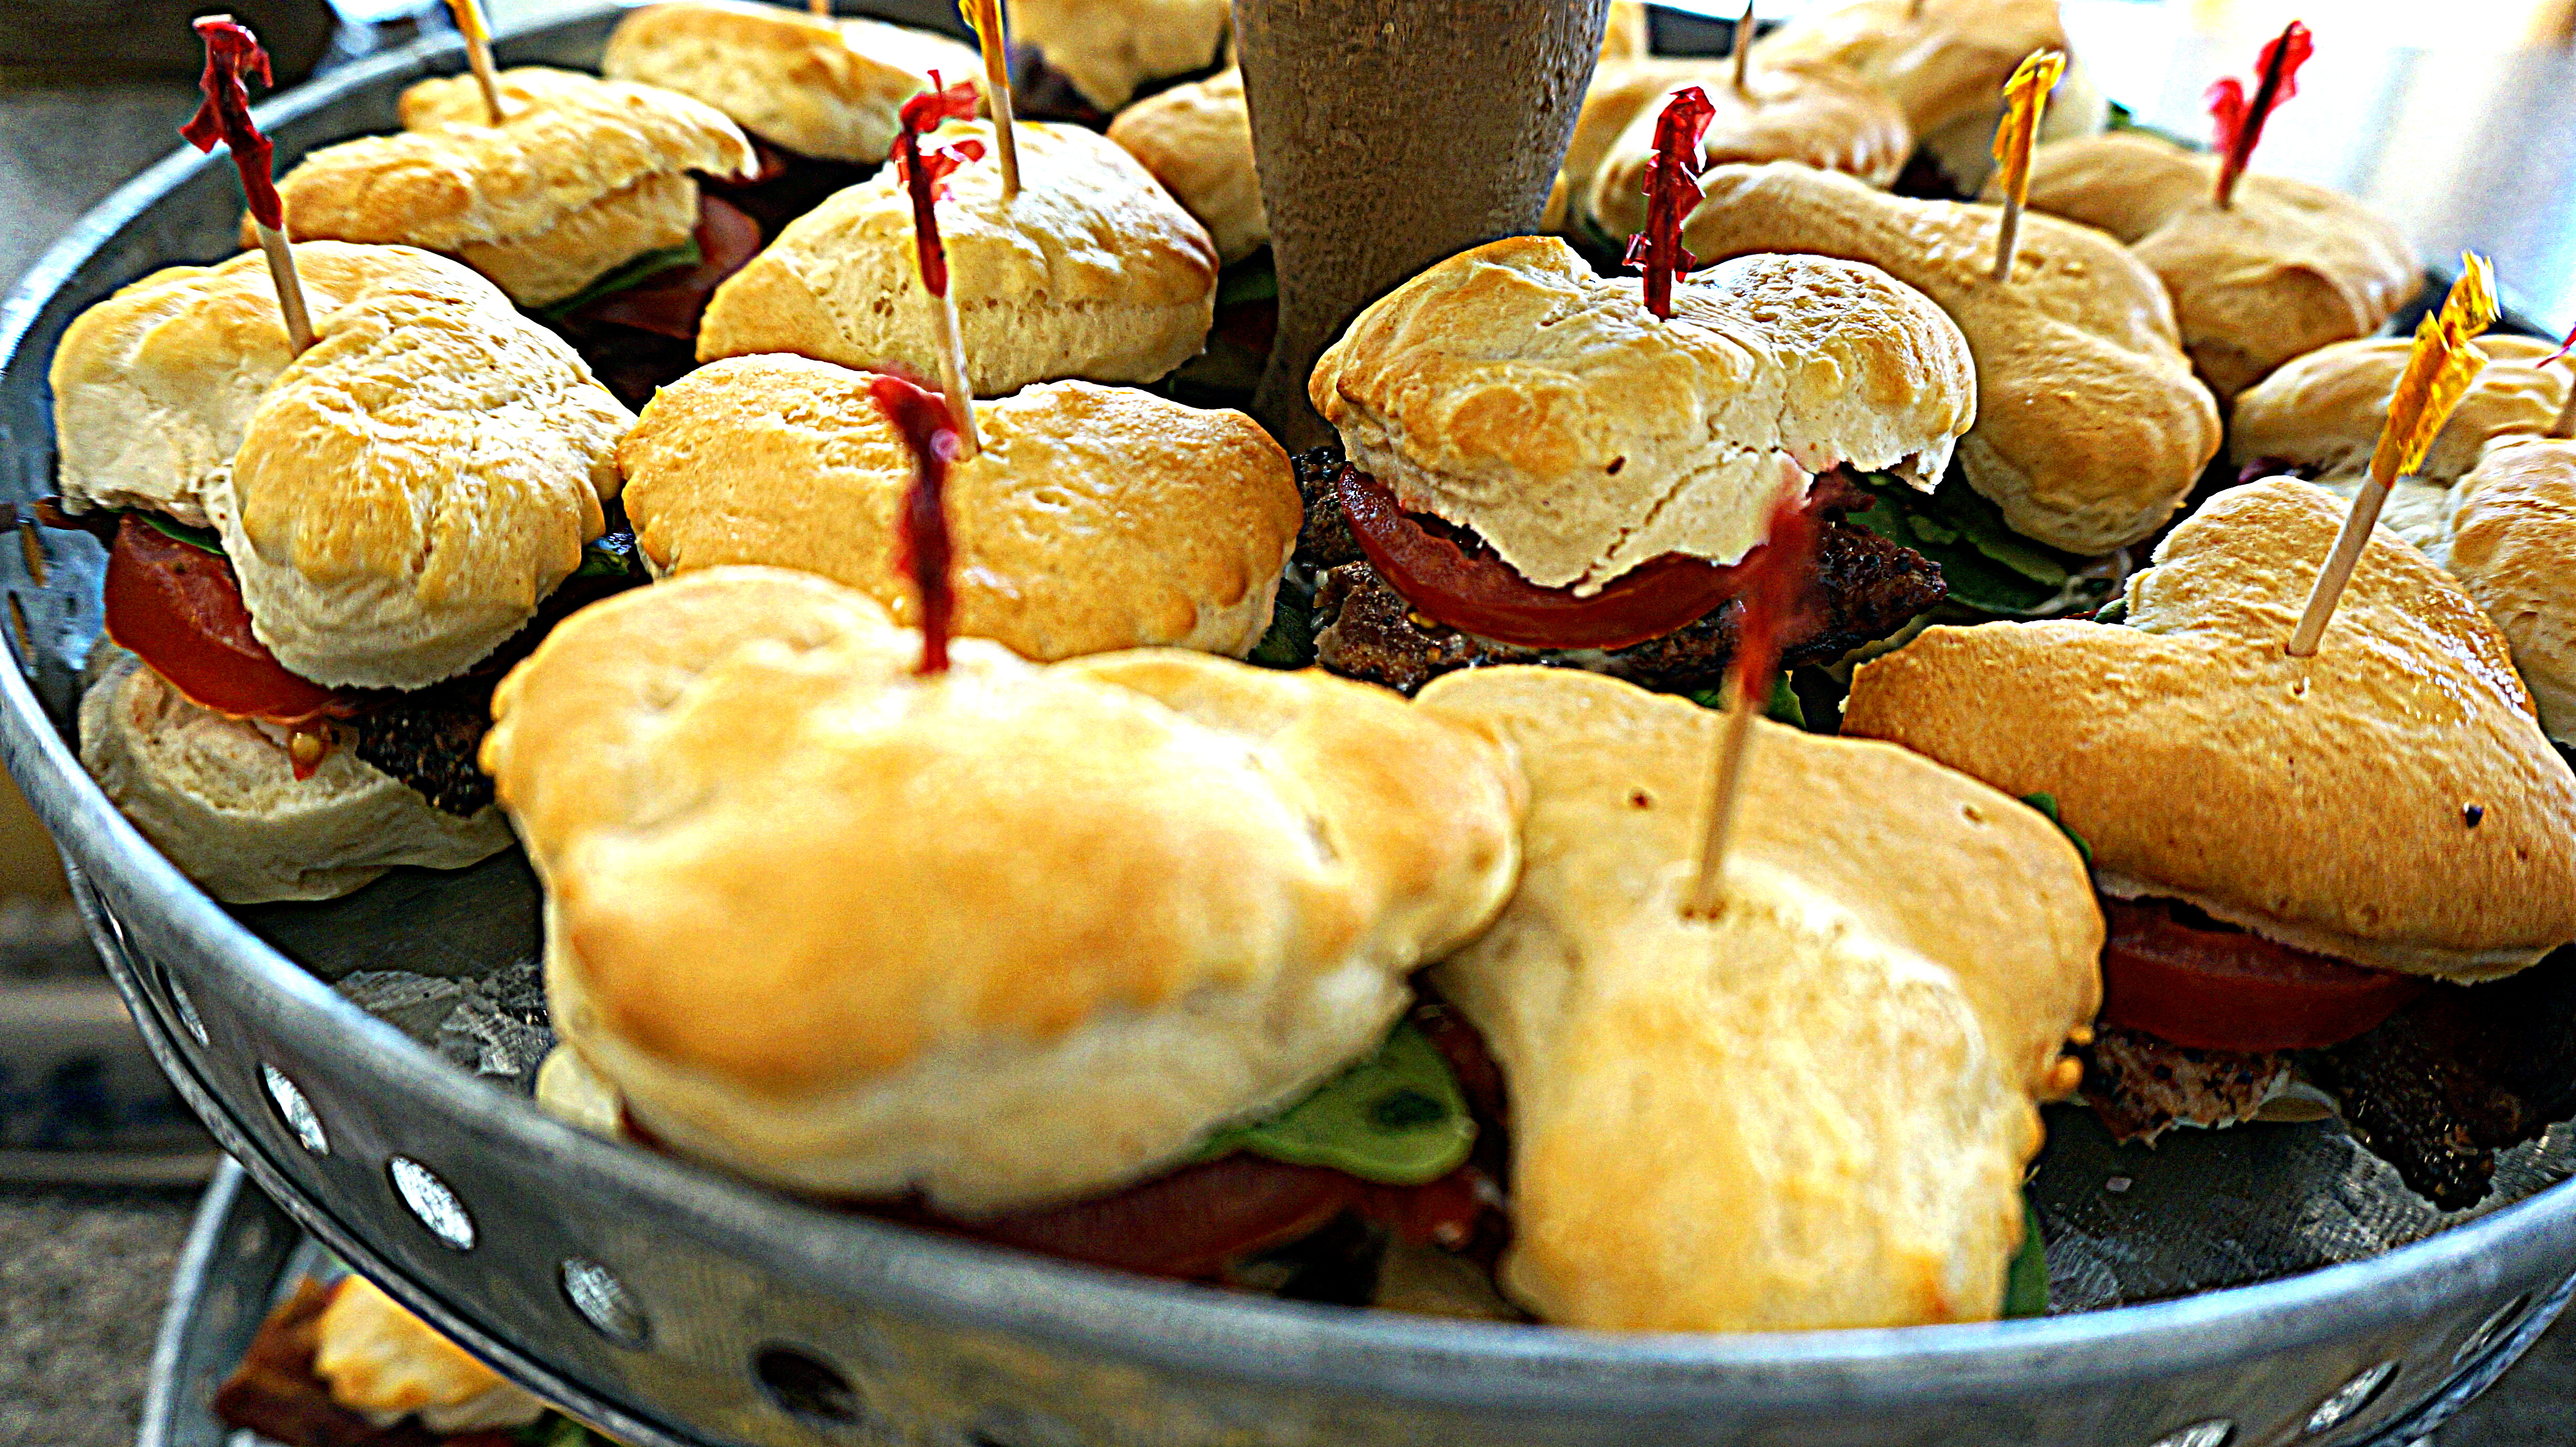
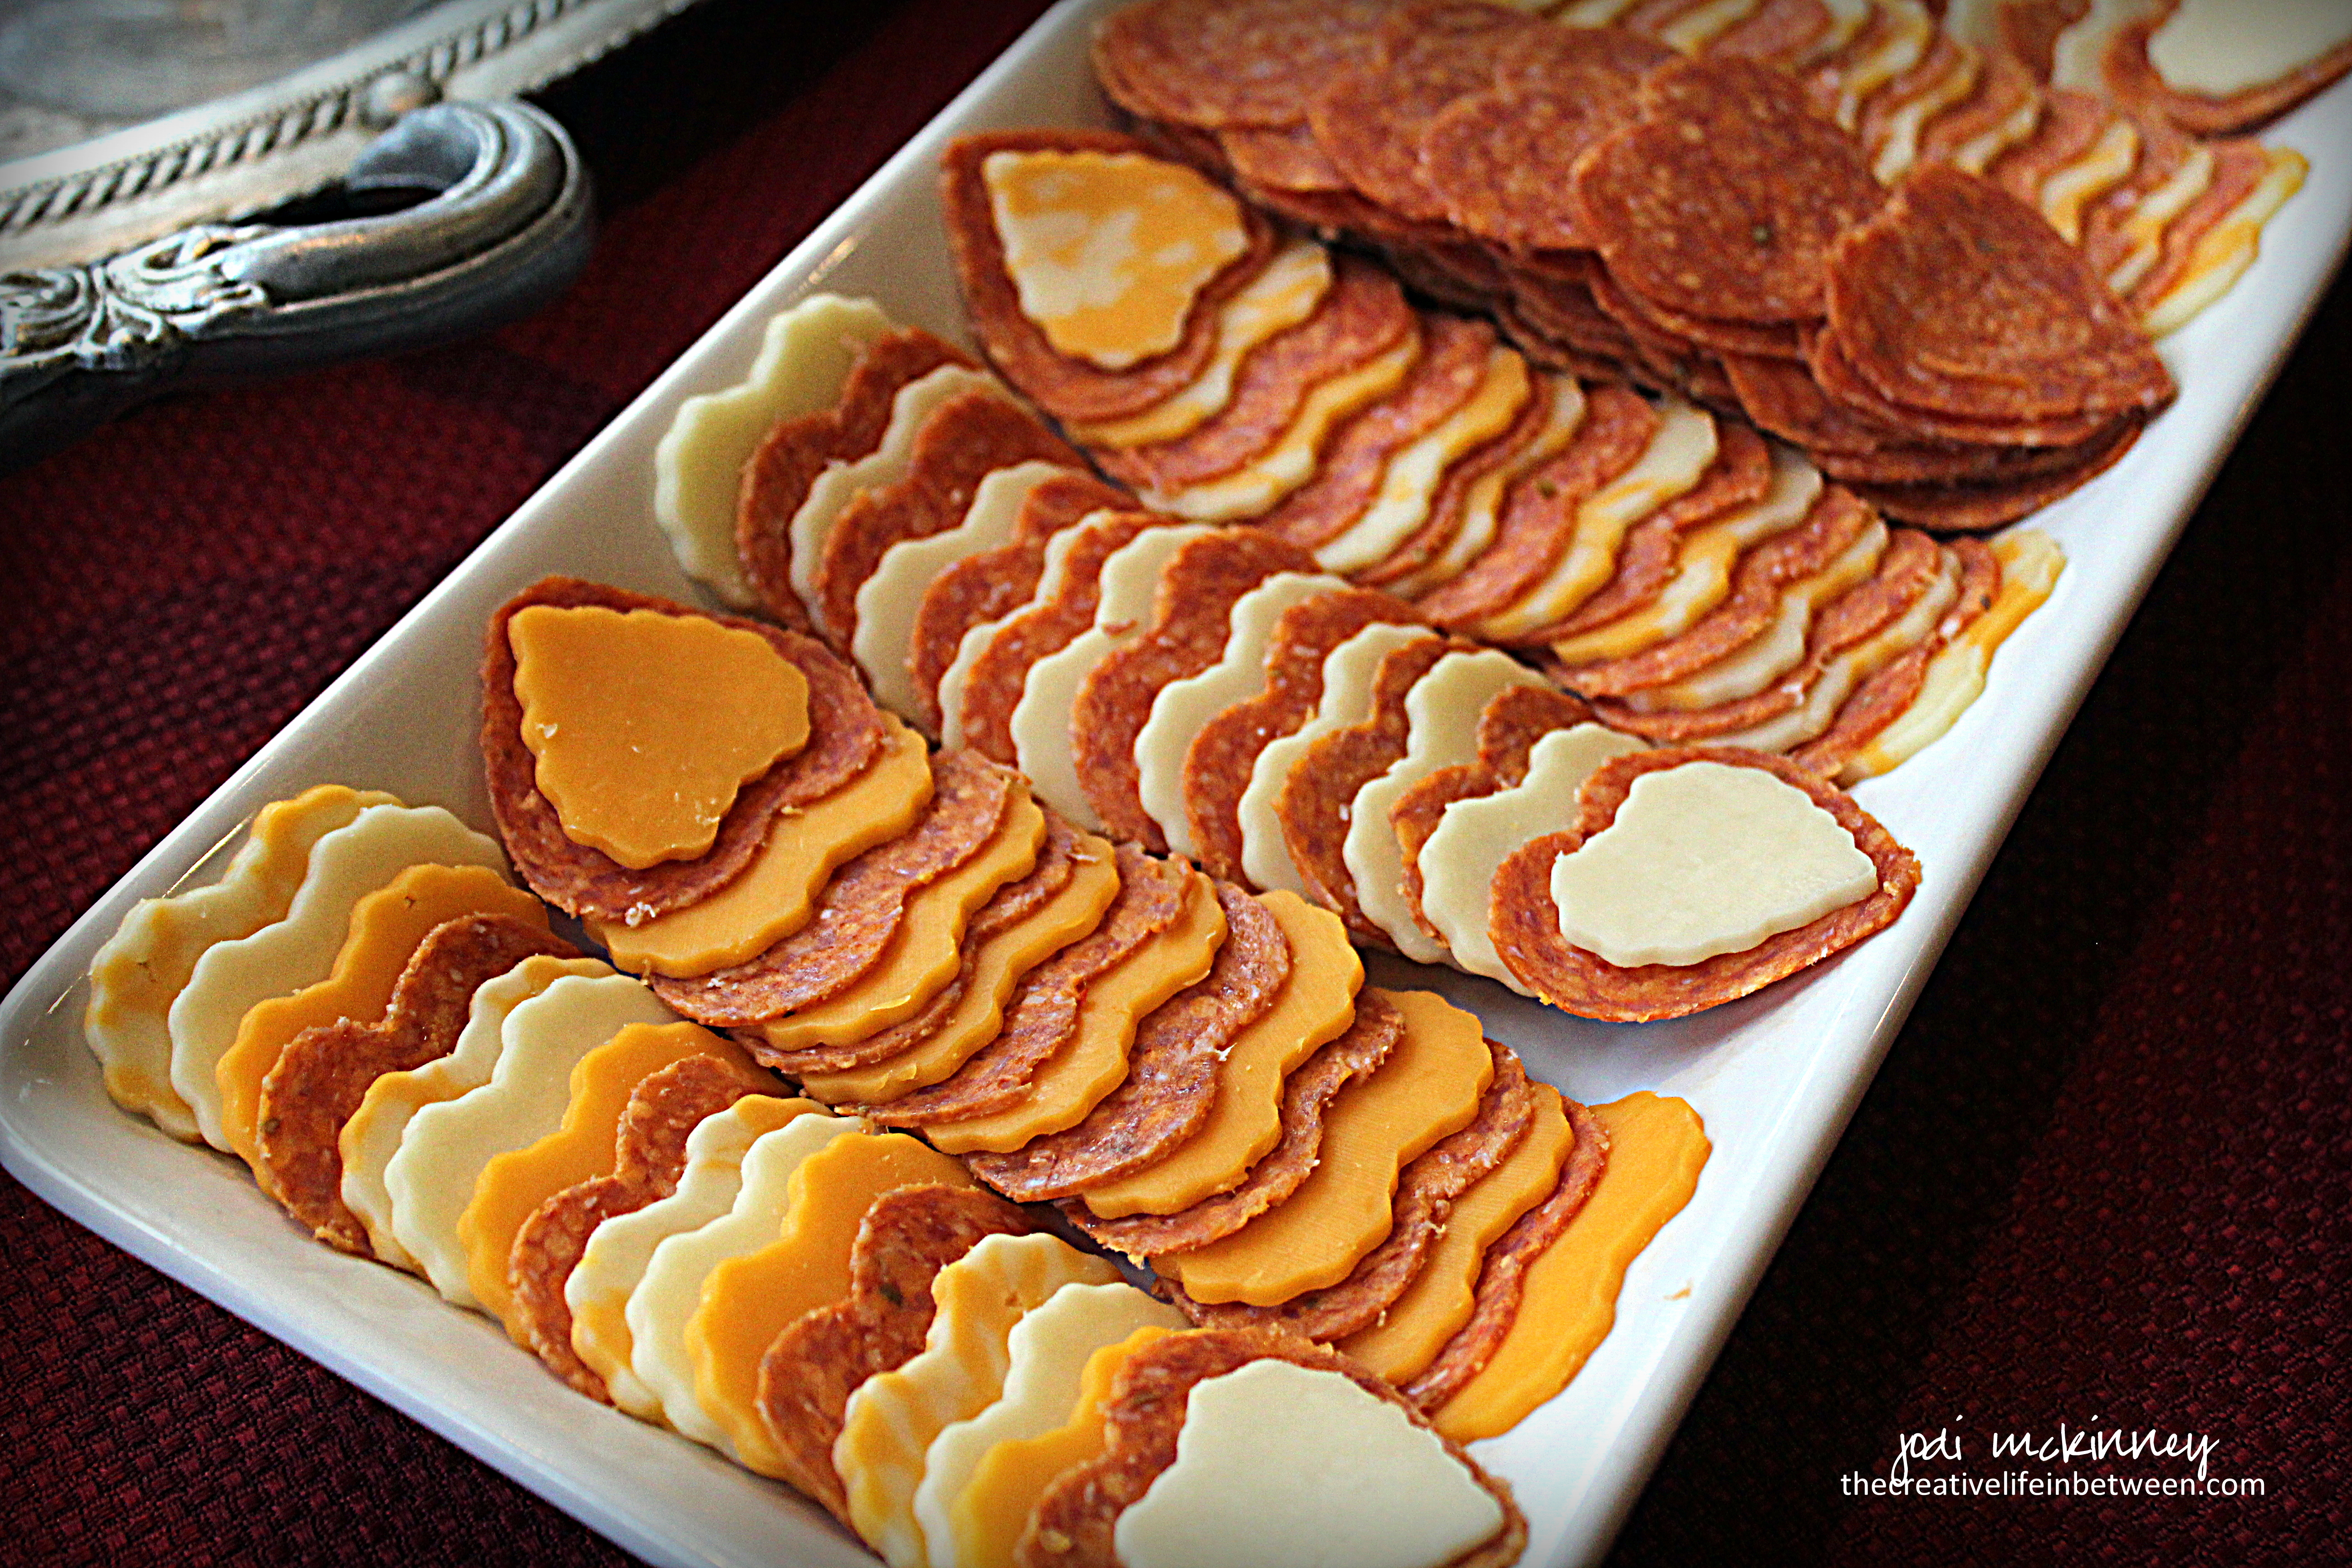
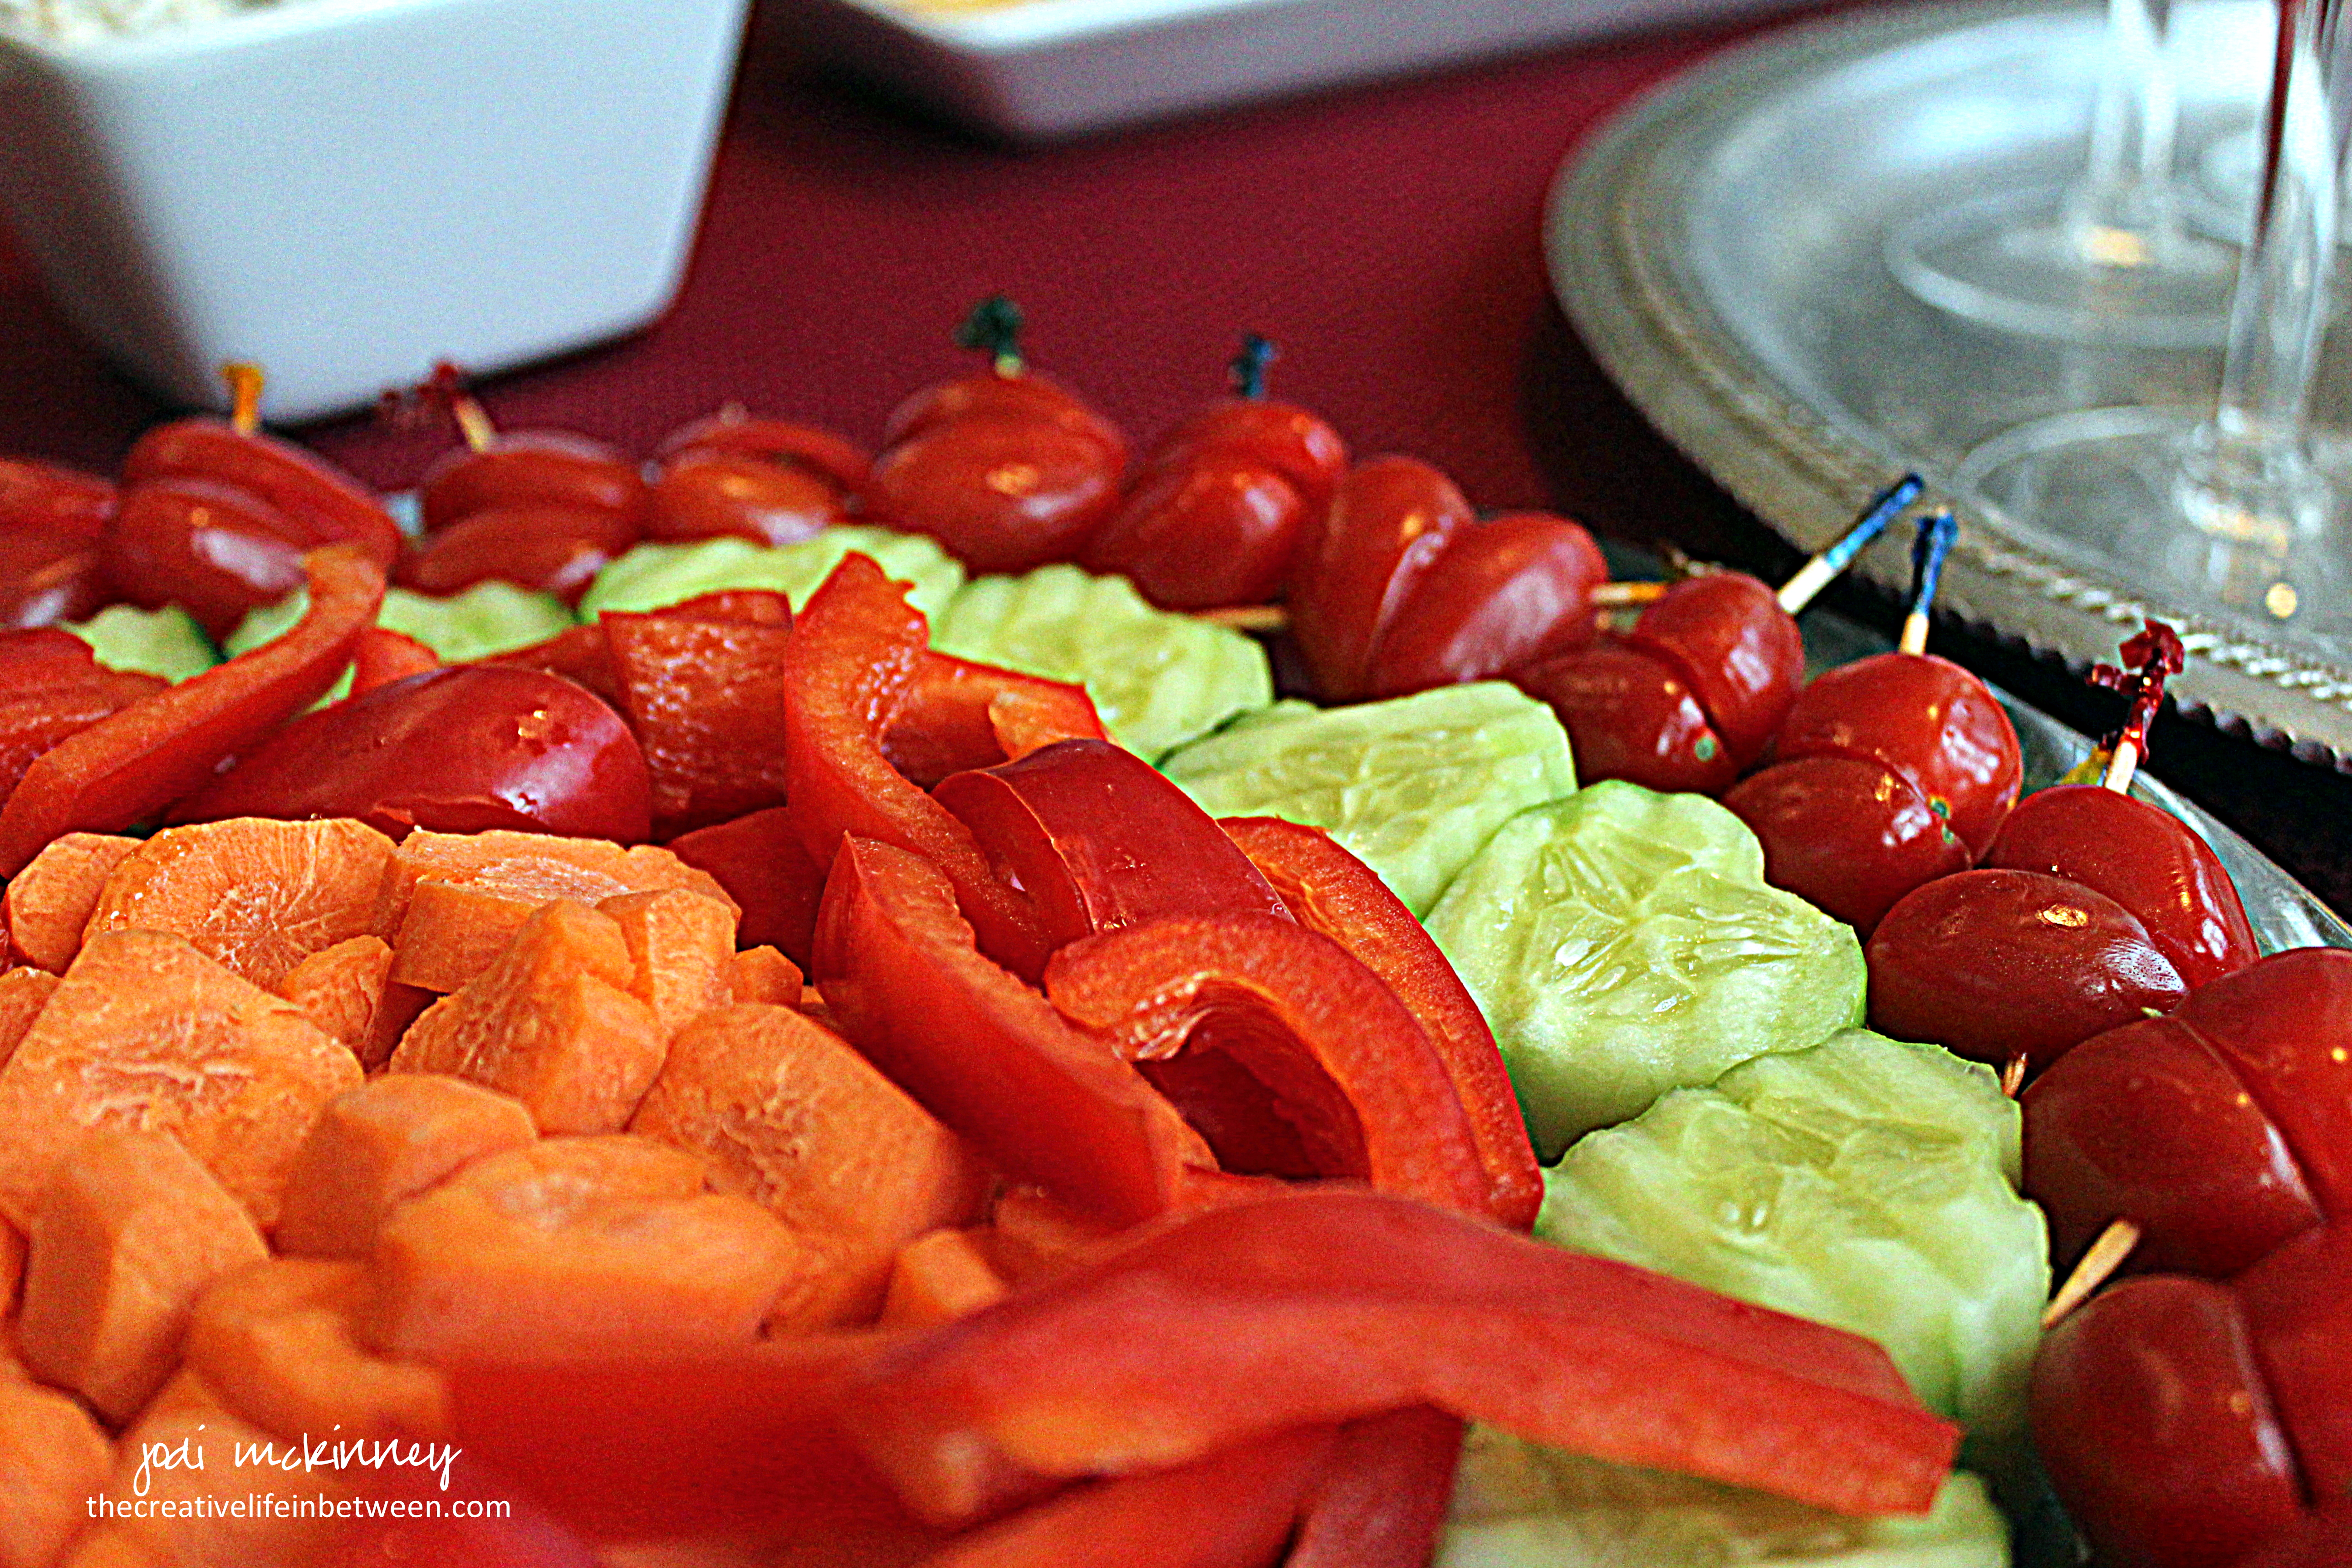
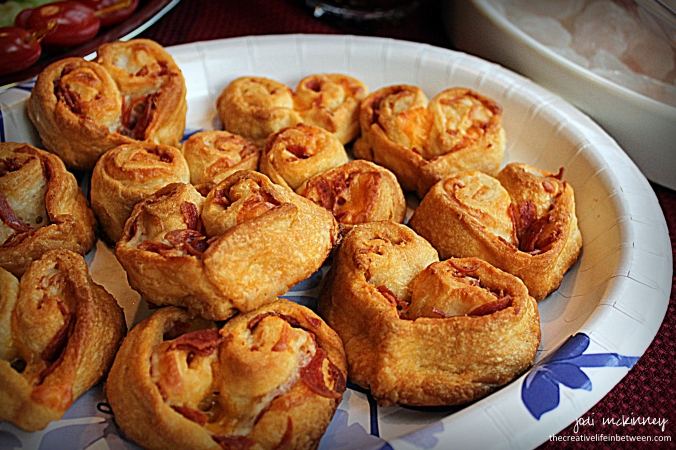
Bubby and Glenn were assigned appetizers, and boy did they rock the theme!  Check out all the ways you can make food into hearts!

valentines-day-couples-camp-heart-shaped-cheese-and-pepperoni-appetizer

valentines-day-couples-camp-heart-shaped-vegetable-tray-appetizer

valentines-day-couples-camp-heart-shrimp-cocktail-platter-appetizer

valentines-day-couples-camp-heart-shaped-cheese-and-pepperoni-crescent-roll-appetizers

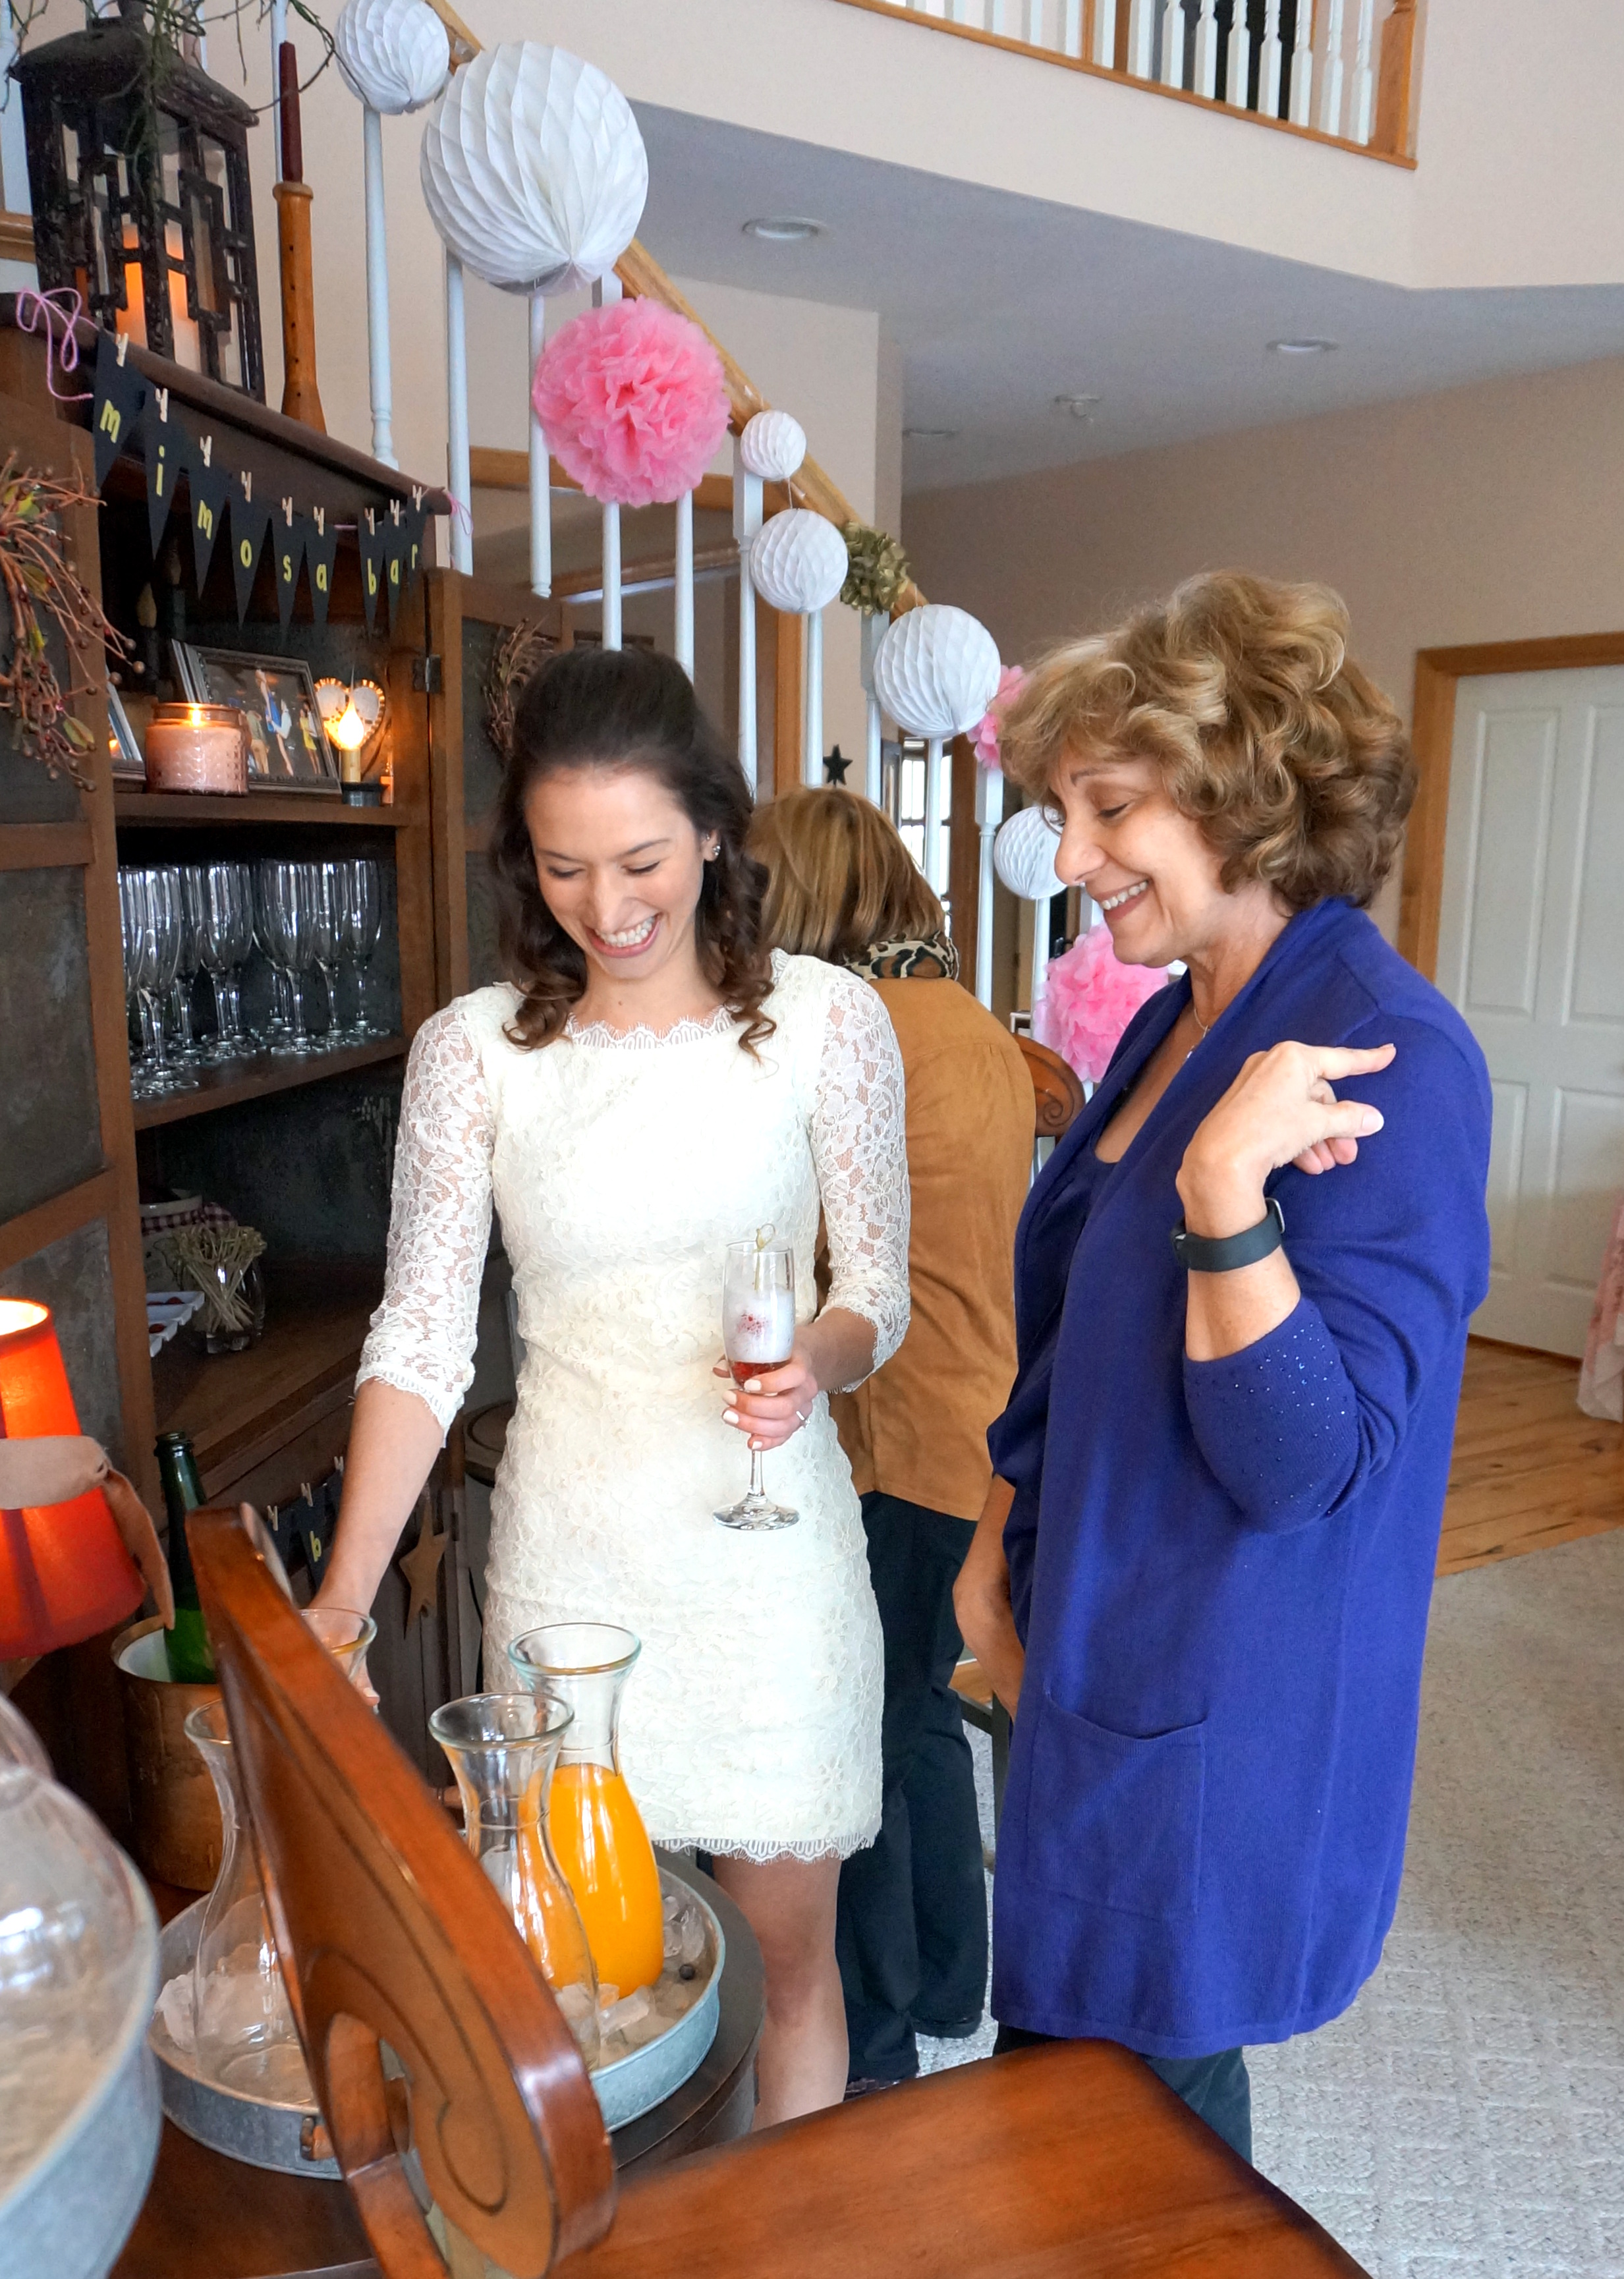
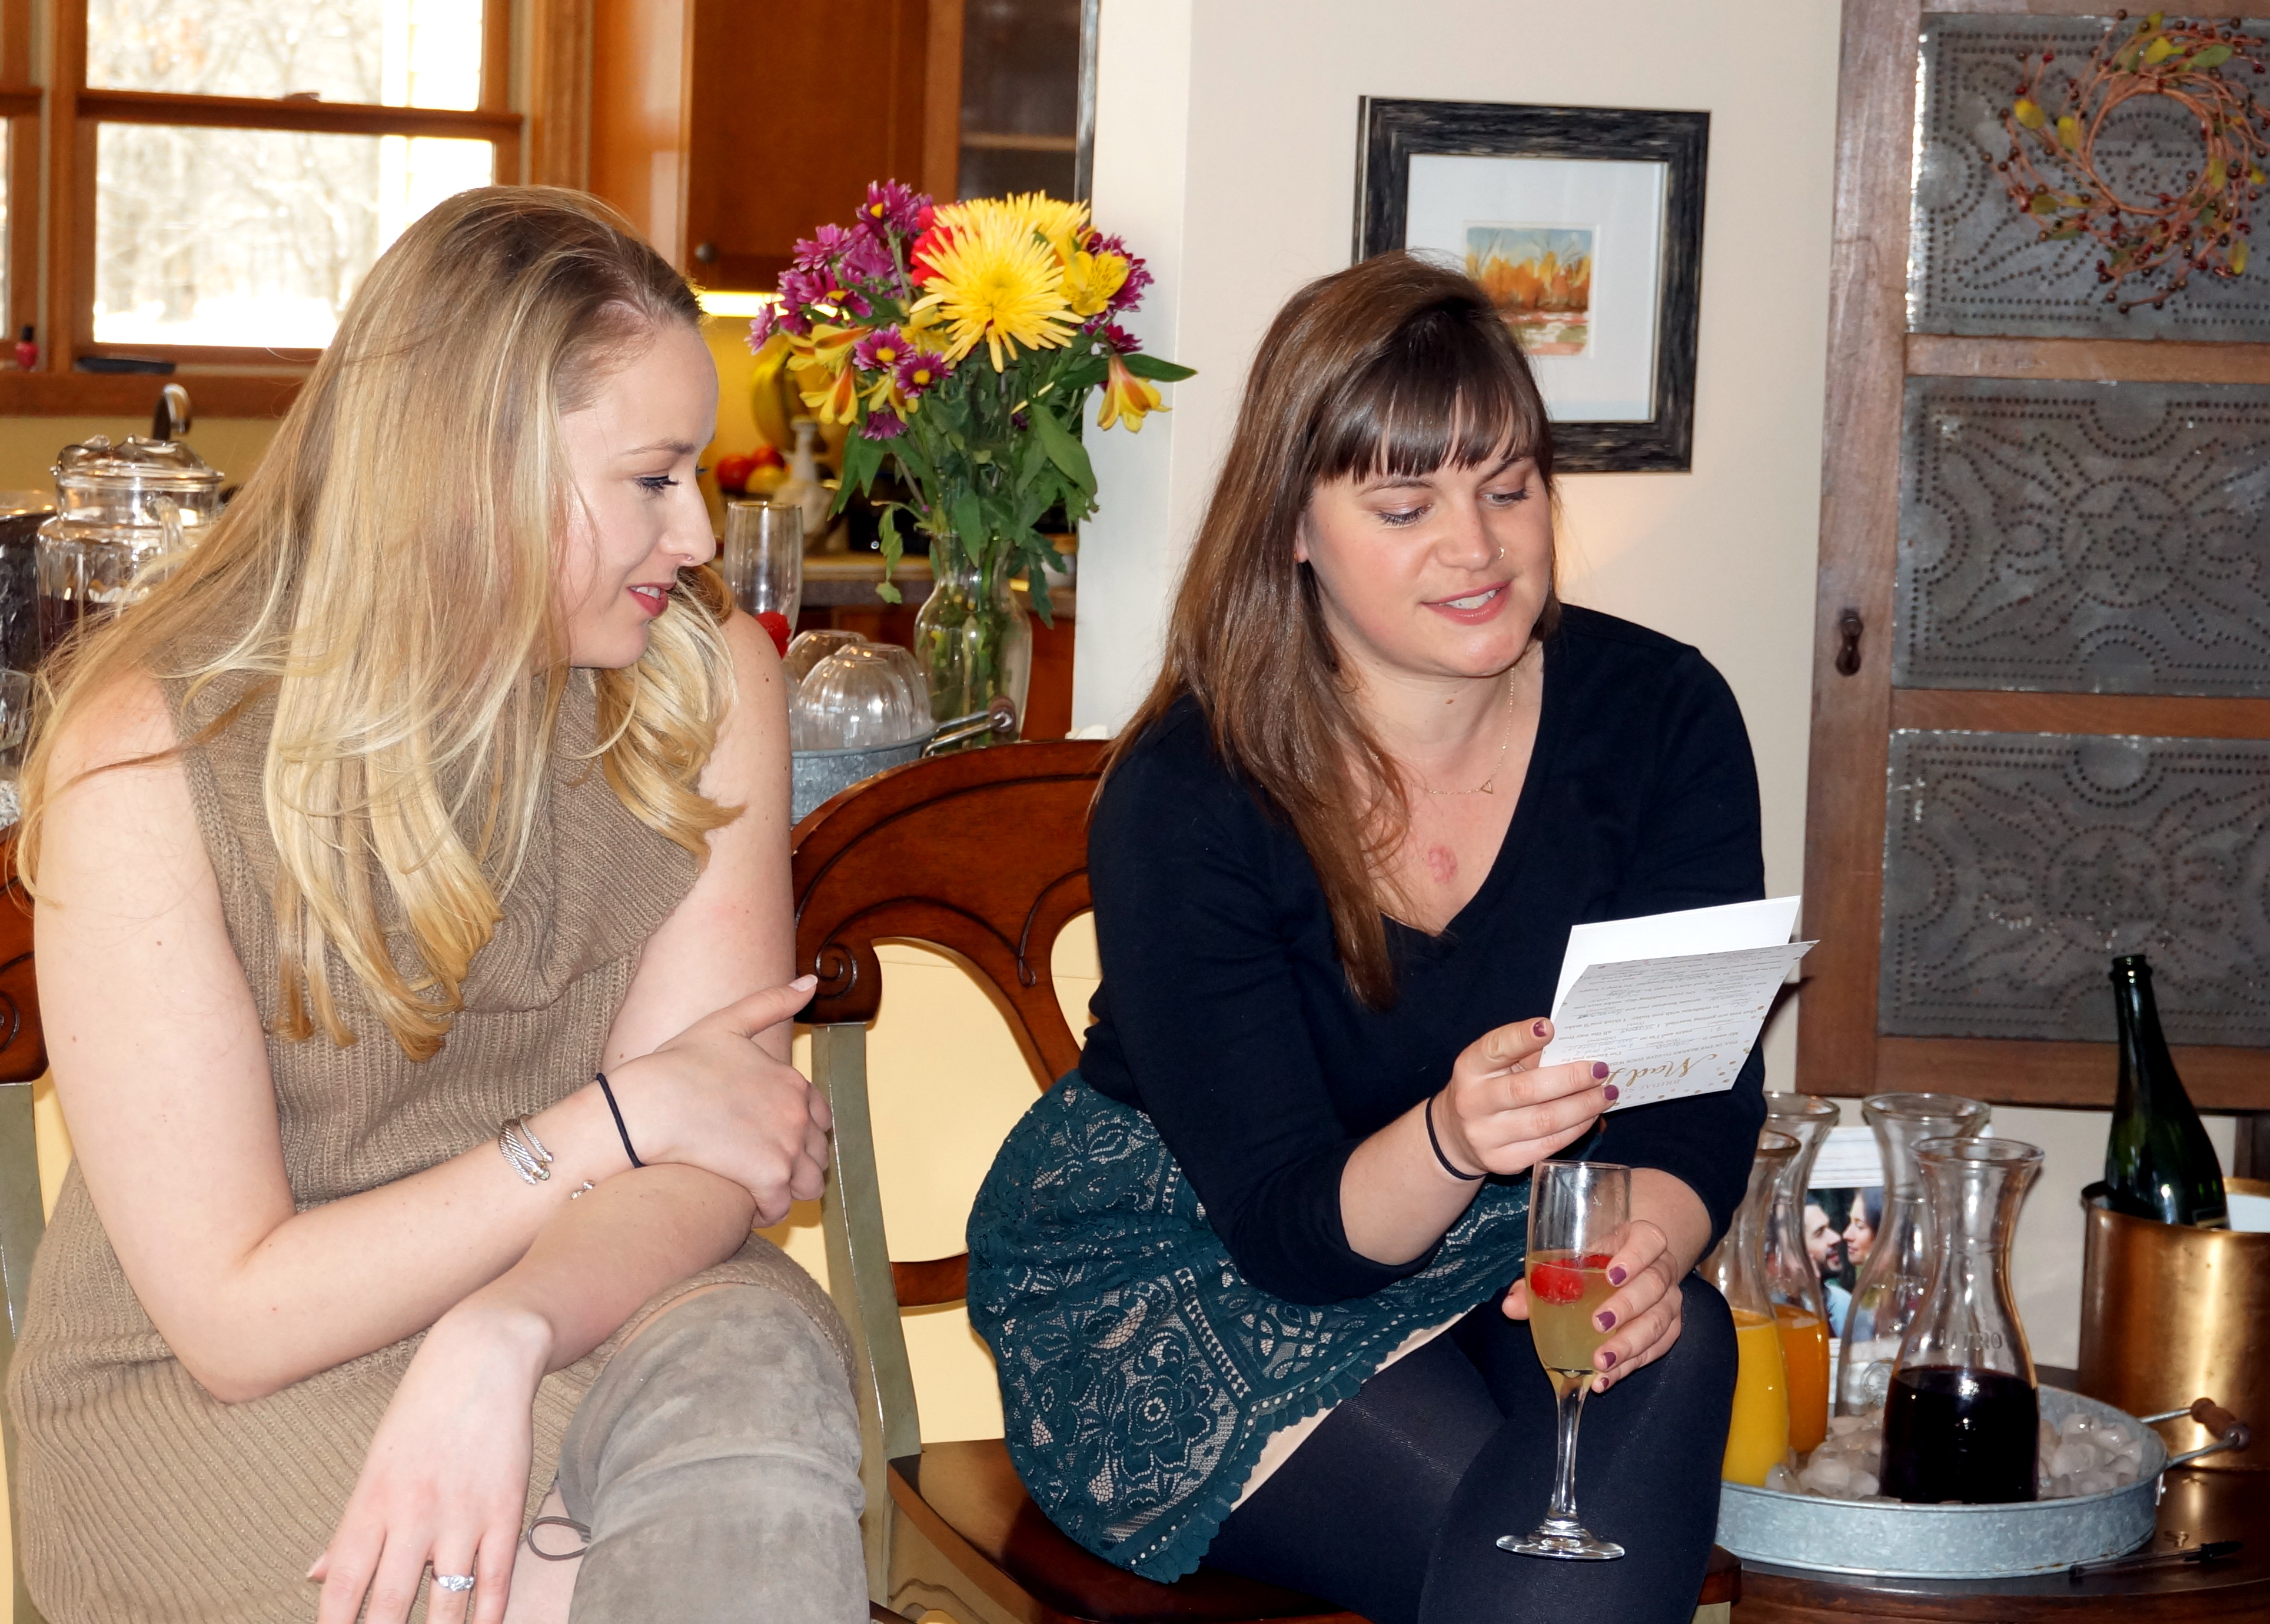
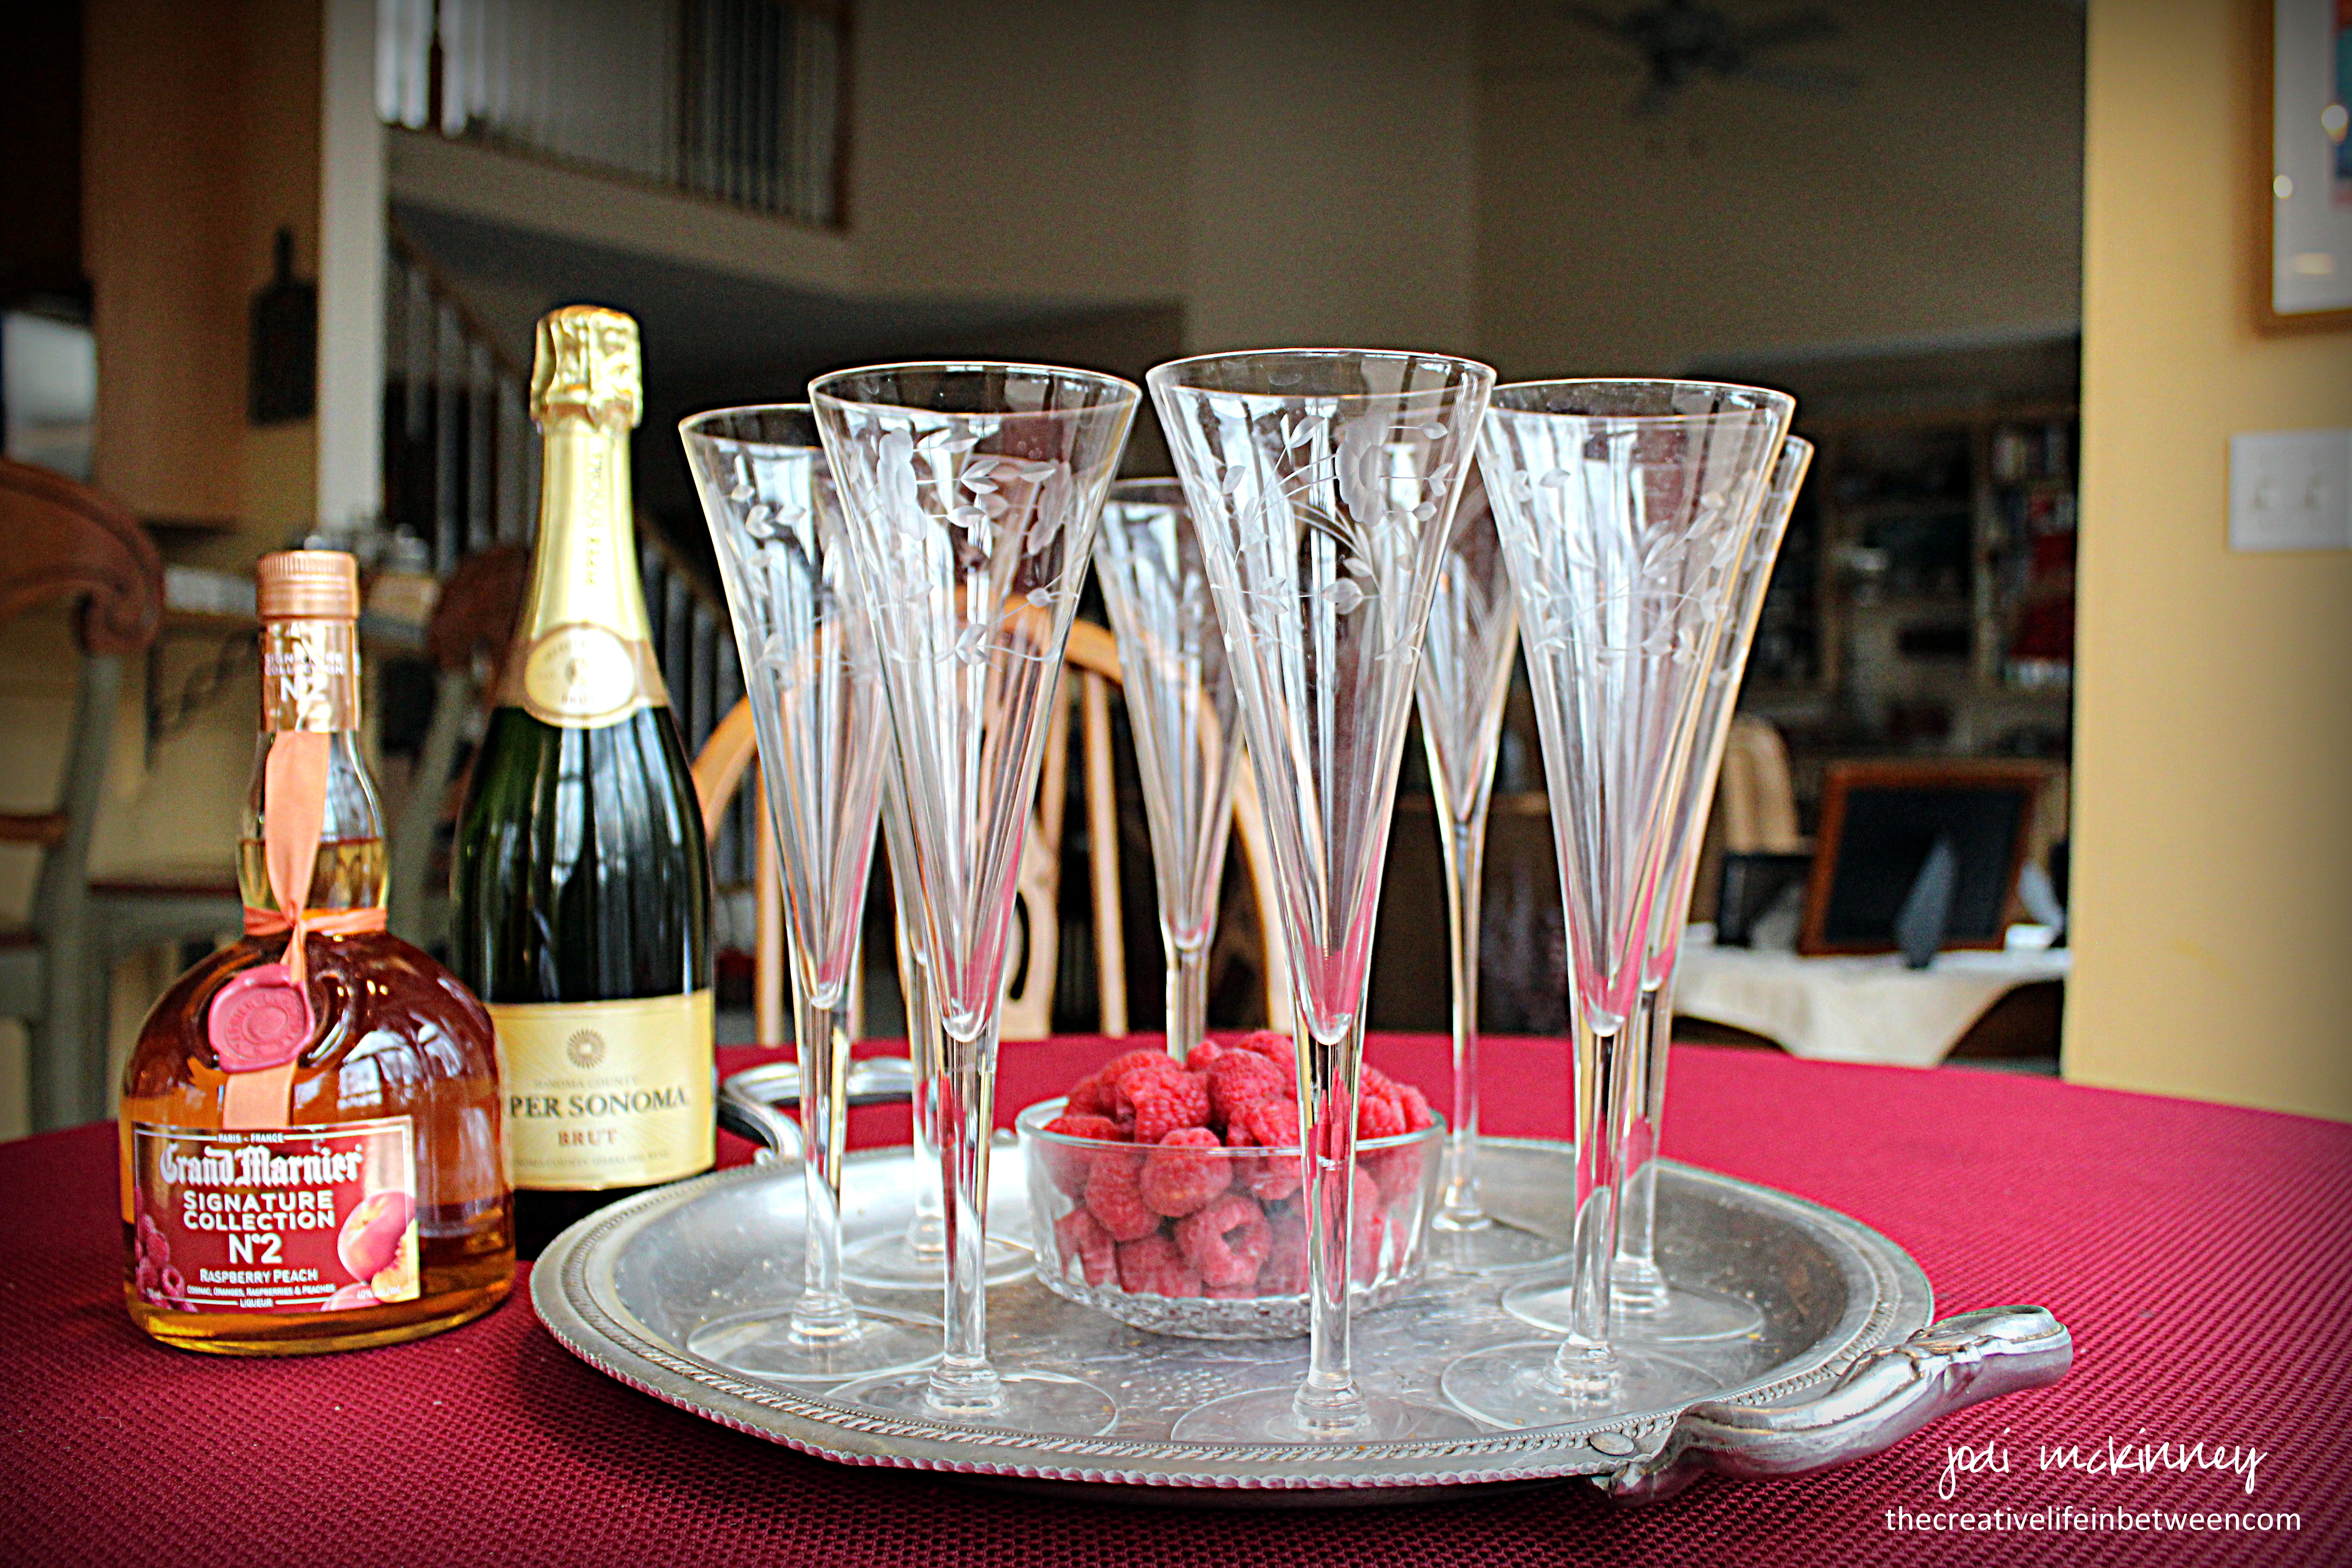
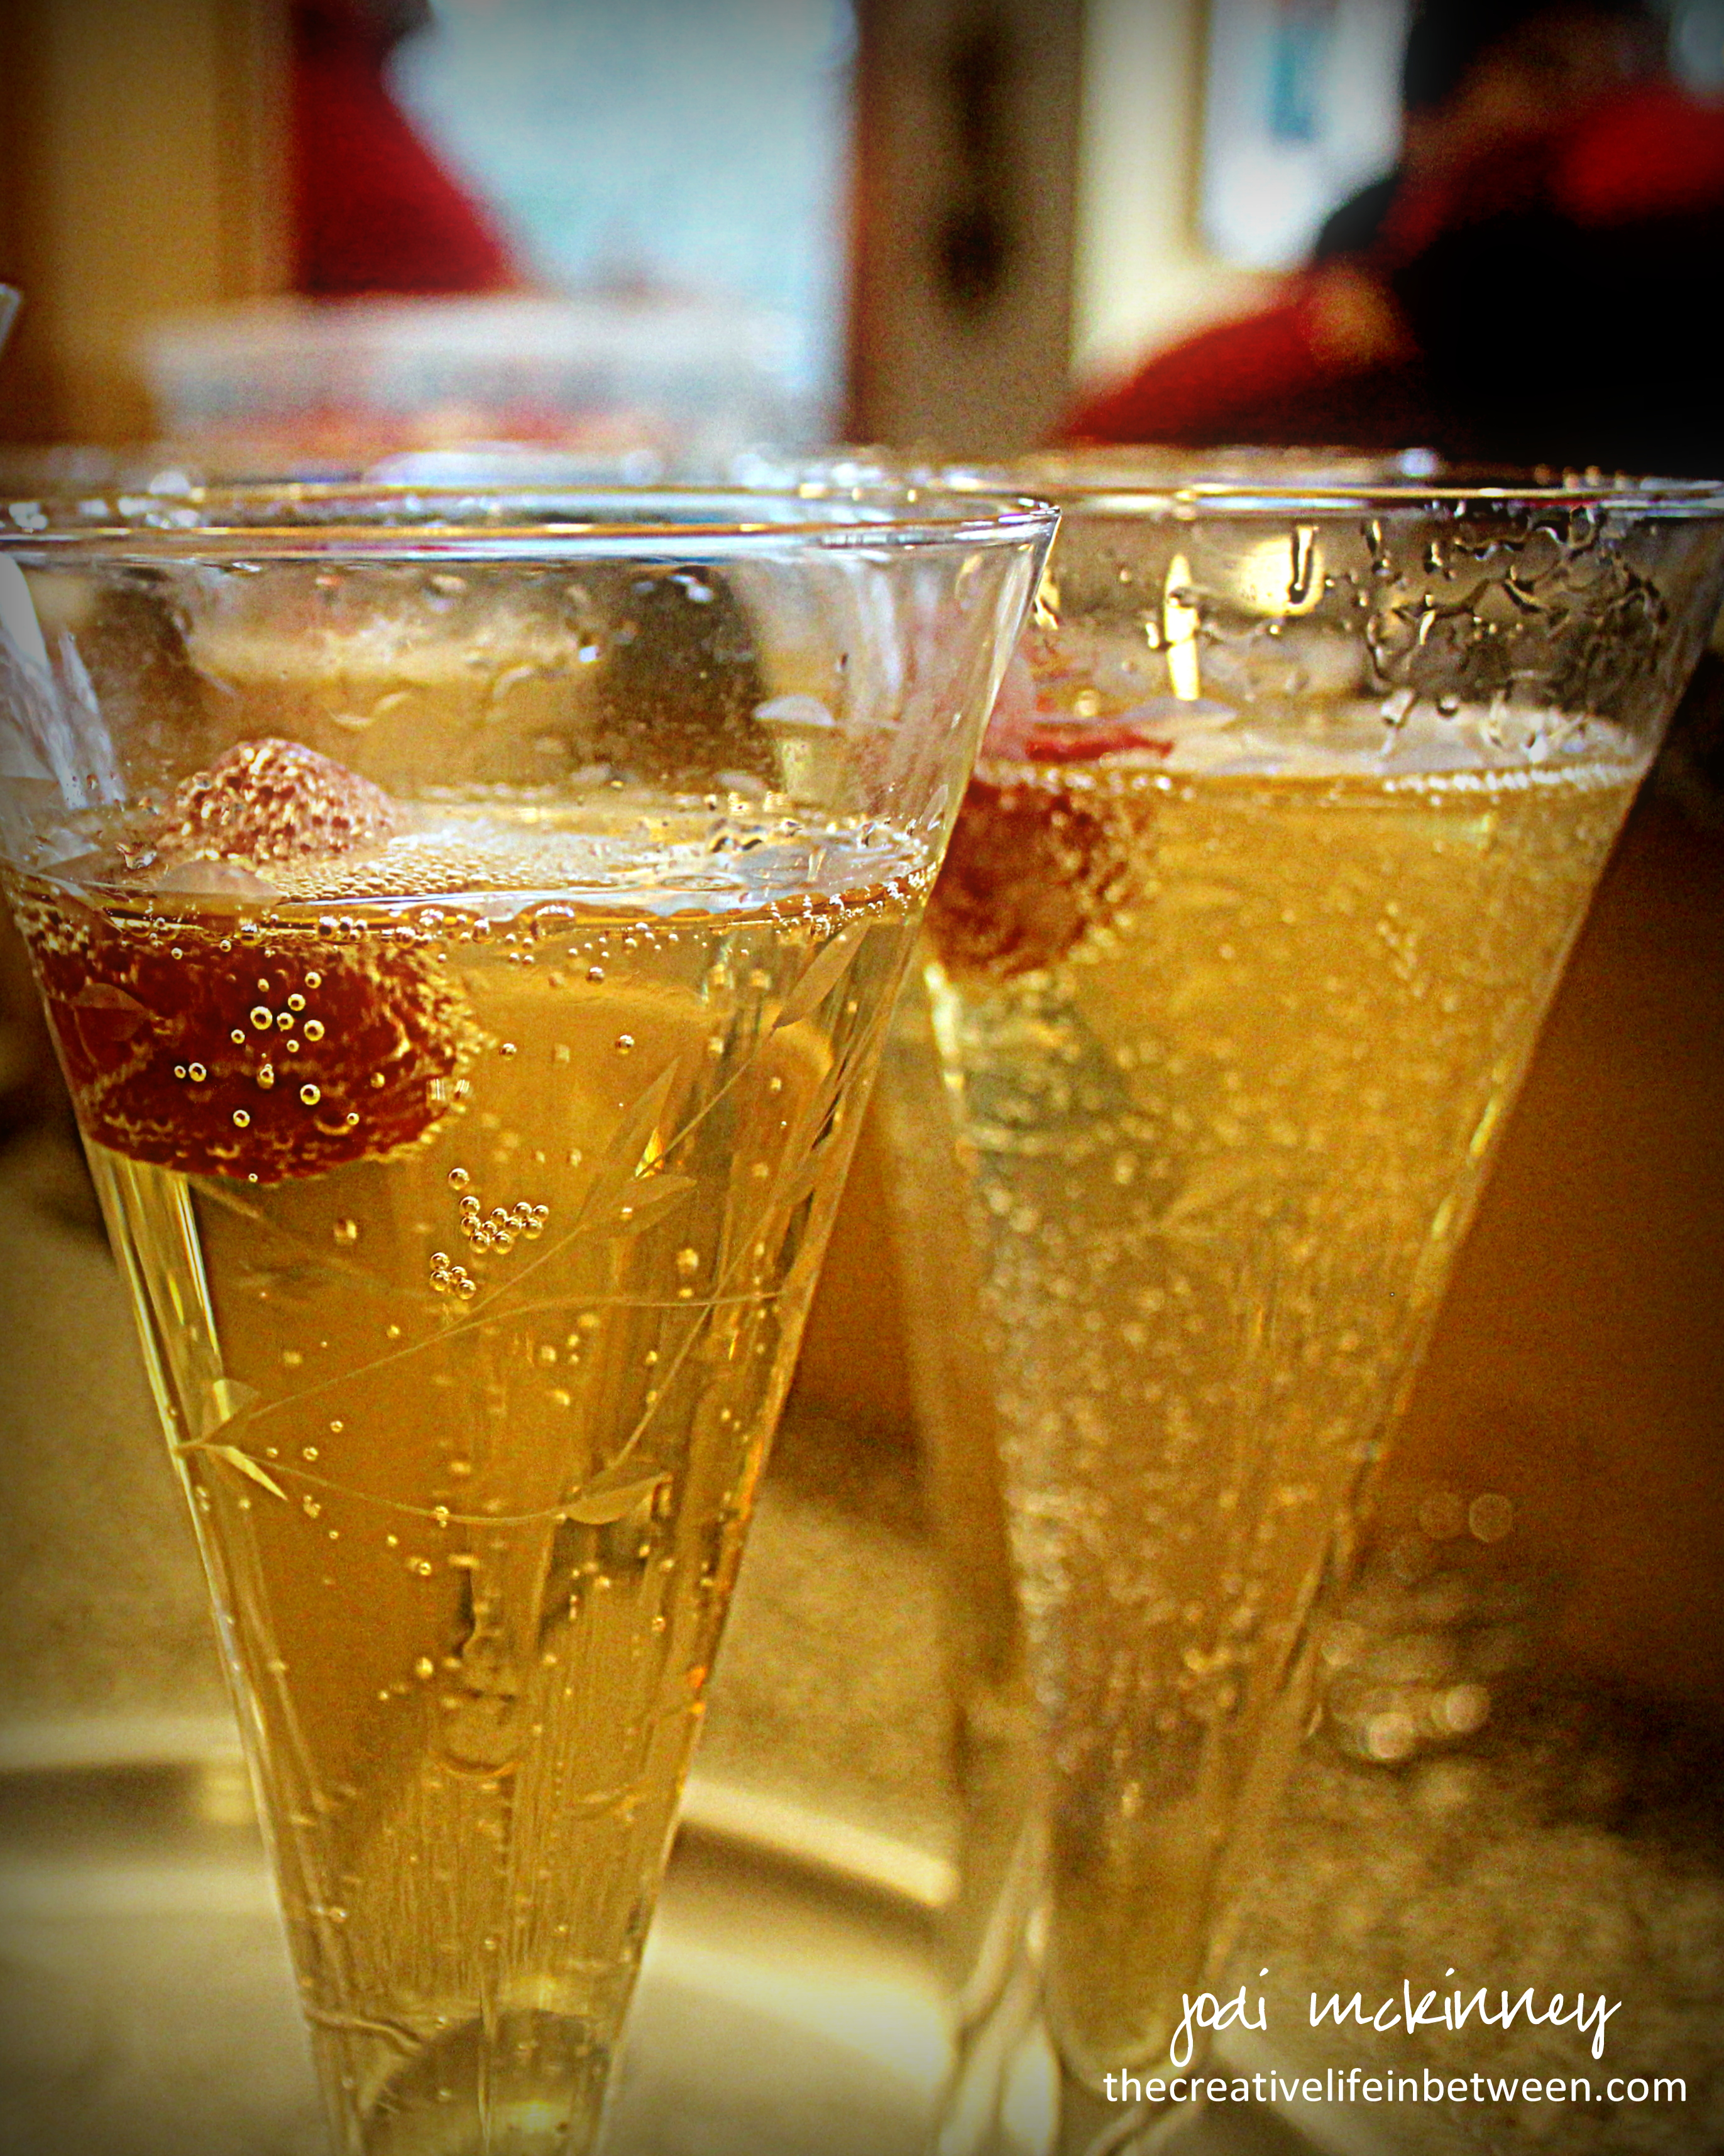
I created a special “Love Potion” cocktail to toast the beginning of our time together.  I mixed 1/3 Grand Marnier Signature Collection No. 2 Raspberry Peach with 2/3 champagne and garnished with a fresh red raspberry.  Yum!

love-potion-cocktail-grand-marnier-peach-raspberry-and-champagne-valentines-day-couples-camp

valentine-love-potion-couples-camp-cocktail-grand-marnier-peach-and-raspberry-and-champagne

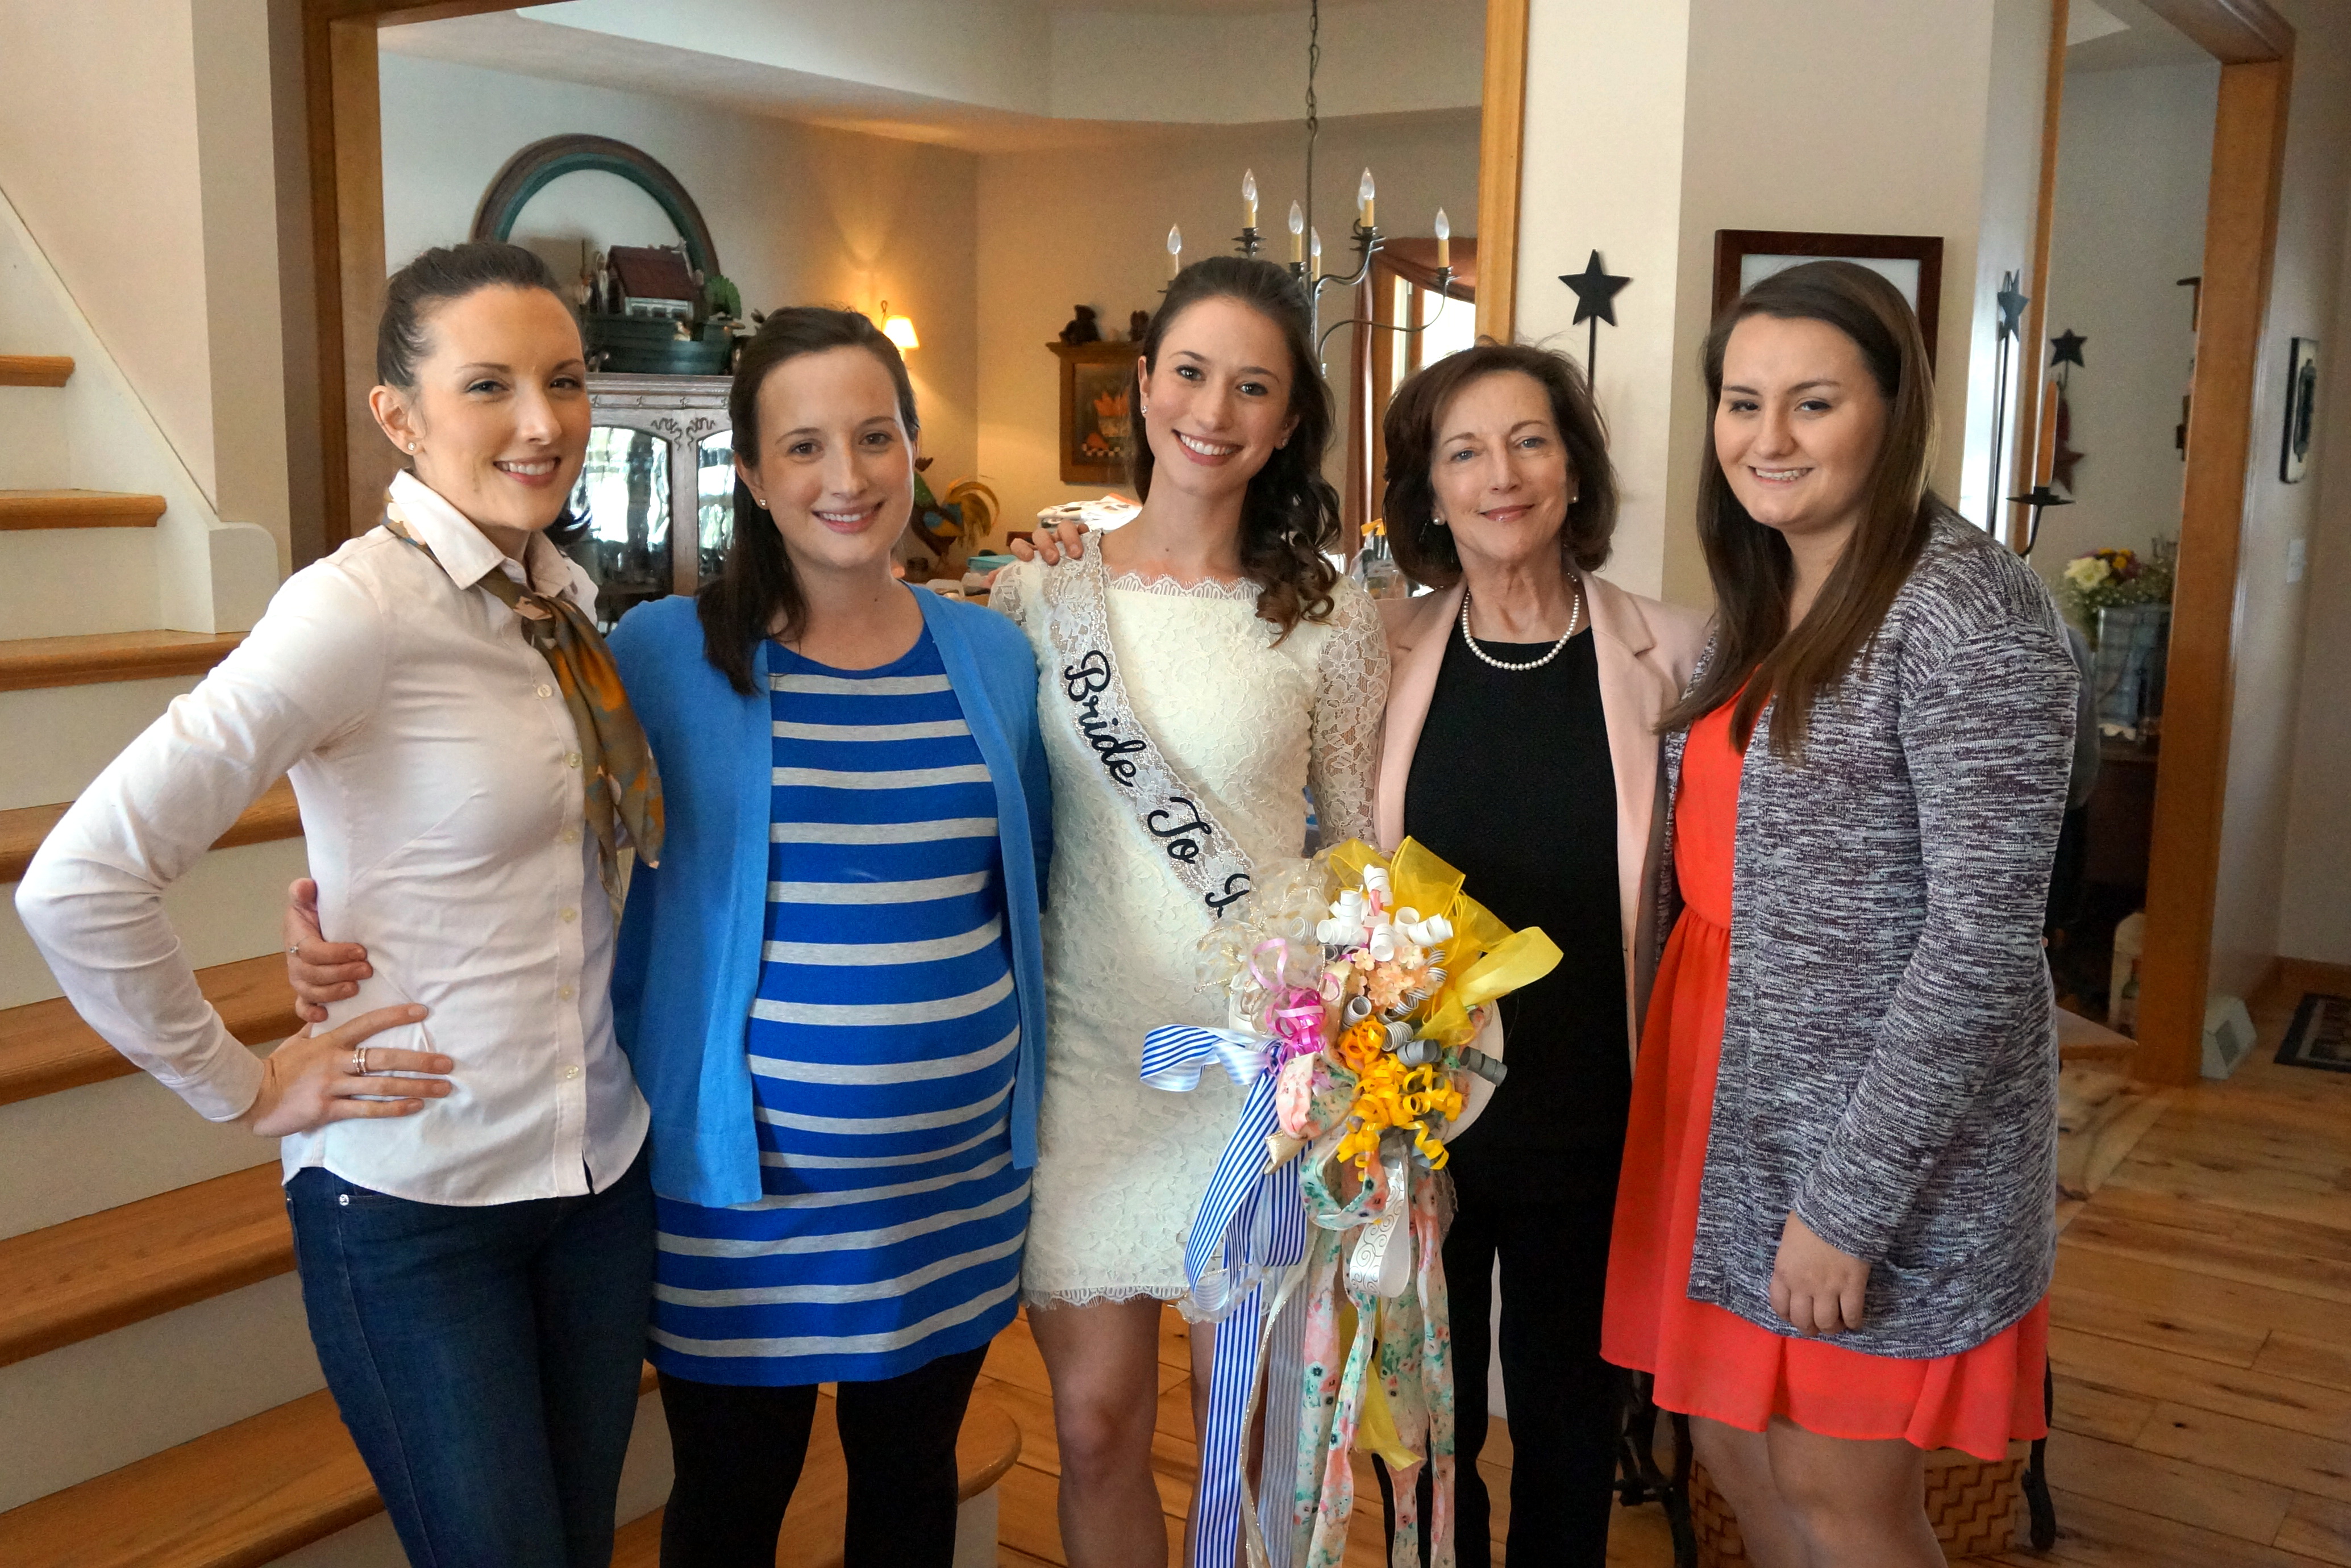
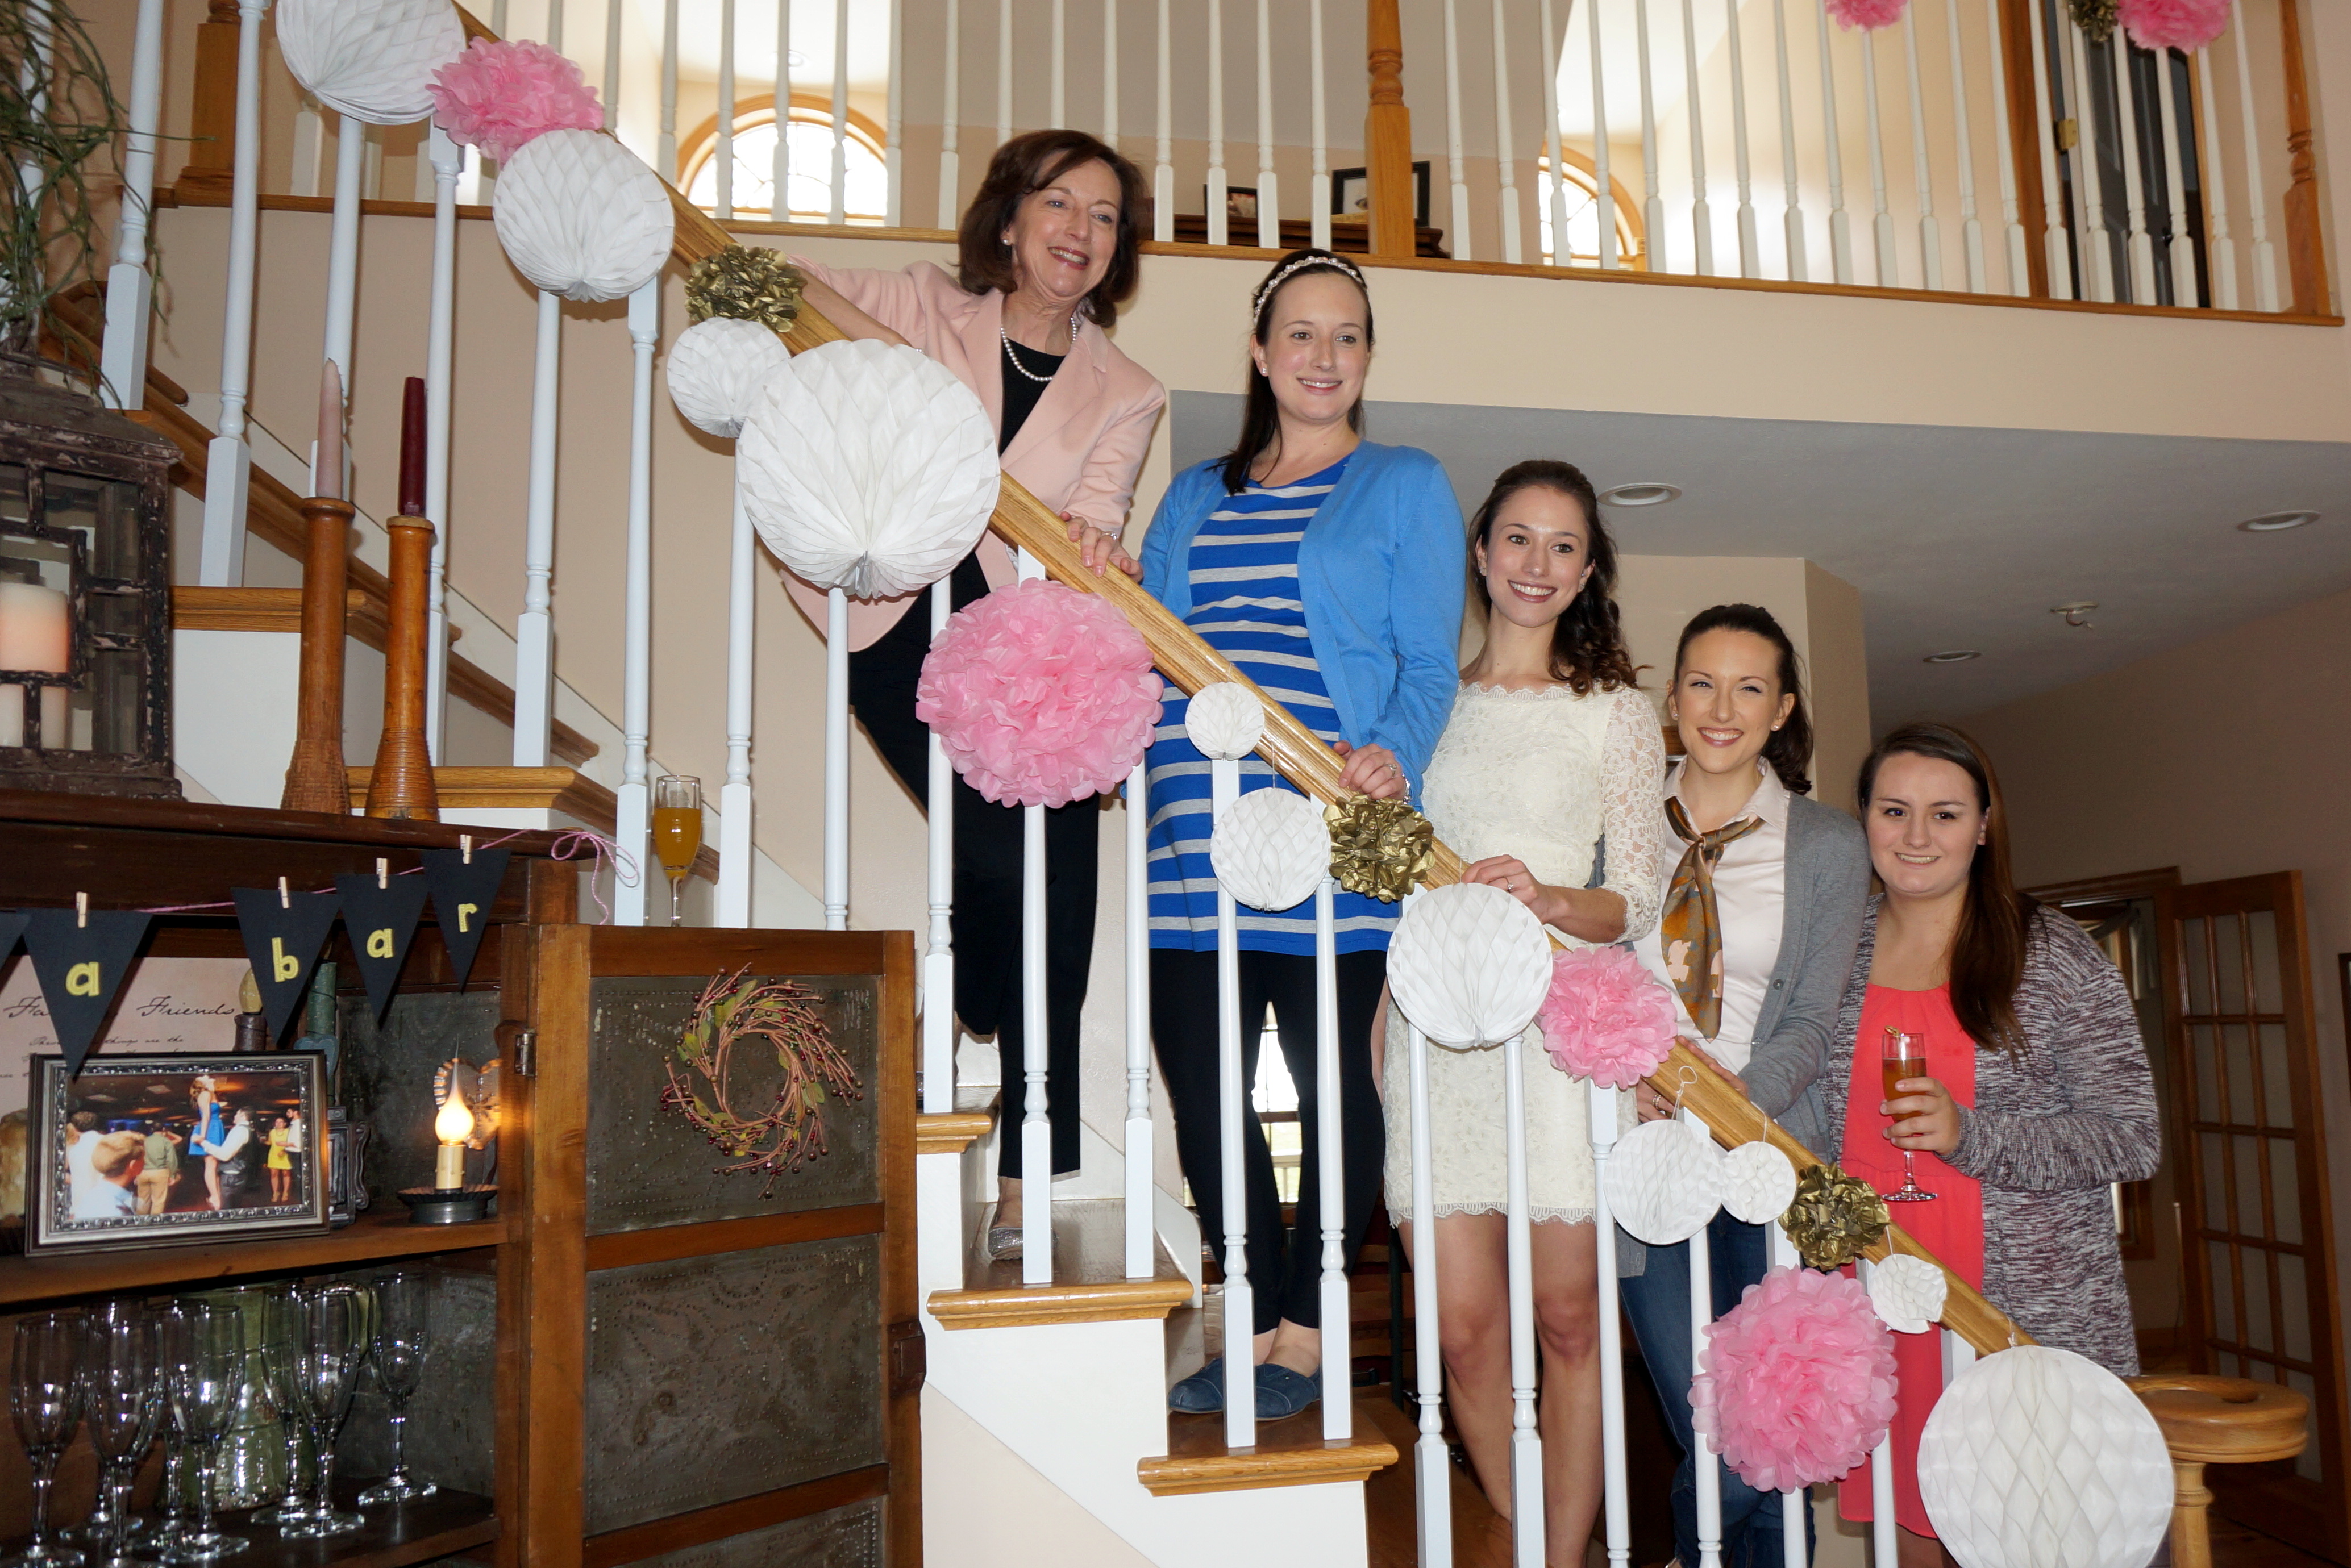
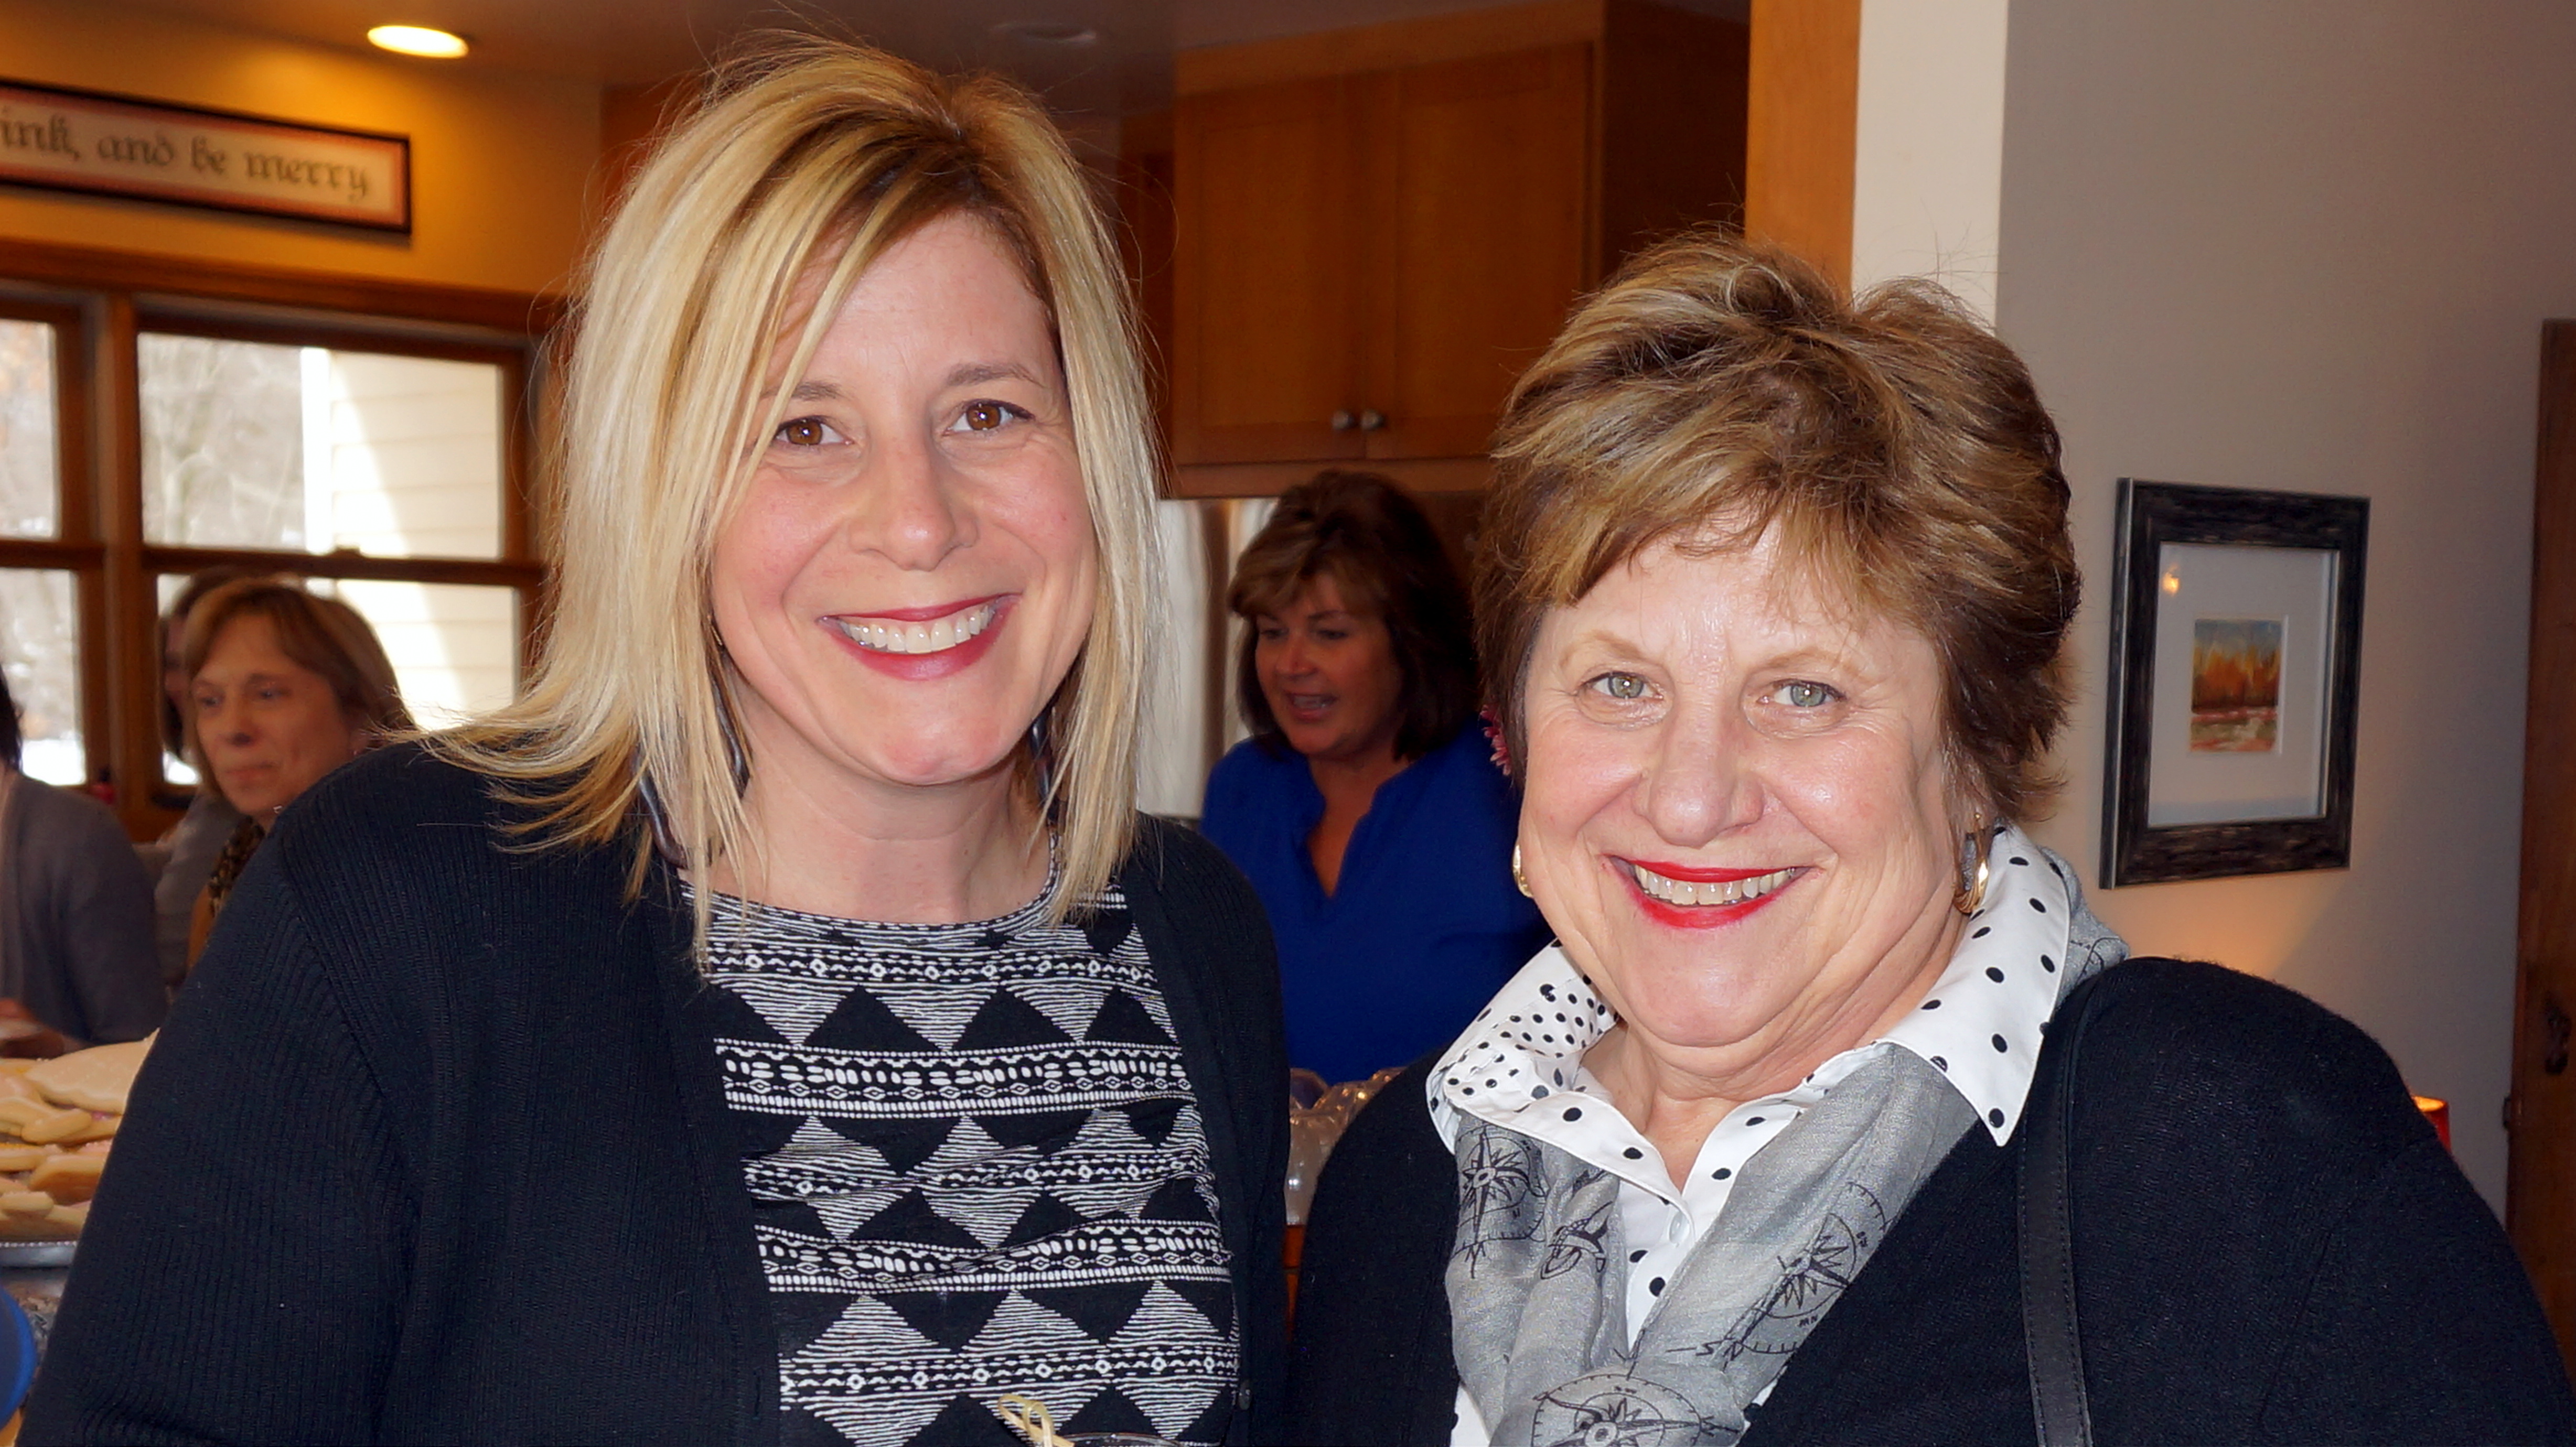
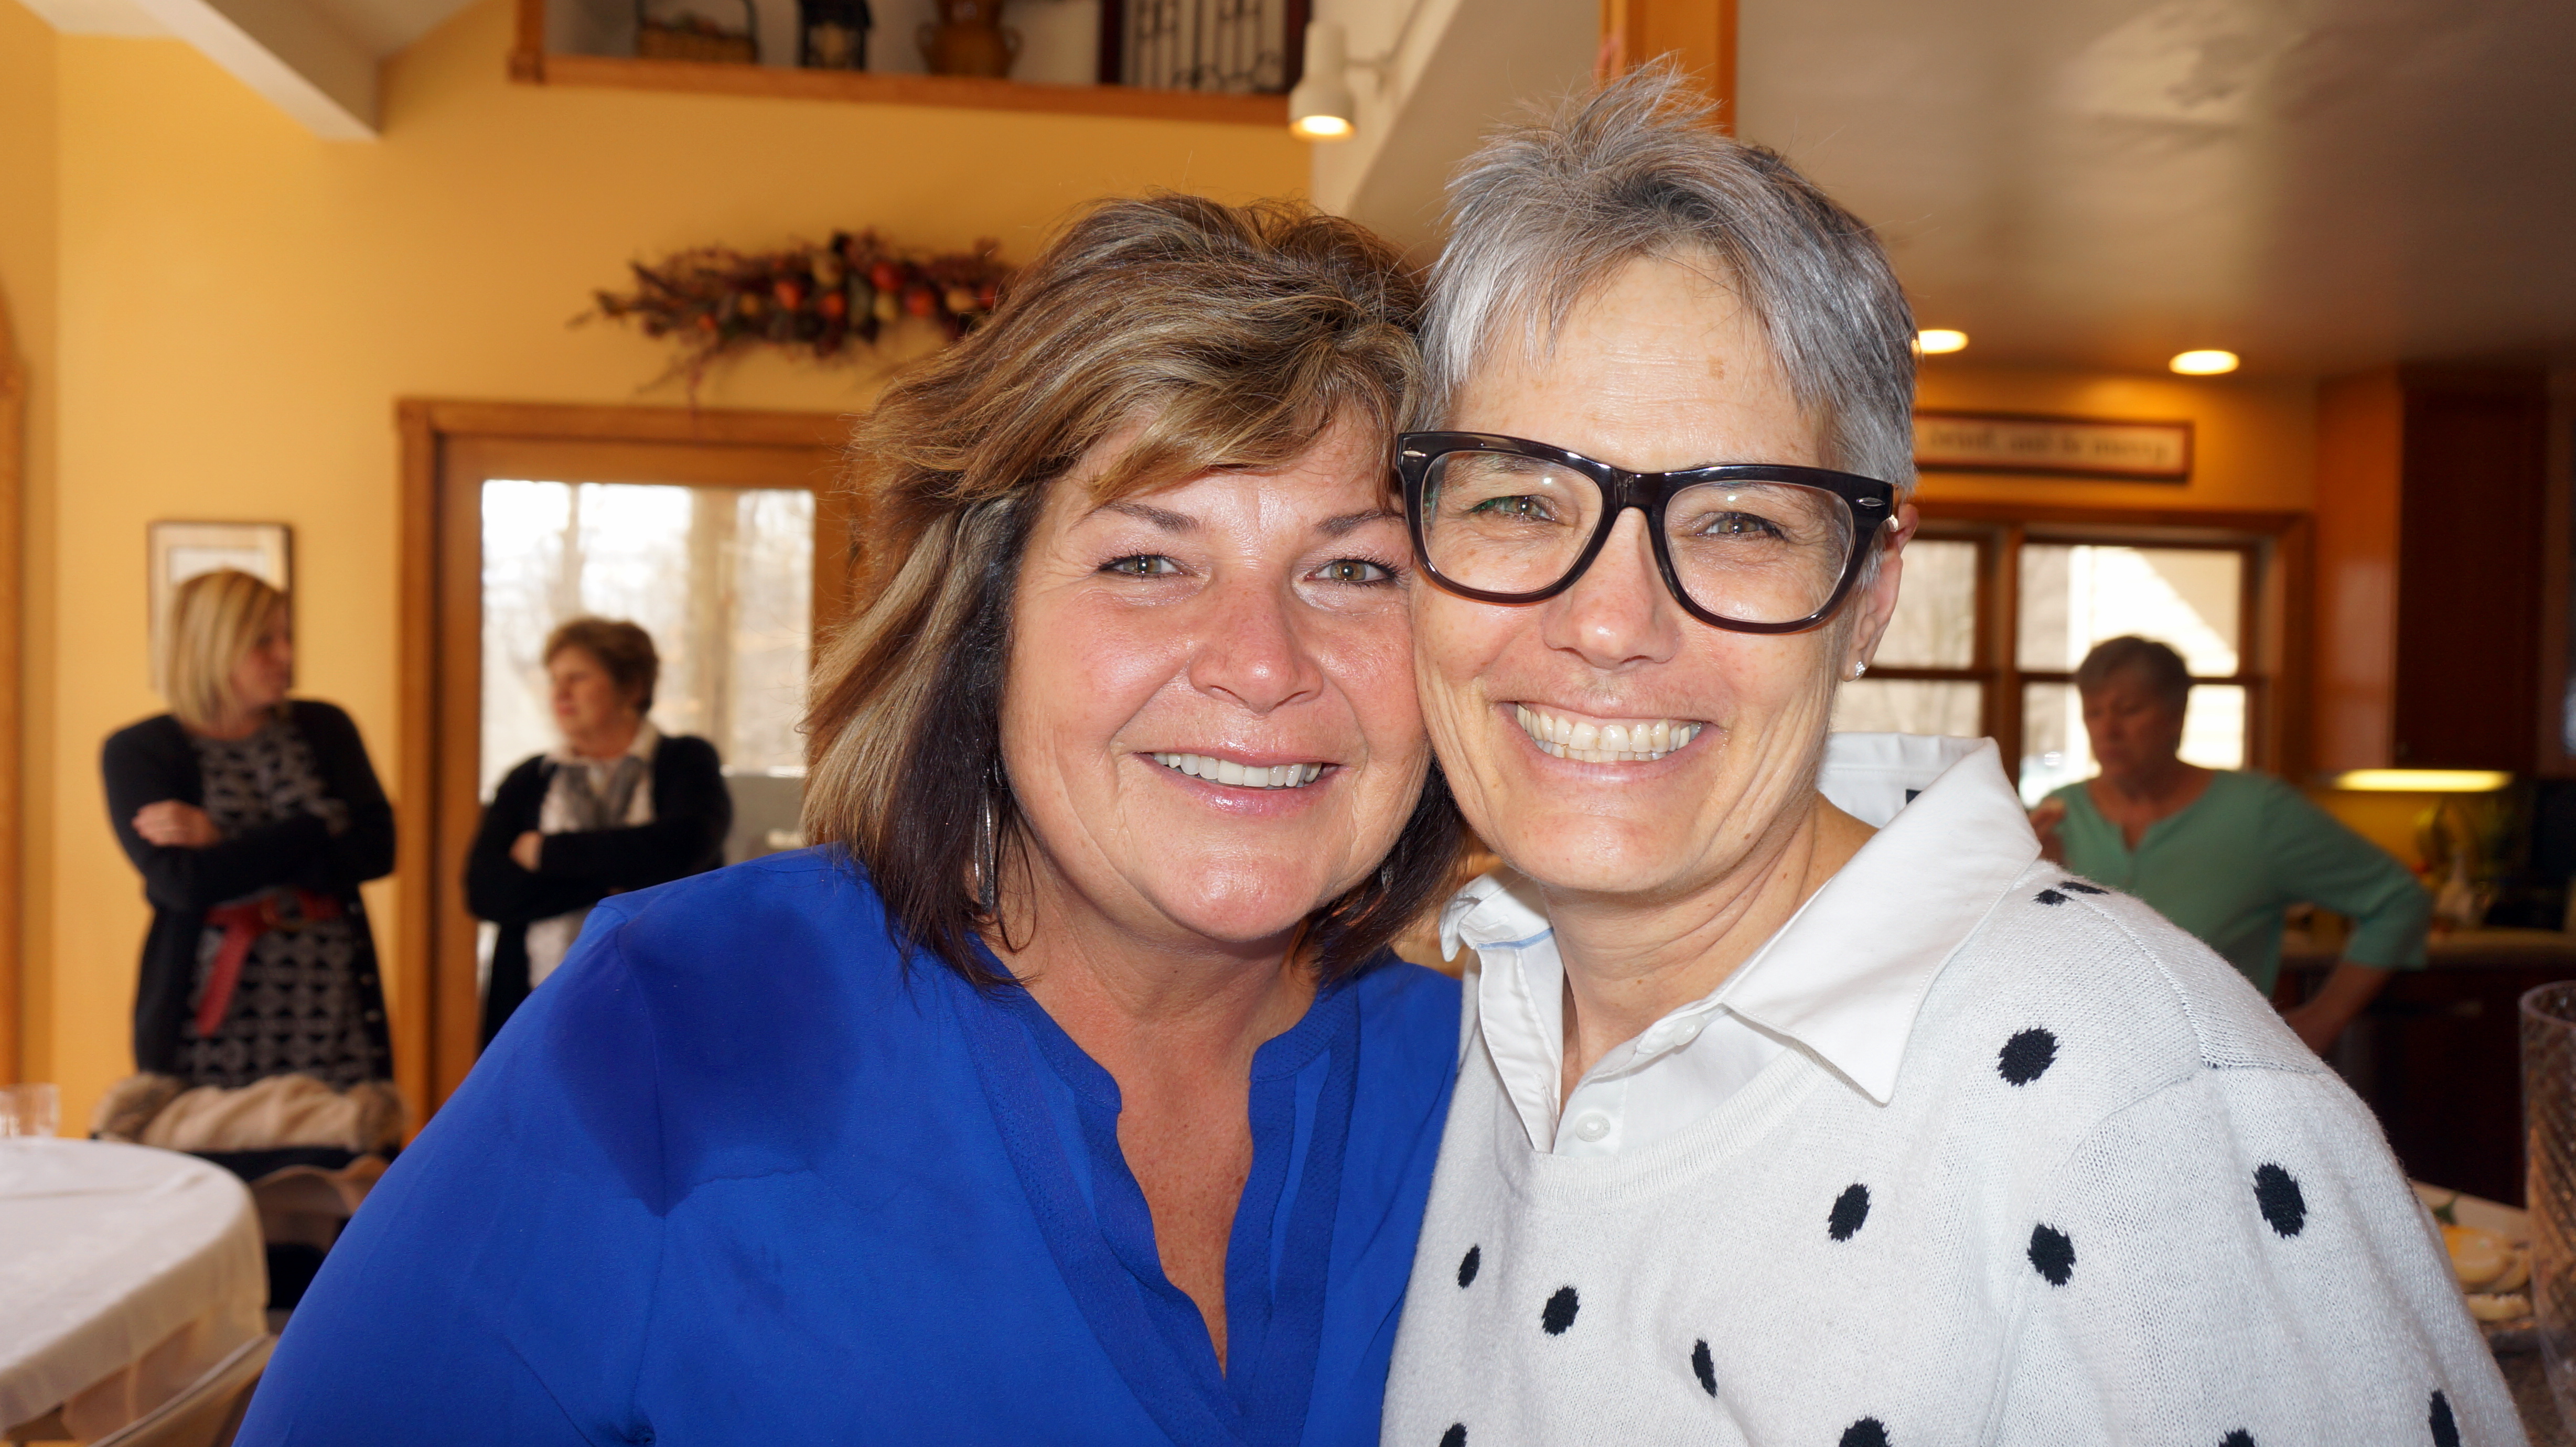
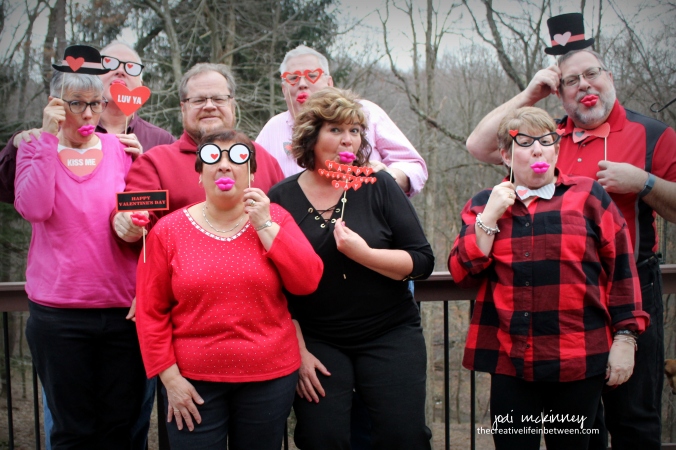
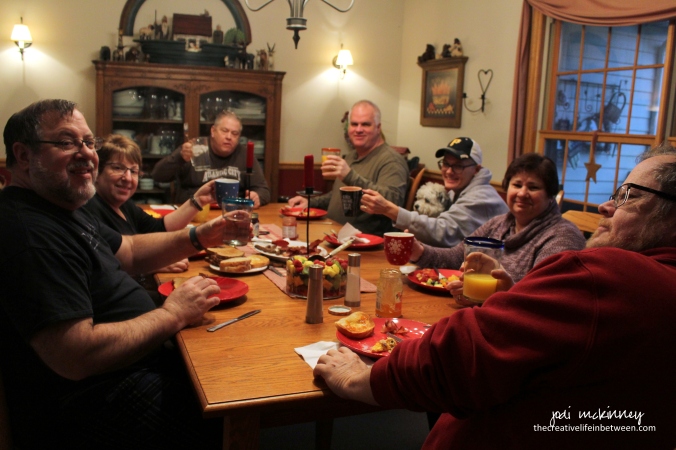
Jill is our illustrious “camp” activities director.  After a silly group photo,

valentines-couple-camp-campers-2017

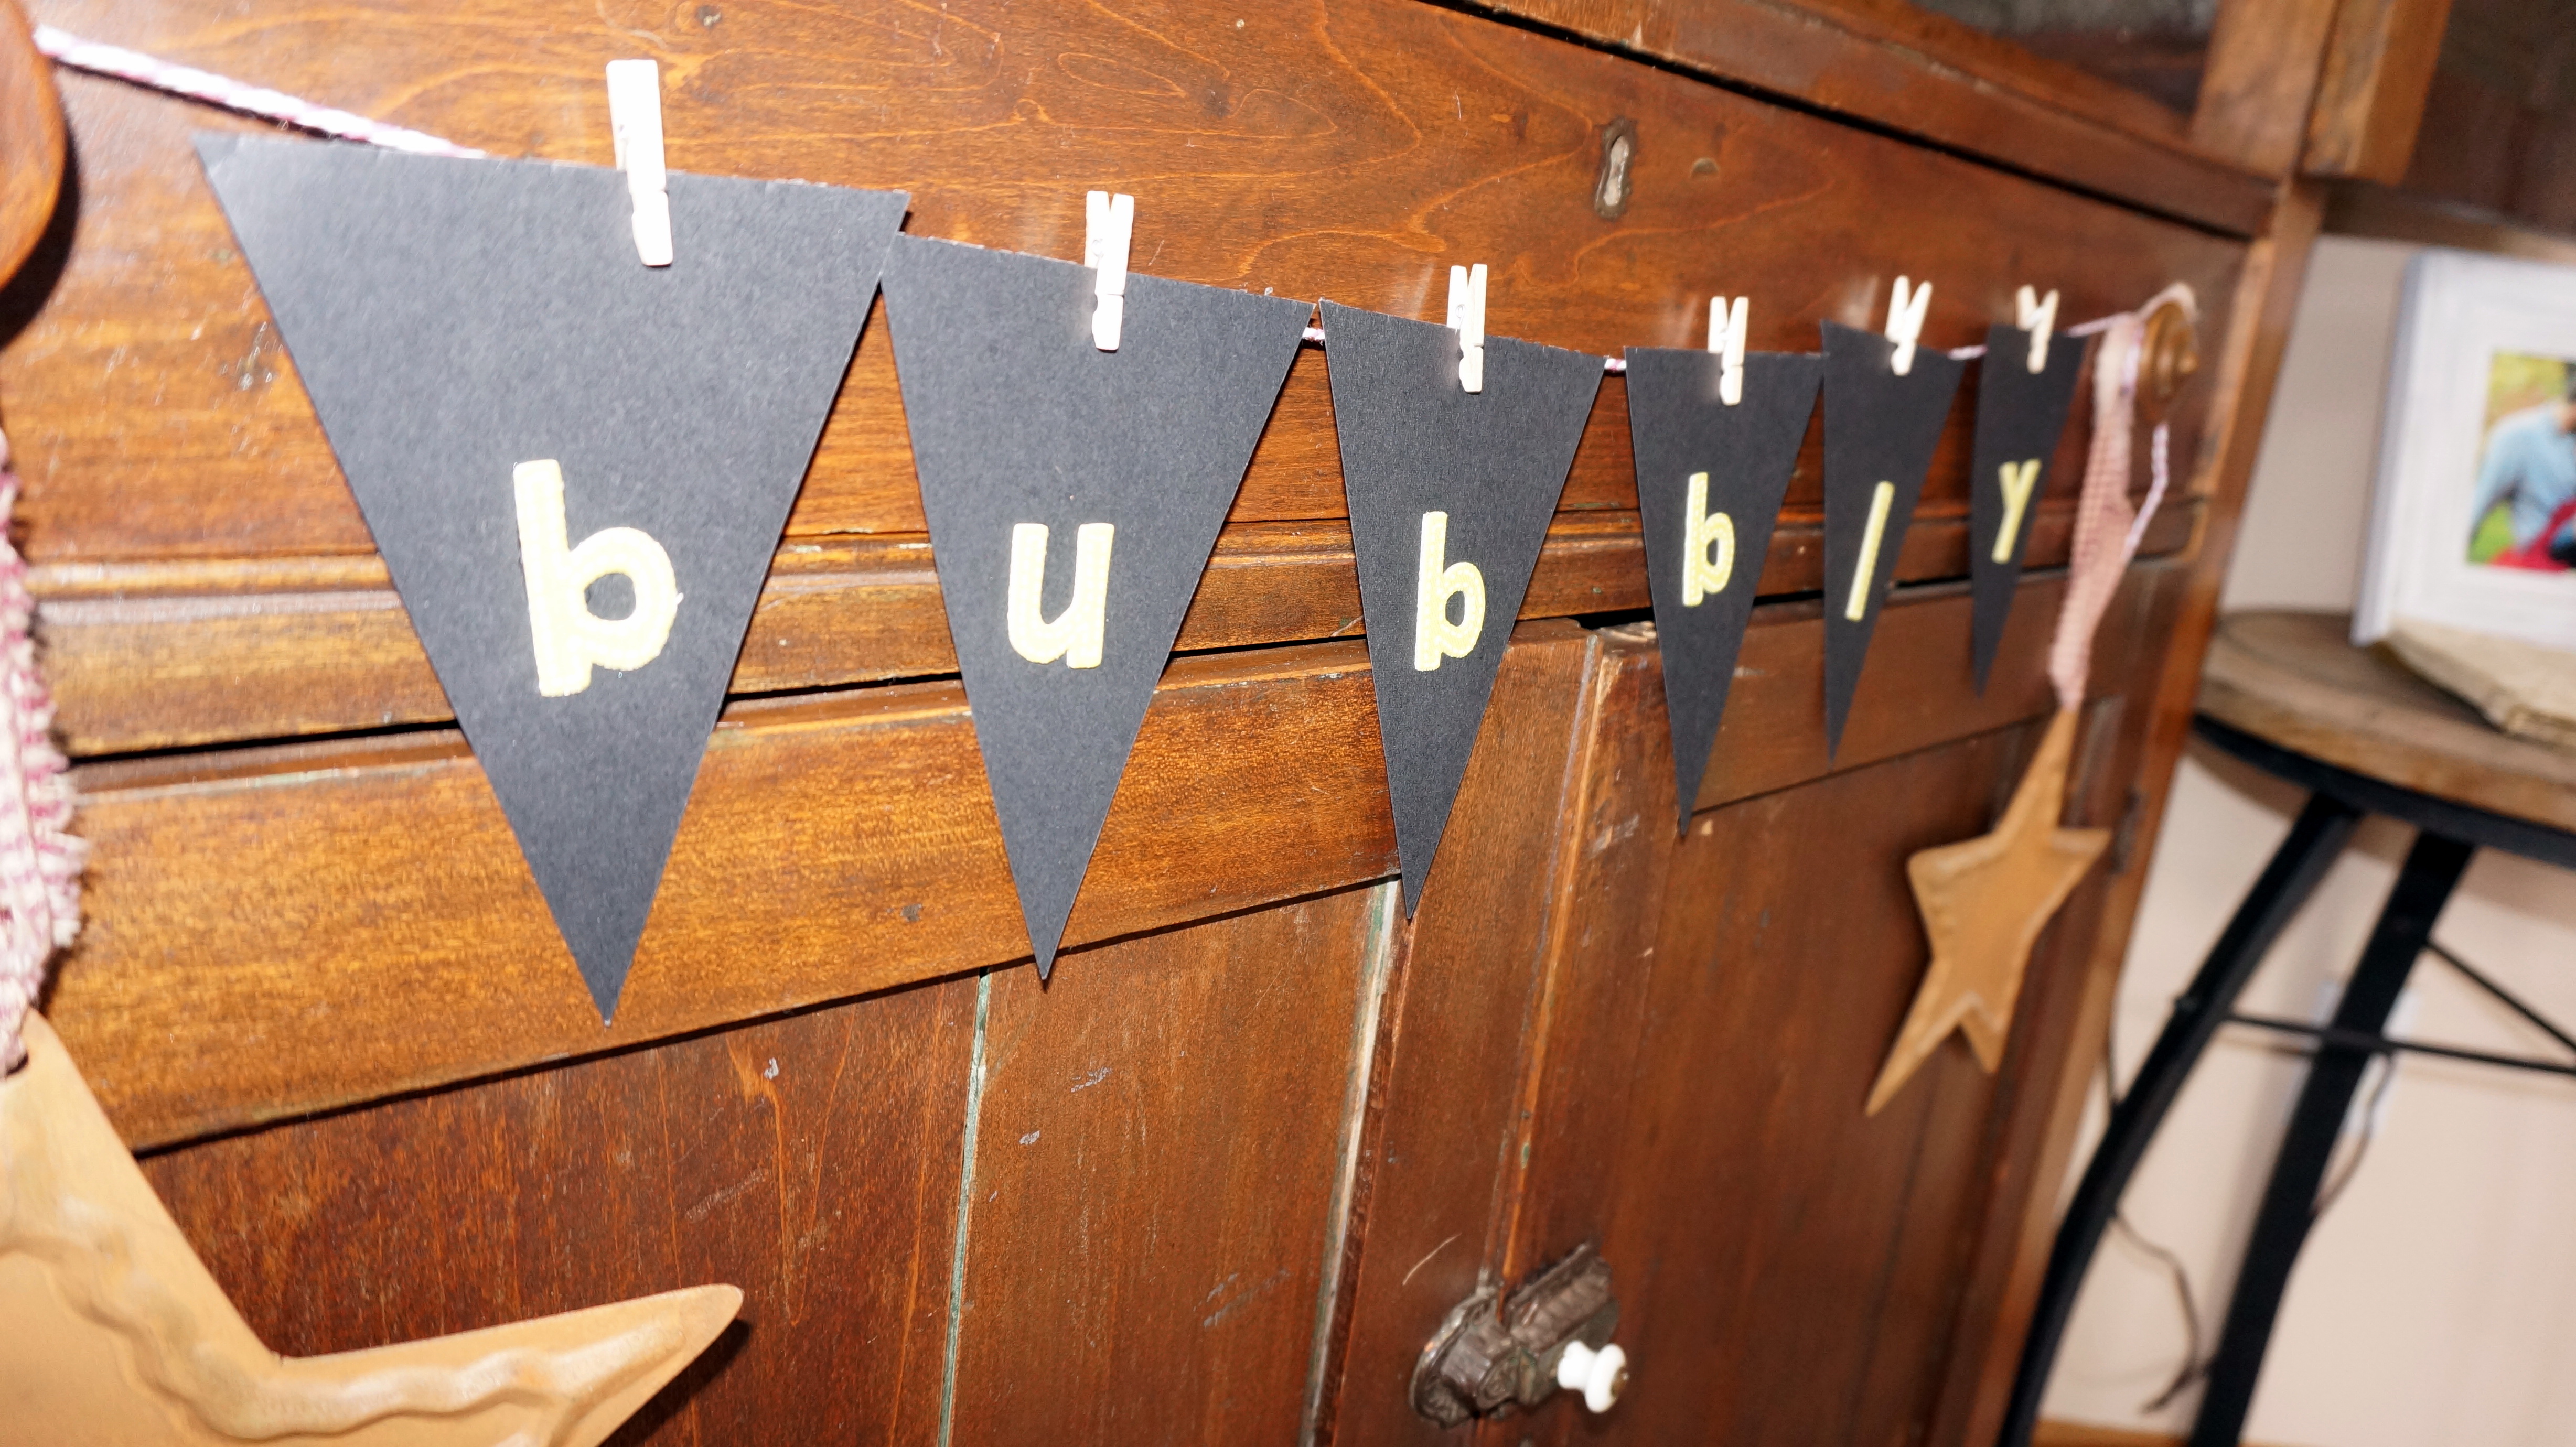
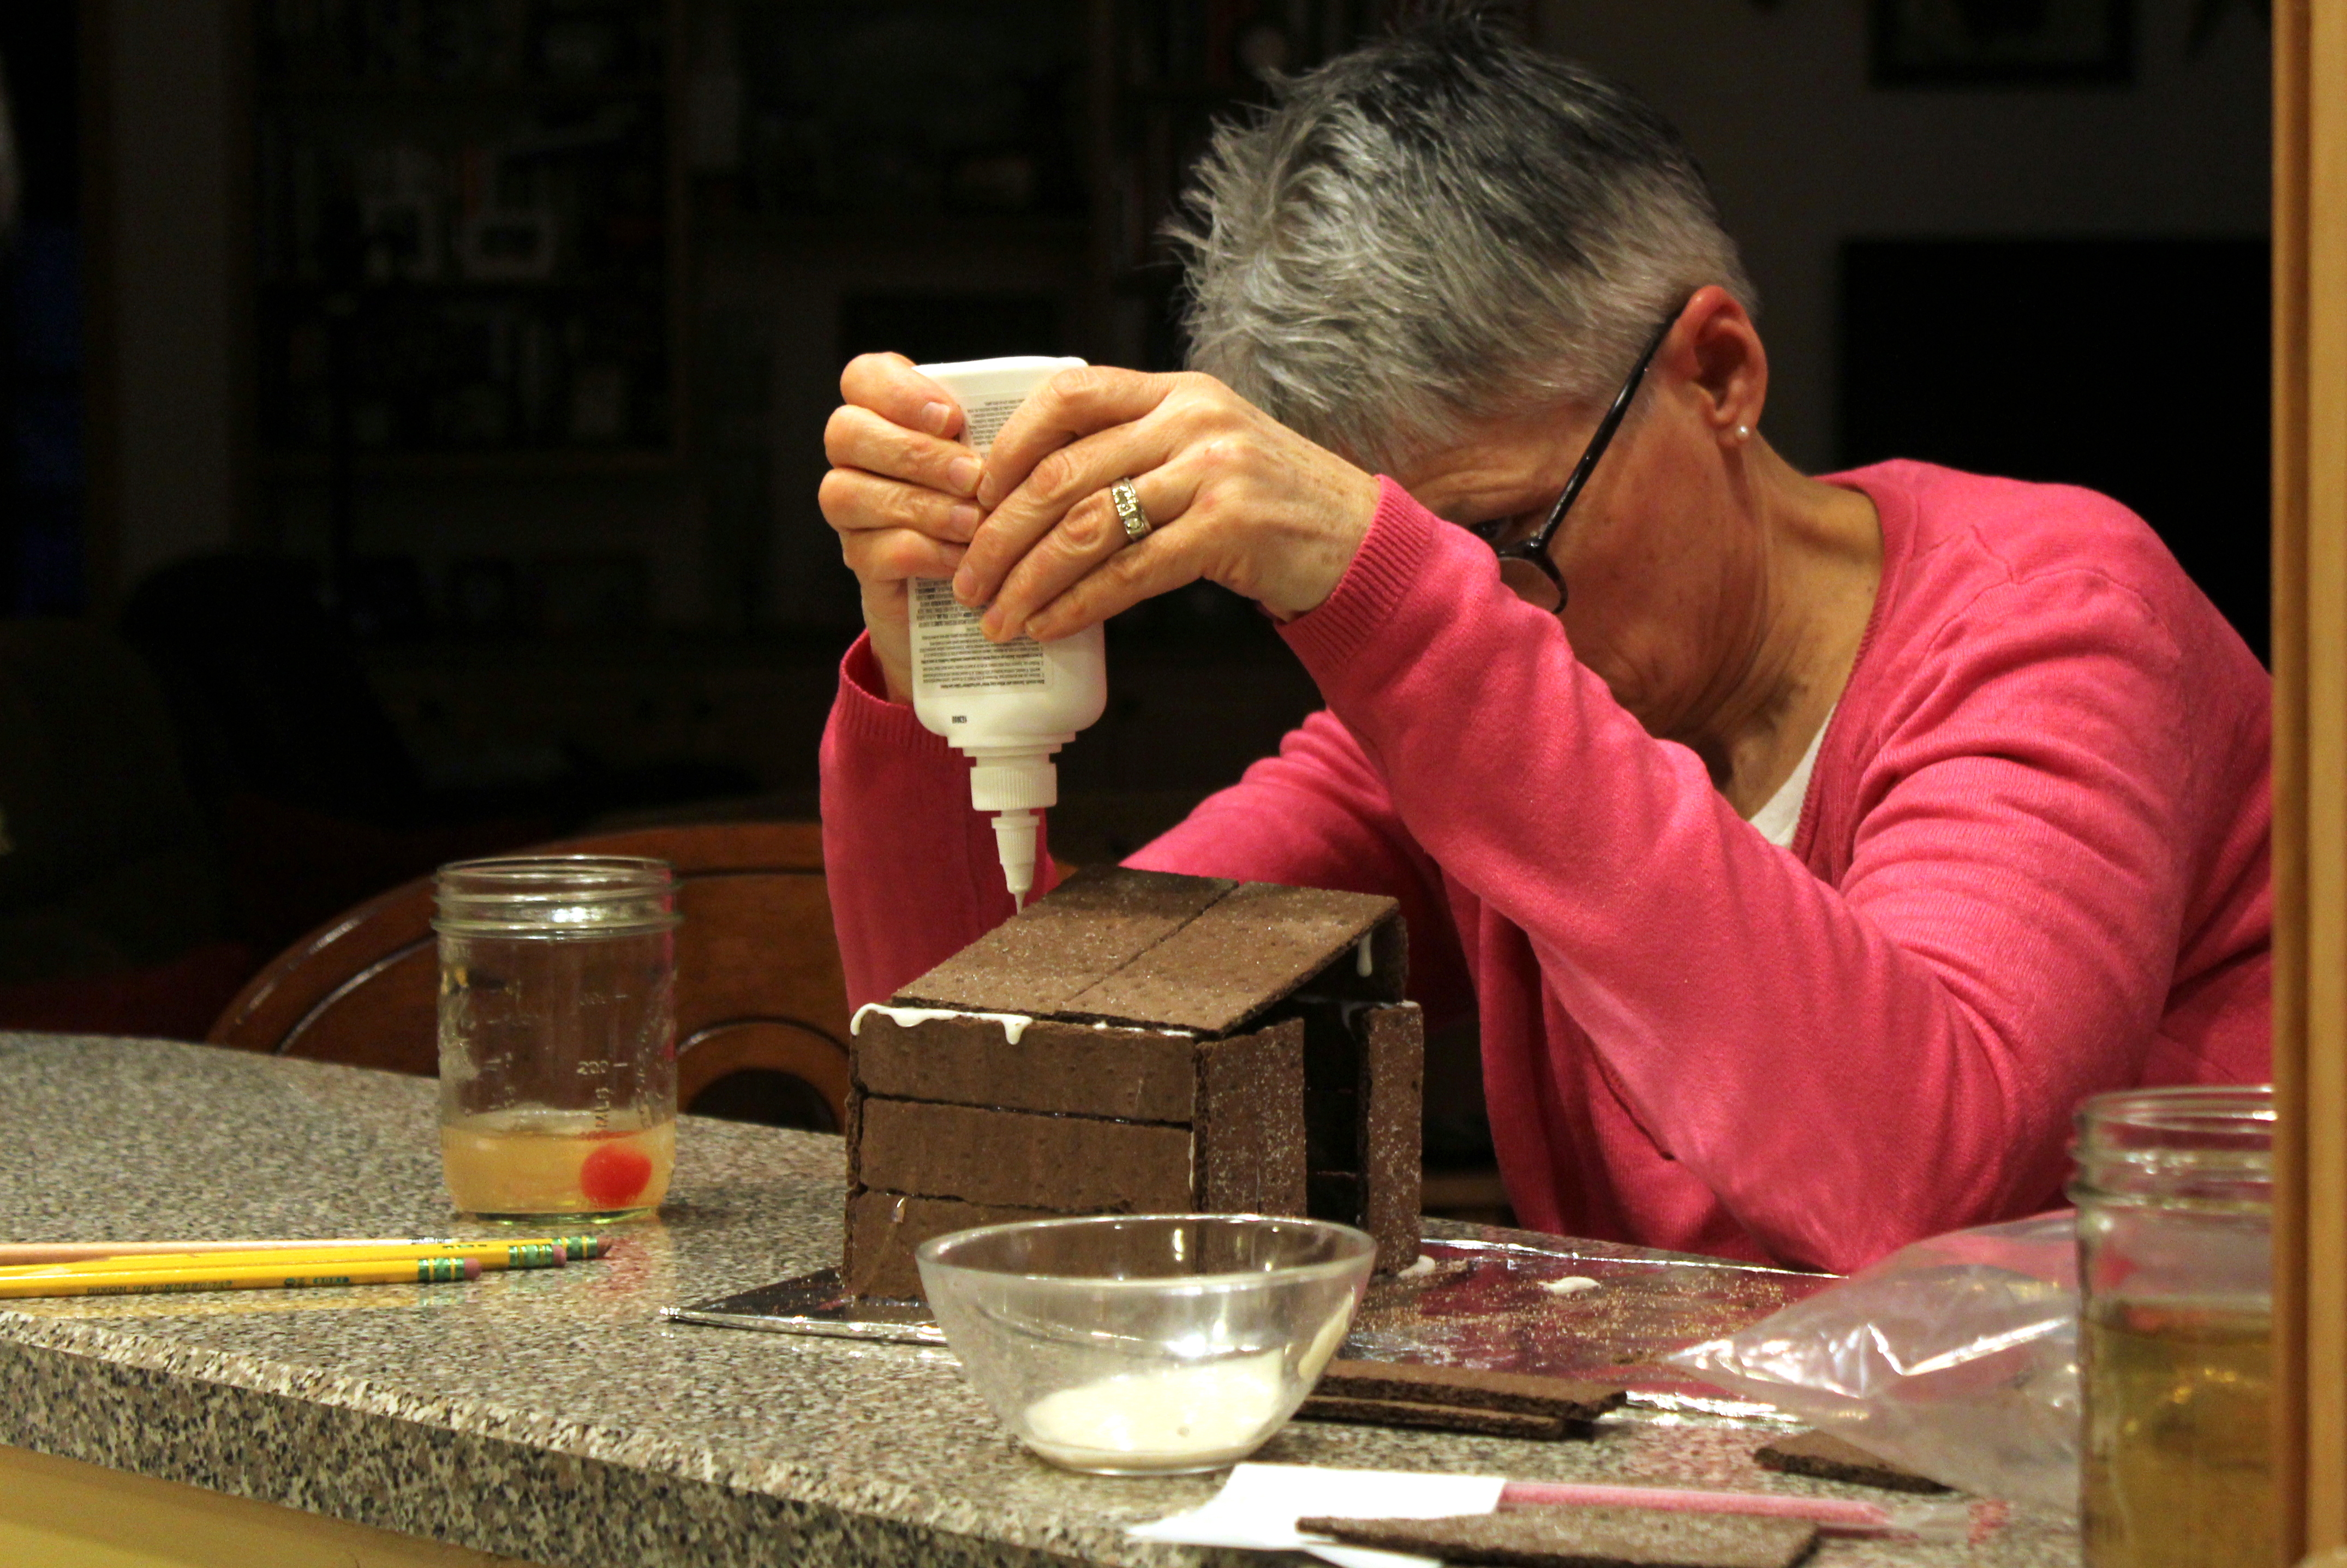
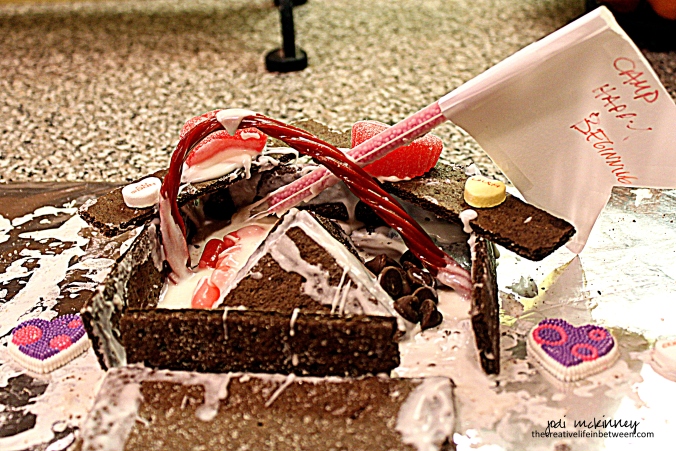
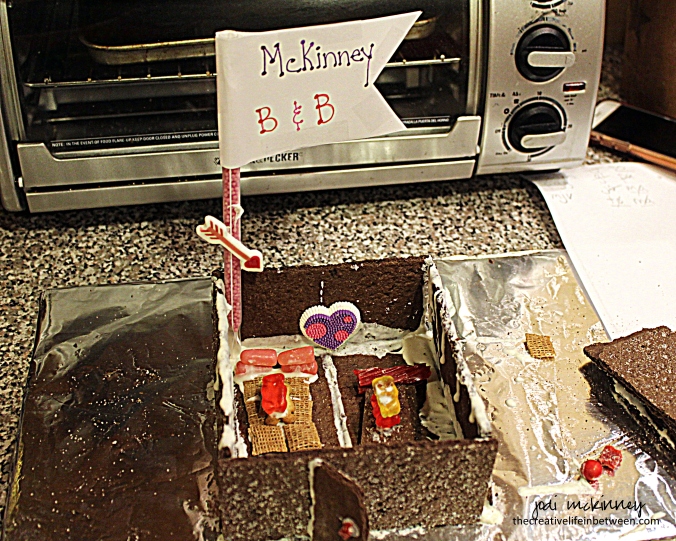
Jill and I sent the rest of the gang to the bar, while we laid out the all the materials for everyone to create their own “Love Shack” out of chocolate graham crackers and candy (a Valentine gingerbread house of sorts).  Everyone was given a flag to name their Love Shack and 20 pennies to distribute into shot glasses after everyone finished and presented their masterpieces to vote on the best.

valentines-couple-camp-love-shack-equipment-candy

We had some serious creativity going on.  Check it out!

valentines-couple-camp-love-shack-building-jill

valentines-couple-camp-love-shack-building

Hubby made his into “Camp Happy Beginning” reminiscent of the early days of love and not having much but feeling like everything is a rainbow …. or something like that… if you can imagine…

camp-happy-beginning-love-shack-valentines-day-couples-camp-marty

Mary made hers into “Mary’s Cozy Cottage” decorated with a comfy couch and chairs and a big colorful outdoor patio…

love-shack-mary-valentines-couple-camp

I was much busier laughing and taking pictures under the guise of “hosting” to focus too much on mine, but came up with this pretty lame “McKinney Love Shack.”

mckinney-love-shack-valentines-couple-camp

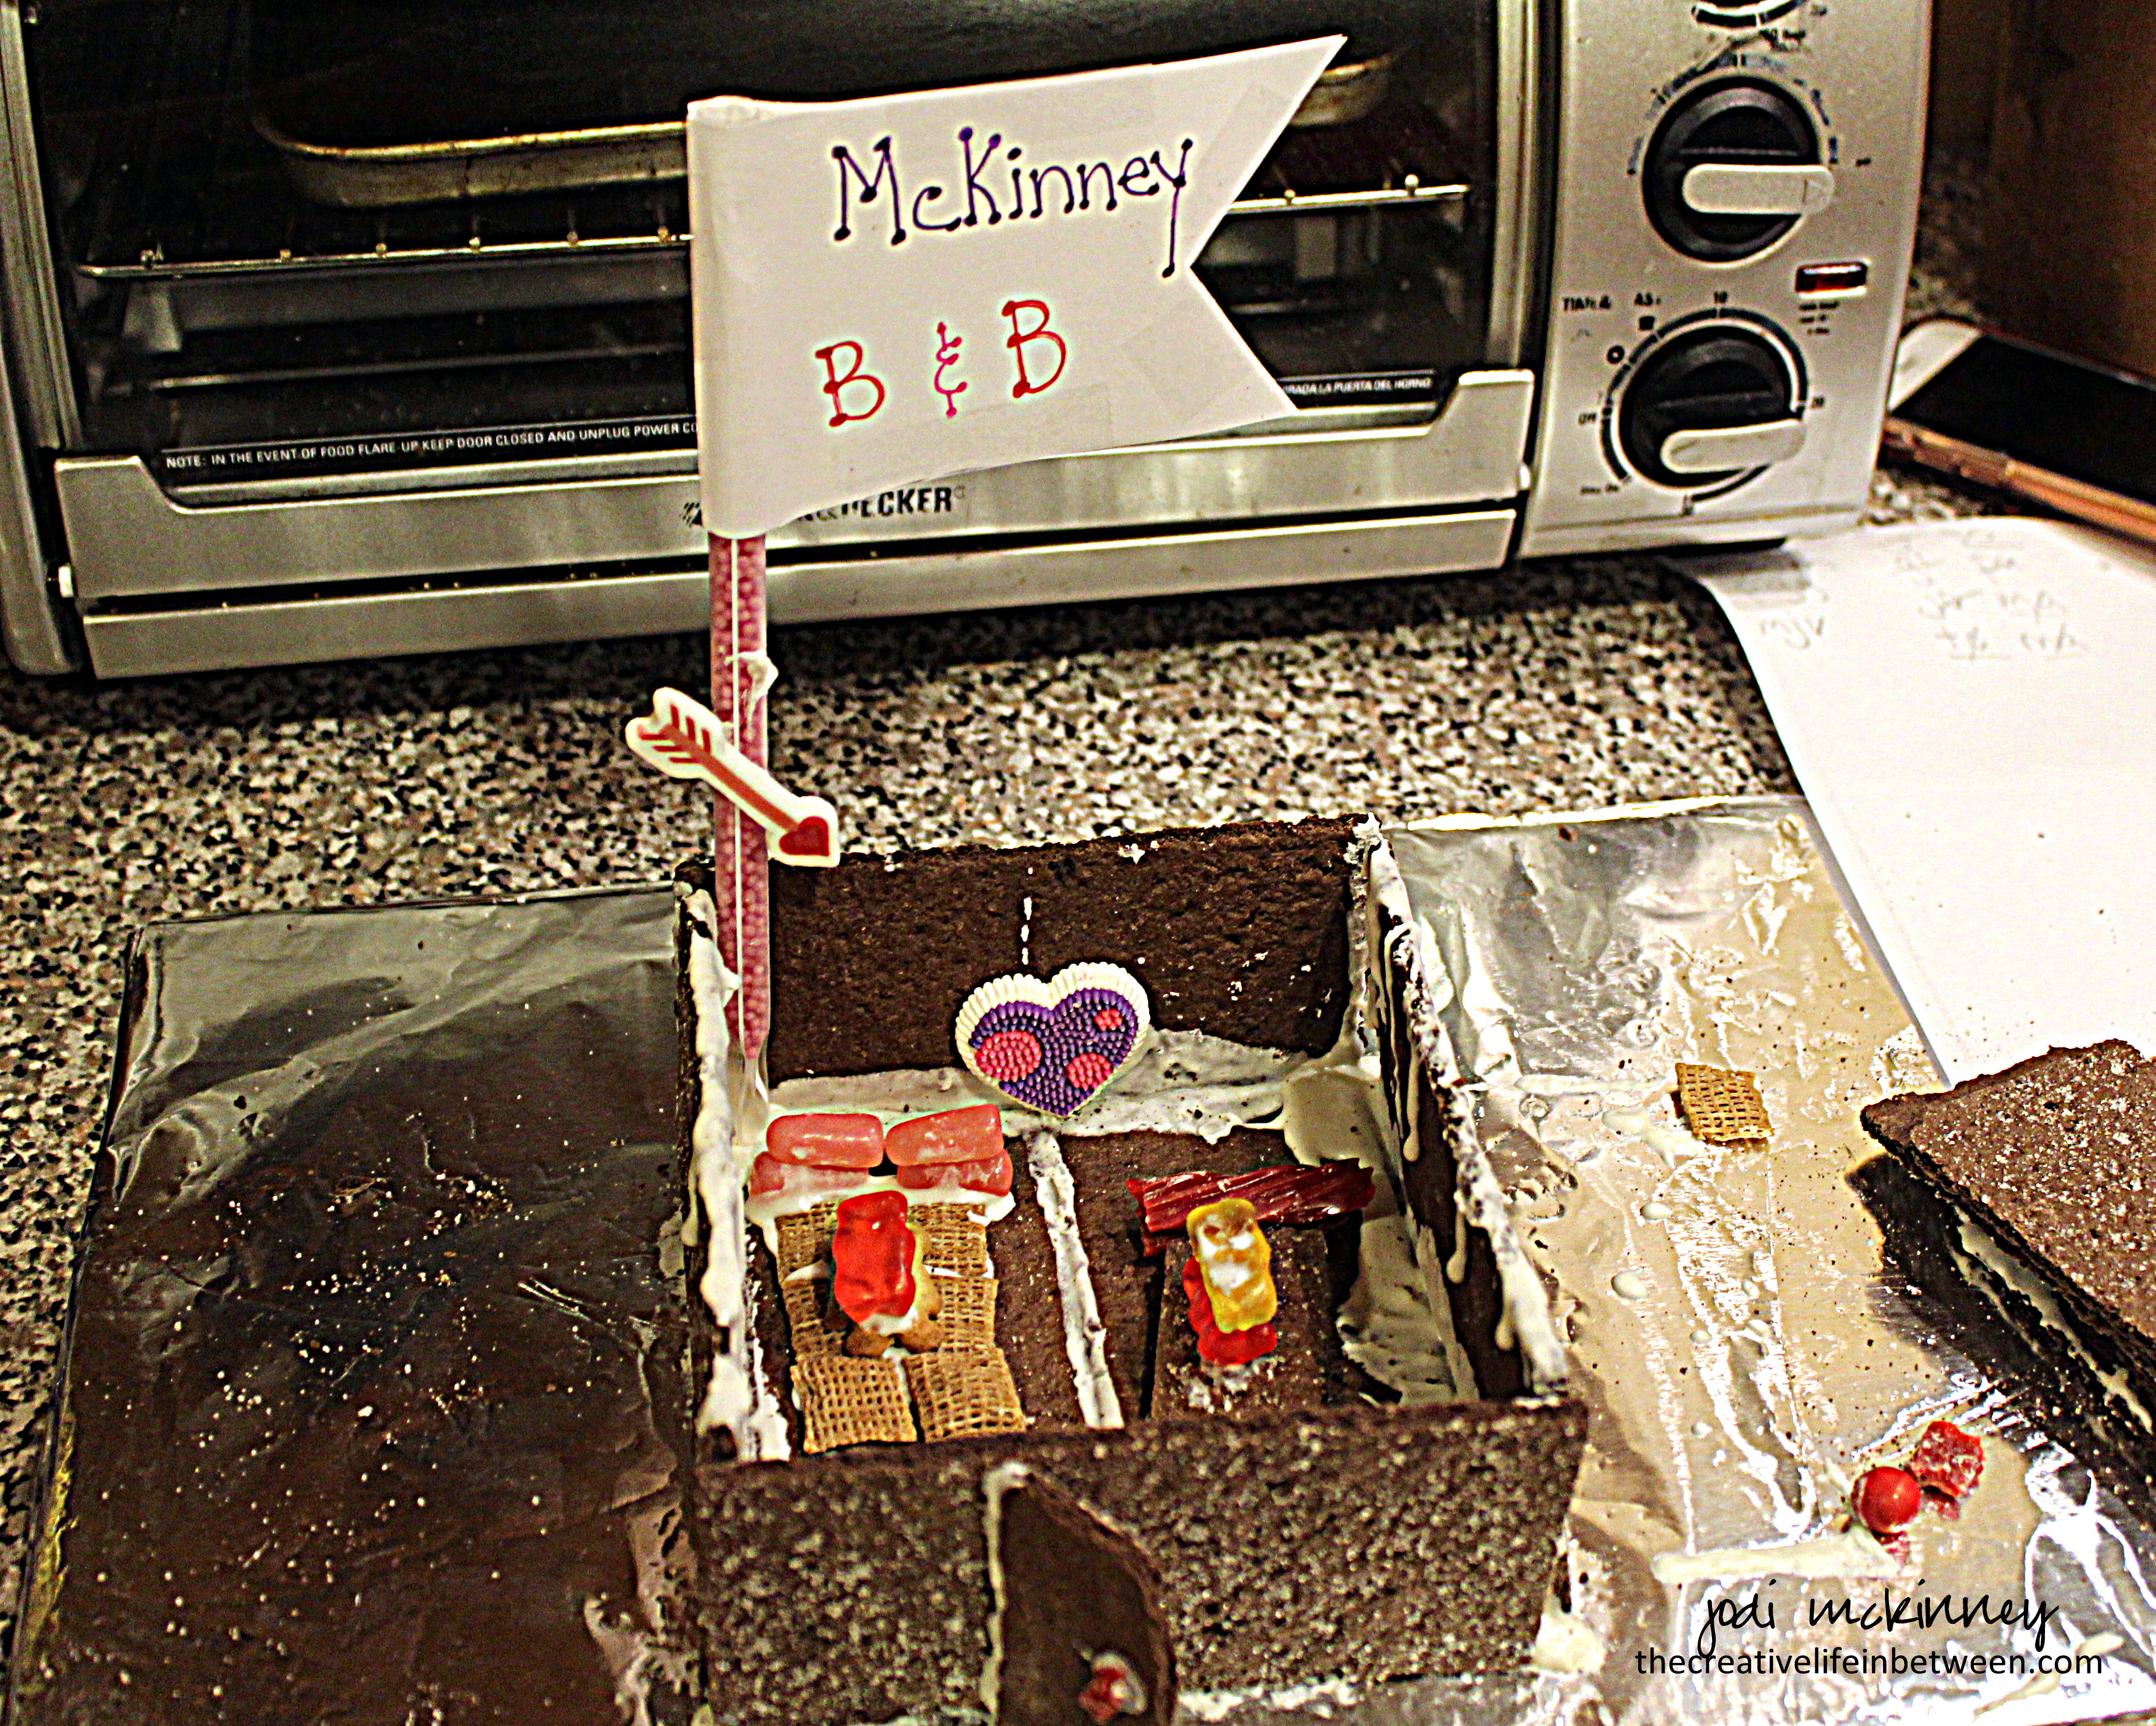
Bubby lovingly created the “McKinney B&B.”

mckinneys-b-and-b-love-shack-valentines-couple-camp

and her Glenn created “Glen’s Gang Bang Getaway.”  No explanation here.  You can use your own imagination.

glenns-getaway-love-shack-valentines-couple-camp

Jim cracked us up with his creation. Simple, but with a funny and politically-inspired statement.  His “American” themed love shack had three characters involved…  “I’m a Russian” on his way to the love shack, “Himalyan” in the love shack, and “He’s a Finnish” leaving the love shack…

jims-american-love-shack-valentines-couple-camp

Jill’s was a fabulous “Jill’s Sweet Shack” with a candy paved lane.

jills-sweet-shack-love-shack-valentines-couple-camp

But Todd stole the show with his outhouse-themed love shack complete with cut out crescent moon doors.

outhouse-love-shack-valentines-couple-camp

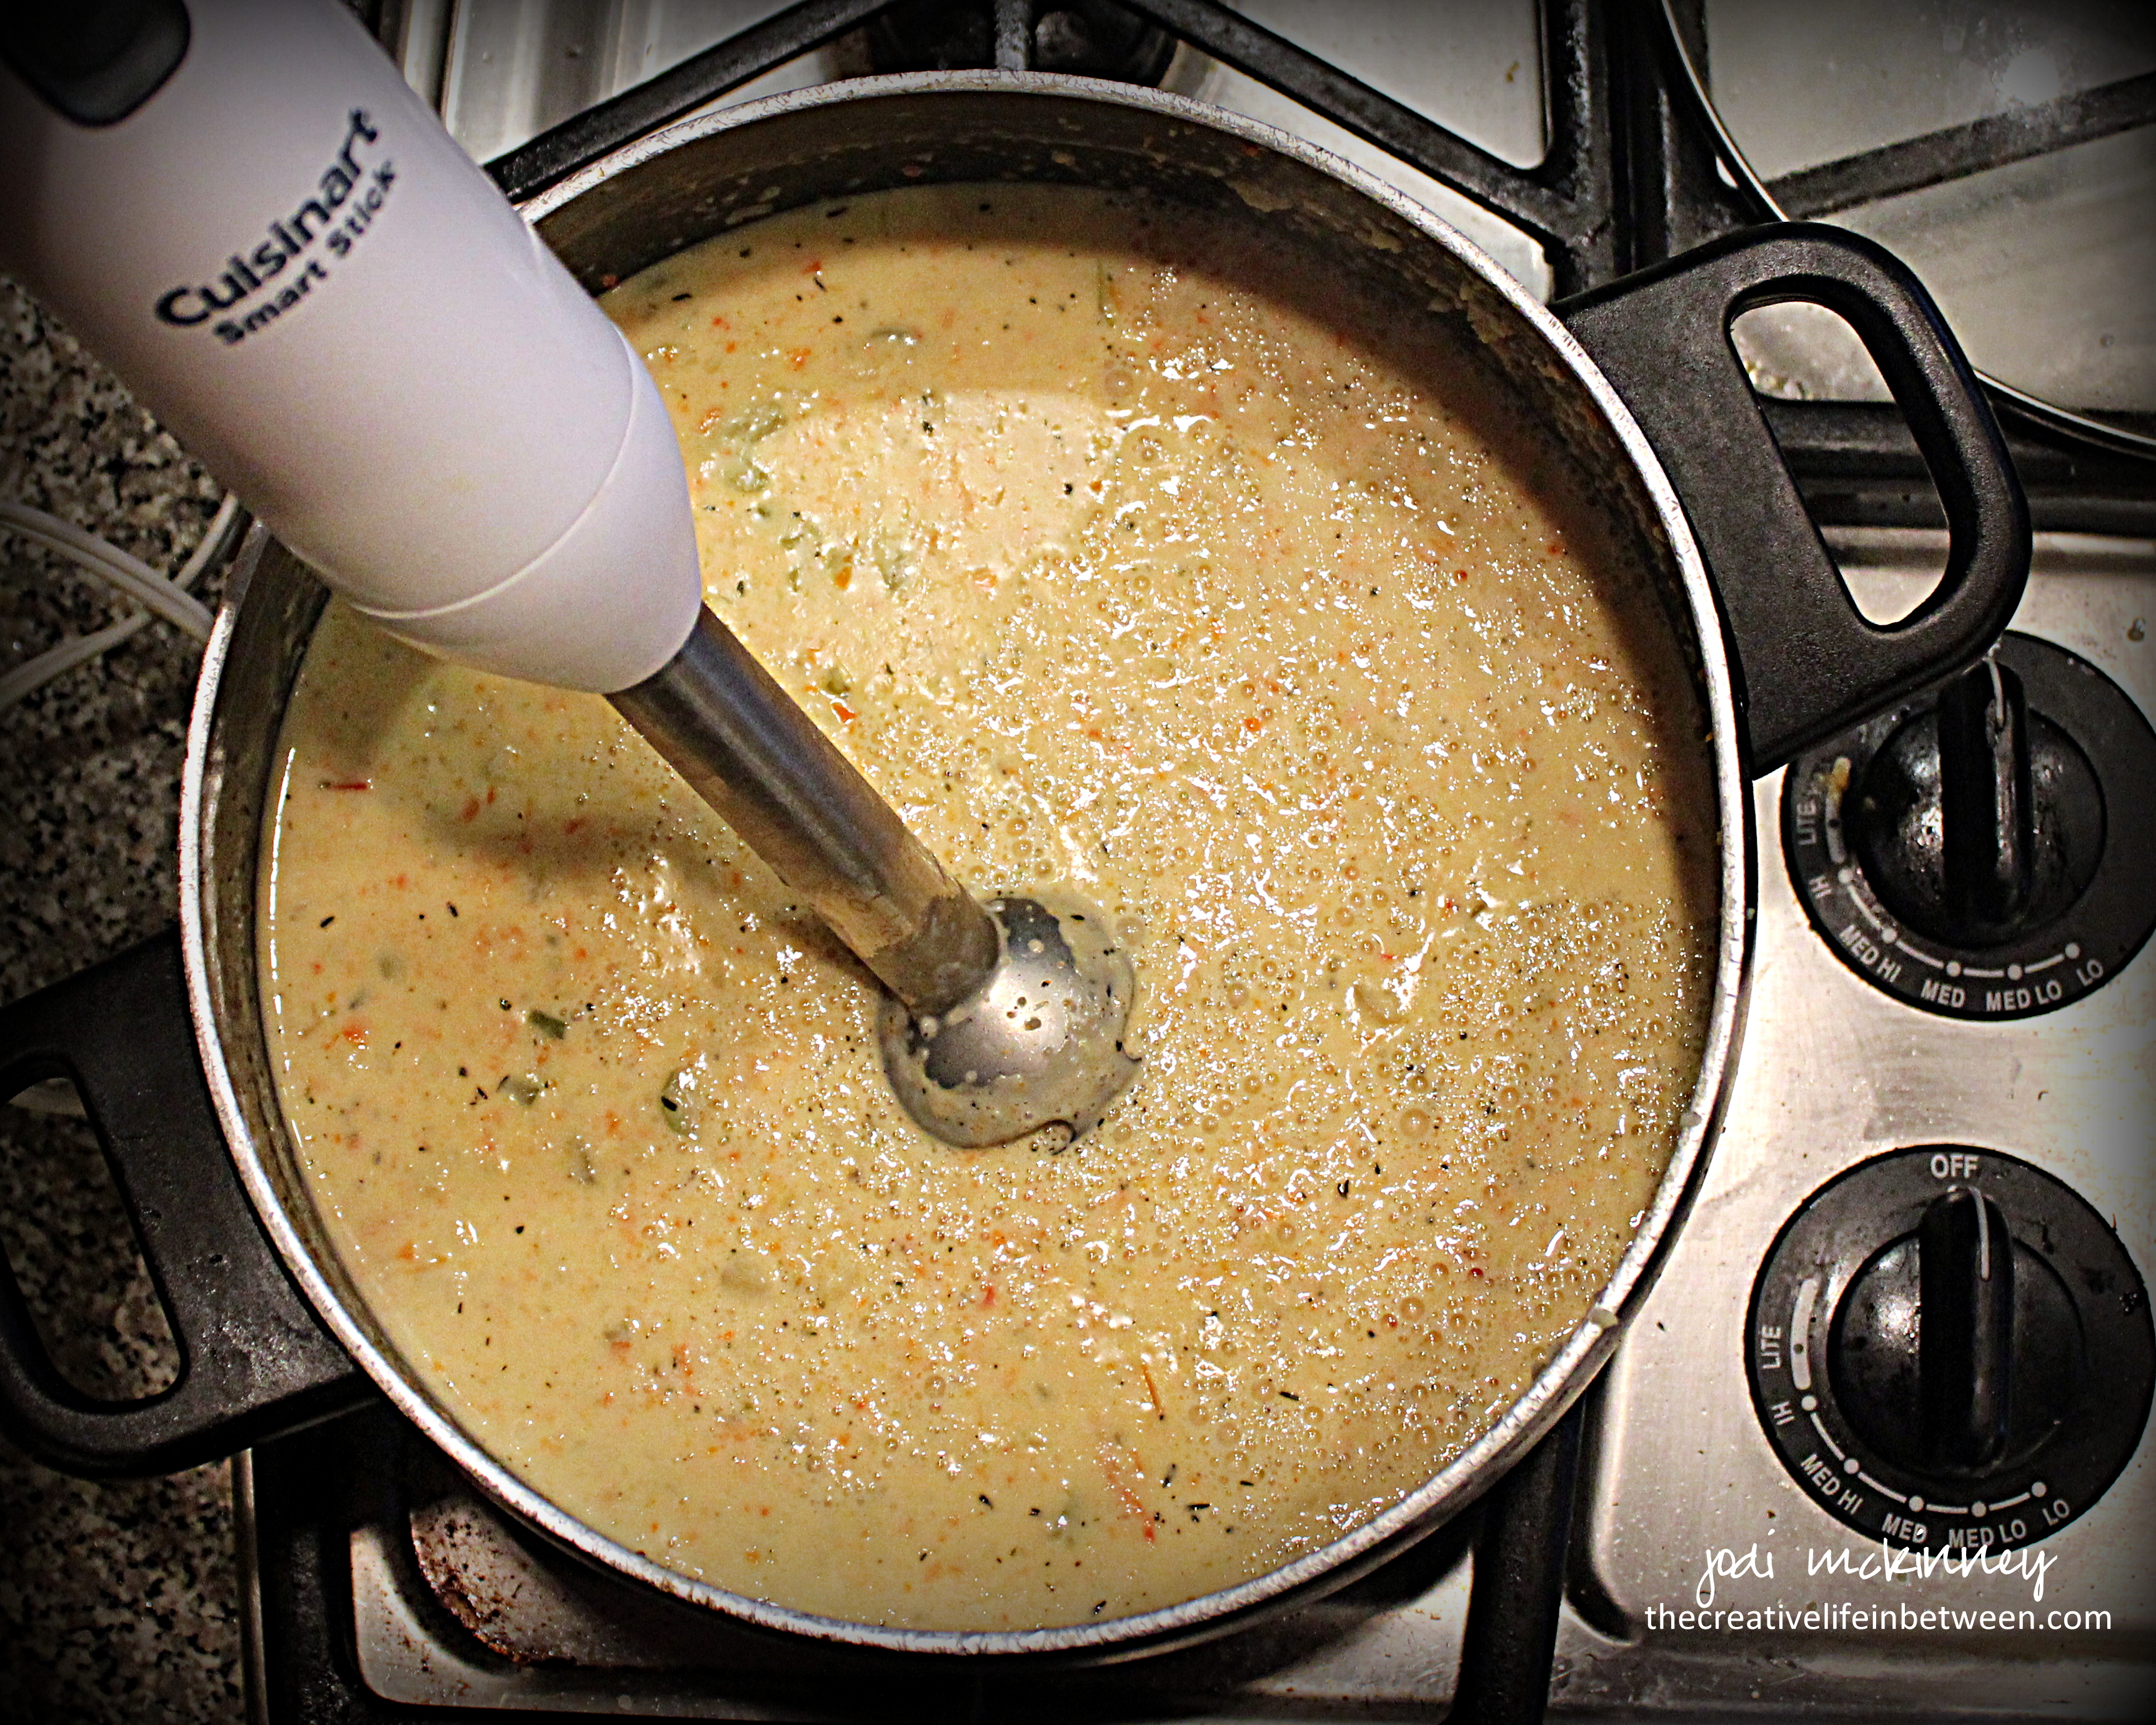
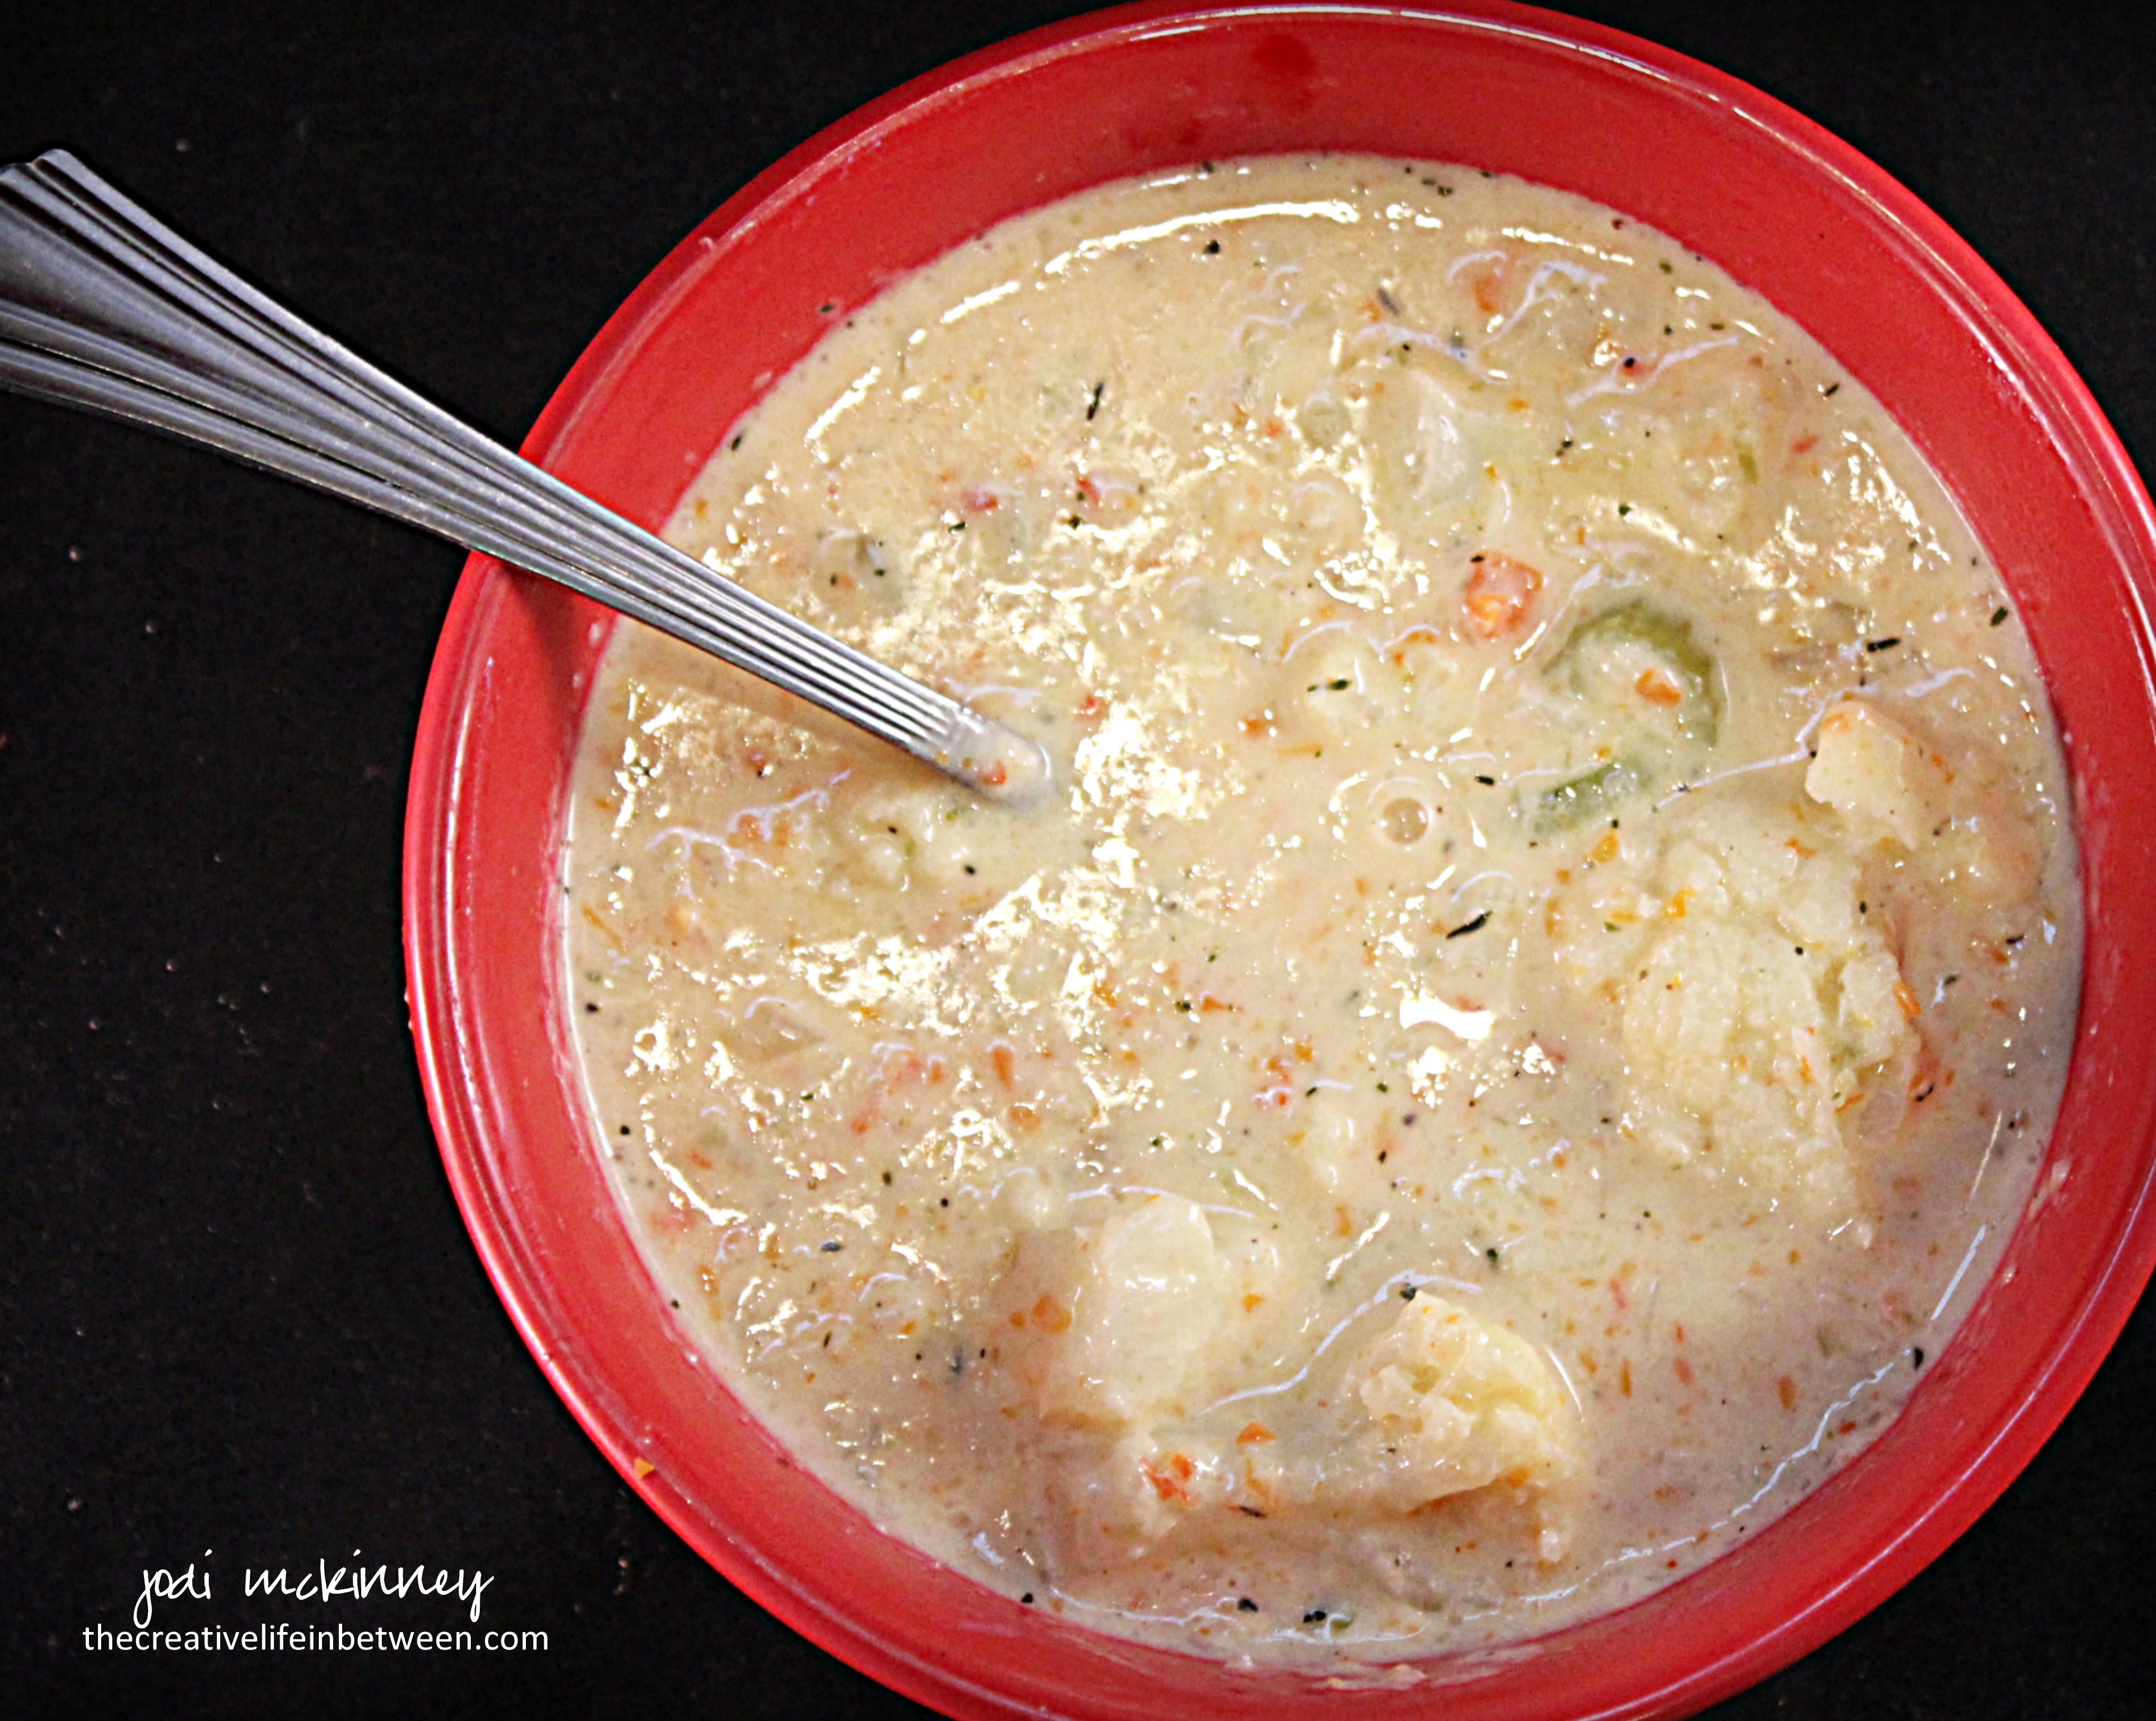
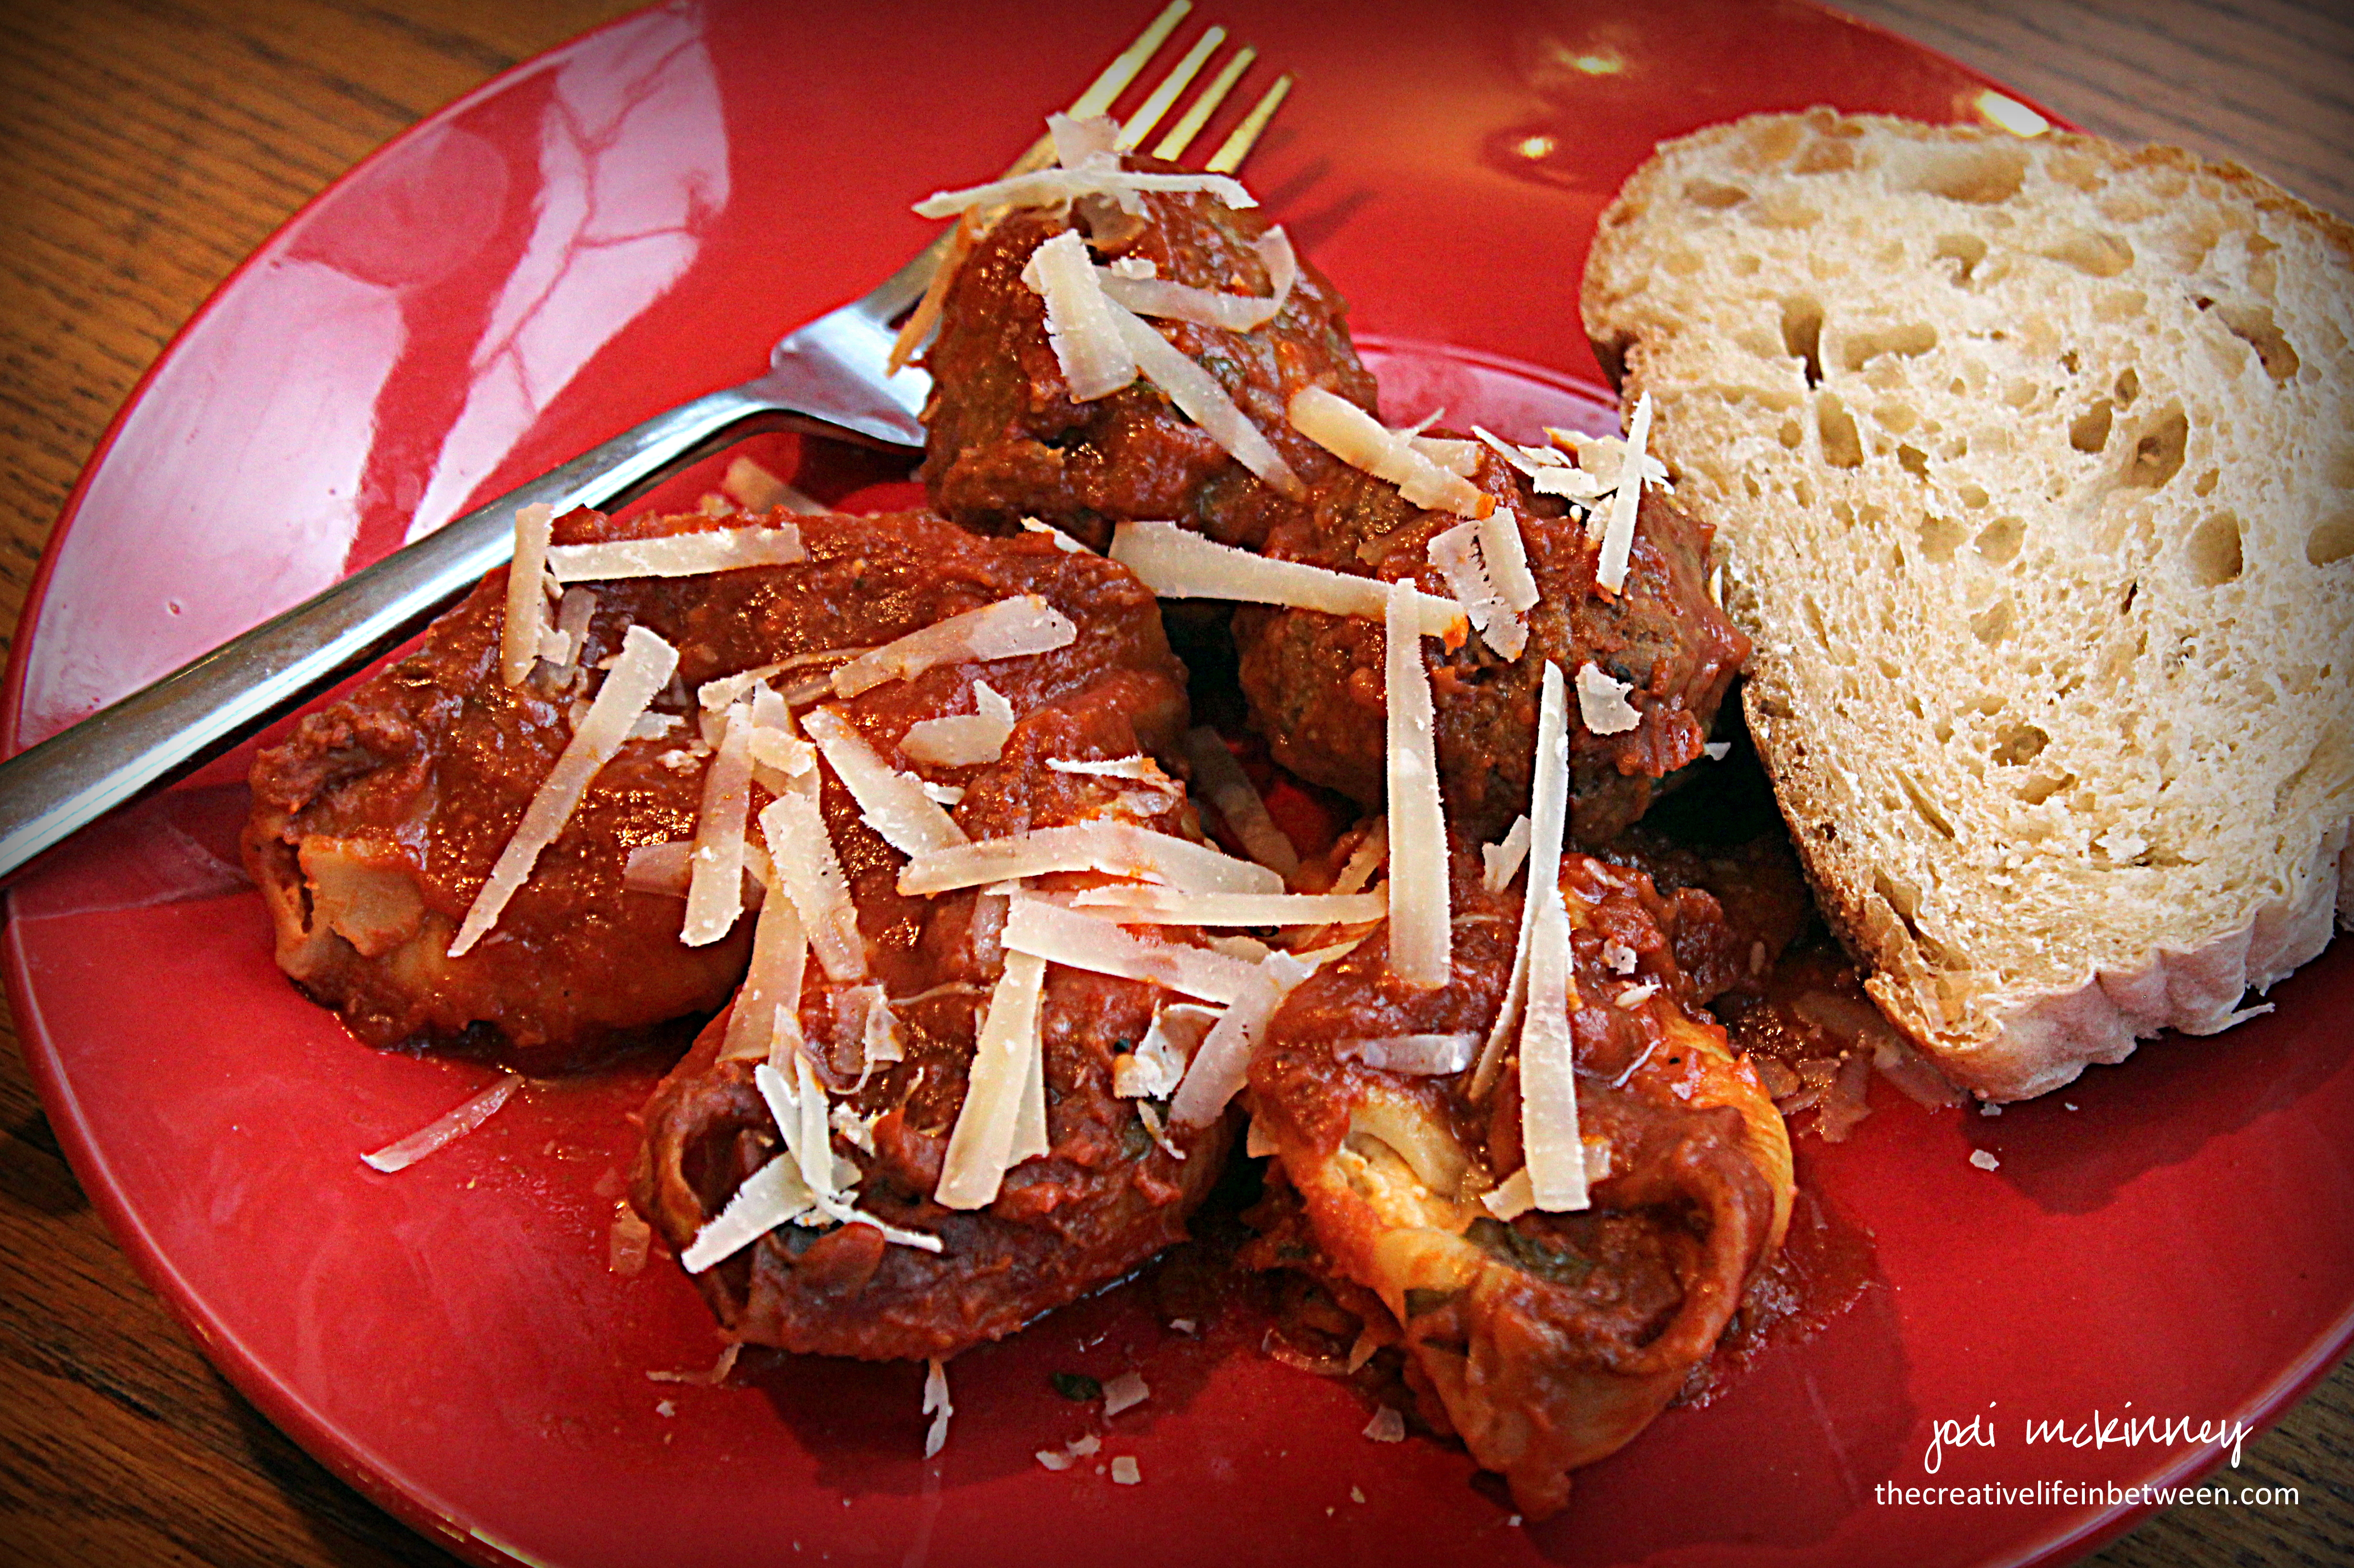
We assigned Mary the entree knowing she would make all of our tummies happy, and she did not disappoint!  In fact, we were so into her amazing stuffed shells, meatballs and spare ribs in homemade Italian sauce, I forgot to photograph it!  Thankfully, she left a few for us to enjoy for dinner the next day, so I took a quick photo of our leftovers.  Which, by the way, tasted just as magnificent!  Thanks Mar!

valentine-couples-camp-dinnerstuffed-shells-and-meatballs

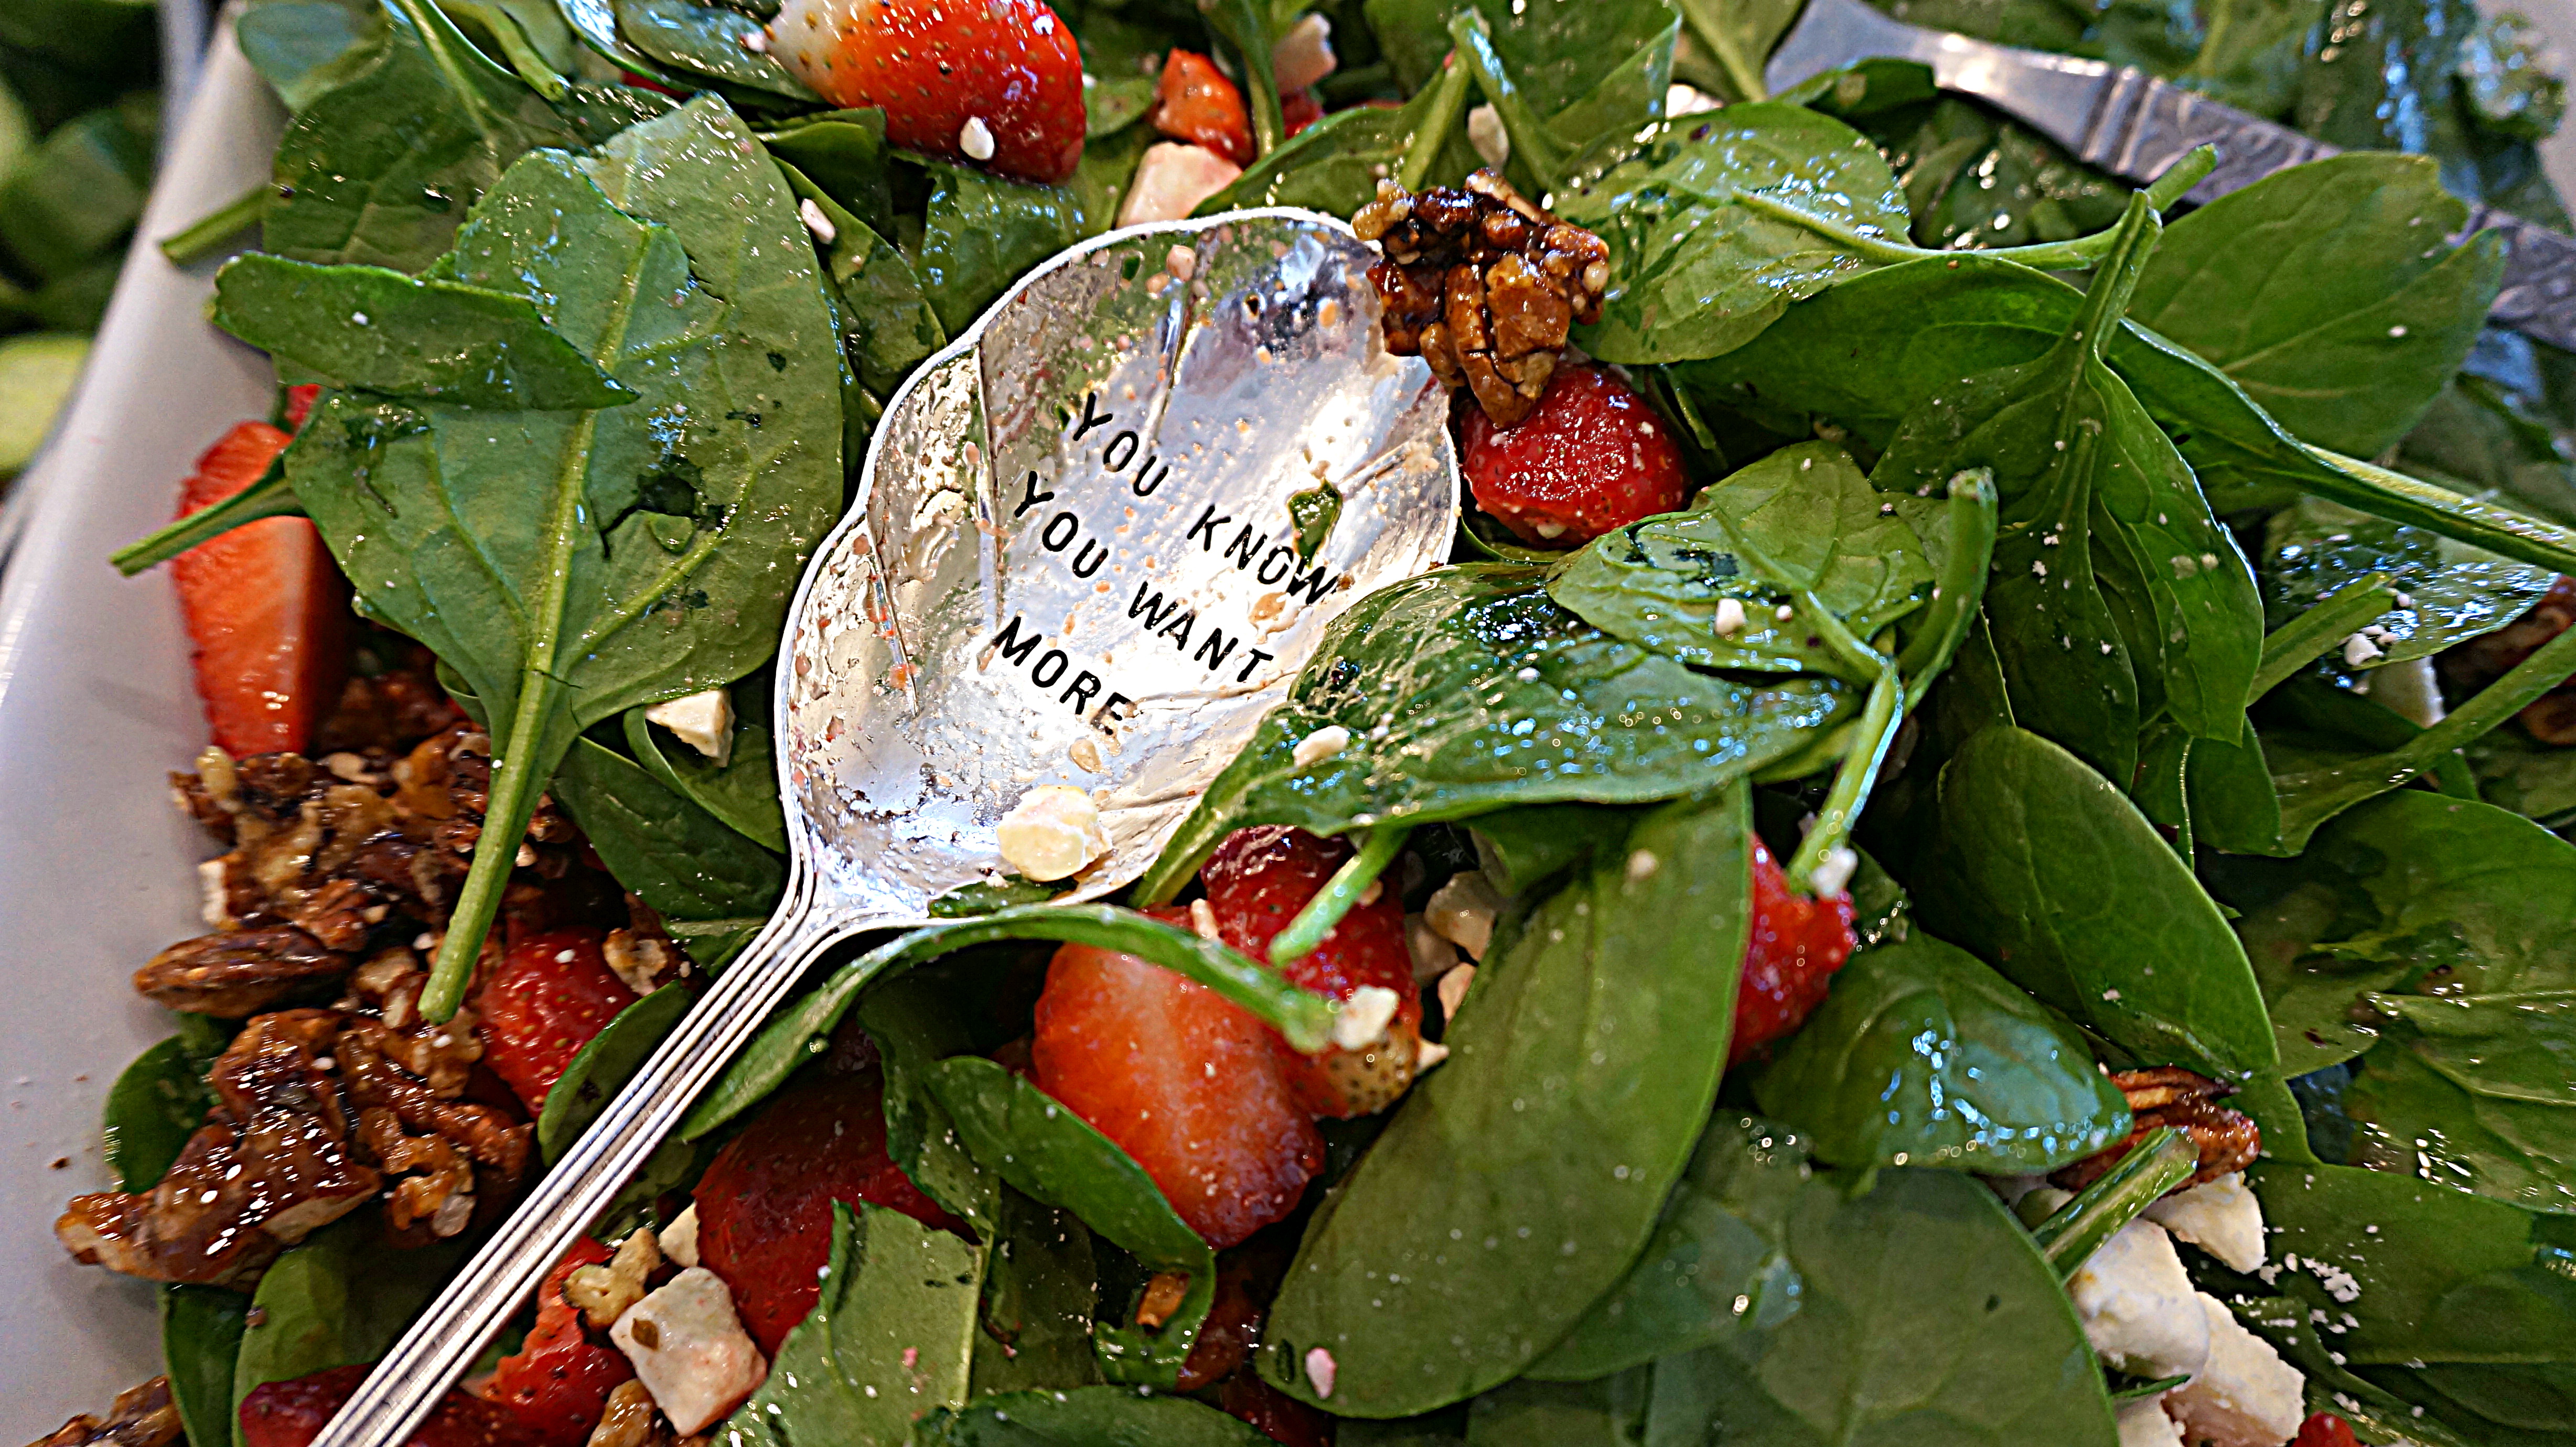
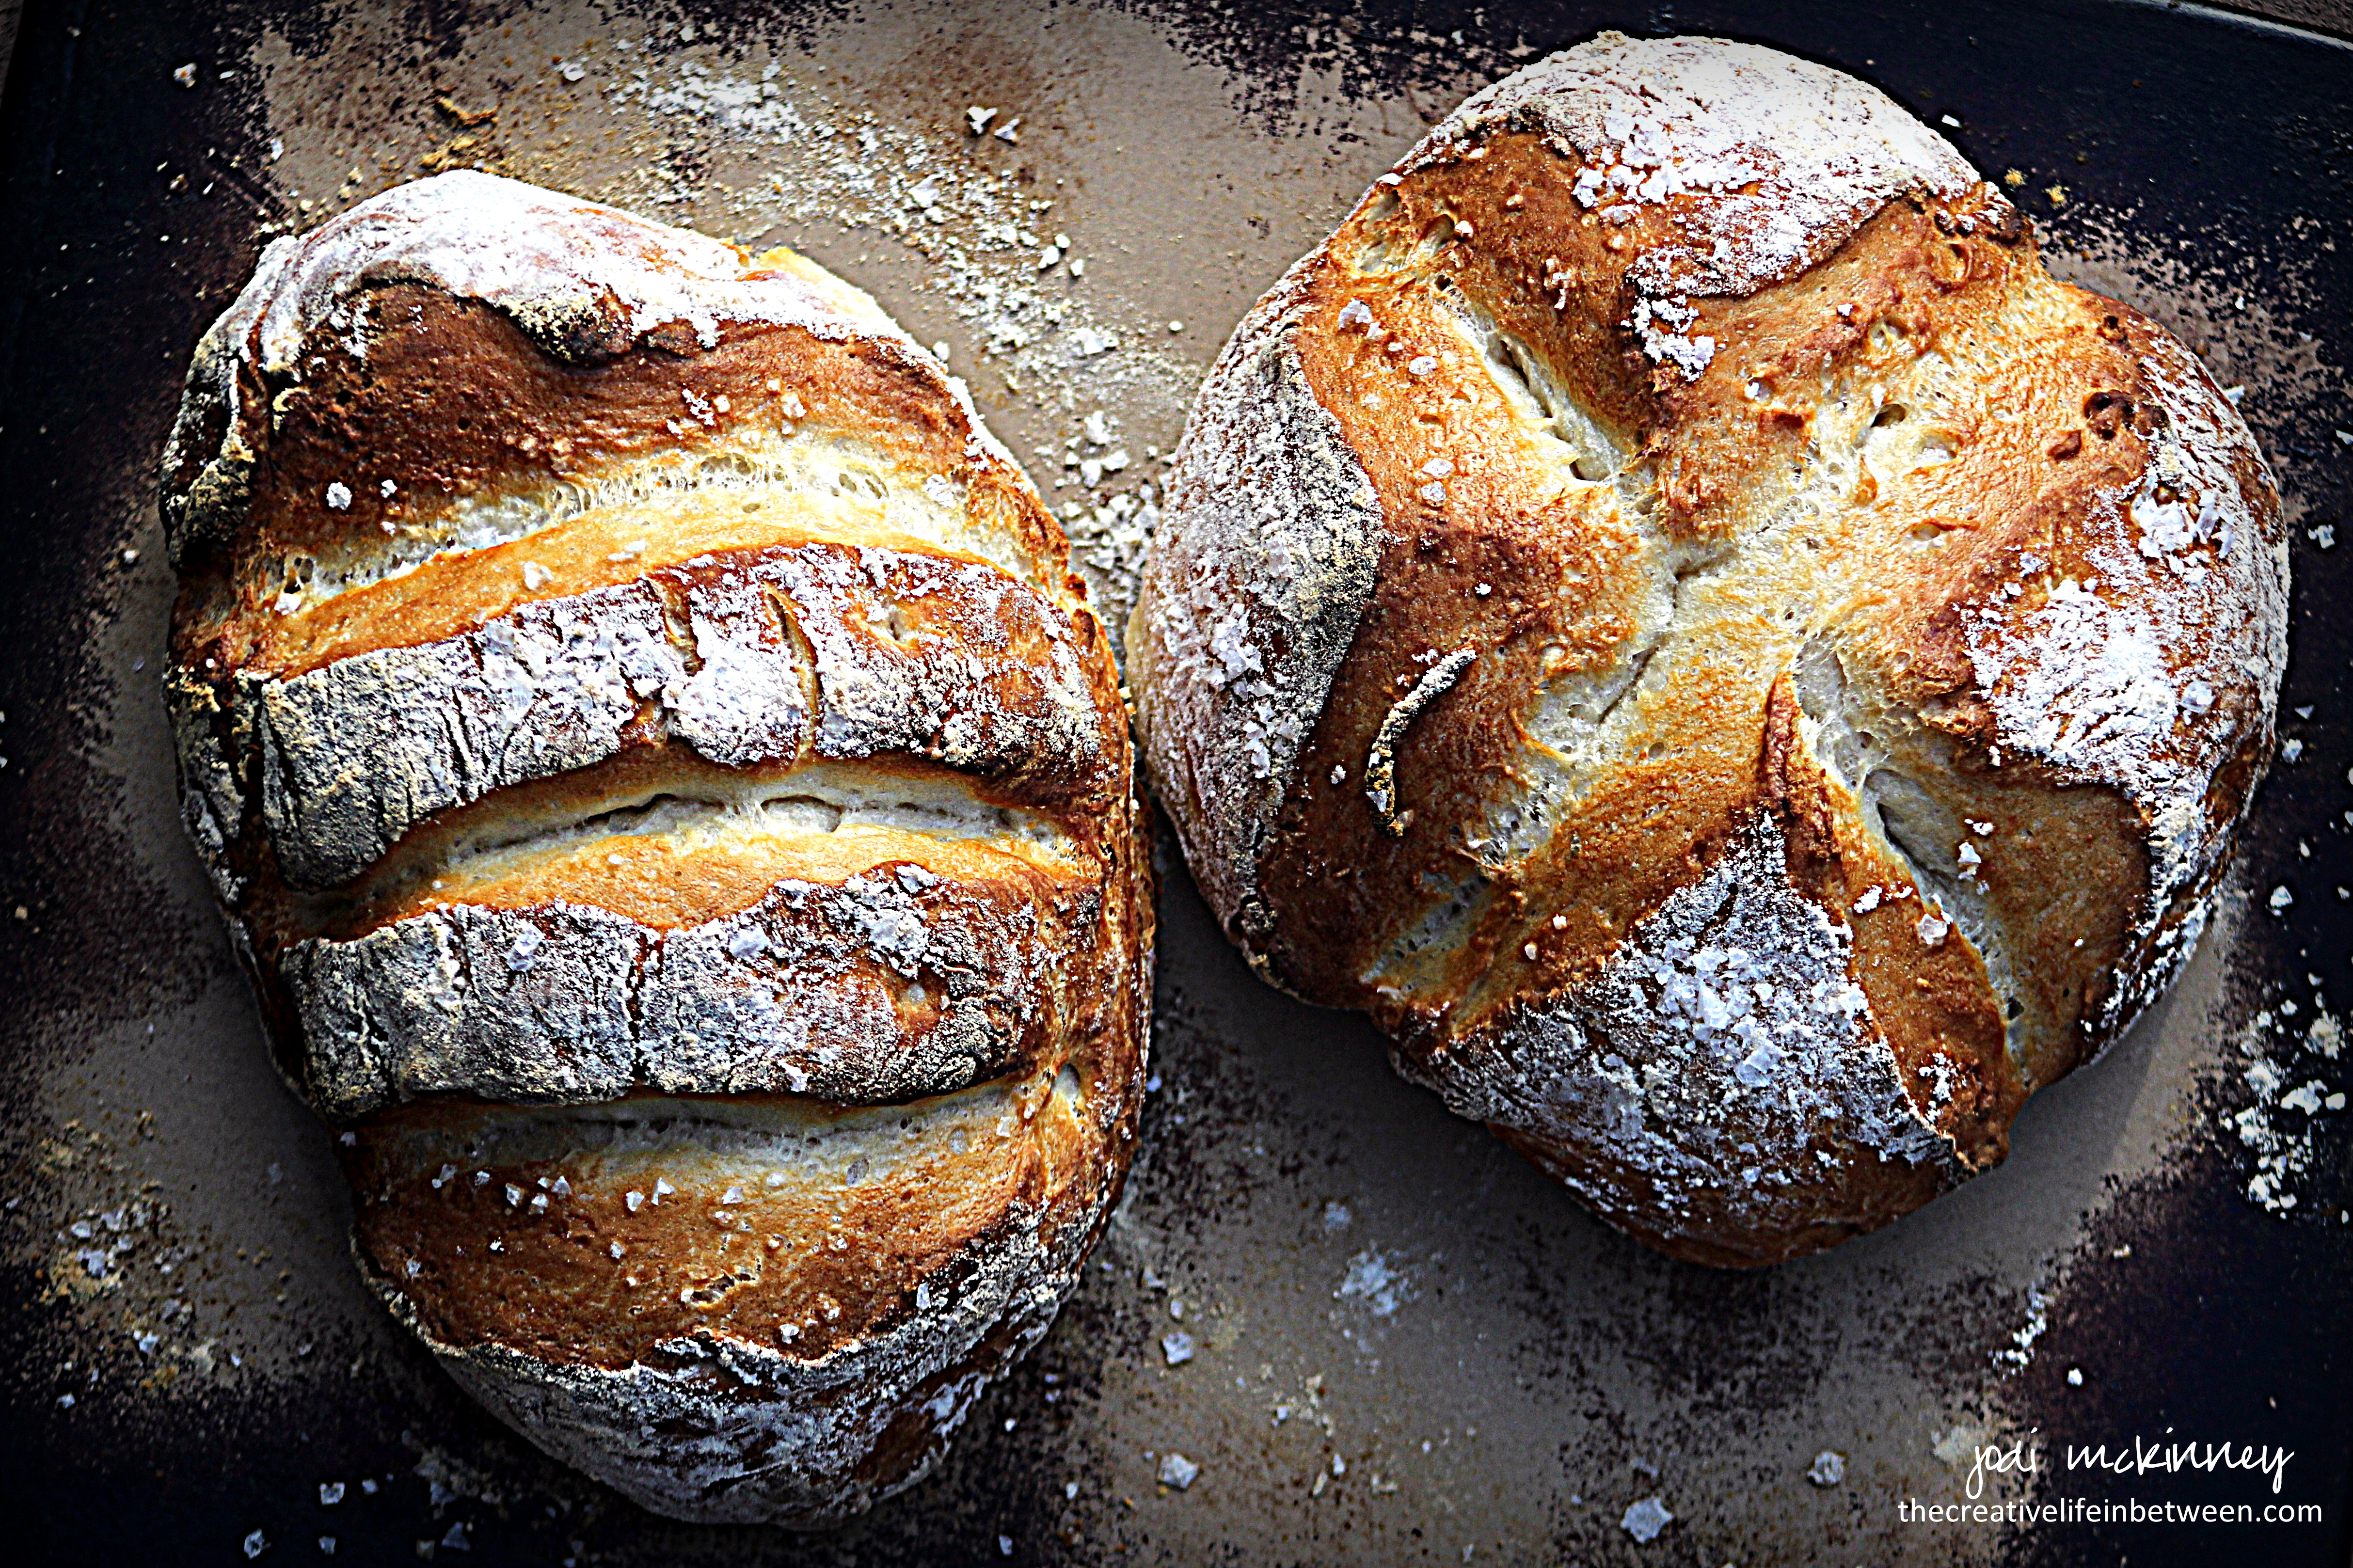
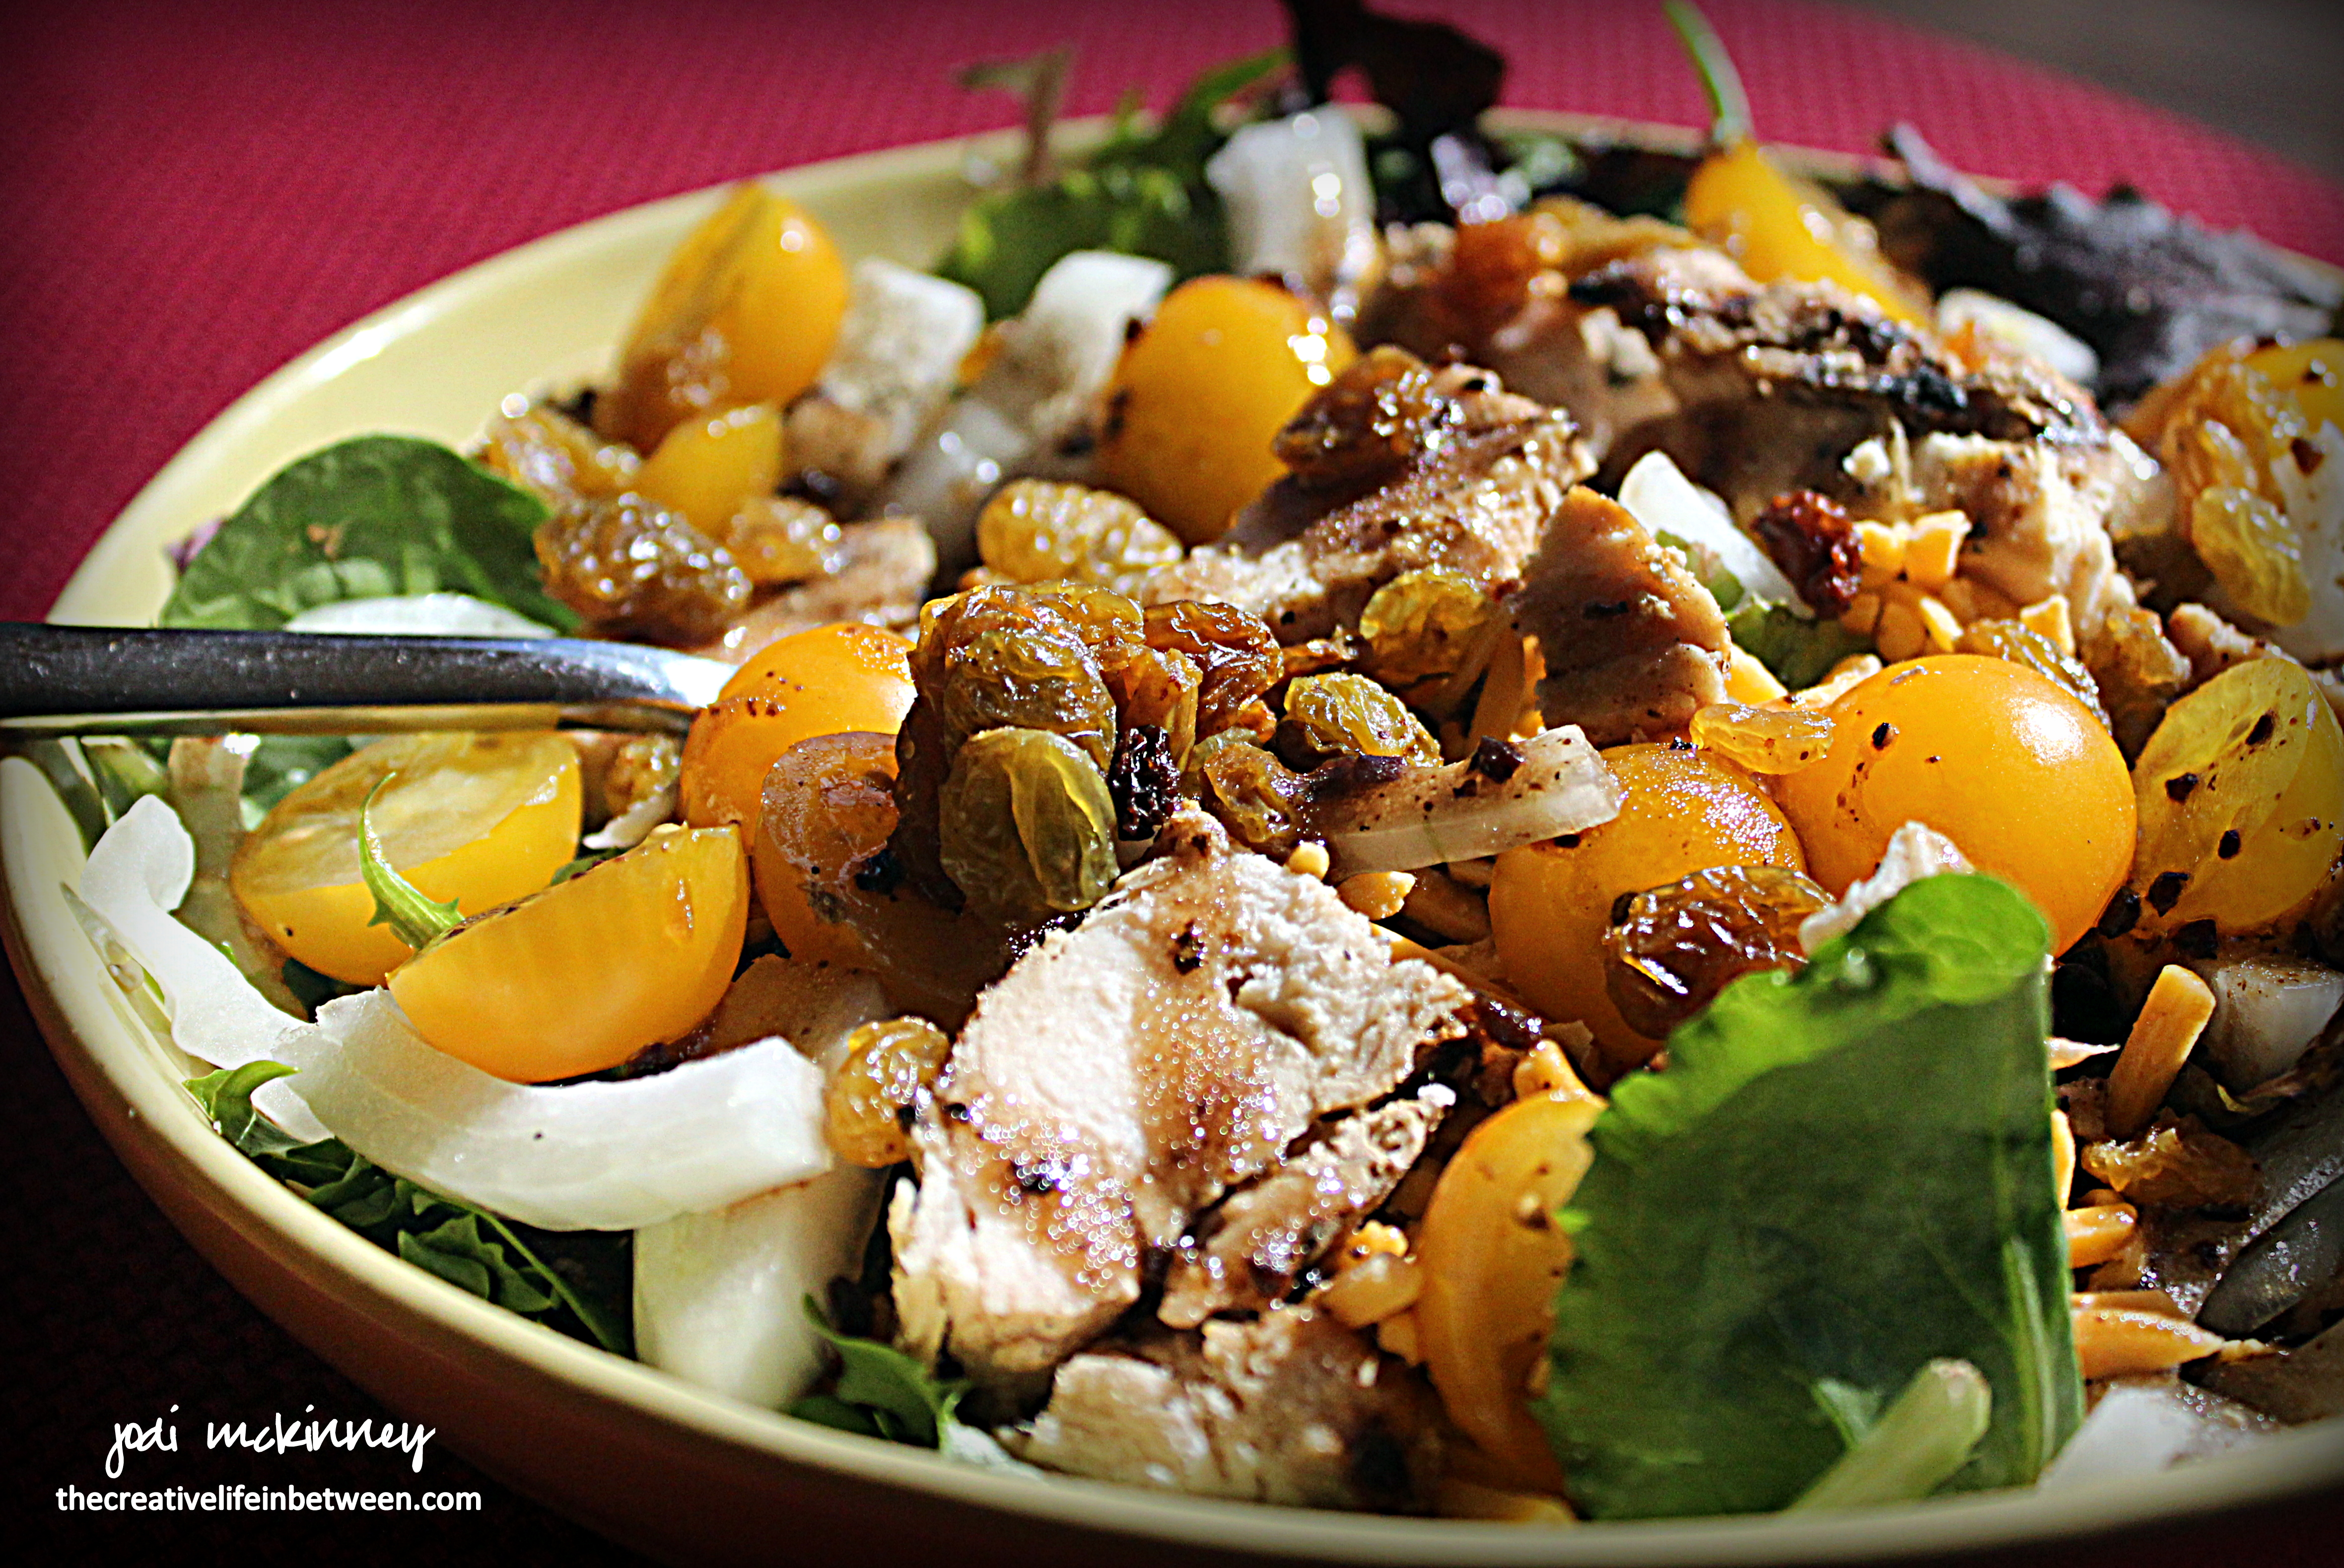
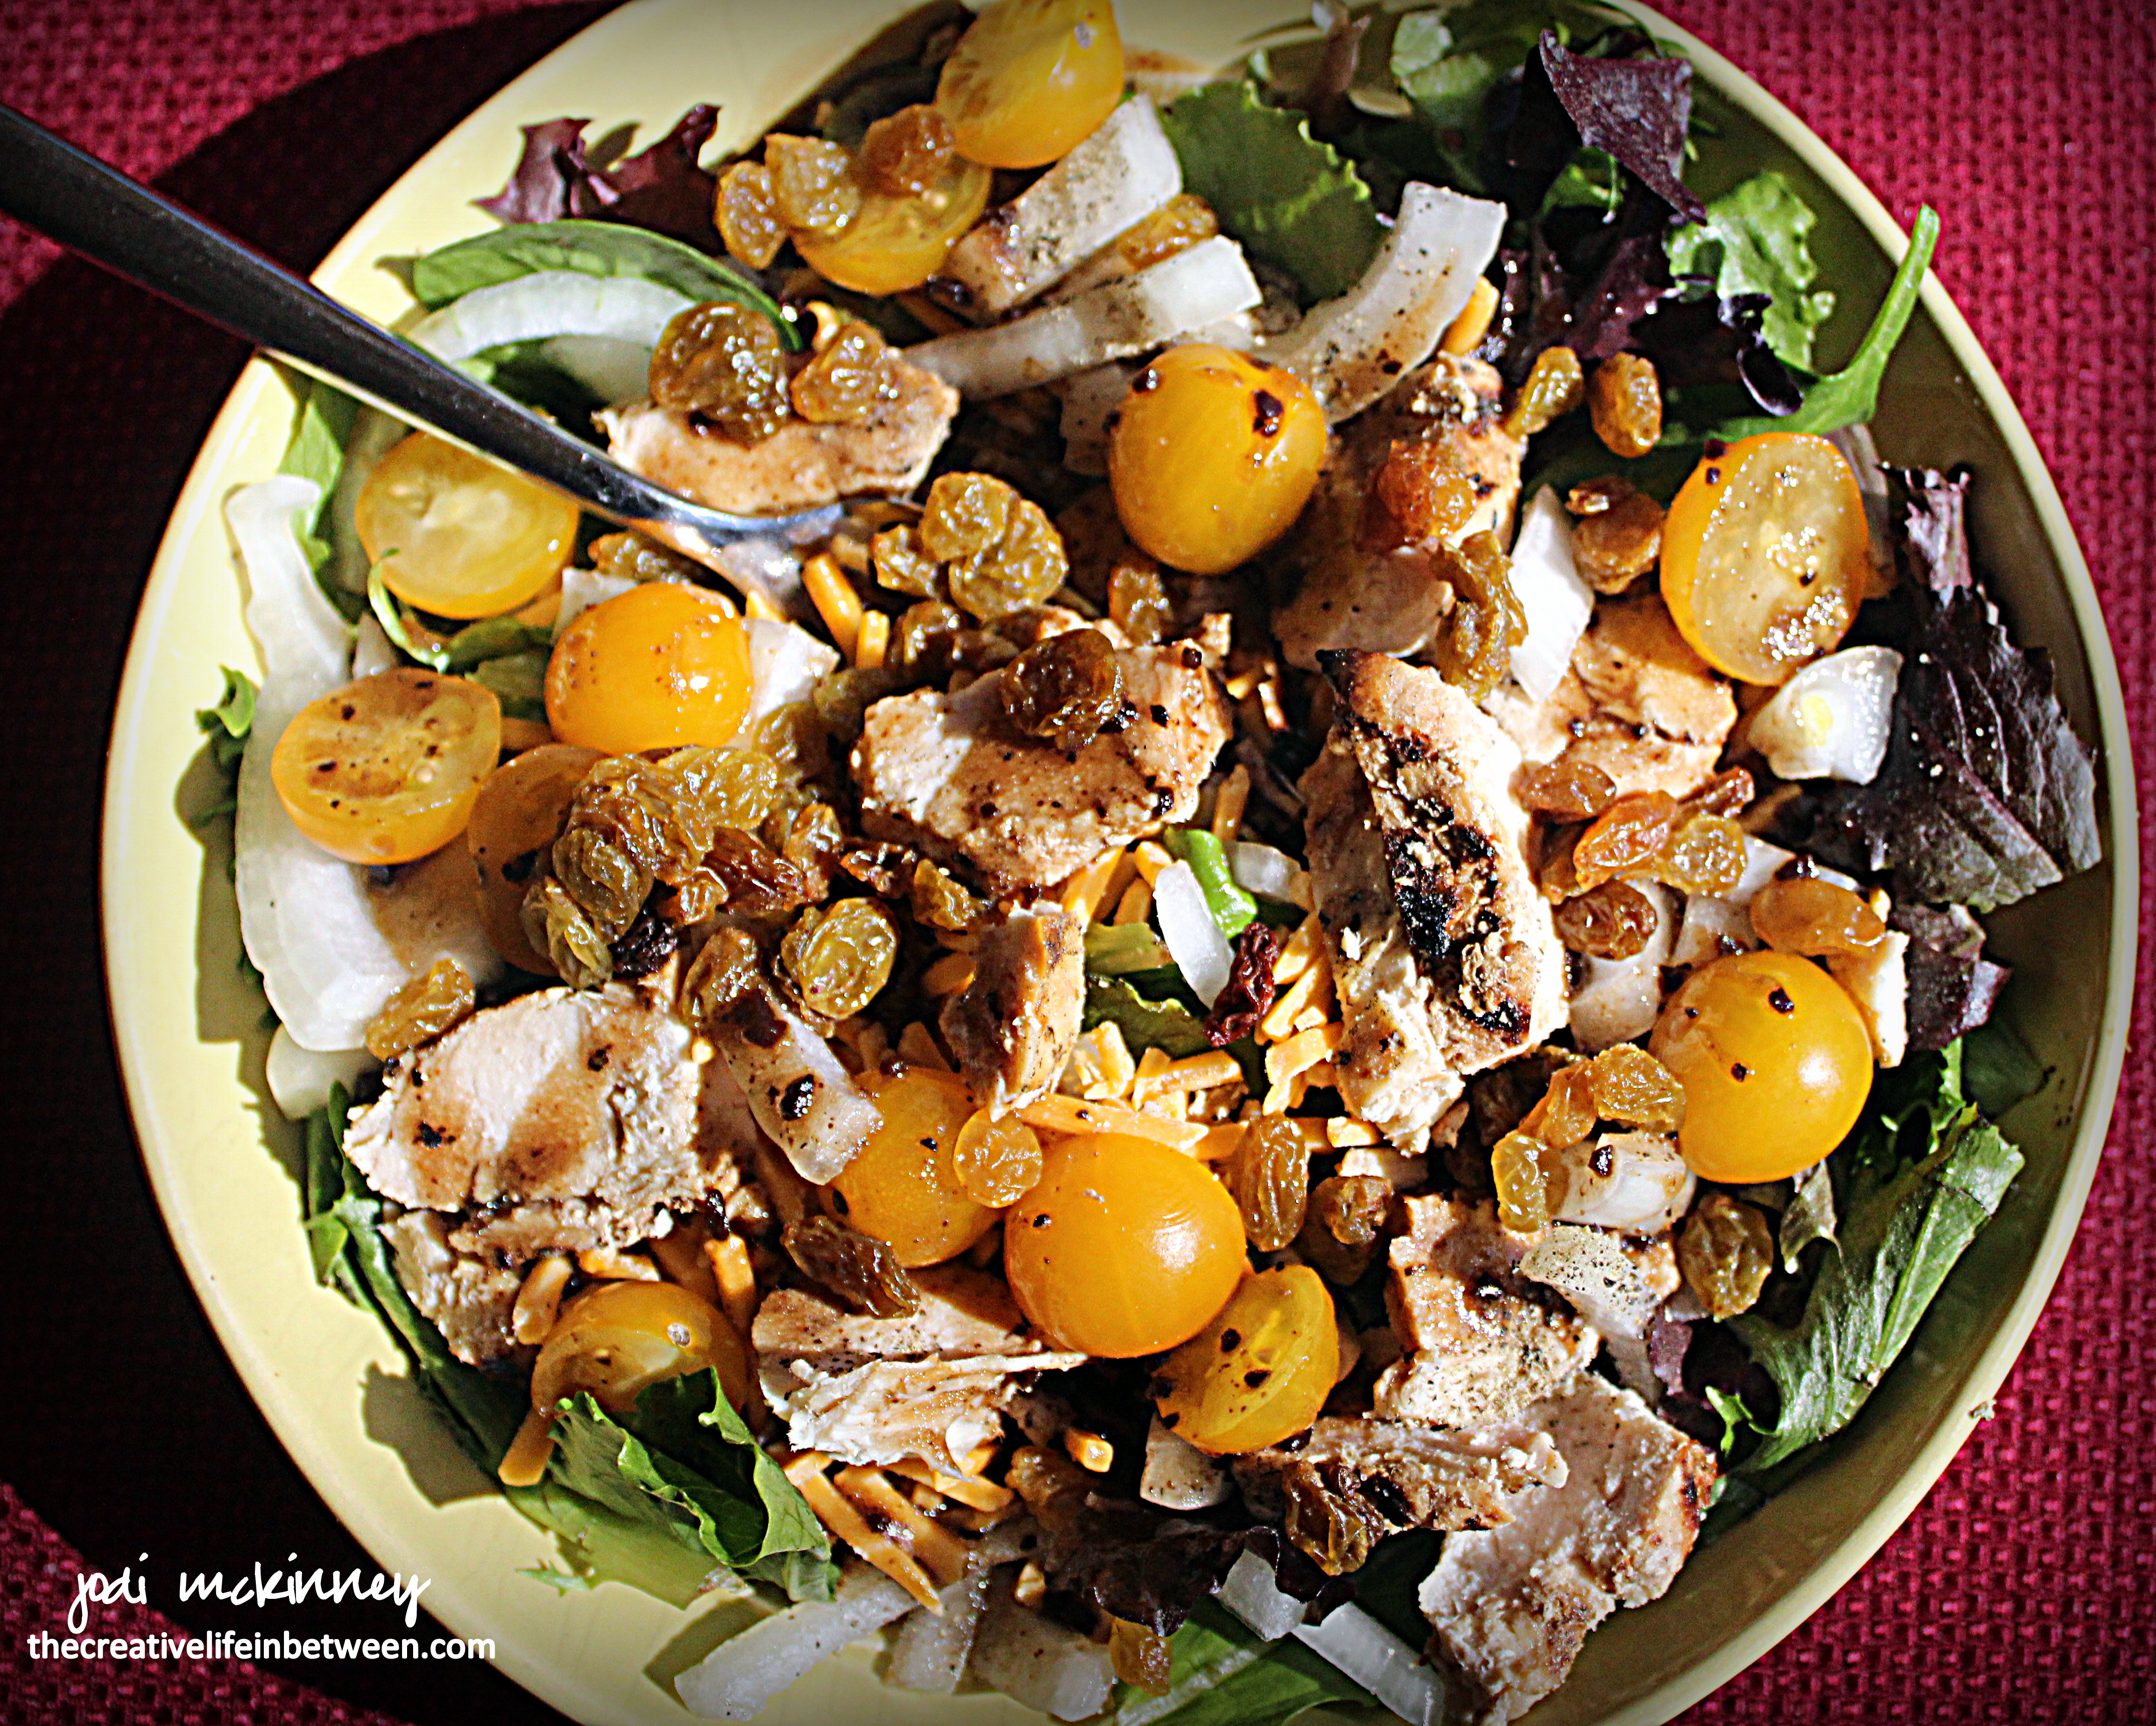
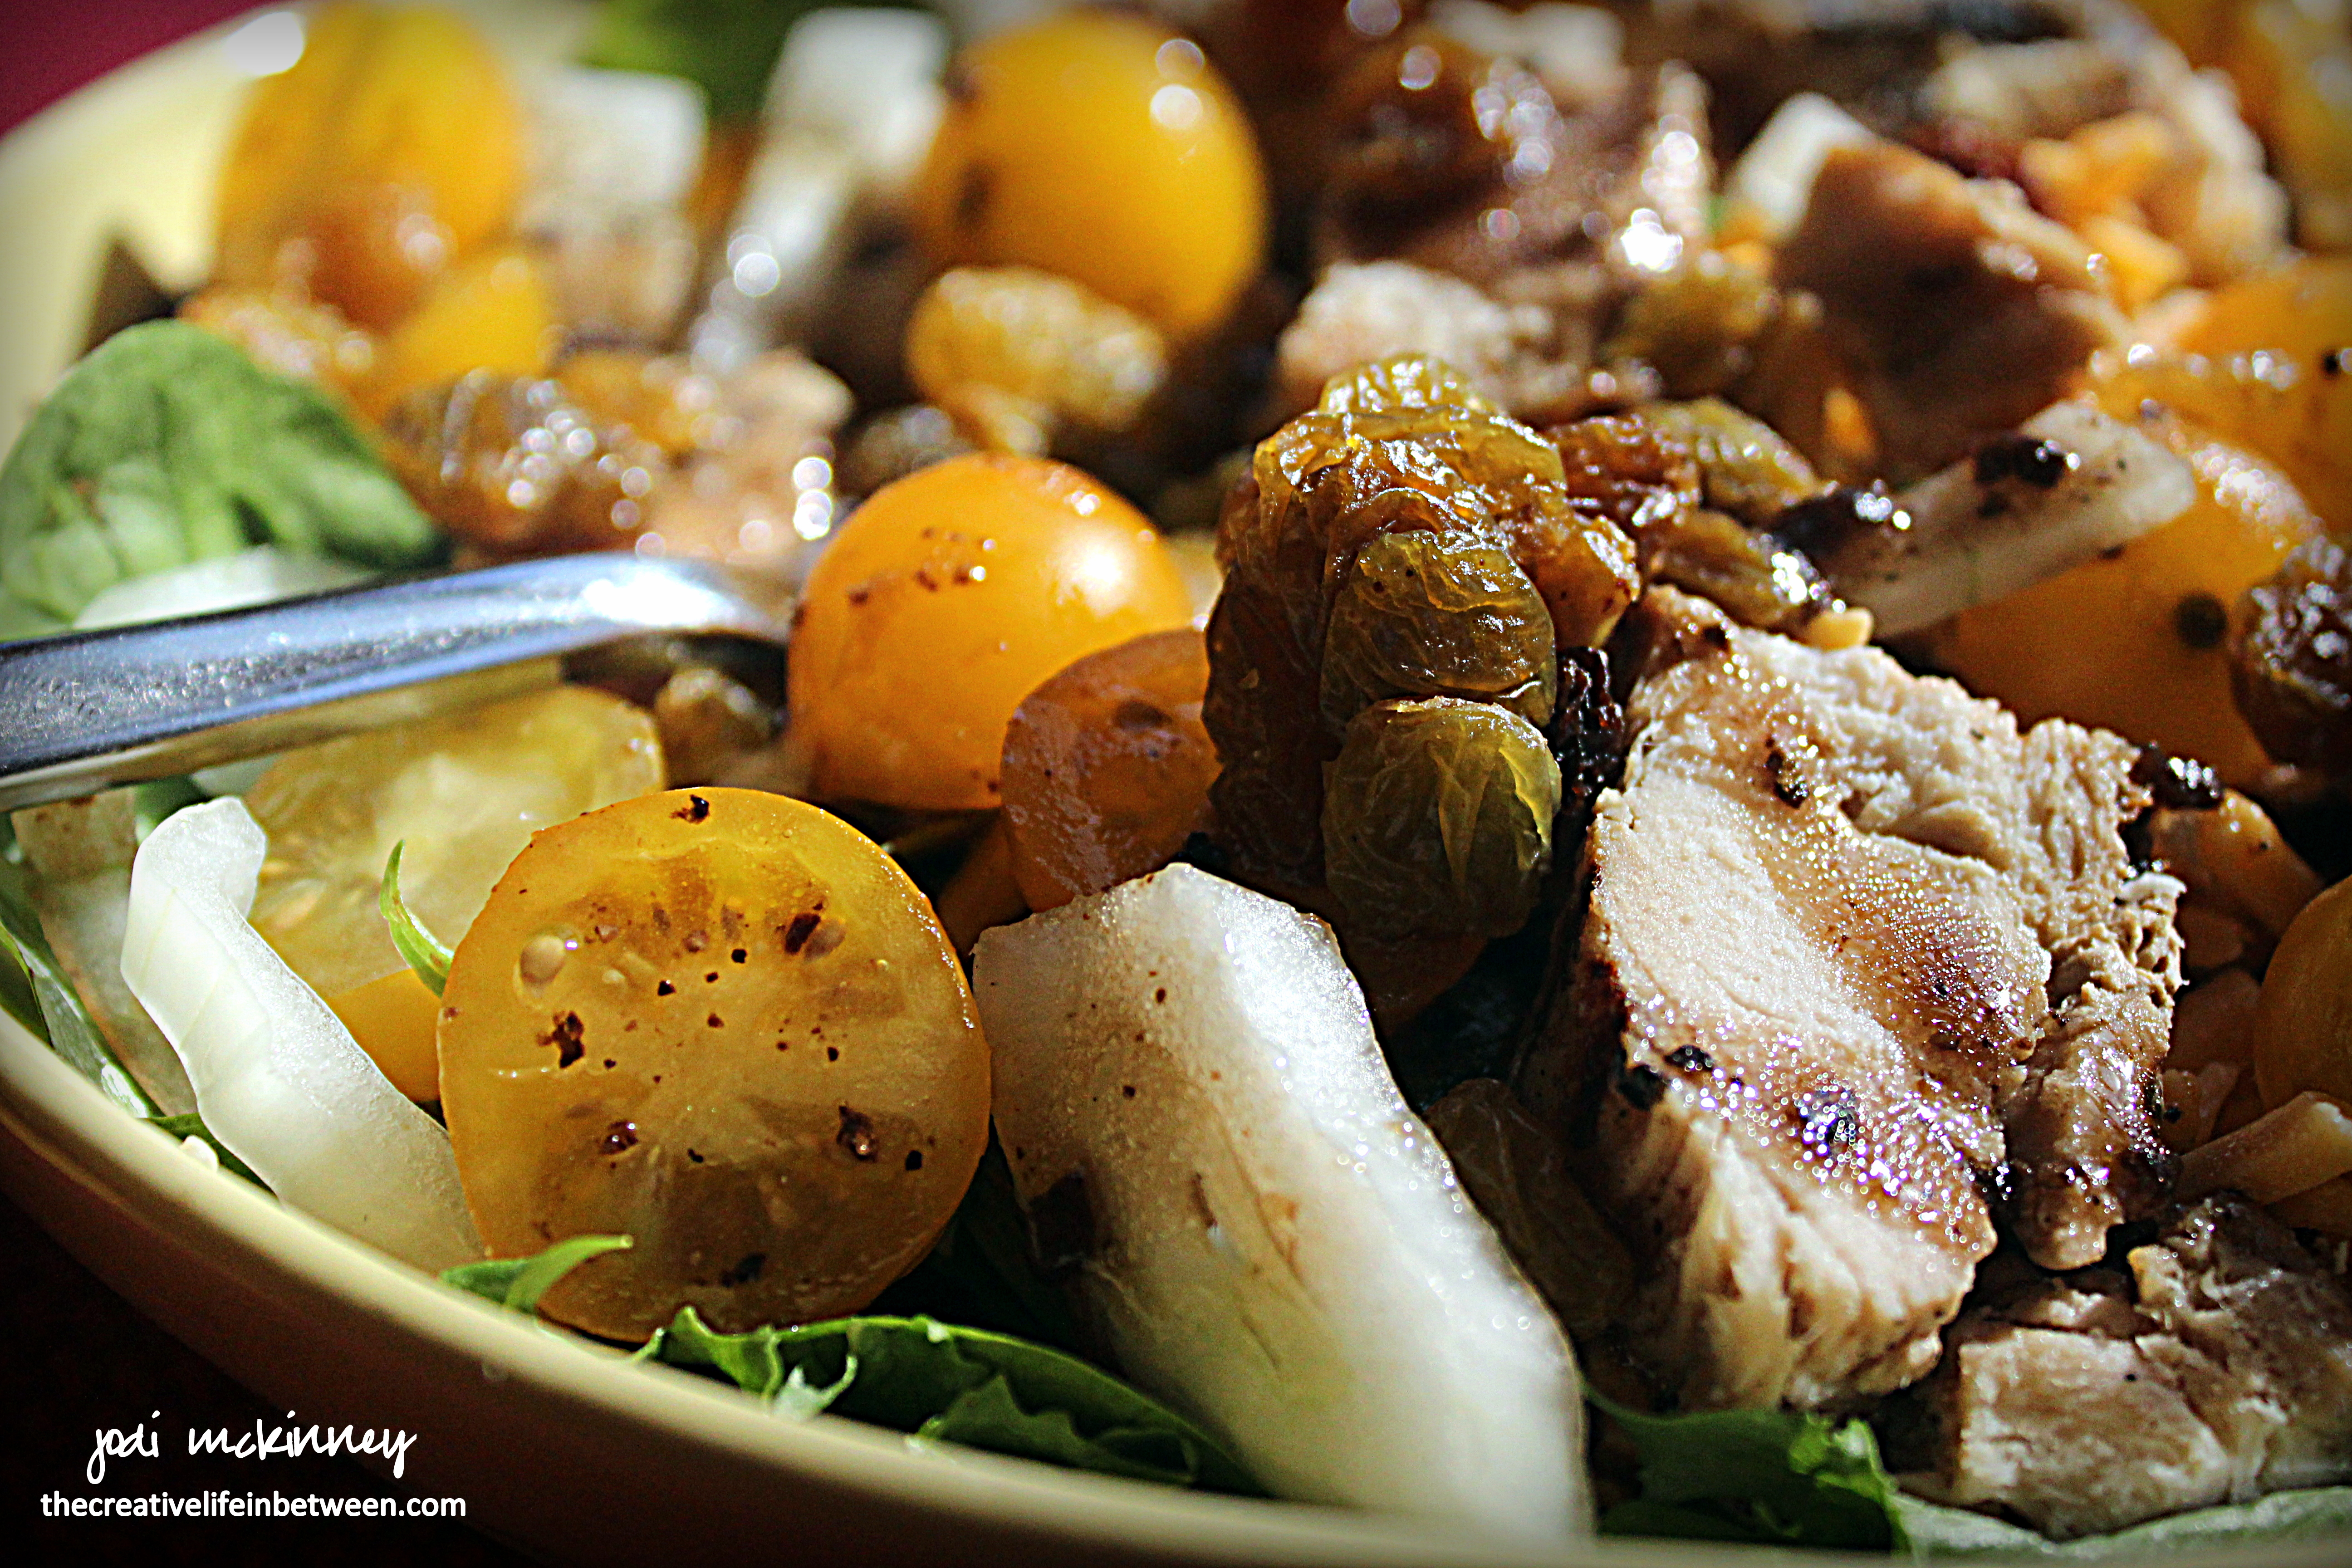
I made a simple salad and sliced up some fresh bread to accompany Mary’s entree,

garden-salad-valentines-day-couples-camp-2017

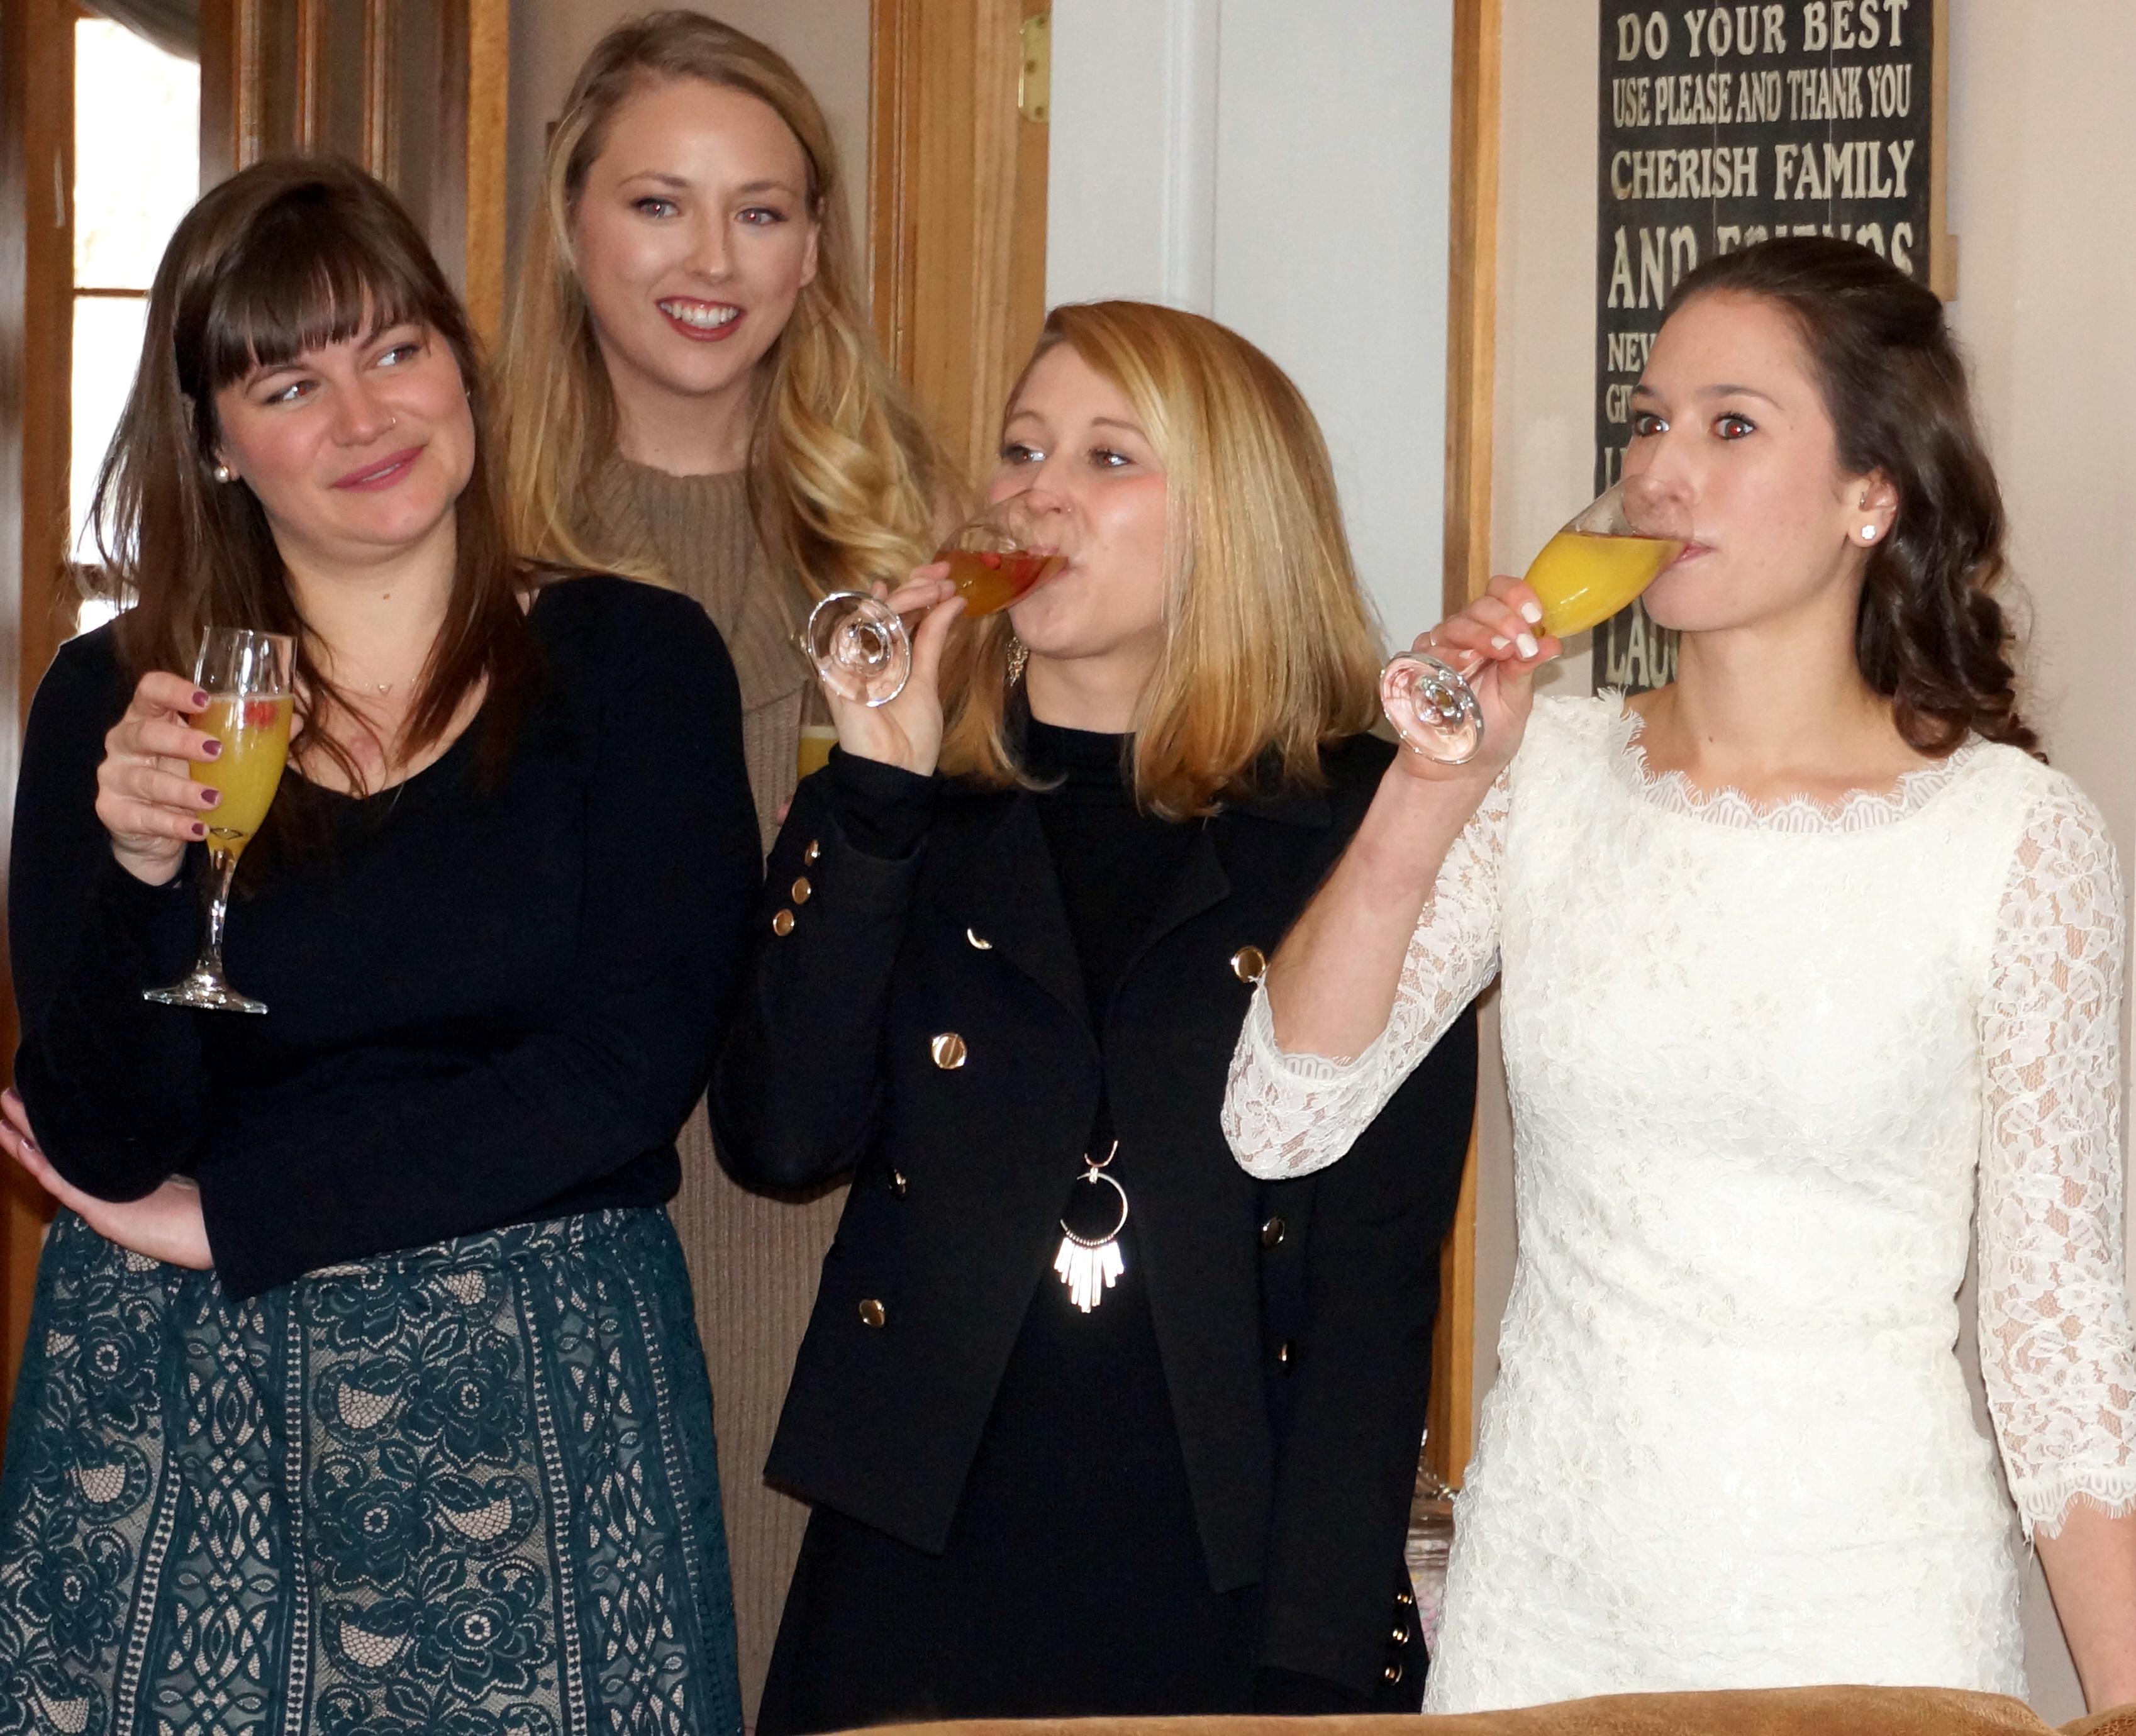
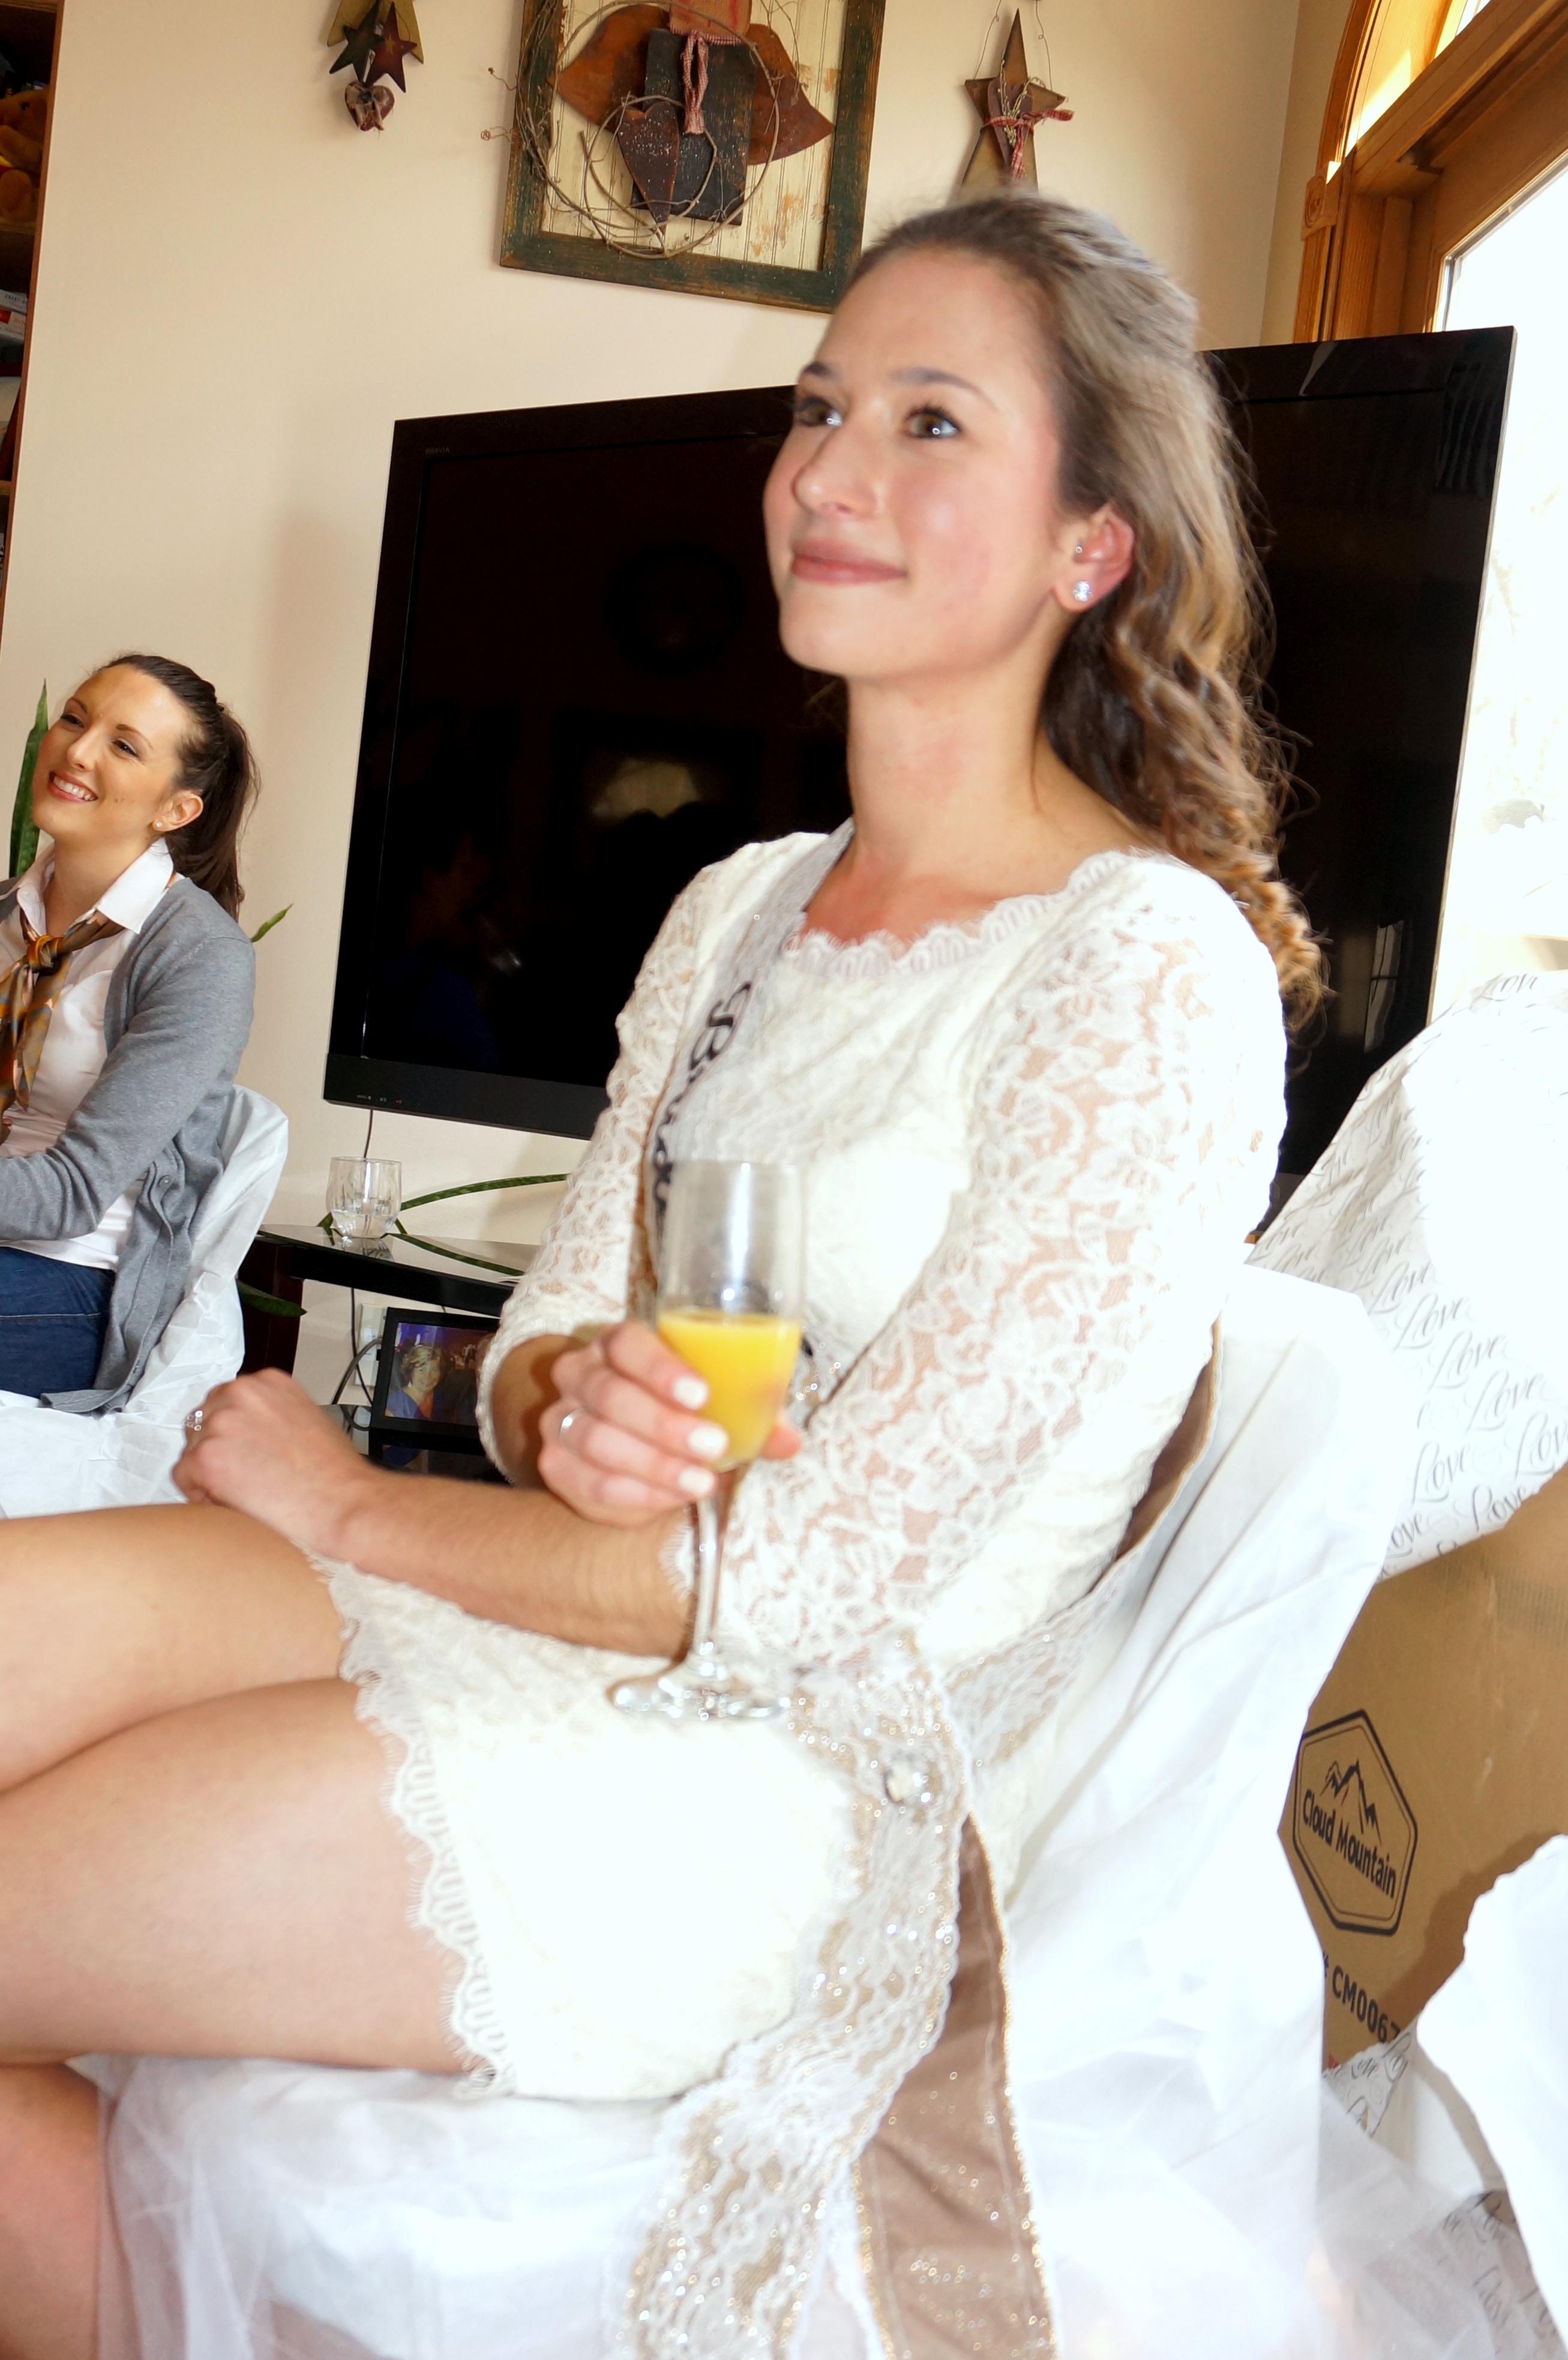
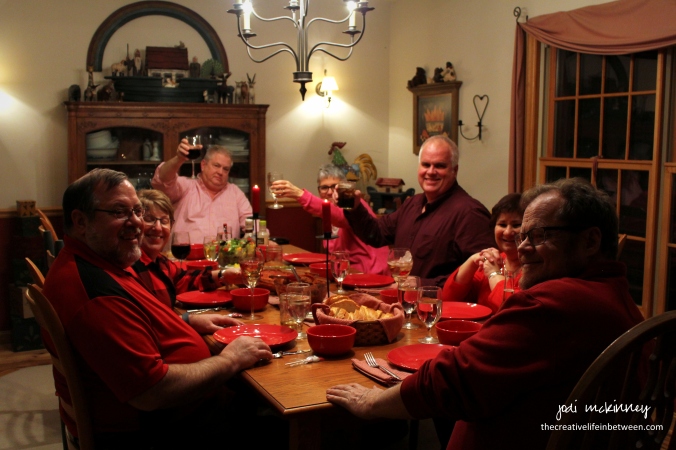
and we gave another toast to friendship!

valentine-couples-camp-dinner

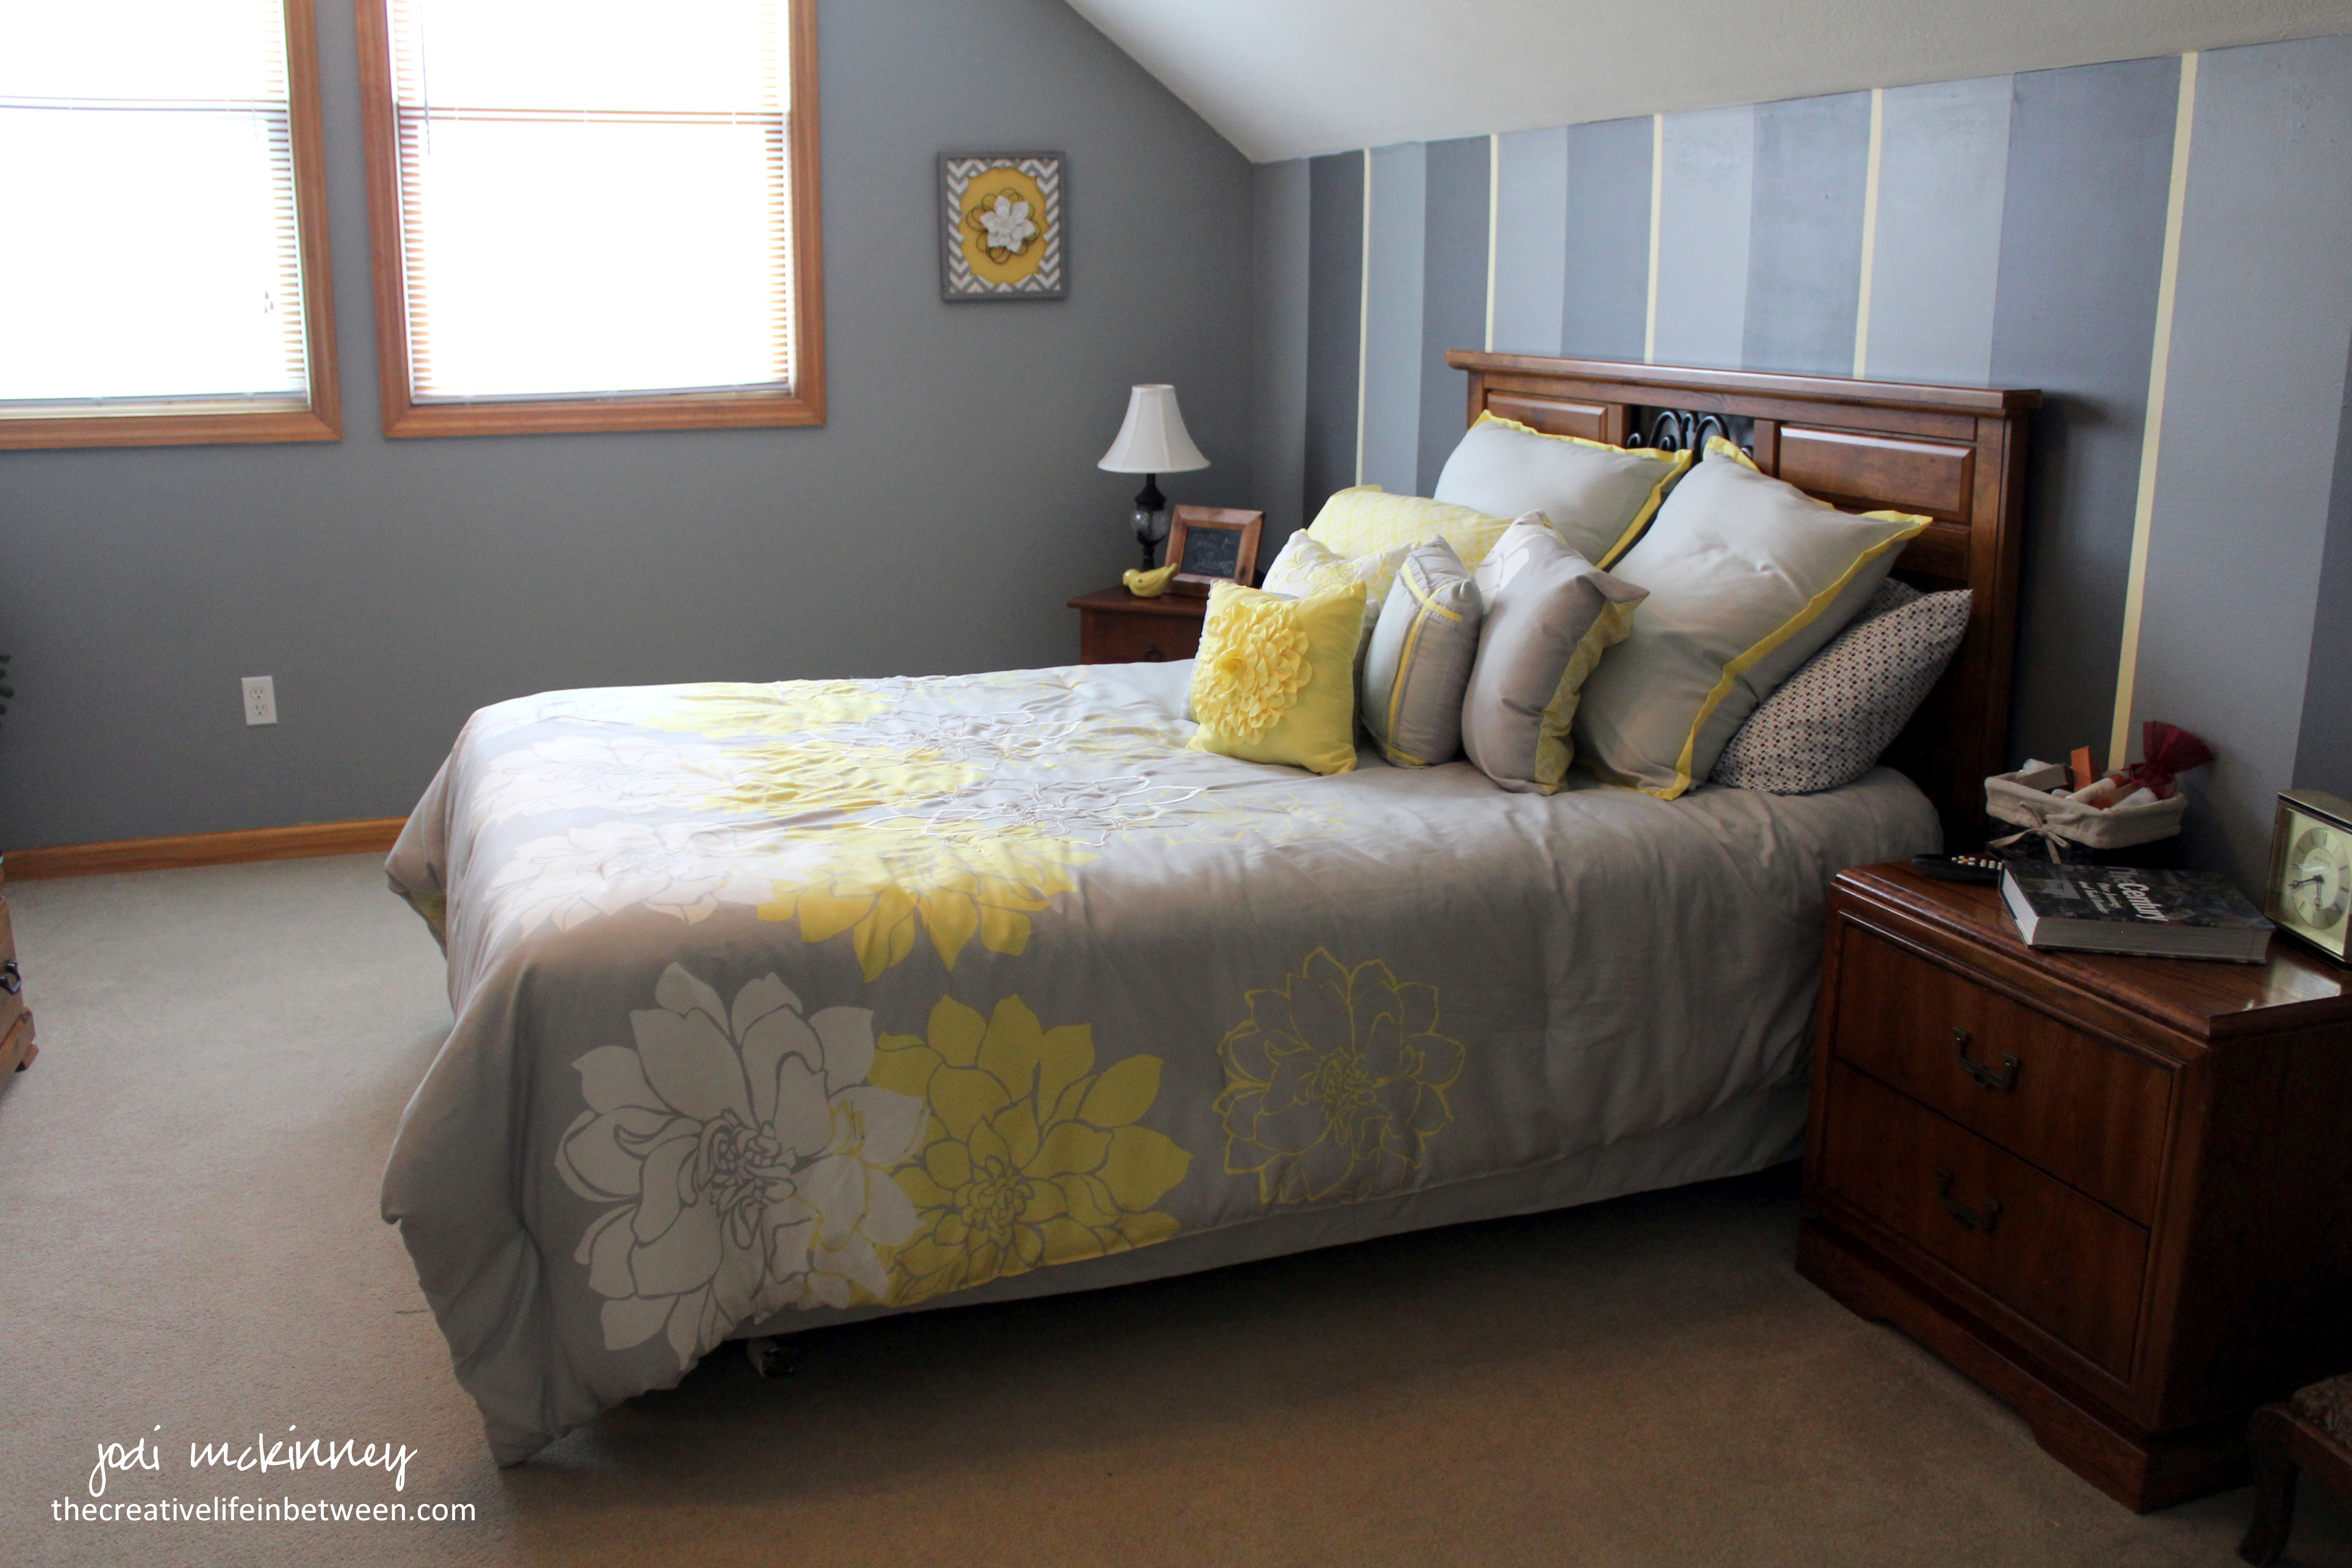
I had fun preparing for our guests by tidying up the guest rooms,

guest-room-2

guest-room-1

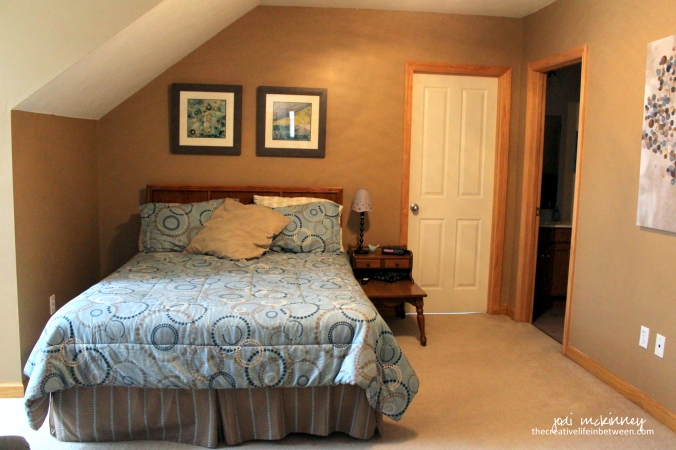
including a quick convert of the nursery with an air mattress bed,

air-mattress-in-nursery

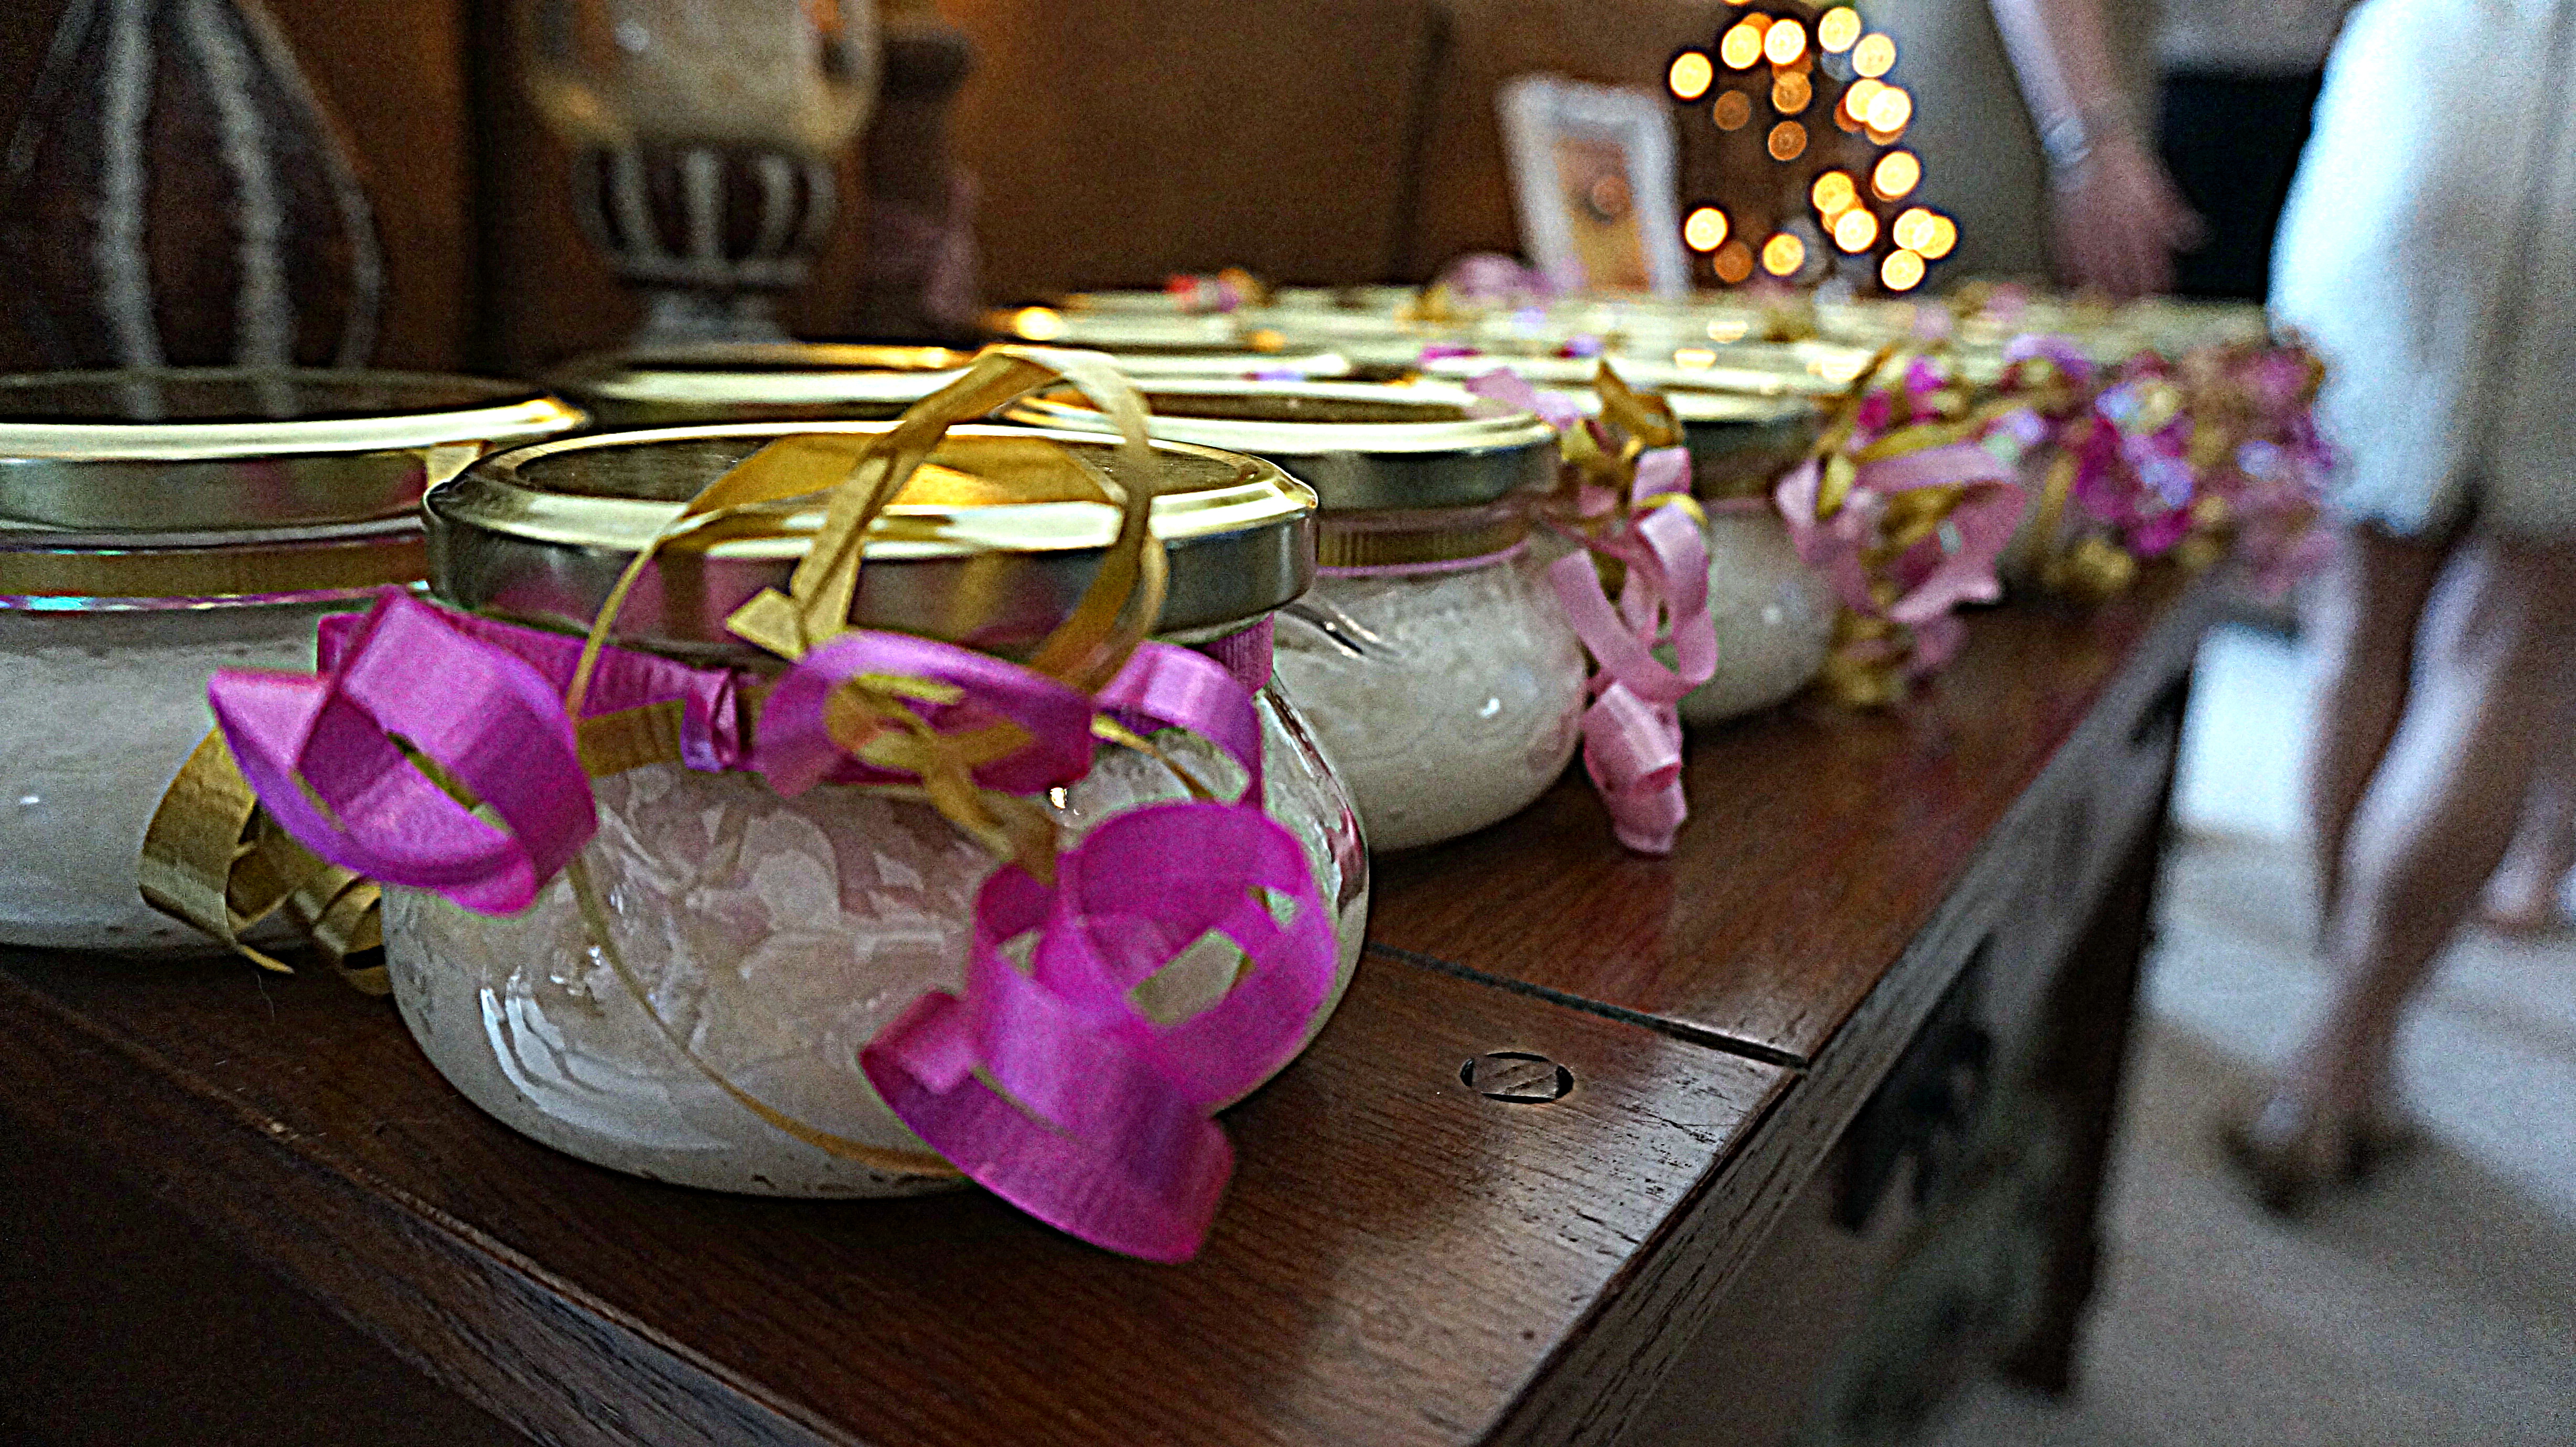
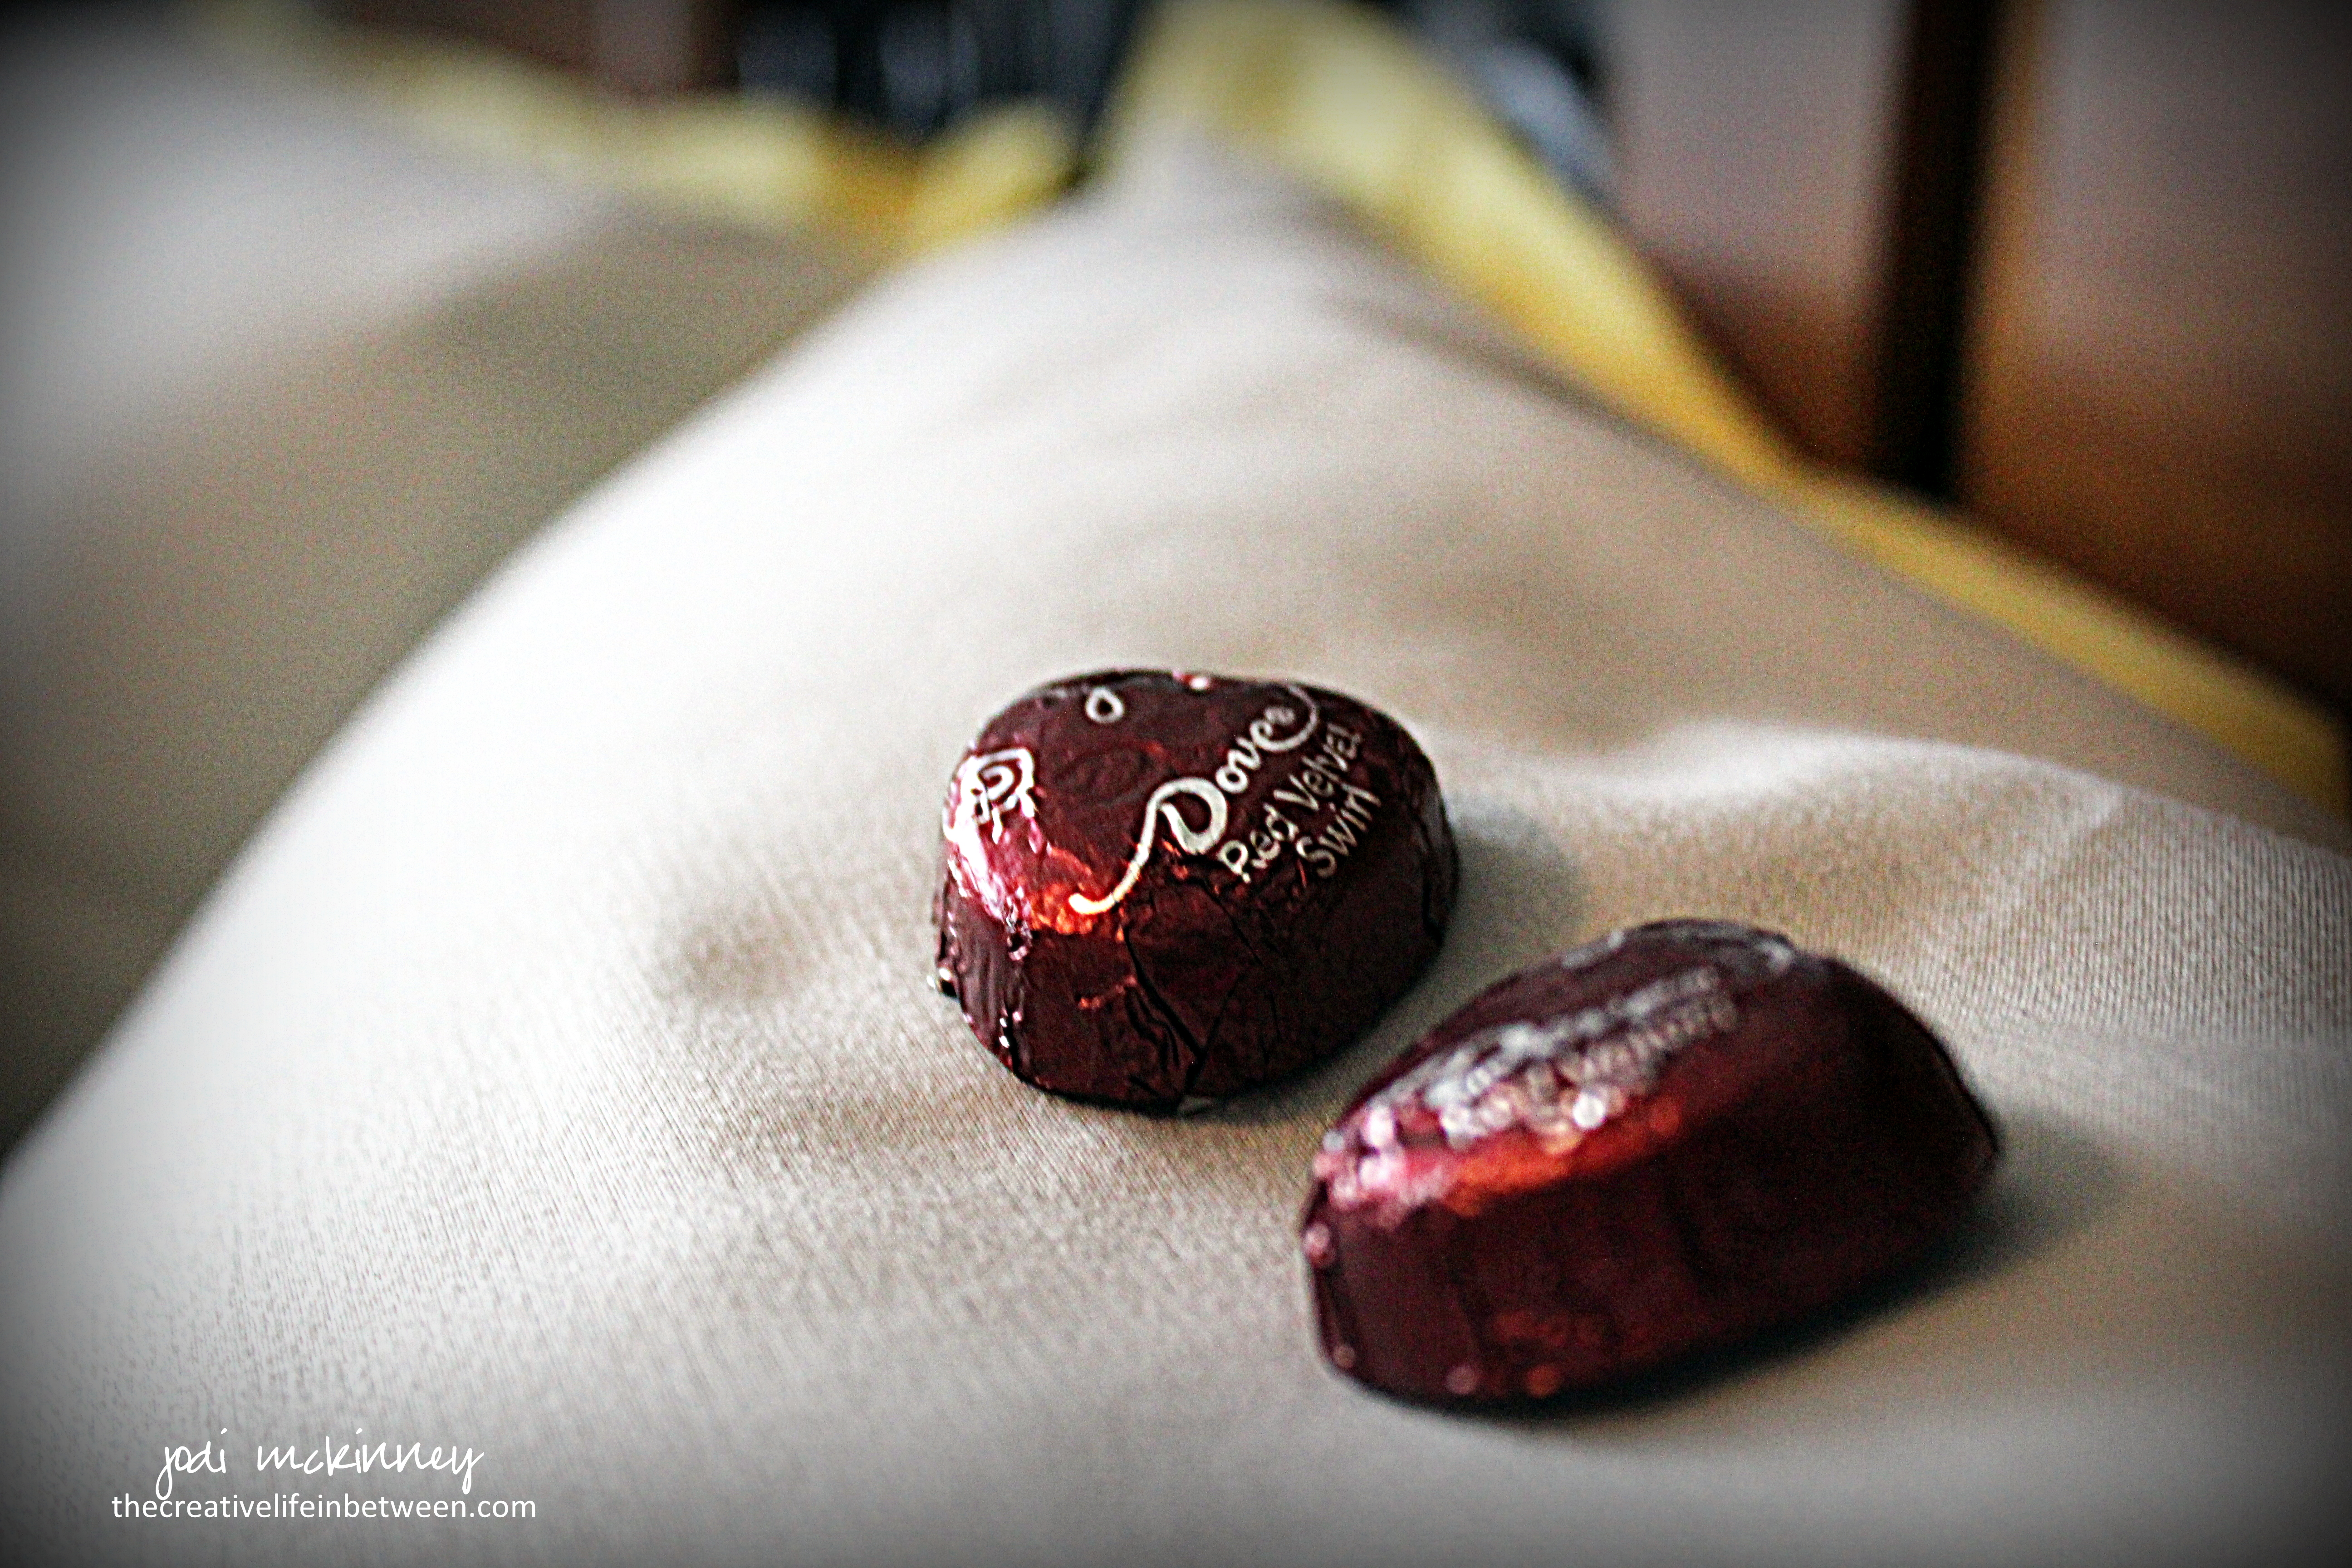
and placing heart-shaped Dove Red Velvet Chocolates on pillows.

valentines-day-couples-camp-dove-red-velvet-chocolates-on-guest-pillows

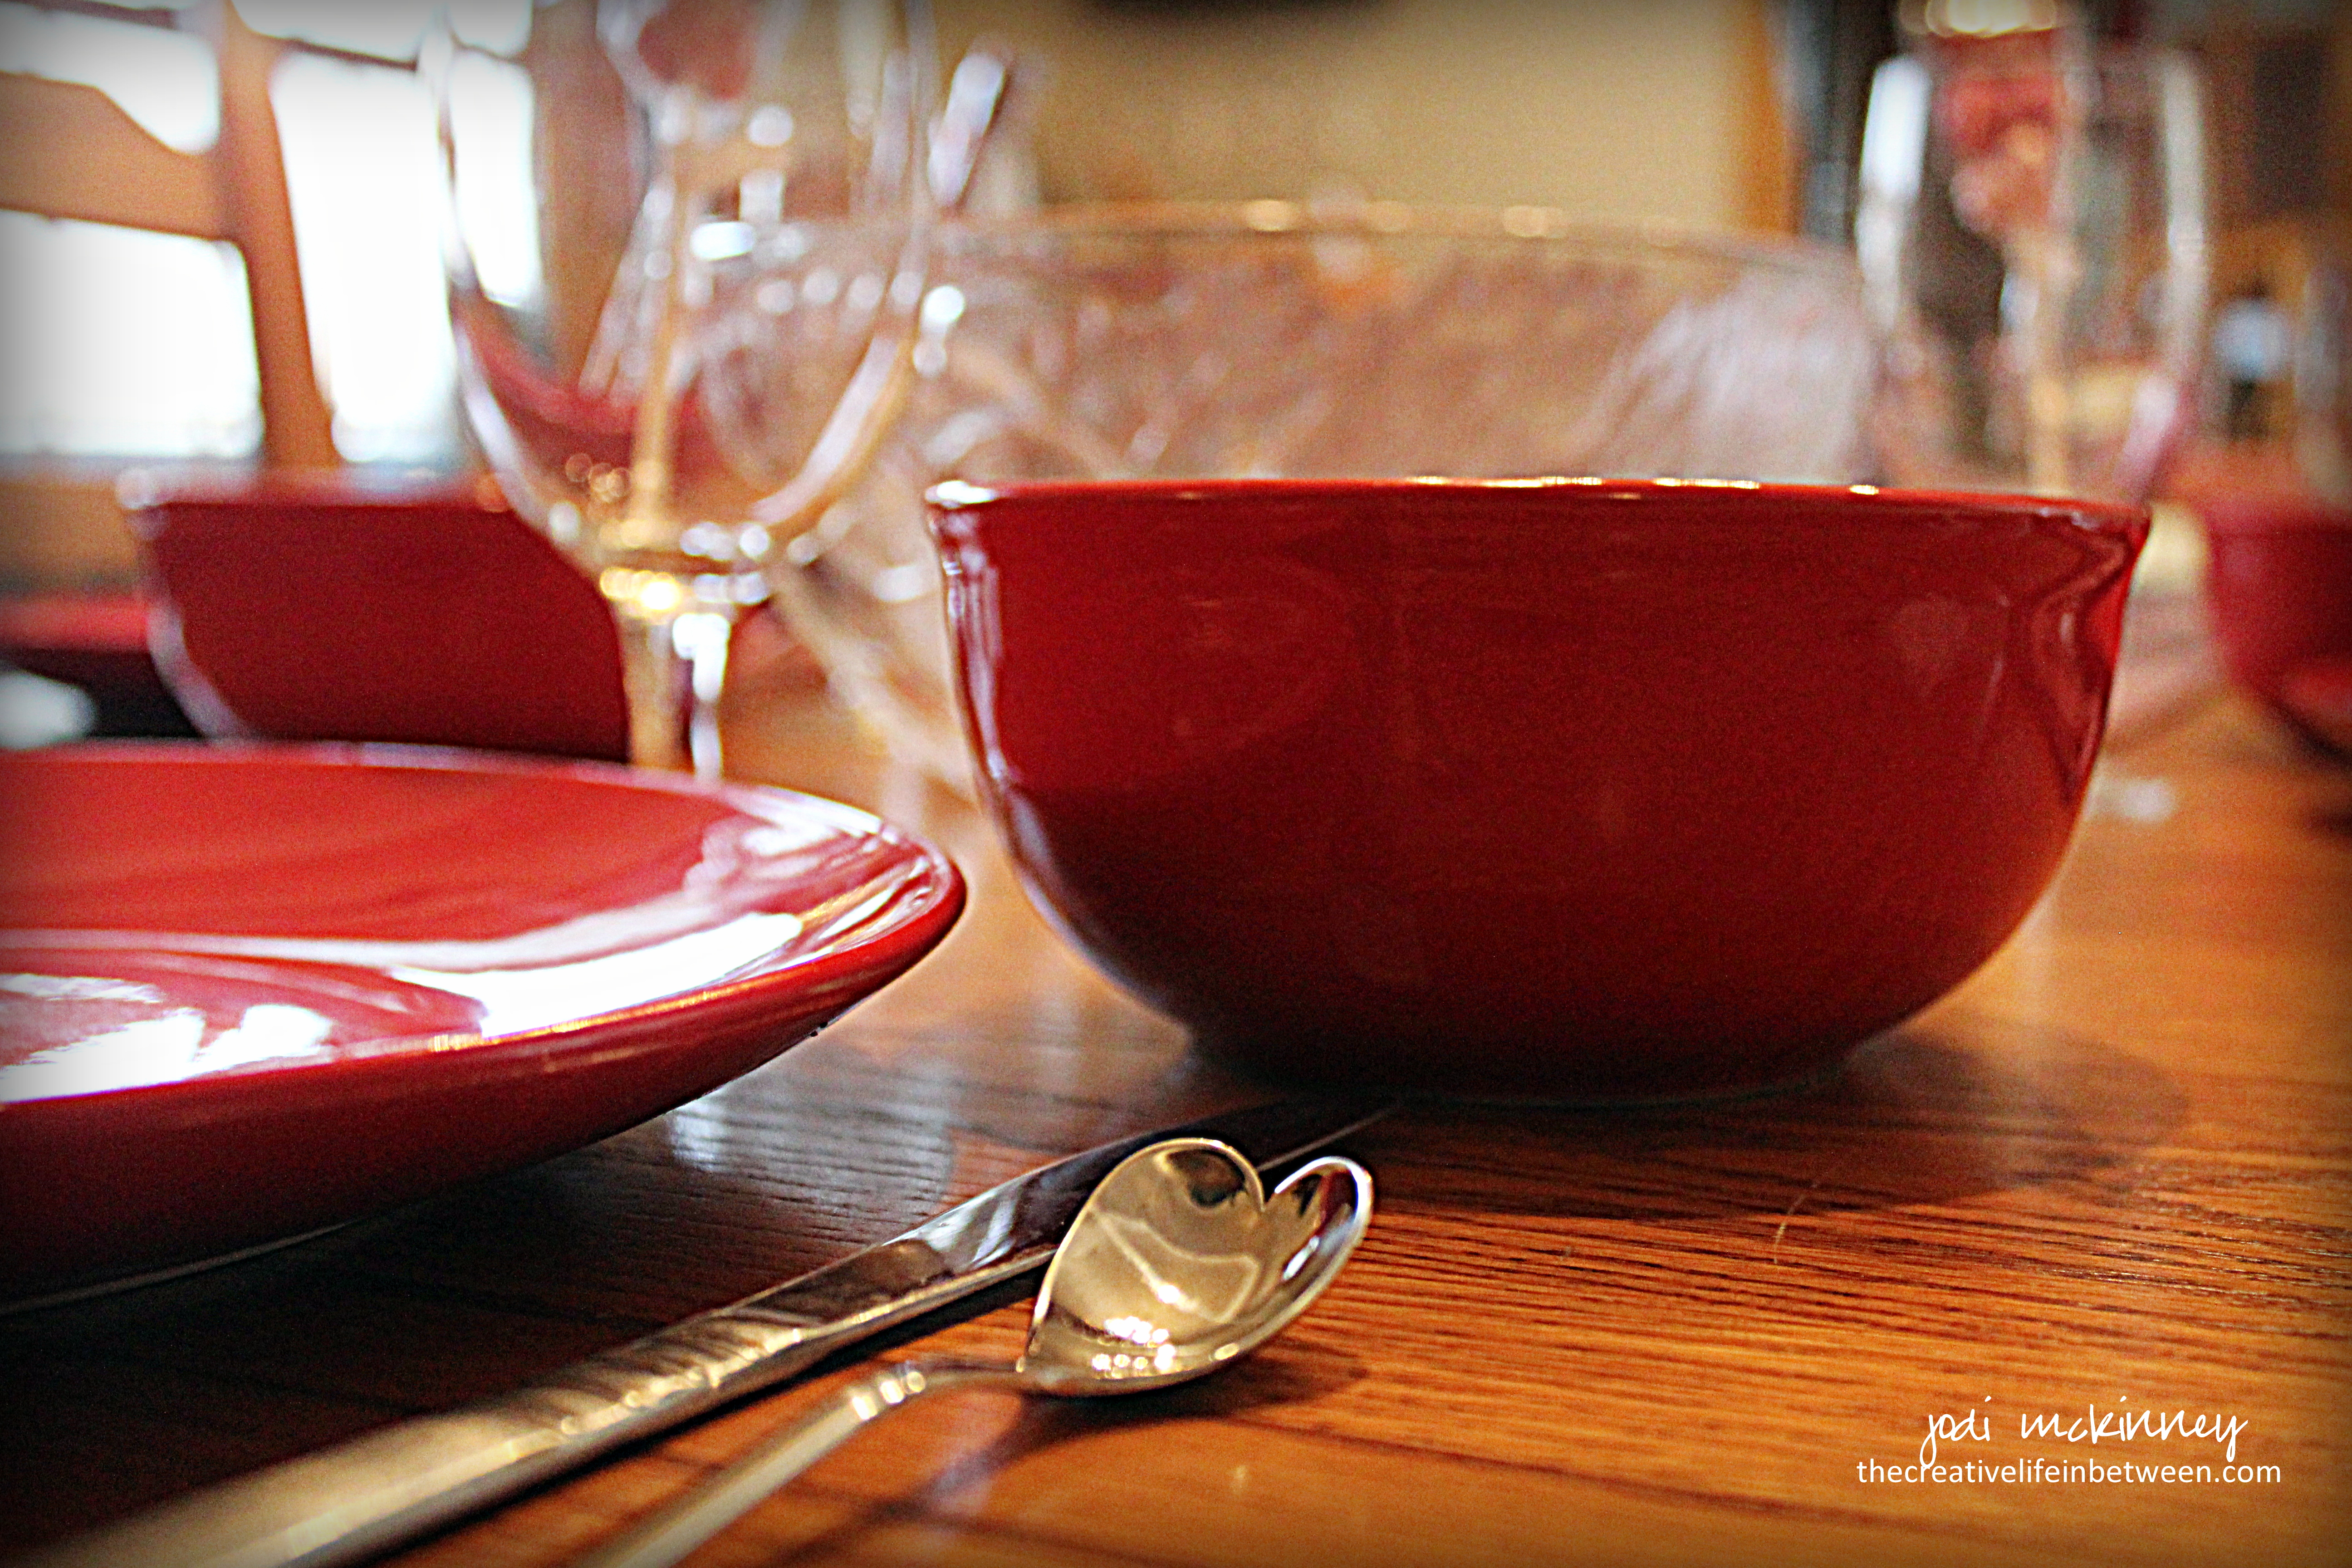
I set the table with red plates and chocolate heart treats…

dining-room-set-for-valentines-day-couples-camp-2017

dining-room-set-for-valentines-day-couples-camp-2017-2

and even little heart shaped spoons!

dining-room-set-for-valentines-day-couples-camp-2017-heart-spoons

Aren’t they adorable!

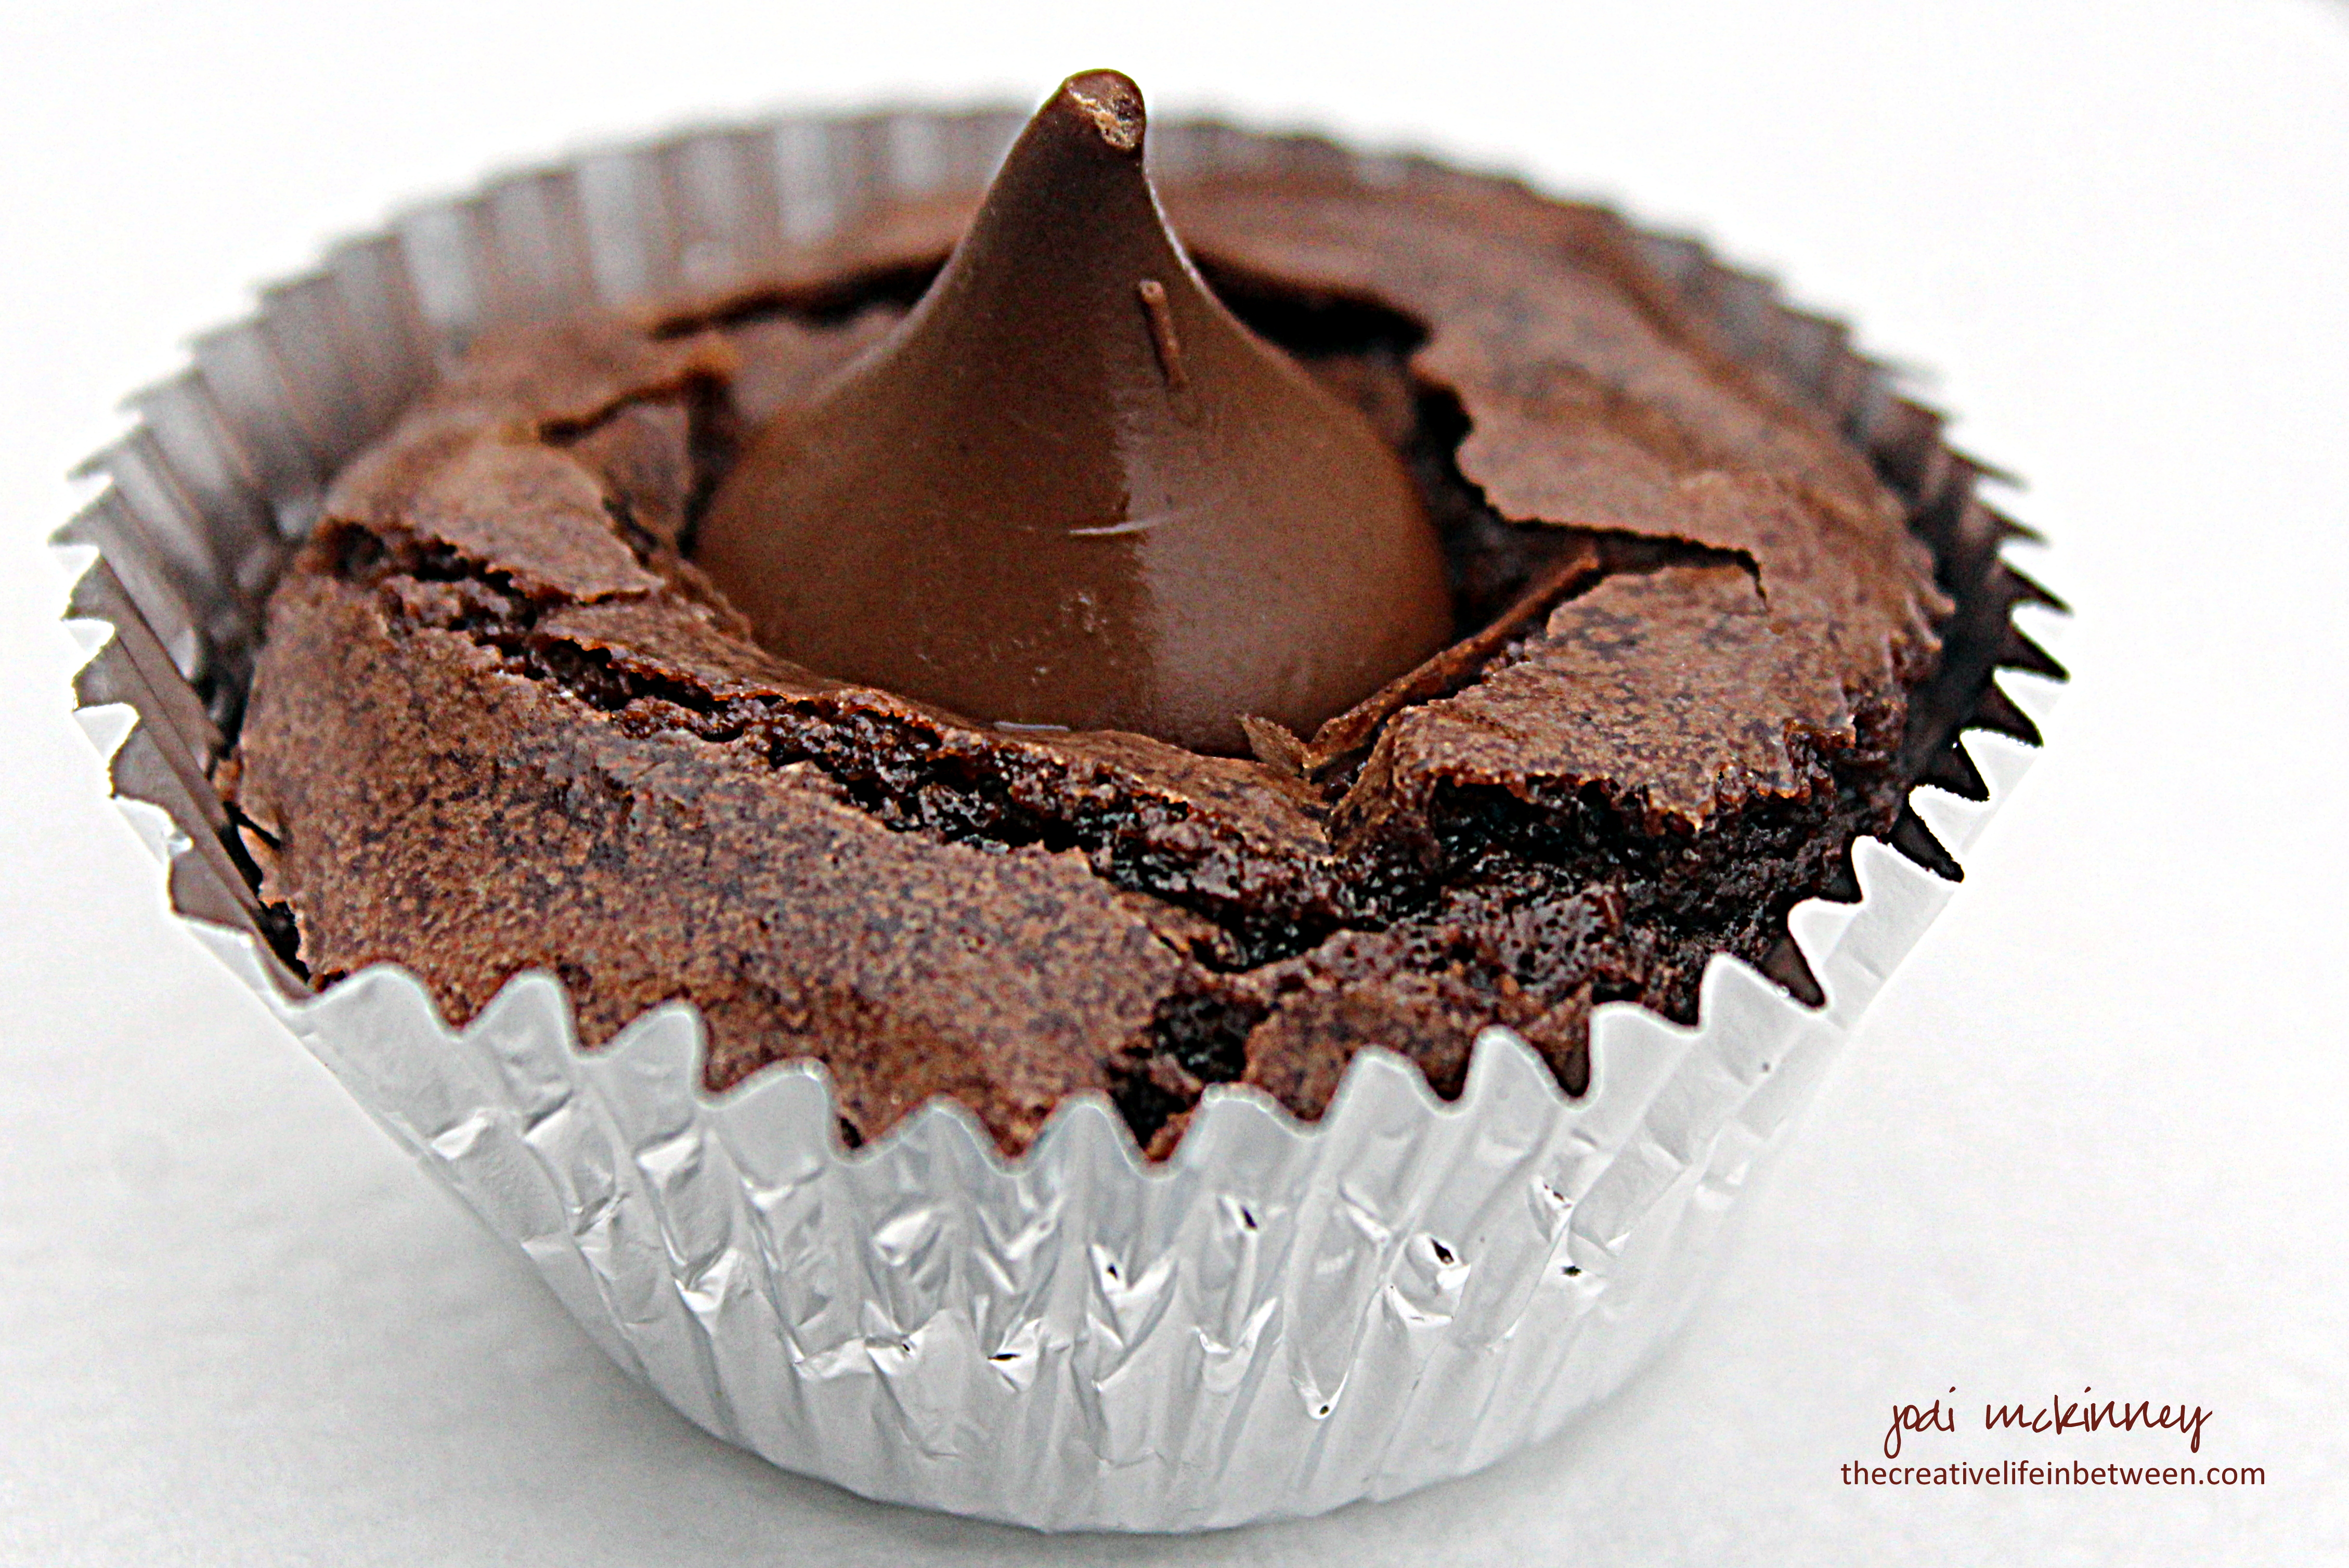
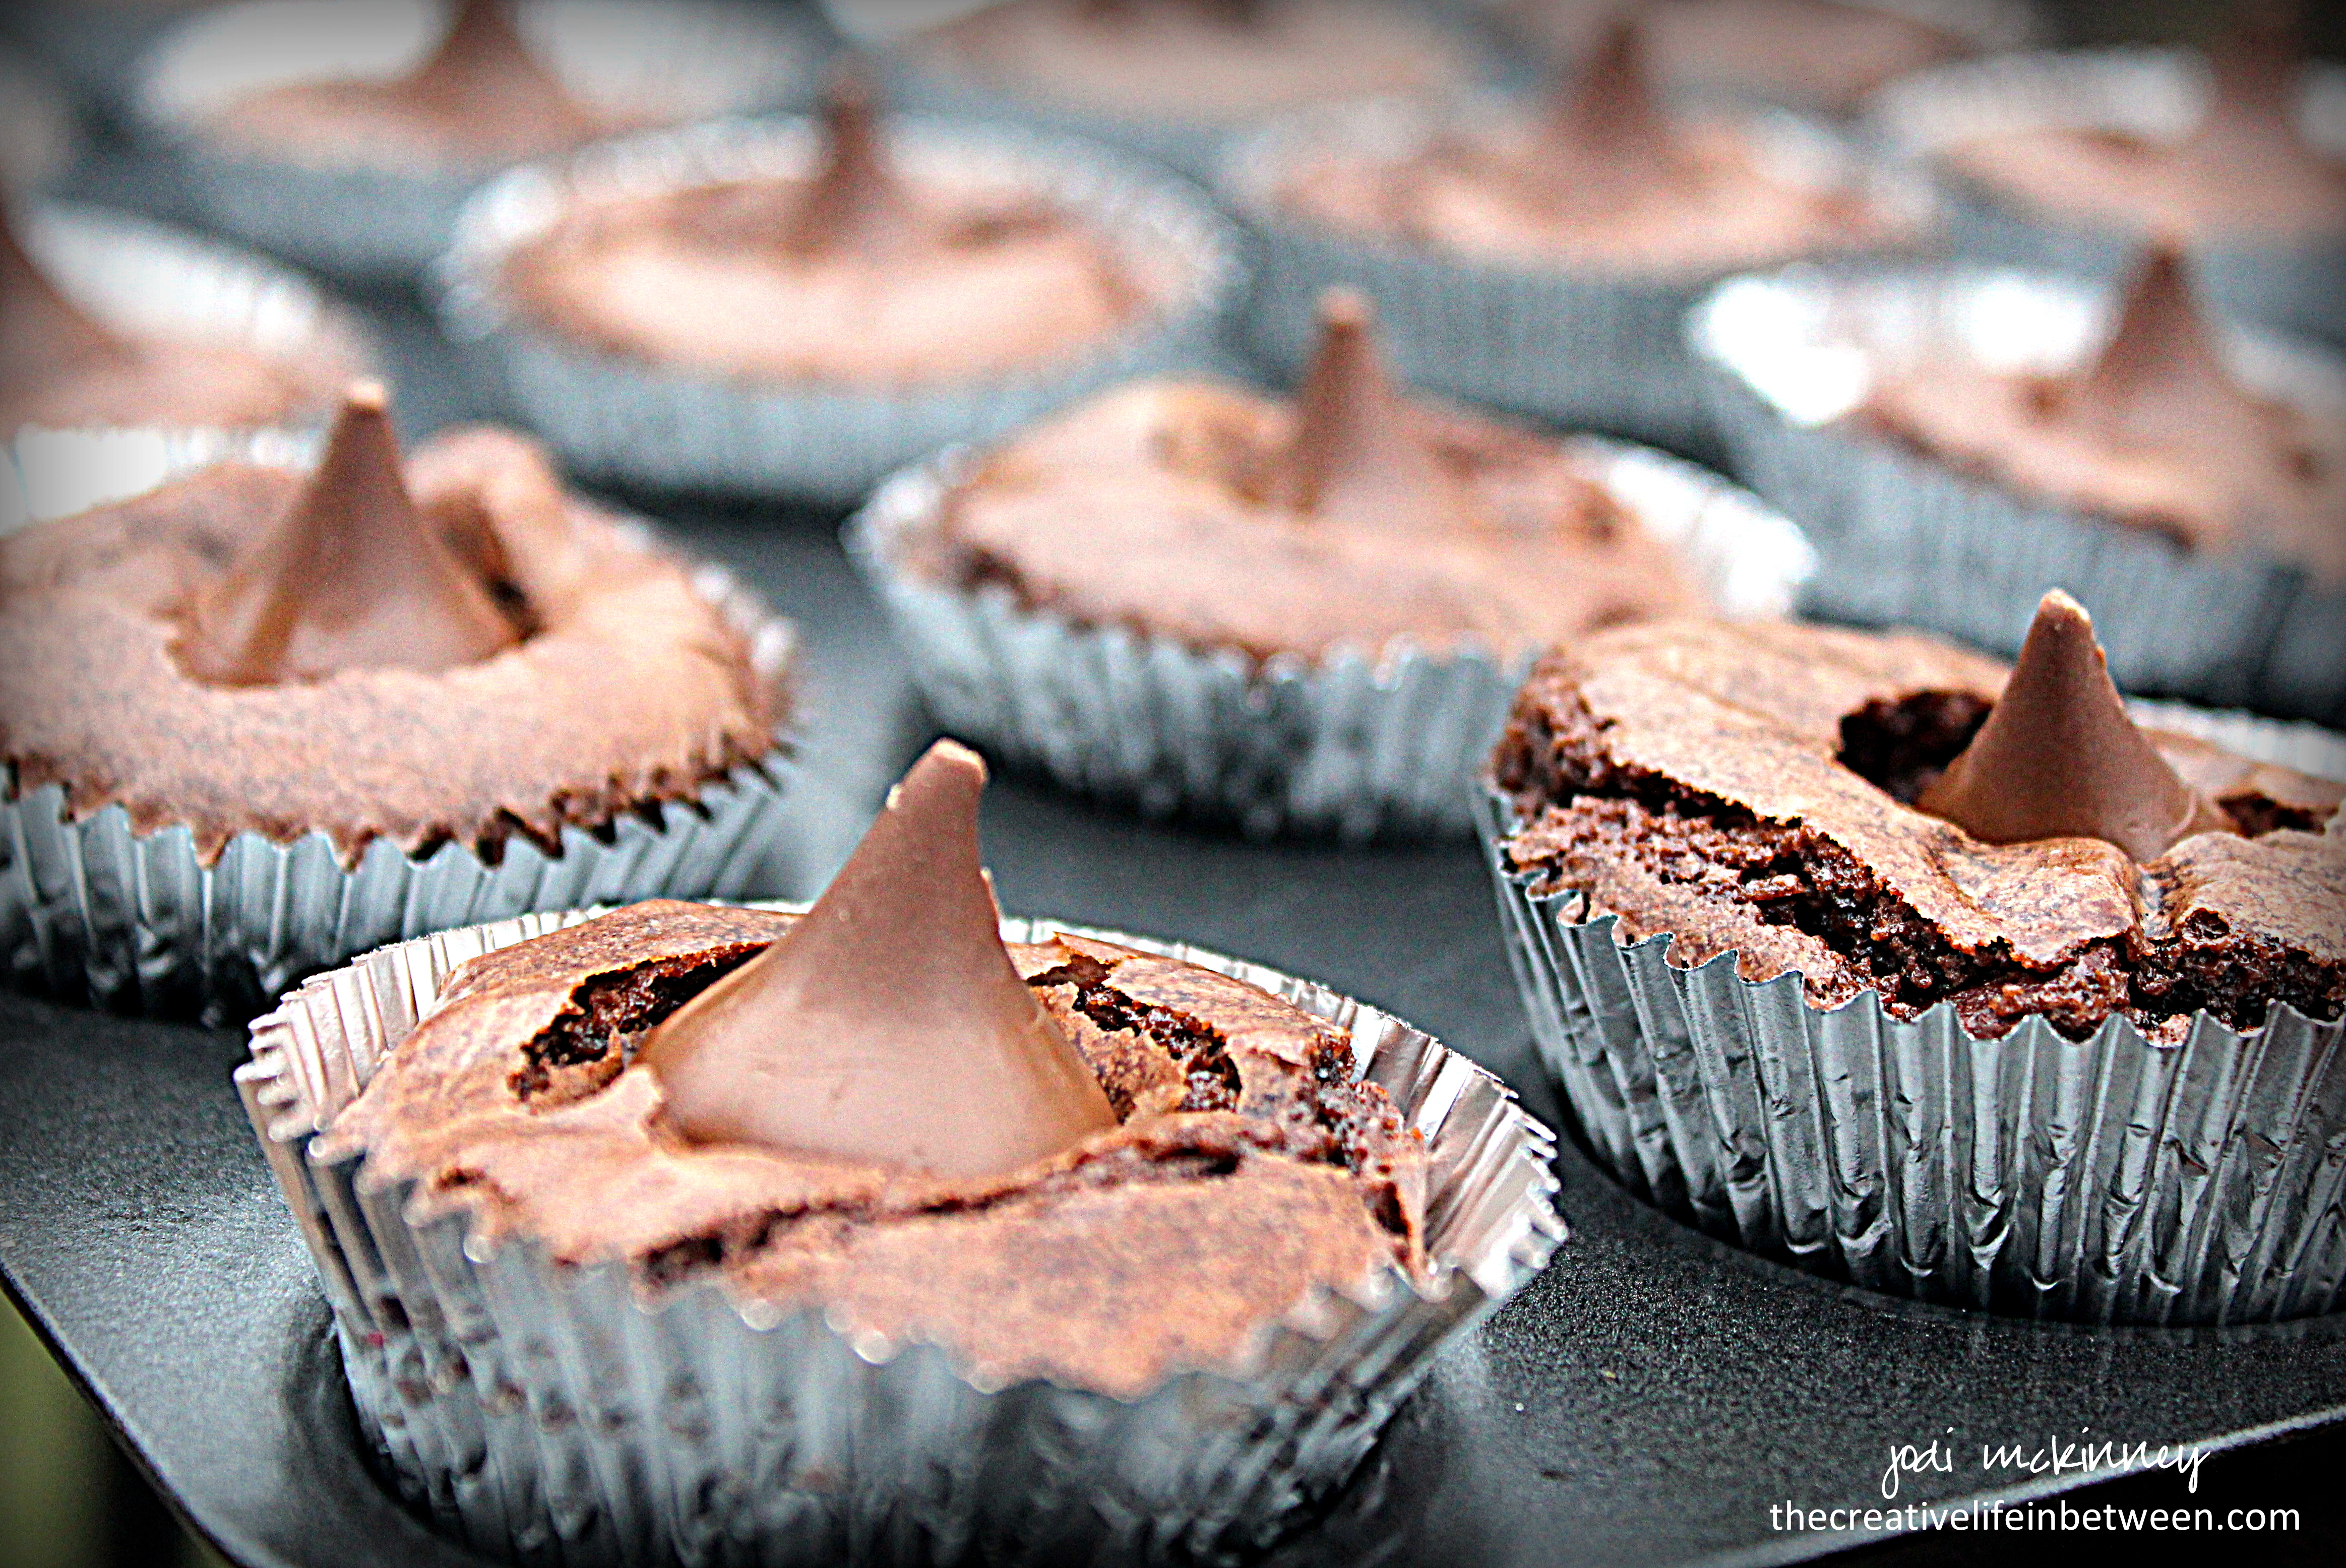
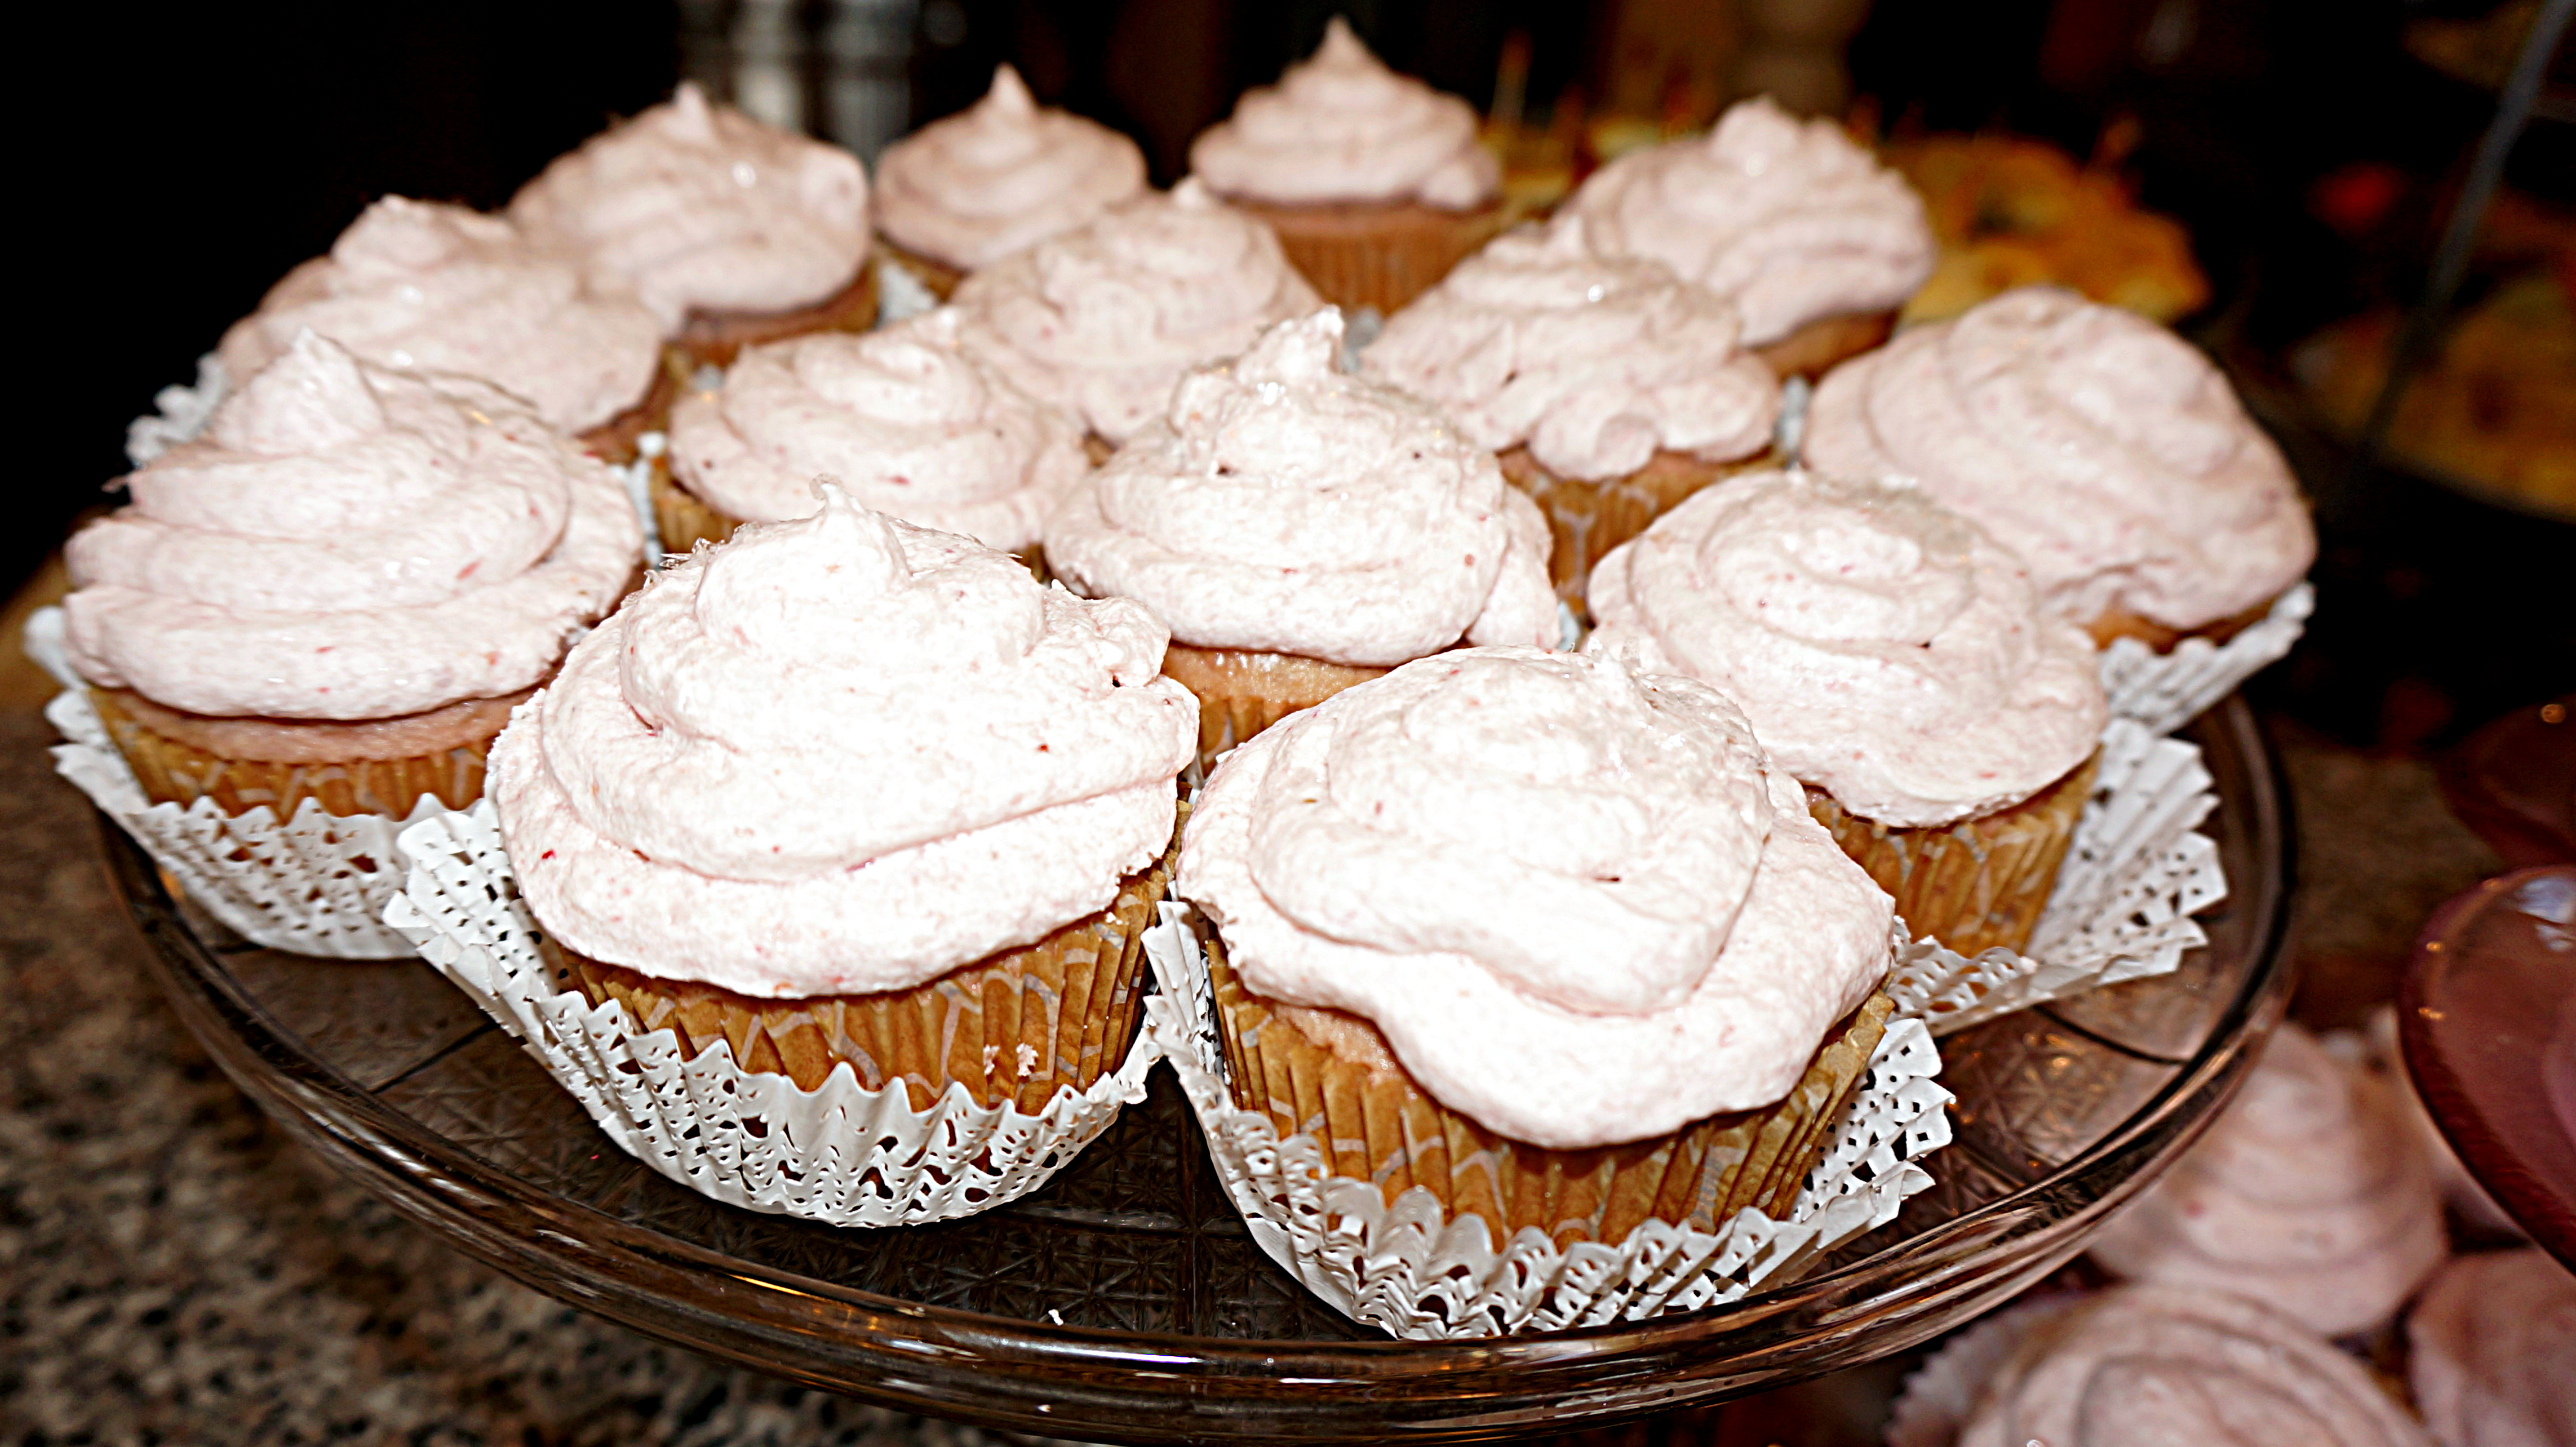
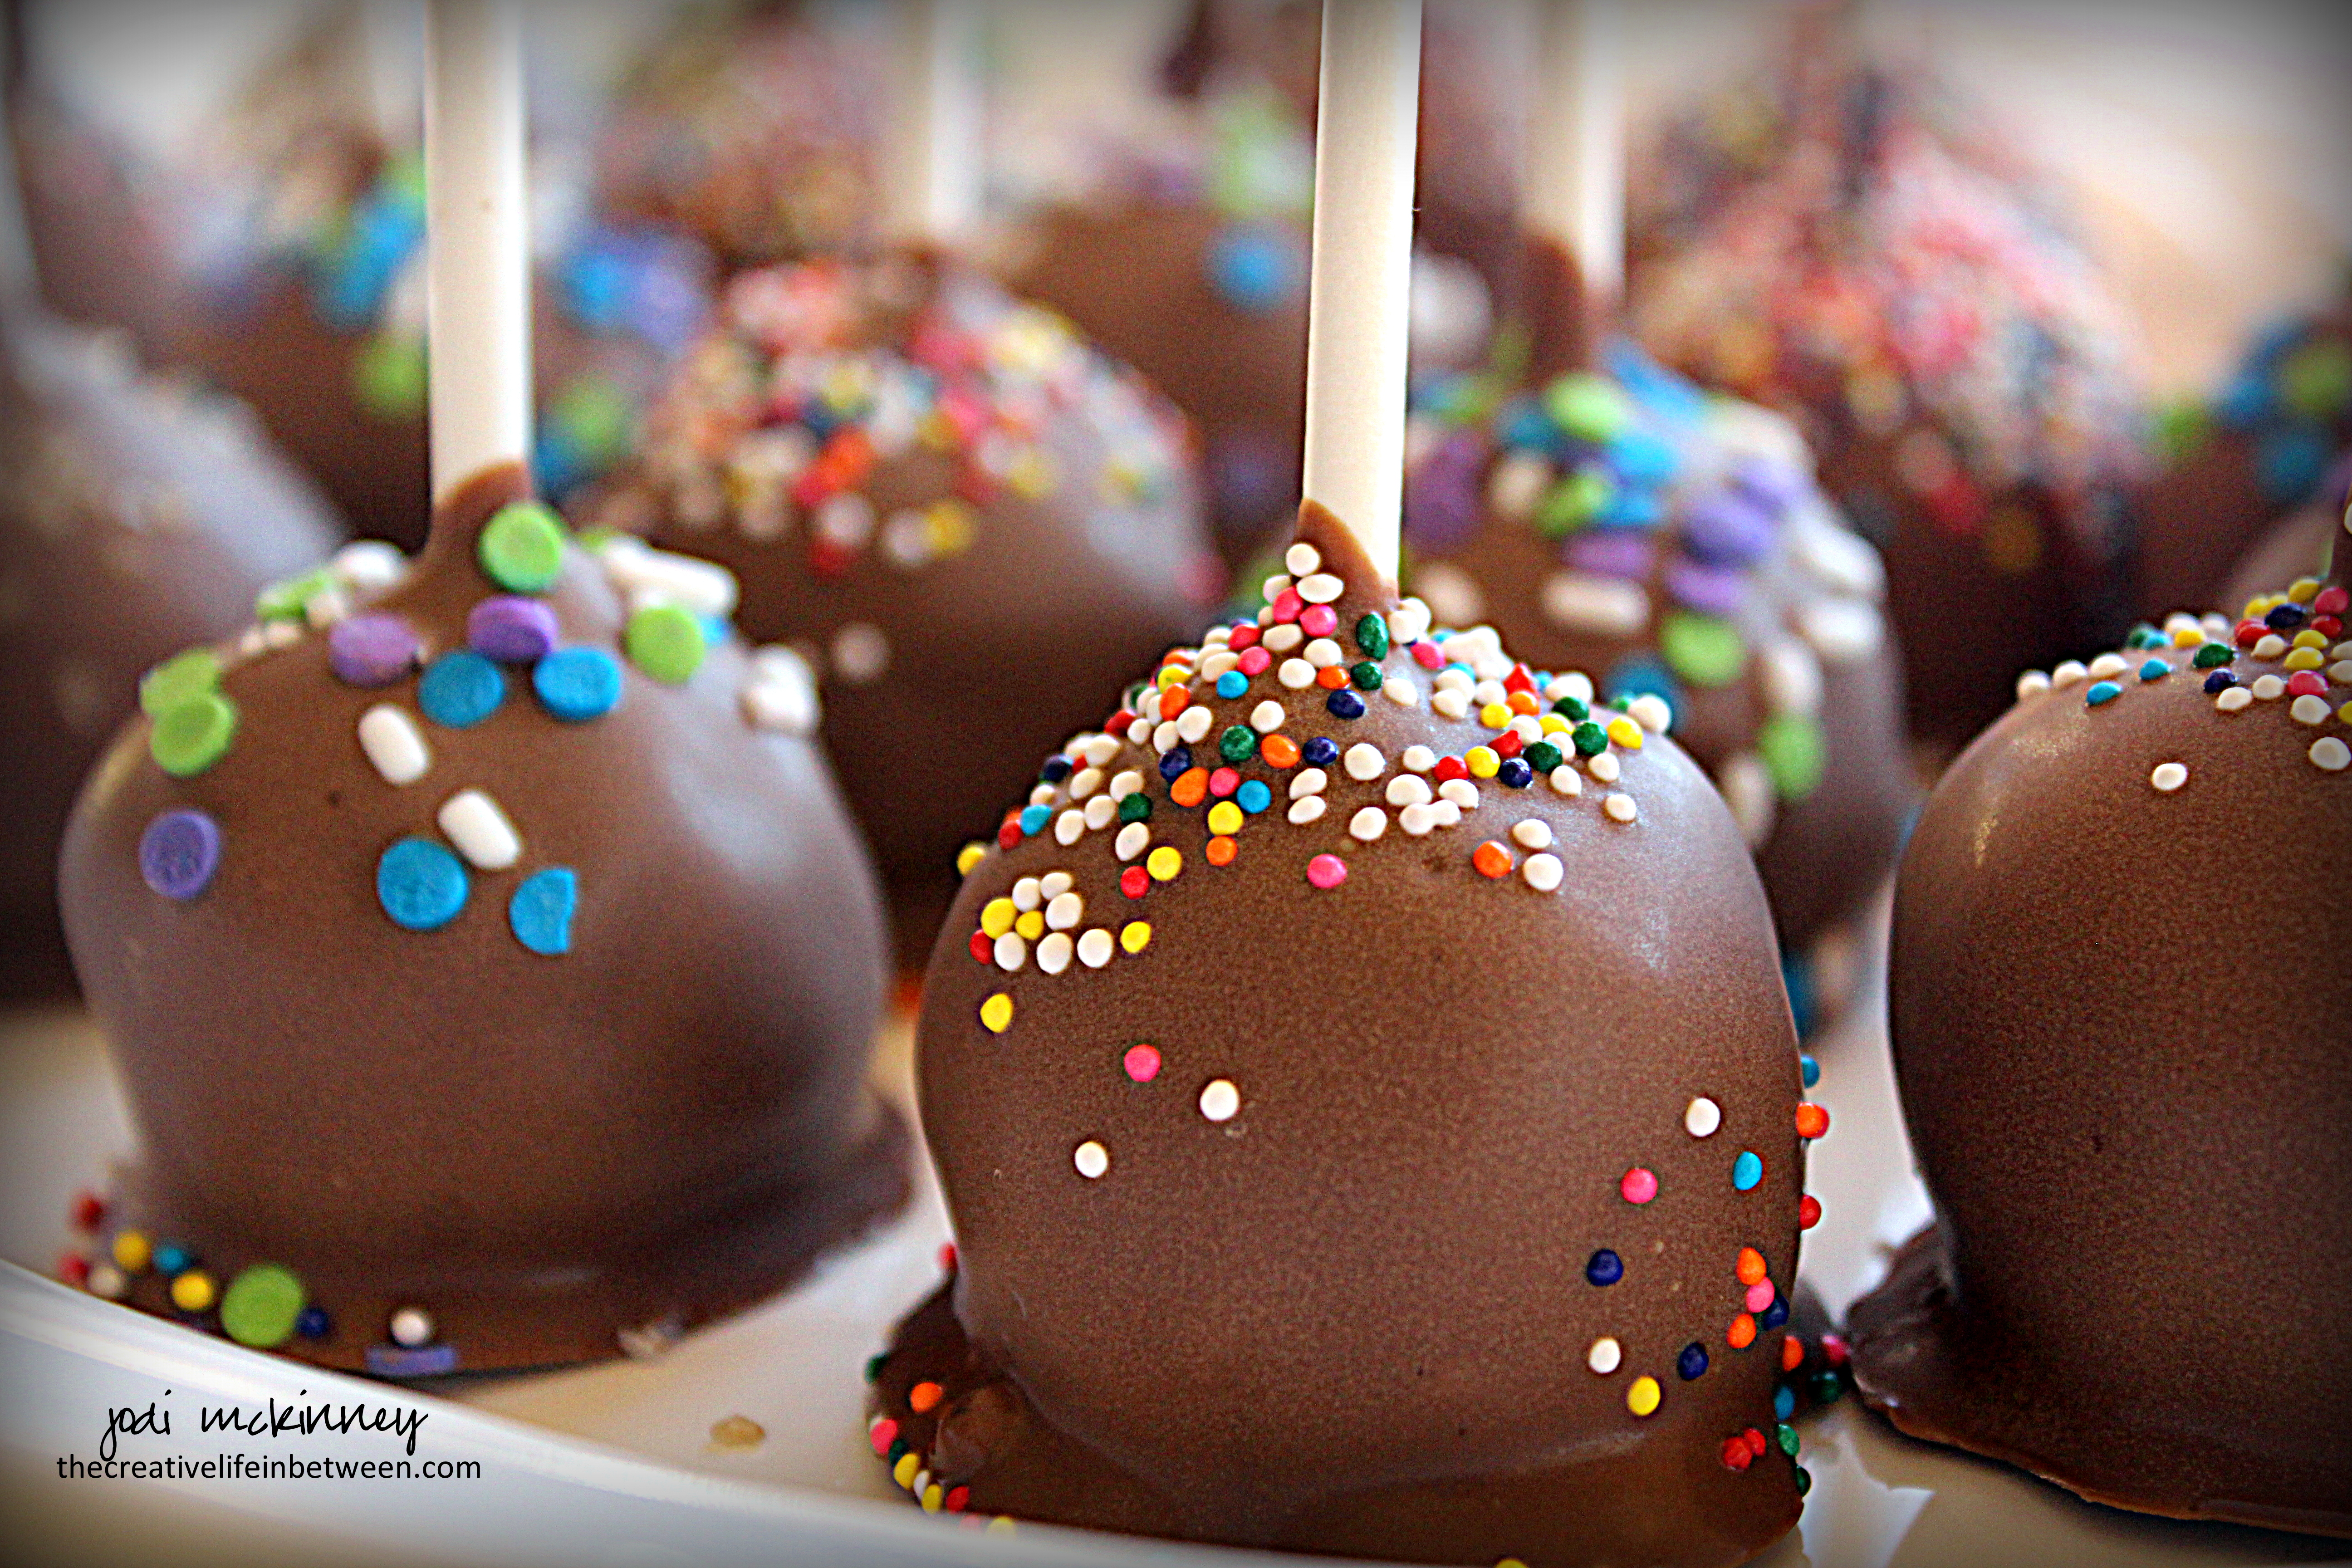
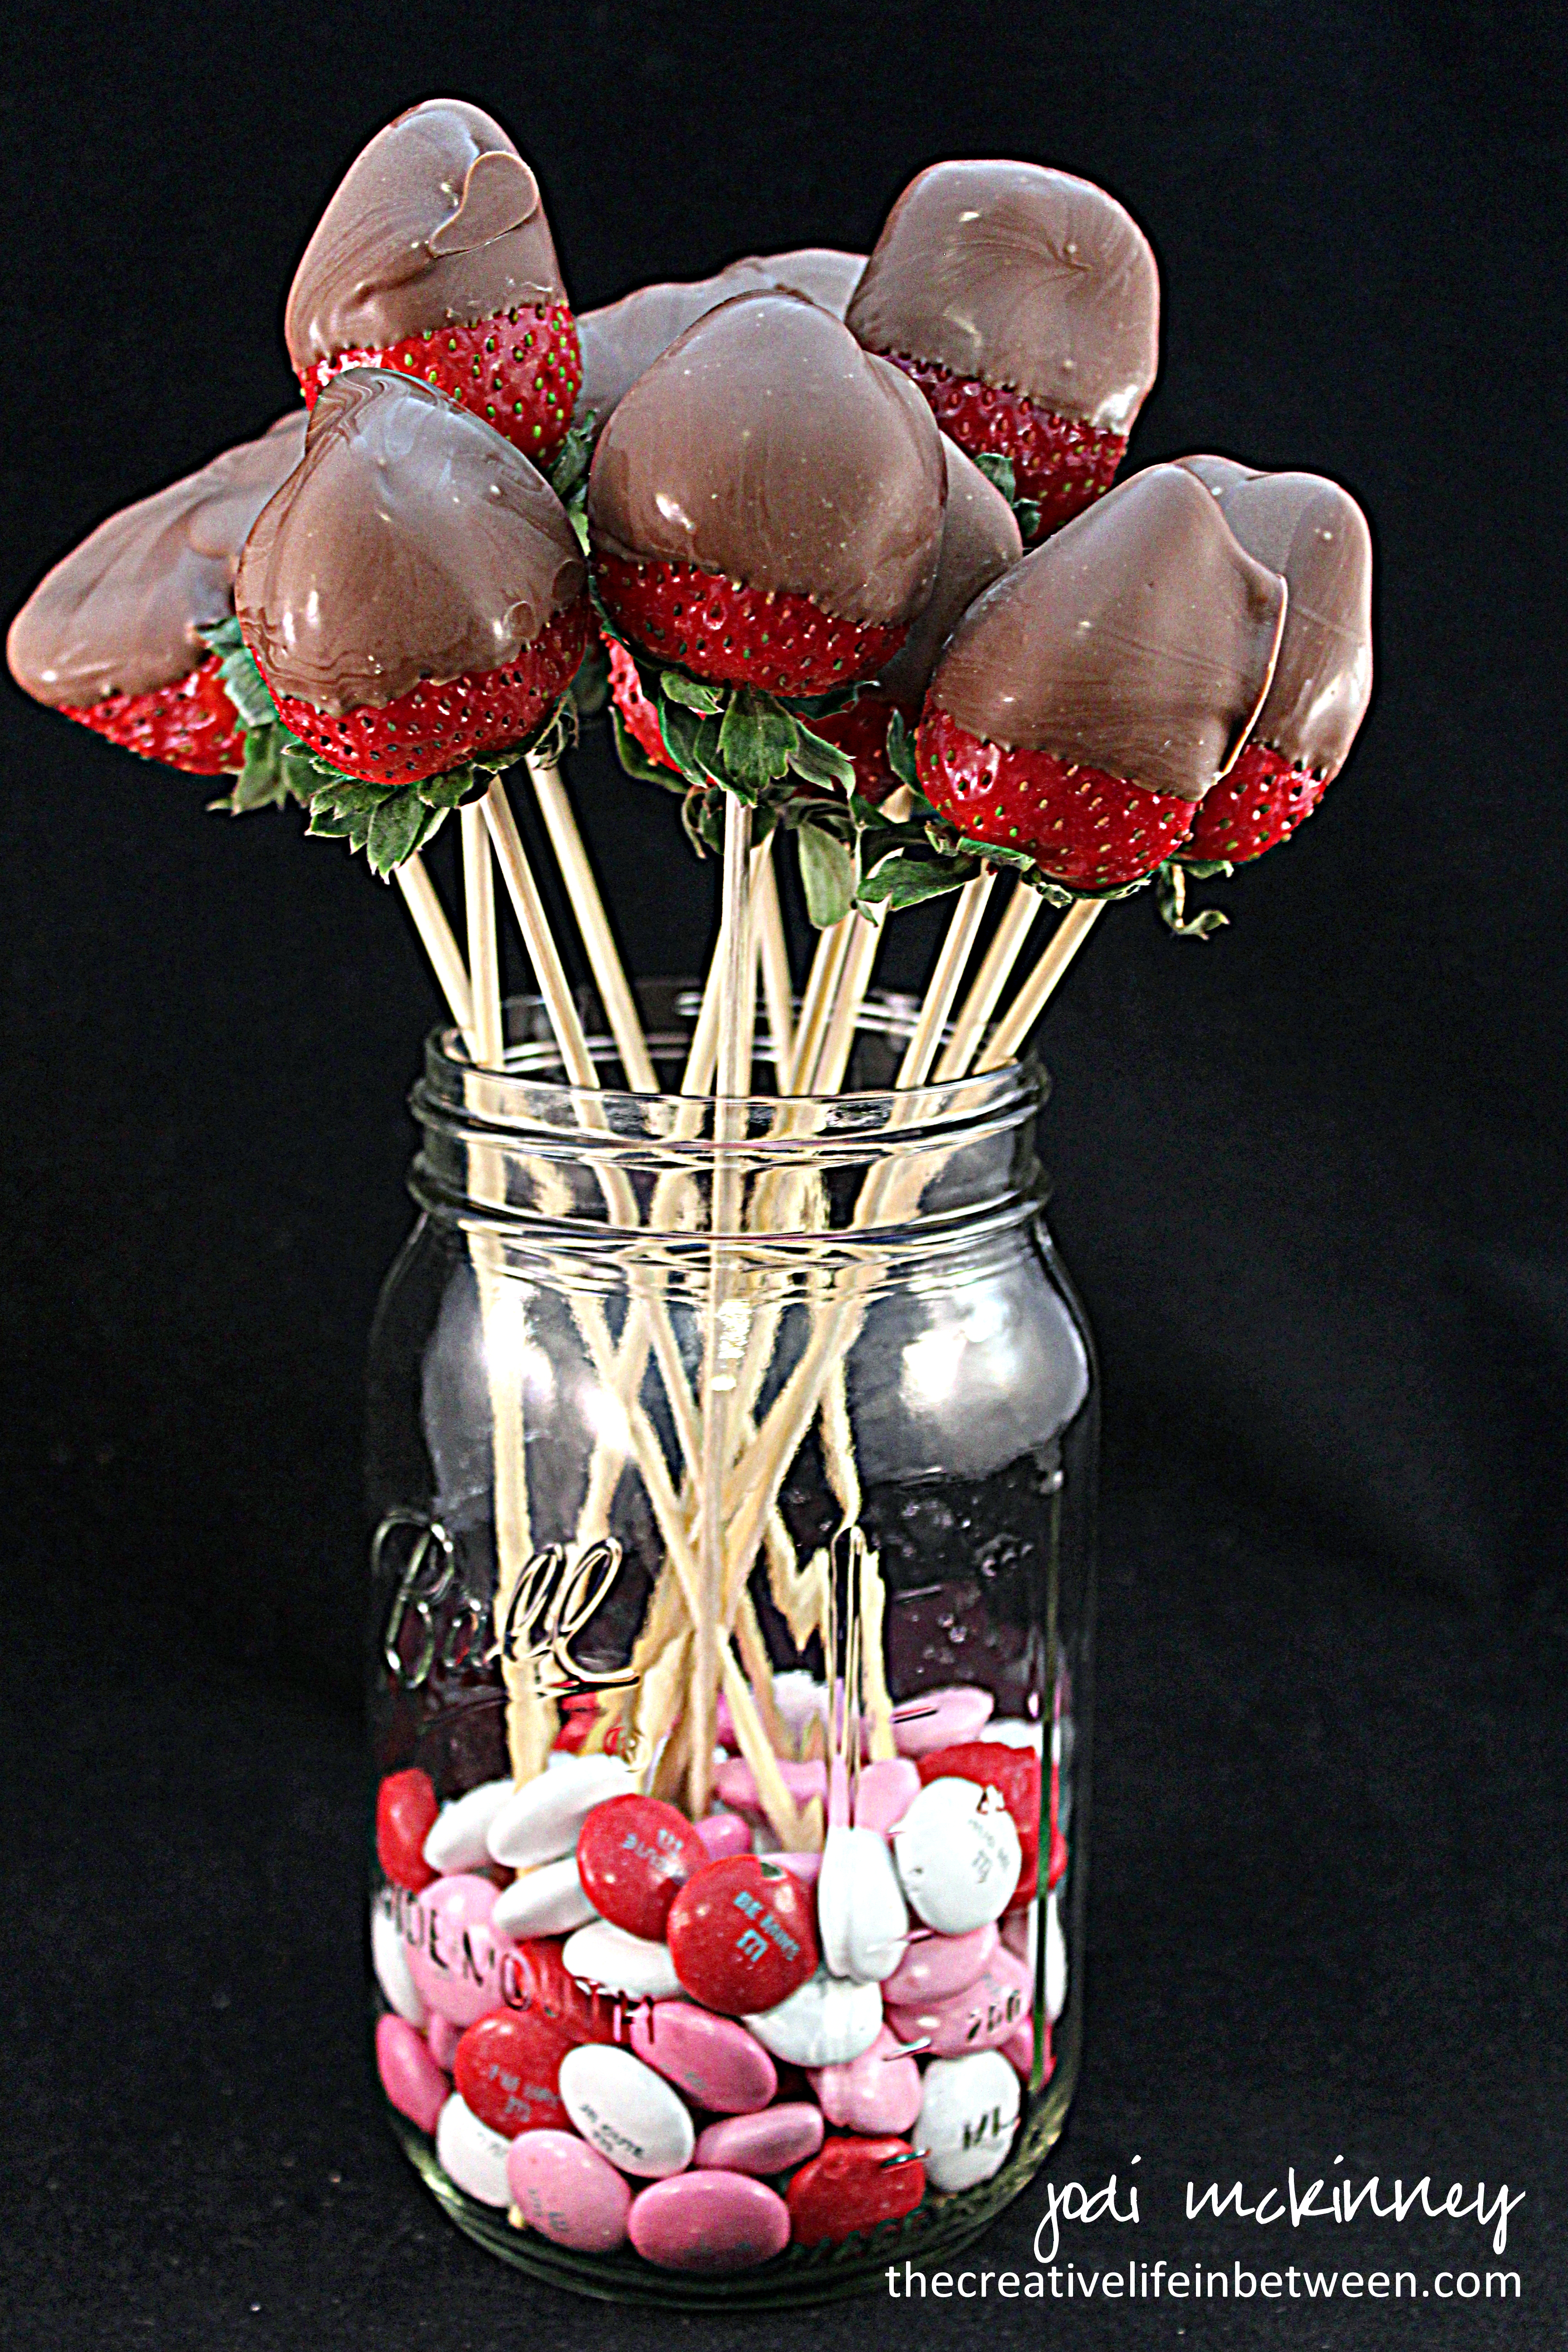
I was assigned dessert,  so a chocolating I went.  You already know about my chocolate-dipped wafer cookies and Ultimate Reese’s Peanut Butter Cookies which I had out, but I also made a bouquet of chocolate-dipped strawberries,

chocolate-dipped-strawberry-roses

and the most amazing and simple No Bake Chocolate Ganache Cookie Crust Tart I saw on another blog.

chocolate-strawberry-tart-valentines-day-couples-camp-dessert

chocolate-strawberry-tart-valentines-day-couples-camp-dessert-2

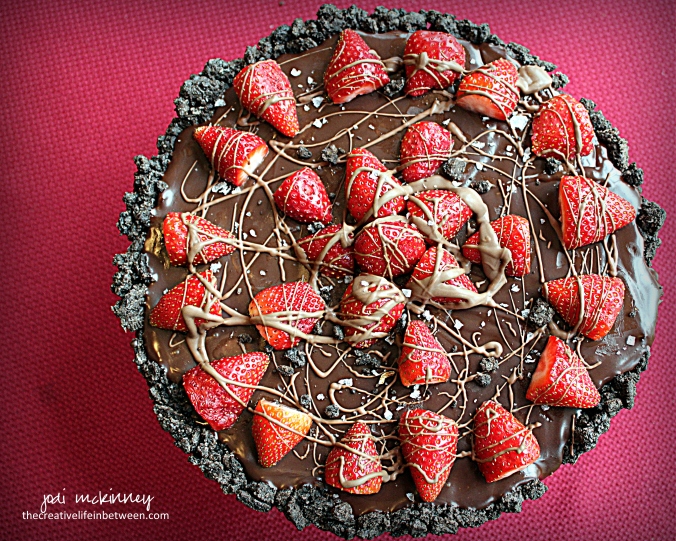
I’ll share this recipe soon.  It is seriously amazing and uses only a couple simple ingredients!

We talked the guys into playing Couples Scattegories and had fun staying up late drinking and talking until later than any of us ever stay up.

Hubby made omelets to order the next morning after we all awoke… later than we usually get up.

valentines-couples-camp-breakfast

What a joy to have such wonderful friends to share time and our home with!

And quoting Jill from last time, I once again share:

“I recommend that all of our friends coordinate a Couple’s Camp weekend. Great fun. Lots of laughter. Many life stories shared. And the realization that life long friends and connections are priceless! So go make some memories!”

Thanks for the memories dear friends!

Cheers & Hugs,
Jodi