See the light
in others,
and treat
them as if
that is all
you see.
– Dr. Wayne Dyer
Weekly Photo Challenge: Twinkle
Cheers & Bright Twinkly Hugs,
Jodi

– Dr. Wayne Dyer
Weekly Photo Challenge: Twinkle
Cheers & Bright Twinkly Hugs,
Jodi
One of my favorite things to bake (and eat) for the holidays is my Grandma’s Old-Fashioned Apricot Nut Bread.
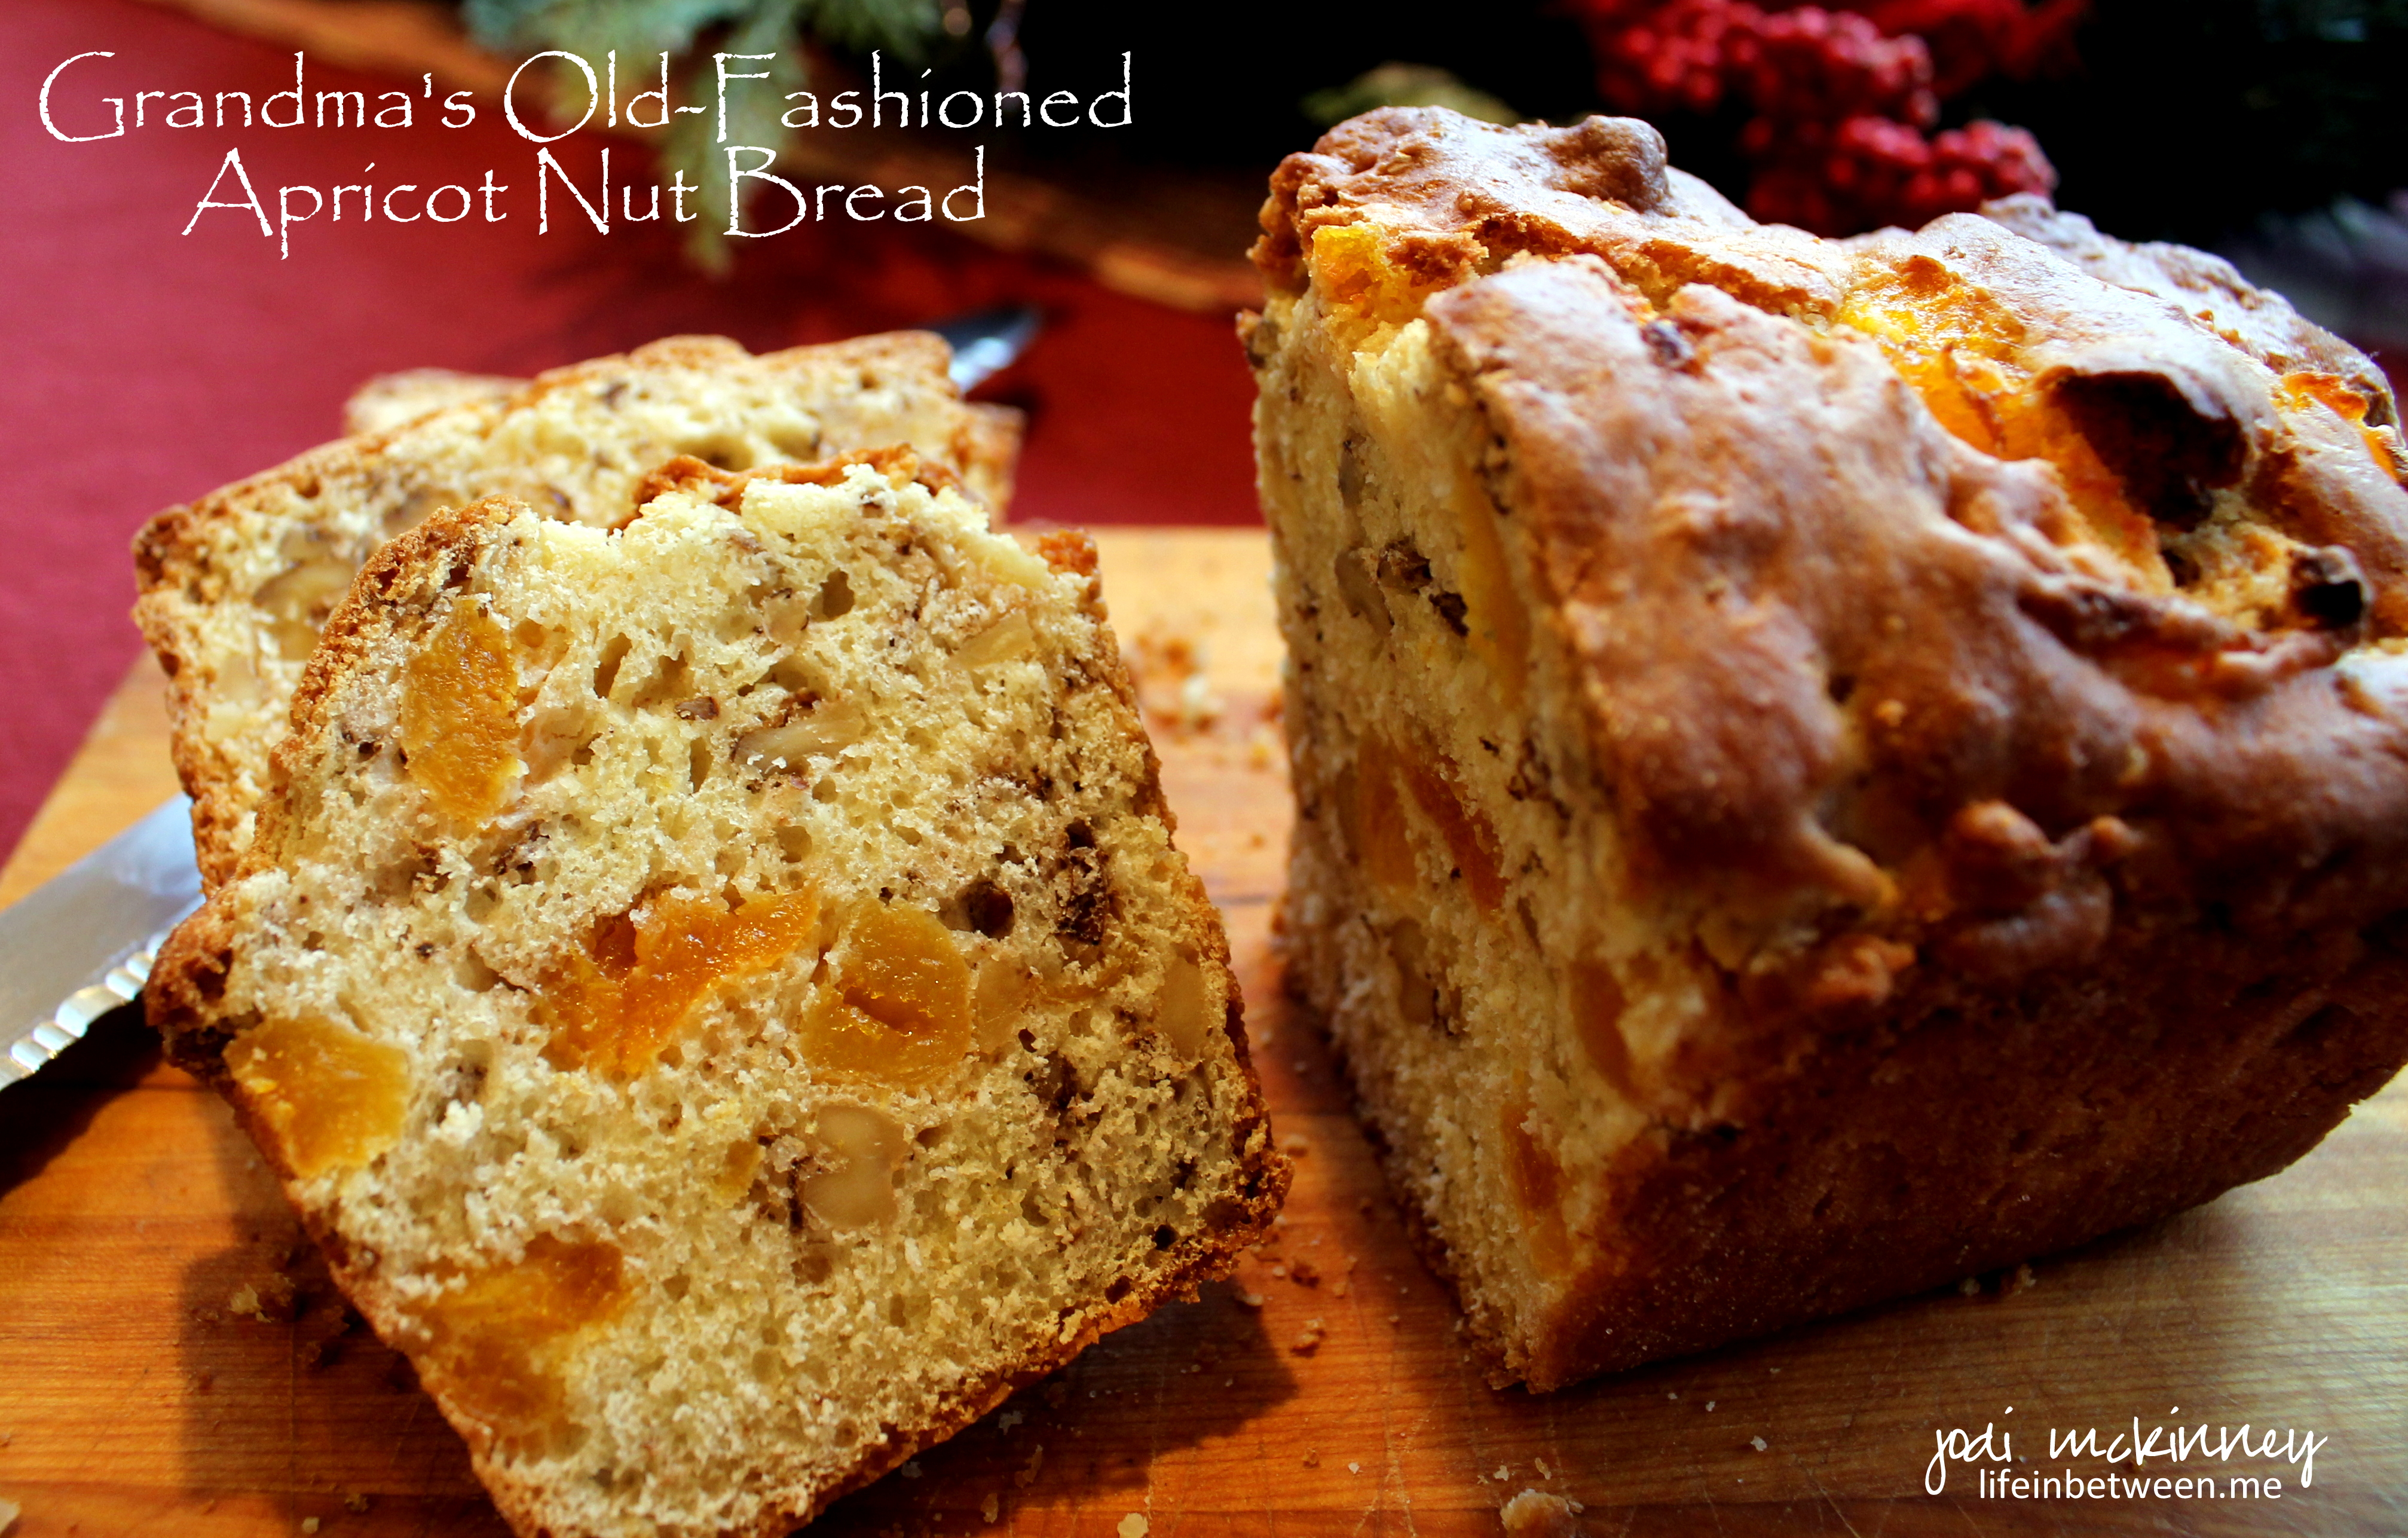
For me, it is like spending a little time with Grandma – even though she’s been gone for 20 years now. The smells that fill the house… using her recipe card – complete with stains from baking episodes past… using her old tin measuring cup, snipping apricots, chopping nuts… To me, the holidays aren’t truly here until I make Grandma’s Apricot Nut Bread and spend a little time with her through this ritual.
When I was young, I spent Christmas vacations (and every other moment I could) with Grandma. We spent a lot of our time together in the kitchen. While we were cooking or baking, Grandma would tell me stories about her childhood. It was sadly a pretty short one, because she had to become Mama to her baby brothers at only 9 years old when her mom died at a devastatingly early age. We would talk about her early married life with outhouses, coal furnaces, and washboards. And some of my favorite stories, especially when I was young, were the ones she would tell about me when I was a baby and how she danced in the hospital hallway with the doctor after I was born and how she fed me her homemade chicken soup on my first day home.
We laughed while we worked, and I never felt so loved.
One of the things Grandma made every year was Apricot Nut Bread. Growing up, it really wasn’t my favorite. I much preferred the lady locks or nut horns or nut roll – even the chocolate chip cookies. This bread is not overly sweet. It is not overly moist. But as an adult, it has become my absolute favorite. A slice with a swirl of creamy salted butter or a schmear of rich cream cheese and a cup of coffee might just be my favorite way to start the day.
This weekend, I made my annual batch of Grandma’s Old-Fashioned Apricot Nut Bread.
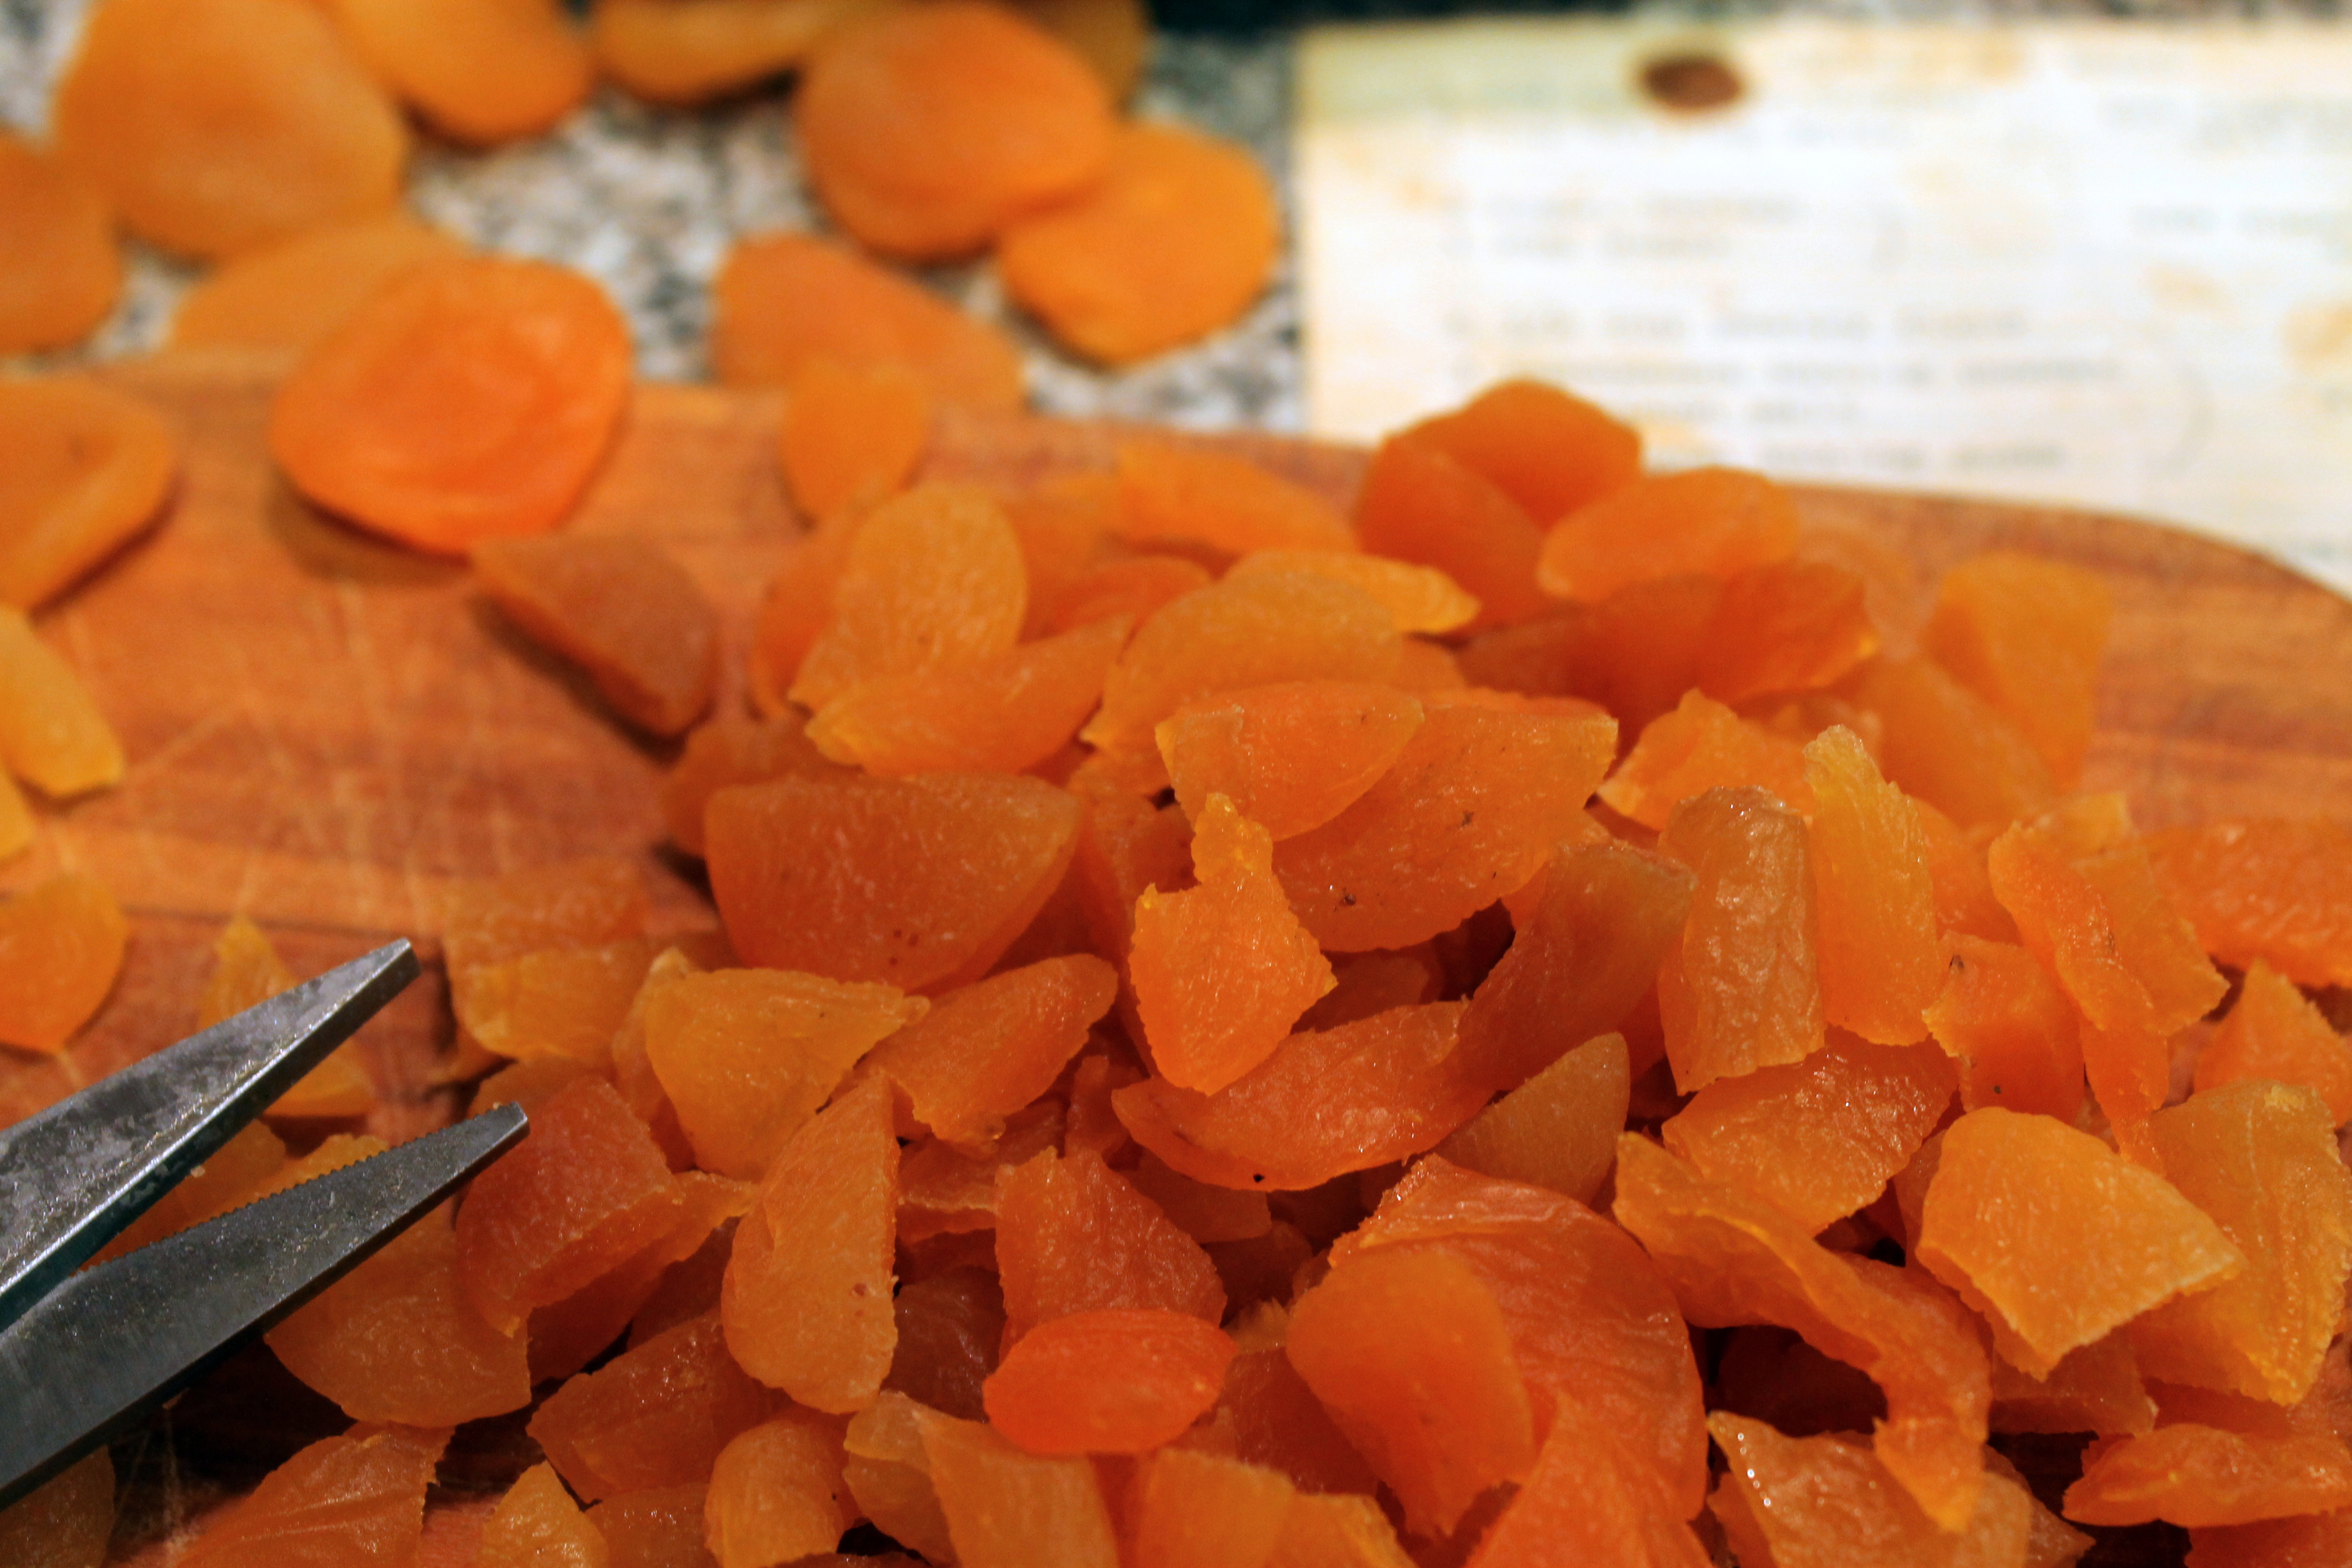
I started with some dried apricots, which I snipped with scissors into large chunks. (I cut most of the apricots into fourths.) Sharp kitchen shears work much better than a knife given the stickiness of the apricots while cutting. And – it’s how Grandma did it…
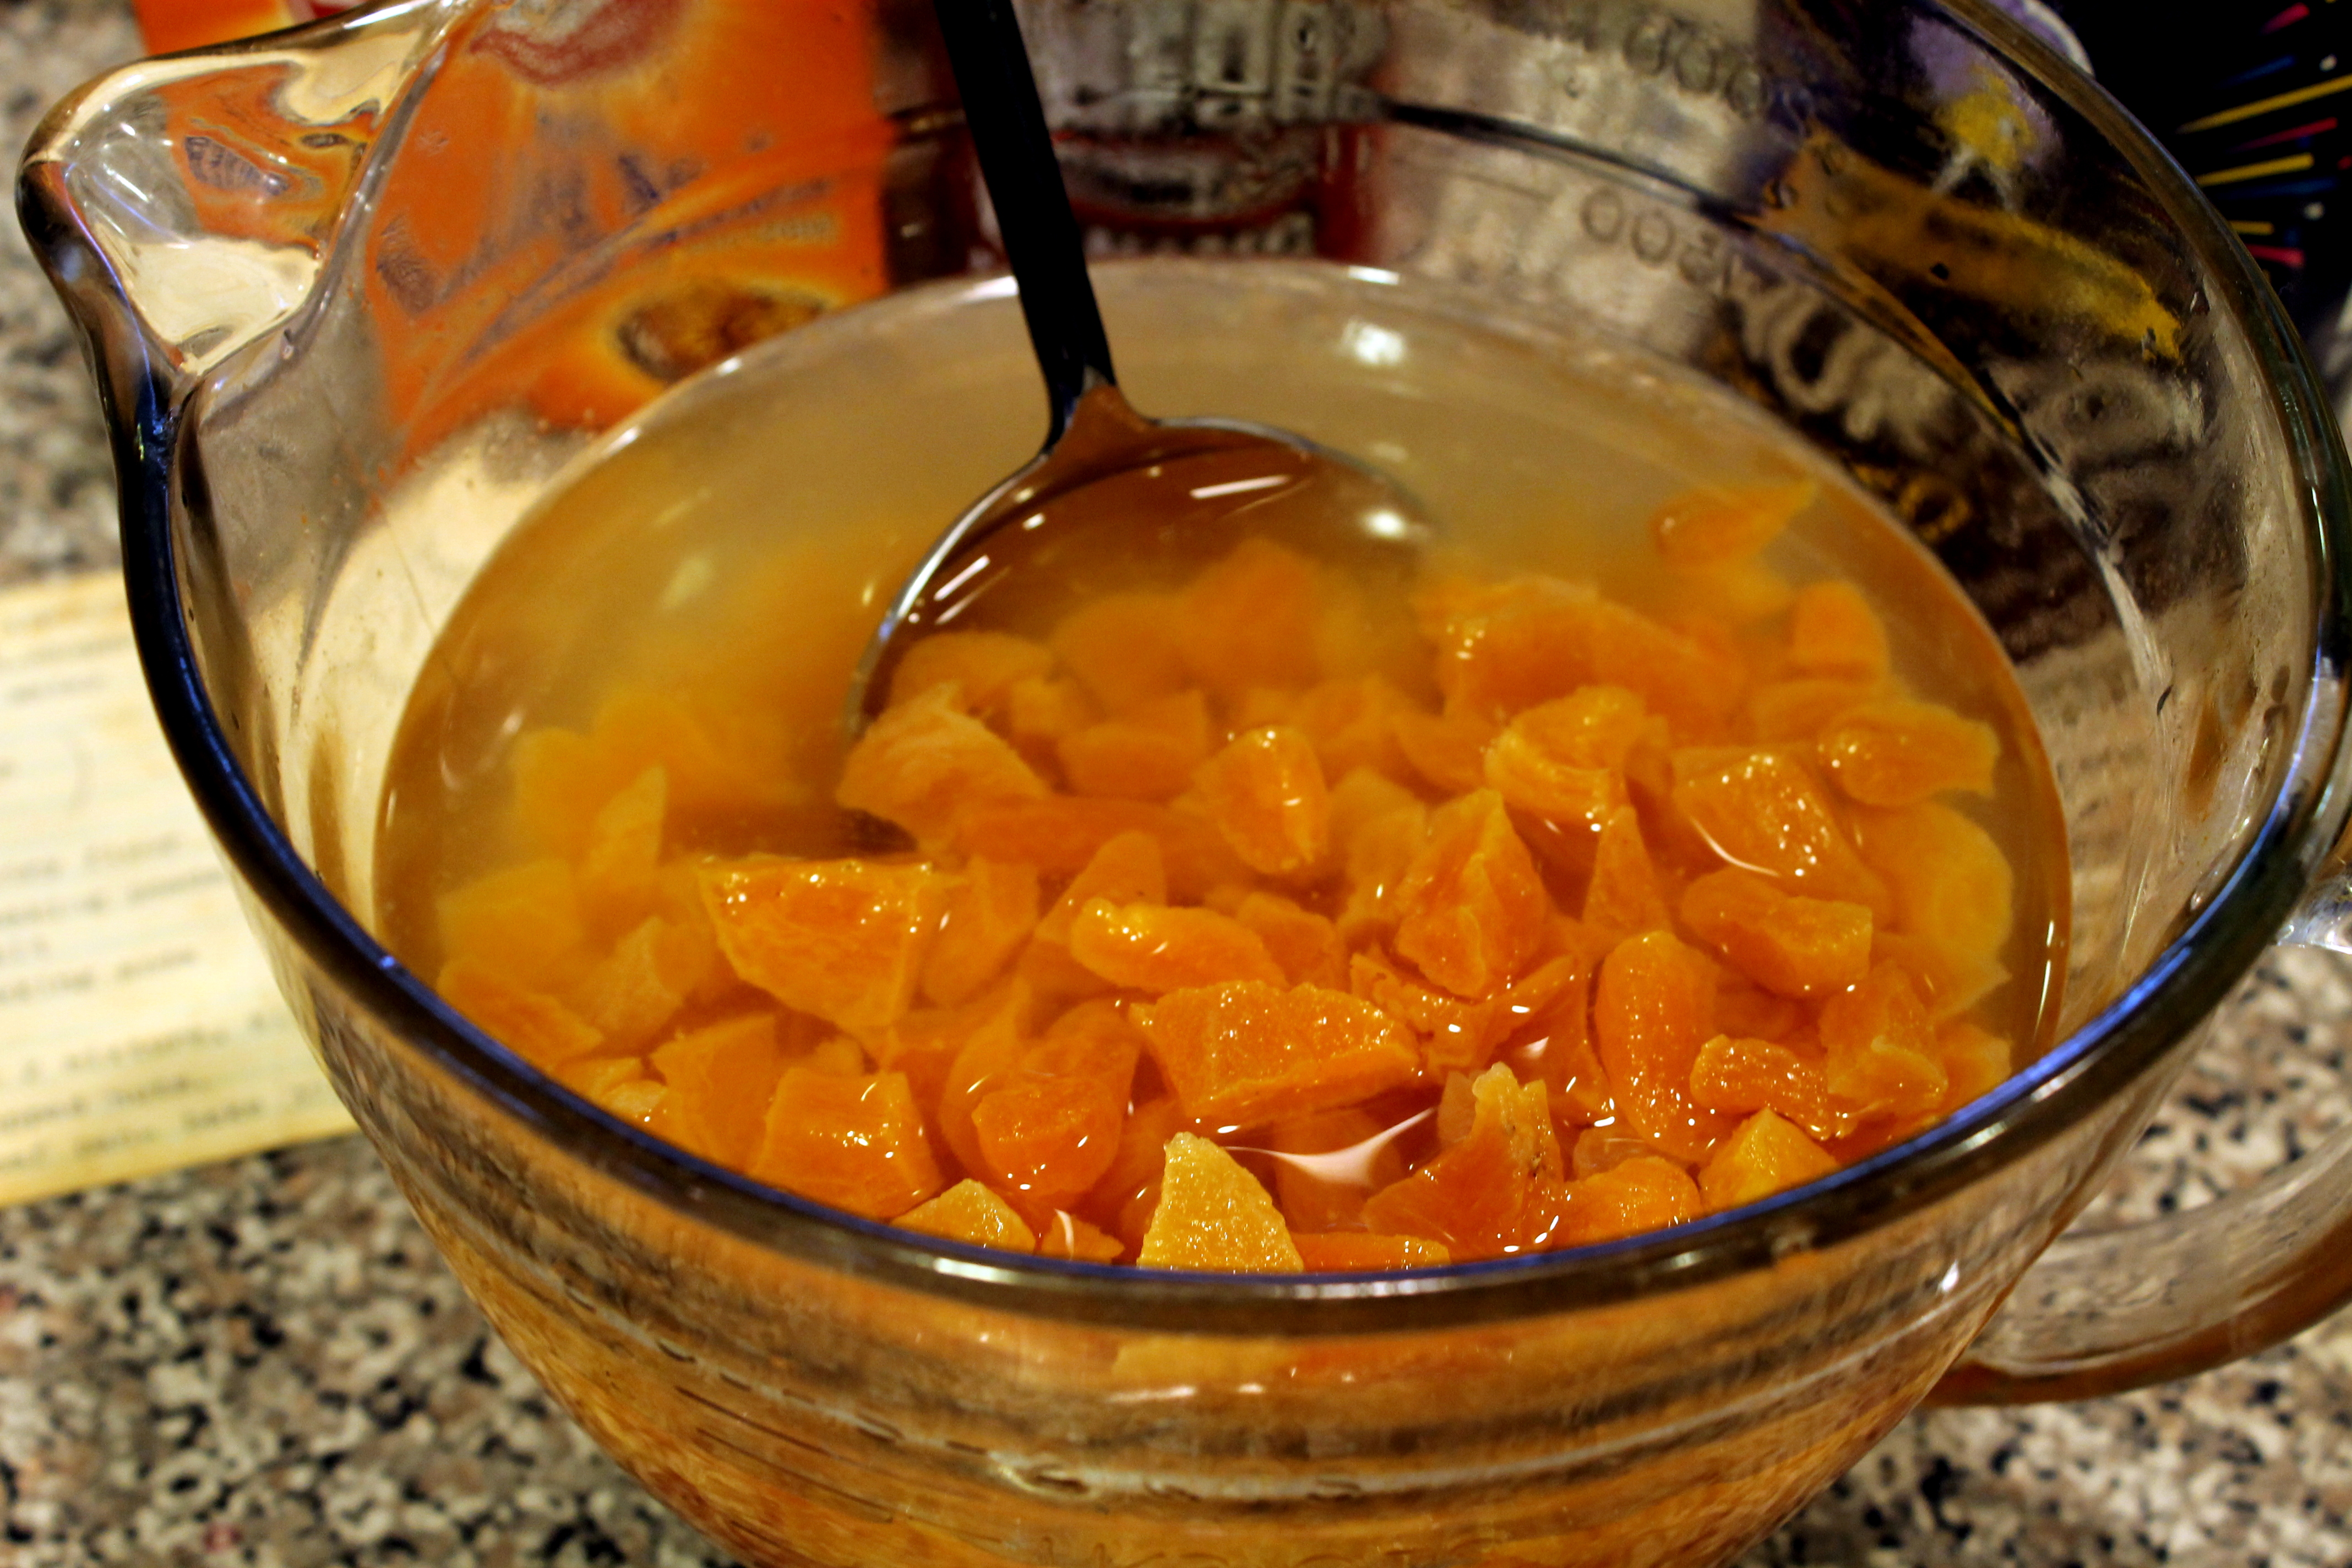
 After the apricots are coarsely snipped, they are placed in a bowl of hot water to further plump and soften. Equal parts of apricots and water are used.
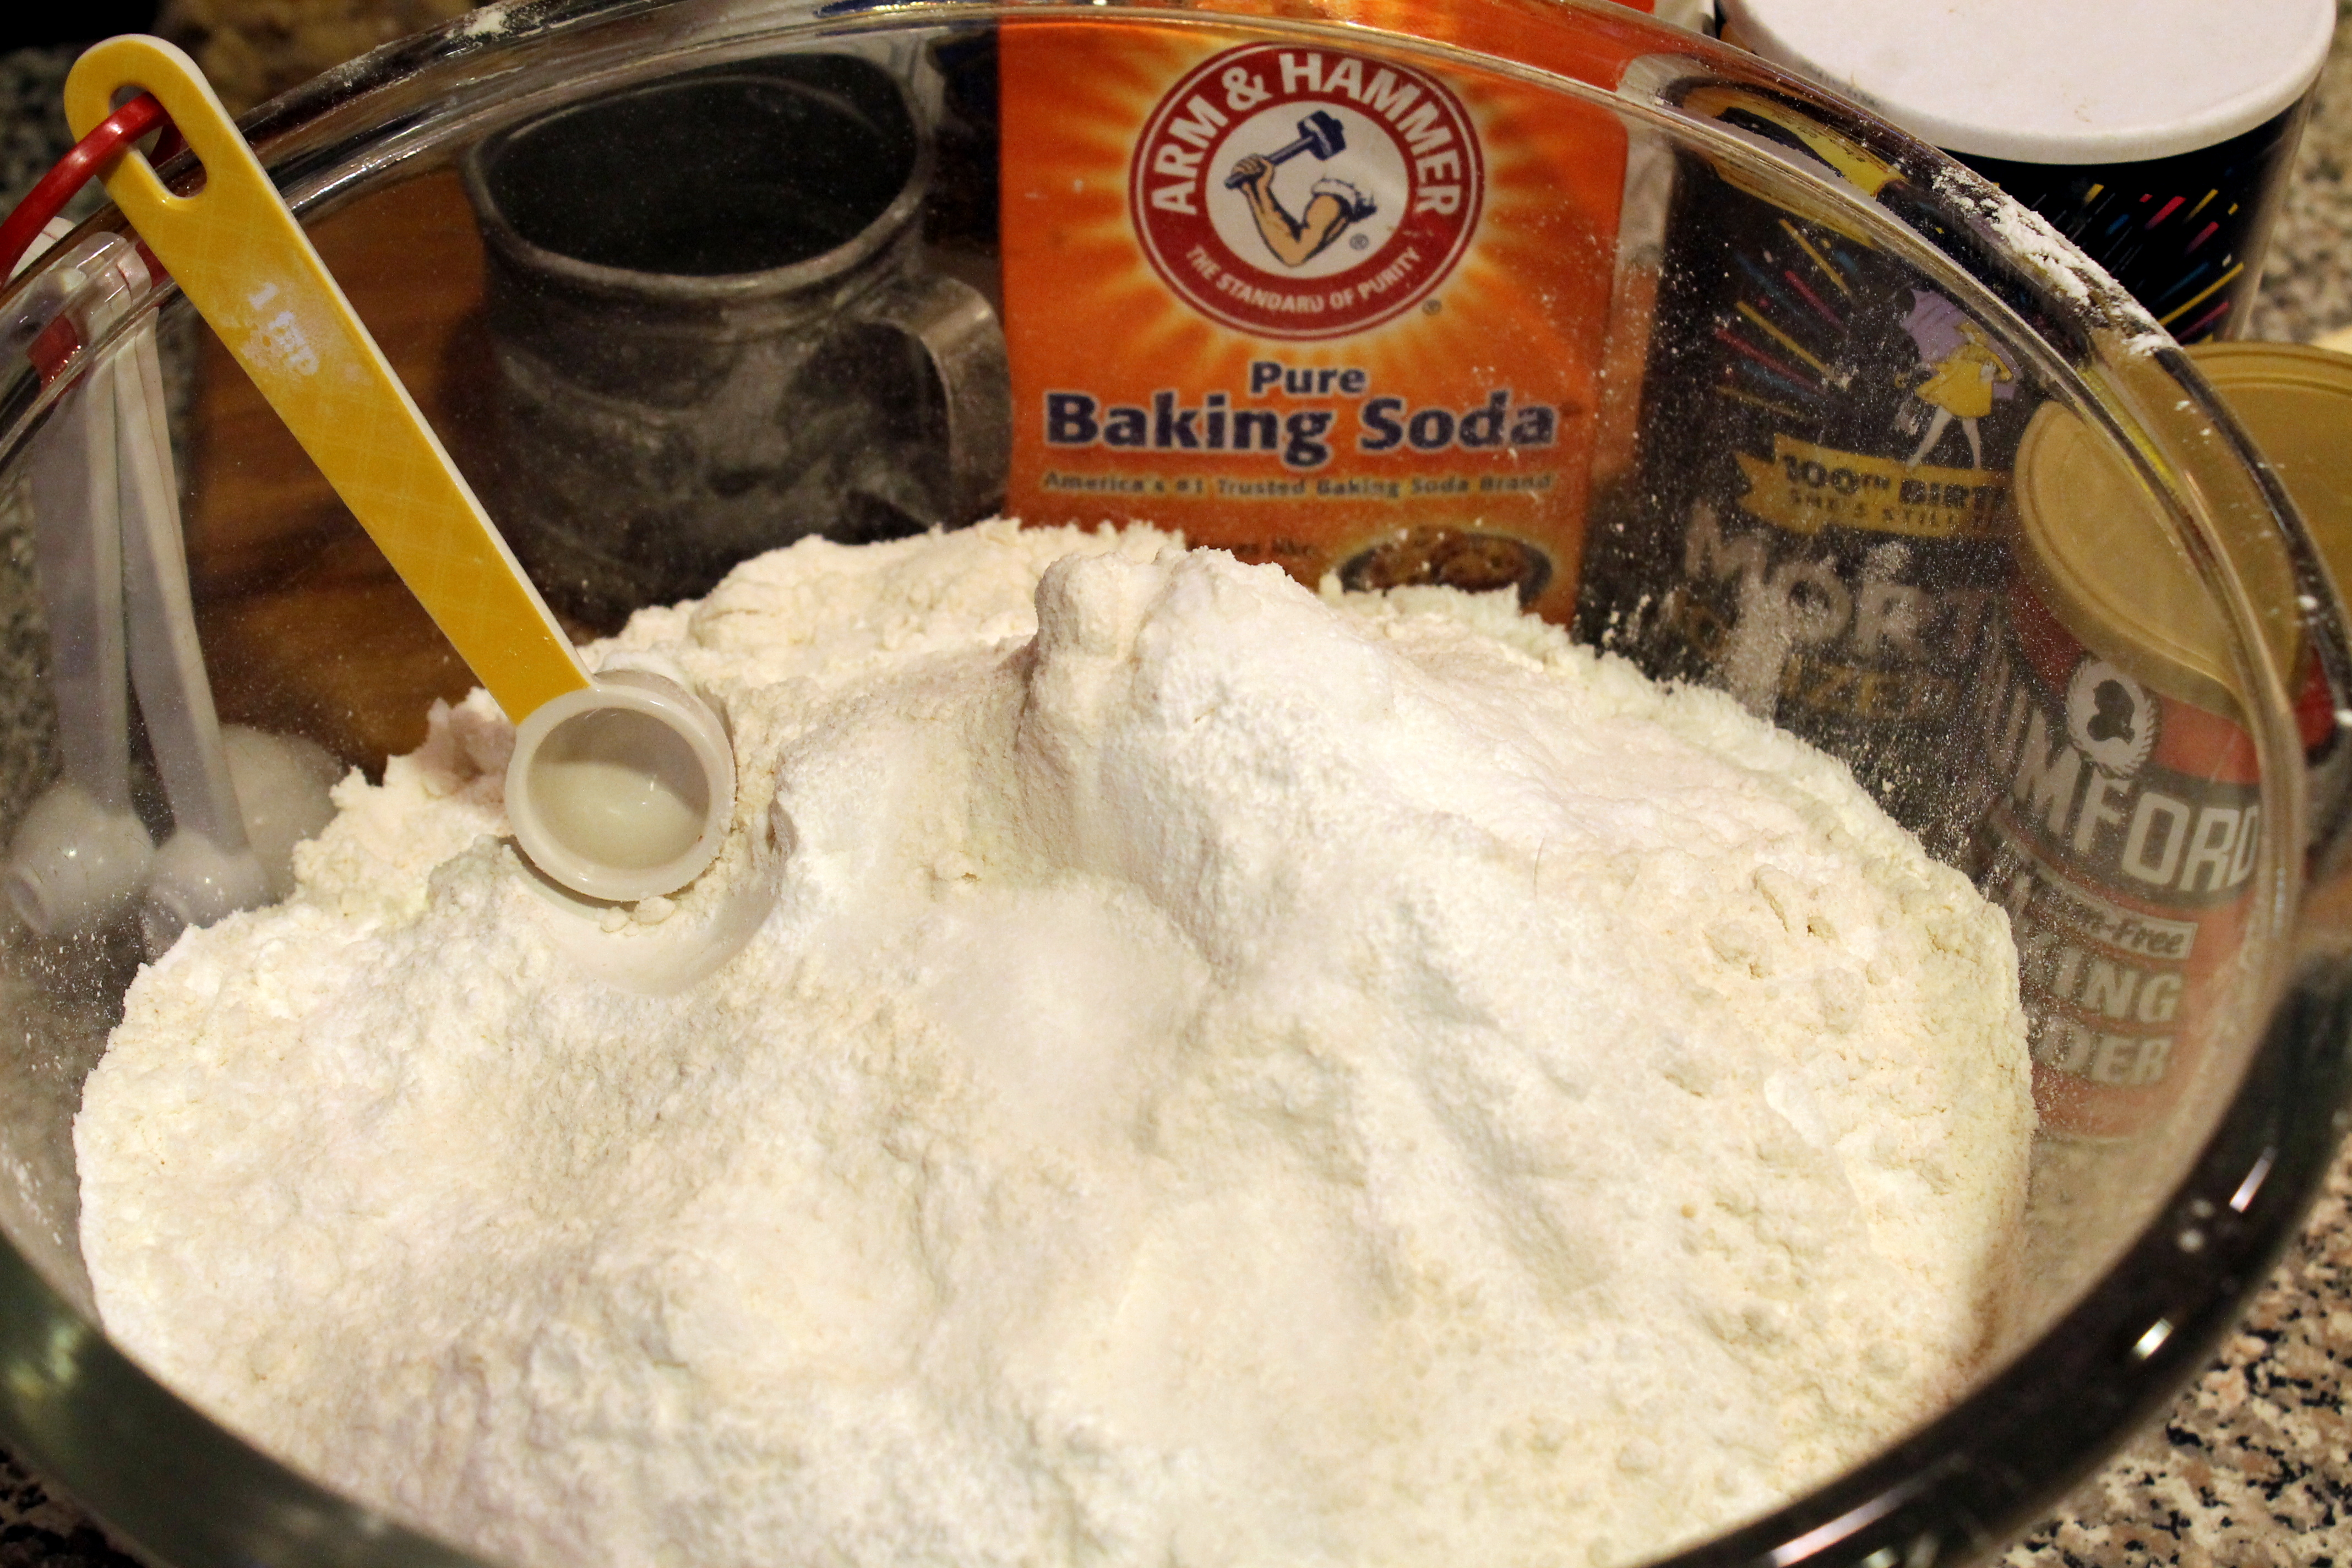
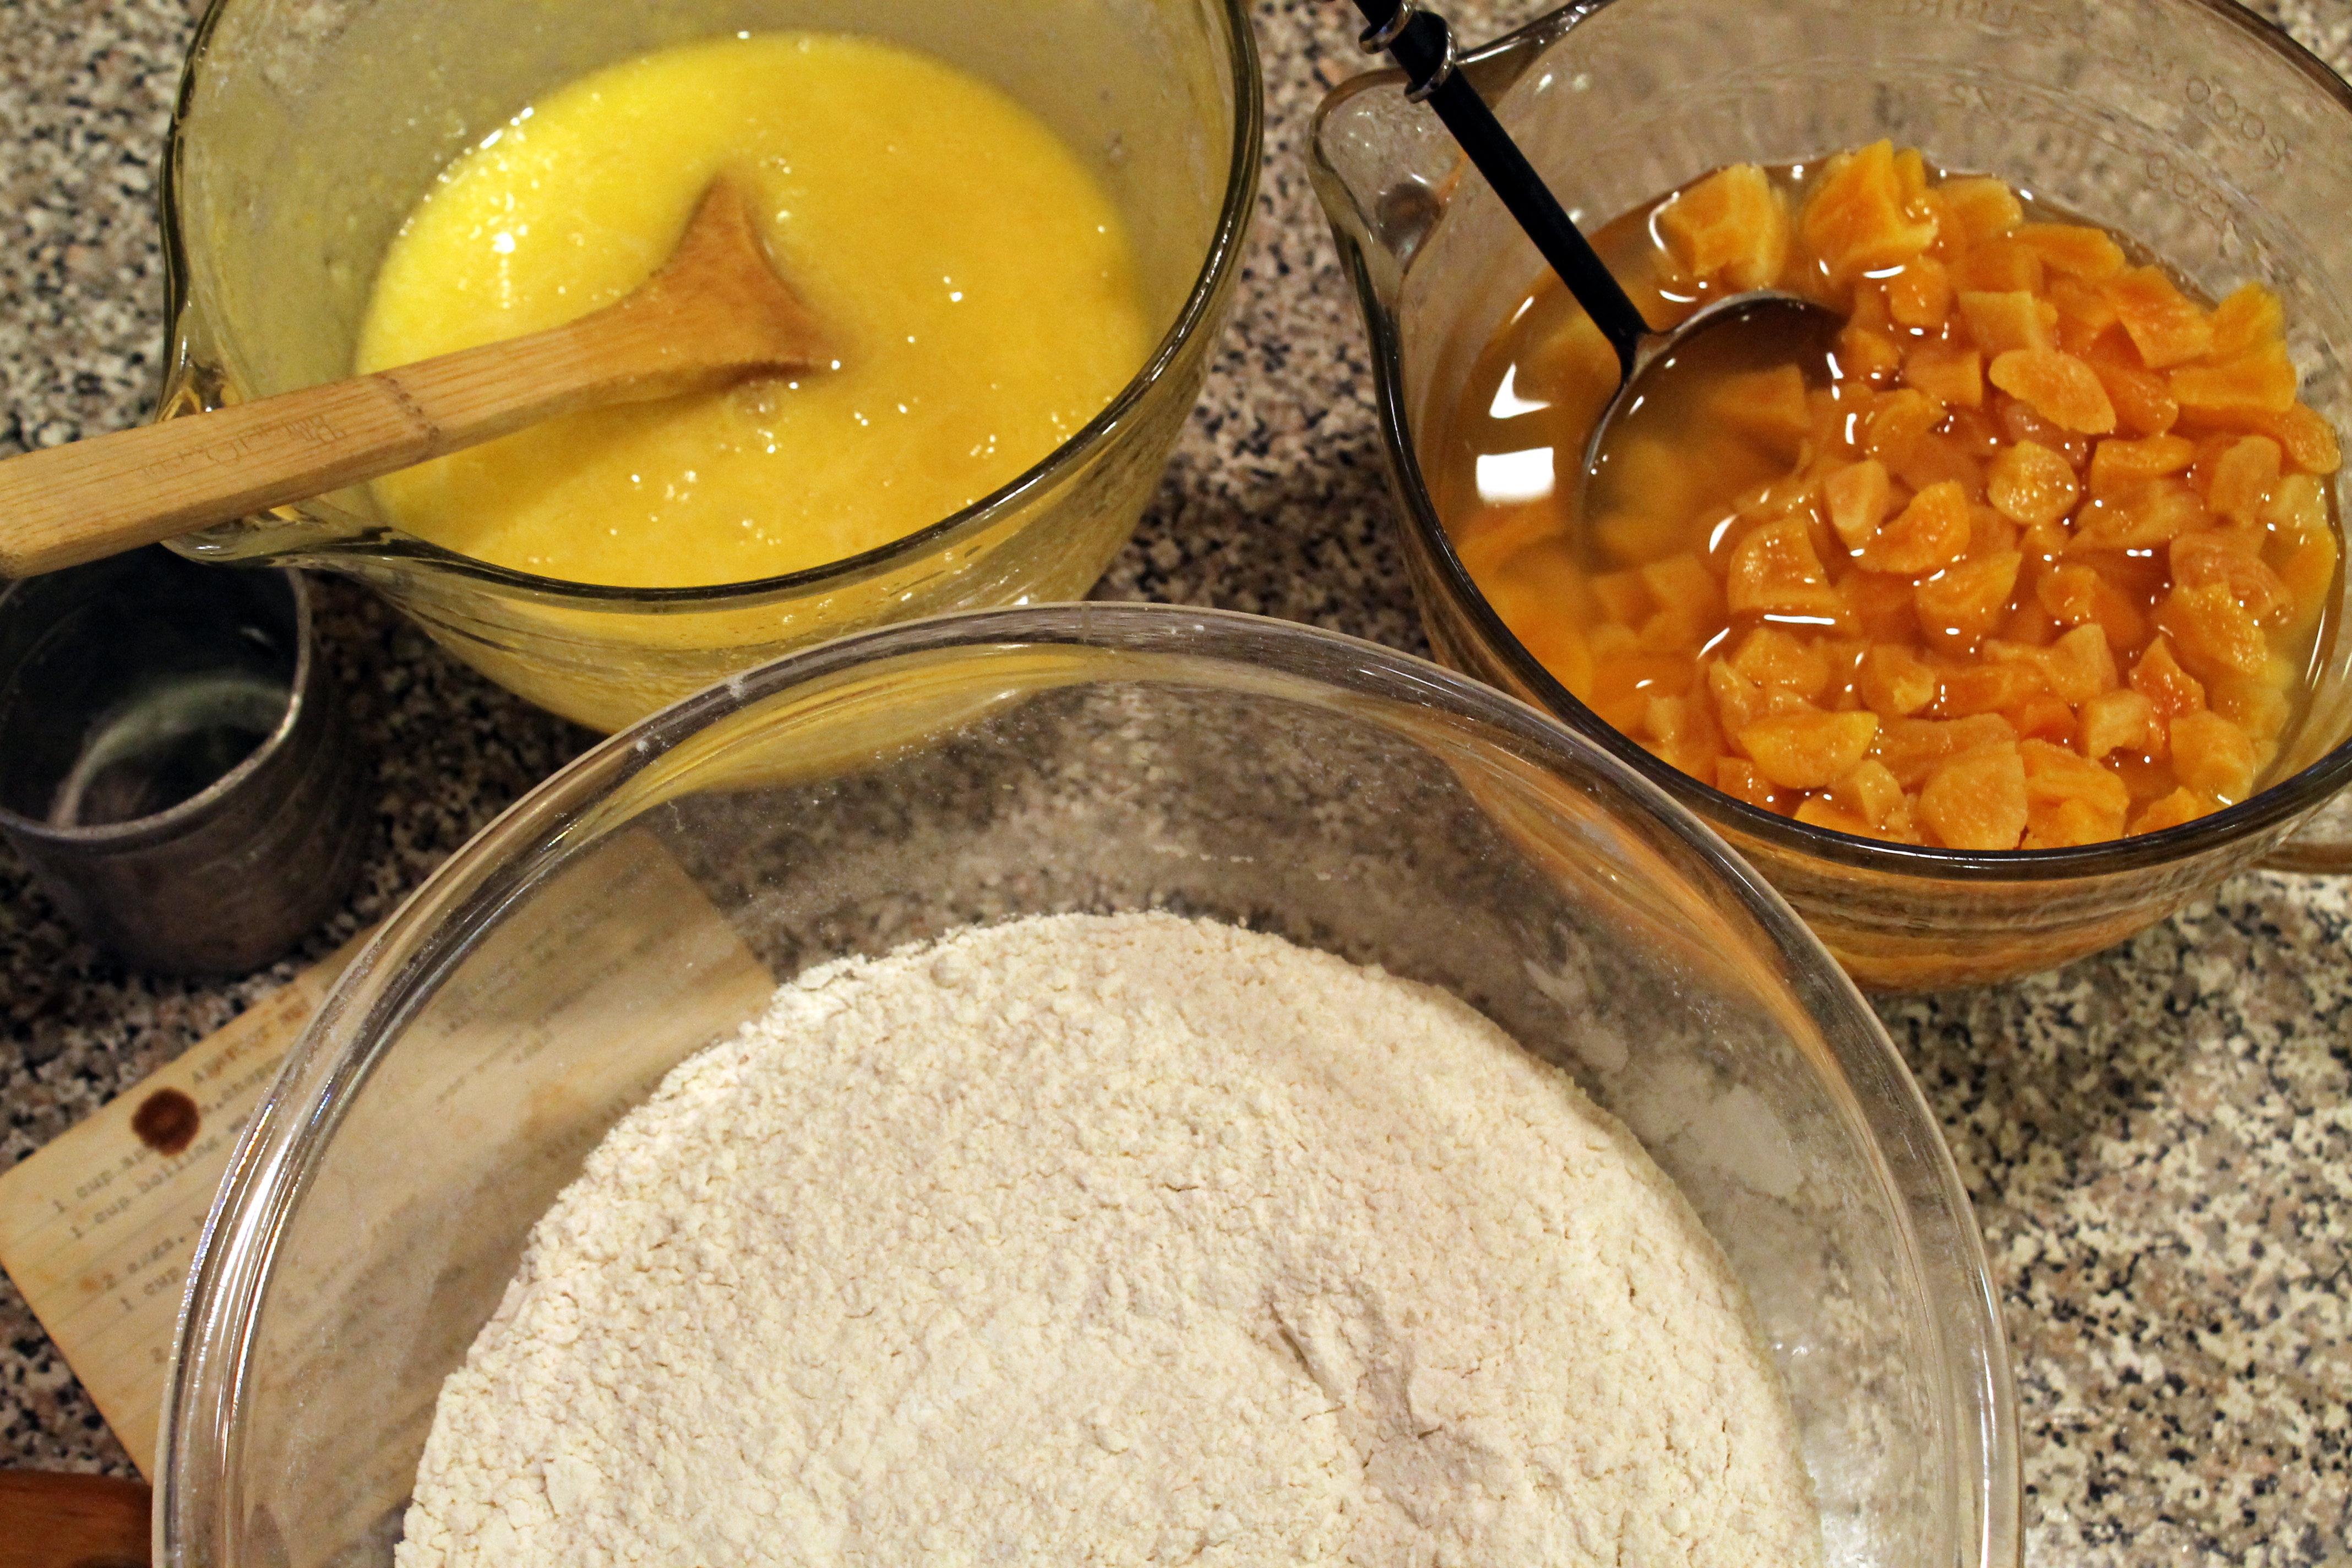
 The dry ingredients are mixed together next in a separate bowl: flour, baking soda, baking powder, and salt.
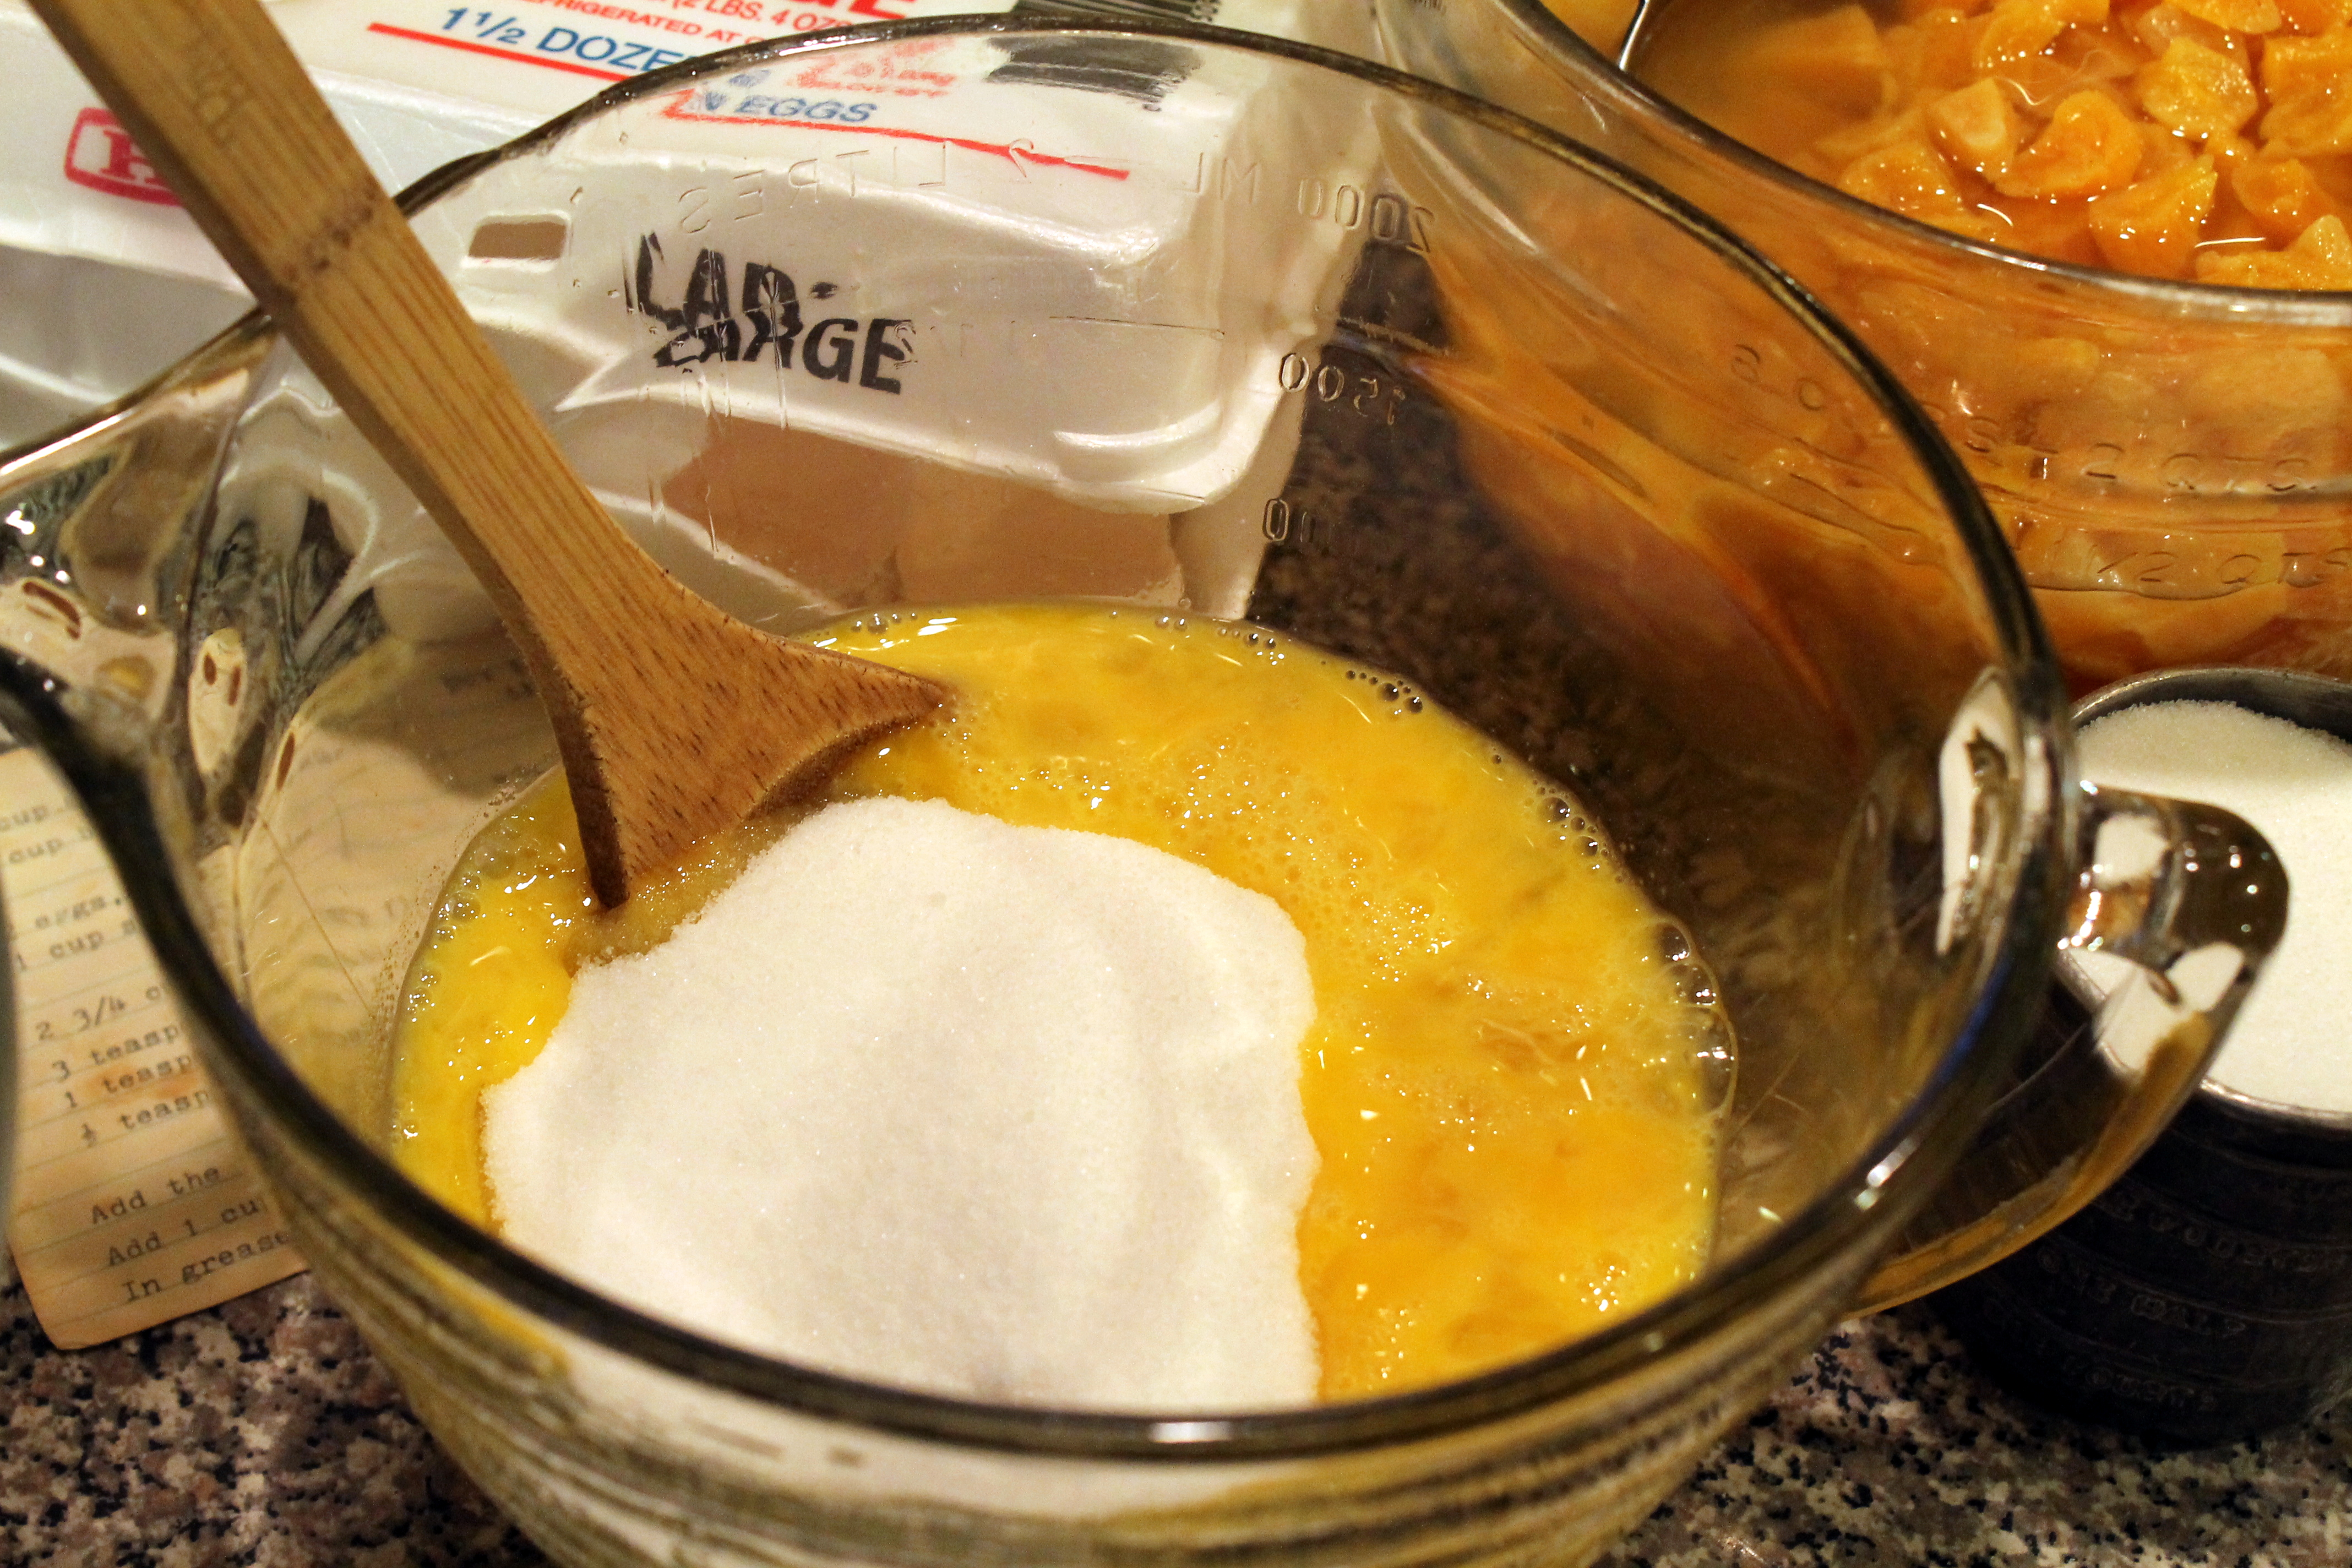
 In a third bowl, eggs are beaten, and sugar is added.
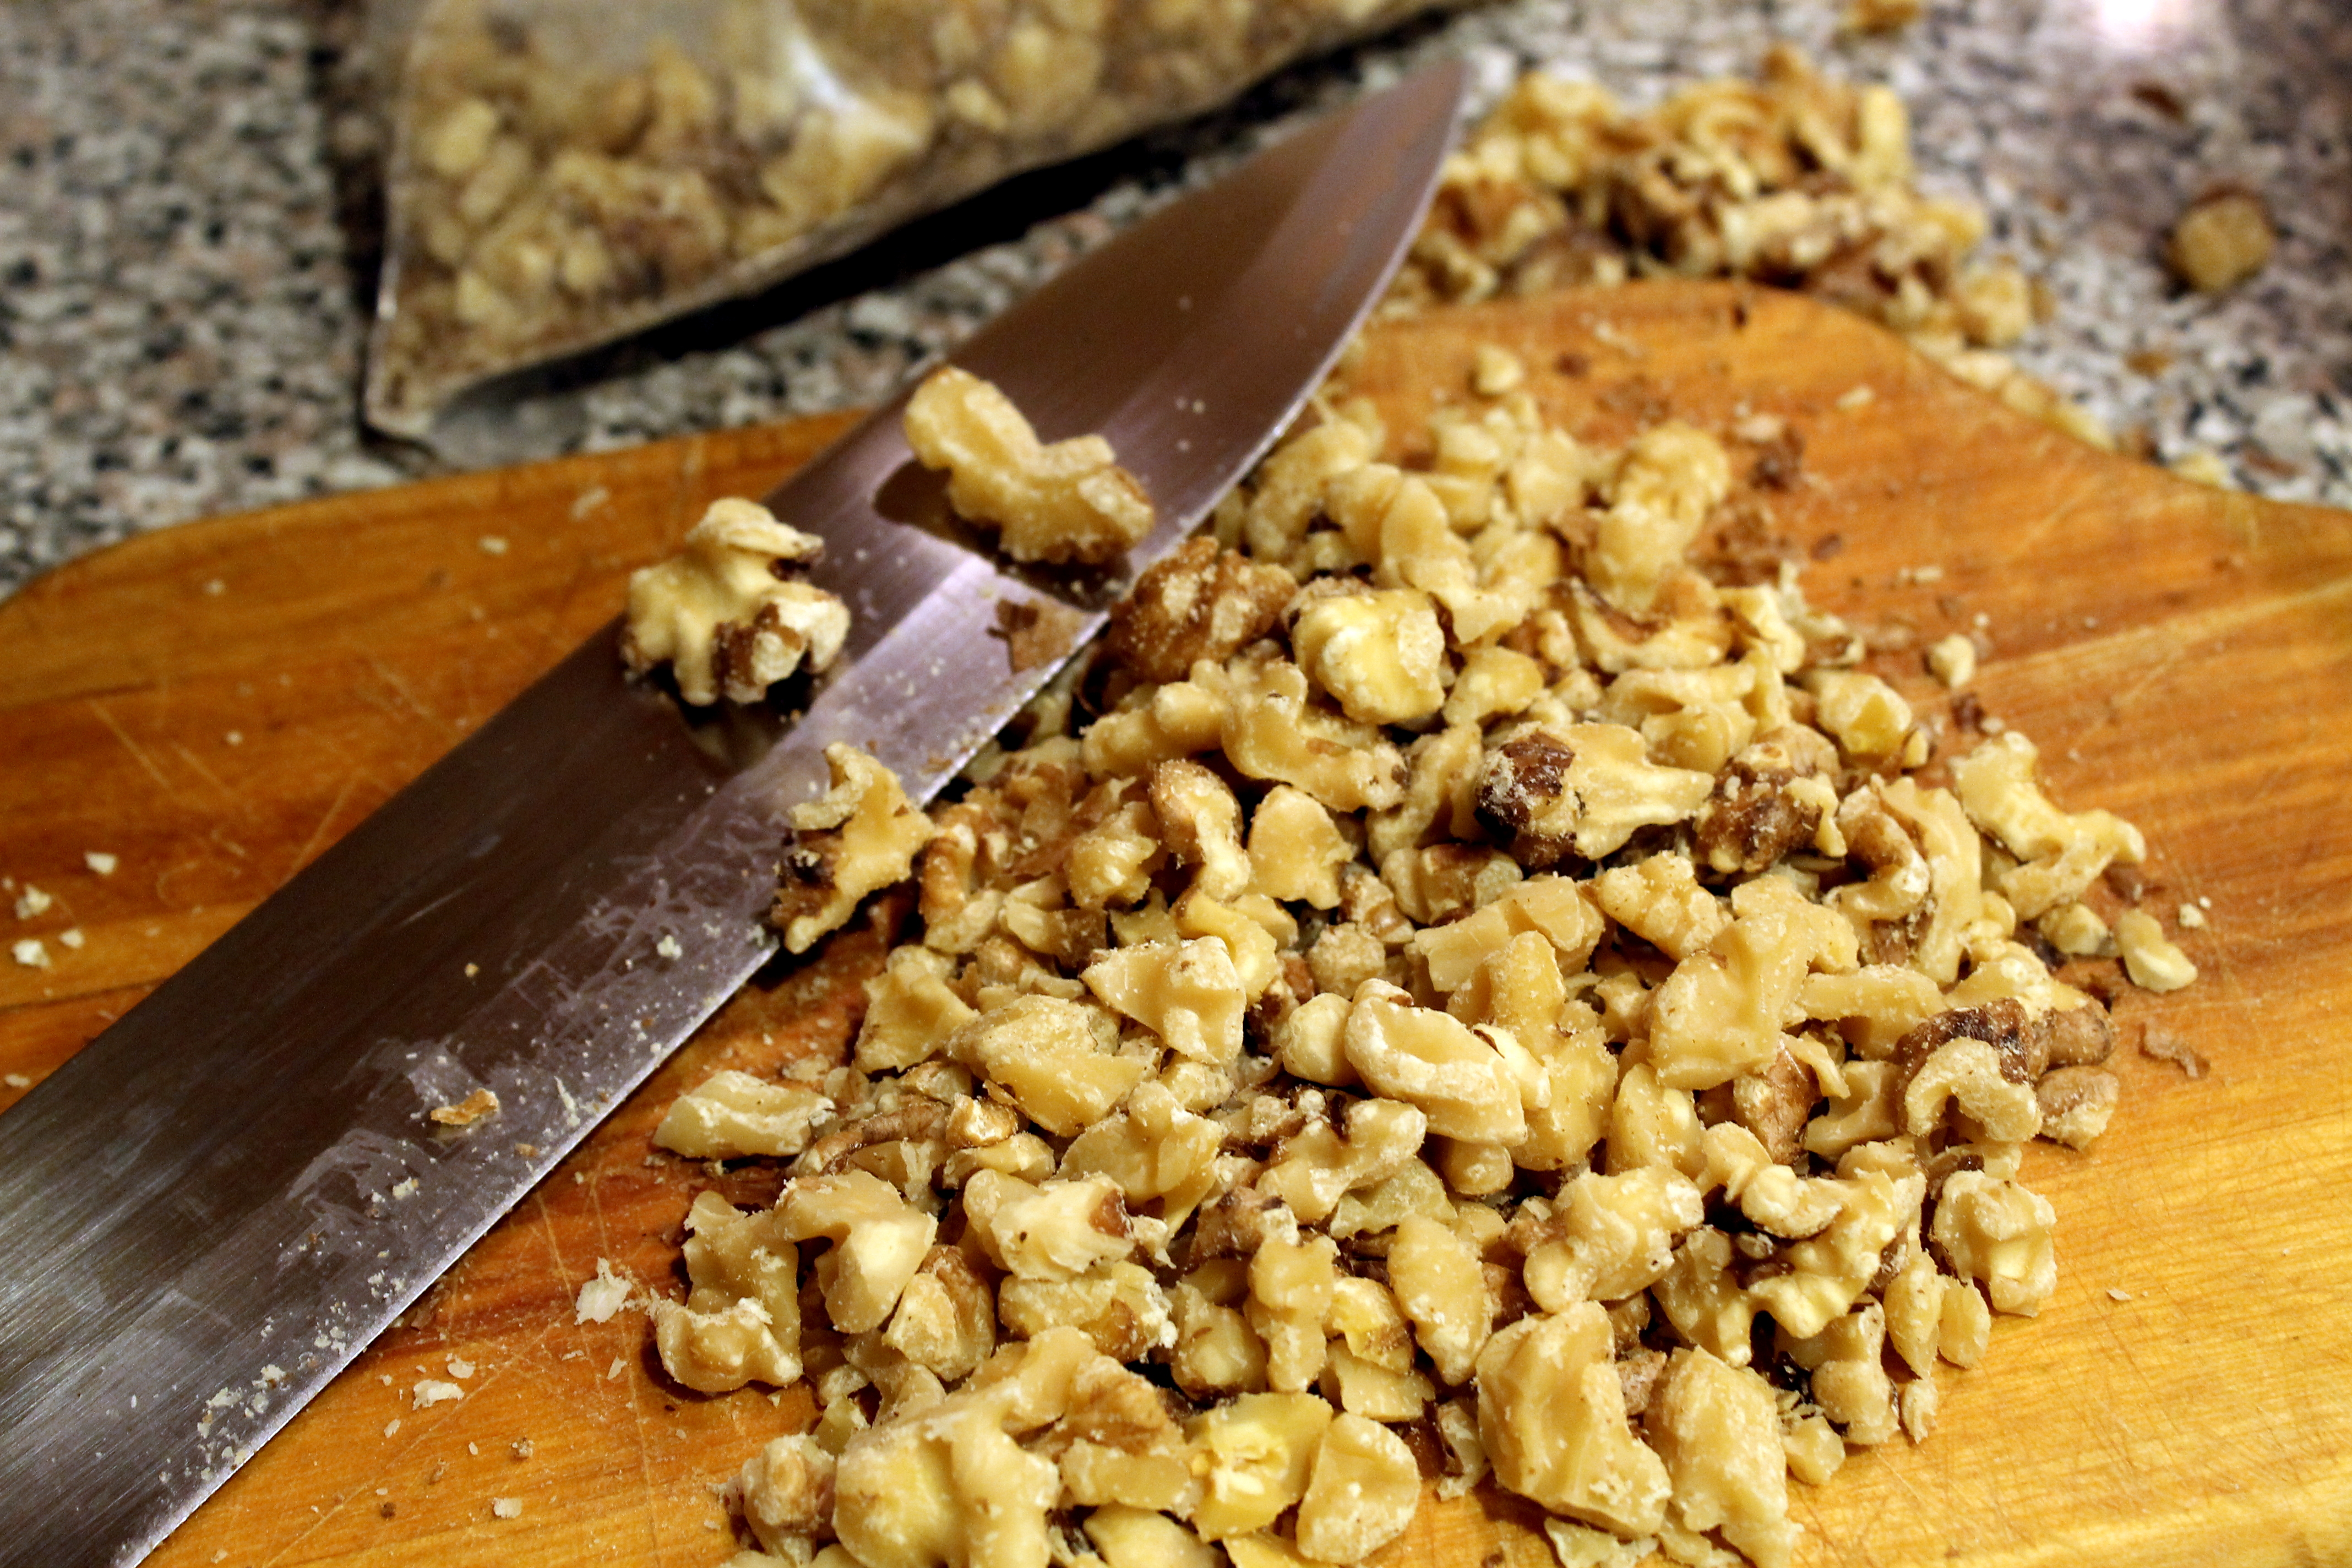
 Next is time to coarsely chop some walnuts – 1 cup per batch (unless you are my son, Nick – then no nuts are added!)
 To combine everything, alternately add the apricots with water and egg/sugar mixture to the dry ingredient bowl.
 At this point, you could place the batter in your greased and floured bread pans if you are not adding nuts.
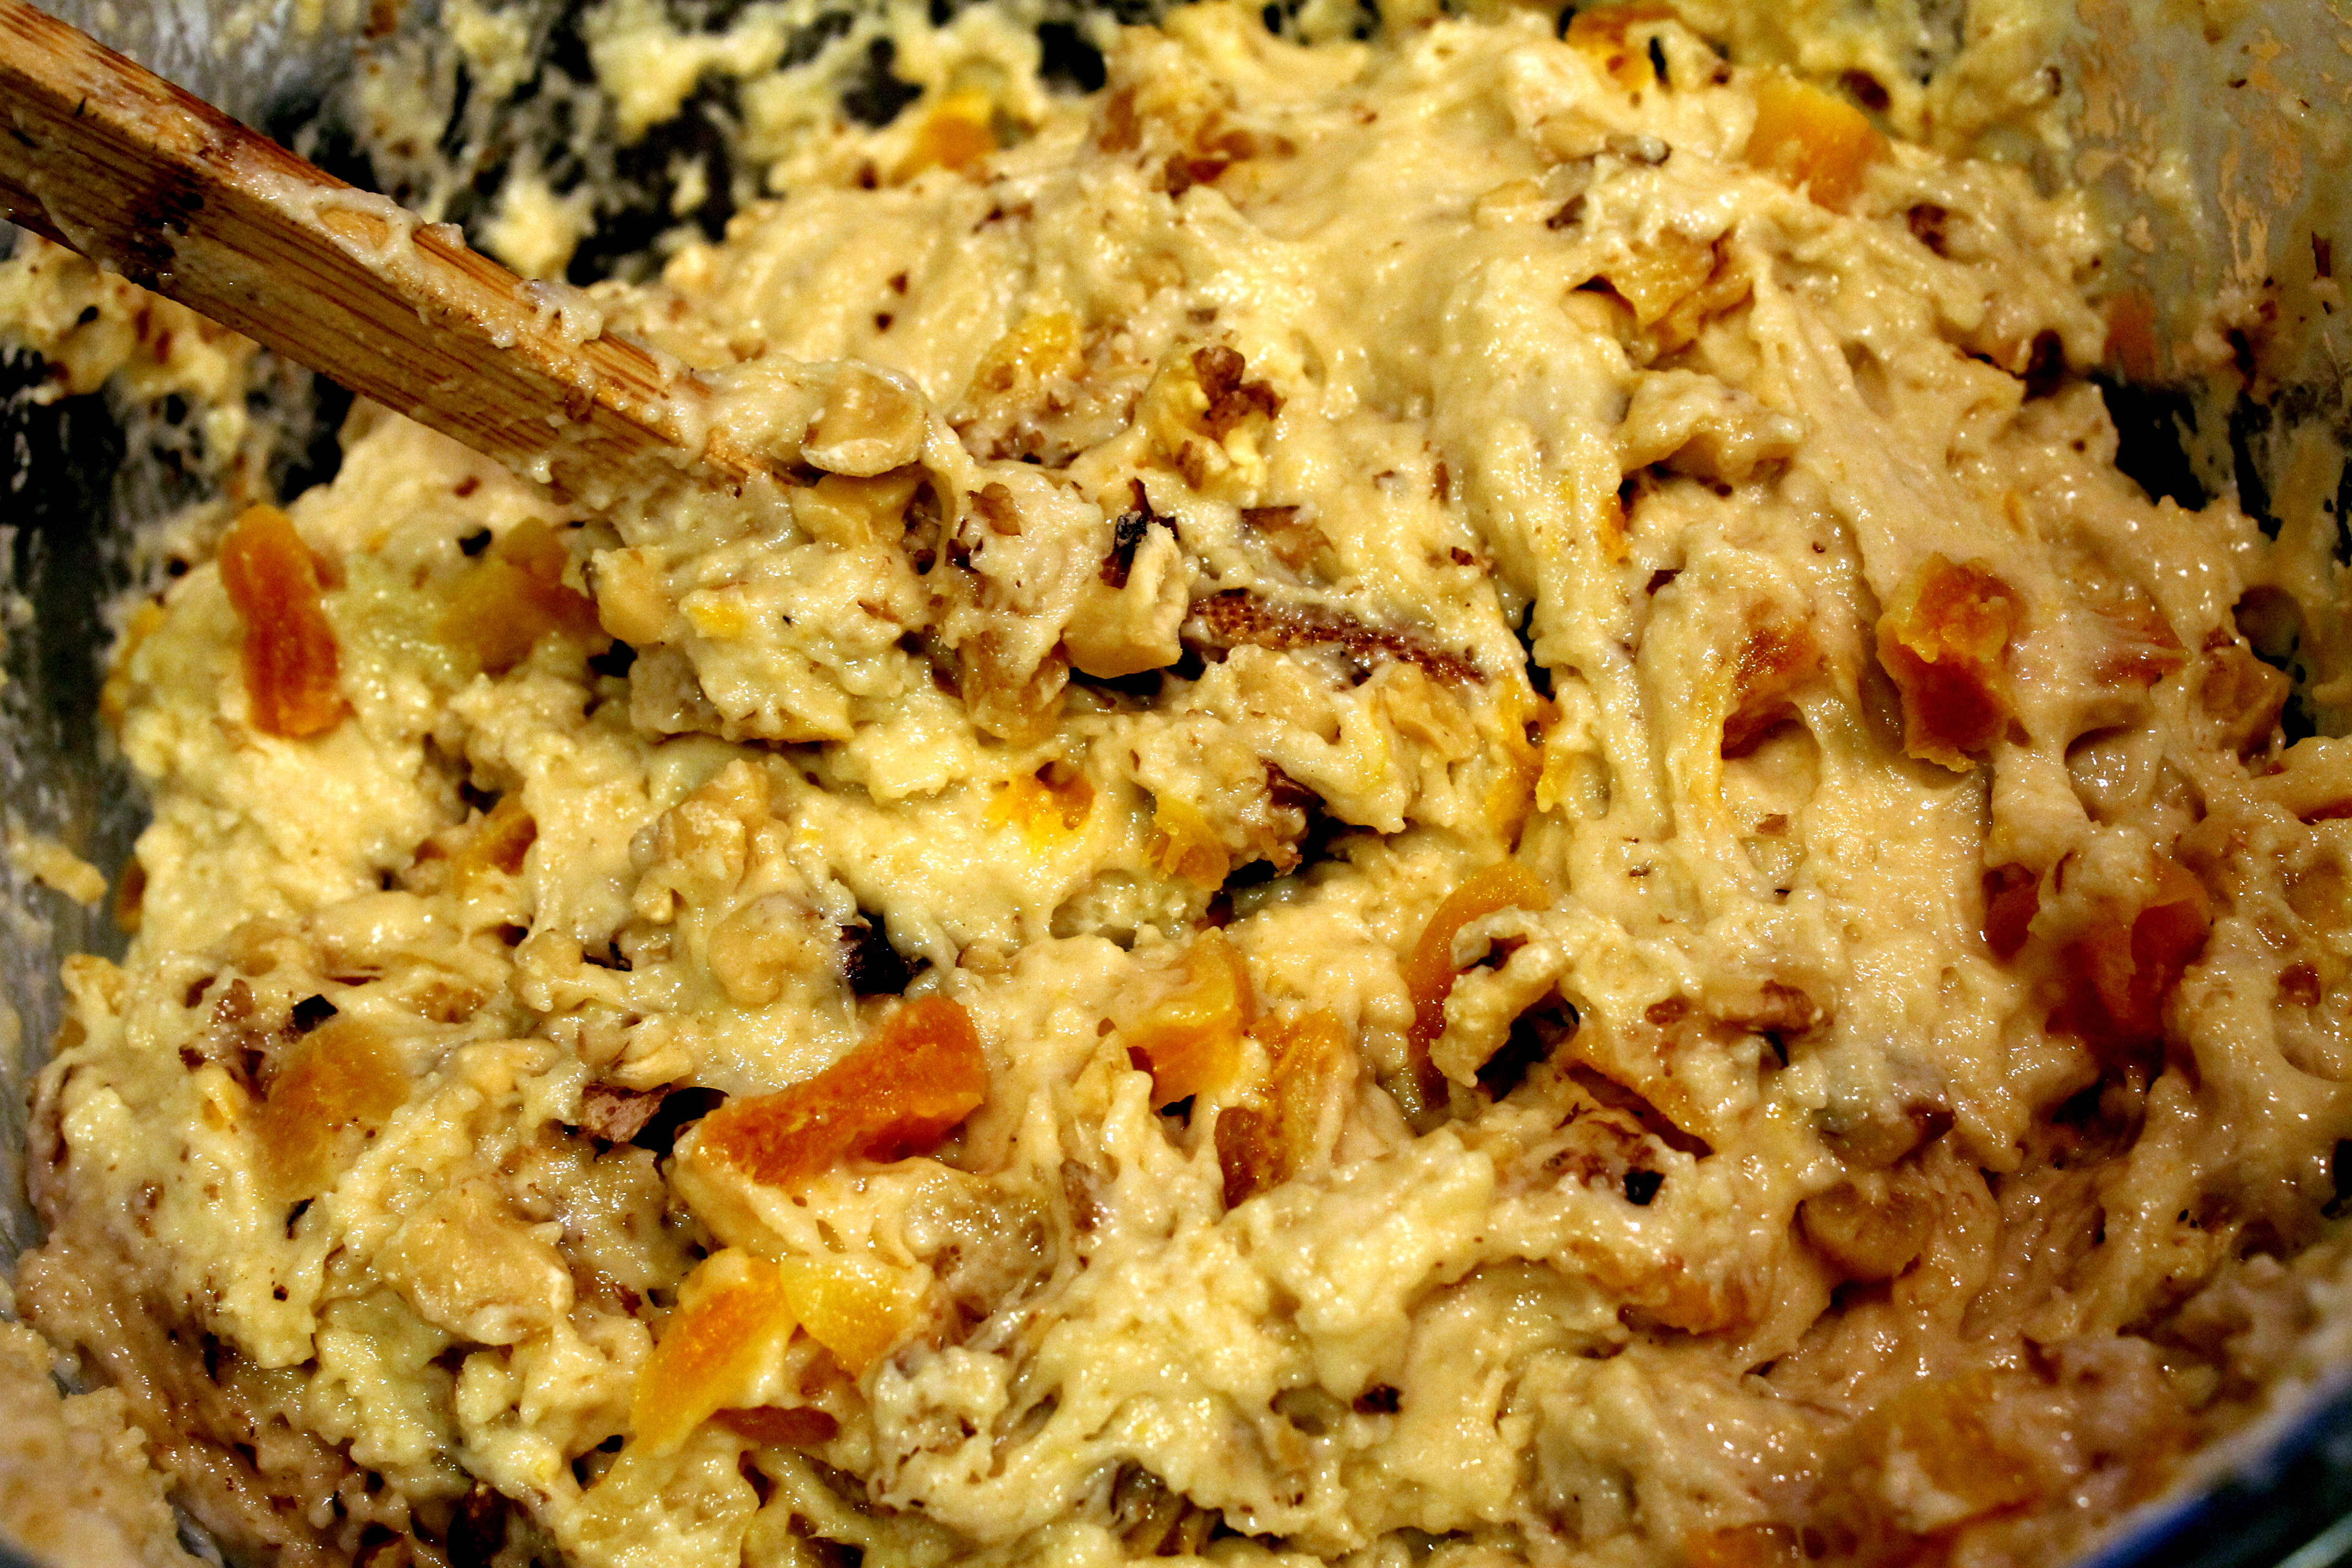
 Or gently fold in the nuts.
 It is important to thoroughly grease and flour your bread pans. I use a paper towel to generously smear Crisco into every corner and crevice of the pan and then dust thoroughly with four. If done well, the bread will roll right out when you tip the pans once out of the oven.
 You can use a number of small bread pans or one large bread pan for a single recipe. I tripled the recipe this weekend and made eight smaller loaves.
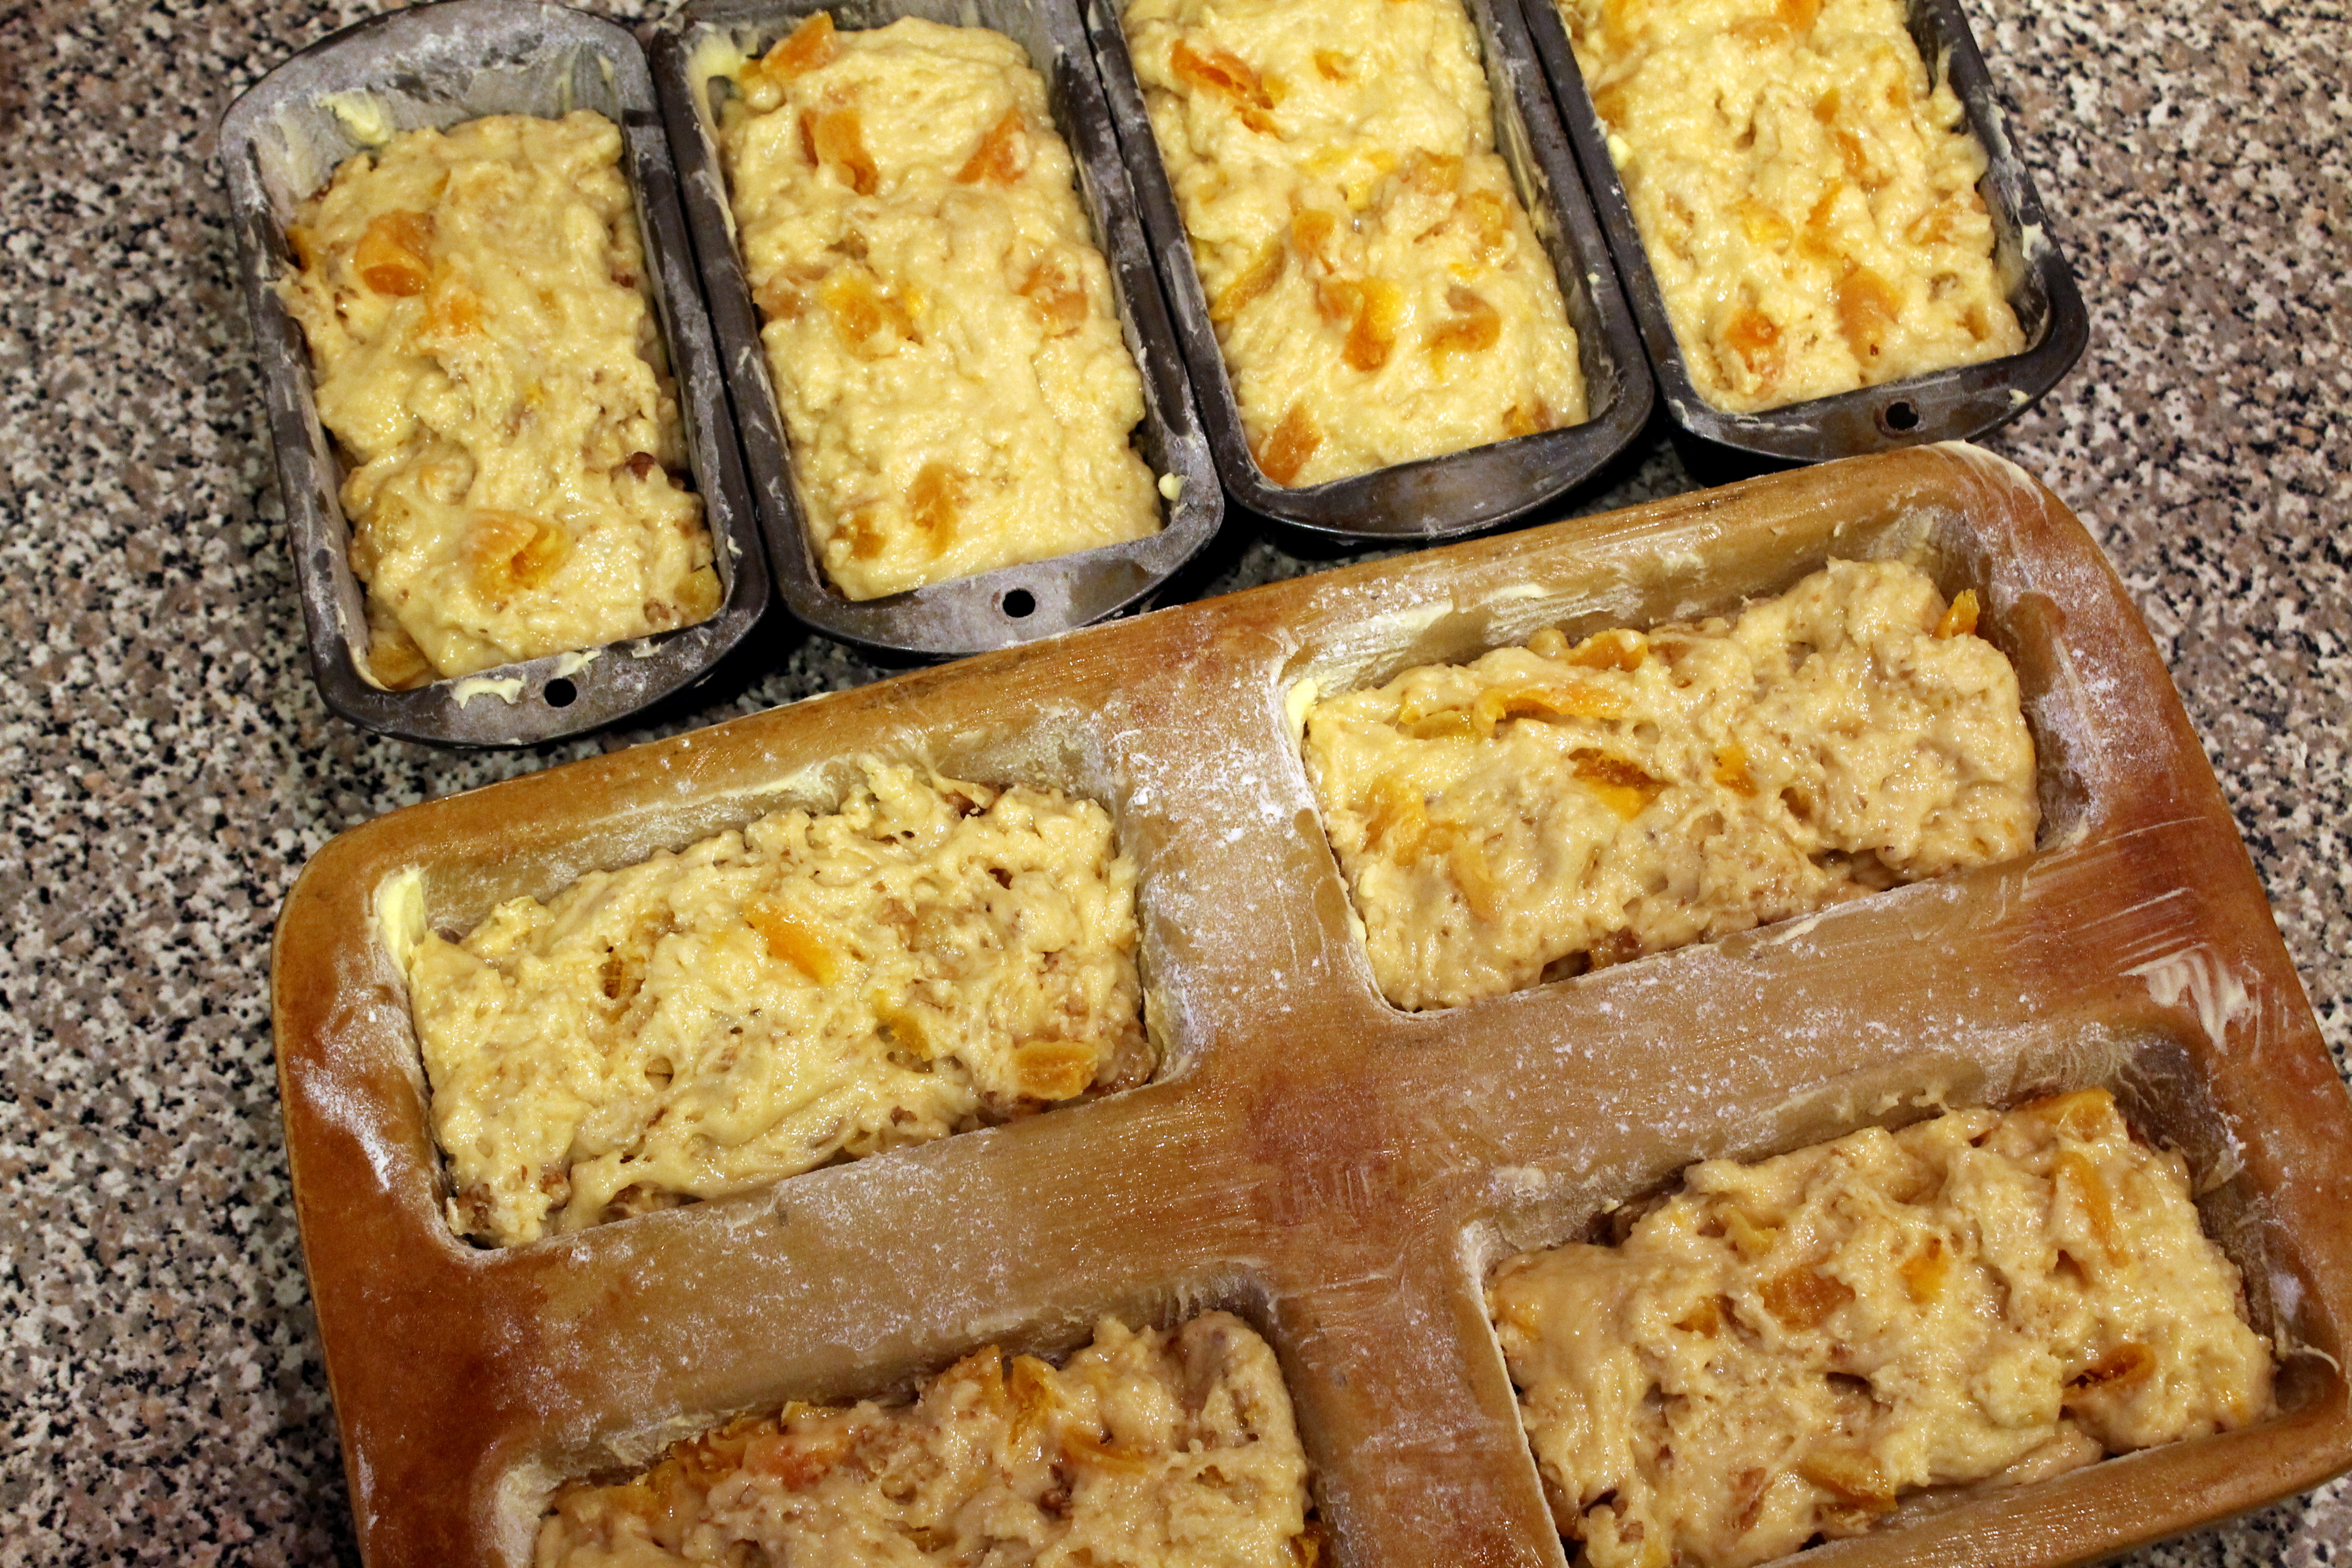 I fill them about 3/4 full to get a nicely risen loaf.
 Baking time varies depending on the size of the loaf, so watch carefully and check with a toothpick. If you insert a toothpick in the center and it comes out clean, the bread is done.
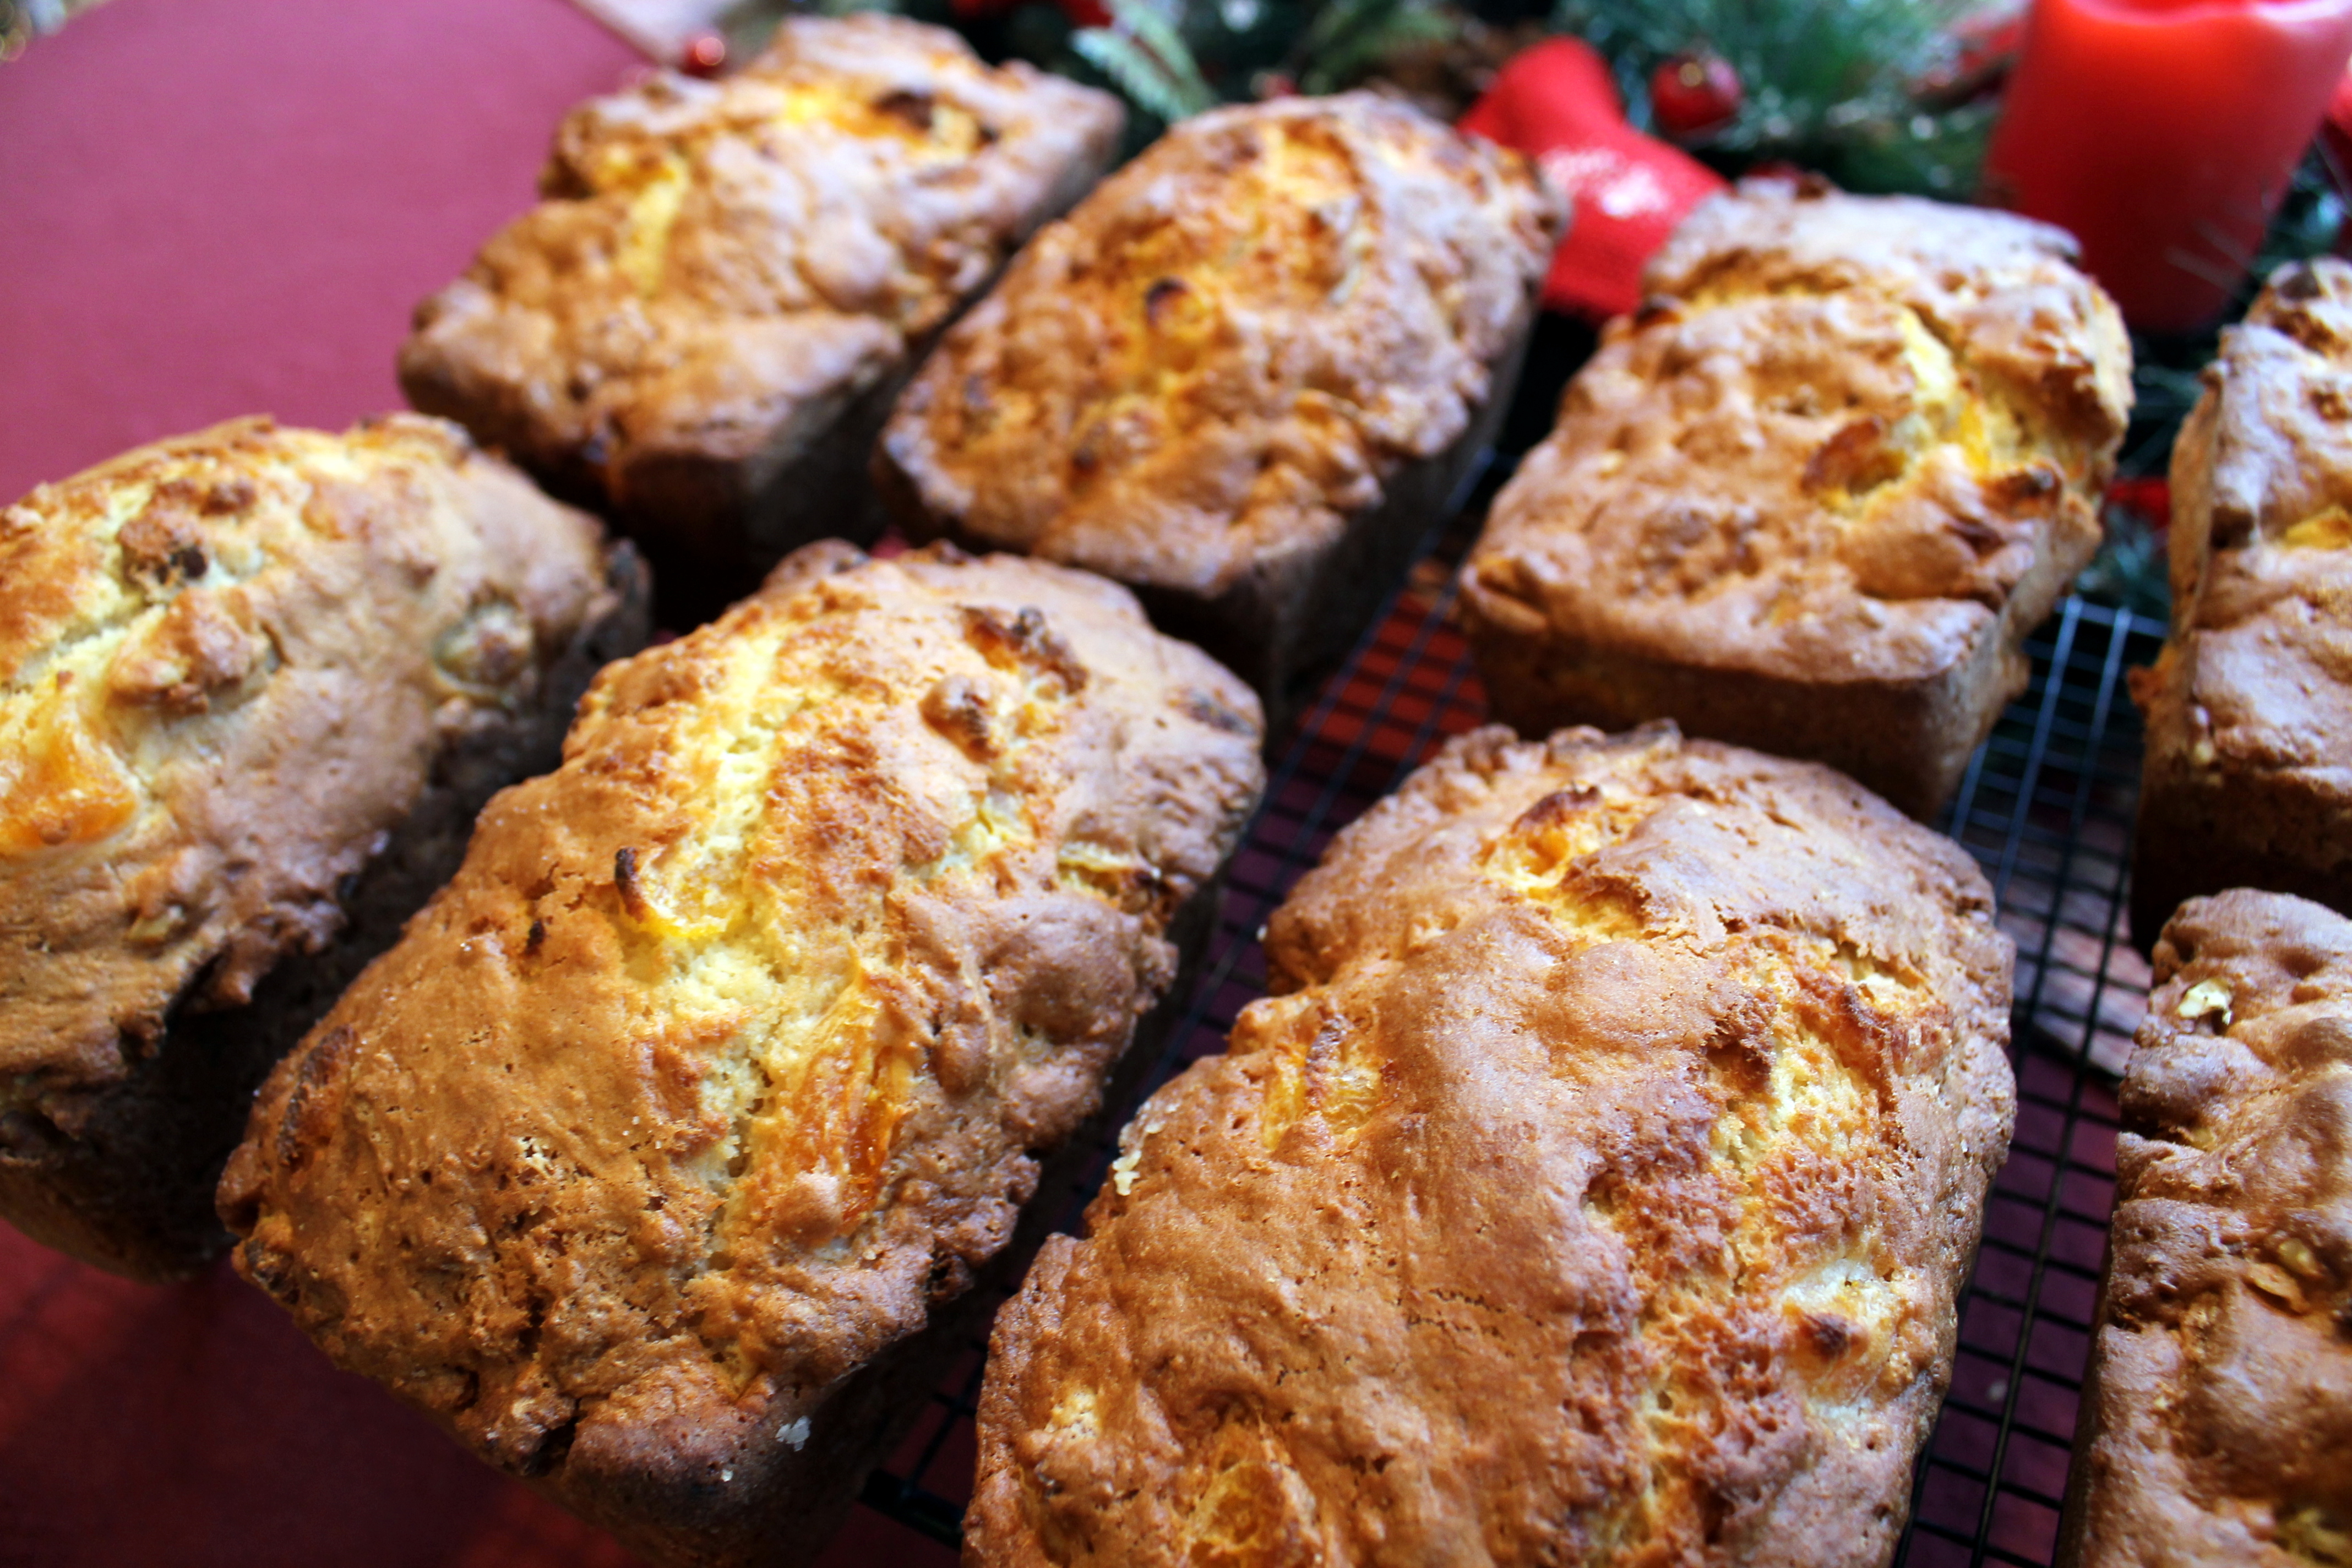
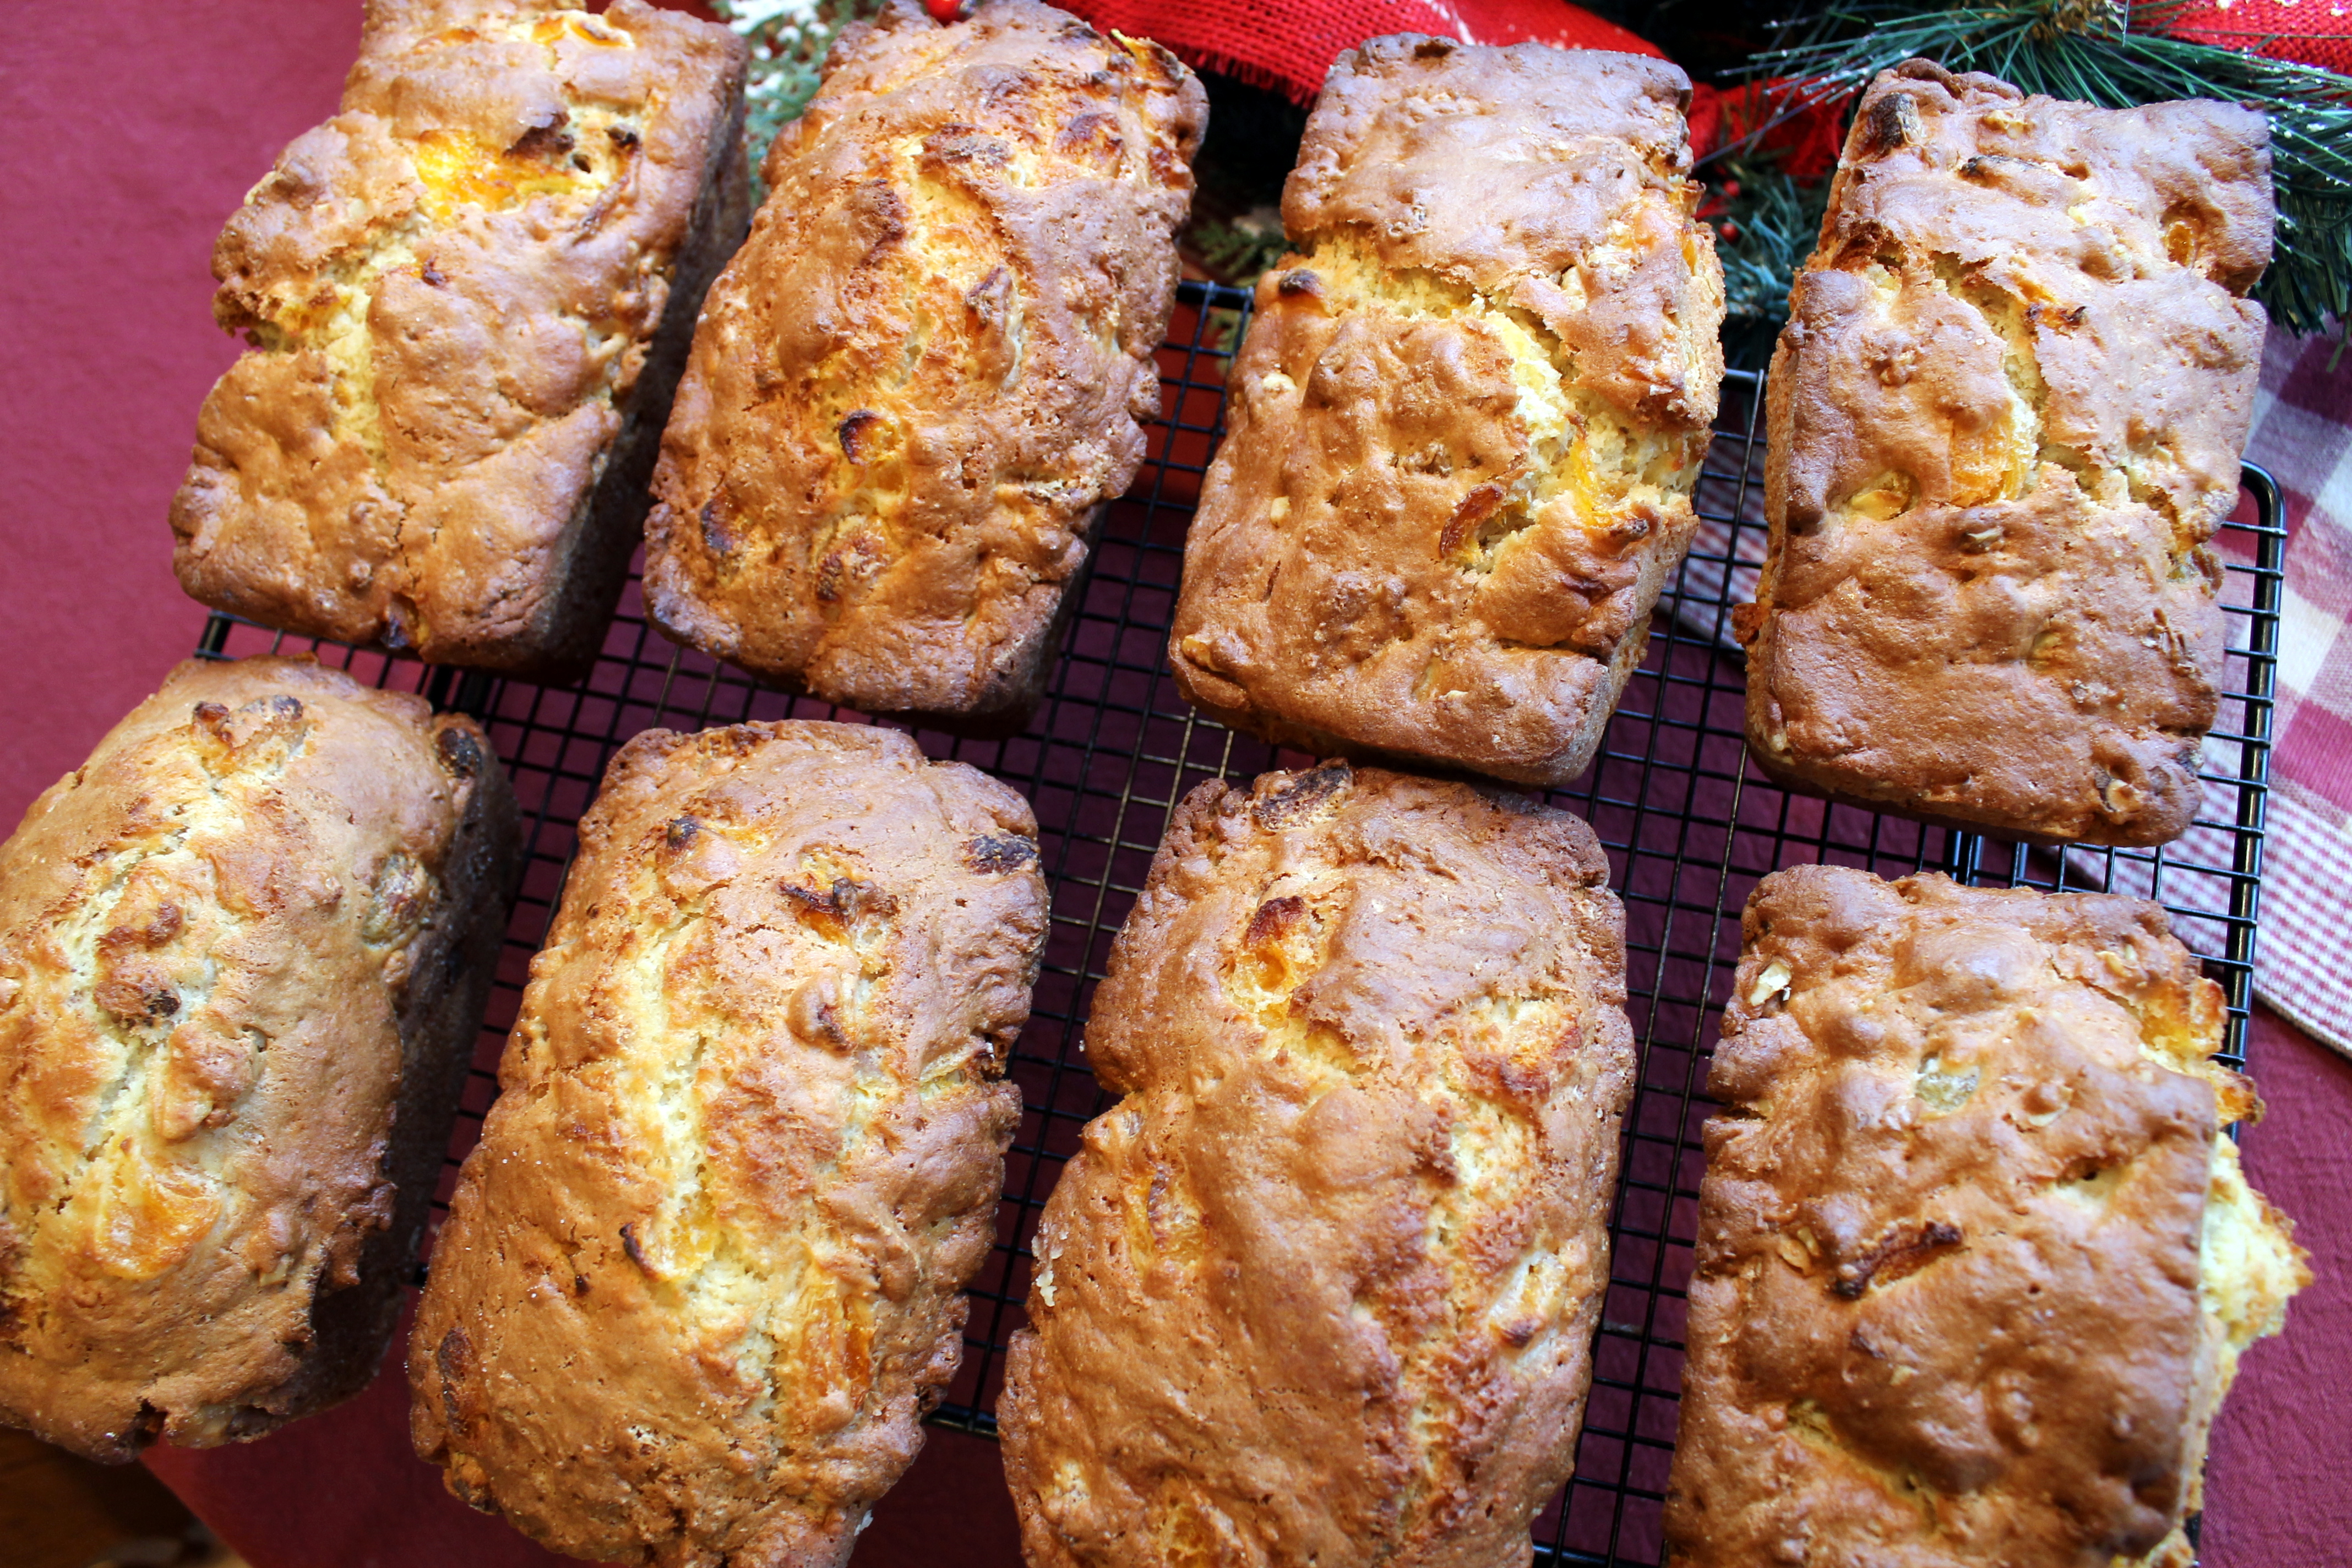 I immediately pop them out out of the pans and cool completely on a wire rack. These loaves freeze beautifully if wrapped in saran wrap and foil or in freezer Ziploc bags.
 Slice and serve warm or cold and with or without butter or cream cheese. In my opinion, this is best served as breakfast or brunch fare with a steaming cup of coffee (with Italian Sweet Cream of course!). Sometimes we even toast a slice of it, and then the edges are crisp and the center is warm and gooey and the butter just melts into it.
Here is Grandma’s well-loved and stained recipe card:
 I remember typing these on index cards for Grandma as a young girl. I wish I had more of her handwritten copies, but they are long gone…

Some beloved people and possessions in our lives may no longer be around, but memories can never be erased or replaced.
May cherished memories of your loved ones and holidays past fill you with warmth and happiness.
Here is the recipe for you to try:
Grandma’s Old-Fashioned Apricot Nut Bread
Mix together 1 cup chopped apricots and 1 cup boiling water. Let stand until the rest of the ingredients are ready.
In another bowl, beat two eggs and gradually add 1 cup of sugar.
In a third large bowl, stir together:
2-3/4 c. flour
3 tsp. baking powder
1 tsp salt
1/2 tsp baking sodaAdd the first two mixtures to the dry ingredients – alternating as you incorporate. Fold in chopped nuts.
Bake one large loaf at 375 degrees F for approximately 50 minutes, then 350 degrees F for 25 additional minutes.
For smaller loaves, bake at 350 degrees for 40-50 minutes.
I hope you enjoy.
Cheers & Nostalgic Hugs,
Jodi
My BFF was coming for dinner one night this week, and I wanted to make one of her favorites. Jill loves creamy potato soup, especially on these cold winter evenings, so I was excited to make it for her to enjoy for dinner with Marty and I since her hubby is out of town. How lucky for me to get to have extra time with her!!!
 I found a recipe for Crockpot Potato Soup and thought that would be perfect – I could prep it in the morning, let it cook while I work, then finish it up after work and enjoy the evening with Jill.
So I started peeling and dicing the potatoes. The recipe called for 3 to 3 1/2 lbs, but I decided to double it to assure there would be plenty leftover for Jill to have for the rest of the week to take for lunch or have for dinner at home.
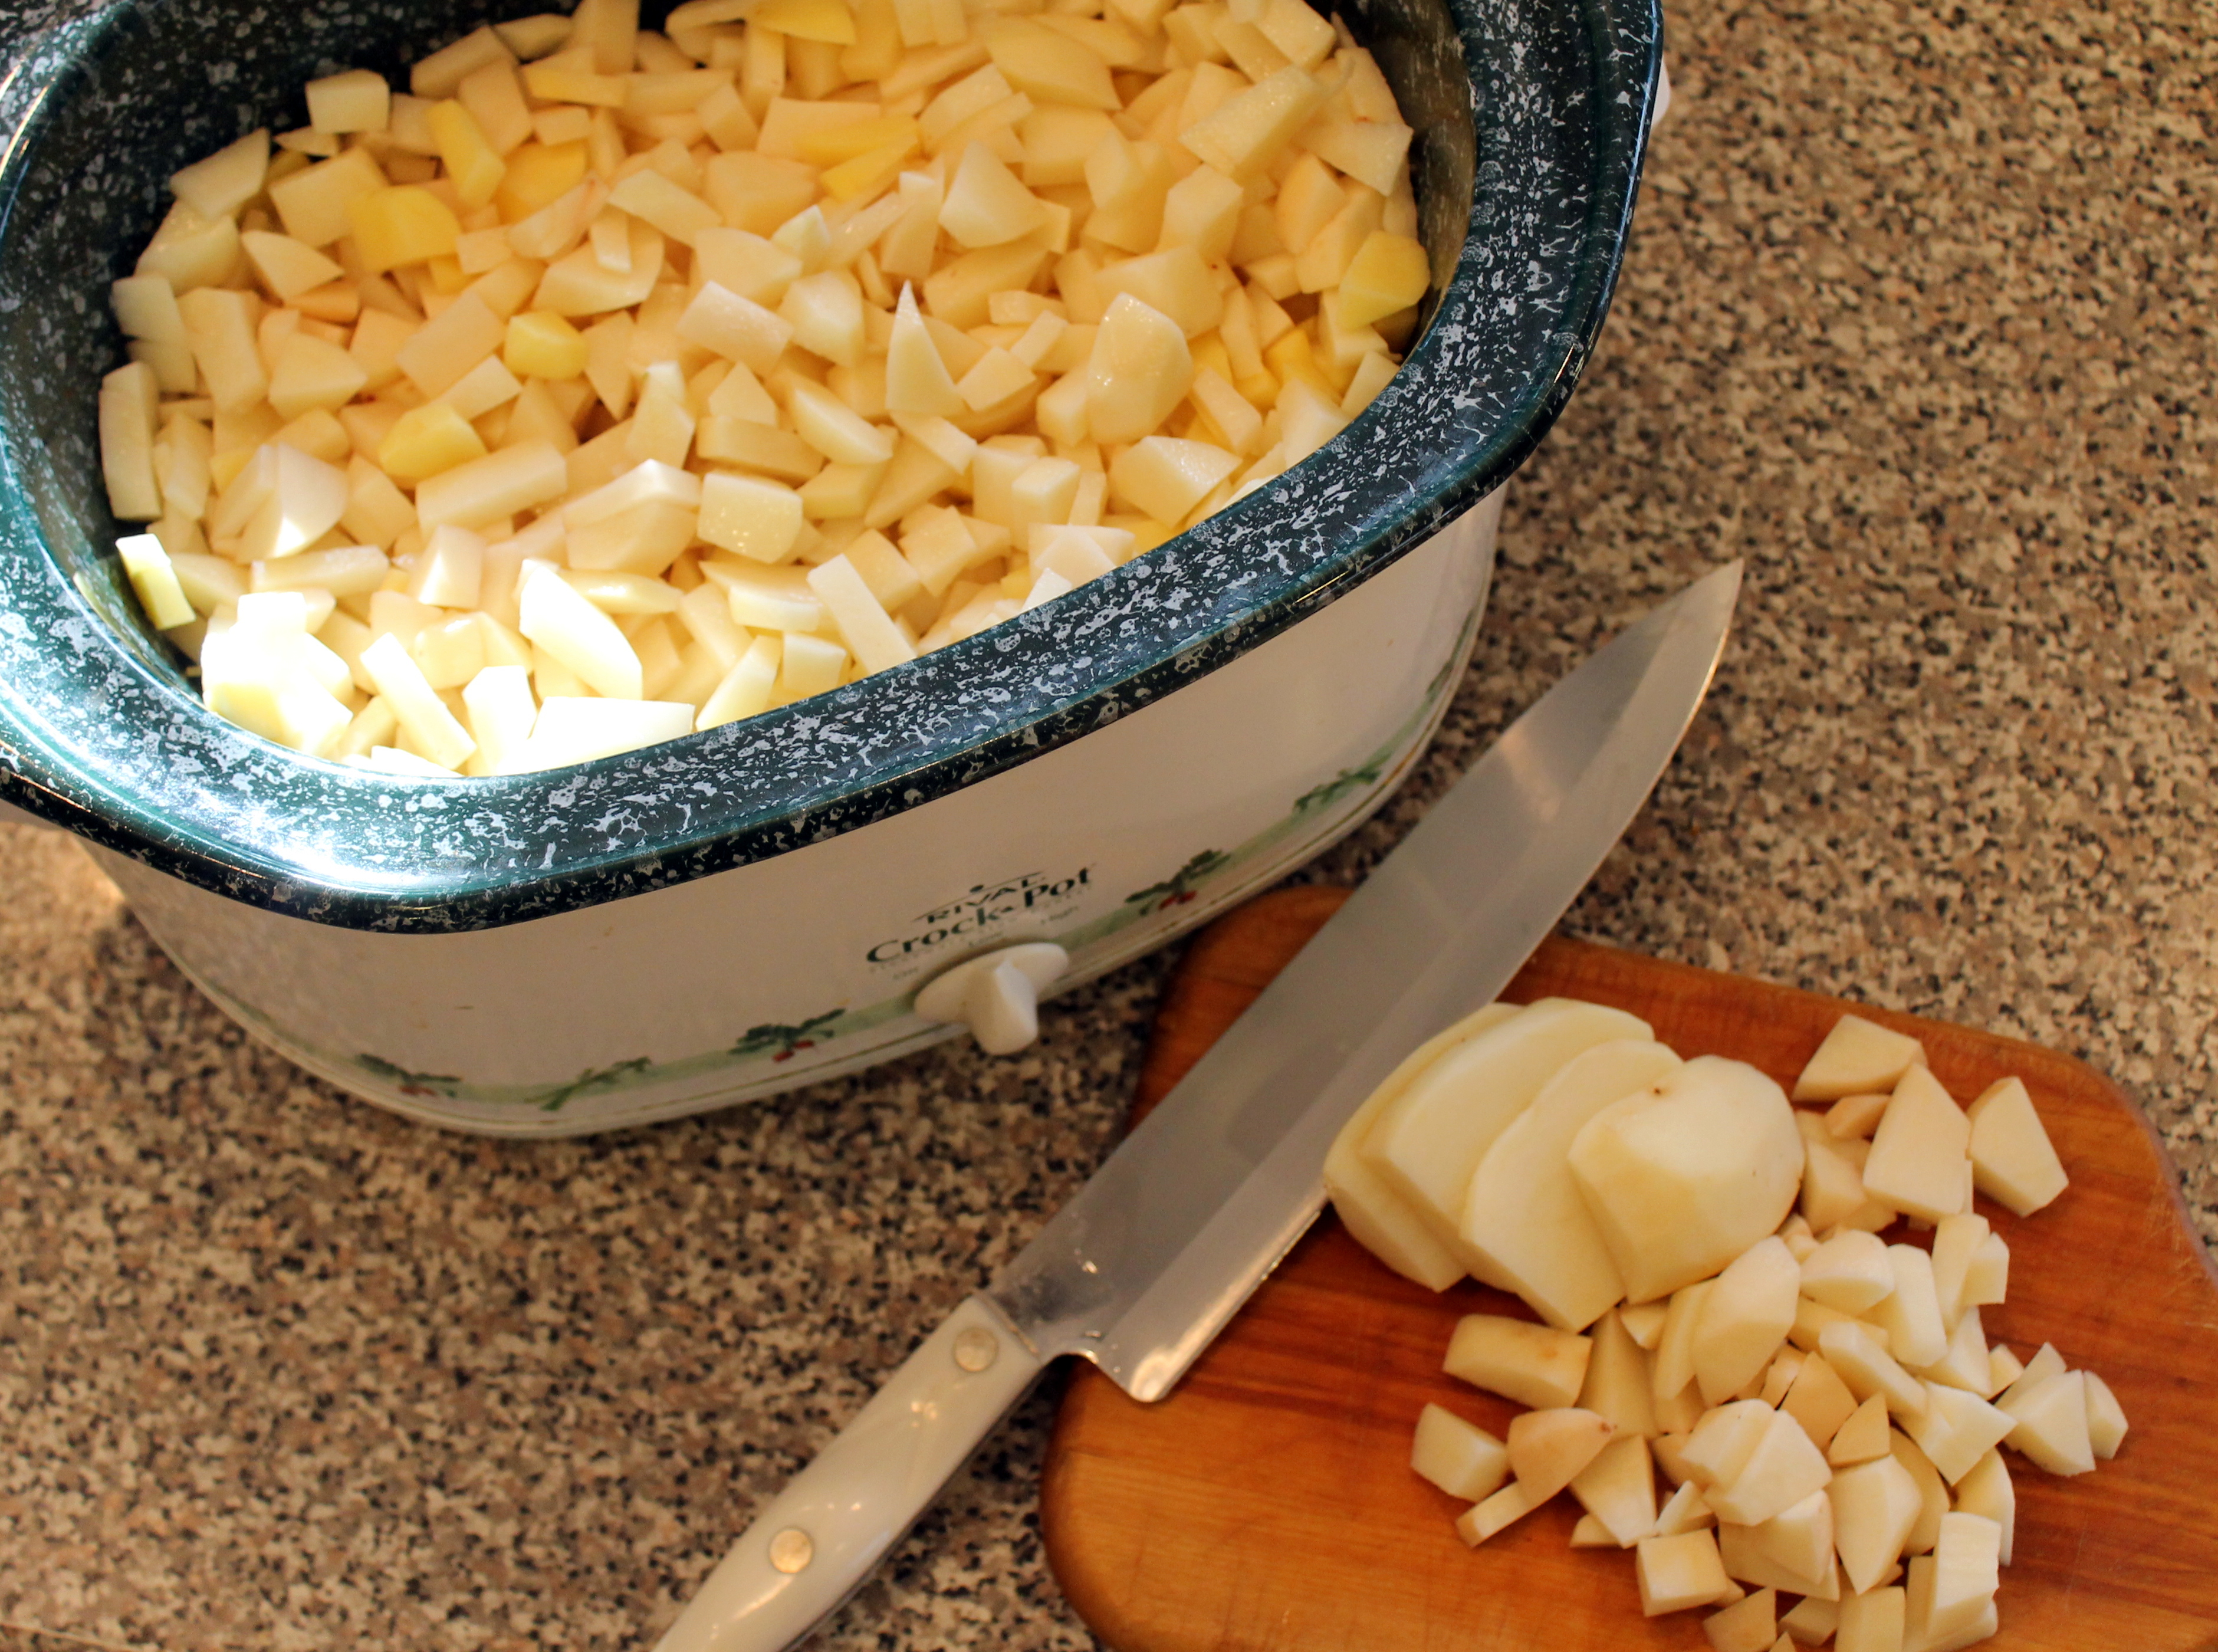
And as a side note: Marty would be so proud that I actually used the vegetable peeler tool to peel all 7 lbs. of potatoes! What a hassle! I usually just use a paring knife to be quicker, but I do waste an awful lot that way… I had a bag of red potatoes and several loose russet and Yukon Golds. I used every single one of them.
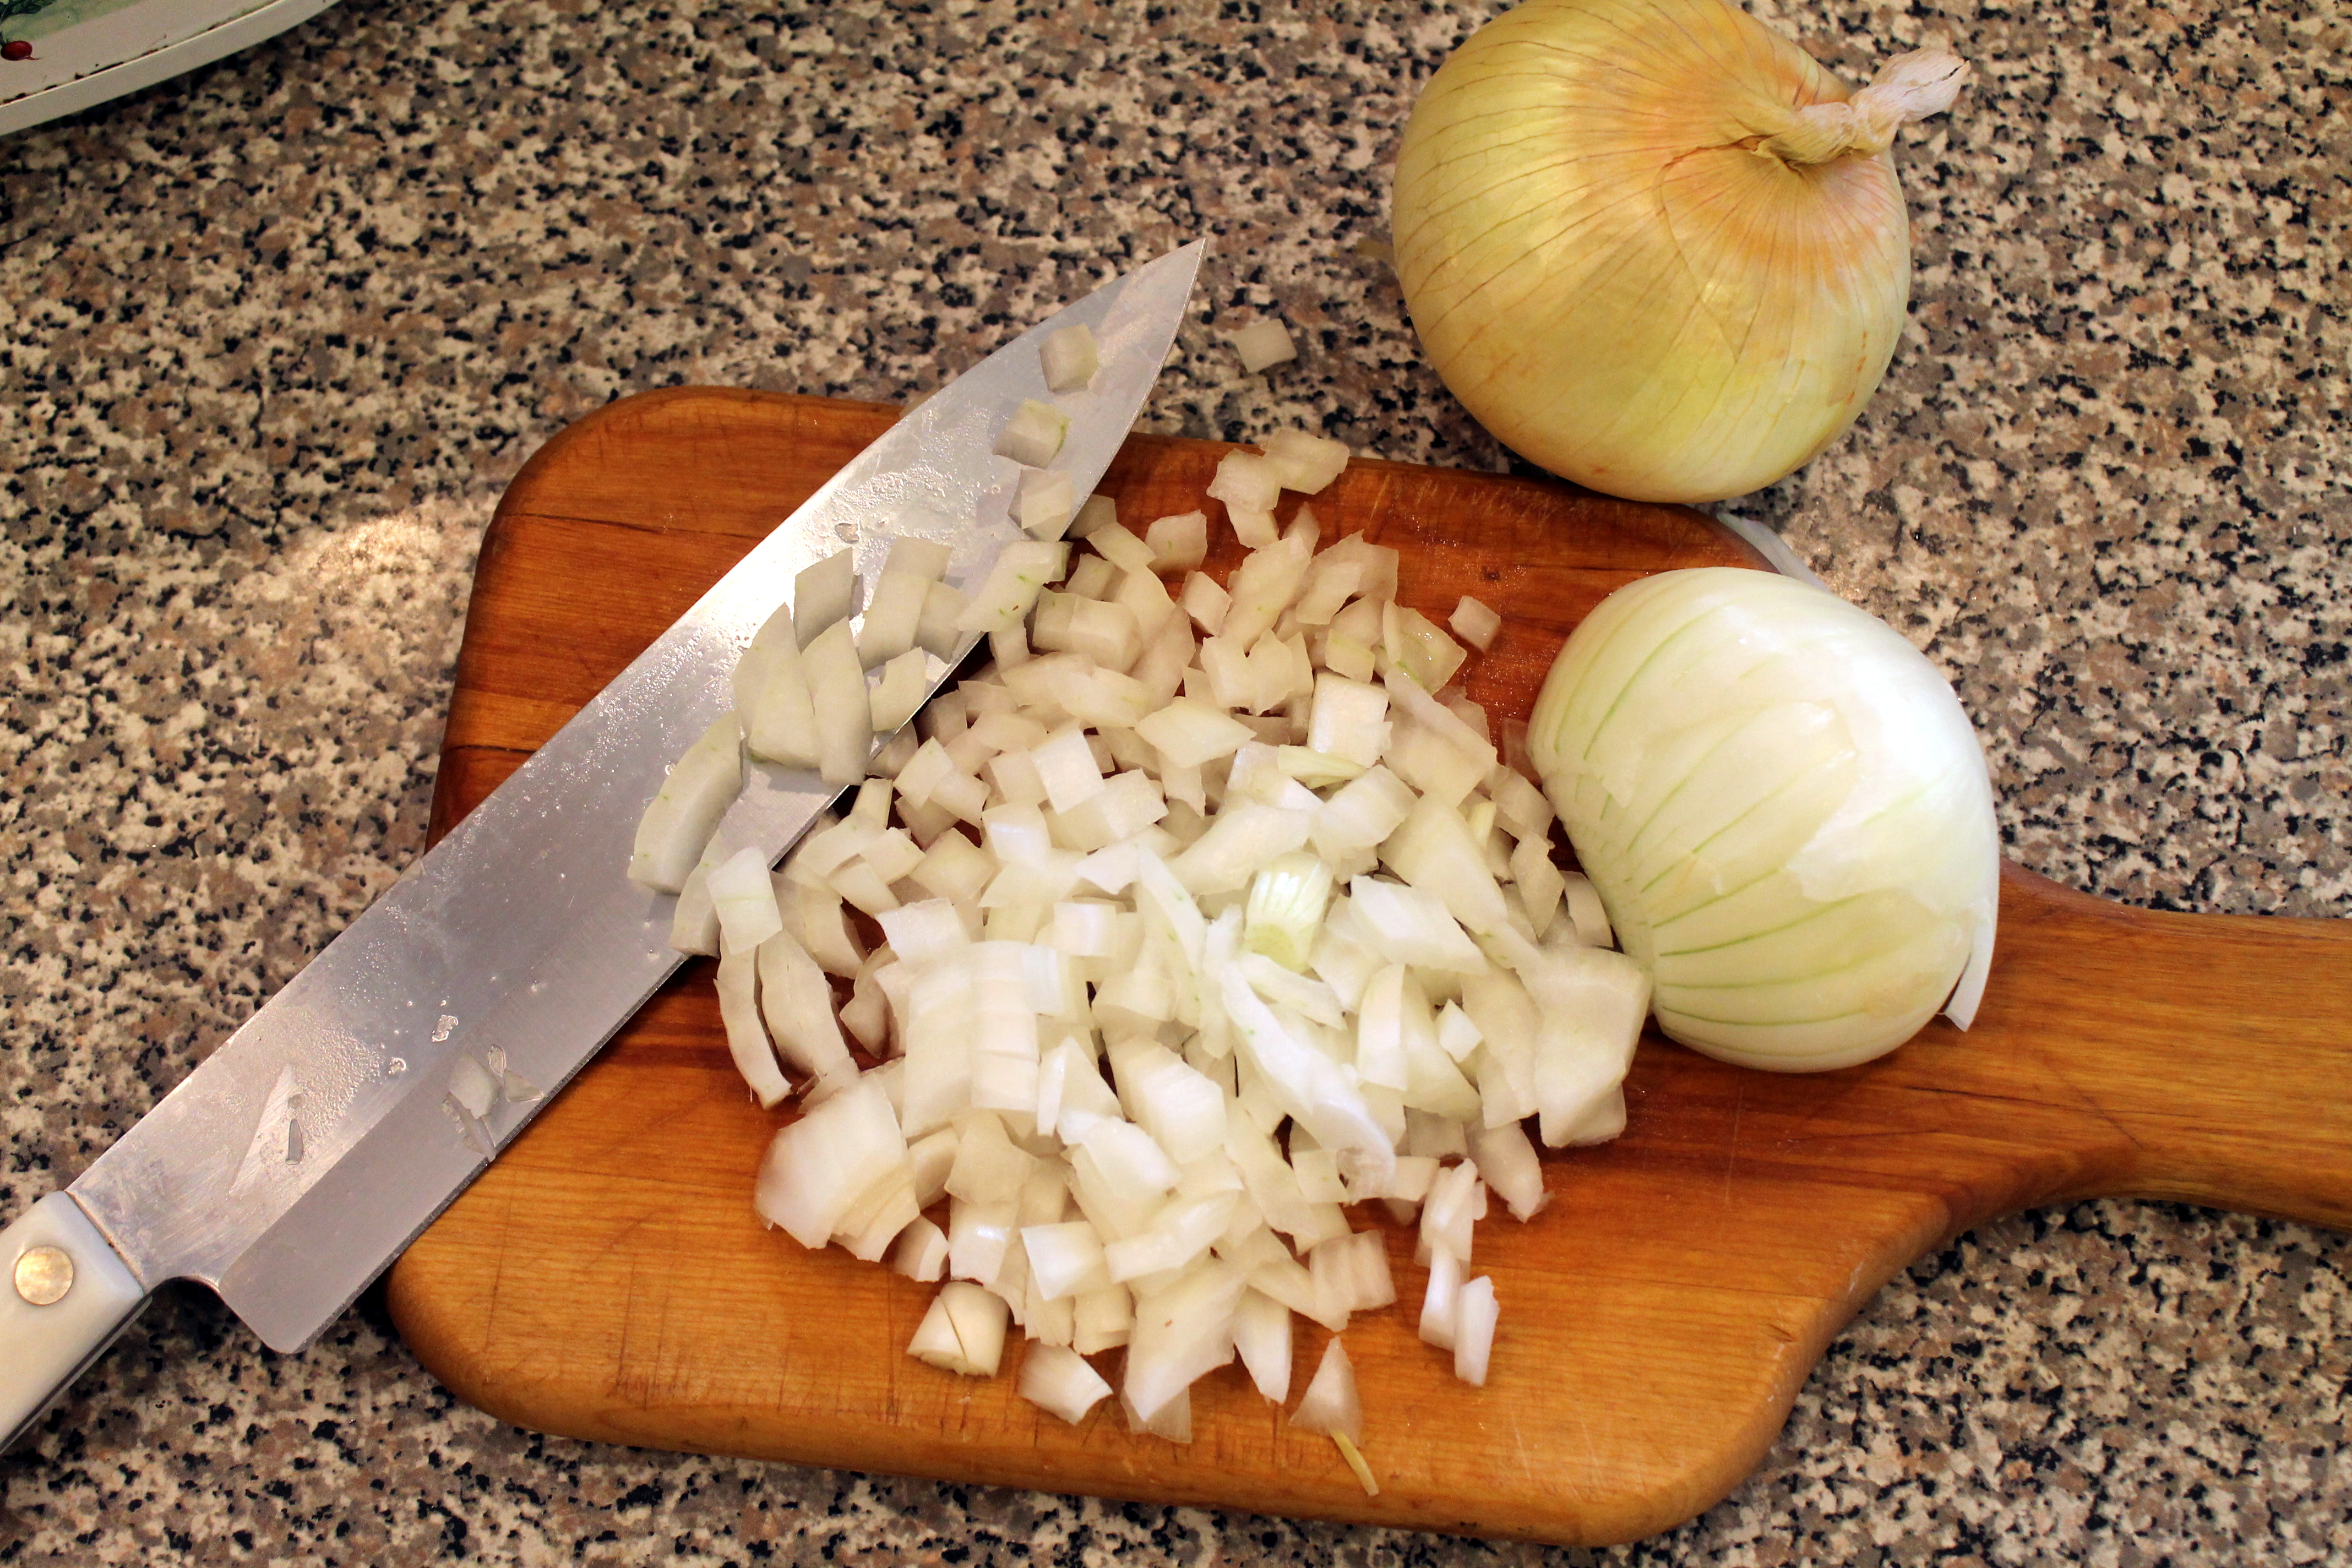
Then I chopped two wonderfully large sweet Vidalia onions. I’m not the best chopper/dicer. I just don’t have the patience to “finely” chop or dice. Marty and Jake are so much more precise. I like to refer to my style of chopping as “rustic.” Doesn’t that sound so much more artistic and purposeful than “too lazy to bother?” 🙂
Next the recipe called for chicken broth. I didn’t have any canned or boxed, but I did have chicken base, which makes a wonderful and much less expensive broth.
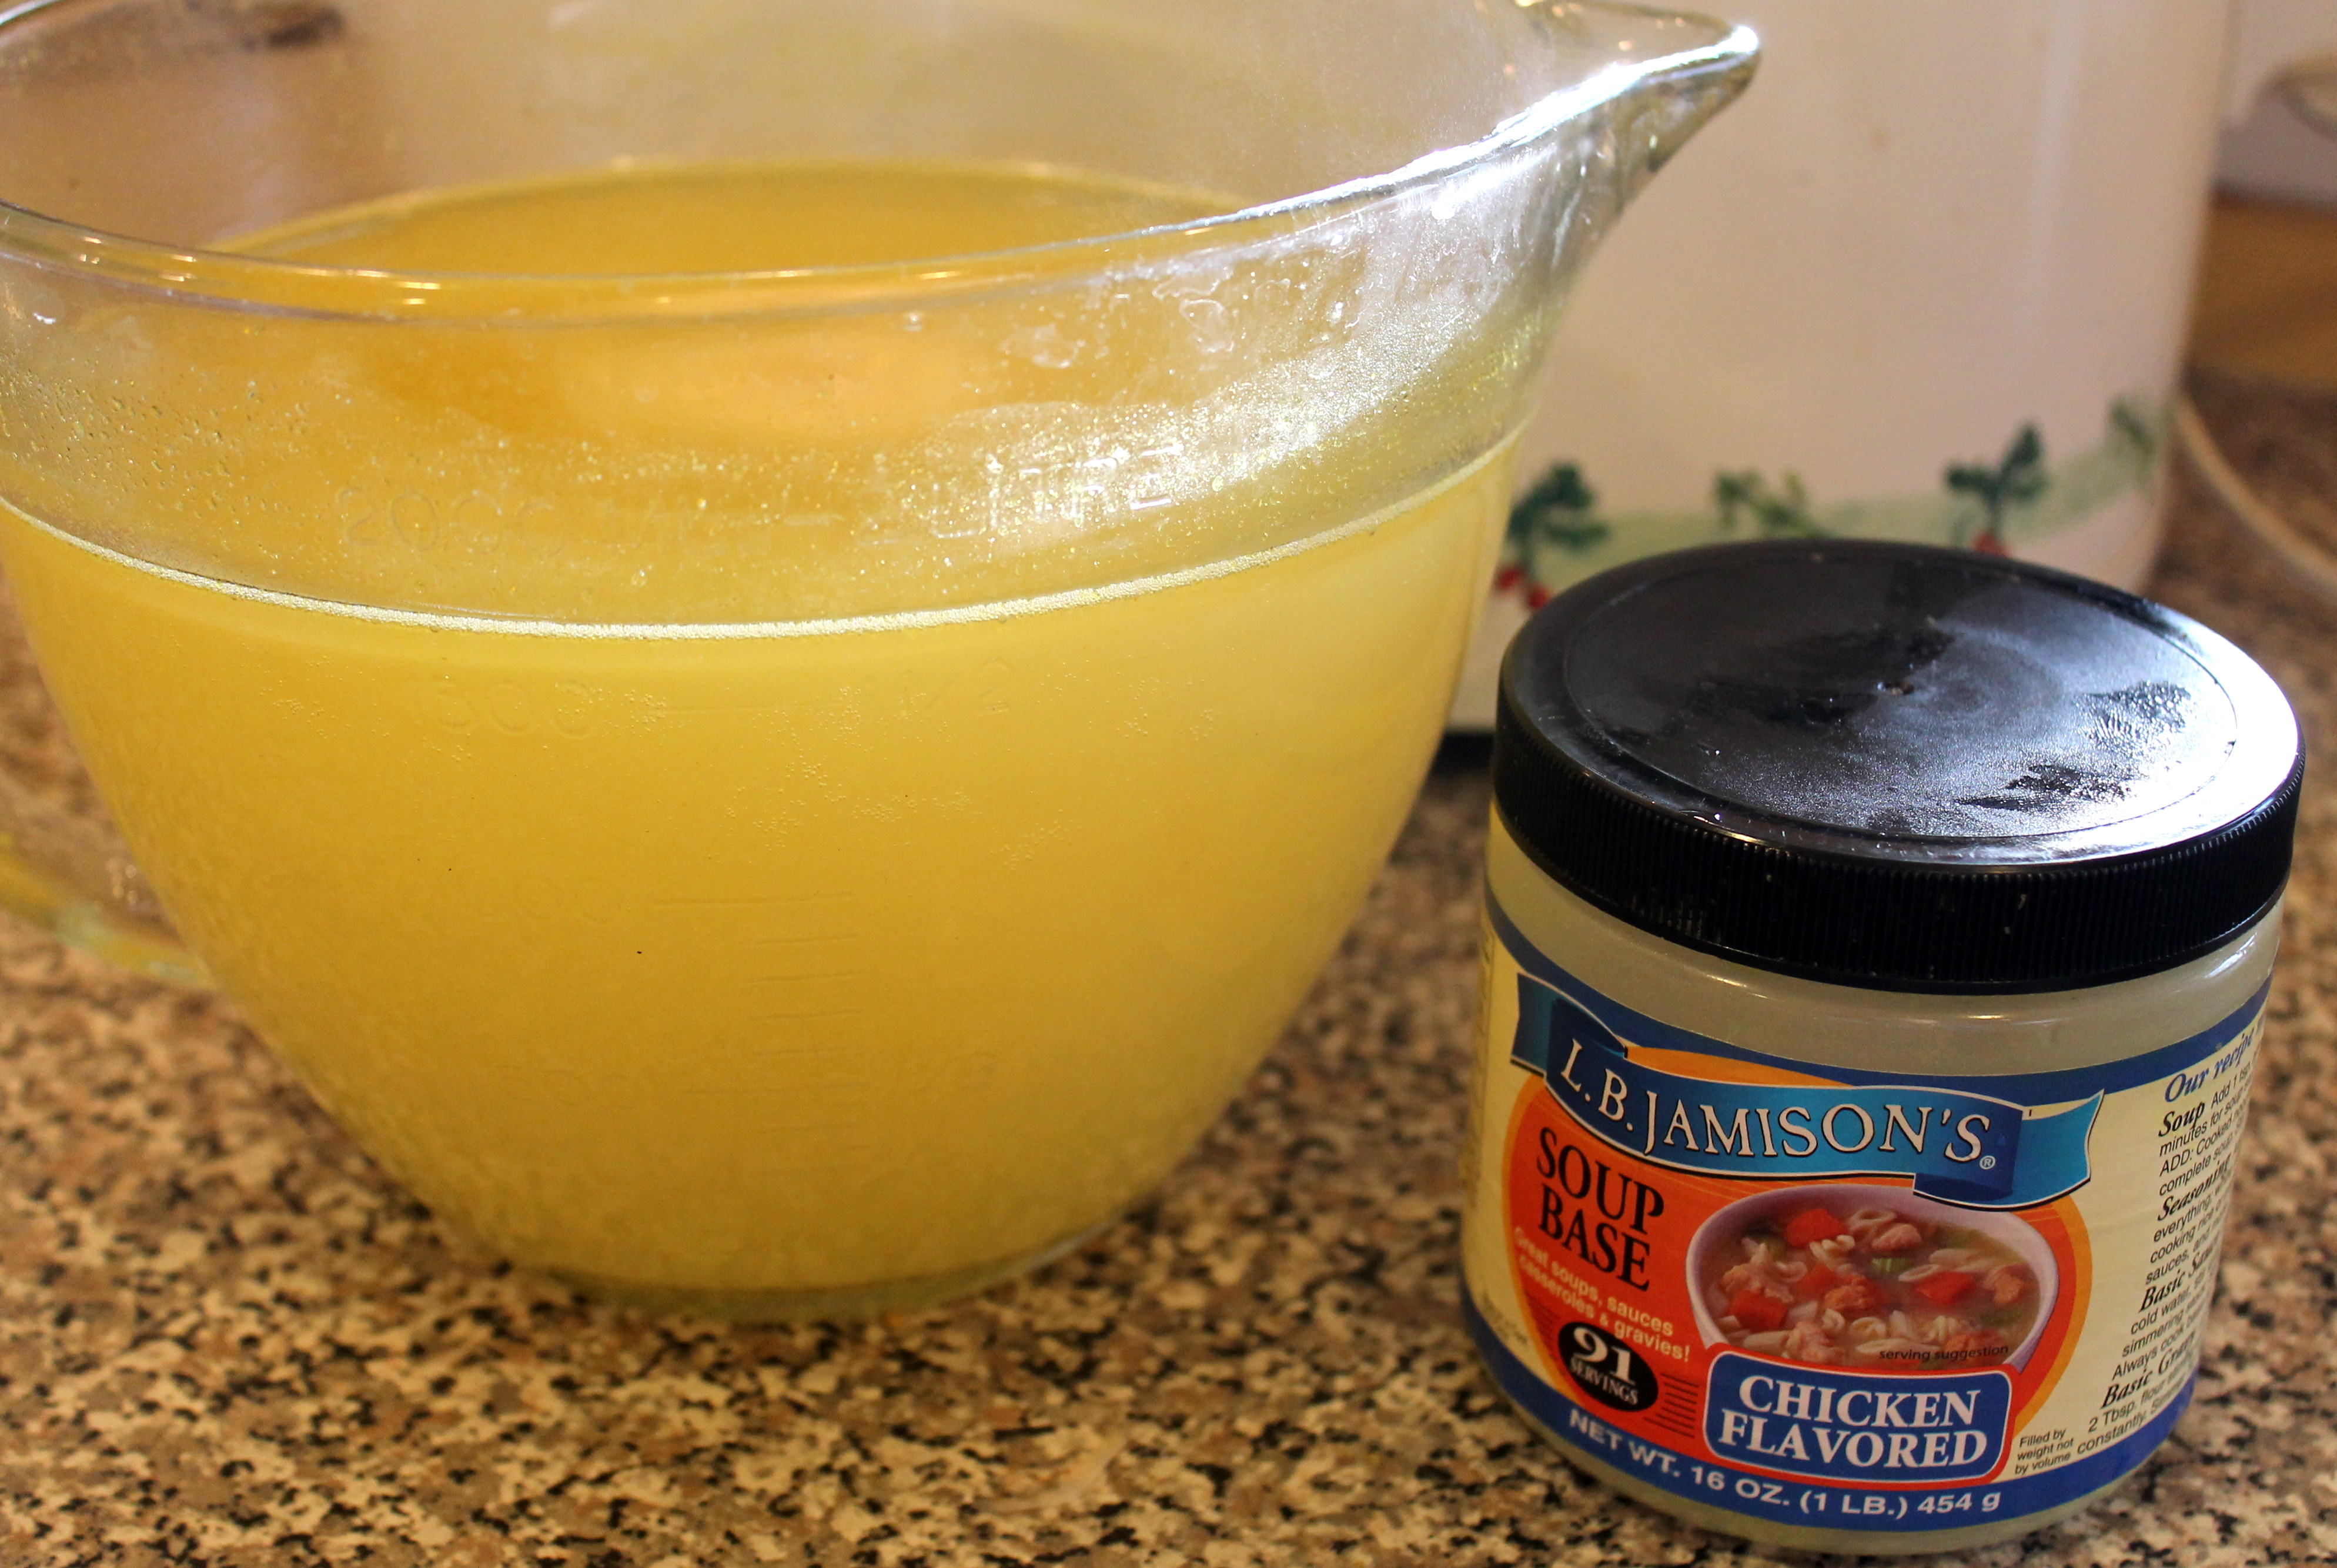
Since I was doubling the recipe, I needed 10 cups of chicken broth.
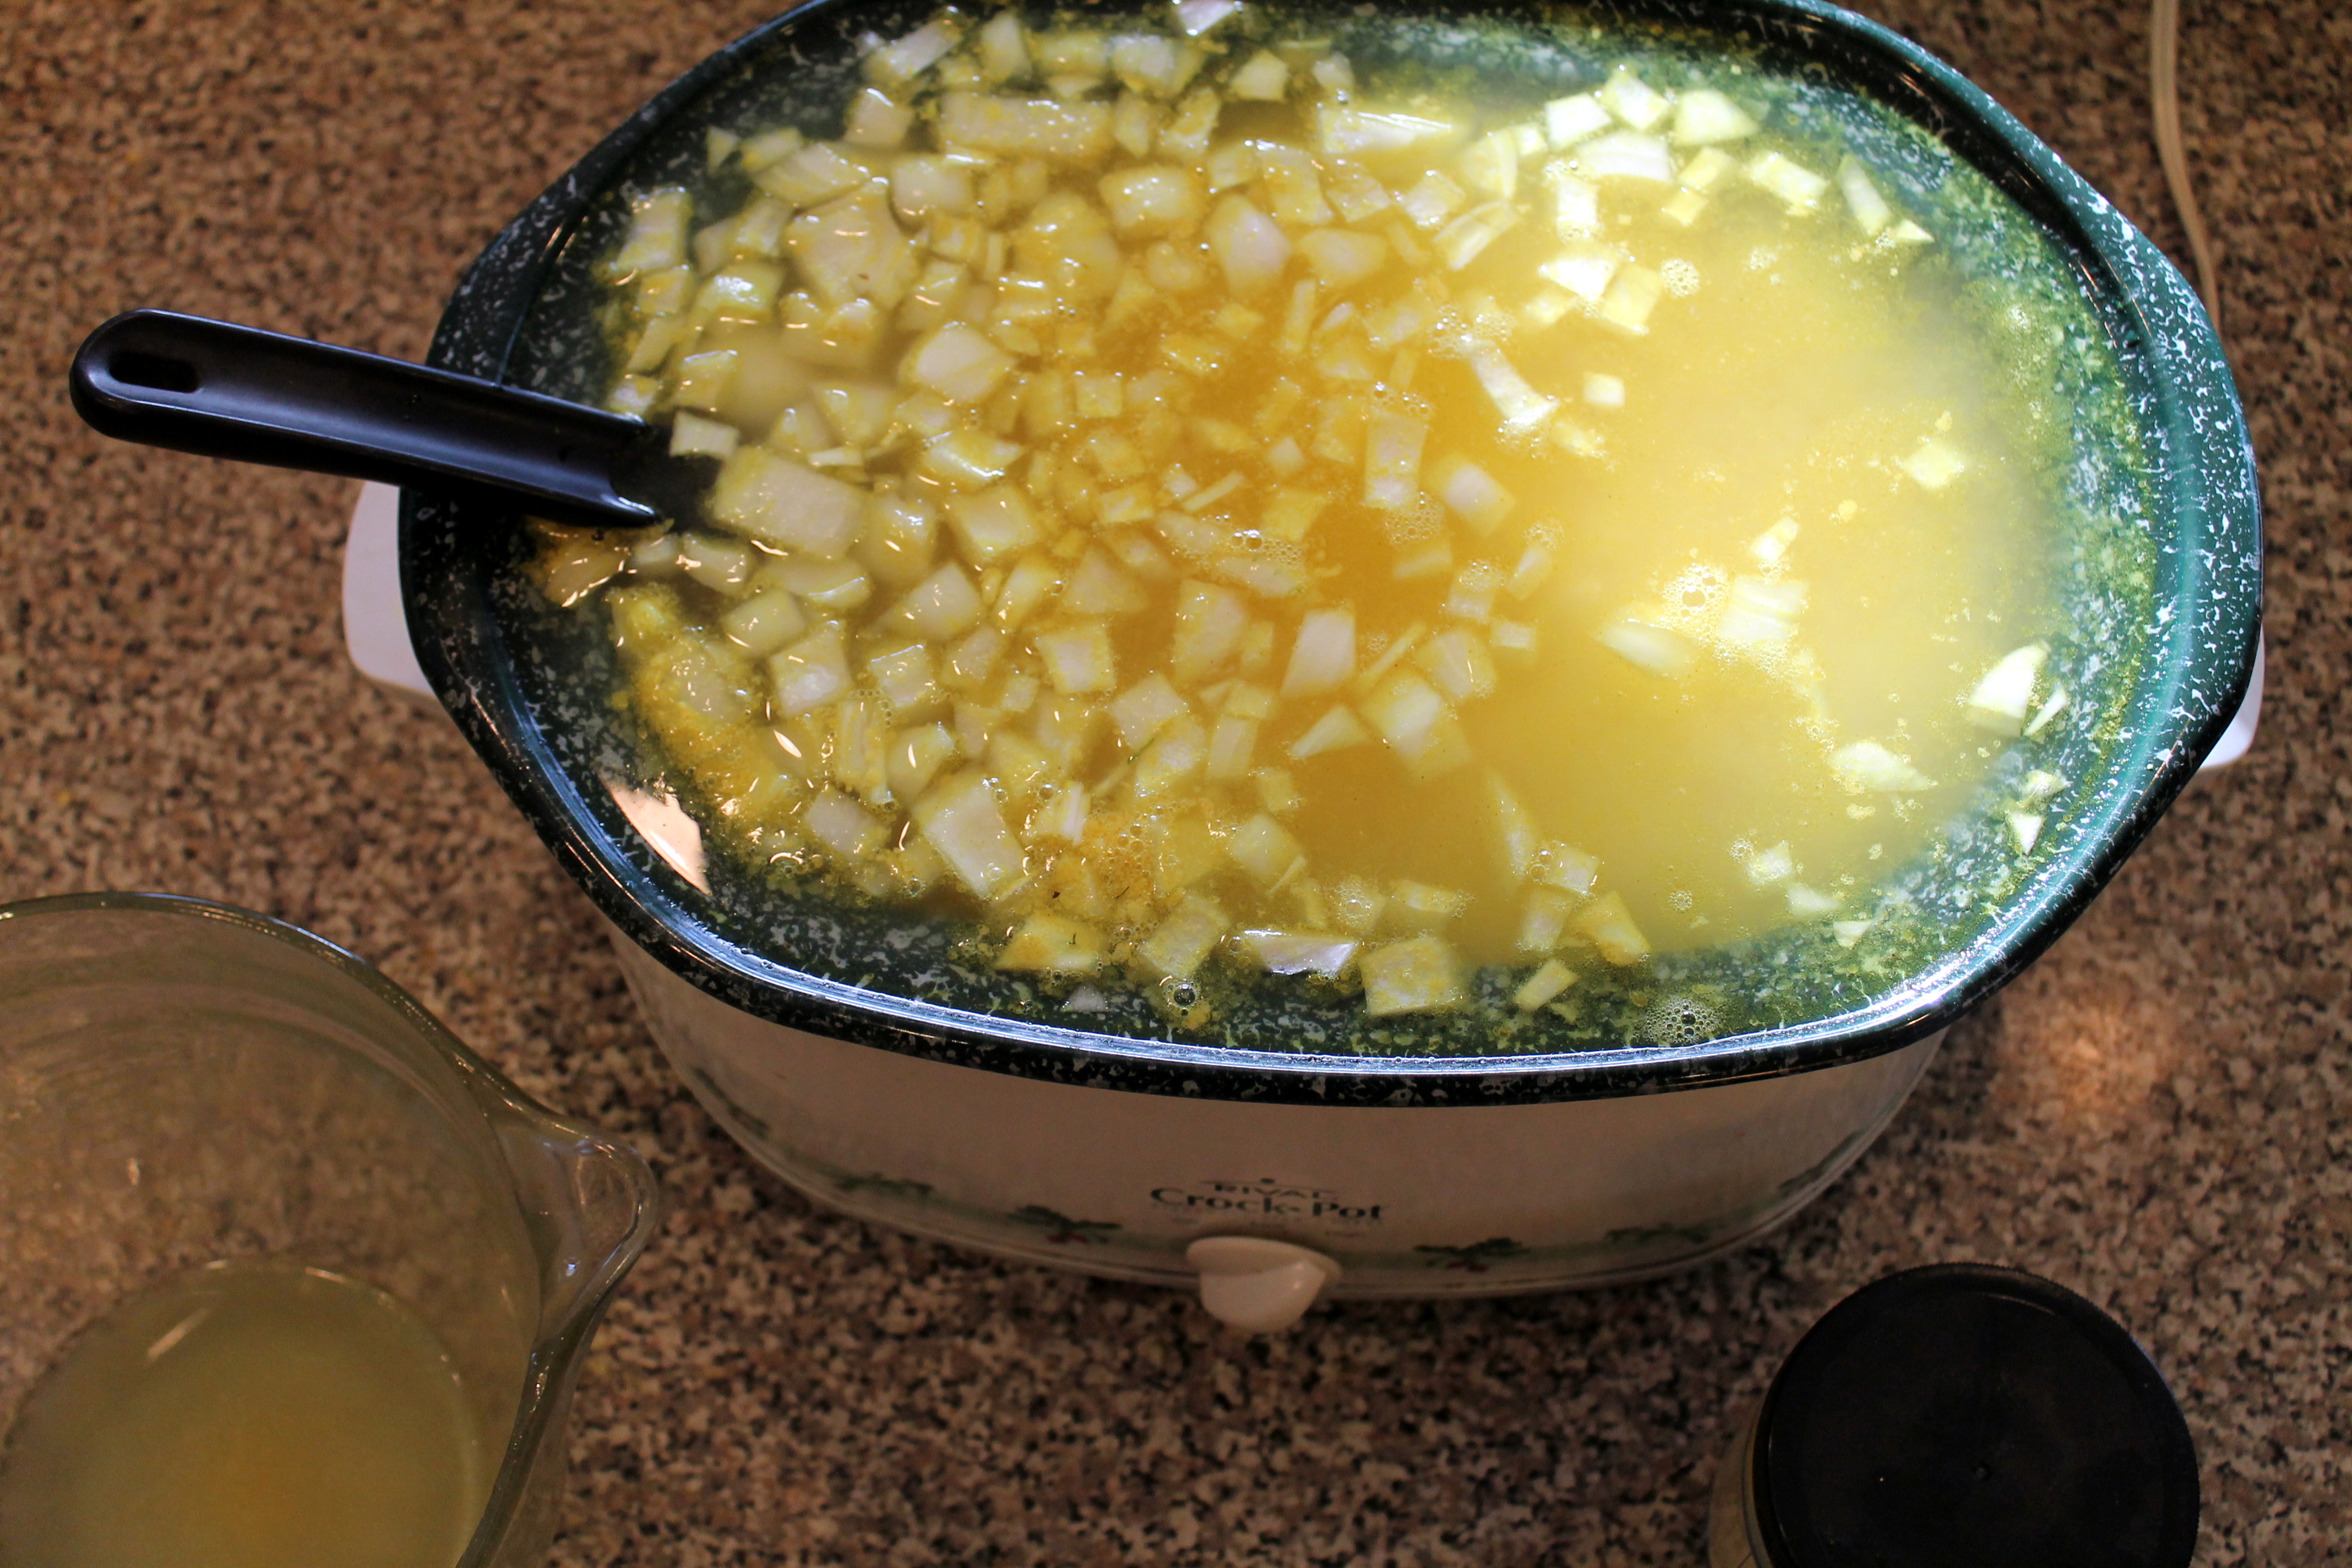
Well – I have a pretty large crockpot, but wasn’t thinking straight (Disclaimer: it was like 7:30 am, and I was only on my first cup of coffee), so 7 lbs. of diced potatoes and 10 cups of chicken broth…. well – not happening in the crock pot…. And there was more to add….
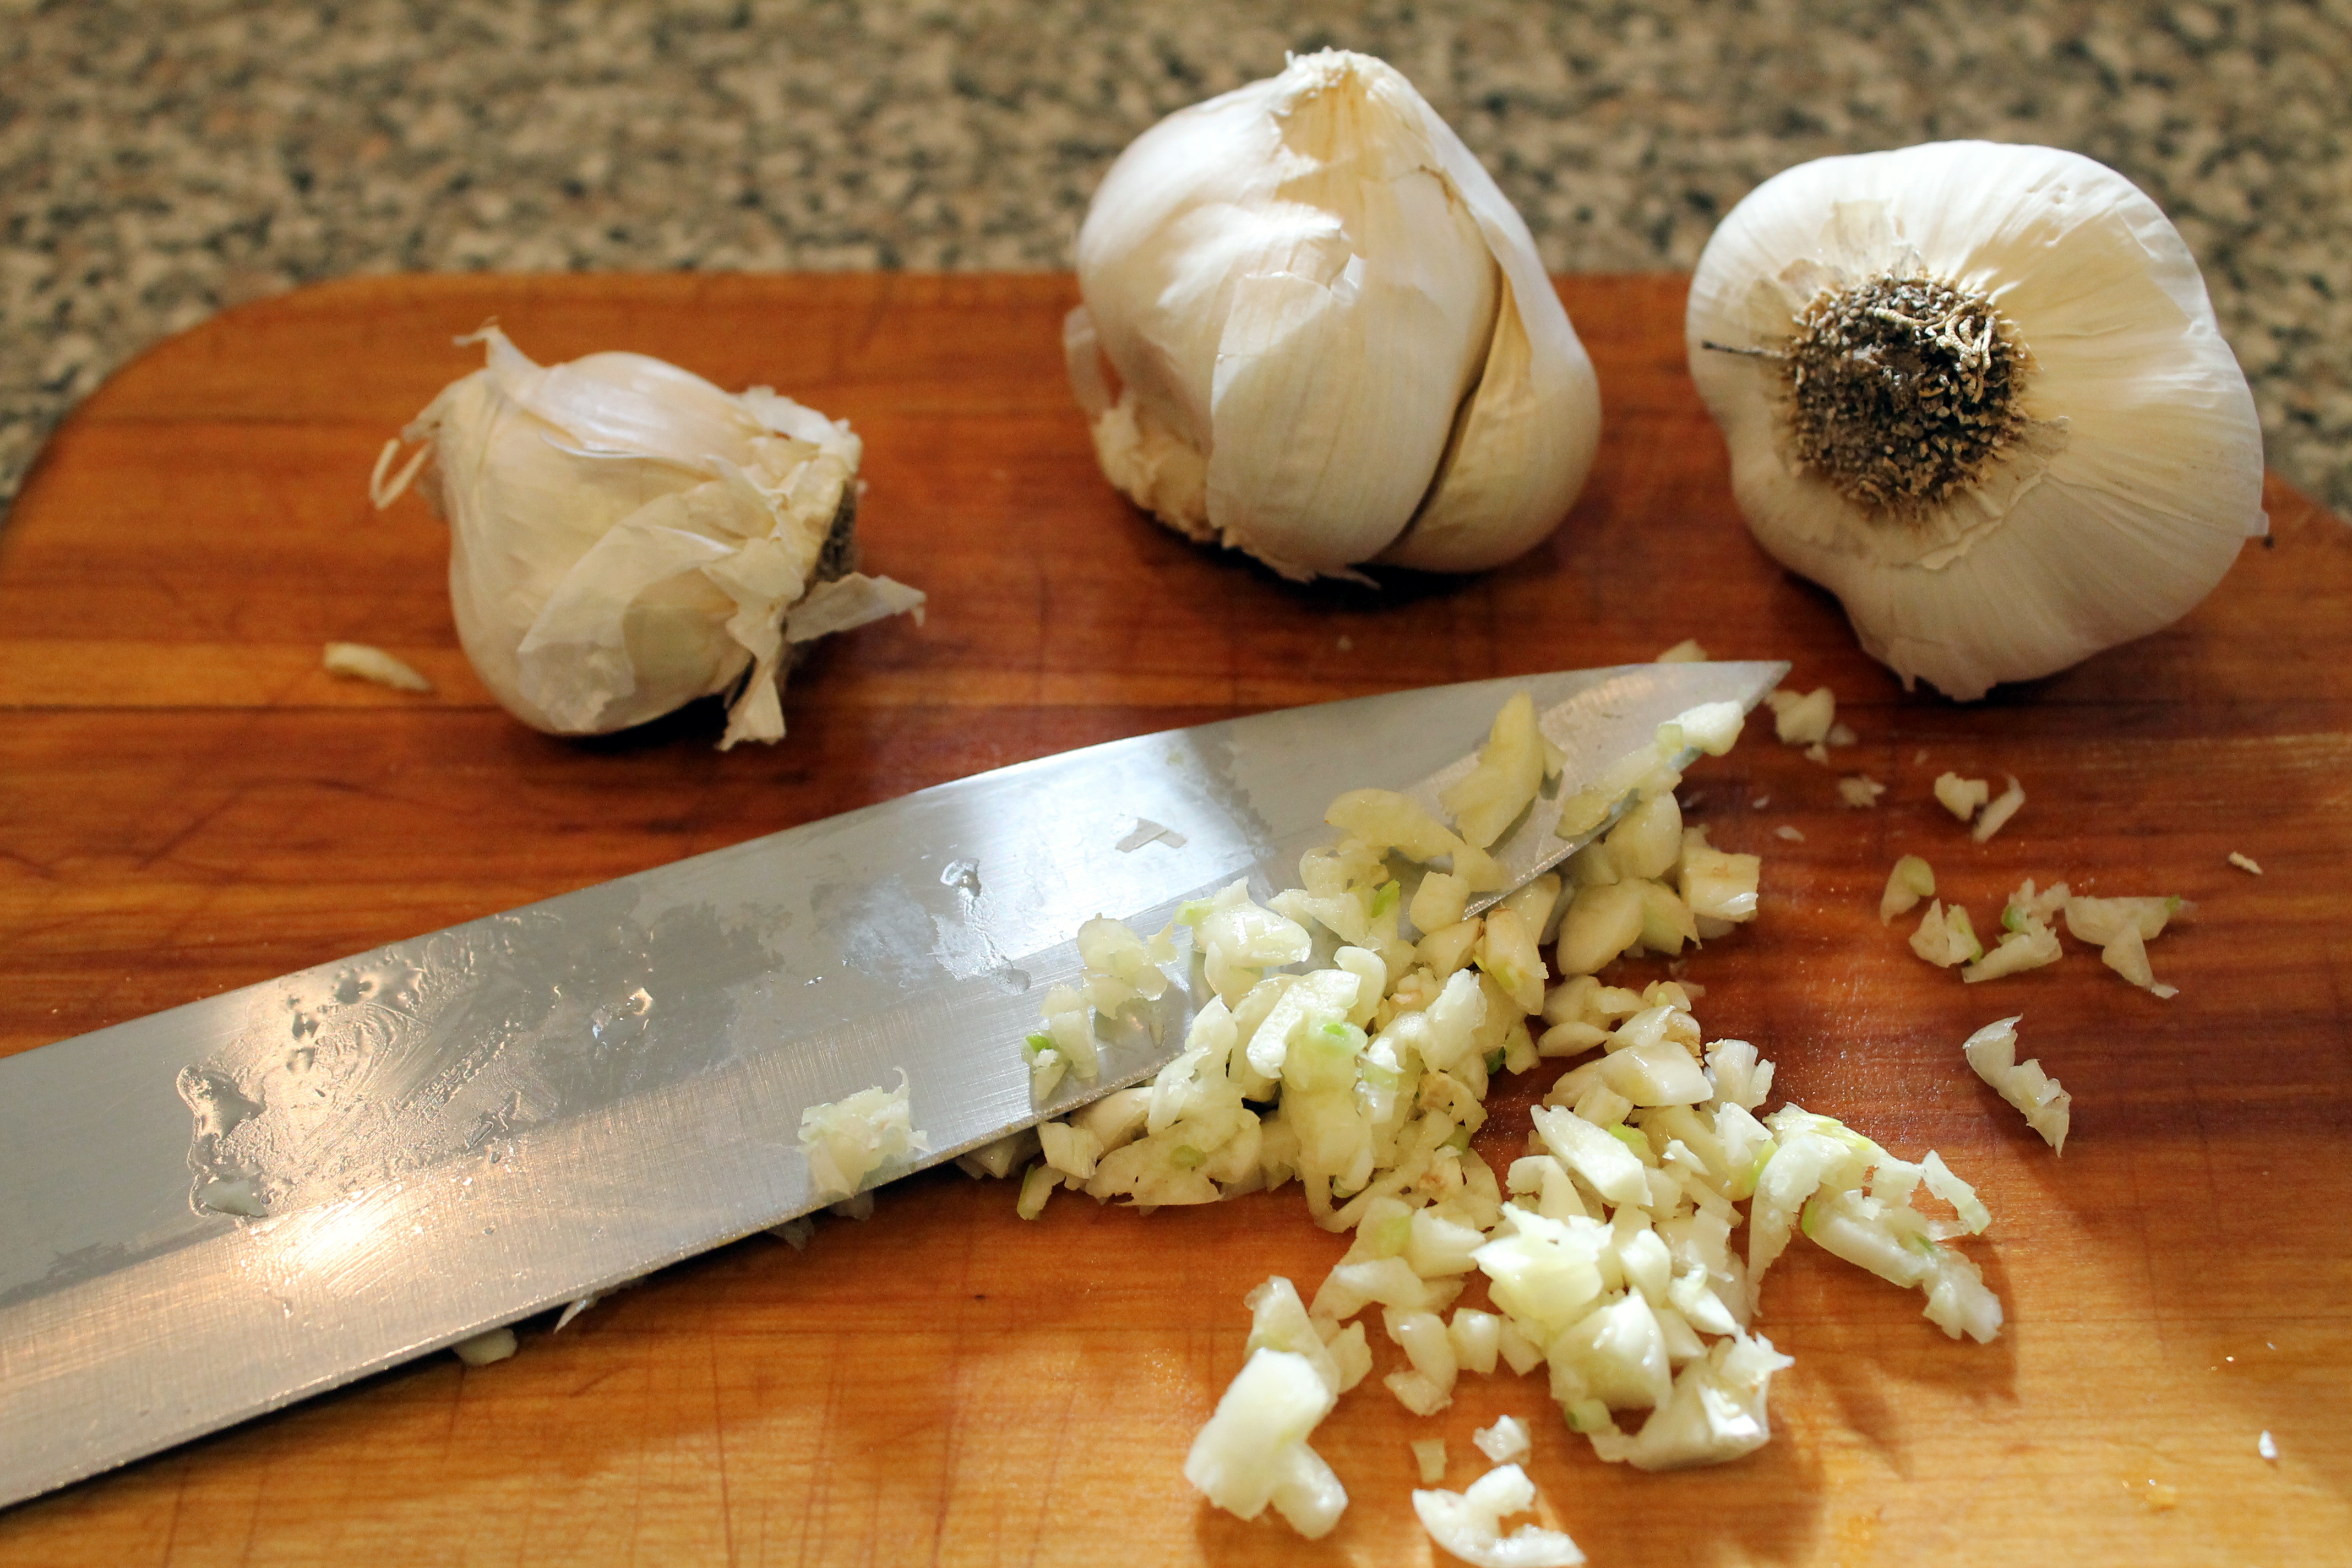
The recipe didn’t call for garlic, but c’mon – what savory dish doesn’t taste better with some freshly minced garlic in it? Again – note the “rustic” mincing job I do with my garlic…
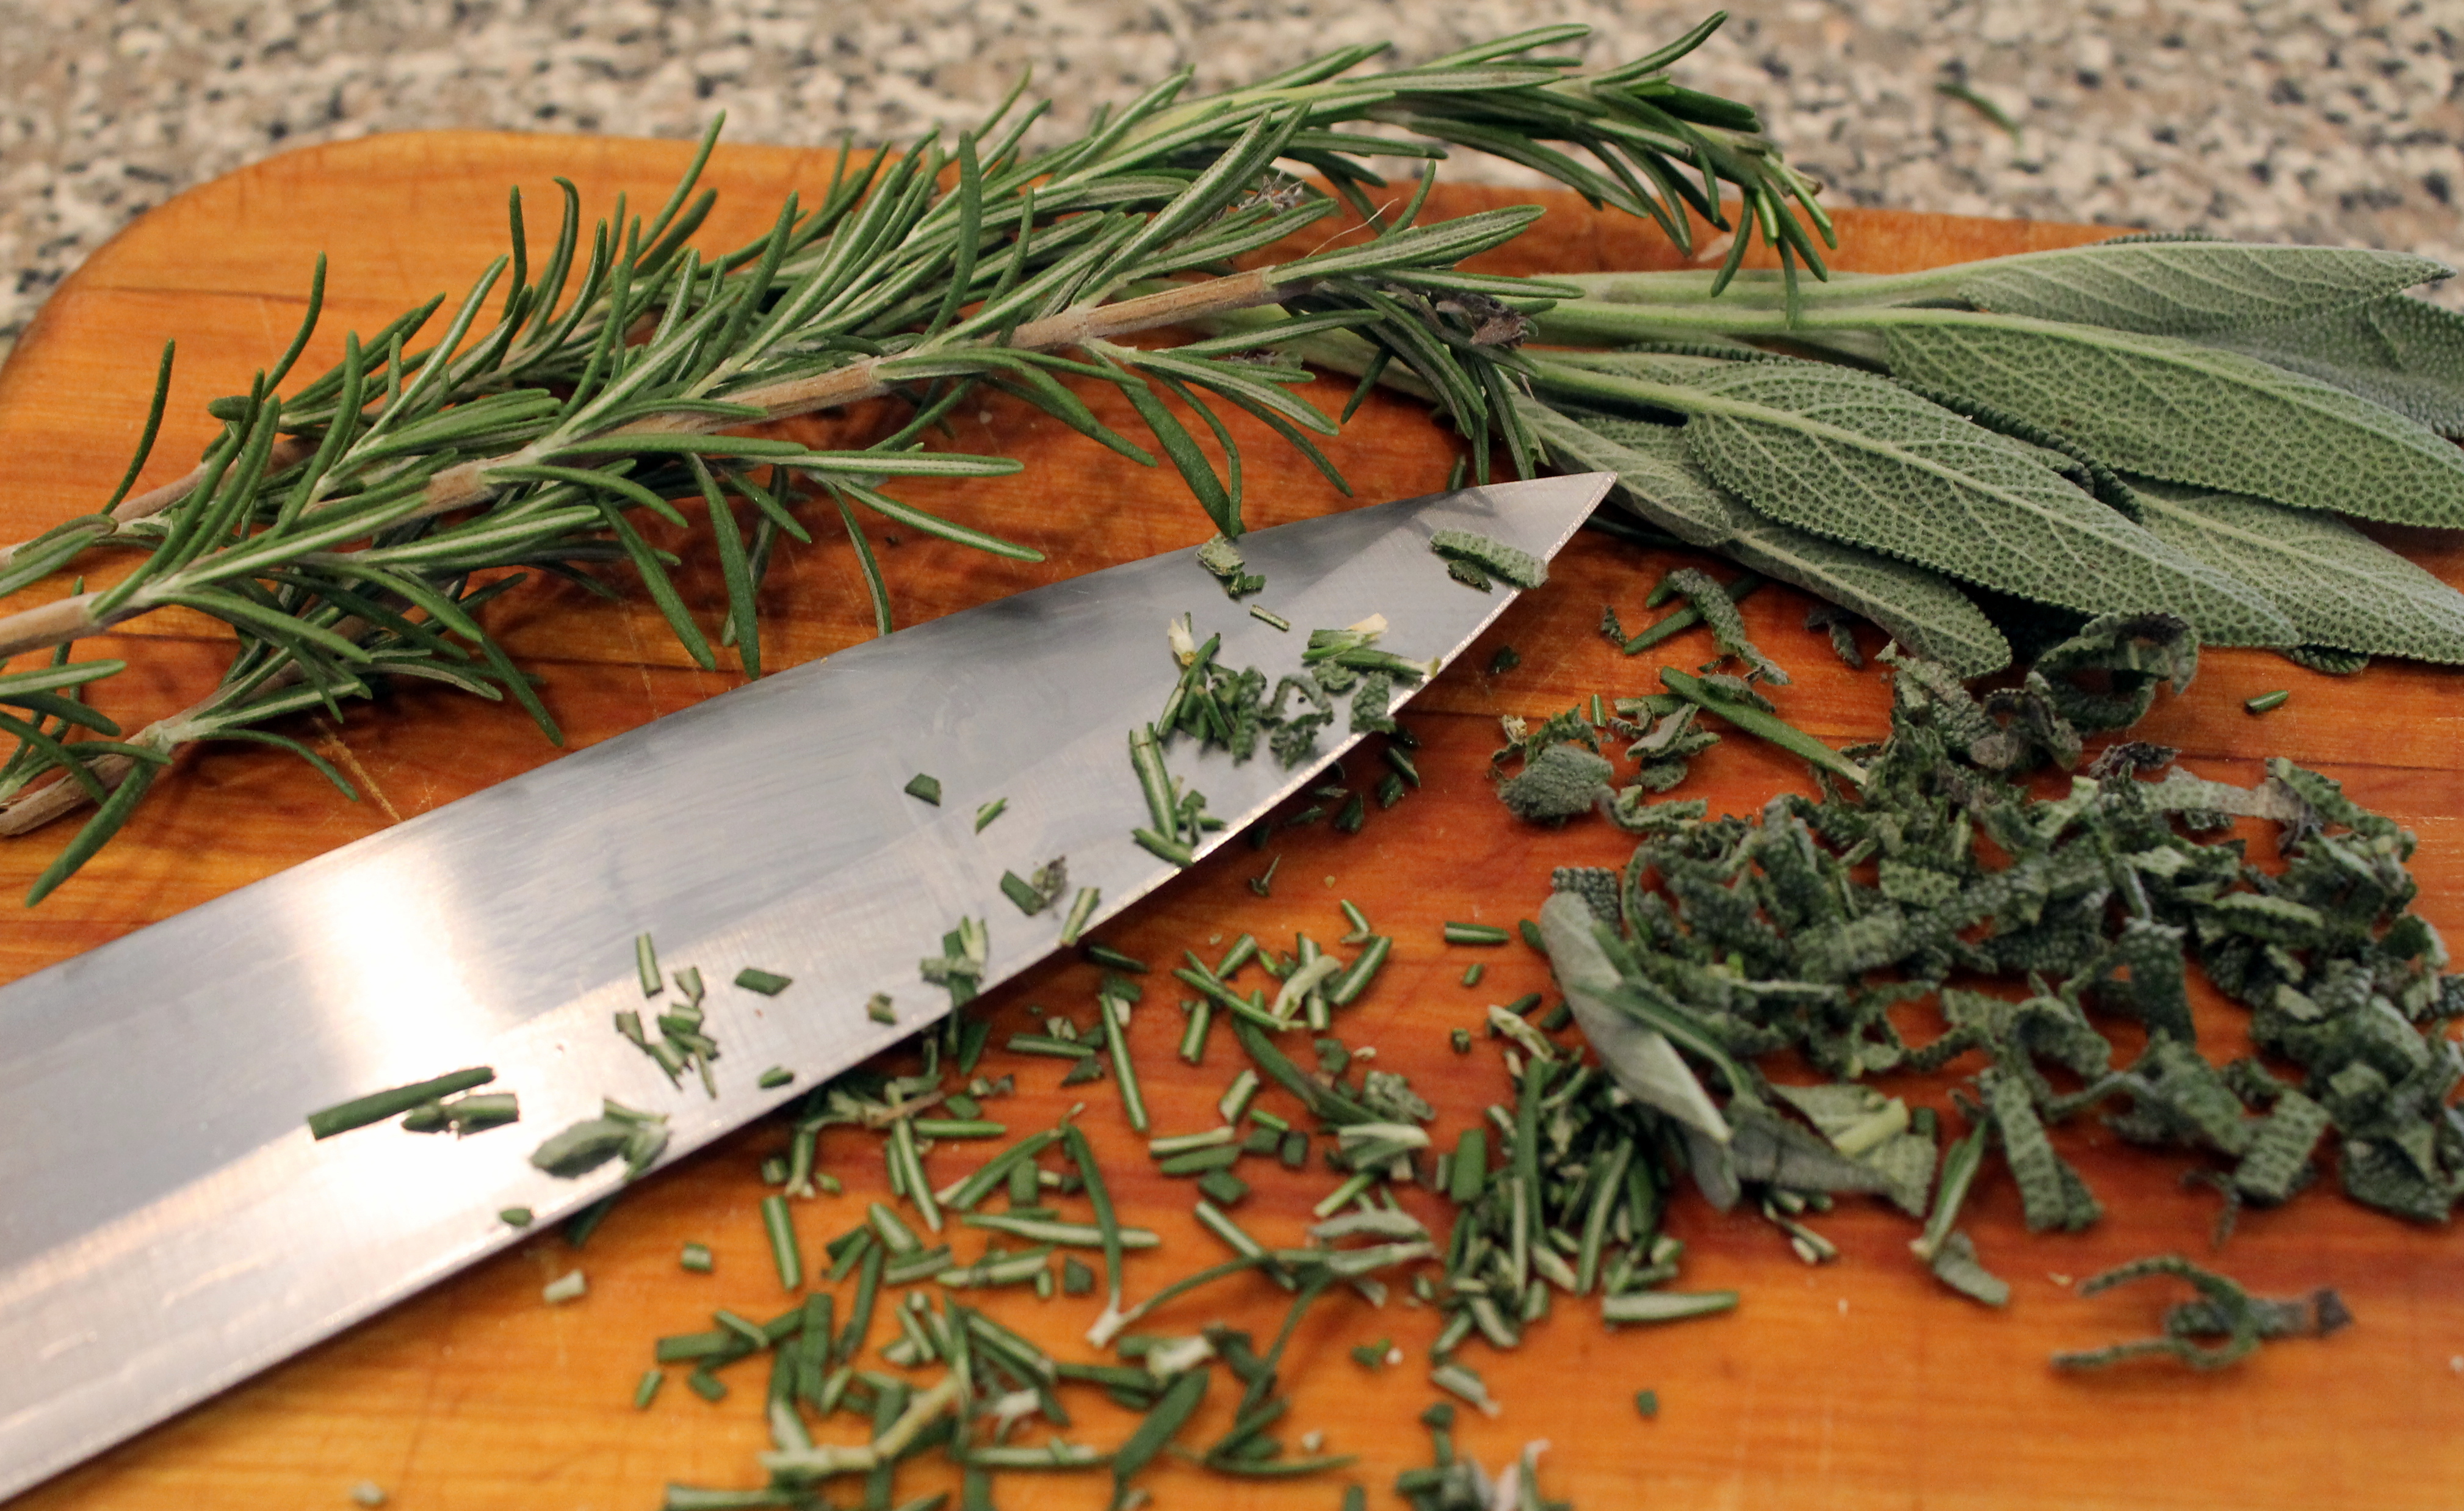
And just because I had it – – and because it is yummy – – – I wanted to throw in some fresh “rustically” chopped rosemary and sage. Oh the wonderful aroma!!!!
So before I had a huge mess, I dumped it all in a LARGE pot – way too large – but whatever – it fit – and too big is better than too small (for soup pots)!

Next – the recipe called for a cup of evaporated milk. I had one can. I needed 2 cups (doubling – remember?) One can does NOT equal two cups….
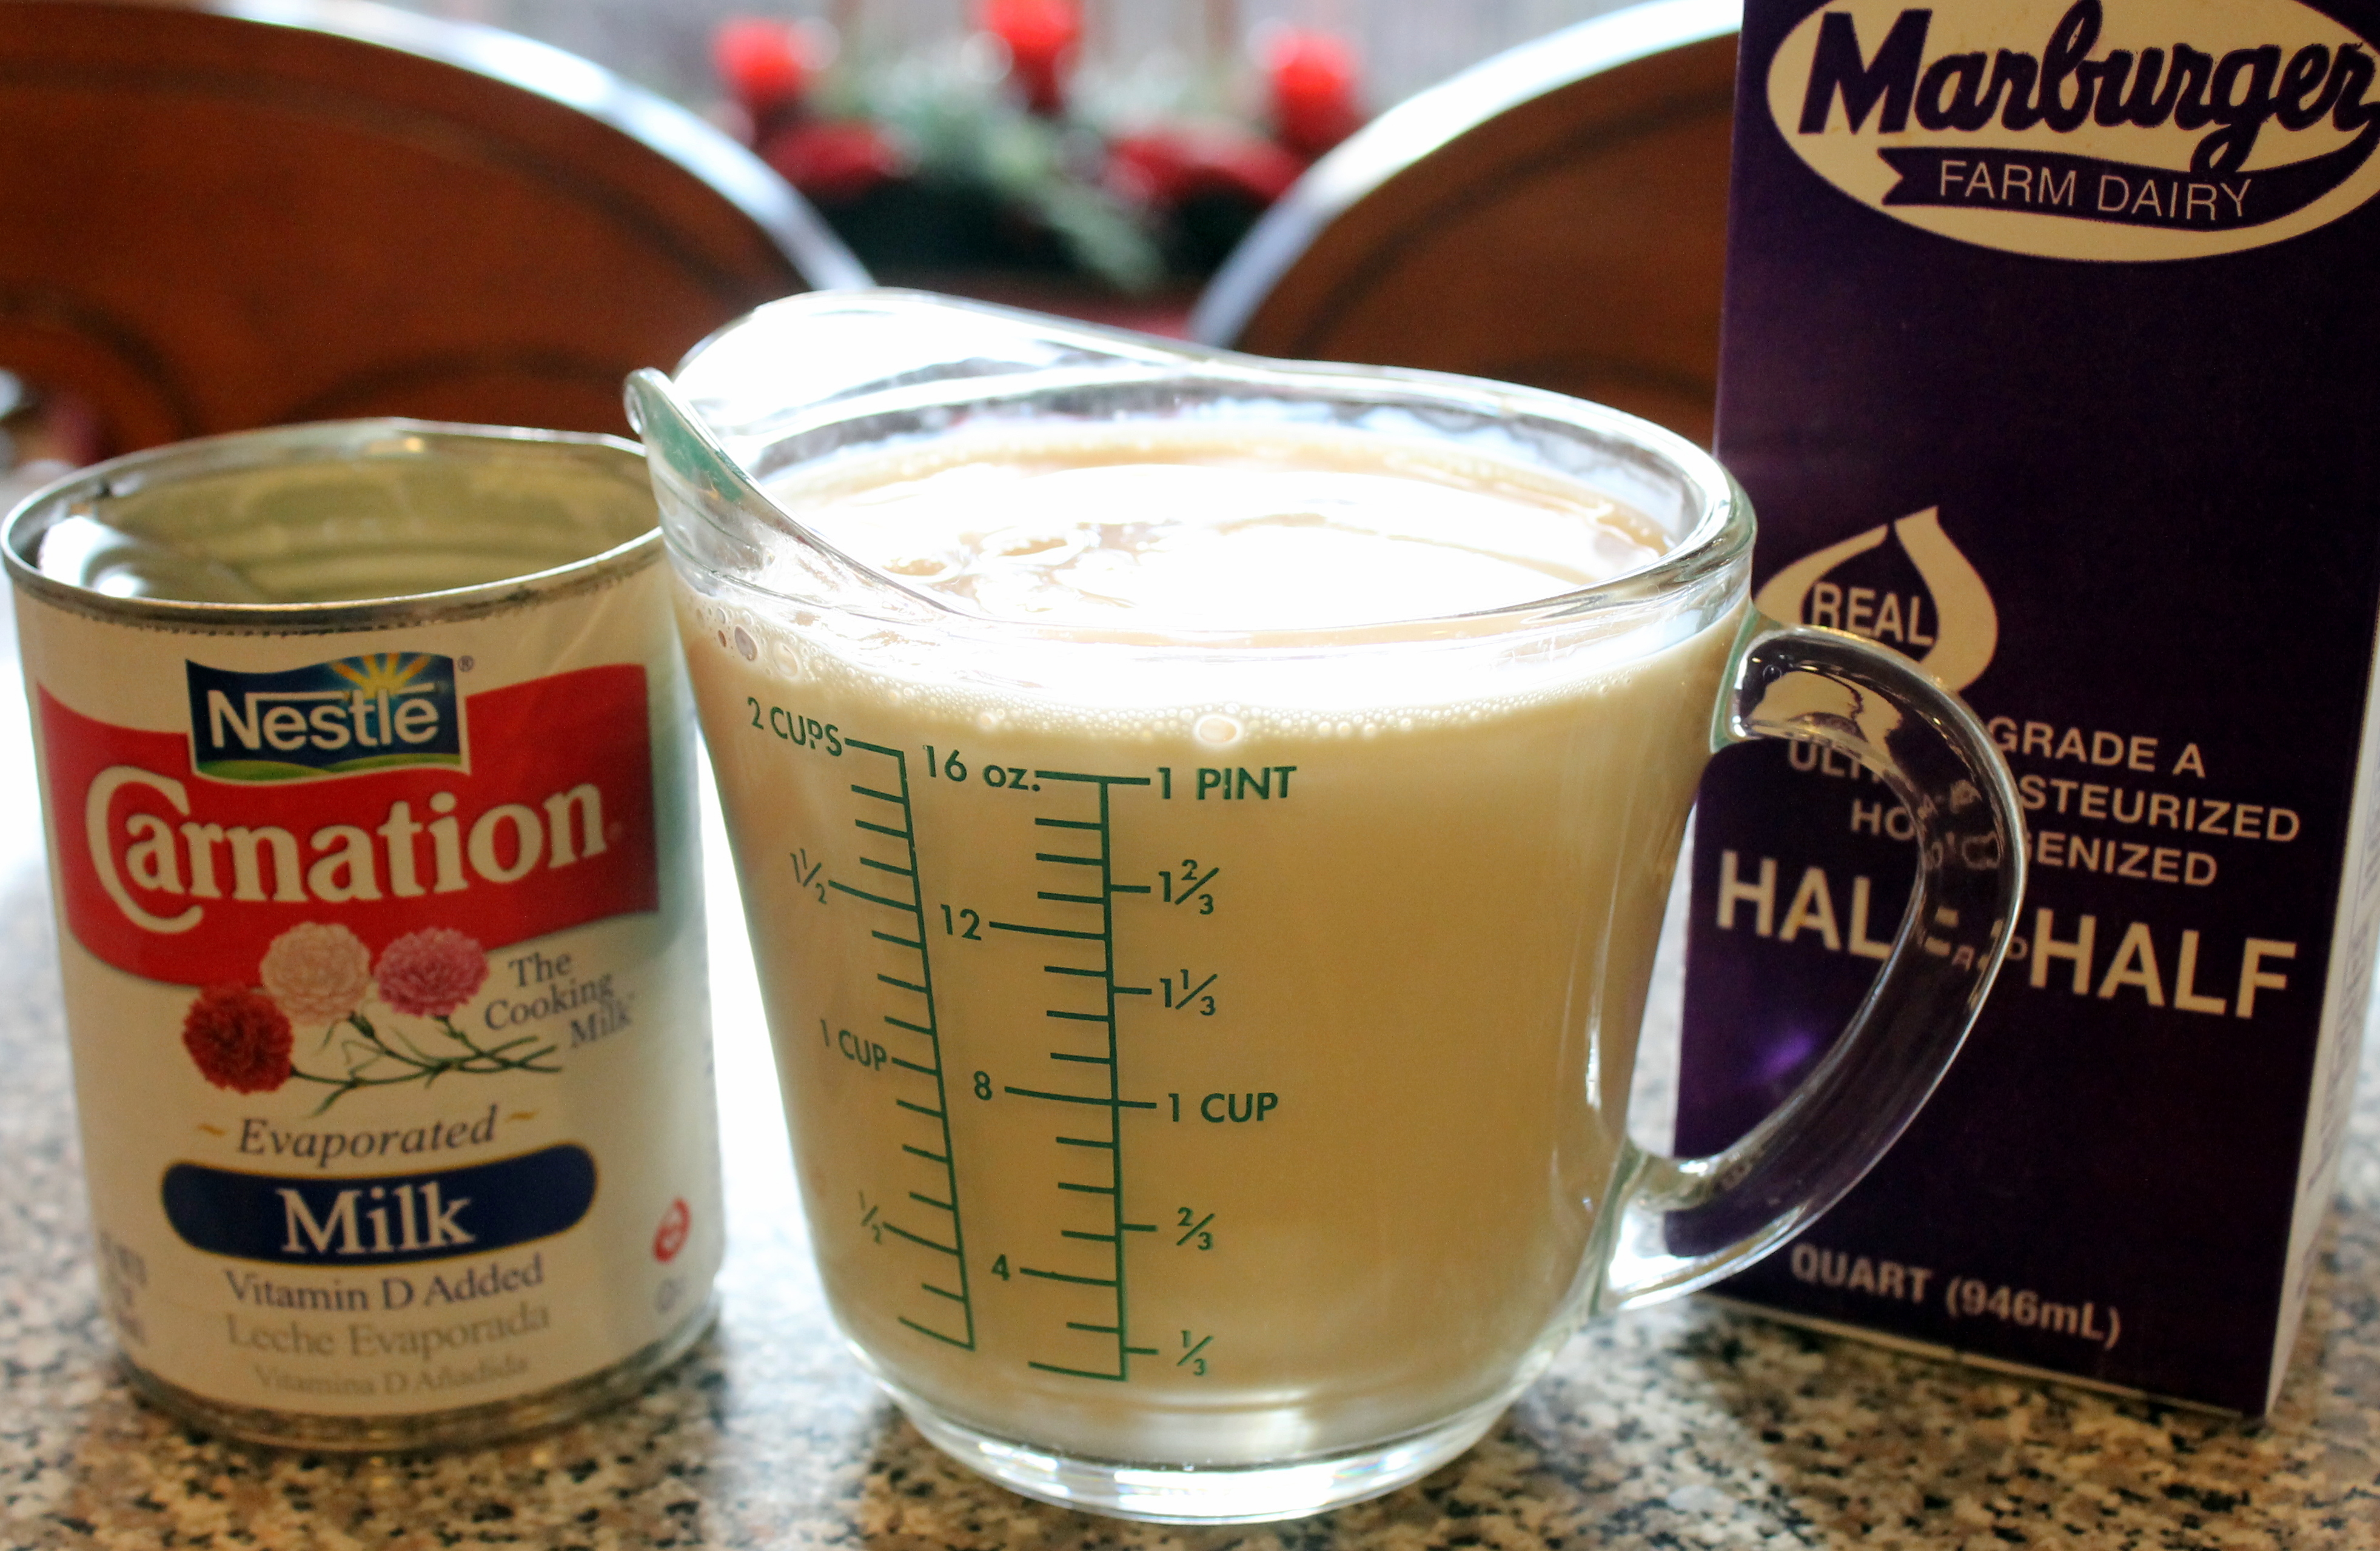
… so I just filled the remaining half cup with Half and Half. I dumped poured it in the pot, then added a dash of salt and pepper.
According to the crockpot recipe, this is all to simmer on HIGH for 4 hours or LOW for 8 hours…. I put a lid on the pot, set the burner to simmer, and it only took about an hour of simmering for the potatoes to be fully cooked and soft. So it just sat there (and the flavors melded) for the day once done.
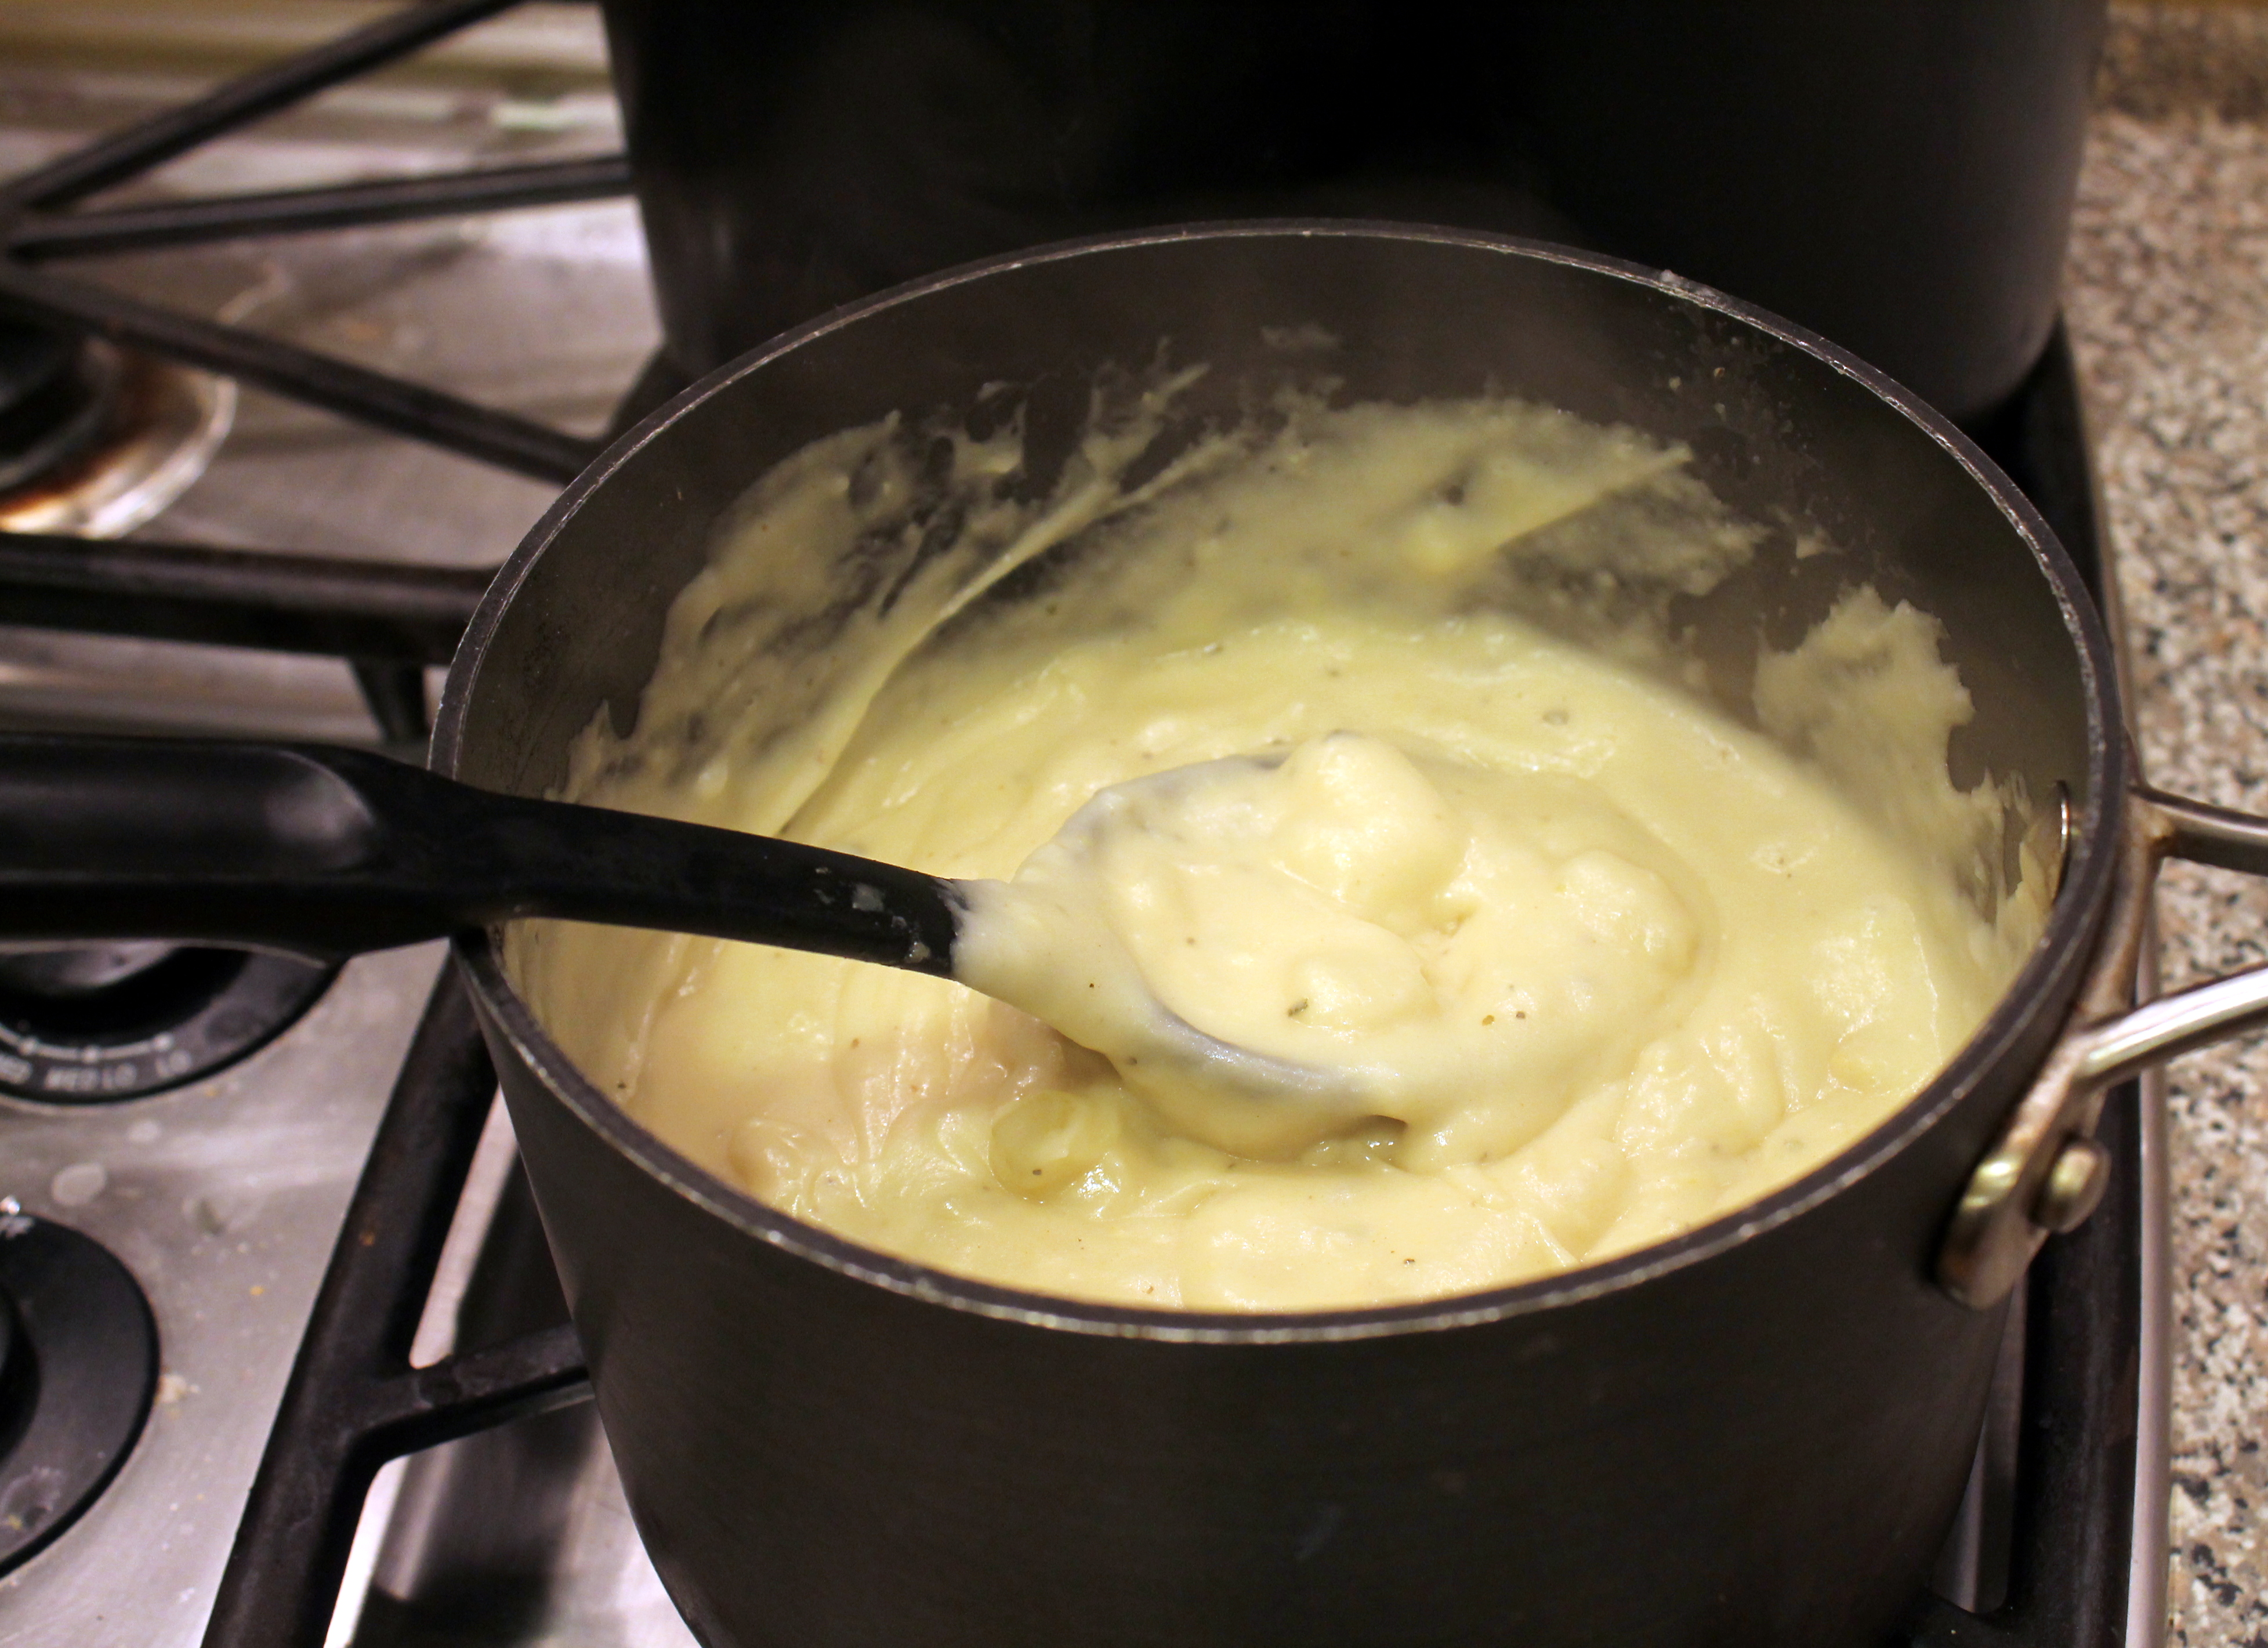
After work, when I was ready to finish the soup, I melted 2/3 cup butter in a medium saucepan. Once melted, I whisked in 2/3 cup flour and cooked for a couple minutes. I then whisked in 4 cups of the potato soup broth.
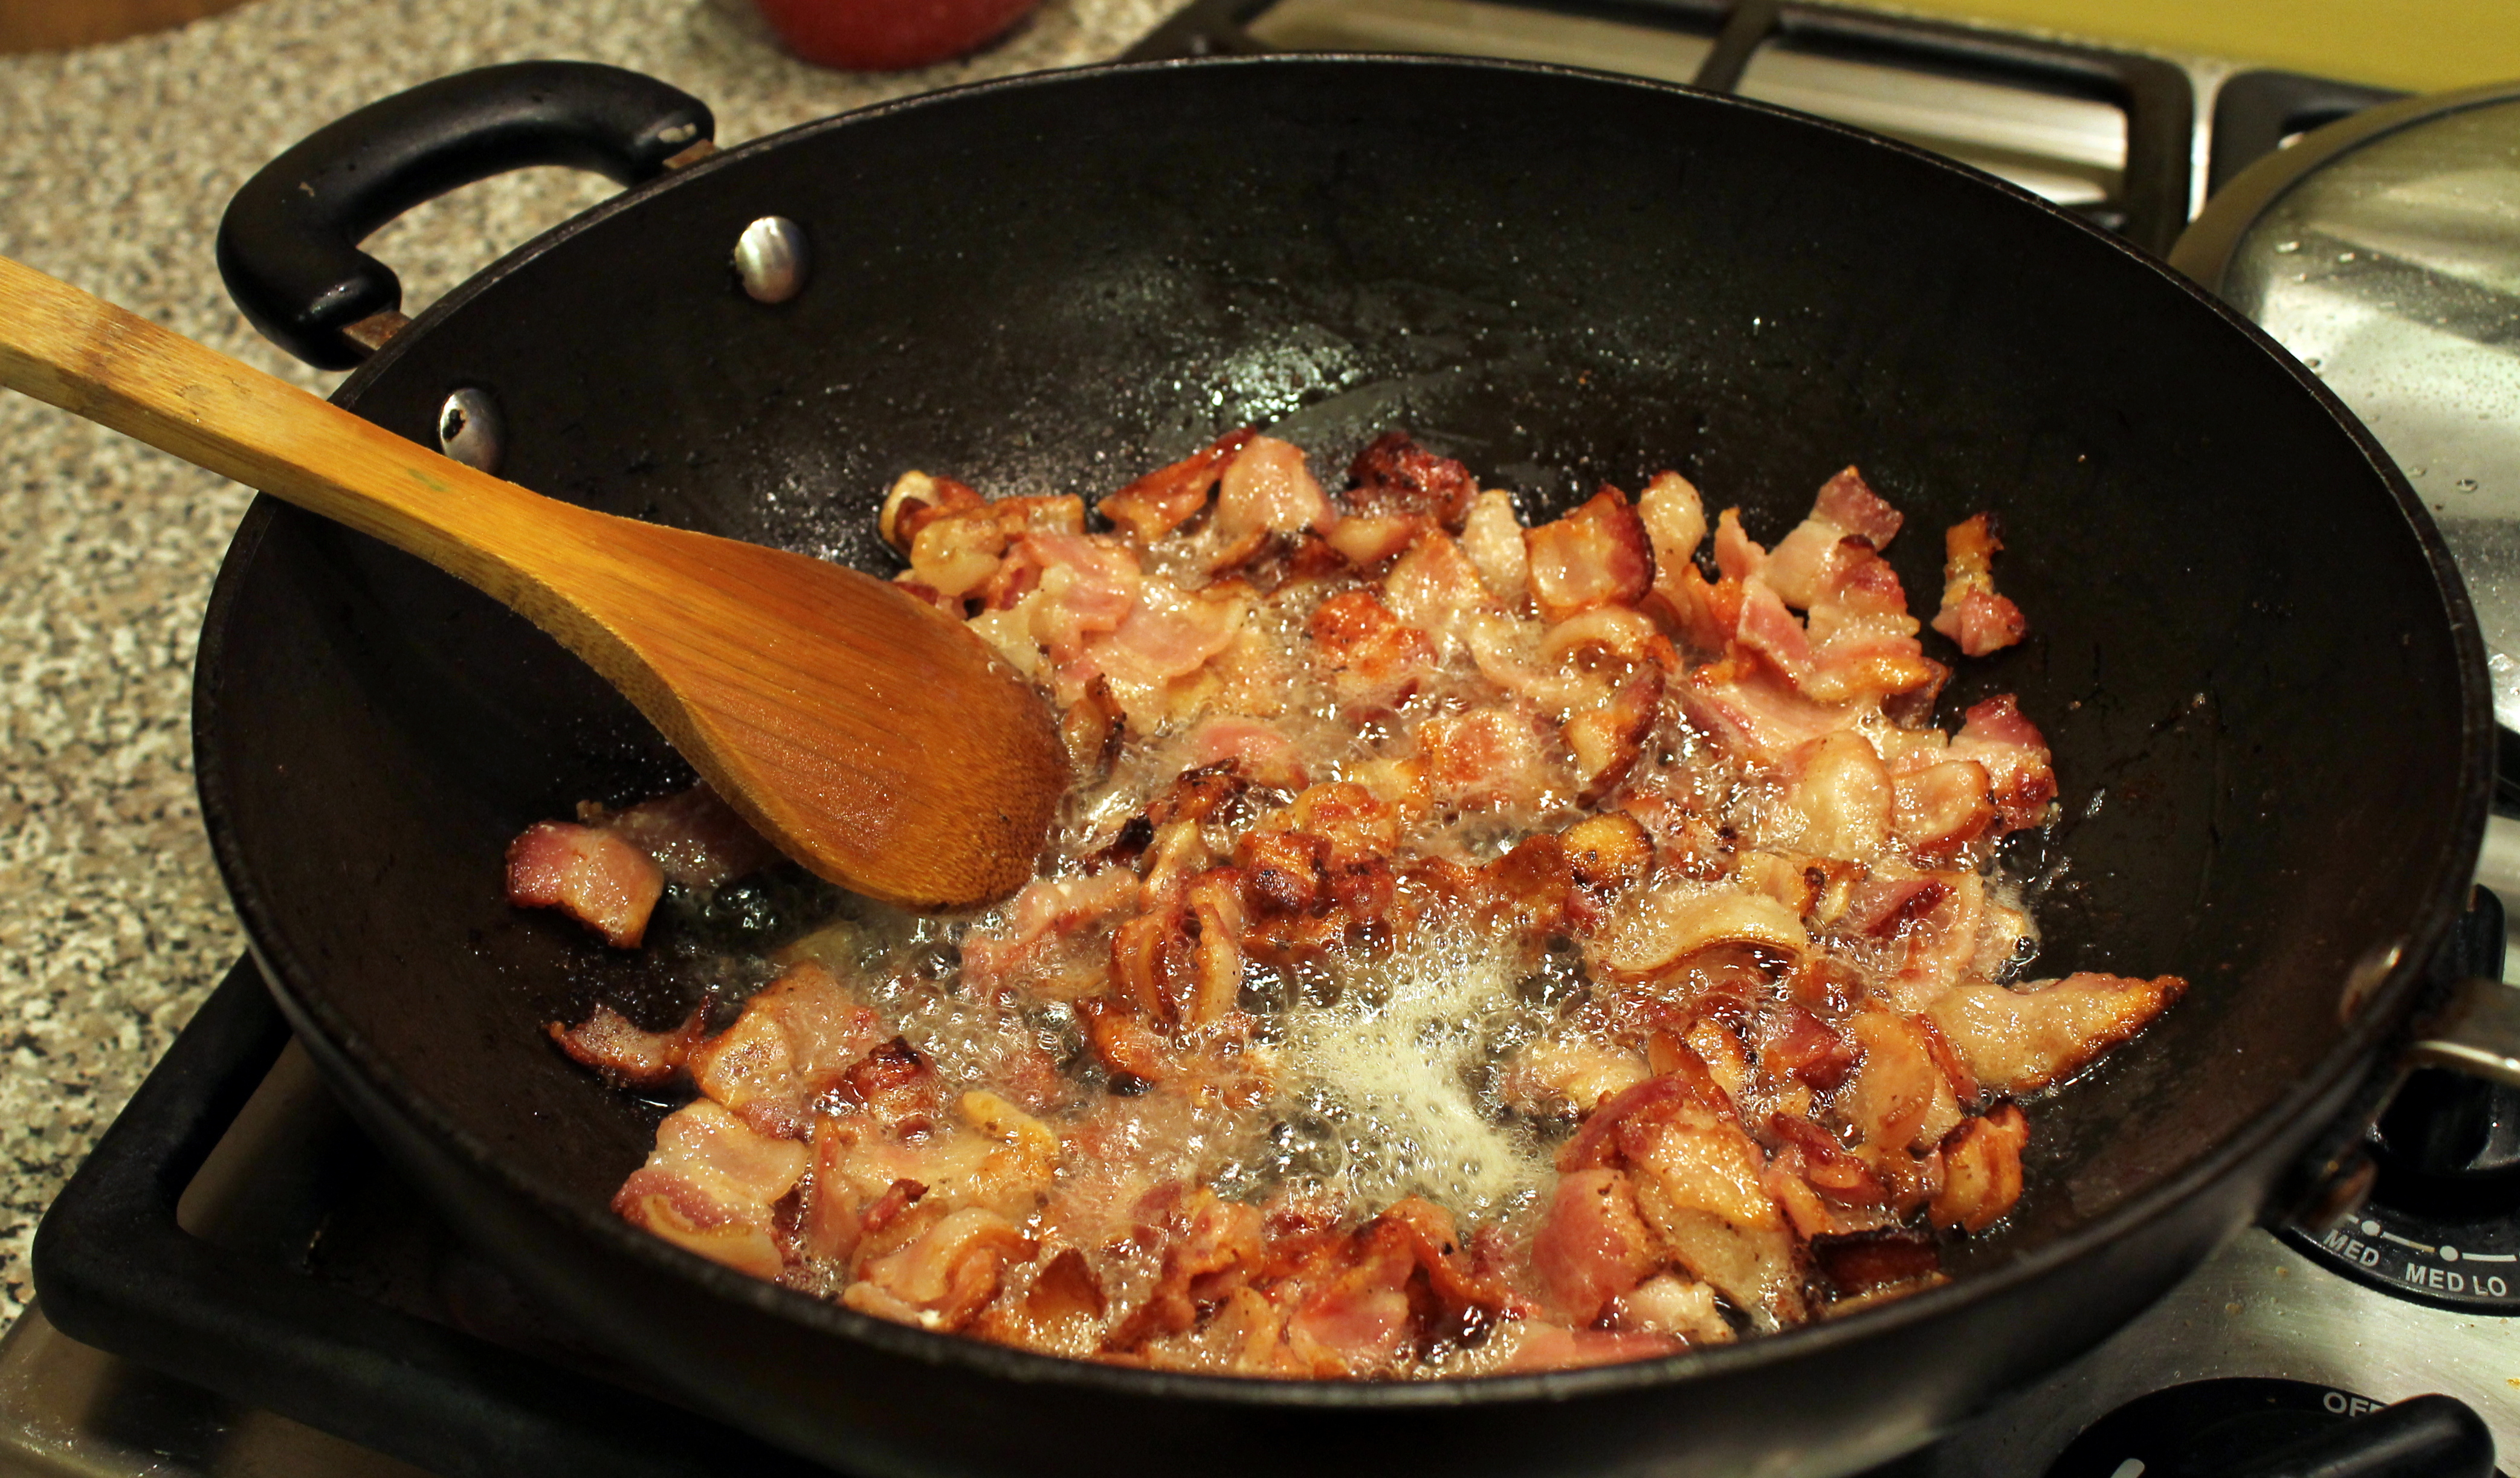
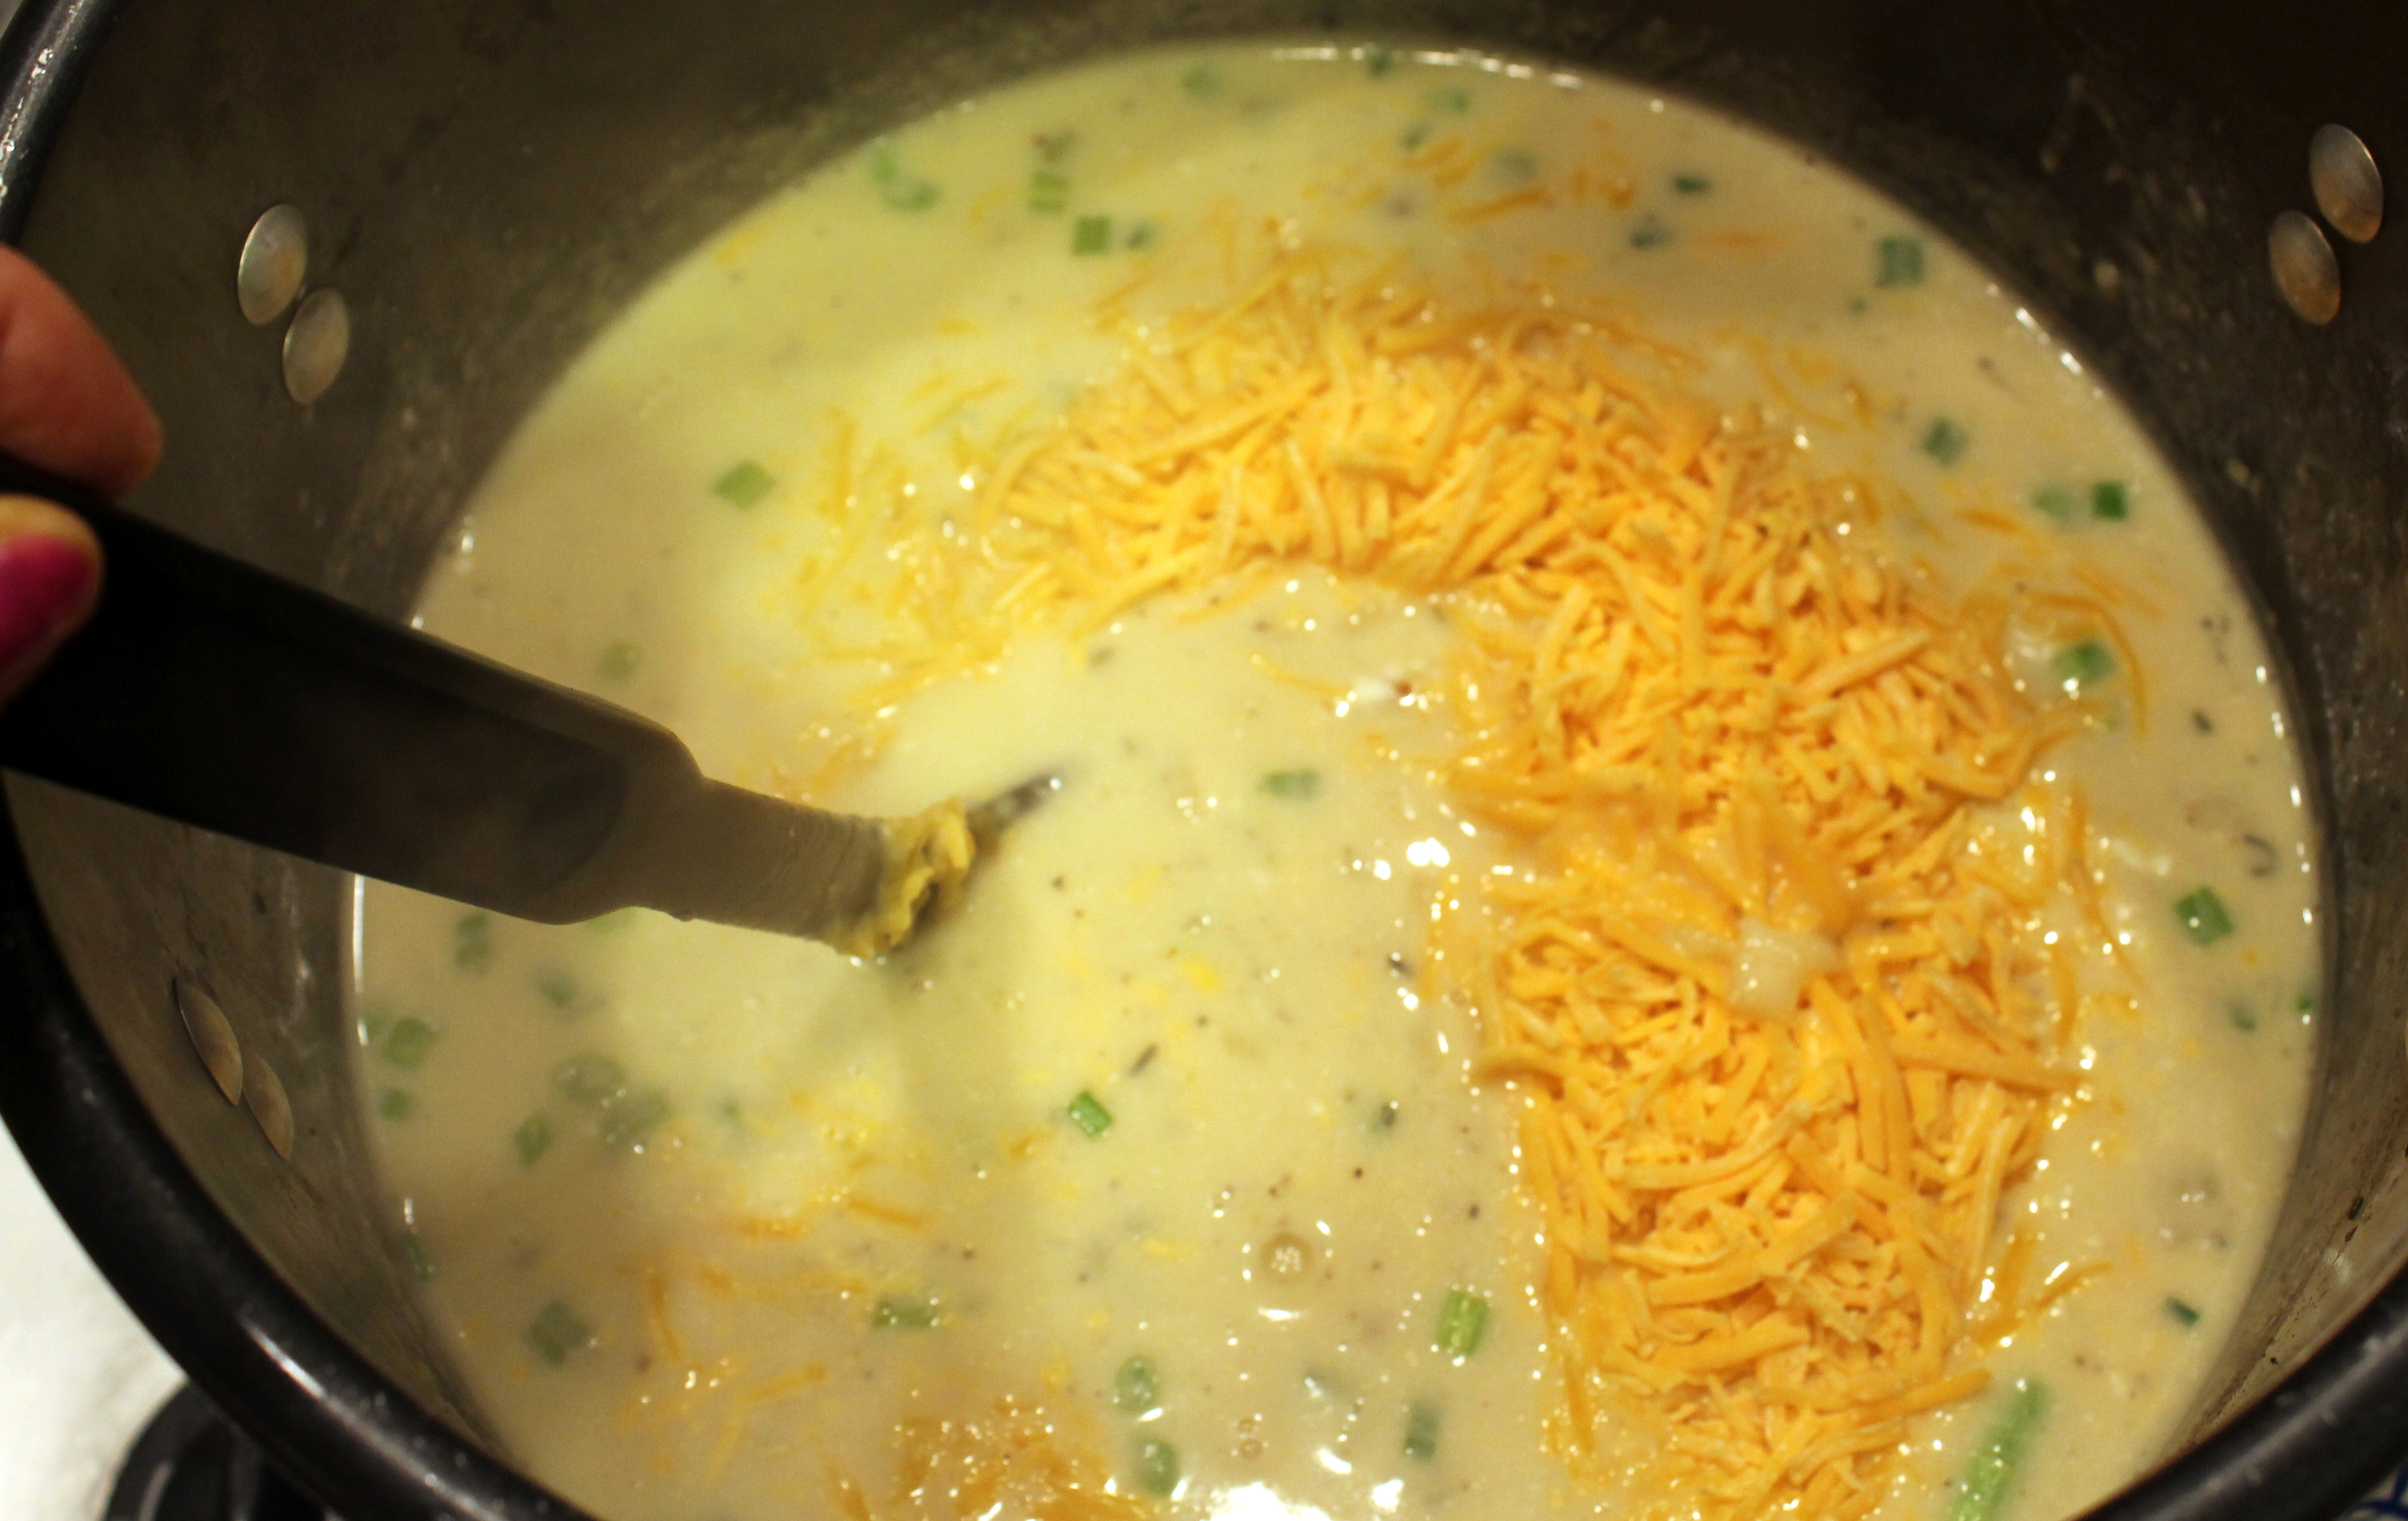
 This was then added to the big pot and cooked for about 10 minutes. While that was cooking, I fried up a pound of sliced bacon, chopped a handlful of green onions, and grated some cheddar cheese.
 I stirred half the bacon, onion and cheese into the pot, along with a cup of sour cream…
 I reserved the rest of the bacon, green onions and cheese for garnishing on top of the soup.
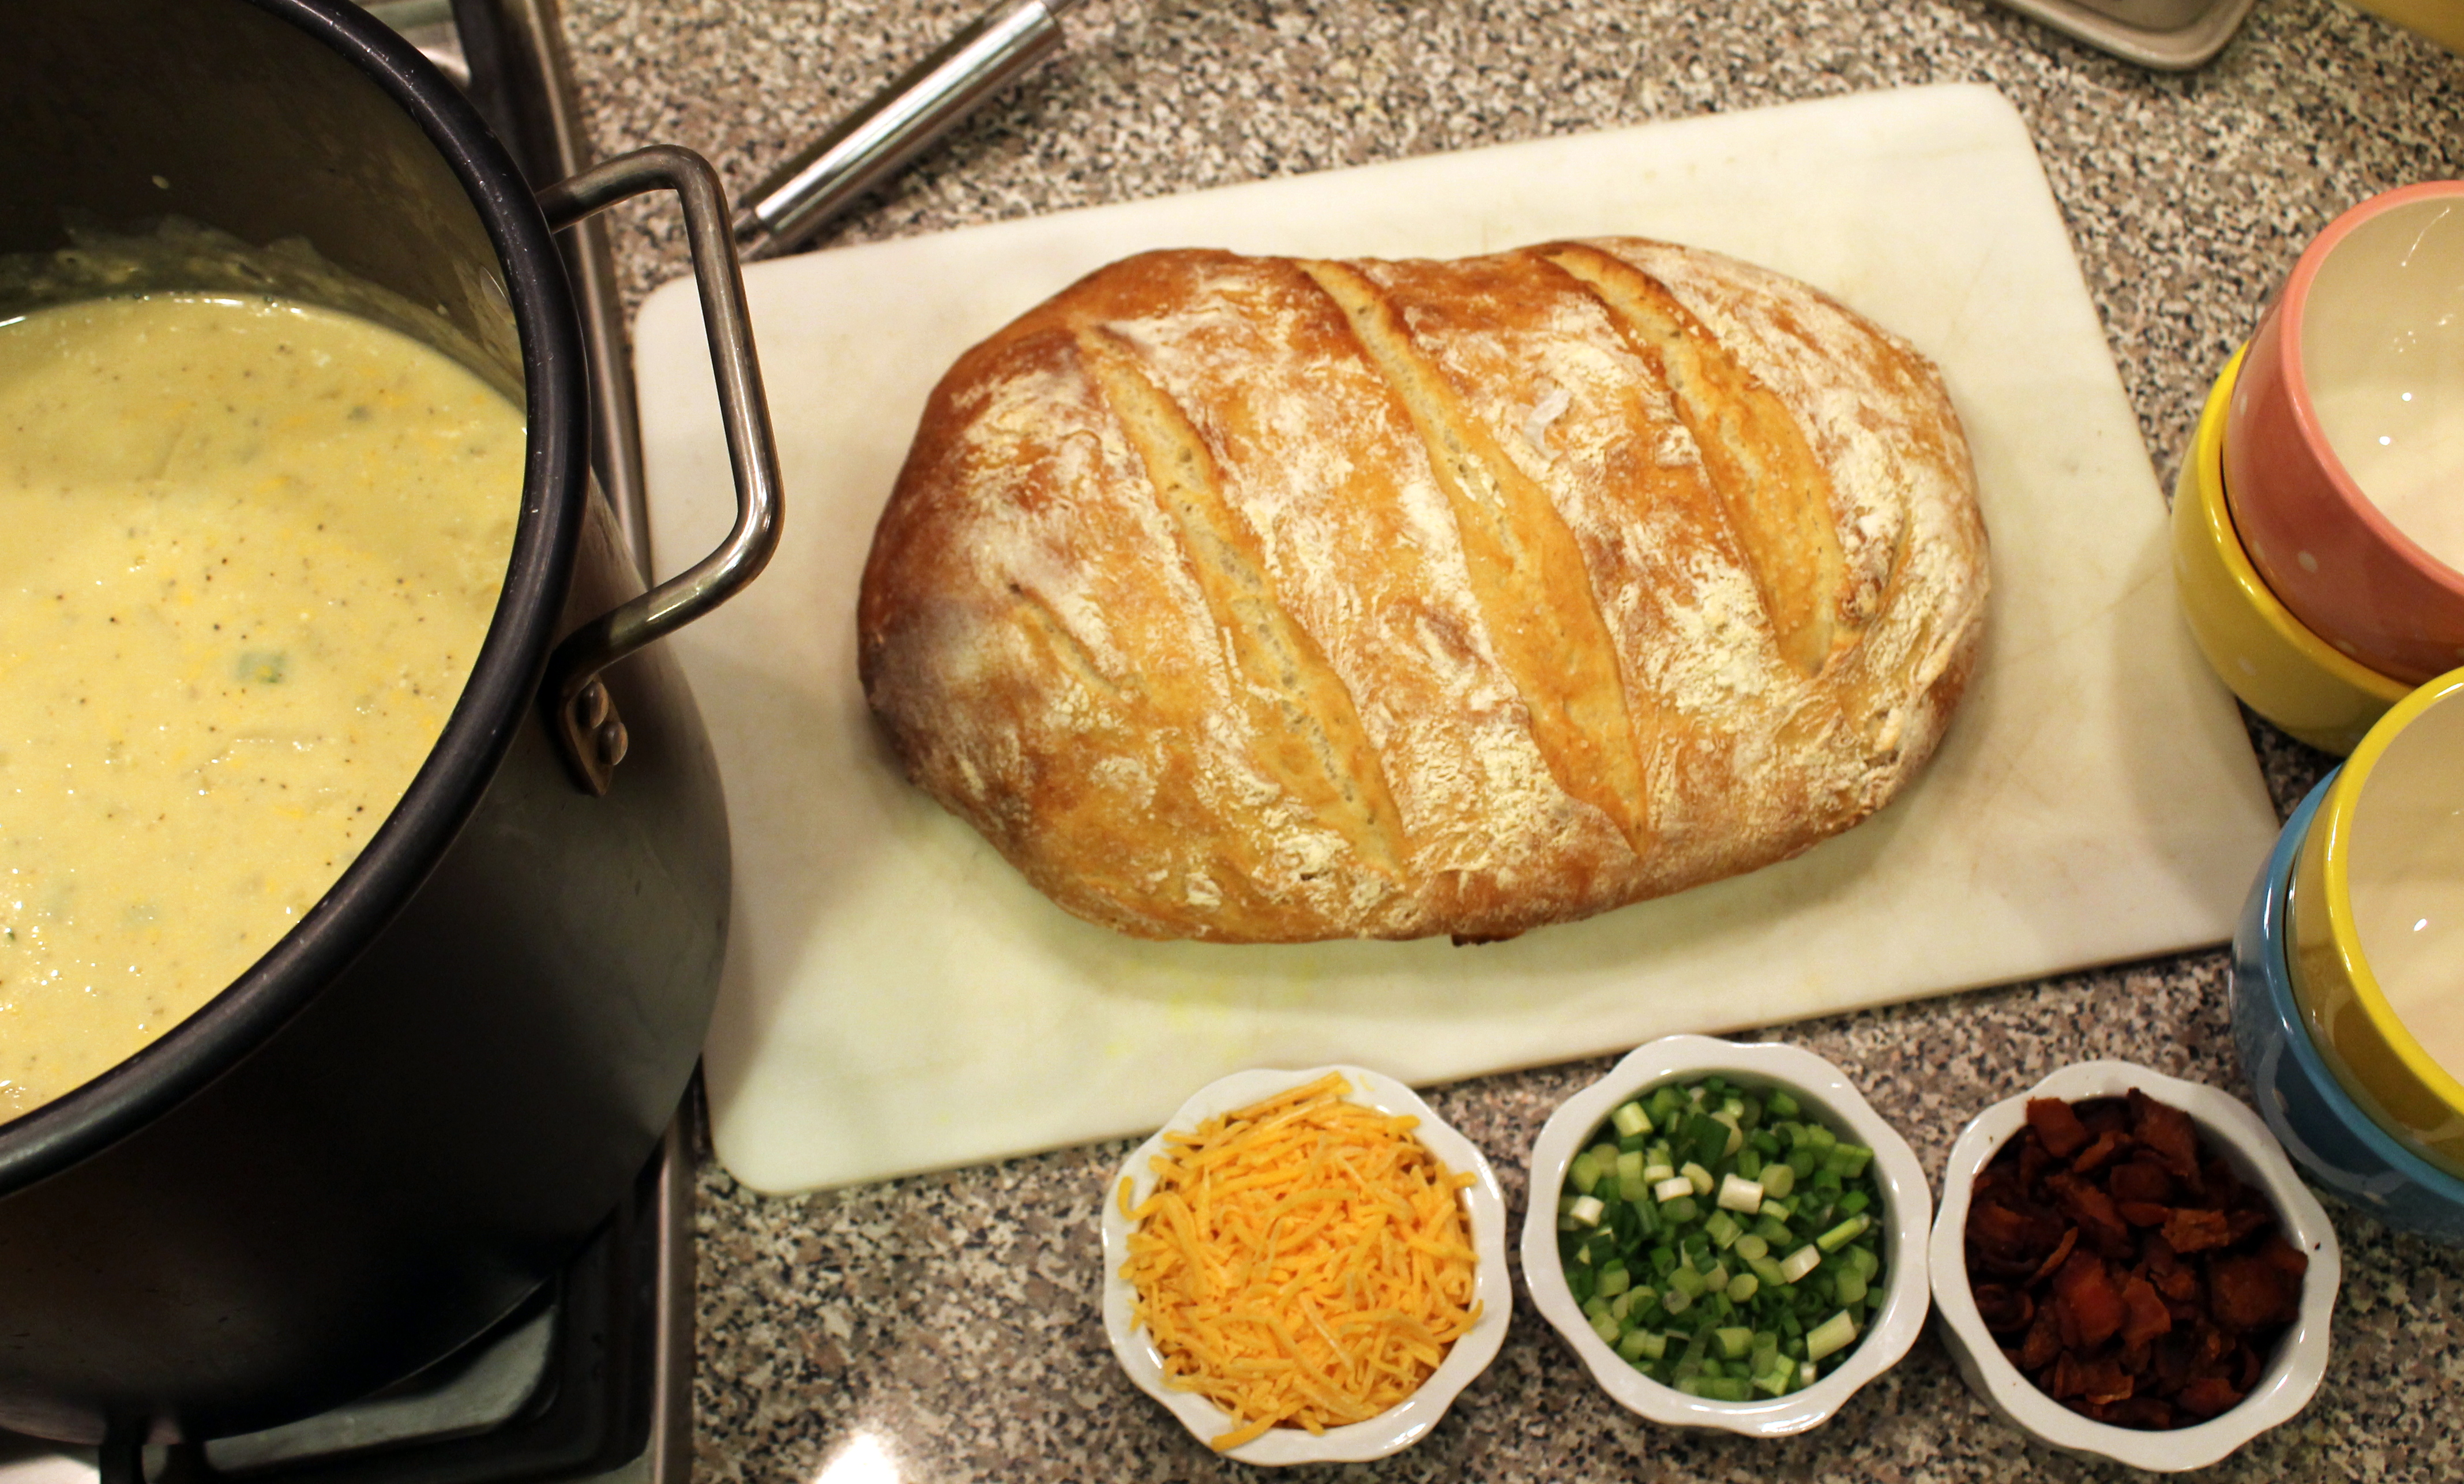
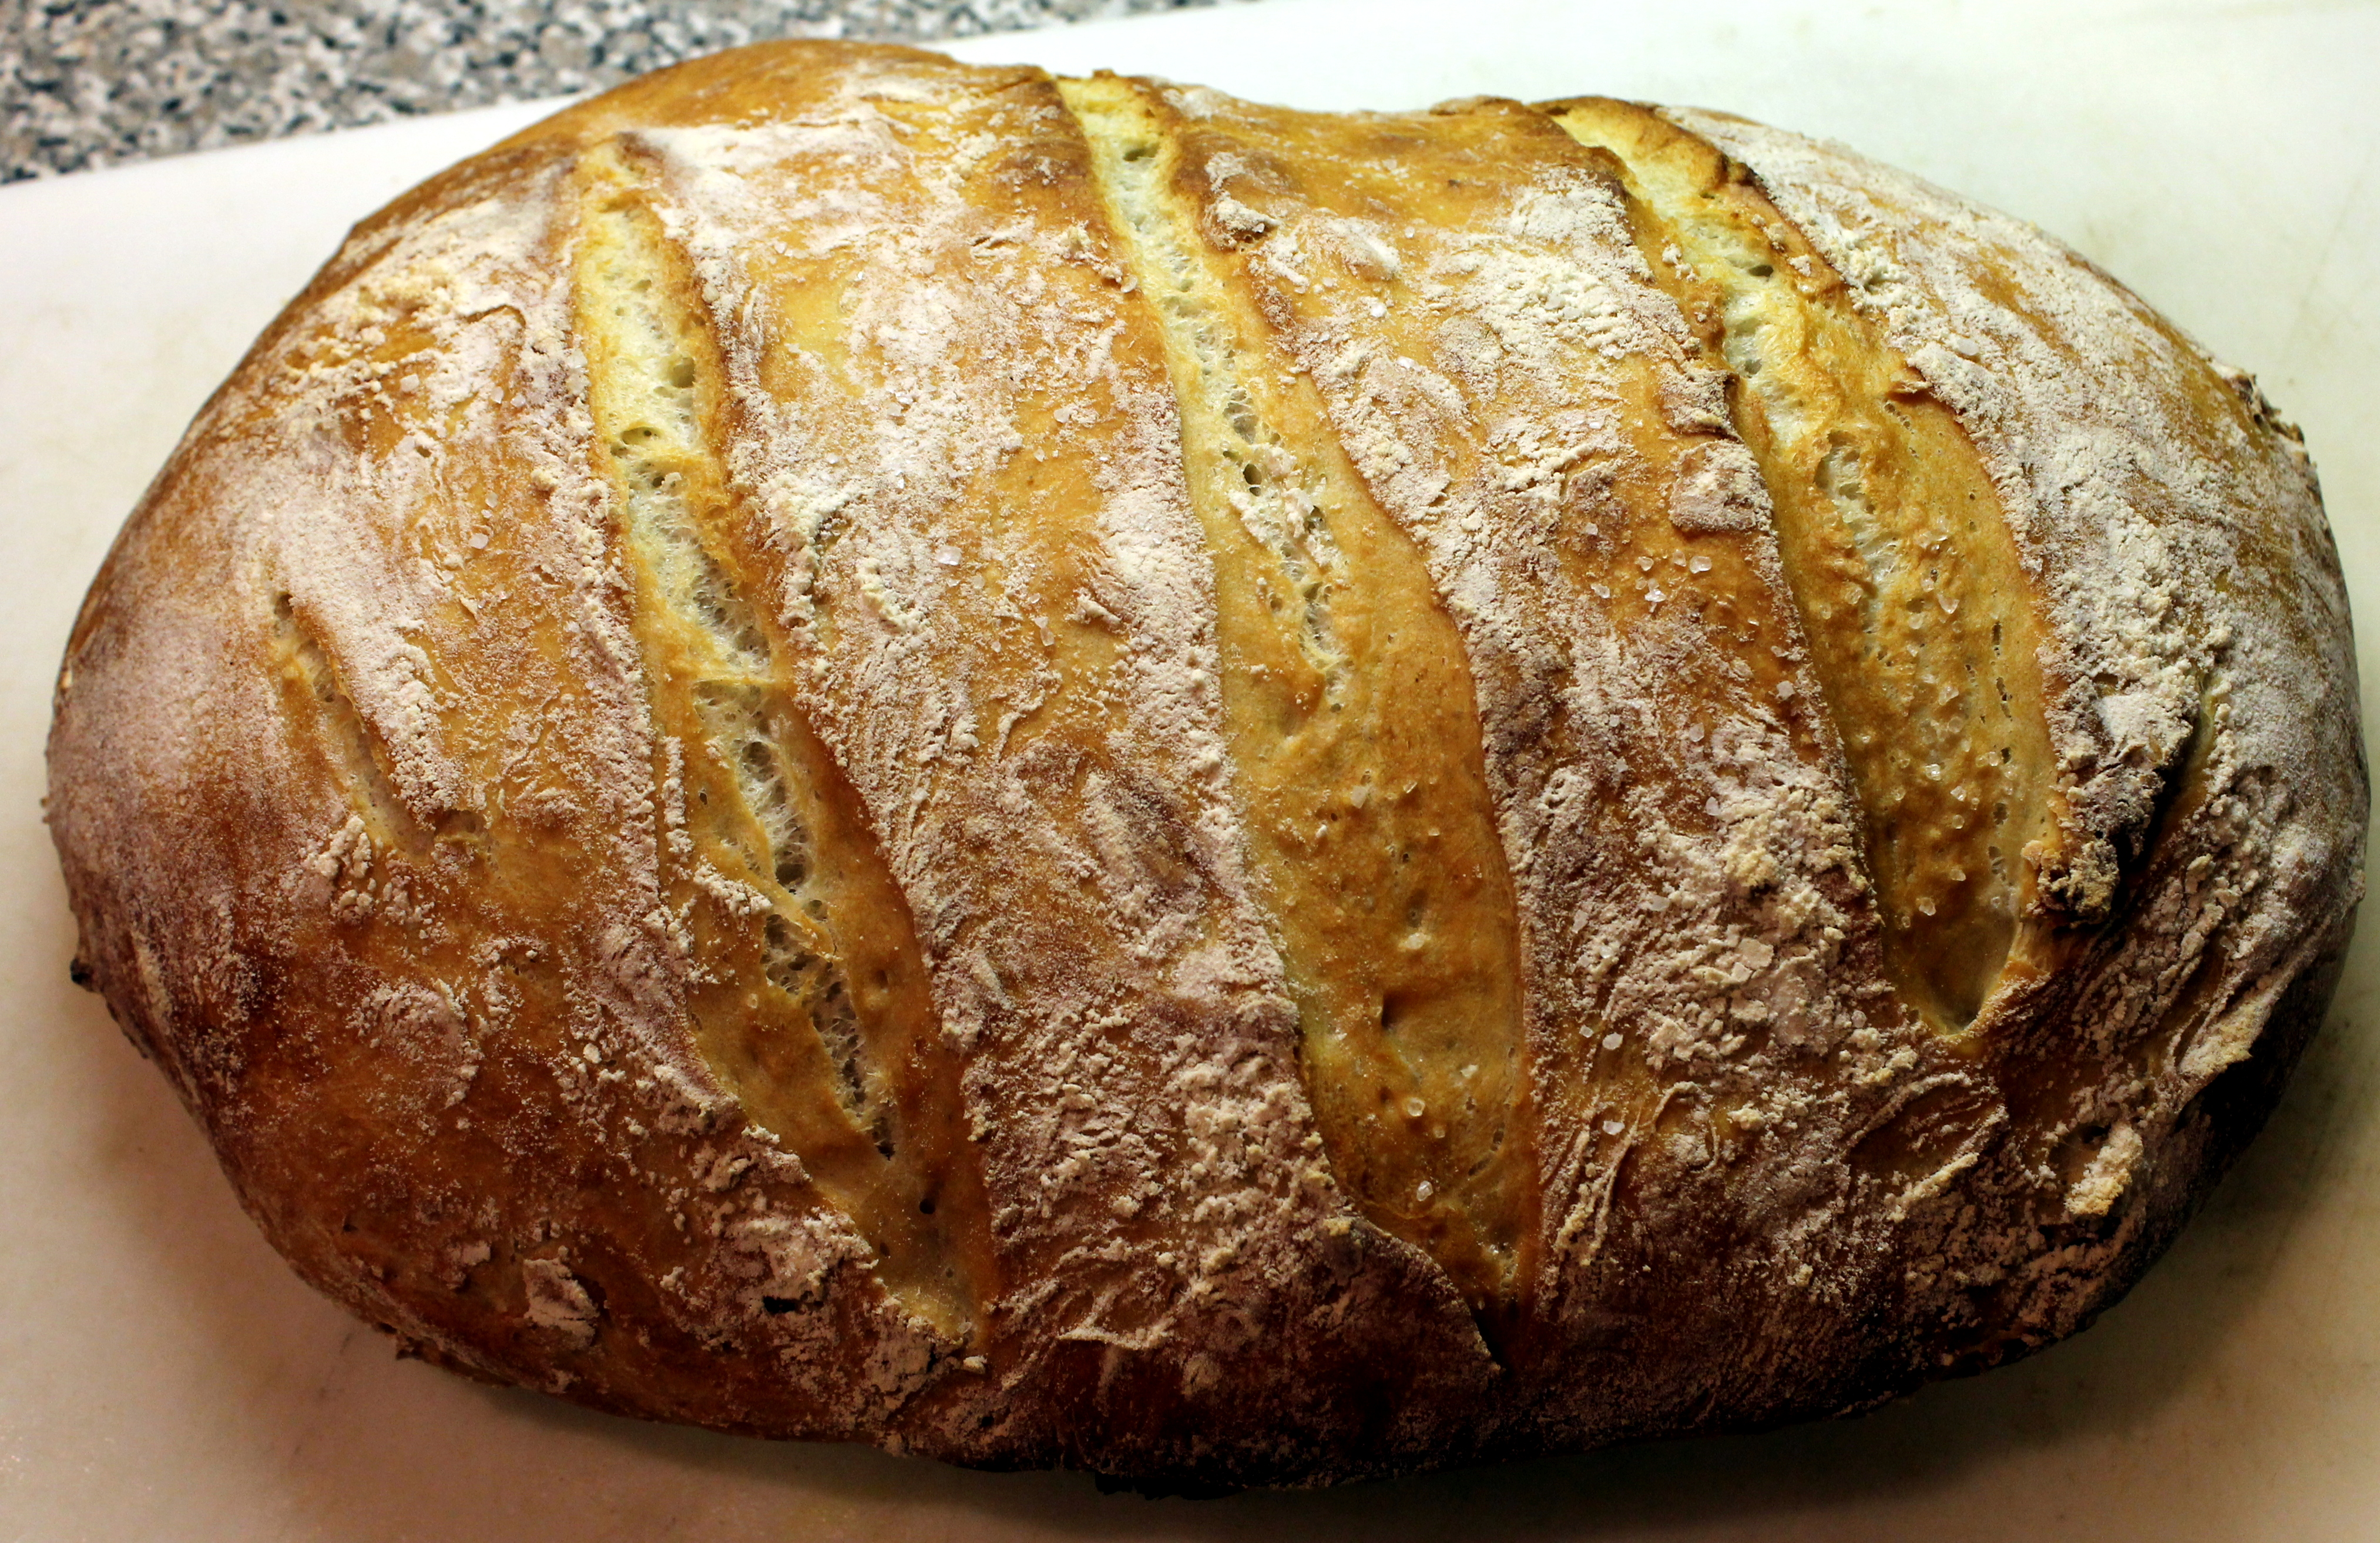
And because nothing goes better with warm, creamy soup than rustic crusty homemade bread, I made a loaf for dunkin’. (You can find the recipe for this super-easy, no-knead, three ingredient crusty bread here from a previous post.)
 We filled and warmed our bellies, and then…… the best part….. my favorite holiday show was on! RUDOLPH the Red-Nosed Reindeer! And I got to watch it with my bestie!
And Jill got to take a big container home to enjoy for the rest of the week. It was a pretty great Tuesday! 🙂
Here is the recipe (the SINGLE recipe that FITS in the crockpot!) as posted by www.CookingClassy.com.
Make it however you like, add whatever spices you like, substitute whatever you need…. That’s the beauty and fun of cooking!
Ingredients
Directions
Cheers & Warm Hugs,
Jodi
I am submitting this post as part of my #Writing201 Assignment: A How-To How-To – We all have something we can teach others. This week, dig into your bucket of expertise to pen an instructional post.
I love color, but sometimes, life in Monochrome is pretty cool too!
So – Yep – I get this look pretty often from these two! But I secretly know it really means they love me a lot!
Two of my precious boys: Nick and Mikey.
Anybody else agree with me that they could be models?! 🙂
 Christmas is beautiful in color, but isn’t it oh so magnificent and nostalgic and warm and cozy in black and white?
 Mud puddle reflections cause me to stop and gaze and ponder and reflect on the simple pleasures and the majestic beauty of nature.
 I’ve got your back, if you’ve got mine…

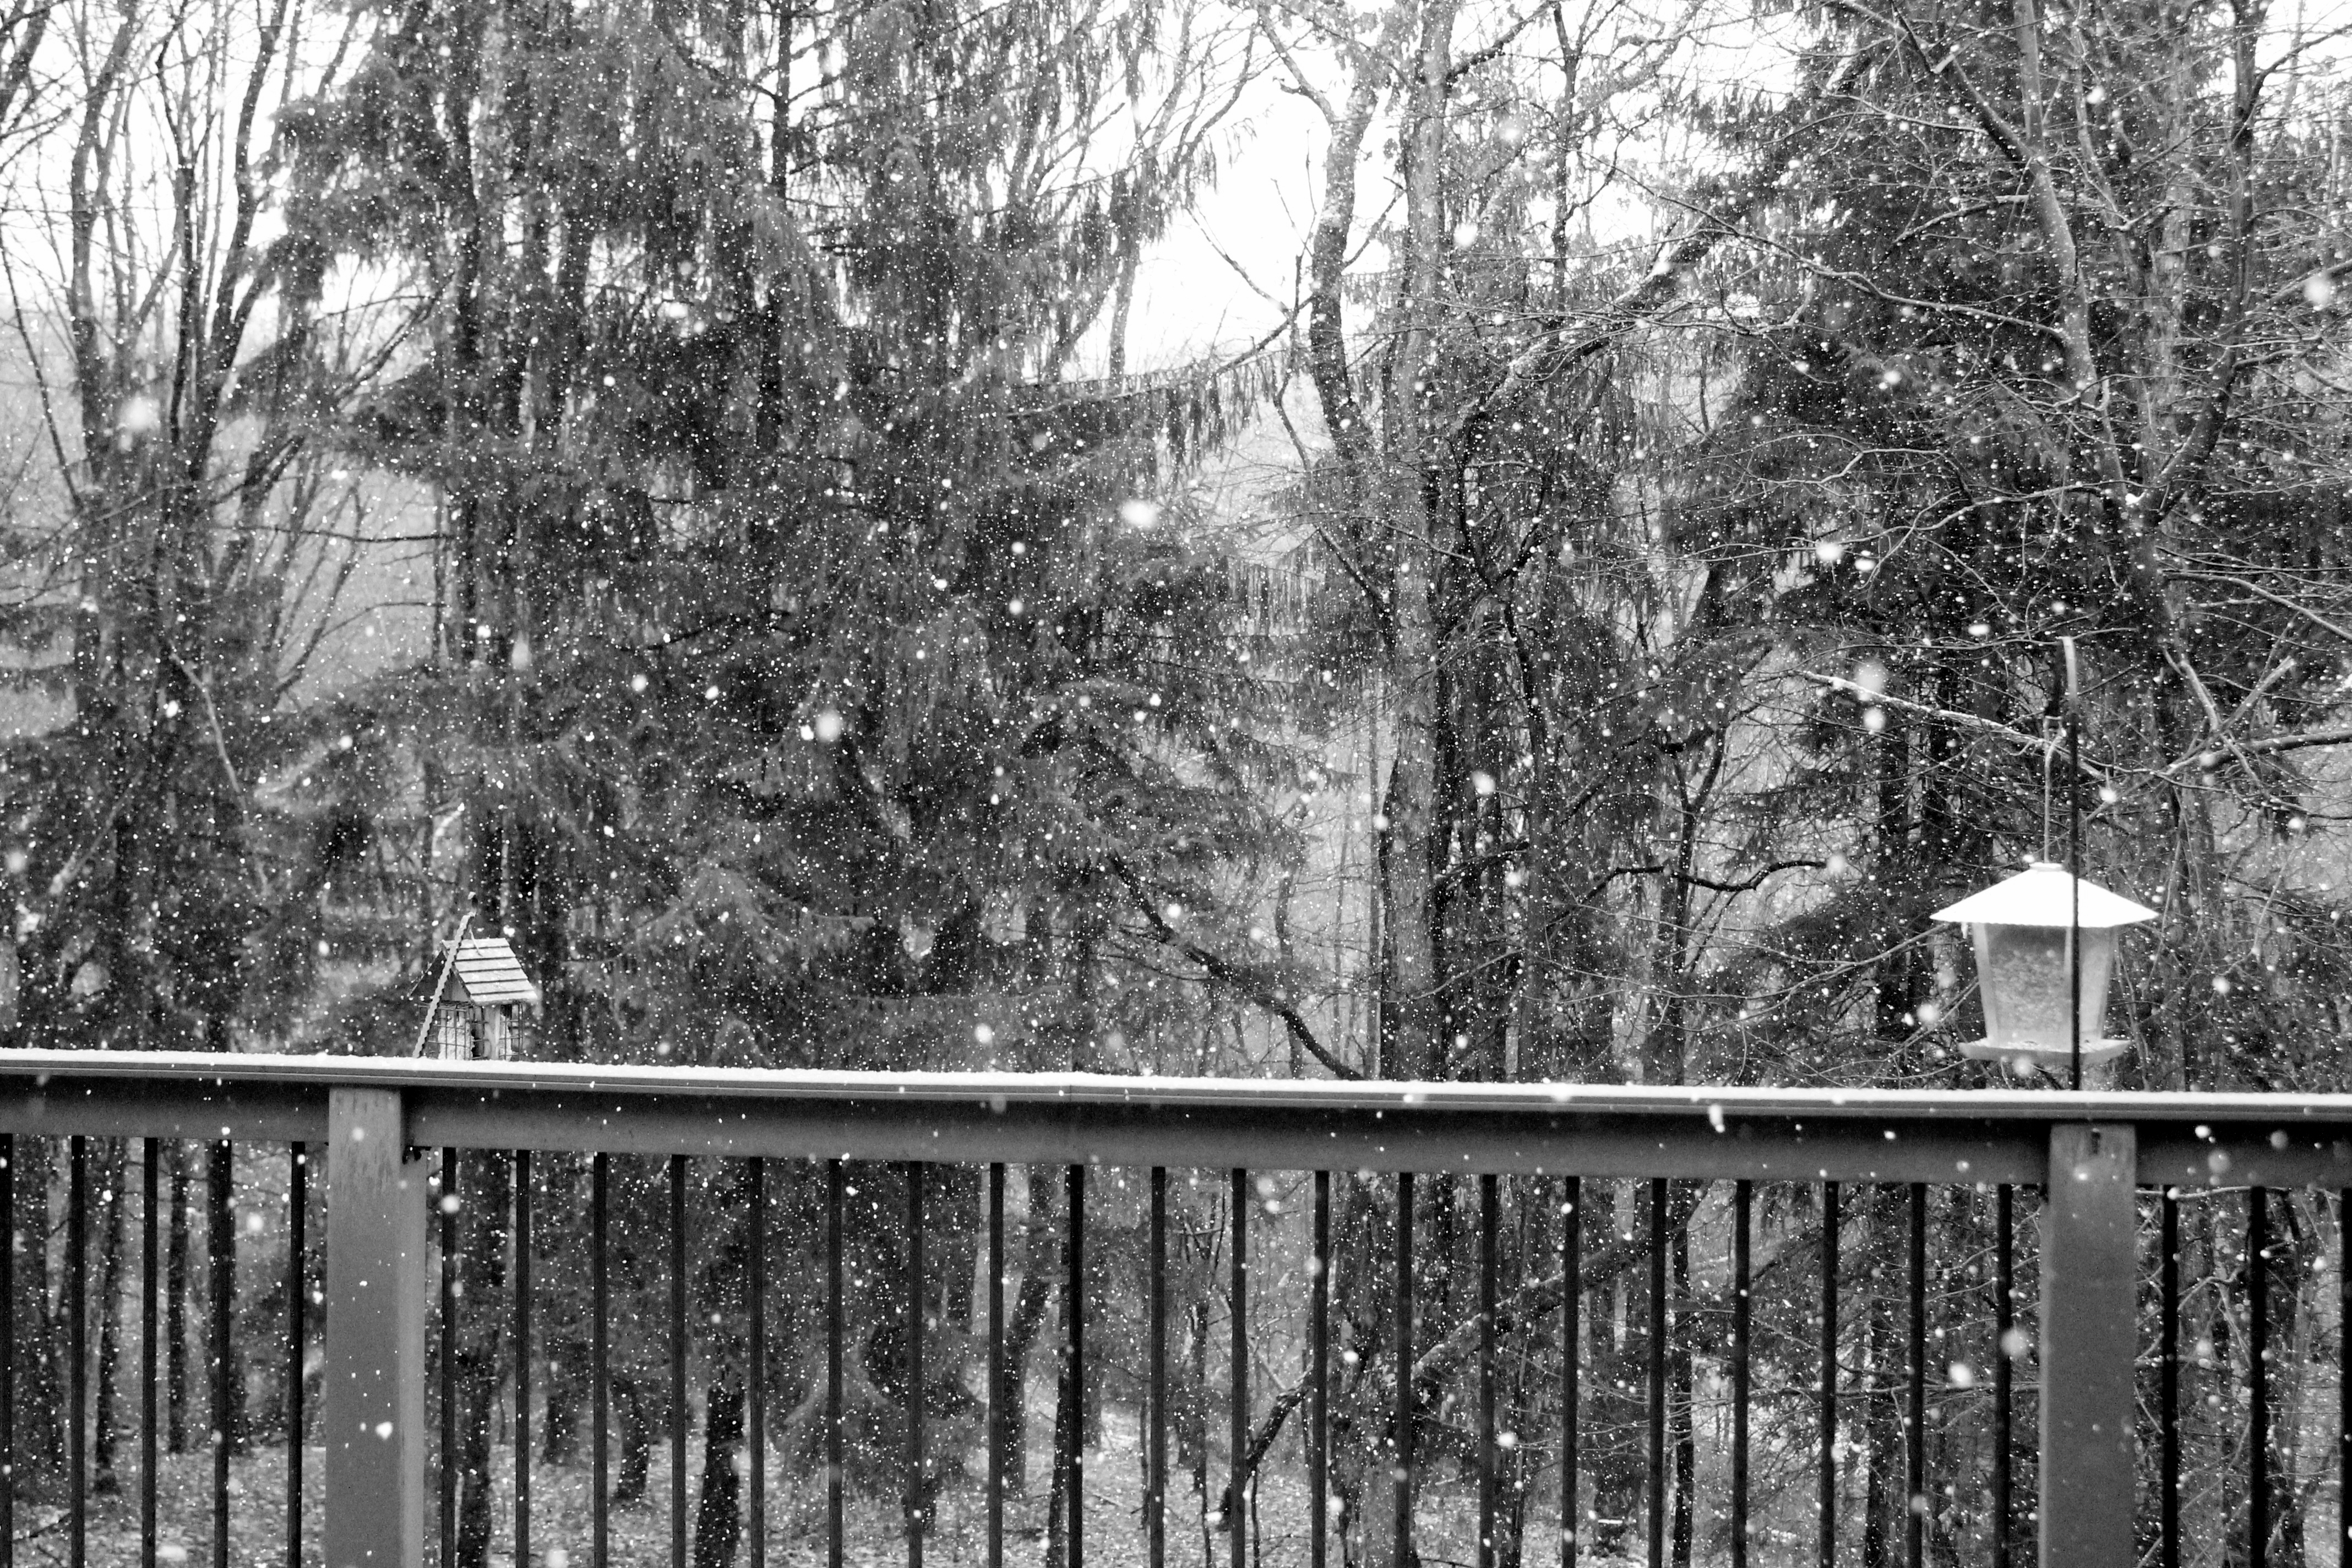
And snowflakes look just as amazing (if not more) in Black and White…
Cheers & Hugs,
Jodi
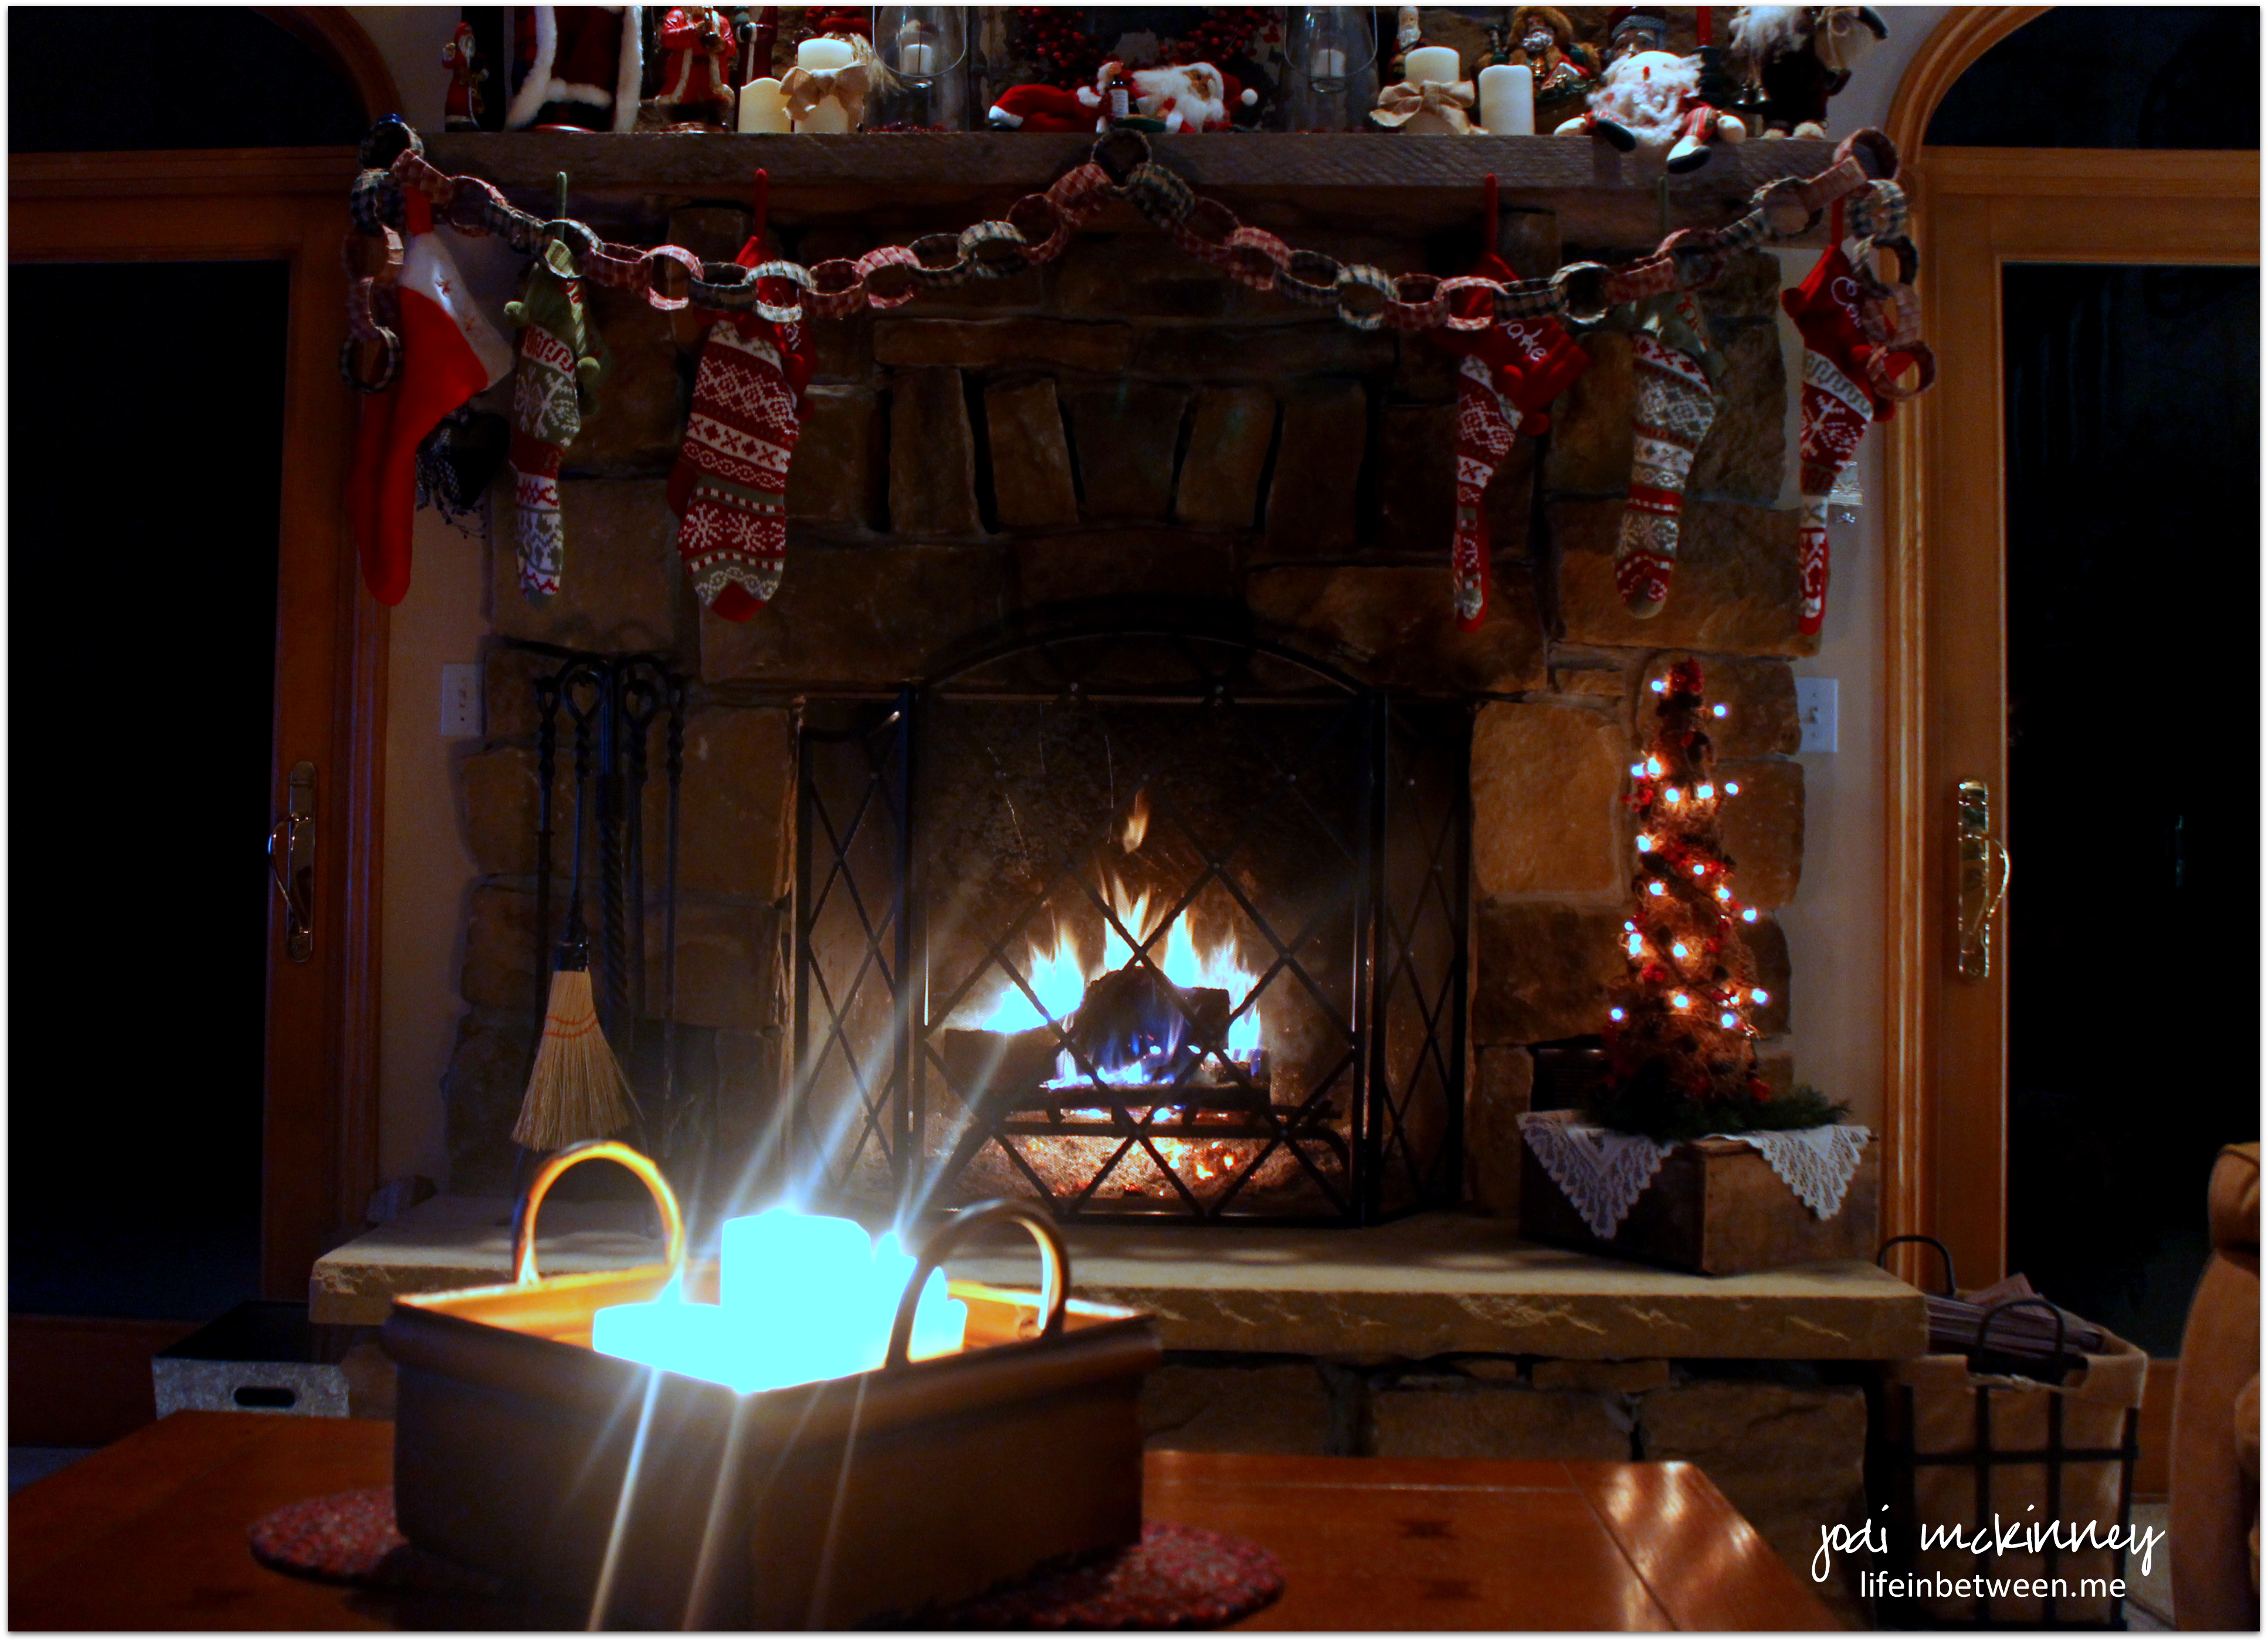
The stockings were hung by the chimney with care, in hopes that….
those who are cold will have warm shelter,
those hearts that have turned cold and hard will melt and soften,
those in darkness will be enlightened,
those who are lonely will feel loved,
those who are lost will find their way.
This is my Christmas wish.
Cheers & Hopeful Hugs,
Jodi

I went a little nuts last night with glitter and napkins!

When I first started seeing these glitter napkin cards, I poo-poo’d them thinking cards made of napkins take no talent, no effort, no creativity……
Then I went to a class where we made one recently. I almost didn’t go, because I didn’t want to make cards from napkins – being a bit of a snob about it I must admit…..
 Well – now I am eating my words, because I had so much fun making these cards! It’s okay if something is a little easier, a little less creative sometimes….
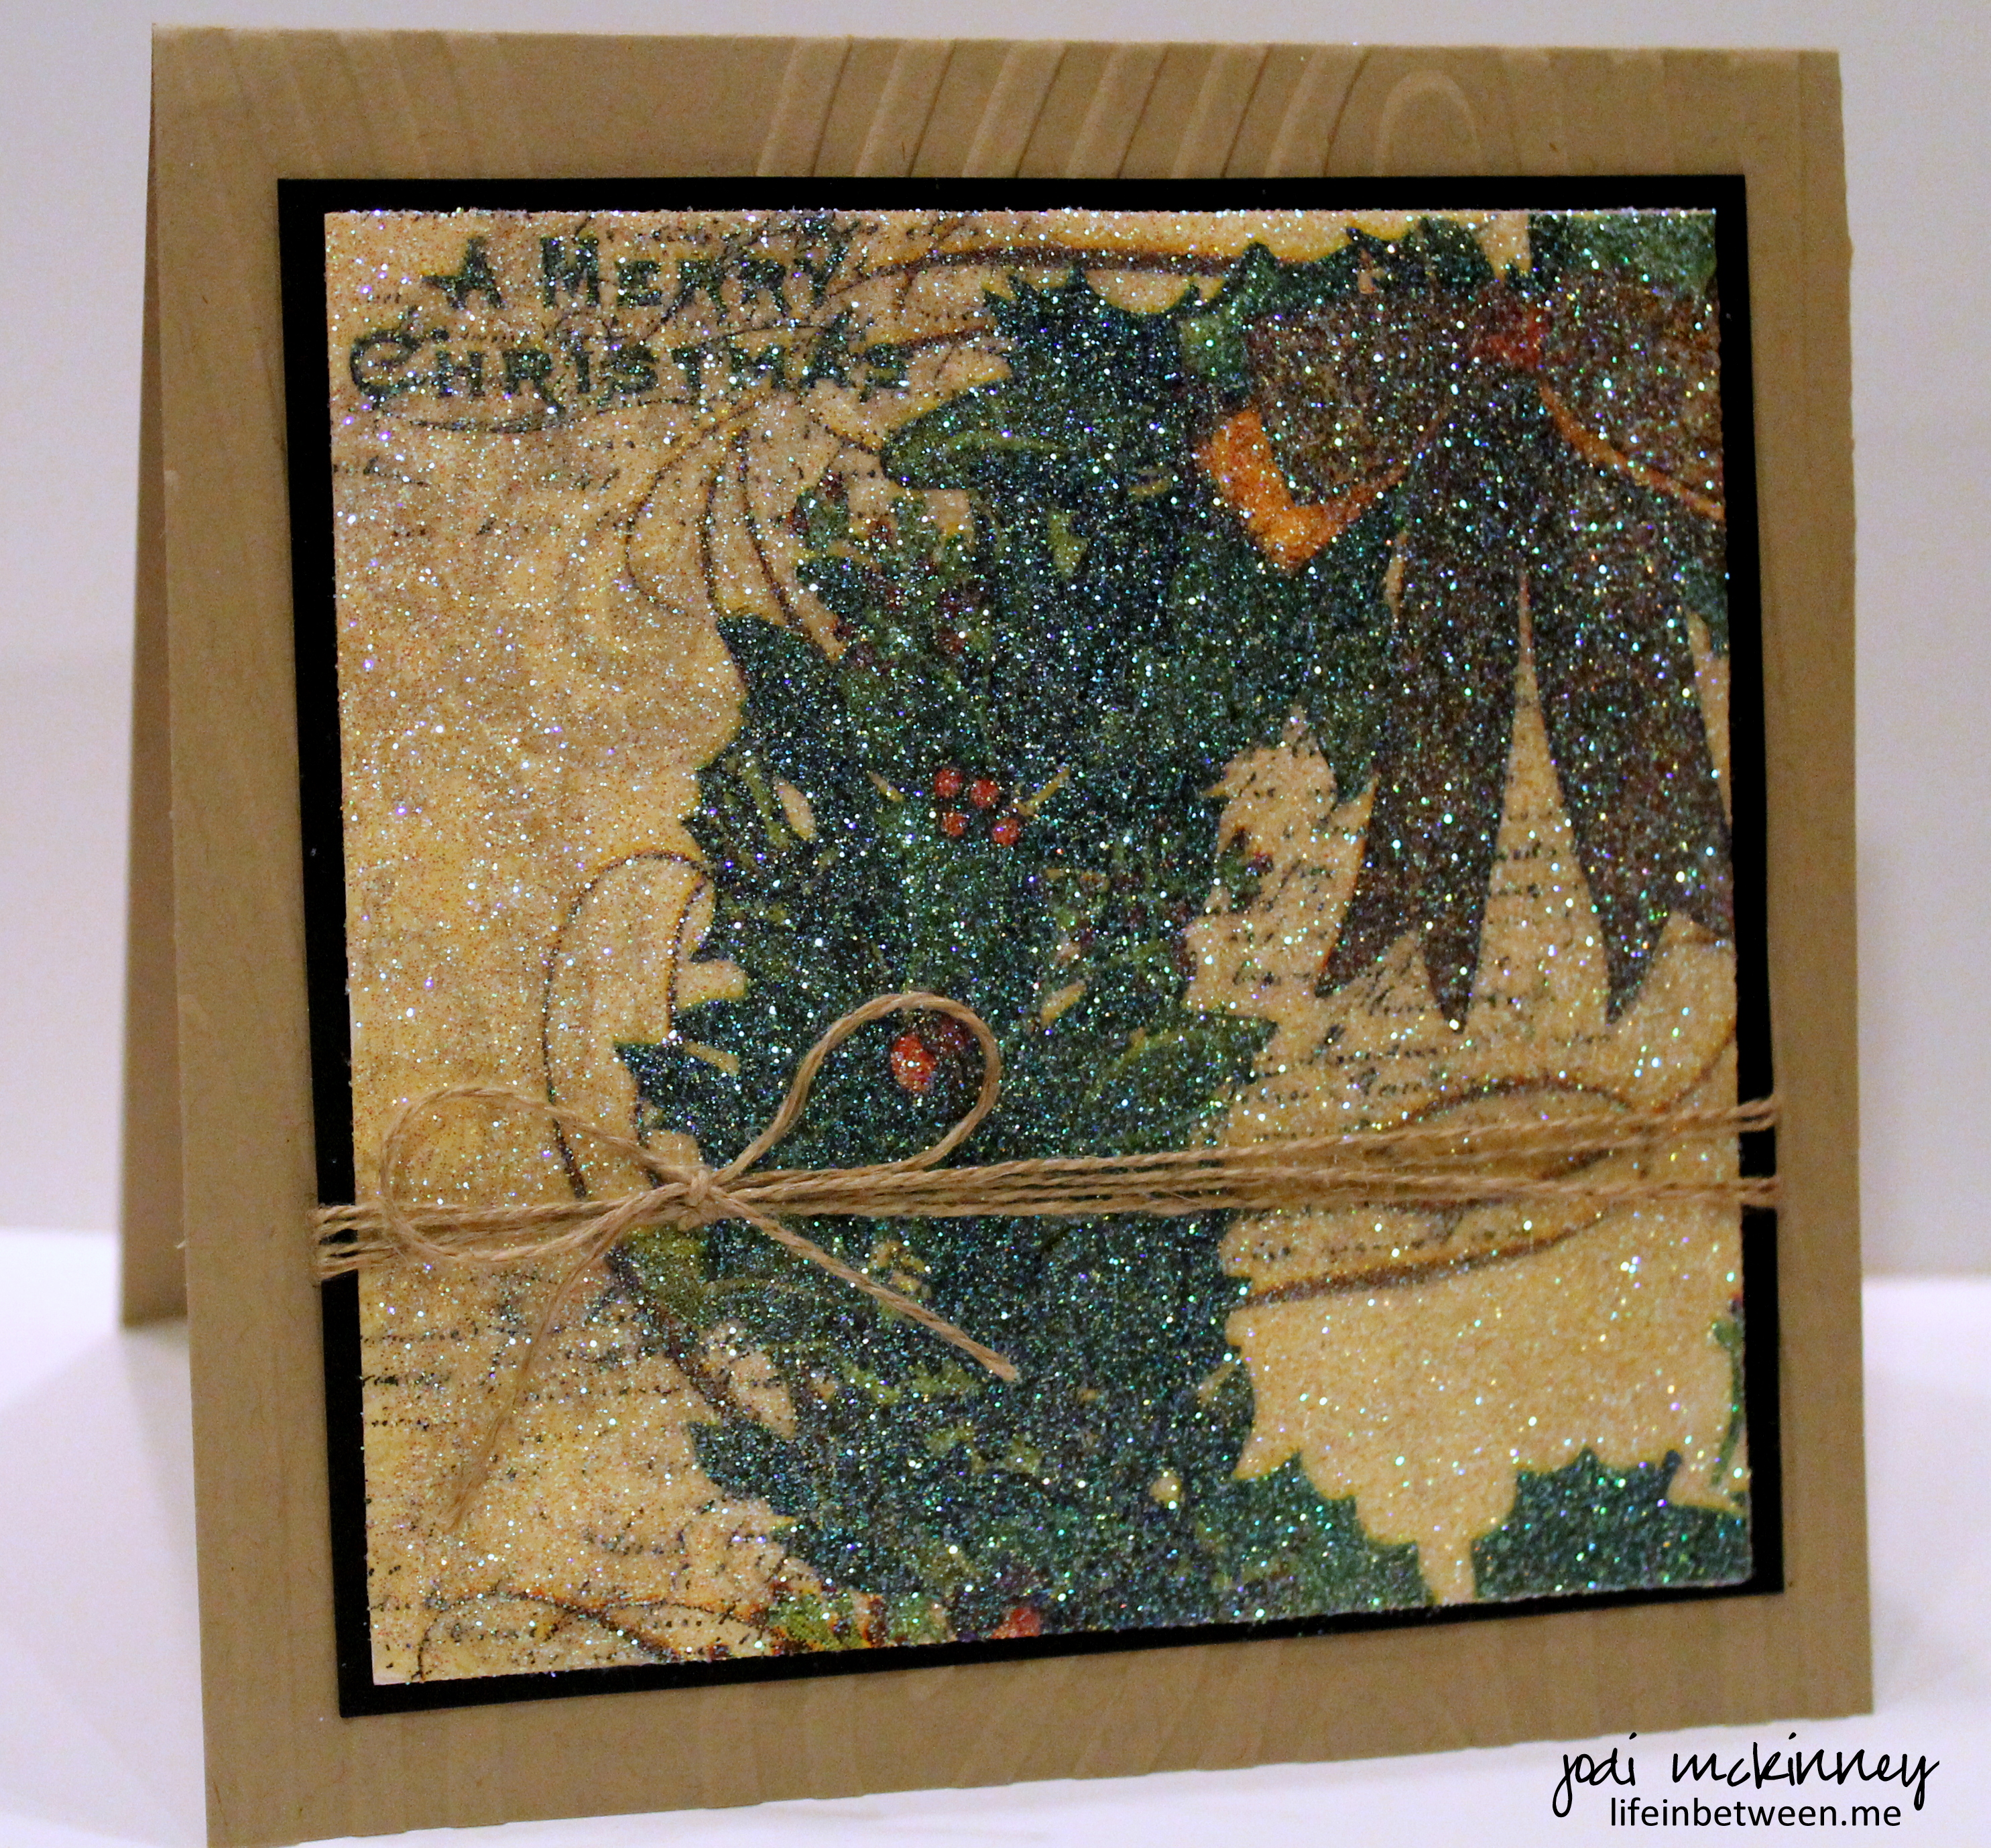 as long as you enjoy it… and I’m actually kind of excited with how these turned out! All made from paper napkins!
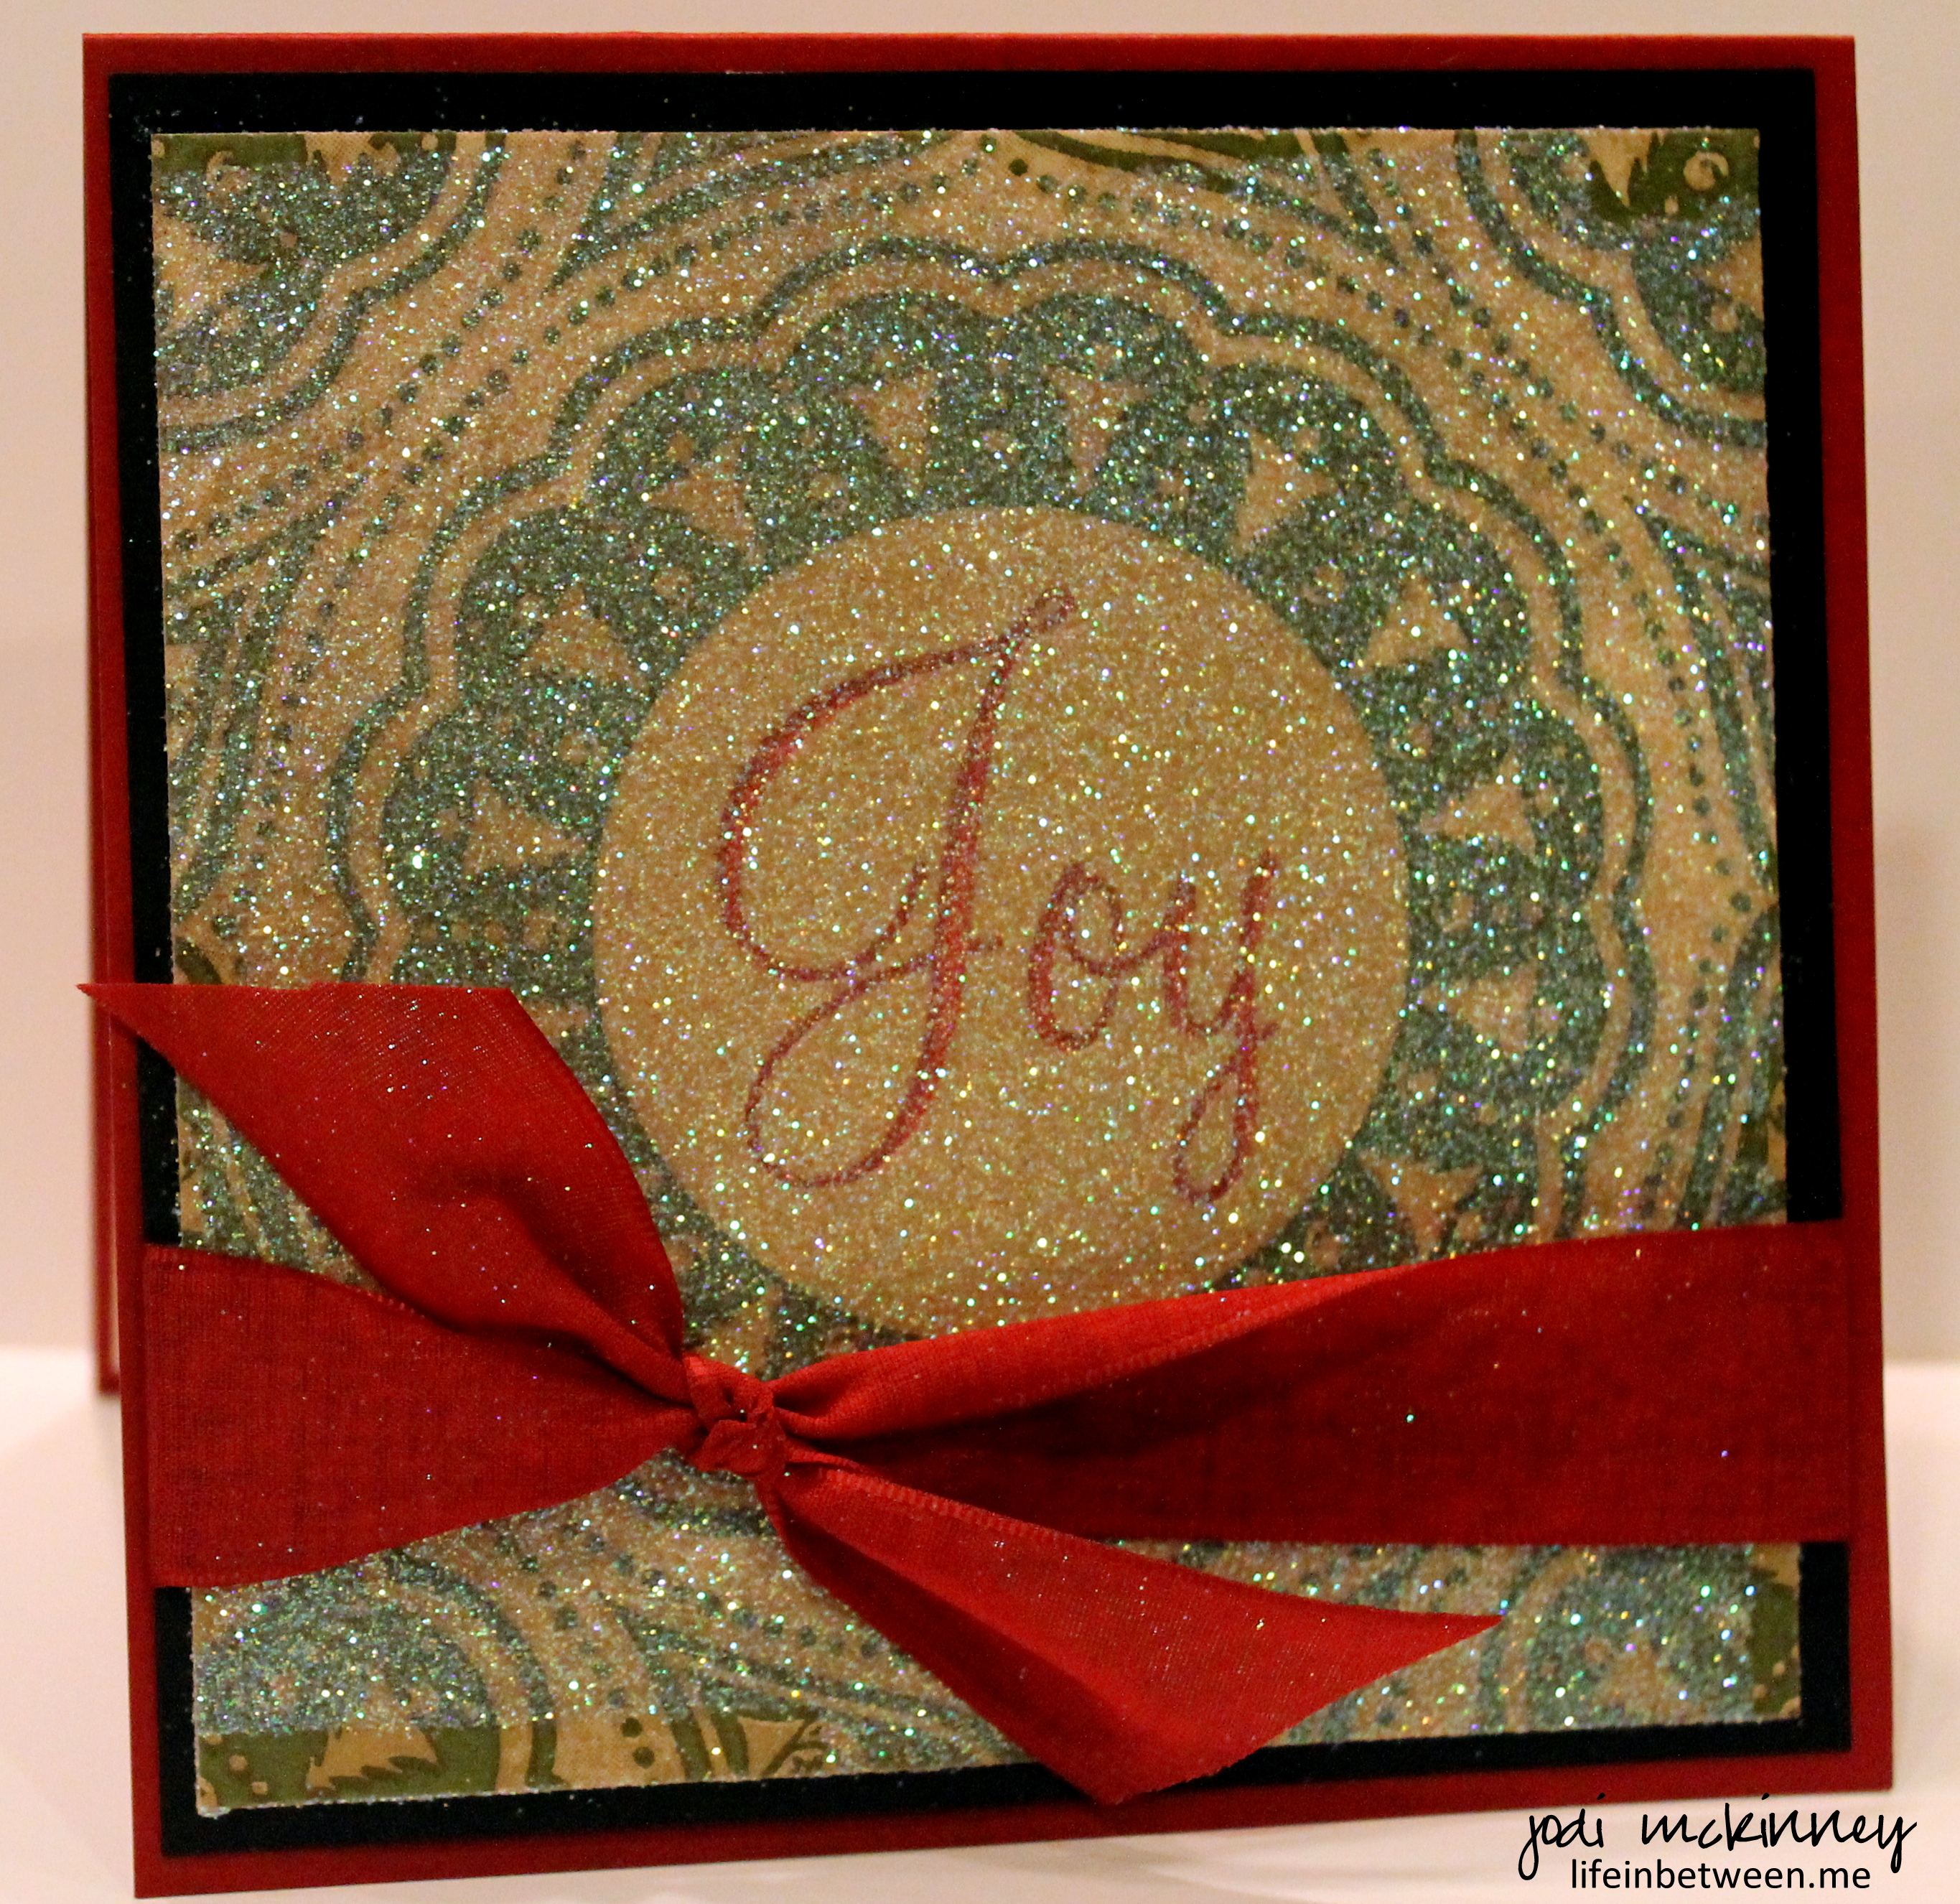 I am excited to share this simple, but beautiful technique, because I think many of you might enjoy trying this method to making homemade cards that doesn’t require a lot of equipment and materials. And if you like do a “production-line” style of getting a bunch of the same thing done at once, one pack a napkins can make a ton of beautiful cards. In fact, each individual napkin makes four cards!
 Besides some card stock and some pretty napkins you can get at the dollar store or craft store or wherever you might find paper products, the only other things you need are a VersaMark stamp pad, some type of adhesive tape, Heat & Stick Powder, and glitter (I used Stampin Up’s “Dazzling Diamonds” Dahling) :).
There is a great video tutorial on Youtube done by a Stampin’ Up Demonstrator from Canada, Tina Weller that you may want to watch if you are interested in learning how to do this:
Tina talks about using a specific type of Stampin’ Up adhesive sheets, but I just used double faced tape and/or the glue tape runner you can find at any craft or drug or variety stores and completely covered some white card stock with it to adhere the napkin.
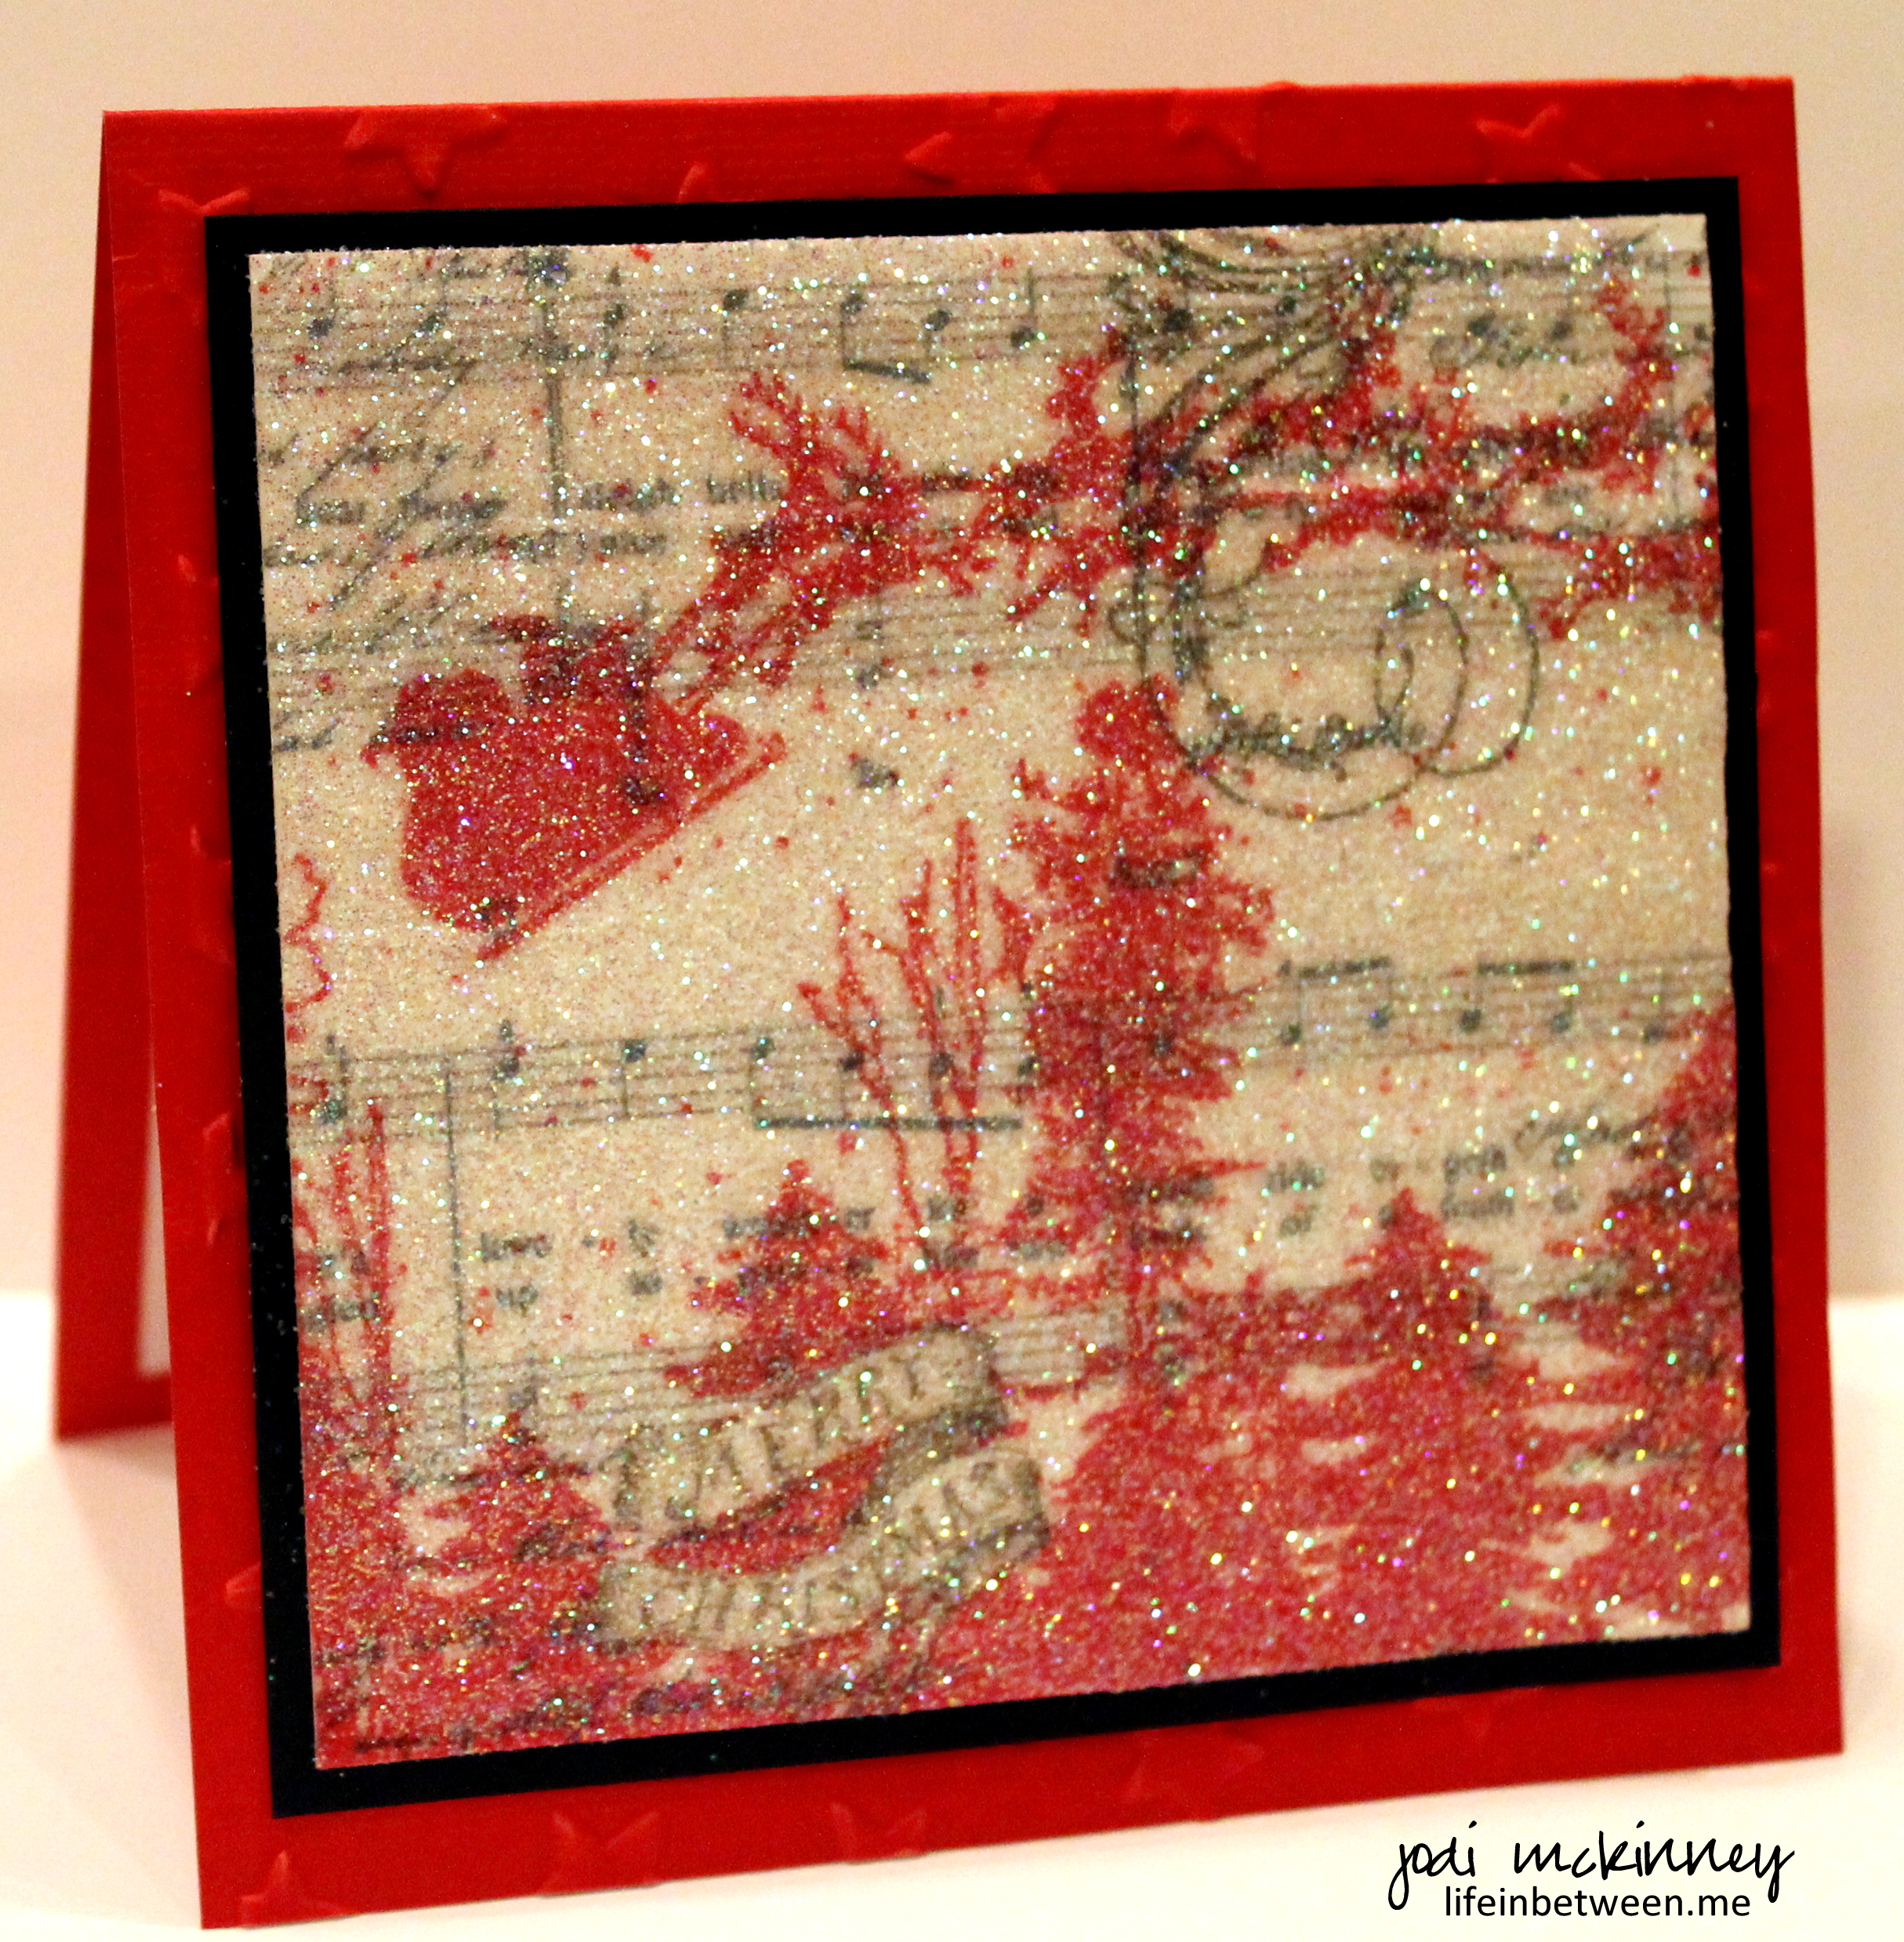
I made all of these cards last night, and I pretty much love all of them! 🙂
If you haven’t bought, made, sent your holiday greeting cards, you may just want to try this fun and easy technique.
And if you are interested in purchasing any Stampin’Up products, just let me know, and I can hook you up. 🙂
And I think I am going to enter the snowman/snowflake card as another entry into The Paper Players PP224 Tic Tac Toe Challenge for White, Snowflake, & Glitter.
Have a sparkly, glitterly, dazzling day!
Cheers & Hugs,
Jodi
So it’s getting down to crunch time on Christmas cards, and one or two cards a week is probably not going to cut it at this point… (… but if that’s all I get to – that’s okay too! Too much pressure takes the fun out of it – right?!)
I did get around to making two last night. They are two completely different cards – which is the joy of hand creating cards to me. I rarely (if ever) make the same card twice. The fun is in the creating for me. And even more fun is individualizing them for the recipient.
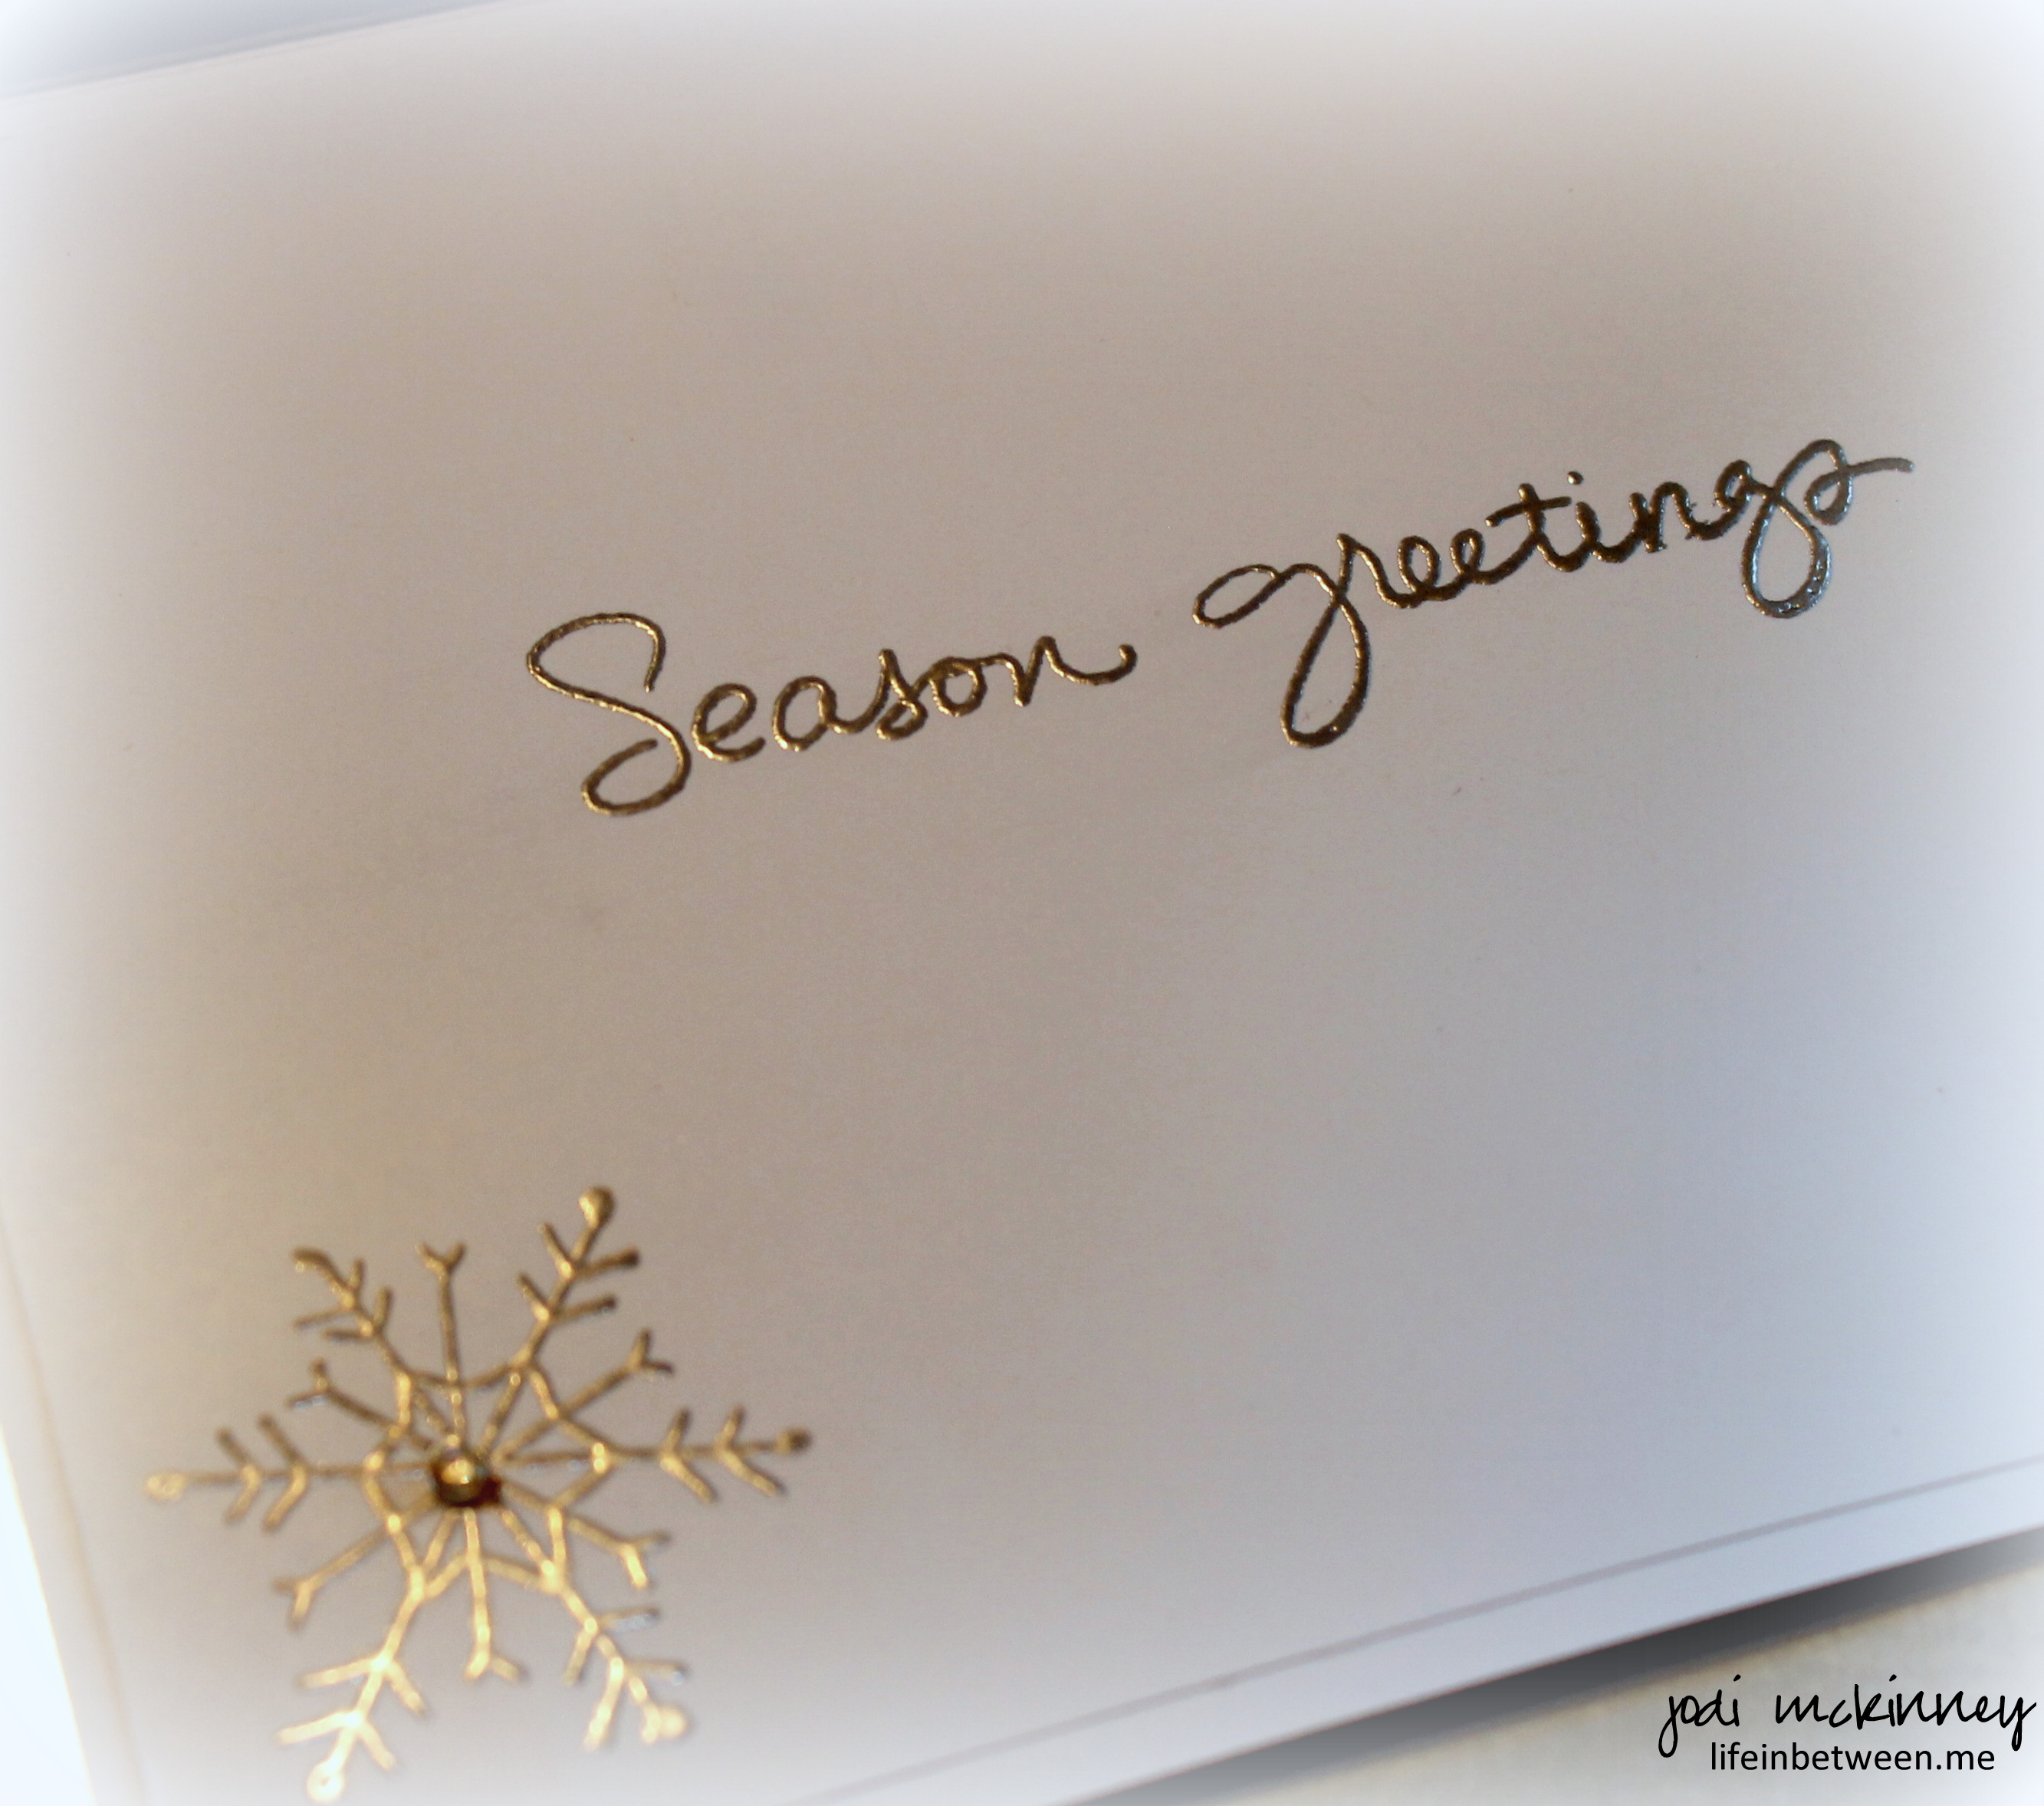
The first one is a more elegant card with white glittery, silver, sparkly, shiny snowflakes in clean and simple simplicity.

I made it to enter into two challenges. It meets the requirements for 3 in a row down at The Paper Players PP224 Tic-Tac-Toe Challenge this week for white, snowflake, and glitter. It also meets the Friday Mashup FM187 It’s All About Weather criteria for using a metal embellishment (SU Frosted Finishes embellisment) and having a weather inspiration (snowflakes from SU Festive Flurry).
I just love this “Mingle all the Way” stamp sentiment and was dying to use it, so I came up with this simple, rustic, country design in brown craft and red with a big red bow. I distressed and sponged all the edges and added just a few tiny pearls for a little pop.

I used the SU Holiday Home stamp for the inside to continue the rustic classic theme on the inside.

So welcome into my mind….
this is the wacky way it works sometimes…
As I looked at these two completely different cards, all I could think about was the old classic television show from the late sixties when I was a wee-one, called “Green Acres.”
Anybody remember? (Take a moment to listen and travel down memory lane...)
So the first card is for Eva and the second is for Eddy.
Which is more your style? Are you an Eva or an Eddy?
Though I am FAR from a farm girl, country life is more to my liking – with visits to the city.
Green Acres is the place to be…
I dare you to try and get this song out of your head now! (No thank yous necessary) 🙂
So whether your holiday is in the “fresh air” or in “Times Square,” make it merry and bright!
Cheers & Hugs,
Jodi
I am NOT a fan of hunting season.

My Mom makes me stay in the house because she is afraid all of the crazy hunters outside in the woods might think I am a deer.
So instead – she does silly things like this!
And I will […heavy sigh...] shamelessly do ANYthing for a treat!
Will someone please tell my Mom I am a “dear,” not a deer!
Most sincerely,
(Mikey McKinney) 
—————————————————————————————————————-
Today is the first day of firearms deer-hunting season in Pennsylvania.
Per CBS Pittsburgh: “Hundreds of thousands of hunters headed into the woods of Pennsylvania early this morning in hopes of snagging a buck. Pennsylvania Game Commission officials say they were expecting 750,000 hunters statewide to take part in this opening day of deer season. For many in western Pennsylvania, today marks a family tradition that has been passed down from generation to generation. “It’s just part of our heritage. It’s in the DNA of people who live [here],” said Pa. Wildlife Conservation Officer Gary Fujak. “When hunters are out there, they need to keep that in mind, that they’re actually providing a good public service to manage our deer population here,” he said.”
December 1st already! Where did 2014 go?! I do adore December and decorating for the holidays.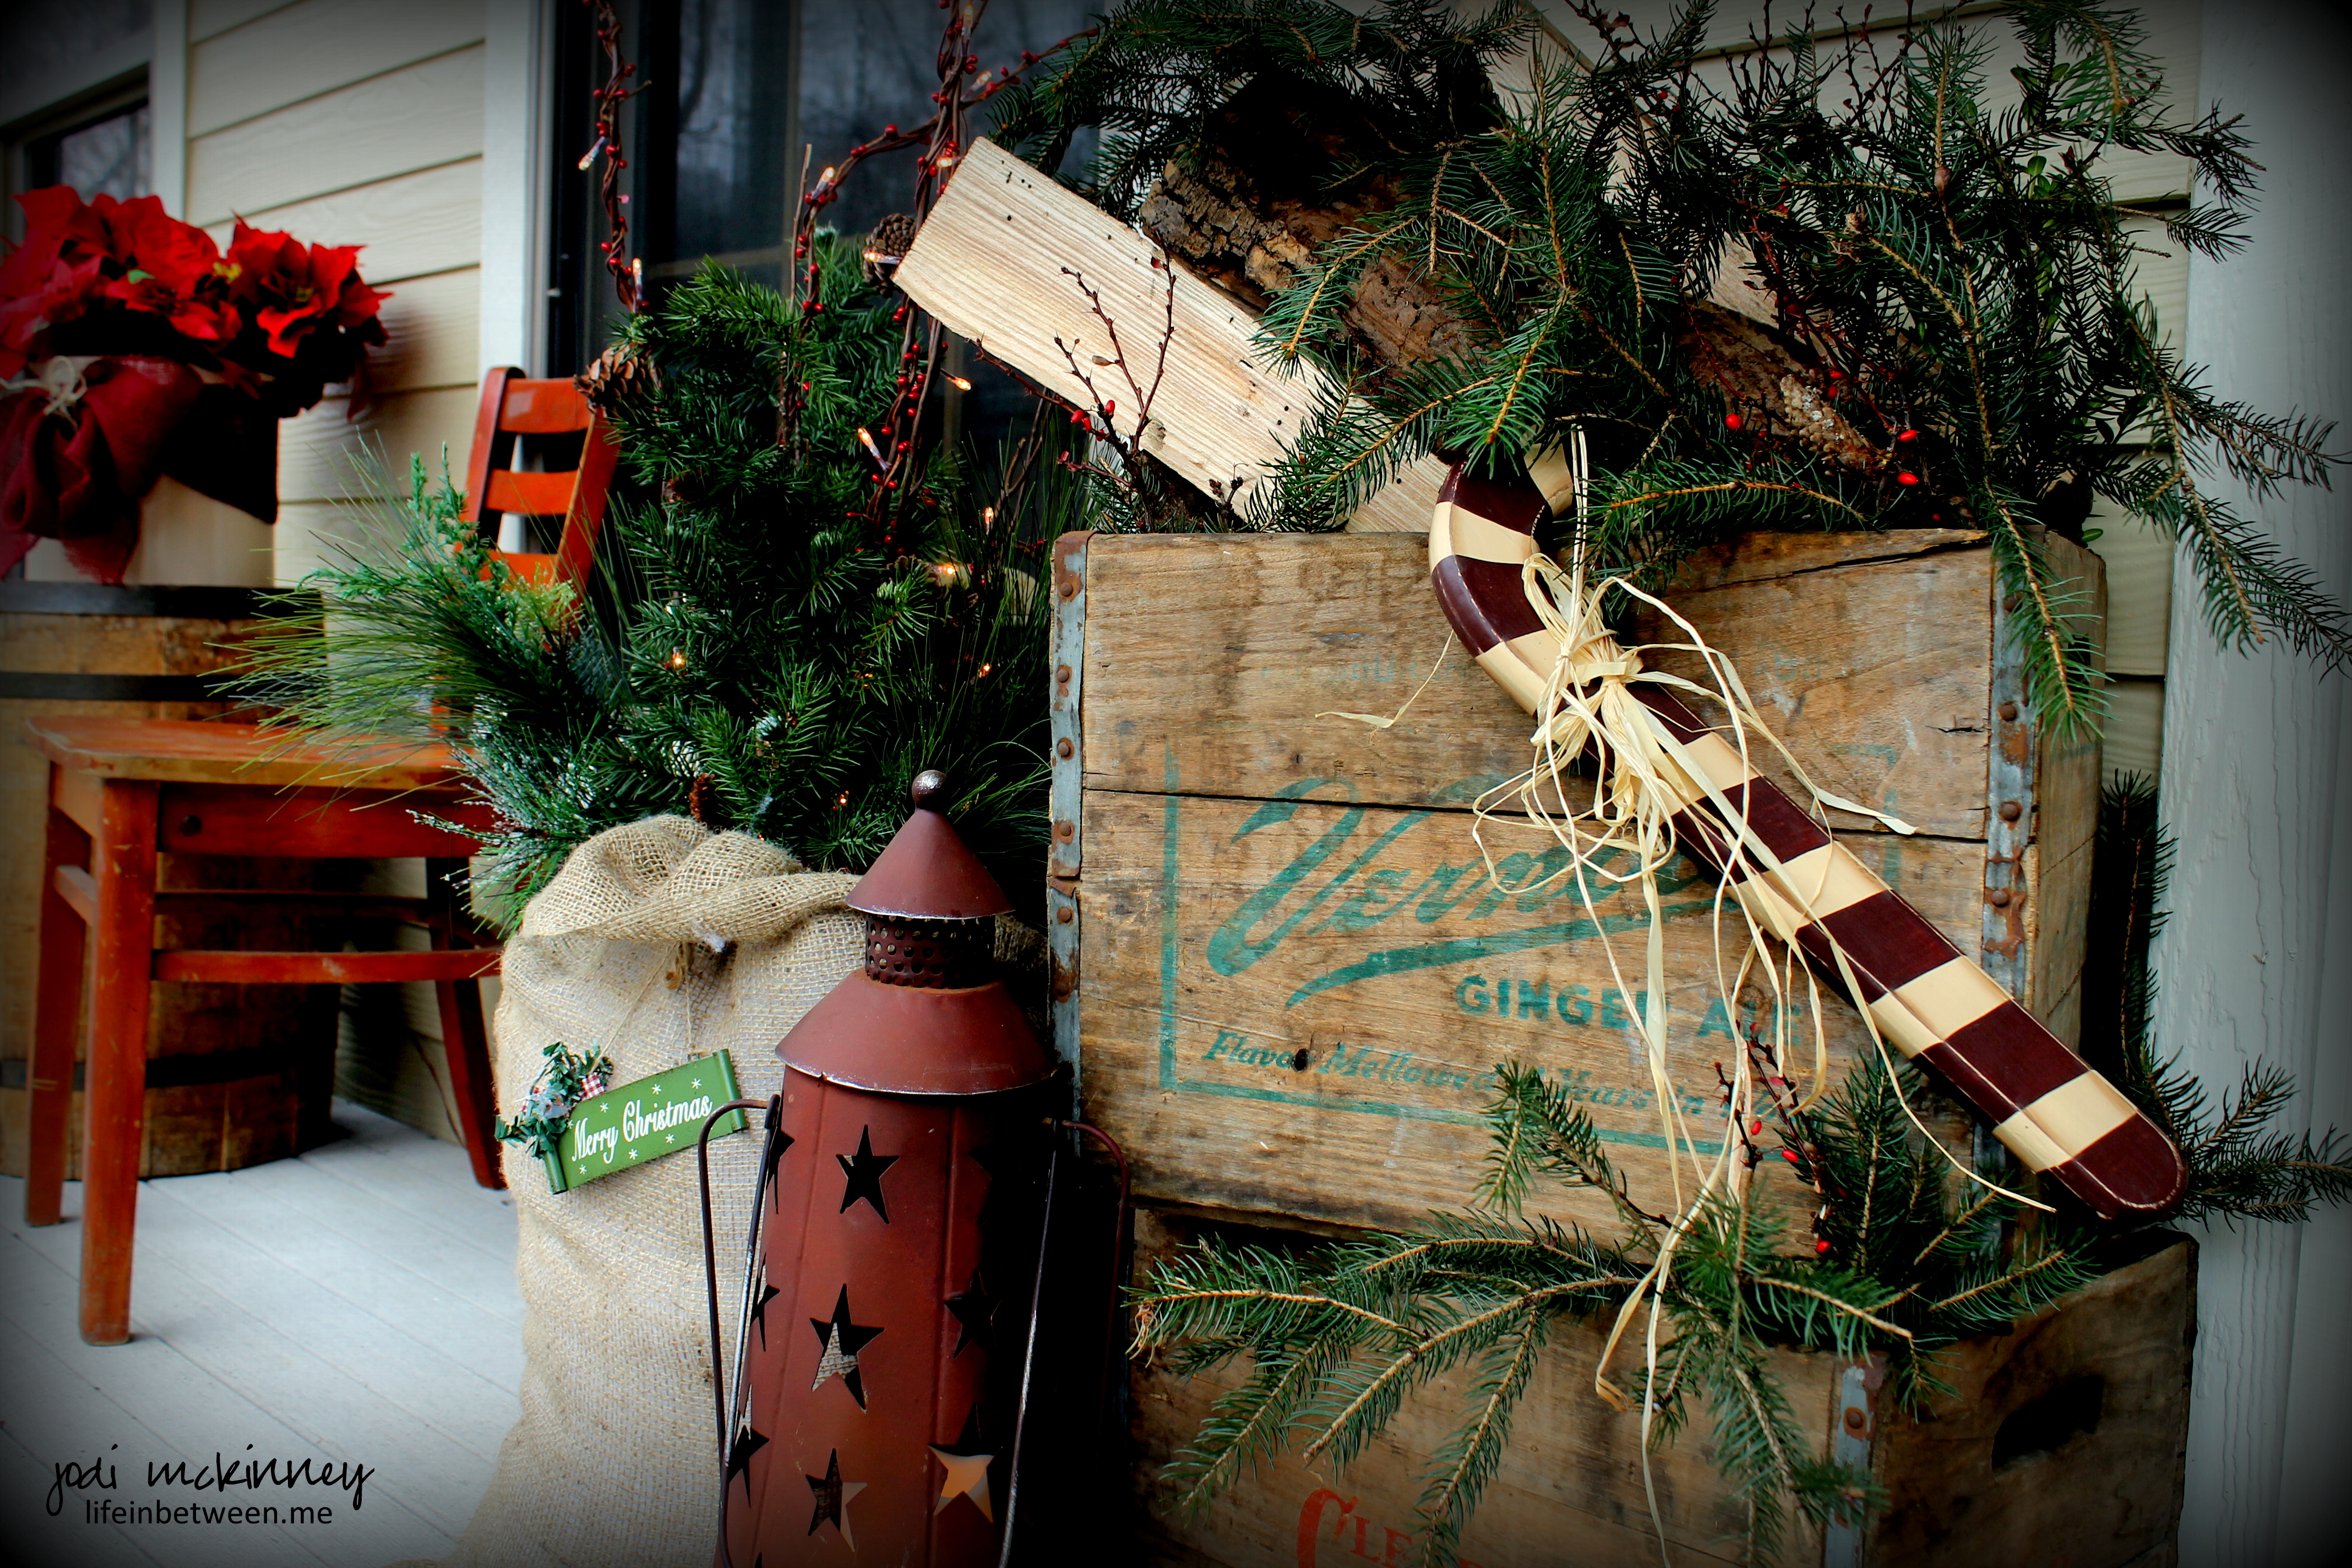 I had fun creating a woodsy rustic setting on the front porch with lots of fresh greenery, wood, red berries, burlap and pine cones in my fave antique crates I got for Mother’s day from Jake and Colleen. Out with the summer ferns, but not putting these beloved crates away. 🙂
 The tree is up…
 and the stockings are hung by the chimney with care.
 This Santa is chillin’ on the mantel with the some others (real Santas drink wine not milk)…
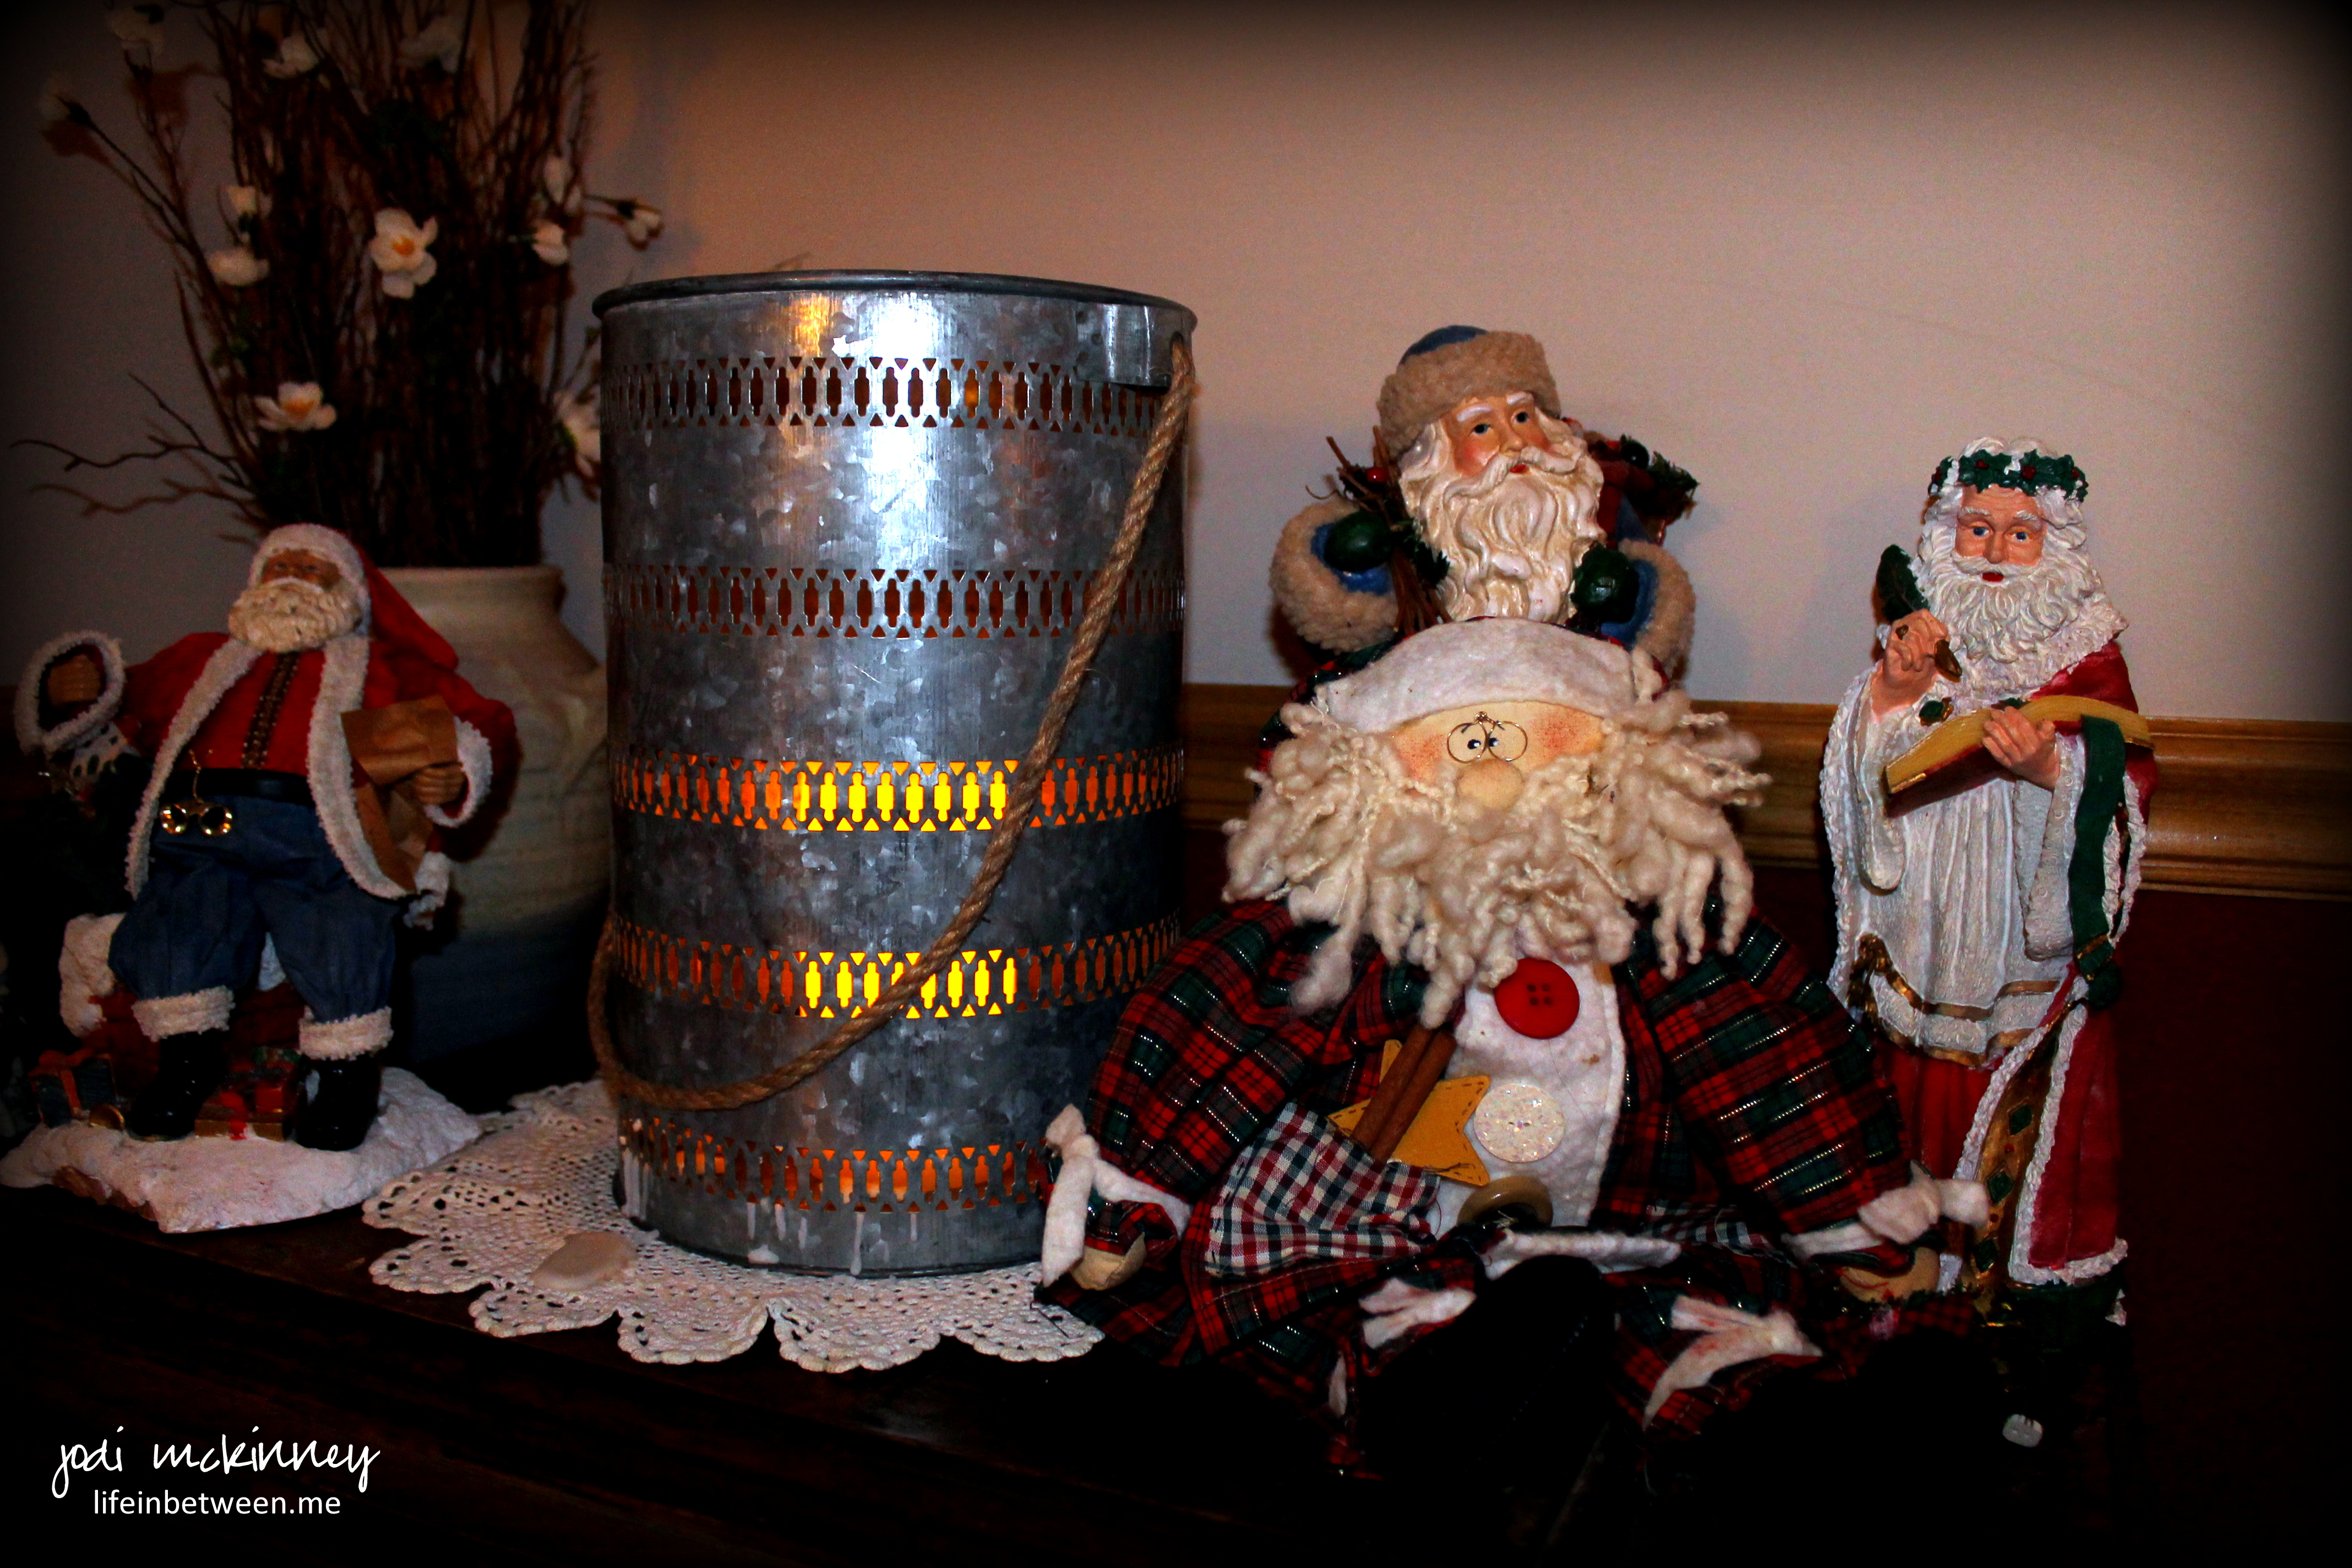 and other Santas pop up in just about every corner.
 I love tucking this little ceramic tree in a special corner. It so reminds me of my Grandma.
 Snowies are chillin’ too.
 Wishing you toasty toes and a warm nose as we gear up for the holiday season!
Cheers & Hugs,
Jodi

One of the many wonderful things about living in the Pittsburgh, PA region is our beloved Kennywood Amusement Park.
I have such fond memories of going there as a child for my Grandpap’s work picnics each summer and many school picnics throughout the years. When I was young, it seemed bigger than life, a vacation fantasy land, so vast, so magical, so exciting!

Then it became a place Marty and I visited on dates, and it was funny how much smaller it seemed from what I recalled as an 8 or 9 years old. It was still a magical place, and I was still deathly afraid of the roller coasters… (I’m quite the “ninny poo poo” friends – I have to admit!)
Eventually, Kennywood became the school picnic destination for our boys, and we created even more precious memories with them and their friends.
Even Marty’s parents told tales of dates to Kennywood when they were young!
Founded in 1898, Kennywood is one of the oldest and most beloved amusement parks in America. What started 110 years ago with rides like the classic carousel, evolved into a place that boasts the technological advancements of today’s steel lopping roller coasters.

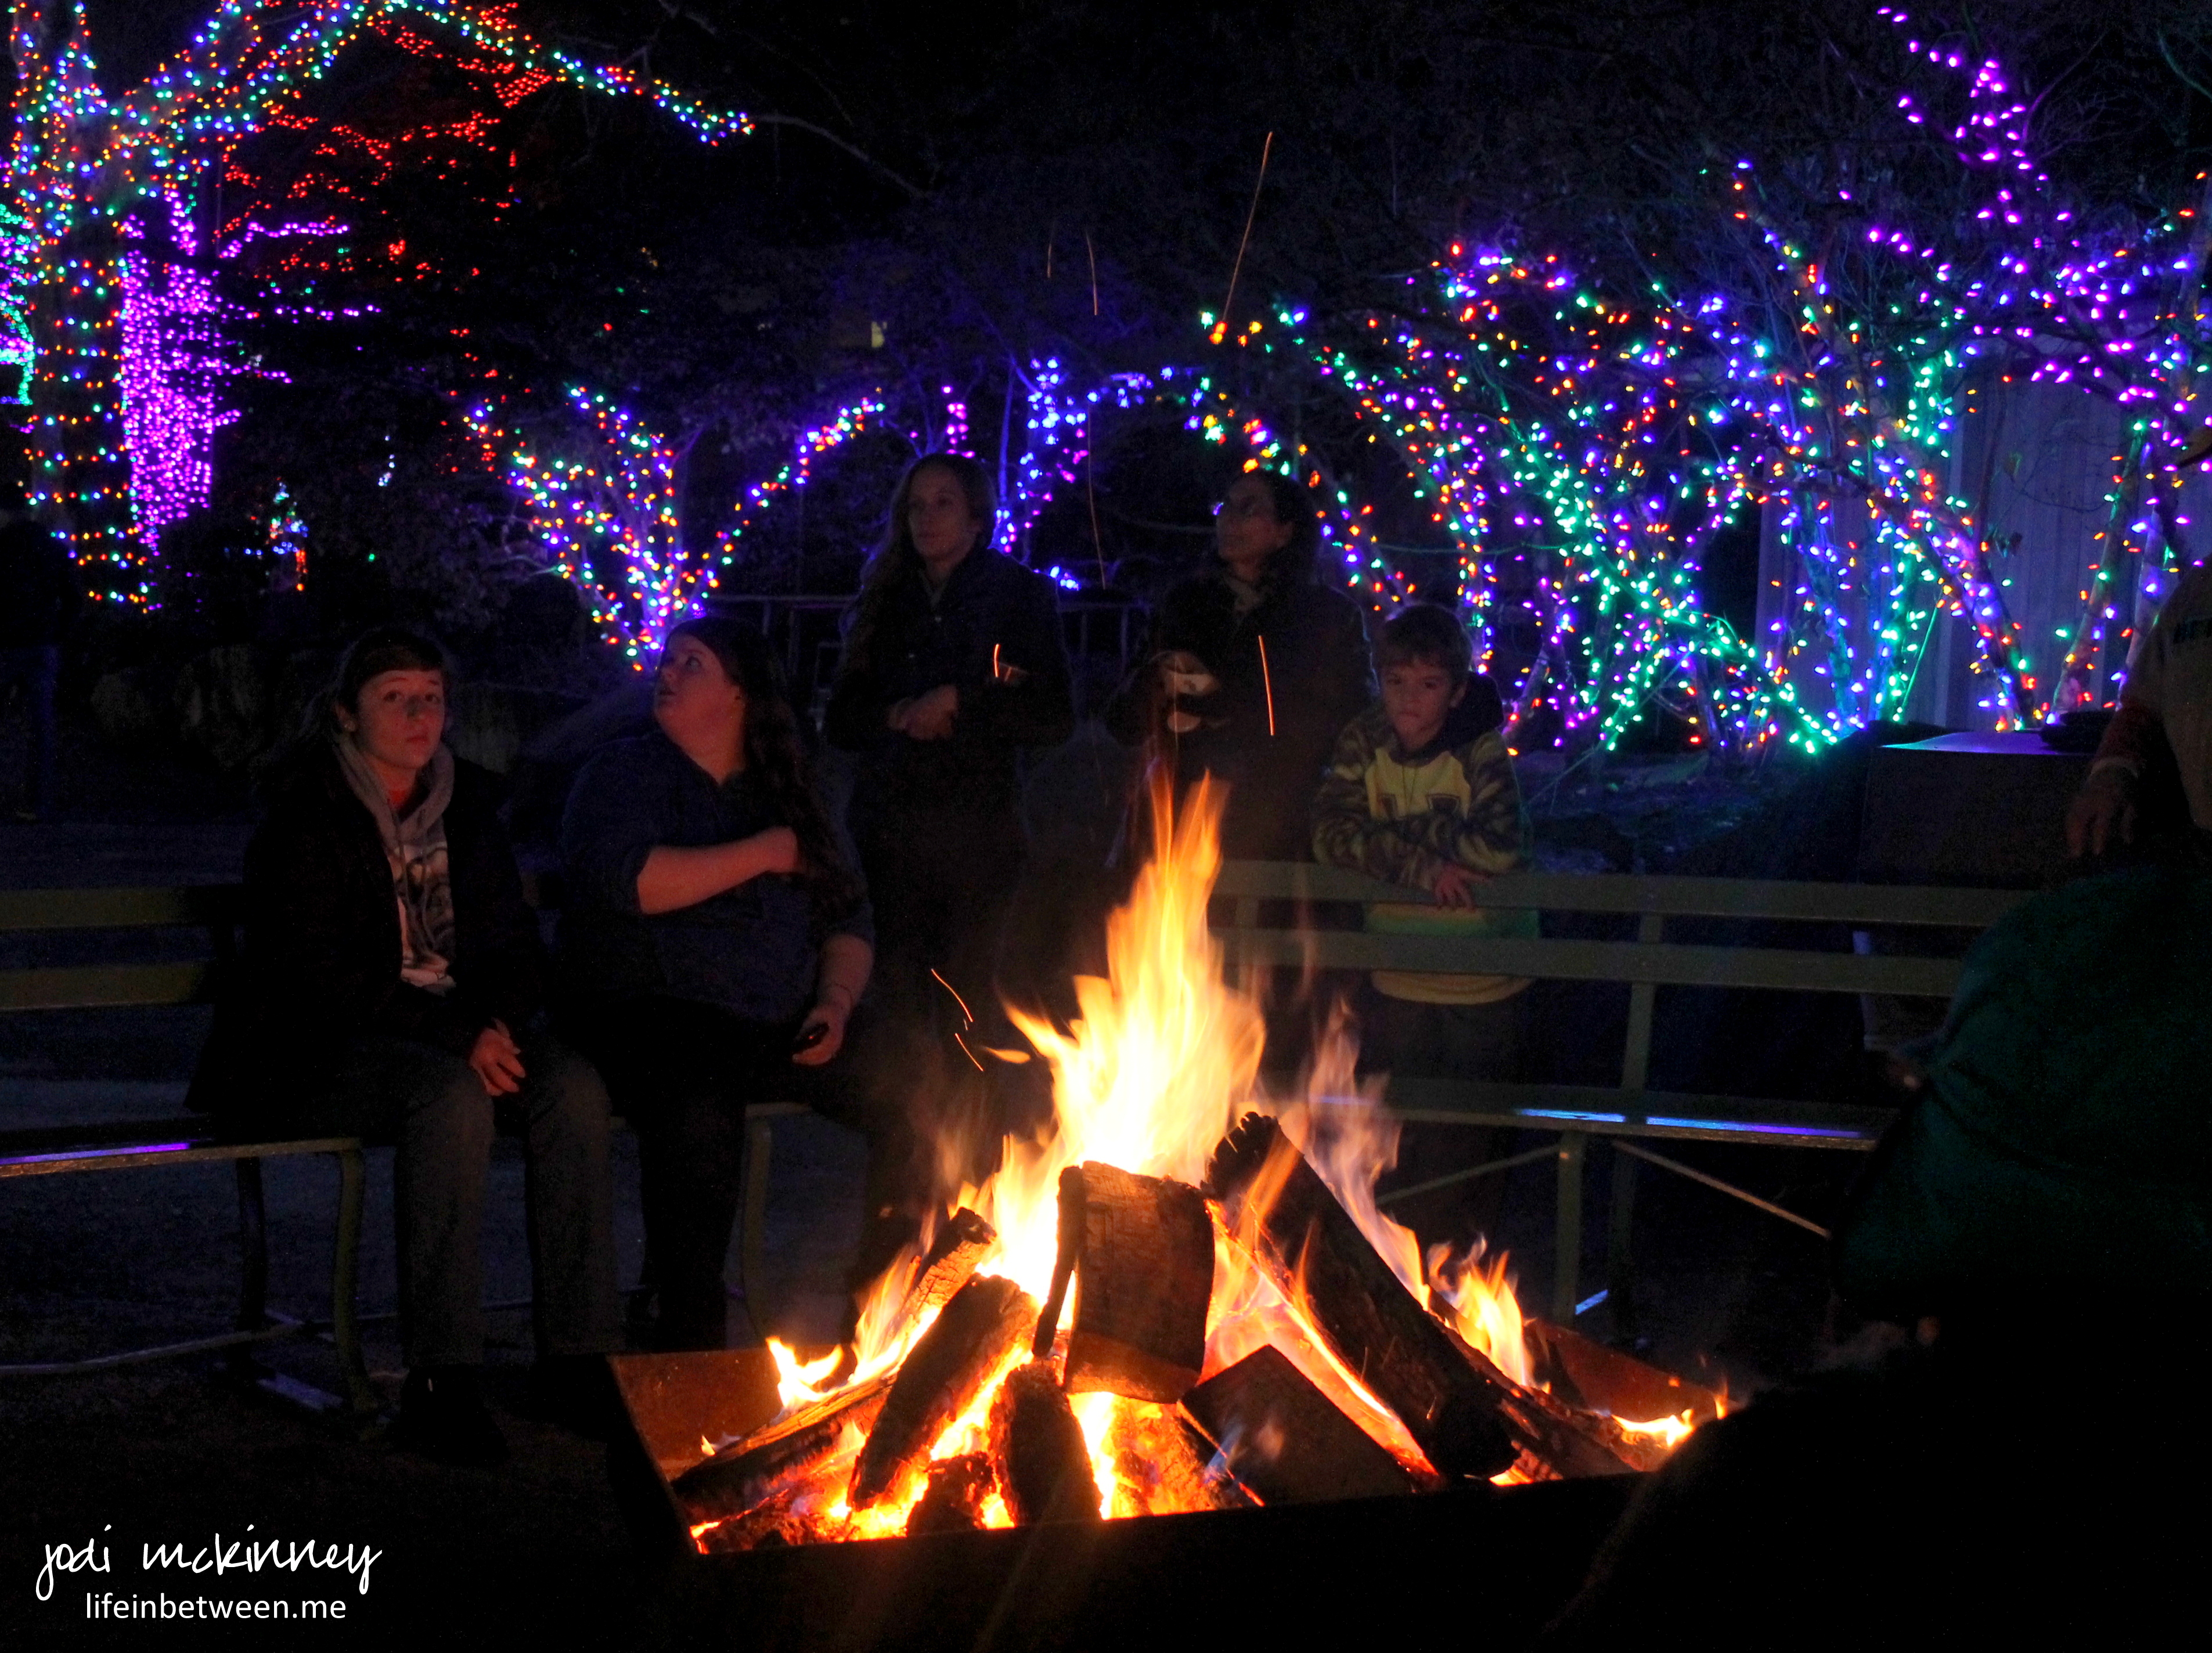
So Marty and I decided to have a date night Saturday and visit Kennywood’s Holiday Lights.

What a fun evening we had!

And what an amazing job they did transforming the park into a holiday spectacular!
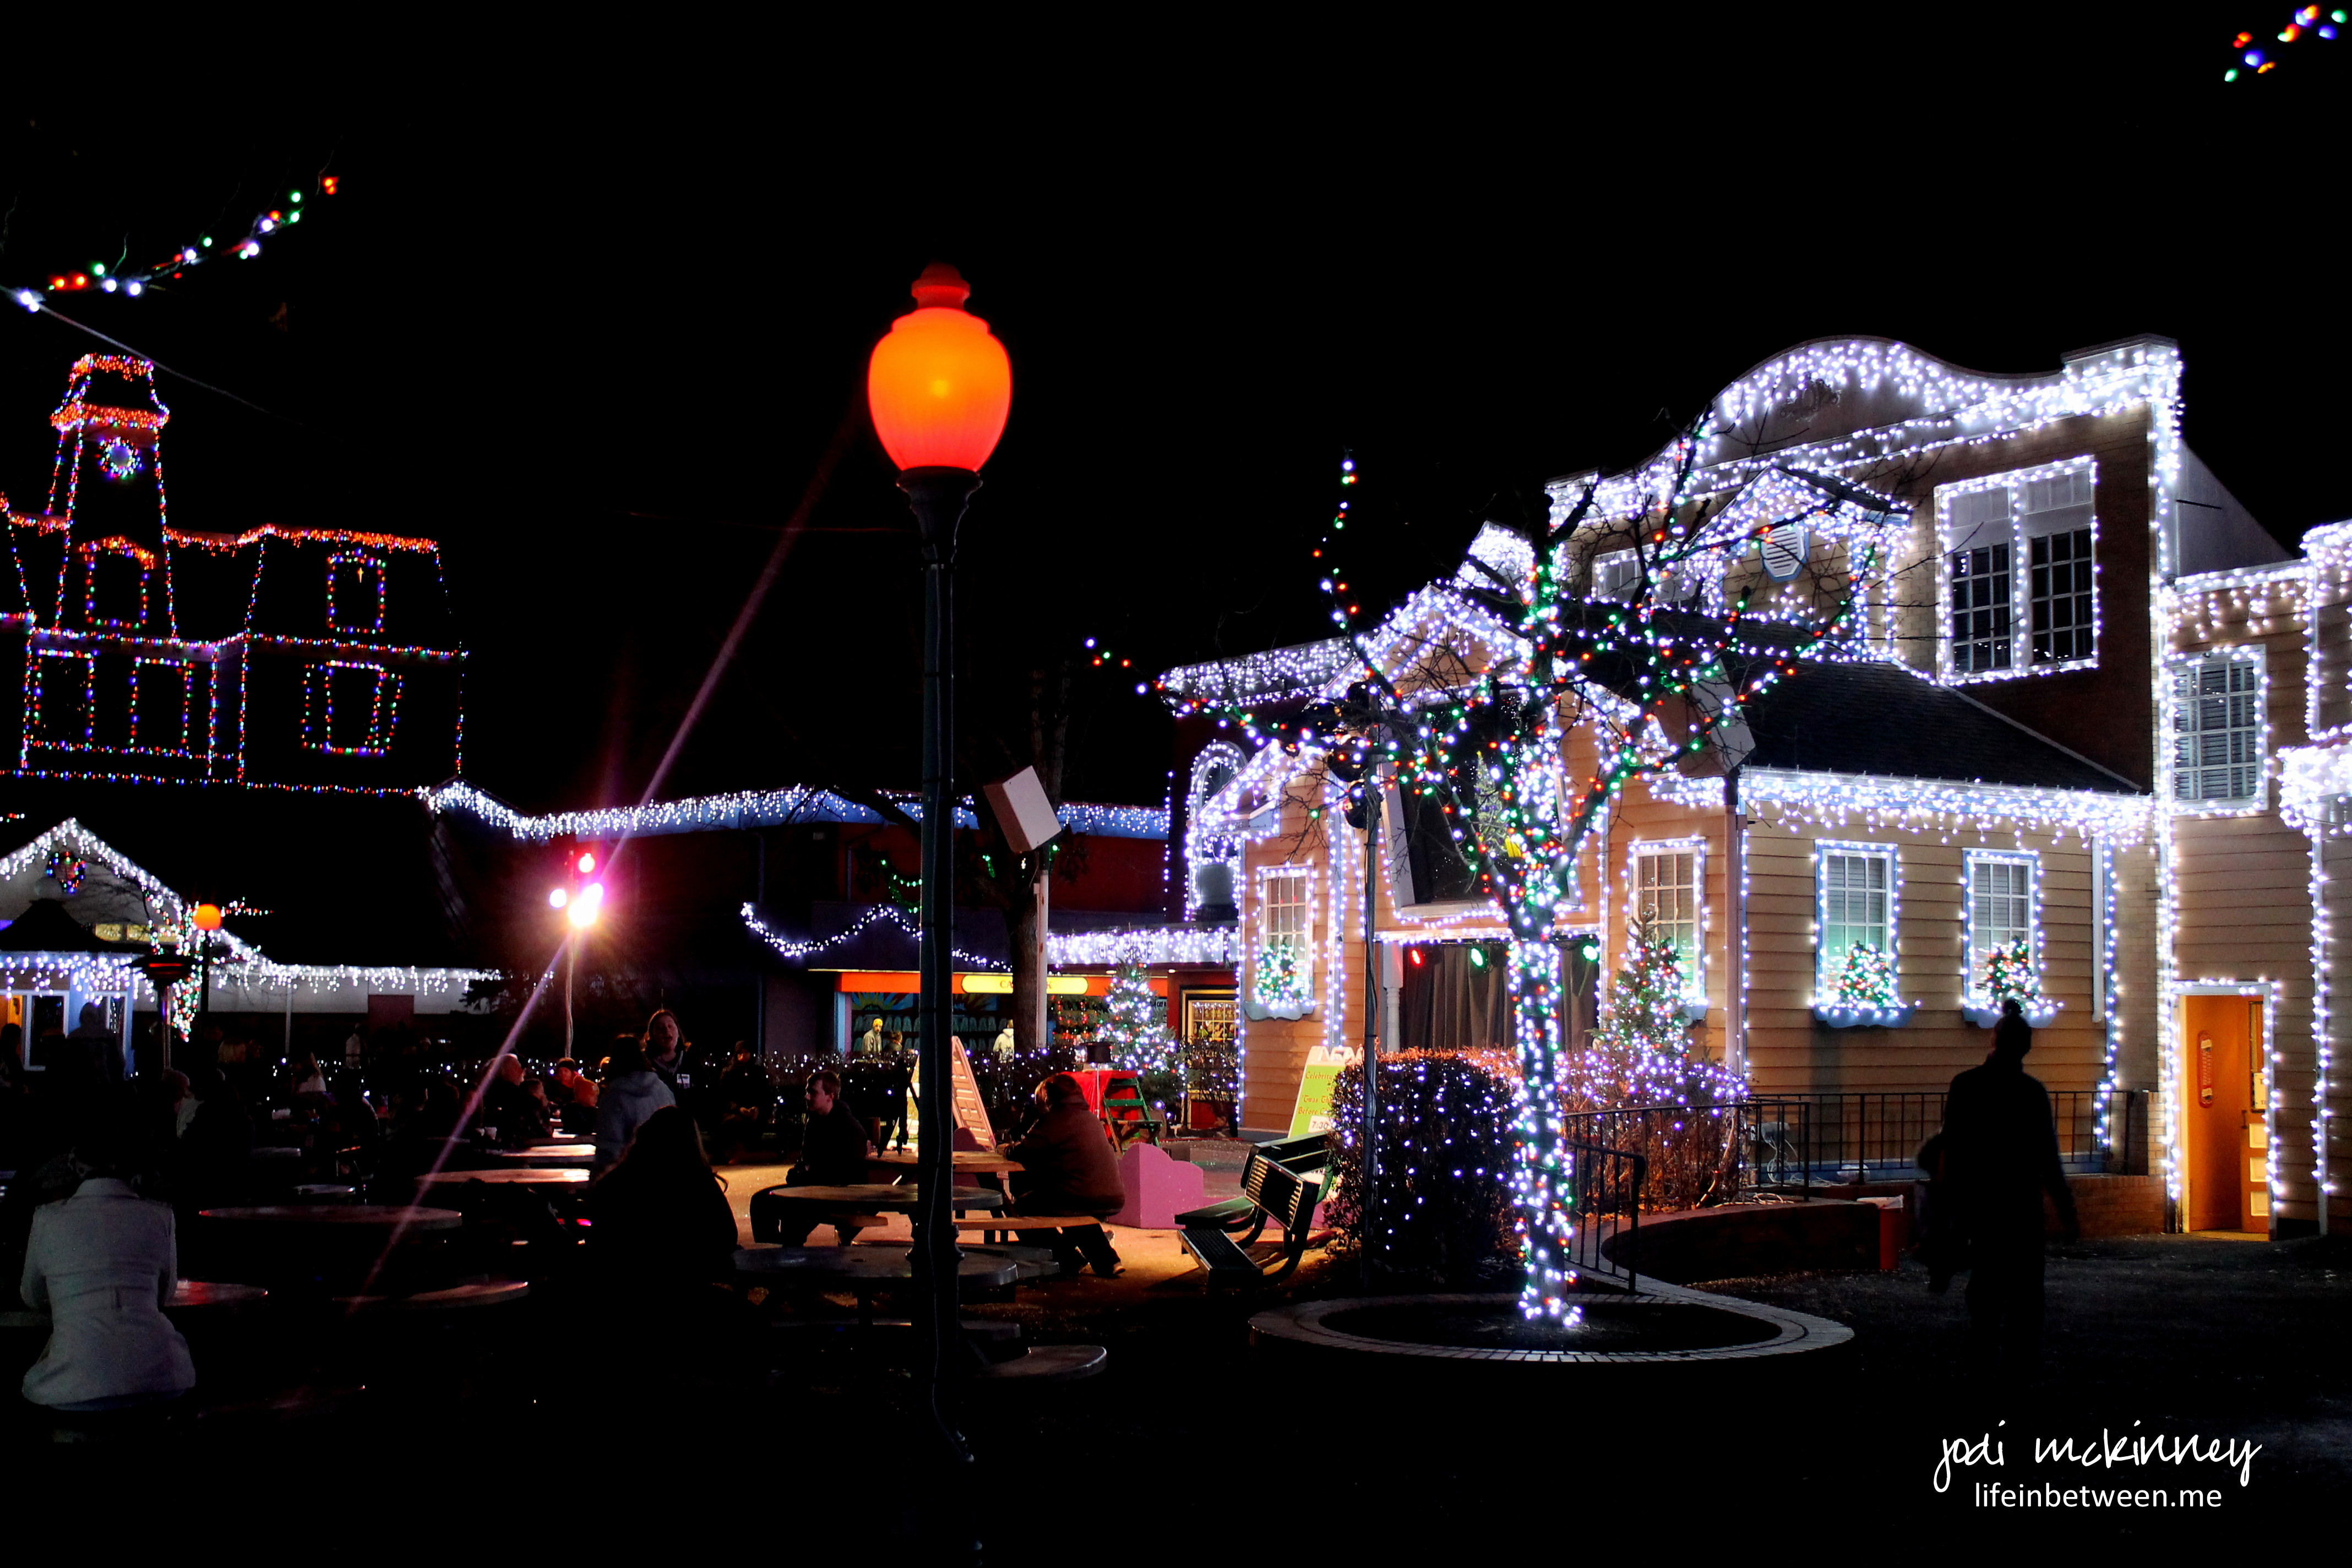
Marty asked one of the guys manning the bonfire (how fun is that right in the middle of the park?!) about how long it took to install the over 1 million lights that adorned the park. He was told it takes two full months with 12 guys working full time on it.
The iconic Potato Patch was open with a very long line for the quintessential french fries with cheese that are a MUST HAVE when visiting Kennywood.

There was a spectaculator light show on the lagoon choreographed to holiday music. The way the lights reflected on the water was just mesmerizing.


The Thunderbolt is the iconic wooden roller coaster that is the flagship ride at Kennywood. Santa and his team of reindeer had it reserved all to themselves for the evening.

Not only was religious diversity represented with a Menorah…

and a nativity scene…
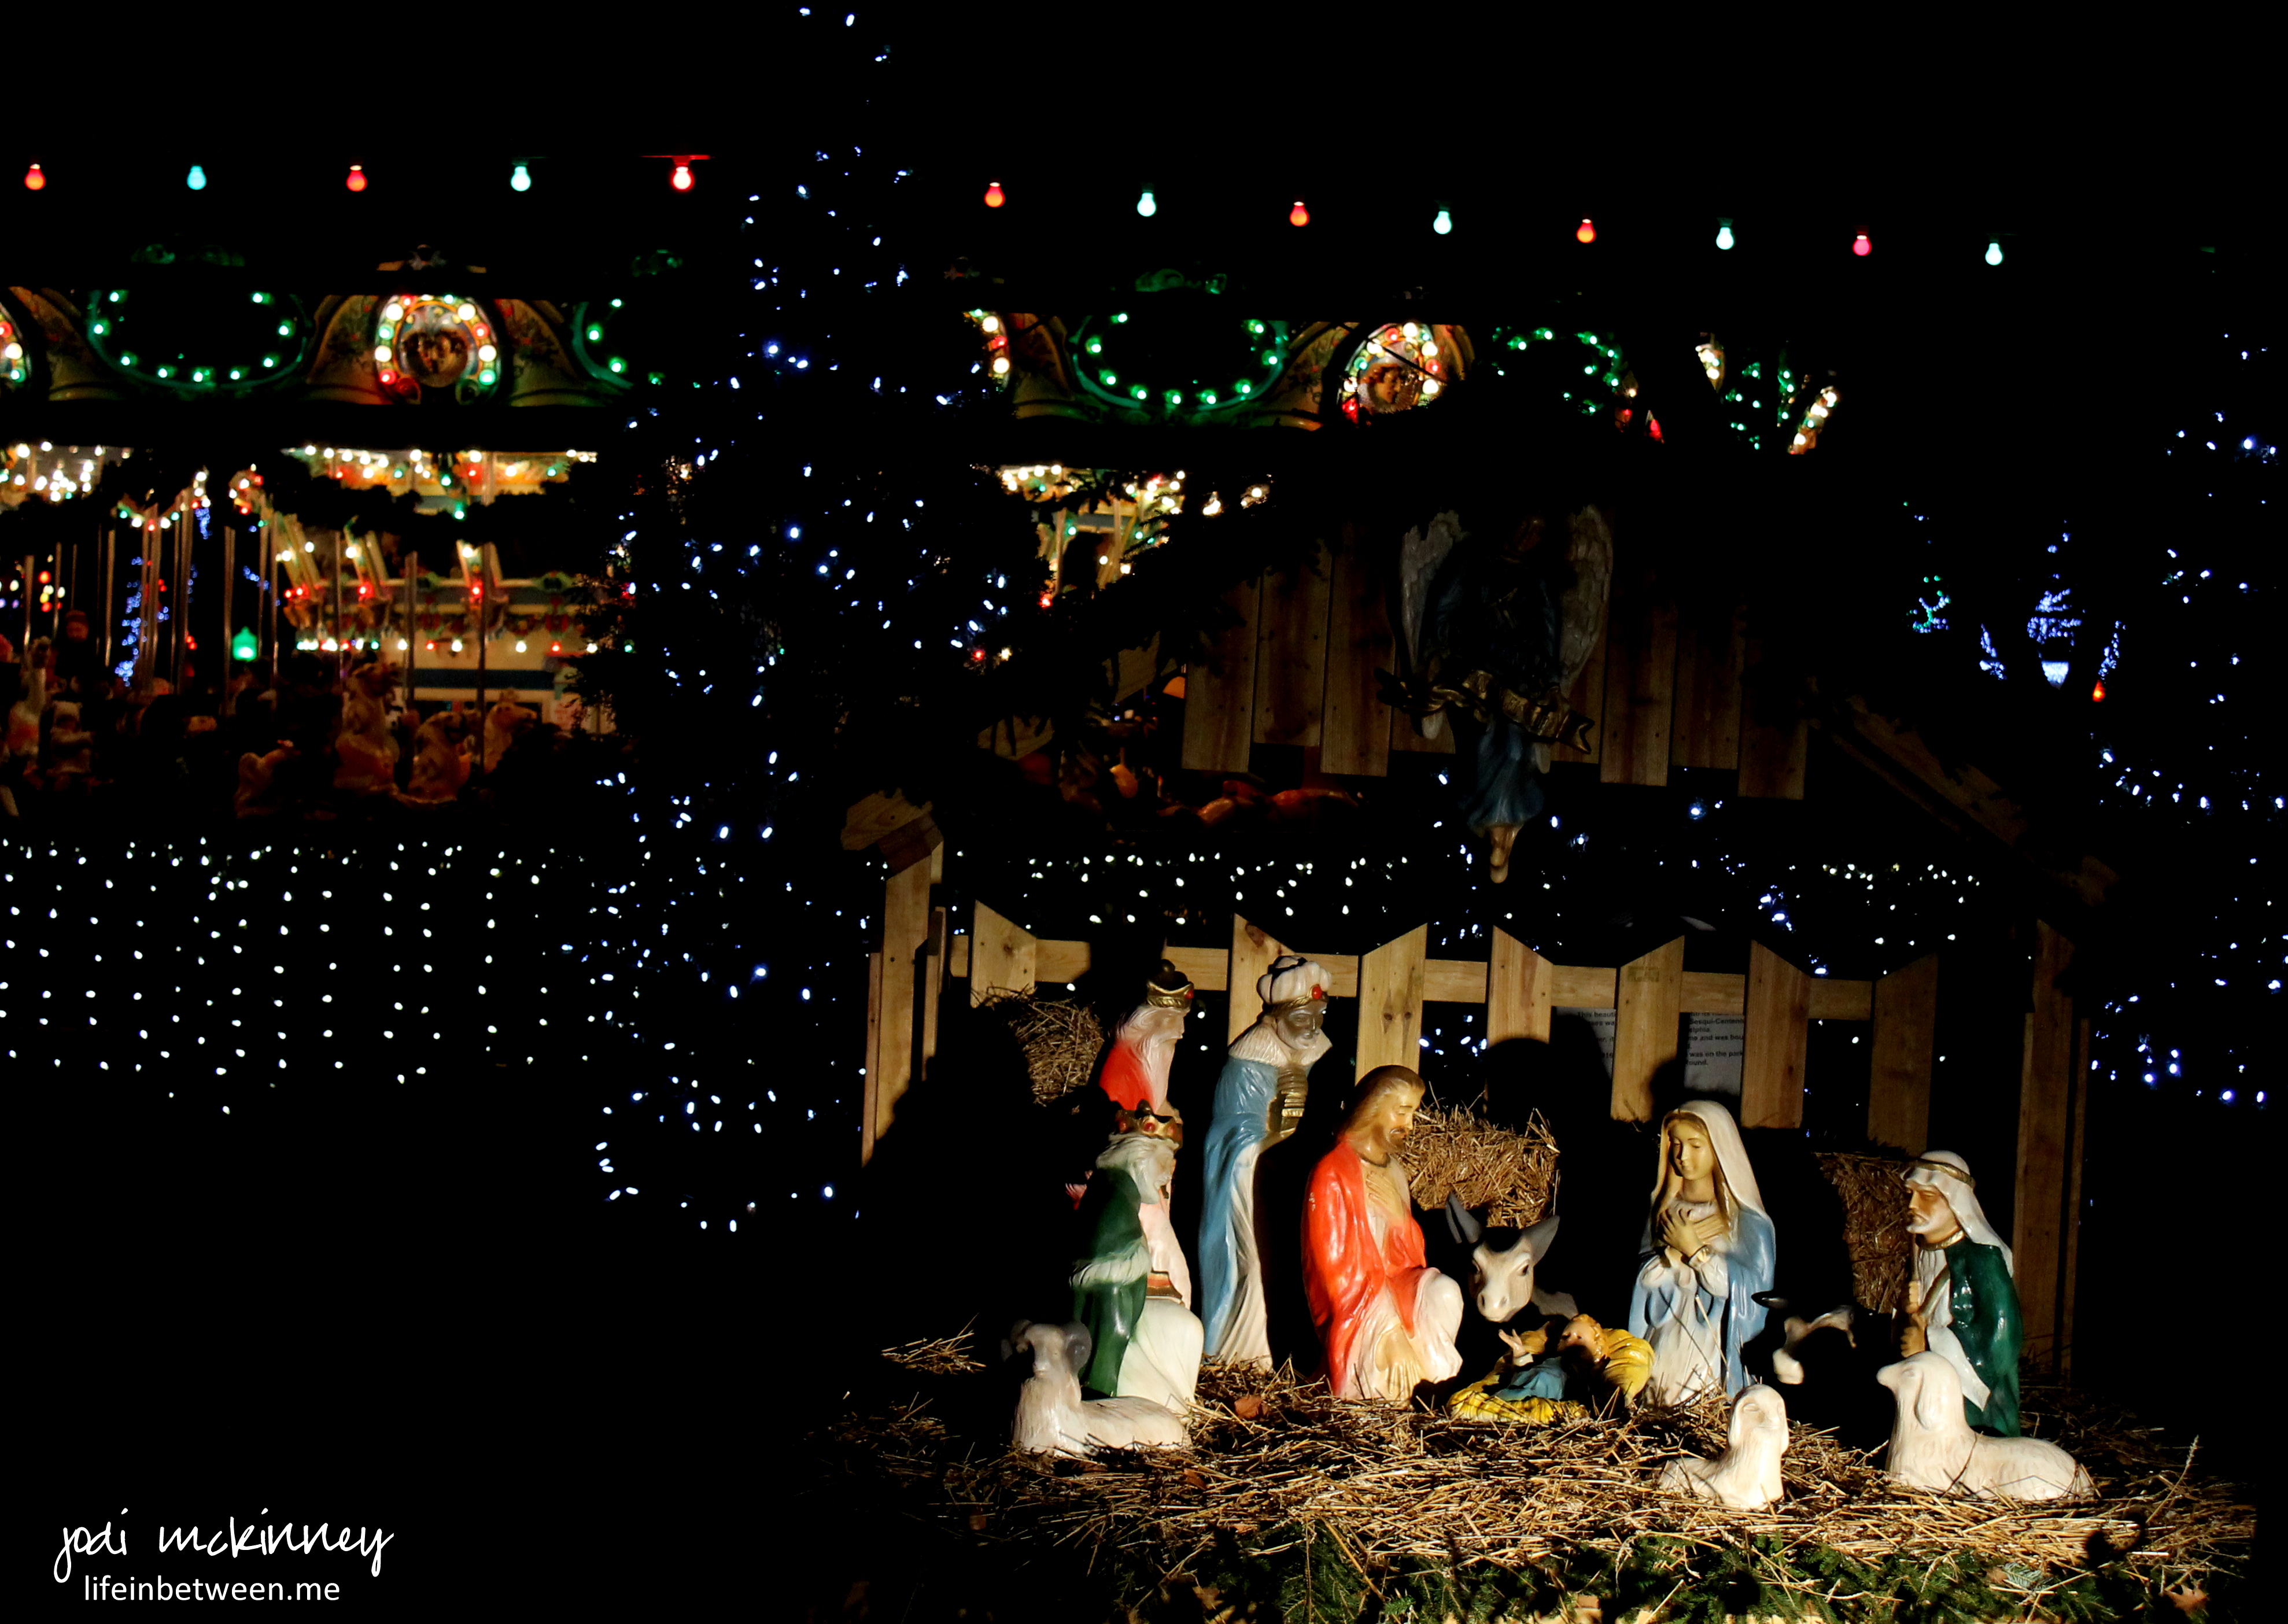
there was even a spaceship and alien from MARS!

It was a great way to end the day I spent putting up our Christmas tree and decorating our home for the holiday season.

If you are in the area, Kennywood Holiday Lights is open Friday, Saturday, and Sunday evenings from 5-9pm until December 21st. Tickets are $16.99 at the gate with some savings for those that purchase on line ahead of time.
Here’s to the kickoff of a wonderful holiday season!
Cheers & Hugs,
Jodi
