Crockpot Buffalo Chicken Mac ‘n Cheese

crockpot-buffalo-chicken-mac-n-cheese

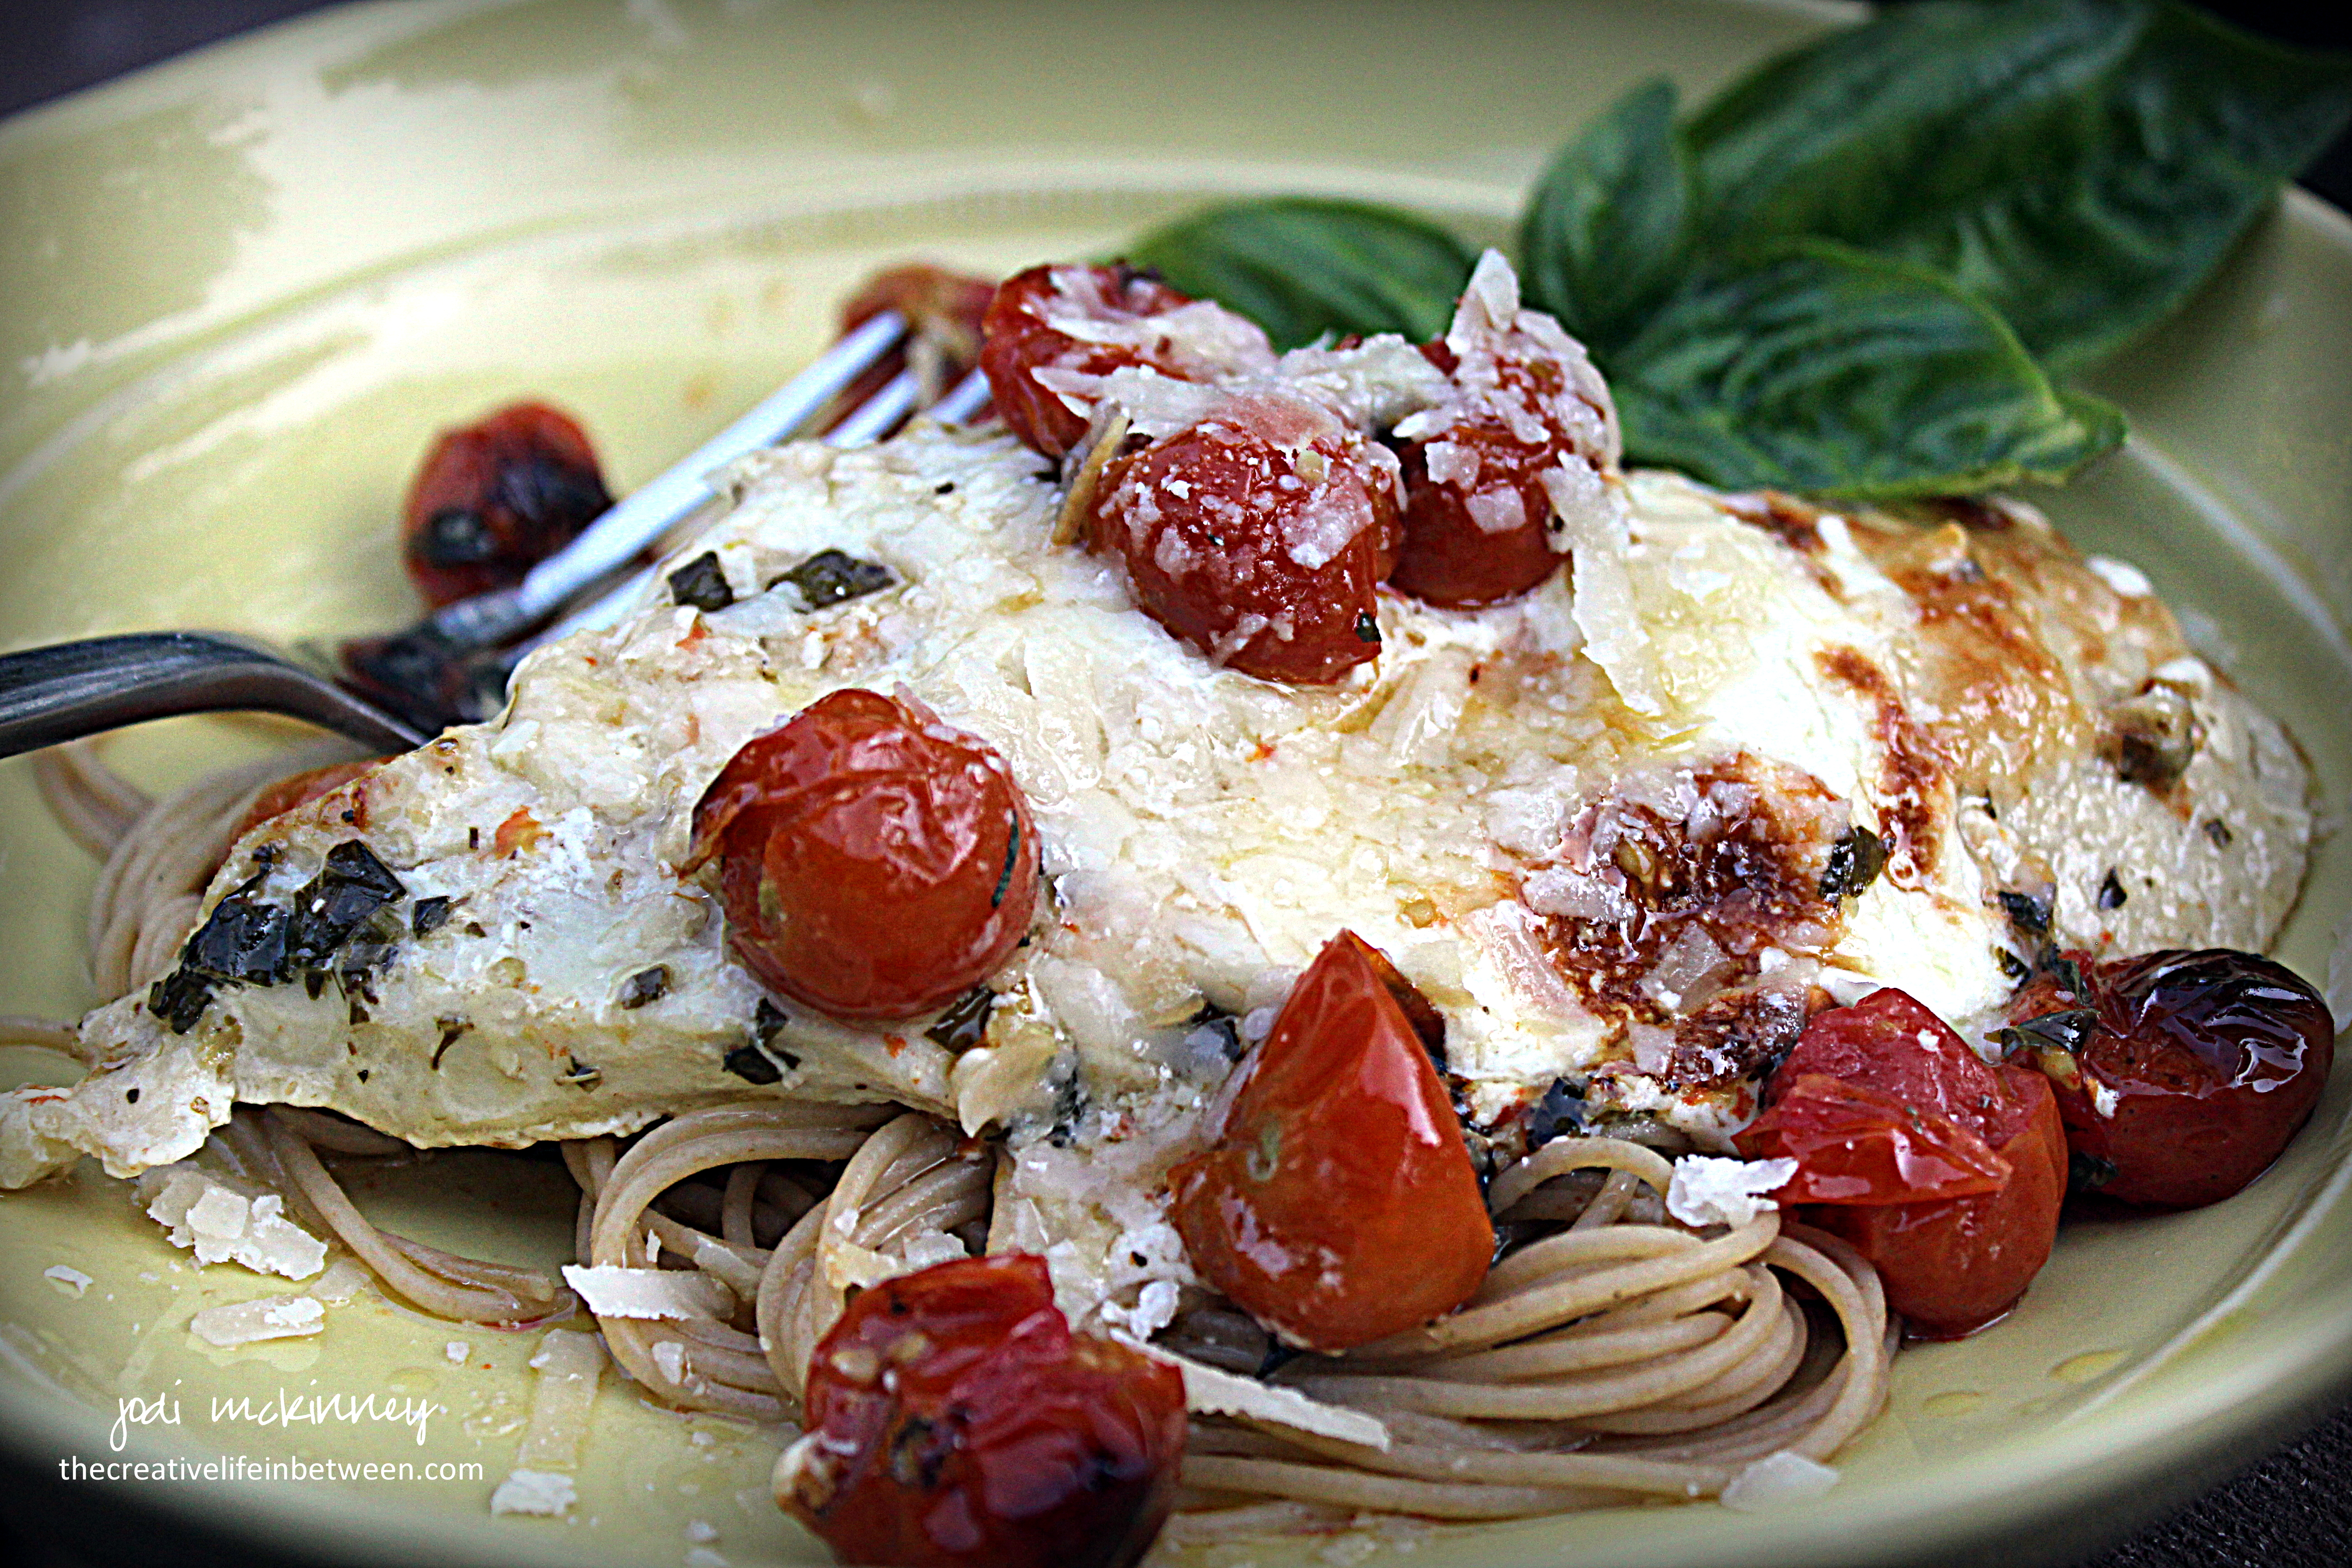
While my furry son was busy playing pumpkin bowling in the front lawn the other day when I was at the office, my chicken-lovin‘* son (who is amazingly turning into quite the cook!) kindly prepared a scrumptious dinner for hubby and me to enjoy when we came home.

What a treat!

And ooohhh how I am going to miss this guy when he moves out soon…

Who doesn’t love a yummy macaroni and cheese recipe on a cool Autumn or winter day?  And buffalo chicken… well – I can eat that any which way.  But – mixed with mac ‘n cheese!!  WOWZA!  Holy Swooning Wowza!

This would be such a yummy dish to give to someone (you know when you want to help out when a family member or friend has a baby, a loved one is mourning, a new neighbor moves in across the street, a friend has surgery…) or take to a potluck event, because it is one of those recipes that keeps well and gets even better the next day or two as leftovers when the flavors fully meld.

This is a keeper friends!  Hope you’ll give it a try, because it is another Winner Winner Chicken Dinner!

Crockpot Buffalo Chicken Mac n Cheese*

Ingredients:crockpot-buffalo-chicken-mac-n-cheese

  • 1 lb. boneless skinless chicken breast
  • 2 cups chicken broth
  • 1/2 cup buffalo wing sauce (Nick made his by combining approximately 60% Franks Red Hot Original Cayene Pepper Sauce,  30% Cholula Hot Sauce, and 10% Sriracha Hot Chili )
  • 1 tsp garlic powder
  • 1/2 tsp onion powder
  • 1/4 tsp celery salt
  • 8 oz pasta (Nick used Penne, but you could use macaroni, shells, or any shape you like)
  • 3 Tbsp butter
  • 2 Tbsp flour
  • 2 1/2 cups milk
  • 2 cups shredded cheddar cheese

Directions:

Add chicken, broth, buffalo sauce and seasonings to crockpot.  Cover and cook on high for 3-4 hours or low for 6-8 hours.

Shred fully cooked chicken with fork and return to crockpot.  Add UNCOOKED pasta.  Stir to combine.  Cover and cook on high for 30-40 minutes until fully cooked.

Make cheese sauce separately by melting butter in a saucepan over medium-high heat.  Whisk in flour.  Slowly pour in milk while continuing to whisk until smooth.  Bring to a simmer for 4-5 minutes until sauce thickens enough to stick to a spoon.  Remove from heat and stir in cheese until melted and smooth.

Add cheese sauce to crockpot, and stir to combine.  Enjoy!

OPTIONAL:  If you like, top it right before serving with a sprinkle of freshly crumbed bleu cheese to kick it up about 10 notches!!  

Cheers & Hugs,
Jodi

*Nick found and slightly adapted this recipe from Jennifer @ Slow Cooker Gourmet

*For more yummy Winning Chicken Dinners, just type “Chicken” into the search box at the top right corner of  the blog or click here.

New Lighter Chicken Parmesan

new-lighter-chicken-parmesan

Our little garden is just bursting with tomatoes this time of year, and the little cherry tomatoes are so juicy and sweet and delicious and plentiful that I wanted to use them creatively in a recipe instead of the usual simple throwing of them into our dinner salad.

I also have a really healthy crop of fresh basil.

new-lighter-chicken-parmesan-5

Anyone that’s been around thecreativelifeinbetween.com for more than a minute likely knows I LOVE chicken for dinner and am always looking for new, creative ways to prepare it.

So last night, I decided to try a newer, lightened-up version of the classic chicken parmesan recipe that is typically dipped in milk and egg wash, rolled in bread crumbs and fried in oil before topping it with cheese and baking it.

For this recipe, I marinaded the chicken in buttermilk – a great tip for making baked (or fried) chicken moist and tender – and then simply topped it with freshly grated Parmigiano-Reggiano instead of rolling it in bread crumbs.

I’ve said it before, and many of you know this well, but there really is no substitute for the real Parmigiano-Reggiano cheese.  Powdered cheese in a green plastic container will not do.   Other cheeses called “Parmesan” will not do.  The real deal –  Parmigiano-Reggiano is worth the spend (even if you have to skimp somewhere else – like that Starbucks latte or the pricey bottle of red wine).  Nothing can compare to the sharp, complex, fruity/nutty, strong savory flavor and slightly gritty texture of Parmigiano-Reggiano.  Inferior versions can impart a bitter taste, so if you think you do not like “Parmesan” cheese, because you ate the powdered stuff from the green plastic container as a kid, please give the real “parmesan” a try!  You won’t regret it.

new-lighter-chicken-parmesan-4

I then roasted it along with lots of sweet, juicy marinated tomatoes with tons of fresh garlic and basil and healthy extra virgin olive oil.

new-lighter-chicken-parmesan-3

We ate ours over whole grain thin spaghetti and a tossed fresh green salad.  It was divine!

Don’t expect it to taste like the familiar fried version soaked in sauce (which is quite yummy in moderation!), but allow yourself to enjoy the fresh, lighter flavors of this wonderful winner, winner of a chicken dinner!  (You knew I had to say it – right?!)

new-lighter-chicken-parmesan-2

Here is my recipe, which is adapted from one I found on Epicurious.  Hope you’ll give it a try and let me know how you like it.

New Lighter Chicken Parmesan

Ingredients:new-lighter-chicken-parmesan

  • 3 lbs boneless chicken breasts and thighs
  • 1 cup buttermilk (you can easily make by adding 1 Tbsp vinegar to 1 cup milk)
  • 3 cups cherry tomatoes
  • 1/3 cup olive oil
  • 1/4 cup finely minced fresh garlic
  • 1/4 cup finely minced fresh basil
  • 1 tsp dried oregano
  • 1 tsp salt
  • 1 1/2 cups freshly grated Parmigiano-Reggiano cheese
  • 8 oz. fresh Mozzarella cheese, sliced

Directions:

Wash and prepare chicken.  If chicken breasts are thick, cut them in half horizontally so they will cook faster and more evenly.  Marinade chicken in buttermilk for a minimum of 2 hours or up to overnight in an airtight container or large Ziploc bag.

Whisk together olive oil, garlic, basil, oregano, and salt.  Pour over tomatoes and stir.  Let marinade a couple hours if time allows.

Preheat oven to 450 degrees F.  Remove chicken from buttermilk marinade and place on a baking stone or dish with sides that will fit all pieces evenly without overlapping.  Top with grated Parmigiano-Reggiano cheese and pat to press into chicken.  Spoon marinated tomatoes in between chicken pieces pouring remaining oil marinade over top.

Bake for approximately 15 minutes until chicken is cooked, cheese begins to brown, and tomatoes begin to bubble and brown.  Add a slice of Mozzarella cheese on top of each piece of chicken, and return to oven for approximately 5 minutes until the Mozzarella is browned and bubbly.

Serve over whole wheat or regular pasta or by itself with a fresh green salad.

Enjoy!

Cheers & Hugs,
Jodi

Chocolate-Covered Cookie Butter-Stuffed Oreos

About

chocolate-covered-cookie-butter-stuffed-oreos-7

O. M. G!  Have you tried the new Oreo Thins yet?  If there is one store bought cookie I love, it is Nabisco’s Oreo.  There’s really nothing like them.

I rarely buy them, but I have been curious about the new Oreo Thins I’ve been hearing about.  Double Stufs are DIVINE, so how are the Thins?

I needn’t wonder long, because when I saw an incredible idea for Cookie Butter Stuffed Oreos from Ruthanne, the incredibly creative baker at Easybaked, I knew I had to try them.

And they are AMAZING!

chocolate-covered-cookie-butter-stuffed-oreos

But who stops at amazing, when you can make them doubly amazing by topping them with a scoop of cookie butter…

chocolate-covered-cookie-butter-stuffed-oreos-4

placing another on top of that…

chocolate-covered-cookie-butter-stuffed-oreos-2jpg

sandwiching….

chocolate-covered-cookie-butter-stuffed-oreos-3

and covering with chocolate?!

chocolate-covered-cookie-butter-stuffed-oreos-6

I was dying to try them, but knew we didn’t need a batch of these around the house for the three of us.  So when my son Nick was heading over to celebrate his future father-in-law’s birthday yesterday, I asked if I could make them for him to take over for a little birthday gift.

He offered to help, so I gave him the jobs of “hand model” and sampler to assure they were okay to send.

chocolate-covered-cookie-butter-stuffed-oreos-5

He approved!

I filled a little pint-sized red berry basket with a dozen, wrapped it in clear cellophane and tied with some raffia to send on it’s way.

chocolate-covered-cookie-butter-stuffed-oreos-8

And now we only have to worry about having eight of these decadent little buggers around to taunt us with their amazingness!

Such a fun treat!  I hope you’ll give them a try.  And for more cuteness, check out Ruthanne’s Emoji Oreo Pops!    I’m kinda tempted!!   😉

Chocolate Covered Cookie Butter Stuffed Oreos

Ingredients:chocolate-covered-cookie-butter-stuffed-oreos-7

Directions:

Place 20 Oreo Thins Cookies on a cookie sheet.  Top each cookie with a teaspoon-sized scoop of cookie butter.  Press a second Oreo Thin on top to make a sandwich.  Freeze for approximately 30 minutes.

Melt Candy Melts in microwave in 30 second increments, stirring after each increment, until chocolate is melted and smooth.  (It took mine about 3 increments.)

Take 3-4 cookies out of the freezer at a time, and carefully dip – one at a time – in the melted chocolate.  Use a fork to tap excess off, and slide the bottom of the cookie along the edge of the bowl to remove excess.  Set on parchment or wax paper to harden.

Add sprinkles (if desired) before chocolate hardens, or drizzle with white or contrasting chocolate after it hardens.

Enjoy!

Cheers & Hugs,
Jodi

Cinnamon Pie Crust Leaves

cinnamon-pie-crust-leaves

I consider myself a pretty good pie baker.
But we all have “those days” – eh?

This past Sunday, I decided to bake a cherry pie.  It’s been quite a while since I got my hands on tart red cherries, so when I found some in the frozen food section at our local supermarket recently, I swooped them up with all good intentions of baking a surprise cherry pie for my guys.  Sunday, especially with Fall approaching, is always a good time to have dessert as a special treat.

cherry-pie

The simple recipe I found online in a quick search called for using cornstarch as the “thickener.”  I typically use flour, but found a box of cornstarch in the back of my spice cabinet and decided to follow the recipe and use it.

I prepared the pie and baked it (10 minutes longer than the recipe called for because the filling was not bubbling out of the slits on top yet – and Grandma always told me a pie is never done until it bubbles over).  I decided it had to be done, so removed it from the oven, cooled it, and looked forward to serving it to my guys who had been working hard chopping and splitting and stacking wood in preparation for Fall and winter fires.

Well – the pie filling just didn’t thicken.  My guys ate their whole slices like champs, even though they were more like cherry soup topped with crust and vanilla ice cream.

I had a major cherry pie FLOP!

I’m glad I also followed Grandma’s guidance and made cinnamon pie crust treats with the leftover dough that wasn’t needed on the pie.  Grandma typically just cut the leftover dough into strips, brushed with milk, sprinkled with cinnamon-sugar, and baked until brown.  I had fun cutting mine out into maple and oak leaves with cookie cutters to make them a little fancier.

The cinnamon pie crust leaves didn’t make it to the next day.  Glad something turned out right!

Does cornstarch go bad?  Does it loose its “thickening” ability?  I must admit it wasn’t sealed very airtight, and what I used was at the very end of the box.  Or did I just not bake the pie long enough?  I actually put it back in the oven for 15 more minutes after serving the two pieces to my guys wondering if it might thicken up.  No luck.

I guess we all have “those days” right?!

Cherry Hugs,
Jodi

Roasted Yukon Gold Potatoes with Garlic & Rosemary

roasted-rosemary-and-garlic-yukon-gold-potatoes

There aren’t many meals potatoes don’t go wonderfully with in my opinion.  I do love potatoes no matter what way they are prepared.

roasted-rosemary-and-garlic-yukon-gold-potatoes-2

One of my favorite ways to make them is to roast them.  Add some garlic, fresh rosemary, a dash of salt, and a drizzle of olive oil, and I’m pretty much in heaven.

roasted-rosemary-and-garlic-yukon-gold-potatoes-3

And Yukon Golds have become one of my favorite varieties to roast.  They crisp up beautifully on the outside and remain tender and flavorful on the inside.

This recipe is simple, but so delicious and complimentary to most any meal.  They go great with chicken, beef, pork, and even eggs (and are great reheated for breakfast “home fries”).  Sprinkle some cheese on top if you like – parmesan, cheddar, swiss,  or muenster.  Dunk them in ketchup or barbecue or hot sauce.  Dip them in ranch dressing or honey mustard.  Or just enjoy them plain.

Here is how I make them.  Hope you will give them a try.

Roasted Yukon Gold Potatoes with Garlic & Rosemary

Ingredients:roasted-rosemary-and-garlic-yukon-gold-potatoes-2

  • 6 medium Yukon Gold Potatoes
  • 3 large cloves garlic, minced
  • 3 Tbsp minced fresh rosemary
  • 3 Tbsp olive oil
  • 1 tsp salt

Directions:

Preheat oven to 450 degrees F.

Wash and cut potatoes (leaving skin on) into bite-sized chunks.

Spread potatoes evenly in single layer onto a baking stone with sides (stoneware bar pan) or aluminum jelly roll sized pan.  Drizzle with half of the olive oil.  Sprinkle with minced garlic, minced rosemary, and salt.  Drizzle remaining olive oil over top.

Roast for 20-30 minutes until golden brown – tossing with a spatula halfway through cooking time.  Serve immediately.  

Enjoy!

Cheers & Hugs,
Jodi

Jodi’s Peanut Butter Cup Cookies

jodis-peanut-butter-cup-cookies

If you stopped by our house, and there weren’t any cookies (in the freezer)… well….

it just wouldn’t be our house.

jodis-milk-chocolate-peanut-butter-cup-cookies

Nothing fancy really.  Usually just some sort of chocolate chip or oatmeal raisin, but always some cookies in the house.

jodis-white-peanut-butter-cup-cookies

This week, I baked some peanut butter cup cookies.  One batch with Reese’s White Mini Cups and the other with traditional milk chocolate Reese’s Peanut Butter Cup Minis.  You could combine the two in one cookie if you like, but I think people typically take pretty firm stances on liking white or milk chocolate, so I kept them separate.

I’ll be taking these to our book club party this weekend, but if you stop by, there will be some I’d be happy to offer you.

I share my cookies with Mike the UPS man, Cliff the mailman, and Adam the bug spray guy.  Most of our friends and family who stop by know to just check the freezer drawer to see what this week’s treat is and help themselves.  I love that! When you are comfortable enough in my house to help yourself to whatever is in the fridge or freezer, I am in my happy place.

Here is  my recipe if you are looking for a delightful treat that is sure to please.  You can substitute the peanut butter cups with chocolate chips or any other type of chopped candy you love.

Jodi's Peanut Butter Cup Cookies

  • Servings: 4 doz large cookies
  • Print

Ingredients:jodis-peanut-butter-cup-cookies

  • 2 cups (4 sticks) butter, softened
  • 1 1/2 cups white sugar
  • 1 1/2 cups packed brown sugar
  • 2 Tbsp vanilla
  • 4 eggs
  • 2 tsp salt
  • 2 tsp baking soda
  • 5 cups all-purpose flour
  • 2 cups (16 oz) miniature Reese’s Milk Chocolate or White Chocolate Peanut Butter cups, coarsely chopped

Directions:

In the bowl of electric mixer, beat butter until creamy.  Add sugars, vanilla and eggs, and continue beating until light and fluffy.

Add salt and baking soda.  Then gradually add in flour, one cup at a time, and mix just until incorporated.  Stir in coarsely chopped peanut butter cups.

Chill dough in refrigerator for several hours.

Preheat oven to 375 degrees F.

Form dough into golf ball sized balls and place on baking stone or cookie sheet.  Bake approximately 10 minutes until lightly golden brown.

Allow to cool on baking stone/cookie sheet for 10 minutes.  Transfer to cooling rack, and cool completely.  

Enjoy, and Happy Friday!

Cheers & Hugs,
Jodi

My Favorite Cocktail: Dirty Martini

Dirty Martini

Happy Labor Day in the USA!

In honor of this day to relax,
and celebrate,
and take a break from work,

I thought I’d share one of my favorite cocktails.

If I’m not drinking a dry red wine,
my favorite adult beverage of choice is gin.

And when I really want to celebrate it’s
Hendrick’s Gin – a lovely Scottish gin infused with rose and cucumber.

And when it is the end of a vacation,
a holiday weekend,
and after 5pm (which it was when I had this yesterday),

I adore a Hendrick’s Dirty Martini
with gigantic green spanish olives
stuffed with tangy blue cheese.

Food and drink can be an art form
when prepared with the utmost detail,
and that is how I prepare this special cocktail.

Here’s my recipe if you are an olive, gin, blue cheese lover like me.

If not, what is your favorite cocktail to celebrate with?

Jodi's Hendrick's Dirty Martini

  • Servings: 1 Cocktail
  • Print

Ingredients:

  • 1 1/2 (or so) shots of Henrick’s Gin
  • Splash of Vermouth (or not)
  • 3 large Spanish olives
  • Splash of olive juice
  • 1 Tbsp. fine bleu cheese

Directions:

Stuff 3 large olives with bleu cheese and skewer with large tooth pick.

In a shaker full of ice, add Gin and Vermouth (or not), and shake vigorously to chill.

Strain and pour into martini glass, add olive juice and stuffed olive skewer.  Enjoy!

Cheers & Hugs,
Jodi

Lemon Butter Chicken

Lemon Butter Chicken 2

We found yet another way to make an easy and oh so delicious chicken dinner this past week.  My son, Nick, actually made this from a recipe he found and we adapted slightly.

lemon butter chicken

He’s been practicing cooking more, and is getting really good (at breakfast and chicken at least!).

He will soon be moving out, and I am trying very hard not to be sad.  I am trying to focus on the fact that we have done a great job in raising our boys to be independent, competent men who have found wonderful partners to share their lives with.

Both of my boys know how to cook and are very handy.  They are smart and kind and generous.  (I’m not partial at all – right?!)   They both have found amazing women who are just right for them, and who we love dearly.

I digress….

Back to the point….   Chicken!

Here is another Winner Winner Chicken Dinner we hope you will try.

Lemon Butter Chicken

Ingredients:Lemon Butter Chicken 2

  • 2 lbs boneless skinless chicken breasts and/or thighs
  • 1 stick butter
  • 4-6 cloves garlic, finely minced
  • Juice of 3 lemons
  • Zest of 1 lemon
  • 1/2 cup Half and Half, Milk, or Cream
  • 1 pt cherry tomatoes, halved
  • 1/4 cup fresh basil, chopped
  • Salt & Lemon Pepper to taste
  • 2-3 Tbsp olive oil
  • Cooked Rice to serve with it (I love Jasmine)

Directions:

Season chicken with salt and lemon pepper.  Heat olive oil in large skillet.  Add chicken and sear until golden and cooked through, about 5-7 mins. per side depending on thickness.  Transfer chicken to a plate and make the sauce.

Add butter to pan drippings and let melt.  Add garlic and stir until fragrant, about 1 minute.  Add lemon juice and zest and half and half.  Bring to a simmer.  Add cherry tomatoes and basil.  Simmer until thick, about 5 minutes.  Add chicken back to sauce and coat.   Serve over rice.

Enjoy!
I’m sure we will be making this one again.

Cheers & Hugs,
Jodi

Summer Vegetable Tart

Summer Vegetable Tart Baked

My sweet friend Janet found a recipe for this amazing summer vegetable tart, and I told her she had to come over so we could make it together and enjoy.

And that we did one evening this week.

Besides being so great to see her and spend time in the kitchen slicing and chopping and chatting….

O. M. G. –  this turned out so delish!

Summer Vegetable Tart Before Baked

With summer coming to an end and the abundance of zucchini and red-ripe tomatoes and eggplant and squash, this recipe is a must-do for a hot August evening dinner or Sunday lunch or brunch – or anytime really!

Summer Vegetable Tart Before Baked with Cheese

Anything smothered with Parmegiano Regianno is a winner in my book, but this savory summer vegetable tart is seriously a new favorite.  Dare I admit I had 4 pieces?!

I think you are going to want to try this, so here is the recipe.

Summer Vegetable Tart

Ingredients:Summer Vegetable Tart Baked

  • 1 medium zucchini squash, thinly sliced
  • 1 medium yellow squash, thinly sliced
  • 1 medium eggplant, thinly sliced
  • 2 large tomatoes, thinly sliced
  • 1 sheet frozen puff pastry, thawed (or pie crust or crescent rolls)
  • 1/4 cup tomato or pizza sauce
  • 1 cup freshly grated Parmegiano Reggiano Parmesan cheese
  • Olive Oil
  • Salt

Directions:

Preheat oven to 400 degrees F.  Roll out puff pastry or pie crust or crescent rolls on a baking stone or cookie sheet to rectangle or circle to form “pizza” tart crust.

Thinly slice vegetables with mandolin or sharp knife.  Lay out on parchment paper or paper towel.  Sprinkle with salt, and let set for 15 minutes.  Pat dry with paper towel to absorb excess moisture.

Spread tomato sauce on pastry.  Layer with vegetables.  Drizzle with olive oil.  Top with Parmesan cheese.

Bake for 30-40 minutes until crust is golden brown, vegetables are tender, and cheese is melted and browned.  Let set for 5-10 minutes, cut, serve, and enjoy!

Happy Eating!

Cheers & Hugs,
Jodi

Creamy Cauliflower Risotto and Garlic Rosemary Lamb Chops

Creamy Cauliflower Rissoto and Lamb Chops

Last Sunday, I was in the mood to be creative in the kitchen, so I decided to tackle the rack of lamp chops I recently purchased and do something interesting with a head of cauliflower I had.

For the lamb chops, I rubbed them with a simple mixture of fresh rosemary, garlic, salt and pepper and marinated them for 4 hours in the fridge.  When we were ready to eat, I simply pan seared them about 2 minutes on each side in a hot skillet with olive oil.  They turned out amazing!

lamb chops and creamy cauliflower risotto

Here is the recipe for the Creamy Cauliflower Risotto.  I have to say… I absolutely LOVED it!  A little more work than simply roasting cauliflower or mashing russet potatoes, but if you have the time and the inclination, it is SOOOO worth it!

Add some fresh greens, and you have a meal fit for royalty!

Hope you will give this a creative cauliflower recipe a try!  You won’t be sorry.

Creamy Cauliflower Risotto

  • 1 head cauliflower, cut into florets
  • 3 Tbsp. olive oil
  • 1 large onion, chopped
  • 1/2 cup chopped sweet red, yellow, and/or orange peppers
  • 4 cloves garlic, minced
  • 1/3 cup white wine
  • 1 cup chicken stock
  • 4 Tbsp. butter
  • 1 cup freshly grated Parmigiano Reggiano parmesan cheese
  • 1/4 cup Greek yogurt or sour cream
  • Salt and pepper to taste

Directions:

Finely chop cauliflower florets until it reaches approximate size and texture of rice.  (You can use a food processor if you like, but I did not.)  Set aside.

Heat olive oil in a large sauce pan.  Saute onions, peppers and garlic until caramelized.

Add white wine, and cook for 1 minute.  Add cauliflower “rice” and chicken stock.  Cover and cook on medium for about 10 minutes.

Add butter, and continue to cook for another 5 minutes without lid, allowing some of the liquid to evaporate.  Stir occasionally.

Once the cauliflower “rice” has thickened, stir in the Parmigiano Reggiano cheese.  (There really is no substitute for this BEST Parmesan cheese!)  Remove from heat and add Greek yogurt or sour cream and salt and pepper to taste.  Blend with immersion blender to desired creamy consistency.

Enjoy!

Cheers & Hugs,
Jodi

*Recipe slightly adapted from GlutenFreeFix