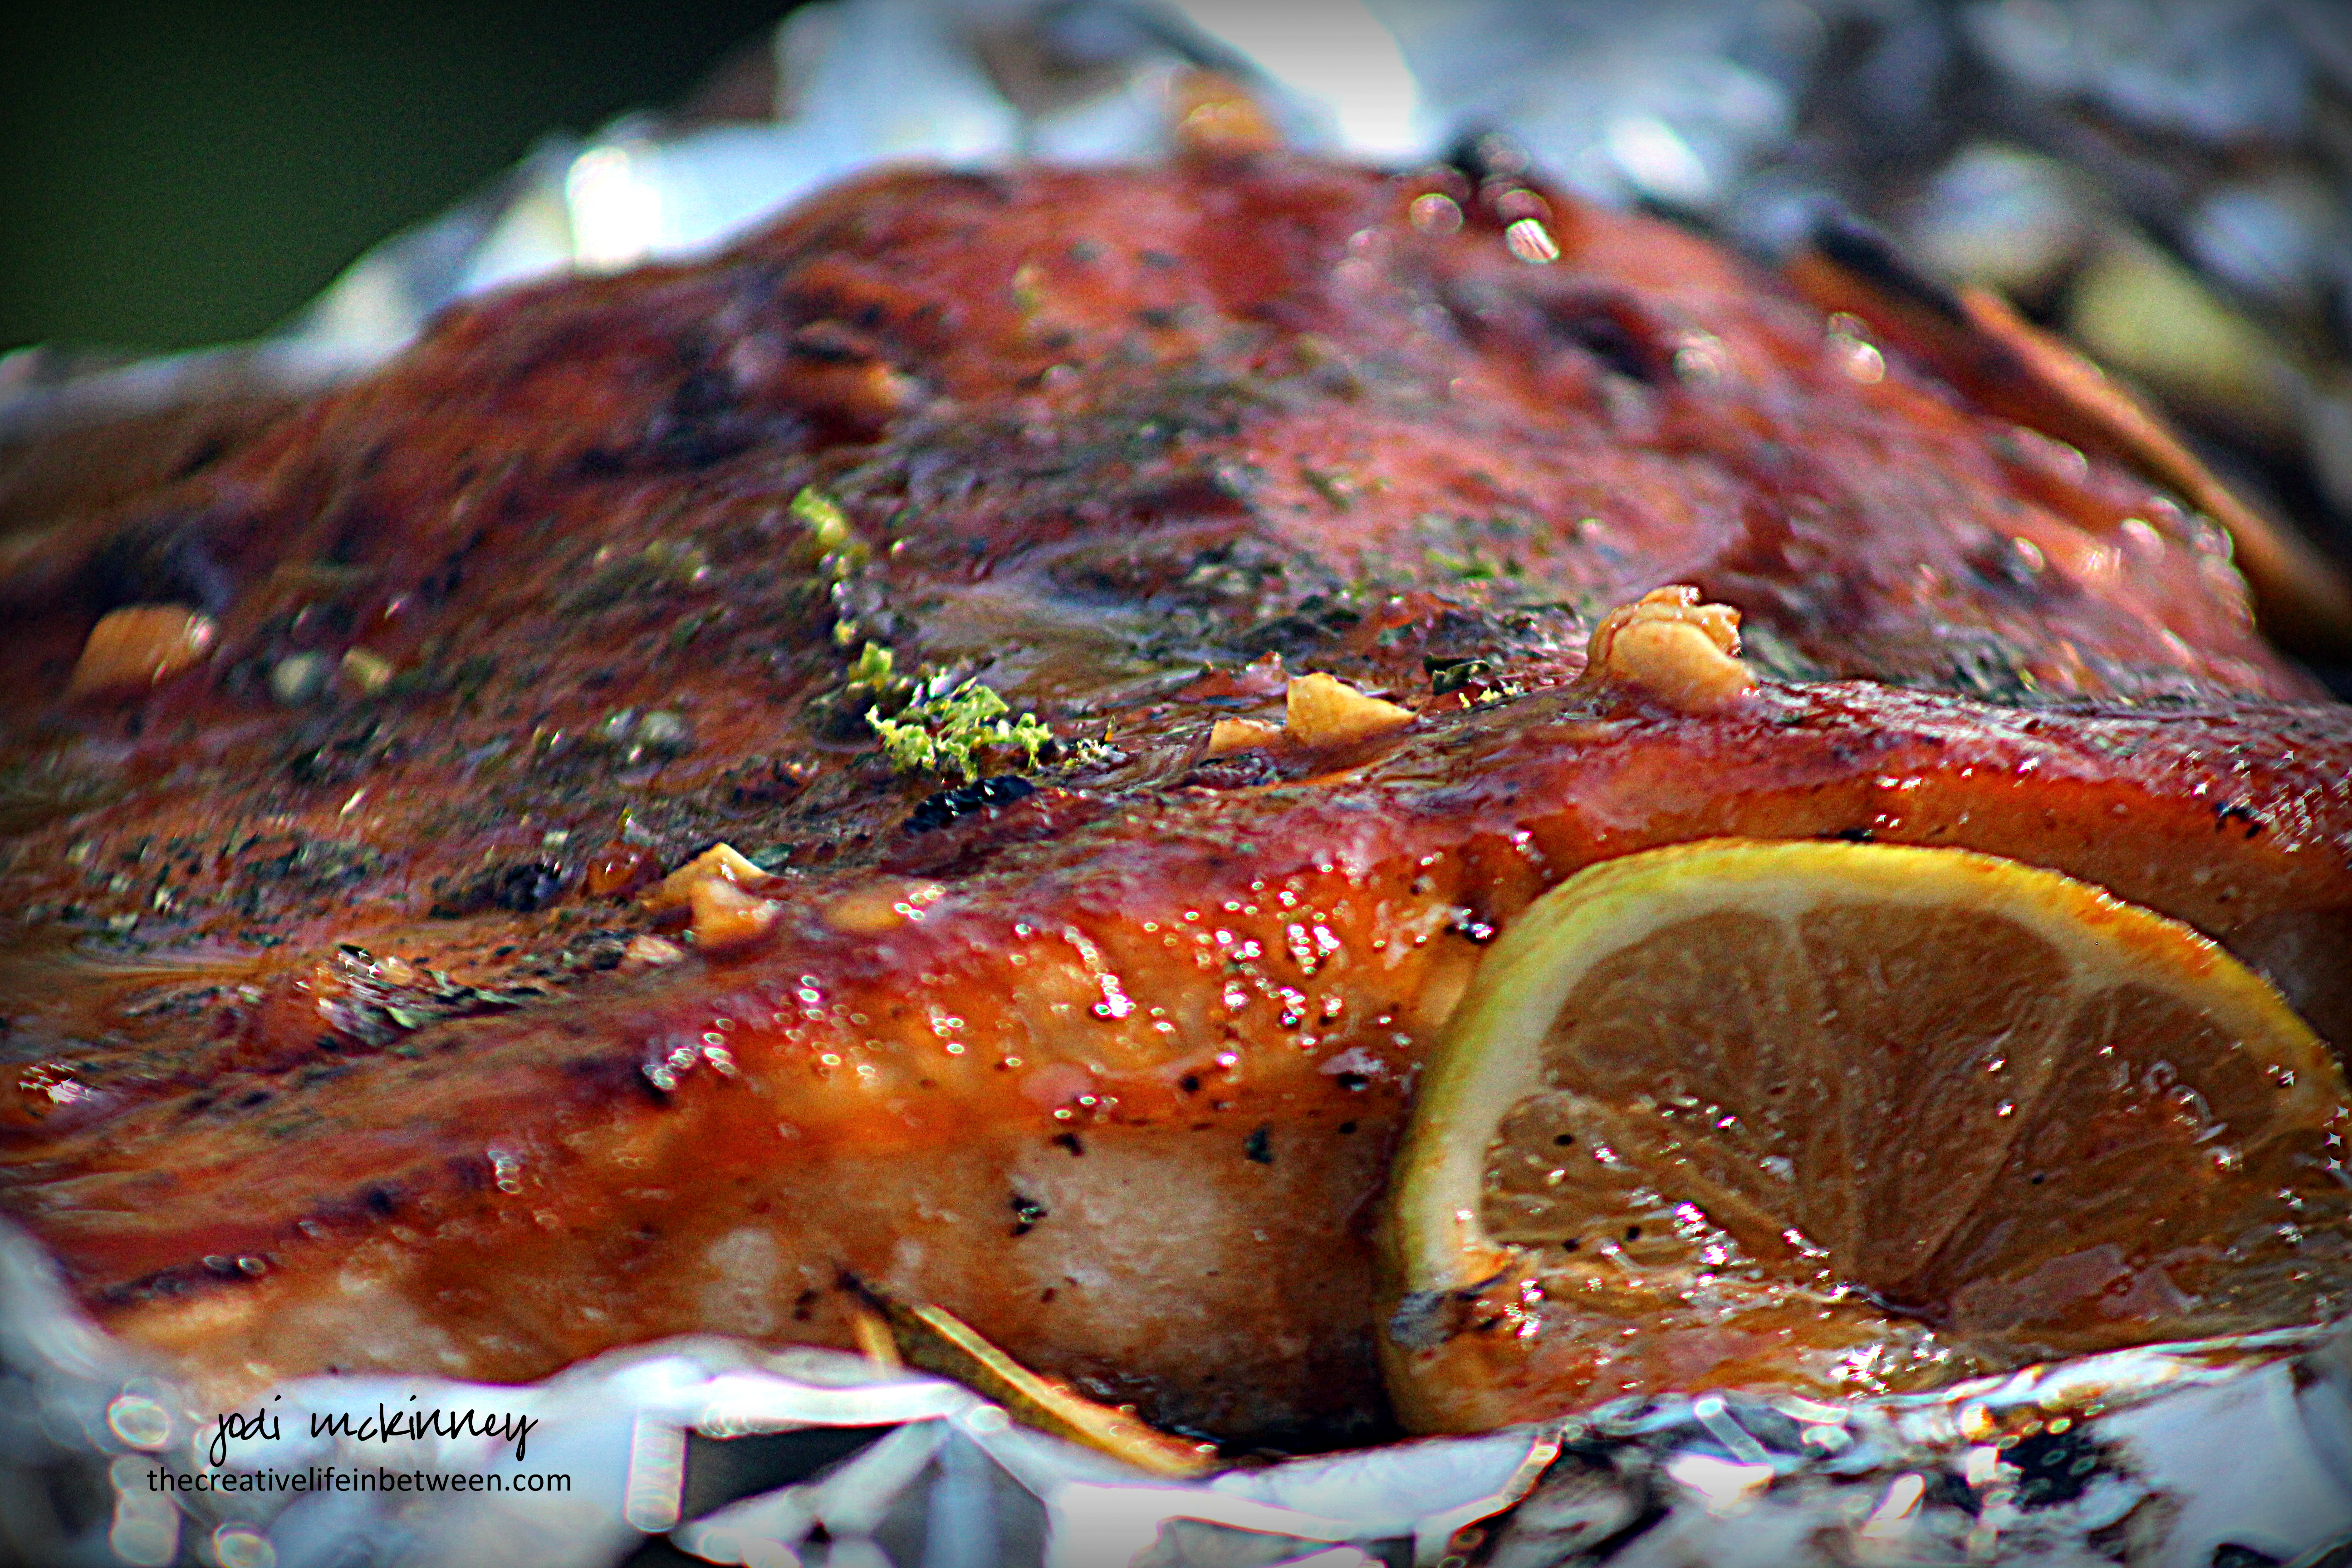
Honey Sriracha Lime Salmon
Honey Sriracha Lime Salmon.
My sweet friend, Janet, visited this past week after coming to town for the wedding, and she made this amazing salmon recipe for us one night.
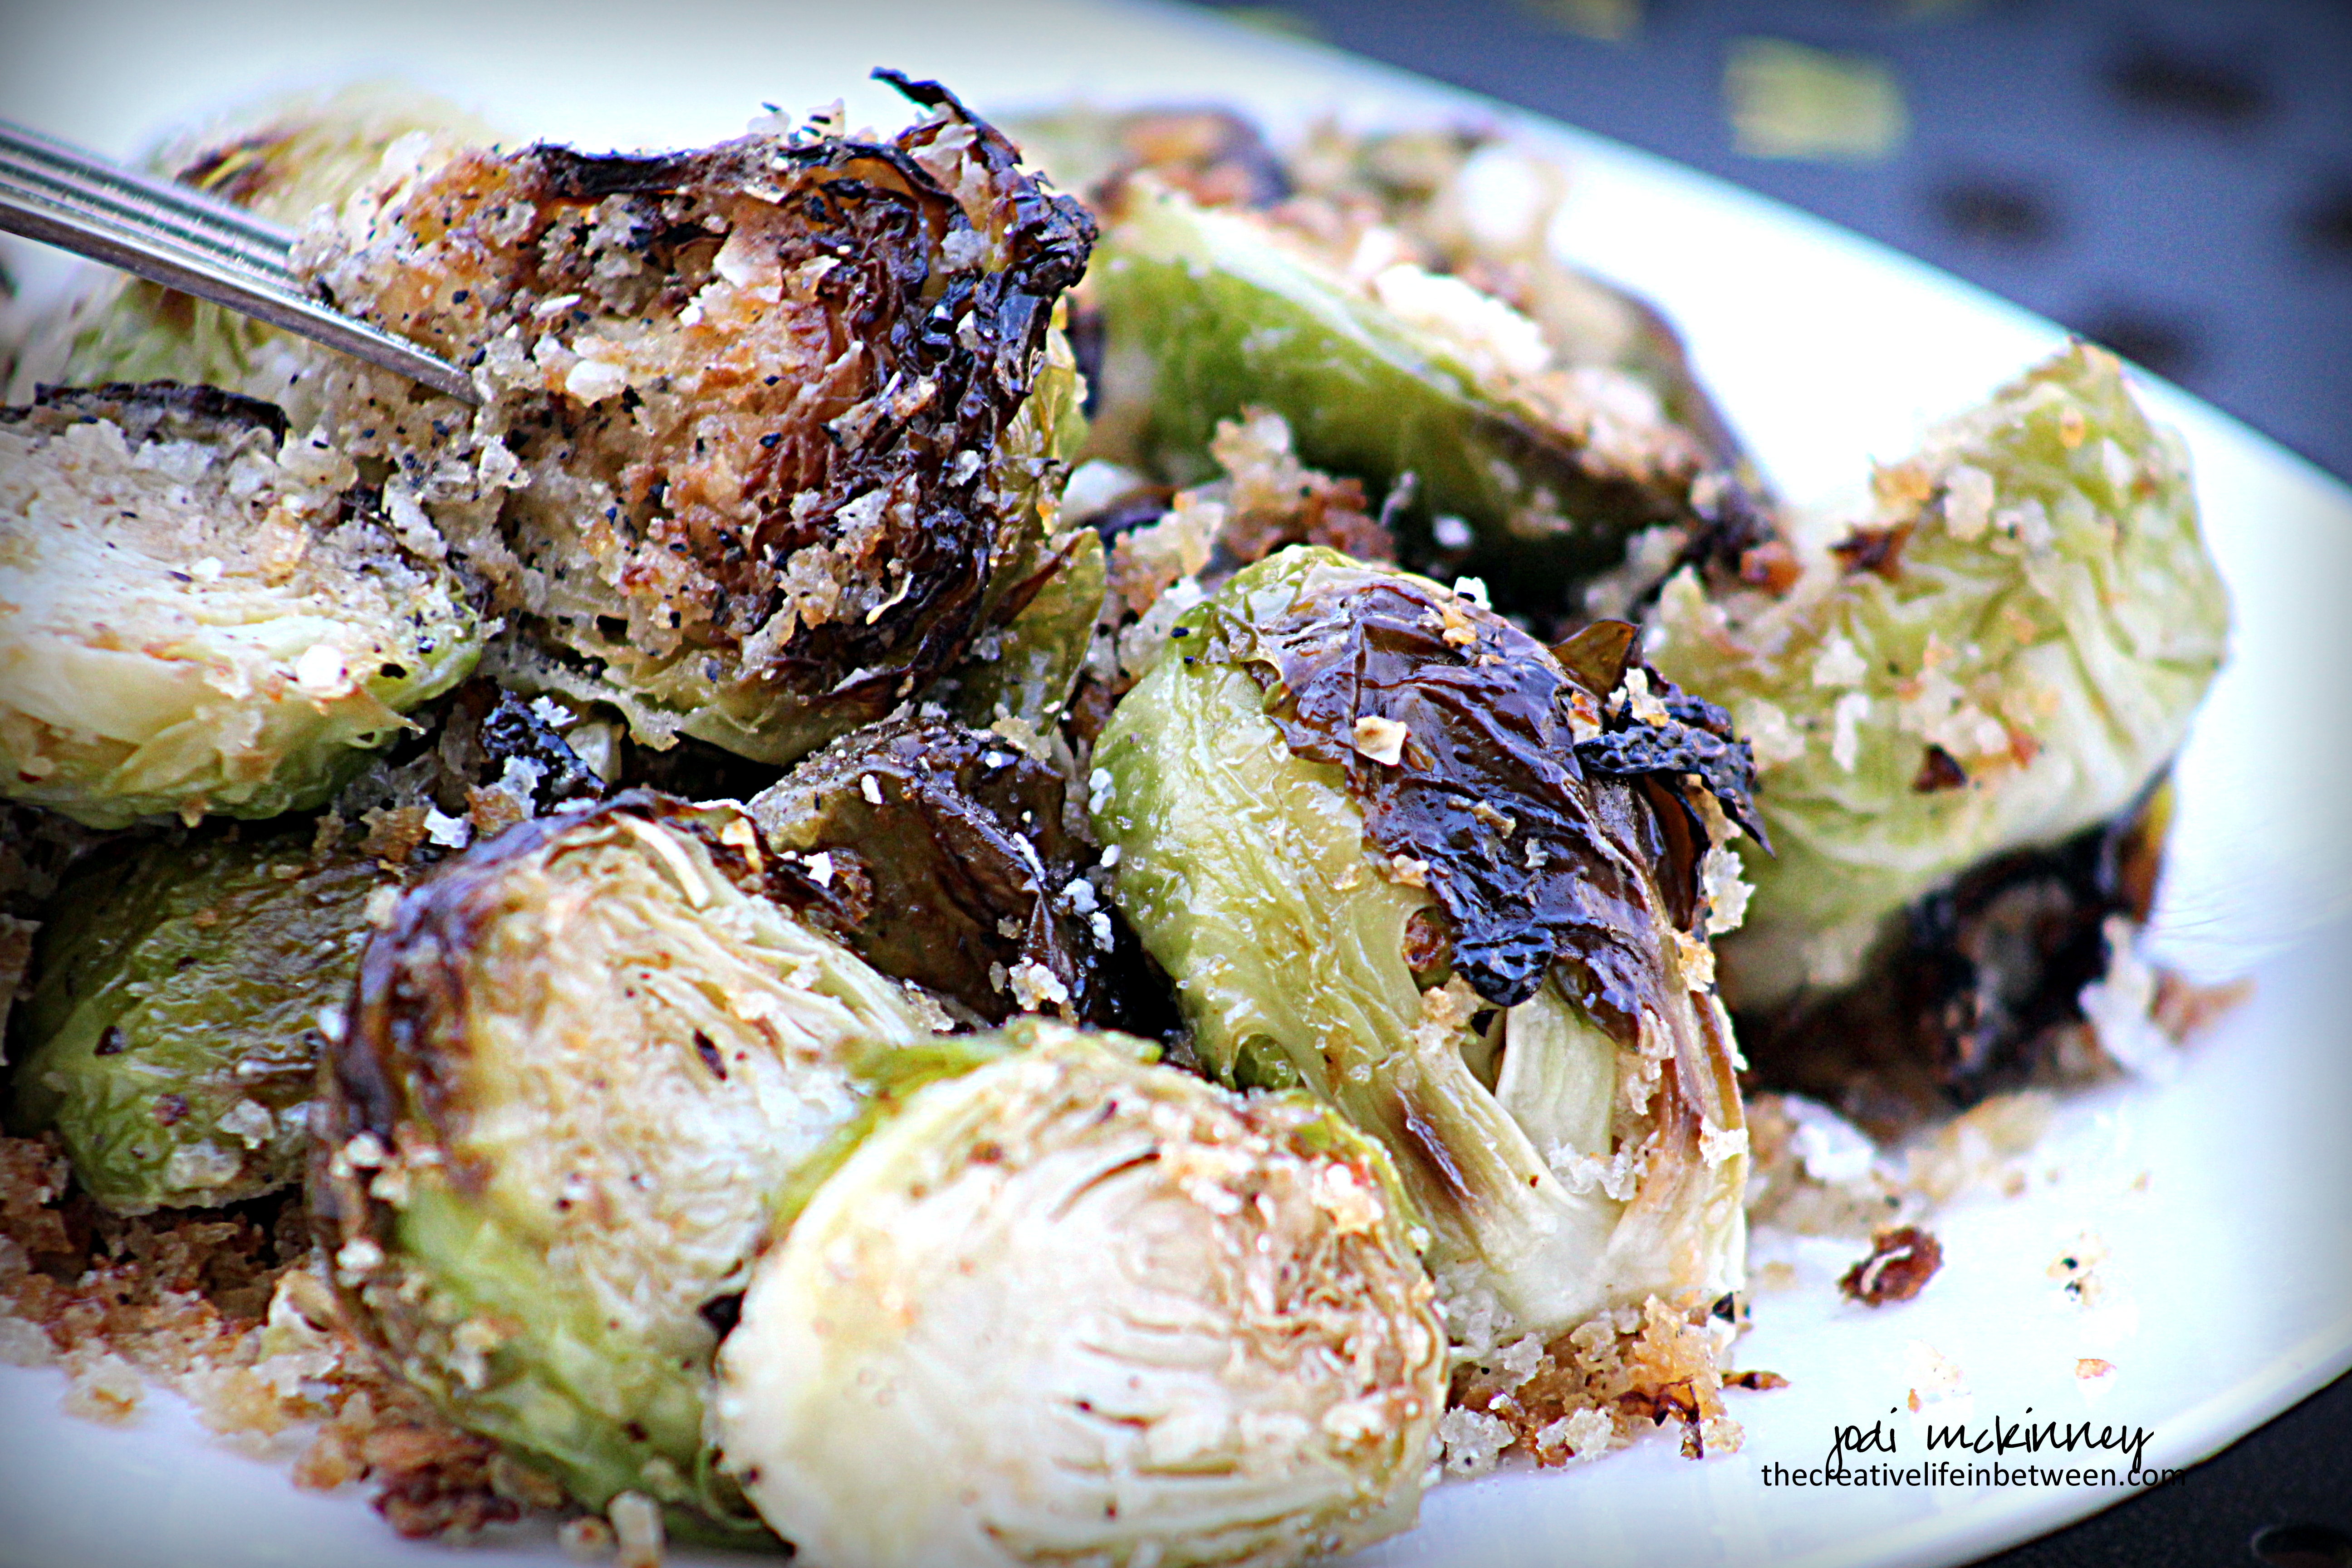
Hubby is not a salmon fan, but I ADORE it! Add Sriracha, honey, lime, soy sauce, garlic, and cilantro, and I am in heaven! So one evening when he had a late meeting, Janet and I feasted on this with some roasted veggies and brown rice. It was awesome!
You can adjust the amount of heat or sweet to your liking. We did from the original recipe at Creme de la Crumb.
Here is how we made it! Let me know if you try and enjoy as much as we did.
Honey Sriracha Lime Salmon
Ingredients:
- 1 large salmon or 4-6 individual (4-6 oz.) fillets
- Salt & pepper to taste
- 2 Tbsp butter
- 1/2 cup honey
- 1/3 cup Sriracha Sauce
- 3 Tbsp low sodium Soy Sauce (I always use low sodium soy sauce – and I am a salt lover!)
- 2 limes (one juiced and zested, the other sliced thinly)
- 2 cloves garlic, finely minced
- 1 Tbsp freshly chopped cilantro
Directions:
Preheat oven to 400 degrees F. Line a baking sheet with foil. Grease lightly, and lay salmon on top. Season with salt and pepper. Place sliced limes under the edges of the salmon.
In a medium saucepan over medium-high heat, melt butter, stir in honey, Sriracha, soy sauce, lime juice, and garlic. Bring to a boil, then reduce to medium and cook for 3-4 minutes.
Pour 2/3 of the sauce over the salmon – covering completely to avoid dry spots. Fold the edges of the foil up around the salmon so the sauce doesn’t spill out.
Bake for 15 minutes, then switch to broil and cook another 4-5 minutes. Do not overcook.
Top salmon with reserved sauce, lime zest and chopped cilantro.
Enjoy!
Also, if you are not a salmon lover, this sauce and method would work great with chicken or pork also!
Cheers & Hugs,
Jodi
PS Miss you already Jan! xo