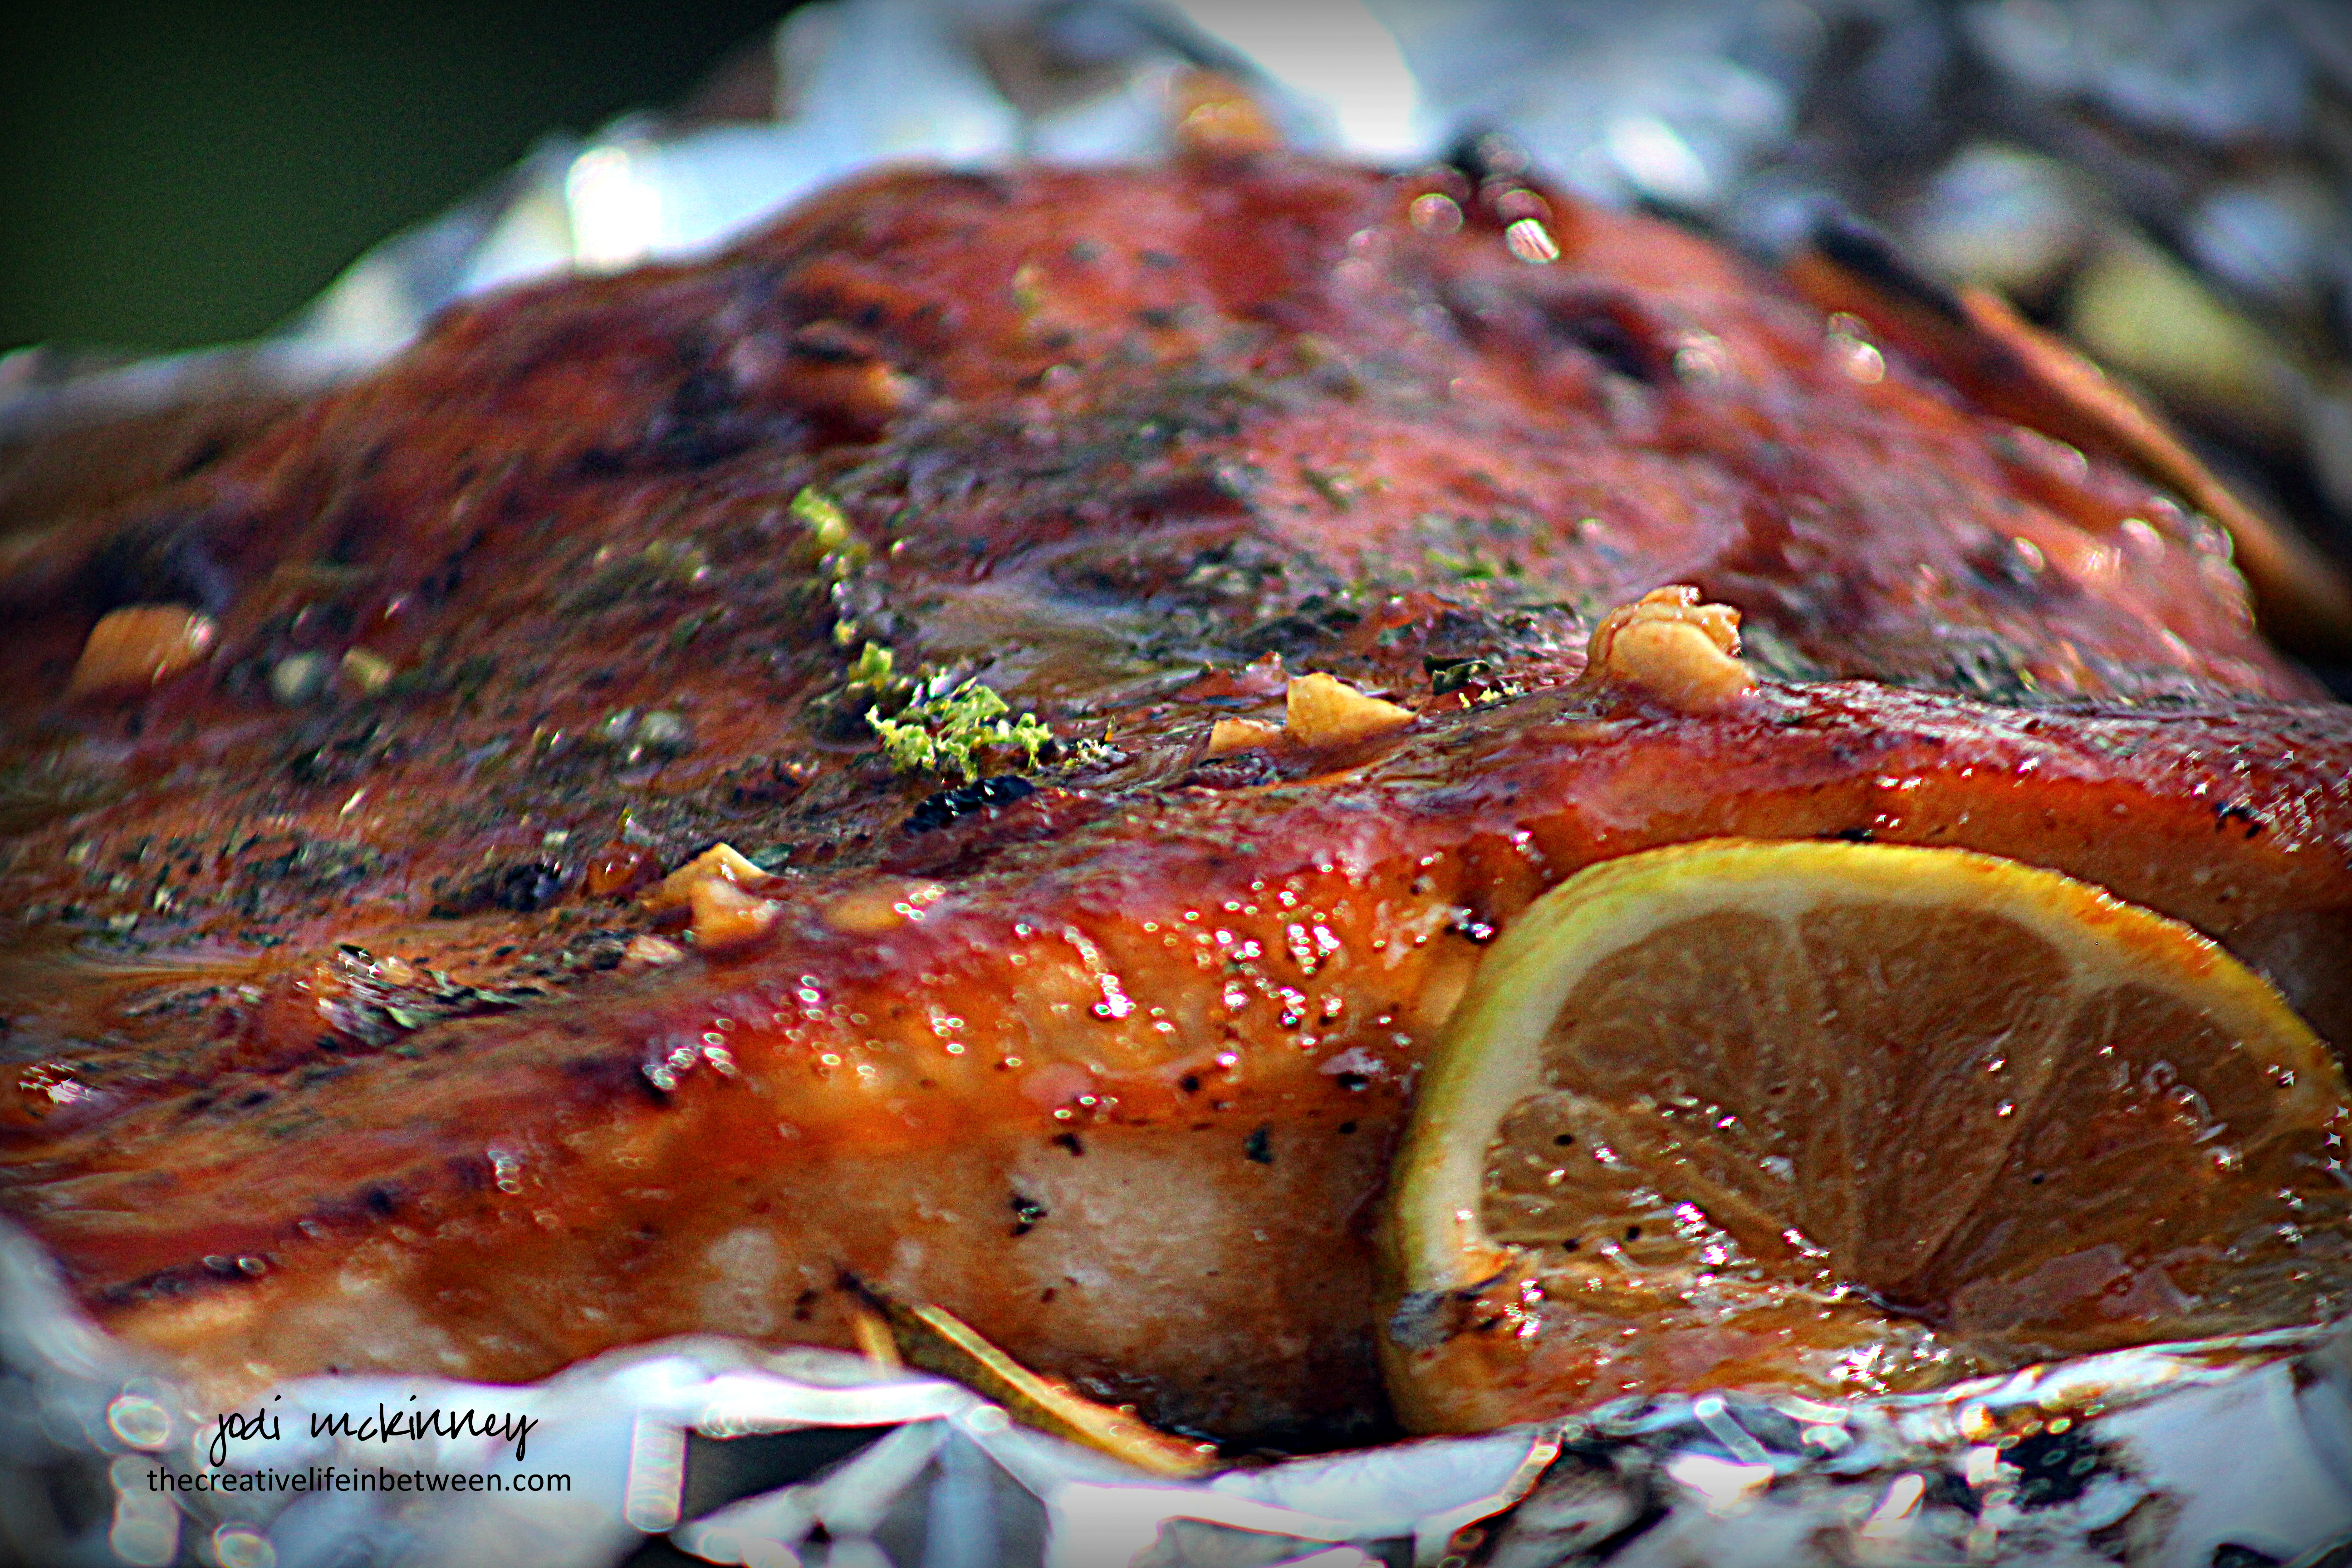
Sizzling Lemon Butter Scallops in Skillet
Lemon Butter Scallops.
If you are looking for a super quick and easy and even more super delicious scallop recipe, I’ve got a winner for you!
I picked up a 12oz bag of “Specially Selected Premium Jumbo Scallops” at Aldi the other day to make something a little different for dinner for hubby and me.
As a quick side note – I am such a super fan of Aldi. I am a bit late to the game and was really not sure about it at first, but now…. every time I go, I love it more! I swear it costs half of what I pay at our other local supermarkets. I am always astonished when I walk out with a cart full of food for $100 or so. And not only is it so greatly priced, but the quality is amazing. The produce is fresh, the selection is nice, and I feel like I am being environmentally conscientious when I pack my own bags instead of coming home with 20 more plastic bags.
These scallops were absolutely delicious, and if I recall correctly, they were less than $10. I didn’t realize what a great source of protein they are. A 4-ounce serving has 19 grams of protein, 100 calories and 1 gram of fat (0 saturated fat).
So here is the way I made them. (Enough rambling – right??!!) Simple yet delectable. We had them with some butternut squash risotto (which I also picked up at Aldi) and a fresh green salad. (And no I am not being paid by Aldi – though I should inquire! wink!)
Lemon Butter Scallops
Ingredients:
- 12 oz. Jumbo Scallops
- 2 Tbsp. olive oil
- 3 garlic cloves, finely minced
- Salt & pepper
- 3 Tbsp. butter
- 1 lemon, juiced
- 1 Tbsp. freshly minced rosemary
Directions:
Heat 2 Tbsp. olive oil in a 12-inch skillet, add garlic and cook 1 minute. Add scallops in a single layer to hot oil in skillet. Sprinkle generously with salt and pepper. Brown 1-2 minutes and then turn. Sprinkle with additional salt and pepper. Add butter and allow to melt. Add lemon juice, and flip scallops again to coat with lemon, butter, and garlic. Sprinkle with freshly minced rosemary, and serve immediately.
Enjoy!
Cheers & Hugs,
Jodi