Lemon Poppy Seed Biscotti

lemon poppy seed biscotti cover

Yesterday was the first day of Spring…

lemon poppy seed biscotti

and it snowed here in Mars!

lemon poppy seed biscotti 3

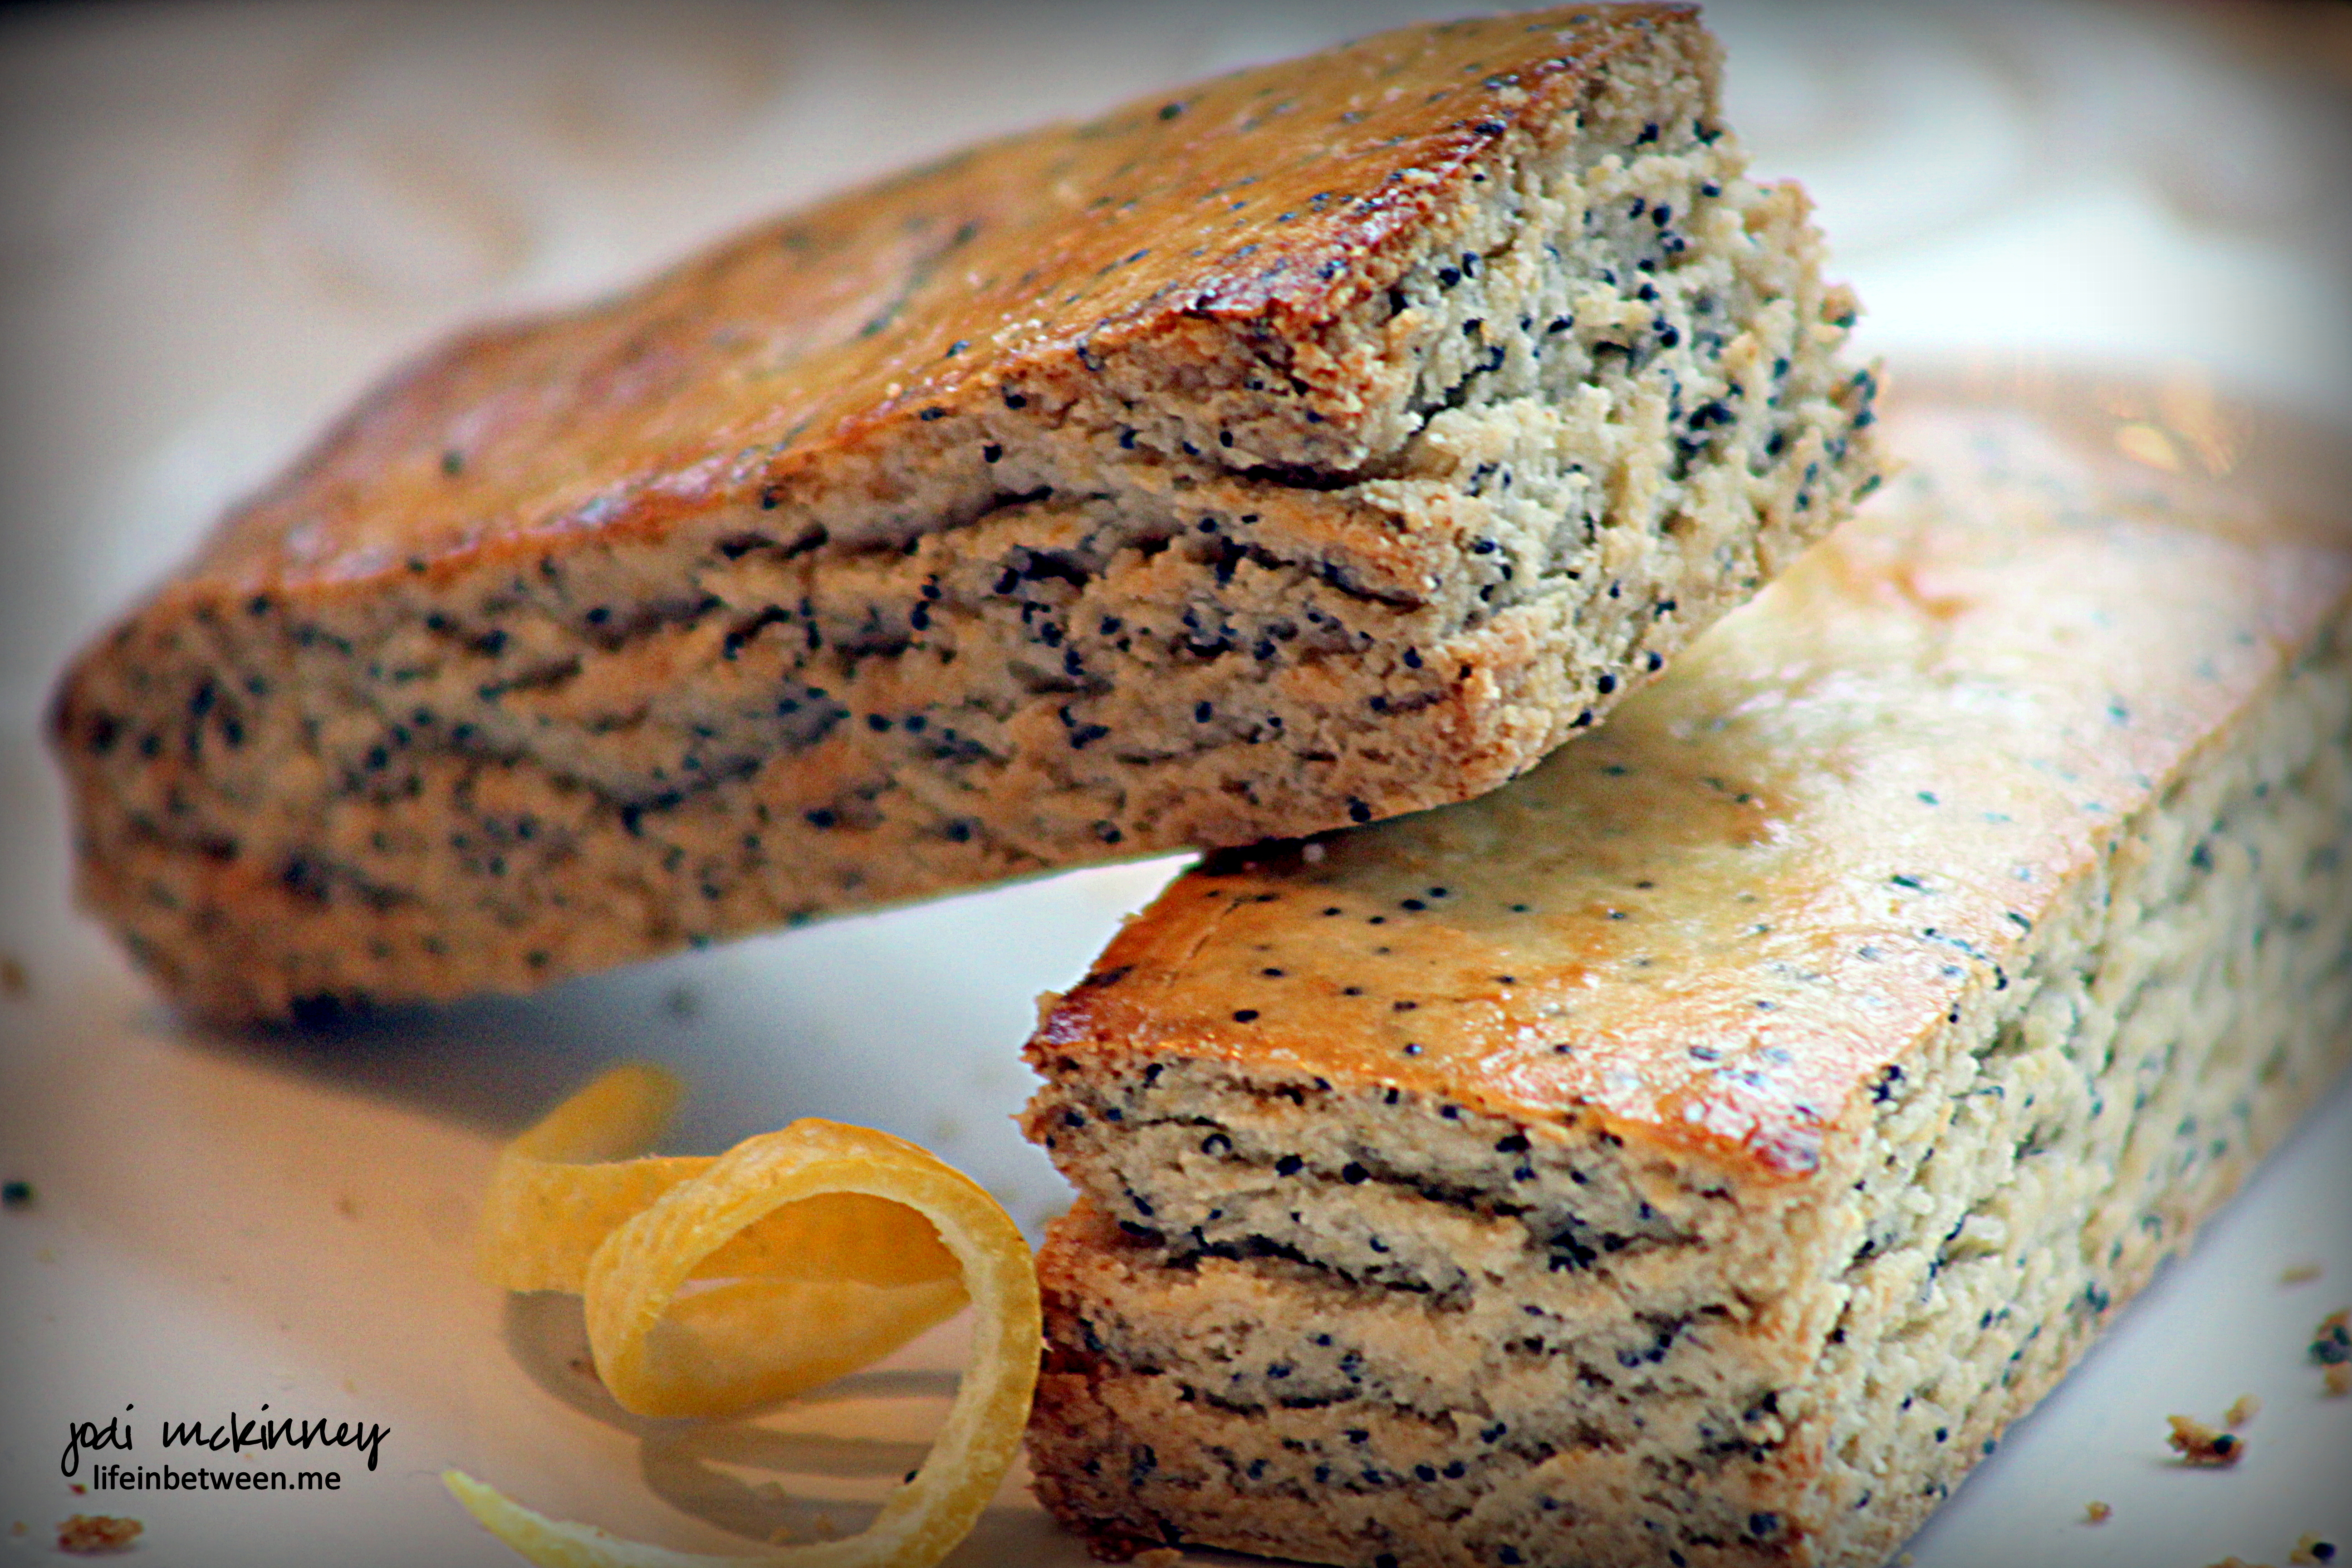
So I decided to make something bright and sunny and lemony…

lemon poppy seed biscotti 2

to dunk in my steaming cup of coffee by the warmth of a fire.

I’ve never made biscotti before, so decided it would be fun to try.  I love poppy seed, and it is so wonderful with lemon.

I found and slightly adapted a recipe from Lynn at FreshAprilFlowers, and I really enjoyed it.

This would make a wonderful Easter or hostess gift for coffee and tea lovers.

Lemon Poppy Seed Biscotti

Ingredients:lemon poppy seed biscotti cover
  • ½ cup granulated sugar
  • zest of one lemon
  • 1 Tablespoon butter, melted
  • 3 Tablespoons vegetable or canola oil
  • 1 large egg
  • 1 teaspoon vanilla extract
  • juice of one lemon, divided
  • 1 and ¾ cup all-purpose flour
  • 1 teaspoon baking powder
  • ¼ teaspoon salt
  • 2 Tablespoons poppy seeds
  • Egg Wash: 1 large egg, beaten with remaining lemon juice
Directions:

Preheat oven to 350ºF. Line a large baking sheet with parchment paper.

Place sugar in a medium bowl and add the lemon zest. Using your fingers, rub the zest into the sugar until all of the zest has been incorporated and most of the sugar is pale yellow. Whisk in the butter, oil, egg, vanilla extract, and 2 teaspoons of the lemon juice.

In a large bowl, toss together flour, baking powder, salt, and poppy seeds. Add the wet ingredients to the dry, and mix until combined.

Turn dough out onto baking sheet and pat dough into a rectangle about ½” thick ( approximately 6″ x 7 ½”.   The dough will be a bit dry and crumbly, but can be pressed together.

Brush egg wash on top and on sides of the dough.  Bake for 20 minutes or until the top and sides are lightly browned. Remove from the oven, but do not turn off the heat.

Place baking sheet on a wire rack and allow to cool for 10 minutes. Once the dough is cool enough to touch, cut into 1″ thick slices using a sharp knife. Cut these 1″ slices in half, making a horizontal slice down the center. Set slices cut sides up on the baking sheet. Return to the oven to bake for 6 minutes. Remove from oven, turn biscotti over, and bake the other side for 6 more minutes.

Remove from the oven and allow to cool for 3 minutes on the baking sheet (cookies will become crunchy as they cool). Transfer biscotti to a wire rack to cool completely.

Store biscotti in an airtight container for up to 2 weeks or in freezer for up to 3 months.

Enjoy dunking this delicious treat in a cup of your favorite coffee, tea, or hot cocoa!

Cheers & Hugs,
Jodi

Lemon Strawberry Pound Cake

lemon strawberry pound cake photo

Lemons and strawberries in November?  (A time when we are usually baking with pumpkin and cinnamon and apples….?)

Well – we are experiencing some amazing Indian Summer weather here in Mars – with temperatures in the 70’s, the sun shining brightly, and the sky a vibrant shade of blue – so why not – right?

lemon strawberry pound cake 3

Well – the truth be told – that same cute little bugger who requested the Royal Flush Halloween t-shirts recently found a photo on Reddit that struck his fancy a few days ago of a freshly baked loaf of lemon pound cake with strawberries.  He texted me the photo saying, “Please make.”

Well…. how could I resist?  (I know….. pushover! – but really…. I live for this stuff!)

Turns out the sweet young lady who posted the photo stating “this just came out of the oven” did not post the recipe!  How dare she??!!  More than one reader called her “evil” for not posting the recipe!

I did some digging, however, and found the source and the recipe… Score!!  (I know – I have issues!)

Turns out Bianca Davies, the “evil” baker/Reddit poster, is a trained chef from Cape Town, South Africa, who attended Le Cordon Bleu in Paris, but is equally inspired by her Granny and Granny’s lemon trees.

Per Bianca, Granny likes a cake that is “rich, moist, light, airy and slightly fudgy.”   This little pound cake amazingly delivers on all of that – and more!

lemon strawberry pound cake 4

So before we get seriously into Autumn and Winter baking and cooking, you might want to enjoy one last taste of summer!  You will not regret it!

Lemon Strawberry Pound Cake

Ingredients:lemon strawberry pound cake photo

  • 3 eggs
  • 1 ½ cups powdered sugar, sifted
  • 2 tsp vanilla extract
  • 1 ½ cups plain flour
  • ¾ tsp baking powder
  • ¾ cup salted butter
  • zest of 2 large lemons
  • 8-10 fresh strawberries

 Directions:

  • Preheat oven to 350˚F.
  • Grease a loaf pan well with butter.
  • Whisk eggs, sifted powdered sugar and vanilla together in a bowl.
  • In a separate bowl whisk flour and baking powder together.
  • Place butter in a small saucepan. Zest lemons into your butter and place on a low heat to melt. (Do not boil)
  • Combine all three mixes together a little at a time. Do not over mix.
  • Pour into your prepared loaf pan.
  • Chop your strawberries into quarters and arrange evenly on top of the batter.
  • Bake in the middle of the oven for approximately 40 minutes. (The cake should be golden brown and ‘just’ done with your knife or cake tester not coming out completely clean. Do not over bake.)
  • Let cool slightly in the pan, turn out gently and leave to cool on a wire rack.
  • Dust with powdered sugar and try not to eat the whole cake in one go!

Converted recipe from http://thesecretlifeofbee.co.za/ (Bianca Davies, Cape Town, South Africa)

Cheers & Hugs,

Jodi

Lemon Basil Shrimp Risotto

lemon basil shrimp risotto 1

When trying to decide what to make with a beautiful bag of shrimp I had, I came across this recipe from one of my kitchenista heroes, Ree Drummond aka The Pioneer Woman.

lemon basil shrimp risotto ingred

Risotto gets a bad rap for being difficult, but it really isn’t, and it doesn’t even take that long.

And oh how the fresh lemon juice and zest in this recipe combined with the fresh basil gives this recipe such a light, Springy, refreshing twist.

lemon basil shrimp risotto

Here is the recipe as I slightly adapted from Ree:

Lemon Basil Shrimp Risotto


Ingredients:lemon basil shrimp risotto
1 Tbsp Butter
1 Tbsp Olive Oil
1-1/2 pound Large Shrimp
1 Onion,  Diced
4 cloves Garlic, Minced
2 cups Arborio Rice
2 cups Dry White Wine
4-5 cups Chicken (or Vegetable) Broth
1 Lemon
1/2 tsp Salt
1 Tbsp Black Pepper
2 Tbsp Half & Half Cream
1/2 – 3/4 cup chopped fresh Basil Leaves
1/4 cup grated Parmesan Cheese

Directions:

Heat the butter and olive oil in a large skillet over medium-high heat. Add shrimp and cook for 3-5 minutes until opaque in the middle.

Remove shrimp to a cutting board, chop into bite-sized chunks, and set aside.

Add the onion and garlic to the skillet that still has the butter and olive oil in, and cook for 2 – 3 minutes over medium-high heat or until onion starts to turn translucent.

Add dry Arborio rice to the pan and stir for a couple minutes.

Pour in 1 cup of wine and stir gently, allowing the rice to absorb the liquid. Add second cup of wine and do same.  After the wine is absorbed, begin adding broth 1/2 cup to 1 cup at a time, allowing the rice to cook and absorb the liquid each time. Stir occasionally as you go, and add the salt and pepper during one of the broth additions. After 4 cups of broth have been absorbed, taste the rice. It should have a slight bite, but if it seems undercooked, add additional broth and cook it until it absorbs until the risotto is the perfect doneness.

Zest and juice the lemon and add both the zest and the juice to the risotto toward the end of cooking. Stir in the half and half cream, the chopped basil, and serve immediately with extra lemon zest and Parmesan cheese on top.

This recipe would also taste delicious with chicken breast substituted for the shrimp.  I think it could also be great adapted as a vegetarian dish using your favorite vegetables.  I could imagine it with some broccoli, cauliflower, asparagus, or maybe even some yummy roasted butternut squash.

This is a very versatile recipe that could become a staple in your dinner repertoire. Hope you’ll give it a try.

Cheers and Hugs,

Jodi

Lemon Chicken Parmesan

lemon chicken parmesan cover

I love chicken.

It is so versatile, and I am always looking for different ways to create chicken dinners.

Especially for a hot summer day, I loved this LEMON version of Chicken Parmesan.  It is a lighter version of the typical red-sauce chicken parmesan.

I found the recipe from The Recipe Girl’s Blog, and we enjoyed it Sunday evening for dinner.

Delish with angel hair pasta, fresh lemon juice and zest, fresh basil, freshly grated Parmigiano Reggiano cheese, and some bubbly fresh mozzarella on top.

Here is the recipe as I slightly adapted from The Recipe Girl:

Ingredients:

PASTA:
1 box angel hair pasta, cooked and drained
1 tablespoon butter
1 tablespoon freshly grated lemon zest
1/4 cup grated Parmigiano Reggiano cheese (or your favorite Parmesan)

CHICKEN:
4 chicken breasts – pounded to tenderize and make thinner for more even cooking
2 eggs, beaten
1 cup panko bread crumbs
1/4 cup grated Parmigiano Reggiano cheese (or your favorite Parmesan)
1 tablespoon fresh basil (or as much as you like)
1 teaspoon freshly grated lemon zest
salt and pepper to taste
2 Tablespoons butter
1/4 cup freshly squeezed lemon juice
1 teaspoon minced garlic

TOP:
1 small ball fresh mozzarella cheese, sliced
salt and coarsely ground pepper

Directions:

1. Preheat oven to 375 degrees F.

2. Mix the cooked pasta with the butter and lemon zest. As soon as the butter is melted and mixed in, stir in the Parmesan and salt and pepper to taste.

3. Blend the Panko, Parmesan, Basil, Lemon Zest, Salt and Pepper in a medium bowl.

4. Heat the butter, lemon juice and garlic in a large, oven-safe skillet.

5. Dip the chicken in beaten egg, then Panko cheese mixture, and place in the pan. Cook on both sides until golden brown, about 3 to 4 minutes per side (depending on thickness of chicken). Remove the chicken to a plate.

6. Spoon the mixed pasta into the skillet. Place the cooked chicken breasts on top followed by the sliced mozzarella cheese. Sprinkle top with salt and pepper.

7. Bake 15 minutes (or until the chicken is cooked through) covered.

8. Uncover and bake an additional 5 minutes until the mozzarella is bubbly and brown.

Serve and ENJOY!

Lemon Chicken Parmesan

We sure did.

Cheers & Hugs,

Jodi

Red Velvet Crinkle Cookies

rvThis weekend, I needed to whip up some cookies for Nick to take to a special someone’s birthday dinner.  Always happy to bake cookies, I wasn’t even fully unpacked from our weekend away before I was mixing up some dough to chill a bit before baking and getting done in time for him to take.

I always like to chill my cookie dough for at least an hour, if not a few, before baking.  It helps hold the cookie shape better, prevents them from spreading and flattening on the cookie sheet, and makes for a chewier cookie center while allowing for a bit of a crispy outside.

This recipe is a simple, but quite yummy cake mix cookie that has been getting raves.  The recipe is on the side of the box of Duncan Hines Red Velvet Cake Mix, and the ingredients are basic pantry stock items, so these make a great last-minute special treat.

rv1For 3 dozen cookies, I used:

2 boxes Duncan Hines Red Velvet Cake Mix, 2 sticks of softened butter, the zest of two lemons, and 4 eggs.

rv2After thoroughly blending and refrigerating for a bit, roll the dough into tablespoon-sized balls and then in powdered sugar.

rv3Place the powdery sugared balls of red velvety gooey goodness on a baking stone about 2 inches apart, and bake for about 8 minutes at 375 degrees.

rv4When they come out of the oven, they are a crinkly red and white delight.  Let them set on the baking stone to cool for at least 10-15 minutes, then remove to fully cool on a cooling rack.

rv5Your guests will be pleasantly surprised by the lemony “twist” to these red velvet cookies that makes them super delish.

Marty took what was left to a friend in the hospital whose wife and sister-in- law asked for the recipe.  I think that means they were good.  I actually didn’t even get to try one, but with rave reviews from Marty, Nick and friends, I think I will be making these again –

soon –

when I have some time –

at Life in Between.

Cheers and Hugs,

Jodi