Old-Fashioned Homemade Chicken Soup for Beginners

When I have a head cold, nothing makes me feel better than the smell and taste of good old-fashioned chicken noodle soup.

So when my throat started aching, nose started running, cough began croaking, ears felt like they were stuffed with cotton, and head began pounding this week, I knew I had to get a pot of soup on.

Not only does the smell comfort me and remind me of Grandma’s house and love, but the steam clears up the stuffed nose and the warm broth soothes my sore throat.

When other foods lose their flavor when your head is congested, nothing tastes as good as homemade chicken soup.

If you are a beginner cook, I hope you will find this recipe easy to follow.  It is made from staple ingredients I almost always have in my kitchen, and though it takes a couple hours to simmer,  you can throw it together quickly and forget about it during that time – enjoying the aroma and anticipation of comfort.

Here is how I make it.

Old-Fashioned Homemade Chicken Soup for Beginners

  • Servings: approx. 12
  • Print

Ingredients

  • 2 lbs Boneless, Skinless Chicken Breasts (I like to use Trader Joe’s Frozen Organic Boneless & Skinless Chicken Breasts)
  • 12 cups water
  • 6 sticks celery cut into 4-5 inch pieces
  • 1 cup shortcut carrots
  • 5-6 tsp. chicken soup base (I like Bell-View)
  • 2 large cloves garlic
  • 2 large sweet onions, halved
  • 1/4  cup fresh chopped parsley (or 1 Tbsp dried parsley)
  • 1 Tbsp ground pepper
  • 12 oz. pkg Kluski egg noodles (I like Pennsylvania Dutch brand)

Directions:

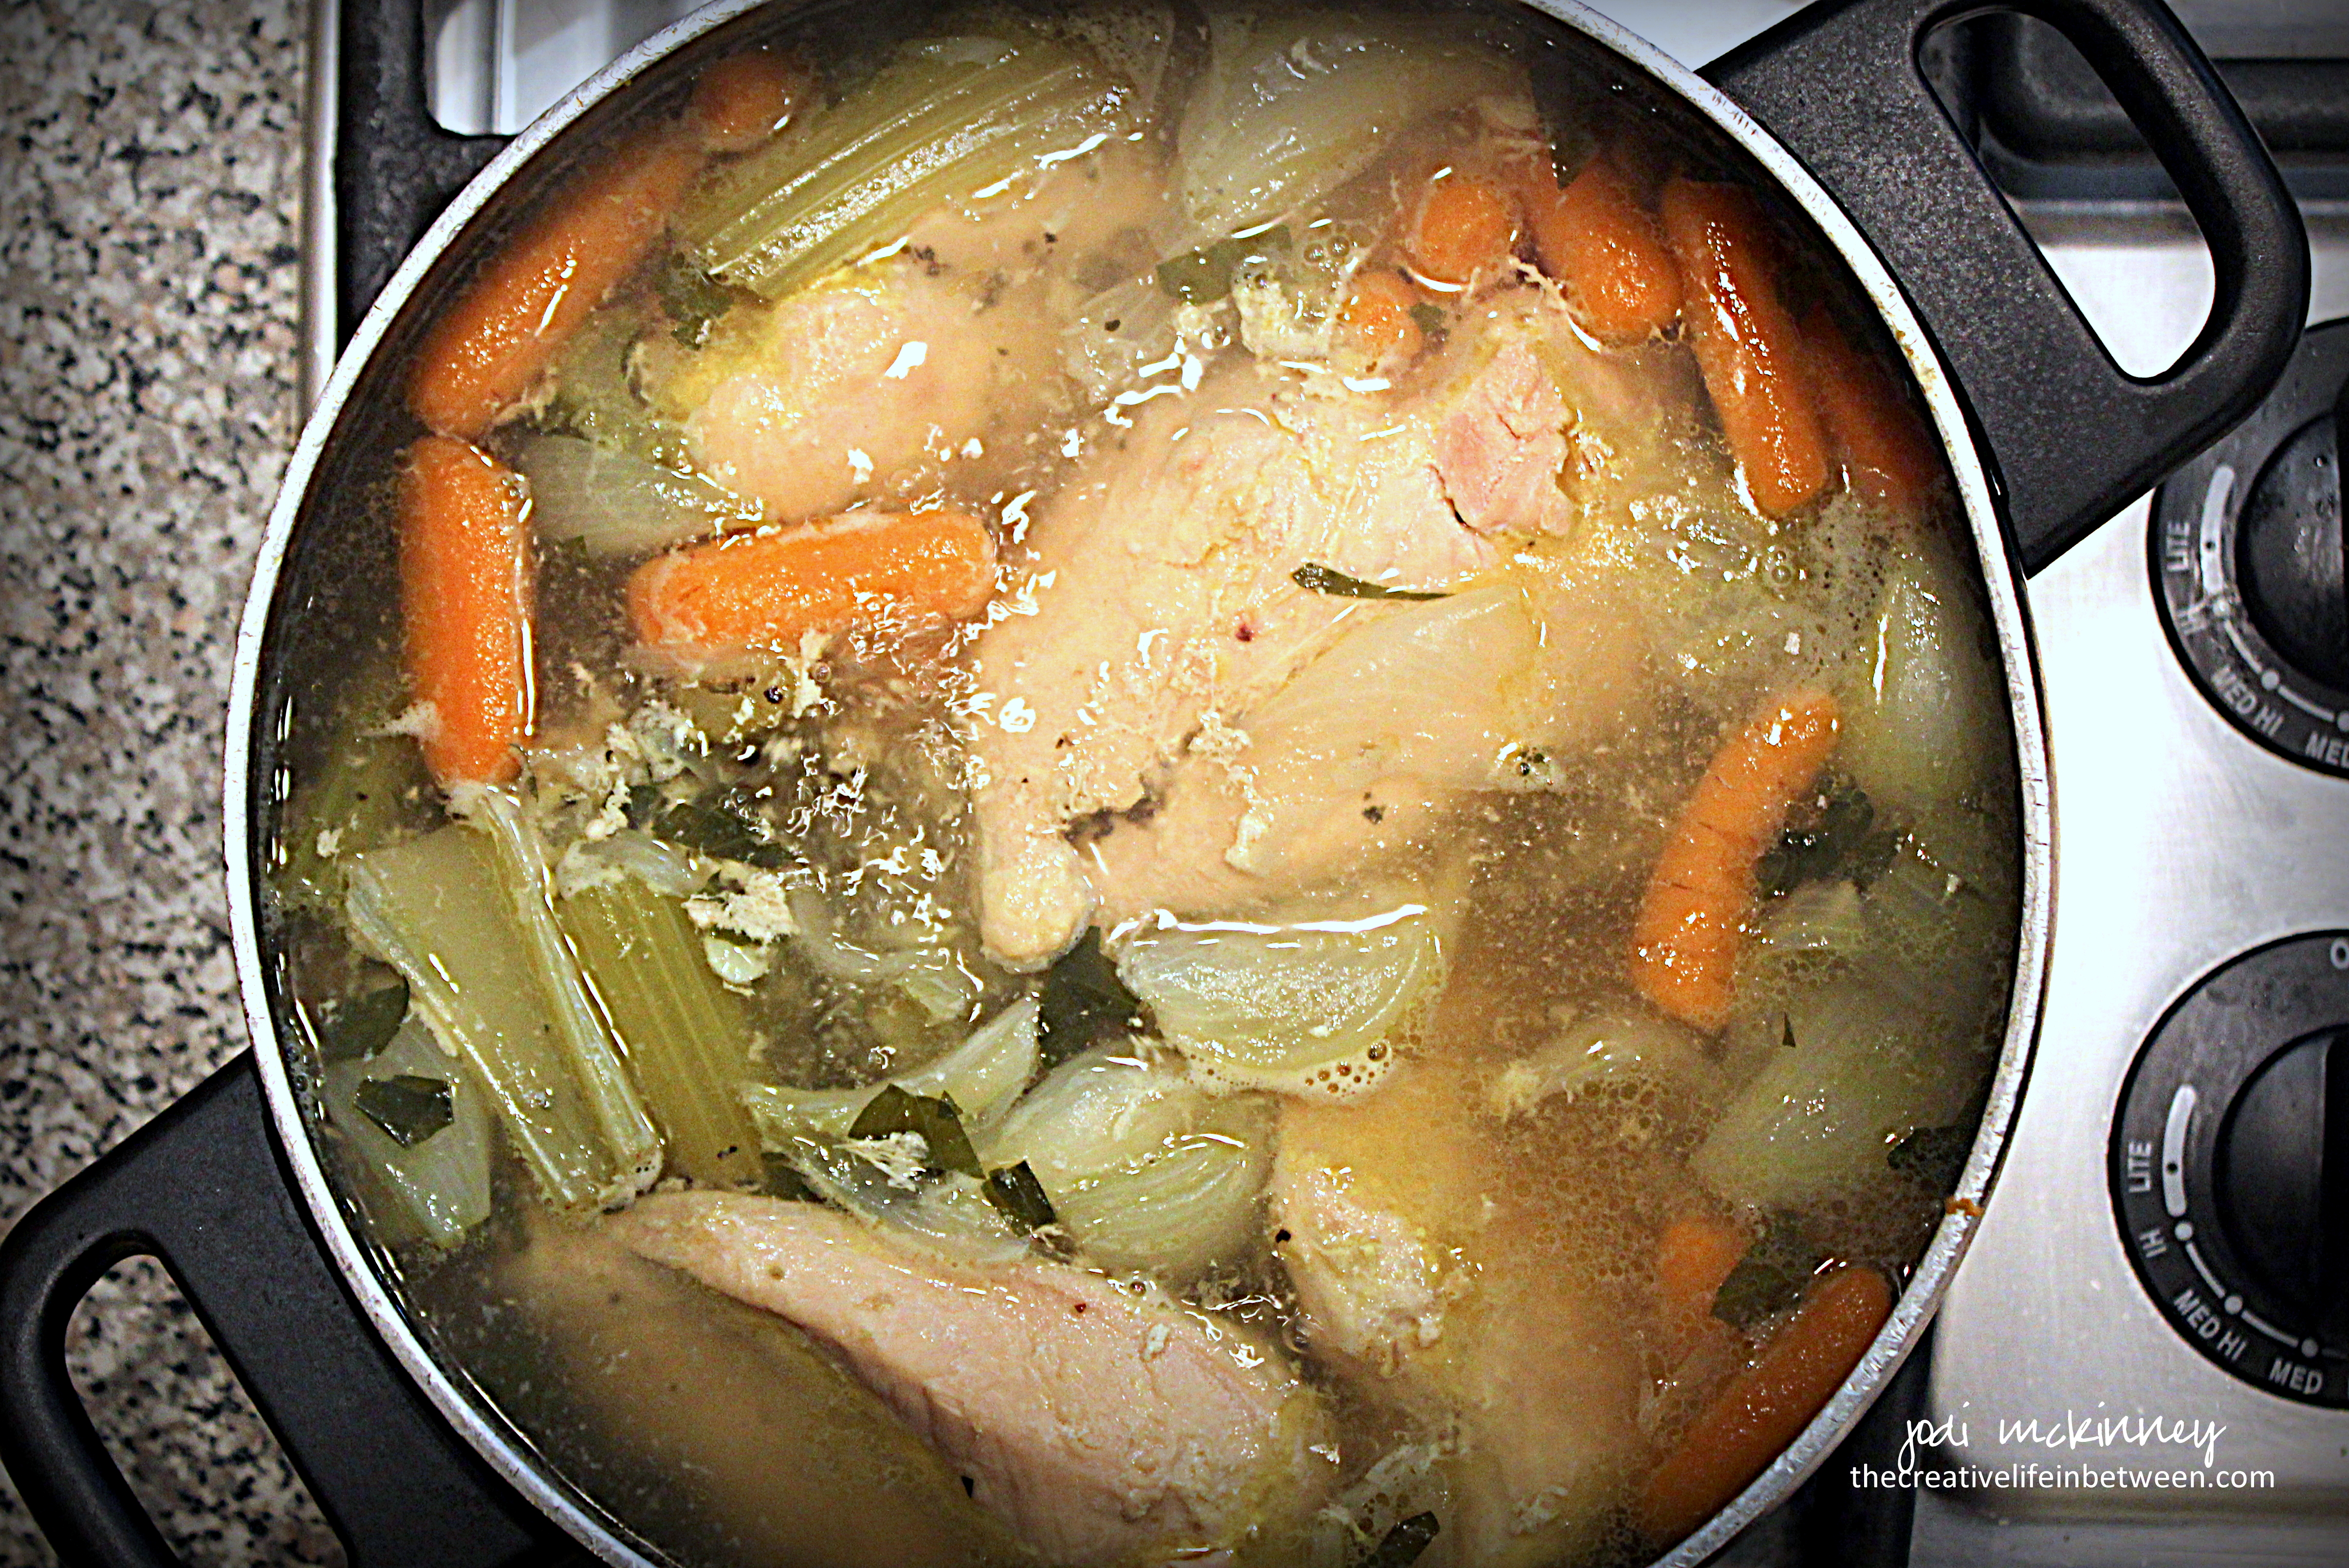
Place frozen chicken breasts in large soup pot.  Cover with 12 cups cold water.  Add celery, carrots, chicken base, whole garlic cloves, onions, parsley, and pepper.  Cover and bring to a rolling boil.

Once boiling, reduce heat and simmer with lid tilted slightly so it is not tight fitting, but allows steam to escape.  Simmer for approximately 2 hours or until broth level reduces 1/2 – 1 inch.  You can tell this by looking at the side of the pot where a line will be formed where soup started.  This will allow the broth to build depth of flavor.

When soup is almost done, boil noodles in a separate pot, cooking 2-3 minutes less than directions.  Drain and rinse well with cold water.  Set aside.

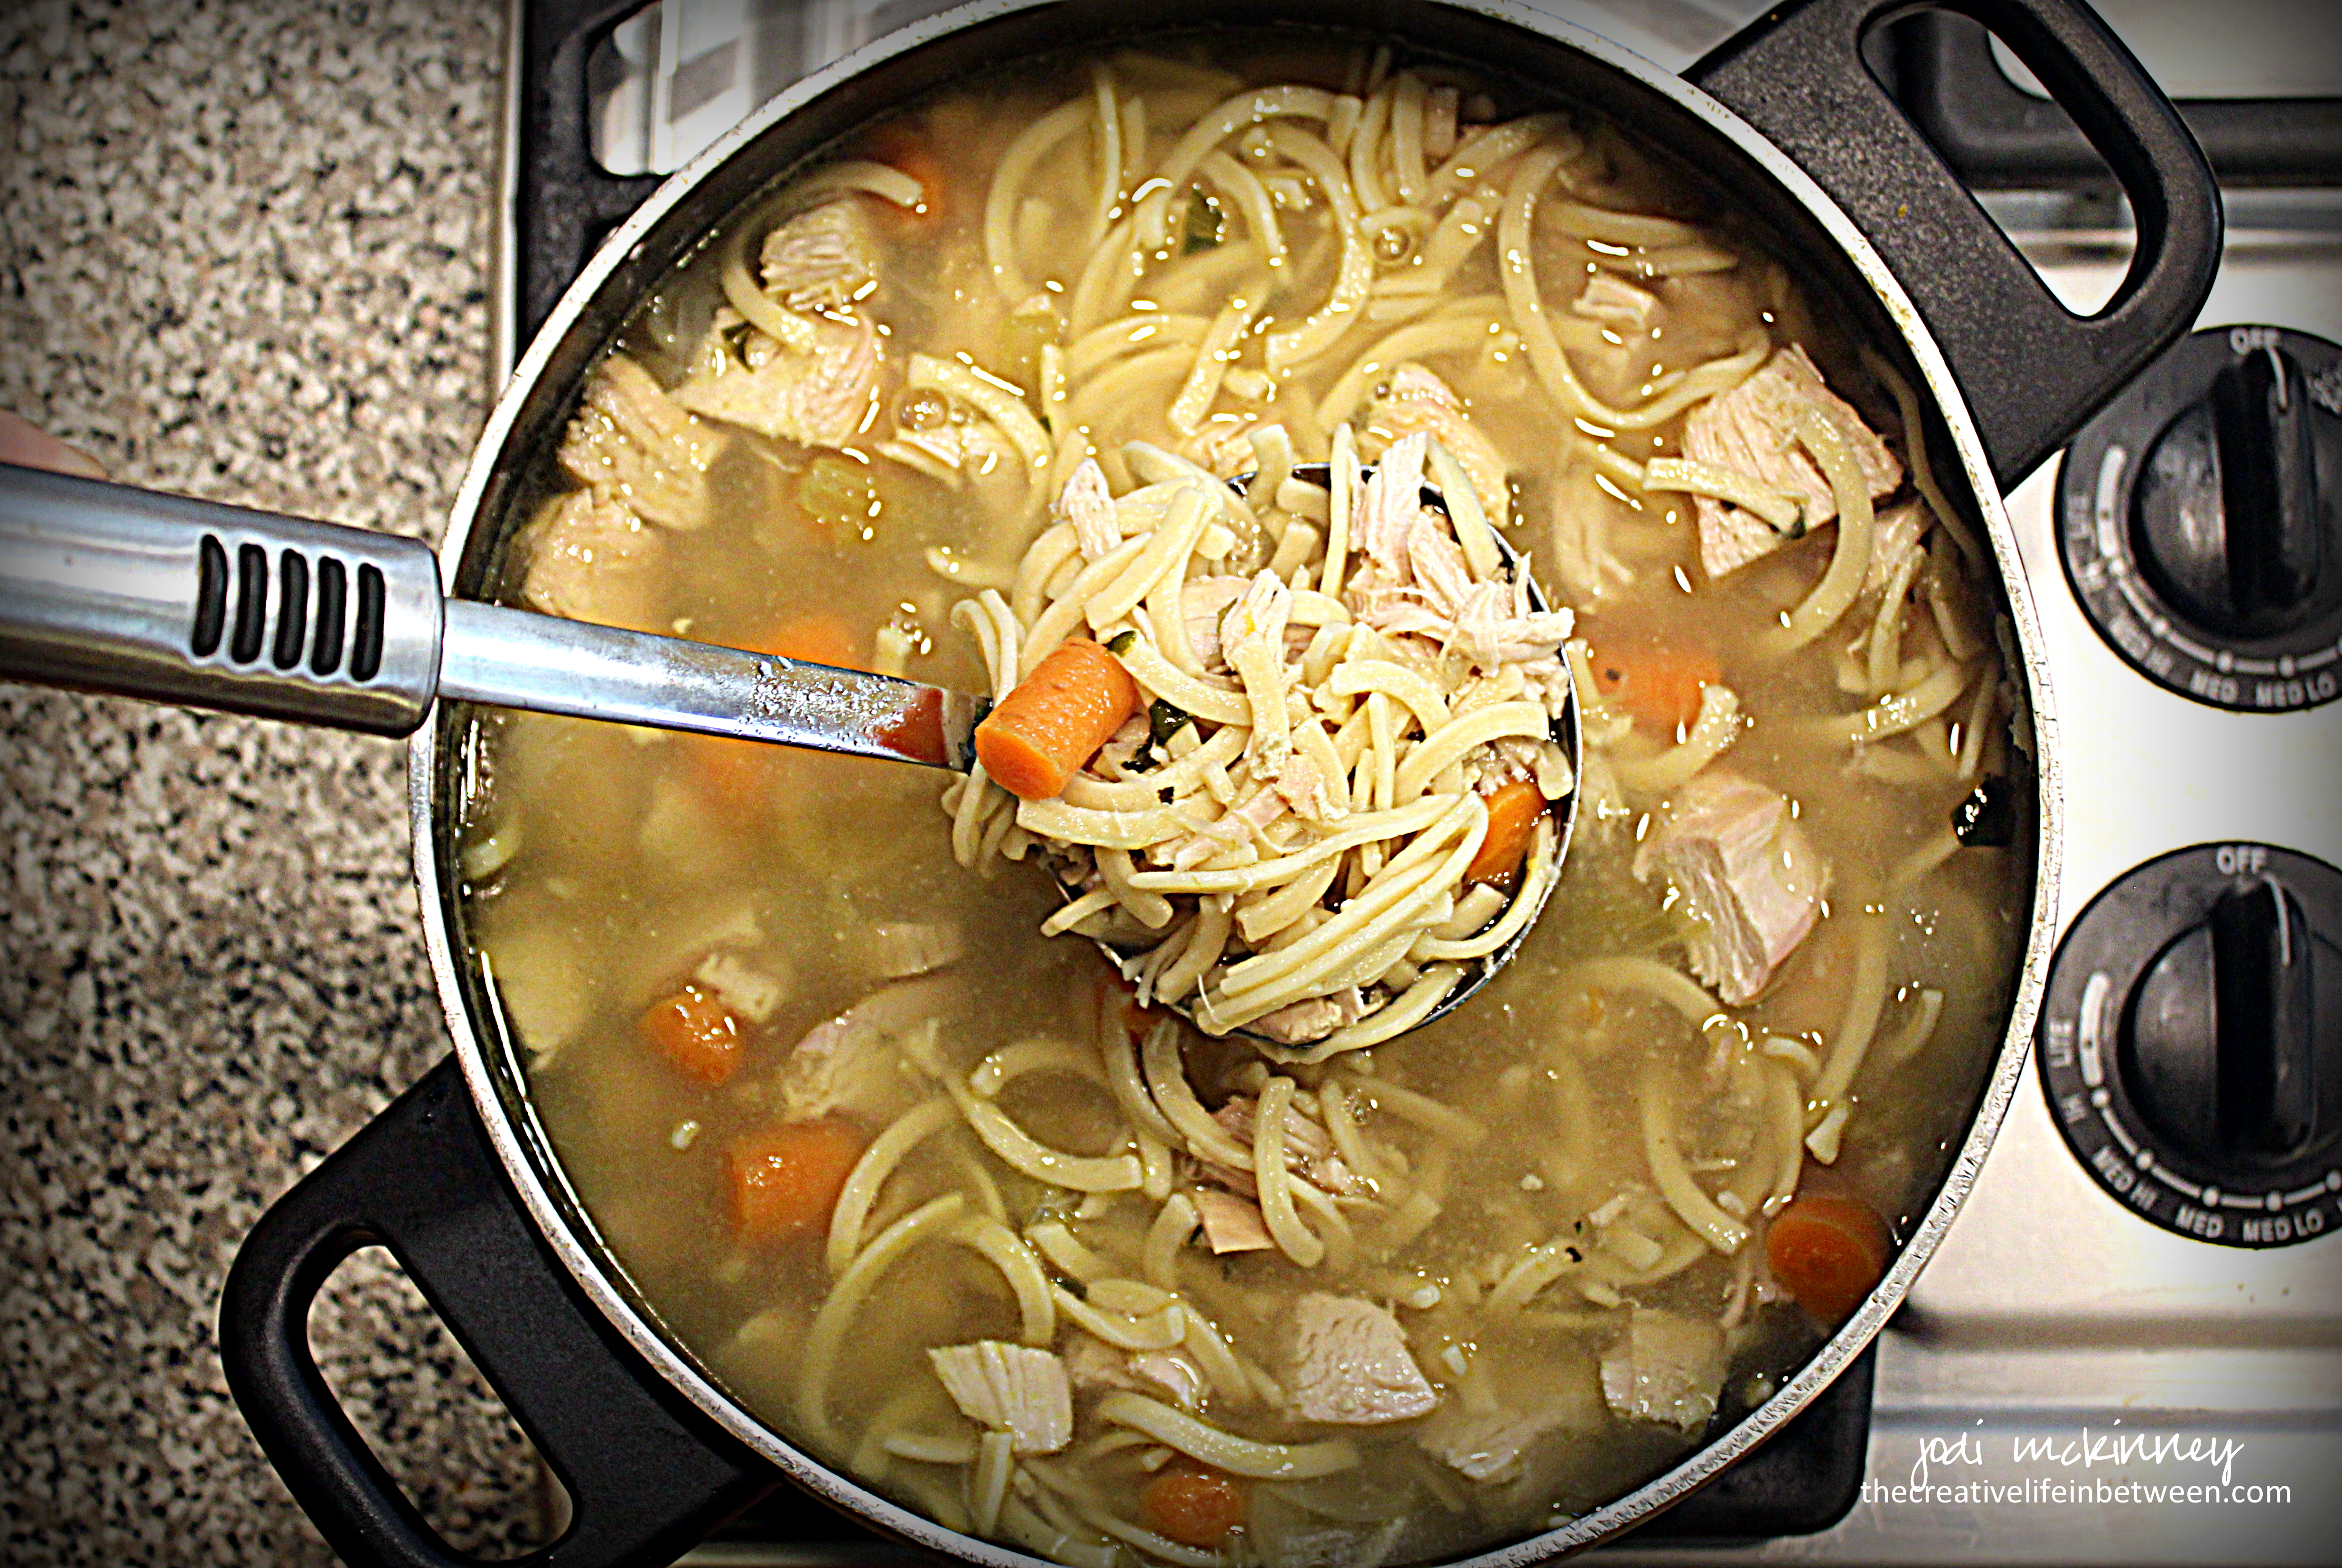
When soup broth is done, pour through strainer into a larger pot.  The broth will go into the pot, and the chicken and vegetables will remain in the strainer.

When cool enough to handle, chop chicken and vegetables into bite-sized pieces.  Add back to broth, then add drained and rinsed noodles.   Stir to incorporate all.

Your soup is now ready to enjoy.  This soup keeps well for up to a week in the refrigerator and also freezes well.

Beginner’s sidenotes/tips:  You can certainly use a whole chicken or chicken parts, but it is a lot more work to clean the chicken from the bone, and remove the skin and fat after cooking to cut up for the soup.  Using chicken breasts also eliminated the need to allow the broth to cool and fat to rise to top to skim off as there is little to no fat in the chicken breasts.  Chicken breasts also allow for a heartier soup with big chunks of tender chicken.  Buying a better grade and organic chicken will give you better flavor and better food value.  I’ve found with cheaper brands of chicken, there is fat and gristle that needs removed as well as ligaments that need cut out.

You can certainly use whole raw carrots, but the convenient short-cut carrots save the need for peeling and cutting down carrots into manageable pieces.

While dried herbs are always good to have on hand in a pinch, nothing will make your recipes better than using fresh herbs.  Fresh parsley as opposed to dried will really add a whole new sophisticated level to your soup.

Always cook your noodles separately, and drain and rinse well in cold water.  This will remove the starch that cooks off the pasta from being in your soup and “muddying up” the broth’s texture and flavor.  Rinsing in cold water will stop the “cooking” that still continues in food like pasta while it is still hot.

Cook noodles 2-3 minutes less than directions say to avoid soggy, mushy noodles in your soup.  As they sit in the soup, they will soften and plump even more, so no need to over-cook.

Do not add oil or salt to the noodles when boiling.  There is plenty of salt in the soup base that will make the broth.  It is almost impossible to “unsalt” soup, but additional salt can always be added for individual taste or preference.  If you over-salt, add more water to broth or consider boiling a whole peeled potato in the broth.  The potato will absorb some of the salt.  You can then throw the potato out, hopefully salvaging your broth.

Enjoy!

Cheers & Hugs,
Jodi

Avocado Toast

Avocado Toast with Spicy Pico de Gallo

Avocado Toast with Spicy Pico de Gallo

Avocado Toast.

My latest obsession.

Skip the butter.
Skip the jam.

A perfectly ripe,
creamy avocado half
spread on toast.

Topped with a spoonful
of fresh pico de gallo
with a slight kick
and a dash of salt.

O M Geee!

When only using a half of an avocado, I’ve found a way to keep the other half fresh until the next day.  Leave the pit in and cover tightly with plastic wrap to keep out any bit of air that could touch it and turn it brown, then refrigerate.  I don’t refrigerate avocado before they are cut, but if you only eat half, I think it best to refrigerate the cut one.

Leaving the pit in is key too.  A friend whose son works in a restaurant that makes fresh guacamole shared this life-changing tip with me recently.  When making fresh guacamole, throw one of the pits in.  It keeps the guac from turning brown.  It really works!

How do you like your avocado toast?

Cheers & Hugs,
Jodi

Chilling White Wine

Frozen Grapes in Pinot Grigio

Frozen Grapes in Pinot Grigio

Chilling White Wine.

I recently learned about this great tip for keeping your white wine chilled without watering it down.

Freeze a bag of grapes, and use them as “ice cubes.”

At the end of your drink, you have a wonderful treat of wine soaked grapes to enjoy!  And your wine stays full flavored to the very end.

I am definitely more of a red wine girl, but I sometimes enjoy a light Pinot Grigio or Sauvignon Blanc or a crisp, buttery Chardonnay in the summer.

Dropping in a few frozen grapes makes it even more of a treat.

Enjoy!

Cheers & Hugs,
Jodi

Child Gift-Giving: WANT, NEED, WEAR, READ

Becoming a first-time grandma recently, along with several of my besties, has caused me pause to consider child gift-giving.

It is sooooooo easy to get carried away and spoil – especially these first ones.

So I was thinking it is time to establish the “trend” for hopefully lots more grandie gifts.

I have read several places a good rule of thumb to simplify child gift-giving is to consider four categories:

  1. Want
  2. Need
  3. Wear
  4. Read

Consider gifts in the four categories – buying one of each:  One thing they want, one thing they need, one thing to wear, and one thing to read.

Well – let’s see if I can stick with this…

In the meantime, my bestie’s first grandchild turned one, so going with a fish theme (just because I thought it was fun), I made the above little T-shirt for him (to WEAR), bought him some bathtub fishing toys (I think he would WANT to play with), some socks (I’m sure his mama could say he NEEDs), and the Dr. Seuss Book “One Fish, Two Fish, Red Fish, Blue Fish” (to READ).

Happy Birthday Ben!  I hope the years don’t continue to go as fast as this first one did!

Cheers & Hugs,
Jodi

Cake Pops! Tips for Beginners


chocolate-dipped-german-chocolate-cake-pops

Cake Pops!  Tips for Beginners.

I adore cake pops!

Because… really…  what could be better than a bite-sized morsel of cake dunked in chocolate?  And then maybe adorned with sprinkles?!

They are delicious and pretty and cute; but until this past weekend, I had never tried to make them.

I wanted to practice for an upcoming event or two, so I read and researched and asked around and gave them a whirl this past weekend.

white-and-gold-elegant-cookie-pops

They are really not that difficult, but there are a few tricks to success.  I thought I would provide a few tips that helped make mine turn out delicious and beautiful!  At least that is the consensus I got from the party I took them to as “practice” pops.

cake-pops-german-chocolate-before-dipping

To make cake pops, bake a cake mix – whatever you favorite flavor is.  Then follow these tips for success.

  • Freeze cake – even if overnight.  It allows you to plan ahead and also adds to the moisture of the cake.  Simply place baked  cake – crumbled, broken pieces, or all in one piece – in a large Ziploc bag in the freezer.
  • 1 boxed cake mix  makes approximately 3 dozen cake balls.
  • When ready to assemble, defrost the cake and crumble to fine crumbs with your hands in the bag.
  • Add only enough frosting (ready made works perfect) to add a bit of “glue” for forming and holding balls together.  I used 1 heaping tablespoon – that is it!  This allows your cake balls to truly taste like cake.
  • Scoop crumb mixture with a small scoop to form uniformly-sized 1 inch balls.  Then roll with your hands to round ball.
  • Melt chocolate candy melts in microwave in a deep cup that is not too wide to allow for ease of dipping.  It only takes 1 1/2 – 2 minutes.
  • Dip tips of sticks into candy melts and insert into cake balls.
  • Refrigerate or freeze for at least a half hour or several hours.
  • Remelt chocolate at 30 second intervals until desired consistency.
  • Dip cake balls on sticks into chocolate candy melts.  Allow excess to drain.
  • Place on parchment paper if using with stick up, and sprinkle with jimmies or edible glitter.
  • Stick into styrofoam if using cake ball up and decorate as desired.
  • Make ahead up to 3-5 days if needed – no more than 7 days.  (there are horror stories of moldy cake balls made too far ahead of time)
  • I found this site – Heavenly Cake Pops – to be extremely informative.

Have fun and enjoy!

Cheers & Hugs,
Jodi

Leftover Lunch Salad

leftover lunch salad

One of the best things about having a job where you can work from home most days, besides being able to roll out of bed and be at your desk in about 17 seconds, not needing to comb your hair or put makeup on, working in yoga pants and t-shirts, having a furry co-worker by your side, getting to take walks at lunch time….

Ok – there are A LOT of things I like about my job and being able to work from home…

But, one really nice benefit is being able to make healthy and easy leftover lunches instead of going out and eating fast food or having to pack a sack!

Like this salad I made the other day – a small piece of leftover grilled Delmonico steak on top of leftover salad.  Voila!  Veggies and protein and nourishment that tastes good and is good for me!

And after yesterday’s DECADENCE of those Fudgy Fresh Raspberry Chocolate Chip Brownies, I thought it best to show I don’t always eat like that!

QUICK TIPS:

  • Always make more salad than you need for dinner and throw it in a Ziploc bag to keep fresh for a day or two.
  • Don’t add tomatoes to your salad until serving.  Tomatoes completely lose their taste when refrigerated (so never refrigerate them – you don’t – right?!!?!!).  Tomatoes also make leftover salad SOGGY.  Yuk!
  • Make an extra piece or two of your protein – chicken, steak, pork, fish – and throw it in a Ziploc bag too.  It can be sliced on a salad, added to a wrap, thrown on a bun, or even just eaten as is – hot or cold – depending on your work day and stress level.
  • Keep seeds and nuts on hand to toss in and on things.
  • Hard boil some eggs in the beginning of the week, and you always have a quick protein ready.
  • Canned beans area also great additions to salads and wraps.  Open a can of black beans or any kind you like, drain and put in a plastic container in the fridge.  This way you can easily toss on your lunch or pop in your mouth in a jiffy.
  • Keep fresh fruit around so you can grab a handful of berries or snack on a clementine or banana or crunchy apple when your tummy gets to grumbling.

Cheers & Hugs,

Jodi

What I’ve Learned about Remedies for the Common Cold

common cold remedies

I have been hanging out night and day on the couch for the past few days.  Hit hard with what I’m guessing is the “common cold.”

I don’t get this down and out very often thank goodness, but I have been so grateful for all the well wishes and suggestions and advice on how to feel better.

Since it is that time of year and many of you might be experiencing the same, I thought I’d share some of the advice I’ve received.  See what you think of some of these tips, and let me know if you have others!  I think there is at least one that might surprise you.

Here are my TOP TEN TIPS to Remedy the Common Cold:

  • Stay warm and rested  √
    • Warm fire, soft couch, lots of blankies
  • Drink plenty of fluids √
    • Coffee √
    • Hot Earl Grey Tea with Honey √
    • Water √
    • Hot Chicken Broth (with leftover Chinese take-out rice) in same mug as coffee and tea √
    • Fresca (in same mug as soup)
    • Apple Crown Royal Night Cap 🙂  (got out a new glass for this) √
  • Steam/Vaporizer √
    • I don’t have a humidifier/vaporizer, but was told about a great way to create a steamer  (note bowl of hot water and blanket on coffee table in photo).  Yep – I’ve been boiling that bowl of water in the microwave and burying my face under that blanket to steam the congestion out of my head, ears, throat, nose.
  • Gargle with Warm Salt Water √
    • Miraculously helps sore throat feel better
  • Cough Drops √
    • Honey Lemon Halls – 2 bags down
    • Cherry Halls – next best thing
  • Mucinex √
    • Gave in and took one since Marty kept saying “Take a Pill!”
  • Hot Toddy √
    • See “Drink plenty of fluids” above
  • Vitamin C √
    • So happy Clementines are in season!
  • Steam Shower/Warm Bath √√
    • Tried both!
  • Lime Jello √
    • Yep – This was something I was really told is a tried and true remedy…  and I’m desperate enough to try it and suprisingly had a box of sugar-free lime jello in the cupboard (from God knows when!!) – so it is chilling and “setting” now.  I’ll have to let you know on this one!

BONUS TIP:  Couch foot rest serves as a great computer “table” (see photo above) so you can lay on couch and read email, blogs, watch Amazon Prime (i.e. “Transparent”) and snooze in between. 🙂

Hot Toddy Cheers & Virtual Hugs Only,
Jodi