I have to admit. I love a good theme.
Party that is.

Birthday, holiday, any ole’ special occasion.
You would think I’ve had my fix raising my two sons, celebrating birthdays, creating Halloween costumes, being homeroom mom every elementary school year.
But nooooo – my boys are in their twenties, hubby in his fifties, and I’m still “theme”ing it up when I can. They always harass me about it, but “I’ll betcha a nickel,” (as Pap used to say) they would be disappointed if I didn’t….
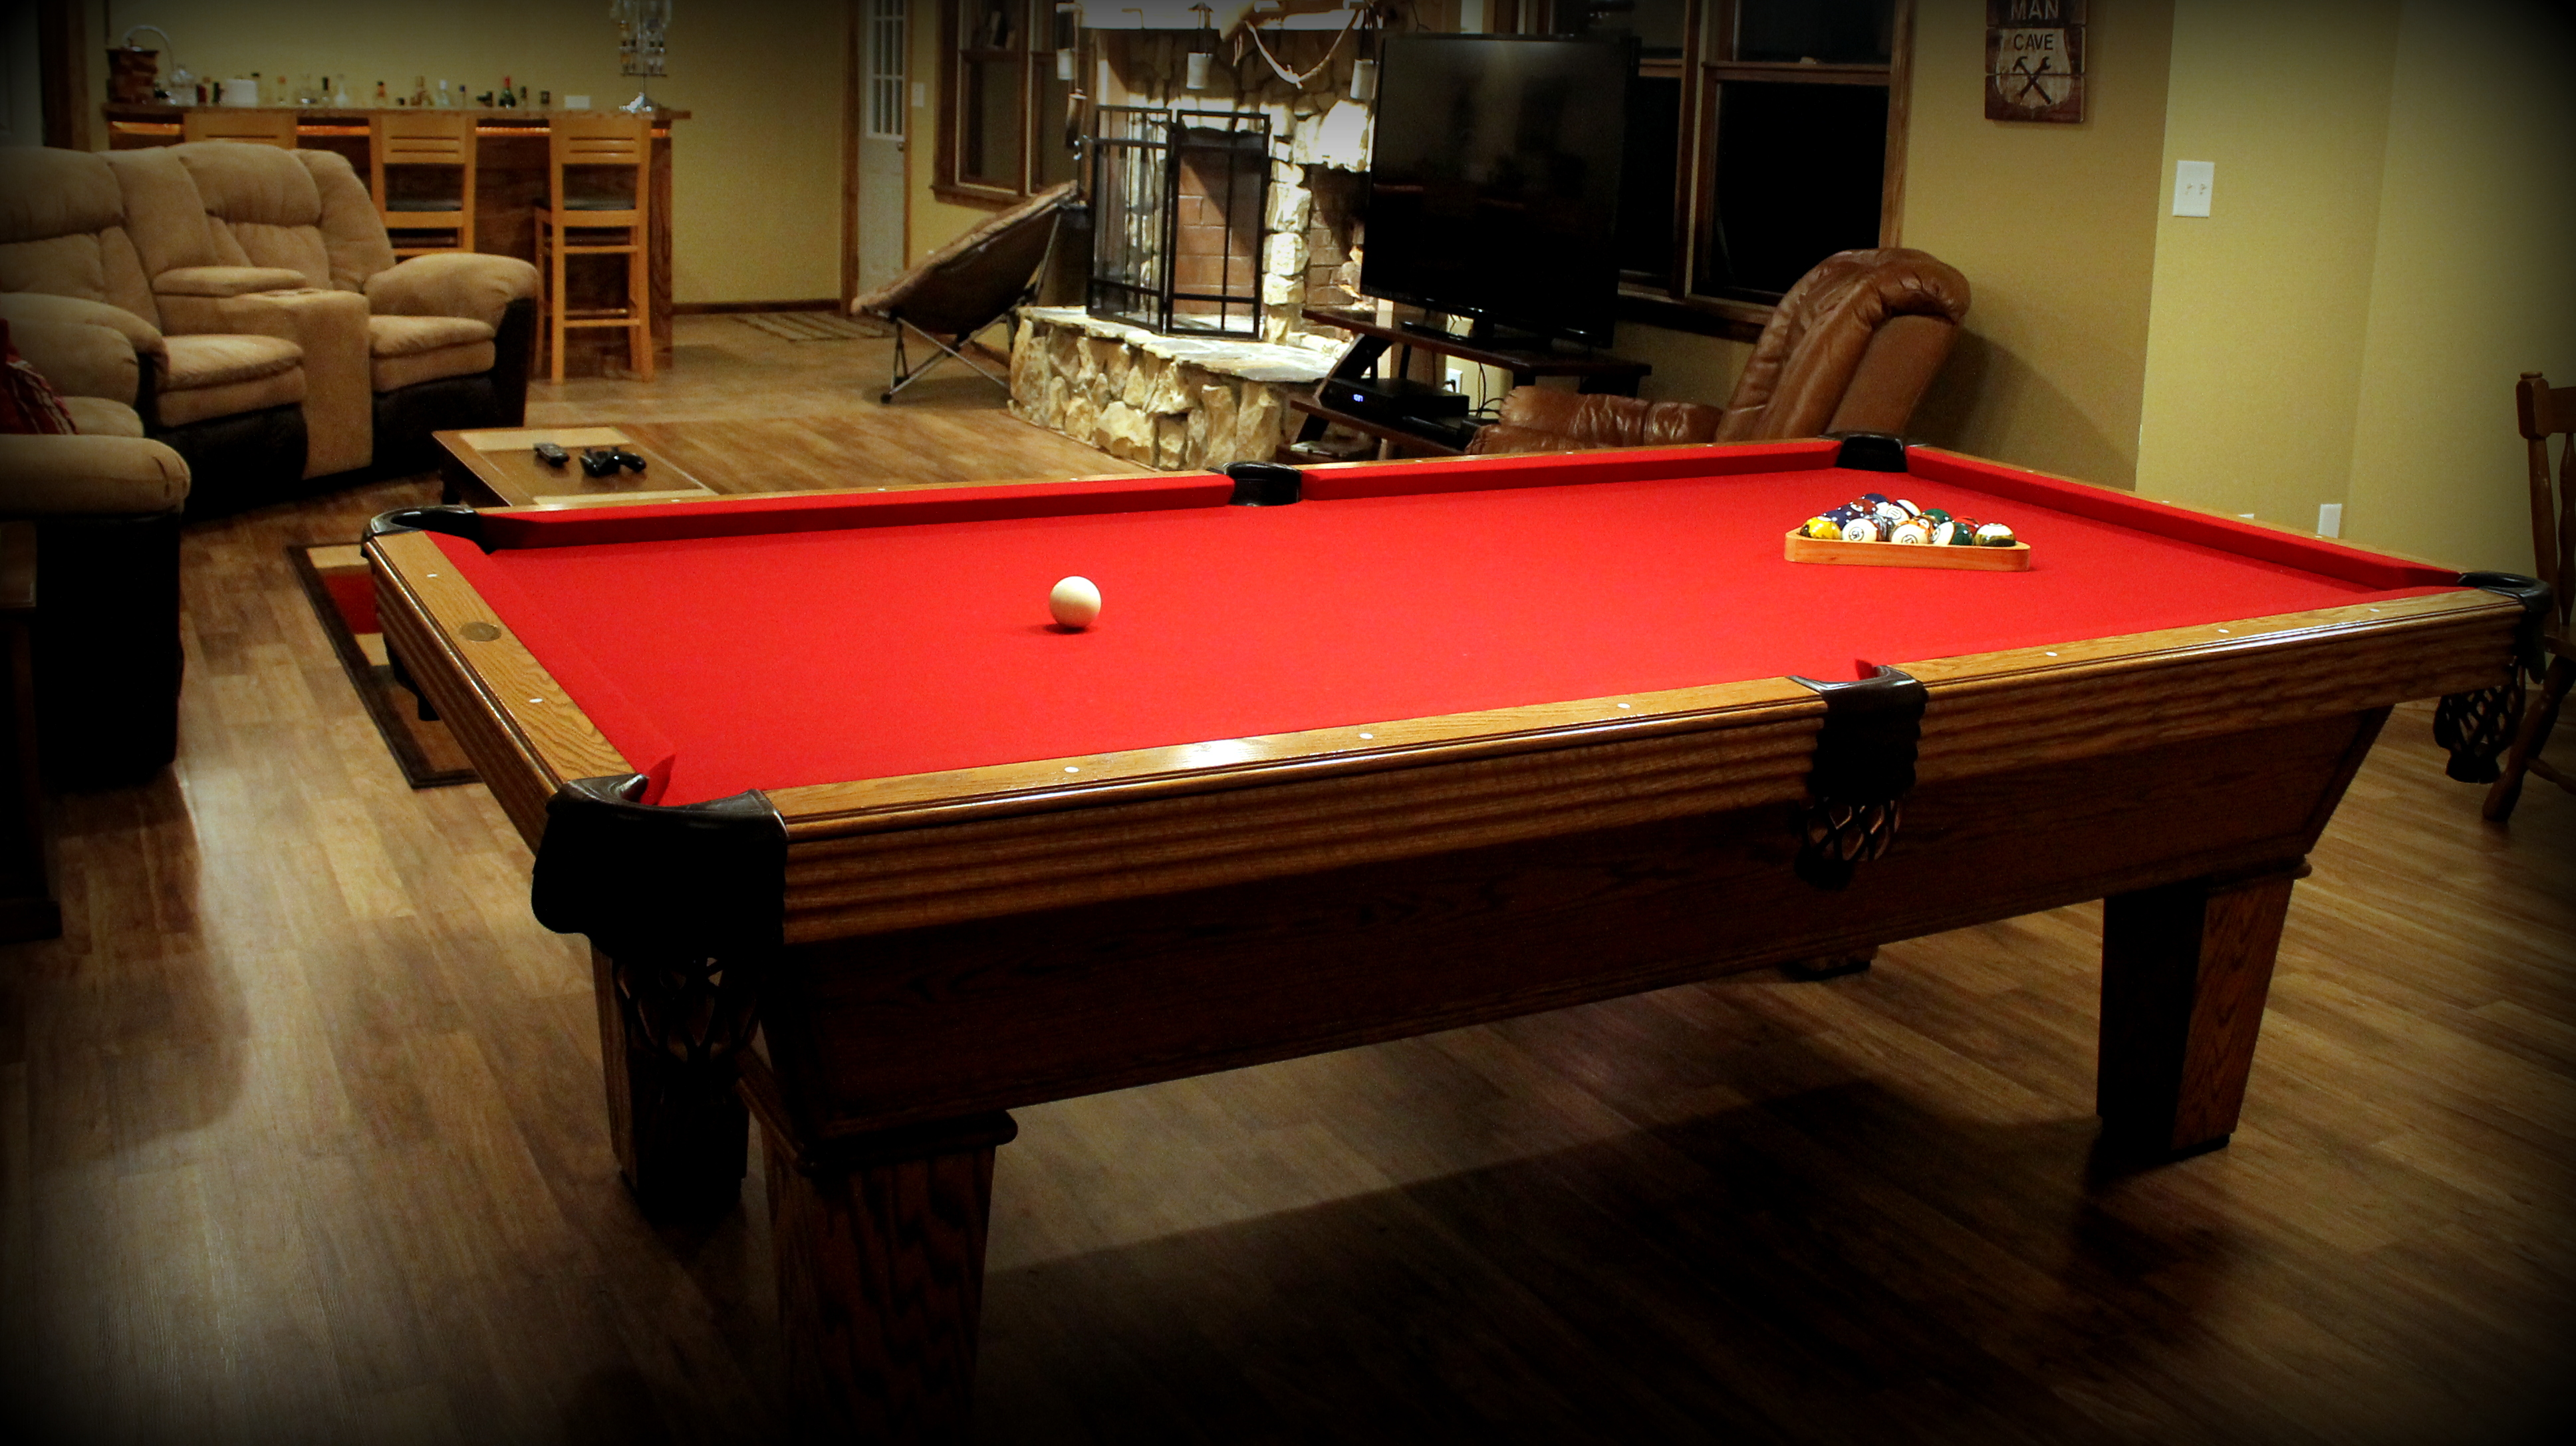
So when Marty said all he’d like for his birthday this year is some new RED felt for a beautiful gently-used pool table Nick helped him find on Craig’s list for the “man cave,” I couldn’t resist going with it.
The kids came over one evening while Marty was at a meeting and did an amazing job re-felting the table from an ordinary green to an extraordinary burgundy red. (and saving me $300+ labor to boot!)

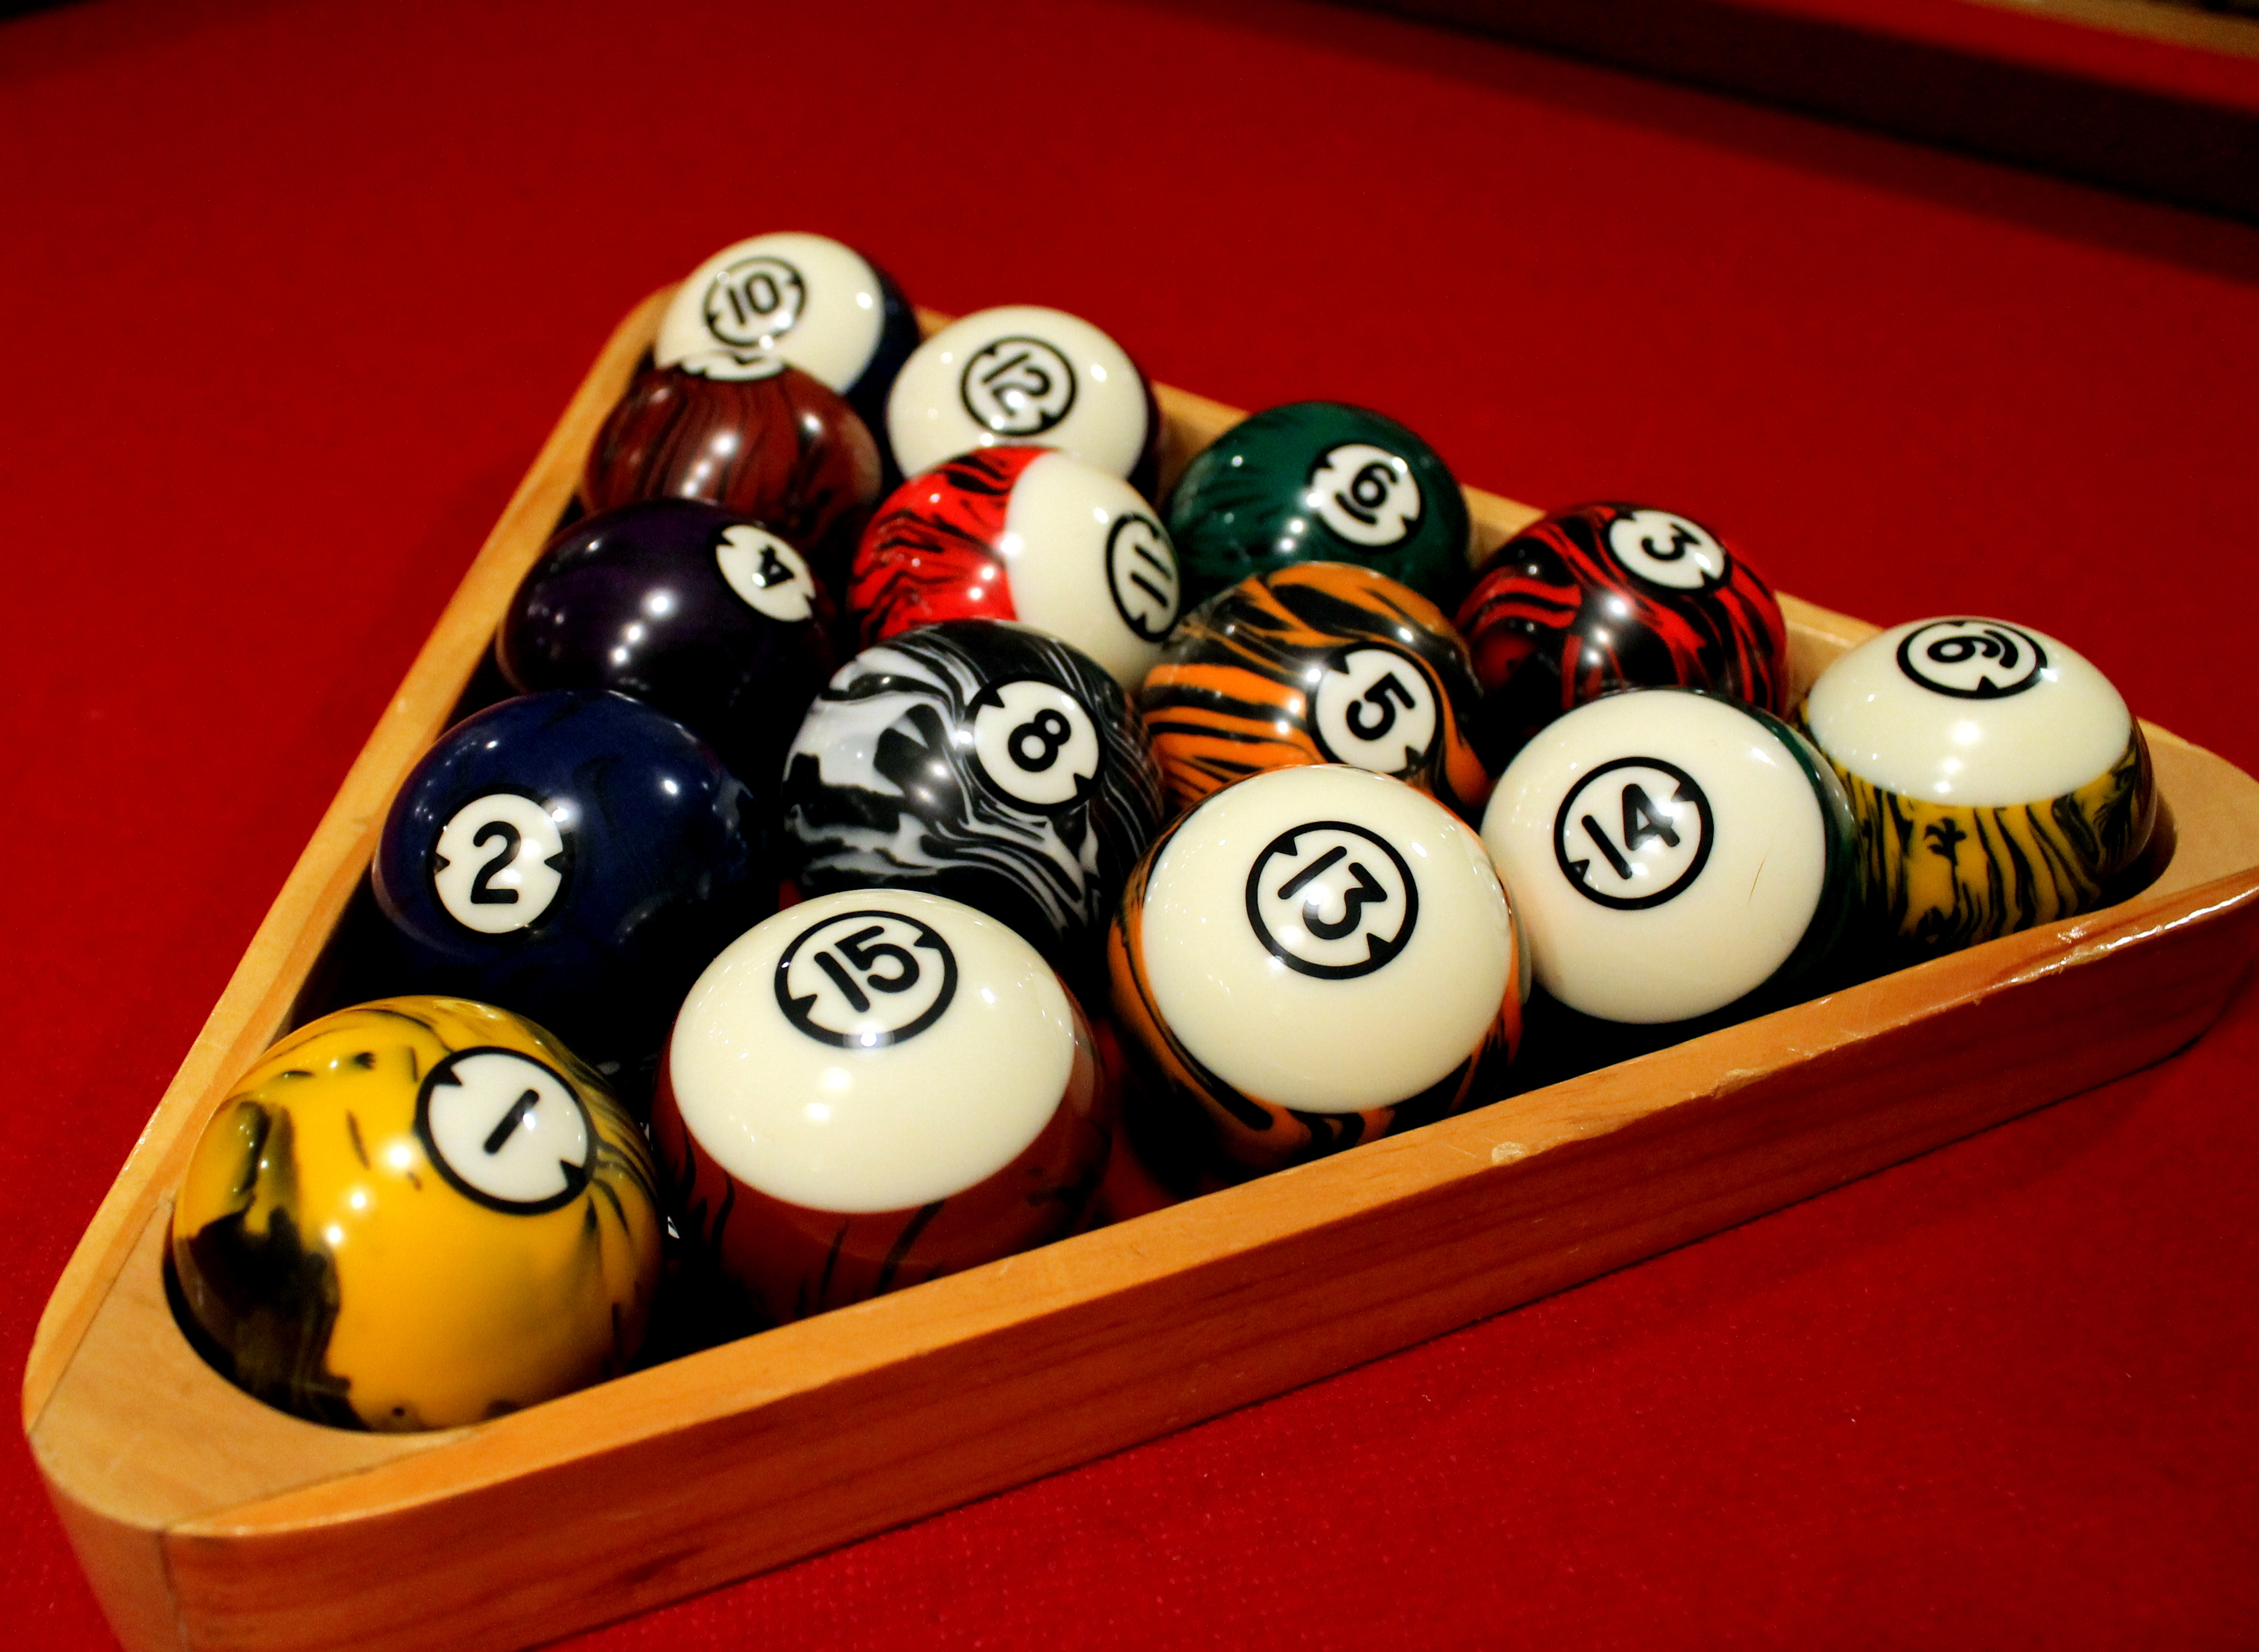
Going with the theme, the boys bought Marty some beautiful new balls (which we had fun with all evening) 🙂 and some other pool table accessories.

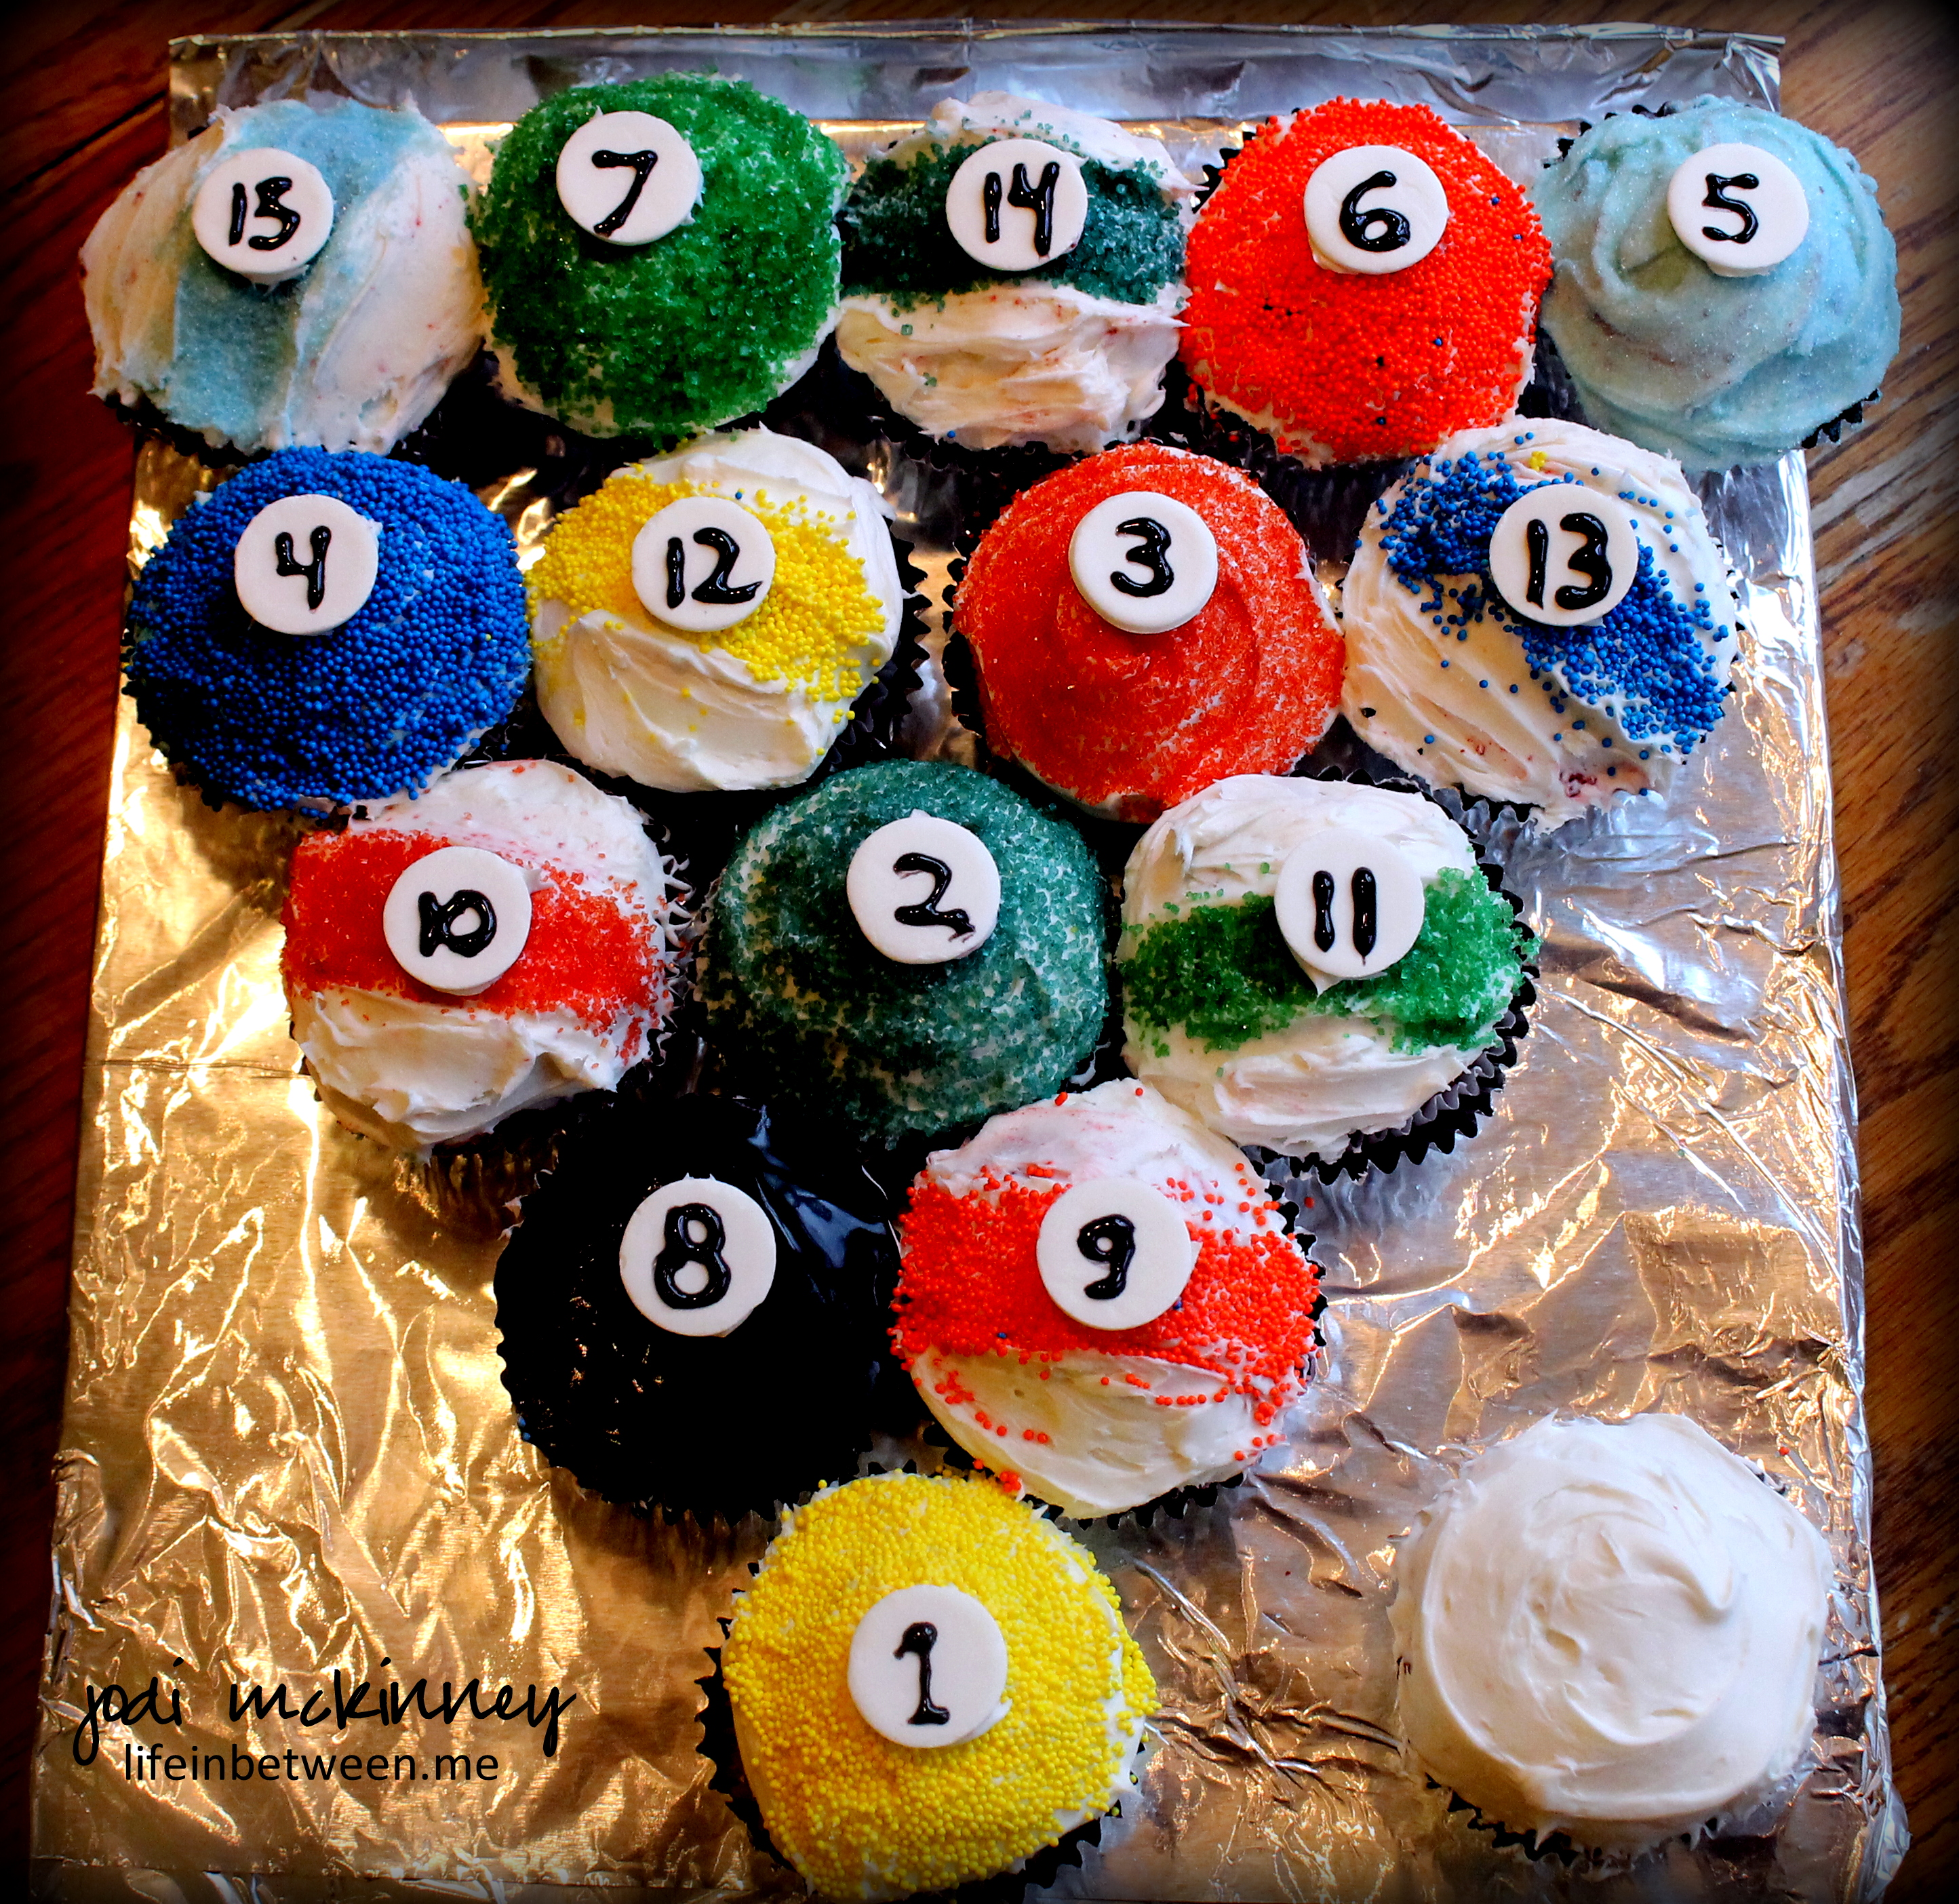
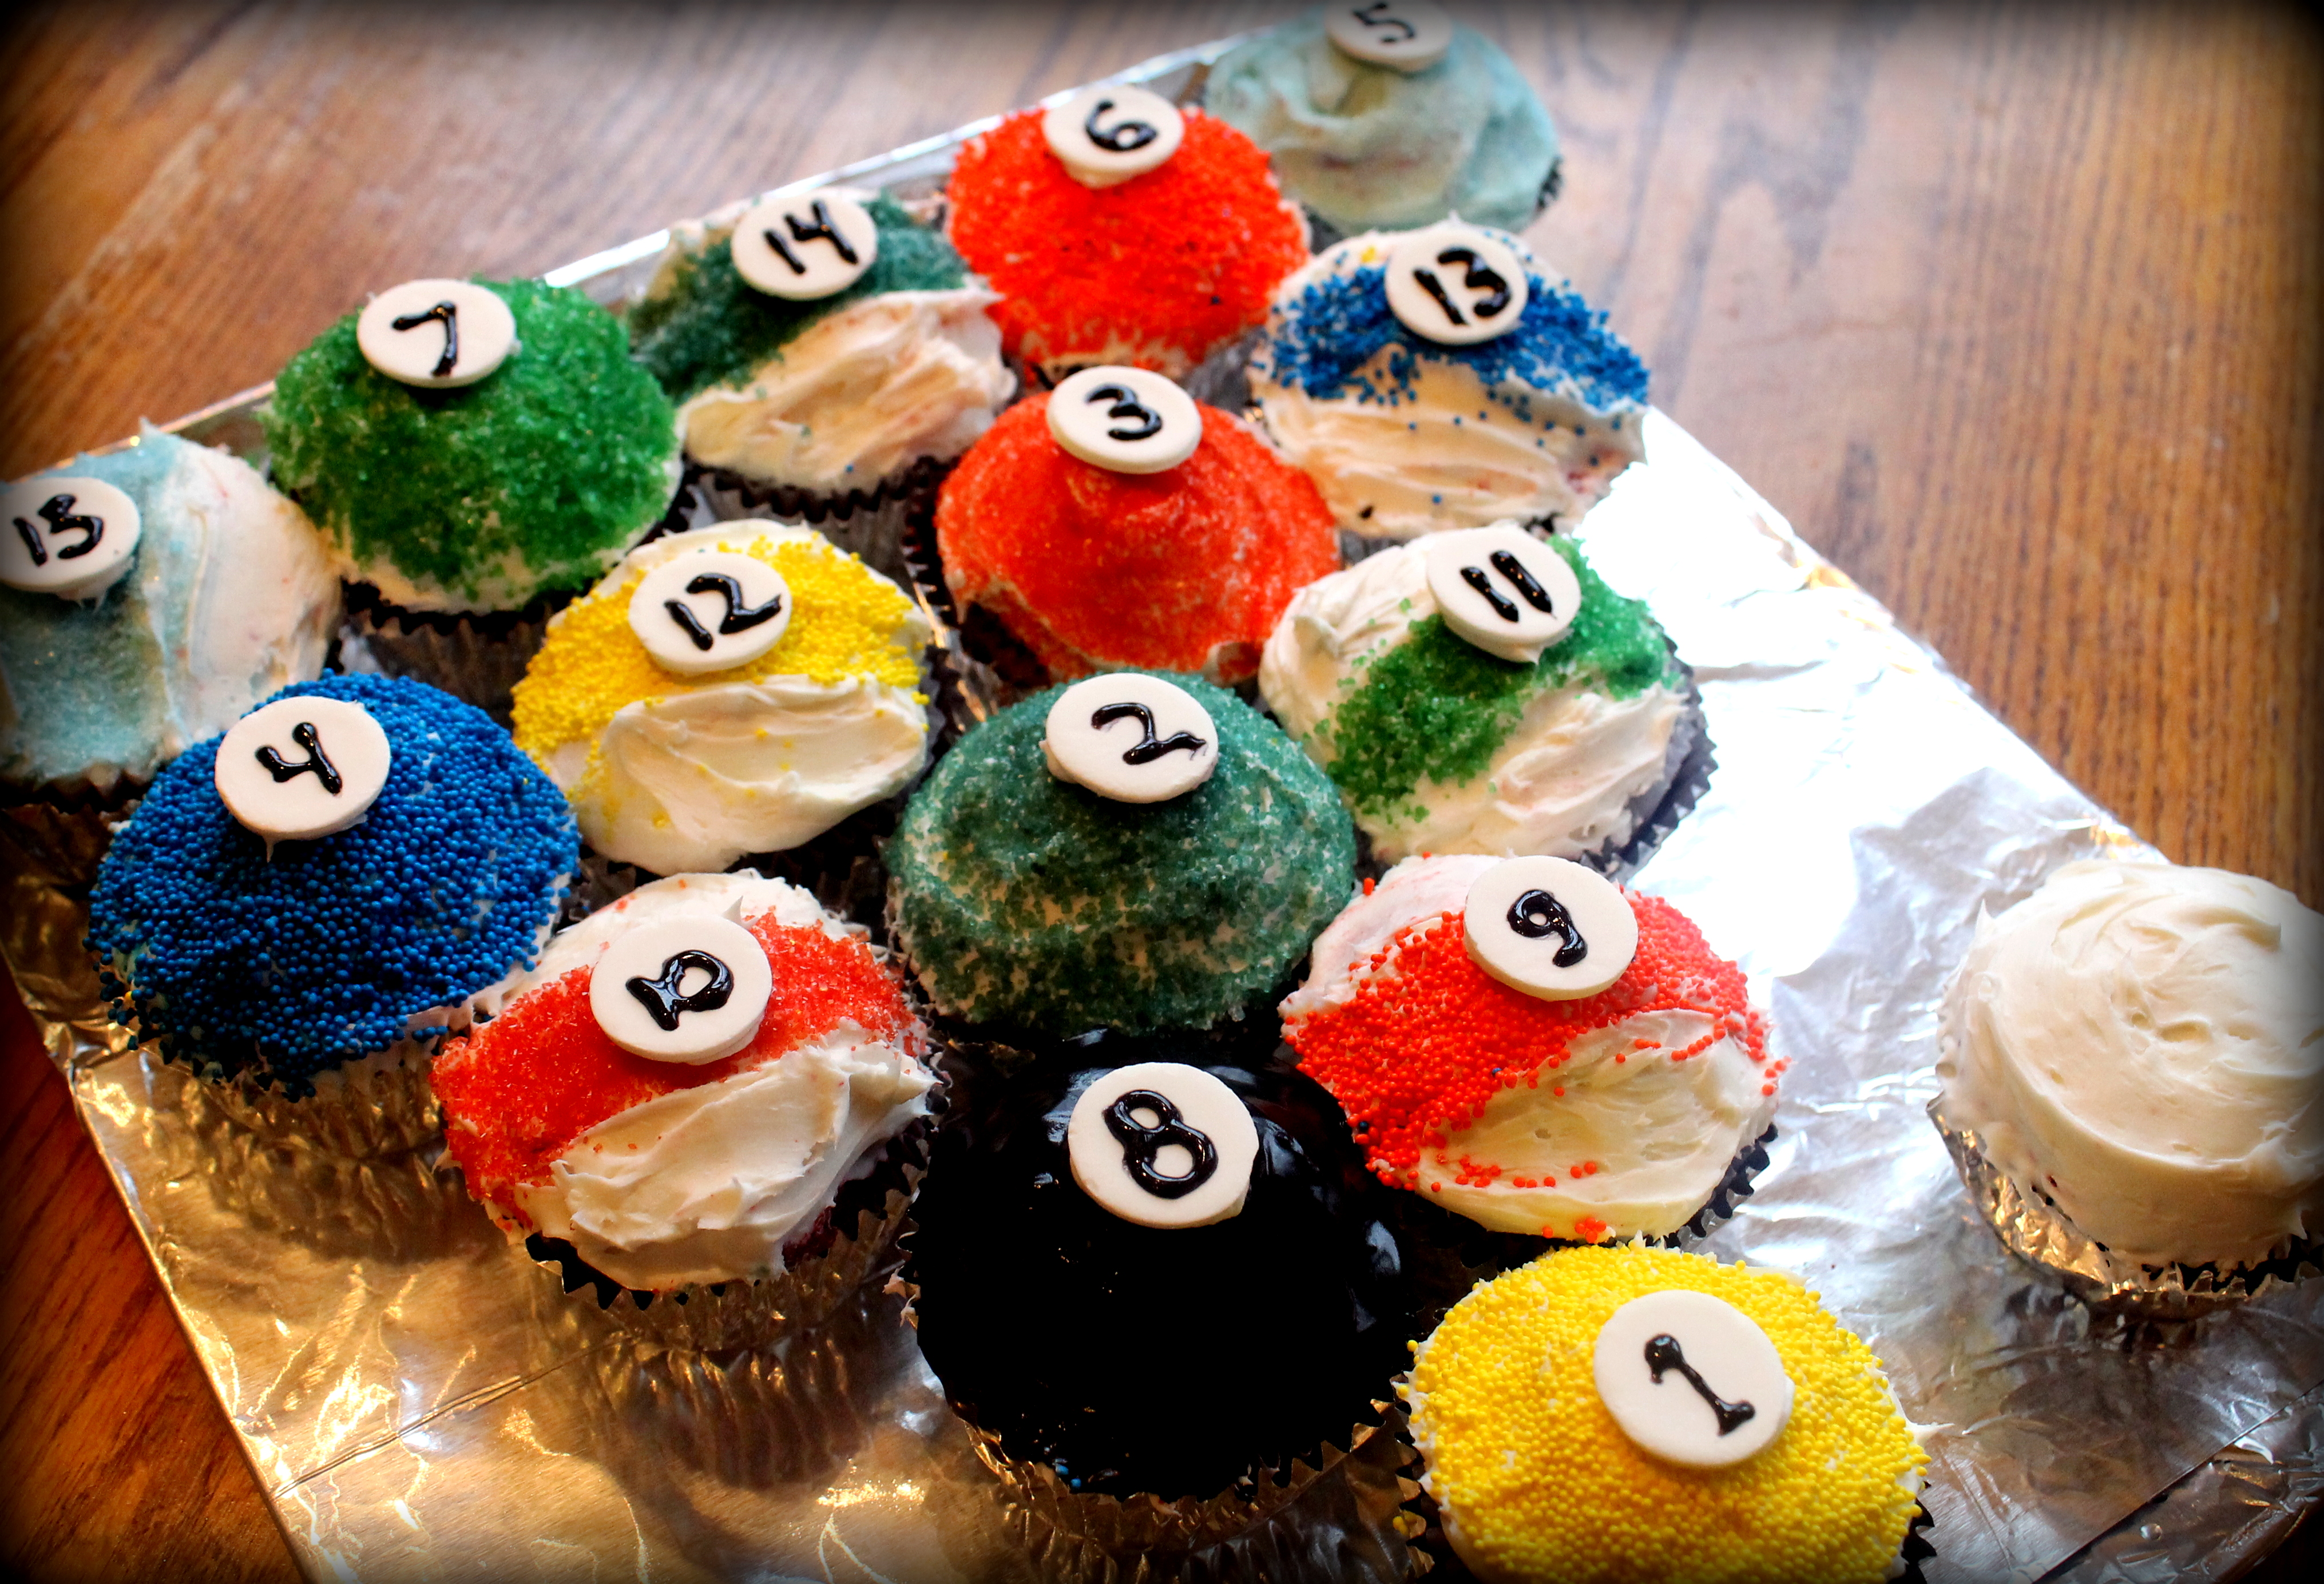
Of course I made a pool ball cake…

…which consisted of RED velvet cupcakes (they don’t make red felt cake mix) decorated as stripes and solids (even if not the exact colors and numbers to match as was pointed out to me – and THEY give ME a hard time about my themes!?!) with white Necco wafers I numbered with black icing.
And you don’t want to know how many rolls of those things I had to go through to get 15 whites – that were NOT broken!?! 🙂 I now have a pint jar full of all the other colors if anybody has any creative ideas for using these little disks of hard sugar that pretty much taste like nothing. (C’mon Jill – I know you’ve got something in you!!)
And by the way – no need to purchase all the different colors of sugar. Did you know you can simply add a couple drops of food coloring to a scoop of sugar in a jar, shake, and Voila! – colored sugar!

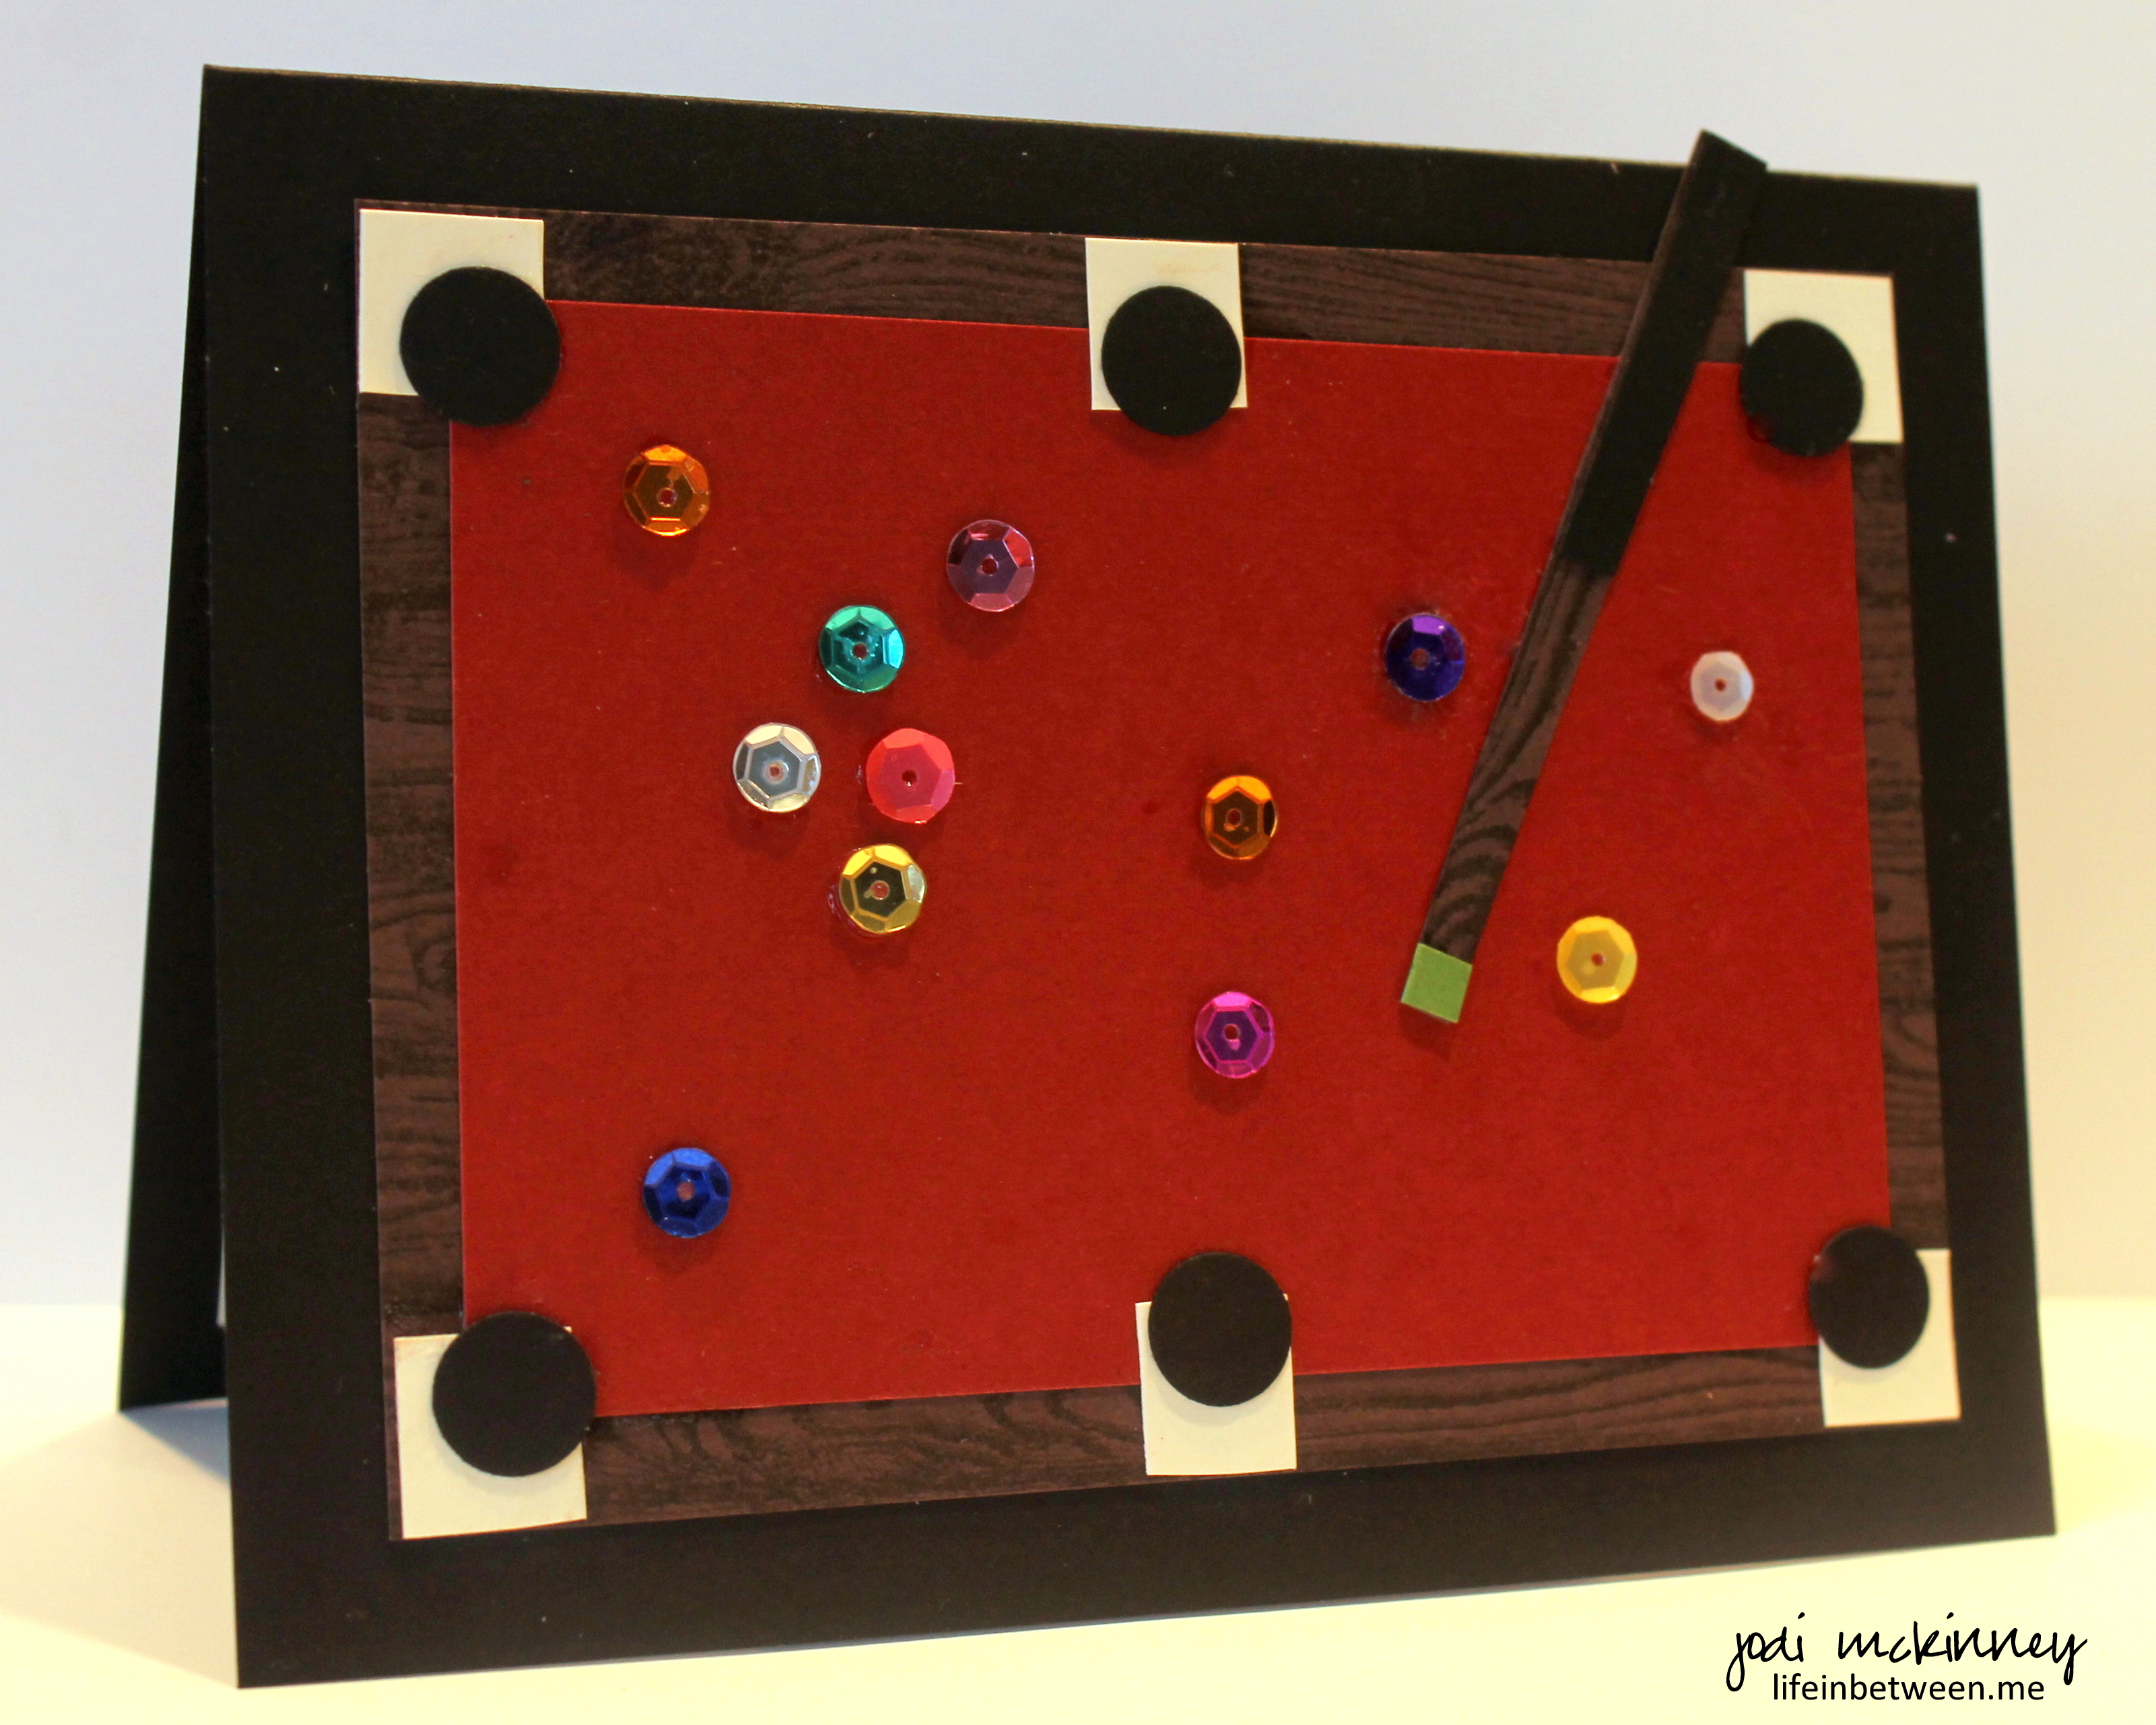
And, of course, I had to make a little card to go along with the theme too.

I got lucky and won ONE game of pool….
and ZERO games of “Smart Ass” – but we sure had a lot of fun.
Happy Birthday Merv!
Cheers & Hugs & Lots of Love,
Gert
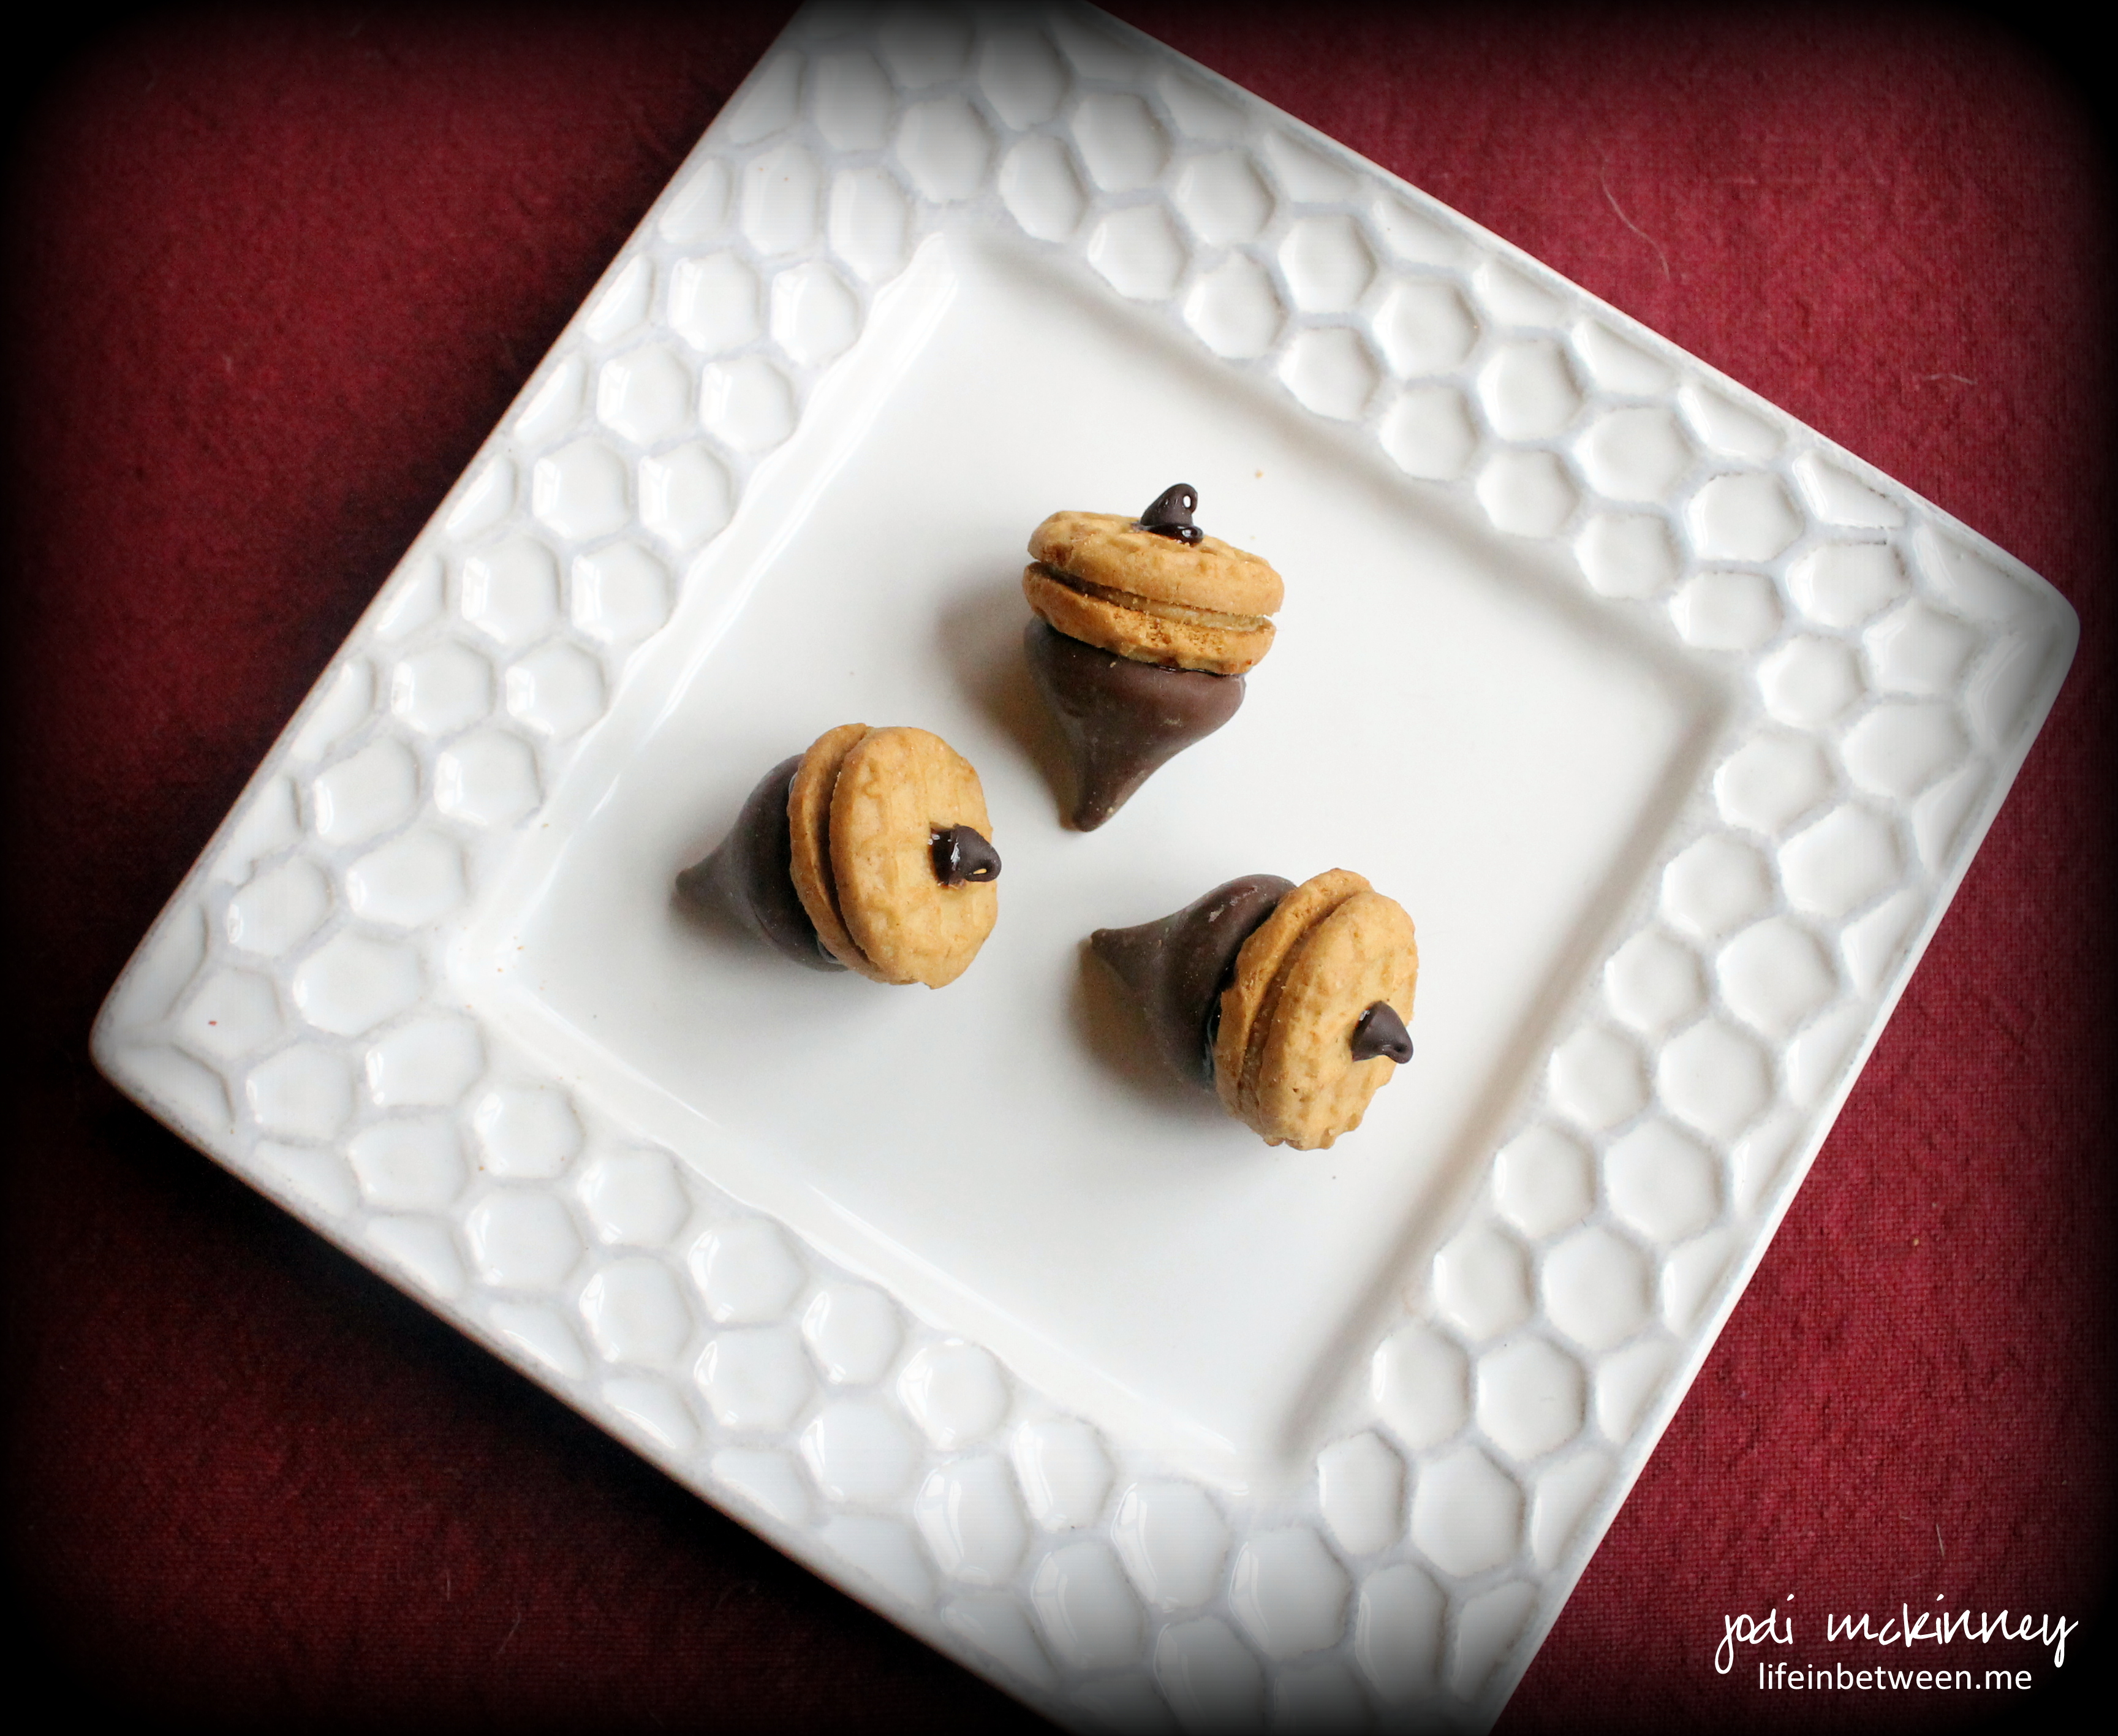
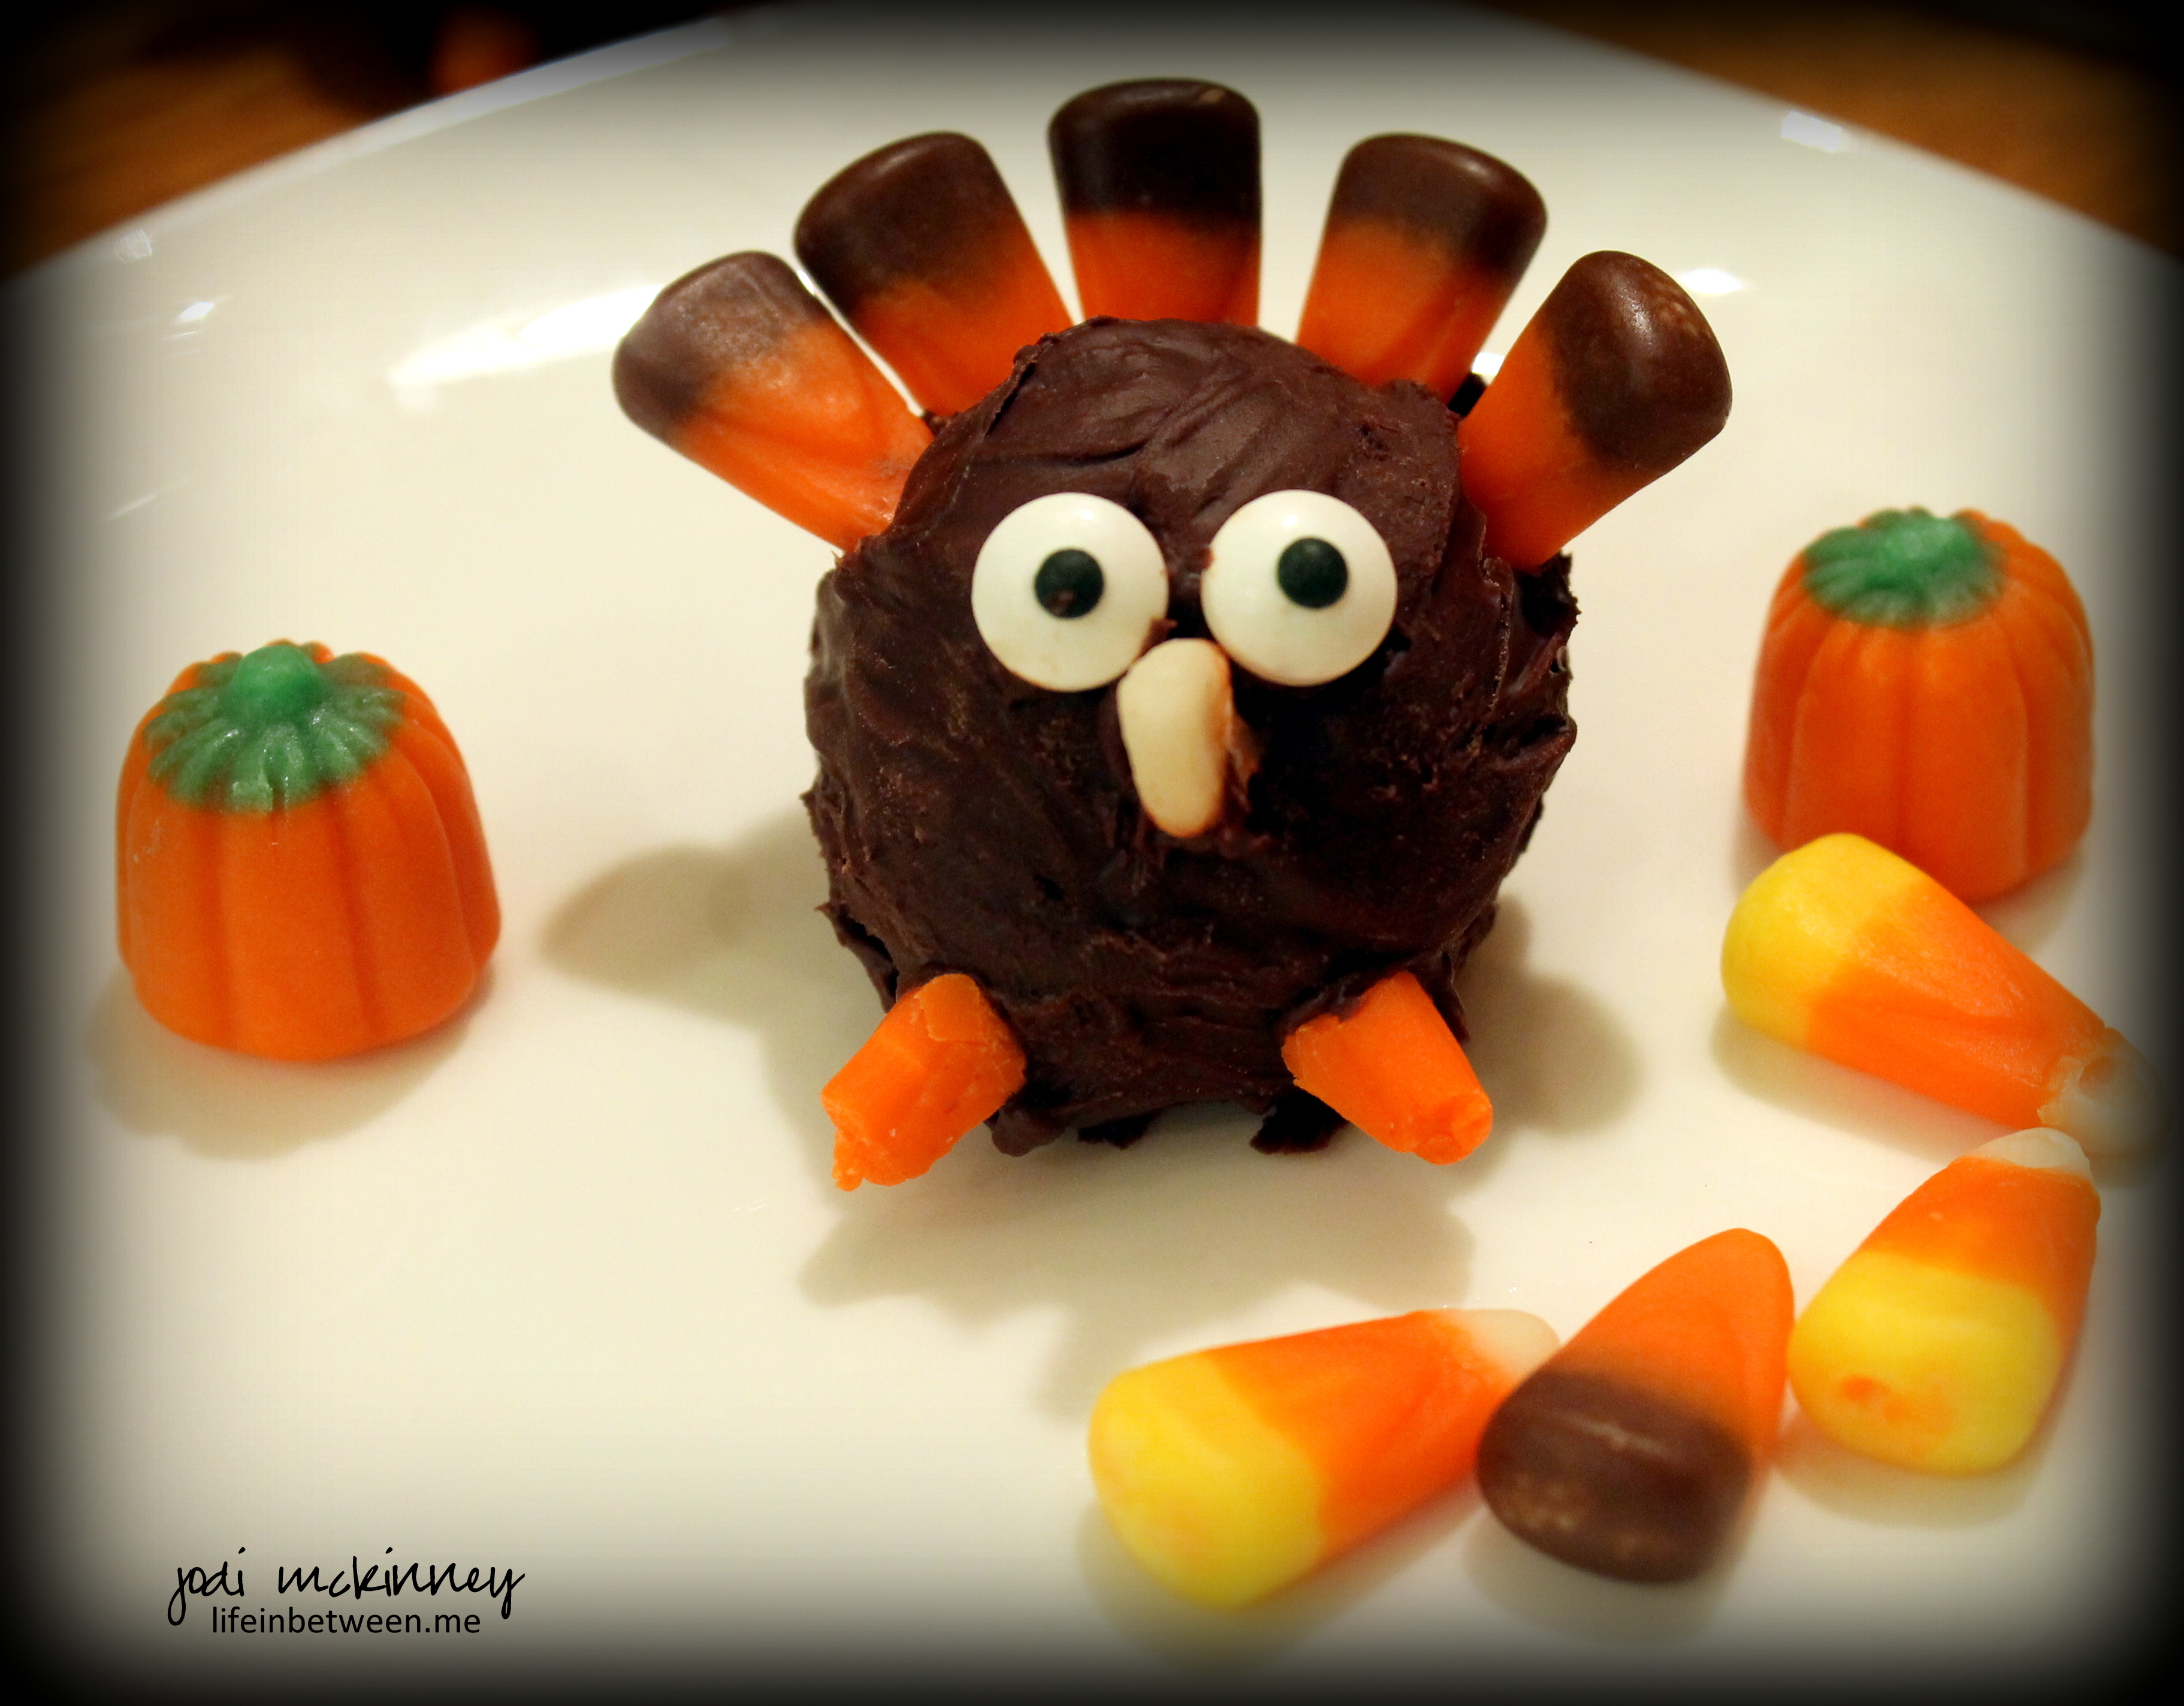
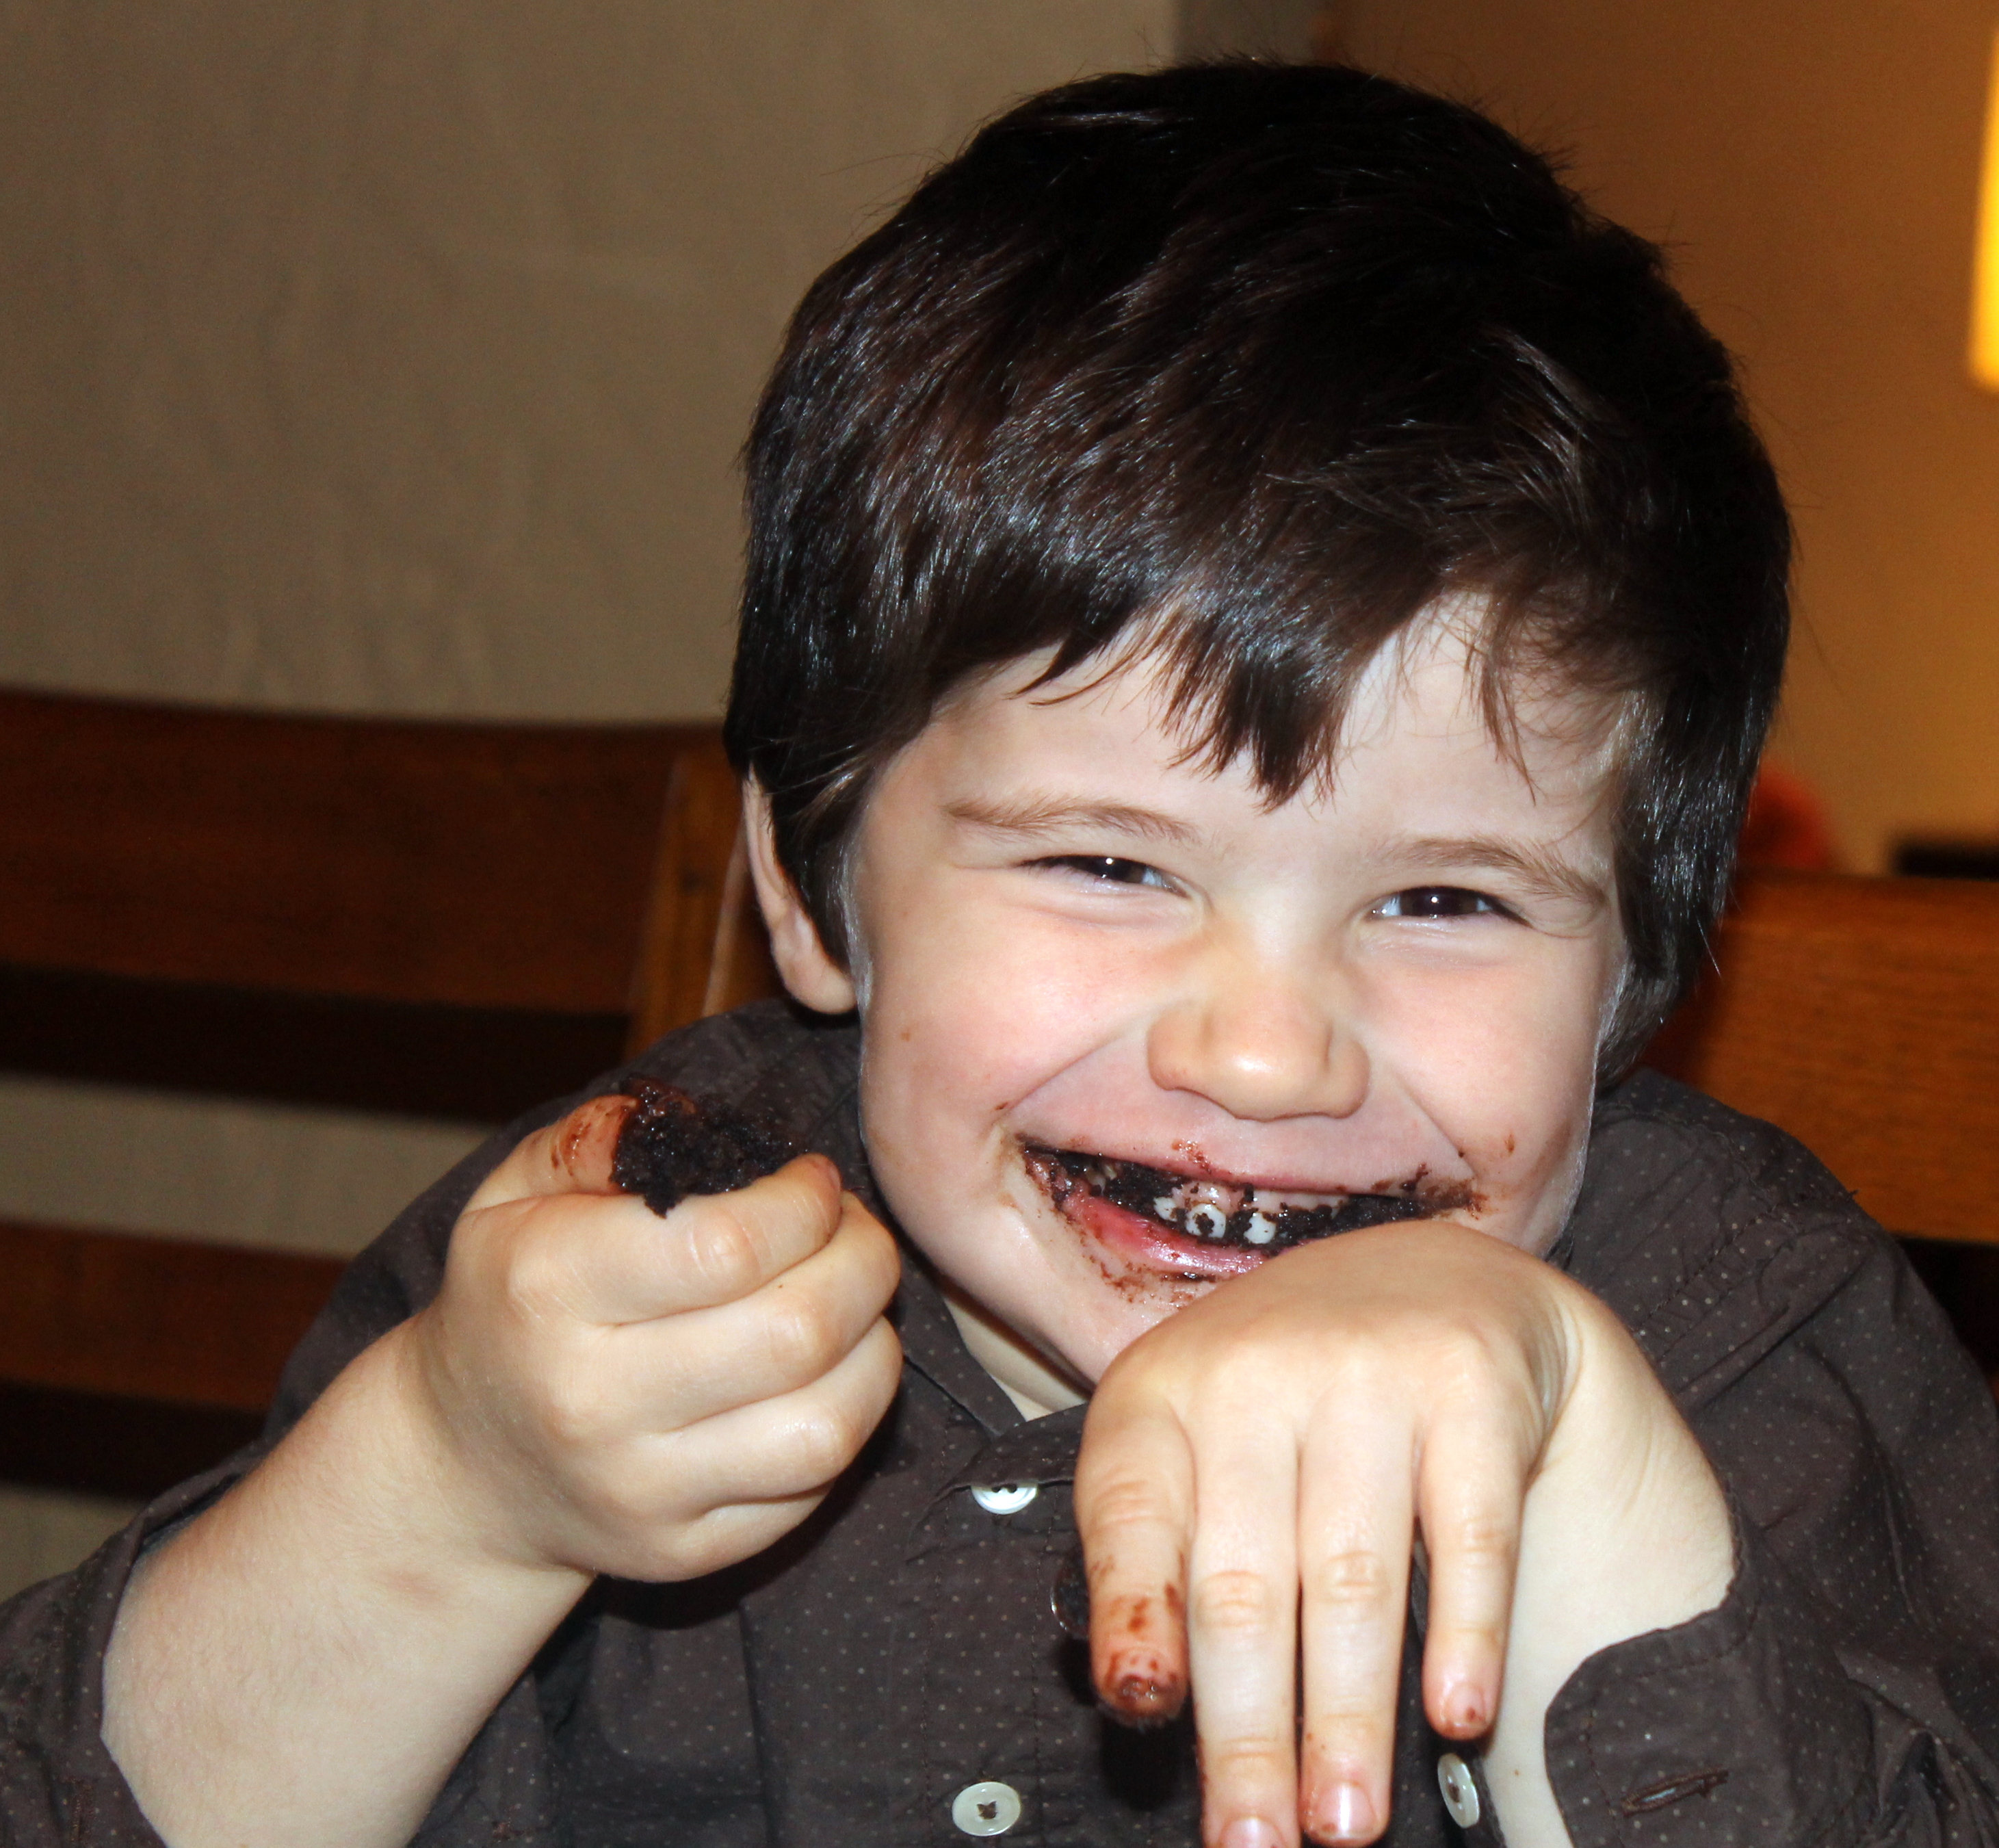
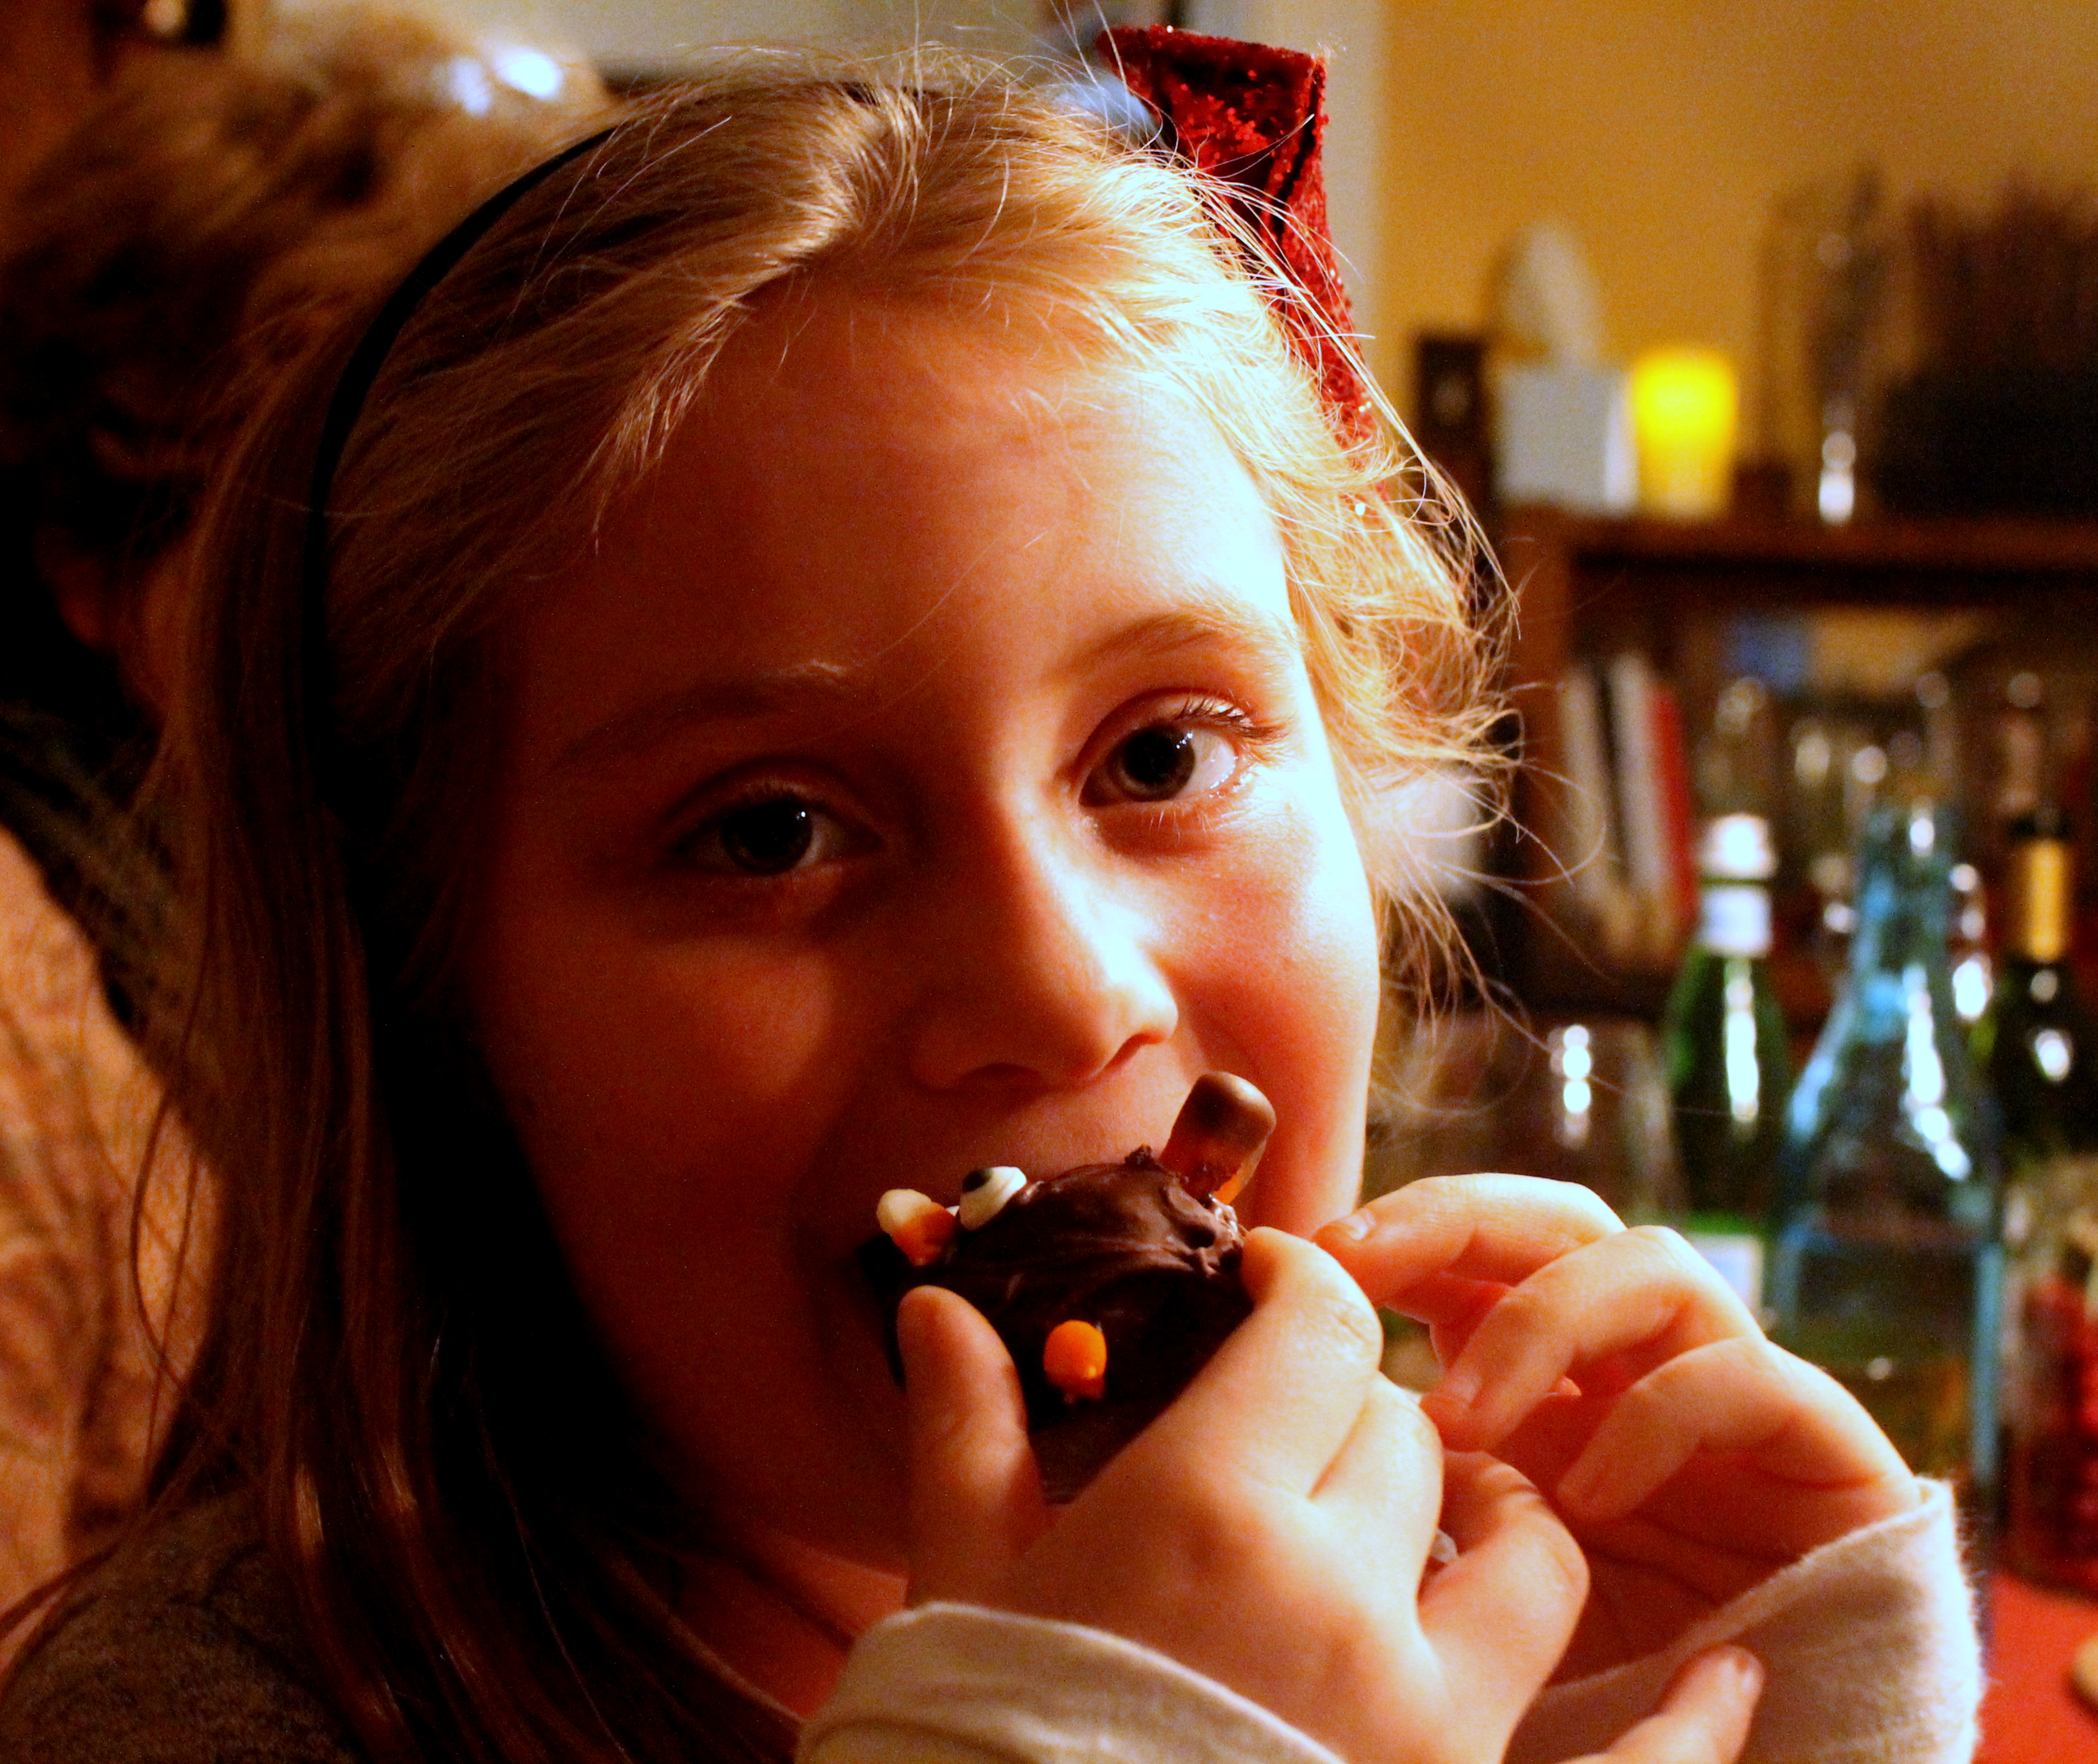
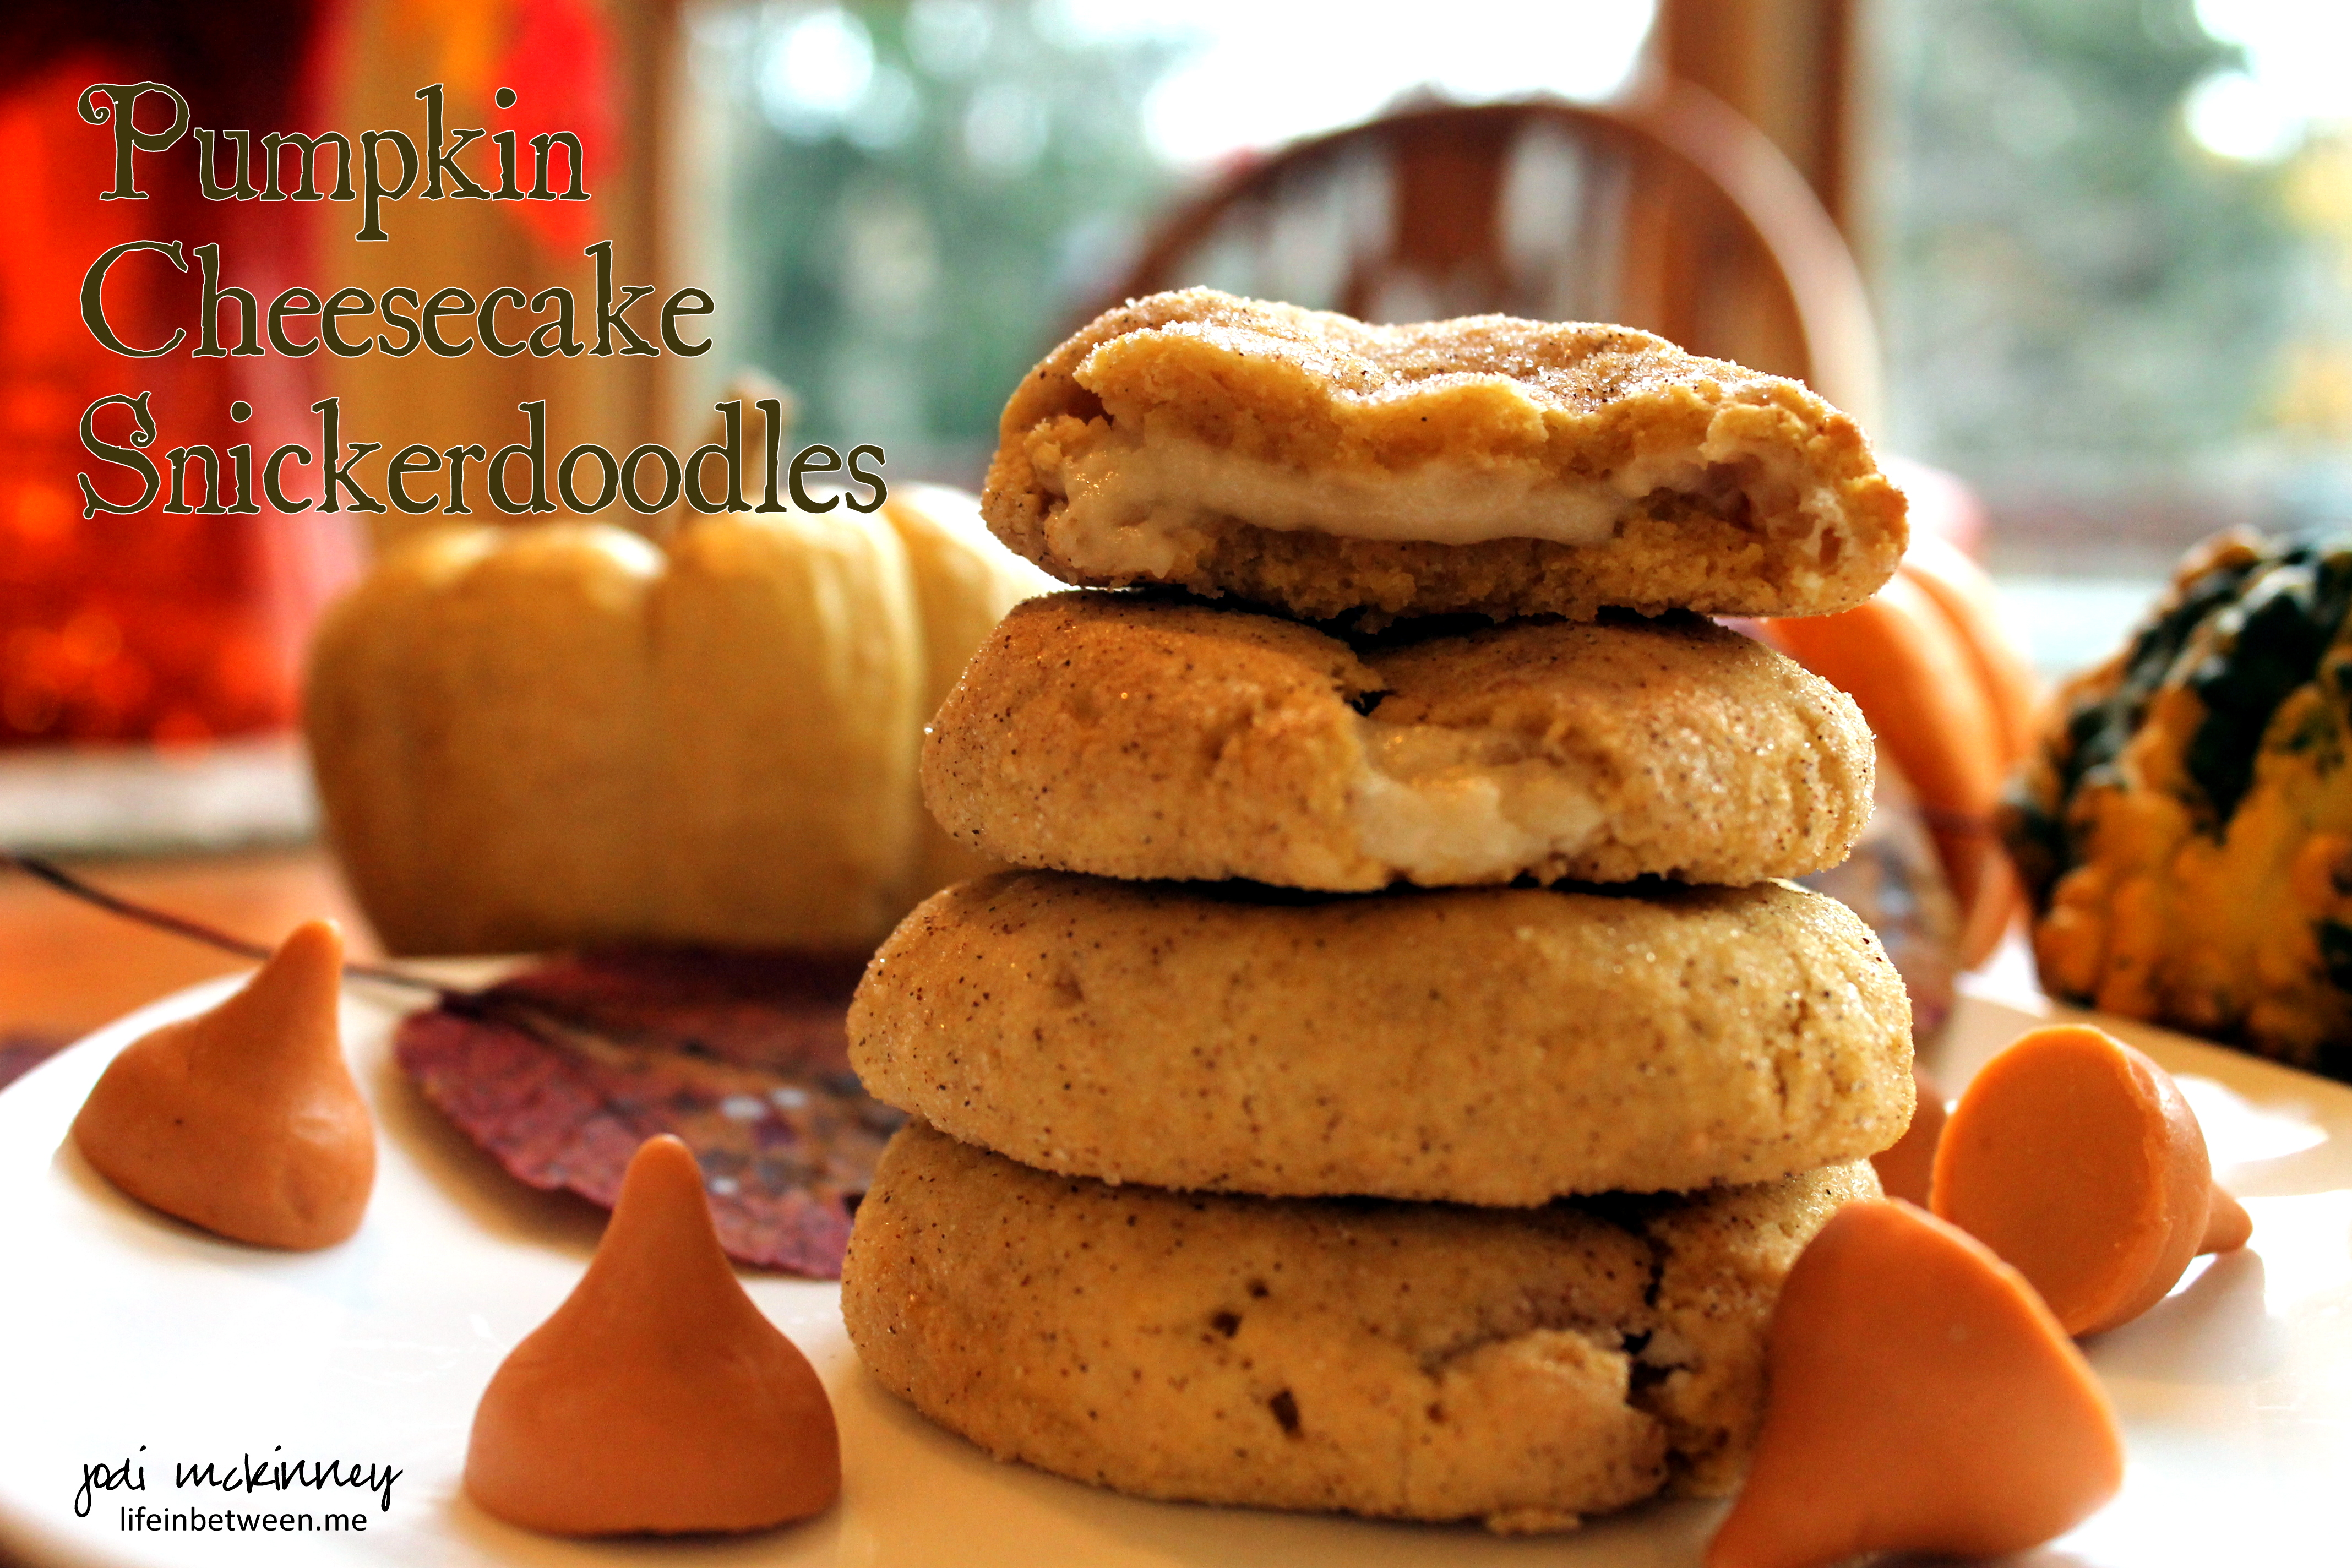
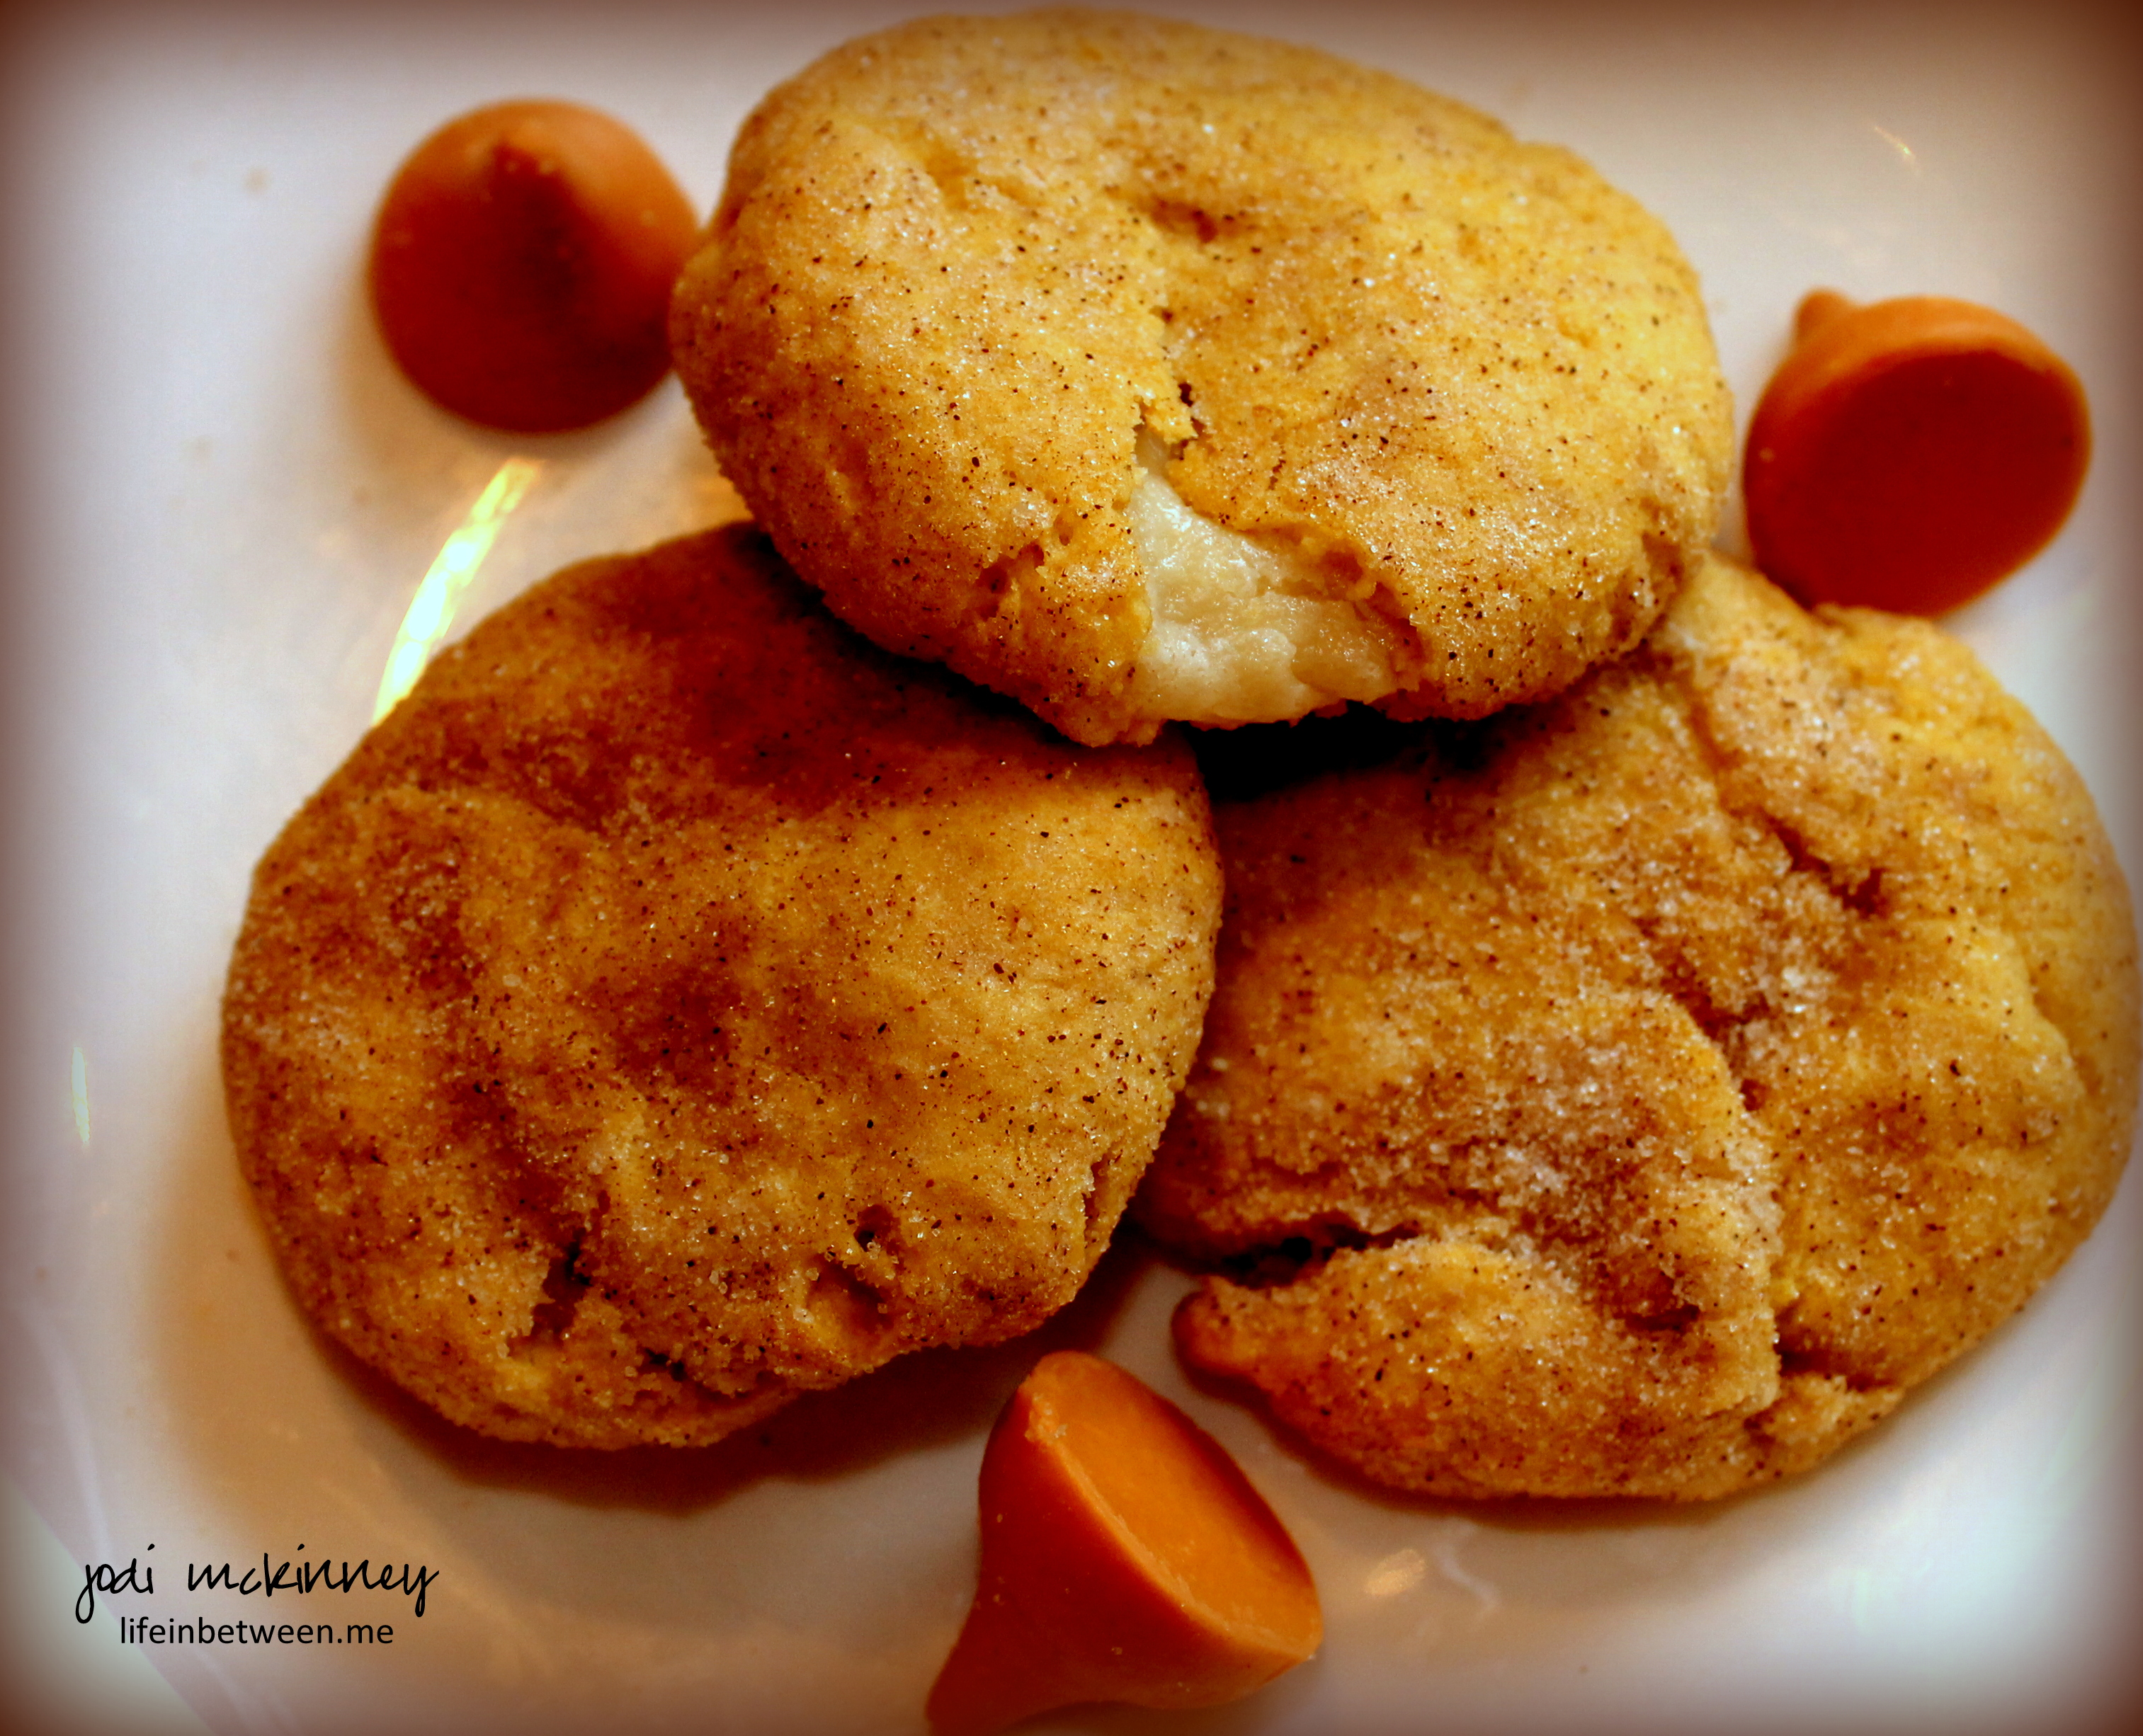
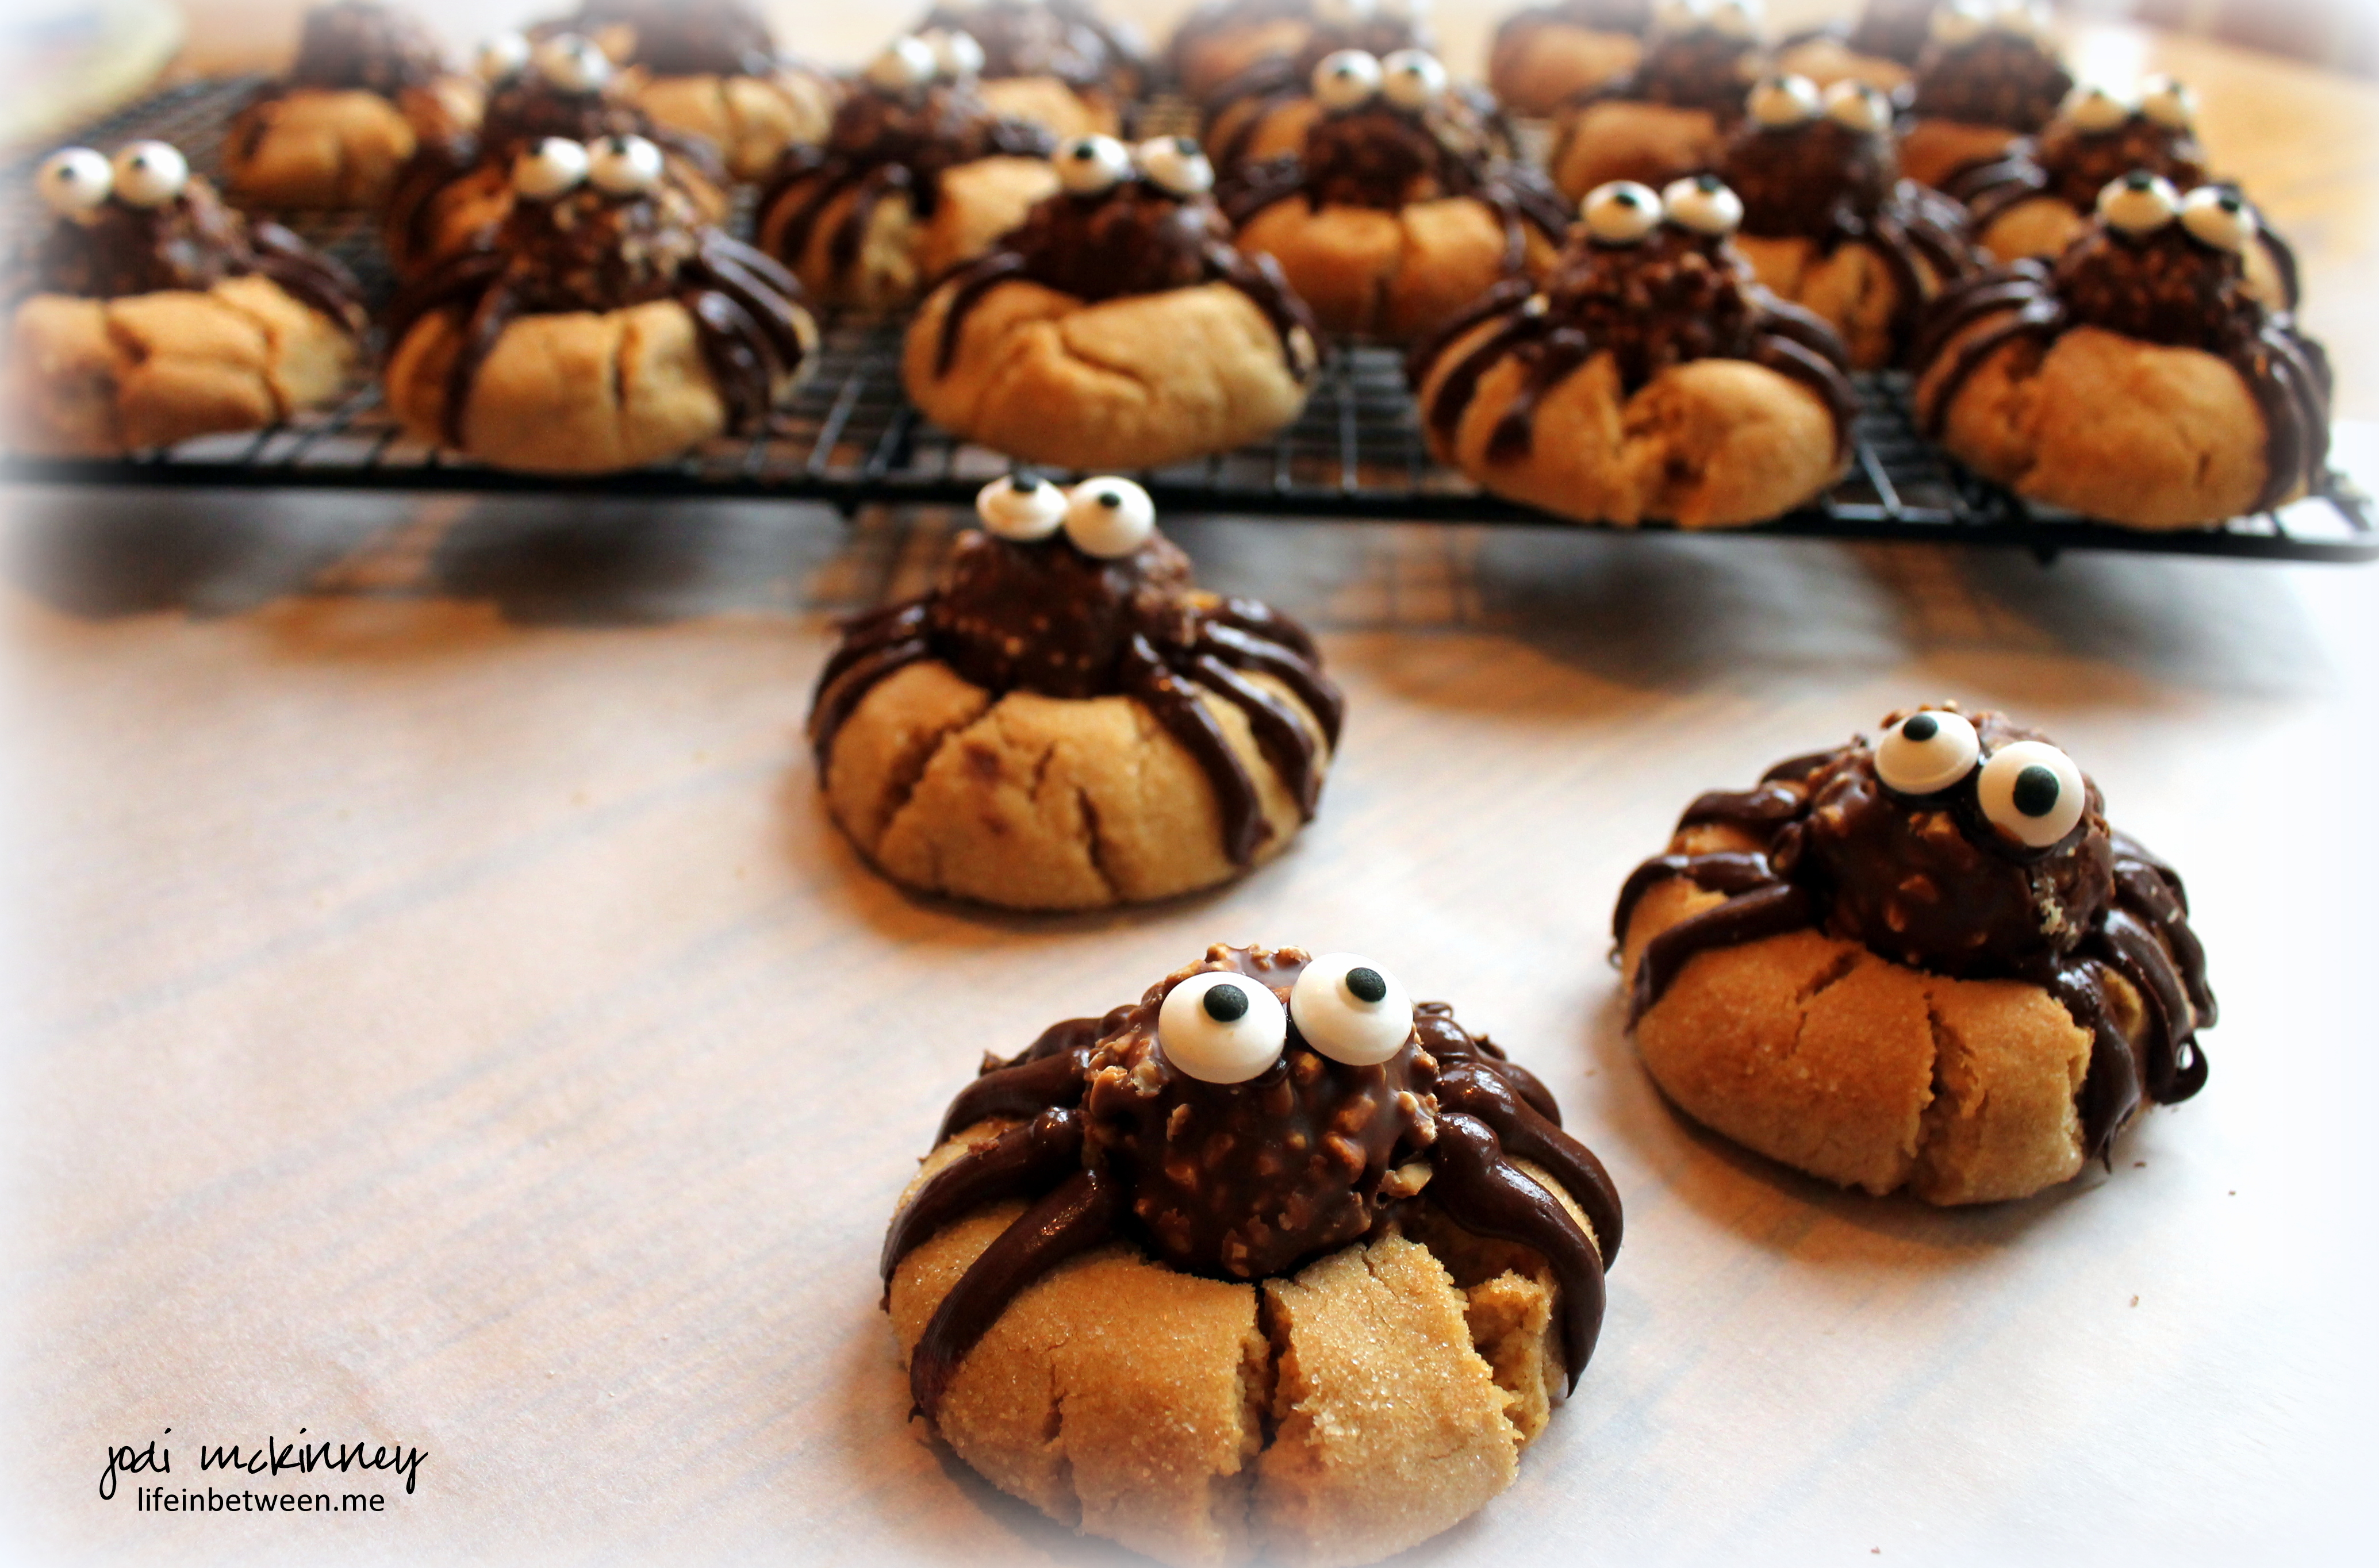
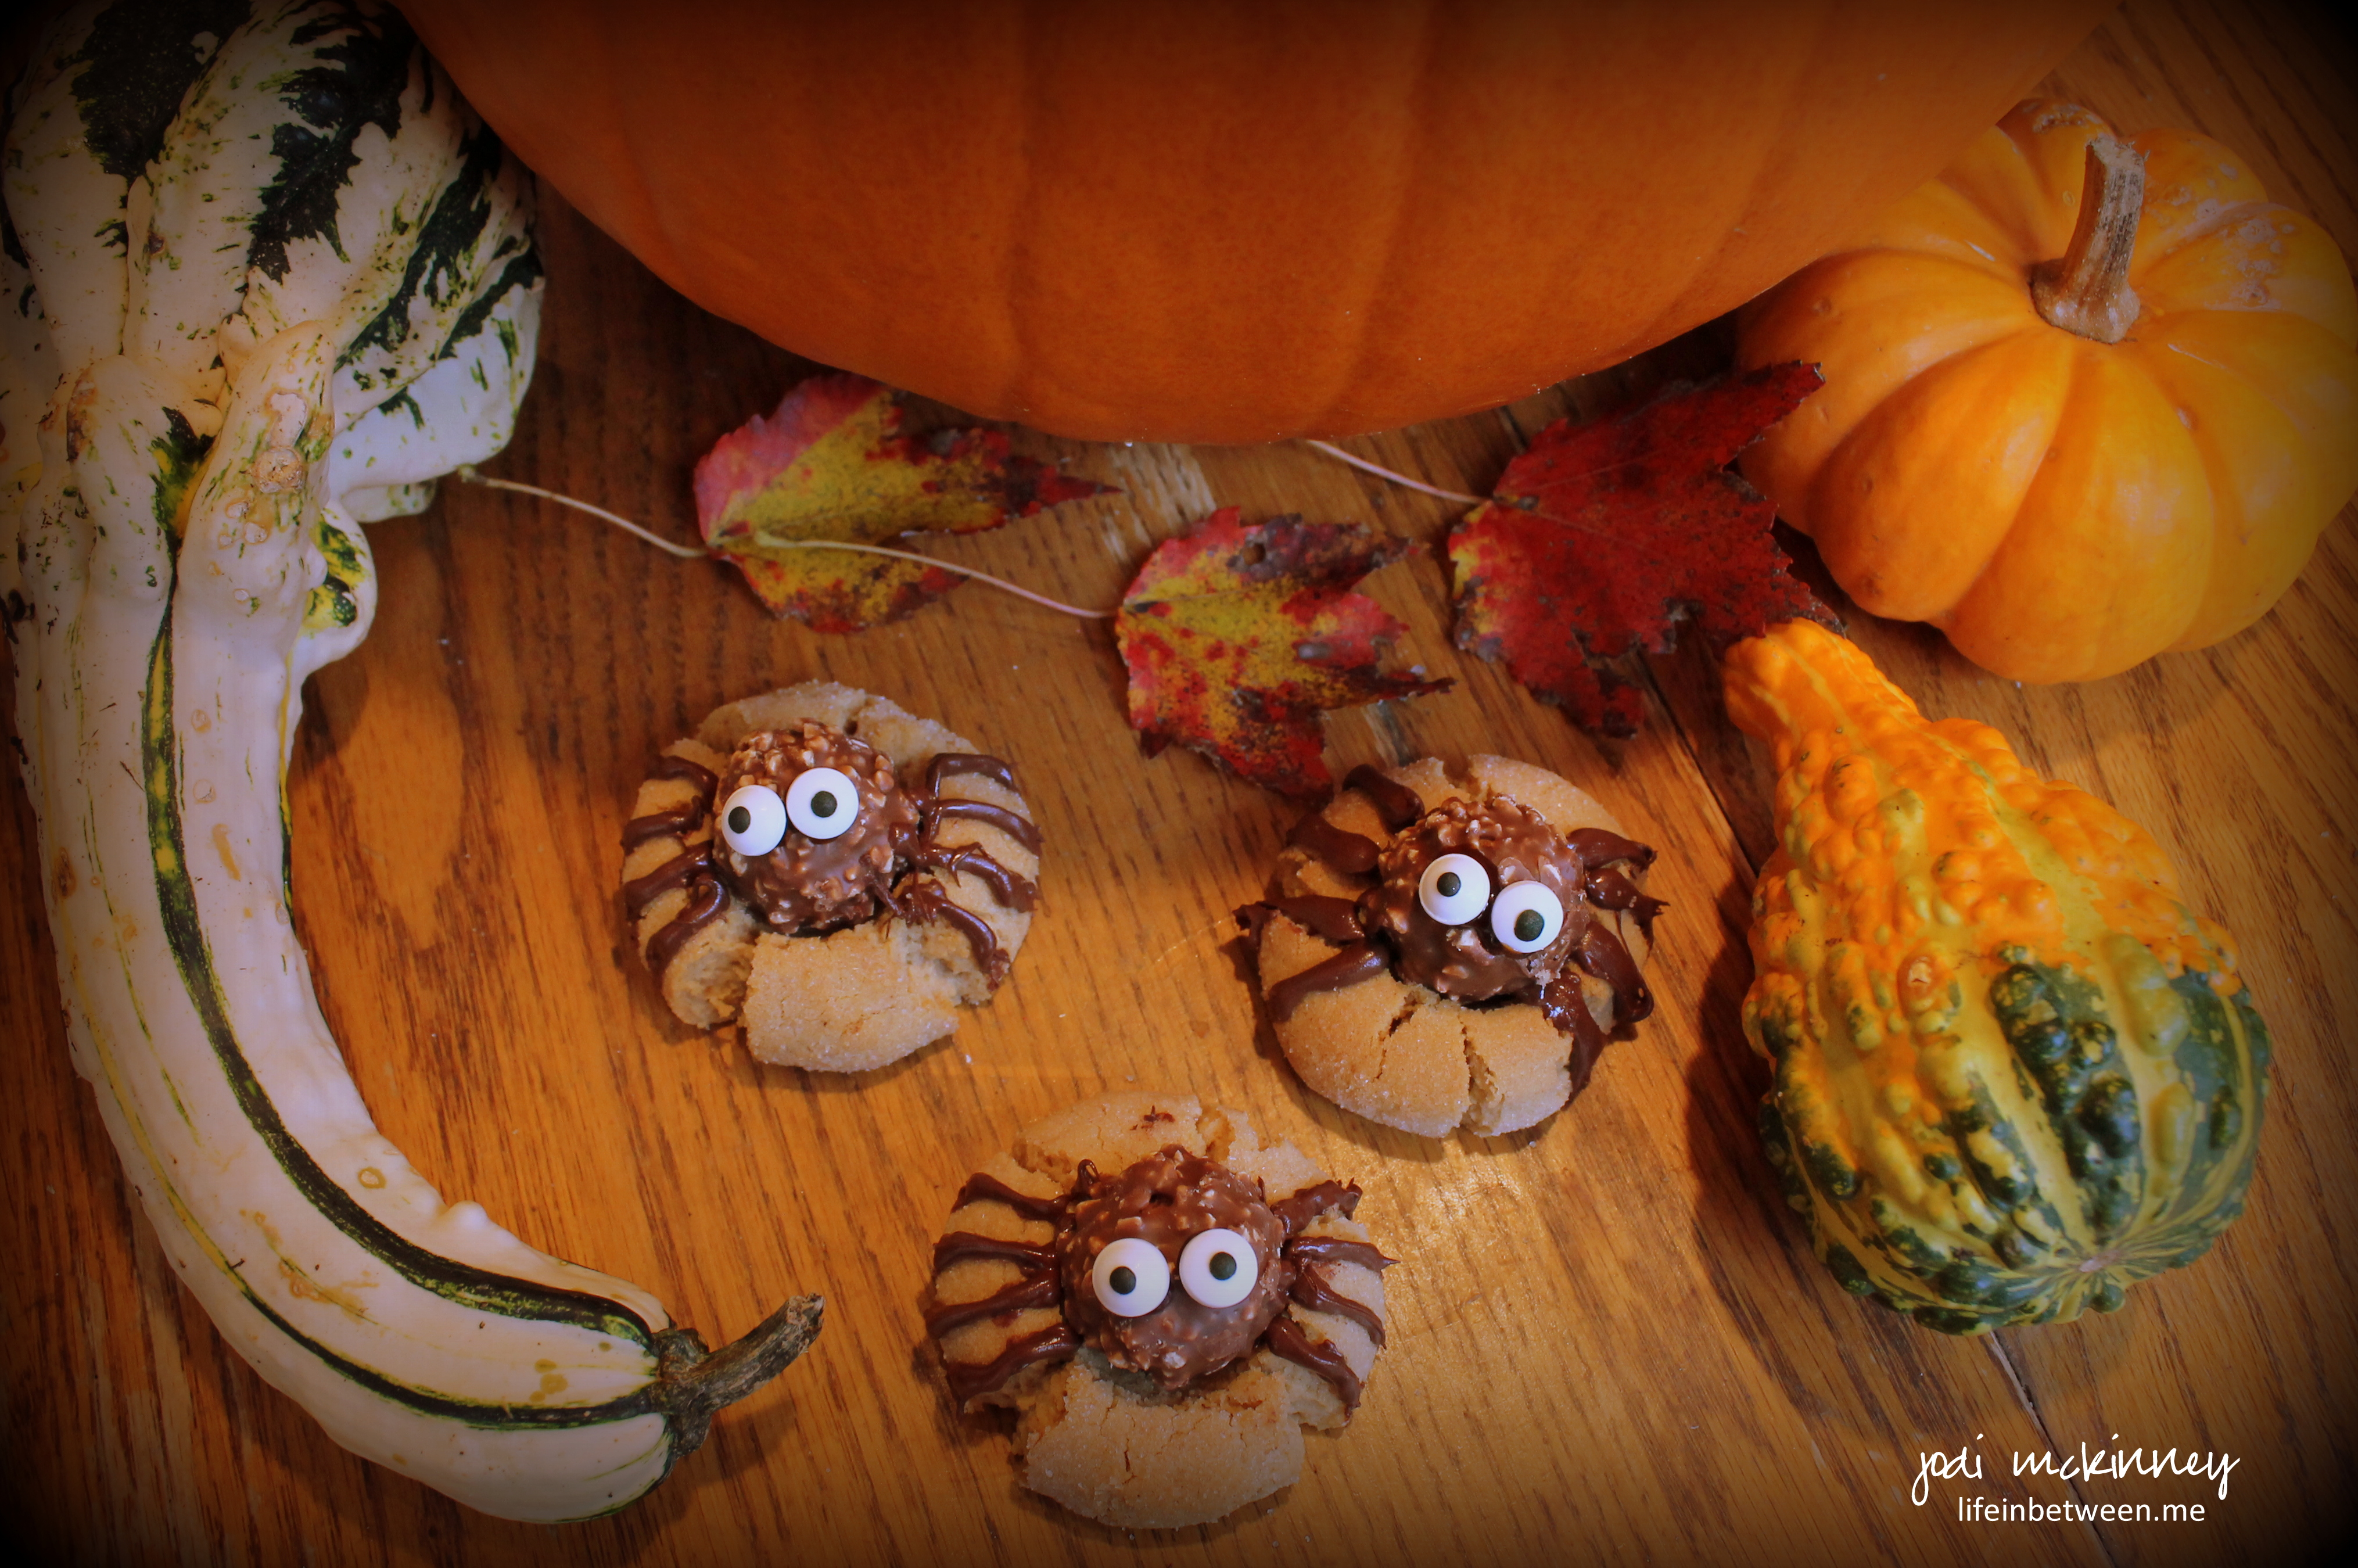
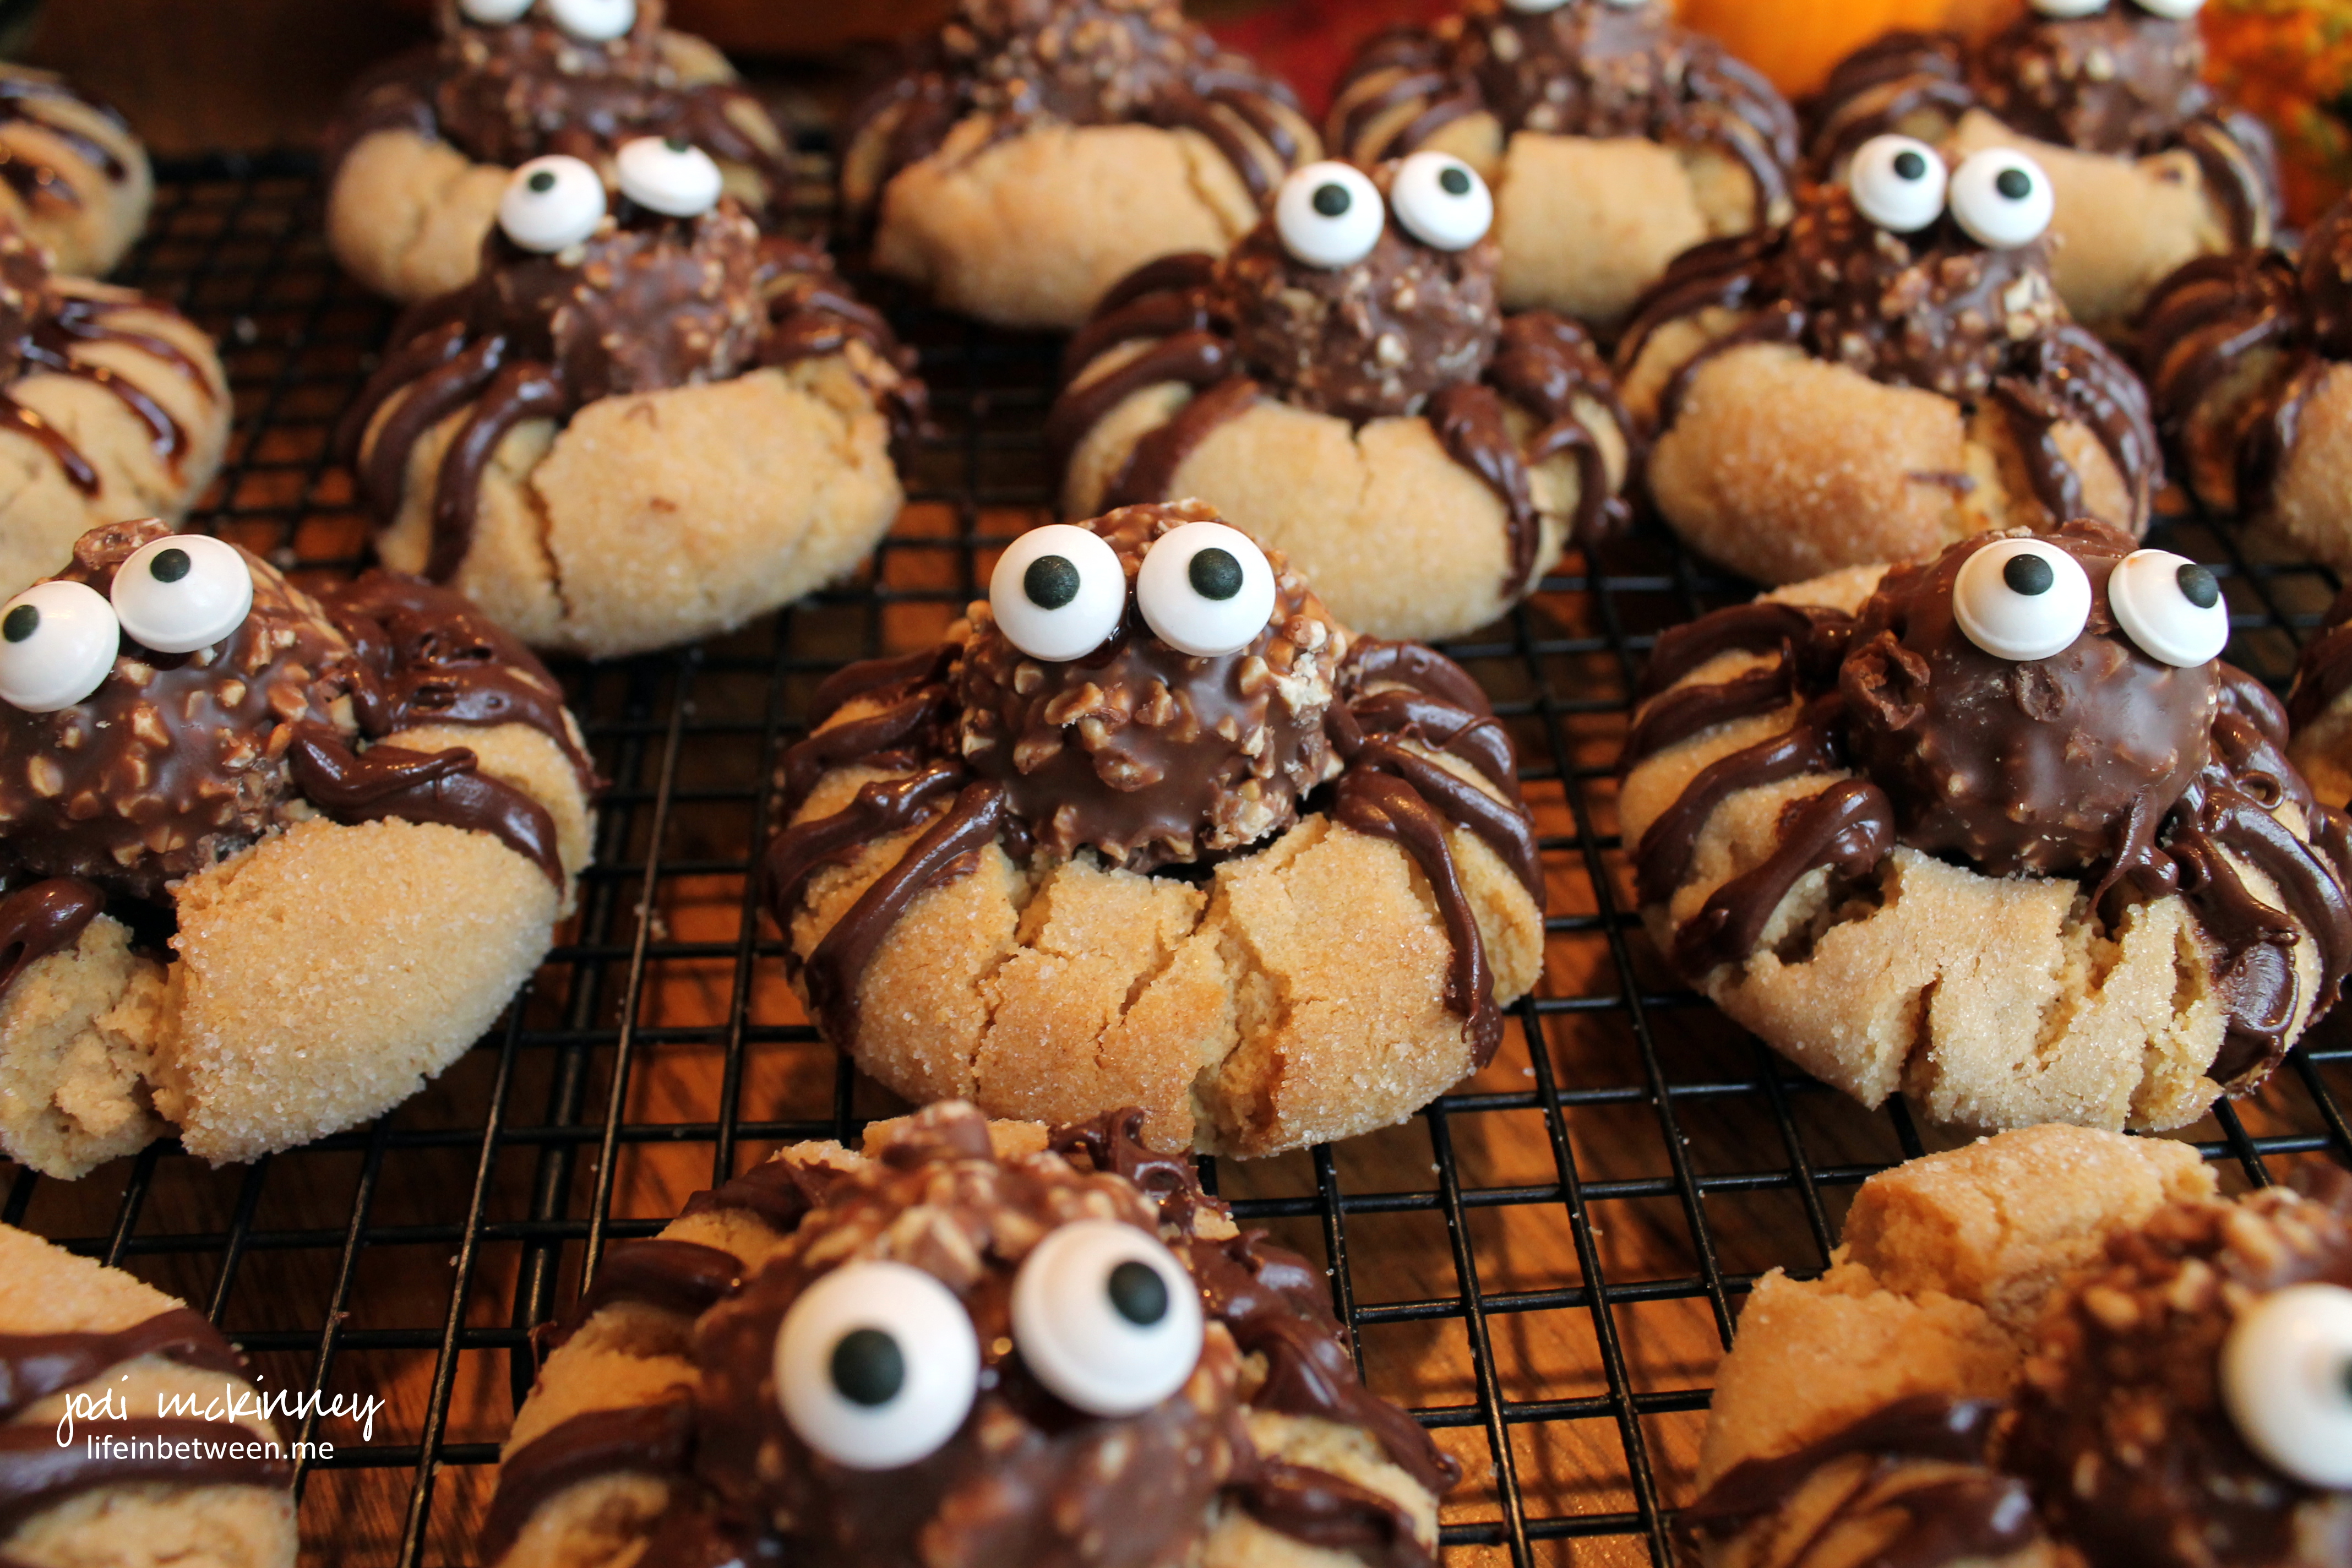
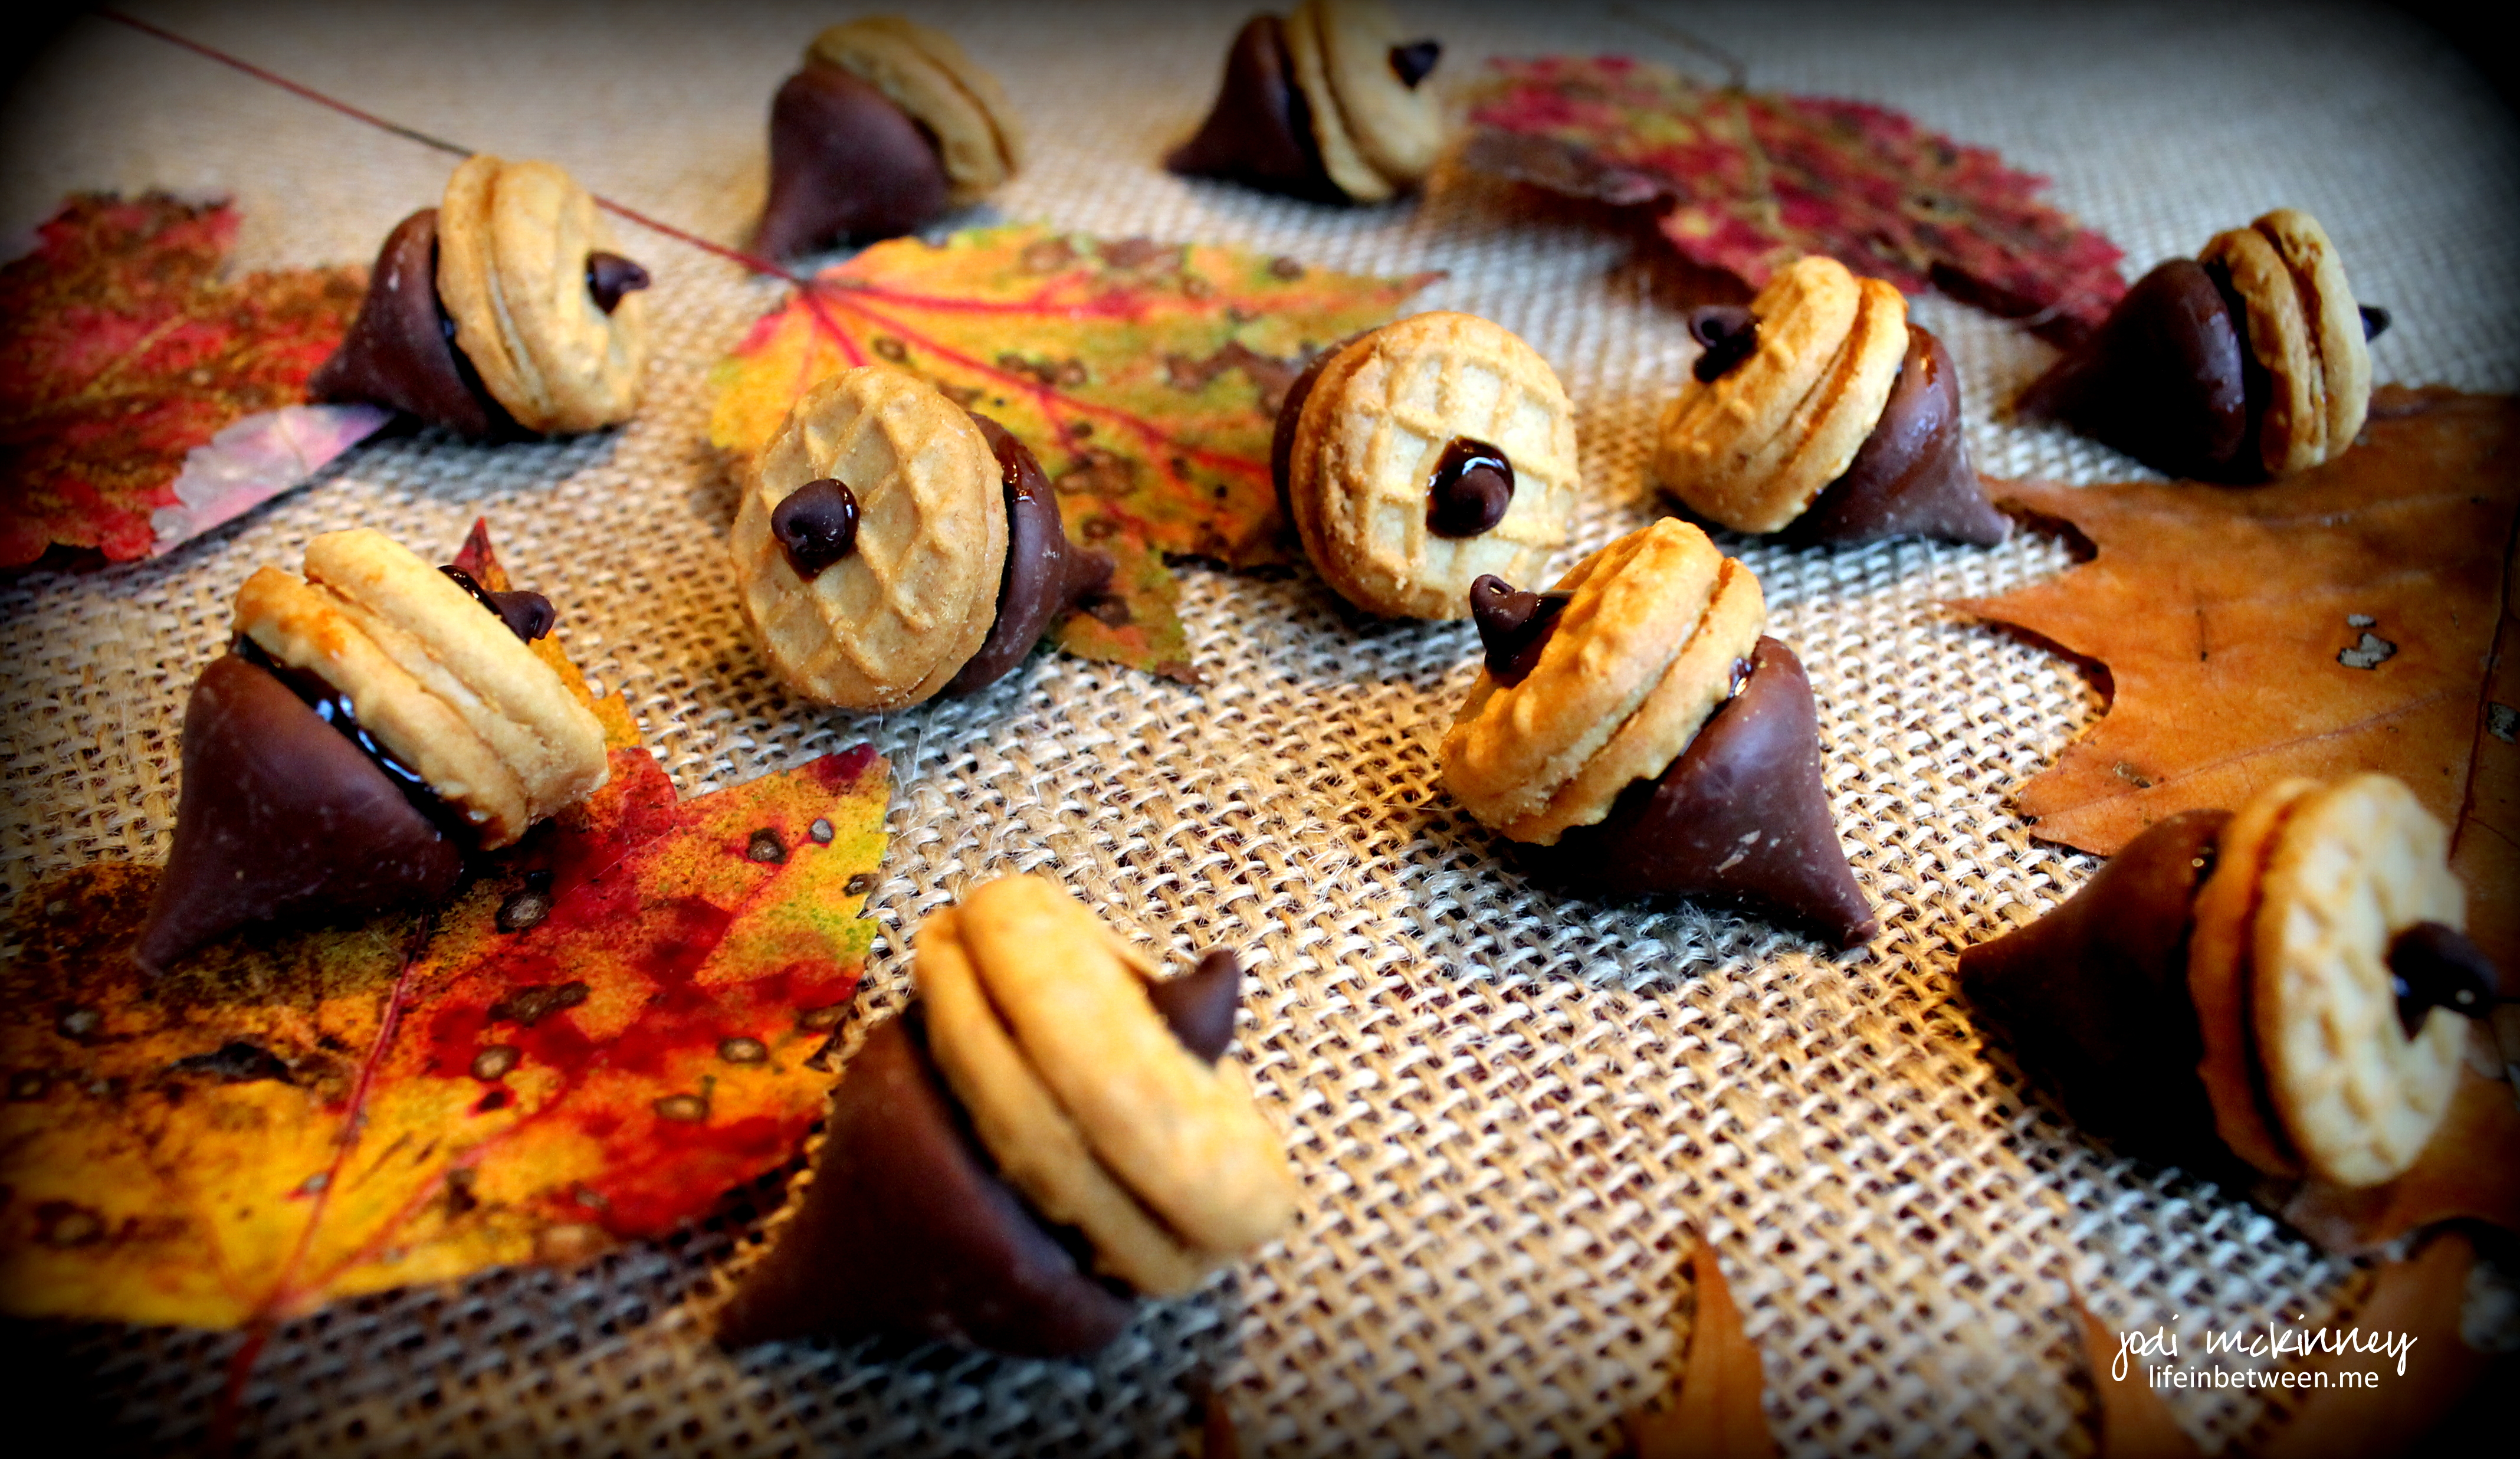 Aren’t they so stinking cute?!
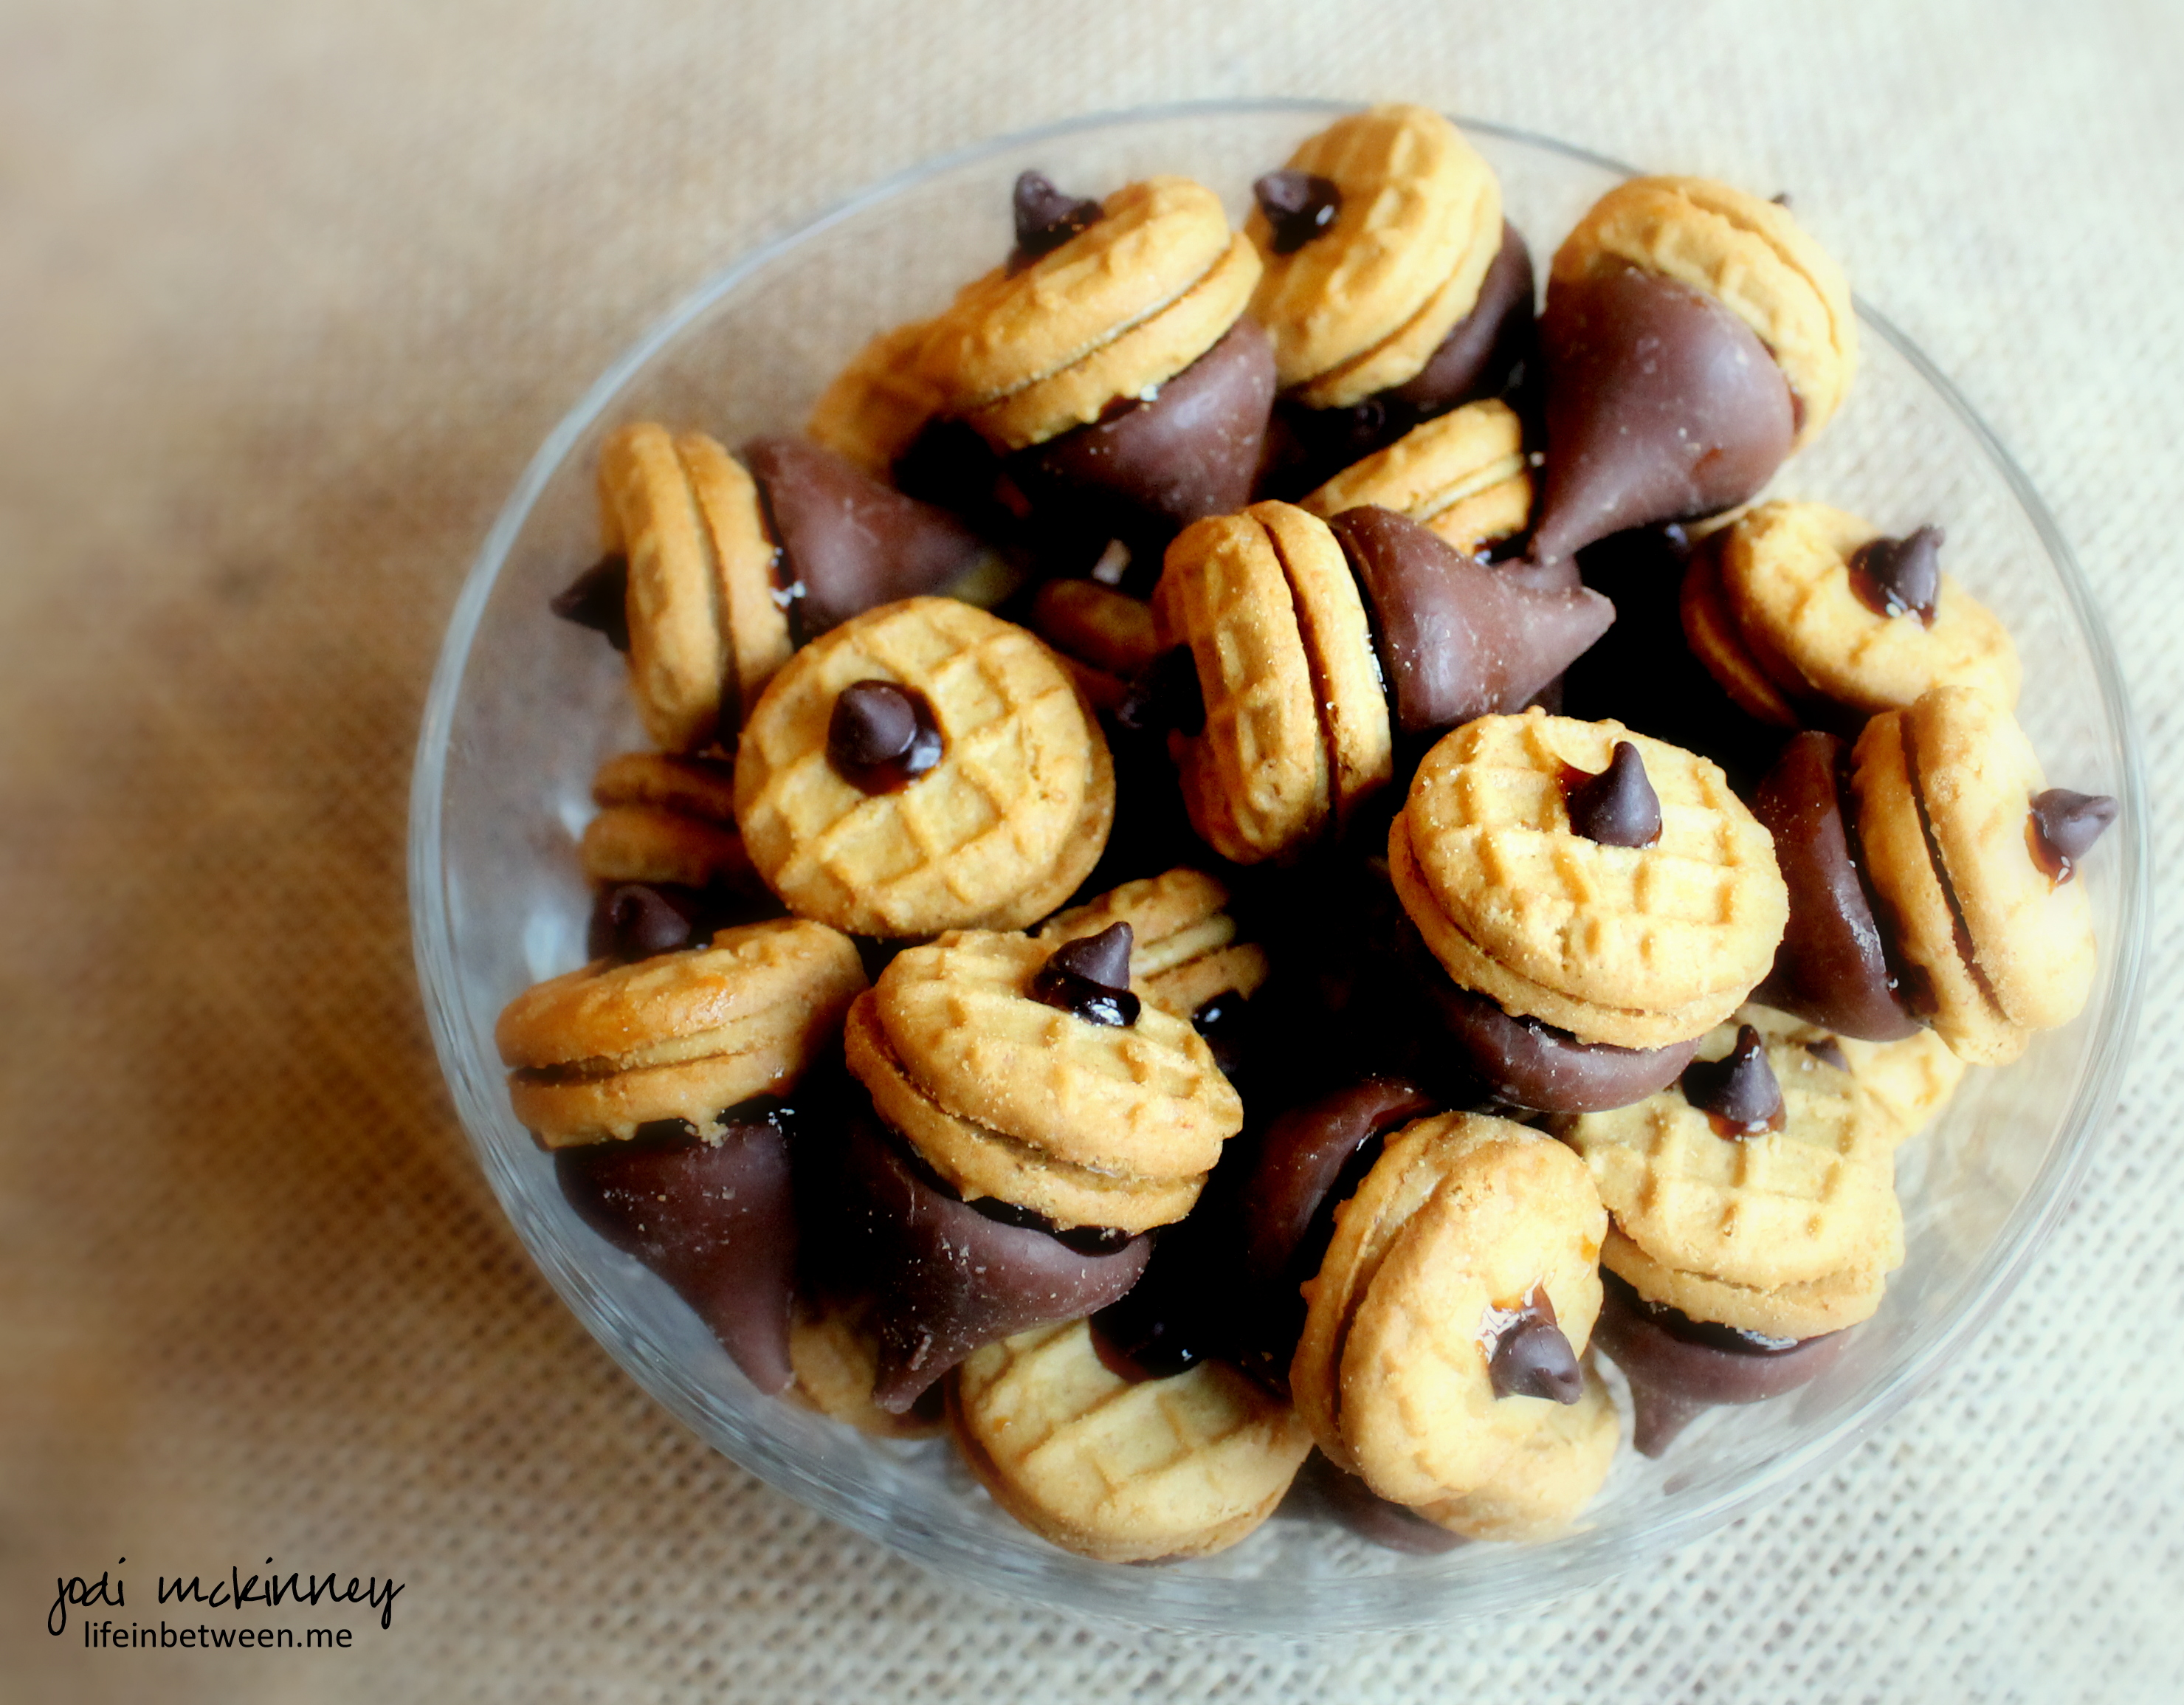
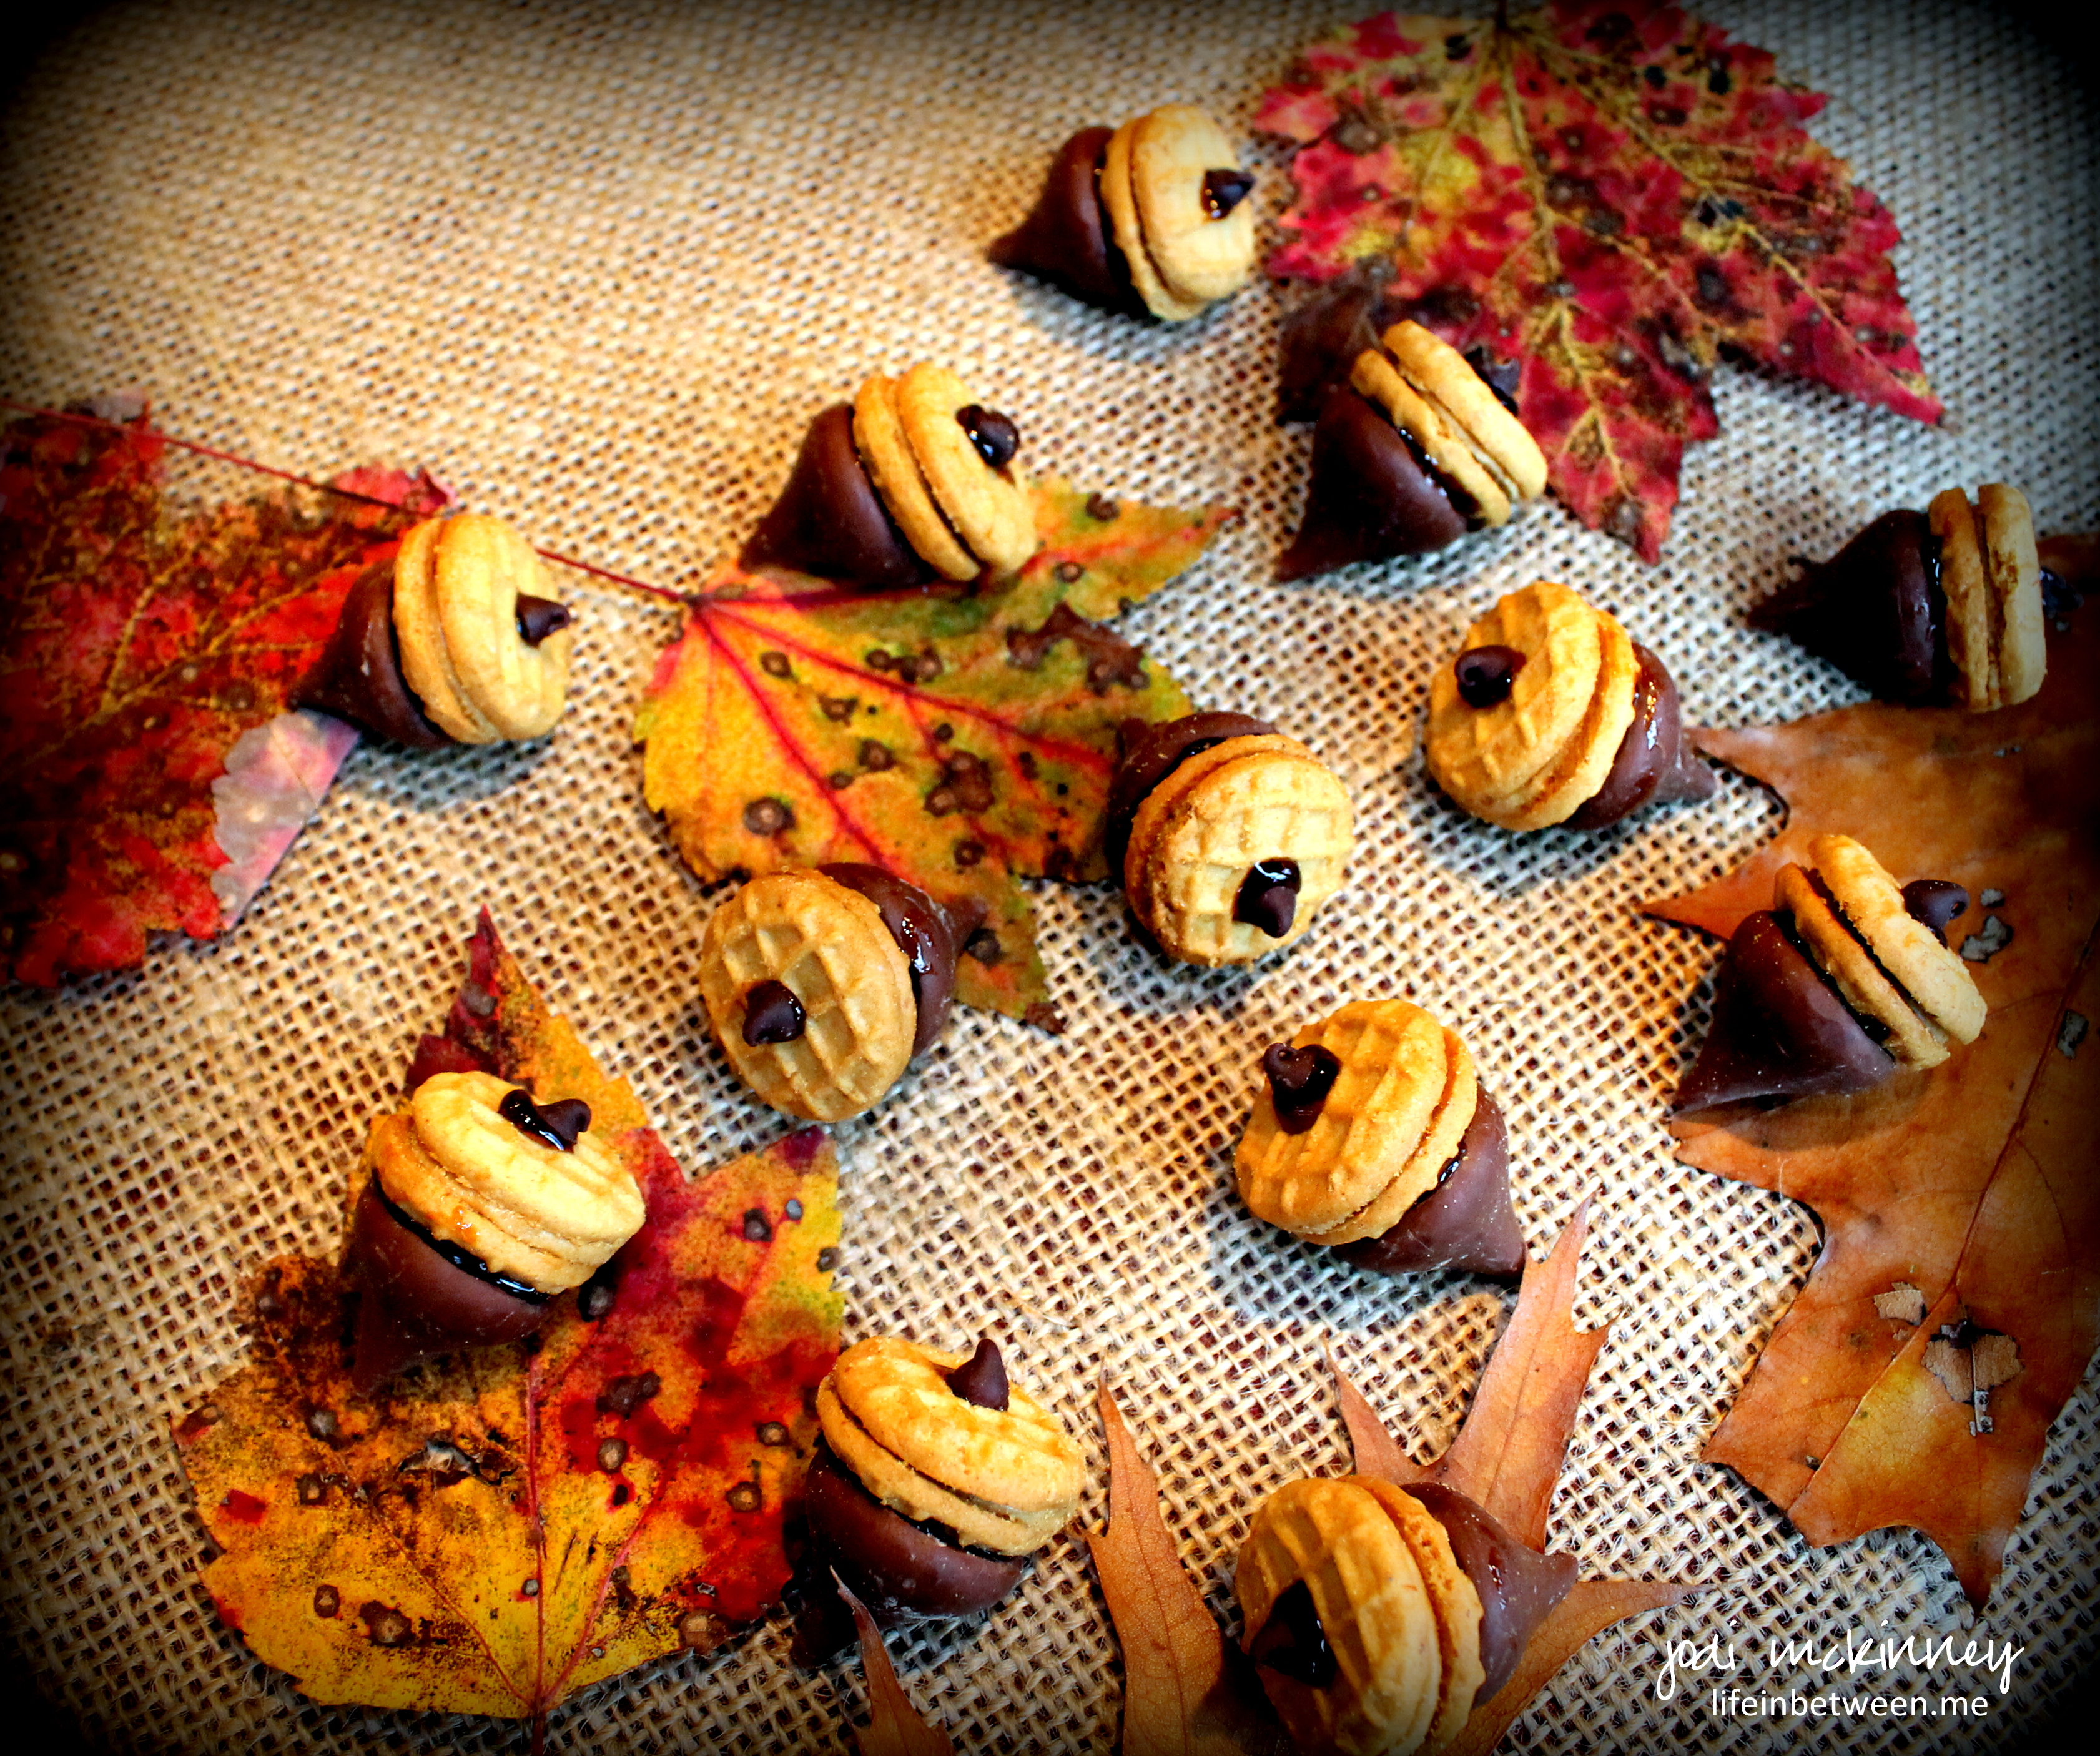 and even more sweet to eat!