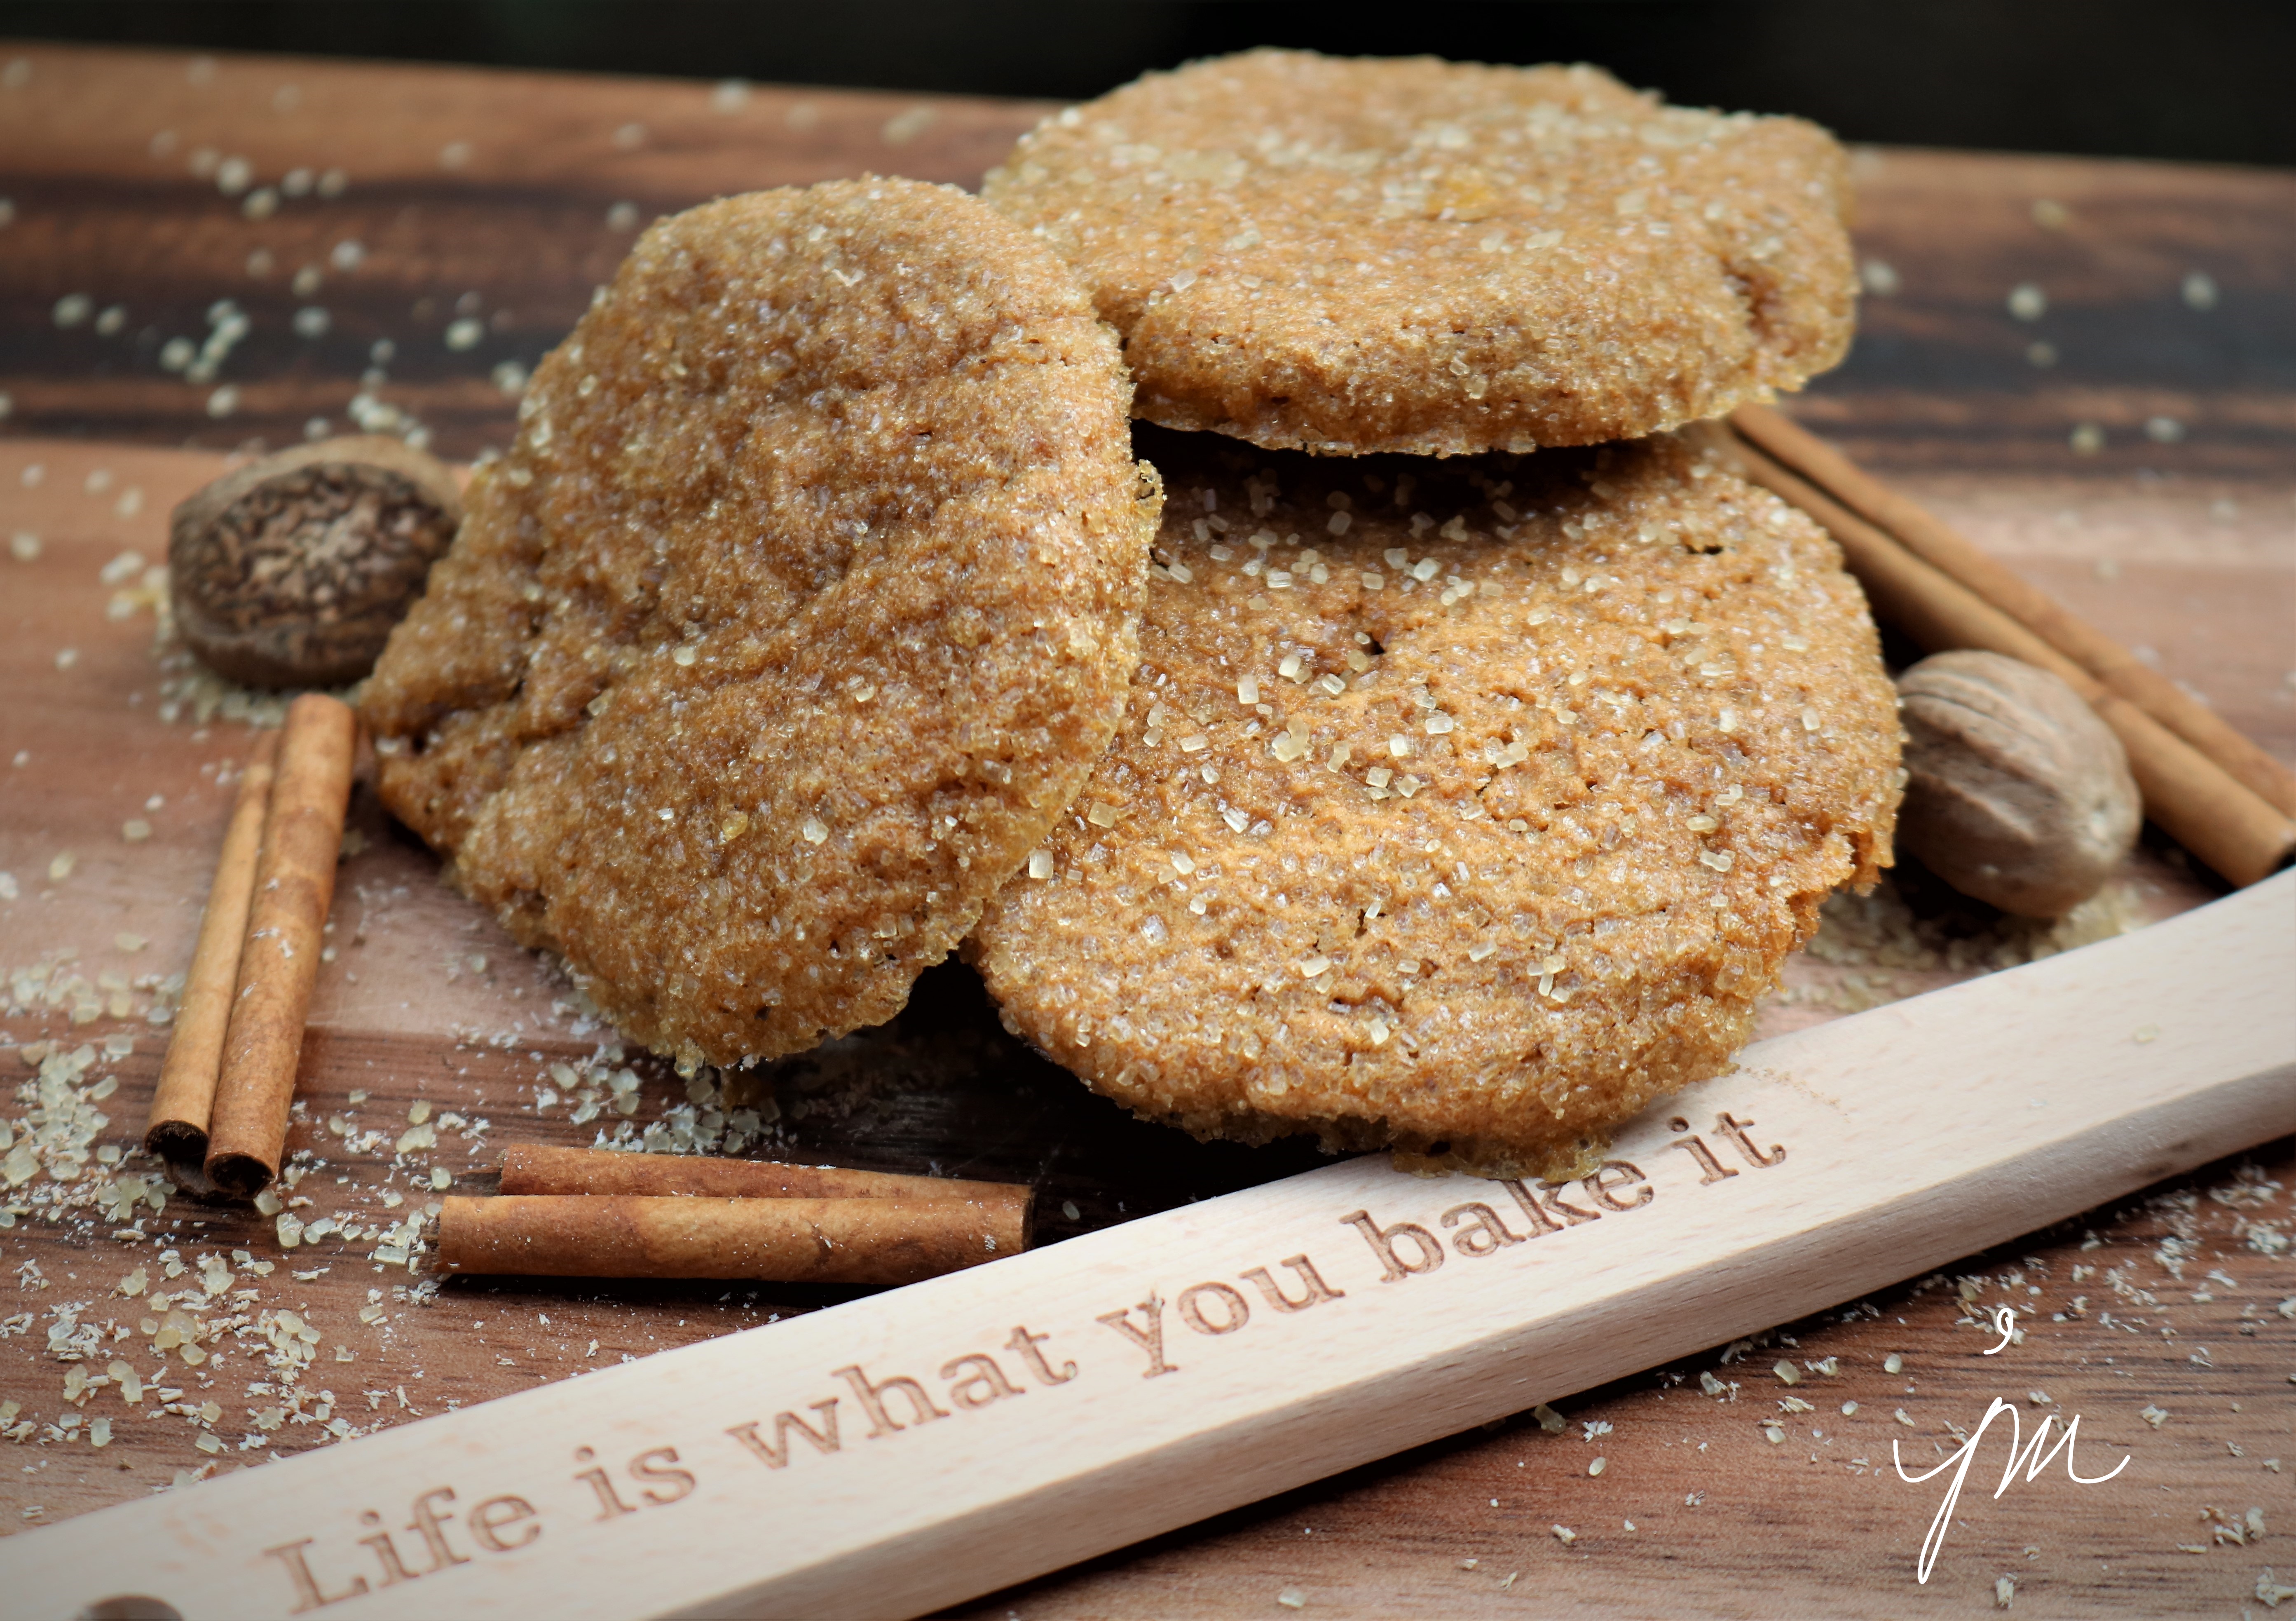
Fancy Sprinkles

Fancy Sprinkles.

I’ve mentioned before...  I kinda have a “thing” for sprinkles.

Well… what a SWEET surprise I came home to yesterday after an especially long day at the office to find a glittery, sparkly package in the mail pile with a sweet note from my bestie!

She has a knack for always knowing the right timing and just the right thing!

I’ve recently had a couple cookie fails in my attempts to try “something new” for Christmas cookies.

UGH!

Yep – happens to all of us I guess.

One was with a “best ever” sugar cookie recipe a baking blogger claimed to have refined after many attempts to create the absolute best.

Well…. NOT!  At least for me.  I knew when I made the dough, it wasn’t right….

Take it from someone who bakes cookies almost every week.  You get a “feel” for it.

I told hubby the dough felt dry, and I didn’t think they were going to turn out.

I baked a batch, and yep…. DRY!  (Though hubby didn’t seem to mind spreading jam on them like biscuits and enjoying them.

For some reason, I just can’t seem to make sugar cut-out cookies.  Anybody else have a “best ever” recipe I should try?

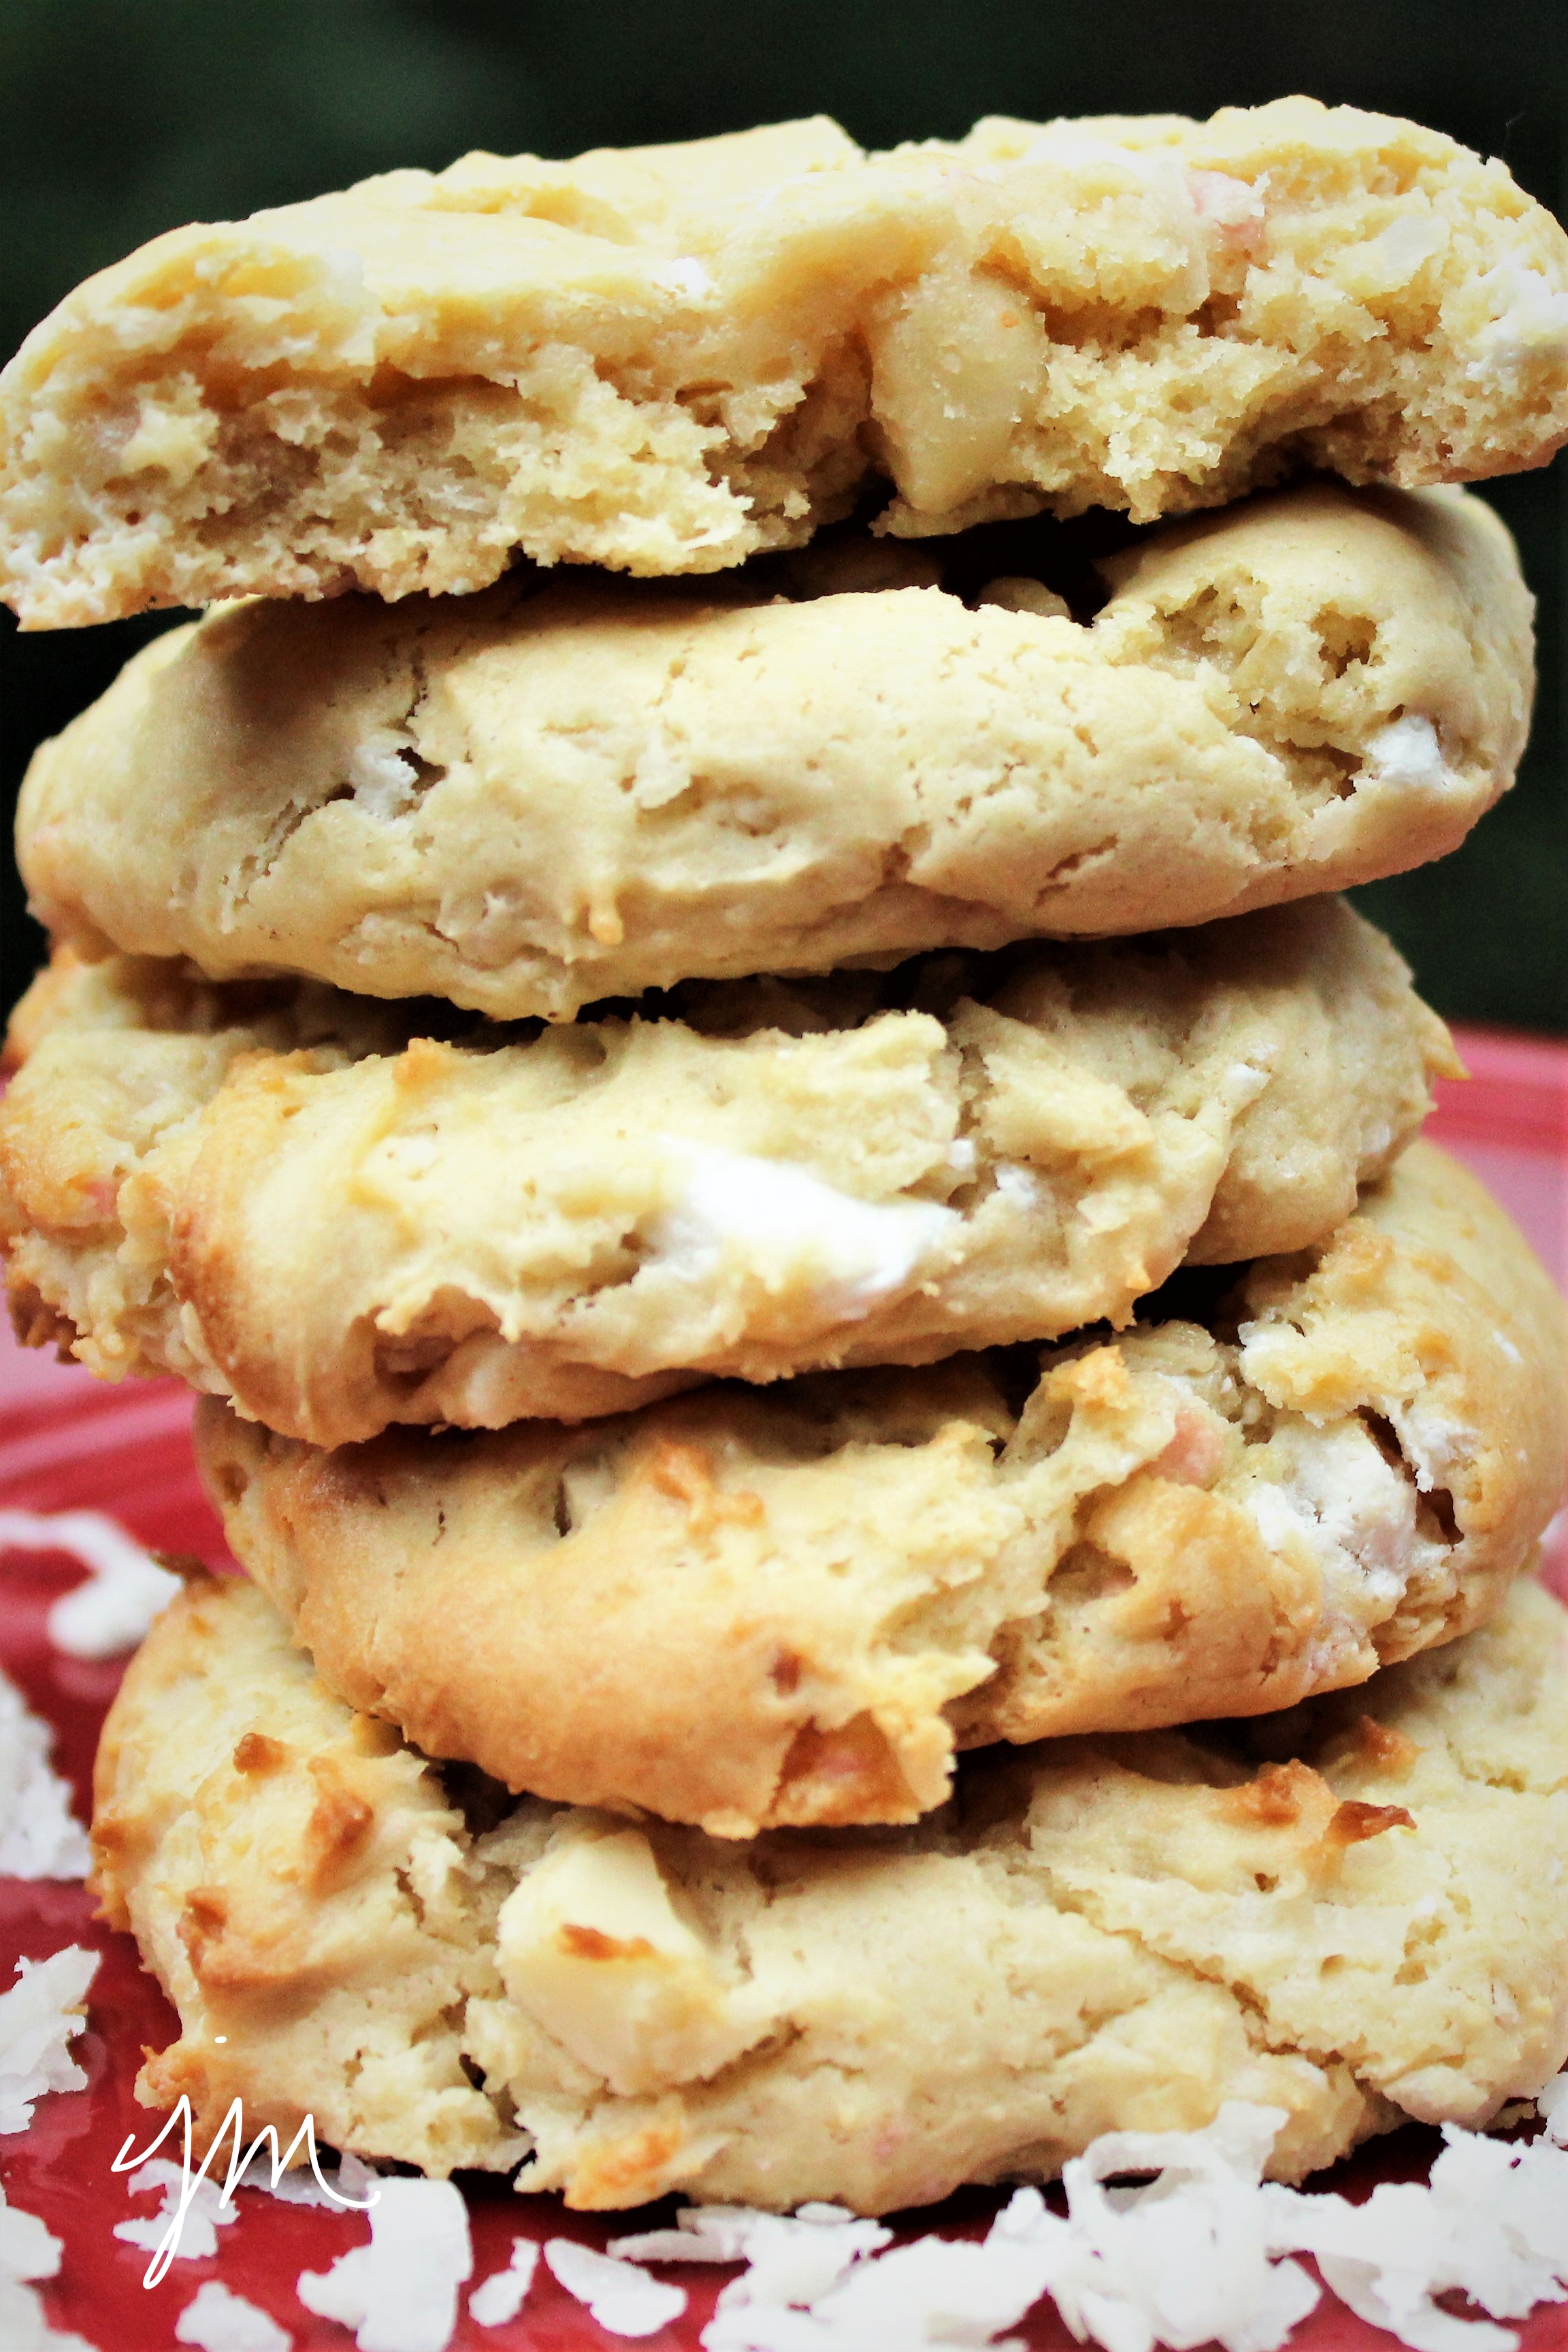
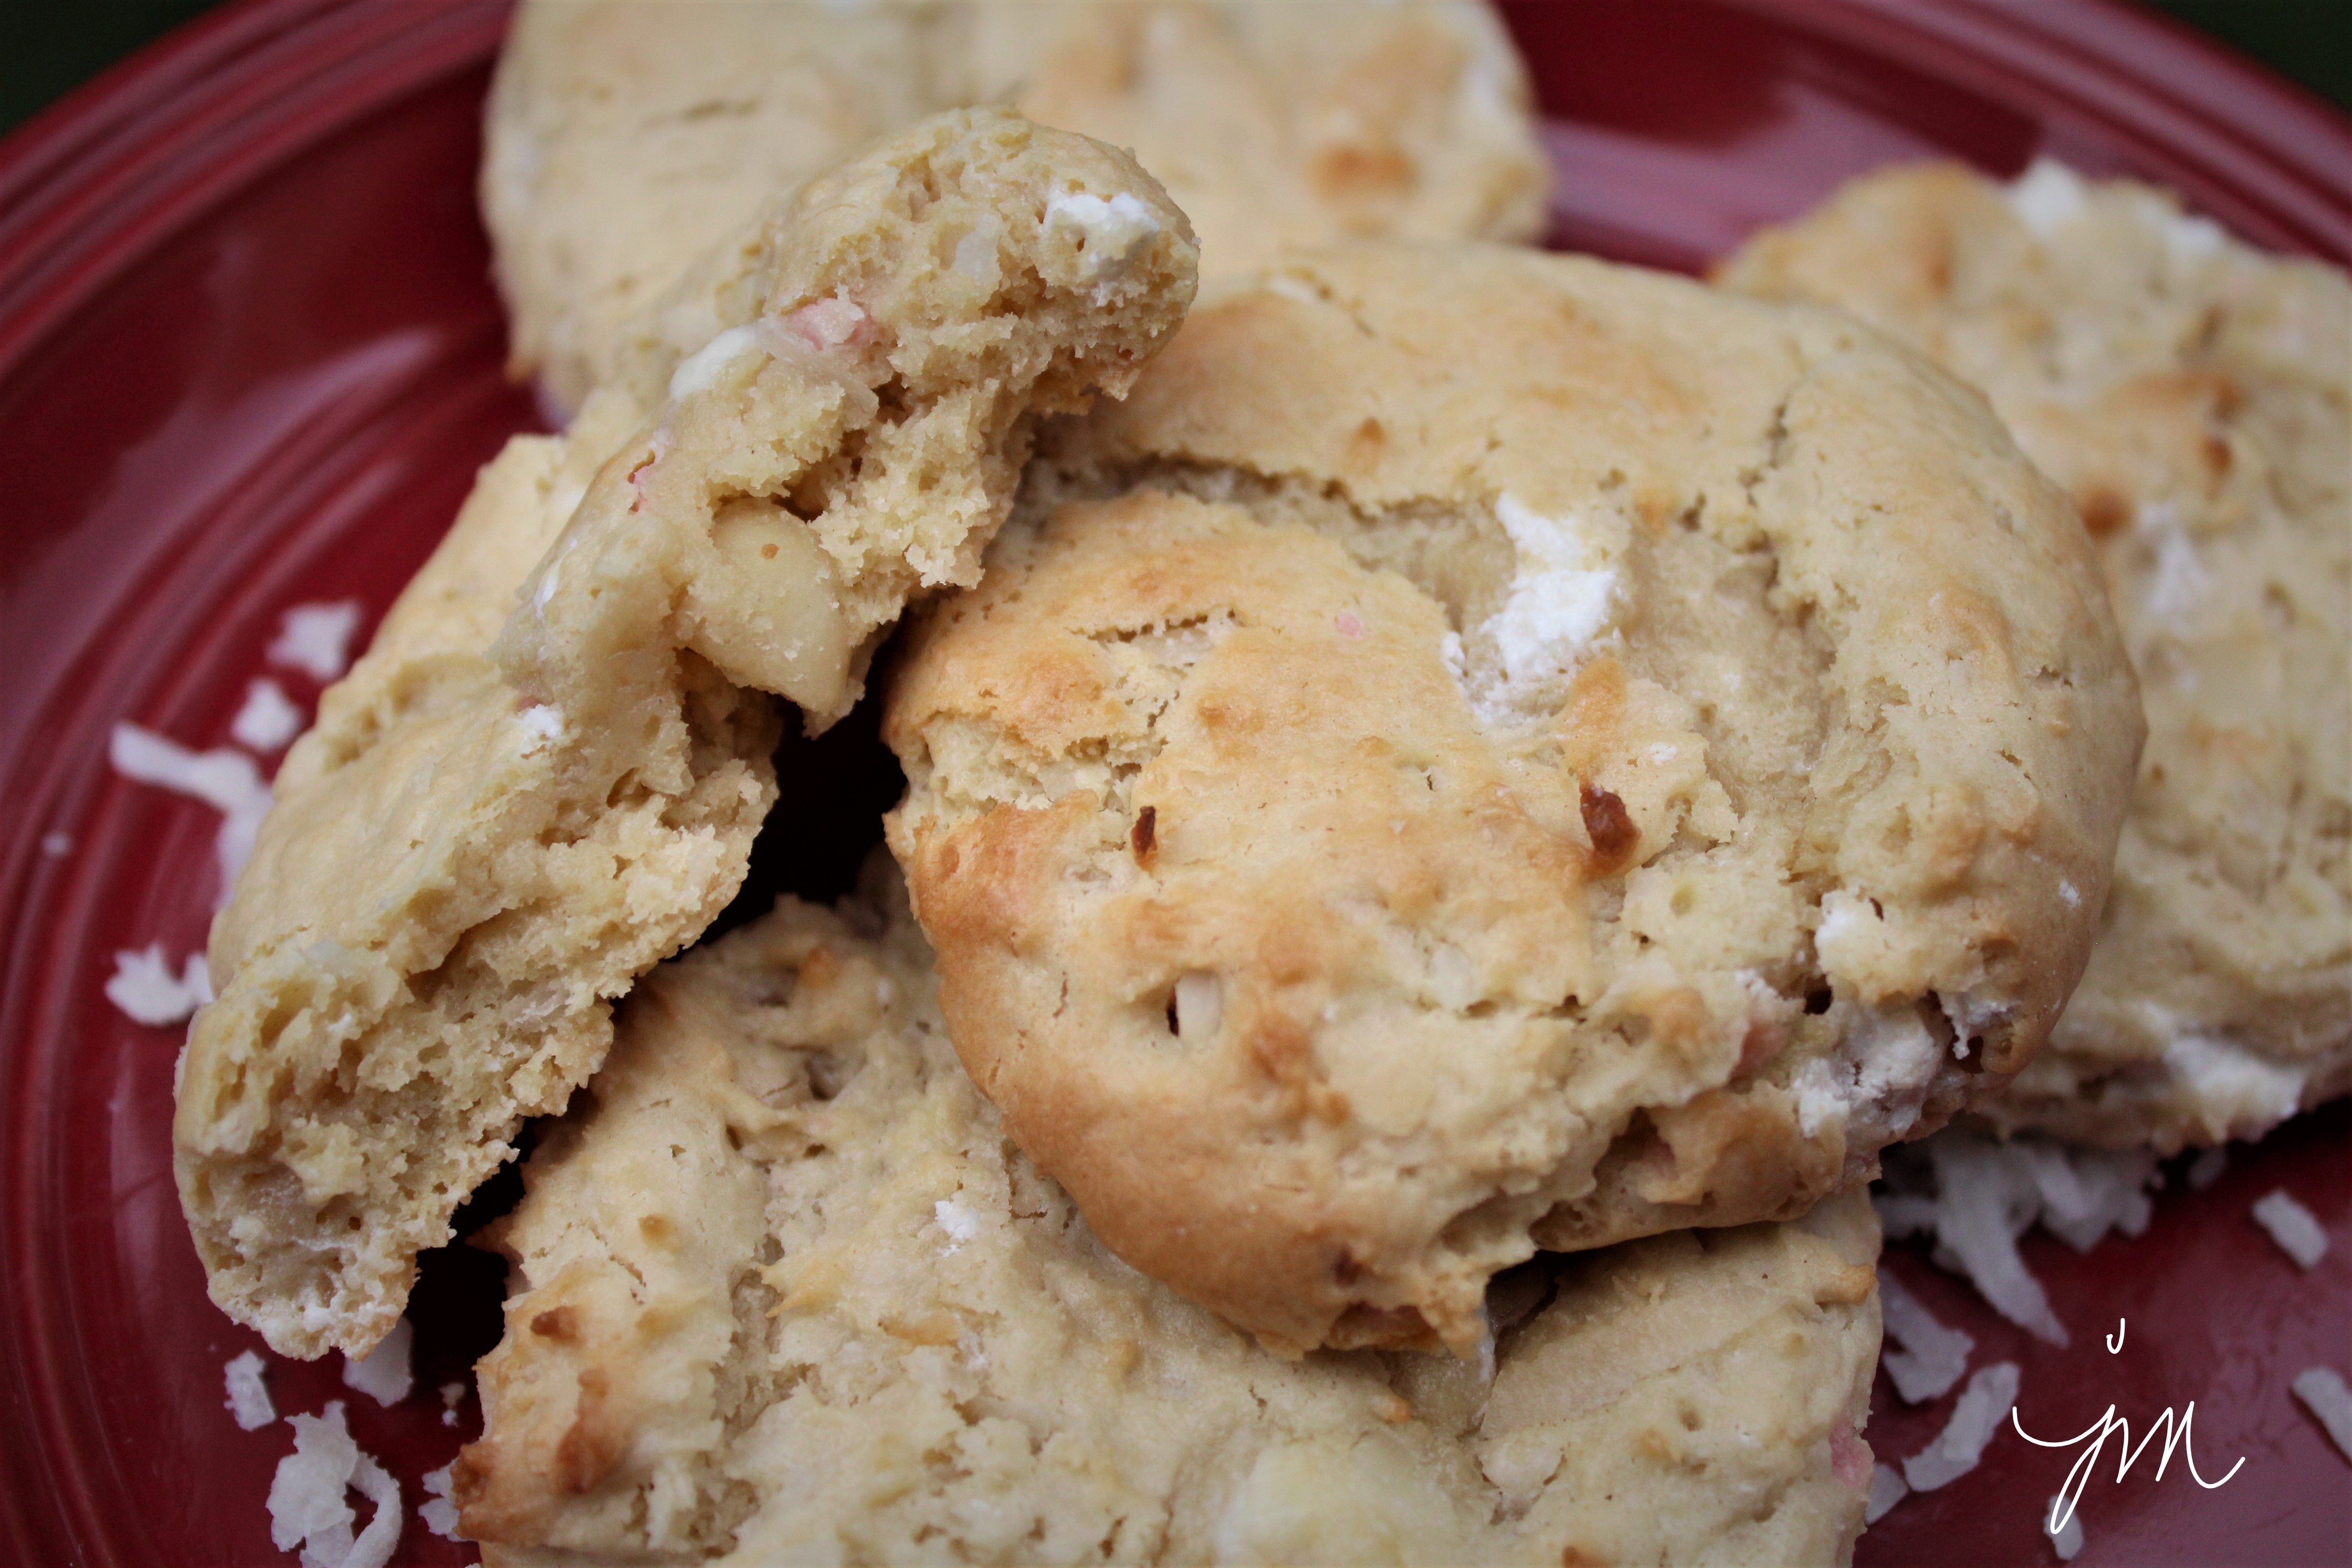
So even though it was late, I just couldn’t resist whipping up a batch of Sprinkle Cookies from a recipe I knew was yummy with these special Fancy Sprinkles.

I made one batch with the beautiful blue and white “Frostbite” sprinkles that had  hearts and stars and pearls and blue metallic balls and another batch with the adorable red, brown, and white “Peppermint Hot Chocolate” sprinkles – complete with tiny gingerbread men and mini marshmallows!

And, ironically, earlier in the day, a coworker and I laughed about the love her 6-year old son has for sprinkles and how he chose the “sprinkliest” cake he could find for his “second” birthday cake this year.

If you’d like my recipe for Sprinkle Cookies, just click here.  They are fun and festive and delicious!  I added just a smidge less flour to this batch and flattened the dough balls just a bit before baking to make this batch a little chewier.   I like how they turned out.  You can always adjust the amount of flour a bit to make your cookies flatter or thicker.

Thanks for sprinkling me with your friendship and love, Jill!

Happy holiday baking friends!

Cheers & Hugs,
Jodi

Pecan Pie Thumbprint Cookies

Pecan Pie Thumbprint Cookies.

It’s December, and that means time to start Christmas cookie baking!

These cookies are a wonderful version of pecan pie in a cookie!

They are similar to Pecan Tassies, but a lot easier.

The cookie is buttery and shortbread-like, while the filling is nutty and sticky and sweet and AMAZING!

I had a little bit of extra filling left that I just couldn’t throw away, so I spread it on a sheet of crescent roll dough, rolled it up, and sliced it into 8 easier-than-pie pecan “sticky buns!”

So
worth
it!

Hope you will give these yummy cookies a try for something new on your Christmas cookie baking list.  I do believe these will become a regular in our home!

Here is the recipe I found at  Crazy for Crust, which I only slightly altered.  Thanks for a great recipe, Dorothy!

Pecan Pie Thumbprint Cookies

Ingredients:

Cookie Batter:

  • 2 cups brown sugar
  • 1 1/2 cups butter, softened
  • 2 eggs
  • 2 tsp. vanilla
  • 4 cups flour
  • 2 tsp. baking powder
  • 1/2 tsp. salt

Pecan Pie Filling:

  • 2 cups pecans, chopped
  • 1/2 tsp. coarse or flaked salt
  • 1 cup brown sugar
  • 4-5 Tbsp. Half and Half or Heavy Cream
  • 2 tsp. vanilla

Optional:  Powdered sugar for sprinkling on top of cooled cookies.

Preheat oven to 350 degrees F.

Beat brown sugar, butter, egg, and vanilla in electric mixer until creamy.   Add in baking powder, salt, and flour, and mix on low speed until well combined.

Shape dough, two tablespoons at a time, into balls, and place the balls two inches apart on a baking stone or cookie sheet.  Indent a hole in center with your thumb.

Prepare filling by stirring pecans, salt, brown sugar, and vanilla with cream until it forms a thick mixture.  Spoon approximately one teaspoonful into thumb indentation of each cookie.

Bake for 10-12 minutes.  Cool for 5 minutes on stone or cookie sheet before removing to rack to cool completely.

Sprinkle with powdered sugar if desired.

Cookies freeze well for up to a month.

Enjoy!

Cheers & Hugs,
Jodi

Red Raspberry Dark Chocolate Puff Pastry Tarts

Red Raspberry Dark Chocolate Puff Pastry Tarts.

Phew!  That name is a mouthful….

But it really does say it all!

And I’m betting you would love a mouthful of these simple, but elegant and amazingly delicious treats!

I made these this past weekend for a Sunday family football dinner.

Would you believe me if I told you there are only three ingredients?!?!

Well – four if you count the powdered sugar you sprinkle on top.

Puff Pastry is such a dream to work with!

Keep these ingredients on hand and this recipe up your sleeve when you need a quick, but fabulous dessert or treat.

I’m betting you won’t be sorry. 😉

Red Raspberry Dark Chocolate Puff Pastry Tarts

Ingredients:

Directions:

Preheat oven to 375 degrees F.

Roll out one sheet of puff pastry, and cut into 9 squares approximately 3 1/2 x 3 1/2 inches.  Place a teaspoon of raspberry jam in center of each square.  Top with a piece of dark chocolate.  Pull all four corners to center and pinch to seal.

Bake for 15-18 minutes on baking stone or cookie sheet until puffed and lightly browned.    Remove to cooling rack.  Sprinkle with powdered sugar.

Serve warm or cold.  

Enjoy!

Cheers & Hugs,
Jodi

Pumpkin Spice Sugar Cookies

Pumpkin Spice Sugar Cookies.

It’s that time of year…

Time for baking things with pumpkin and spice and everything nice!

Though I almost always have my “almost-famous” chocolate chip cookies in the freezer,
these cookies just suit this time of year so perfectly.

Our gang loved them!  Hope you will too.

Here is the recipe as I very slightly adapted from the beautiful blog:  A Family Feast:

Pumpkin Spice Sugar Cookies

Ingredients:

  • 2 sticks butter, softened
  • 1 cup white sugar
  • 1/3 cup dark molasses
  • 1 egg
  • 1 cup pureed pumpkin
  • Dash salt
  • 2 tsp baking powder
  • 1 Tbsp pumpkin pie spice
  • 2 Tbsp cinnamon
  • 3 cups all purpose flour
  • 1 1/2 cups Sugar in the Raw Turbinado Cane Sugar

Directions:

Cream butter, sugar, and molasses with electric mixer 3-4 minutes until fluffy.  Add egg, followed by pumpkin, beating until mixed.

Slowly add in salt, baking powder and flour on low speed just until incorporated.

Divide dough into four logs, approximately 8 inches long.  Wrap with plastic wrap, and refrigerate several hours or overnight.

When ready to bake, preheat oven to 325 degrees F.

Pour Turbinado cane sugar into a shallow dish or pie plate.

Unwrap one log of dough at a time.

Roll log into sugar to coat.

Cut log into quarters.  Then cut each quarter into thirds.

Put cookie slices in sugar, coating both sides.

Place sugared cookie slices on baking stone or cookie sheet, and bake for approximately 12 minutes.

Remove from oven, and allow cookies to cool on baking stones/cookie sheets for 10 minutes before transferring to cooling racks to cool completely. 

Enjoy!

Cheers & Hugs,
Jodi

Fresh Red Raspberry Pie

Fresh Red Raspberry Pie.

Before we fully embrace all things pumpkin and apple and cinnamon and spice for Fall, I decided to slide in one  last “Summery” pie for the season a week or so ago when my youngest son and his wife came over for dinner (knowing this is one of his faves).

Fresh red raspberries are such a treat all by themselves, but baked to overflowing  with a bit of tapioca inside a tender flaky pastry crust is pretty close to heaven.

Fresh red raspberries used to be a rare find in our part of the world, but they are quite prolific in the grocery stores year-round now.  Buying enough for a pie can be a bit pricey, but worth it for a treat every once in a while.

Grandma always said the only way to know when a berry pie is done is when it bubbles over into the oven, so that is how I gauge the time too!

Here is my simple, old-fashioned recipe.

Fresh Red Raspberry Pie

Ingredients:

Pie Crust:

  • 2 cups all purpose flour
  • Heaping 2/3 cup Crisco shortening
  • 2 dashes of salt (12 shakes)
  • Approx. 1 cup cold water

Filling:

  • 5 cups fresh red raspberries
  • 1 cup white sugar
  • 3 Tbsp tapioca
  • 1 Tbsp lemon juice
  • 1 dash salt

Directions:

Preheat oven to 425 degrees F.

Prepare filling by blending raspberries, sugar, tapioca, lemon juice, and salt in a bowl.  Let sit while you prepare crust.

Prepare crust by blending flour, Crisco, and salt in a large bowl with a pastry blender until crumbly.  Add cold water and gently mix just until able to form a ball.  Divide dough in half, and put one half on floured surface to roll out.

IMPORTANT:  Do not overwork the dough.  It is not bread dough that needs kneaded.  The more you “work” pie crust, the tougher it will become.  The less you play with it, the more tender and flaky it will be.

Roll out first half using heavy floured marble rolling pin into a circle large enough to fill 9″ pie pan.  Lift it from the surface to your pie pan by folding it into quarters, then unfold it in the pan letting it hang over edges.

Roll out other half of dough into rectangle and cut into 8 strips to weave into a lattice topping.

Pour filling into bottom crust.  Top with 4 strips going same direction.  Weave by lifting two alternating and place one the opposite direction, the lifting the other two, and repeating.  Pinch top to bottom doughs together all around edges.

A nice finishing tough is to brush crust with some water and sprinkle with coarse sugar.

Cover edges of the pie with strips of aluminum foil or a pie crust shield (the most GENIUS invention ever in my baking opinion!)

Bake in 425 degree oven for 15 minutes.  Reduce heat to 375 degrees F, and bake until crust is golden and filling is bubbly, about 30 minutes more.

Serve warm or cold topped with a scoop of vanilla ice cream!

Enjoy!

Cheers & Hugs,
Jodi


White Chocolate Coconut Macadamia Nut Cookies

White Chocolate Coconut Macadamia Nut Cookies.

Last weekend we went to a Hawaiian Lua Party and Pig Roast.

Hubby “signed me up” to bring a dessert.

I had fun searching for a new cookie creation that could tie into the theme.

I found a recipe at Delightfulemade that included coconut and macadamia nuts that I slightly adapted.

Not only did they suit the theme, they were DELISH!

Not wanting to go to the grocery store, I needed to improvise on white chocolate chips.  I happened to have some White Chocolate Cupcake Hershey’s Kisses left over from something, so I chopped them up for the white chocolate chips.  YUM!!!

Next time I make these, I might try toasting the coconut first to step it up even one more notch.  (Let me know if you make and try toasting the coconut first!)

I know coconut is one of those things people typically LOVE or HATE.

Haters can hate, but lovers…. you’re gonna wanna make!

Here is the recipe:

White Chocolate Coconut Macadamia Nut Cookies

Ingredients:

  • 1 cup (2 sticks) salted butter, softened
  • 2 8-oz. blocks cream cheese, softened
  • 2 cups brown sugar
  • 1 cup white sugar
  • 4 eggs
  • 2 tsp vanilla
  • 1 tsp coconut extract
  • 1 tsp salt
  • 2 tsp baking soda
  • 5 cups flour
  • 2 1/2 – 3 cups chopped white chocolate or white chocolate chips
  • 2 cups sweetened, flaked coconut
  • 1 cup macadamia nuts, chopped

Directions:

Cream butter and cream cheese with electric mixer.  Add sugars, and beat until fluffy.  Add eggs, vanilla, and coconut extract mixing until combined.

Add salt and baking soda, followed by flour, mixing until combined.  Add white chocolate, coconut and macadamia nuts to the batter, and mix until incorporated.

Chill dough for several hours or overnight.

Preheat oven to 350 degrees F.

Make golfball-sized balls of cookie dough.  Place on baking stone or cookie sheet, and bake for 10-12 minutes.  Remove from oven when beginning to turn golden brown.  Press down on each cookie lightly to flatten.  Cool for 10 minutes on baking stone before removing to wire rack to cool completely.

Aloha!

Cheers & Hugs,
Jodi

P.S.  I am nuts about this adorable kitchen sign my DIL made for our McKinneyX2designs shop!  Such a sweet gift for the bakers in your life!

Lemon Blueberry Zucchini Cake

Lemon Blueberry Zucchini Cake.

This is NOT your momma’s zucchini bread recipe!

Are you overloaded with zucchini and looking for new recipes to use up the abundance you have this time of year?

You have to try this amazing cake!  A co-worker made this to share for a recent celebration at work, and I knew I had to make it.

I modified it slightly from the recipe he found at I Am Baker by cutting the frosting in half, and it was absolutely amazing.

Go bake this!

Lemon Blueberry Zucchini Cake

Ingredients:

  • 2 cups shredded zucchini
  • 3 eggs
  • 1 cup vegetable oil
  • 3 tsp pure vanilla extract
  • Zest of 1 lemon
  • 2 1/4 cup sugar
  • 3 cups flour
  • 1 tsp salt
  • 1 tsp baking powder
  • 1/2 tsp baking soda
  • 1 pint fresh blueberries
  • Lemon Buttercream Frosting
    • 1/2 cup butter, room temperature
    • 1 3/4 cup powdered sugar
    • Juice of 1/2 lemon (1 Tbsp)
    • 1 tsp pure vanilla extract
    • Dash salt

Directions:

Preheat oven to 350 degrees F.  Grease and flour two 8-inch round cake pans.

Shred zucchini and spread out on a clean dish towel.  Roll up and squeeze gently to drain a bit of the excess water.  Set aside 2 cups of shredded zucchini.

Beat together eggs, oil, vanilla, sugar, and lemon zest with electric mixer.  Gently fold in the zucchini.

Add flour, salt, baking powder, and baking soda.  Stir until incorporated.  Gently fold in the blueberries.

Pour half of batter into each cake pan.

Bake approximately 40 minutes or until knife inserted in center comes out clean.

Cool 20 minutes in pans, then turn out onto cooling racks to cool completely.

Prepare lemon butter cream frosting by beating butter, sugar, salt, lemon juice and vanilla with electric mixer until creamy.

Spread on top of each layer, leaving sides “naked.”

Decorate with additional fresh blueberries, lemon zest, zucchini blossoms, and powdered sugar if desired.

Refrigerate.

Enjoy!

Cheers & Hugs,
Jodi

Salted Dark Chocolate Crinkle Cookies

Salted Dark Chocolate Crinkle Cookies.

Oh My Stars!

These fudgy, brownie-like, dark chocolate, chewy, but crispy heavenly bites may just have you seeing stars!

I saw a photo of these stop-me-in-my-tracks, make-me-wanna-bake, longing-to-get-in-my-belly cookies on ButterandBrioche, but alas the recipe was in metric measurements.

Thank goodness for Convert-me.com!

I’m not quite sure what the addition of ground coffee scientifically does to these, but I do know coffee somehow enhances the true flavor of coffee.

And the sprinkling of flaked sea salt that is just enough to balance the fudgy, chocolately amazingness…. well – all I can say is – you really want to try these!

Here is how I made them after converting:

Salted Dark Chocolate Crinkle Cookies

Ingredients:

  • 22-24 oz high quality dark chocolate (I like Moser Roth 70% Dark Chocolate, which I find at Aldi)
  • 8 Tbsp butter
  • 2/3 cup flour
  • 2 Tbsp instant or fresh ground coffee
  • 1 tsp baking powder
  • 1 tsp salt
  • 2 cups brown sugar
  • 4 eggs
  • 2 Tbsp water
  • Flaked sea salt (Maldon is my fave!)

Directions:

Melt chocolate and butter in microwavable bowl for 1 minute on high.  Stir.  Microwave in 30 second intervals, stirring, until melted and blended.  Cool.

Mix brown sugar and eggs with electric mixer until thick and doubled in volume, about 4 minutes.  Add the melted and slightly cooled chocolate.  Mix until well incorporated.

Add flour, coffee, baking powder, and salt, and mix just until combined.  Add water, and mix until combined.

Refrigerate the fluid batter for 15-30 minutes.

Preheat oven to 350 degrees F.

Scoop batter with a cookie scoop onto baking stone or parchment lined baking sheet.  Once sheet is full, tap lightly 2-3 times on counter to slightly flatten cookie dough.  Sprinkle with a little flaked salt.

Bake for approximately 11 minutes.  Open oven and tap sheet lightly to flatten a bit.  Return to oven for 2 more minutes.  Repeat until cookies are firm around the edges and set in the middle with plenty of crinkles.

Cool for at least 10 minutes on baking stone or cookie sheet before transferring to a cooling rack to cool completely.

Enjoy!

Cheers & Hugs,
Jodi

Dark Sweet Cherry Crumb Cake

Dark Sweet Cherry Crumb Cake.

I am a complete sucker for crumb cake.  It is most likely my Achilles heel.  I will say I don’t want a piece but will sliver slices away and pick off crumb topping until the whole cake somehow seems to disappear.

When I had a huge bag of sweet dark cherries lingering in the refrigerator one Sunday a week or so ago and the desire to bake something, I knew I found “IT” when I came across this recipe I slightly tweaked from Laura at Tutti Dolce who described the cake like this:

The best kind of cherry crumb cake is a plush buttermilk cake, scented with almond and vanilla, and topped with a scattering of sweet dark cherries. Piled high with buttery crumbs and baked until beautifully golden, this is the cherry cake your summer needs.

Laura had me at “plush!”

Here is this divine crumb cake recipe.  This IS the cake of your summer needs!

Dark Sweet Cherry Crumb Cake

Ingredients:

Cake:

  • 10 Tbsp butter, room temperature
  • 1 1/4 cups sugar
  • 2 eggs
  • 1 cup buttermilk (or 1 cup milk plus 1 Tbsp vinegar let set for 5 min)
  • 1 tsp pure almond extract
  • 1tsp pure vanilla extract
  • 1 tsp baking powder
  • 1/2 tsp salt
  • 2 1/2 cups flour
  • 1 1/2 lbs dark sweet cherries, pitted

Crumb Topping:

  • 2/3 cup flour
  • 1/2 cup sugar
  • 1 tsp cinnamon
  • 1/4 tsp salt
  • 1/4 cup butter, melted
  • 1/2 tsp pure almond extract

Directions:

Preheat oven to 350 degrees F.  Grease and flour 10 in. springform pan.

Prepare crumb topping by combining flour, sugar, cinnamon, and salt in a small bowl.  Add melted butter and extract and toss with a spoon or your fingers until crumbly.

Prepare cake batter by beating butter and sugar with electric mixer until light and fluffy.  Beat in eggs one at a time.  Add baking soda and salt.  Combine buttermilk and extracts.  Then alternately add buttermilk and flour in three additions just until incorporated.

Pour batter into prepared springform pan.  Top with an even layer of pitted cherries, pressing lightly into batter.  Sprinkle with crumb topping.

Bake 70 minutes or until a toothpick inserted in center comes out clean.  Cool 15 mins. in pan.  Remove springform side, and cool completely.  

Enjoy!

Cheers & Hugs,
Jodi

Gluten-Free (Flourless) Banana Oatmeal Bread

Gluten-Free (Flourless) Banana Oatmeal Bread.

When you have a bunch of bananas that ripen before you eat them – and you know nobody will eat them – they are perfect for baking.

I have a really yummy banana bread recipe, but it is not the “healthiest.”  I decided I wanted to make something with less (or no) sugar, and maybe no flour either.

I was excited when I found this super-easy and oh so yummy recipe at The Baker Mama.

It’s been very hot here, so I baked this early on a Sunday morning.  I made one loaf for my youngest son and his wife (my son loves banana bread and my daughter-in-law likes to eat healthy and gluten-free if possible) and one loaf for hubby and me.

My son mentioned that if I added some protein powder to the recipe, it would be the perfect breakfast.  I will have to try that next time.

But how simple is this recipe with five healthy, wholesome ingredients?!

Hope you will give it a try.

Gluten Free Banana Oatmeal Bread

Ingredients:

3 ripe bananas
2 cups old-fashioned rolled oats
2  eggs
¼ cup pure maple syrup
1 tsp baking soda

Directions:

Preheat oven to 350°F. Lightly grease 9×5-inch loaf pan with non-stick cooking spray.

Combine all ingredients in a food processor or blender and blend until smooth and well combined. Pour into prepared loaf pan.
Garnish the top of the batter with thinly sliced bananas or pecans or walnuts, if desired).

Bake for 25-30 minutes or until a toothpick inserted in the center comes out clean.  Do not overbake or bread will be dry tasting.

Let loaf cool completely in pan. Store in a Ziploc bag in the refrigerator,

Enjoy!

Cheers & Hugs,
Jodi