Leftover Lunch Salad

leftover lunch salad

One of the best things about having a job where you can work from home most days, besides being able to roll out of bed and be at your desk in about 17 seconds, not needing to comb your hair or put makeup on, working in yoga pants and t-shirts, having a furry co-worker by your side, getting to take walks at lunch time….

Ok – there are A LOT of things I like about my job and being able to work from home…

But, one really nice benefit is being able to make healthy and easy leftover lunches instead of going out and eating fast food or having to pack a sack!

Like this salad I made the other day – a small piece of leftover grilled Delmonico steak on top of leftover salad.  Voila!  Veggies and protein and nourishment that tastes good and is good for me!

And after yesterday’s DECADENCE of those Fudgy Fresh Raspberry Chocolate Chip Brownies, I thought it best to show I don’t always eat like that!

QUICK TIPS:

  • Always make more salad than you need for dinner and throw it in a Ziploc bag to keep fresh for a day or two.
  • Don’t add tomatoes to your salad until serving.  Tomatoes completely lose their taste when refrigerated (so never refrigerate them – you don’t – right?!!?!!).  Tomatoes also make leftover salad SOGGY.  Yuk!
  • Make an extra piece or two of your protein – chicken, steak, pork, fish – and throw it in a Ziploc bag too.  It can be sliced on a salad, added to a wrap, thrown on a bun, or even just eaten as is – hot or cold – depending on your work day and stress level.
  • Keep seeds and nuts on hand to toss in and on things.
  • Hard boil some eggs in the beginning of the week, and you always have a quick protein ready.
  • Canned beans area also great additions to salads and wraps.  Open a can of black beans or any kind you like, drain and put in a plastic container in the fridge.  This way you can easily toss on your lunch or pop in your mouth in a jiffy.
  • Keep fresh fruit around so you can grab a handful of berries or snack on a clementine or banana or crunchy apple when your tummy gets to grumbling.

Cheers & Hugs,

Jodi

Fudgy Fresh Raspberry Chocolate Chip Brownies

Fudgy Fresh Red Raspberry Chocolate Chip Brownies

Just when I thought my guys couldn’t like anything better than the Fresh Raspberry Chocolate Chip Cookies I made recently — – – TWICE! – – – meet Fudgy Fresh Raspberry Chocolate Chip Brownies!

Get ready to rumble friends!

Not only are these super easy – they are TOO DIE FOR!

My guys were practically fighting over the last one.

Fudgy Fresh Red Raspberry Chocolate Chip Brownies before baked 1

The kids were all coming over Saturday evening to watch the “big fight” (Mayweather / Pacquioa).  I’ve never watched a fight in my life before Saturday, but I kinda got caught up into the hype as my guys talked about it.  So when Mom and Dad offered to pay the Pay Per View fee, our house was the place to be.  (Any excuse will do for me to have the kiddos here and have a chance to cook and visit with them!)

Fudgy Fresh Red Raspberry Chocolate Chip Brownies before baked 2

The weather was gorgeous this weekend, and I didn’t want to spend all day in the kitchen, but I certainly had to have some goodies just in case.  I had a box of Ghiradelli Triple Chocolate Brownie mix in the pantry (is there any other kind – chocolate brownies with chocolate chips in them and a packet of chocolate syrup to assure there is enough chocolate?!).  So I thought I would zip it up a bit (as if it isn’t zipped up enough – eh?)

But O.. M.. G….  throw in some fresh raspberries and a handful of white chocolate chips – and we are talking DESSERT HEAVEN!

Fudgy Fresh Red Raspberry Chocolate Chip Brownies in Pan

And just like when I bake cookies, I always slightly UNDERbake my brownies so they are ooey and gooey and fudgy wonderful!   This is barely a recipe, but I guarantee you will be a ROCK STAR if you make these for your family or take to a gathering.

Fudgy Fresh Red Raspberry Chocolate Chip Brownies

Fudgy Fresh Red Raspberry Chocolate Chip Brownies

Ingredients:
1 Box Ghiradelli Triple Chocolate Brownie Mix (or YOUR favorite brownie mix)
1 pint fresh red raspberries
1/2 cup white chocolate chips

Directions:
Prepare brownies according to package directions, but after you pour the batter into your pan and before you put them in the oven, press 16 whole ripe fresh red raspberries into the batter and then broken up pieces of the remainder of the berries intermittently throughout the batter.  Sprinkle the white chocolate chips on top.  Bake until just down.

Take these to your next picnic, make for your hubby/wife/partner if you want to buy a new outfit, living room furniture or a new car, or make for your boyfriend/girlfriend if you are waiting for a proposal! 🙂

Cheers & Hugs,
Jodi

Bacon-Wrapped Dates Stuffed with Blue Cheese

bacon wrapped blue cheese stuffed dates

Are you looking for the ULTIMATE easy and amazingly delicious party appetizer?

bacon wrapped blue cheese stuffed dates 2

Well – look no further!  This might sound unusual, but do not doubt that EVERY guest will love this recipe!

bacon wrapped blue cheese stuffed dates 3

Not only do these taste AMAZING… they are actually SUPER SIMPLE too.

And even people that THINK they don’t like dates or blue cheese….

(because EVERYbody loves bacon – right?!)

will LOVE these.

bacon wrapped blue cheese stuffed dates 4

I took these to our “best ever book club” party this weekend, and I can tell you they didn’t last long.

Give this YUMmy recipe a try.  (And I will accept your “thank you’s” later!)   🙂

Bacon Wrapped Dates stuffed with Blue Cheese

Ingredients:

Pitted Dates
Danish Blue Cheese
Bacon

Directions:
Slit date. Stuff as much high quality blue cheese into the date as you can fit. Squeeze together. Wrap with a half of a slice of bacon. Secure with a toothpick. Bake at 400 degrees F for 30 minutes.

With party season upon us, add this to your file of must-do gotta-love recipes!

Cheers & Hugs,
Jodi

Jack & Coke Chocolate Cupcakes

jack daniels and coke cupcakes 1

Jack & Coke Cupcake

Imagine…  moist chocolate cupcakes flavored with Coca-Cola… then filled with fudgy Jack Daniels whiskey flavored ganache… top that with sweet Jack Daniel’s flavored buttercream frosting… and add a gummy cola candy for good measure…
jack daniels and coke cupcakes 2

Jack & Coke Cupcakes

Yep – this is what I made last night for a special buddy we’ll be seeing today.
jack daniels and coke cupcakes 3

Jack & Coke Cupcakes

These Jack & Coke cupcakes are from a recipe I found a while back on stressbaking.com and modified a bit to my liking.

Jack & Coke Chocolate Cupcakes

Cupcakes:
  • 1 12 oz can Coke (Not Diet Coke – you need the sugar in the original)
  • 1 stick butter
  • 1 cup unsweetened cocoa powder
  • 1 cup sugar
  • 1/2 cup packed brown sugar
  • 2 cups all-purpose flour
  • 1 tsp baking soda
  • 1/2 teaspoon salt
  • 2 eggs
Ganache Filling:
  • 1/2 cup semi-sweet or dark chocolate chips
  • 1/3 cup heavy cream
  • 1 Tbsp butter
  • 1 Tbsp Jack Daniels whiskey
Frosting:
  • 6 cups powdered sugar
  • 1 1/2 sticks butter
  • 8 Tbsp Jack Daniels whiskey
  • 2 tsp vanilla extract
  • 18 gummy cola bottles (only if you want them to be extra cute)

Directions:

Preheat oven to 350 degrees, and line 18 cupcake cups with paper or aluminum liners.

Combine Coke and butter in a medium saucepan and bring to a simmer over medium heat. Add cocoa powder, sugar, brown sugar and whisk until sugars are dissolved and mixture is smooth. Set aside to cool for 15 minutes.

In a medium bowl, stir together flour, baking soda and salt. Set aside.

In a large bowl, lightly beat the eggs. Add cooled cocoa mixture.  Stir to combine. Add flour mixture and stir until just combined.

Pour batter into cupcake liners to 3/4 cup full.  Bake 15 mins. until a toothpick stuck in the center comes out clean. Transfer cupcakes to wire rack to cool completely.

While cupcakes are cooling, prepare ganache by melting chocolate chips, cream, butter and Jack Daniels in a small saucepan on low-medium heat.  Stir until smooth.  Remove from heat, and let cool completely (you can even stick in the freezer to quick cool it).
Cut the centers out of the cooled cupcakes with an apple corer, and pipe ganache into the holes in each cupcake.

Prepare frosting in electric mixer by combining butter, powdered sugar, vanilla and Jack Daniels.  Pipe onto cupcakes as simple or fancy as you like and top with a gummy cola bottle to make it extra cute.

Enjoy!  And remember don’t eat Jack & Coke Cupcakes and drive!  🙂

Cheers & Hugs,

Jodi

Thanks Leslie @ stressbaking.com for a great idea and recipe!

Grilled Marinated London Broil

grilled marinated london broil 1

 Where’s The Beef?

(Will we ever, ever, ever, get that famous jingle out of our heads??!!  Such genius in marketing and advertising!)

Well – look no further – Here’s the Beef!

We indulge in beef for dinner about once a week; and when we do, grilled marinated London broil is one of our faves.

The key to a great London Broil is in the marinade.  And the key to a great marinade is fresh ingredients.

A few must-haves in the pantry AT ALL TIMES for me are fresh garlic (powder, granulated, chopped in water, chopped in oil…  NONE compare to freshly minced garlic), fresh basil (I wish there were words to describe the smell of fresh basil being chopped!  I’m sighing just trying to imagine), and fresh lemons for juicing (no bottled, reconstituted versions can be substituted!).

Grilled Marinated London Broil

Bottled pantry must-haves in my pantry include:  olive oil, balsalmic vinegar, Worcestershire sauce, soy sauce, Dijon mustard – all of which are included in this recipe.

Grilled Marinated London Broil marinading

Dried spices that are must-haves (to be used only when fresh is not at hand) include oregano and thyme.

Before putting this marinade on the London broil, it is a good idea to cut vertical and diagonal slits in the beef to allow the marinade to soak in deeper.

Grilled Marinated London Broil cuts

This marinade should be able to be whipped up quickly if your pantry has these items on hand at all times.  Marinades not only add flavor, but they tenderize.

I enjoy my “hunk of beef” with a baked potato topped with salsa and a fresh green salad.

And a sprinkling of blue cheese doesn’t hurt either!
grilled marinated london broil plated

This recipe was originally found on Foodnetwork.com, and is courtesy of Gourmet Magazine.

Hope you’ll give it a try.  You won’t be sorry!

Grilled Marinated London Broil

Marinade Ingredients

2/3 cup olive oil
4 Tbsp balsamic vinegar
1 1/2 Tbsp Worcestershire sauce
1 Tbsp soy sauce
1 fresh lemon, juiced
3 Tbsp Dijon mustard
4 large garlic cloves, minced
1/4 cup fresh basil, chopped
1 tsp dried oregano
1 tsp dried thyme

1 (2 to 2 1/2 pound) London broil

Directions

In a bowl, whisk together marinade ingredients. Put London broil in a large resealable plastic bag or in a glass dish and pour marinade over it. Seal tightly. Marinate in refrigerator turning once or twice, for approximately 8 hours.

Remove meat from the marinade, and discarded the marinade.

Grill the meat, turning only once, 9 to 10 minutes on each side, or until it registers 125 to 130 degrees, on a meat thermometer for medium-rare meat. (Alternatively, meat may be broiled.)

Transfer meat to a cutting board and let stand 10 minutes. Cut meat diagonally across the grain into thin slices, and enjoy!

Cheers & Hugs,
Jodi

Old-Fashioned Homemade Butter Mints

old fashioned homemade butter mints

I have always loved these soft smooth buttery mints. Not those hard so-called “party” mints that crack your teeth (and like Grandma sometimes had in her candy dish), but the butter mints in soft yellow or pastel shades that were often put out as “after dinner” mints at special occasions or for parties when I was growing up.

I had pinned a recipe for homemade butter mints some time ago on my Pinterest page, not knowing when I’d get around to making them, and/or deciding on an occasion to make them so I wouldn’t eat them ALL myself! Then a friend recently asked me about them for a special party she is working on, and it was the perfect opportunity to give the recipe a whirl.

And whirl I did indeed! Woohoo! Are these ever EASY peasy and even better than I remember.

old fashioned homemade buttermints 2

Did your Grandma always have a candy dish full of these little treats at her house like mine?

Grandma kept hers in a special candy dish atop the server in her dining room.

I can still picture it vividly. It sat on the far left back corner of the server, and it was amber glass with a pointed dome lid on a pedestal. We always tried to carefully lift the lid when we were sneaking taking a piece so as not to “clink” the glass and make it ring throughout the entire house (at least that is what it felt like!)   Because if you did happen to just tap it ever so lightly to make a tiny tingy noise, Grandma’s little dog, Felix, would come a running! Felix loved those mints, and you always had to throw him one if you wanted to prevent the entire house from knowing you were in the candy jar again!

My brother was often known for purposely rattling the jar just to get Felix all worked up.  The poor little thing did practiccandy dishally have a heart attack when he heard that dish a ringing!

When I was trying to describe the candy dish, I thought I’d google it using the descriptive words I came up with, and to my surprise, I found what I believe would be the EXACT match (at least as far as my memory serves)!  It is actually for sale on Etsy.  I saw several.  I guess they are considered somewhat prized antiques at this point.  I’m kinda tempted to get it, but I think I’ll just keep the memory.

Here is the recipe I found on Barefeet in the Kitchen.  (Mary even made a cocoa mint version if you want to check that out too, and her recipe is slightly adapted from Averie Cooks)

Homemade Old-Fashioned Butter Mints

  • Servings: Approx. 200 mints or 3 cups
  • Print

Ingredients:old fashioned homemade buttermints

1/4 cup softened butter
1/4 tsp salt
1/3 cup sweetened condensed milk
3 1/4 – 3 1/2 cups powdered sugar
1/2 teaspoon peppermint extract
Optional: Food coloring for the desired shade you would like

Using an electric stand mixer, combine the soft butter and salt, and beat to combine. Add the condensed milk and beat again to combine. Add the powdered sugar one cup at a time, beating to combine thoroughly. Add the peppermint extract and food coloring if you are adding. The dough will be mostly crumbs, but should stick together when squeezed into a ball.  If it is sticky, add a little more powdered sugar.

Remove the dough from the mixer and pull off golf ball size pieces. Roll each ball with the palm of your hand into a long skinny log about 1/2″ in diameter – just as if you were making a snake with play dough.  Slice the strips into tiny mint-size pieces. A pizza cutter works great for this, and you can cut several strips at a time quick and easily.

Spread the soft pieces across a baking sheet and allow them to sit at room temperature overnight. You could speed up the process and put them in the refrigerator uncovered.  When they have hardened enough to store, transfer the mints to an airtight container.   Enjoy!

Cheers & Hugs,

Jodi

Chicken Caprese Lasagna

Chicken Caprese Lasagna

Are you like me?  Always looking for new ways to prepare chicken?  I could eat it every night!  It is so versatile.  There are so many different ways you can prepare it.

And this one……. A HUGE WINNER!

I have to admit… I kinda moaned when I ate this.

Chicken Caprese Lasagna pan

And I’m so glad it turned out good, because I made it for dinner the other night when my McSister came to stay.

After allowing Kelly to munch down a Fresh Raspberry Chocolate Chip Cookie,

Fresh Raspberry Chocolate Chip Cookies Plated

settle into her room, and get into some comfies, we enjoyed an extra dry dirty martini, and then settled in for a fresh salad and this YUMMY creamy white chicken caprese lasagna.

Chicken Caprese Lasagna 2

Thumbs up all around on this amazing recipe that I originally discovered and tweaked a bit from Becky at TheCookieRookie.

Becky used sun dried tomatoes, but I decided to go with thinly sliced fresh tomatoes.  Then there is this issue I have with MORE cheese and MORE garlic…

I definitely recommend trying this awesome recipe for a special occasion (and when calories don’t matter!)

Chicken Caprese Lasagne

INGREDIENTSChicken Caprese Lasagna
  • 3 cups cooked and chopped chicken (I used a rotisserie chicken)
  • 1 can (14 oz.) artichoke hearts, drained, chopped
  • 1 1/2 lbs. fresh mozzarella cheese
  • ½ cup grated Parmesan Cheese
  • 3 ripe tomatoes, thinly sliced
  • 1-1/2 pkg. low fat cream cheese
  • 1 cup Half & Half
  • 4 cloves garlic, finely minced
  • 1/3 cup fresh basil, chopped
  • 1 box lasagna noodles, cooked
  1. Preheat oven to 350 degrees F
  2. Combine chicken, artichokes, 1 cup of the mozzarella cheese shredded, the grated Parmesan, and half of the basil in a bowl.
  3. In a separate bowl using an electric mixer, beat cream cheese and garlic until well combined.  Add Half and Half, and beat until creamy. Gently stir in half the basil. Set half of the cream cheese mixture aside and stir the remaining half into the chicken mixture.
  4. Spread half of the cream cheese mixture in the bottom of a 13 x 9 baking dish.
  5. Layer 4 noodles on top.
  6. Top with one third of the chicken mixture.
  7. Place one layer of thinly sliced tomatoes.
  8. Repeat the noodles, chicken  mixture and tomatoes two more times, ending with a noodle layer.
  9. Top with the other half of the cream cheese mixture.
  10. Place slices of fresh mozzarella slices on top.
  11. Top with a little more fresh basil if desired.
  12. Bake 45 min. or until heated through and bubbly on top.
  13. Get ready to moan!


Cheers & Hugs,

Jodi


Fresh Raspberry Chocolate Chip Cookies

Fresh Raspberry Chocolate Chip Cookies

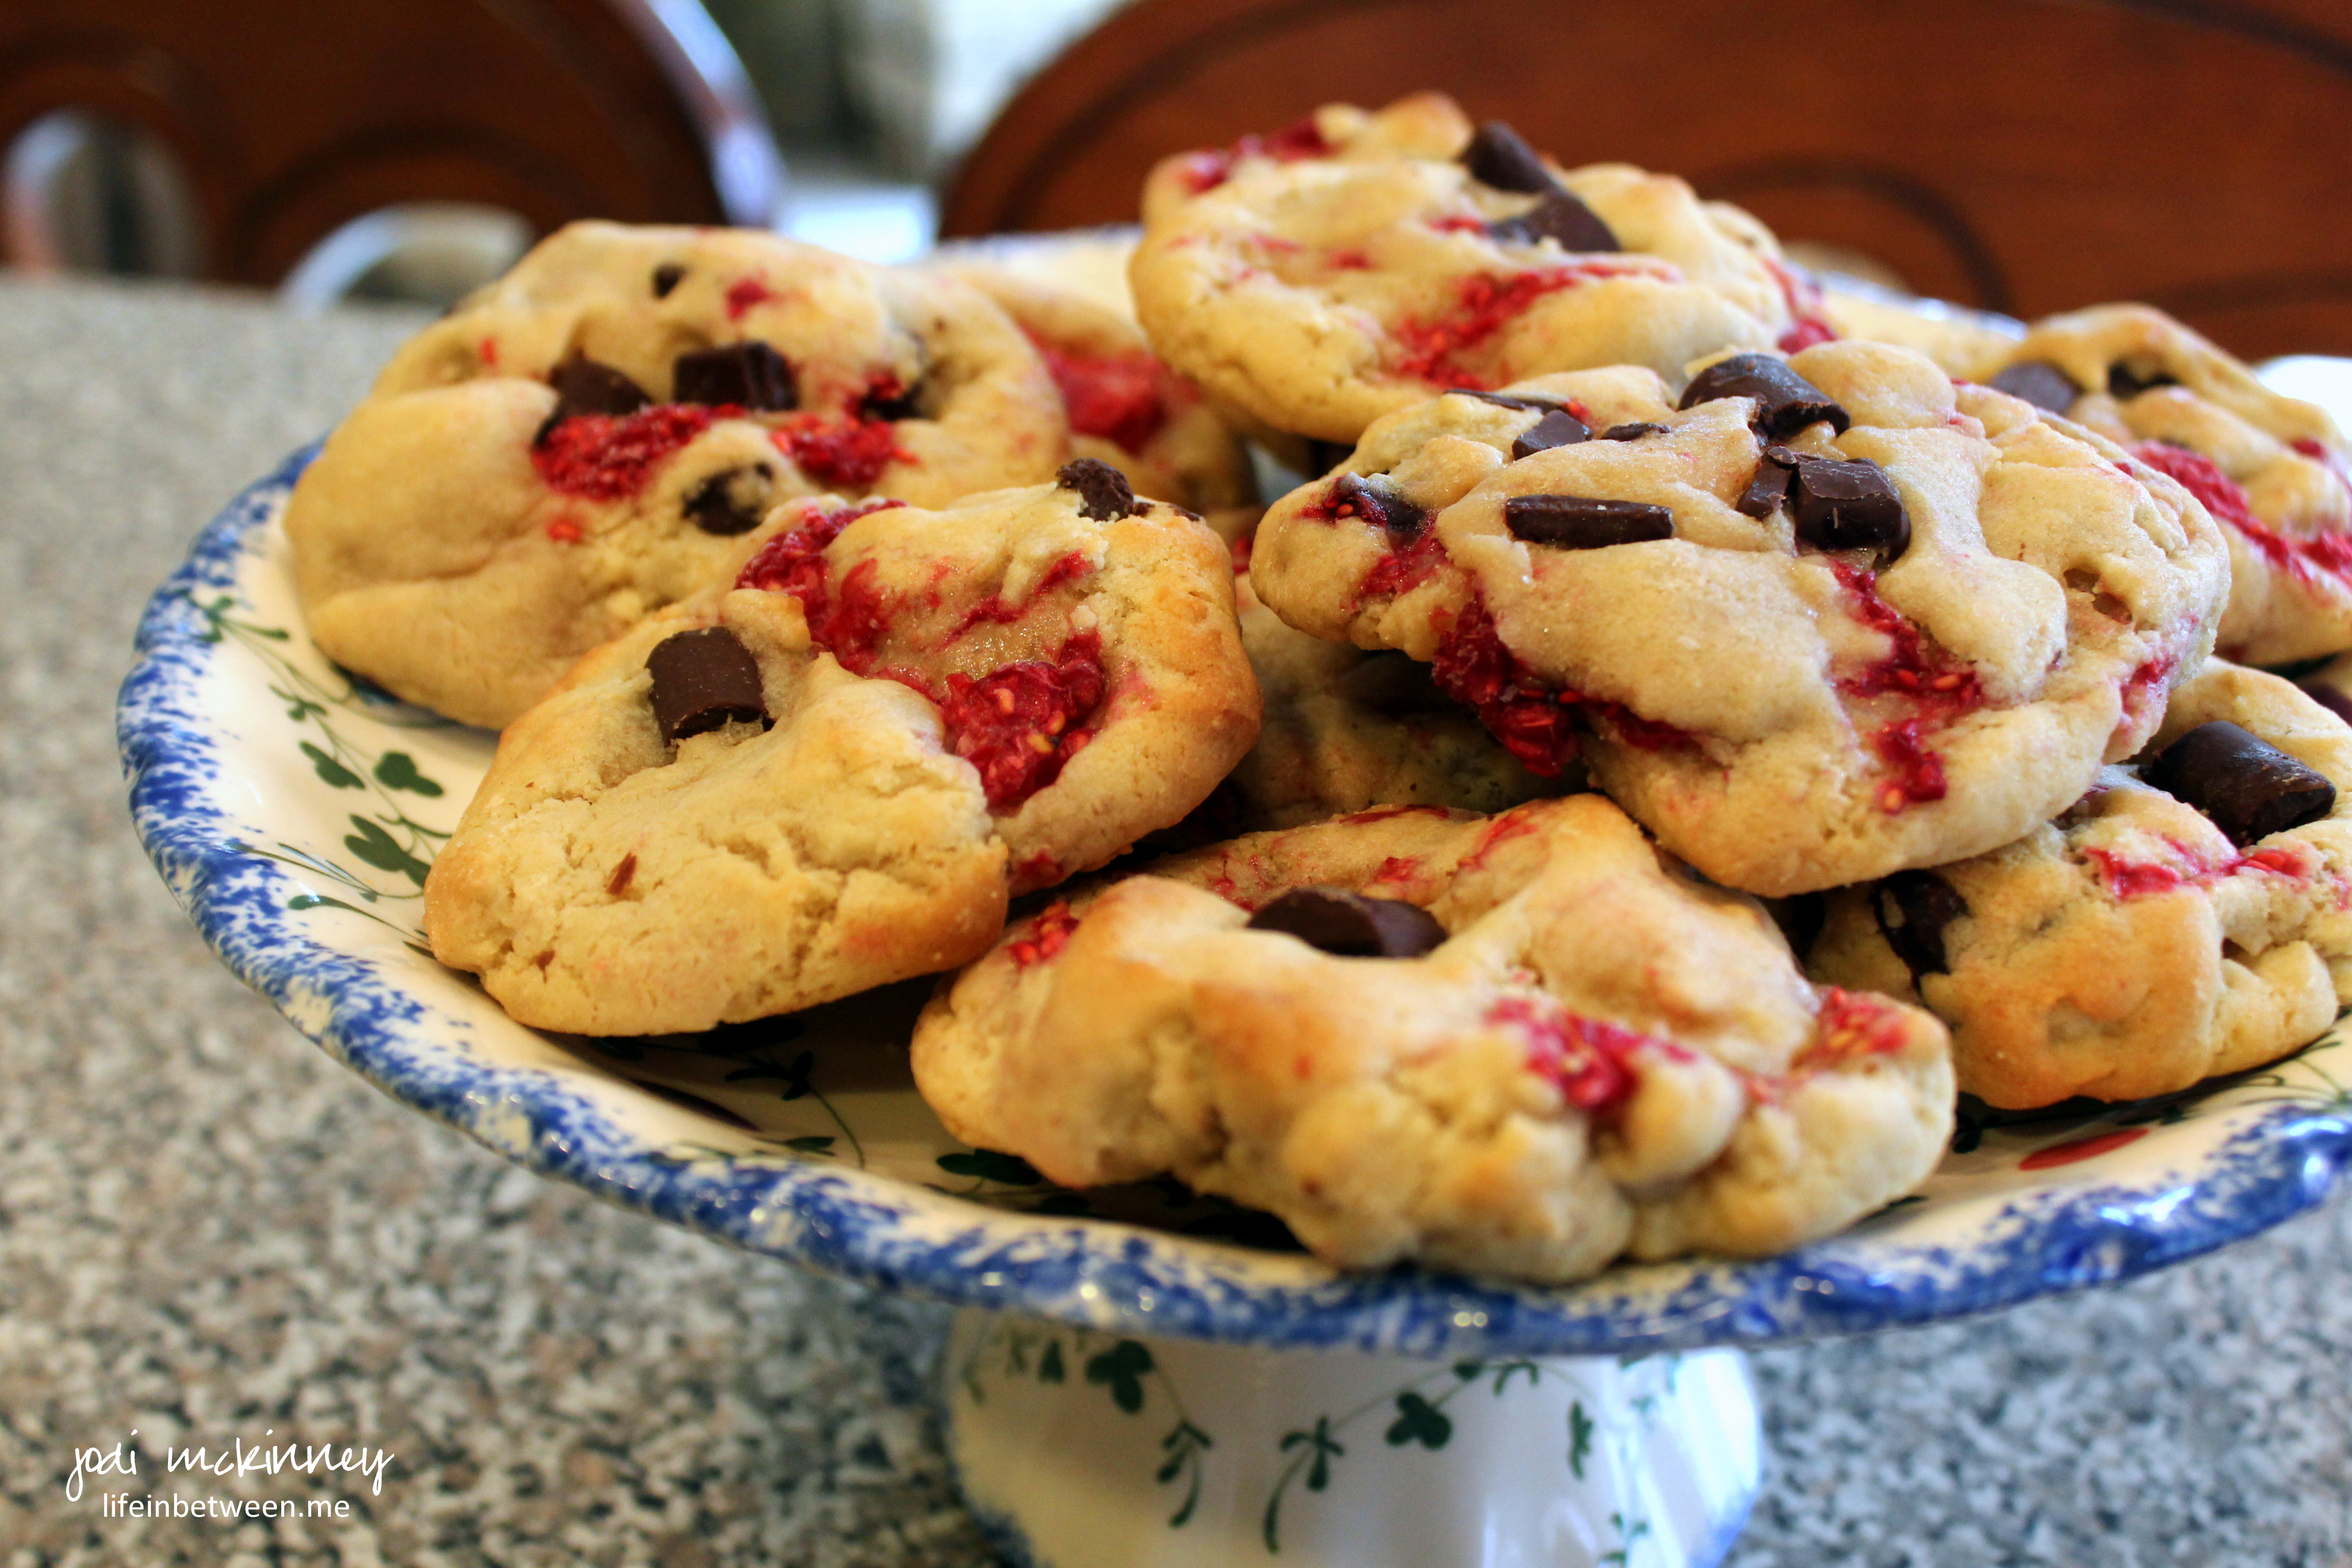
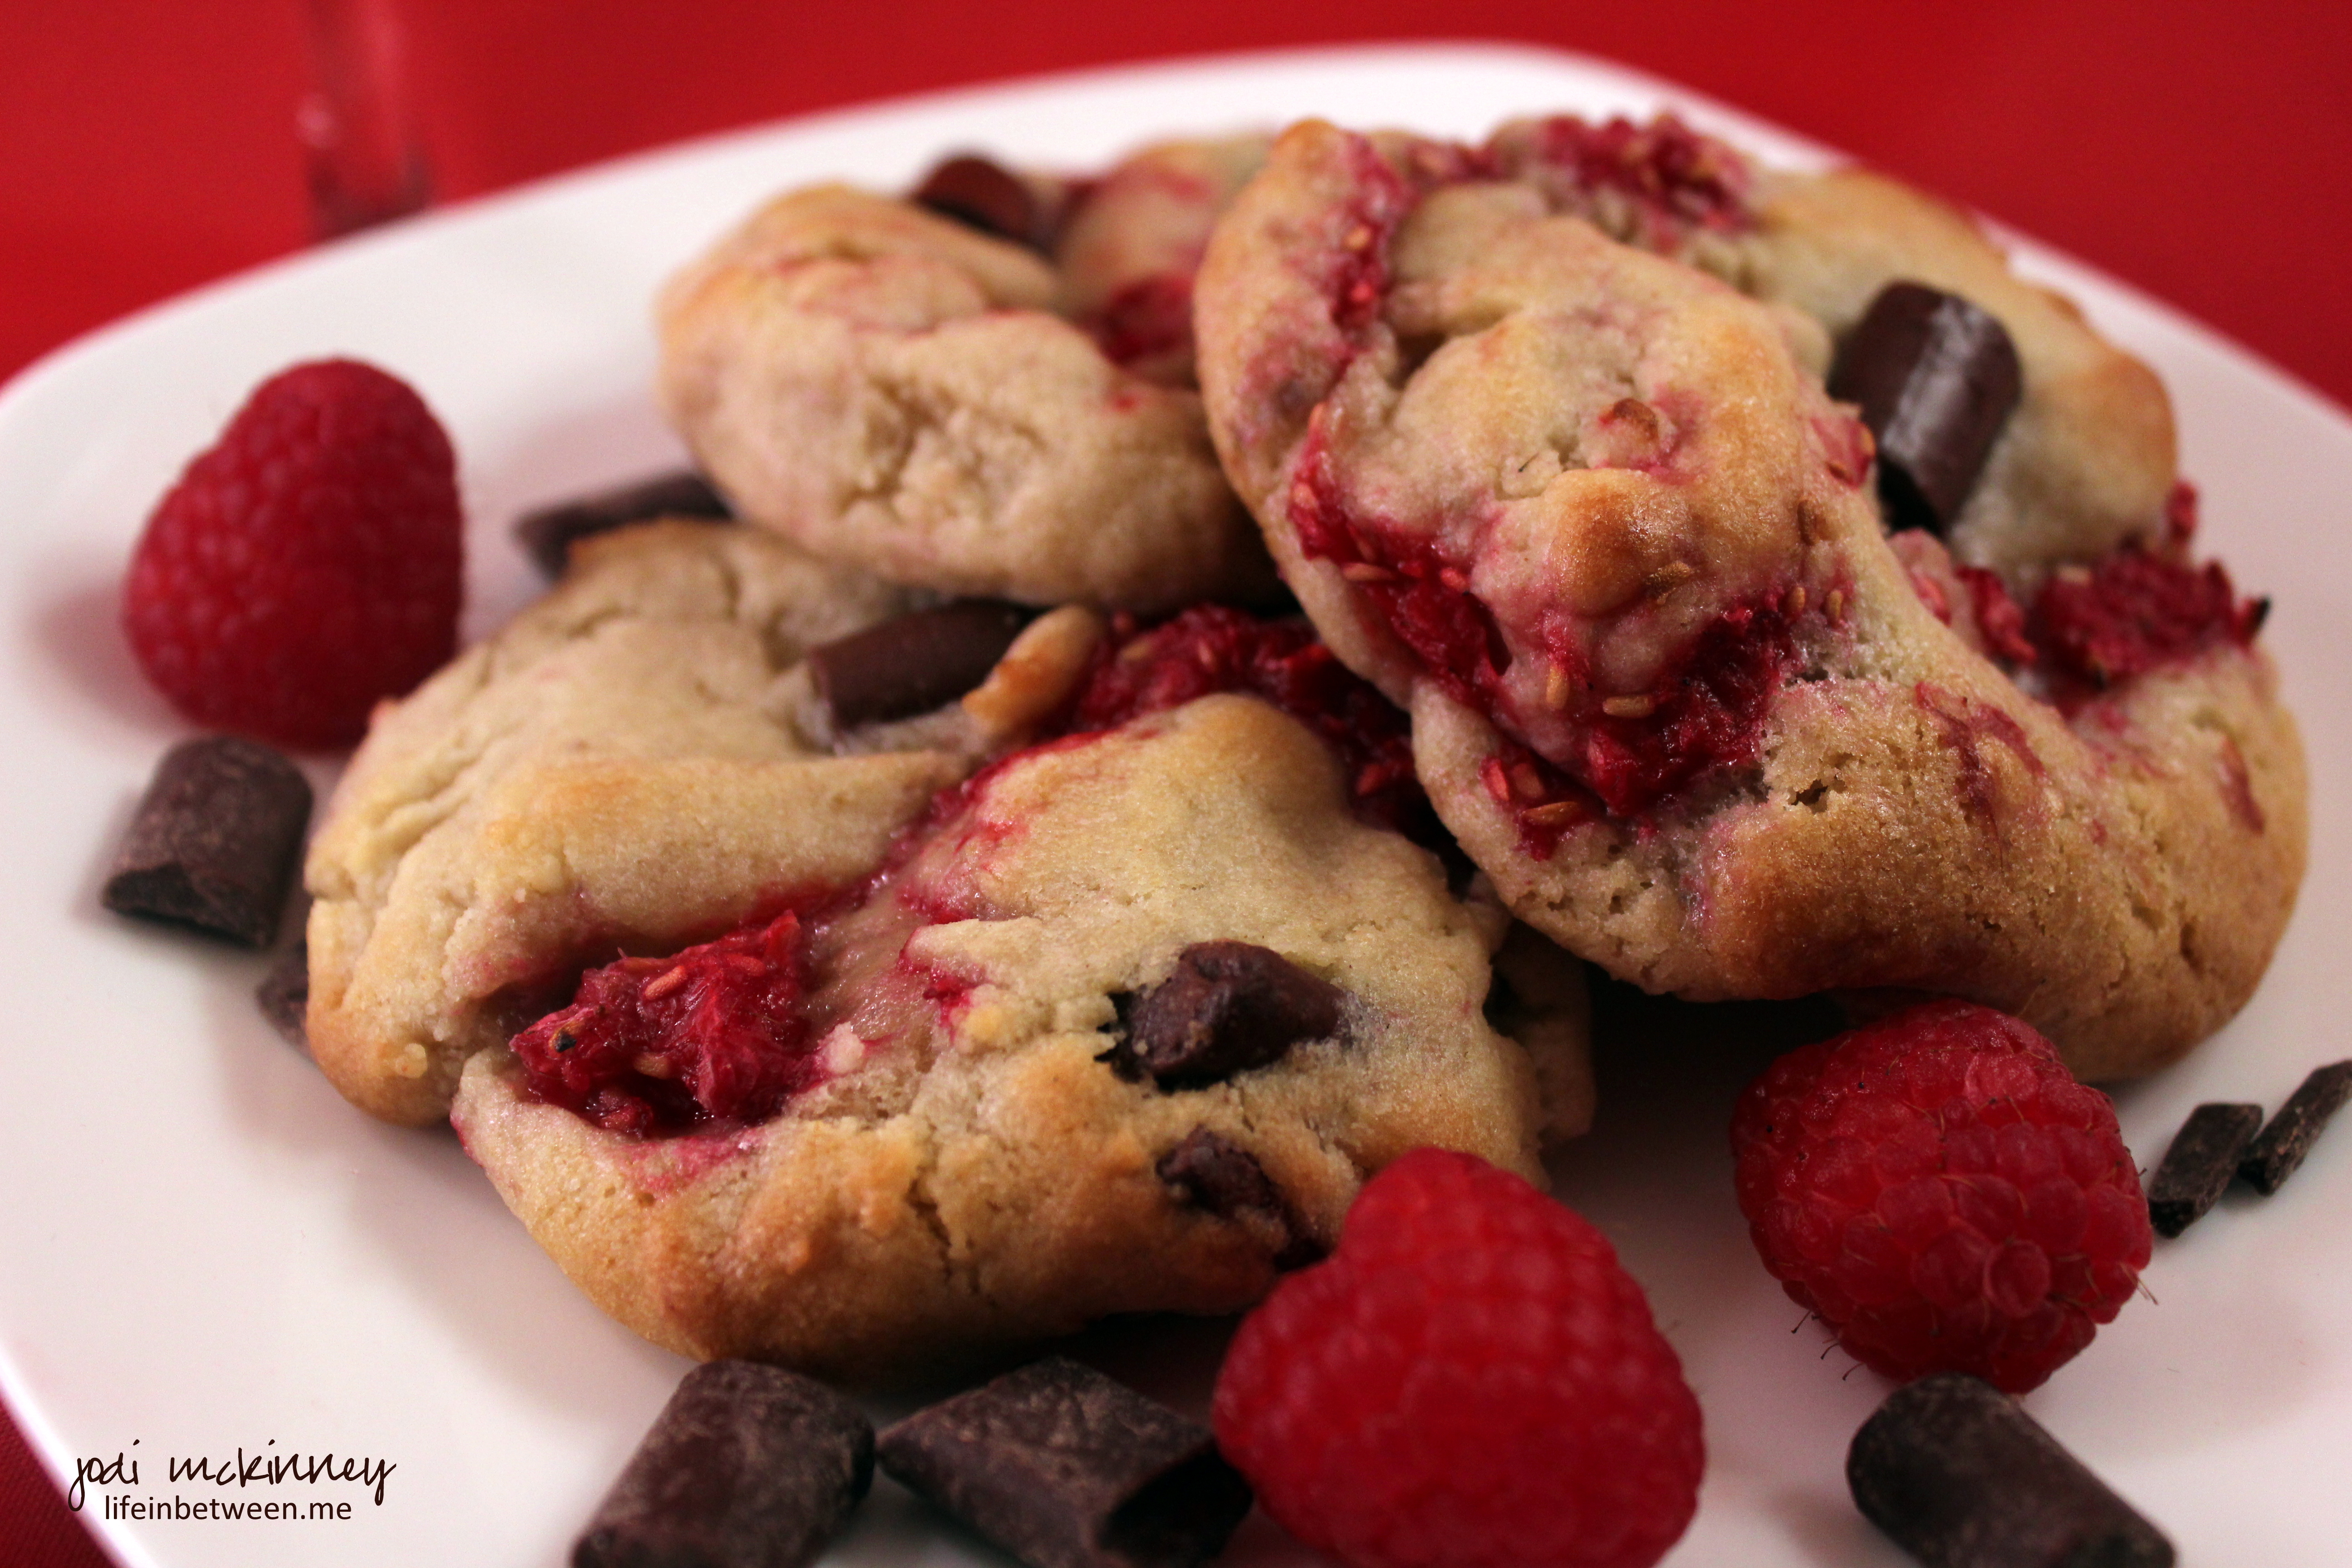
O – M – G !  Fresh raspberries meet freshly baked homemade chocolate chip cookies – Can you even imagine the yumminess?!?!

Fresh Raspberry Chocolate Chip Cookie

I was a little skeptical about trying this, but I wanted to do something a little different…

something a little extra special…

You see I have a very special house guest arriving tonight.  My sweet McSister, Kelly.

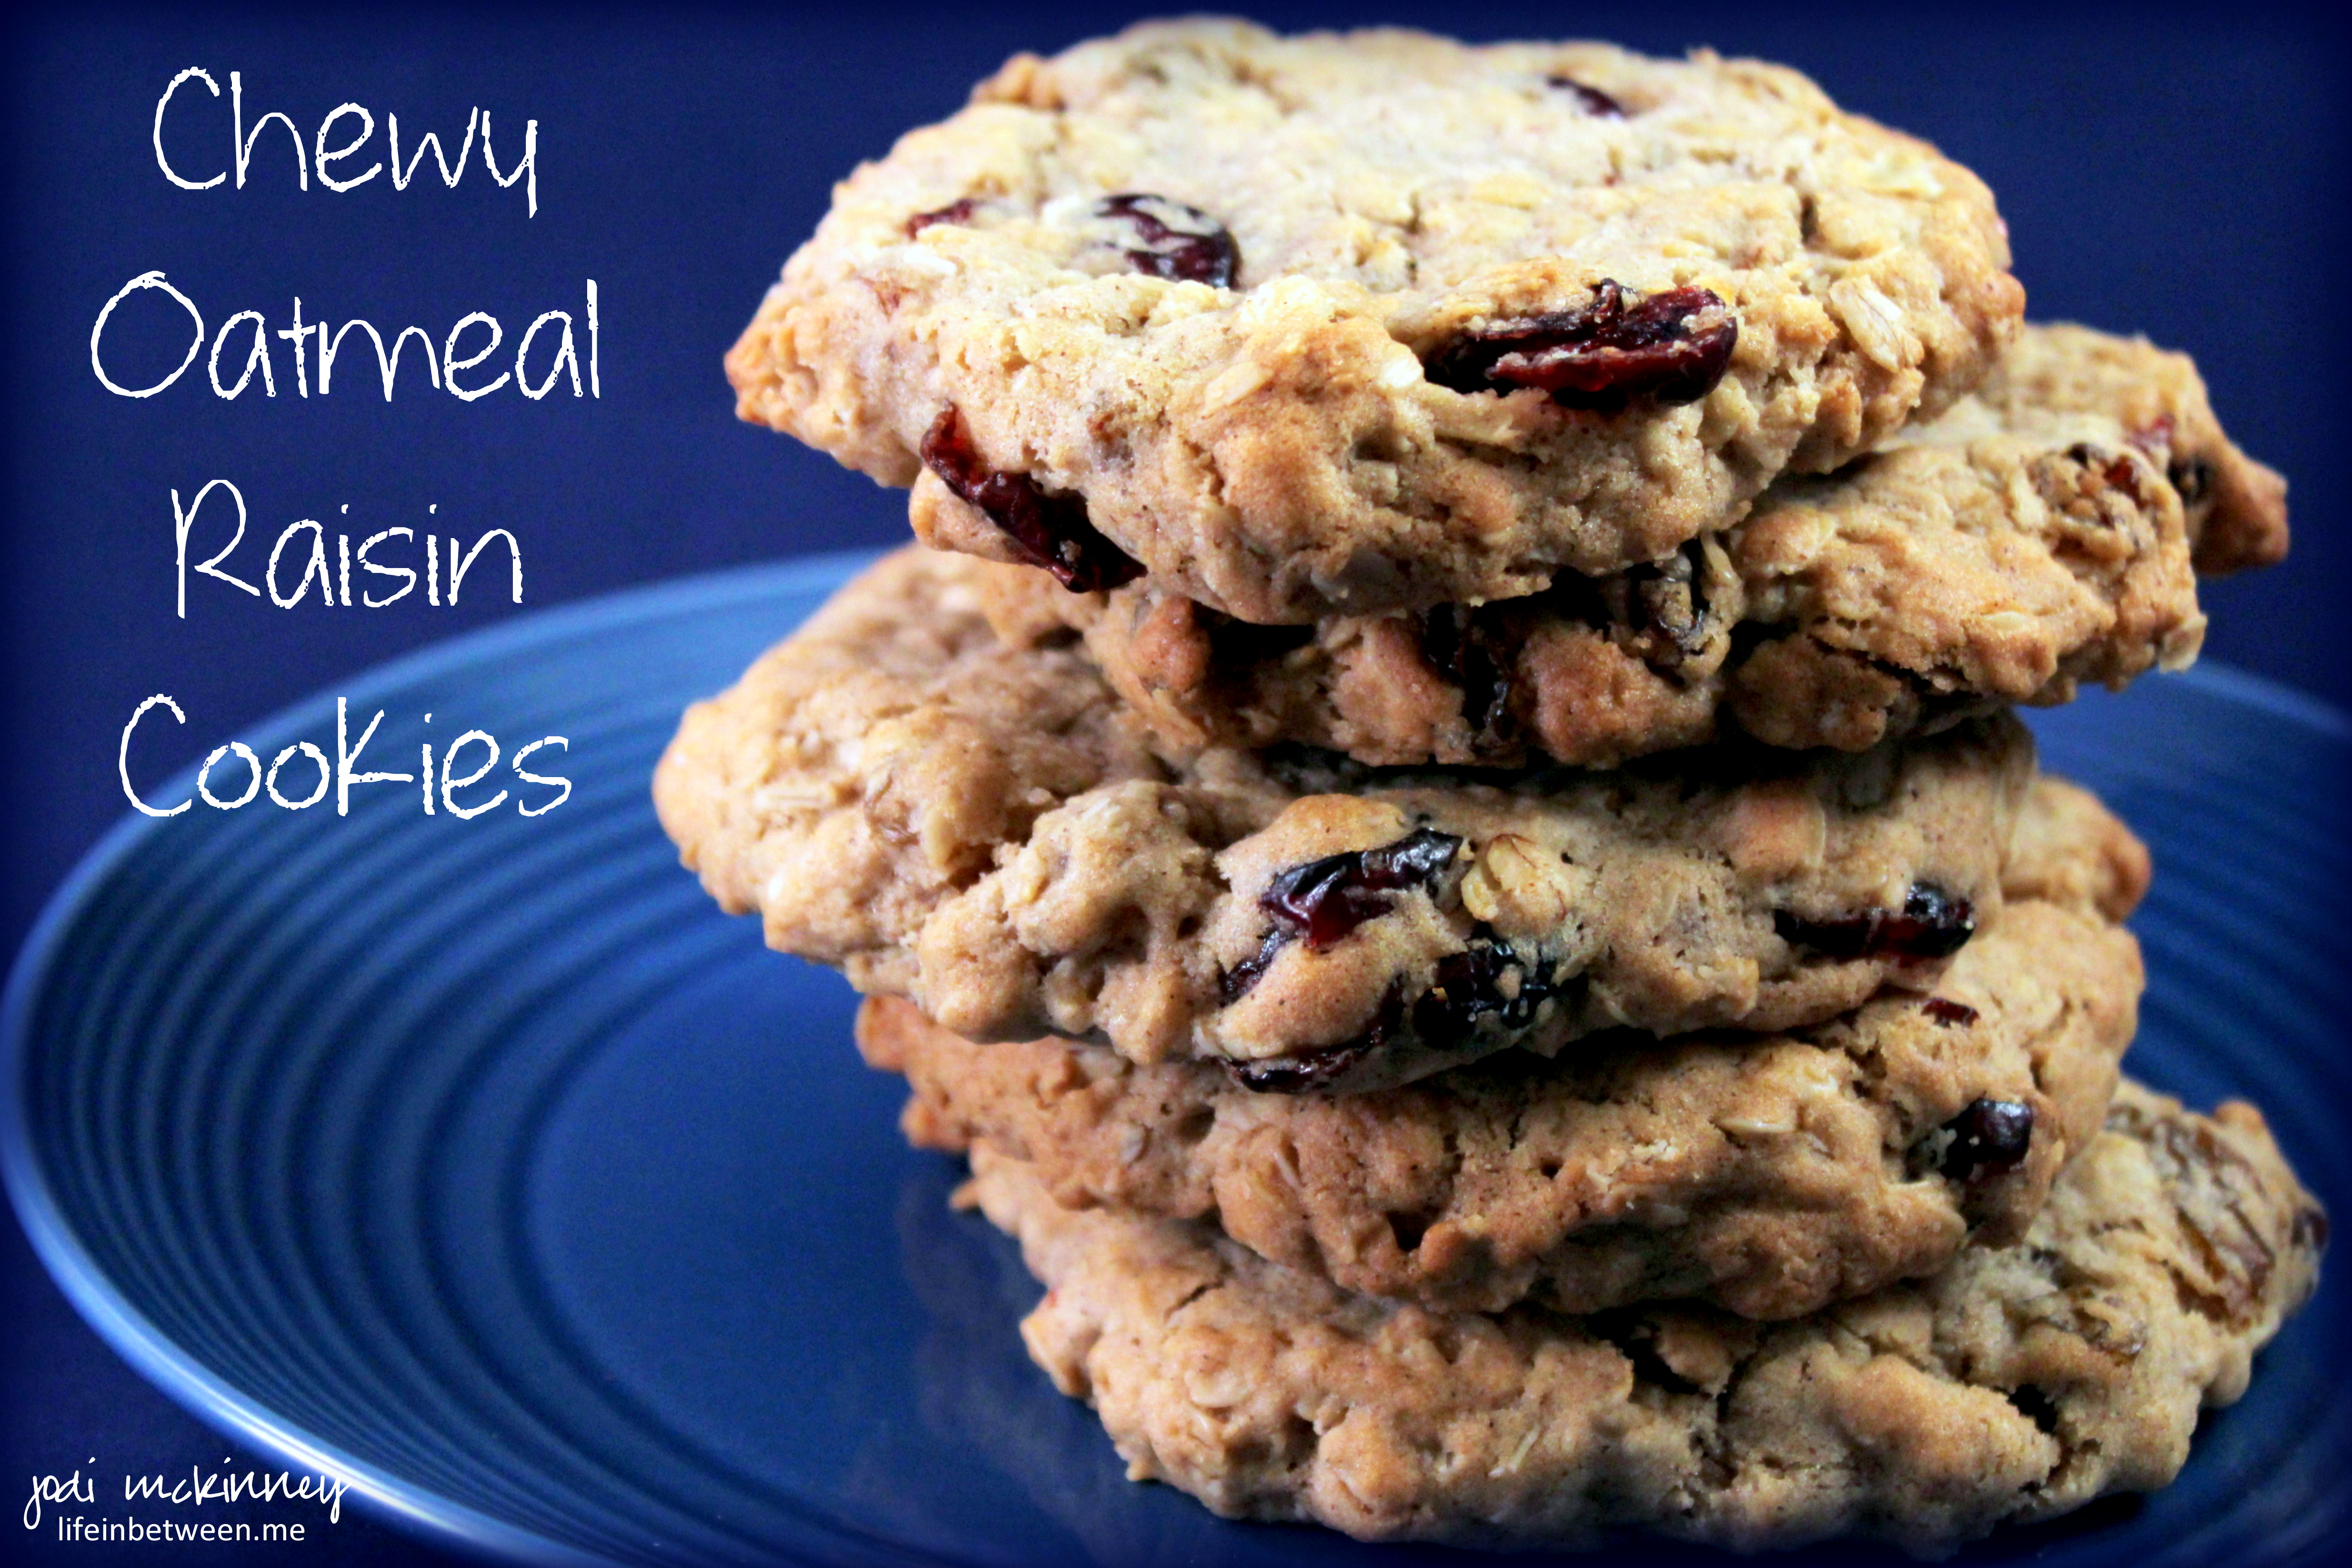
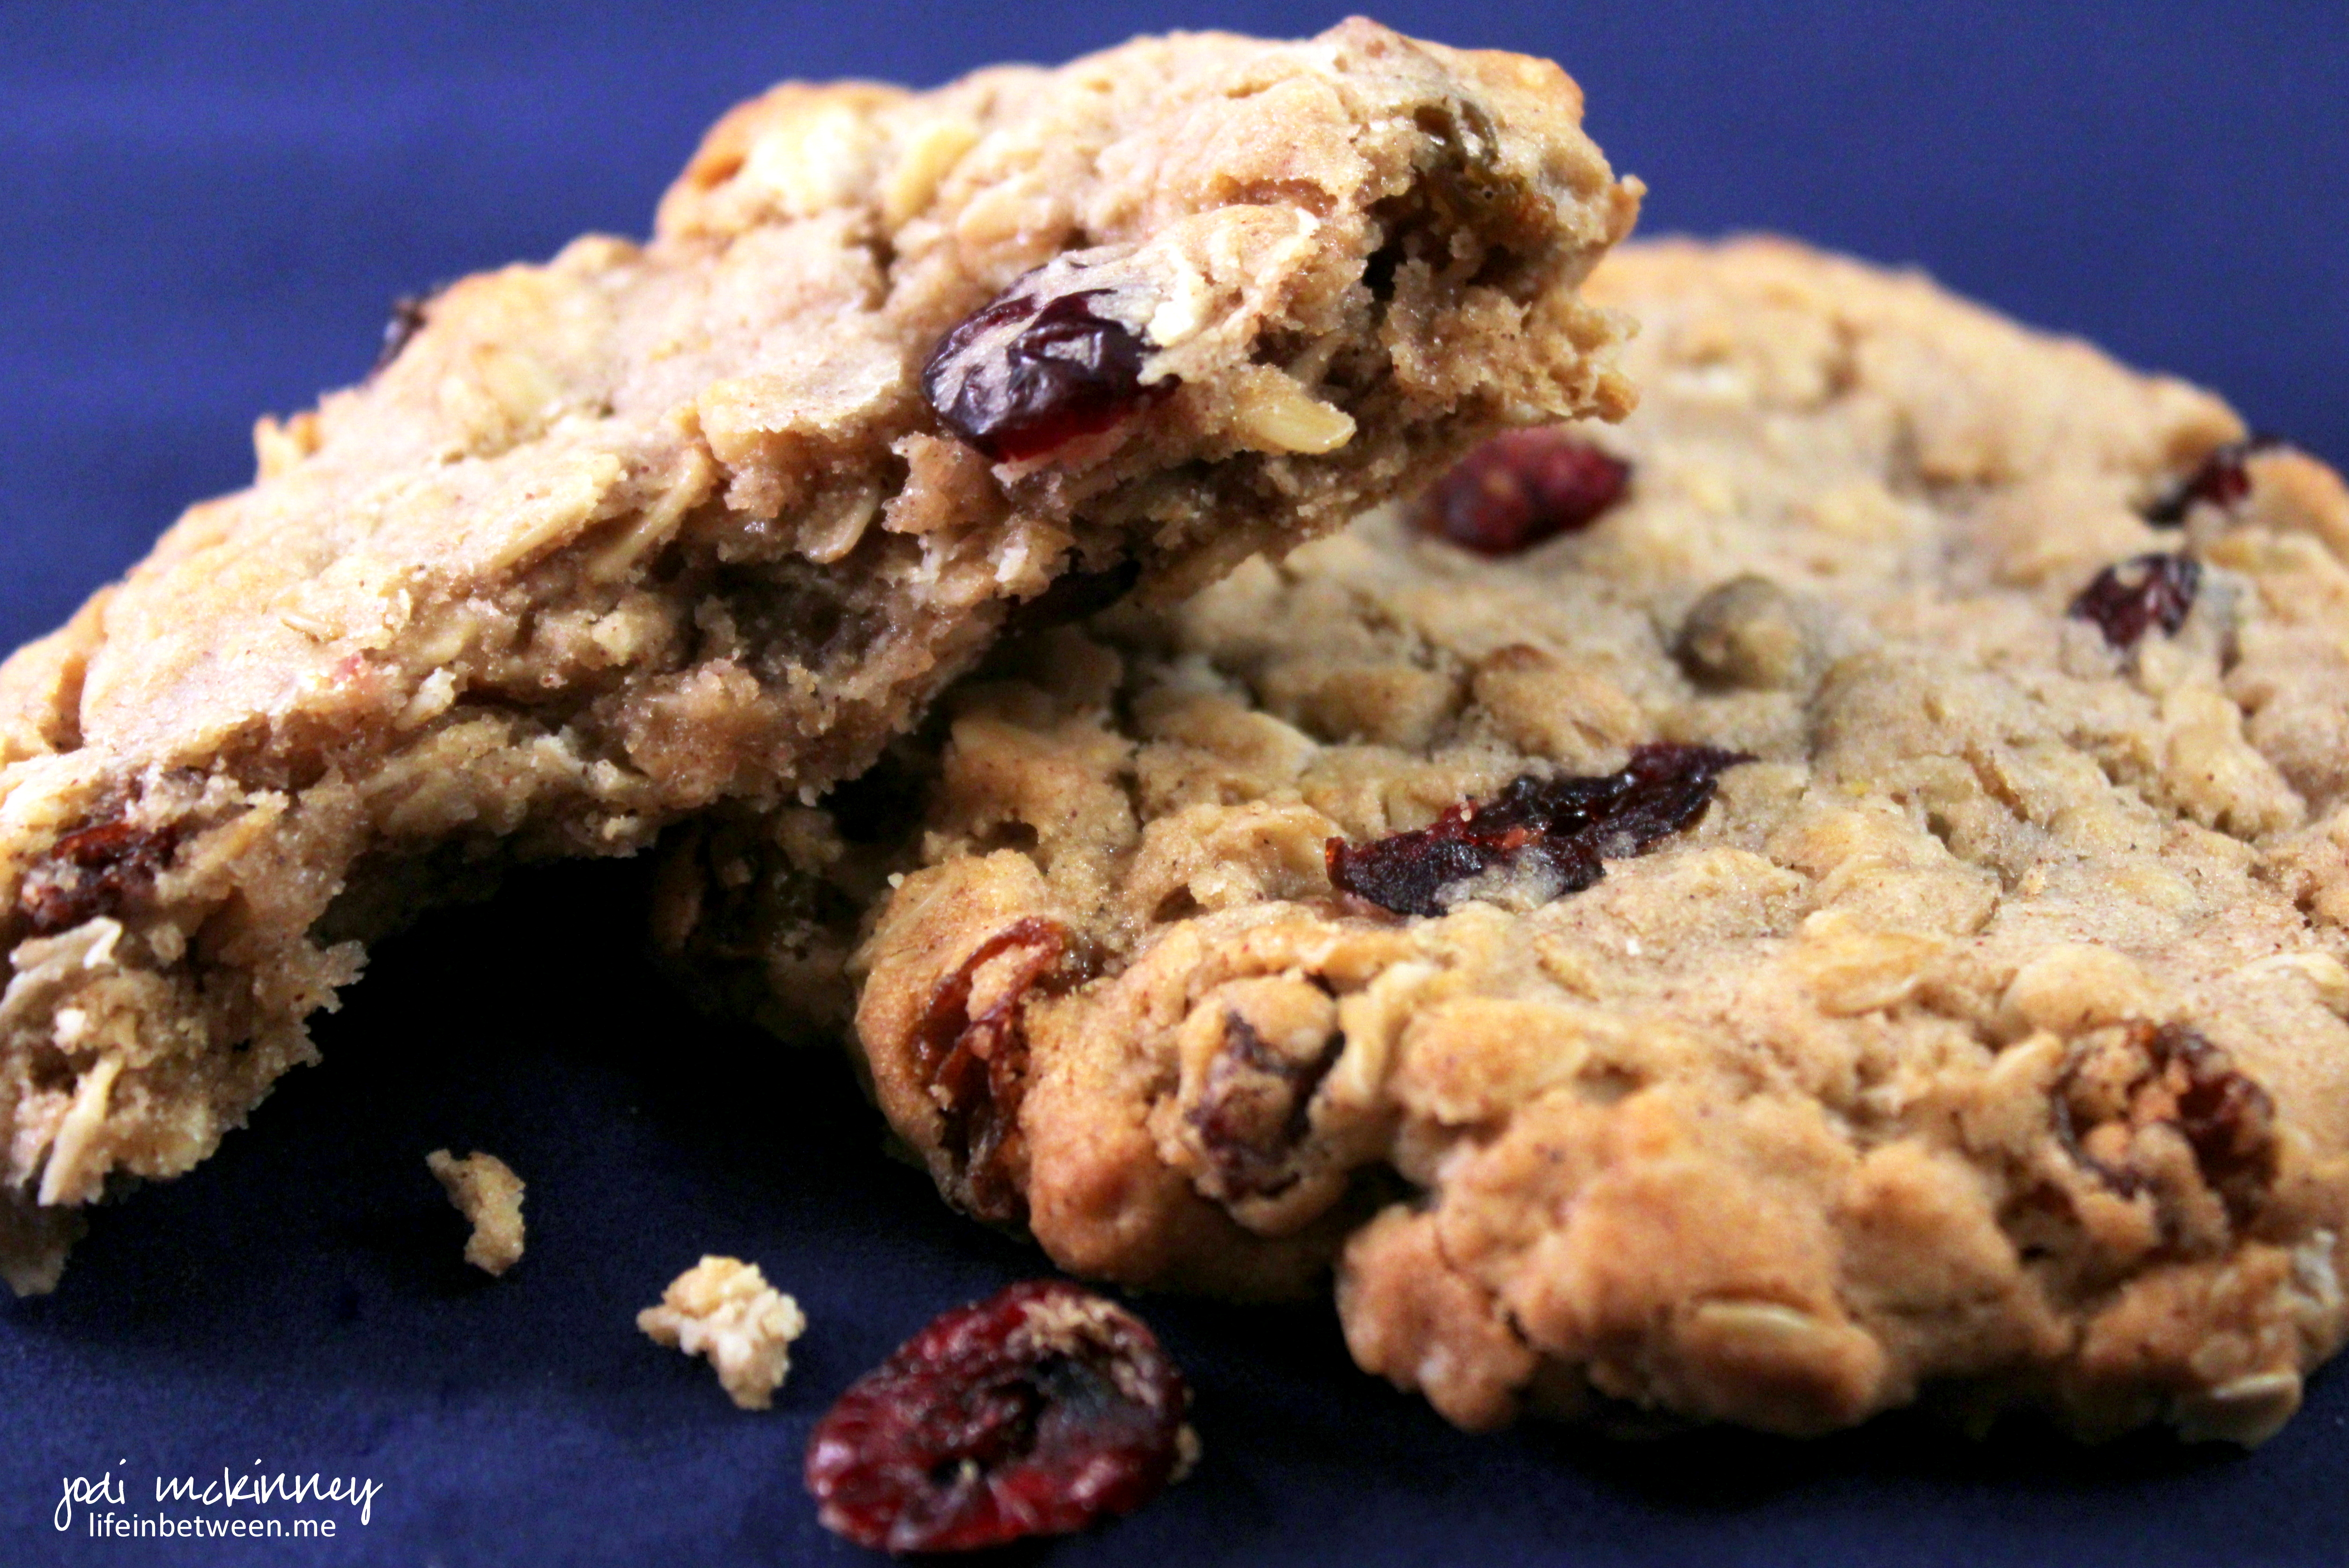
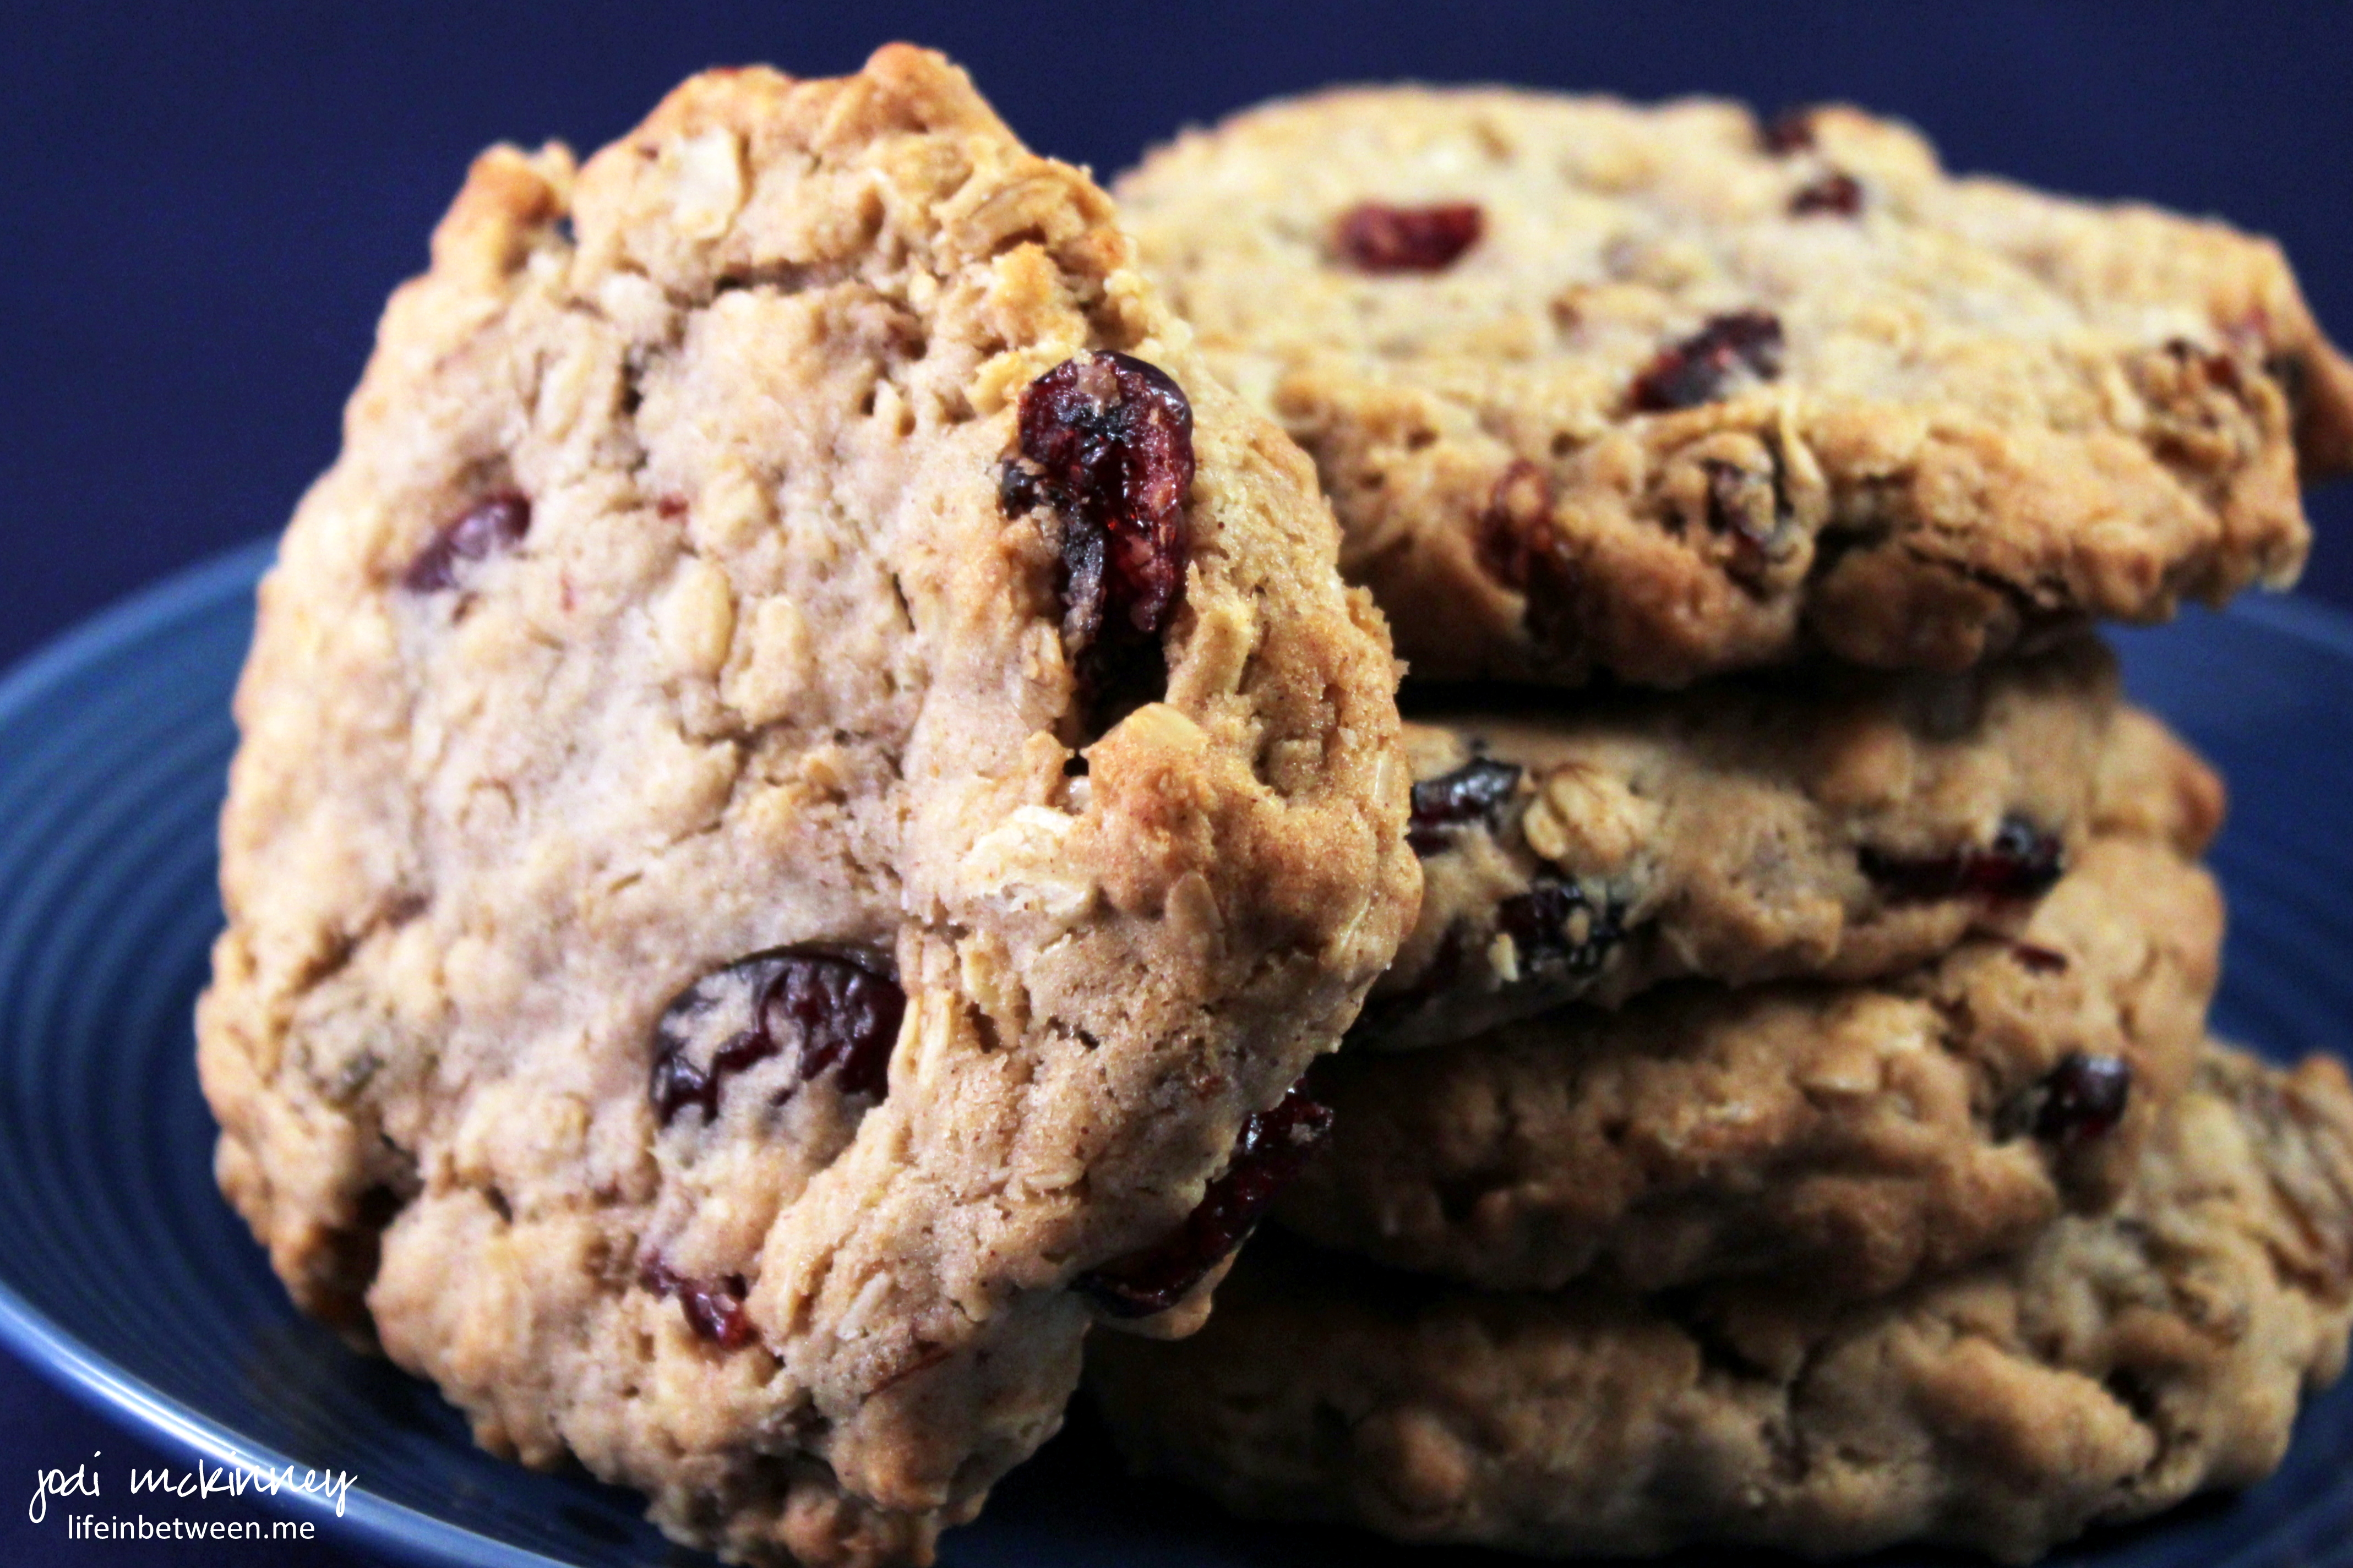
And what kind of hostess would I be if I had no fresh cookies on hand??!!  (And besides – last week’s batch of chewy oatmeal raisin cookies has vanished, so we needed a fresh stash for my hungry guys.)  🙂

Fresh Raspberry Chocolate Chip Cookie 2

All I did was take my standard chocolate chip cookies recipe and fold in some fresh raspberries.

In order to avoid making a big pink, smooshy mess of the dough, I simply added a fresh raspberry to each ball of cookie dough as I formed it assuring that some of the berry remained in tact and the rest spread around to flavor more of the cookie.

If you love red raspberries, you are going to go crazy for these!

I hope my McSis likes them.

In case you are wondering why Kelly is so special…

Well – besides being an incredibly amazing woman, hospice advocate, and the best dirty martini maker east of the Mississippi, Kelly saved my life…

At least that’s the way I see it.

Several years ago, I was on a business trip to our Northeast PA office in Wilkes-Barre, PA.  It was a newly acquired entity to our business, and I didn’t know many of our new employees.  I don’t remember a lot of the details of the trip, with the exception of one biggie – the town decided to flood during my trip.

It was scary!  People were being evacuated, businesses were closed, and I was very anxious to get home.

Problem was – every road that led back home was flooded – even the major interstate.  Try as I might to drive home, I kept getting turned around and blocked by rushing water.

Giving up, I found the first hotel in the town I was in when I got stuck, but alas no room at the inn…  At every place I tried….

Kelly was one person in this area that I had talked to at least a couple of times.  I had her number in my cell phone, and I called her, practically in tears, seeking direction.

Kelly calmly informed me that she lived on “high ground” near the Pocono Mountains, and didn’t even hesitate to guide me, road by road, turn by turn, to her home, welcome me in with a hug as if we’d been friends for life, provide me with a soft, warm bed, some simple delicious food, and the best dang dirty martinis I have ever ever ever had (and I’ve had my share!)

Another co-worker had been evacuated from her home, so Kelly invited her to join our “party.”

That night, three ladies – all with last names that start with Mc – became “sisters.”

We laughed, we cried, we drank, we ate, we hugged, and we formed a bond that I will never ever ever forget.

My sweet Kelly has moved away from that area to a warm southern climate where her hubby got a new job, but she is still a valuable member of our company’s hospice team and a lifelong friend.  So when she informed me she was heading to Mars to visit our HQ office, there was no questions where she would be staying.  Her room is waiting.  Cookies are baked.  Olives are ready to be stuffed with blue cheese to float in martinis.

And my hubby will finally get to meet my McSister, Kelly.

Love you buddy!

Fresh Raspberry Chocolate Chip Cookies

Ingredients:Fresh Raspberry Chocolate Chip Cookie 2

4 sticks butter, softened
1 1/2 cups packed brown sugar
1 1/2 cups white granulated sugar
2 tsp vanilla
4 eggs
2 tsp baking soda
2 tsp salt
5 cups all purpose flour
3 cups Nestle Semi-Sweet Chocolate Chunks (1 1/2 bags)
2 cups fresh red raspberries

Directions:

With electric mixer, beat butter and sugar together until completely incorporated. Add vanilla and eggs, and beat until light and fluffy. Add baking soda and salt, and mix another minute. Gradually add flour and beat until well incorporated, but do not overbeat.

Fold in chocolate chunks. Refrigerate dough for at least 2 hours or up to 2 days.

When ready to bake, preheat oven to 375 degrees F. With your hands, form a cookie dough ball about 1-1/2 inches in diameter. Make an indentation with your thumb and place a fresh raspberry in the indentation. Squeeze together, shape and flatten slightly. Place on baking stone. Bake for 8-10 minutes. Do not overbake. Allow to cool on baking stone for 2-3 minutes, then remove to cooling rack to cool completely.

To make eating these even more special, enjoy with a nice glass of Port wine. Oooooo Laaaa Laaa!

Cheers & Hugs,
Jodi

Chewy Oatmeal Raisin Cookies

Oatmeal Raisin Cookies

Oatmeal cookies are one of my hubby’s faves, and I was surprised to notice I had not posted my recipe here yet.

When I make oatmeal cookies, I like to make them ginormous – – – typically about 3 inches in diameter.

It just seems to be the right way to make them….  Do you think I subconsciously consider them healthier in the cookie category?  There are oats.  There is fruit.  Sometimes there are nuts….   (no worries about that little ole’ bit of butter and sugar!)  😉

I also tend to flatten them a bit before baking, which I do not do with my chocolate chips and others.  I think because they are so full of HEALTHY oats, they don’t tend to spread and flatten as much on their own.

oatmeal raisin cookies 3

To me, the best oatmeal cookies are not puffy or fluffy, but crispy on the outside edges and chewy on the inside.

I change up the fruit or nuts for however the wind is blowing for me that day, so sometimes I add just golden raisins (which I always buy over the standard “brown” ones), other times I use raisins and dried cranberries (like this time).  Sometimes I add chopped walnuts… and sometimes not.  I’ve been known to add dried cherries or dried blueberries (and even candy orange slices once!).

oatmeal raisin cookies 2

So for you oatmeal cookies lovers, here’s my favorite tweaked from the Quaker Oats canister lid called “Vanishing Oatmeal Raisin Cookies:”

Chewy Oatmeal Raisin Cookies

  • Servings: 2 dozen ginormous or 4 dozen regular sized cookies
  • Print

Ingredients:oatmeal raisin cookies 3

14 Tbsp softened butter
3/4 cup packed brown sugar
1/2 cup white sugar
2 eggs
1 1/2 tsp vanilla
1 1/2 cups all purpose flour
1 tsp baking soda
1 tsp cinnamon
1/2 tsp salt
3 cups uncooked oats
1 cup golden raisins (or fruit/nuts of your choice)

With electric mixer, beat butter and sugars until creamy. Add eggs and vanilla and beat for two more minutes. Add dry ingredients and mix well. Add oats and raisins and mix well.

Refrigerate for at least 2 hours or up to 2 days.

When ready to bake, preheat oven to 350 degrees F.

Roll dough into large 2 inch balls (or smaller 1 inch if you prefer), place on baking stone, and flatten with the palm of your hand.

Bake 8 minutes for small, 10 minutes for large.

Jodi’s Best Cookie Baking Tips: Electric oven provides most even, consistent baking. I always bake on stones as opposed to aluminum or glass or metal.  I always refrigerate my cookie dough for several hours before baking. I always under bake as the cookies continue to cook slightly while cooling on the baking stone for 2-3 minutes before removing to cooling rack. Cookies freeze well if stored in airtight freezer bags after completely cooled.

Enjoy!

Cheers & Hugs,
Jodi

Enjoy an EGGcellent Easter!

cadbury egg cracked

The anticipation is over – time to dive in.

Easter egg green and blue

To brightly colored eggs…

Easter Eggs 2015

and yummy sweet treats!

Mason and Ella making Cadbury Blondie Bars Easter 2015

And could anything make me smile more than receiving this photo texted to me yesterday of these two cuties making “Jodi’s” Candbury Mini Egg Blondies and decorating it with my name?!??!!

Mason and Ella making Cadbury Blondie Bars Easter 2015 Jodi

I am truly blessed!  Thank you Mason and Ella!  ❤

Wishing you all blessings and joy and the anticipation of Easter Eggs YOUR favorite way!

Cheers & Hugs,

Jodi