It was a girl’s field trip day on Saturday to Northeast Ohio for Christmas in the Woods!
Yep – more Christmas shenanigans!
What fun we had getting our Christmas crafting inspiration and shopping on.
Then, we topped our day off with a card-making / stamping class and dinner at Selah Restaurant in The Vault!
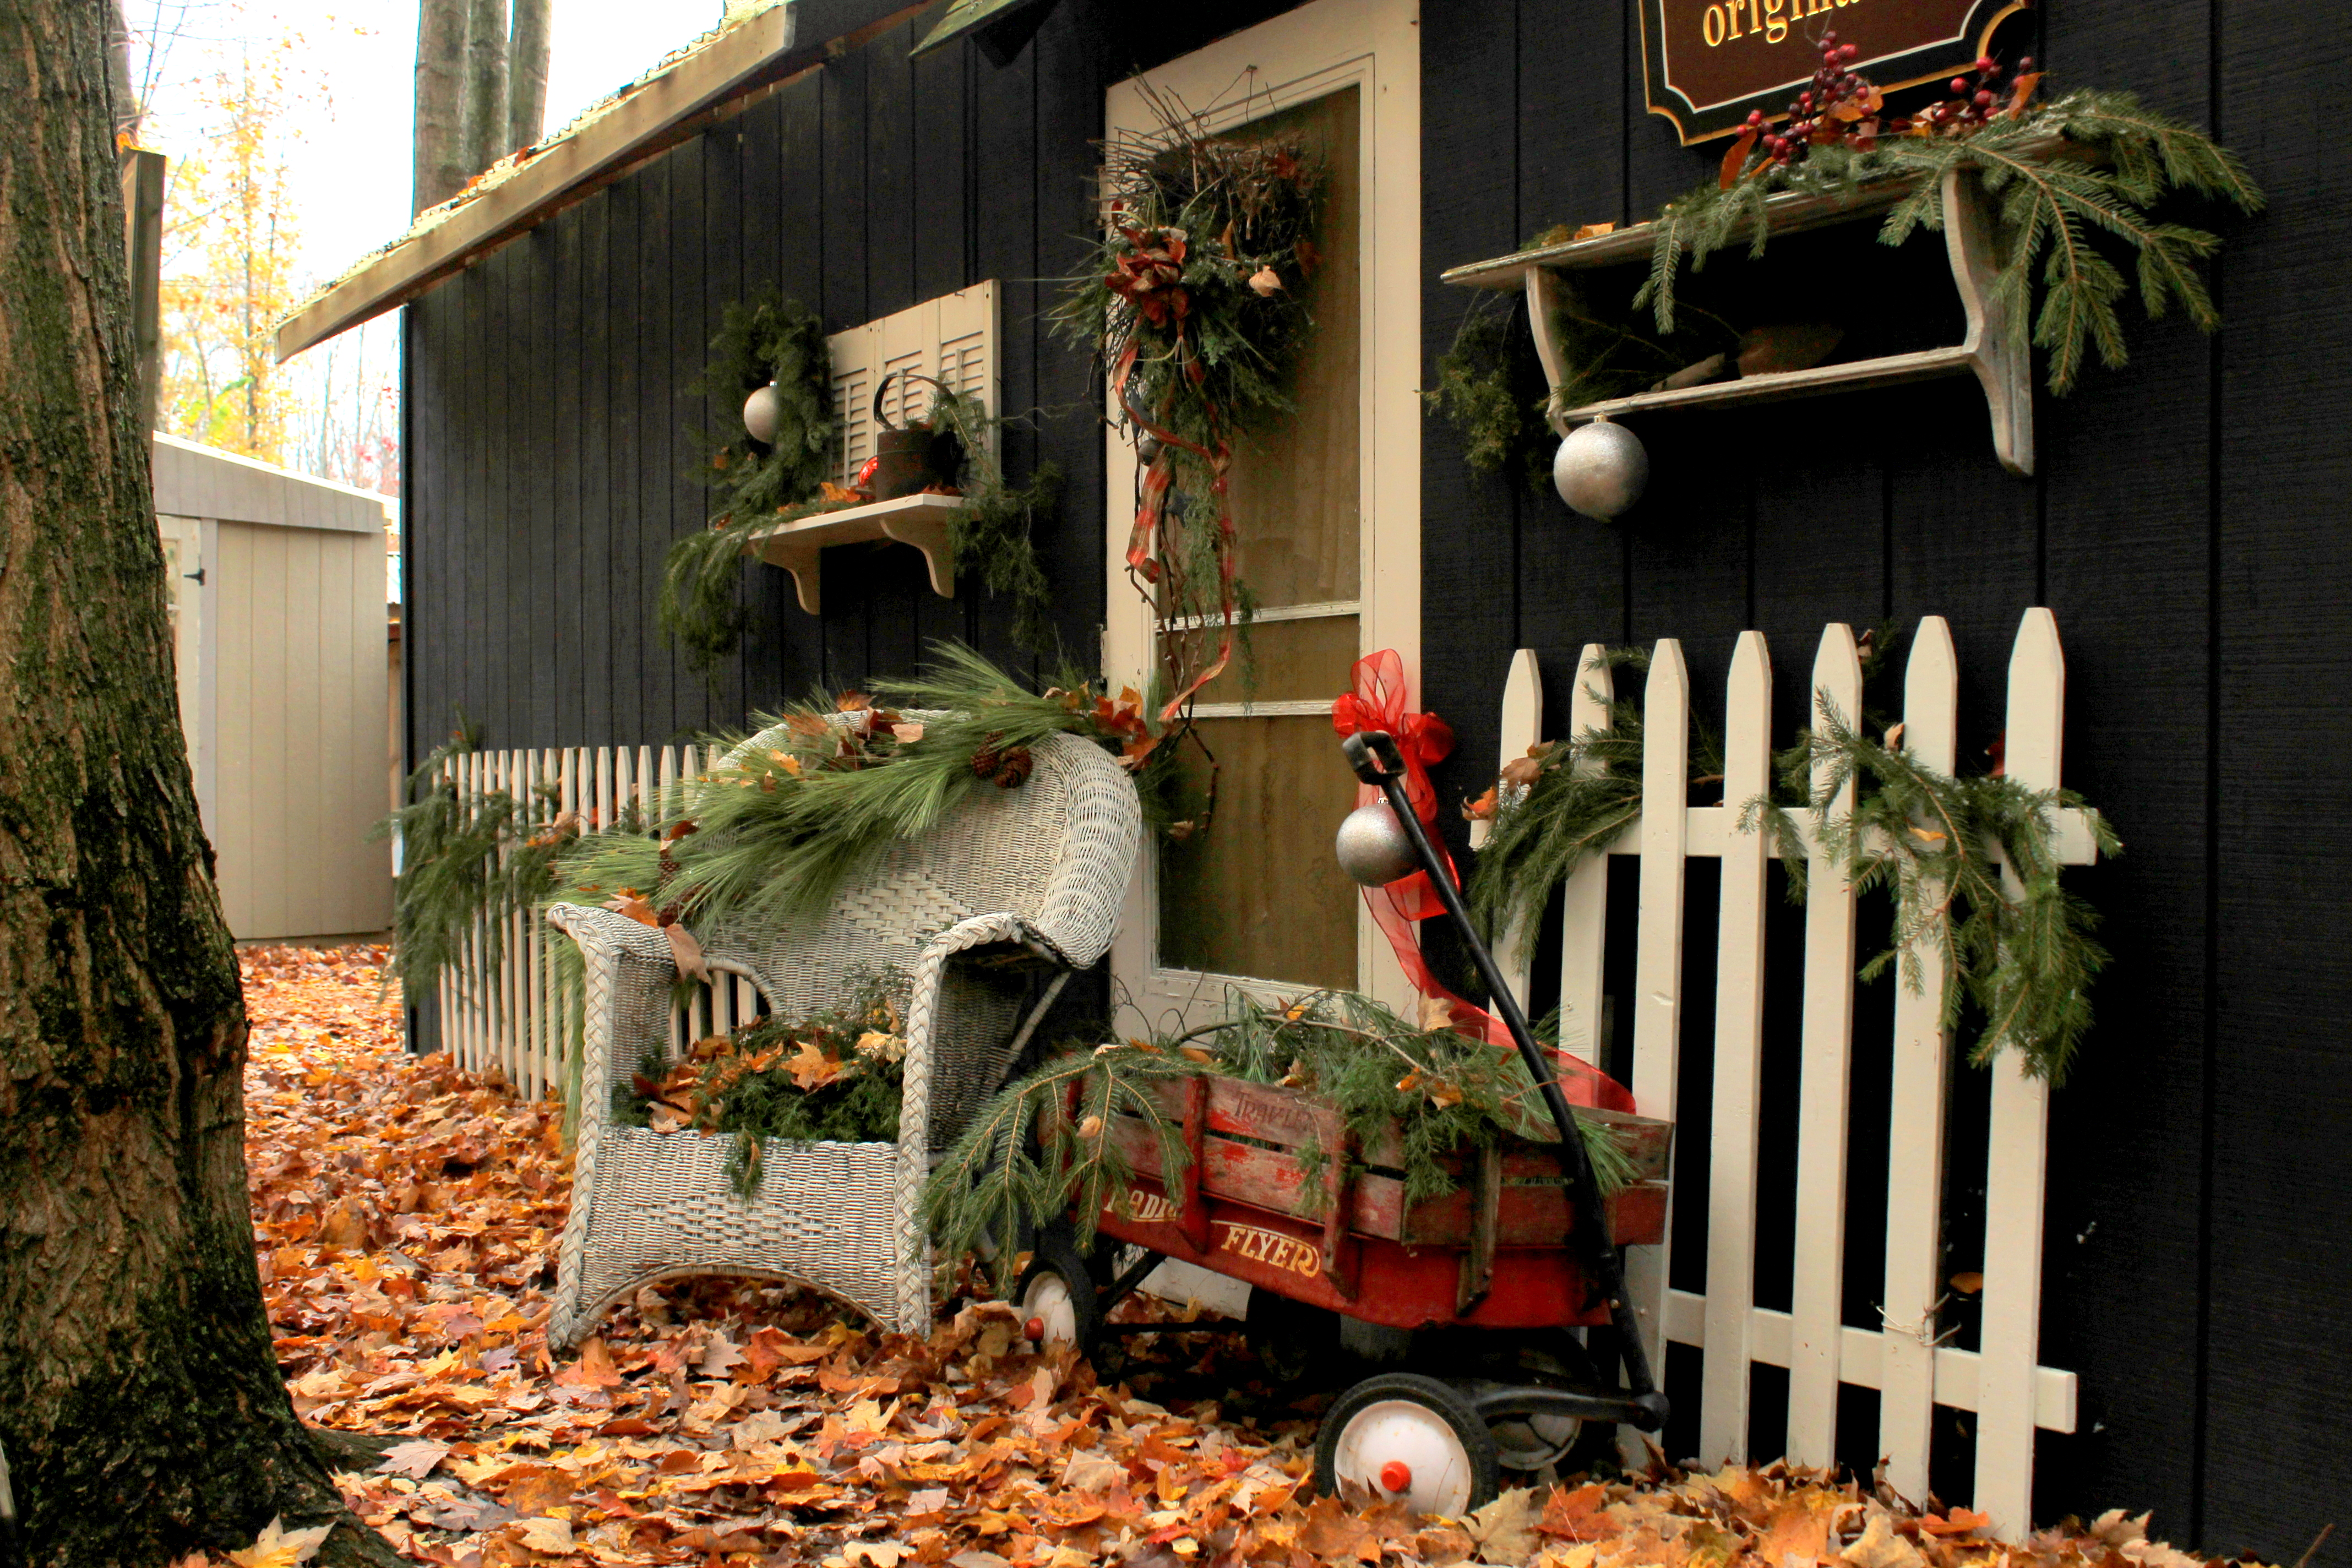
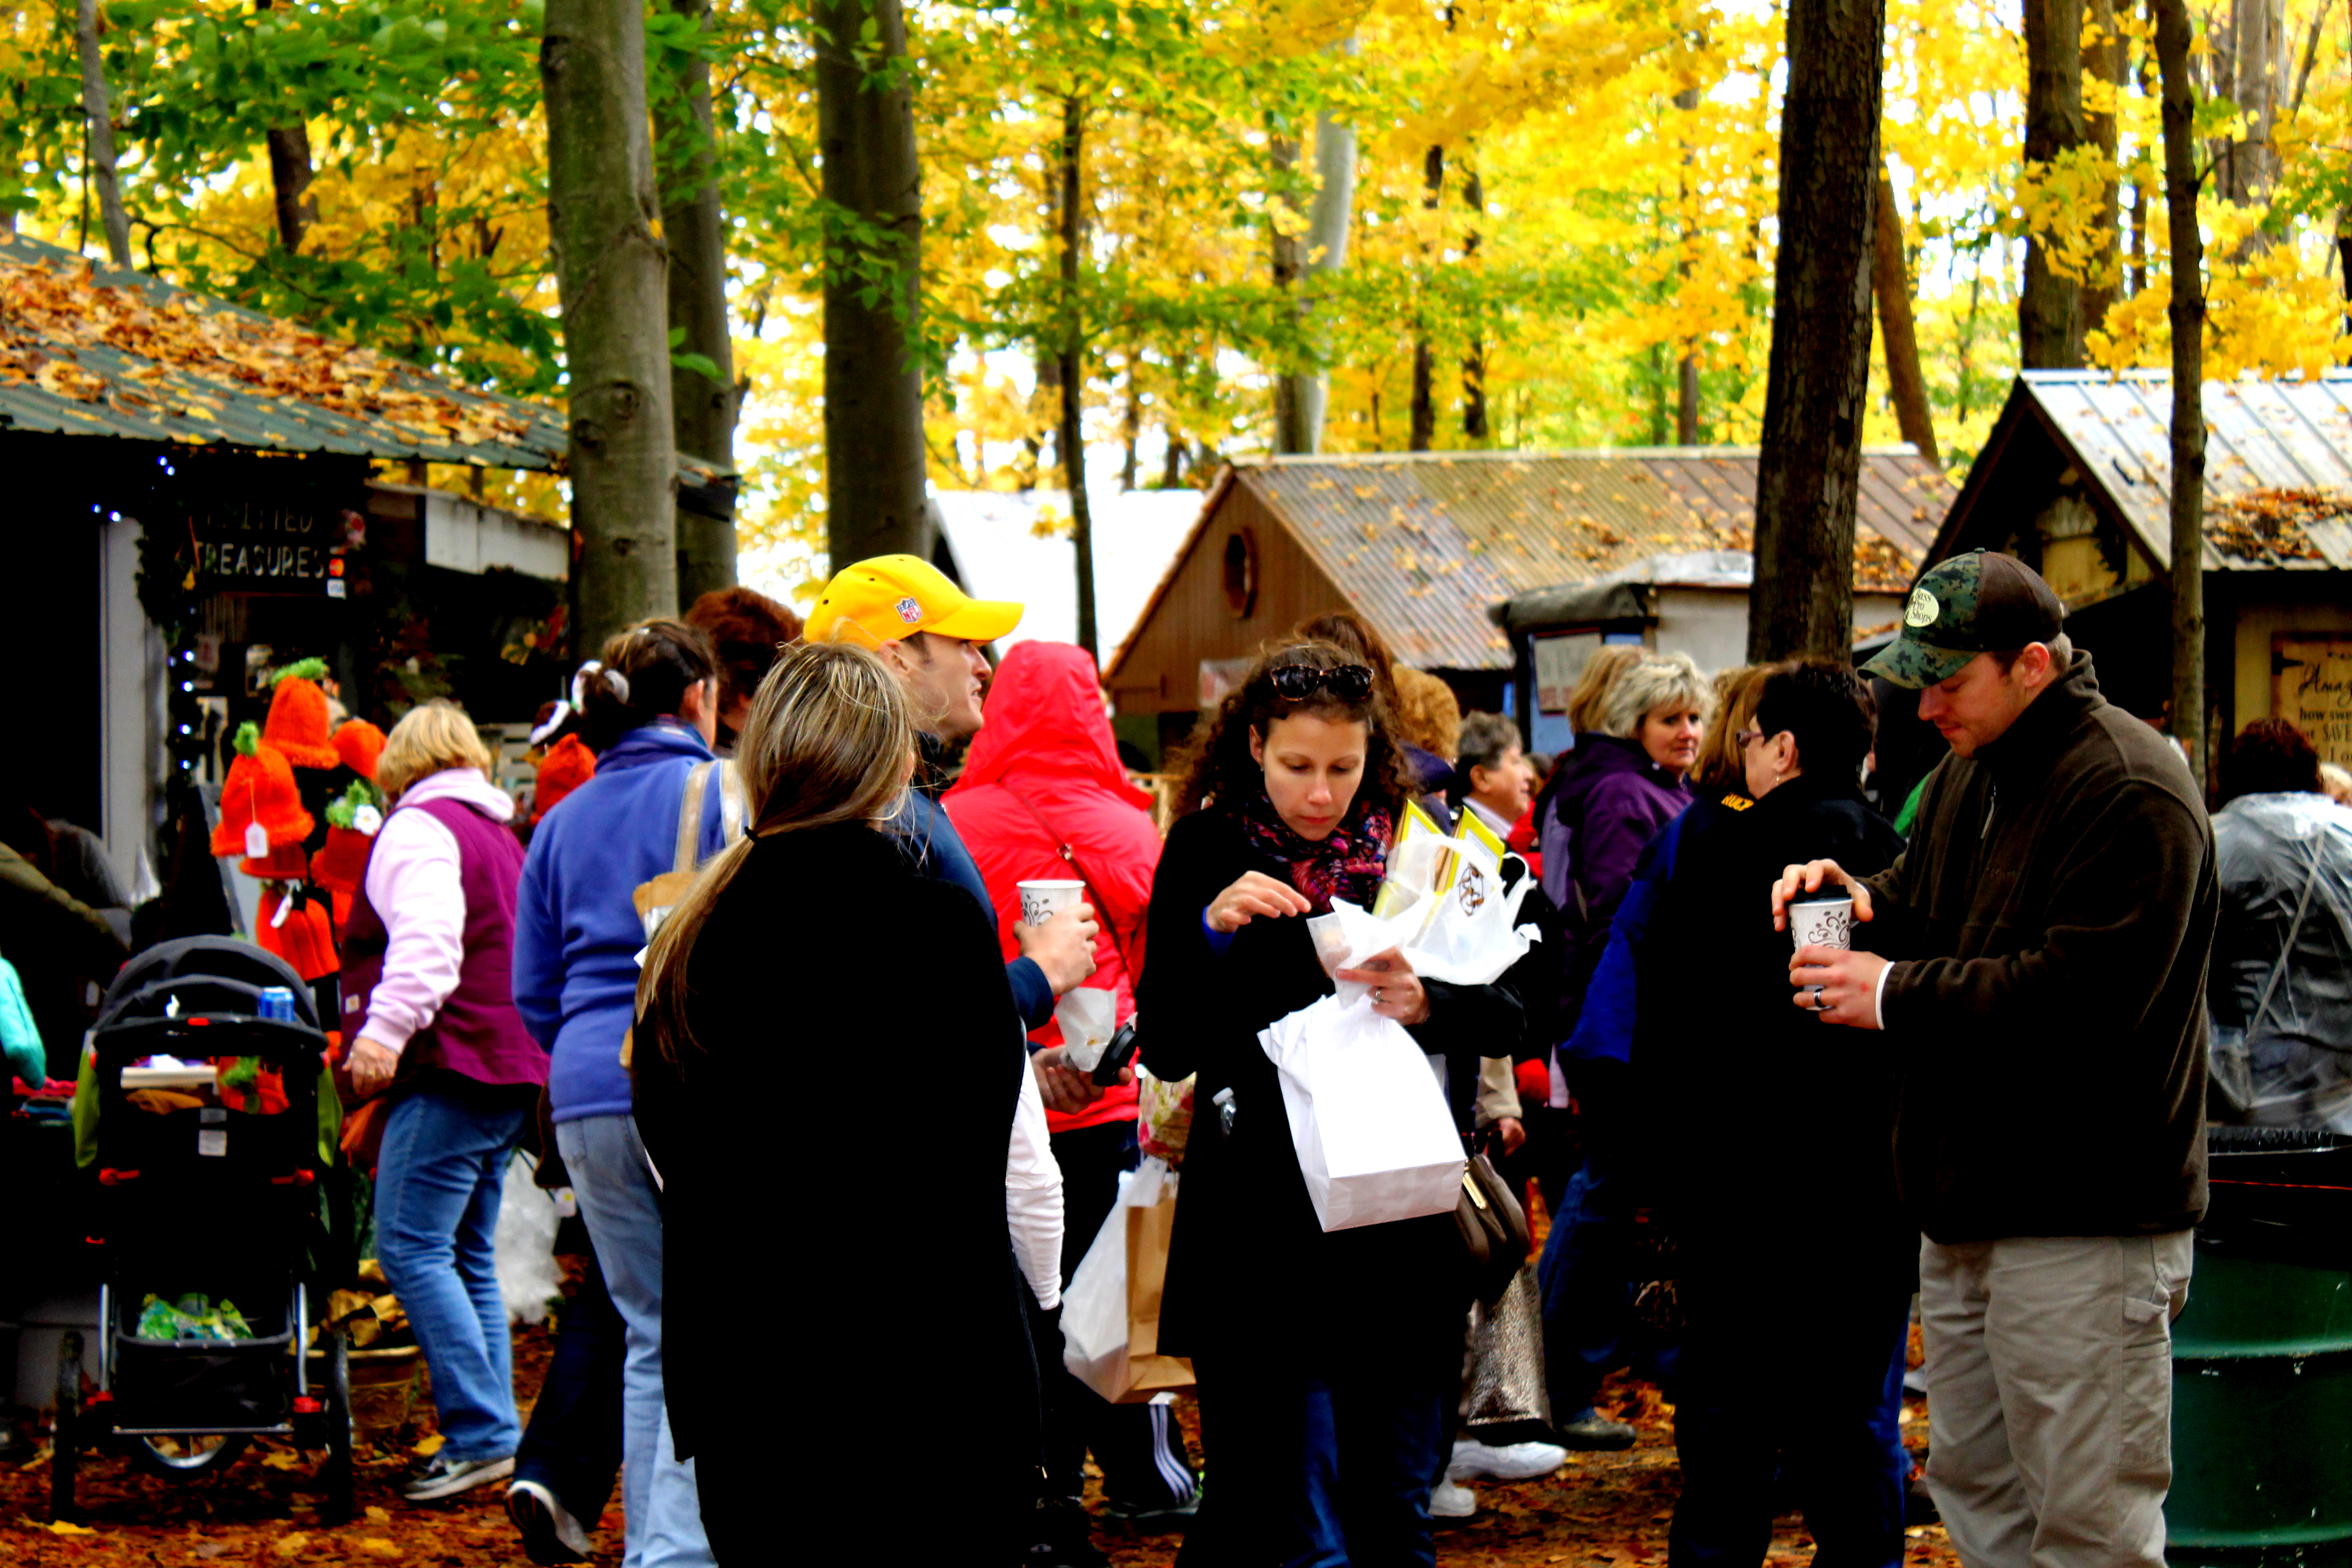
Check out the fun atmosphere that Shakerwoods turns into for Christmastime – 20 years strong now – – – but my first time.

It was a cool day with sprinkles off and on, but that made it all the more “Fall” like and got us in the Christmasy spirit.

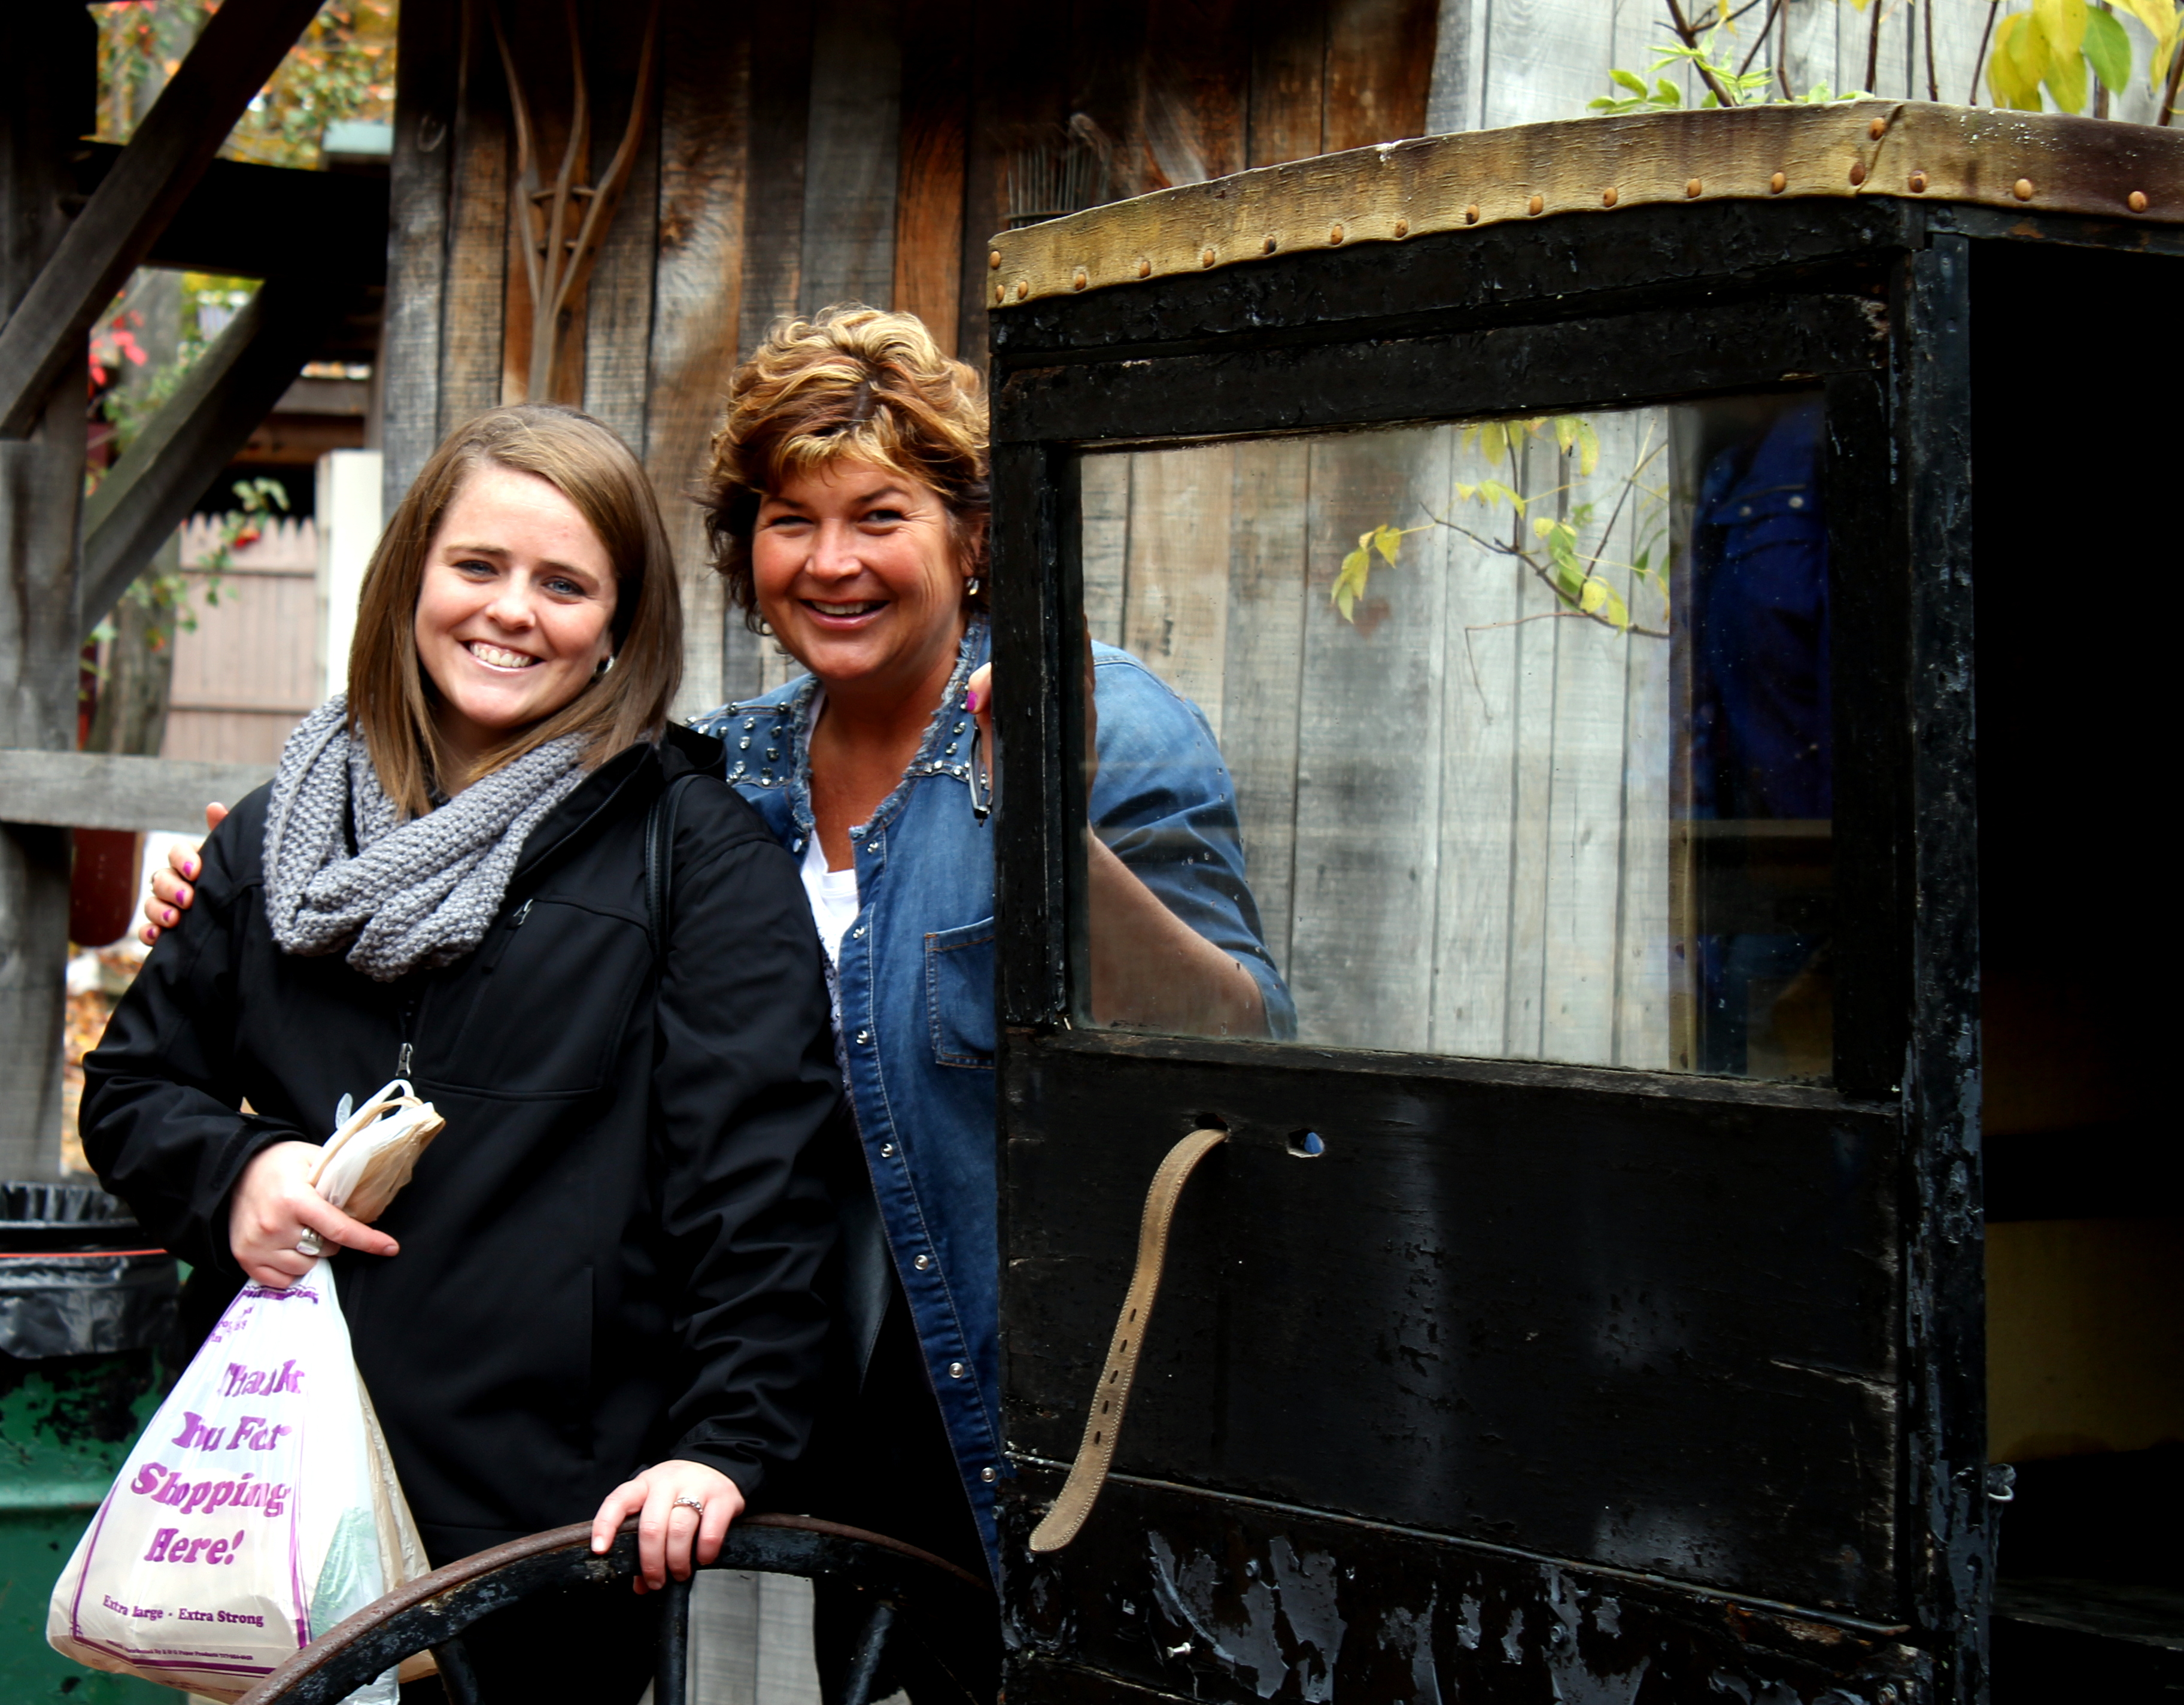
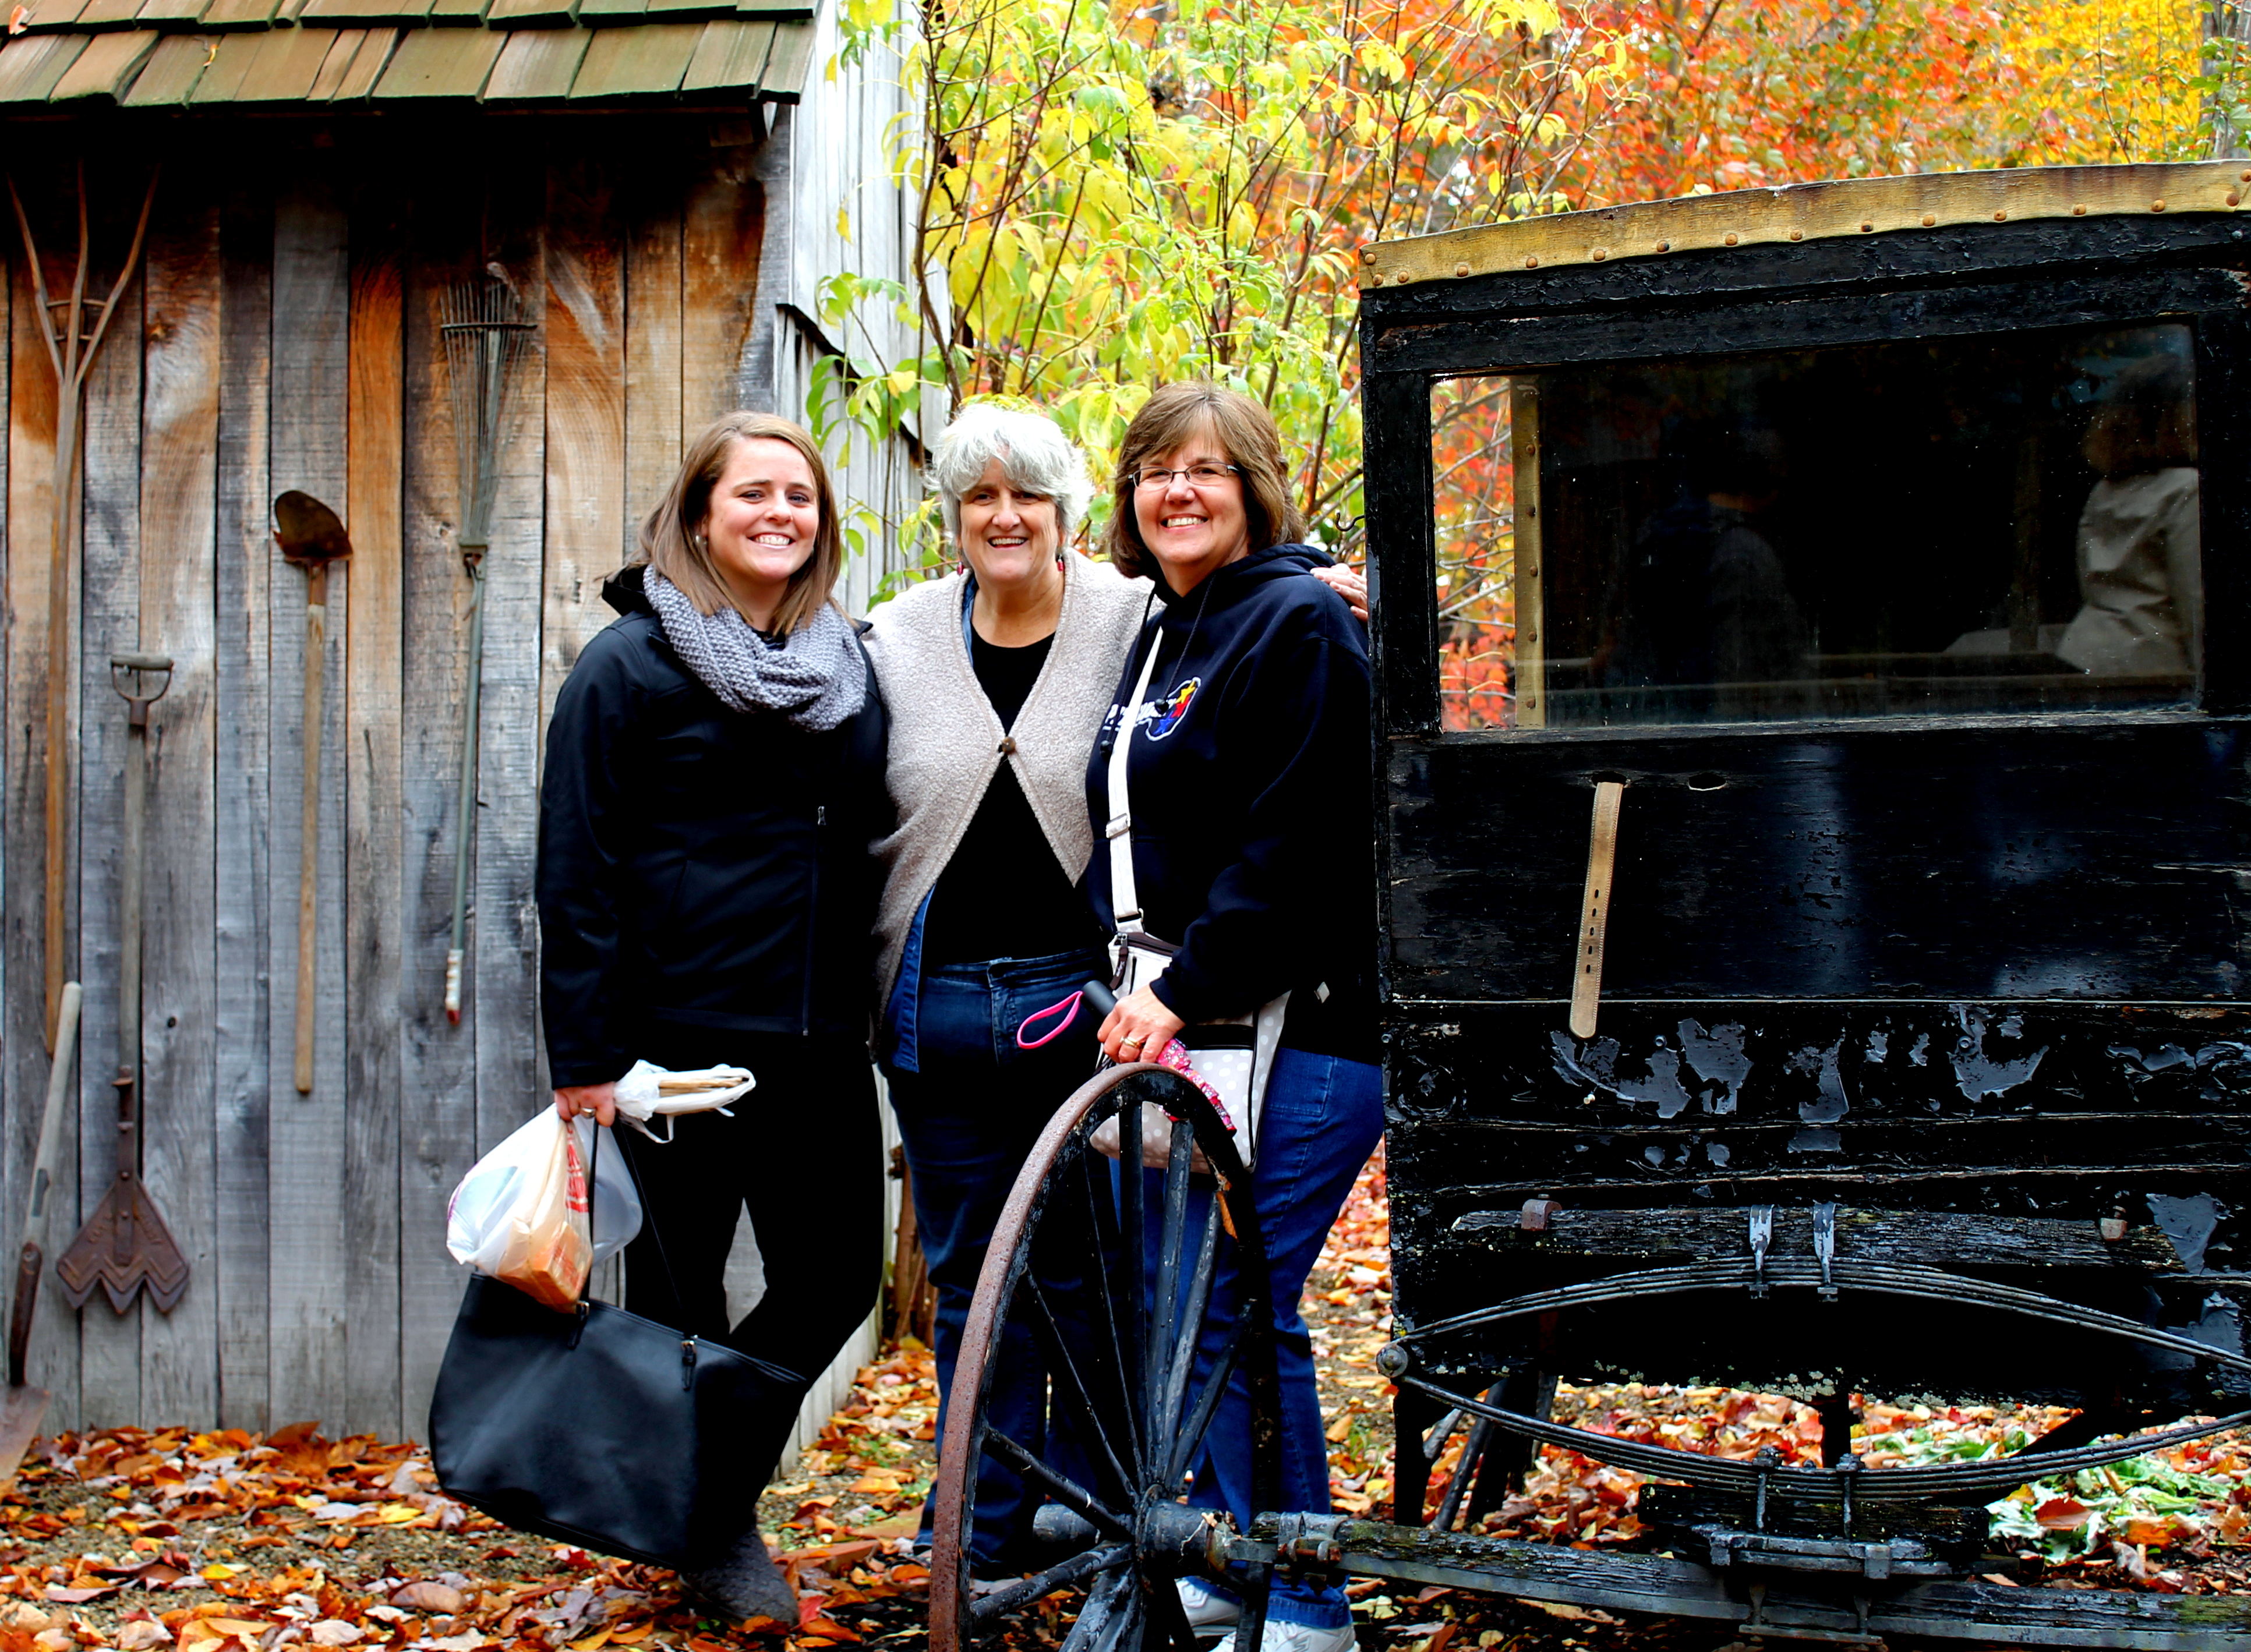
It was Colleen’s first trip to any kind of Arts & Crafts Festival like this. She loved it, and I loved having her along! We have such similar tastes and interests that make it so much fun to be mother and daughter “in-law!”

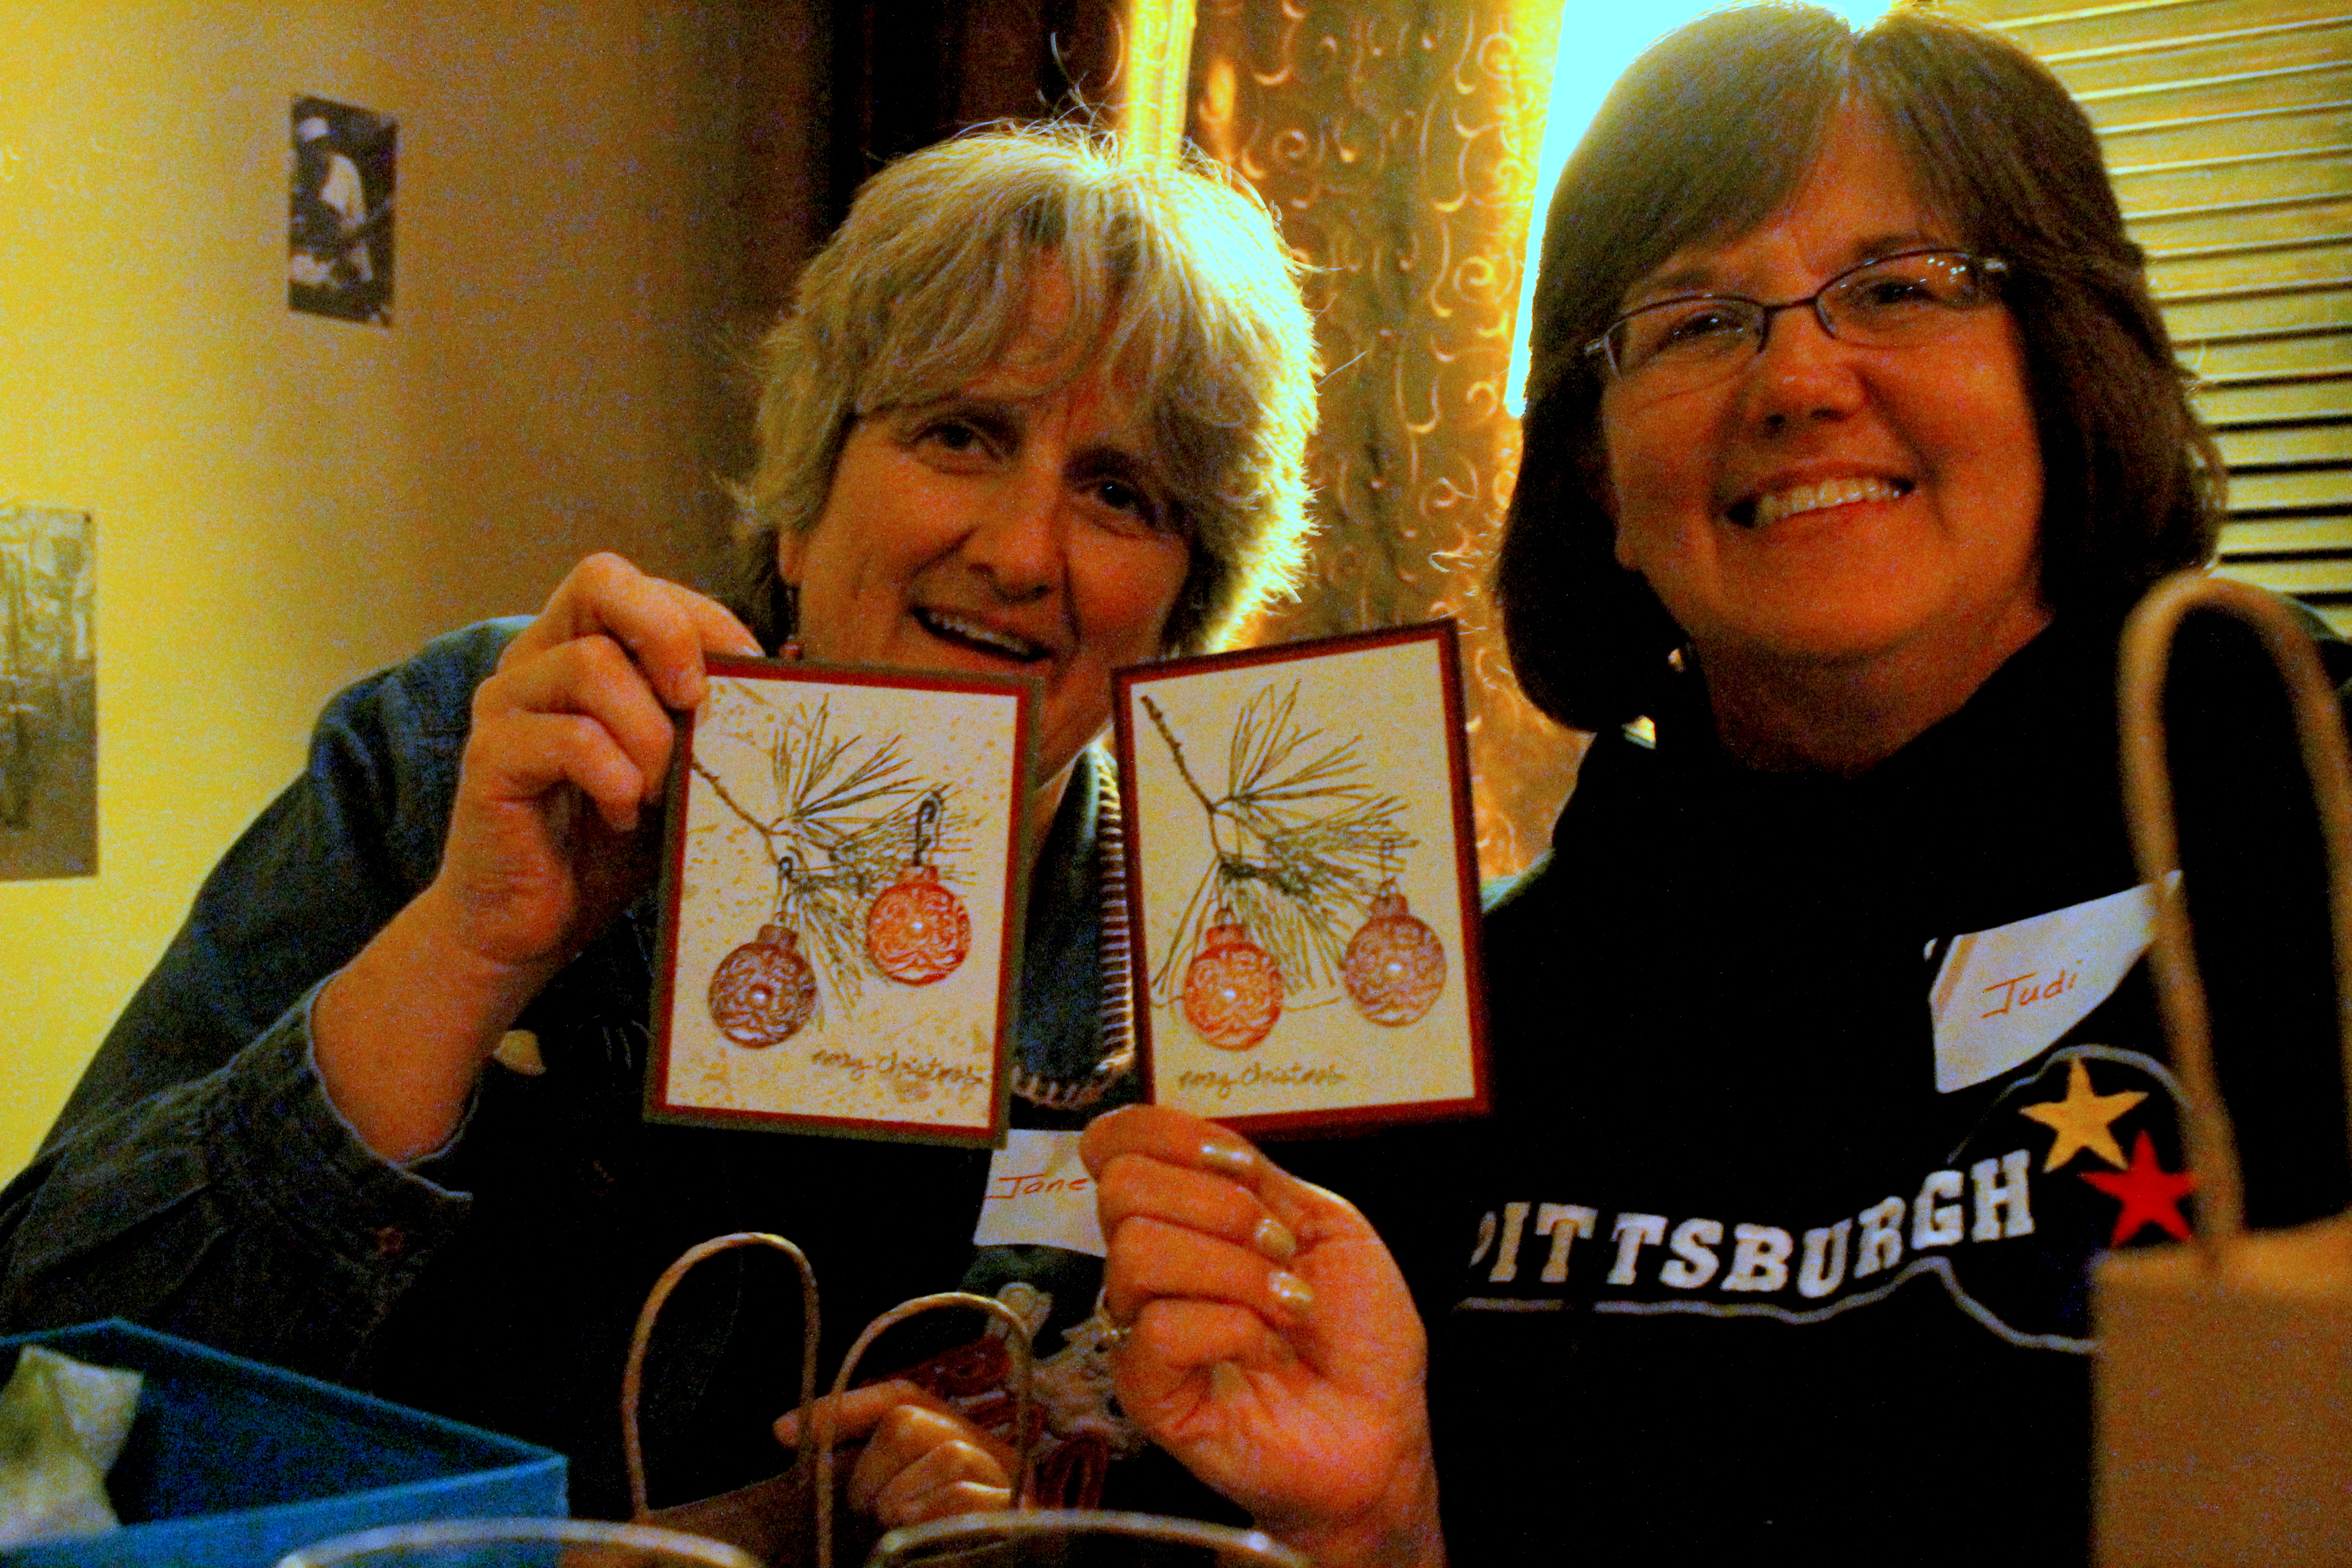
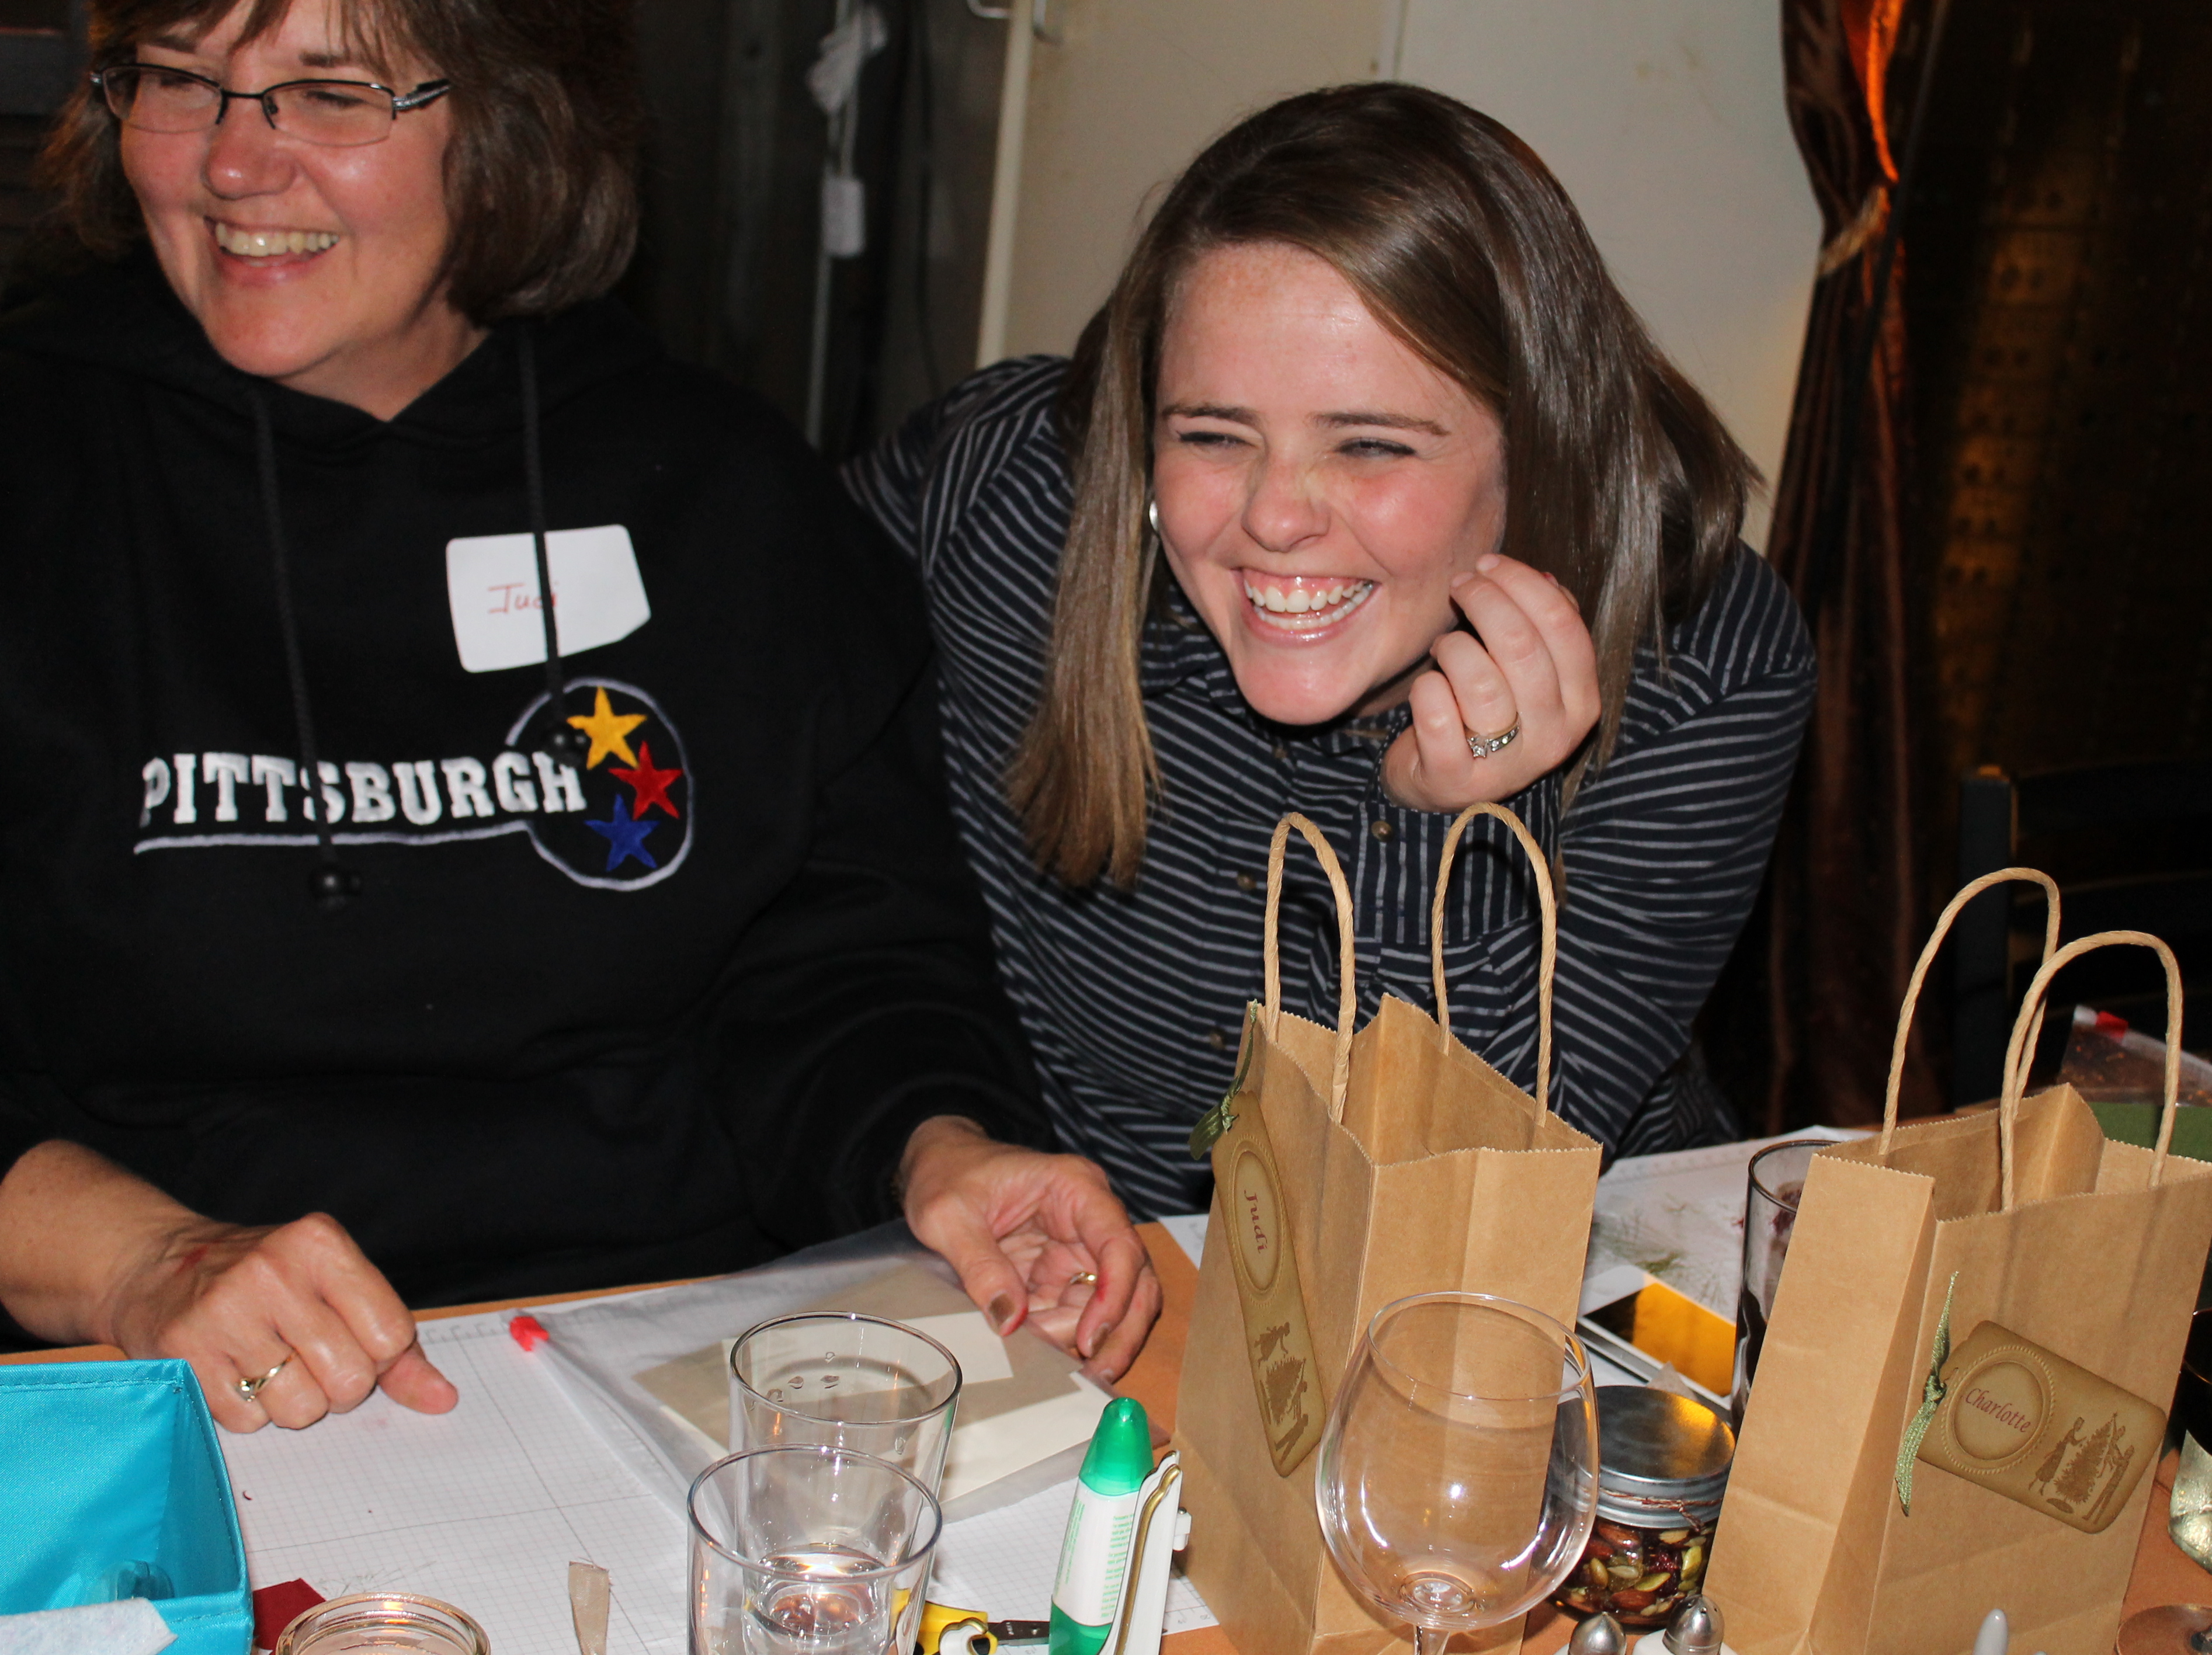
We had a ton of fun with some of my old Middle School friends, Janet and Judi – and pretty much acted like we were back in Middle School.
Well – maybe just I did!

The trip was organized by my friend, Stacey Ailes, who is a Stampin Up Artist Extraordinaire (check out her website/blog if you haven’t already). Stacey did an amazing job corralling 11 women for a 14-hour day of adventure.

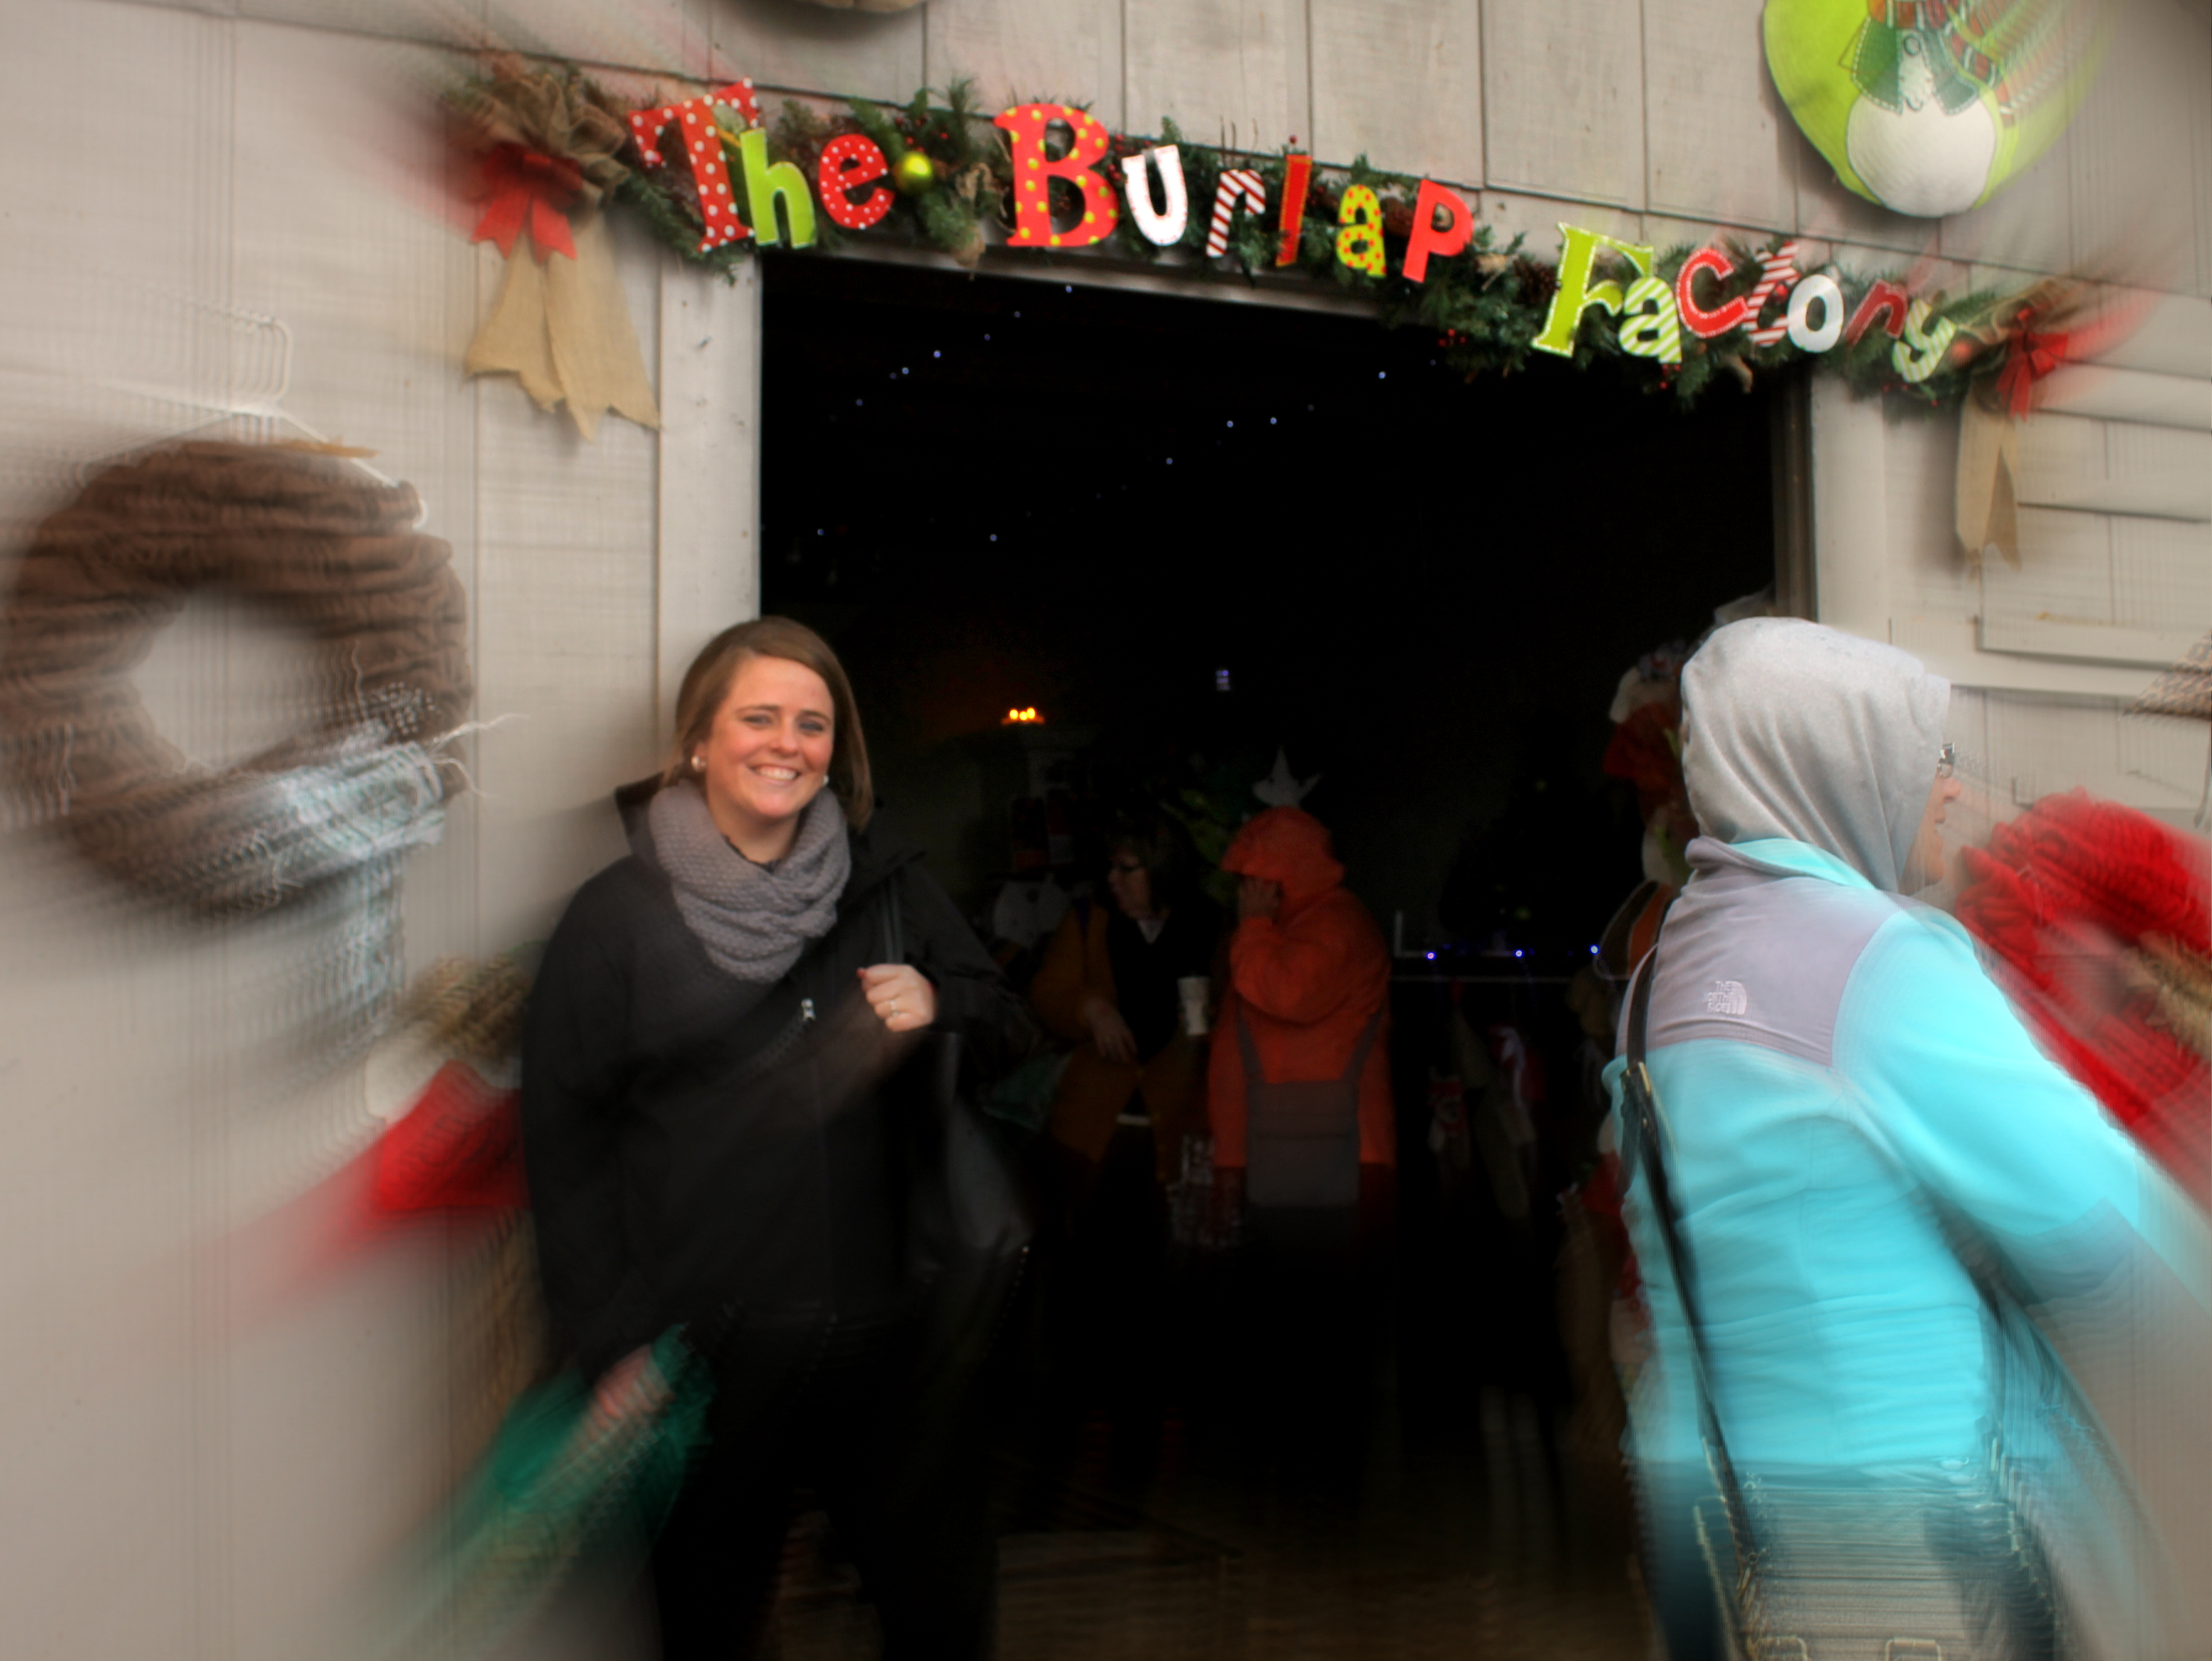
Colleen immediately spotted The Burlap Factory and ran so fast over to it, I could hardly get her picture! LOL! 🙂

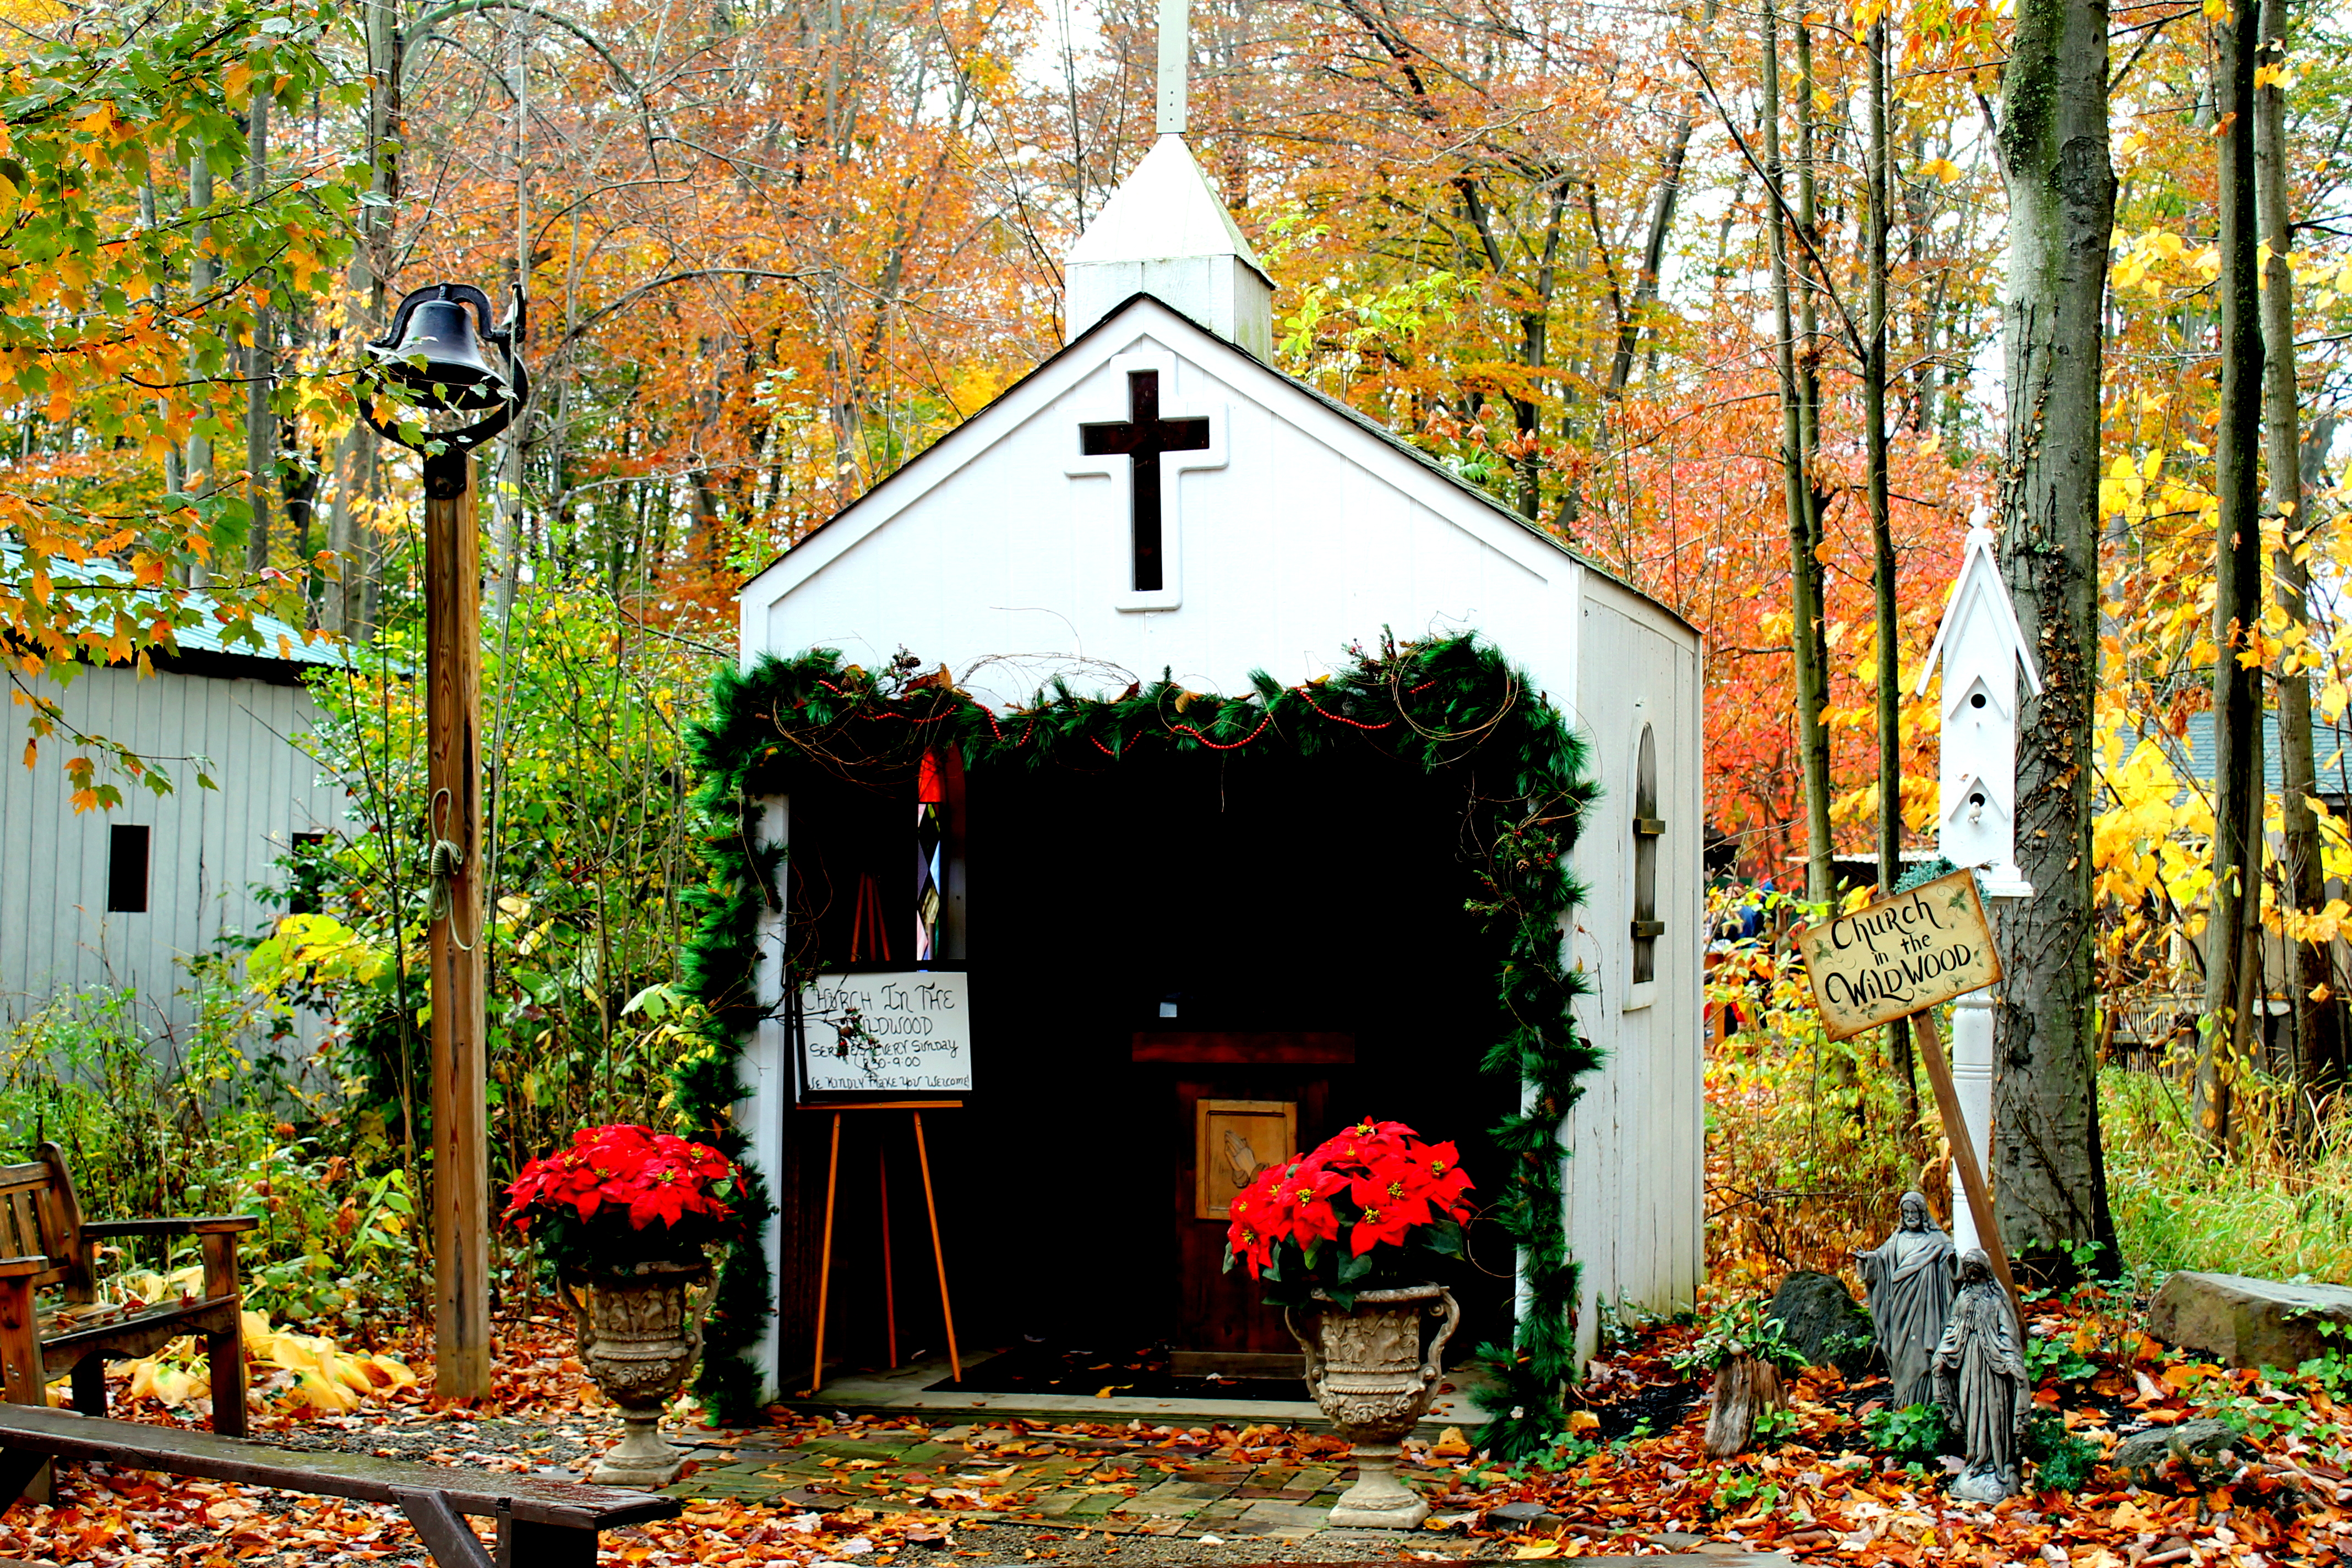
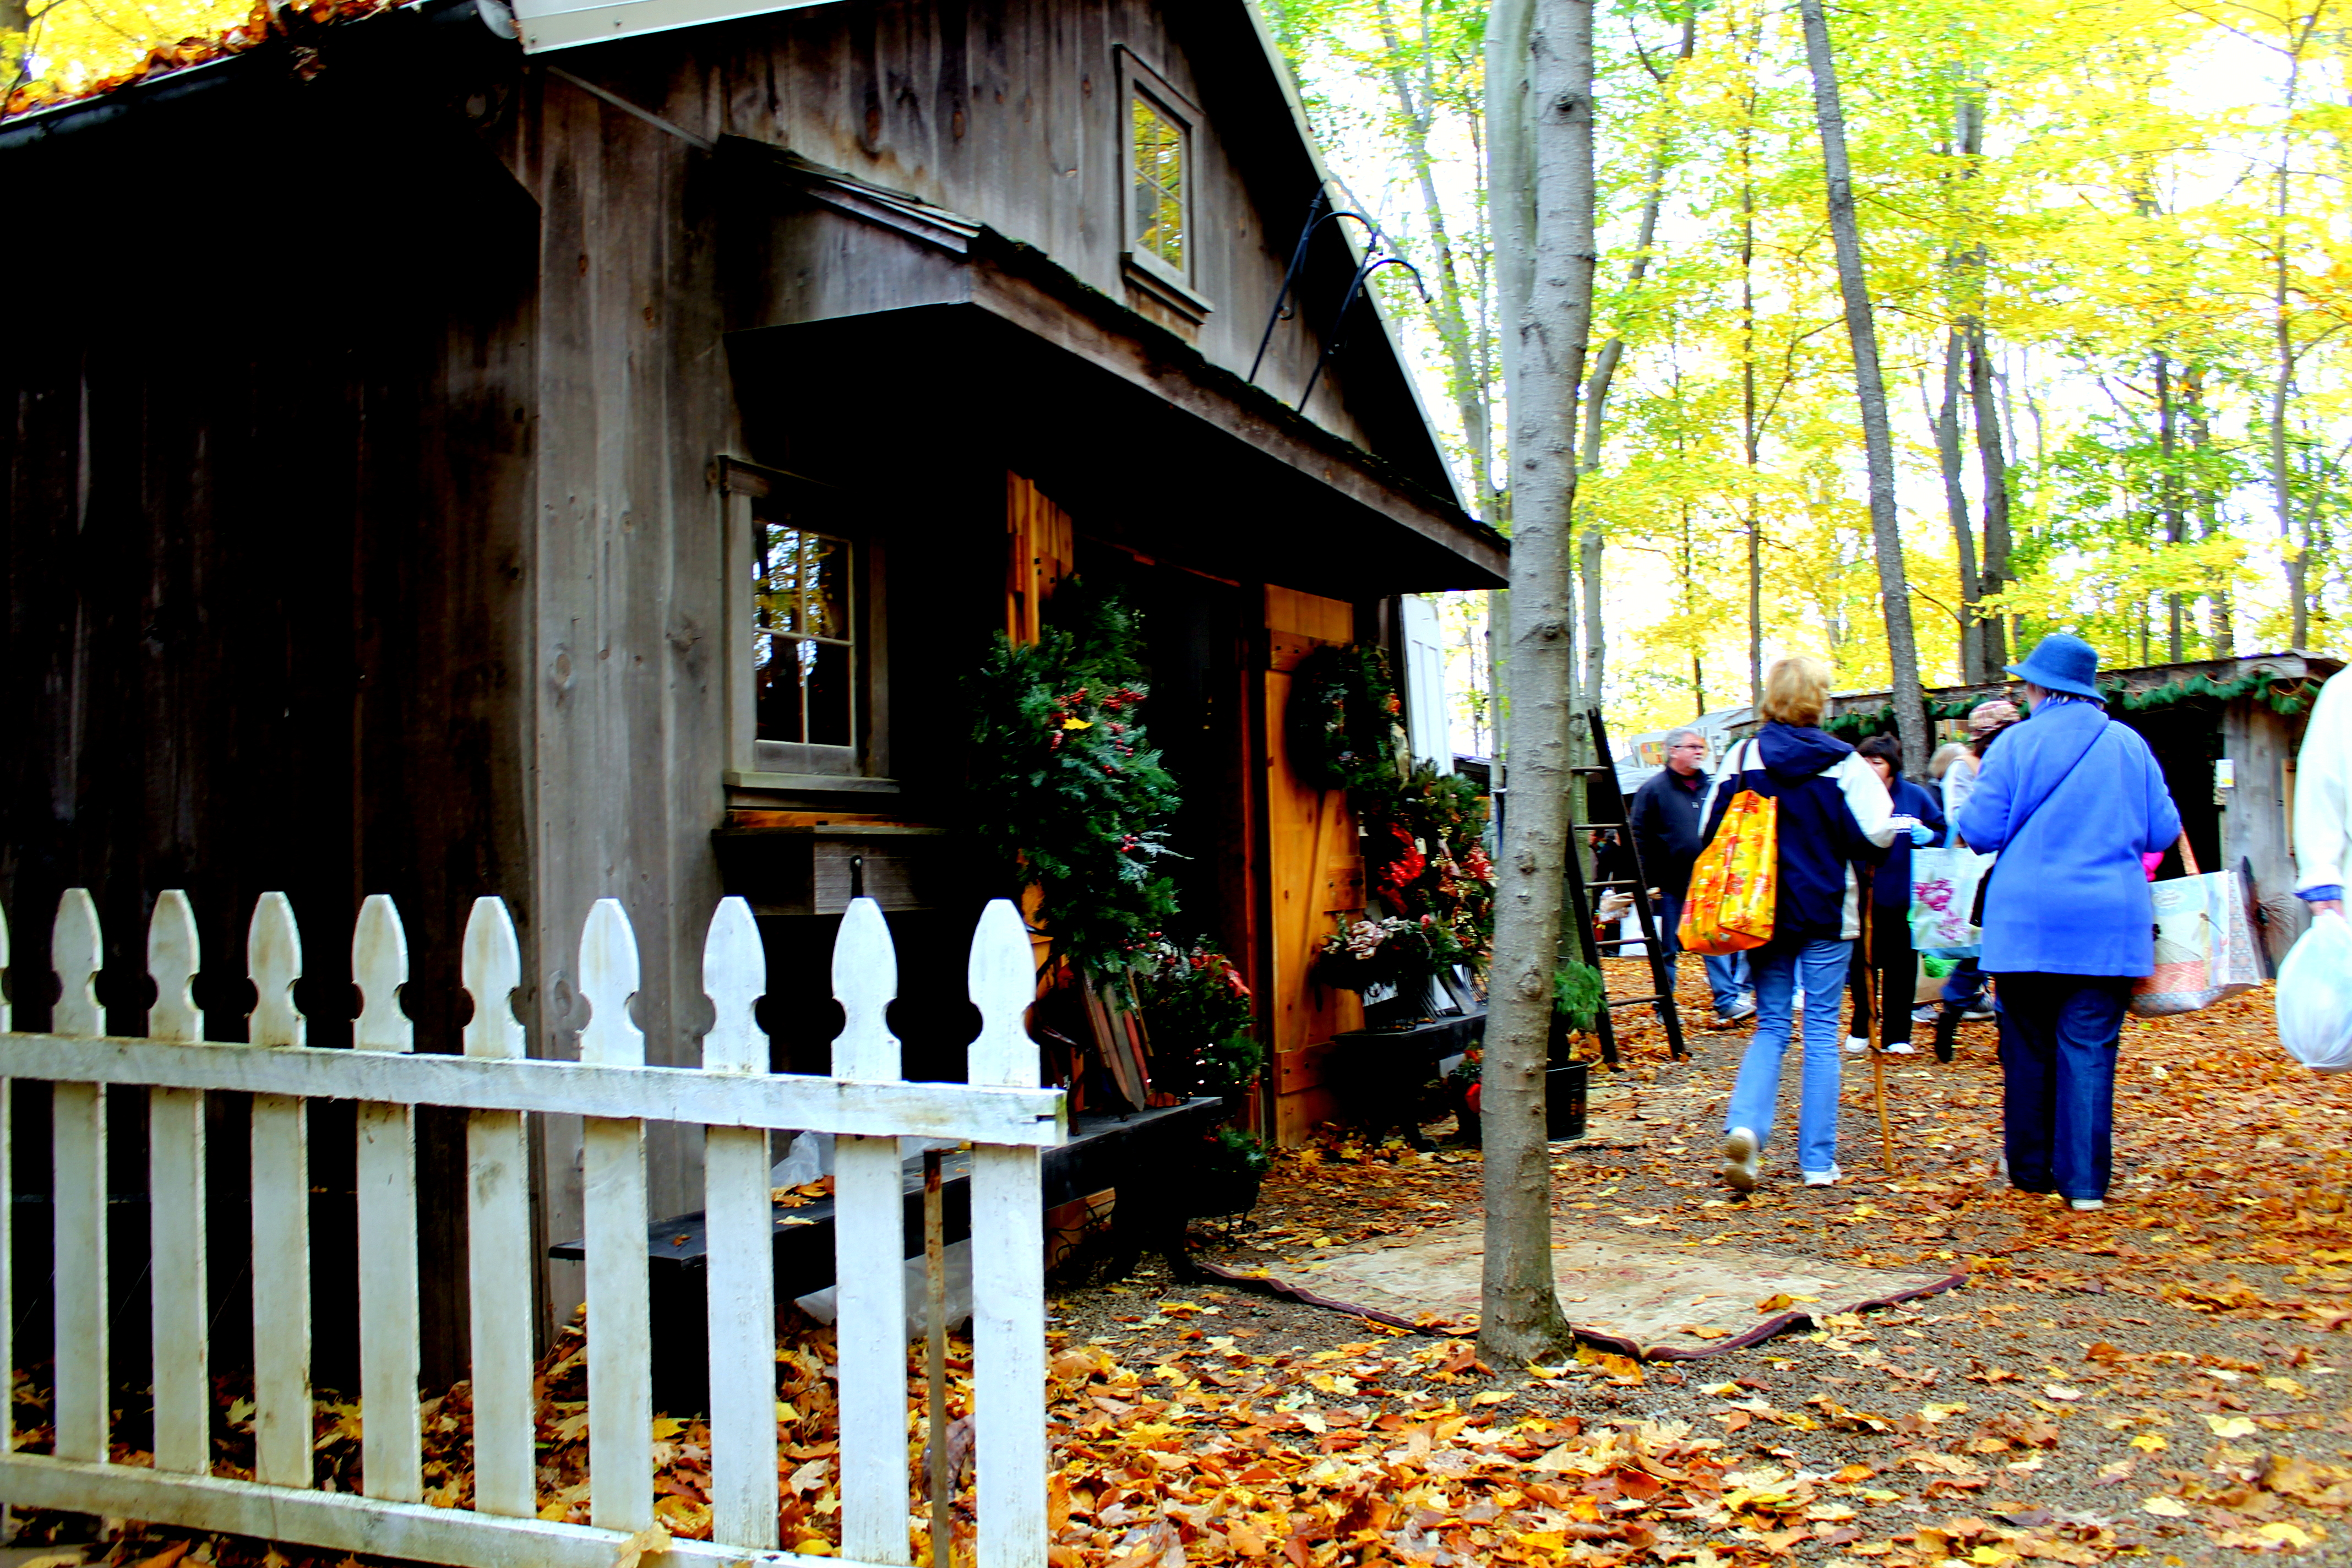
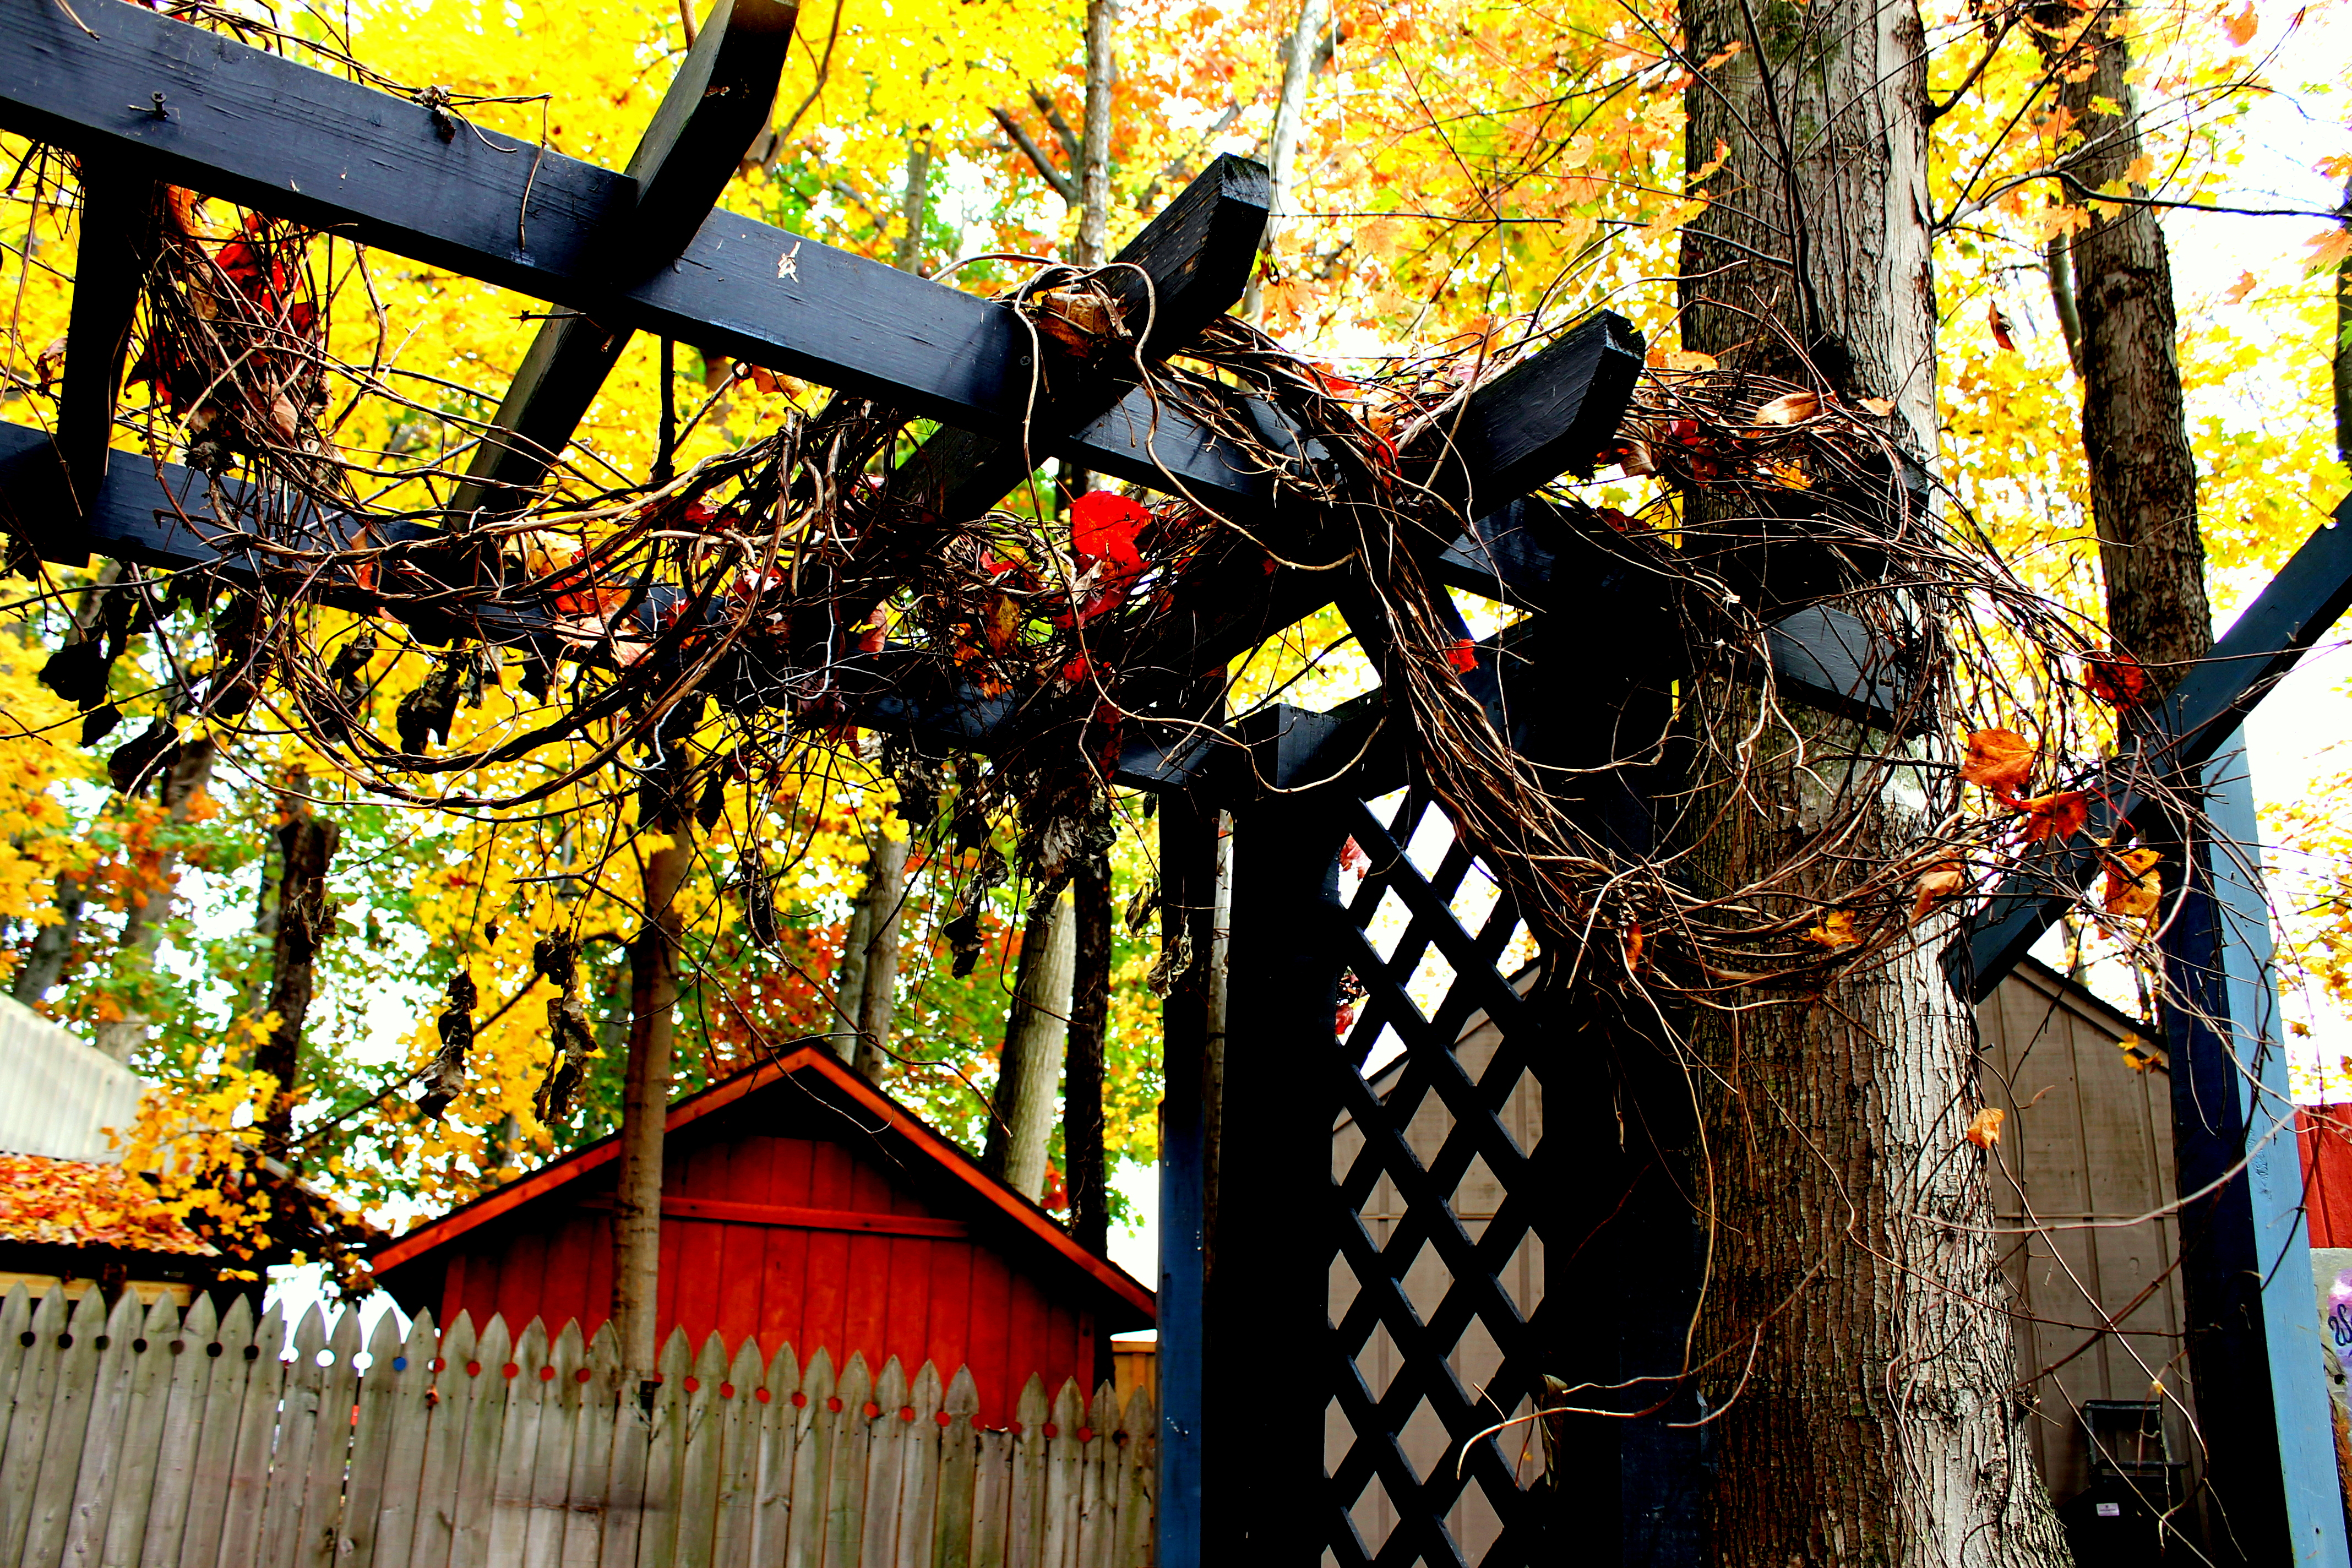
The whole experience and scenery was just breathtaking. From the little Chapel in the Woods…

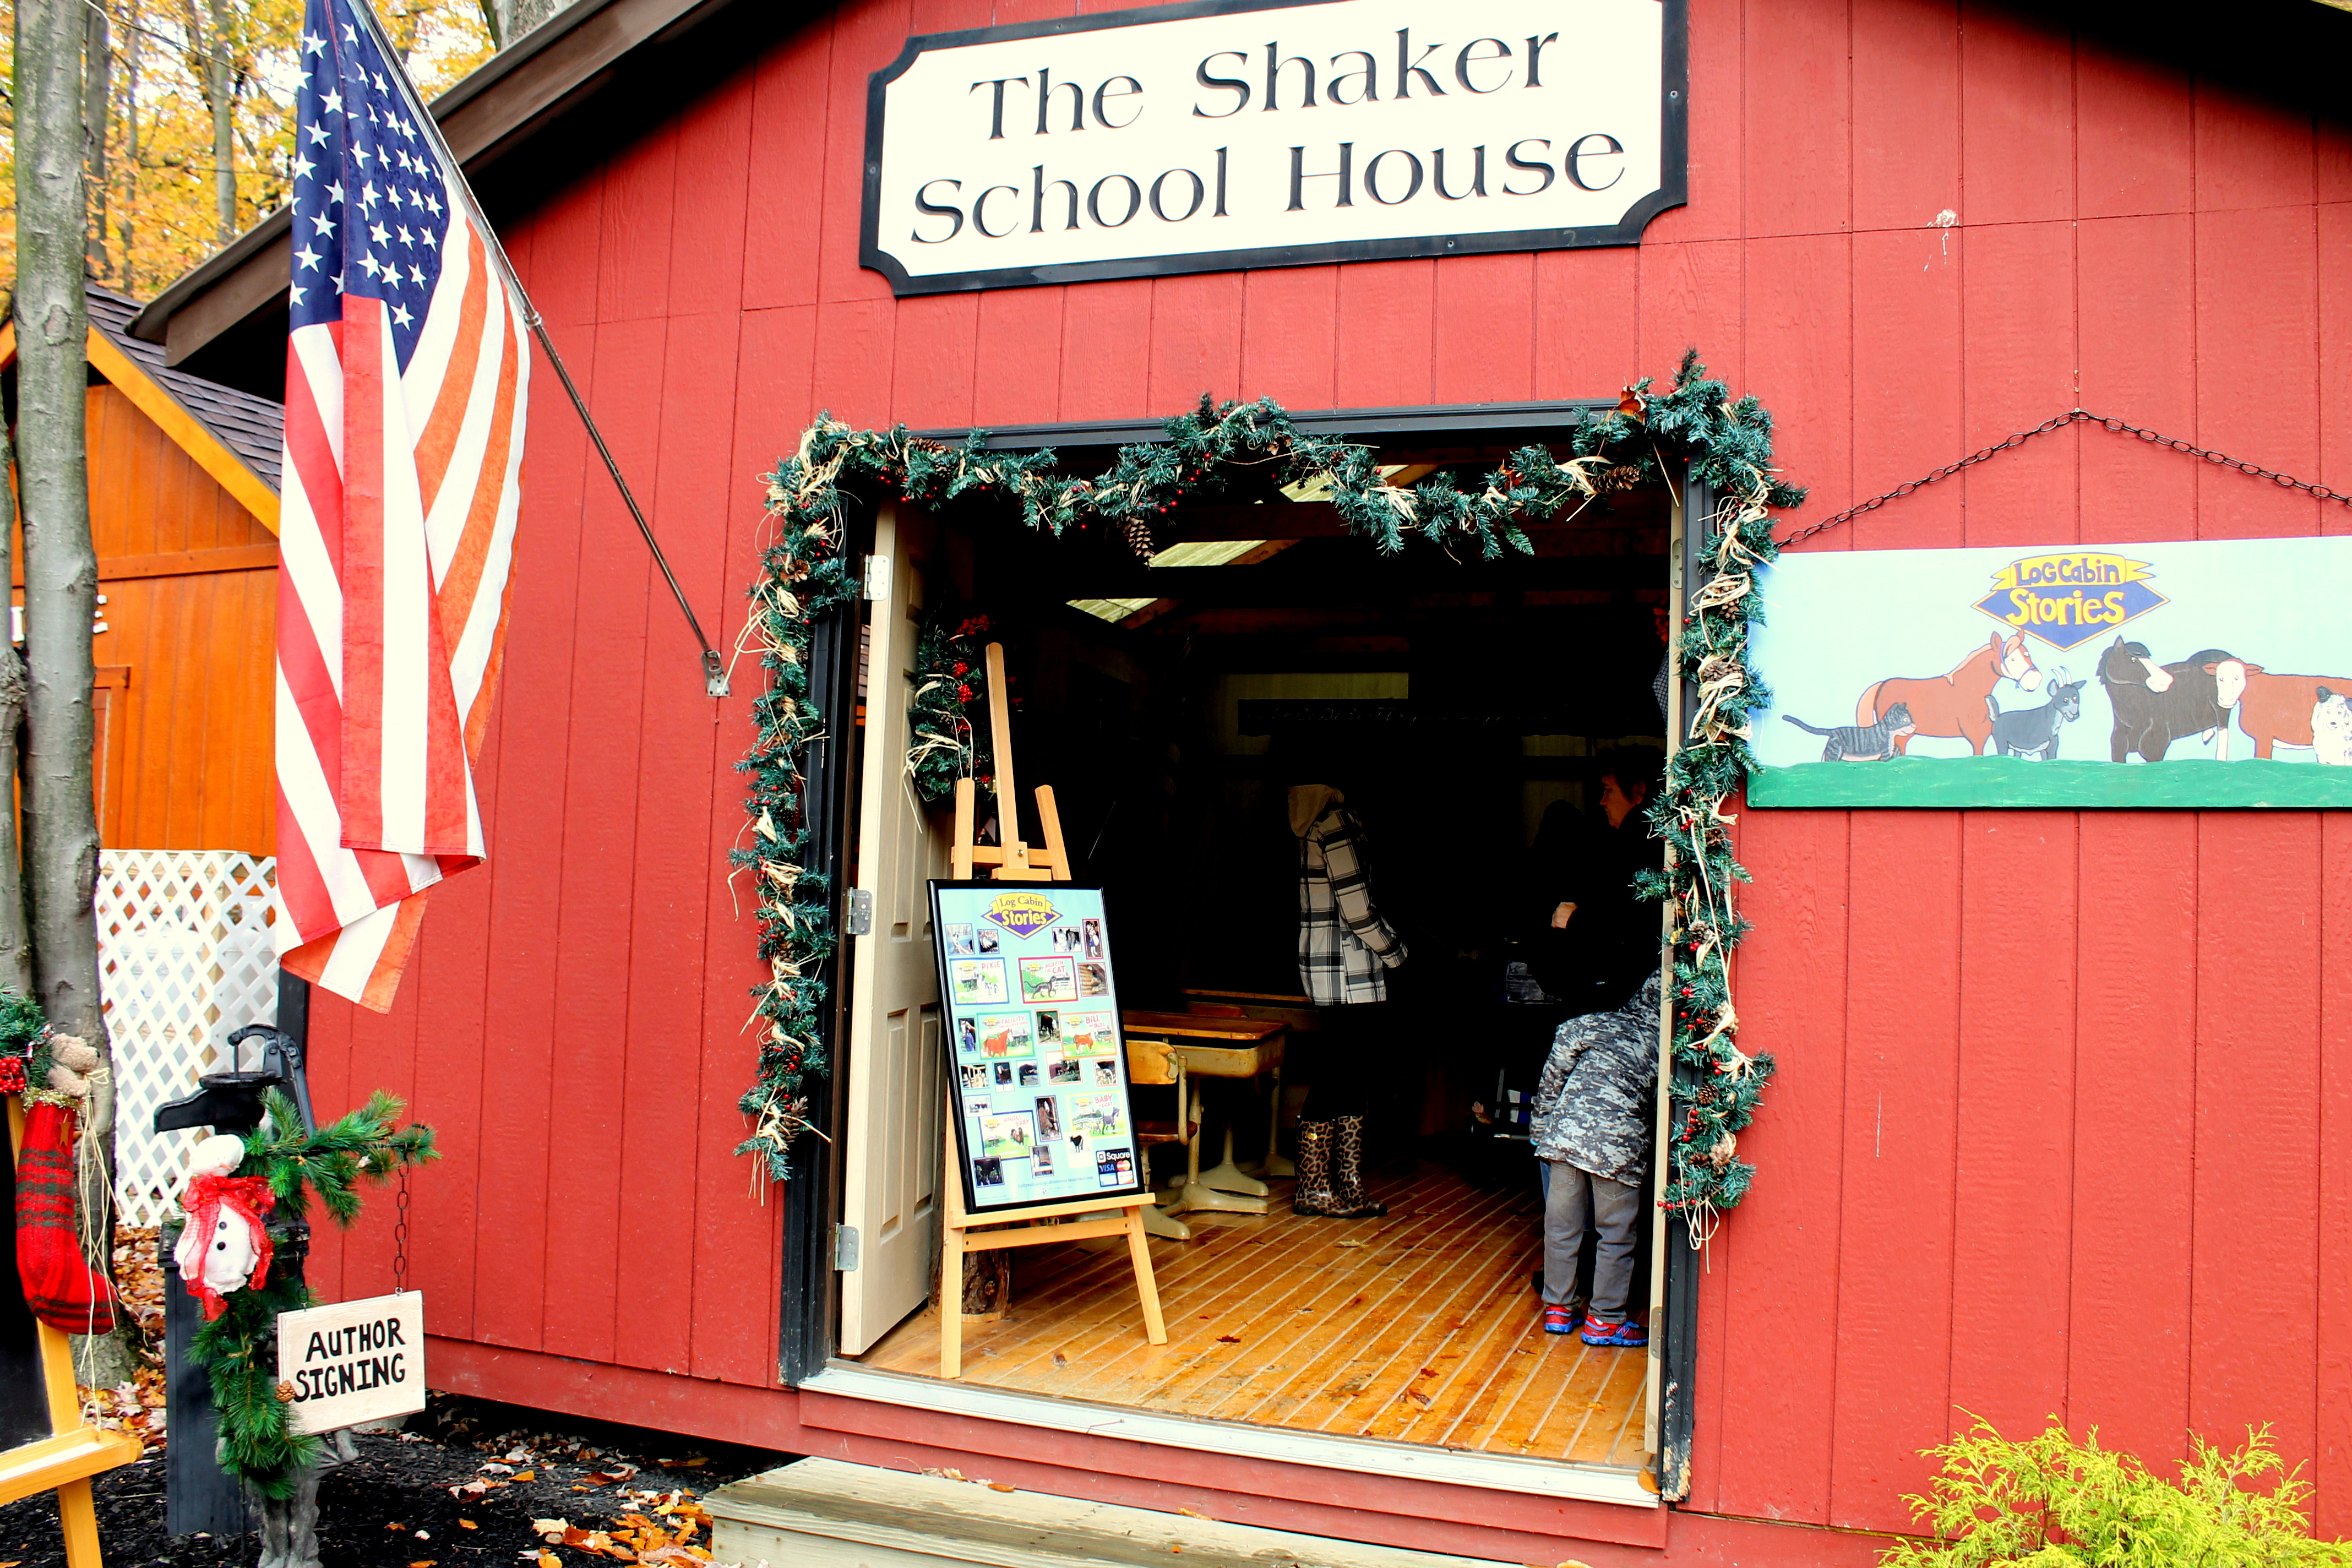
to the little Shaker School House….

where Colleen found the outhouse, but alas someone was already in it. (She is such a sport for posing and going along with my silly shenanigans!) ❤

Janet spotted this beauty for me to capture along our walk.

The day was filled with beautiful scenery, tasty treats, and all kinds of fun and friendly people…

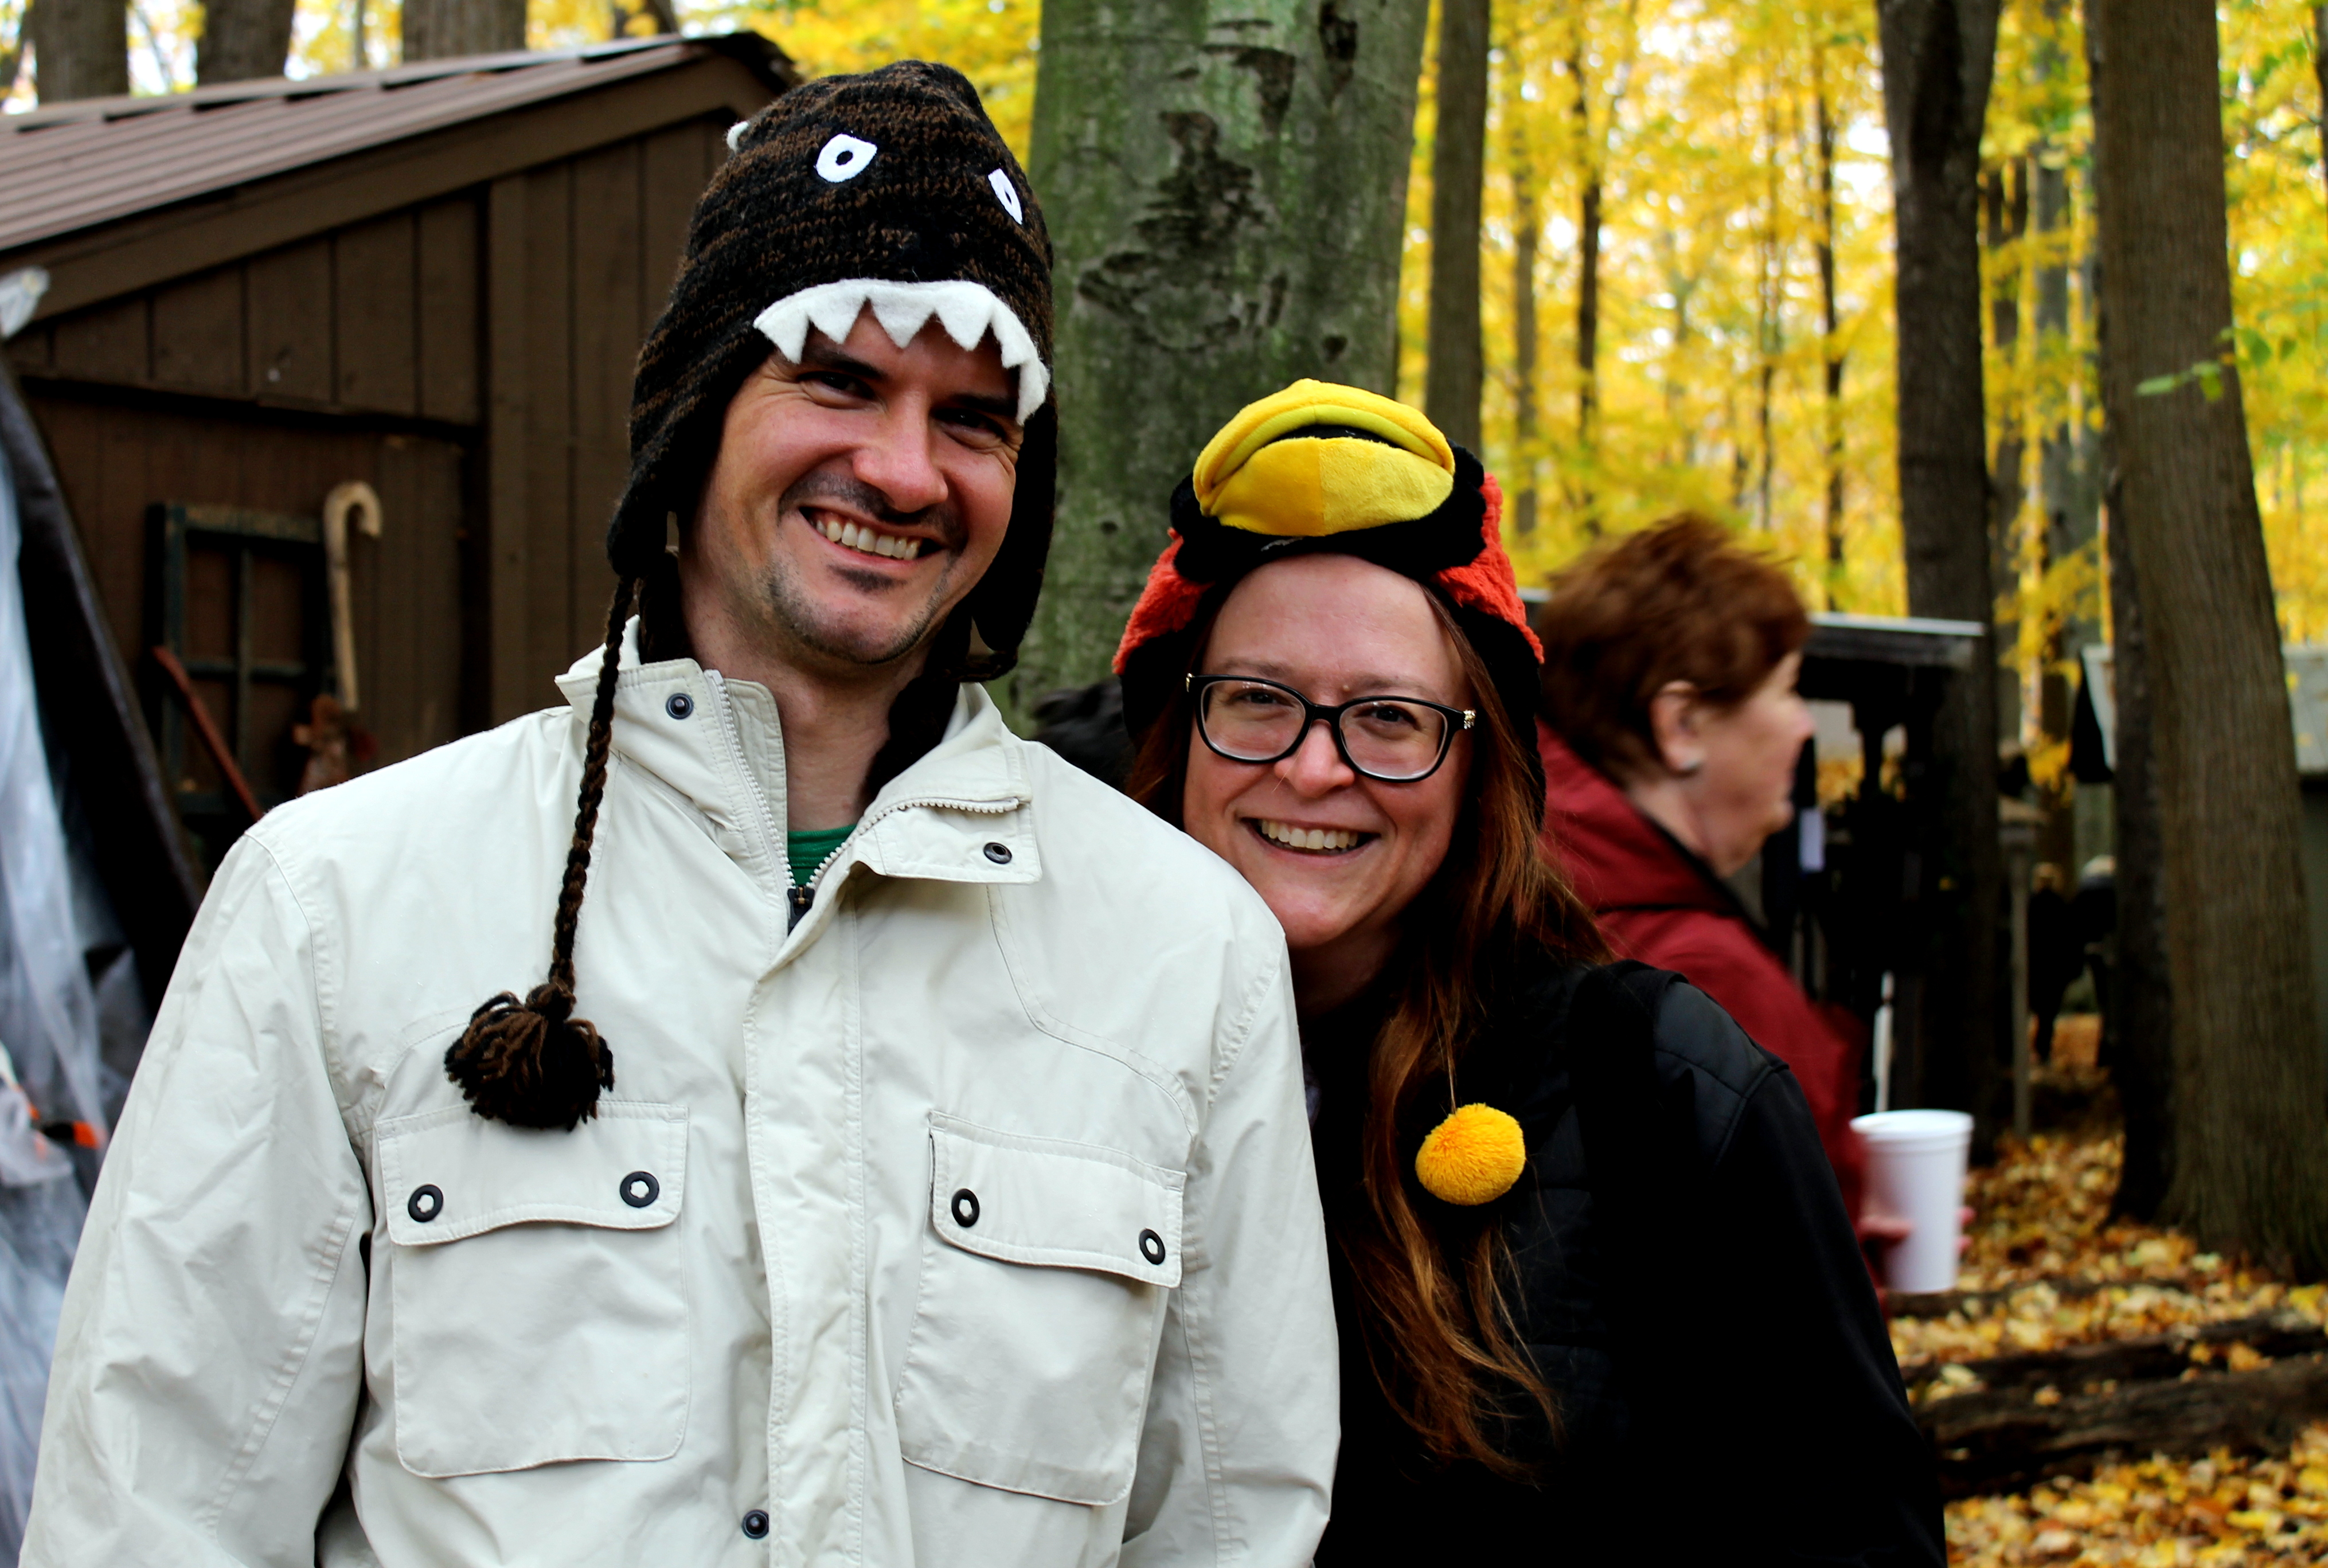
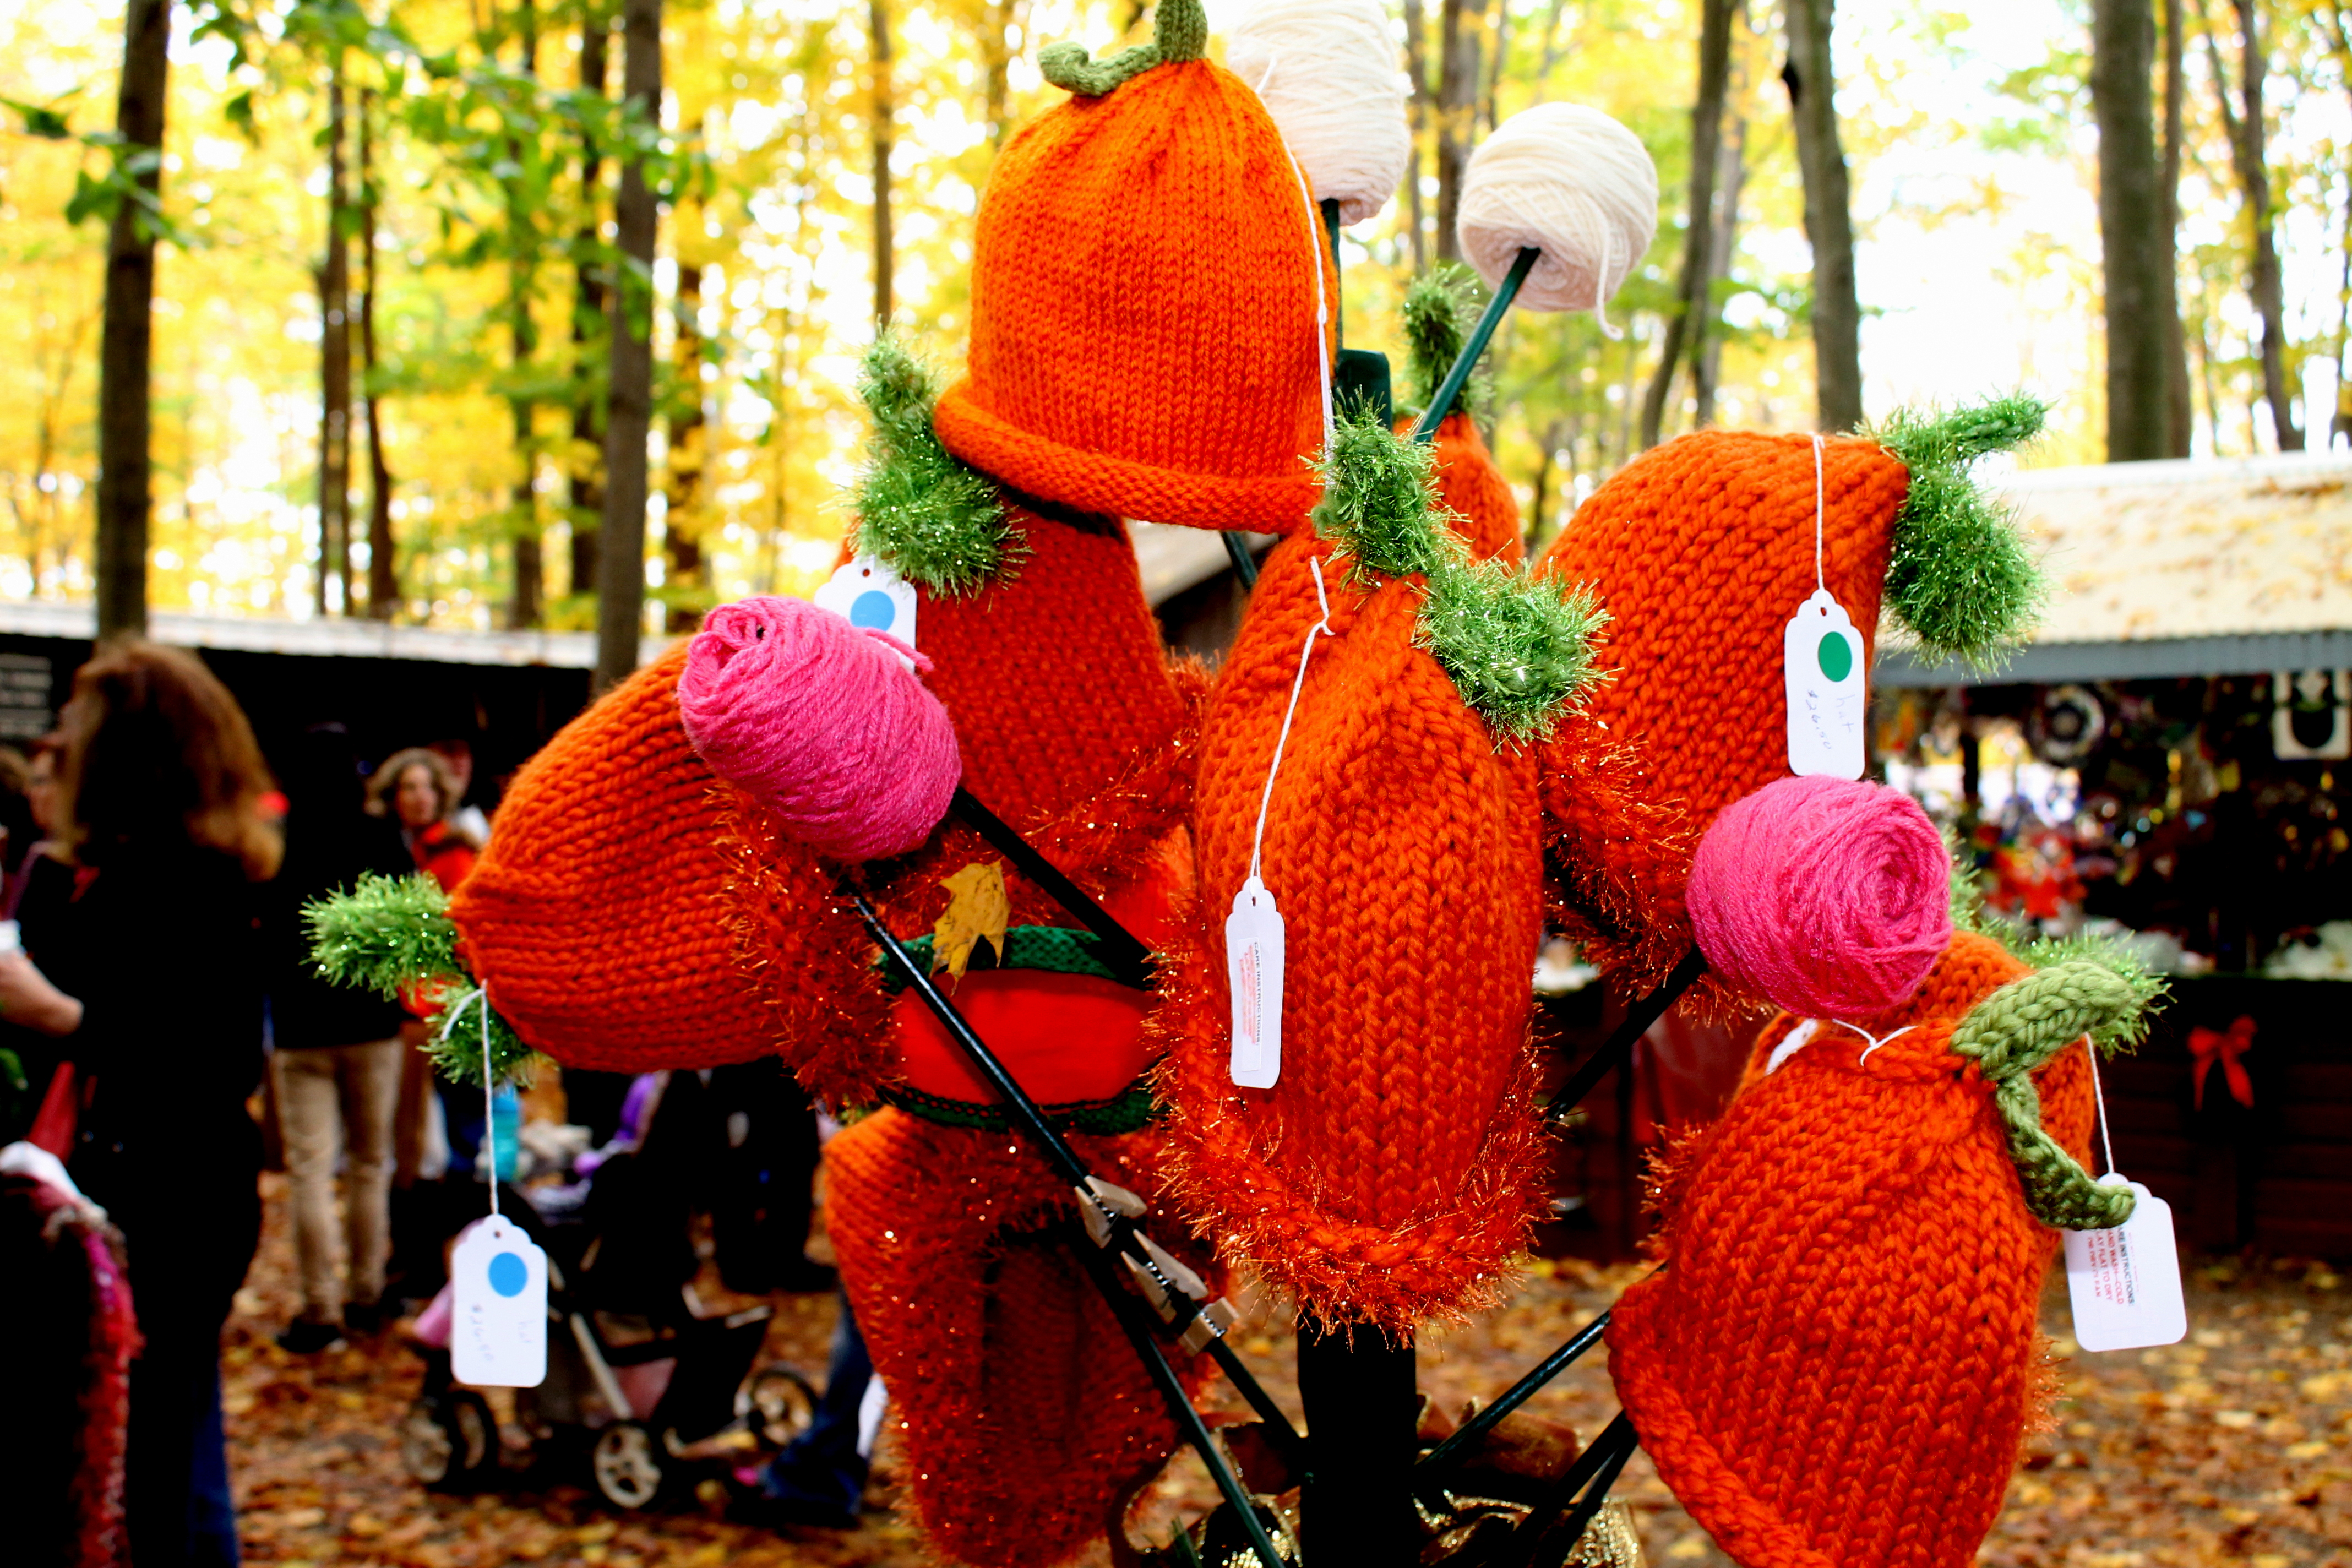
Like this cute couple who were willing to stop and pose for a photo in their fun hats…

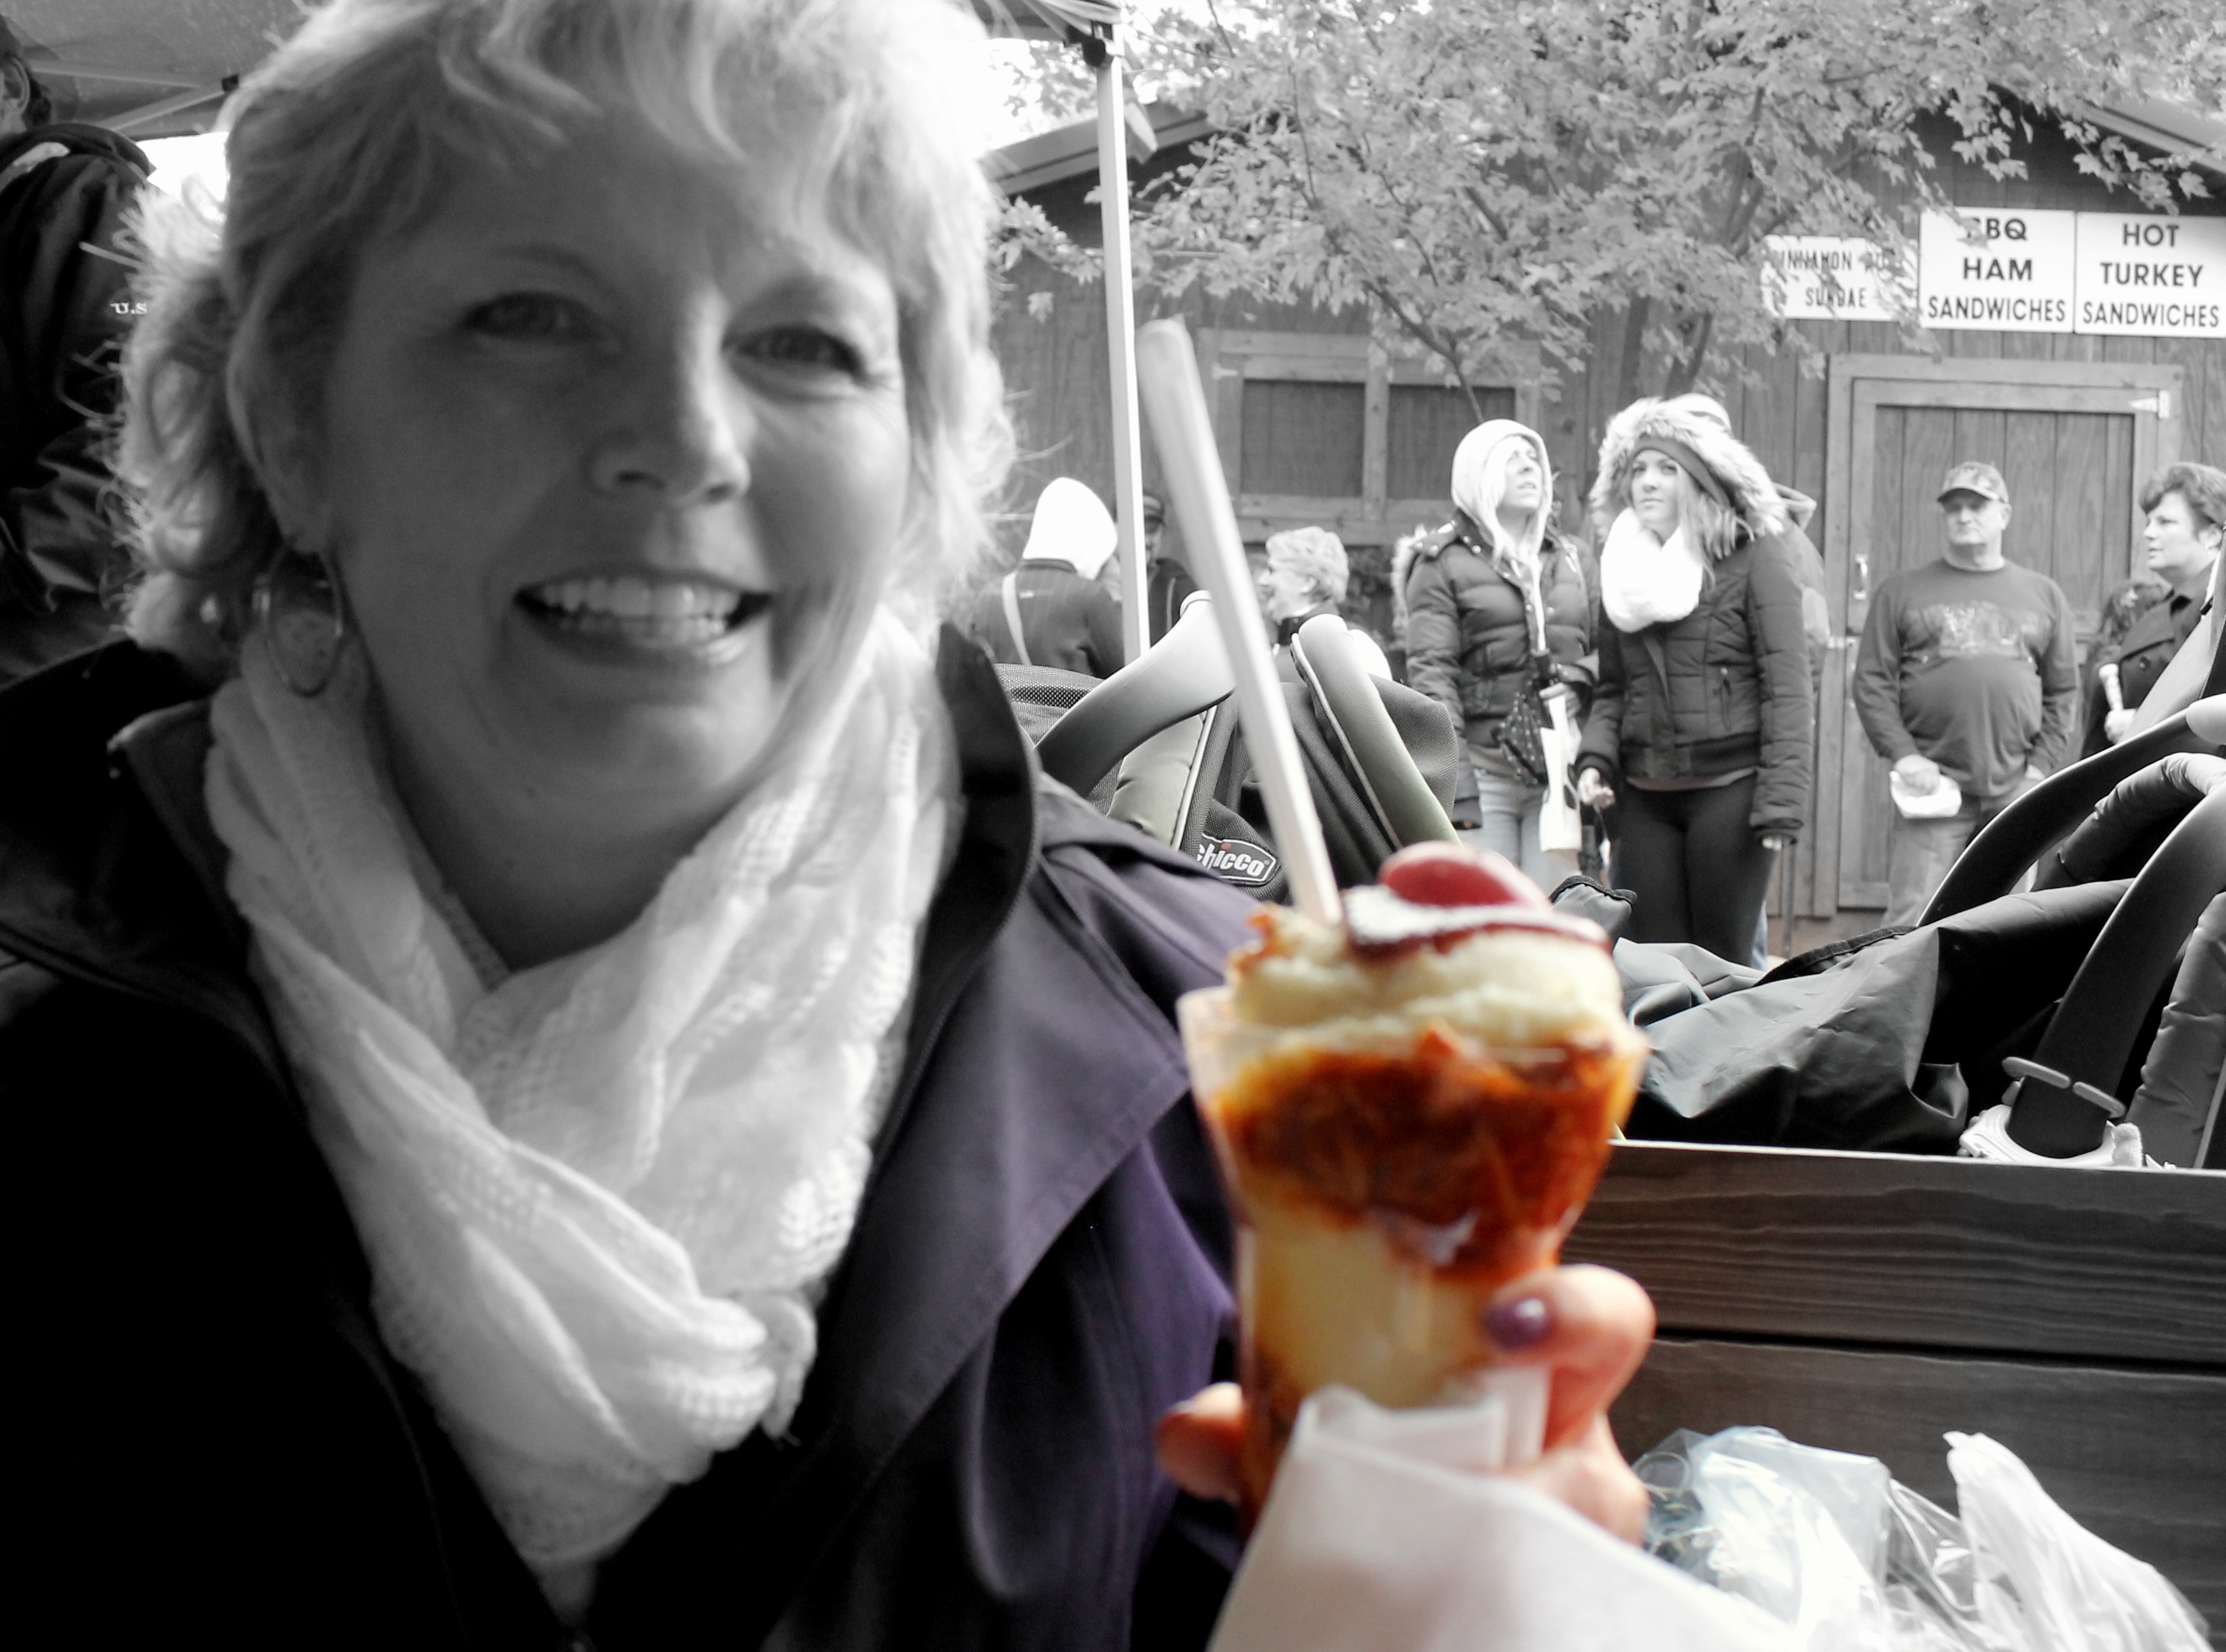
or this lovely lady who I asked how she could eat ice cream on such a chilly day. I came to find it was a Steamy BBQ Chicken and Mashed Potato “Sundae” with a cherry tomato on top, of course!

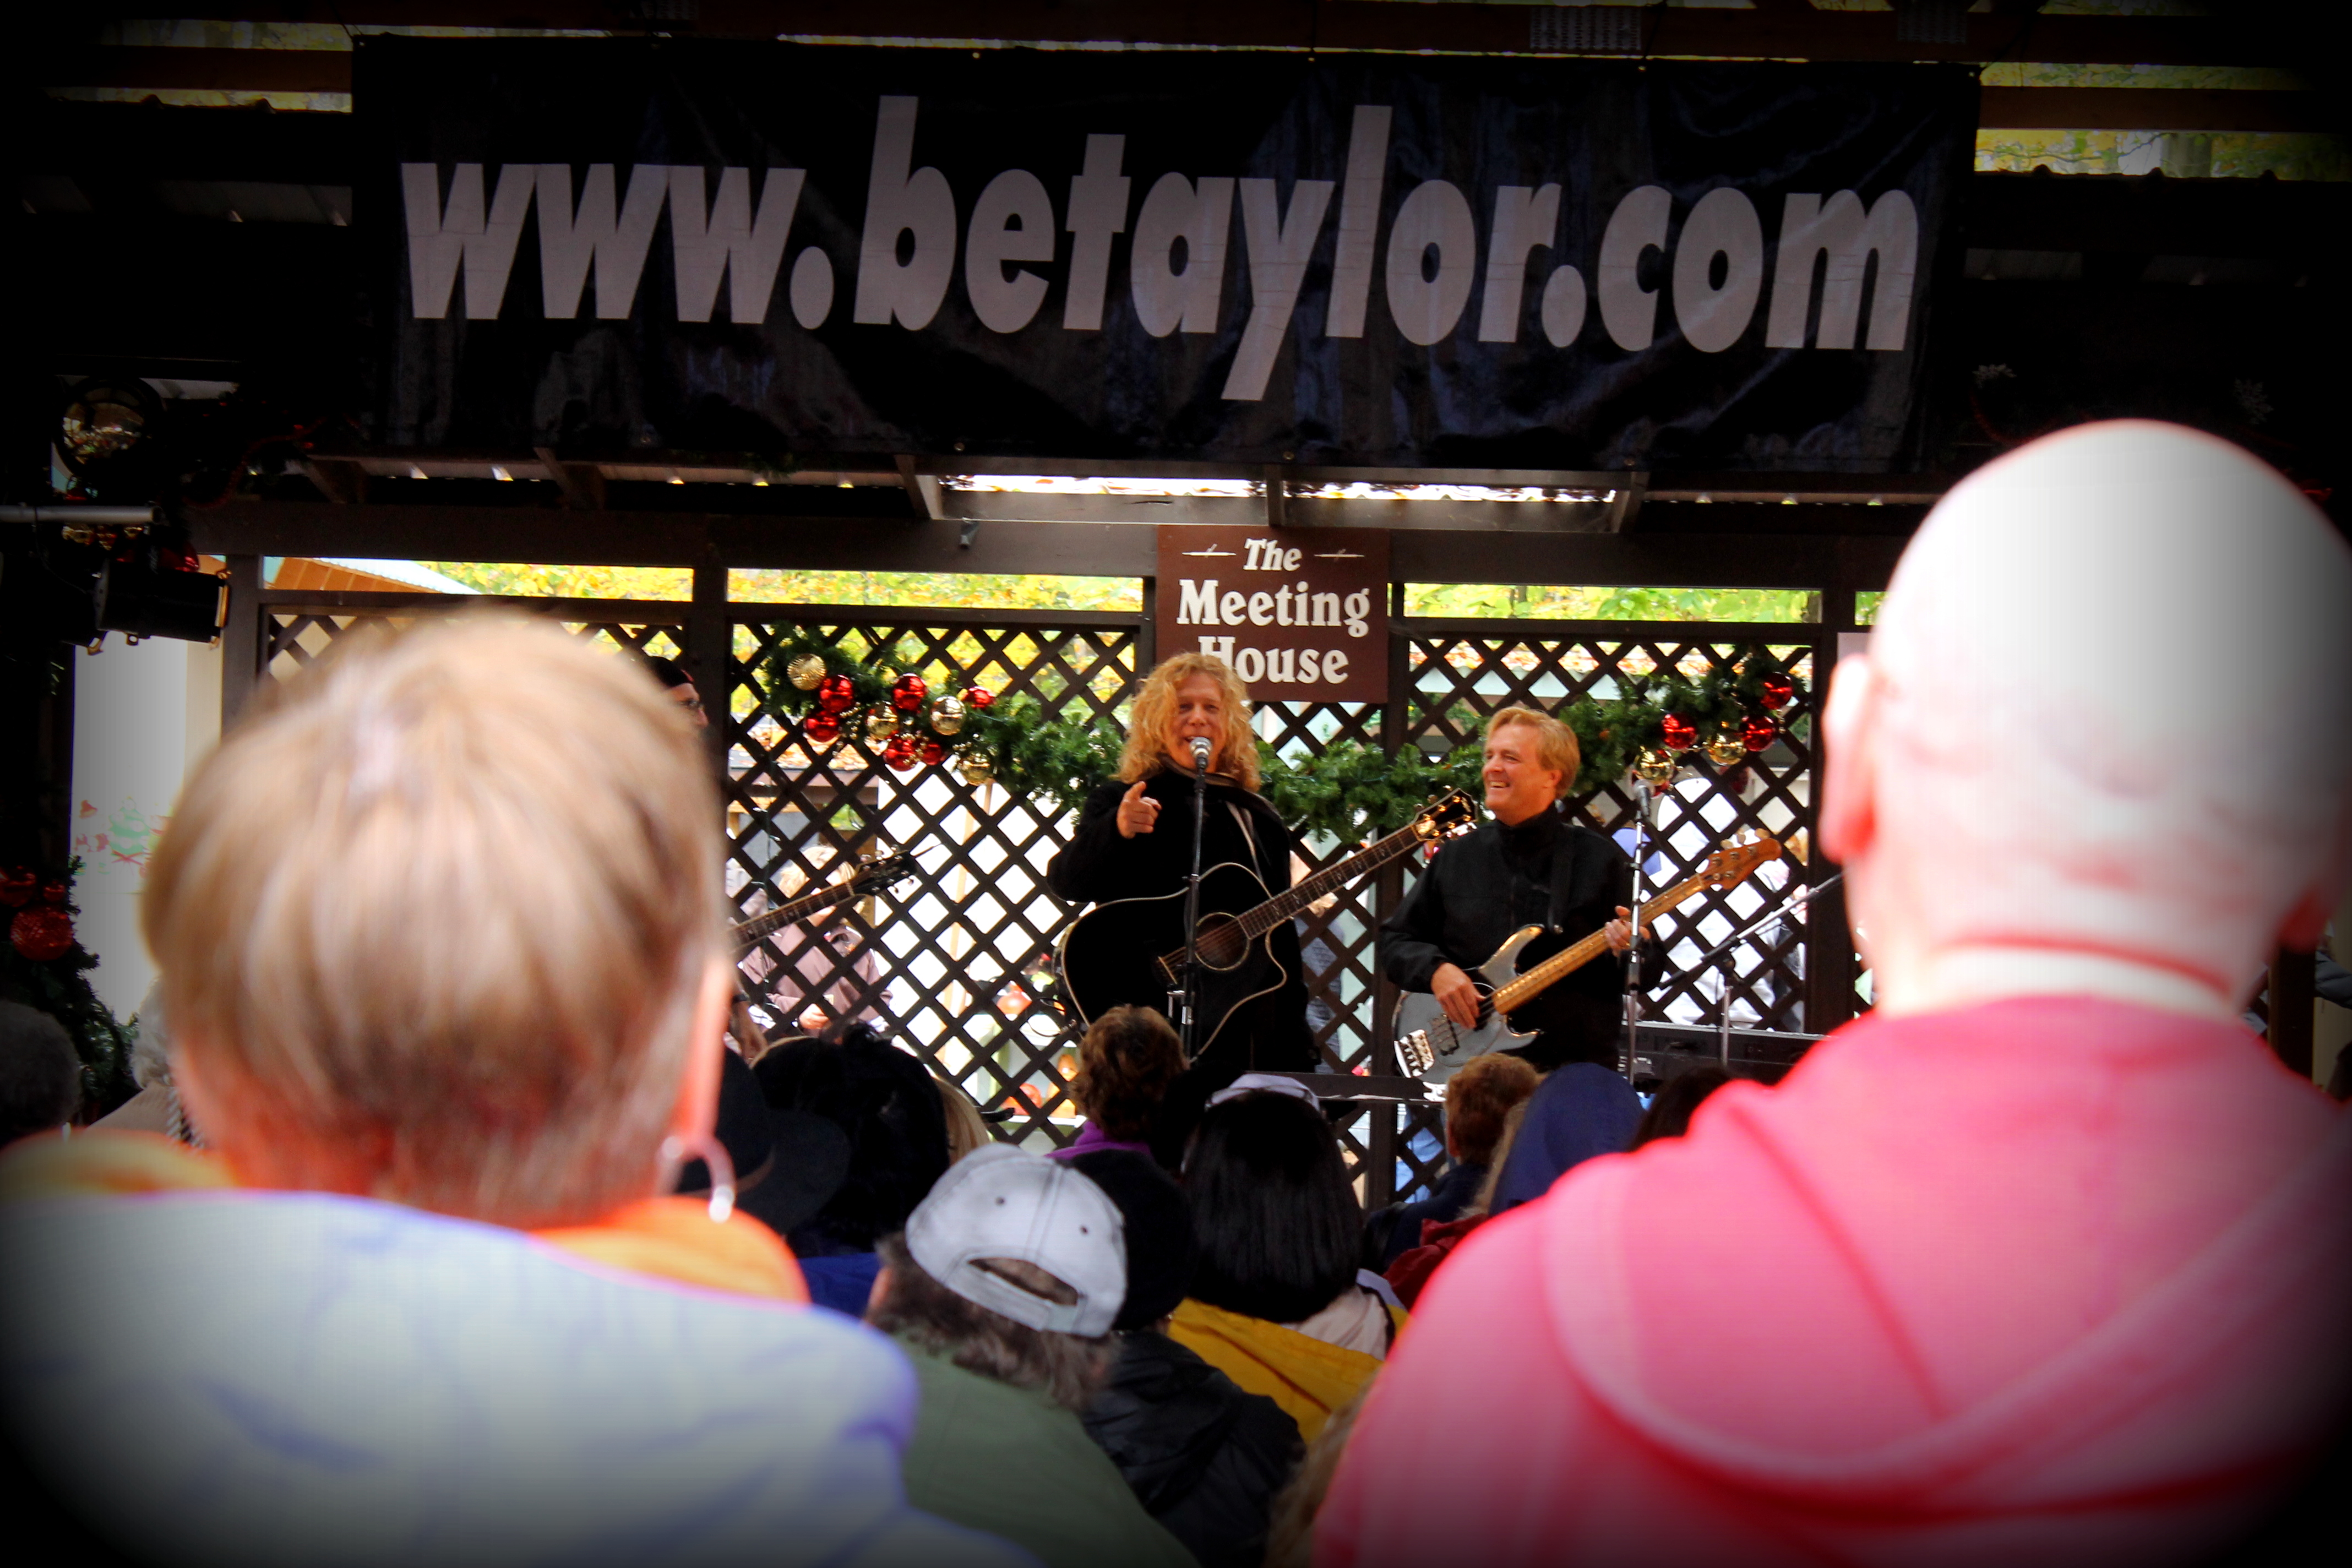
One of the highlights of the trip for many of the ladies was a B.E. Taylor concert right smack in the middle of all the action where the beautiful Christmas music could be heard echoing throughout the woods.

We bought some fun things and got a lot more great ideas. We’ll see if the ideas come to fruition…

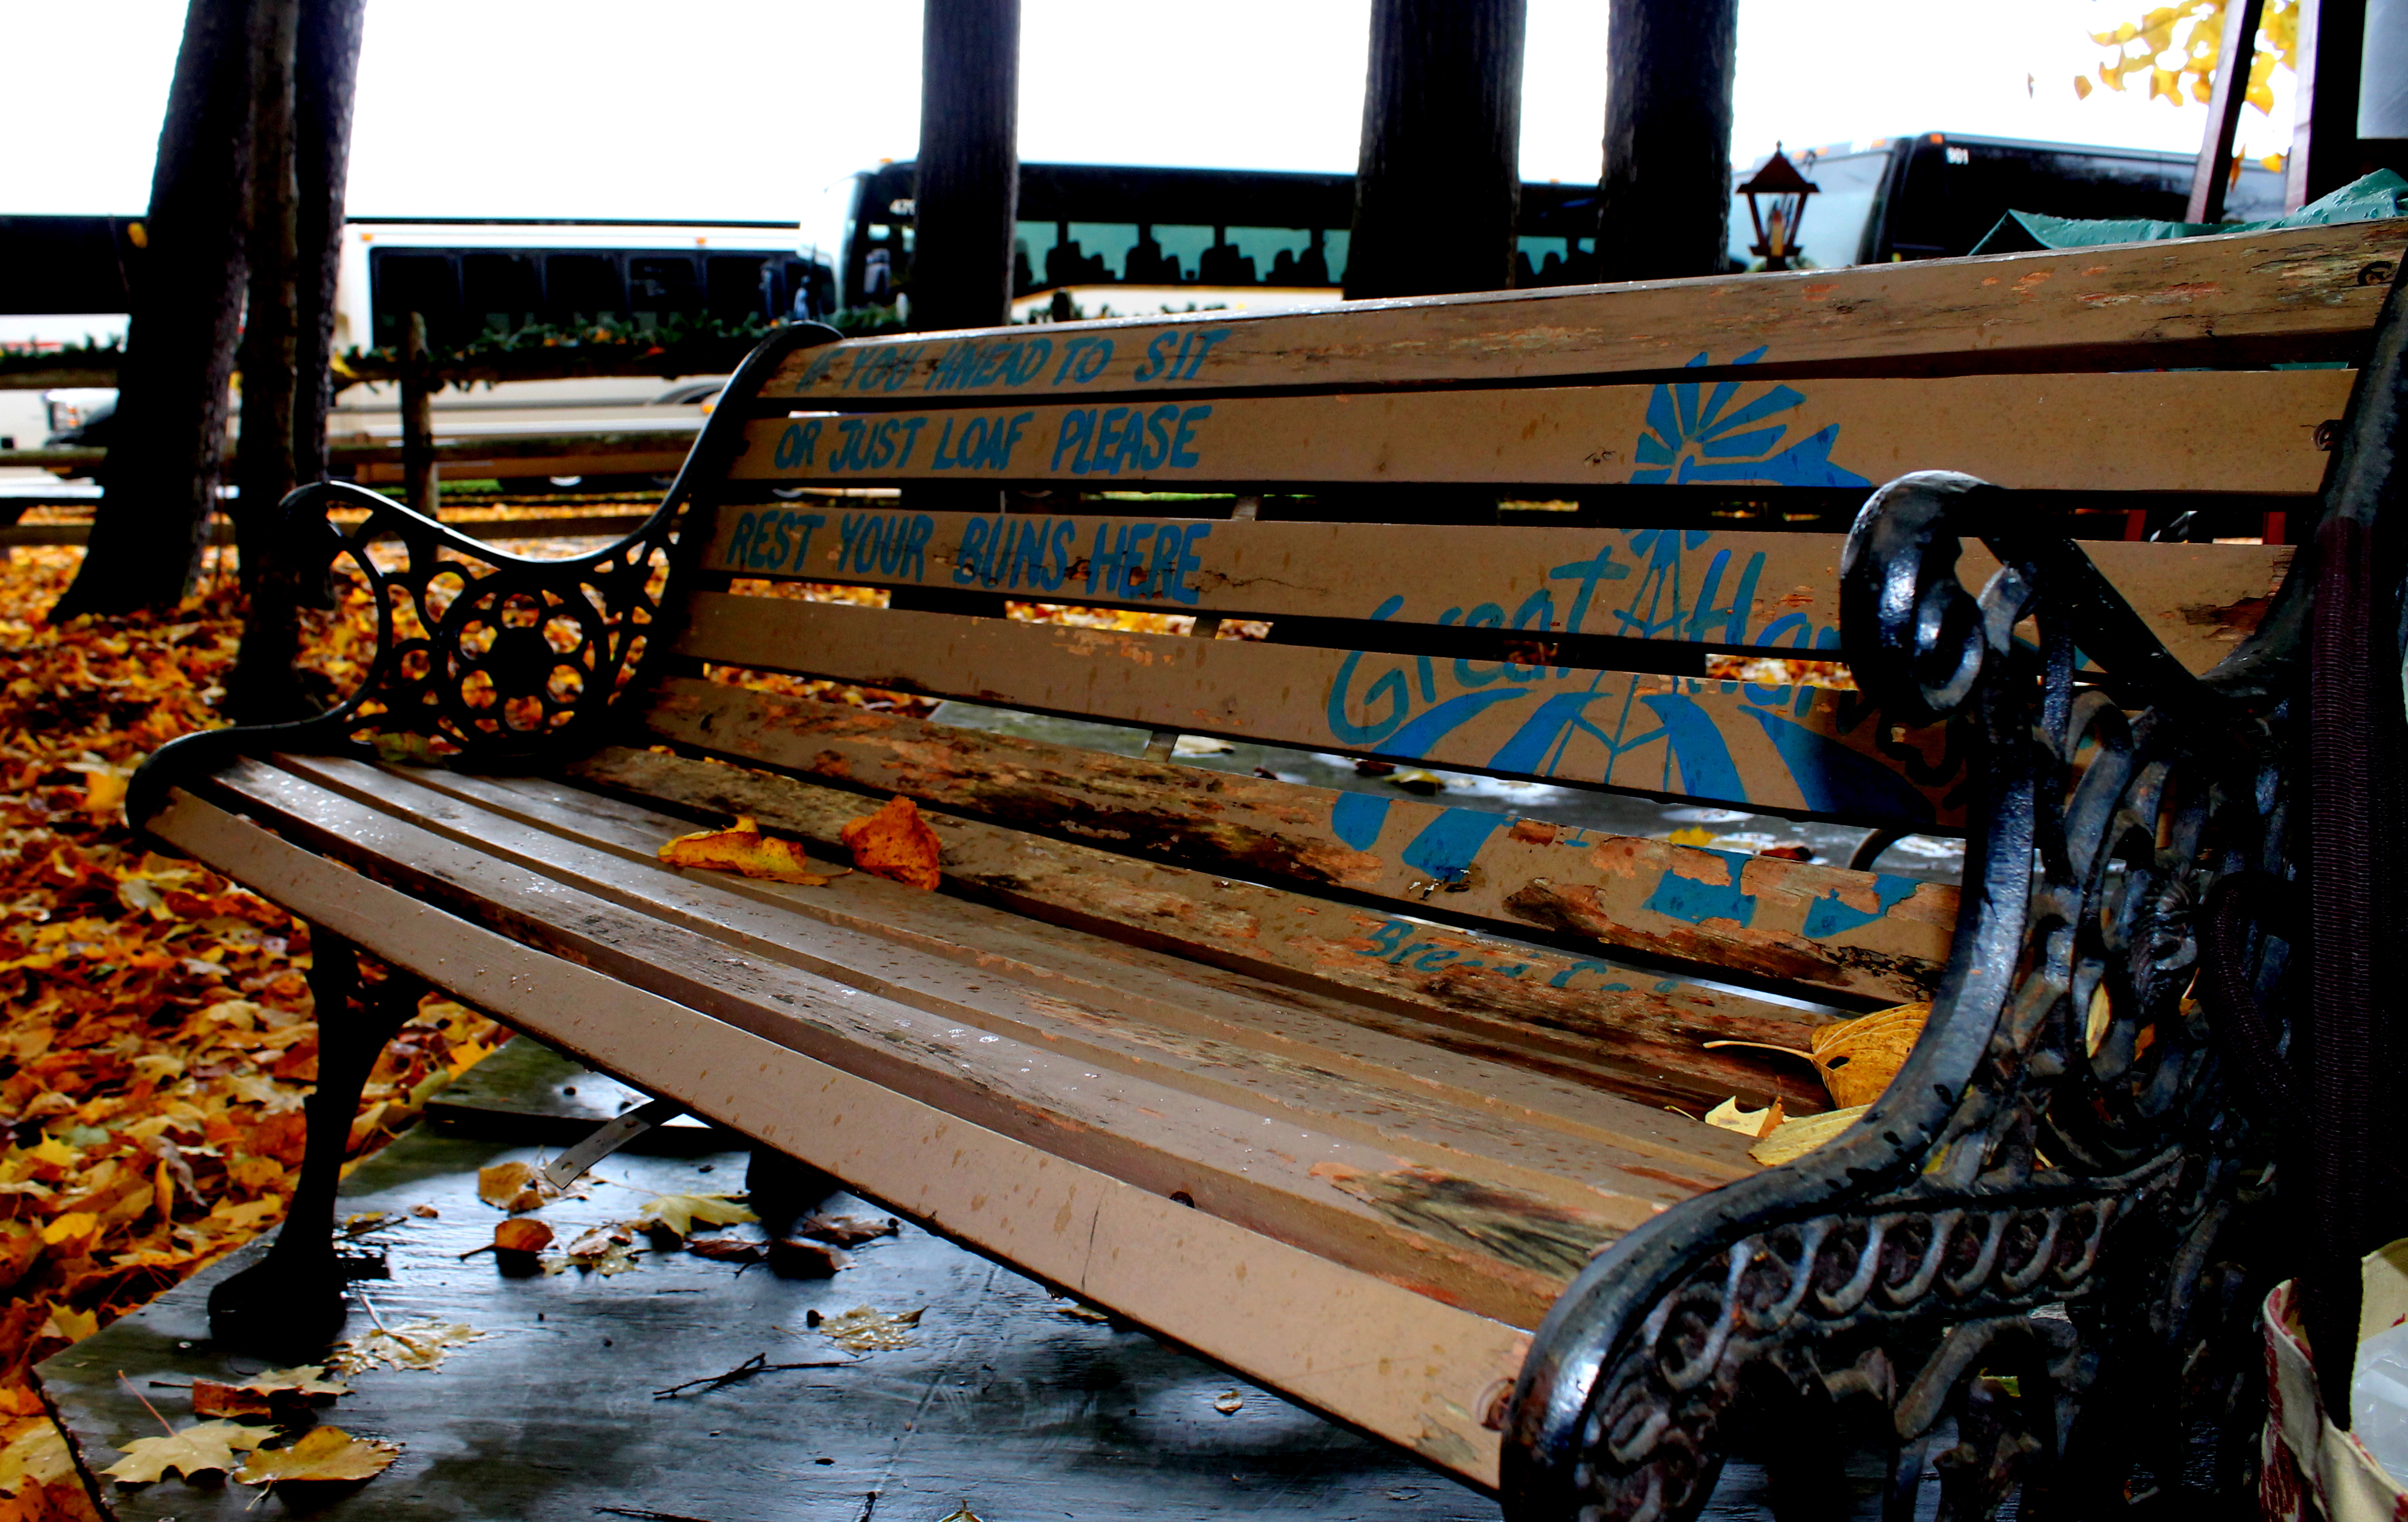
The wonderful guys at the Great Harvest Bread Company had the cutest bench by their booth that said, “If you Knead to sit or just Loaf, please rest your Buns here.” Since they were kind enough to let me take a photo, of course I had to buy some bread. Italian Herb for me, and cinnamon swirl for Marty. (and oh by the way – DELISH!)

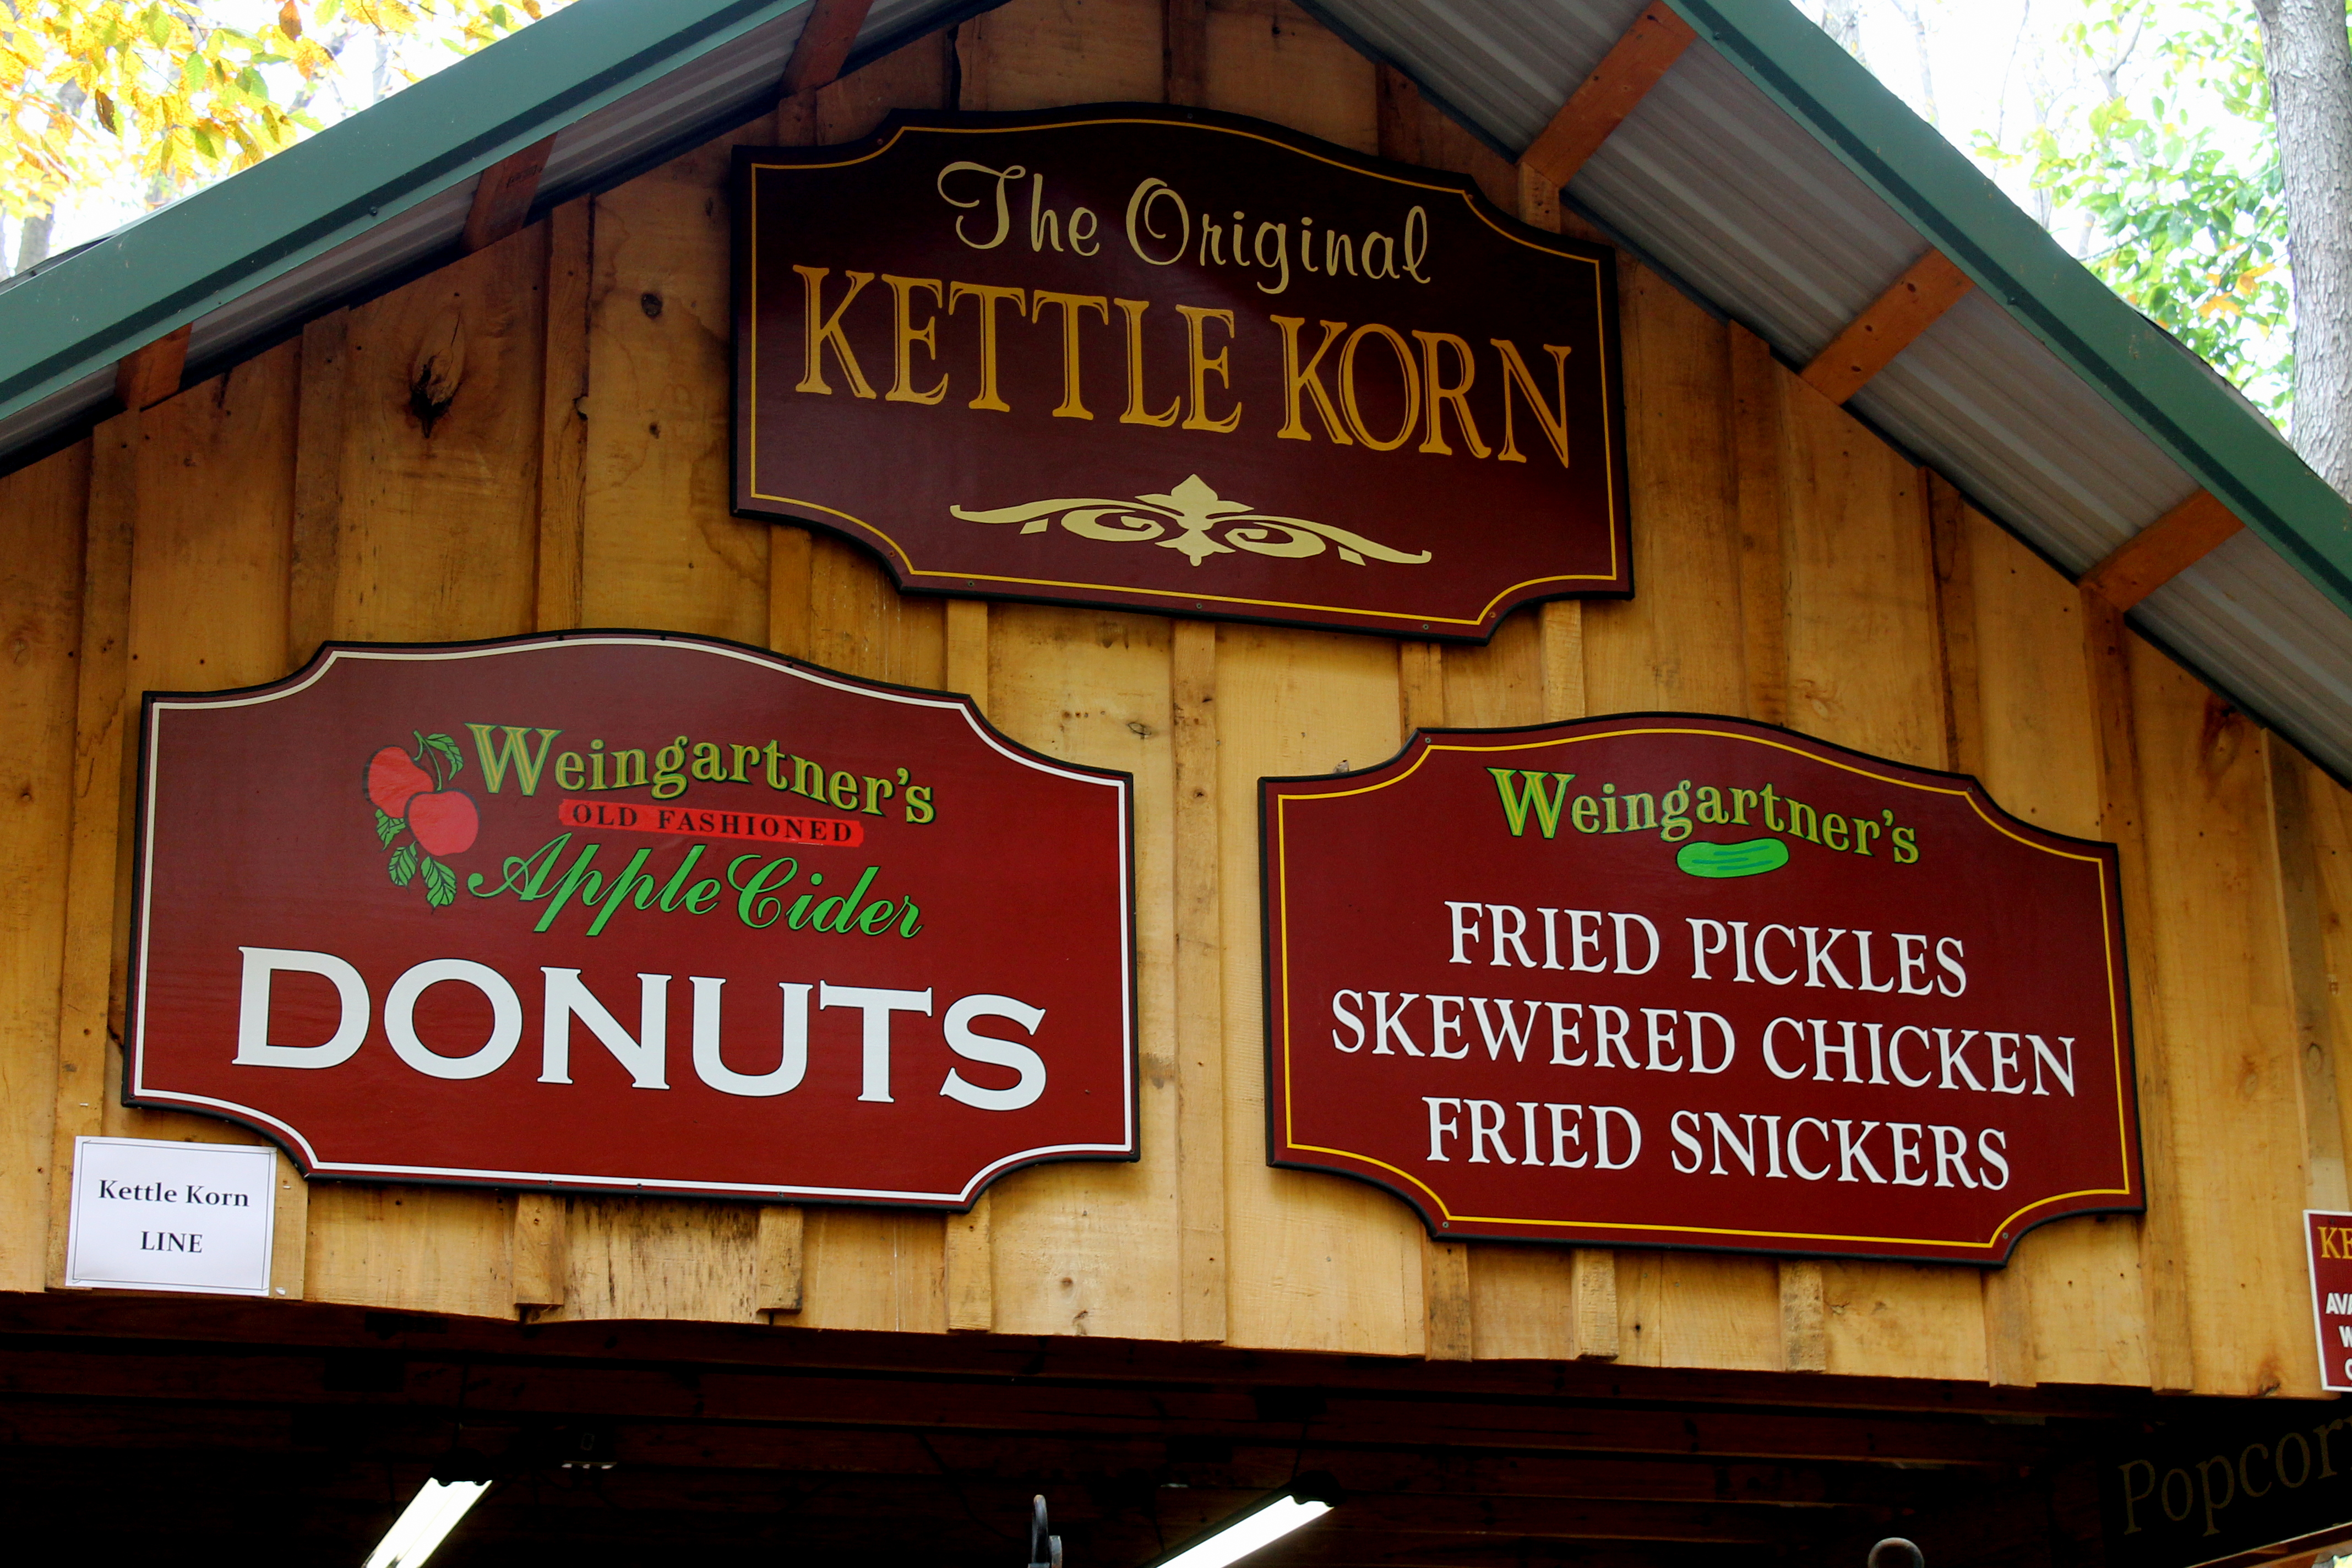
We passed on the fried pickles and fried snickers, but did enjoy an awesome reuben sandwich and sat with some folks who live right in our own hometown and are regulars on a different night at our hometown John’s Bar – so maybe we’ll see them again soon!

After getting inspired by the amazing crafters and talent, nourished body and soul with food and music, and spending enough money…

We ventured out of the woods and drove to Selah Restaurant in Struthers, about 20 minutes away.

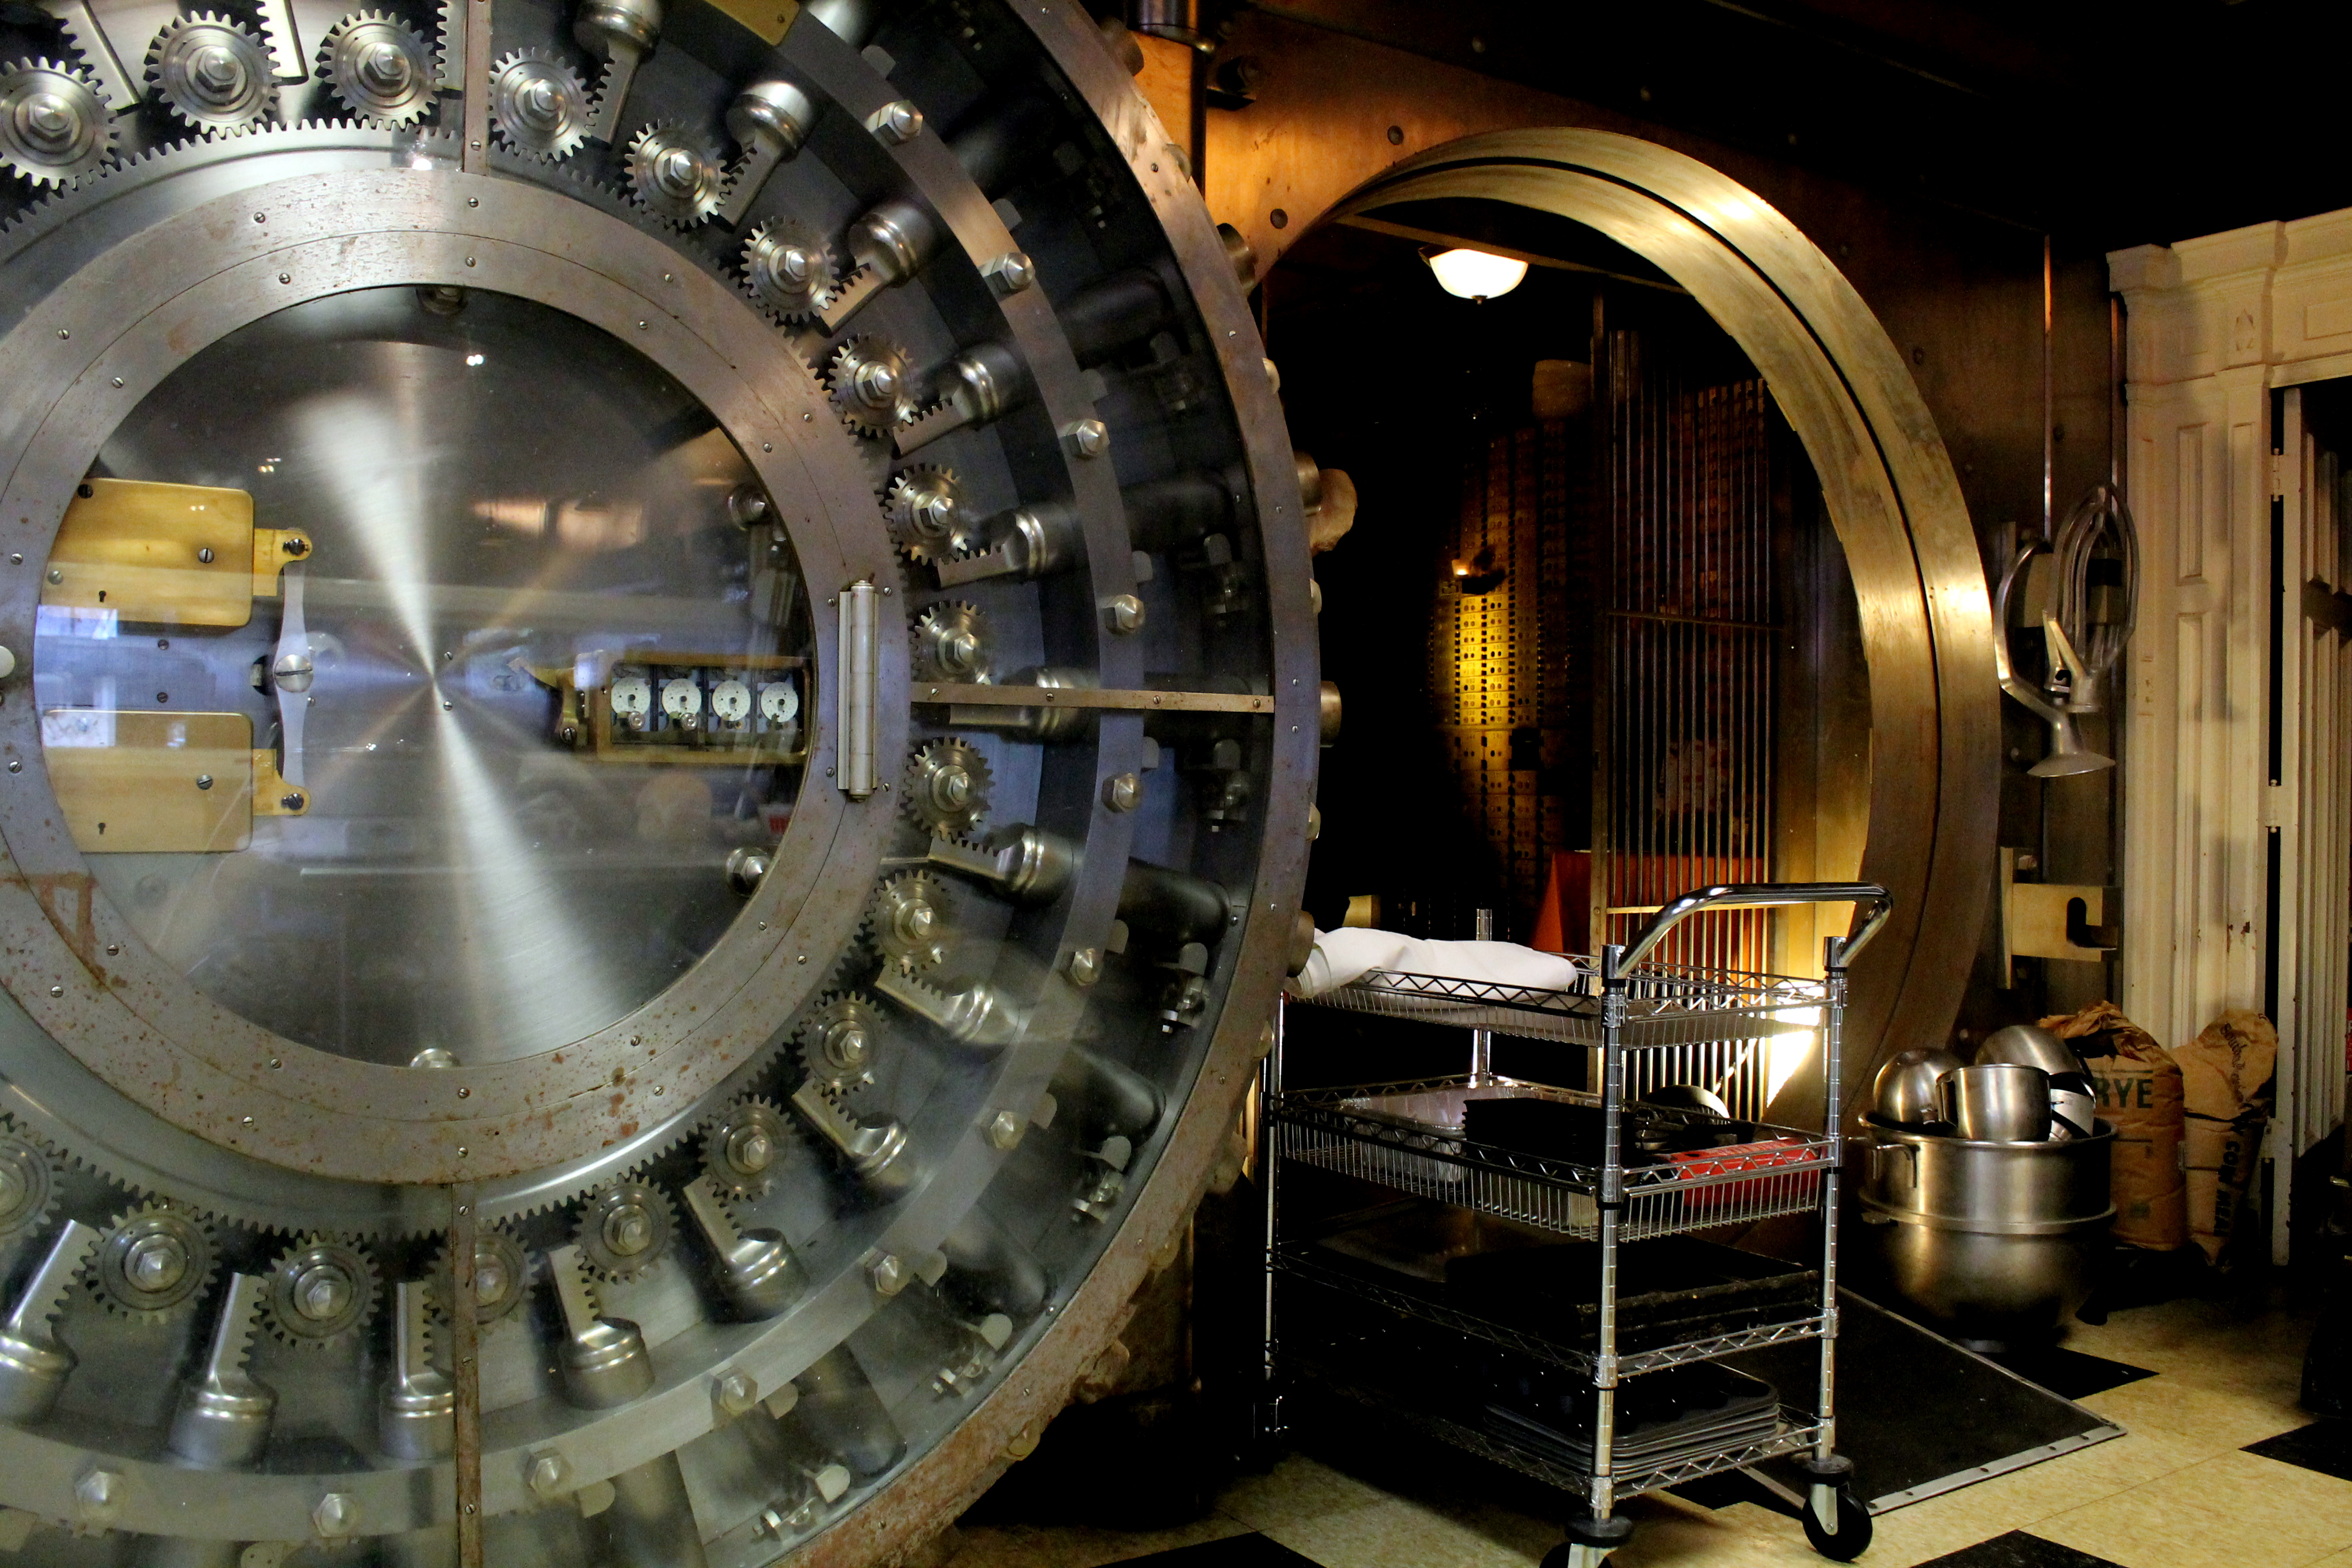
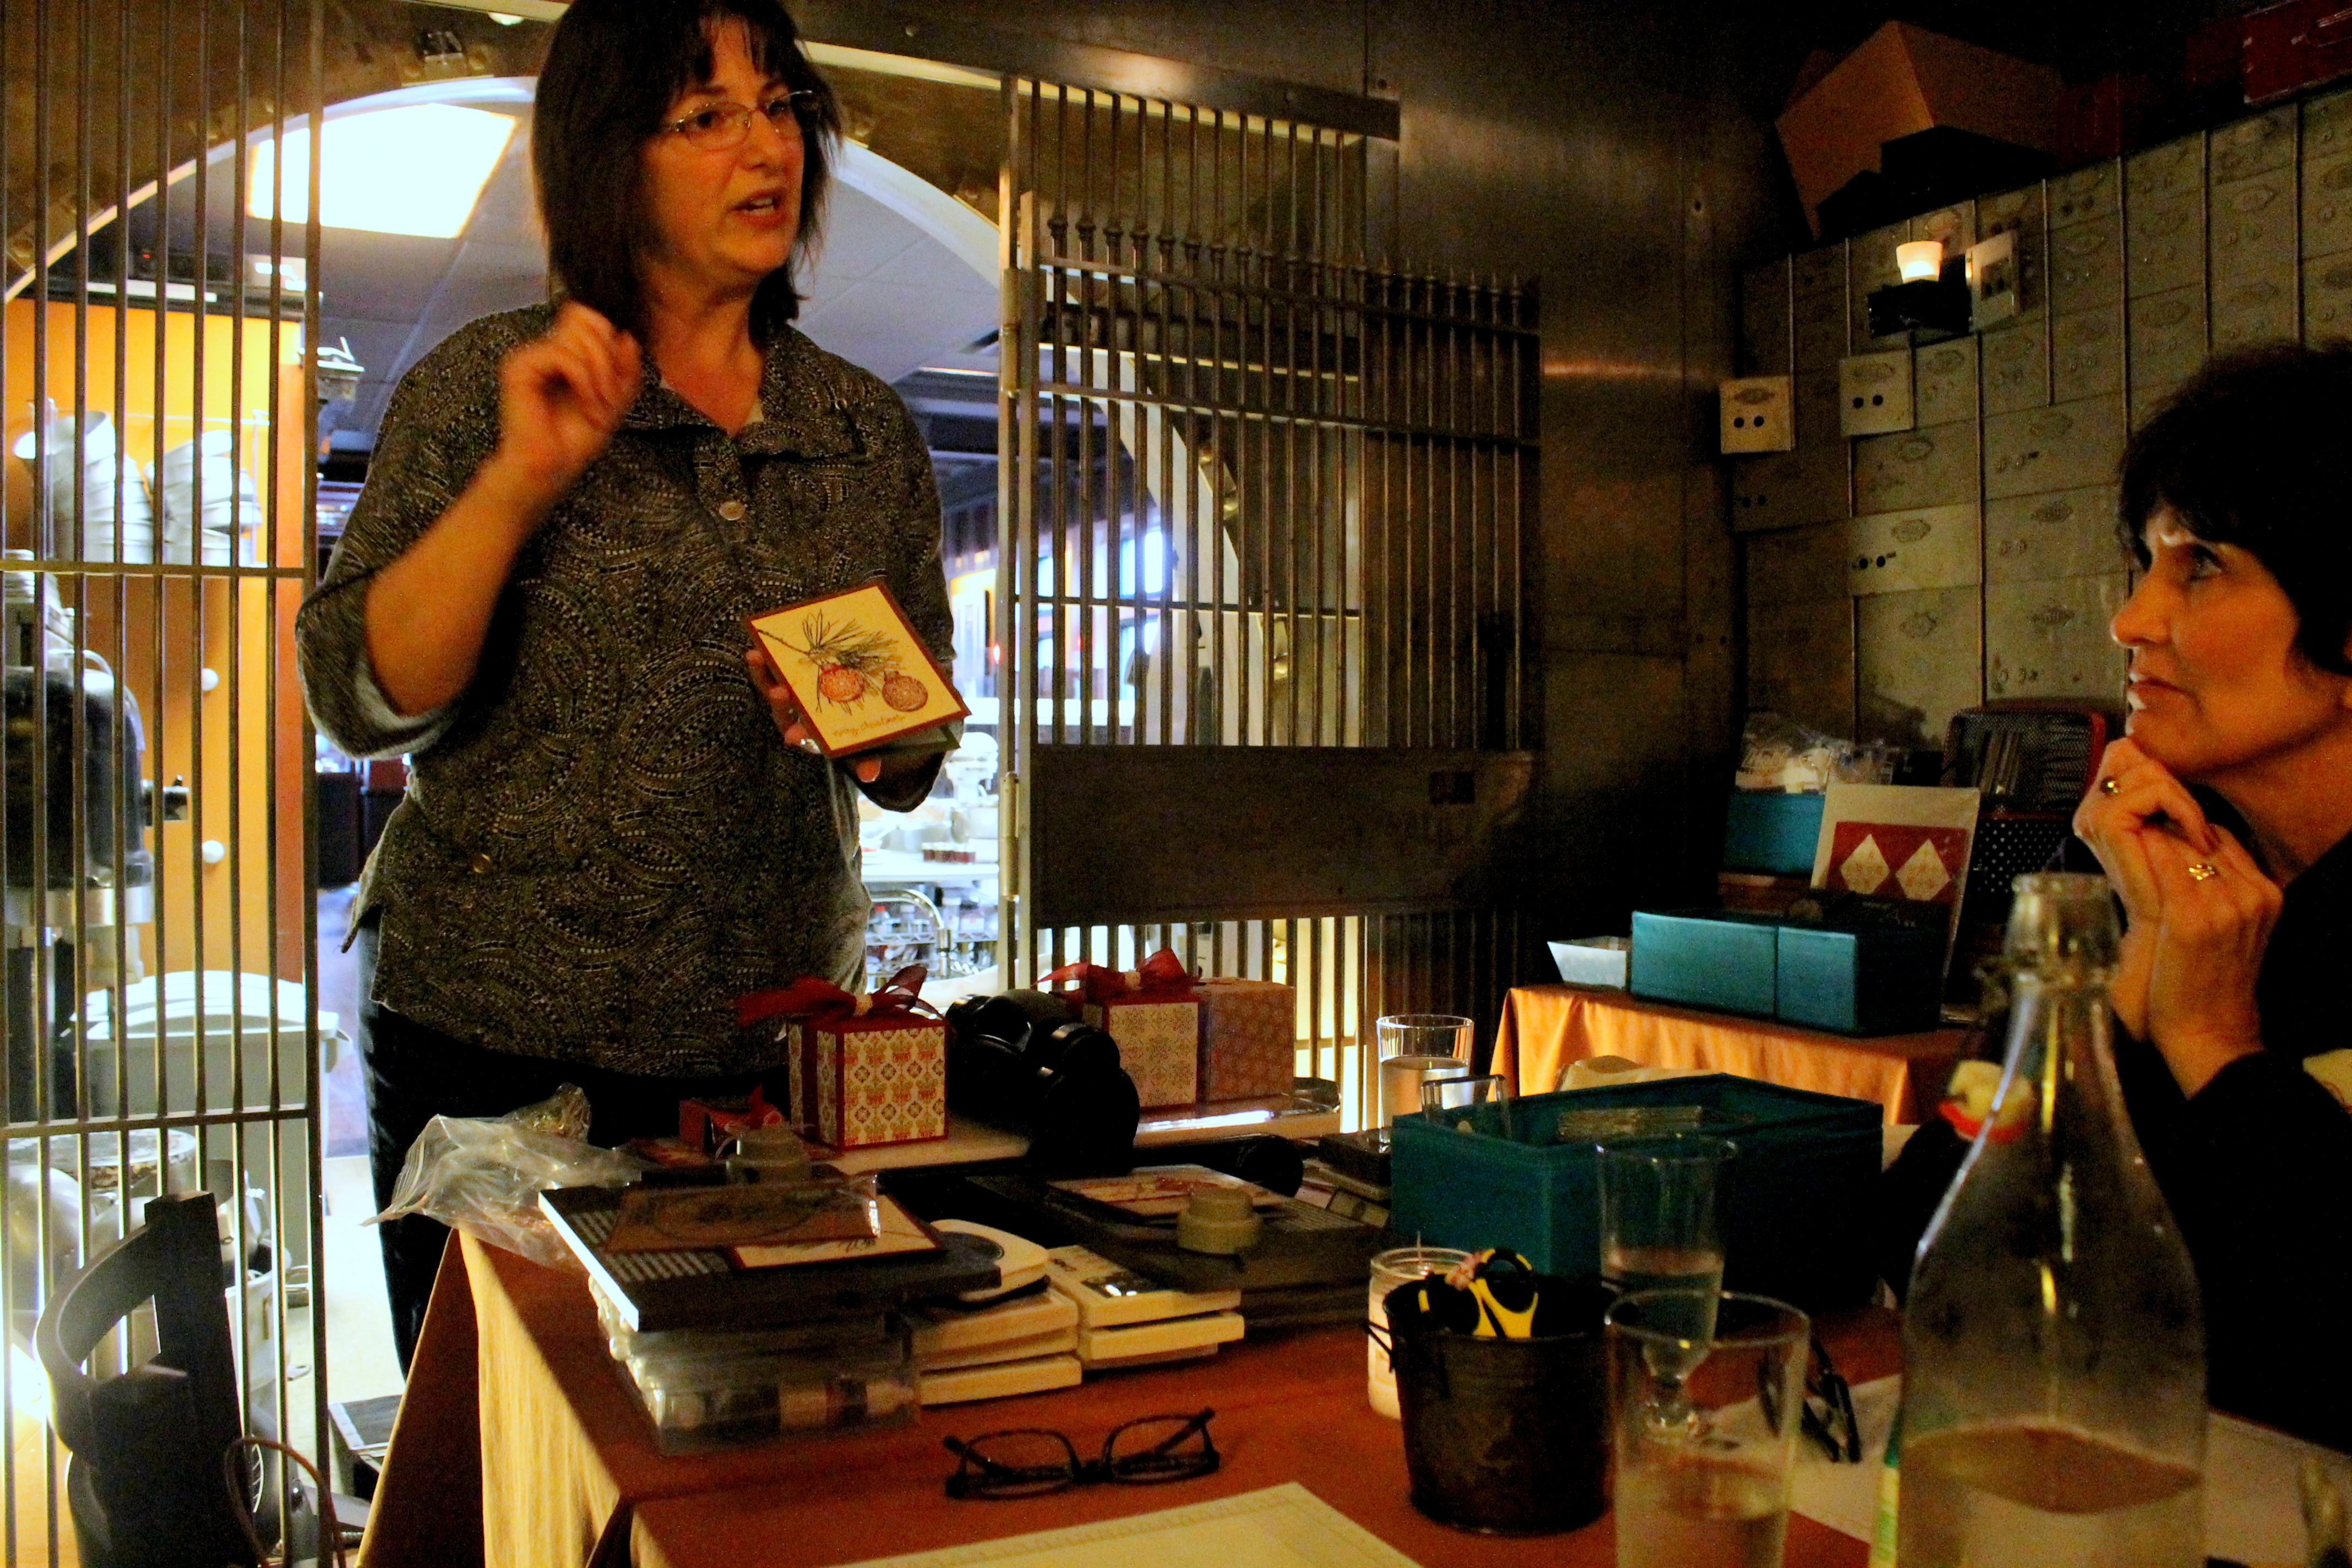
What an awesome venue! Graced with art, photography and design, Selah is located in a turn-of-the-century bank with a rich history that gives it a unique and charming character.

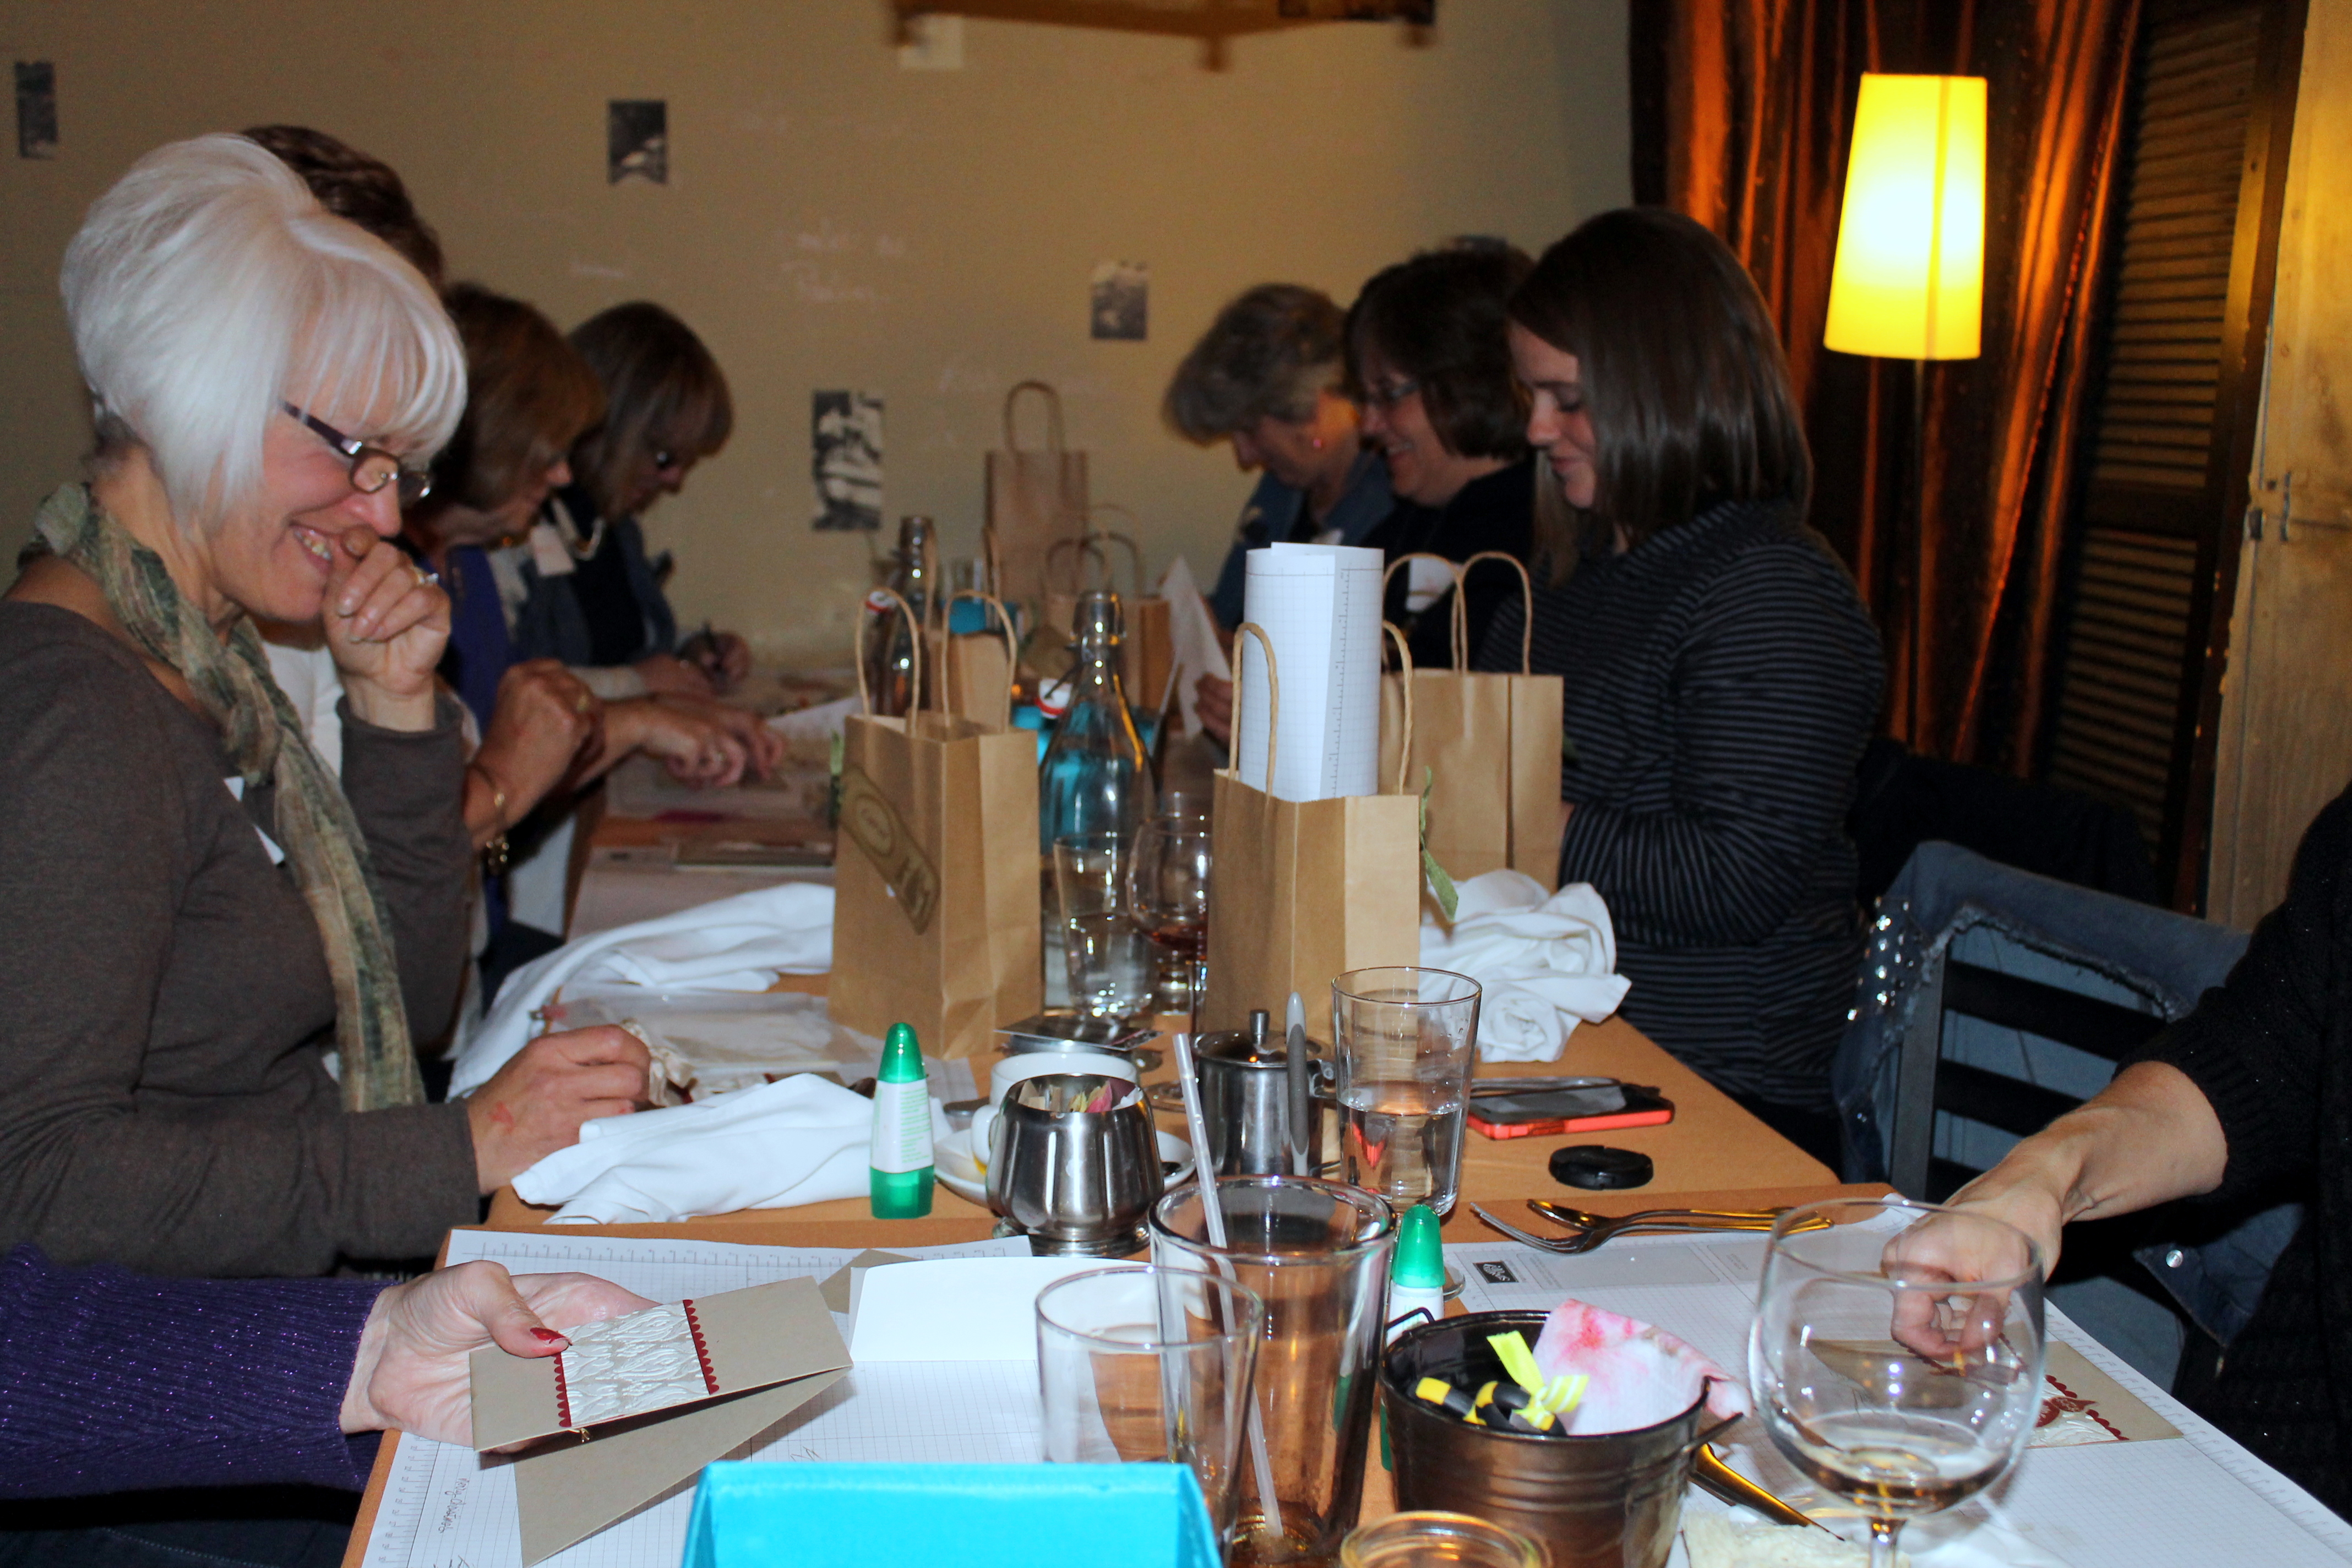
Stacey had reserved “The Vault” for our special class and dinner.

It was such a unique experience to sit in the charming setting of the old vault of the bank.

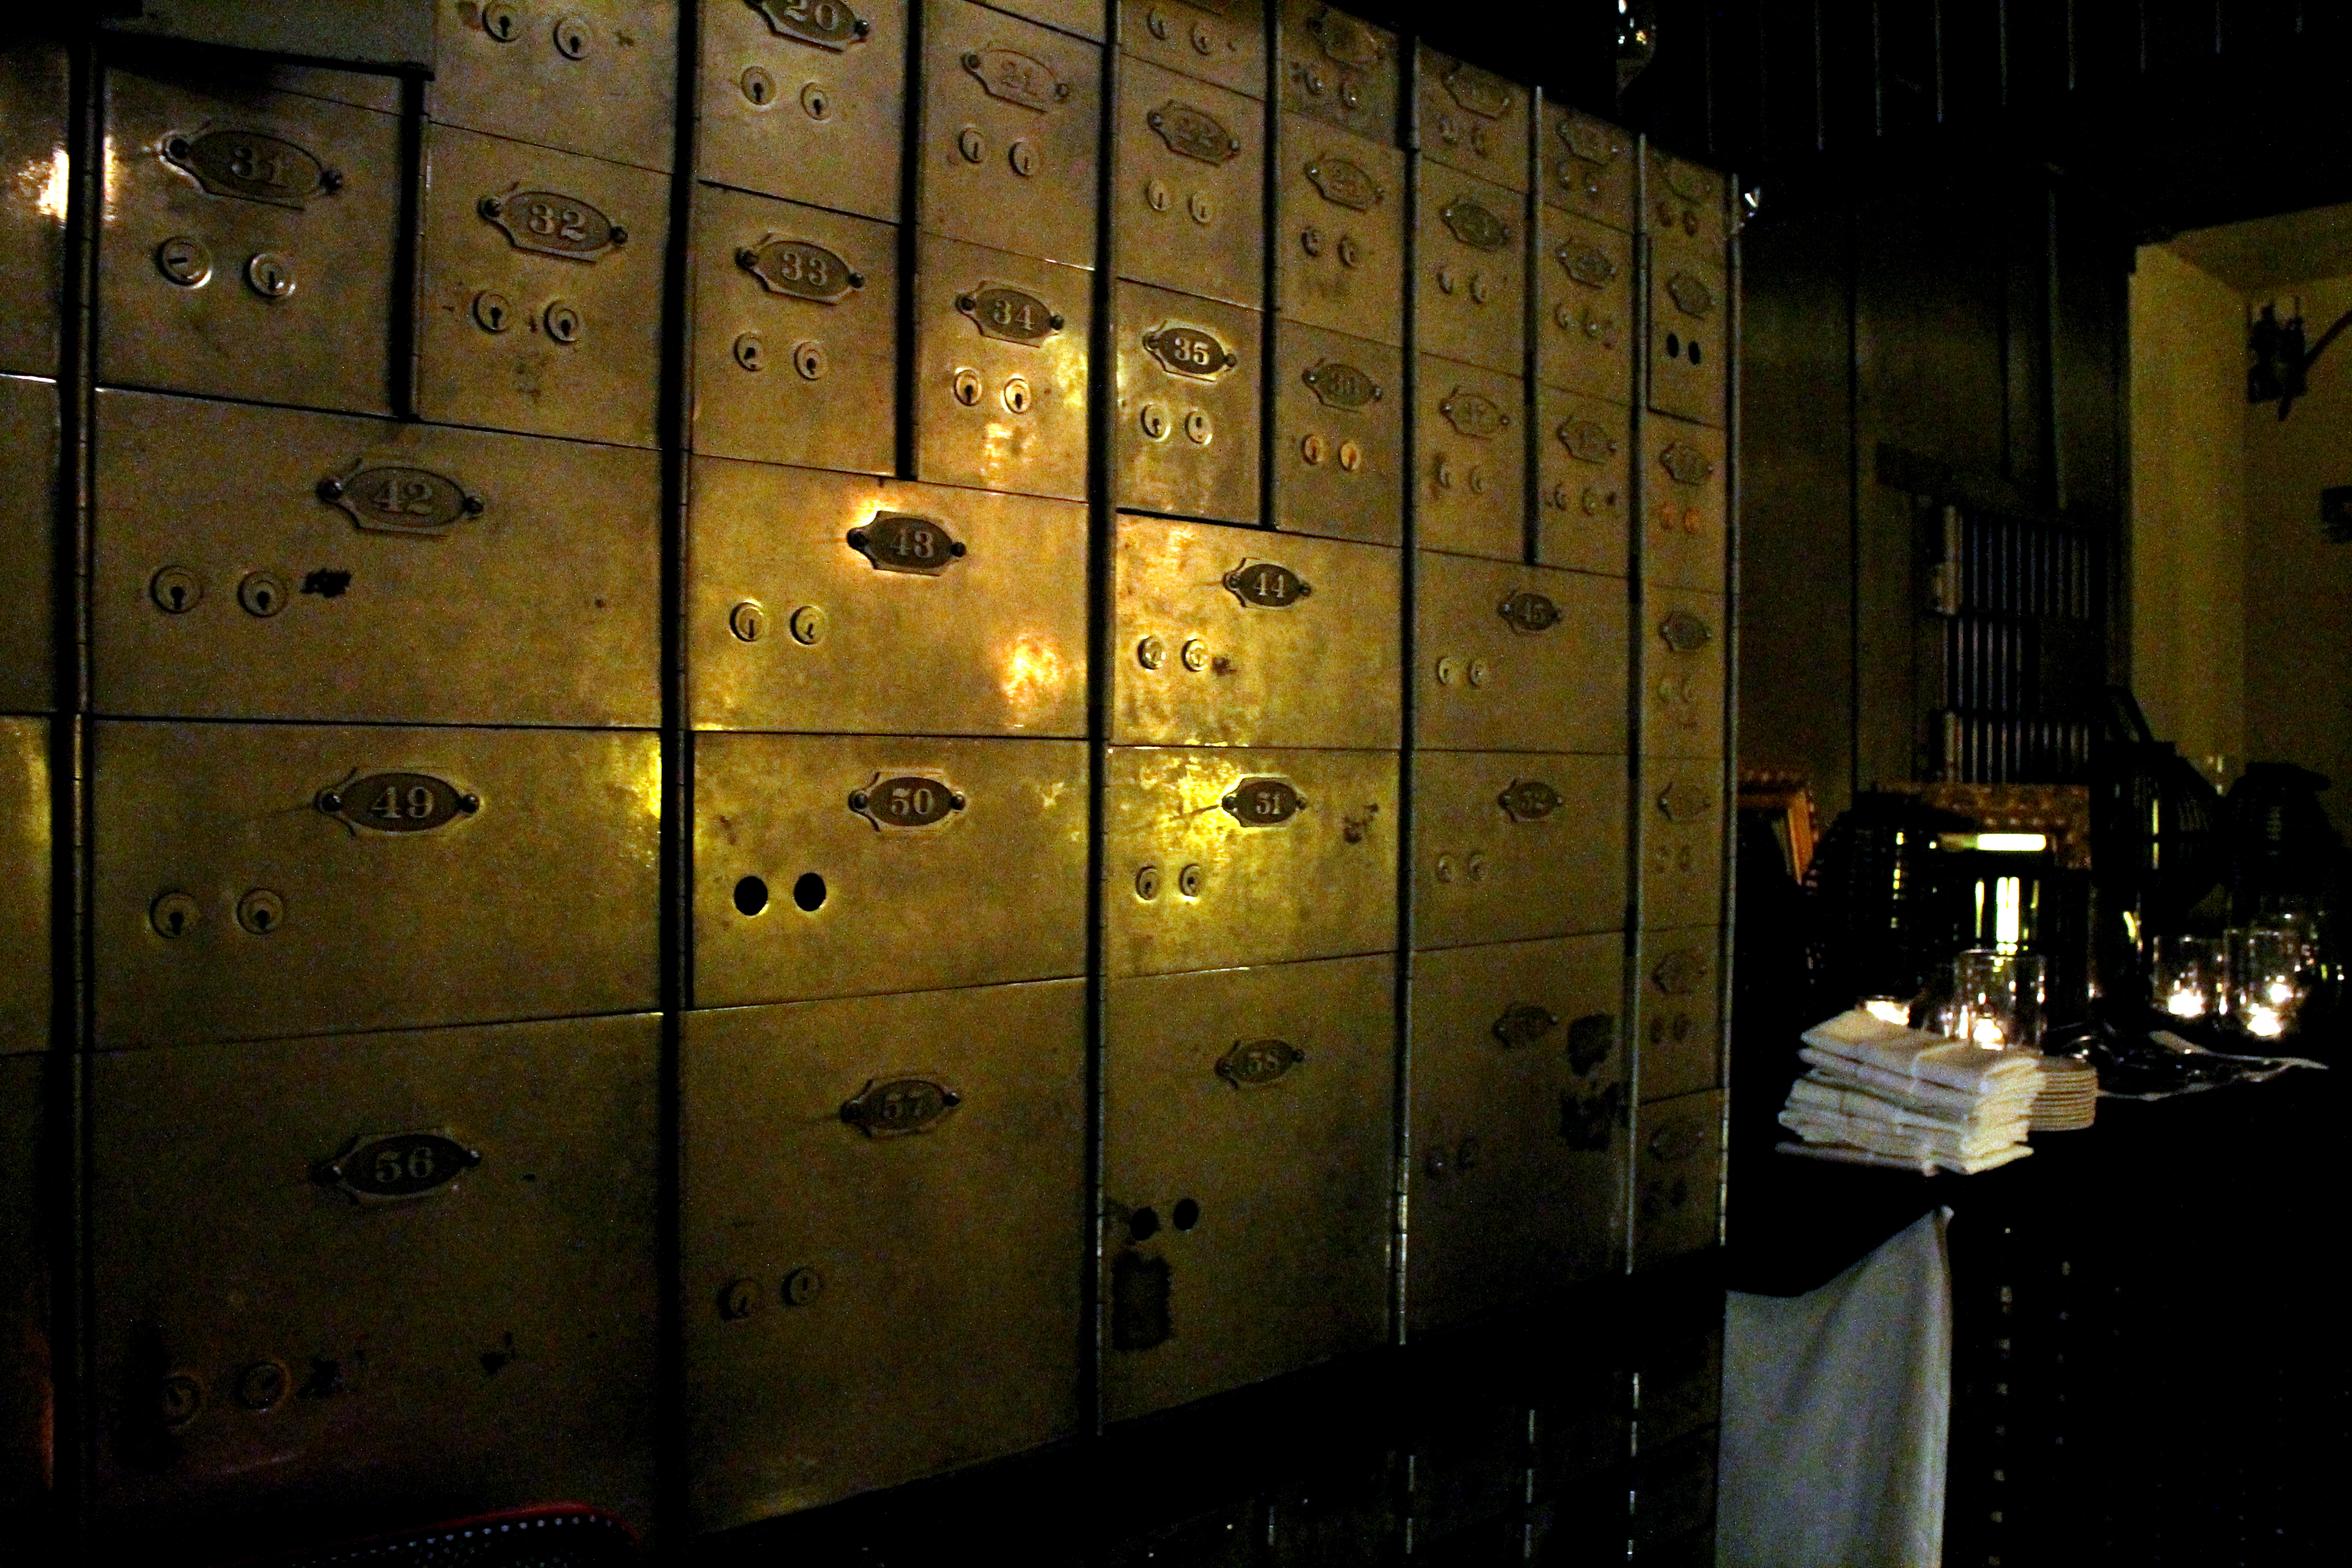
Selah kept a lot of the original architecture of the bank, including the teller windows, adding such unforgettable charm.

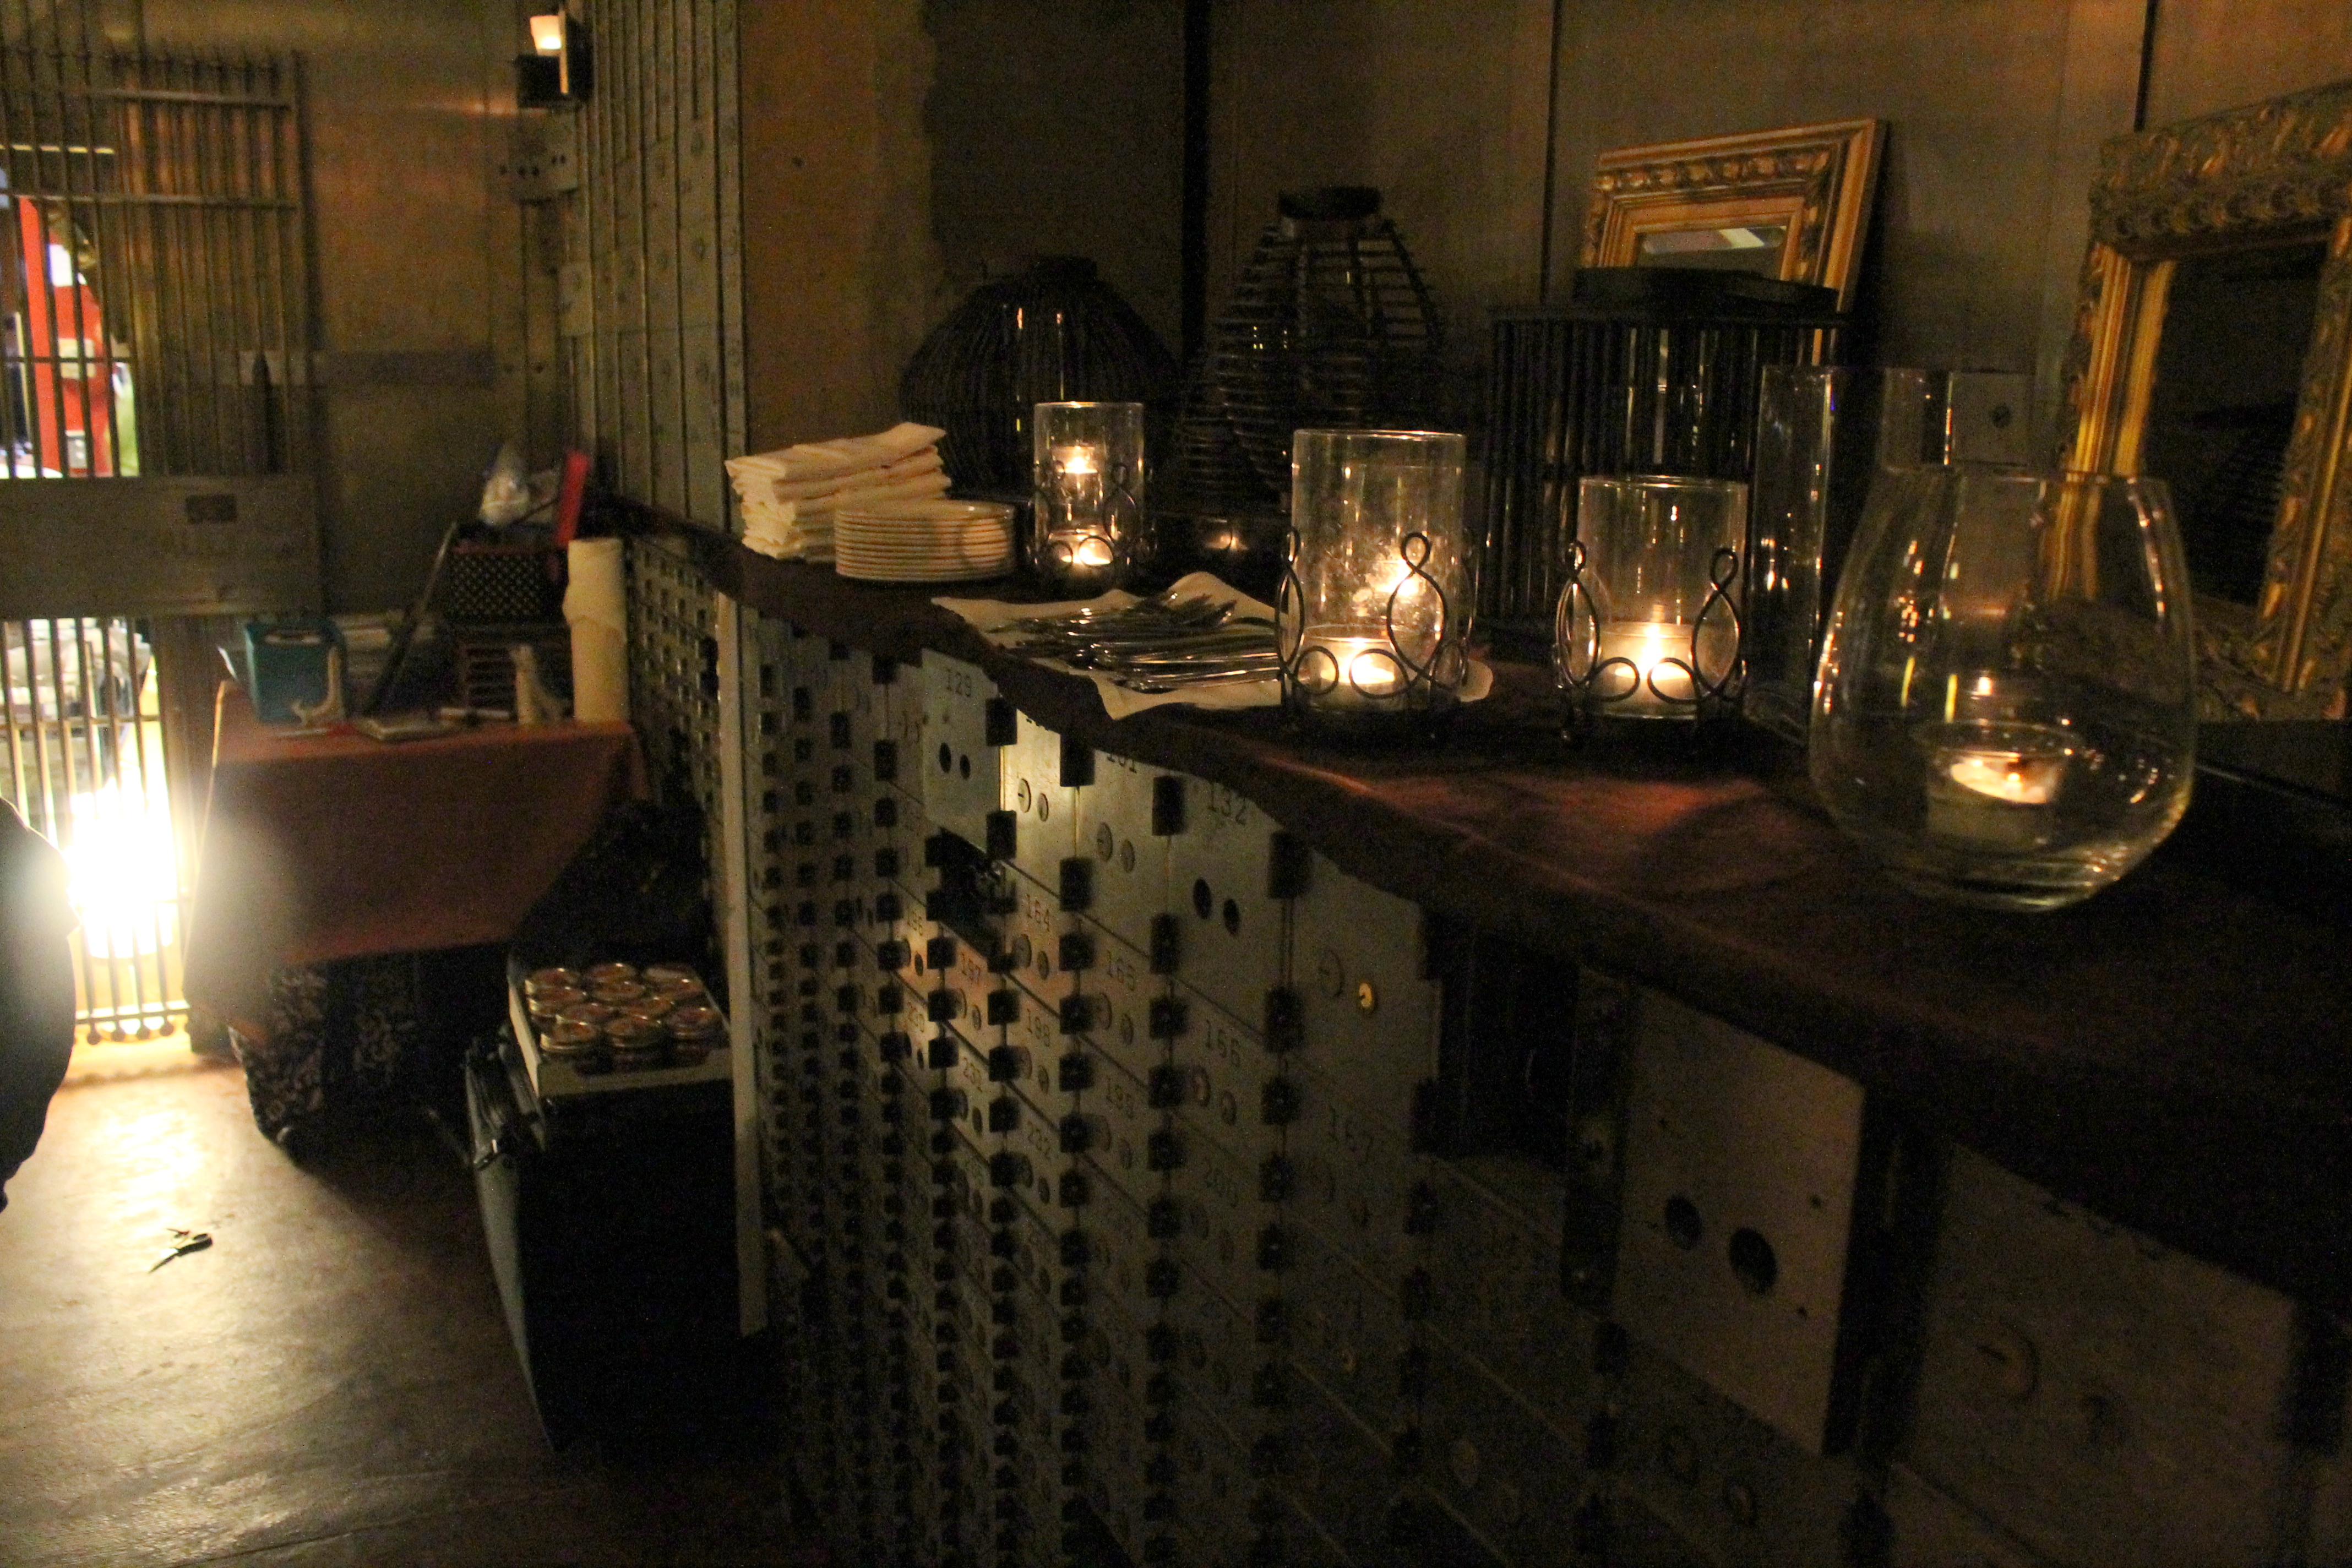
The Vault was softly lit with a dozen or more candles, which was wonderful for our dining experience, but a tad challenging for our crafting time.

But it was way too cute and quaint for us to complain about that since we loved the atmosphere – and the company!

Stacey does such a phenomenal job teaching newbie, beginning stampers (of which we had four) and challenging some of us more experienced with new ideas and techniques. I sure admire Stacey’s talent, gift of teaching and sharing, and kind and generous heart.

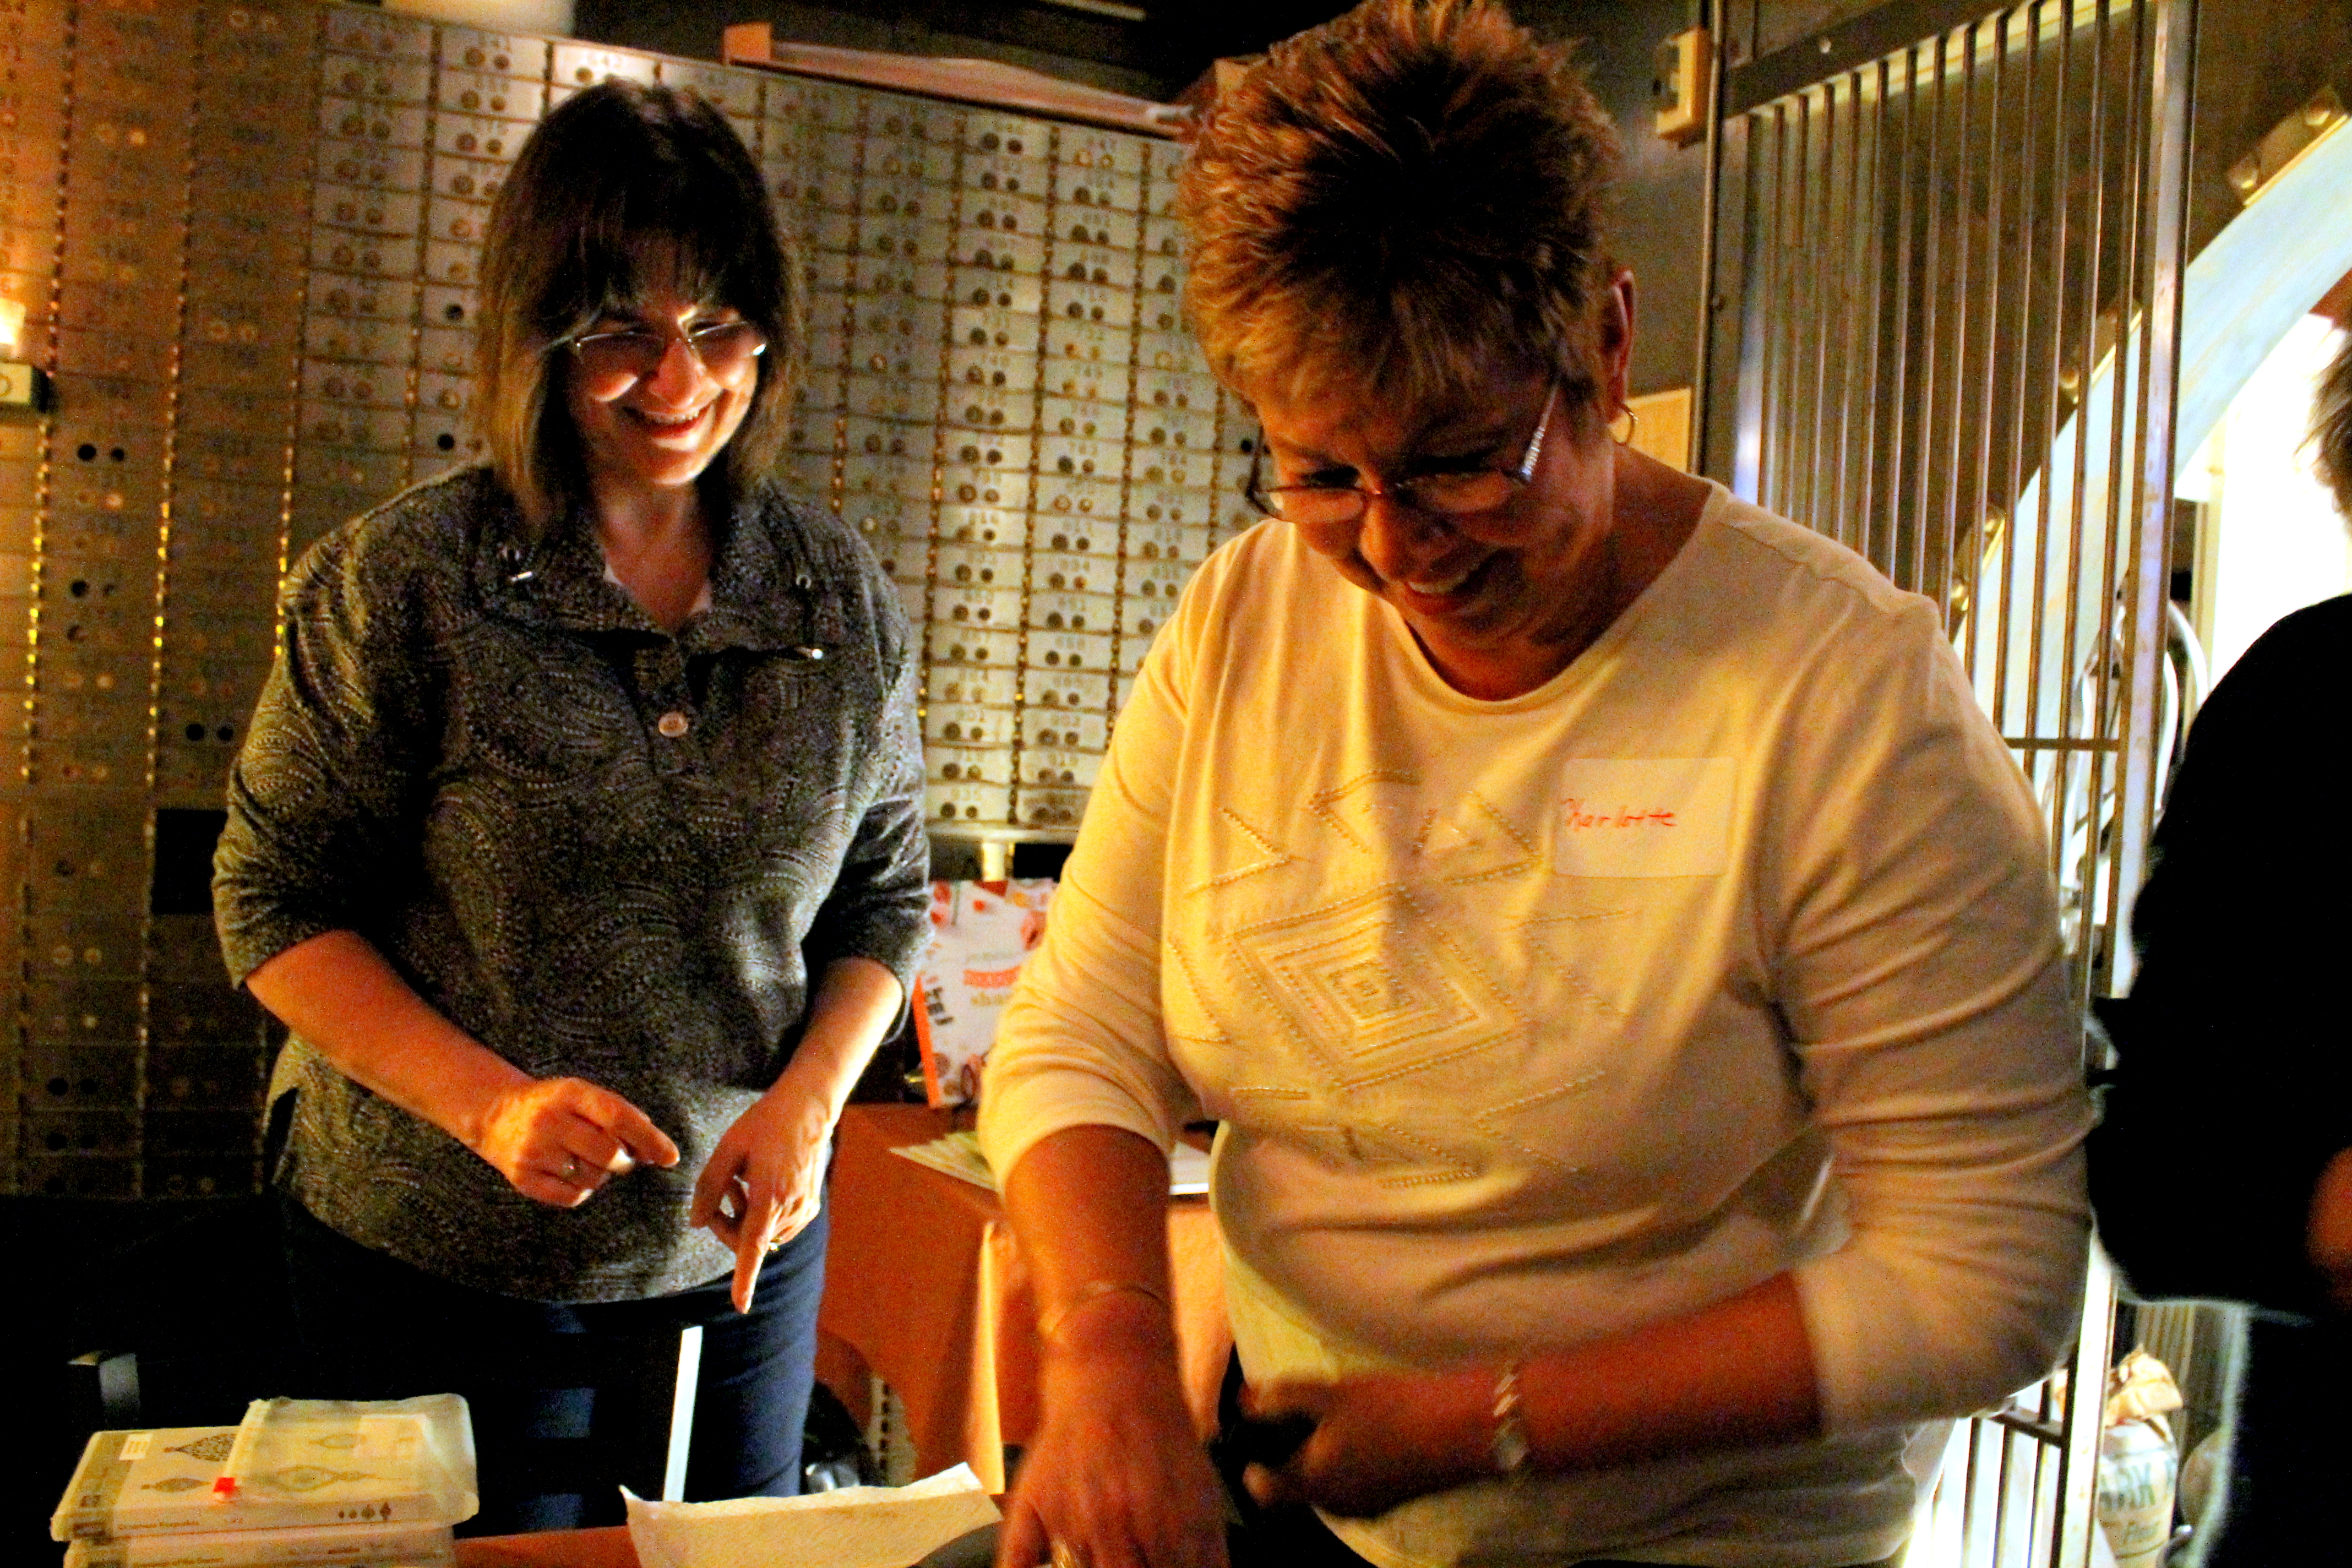
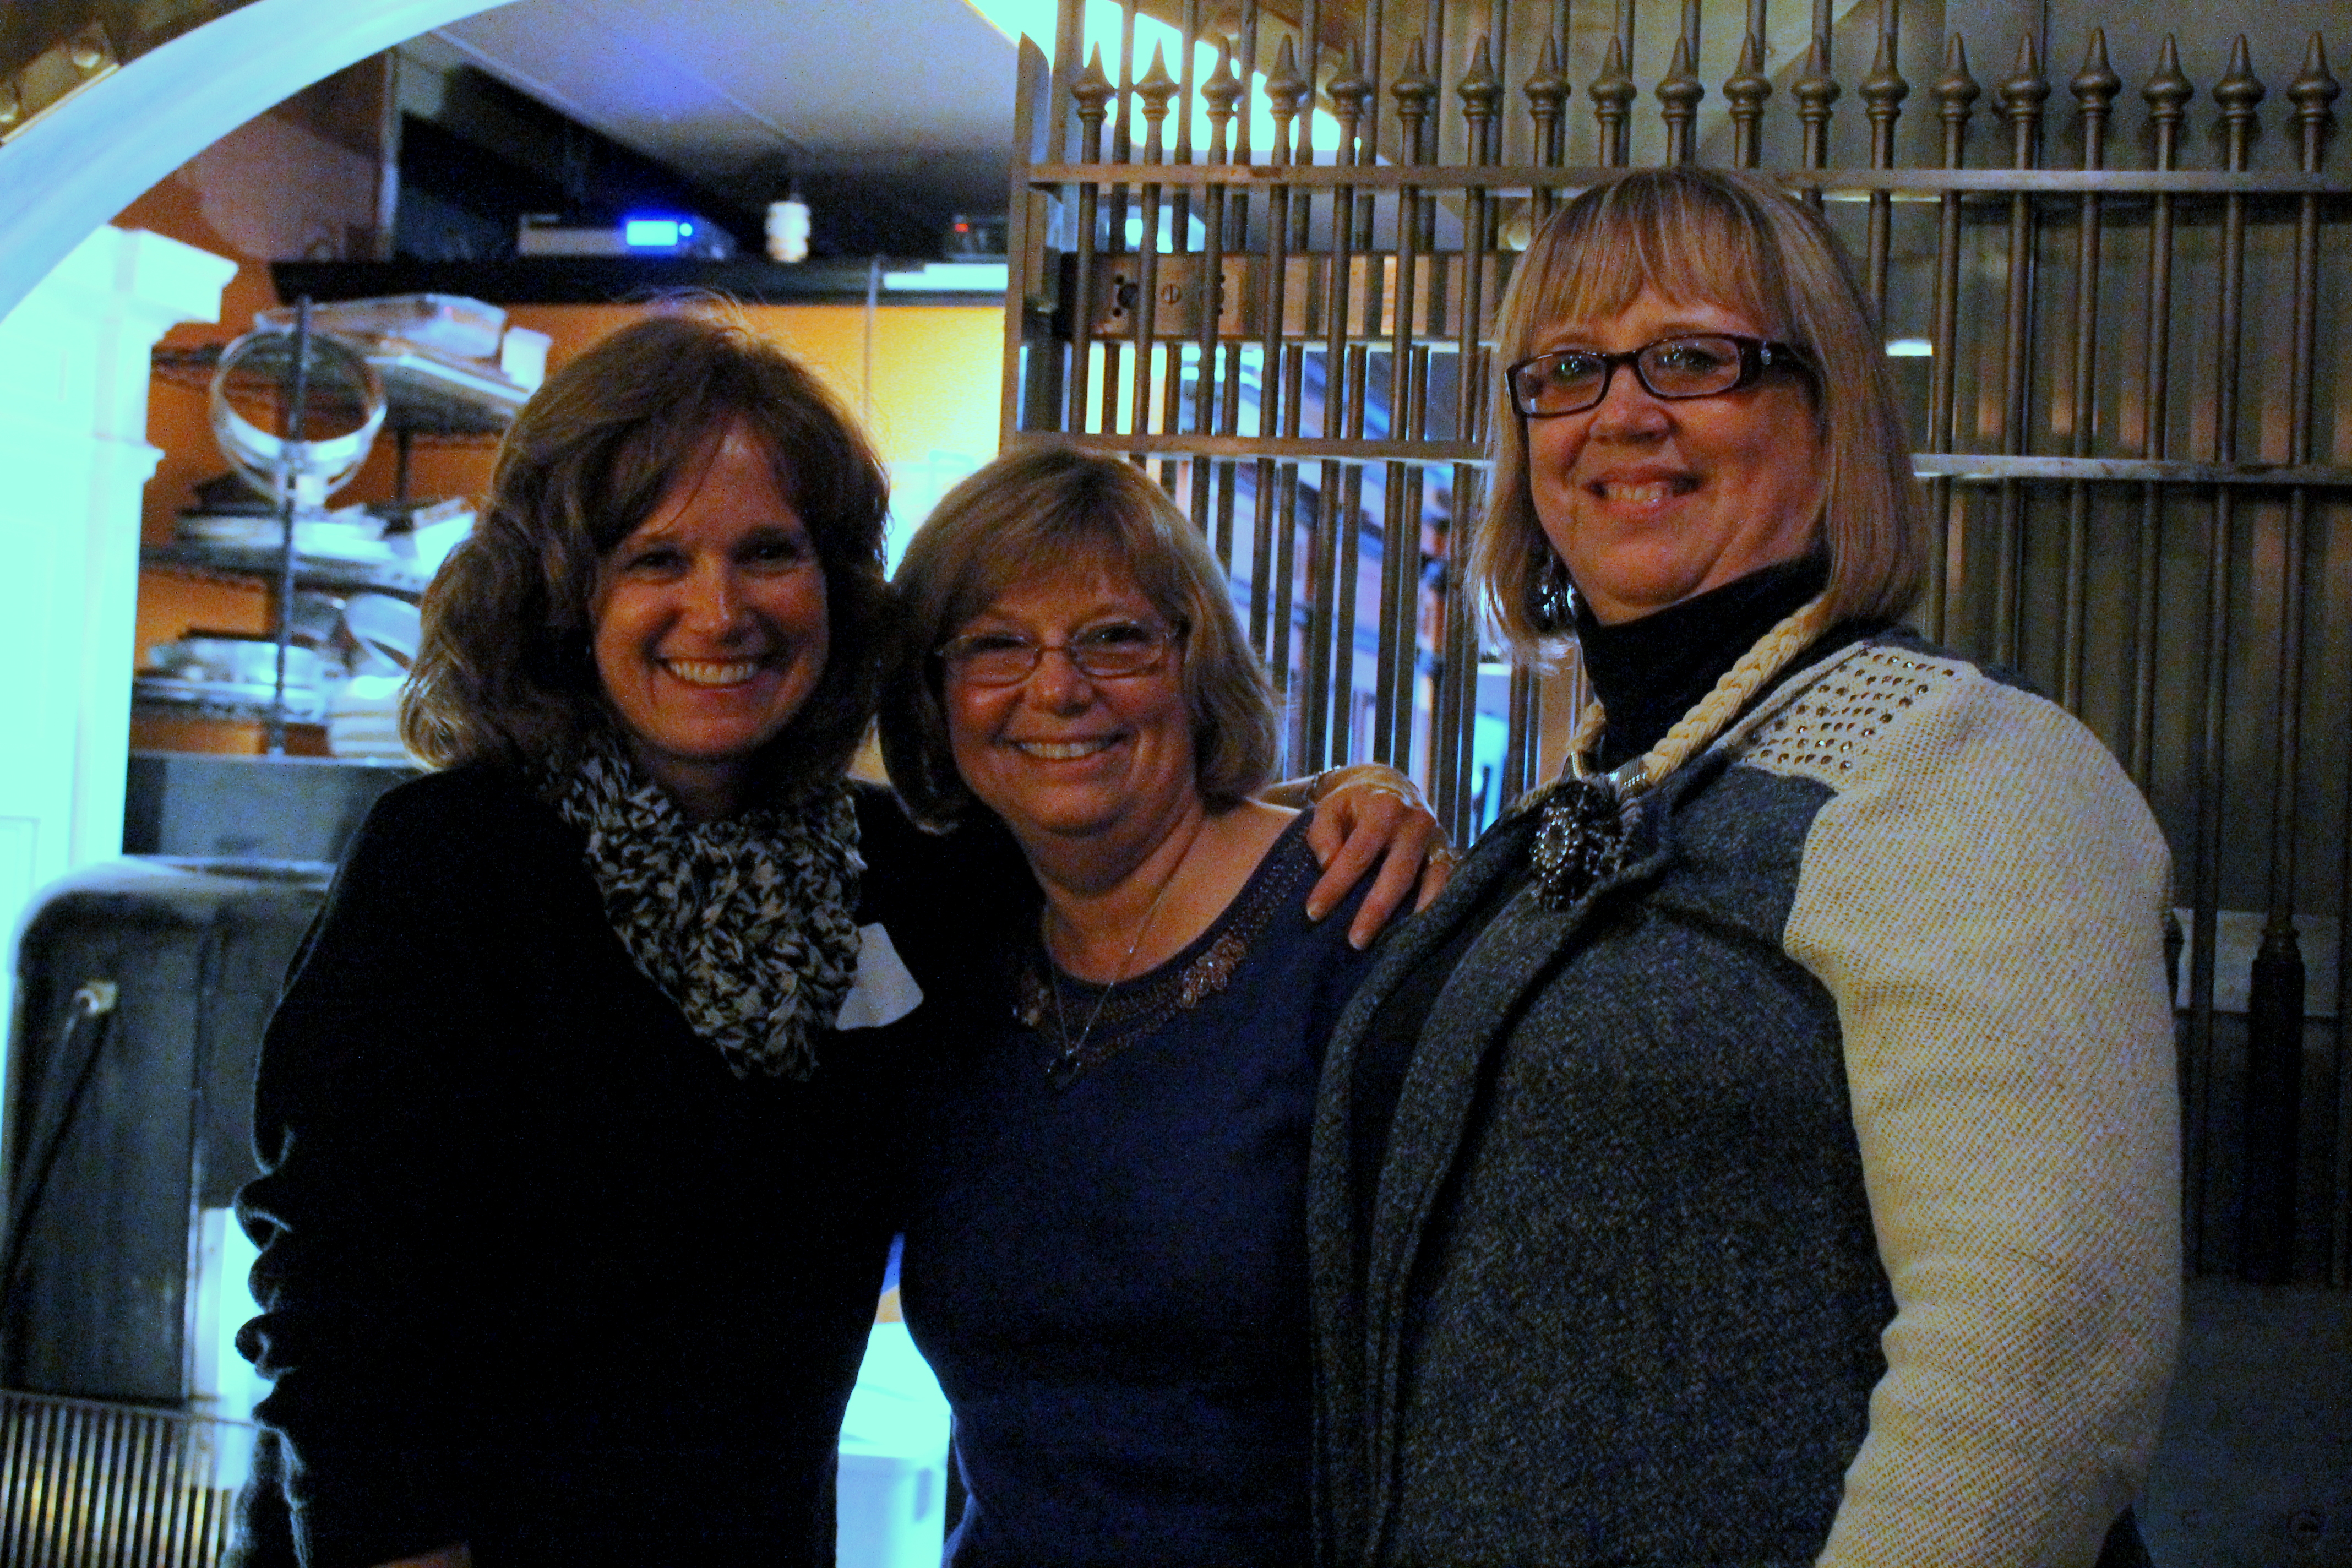
What made it EVEN MORE FUN was the fact that I got to see an “old” friend from a few years ago when the company I work for had an office in Northeast Ohio. Charlotte and I have kept in touch through Facebook, and she has become a follower of my blog as well as a fan of Stacey’s talent. When Stacey came up with this idea, her and Charlotte connected on this venue, and they created all this wonderful magic.

Charlotte brought her forever BFF, and my new friend :), Carol. They were adorable together. They cannot remember a time when they weren’t friends. You see, their parents were neighbors and they grew up together, went to school together, married high school sweethearts and still live only a couple blocks apart.

These were their very first cards they made. They did an awesome job, kept us smiling, and really enjoyed stamping.

Judi also made her first card Saturday. Here and Janet buddied up working on their projects. Judi loved it so much, she wants to join our regular monthly classes at Stacey’s studio, so we are excited to welcome her.

Here’s Charlotte doing her first embossing, and these three chickadees were our seasoned pros! Cindy has a great website and blog if you want to check out here amazing talent here. I always appreciate Stephanie’s kind encouragement and comments. Nancy is a new friend I made that is married to a long-time friend and work acquaintance of Marty (such a small world!)


We laughed our way through the evening. (I was even hoarse by the time I got home!)

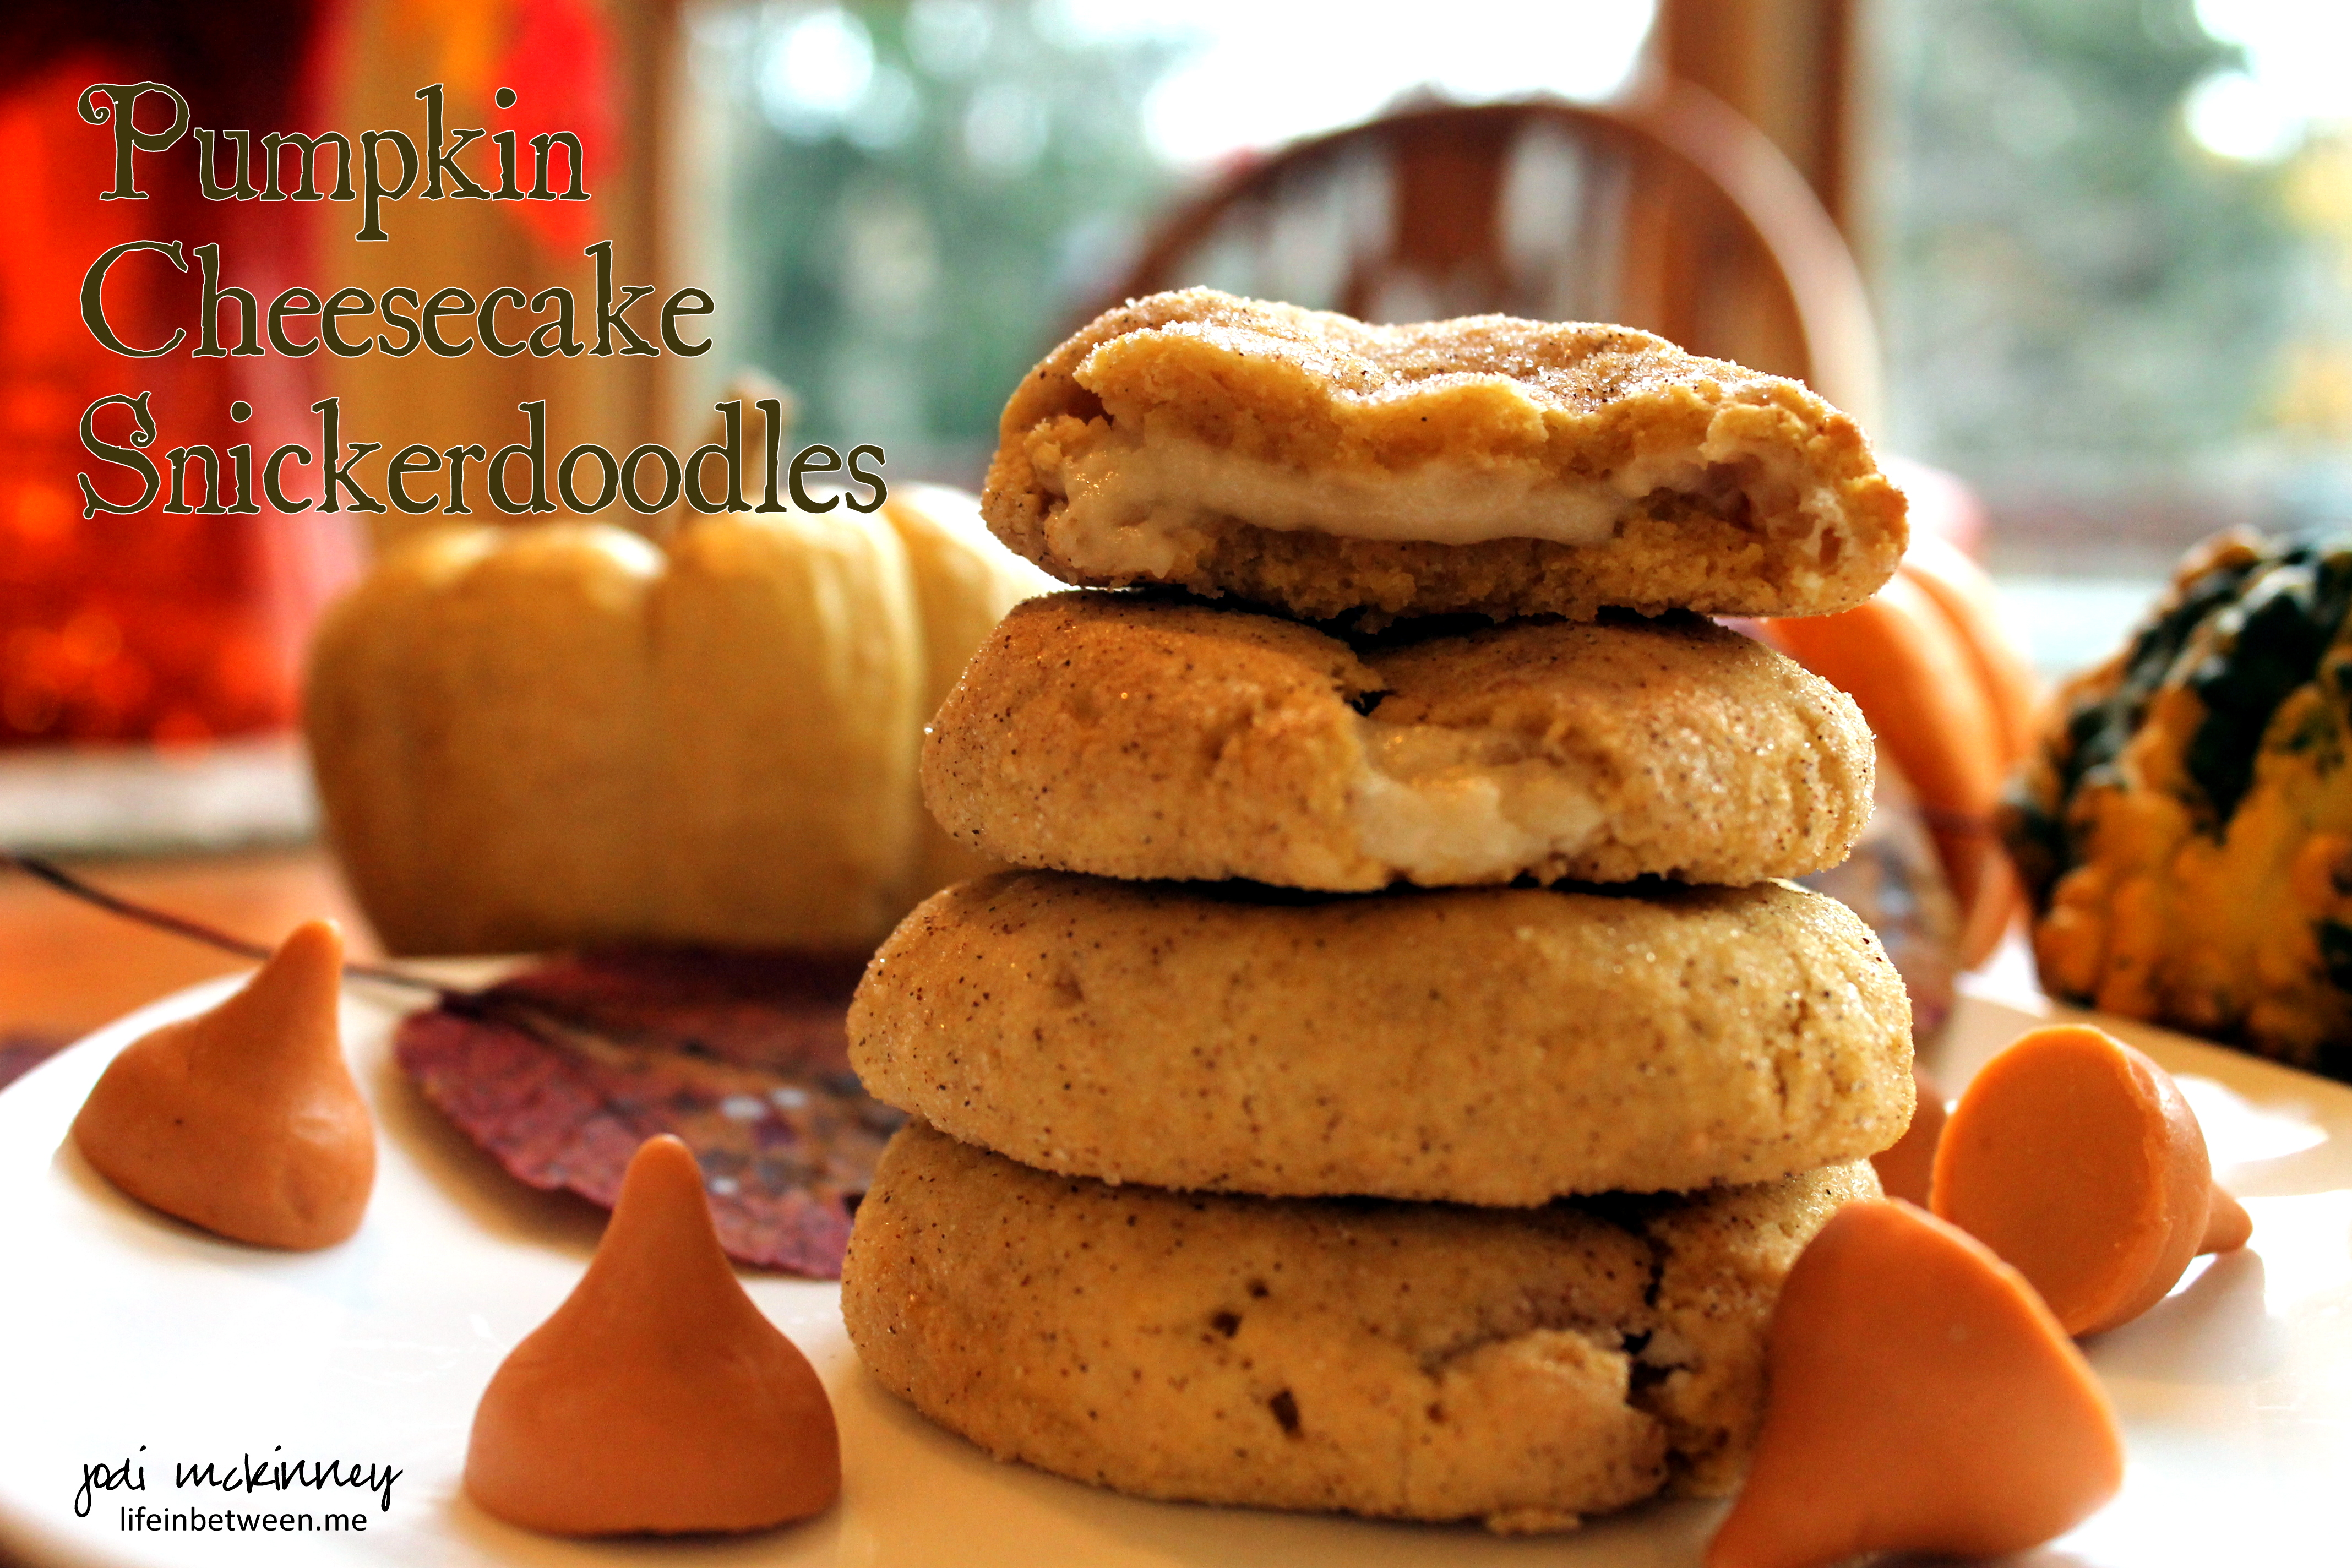
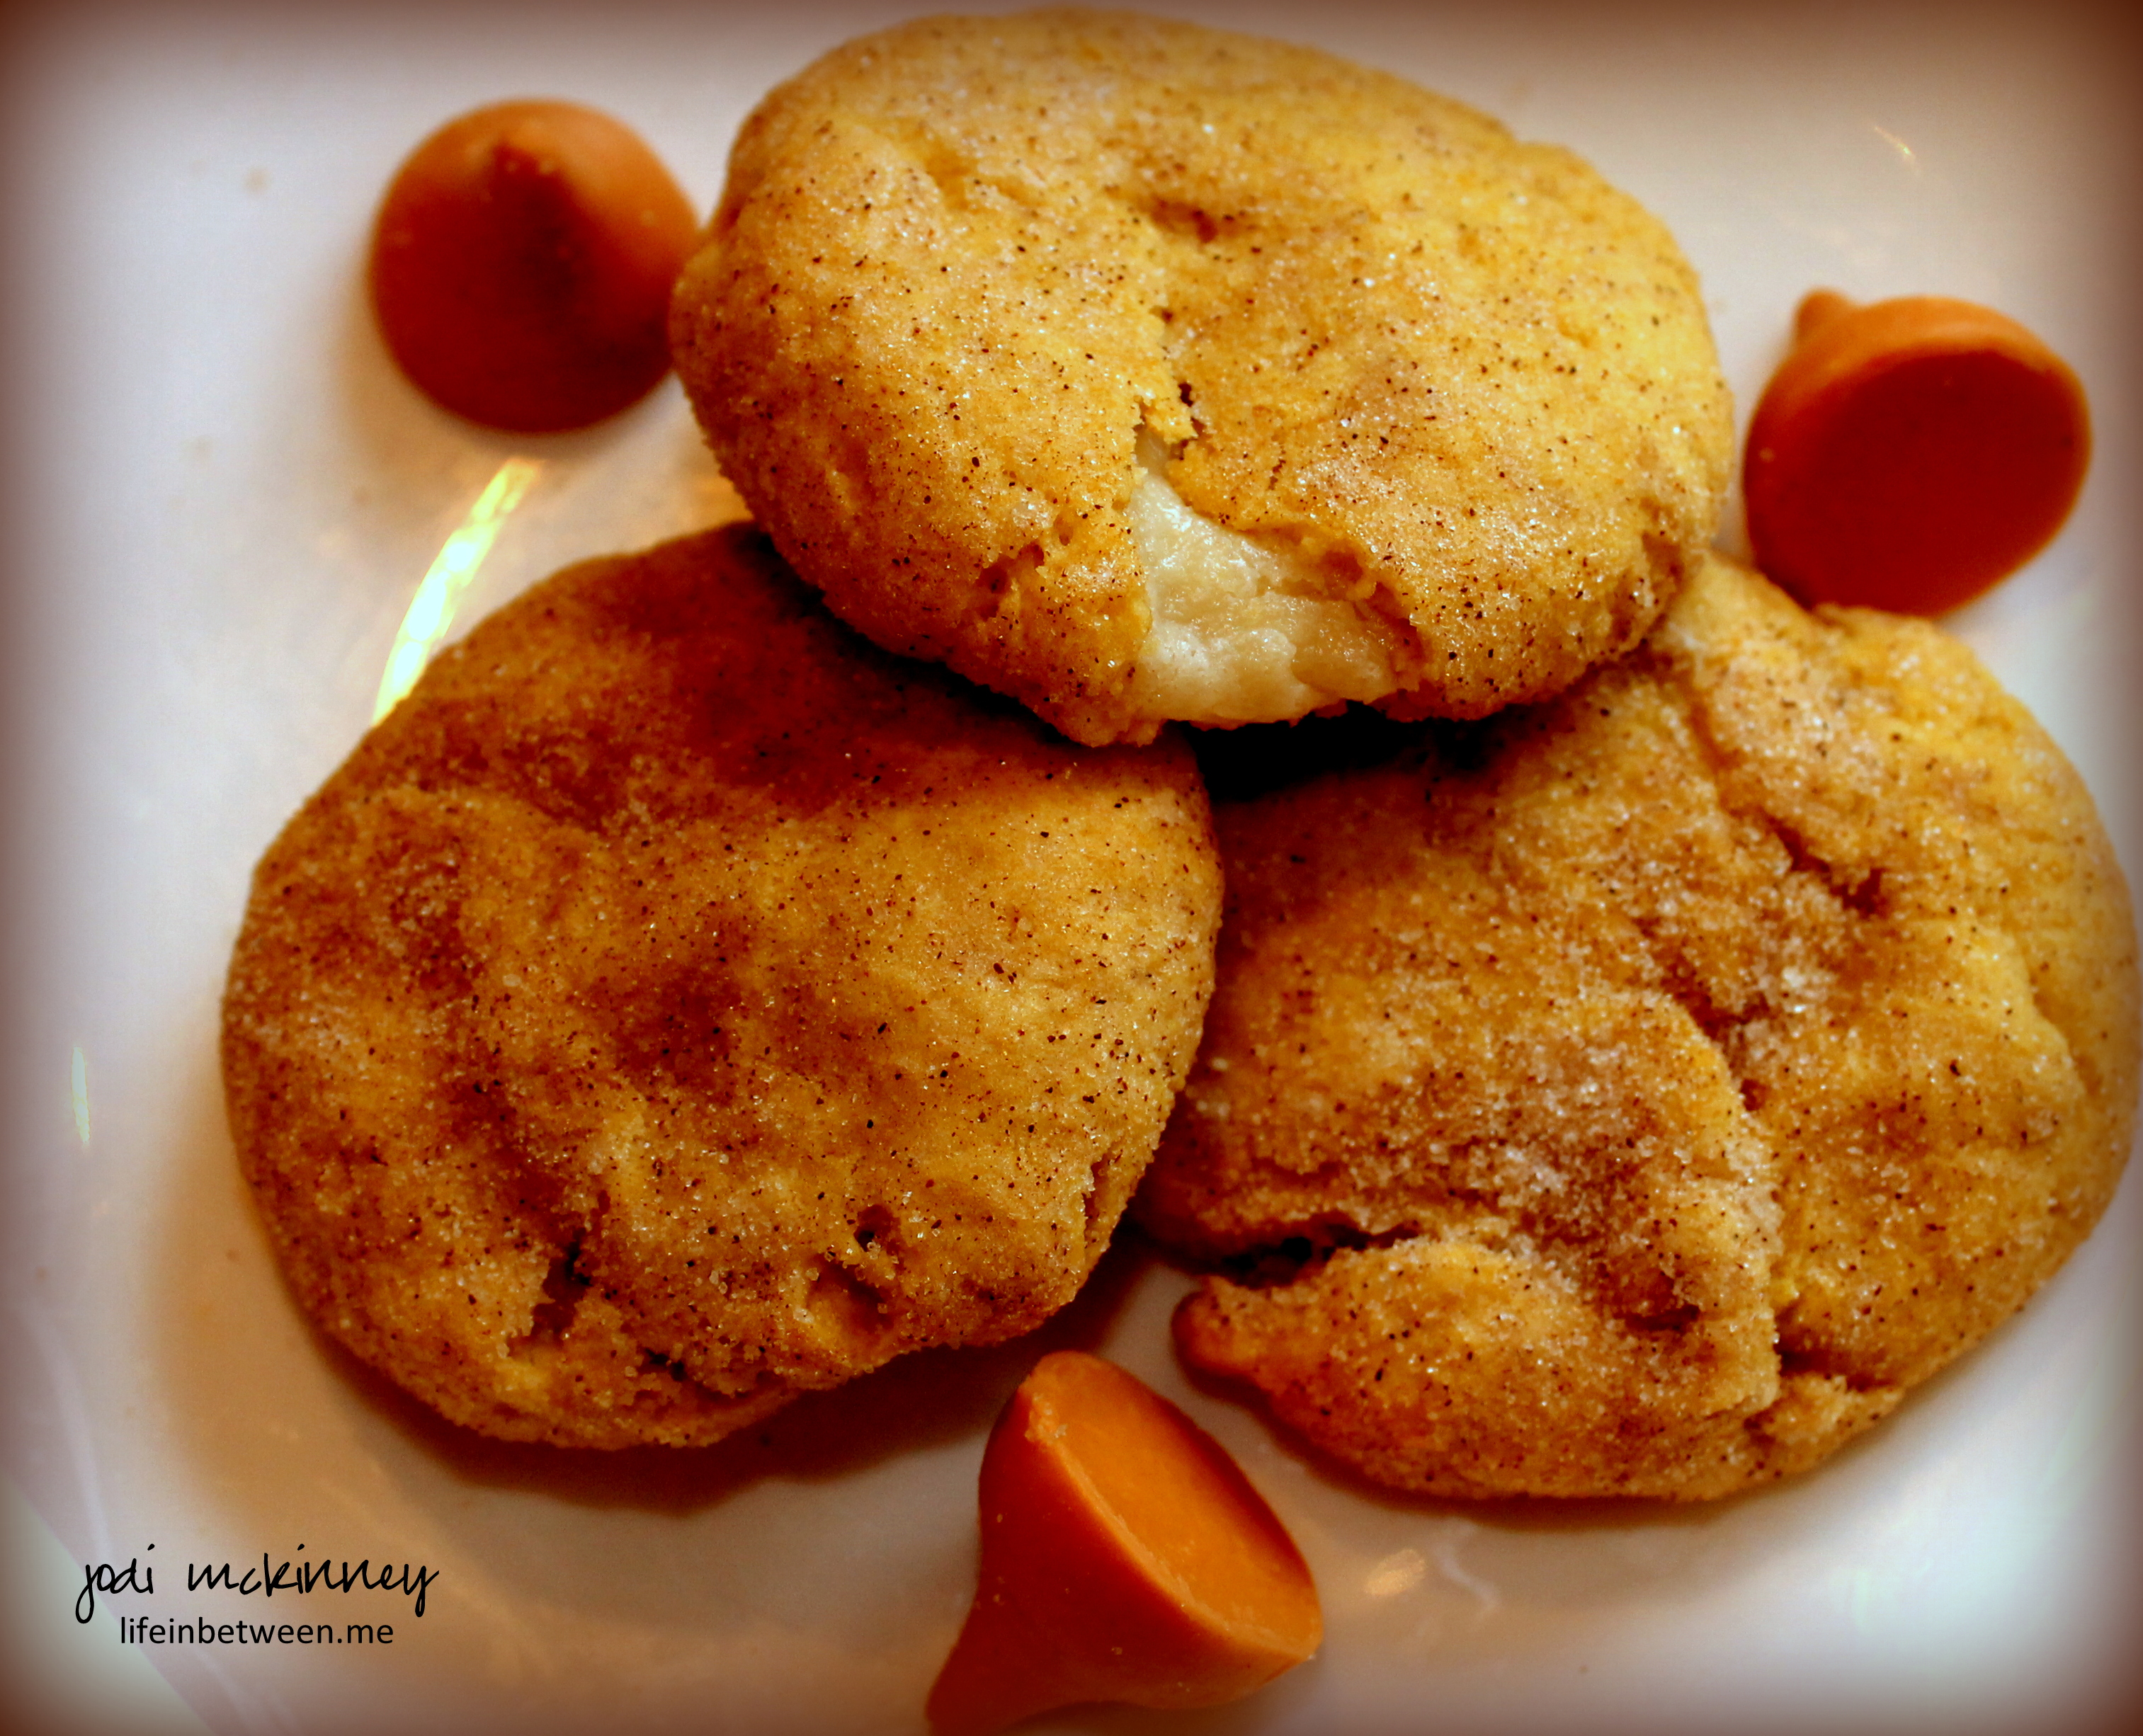
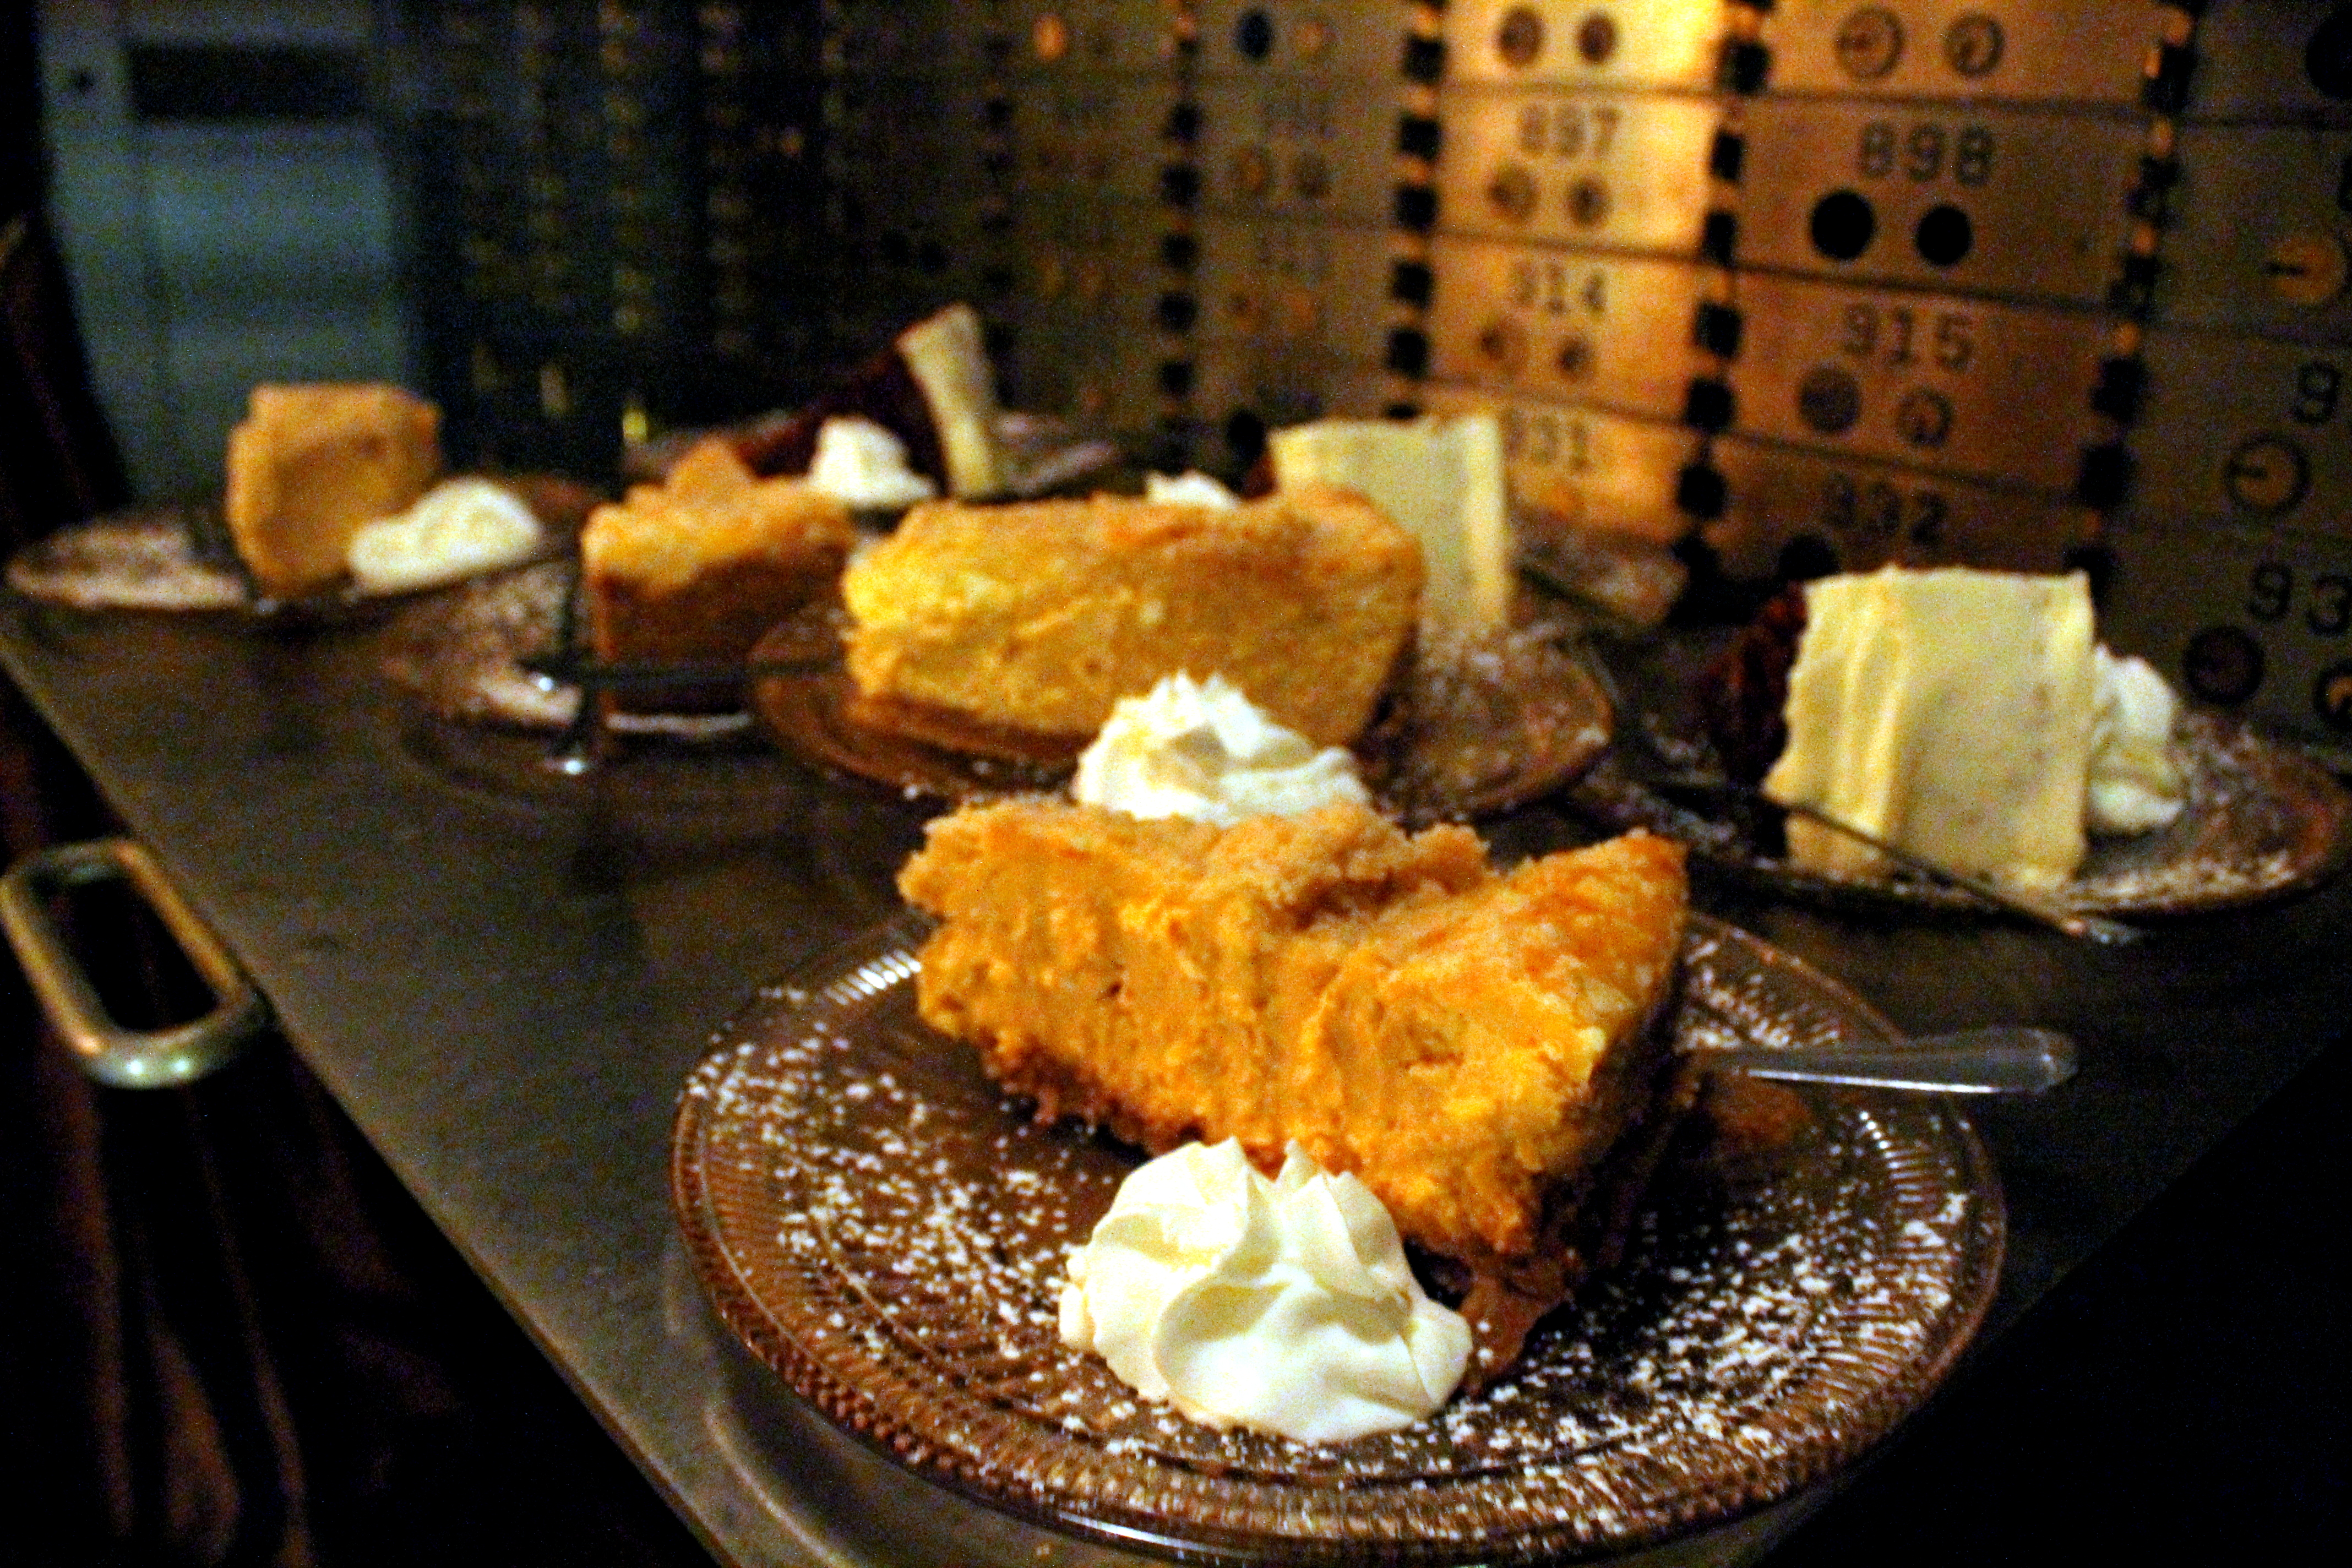
And of course we had to finish off the evening with some pumpkin cheesecake and carrot cakes to tide us over for the hour-long trip home!

Fun times with great ladies…
at life in between.
Cheers & Hugs,
Jodi
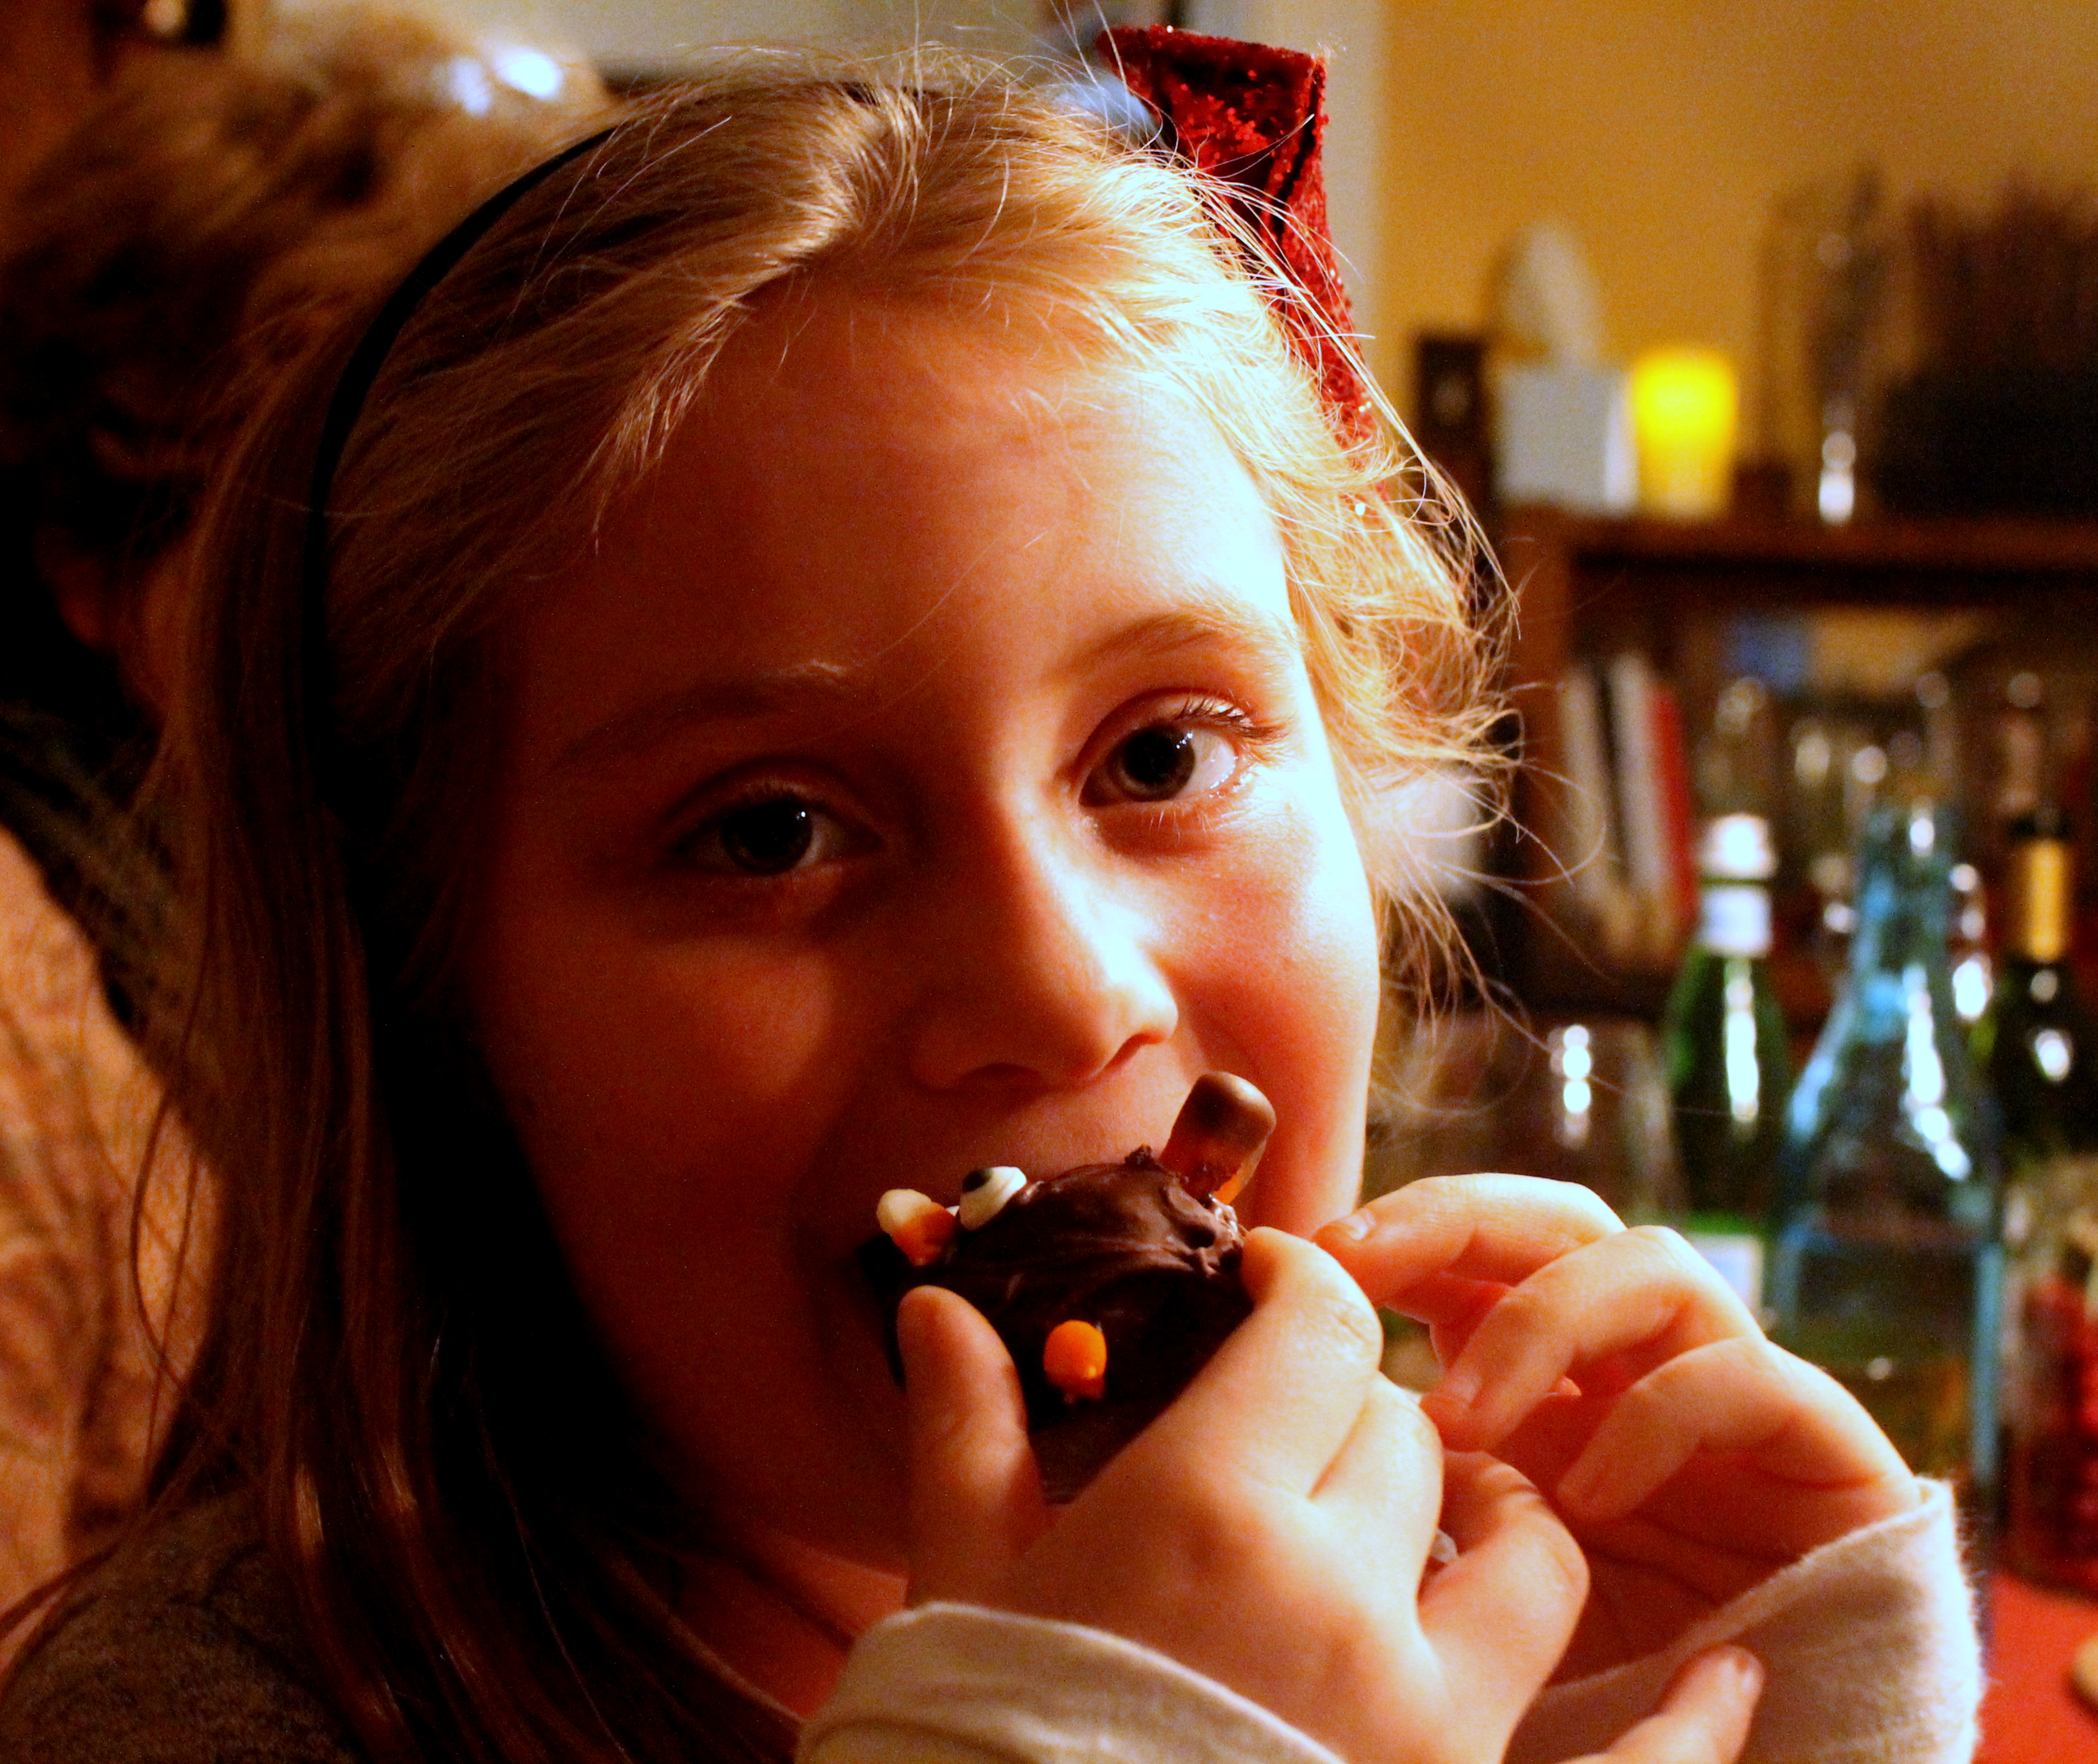
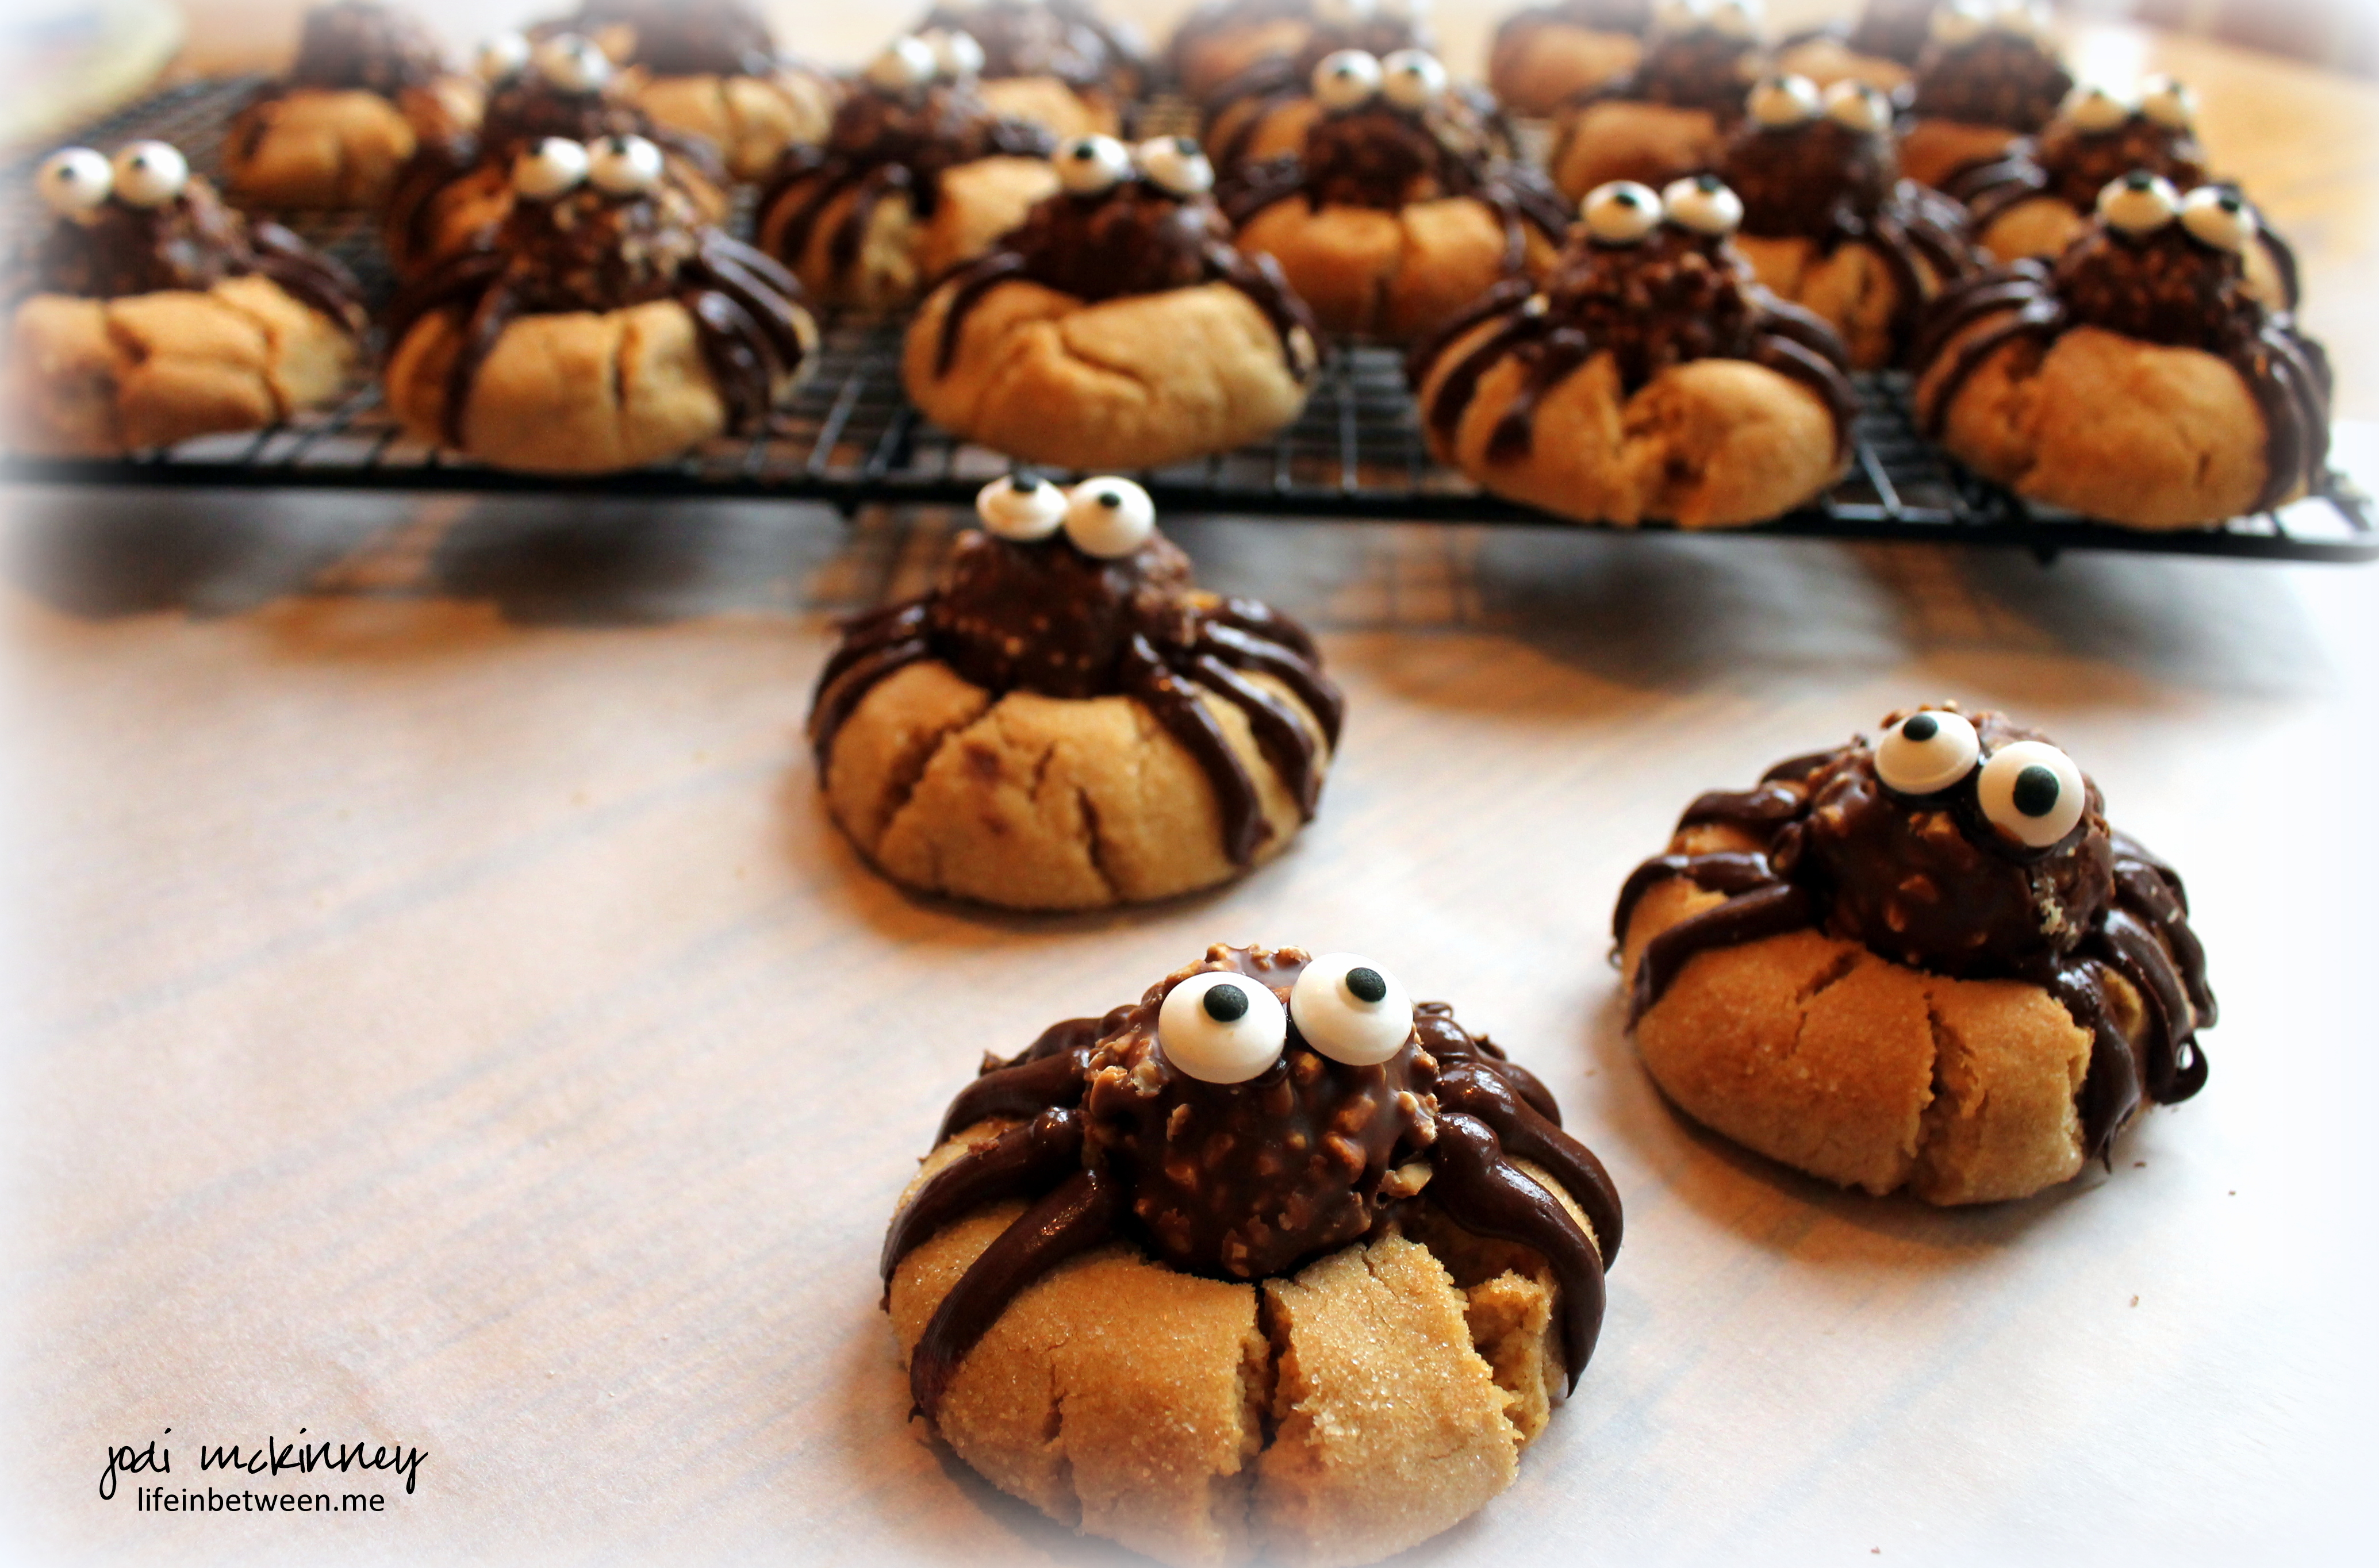
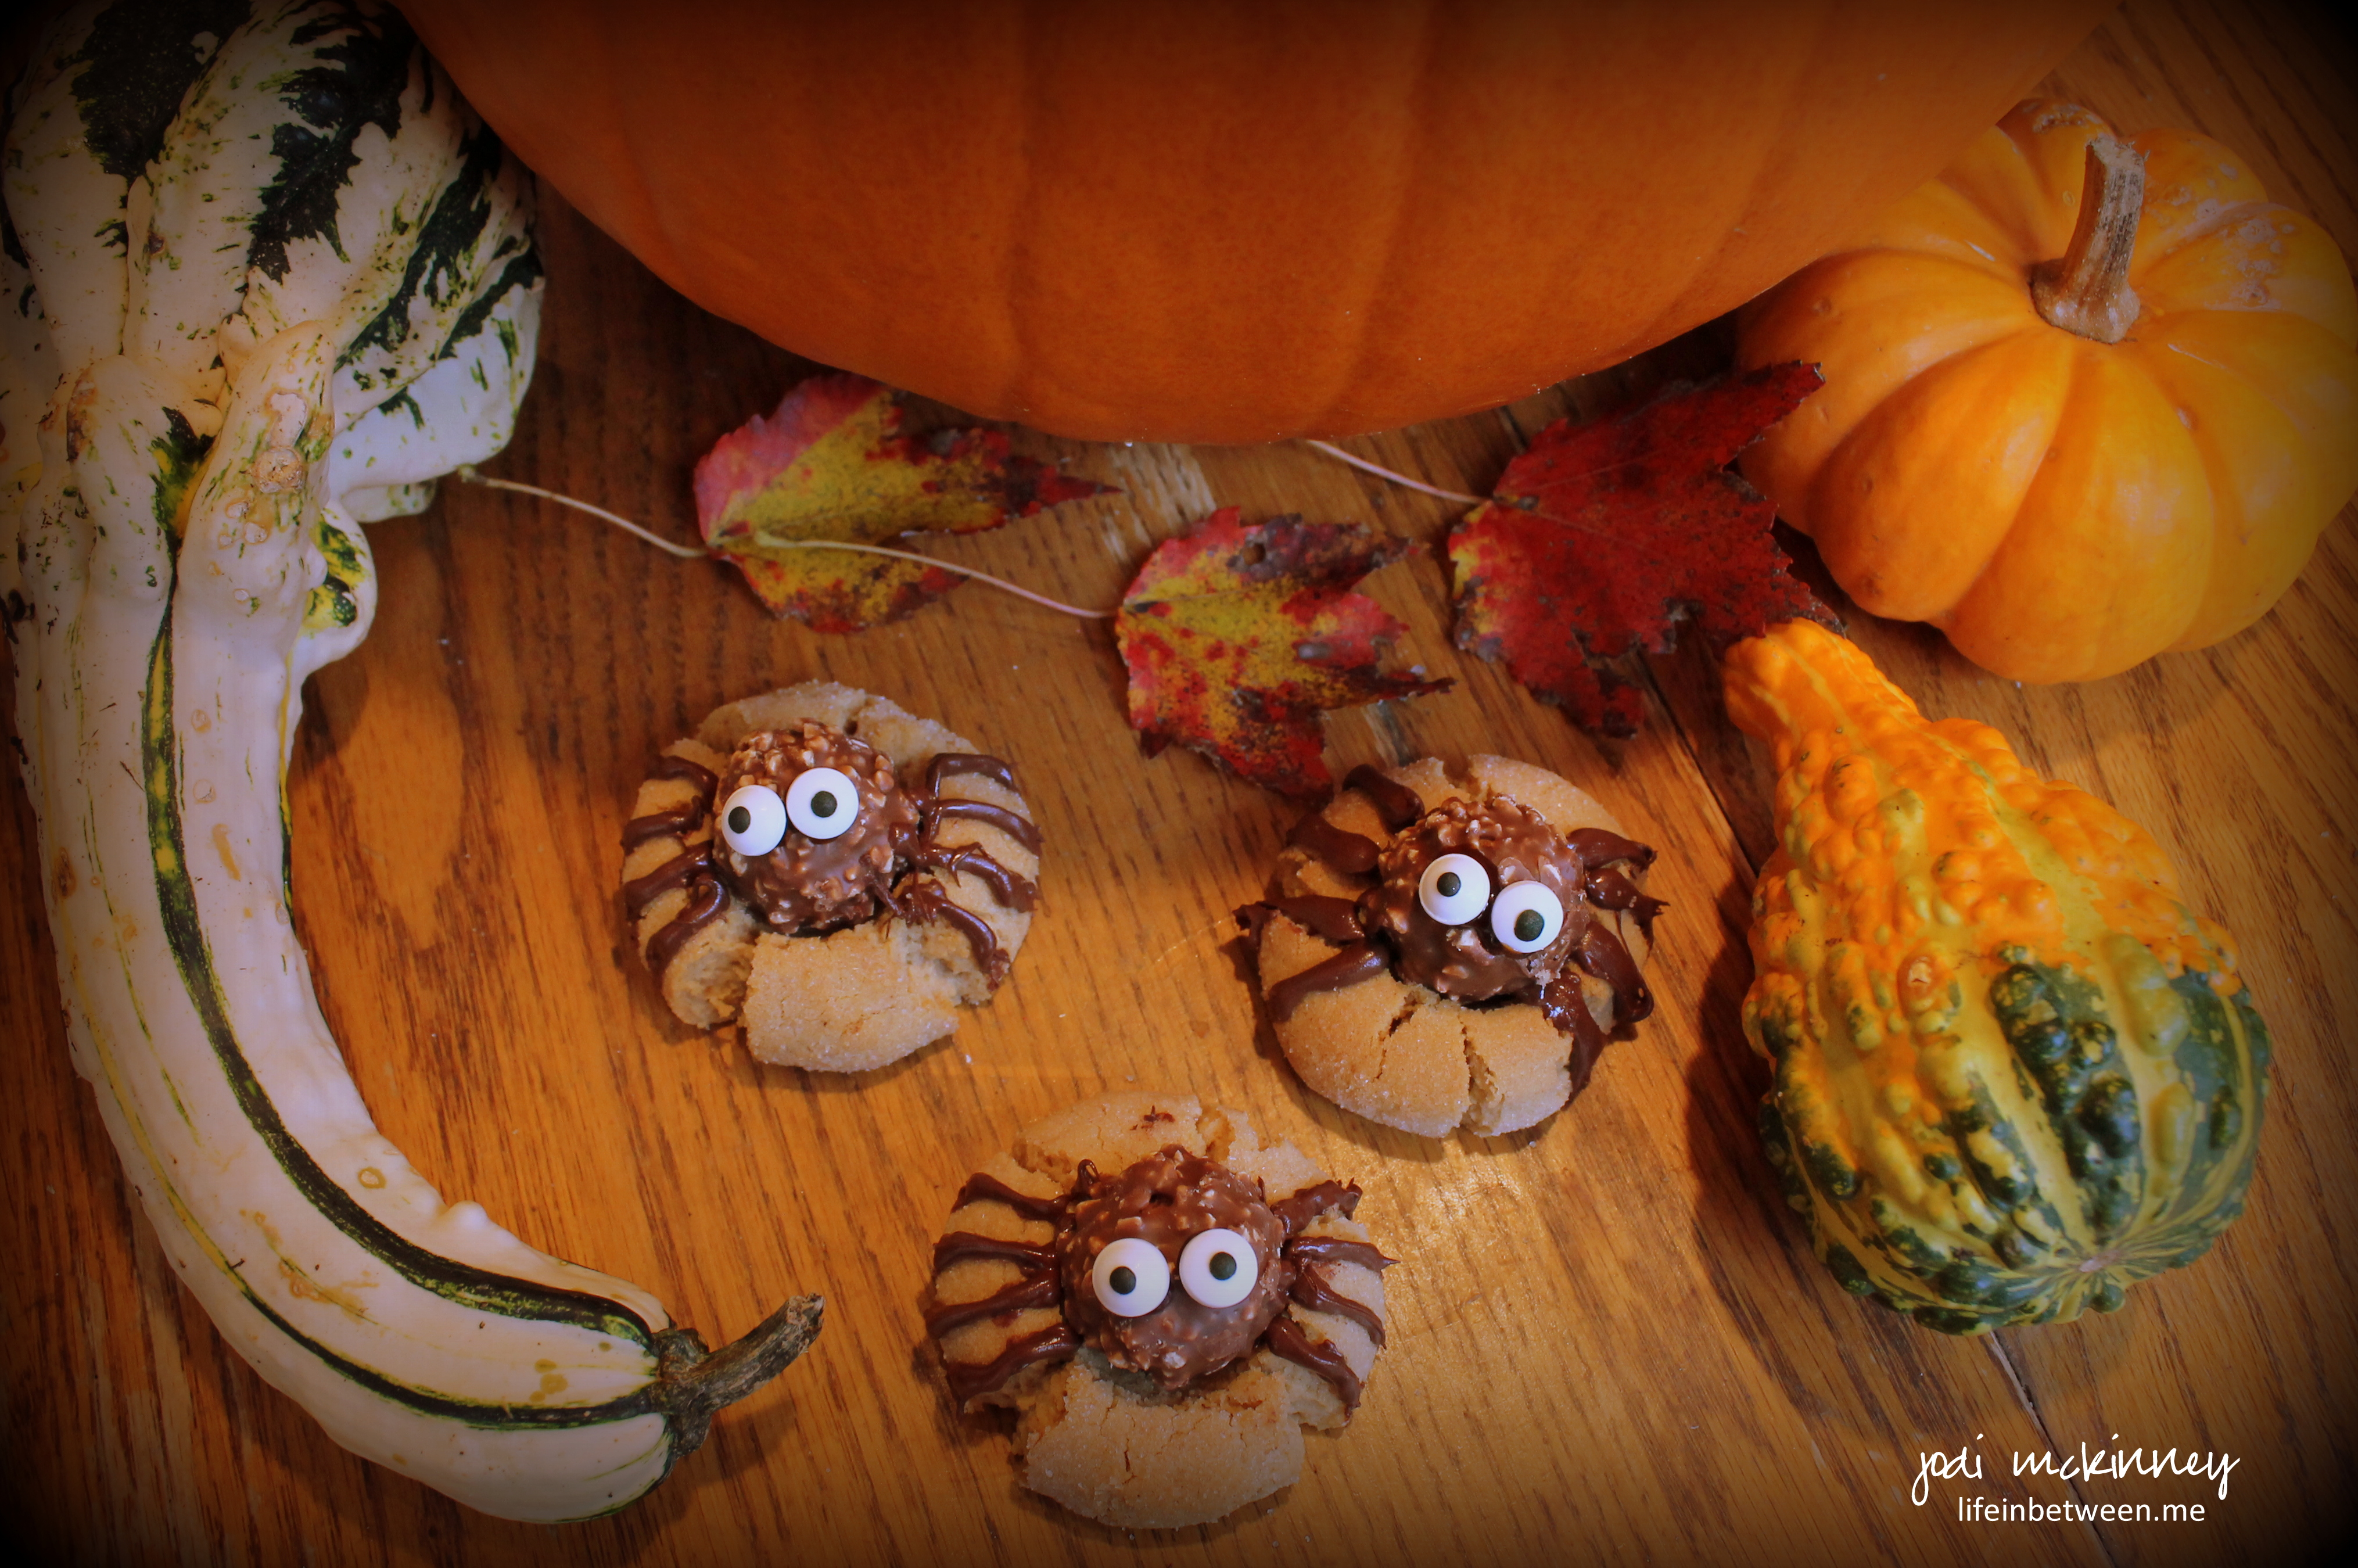
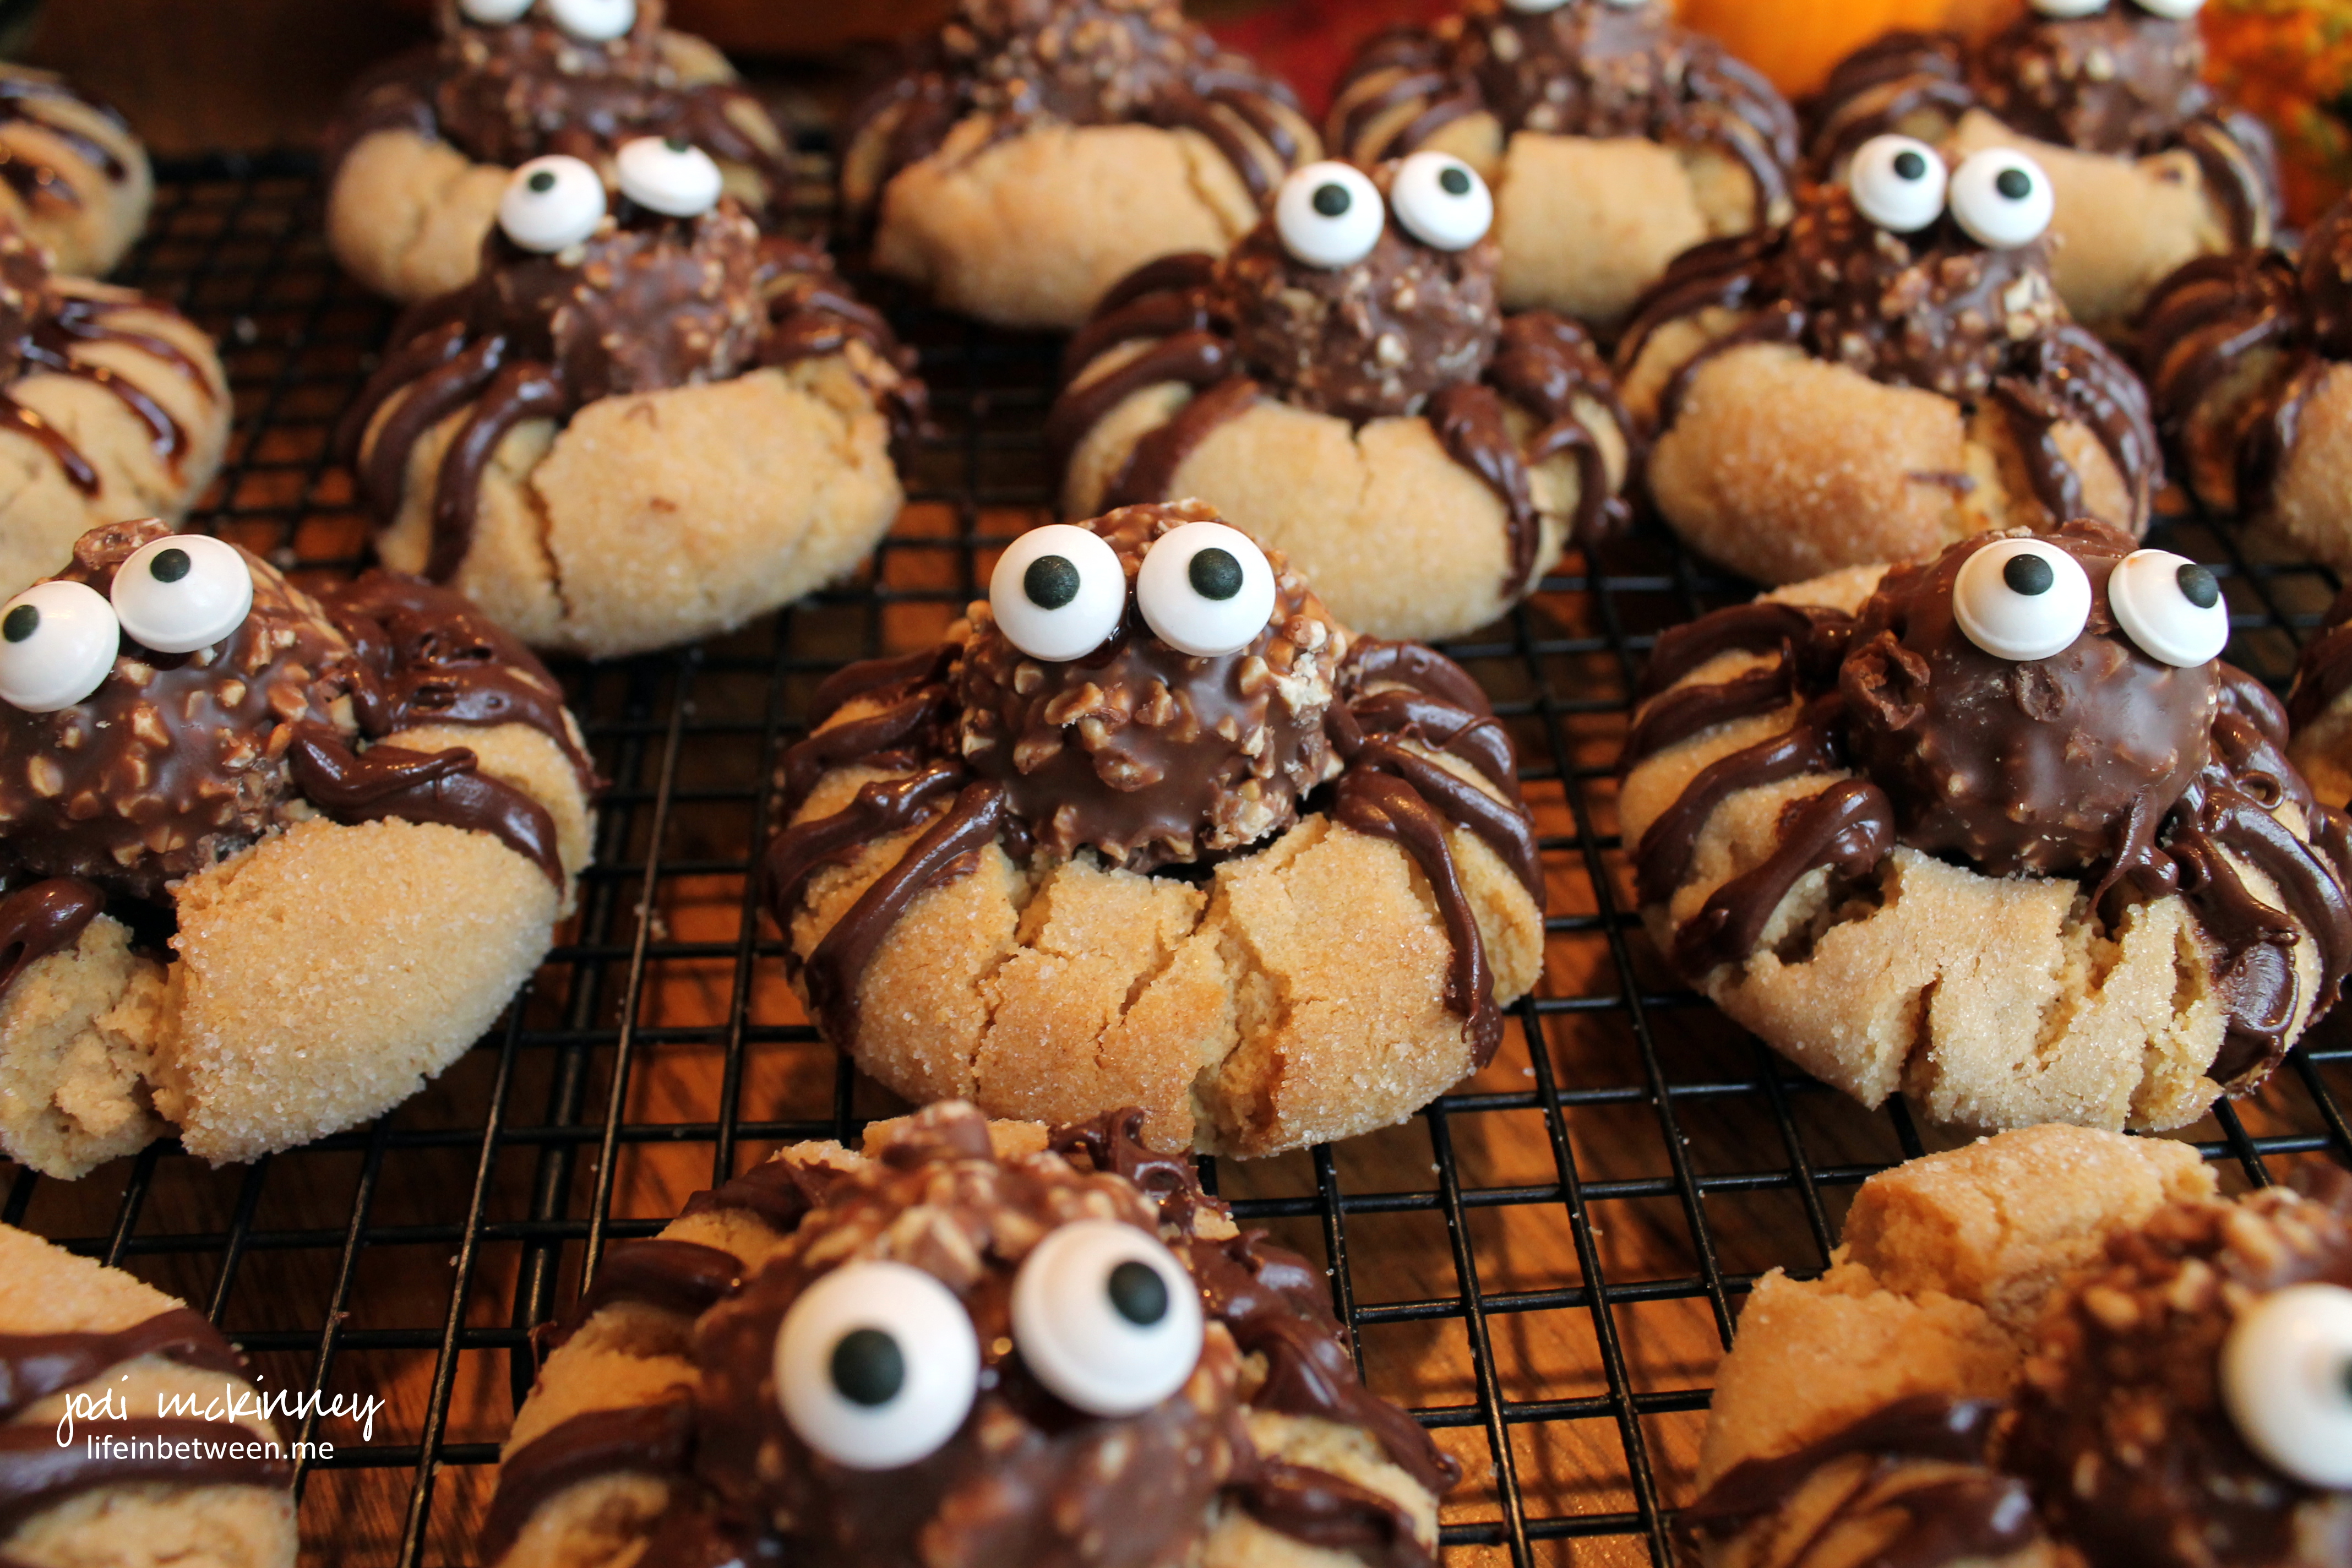
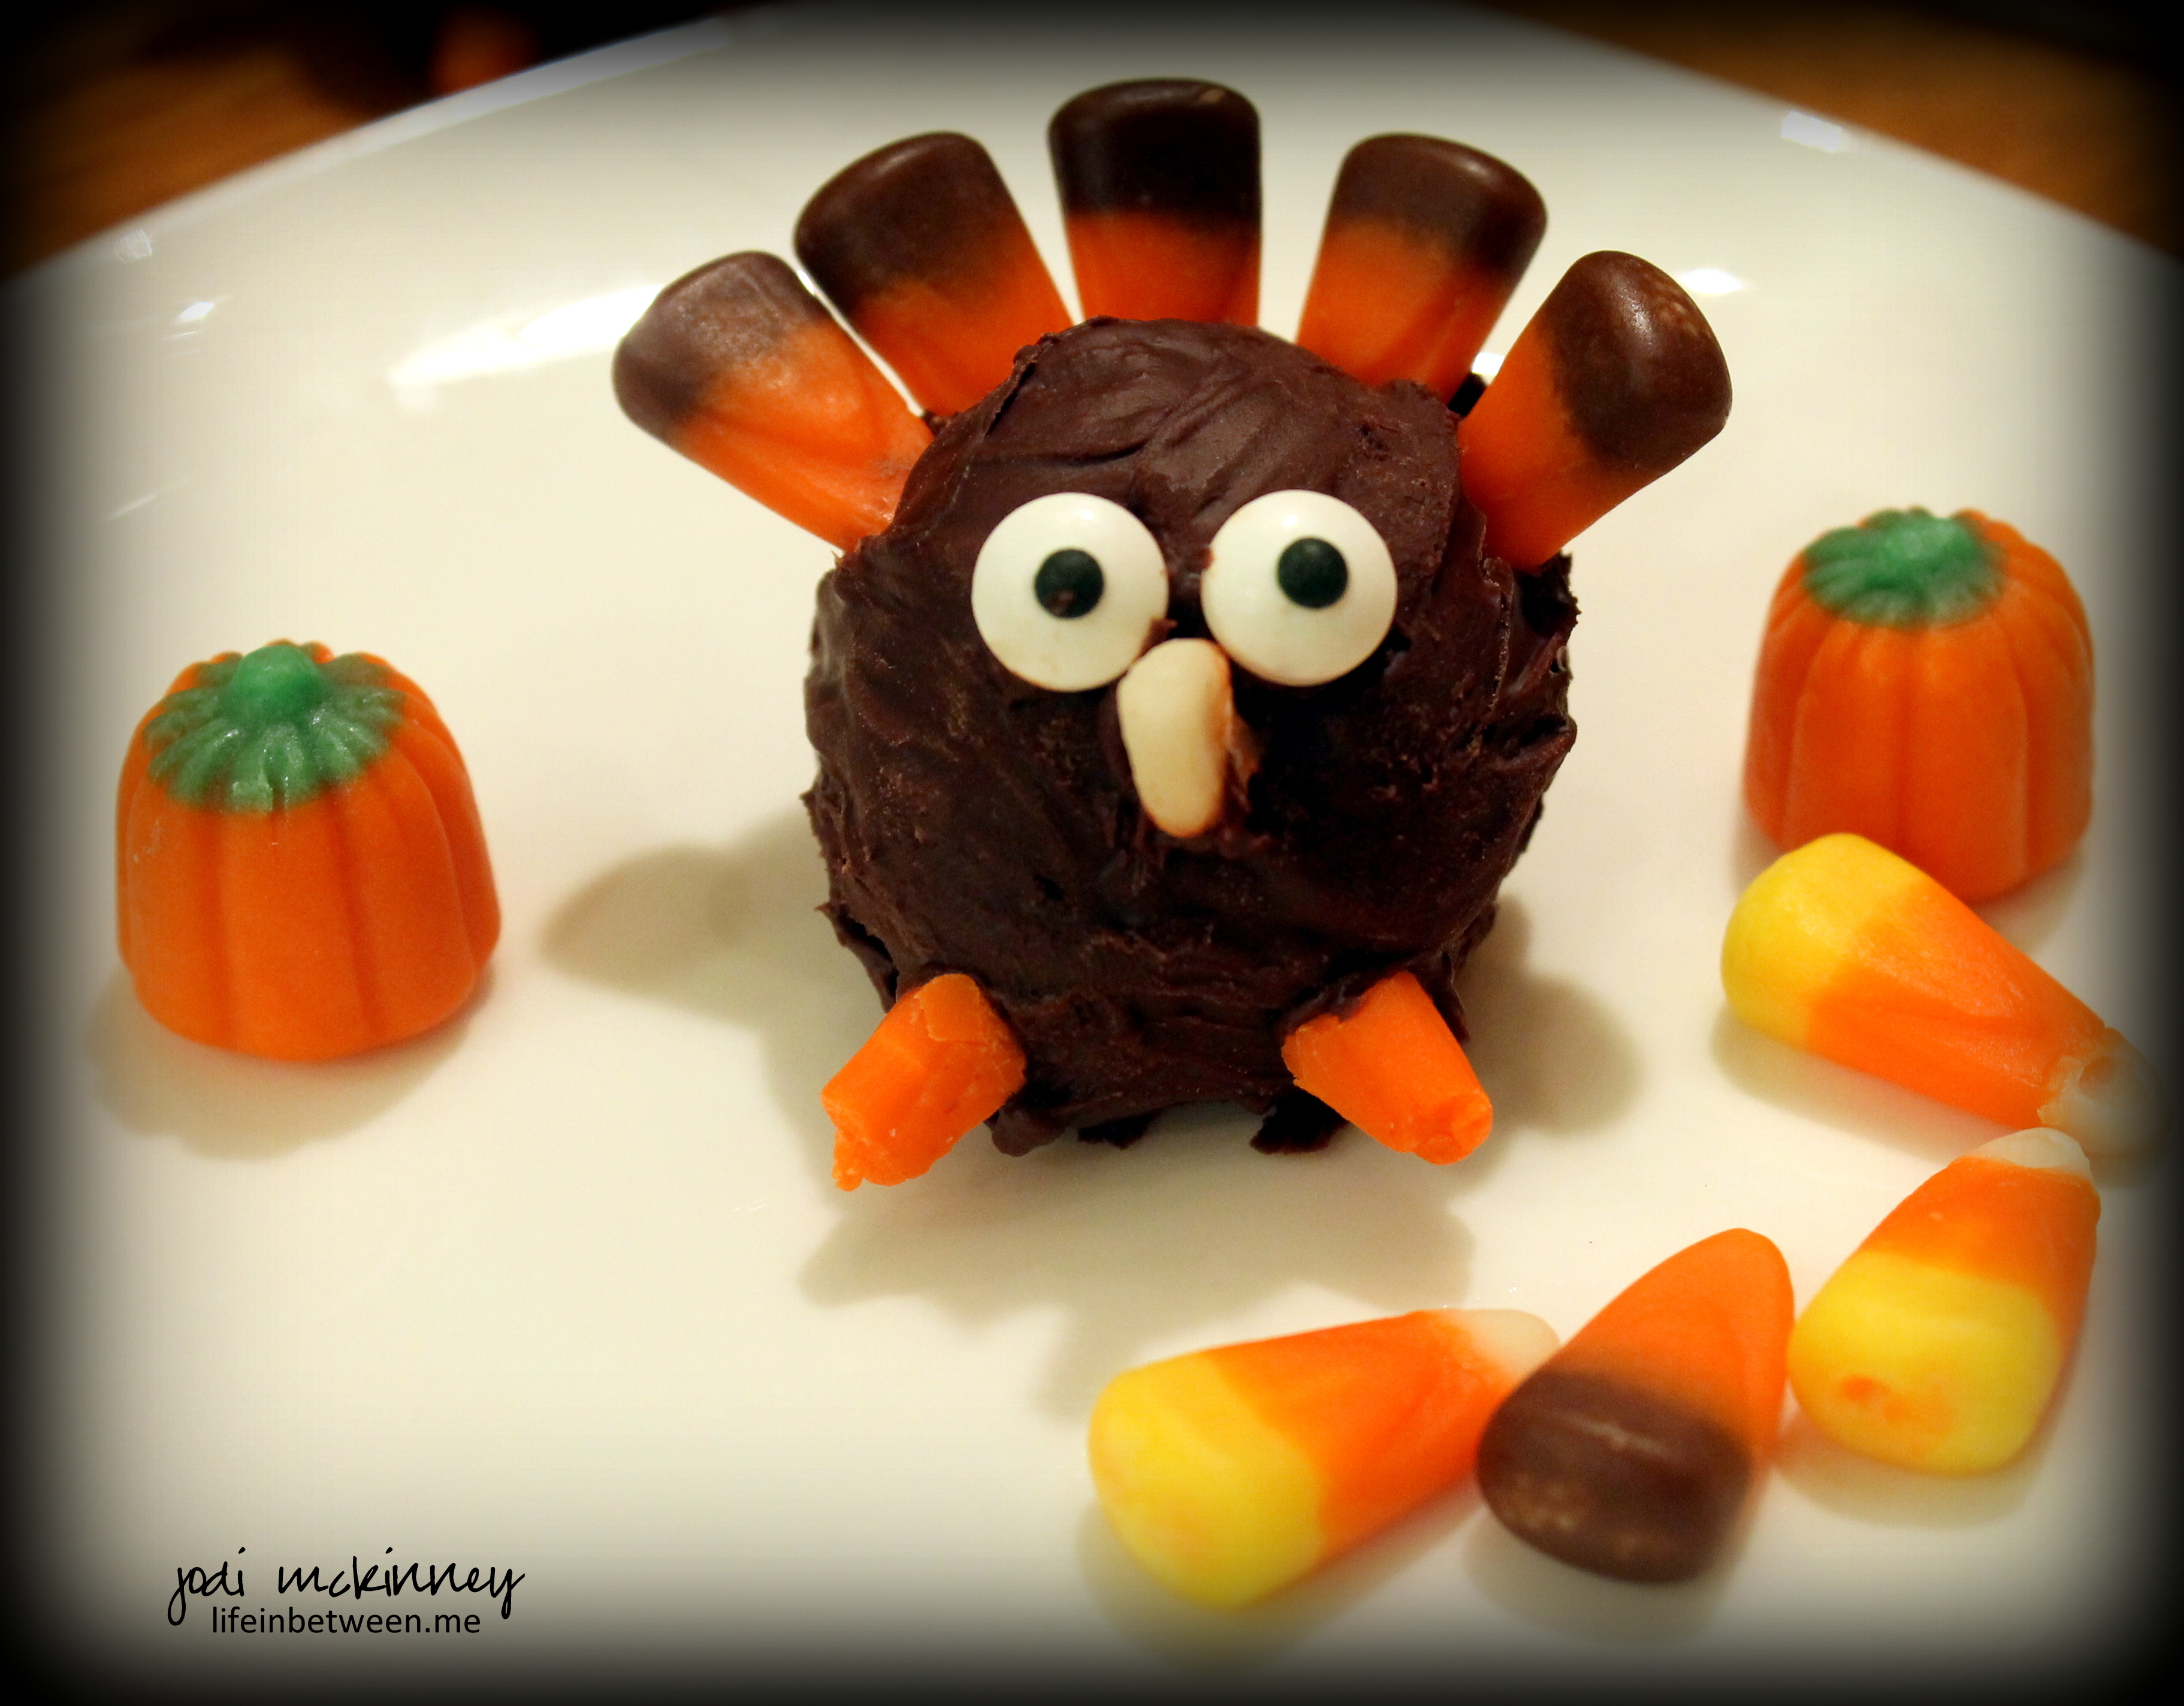 With just a few simple ingredients, you can create these little critters for your Thanksgiving turkeys.
 and this one. Who each gave them a big thumbs UP! 🙂