Last Paper Players Guest Design Team Post

PP275 Watercolor Color Challenge Christmas Mittens

It is my last week as a Paper Players Guest Design Team Member.

For this week’s color challenge, I decided to watercolor some Christmasy mittens and hang them from some greenery and red button “berries.”

pp275

The sentiment is from StampinUp’s Endless Wishes stamp set.  The greenery is cut from a Pine Needle Gina Marie die, and I simply mixed and matched some cherry red buttons to use as berries.

PP275 Watercolor Color Challenge Christmas Mittens flat closeup

I hope you will continue to follow and participate in the Paper Players Challenges.

It has been a fun six months, and I so enjoyed challenging myself, sharing with all of you, and the wonderful ladies of the Paper Players Design team!  Thank you all!  It has been an honor and privilege to be a part of your team.

Cheers & Hugs,

Jodi


Twinkle

snowman twinkle christmas lights

Wishing you a sprinkle

of weekend holiday twinkle

that causes your nose to crinkle,

laugh lines lest a wrinkle,

and eyes that have a winkle!

Cheers & Hugs,
Jodi

Twix Chocolate Caramel Shortbread Thumbprint Cookies

twix cookies 1

It’s Christmas cookie baking time, and I always like to try cookies that are a little different, a little more decadent, a little fancier, a bit more festive than usual for holiday baking.

I think I am on a chocolate caramel kick (Rolo Hot Chocolate Recipe Monday)!

I found a ton of different cookies with these ingredients, but ended up trying one posted by The Recipe Critic and tweaking it very slightly.

Twix Cookies

If you are a fan of Twix Candy Bars, you are going to go BONKERS over these awesome thumbprint cookies.

Twix Chocolate Caramel Shortbread Thumbprint Cookies

  • Servings: Approx. 4 dozen
  • Print
Ingredients:twix cookies 1
Shortbread Layer:
  • 4 sticks (1 lb) Butter, softened
  • 1 1/2 cups sugar
  • 6 Eggs (yolks only)
  • 3 tsp vanilla
  • 4 1/2 cups all-purpose flour

Caramel Filling:

Chocolate Topping:

Directions:

  • Shortbread Cookies:  With electric mixer, combine butter, sugar, egg yolks and vanilla. Beat at medium speed until creamy.   Add flour, and beat at low speed until well mixed. Cover and refrigerate at least 1 hour or until firm.
  • After dough has chilled, shape into 1-inch balls. Place 2 inches apart onto ungreased cookie sheets or baking stone. Make indentation in center of each cookie with thumb or end of wooden spoon handle. Bake at 375 degrees F for approximately 8 minutes or until edges begin to brown. Cool completely.
  • Caramel filling: Melt the caramel and cream in the microwave stirring every 30 seconds until fully melted. Using a teaspoon fill each indentation with the caramel.
  • Chocolate: Melt the chocolate in the microwave stirring 30 seconds at a time until smooth.  Spoon into a ziploc bag.  Cut a tiny snip in the corner of the baggie to pipe the chocolate onto the cookies.

I bet these would taste wonderful with a steaming mug of Rolo Hot Chocolate!   Can you even imagine!?!  ‘Tis the season!

Cheers & Holiday Hugs,

Jodi

Charlie’s Christmas List

Charlie stick

Dear Santa –

Charlie here.

I am soooo excited for Christmas!

I have been a very good boy this year – my first year of life.

(Well – most of the time anyway!)

I would be so happy if I could have the following things for Christmas

(and everyday if it’s not too much to ask).

Most of these things cost no money – they just require a little time and love.

I hope you will make my Christmas wish list come true.

May I please have:

12 sticks to chew on
11 games of tug
10 games of fetch
9 belly rubs
8 ear scratches
7 naps in the sunshine
6 zoomie runs around the house
5 GOLDEN BONES
4 scraps to fall on the kitchen floor
3 doggie treats
2 walks per day
and
1 warm, happy, loving home to live in.

Thank you, Santa, for whatever you can provide.

Sincerely and with much love,
Charlie

PS  My mom says this reminds her of another Christmas song….

In the Meadow we can Build a Snowman

snowman watercolor

In the meadow we can build a snowman…
and pretend that he’s a circus clown.

Or if there is no snow in the meadow,

we can paint on paper
as a playful caper

and be just as happy all around.

Cheers & Hugs,
Jodi

(Are you singing with me?) 

Let’s build a bridge

foggy pittsburgh bridge 1215

Pittsburgh, PA – The City of Bridges – 12/5/15

Let’s build a bridge

that will float above the fog,

that connects confusion,

destroys division,

fastens friendship,

links love,

joins jurisdiction,

unites understanding.

Let’s build a bridge

of peace.


Cheers & Hugs,
Jodi

Rolo Hot Chocolate

rolo hot chocolate 2

Rolo Hot Chocolate

I may have discovered the most amazing, best ever homemade hot chocolate in the entire universe.

And it is EASY!

Rolo hot chocolate

I discovered it on The Country Chic Cottage, but (believe it or not) found I could reduce the sugar content a bit over what Angie recommended in her blog.

This is the perfect warmer-upper comfort drink to enjoy by a crackling fire with your holiday lights on reading a book or watching a holiday movie.

I am sure the little ones that live in or come to your home would love this as a special treat too!

rolo hot chocolate 3

Ready for this cinchy pinchy, two-ingredient, ultra yummy, rich and creamy hot chocolate recipe?  (enough adjectives?)

Here it is!  ENJOY!

Rolo Hot Chocolate

Ingredients:rolo hot chocolate 2

  • 5 Hershey’s Rolo Chocolate Caramel Candies (Angie recommends 7, but I felt 5 was plenty.  Feel free to adjust to your liking.)
  • 1 Cup (or as much as fills your mug) Skim Milk (I used Skim, but you can use 2% or Whole Milk if you want it even richer.  I would rather eat another Rolo and go with the Skim Milk myself!)

Directions:

  • Unwrap Rolo Candies and put in your mug.
  • Microwave for 20 seconds, then stir.
  • Add Skim Milk and stir.
  • Microwave for an additional 1 1/2 minutes.
  • Stir until completely melted.
  • Garnish with mini marshmallows if desired.

Thanks for the inspiration, Angie!

Cheers & Hugs,
Jodi

Let it Snow

PP274 snowflake card

This week’s Paper Players’ Theme Challenge is “Let it Snow.

pp274

Well – no snow happening here in Mars, but we can dream, can’t we?  I’m dreaming of a white Christmas…

My design team inspiration card this week is stamped and heat embossed with a glittery embossing powder for the snow and snowflakes to sparkle, and I added some miniature pearls for an extra special touch.

pp274 inside

Stamp sets used are StampinUp’s Endless Wishes & Gorgeous Grunge.

Time to get this card in the mail, and Celebrate the Season!

Cheers & Hugs,
Jodi

Eye Spy a Christmas Angel

eva eyes

This week’s WordPress Daily Post Photo Challenge is Eye Spy, and I cannot recall ever spying more beautiful eyes than on this little angel I had the privilege of photographing for fun recently.

Can you even stand the cuteness?!

I dare you not to smile!

This is sweet little Eva, and she is very excited about her first Christmas.

Wishing you the innocence and joy of a child this holiday season.

Cheers & Hugs,
Jodi

Homemade Old-Fashioned Coconut Cream Pie

coconut cream pie slice

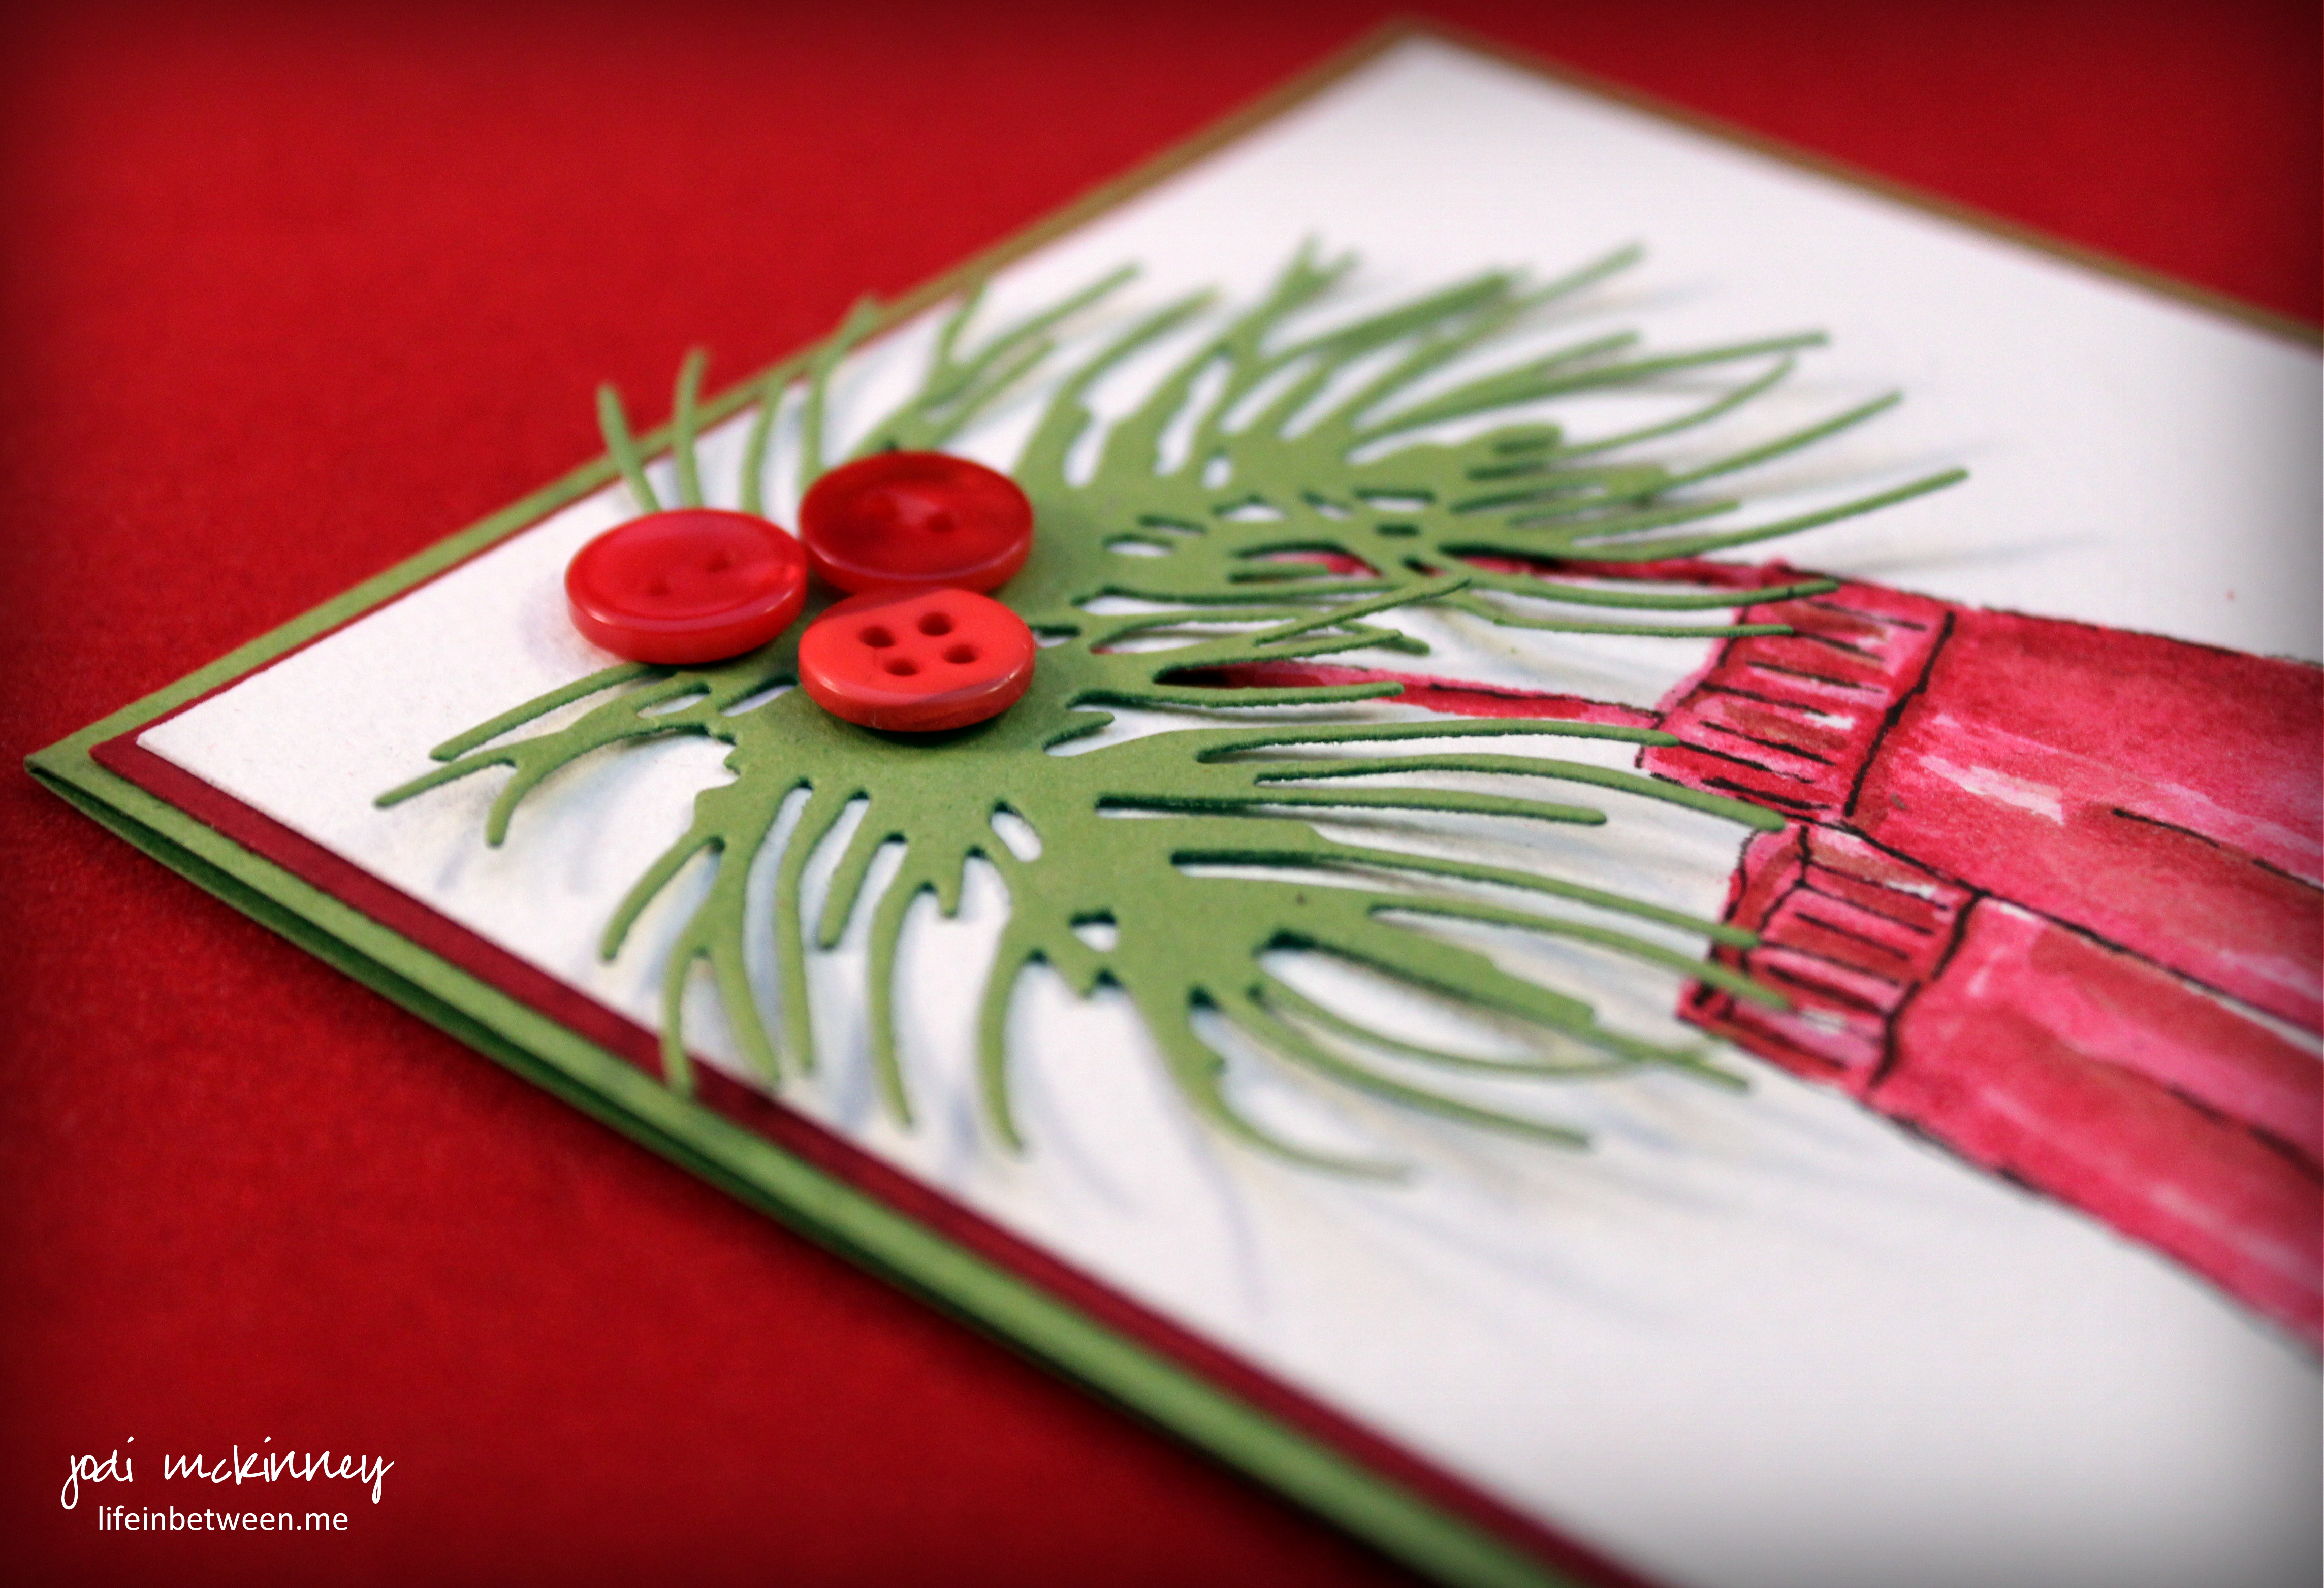
One of the ways I express love is through my baking.  And amidst all of the darkness and sadness of the past few days, I thought it time to share some love.

coconut cream pie

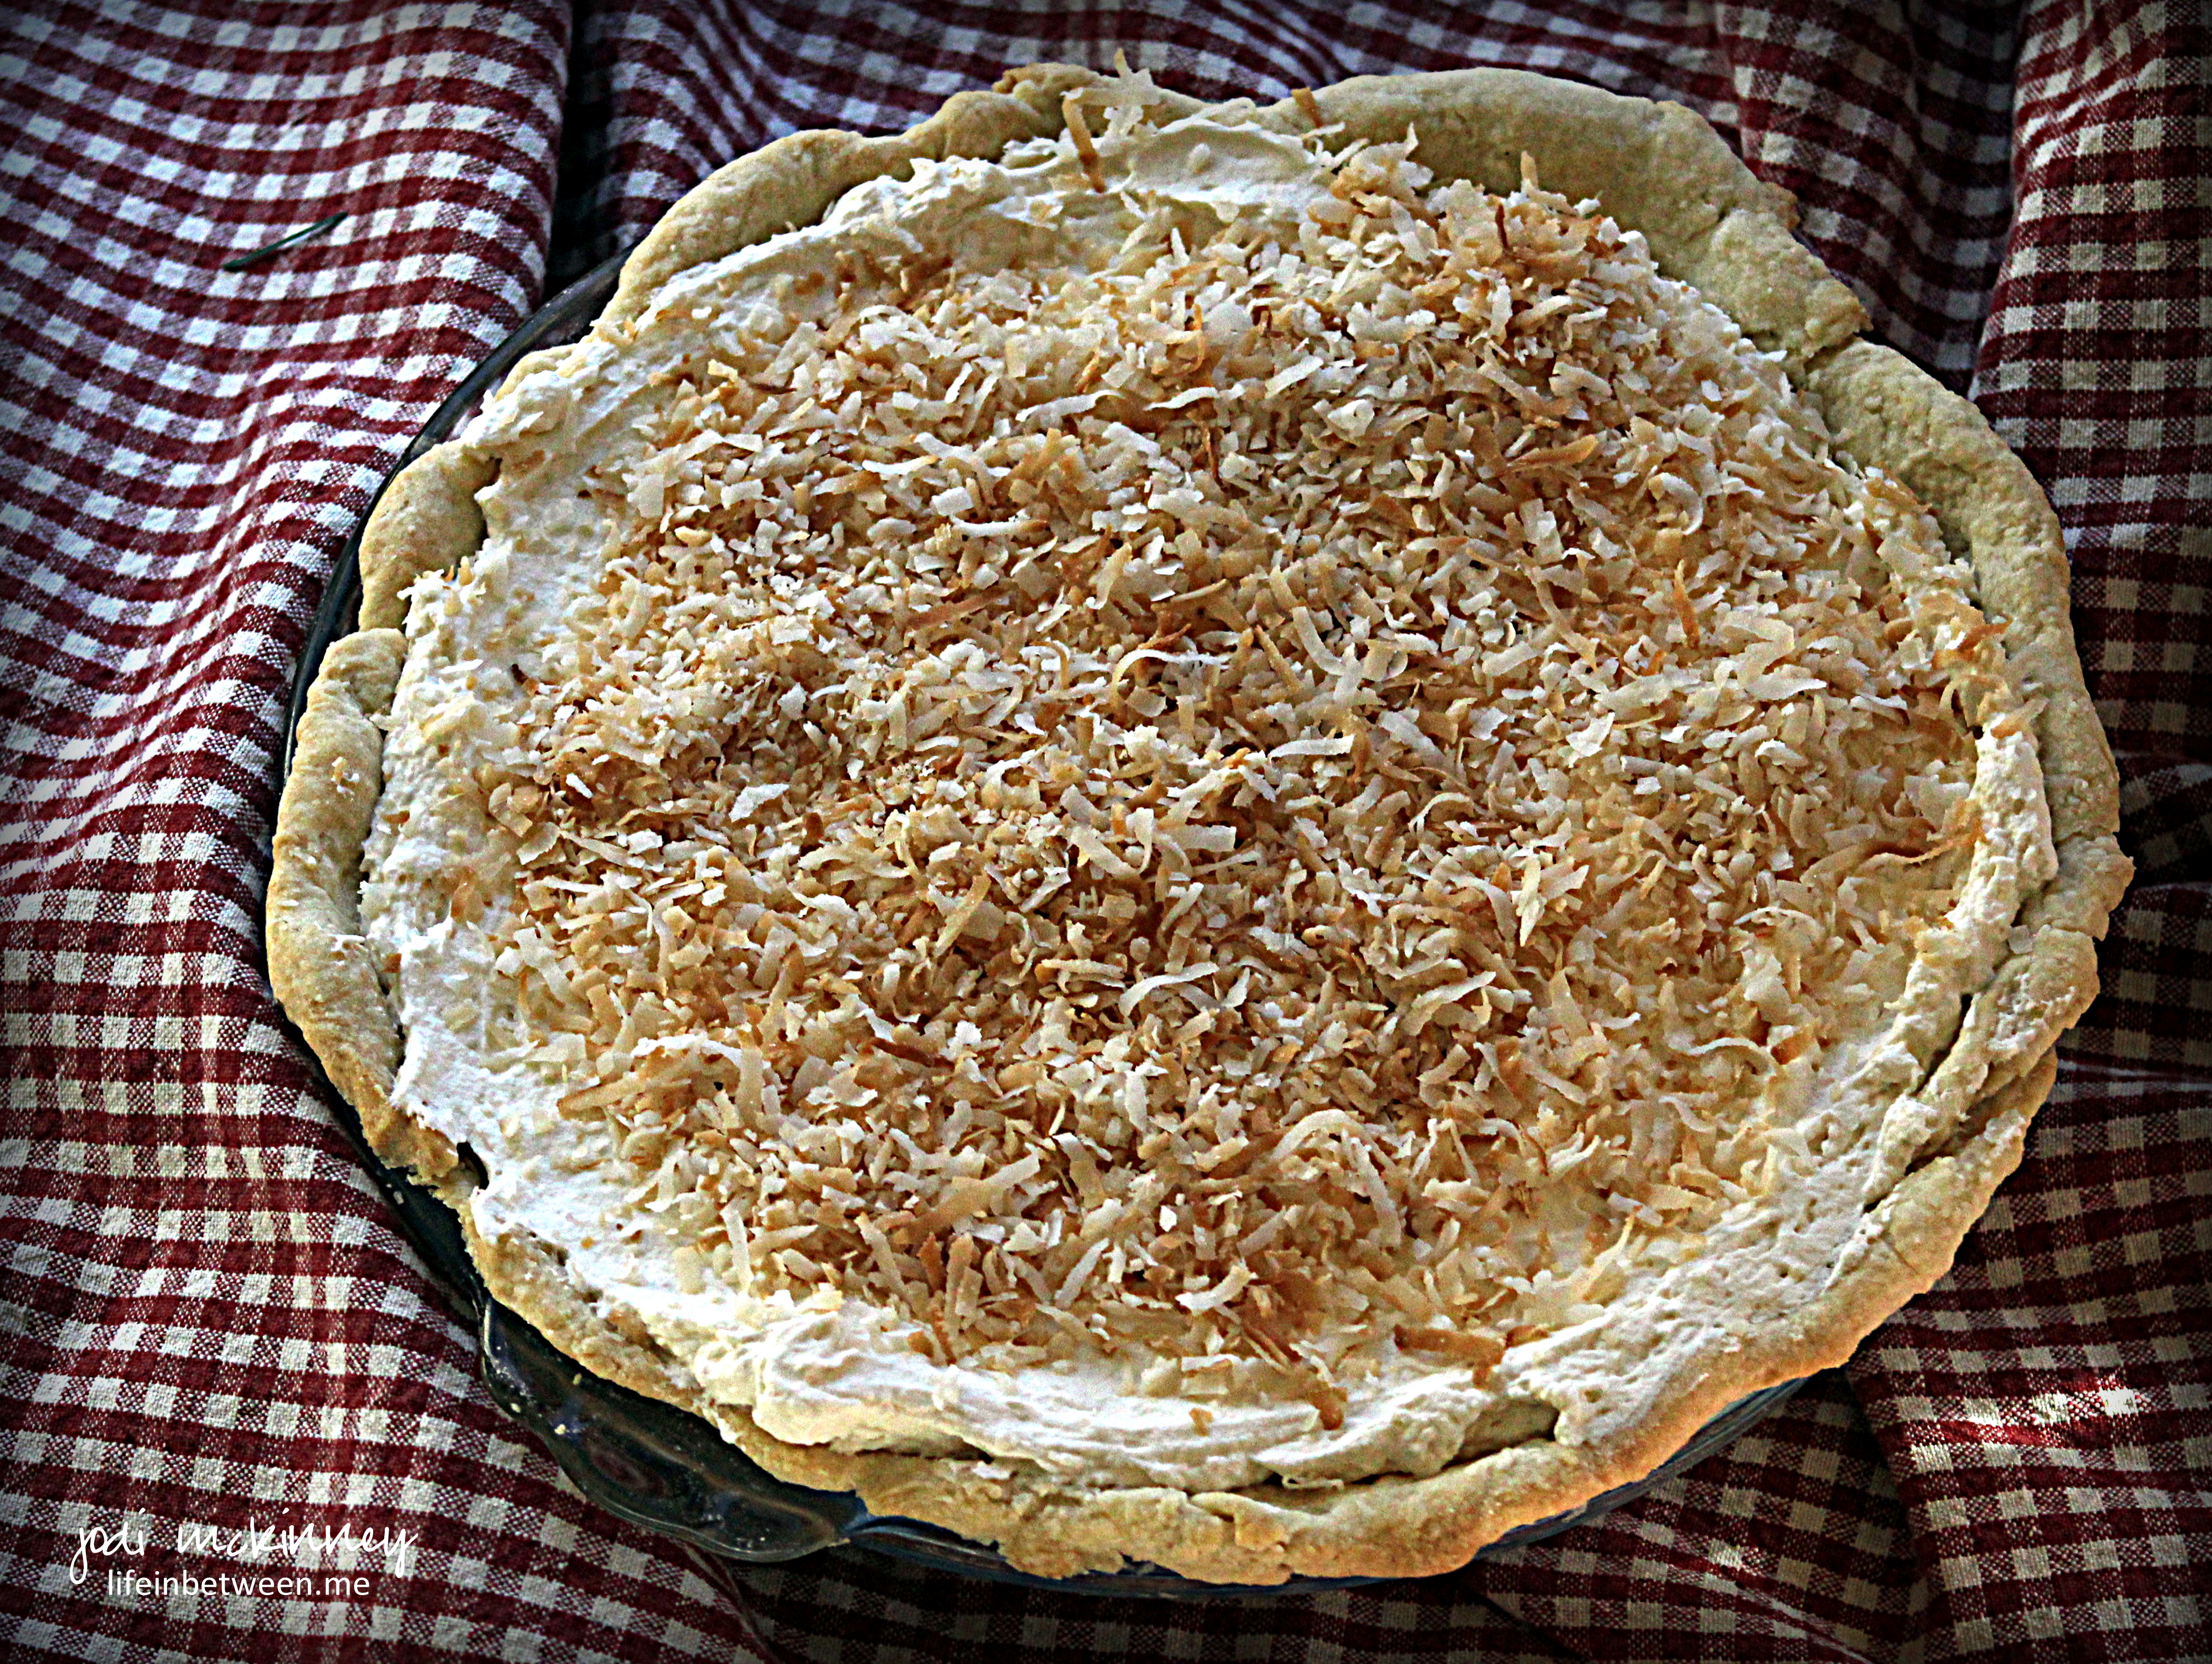
When my dear “Oh Rob” sweetly requested an old-fashioned coconut cream pie for Thanksgiving this year, I was so happy to oblige.

coconut cream pie slice2

As it turns out, his mom always made a coconut cream pie (or two) for Thanksgiving.  Coconut Cream is also one of hubby’s faves and our dear 92-year old Aunt Francie’s too, who joined us this year to celebrate.

coconut cream pie2

This pie was a huge hit – even with the kiddos.

Made with lots of love and dreamy, creamy awesomeness.

Delicious, nostalgic, and oh so yummy!

Old-Fashioned Coconut Cream Pie

Ingredients:coconut cream pie slice

For the crust:

  • 1 cup flour
  • 1/3 cup Crisco shortening
  • Dash of salt
  • Approximately 1/2 cup cold water

Coconut Cream Filling:

  • 3 cups Half and Half (or whole milk)
  • 1/3 cup flour
  • 2/3 cup white sugar
  • pinch of salt
  • 1 cup sweetened shredded coconut
  • 3 large egg yolks, beaten
  • 4 Tbsp butter
  • 2 tsp vanilla extract
  • 1/2 tsp almond extract

Whipped Cream Topping:

  • 1 cup heavy whipping cream
  • 1 1/2 tsp vanilla extract
  • 3 Tbsp powdered sugar

Directions:

  • Prepare pie crust by blending flour, shortening, and salt with a pastry blender until mixture resembles coarse crumbs.
  • Gently blend in water until dough forms.  Do not overwork.
  • Roll dough out into approximately 12 inch circle, and place into a  9 inch pie plate.  Flute edges and poke bottom of crust with a fork 6-8 times.
  • Bake at 400 degrees for 12-15 minutes.
  • Cool completely before adding the filling.
  • For the filling, scald the milk in the microwave or on stove top to almost boiling.
  • Combine flour, sugar, salt and coconut into a saucepan.
  • Over medium heat, whisk 1 cup of the scalded milk into the flour/sugar mixture.
  • As this mixture begins to thicken, add another cup of scalded milk and continue whisking until it begins to thicken again.
  • Add the final cup of milk, and cook over medium heat until mixture  begins to thicken.
  • Remove from heat, and pour 1/2 cup of thickened mixture into the beaten egg yolks, continuing to whisk.
  • Pour this mixture back into the pot and continue to whisk.
  • Cook for an additional 2-3 minutes until mixture reaches pudding consistency.
  • Remove from heat, and stir in butter, vanilla and almond extract.
  • Cool for 15-20 minutes.
  • Pour into baked pie shell.
  • Chill completely before adding vanilla whipped cream.
  • For whipped cream, combine heavy whipping cream, powdered sugar, and vanilla.  Beat until soft peaks form.
  • Spread on top of cooled coconut cream filling.
  • Garnish with toasted coconut

Enjoy!

Cheers & Hugs,

Jodi