Dark Sweet Cherry Crumb Cake

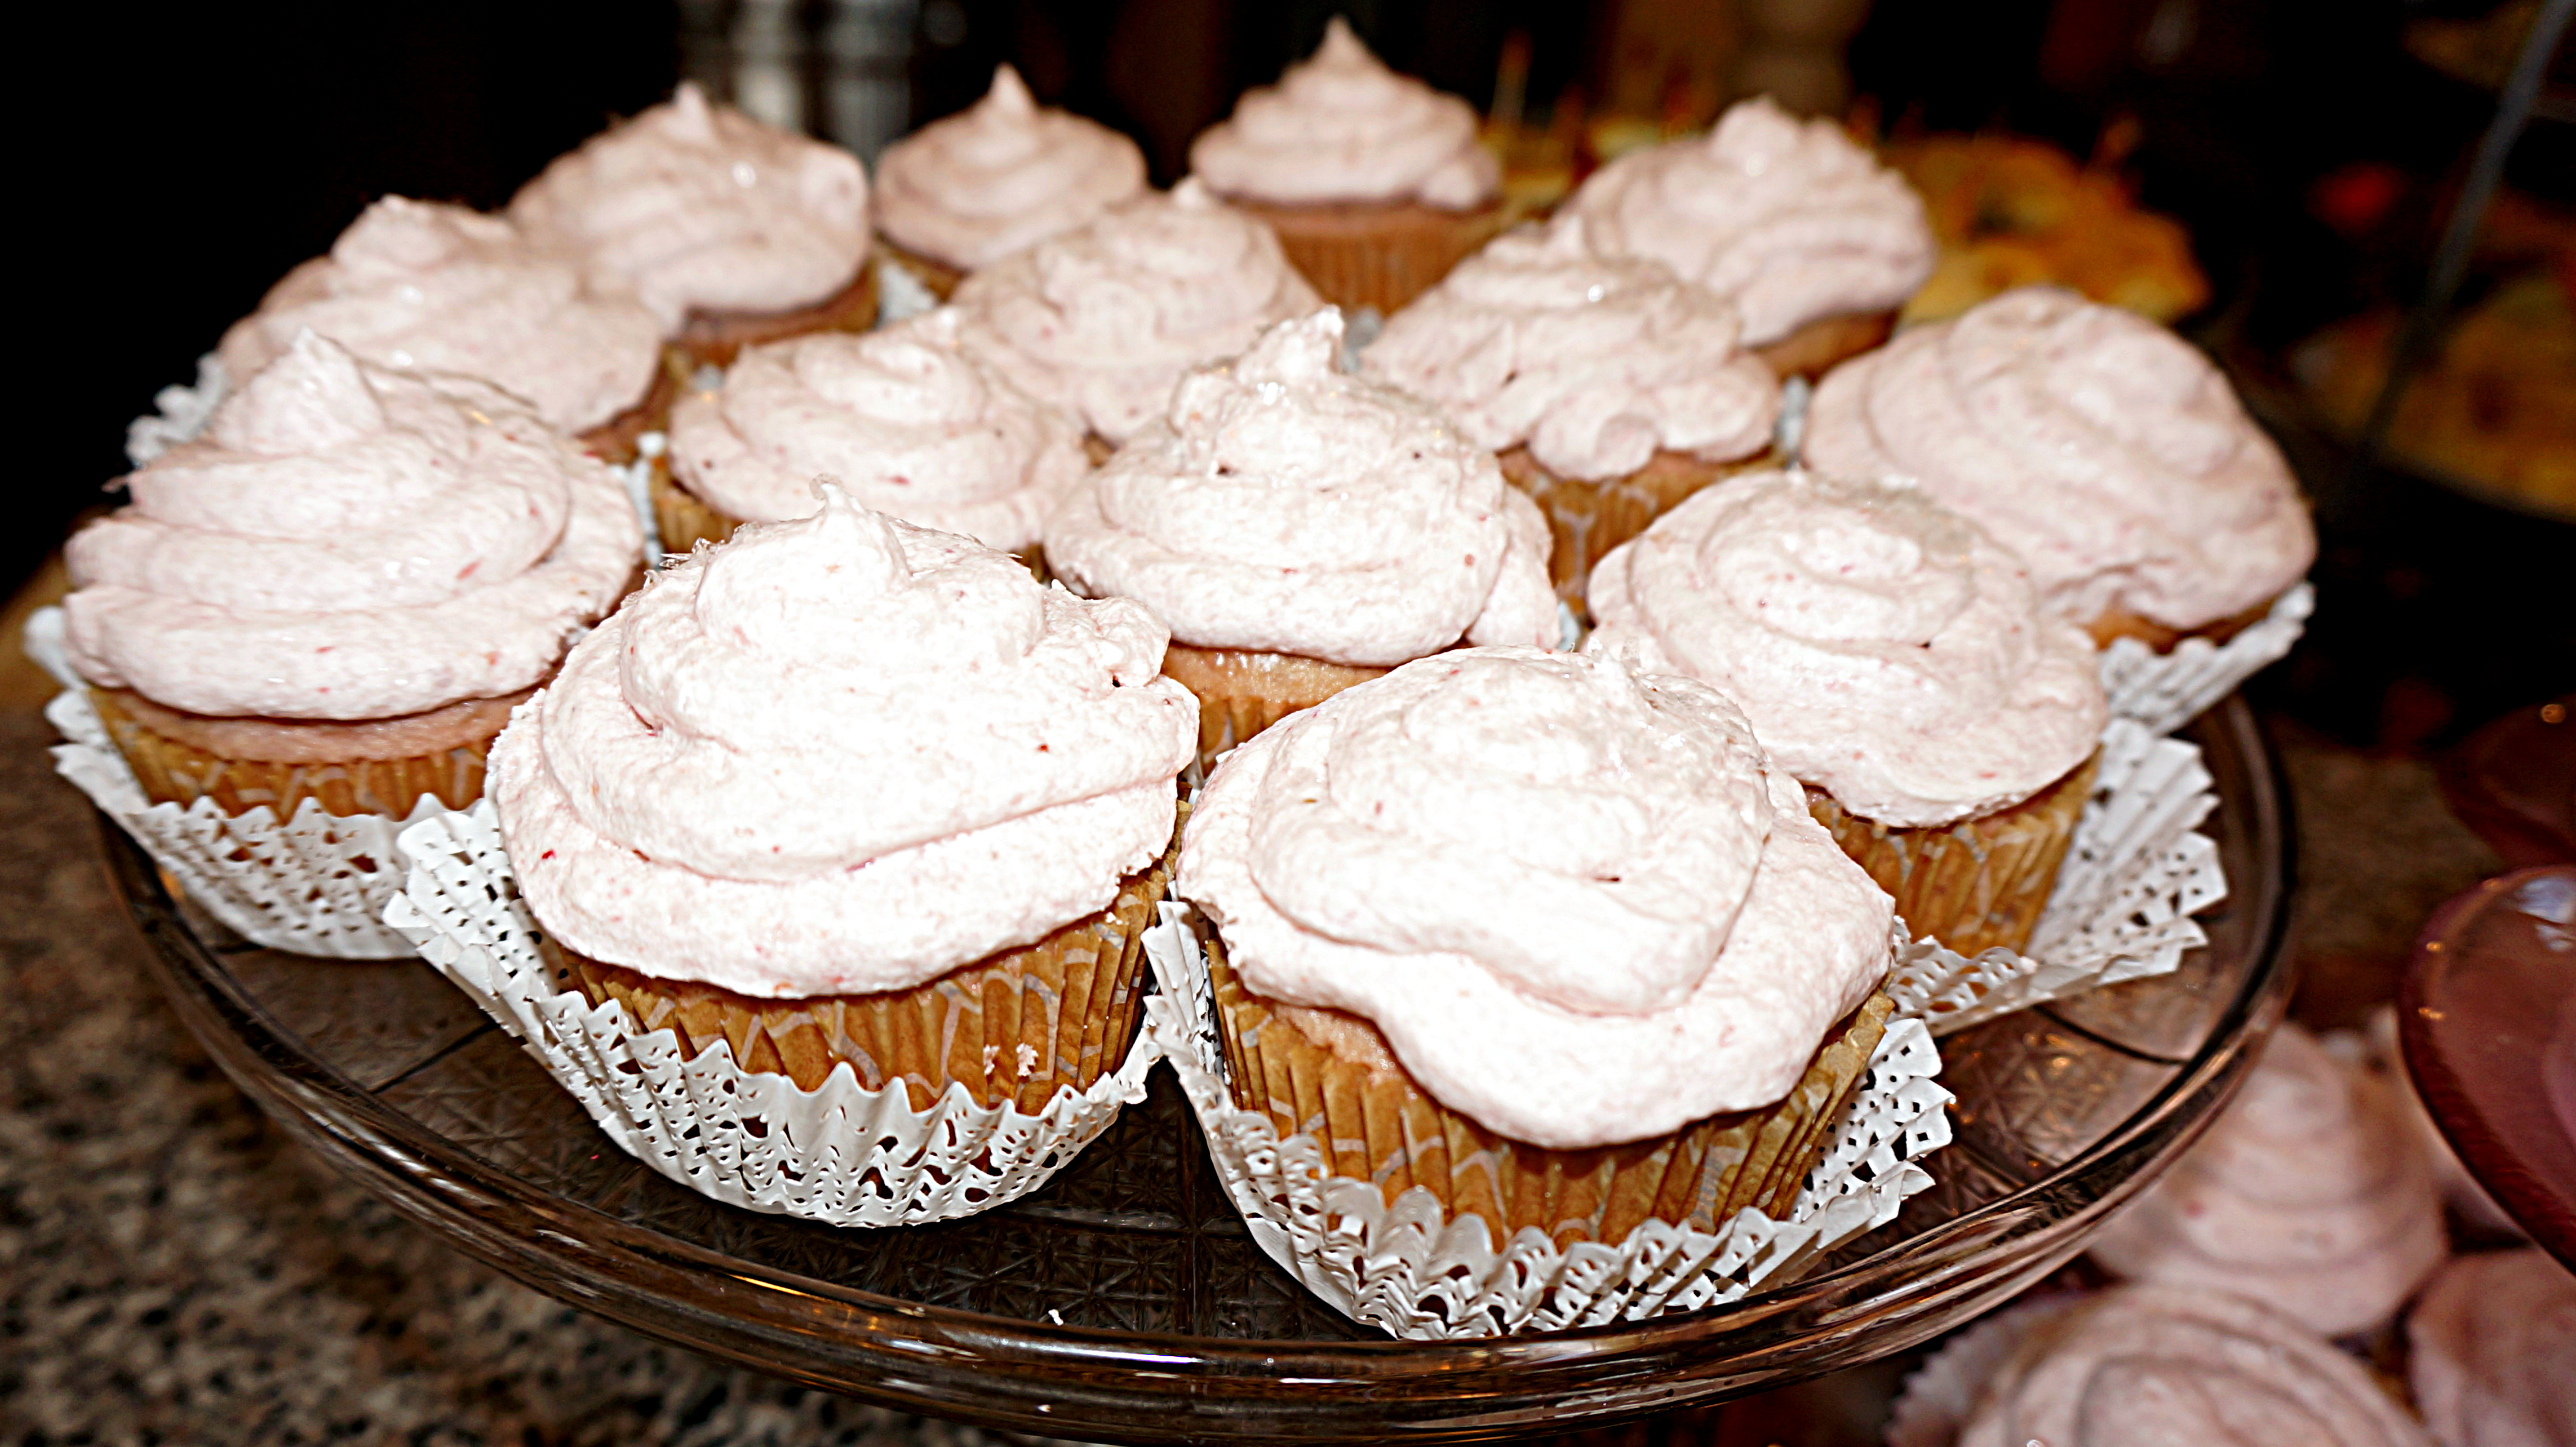
Dark Sweet Cherry Crumb Cake.

I am a complete sucker for crumb cake.  It is most likely my Achilles heel.  I will say I don’t want a piece but will sliver slices away and pick off crumb topping until the whole cake somehow seems to disappear.

When I had a huge bag of sweet dark cherries lingering in the refrigerator one Sunday a week or so ago and the desire to bake something, I knew I found “IT” when I came across this recipe I slightly tweaked from Laura at Tutti Dolce who described the cake like this:

The best kind of cherry crumb cake is a plush buttermilk cake, scented with almond and vanilla, and topped with a scattering of sweet dark cherries. Piled high with buttery crumbs and baked until beautifully golden, this is the cherry cake your summer needs.

Laura had me at “plush!”

Here is this divine crumb cake recipe.  This IS the cake of your summer needs!

Dark Sweet Cherry Crumb Cake

Ingredients:

Cake:

  • 10 Tbsp butter, room temperature
  • 1 1/4 cups sugar
  • 2 eggs
  • 1 cup buttermilk (or 1 cup milk plus 1 Tbsp vinegar let set for 5 min)
  • 1 tsp pure almond extract
  • 1tsp pure vanilla extract
  • 1 tsp baking powder
  • 1/2 tsp salt
  • 2 1/2 cups flour
  • 1 1/2 lbs dark sweet cherries, pitted

Crumb Topping:

  • 2/3 cup flour
  • 1/2 cup sugar
  • 1 tsp cinnamon
  • 1/4 tsp salt
  • 1/4 cup butter, melted
  • 1/2 tsp pure almond extract

Directions:

Preheat oven to 350 degrees F.  Grease and flour 10 in. springform pan.

Prepare crumb topping by combining flour, sugar, cinnamon, and salt in a small bowl.  Add melted butter and extract and toss with a spoon or your fingers until crumbly.

Prepare cake batter by beating butter and sugar with electric mixer until light and fluffy.  Beat in eggs one at a time.  Add baking soda and salt.  Combine buttermilk and extracts.  Then alternately add buttermilk and flour in three additions just until incorporated.

Pour batter into prepared springform pan.  Top with an even layer of pitted cherries, pressing lightly into batter.  Sprinkle with crumb topping.

Bake 70 minutes or until a toothpick inserted in center comes out clean.  Cool 15 mins. in pan.  Remove springform side, and cool completely.  

Enjoy!

Cheers & Hugs,
Jodi

Fresh Blueberry Scones

Fresh Blueberry Scones.

I had a friend come over Saturday morning.

HOORAY!  Excuse to bake something yummy.

I surely couldn’t know someone is coming and not have something freshly baked to share if I could help it.  Right?

Surprise visitors might not be as lucky – but are equally welcomed!   (They may just have to look beyond my make-up-less face, a potentially less than clean house, and deal with frozen cookies.)

It was so good to catch up with this friend I haven’t seen in a while – munching on these tender, buttery, lightly sweet biscuits bursting with tart blueberries and sipping on Cinnamon Dolce coffee with Italian Sweet Cream.

Sometimes it takes a guest to make us sit back and relax and truly appreciate our home.  My friend asked me how I ever get anything done with the beautiful view and comfy surroundings?

It made me think….

I need to quit apologizing for the carpet that needs replaced or the walls that need a fresh coat of paint or the old “stuff” I have.

The greatest compliment I receive is when someone tells me they feel completely comfortable and relaxed and welcome in my home.

Isn’t that what makes a house a home?   I have two signs in my home (one I bought and one made for me by my BFF who didn’t know I had bought the same sign!) that say “The thing I love best about my home is who I share it with.”

That could not be truer for me.  A house is made of wood and nails, but a home is made with love and family and friends.

And maybe fresh Blueberry Scones!

Here’s my recipe.

Fresh Blueberry Scones

Ingredients:

2 1/2  Cups Flour
1/2 cup Sugar
2 1/2 Tbsp Baking Powder
Pinch of Salt
1 tsp Cinnamon
1 1/2 Sticks Cold Butter
1 tsp Vanilla
1 Cup Buttermilk (easy substitute is 1Tbsp white vinegar added to 1 cup milk)
1 cup Blueberries
Coarse Raw Sugar for Sprinkling

Directions:

Preheat oven to 400 degrees F.

In a large bowl, mix together flour, sugar, baking powder, salt, and cinnamon.  Cut butter into small cubes and cut into dry ingredients with a pastry blender until coarse crumbs are formed.  Pour in vanilla and buttermilk, and mix with pastry blender just until incorporated.  Dump dough onto counter, gently incorporate blueberries into dough, and gently shape into a 15″ x 3″ rectangle.  Cut dough in half, then each half in half, then each quarter in half, so that you have 8 rectangles.  Cut each rectangle on the diagonal to form 16 triangular shaped scones.

Place on backing stone or cookie sheet, brush with some milk or water, and sprinkle with coarse raw sugar.  Bake at 400 degrees F for 10-15 minutes.  Cool for a few minutes on stone or cookie sheet, then remove to cooling rack to cool completely.

Enjoy!

Cheers & Hugs,
Jodi

Easy Sausage & Vegetable Quiche


Easy Sausage and Vegetable Quiche.

For those days when you want a hearty, substantial supper, but don’t feel like putting a lot of time and effort into it, this simple recipe is just the ticket.

It’s full of protein and veggies and could really be eaten for breakfast, lunch or dinner!

The secret to it being easy is in the fact that you don’t have to prepare a crust.  You simply use a little bit of baking mix (like Biquick) to create an almost crust-like texture.

And the options are limitless for what you can put in for your protein and veggies.  Exchange the sausage for bacon or chicken or turkey or ground beef.   You could even leave the meat out and just add more veggies.  Throw in any favorite vegetables you have in your fridge – mushrooms, asparagus, cauliflower, spinach, kale, tomatoes…..  And use any kind of cheese you love.  Exchange the cheddar for Swiss or muenster or provolone or mozzarella or even blue cheese or feta.

You get the idea…  right?  Toss in whatever you like, and you can have a wide variety of quick and easy meals.

I was recently reminded of this recipe when I came across a version of it at The Speckled Pumpkin.  It reminded me of years ago making all of those “impossible” pies….  Impossible Cheeseburger Pie, Impossible Taco Pie, Impossible Lasagna Pie, Impossible Tuna Pie….  Anybody else remember the Impossible Pie craze?  I may be back in the mood for these!

Serve it with a salad or side of roasted potatoes or even some chunky applesauce.

Here is how I made mine for our Sunday Supper last night.

Easy Sausage and Vegetable Quiche

Ingredients:

  • 1 lb pork sausage, cooked and crumbled
  • 1/2 medium sweet onion, chopped
  • 1 red pepper, chopped
  • 1 1/2 cups chopped fresh broccoli
  • 1 cup shredded cheddar cheese
  • 4 eggs
  • 2 cups milk
  • 1 cup Bisquick baking mix (or your favorite)

Directions:

Preheat oven to 400 degrees F.

Put sausage in bottom of stoneware deep dish baker or your favorite 2-quart round casserole dish or deep dish pie pan.  Top with chopped onions, pepper, broccoli, and cheese.

In a medium bowl, beat the eggs, milk and baking mix with a wire whisk until well blended.  Pour over sausage, veggies and cheese.

Bake for approximately 40 minutes until knife inserted in center comes out clean. 

Enjoy!

Cheers & Hugs,
Jodi


Old-Fashioned Tomato Pie

Old-Fashioned Tomato Pie.

Looking for something to do with the abundance of fresh, juicy, sweet, beautiful tomatoes in your garden or available this time of year?

How about an old-fashioned tomato pie?!

It’s like a deep dish pizza  in an old-fashioned crust….

Layers of tomatoes, onions, garlic, basil and parsley… topped with cheesy yumminess.

Make one, and enjoy it hot, warm, room temperature, or even cold.  It is a wonderful treat to celebrate the end of summer’s bounty and the delight of vine-ripened tomatoes.

Old-Fashioned Tomato Pie

Ingredients

  • Single Pie Crust
    • 1 cup flour
    • 1/3 cup Crisco shortening
    • Dash of salt (6 shakes)
    • 1/3 cup cold water
  • Filling
    • 2-3 lbs tomatoes, thinly sliced (I used a variety of red and yellow heirloom tomatoes)
    • 1 sweet onion, coarsely chopped
    • 3 cloves garlic, chopped
    • 2 Tbsp olive oil
    • 1/2 cup chopped fresh basil and parsley
    • salt and pepper to taste
    • 1/2 cup freshly shredded Parmigiano Reggiano cheese
    • 1/2 cup freshly shredded Gruyere cheese
    • 1/8-1/4 cup cup mayonnaise

Directions

Preheat oven to 425 degrees F.

Prepare pie crust by blending flour, shortening and salt with a pastry blender to create coarse crumbs.  Add cold water, and mix until just combined.   Do not overwork (this is the secret to flaky pie crust).  Roll out dough on floured surface and line a 9″ pie plate with dough – folding overhanging dough under itself along rim to create rustic edge.

Line piecrust with aluminum foil and fill with dried beans (or pie weights) to keep crust in place.  Bake for 20 mins.  Cool completely.

To prepare filling, place thinly sliced tomatoes on paper towels, and sprinkle with salt.  Let stand 10 mins.  Pat dry with another layer of paper towels.

While tomatoes are resting, saute onion and garlic, sprinkled with salt and pepper, in olive oil for 3-4 minutes until tender.

Layer tomatoes, then onion/garlic mixture, and a sprinkle of freshly chopped herbs into pie crust.  Continue layering until all tomatoes, onions, and herbs are used.

Combine shredded cheese and mayonnaise.  Spread over top of tomato pie.

Bake at 350 degrees F for 30 minutes or until lightly browned, shielding edges with foil or pie shield (the GREATEST invention ever for pie bakers!) to prevent excessive browning.

Serve hot, warm, or at room temperature, whichever you prefer. 

Enjoy!

Cheers & Hugs,
Jodi

Recipe adapted slightly from Myrecipes.com.

Homemade Old-Fashioned Glazed Donuts

Homemade Old-Fashioned Glazed Donuts!

Seriously…….
could anything be more decadently delish?!

A tender ring of fried sweet dough
drenched in a glorious glaze?

I couldn’t resist making these,
and they did not disappoint.

Every once in a great while,
I allow myself to be treated to a donut….
a wickedly wonderful waste of calories.

But since it is only Hubby and me at home,
a dozen donuts AND holes
are way too much sugary goodness!

So after enjoying one each
(and a few holes – which are completely calorie free  – right?)
I shared the rest.

That really is my joy in baking…
giving it away.

Hopefully creating a brief smile…
a tiny treat or surprise for a loved one or friend.

These are soooooo worth making!
They are easy and quick to make.

I hope you will treat yourself and those you love!

Homemade Old-Fashioned Glazed Donuts

Ingredients:

  • 2 1/4 cup  cake flour  (no cake flour?  no problem!  make it easily by the cupful – take one level cup of all-purpose flour, remove two tablespoons, and then add two tablespoons of cornstarch back in)
  • 1 1/2 tsp. baking powder
  • 1 tsp. salt
  • 1/2 tsp. ground nutmeg
  • 1/2 cup  sugar
  • 2 Tbsp. butter, room temperature
  • 2 large egg yolks
  • 1/2 cup  sour cream or Greek yogurt
  • Canola oil, for frying

For the glaze:

  • 3 1/2 cup  powdered sugar
  • 1 1/2 tsp. corn syrup
  • 1/4 tsp. salt
  • 1/2 tsp. vanilla extract
  • 1/3 cup hot water

Directions:

In a bowl, combine flour, baking powder, salt, and nutmeg.

In the bowl of a stand mixer, beat butter and sugar together until sandy. Add egg yolks, and mix until light and thick. Add dry ingredients to the mixing bowl in 3 additions, alternating with the sour cream, ending with the flour.  Cover with plastic wrap and chill for 1 hour.

On a floured surface, roll dough out to about 1/2 inch thickness. Use a donut cutter to cut out approximately 12 donuts and holes.

Pour 2 inches of canola oil into a heavy bottomed pot with a thermometer attached. Heat to 325°F.  Fry donuts a few at a time, being careful not to overcrowd the pot. Fry on each side about 2 minutes, being careful not to let them burn. Let drain on a paper bag to soak up the excess grease.

For the glaze:

Mix all ingredients in a bowl with a whisk until smooth.  Dip each donut into the glaze. Place on a wire rack above a sheet of waxed paper to catch any excess glaze. Let sit for 20 minutes until glaze is set.

Best served the day they are made, but may be stored in an air tight container at room temperature for a few days.

Cheers & Sugary Sweet Hugs,
Jodi

Recipe found at:  Huffington Post’s “The Greatest Homemade Doughnut Recipes You’ll Ever Find.


A Brunch & Bubbly Bridal Shower

I had the joy and privilege of hosting a Brunch & Bubbly Bridal Shower for my bright and bubbly daughter-in-law to be this past weekend.

I had fun decorating and preparing for our girly party!

Thanks to Matron of Honor and beautiful sister, Laura, and loving, gentle mom, Pat for co-hosting with me.

(And a super special thanks to my BFF Jill for taking all of these photos as well as helping with anything else needed while I was busy hosting.)

Liz was surrounded by the love of her Mom and three sisters…

and there is another beautiful girl on the way to add to this gang!

First things first – the Bubbly!

and a toast to the bride-to-be.

Friends and family attended.

Families mingled meeting and getting to know each other…

and several generations shared in the joy and love.

New moms and great grandmoms…

and moms with babies on the way,

and moms who get to share ❤ .

Then there was brunch.

Where we served a buffet of Chicken  Salad on Sliced Crostini, Crispy Veggies with Hummus, Fresh Fruit and Honey Walnut Brie, along with…

Mini BLTs served on Heart-shaped biscuits,

Loaded Deviled Eggs,

and a Strawberry Spinach Salad with Feta Cheese and Candied Pecans.

Aunt Kathy made the MOST amazing cupcakes I’ve every tasted!  Strawberry Lemon with Swiss Meringue Buttercream Frosting,

My friend, Pam who makes the most amazingly beautiful sugar cookiedoodles, made these gorgeous and delicious treats that we served along with my cookie pops.

The guests brought and shared amazing gifts for our newlyweds to be.

We played a few games.  Pretty simple ones really… Like guess the number of corks and gave away prizes when a timer went off during gift opening.

Some sweet and funny stories were shared when guests filled out a “Mad Lib” story…

and then chose to share with the group.

And then the groom-to-be (my son, Nick) arrived with flowers, smiles, and a tight hug.

Favors of Homemade Lavender Sugar Scrub were given to guests as a thank you before leaving.

A kiss and an “I love you” at the end of the day, but the beginning of a lifetime.  (with a little bit of sweet granddaughter drool on my shoulder)

It was a great day to celebrate a great young lady!

Love you Liz!

Cheers & Hugs,
Jodi

Thanks Jill!

Party Supplies:
Toasting Flutes for Mimosa Bar
Juice Carafes for Mimosa Bar
Tissue Paper Tassel Garland
Tissue Paper Pom Poms
Tissue Paper Honeycomb Balls

Easy Cinnamon Roll Apple Pie

cinnamon-roll-apple-pie-1

When my sister-in-law posted one of those amazing Tasty Videos on Facebook for a Cinnamon Roll Apple Pie, I just knew I HAD to try it!

cinnamon-roll-apple-pie-3

We love apple pie.  We love cinnamon rolls.  Who doesn’t??!!  Putting them together to make an EASY apple pie = Winner!

cinnamon-roll-apple-pie-2

If you struggle with making homemade crust or are looking for a new twist on traditional apple pie, this is an easy and super yummy semi-homemade version to try.

I made it for a birthday brunch yesterday when the family came over to celebrate hubby’s upcoming birthday.  After gorging ourselves on smoked sausages (that hubby smoked himself in his Pit Barrel Cooker we got him this past Father’s Day), Spinach, Feta, Bacon & Roasted Red Pepper Egg Casserole, Warm Biscuits and Sausage Gravy (homemade by our oldest son), and a fresh berry fruit salad, we waited a little while before eating this.  But when we did….. thumbs up all around!

I tweaked the recipe up a bit to assure the apples would be fully cooked without overbaking and drying out the cinnamon rolls.  It turned out wonderfully amazing!  And the smell……..  can you even imagine the wonderful smell?!?!

Hope you will give this delicious treat a try.  (Thanks for sharing Terri!)

Cinnamon Roll Apple Pie

Ingredients:cinnamon-roll-apple-pie-3

  • 6 cups peeled, cored, and thinly sliced tart apples
  • 1/2 cup sugar
  • 1 tsp cinnamon
  • 1 Tbsp butter
  • 3 Tbsp flour
  • 2 cans Pillsbury Cinnamon Rolls

Directions:

Preheat oven to 350°F/180°C.

Melt 1 Tbsp butter in large skillet, add apple slices, sugar, and cinnamon.  Cook on medium heat for approximately five minutes until tender.  Add flour and stir.  Cook one more minute until thickened.

Roll out each cinnamon roll in one tube until flat and thin using a small amount of flour to avoid sticking to rolling pin and counter.  Layer on the bottom and up sides of pie pan to form bottom crust.  Add the cooked apples.

Roll out each cinnamon roll in second tube until flat and thin, and layer on top of apples to form top crust.

Cover with foil and bake for 30 minutes.  Remove foil and bake for another 5 minutes.

Allow pie to cool and drizzle with icing from one tube of cinnamon rolls.

Enjoy!

Cheers & Hugs,
Jodi

Summer Vegetable Tart

Summer Vegetable Tart Baked

My sweet friend Janet found a recipe for this amazing summer vegetable tart, and I told her she had to come over so we could make it together and enjoy.

And that we did one evening this week.

Besides being so great to see her and spend time in the kitchen slicing and chopping and chatting….

O. M. G. –  this turned out so delish!

Summer Vegetable Tart Before Baked

With summer coming to an end and the abundance of zucchini and red-ripe tomatoes and eggplant and squash, this recipe is a must-do for a hot August evening dinner or Sunday lunch or brunch – or anytime really!

Summer Vegetable Tart Before Baked with Cheese

Anything smothered with Parmegiano Regianno is a winner in my book, but this savory summer vegetable tart is seriously a new favorite.  Dare I admit I had 4 pieces?!

I think you are going to want to try this, so here is the recipe.

Summer Vegetable Tart

Ingredients:Summer Vegetable Tart Baked

  • 1 medium zucchini squash, thinly sliced
  • 1 medium yellow squash, thinly sliced
  • 1 medium eggplant, thinly sliced
  • 2 large tomatoes, thinly sliced
  • 1 sheet frozen puff pastry, thawed (or pie crust or crescent rolls)
  • 1/4 cup tomato or pizza sauce
  • 1 cup freshly grated Parmegiano Reggiano Parmesan cheese
  • Olive Oil
  • Salt

Directions:

Preheat oven to 400 degrees F.  Roll out puff pastry or pie crust or crescent rolls on a baking stone or cookie sheet to rectangle or circle to form “pizza” tart crust.

Thinly slice vegetables with mandolin or sharp knife.  Lay out on parchment paper or paper towel.  Sprinkle with salt, and let set for 15 minutes.  Pat dry with paper towel to absorb excess moisture.

Spread tomato sauce on pastry.  Layer with vegetables.  Drizzle with olive oil.  Top with Parmesan cheese.

Bake for 30-40 minutes until crust is golden brown, vegetables are tender, and cheese is melted and browned.  Let set for 5-10 minutes, cut, serve, and enjoy!

Happy Eating!

Cheers & Hugs,
Jodi

Cinnamon Chip Scones

cinnamon chip scones watercolor 5x7 arches 140lb cold press, raw sienna, cad orange, burnt sienna, burnt umber

cinnamon chip scones watercolor 5×7 arches 140lb cold press, raw sienna, cad orange, burnt sienna, burnt umber

I first shared this recipe I am “almost famous” for about two years ago here.

I made them twice this week for two different occasions, so when time came for me to decide on a watercolor painting for #WorldWatercolorMonth today – Cinnamon Chip Scones it was.

My painting does not do these amazingly yummy scones justice, but trust me, you and anyone you serve these to will LOVE them.

Here is what they really look like.

cinnamon chip scones

Cinnamon Chip Scones

Ingredients:cinnamon chip scones

2 3/4  Cups Flour
1/4 cup Sugar
1 Tbsp Baking Powder
1 tsp Baking Soda
Pinch of Salt
2 tsp Cinnamon
1 tsp vanilla
1 1/2 Sticks Cold Butter
3/4 – 1 Cup Buttermilk (easy substitute is 1Tbsp white vinegar added to 1 cup milk)
1 10 oz. bag Hershey’s Cinnamon Chips
Coarse Raw Sugar for Sprinkling


Directions:

Preheat oven to 400 degrees F.

In a large bowl, mix together flour, sugar, baking powder, baking soda, salt, and cinnamon.  Cut butter into small cubes and cut into dry ingredients with a pastry blender until coarse crumbs are formed.  Pour in vanilla and buttermilk, and mix with pastry blender just until incorporated.  Pour in bag of cinnamon chips.  Dump dough onto counter and gently shape into a 15″ x 3″ rectangle.  Cut dough in half, then each half in half, then each quarter in half, so that you have 8 rectangles.  Cut each rectangle on the diagonal to form 16 triangular shaped scones.

Place on backing stone or cookie sheet, brush with some milk or water, and sprinkle with coarse raw sugar.  Bake at 400 degrees F for 10-15 minutes.  Cool for a few minutes on stone or cookie sheet, then remove to cooling rack to cool completely.  Best served immediately.

Cheers & Hugs,
Jodi

Chessy Caprese Tarts

caprese tarts 2

In honor of National Cheese Lovers Day today, (you knew that – right?!) I am sharing a yummy new Cheesy Caprese Tart recipe I made this past weekend for the family while we got together to watch football playoff games.

caprese tarts cut

This recipe could also be great for brunch, lunch or even a light dinner.   It would be a well-received snack to take to a Super Bowl Party too, I am certain!

caprese tarts

Does anything beat ooey, gooey, chewy fresh melted mozarella cheese?!  Especially when topped with sweet juicy tomatoes and some lovely fresh basil?!  And everything is yummy when on top of golden, flaky puff pastry – right?

This recipe is really simple, yet it turns out looking so impressive, you are going to be a Cheese Lover’s ROCK STAR when you make this!

Caprese Puff Pastry Tarts

  • Servings: depends on how hungry you are!
  • Print

Ingredients:caprese tarts 2

  • 1 sheet of frozen puff pastry, thawed
  • 1 lb fresh mozzarella cheese
  • Fresh ripe Campari  (my favorite!) or cherry tomatoes
  • Fresh basil
  • Olive Oil
  • Salt
  • Pepper

Directions:

Roll out the puff pastry sheet and cut into four squares.  Top with sliced fresh mozarella and then sliced tomatoes.  Drizzle with olive oil, then salt and pepper to taste.  Bake in 375 degree F oven for approximately 15 minutes or until puff pastry begins to puff and turn golden brown and cheese is melted and bubbly brown.  Remove from oven and top with freshly chopped basil.  Tastes wonderful hot or cold.

For small bite-sized tarts, you could cut into 16 squares and do same.  You could also do one large “pizza” by not cutting the pastry sheet at all.

ENJOY, and Happy Cheese Lover’s Day!

Cheers & Hugs,

Jodi