Four Cheese Garlic Spaghetti Squash

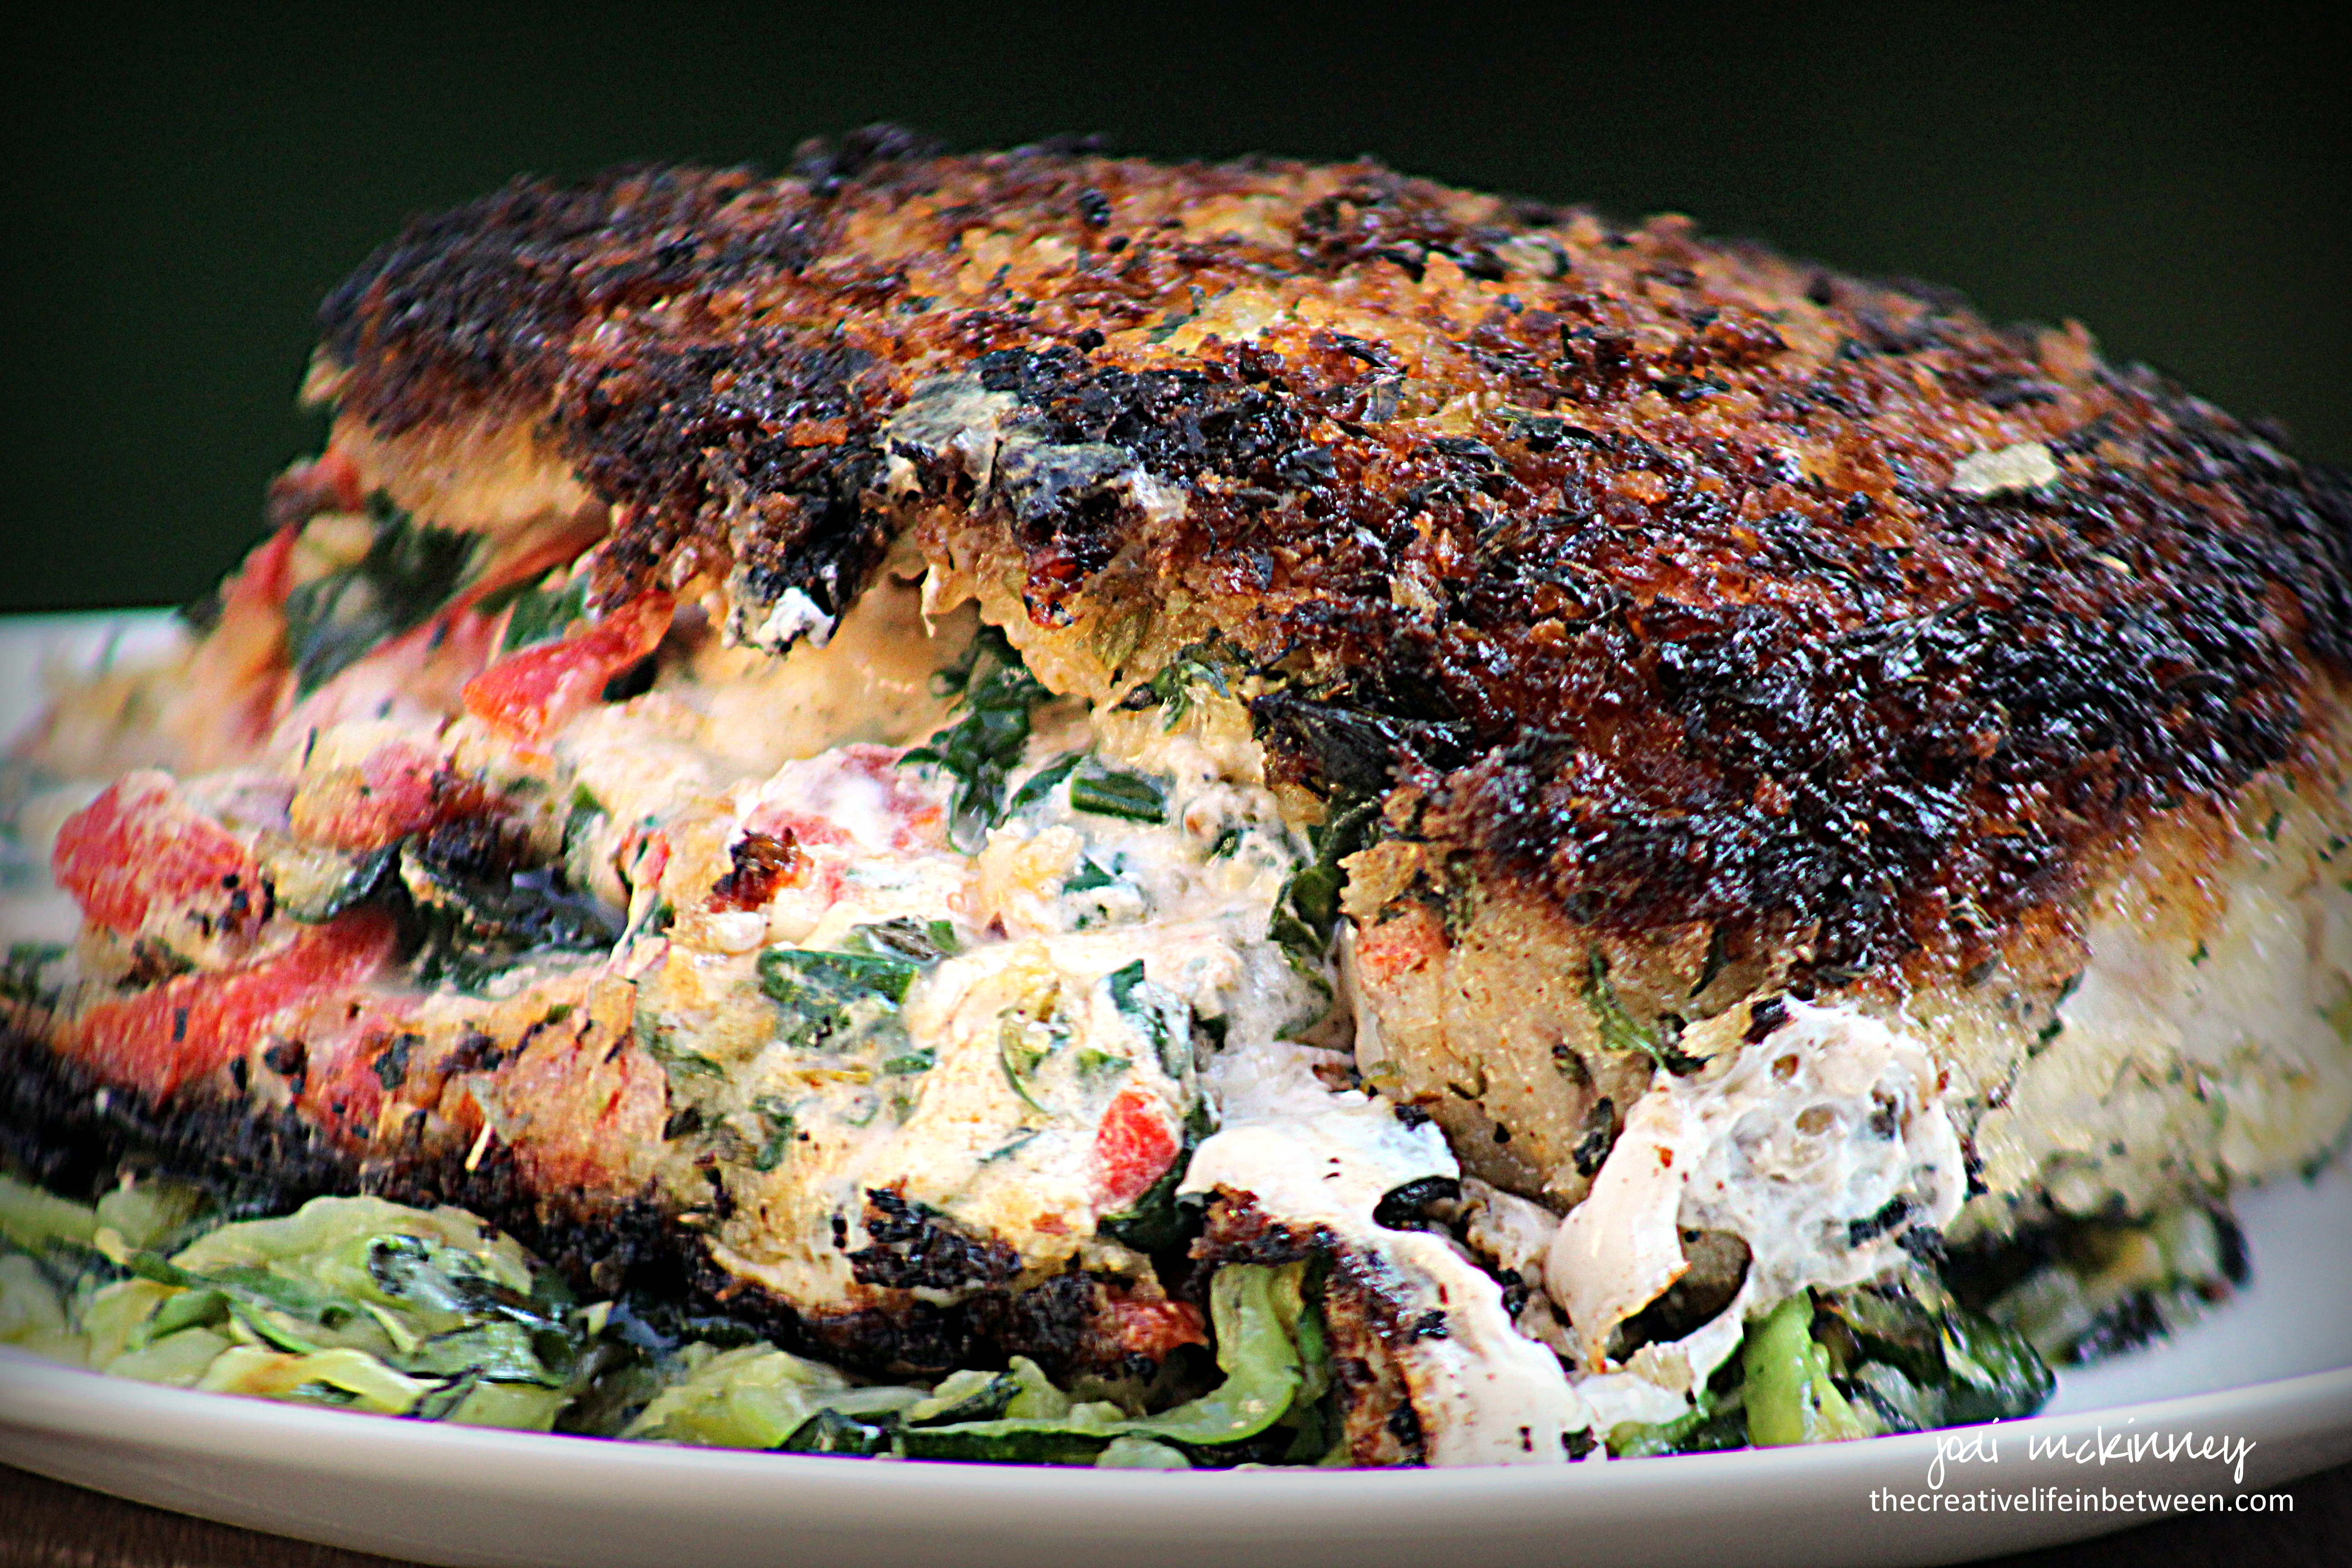
Four Cheese Garlic Spaghetti Squash.

I have always enjoyed spaghetti squash, but now that I have discovered this recipe…….. well…. now I LOOOVVVEE spaghetti squash!

This is absolutely the most amazing way to eat it!

Imagine a version of mac ‘n cheese without the macaroni carbs or calories and replaced with healthy spaghetti squash “noodles.”  (Macaroni carbs 78g/cup vs. Spaghetti Squash carbs 7g/cup – Macaroni calories 221/cup vs. Spaghetti Squash calories 31/cup!)

But…… it also has the most amazing flavor, you won’t even miss your macaroni!

When I saw a recipe at Eatwell101 for this amazingness, I knew I had to try.  I tweaked it up a bit, and here is how I made it.

Hope you will give it a try!  You won’t be sorry!

Four Cheese Garlic Spaghetti Squash

Ingredients

  • 1 large spaghetti squash
  • Freshly ground pepper
  • 1 1/2 cups Half and Half
  • 5 cloves garlic, minced
  • 1 tsp. chicken base or 1 chicken bouillon cube, crushed
  • 1/2 tsp dried thyme (or 1 Tbsp. fresh thyme)
  • 1/4 cup finely chopped scallions or green onions
  • 1 cup freshly shredded cheese – I used the following combination:
    • 1/4 cup Mozarella
    • 1/4 cup White Cheddar
    • 1/4 cup Parmesan
    • 1/4 cup Gruyere

Directions

Preheat oven to 400 degrees F.

Cut both ends off of spaghetti squash and cut in half lengthwise.  Scrape out seeds.  Place both halves in a 9×13 baking dish flesh side up.  Sprinkle with freshly ground pepper.

Combine half and half, garlic, chicken base (or bouillon), thyme, and scallions in a small bowl.

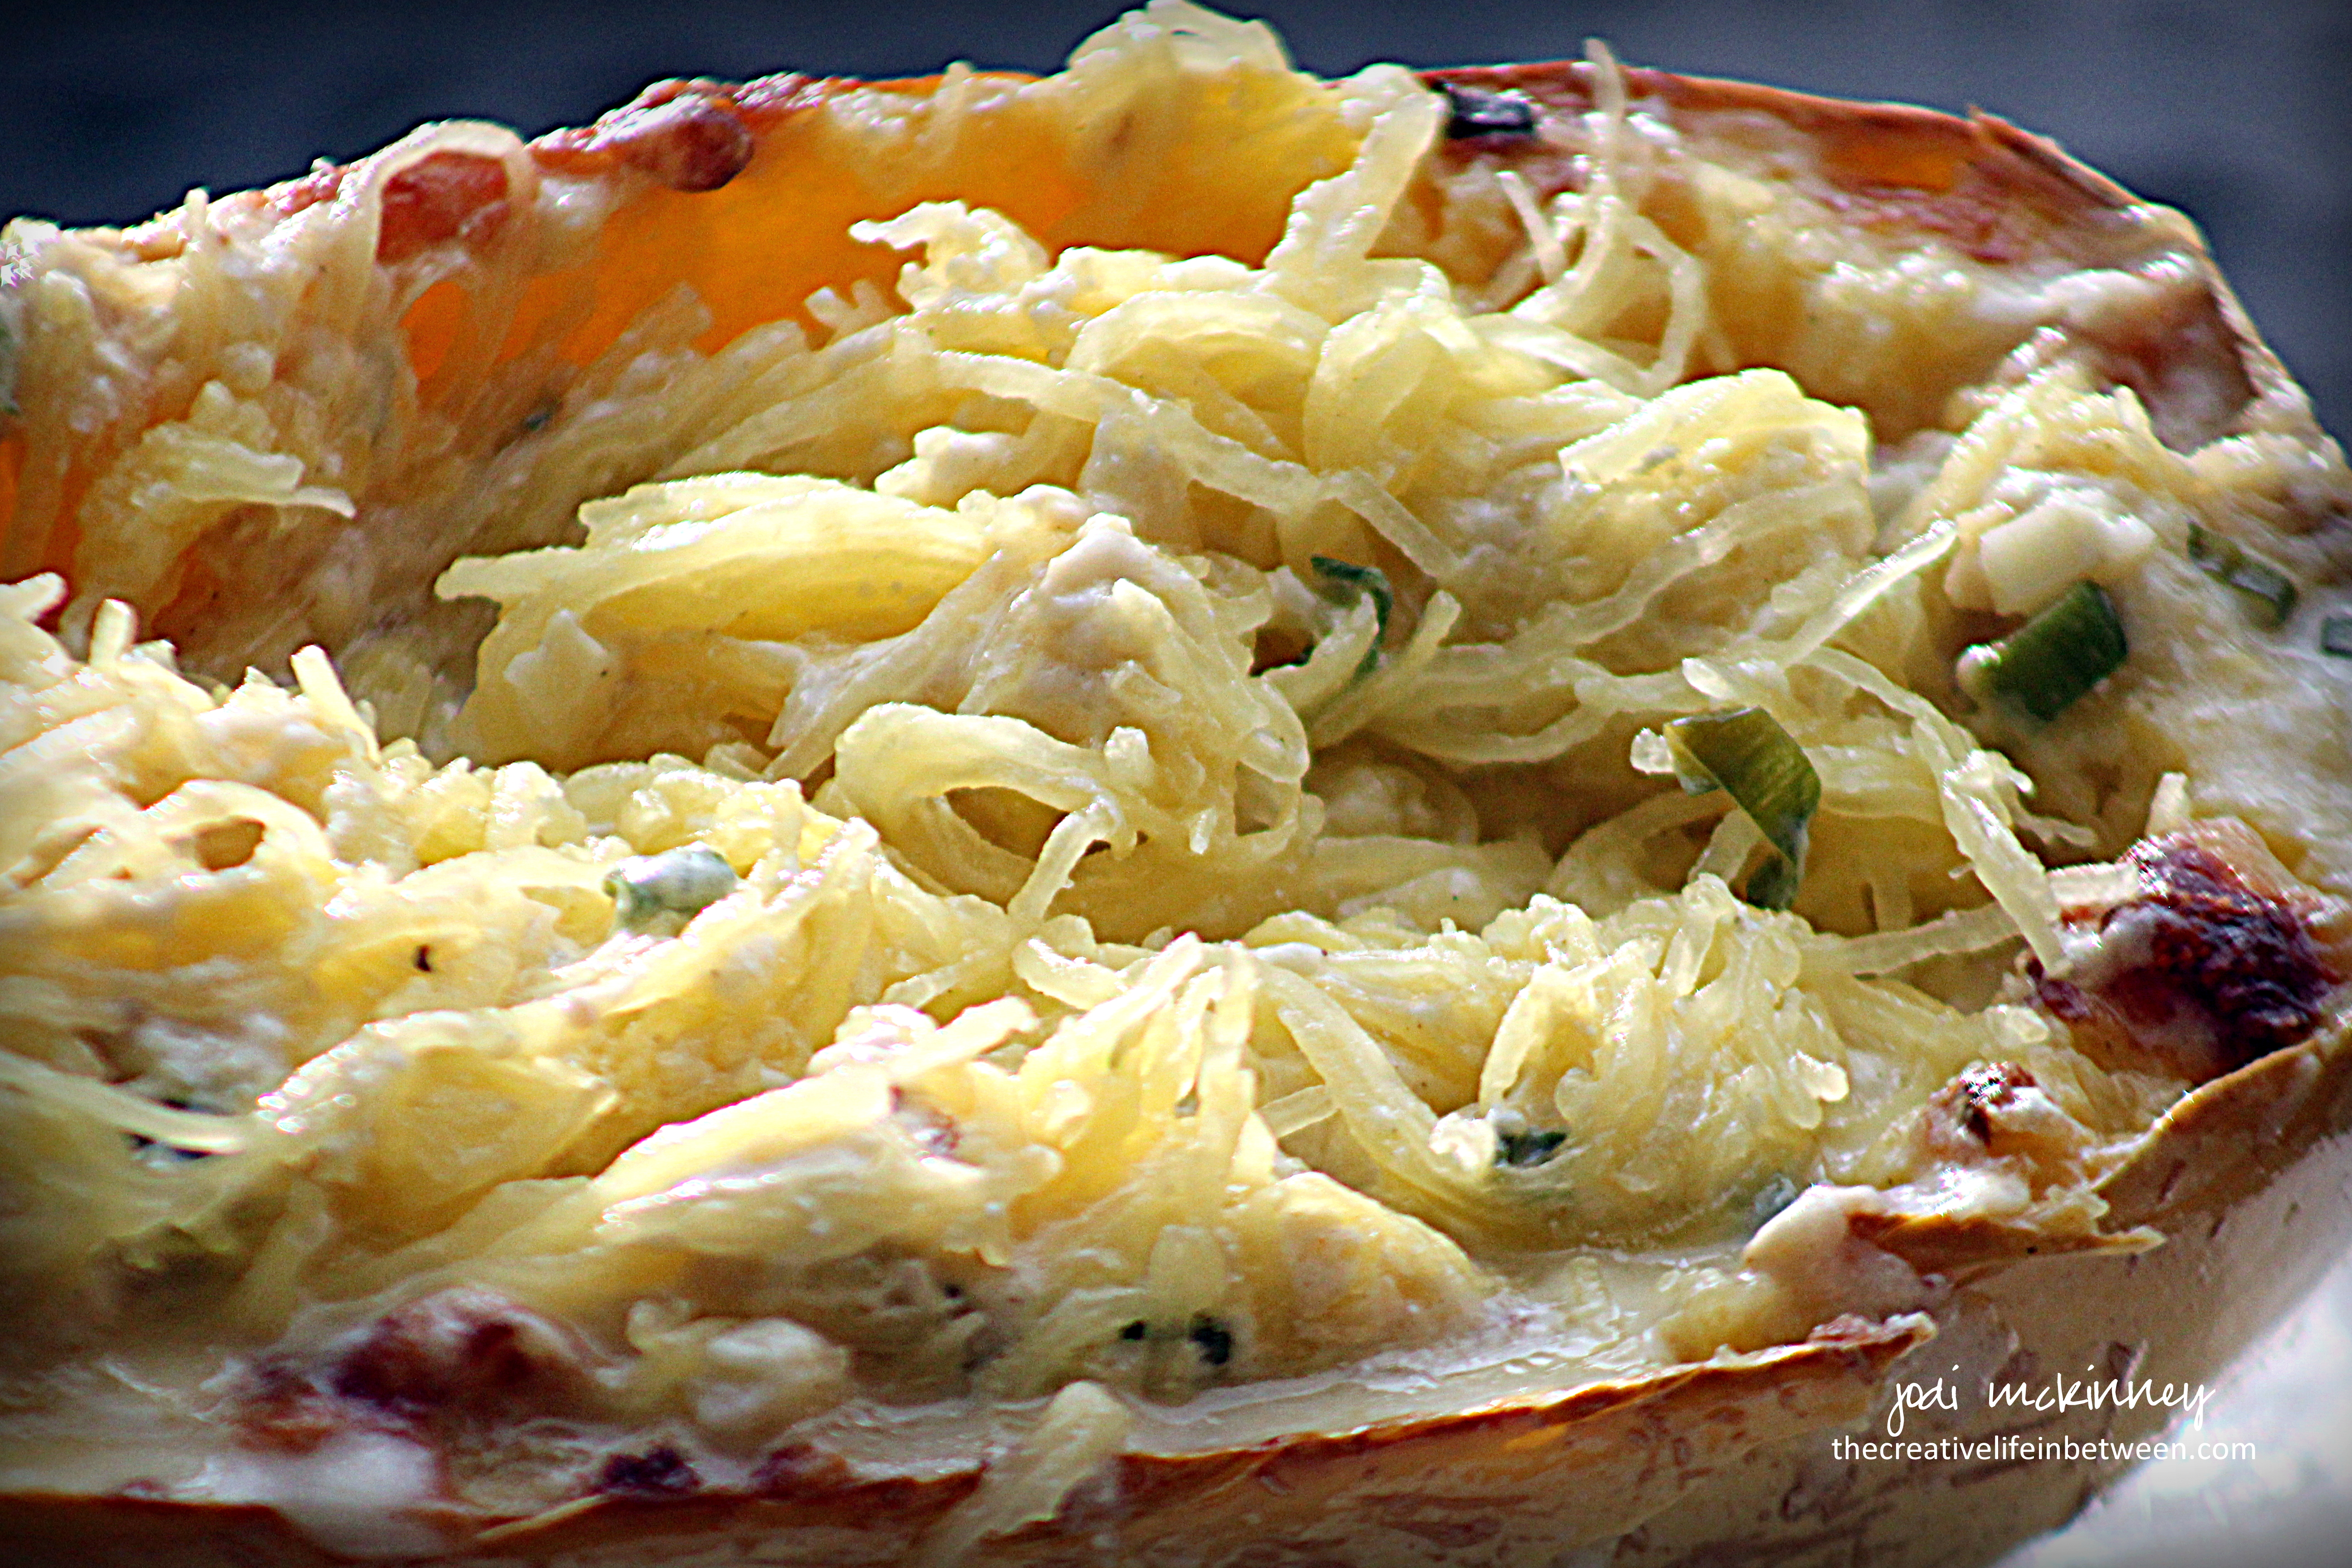
Sprinkle half of shredded cheese in the cavities of each halved squash.  Pour half of cream mixture into each squash half.  Top with remaining shredded cheese.

Roast for 40 mins, or until squash flesh is tender when poked with a fork.

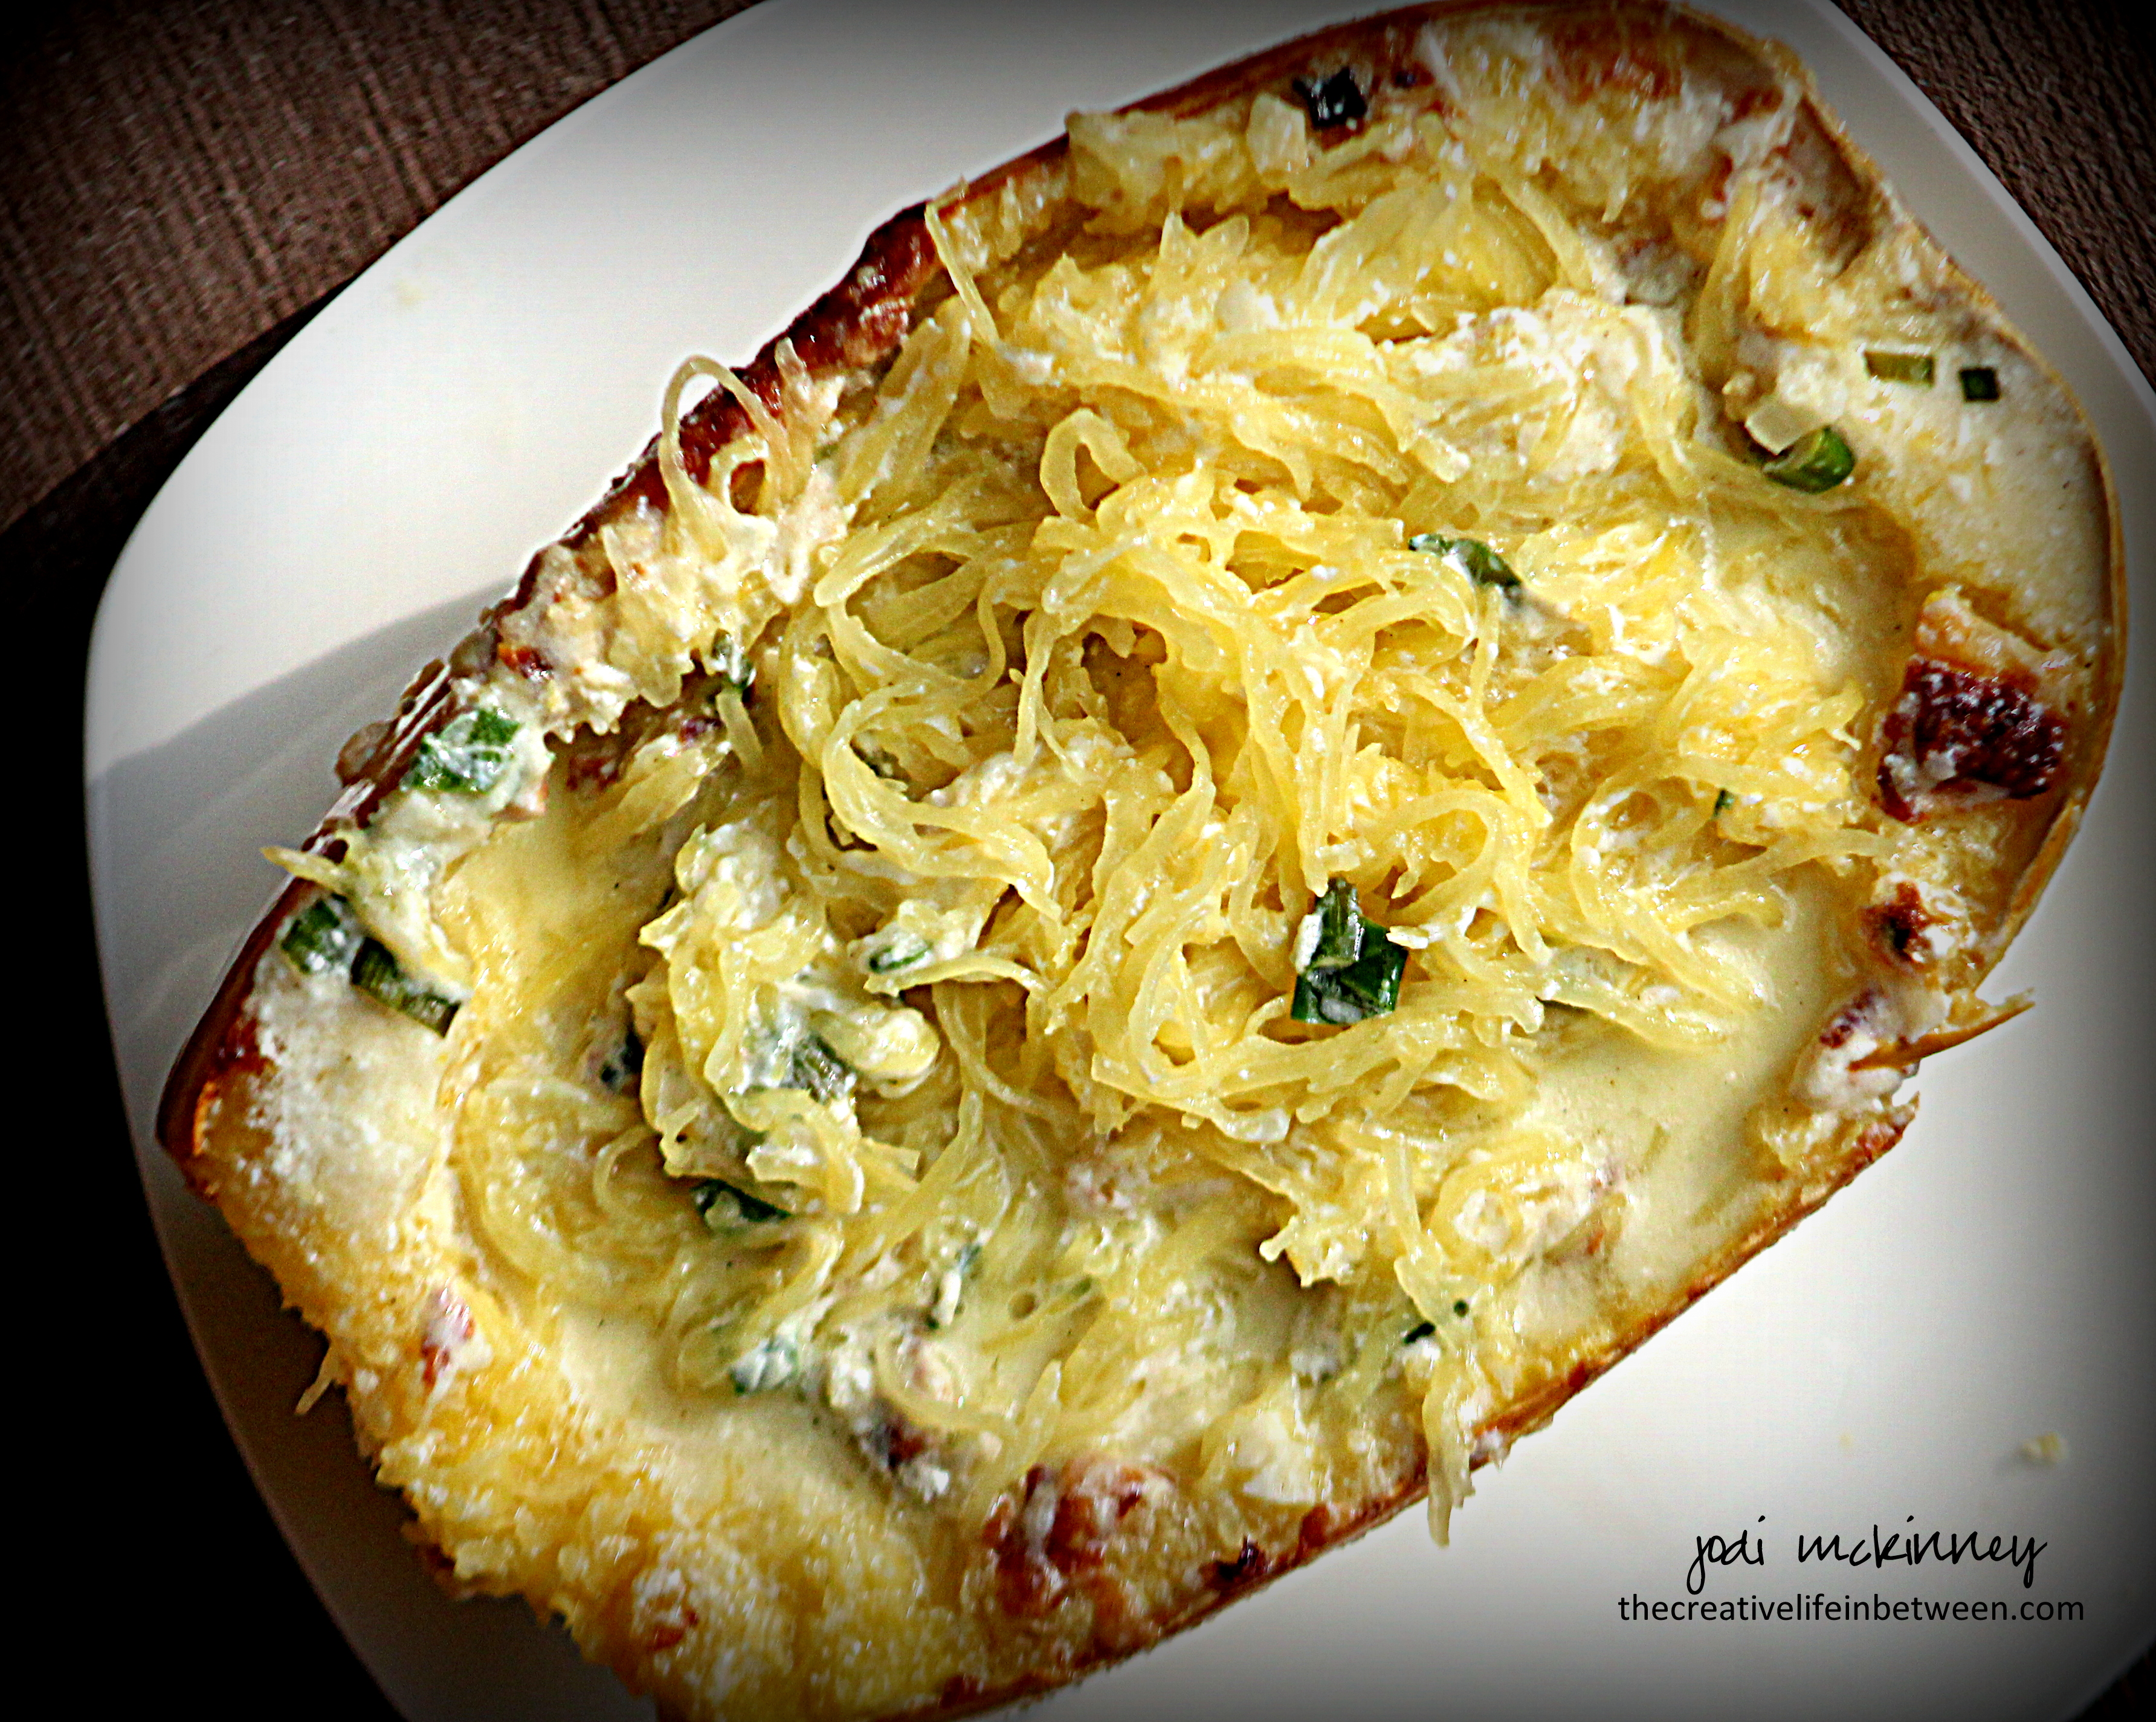
Remove from oven and carefully scrape squash from skin with a fork creating spaghetti “noodles.”  Mix well with cheese and cream, and serve immediately.

Enjoy!

Cheers & Hugs,
Jodi

Pumpkin Chili

Pumpkin Chili.

Autumn is the season for all things pumpkin!  (Can I get an “Amen?”)

So when a friend recently mentioned pumpkin chili, I just knew I had to try it.

I found a recipe online and tweaked it a bit.

And Oh My Pumpkin Lovin’ Heart!!!!!

Not only is this pot of comfort delicious, it is healthy and nutritious!  It’s chock full of veggies and ground turkey and chicken.  Pumpkin is heart healthy with fiber, potassium, and vitamin C.  Tomatoes provide the antioxidant lycopene, which has been linked to many health benefits, including reduced risk of heart disease and cancer. They are also a great source of vitamin C, potassium, folate and vitamin K.

A tub of this is being delivered today to a family near and dear to my heart who just welcomed a new baby (their second), along with some cornbread, so busy Mommy doesn’t have to worry.  Hoping big brother loves this as much as my granddaughter loved sampling all the ingredients that went into making this yesterday.

Give this yummy recipe a try, and let me know how you LOVE it.

Happy Pumpkin Season!

Pumpkin Chili

Ingredients

  • 1 lb ground turkey
  • 6 links (8 oz.) sweet apple with maple chicken sausage (or your fave), chopped
  • 1 sweet onion, chopped
  • 3 cloves garlic, minced
  • 1/3 cup chopped sweet red, orange, or yellow peppers
  • 2 16 oz. cans cannellini beans, drained and rinsed
  • 2 16 oz. cans pumpkin puree
  • 1 28 oz can crushed tomatoes
  • 1 16 oz can diced tomatoes
  • 2 cups chicken broth
  • 3 Tbsp. chili powder
  • 1 Tbsp. oregano
  • 1 tsp. cumin
  • 2 tsp. brown sugar
  • salt and pepper to taste
  • 4 Tbsp. olive oil

Garnishes (optional):  sour cream, shredded cheddar cheese, sliced green onions

Directions

In a large pot, heat 2 Tbsp. olive oil, and saute onion and garlic for 2 min.  Add peppers, and saute another 3-4 mins.  Remove from pot and reserve.

Add 2 more Tbsp. olive oil to pot, and brown ground turkey and chopped chicken sausage approx. 10 minutes.  Season with salt and pepper.

Add veggies back into pot, along with beans, pumpkin, tomatoes, chicken broth, and spices.  Stir well.

Lower heat, cover pot, and simmer for 1 1/2 – 2 hours, stirring occasionally.

To serve, garnish (if desired) with a dollop of sour cream, shredded cheddar cheese, and sliced green onions.

Enjoy!

Cheers & Hugs,
Jodi

Spinach & Goat Goat Cheese Stuffed Pork Chops

Spinach and Goat Cheese Stuffed Pork Chops.

It is taking me a while to learn to cook for just two since becoming “empty” nesters.  Lately, it seems, we order in, go out, eat simple, or eat leftovers for days and days and days when I do cook.

I still try to make a nice meal on Sunday, even if it is just the two of us.  This past Sunday, I decided to make stuffed pork chops with a pack of (just two!) beautifully thick, center cut Iowa Chops I had picked up.

Instead of the usual bread stuffing, though, I wanted to do something different.  So after perusing the web and finding a number of interesting combinations, I came up with a combination of fresh iron-rich spinach, creamy goat cheese, garlic to kick it up, and ruby red roasted red peppers for their beautiful color and flavor.


It made a beautiful, delicious, and healthier stuffing for our chops, and I served them on a bed of zoodles (spiral cut zucchini noodles).

How do you like to stuff your chops?!  Hope you’ll give this version a try.  Simply double or triple depending on how many you are cooking for if you are fortunate enough to be serving a crowd.

Spinach and Goat Cheese Stuffed Pork Chops

Ingredients

  • 2 thick boneless Pork Chops (I used Iowa Chops*)
  • 1 Tbsp. Olive Oil
  • 1 Tbsp. Butter
  • 2 cups fresh Spinach
  • 1 Roasted Red Pepper, chopped
  • 1/3 cup goat cheese
  • 2 cloves garlic, minced
  • 1/2 cup Panko bread crumbs
  • 1/2 tsp. dried basil
  • 1/2 tsp. dried oregano
  • 1/2 tsp. dried parsley
  • 1/2 tsp. seasoned salt


Directions

Steam spinach in microwave with 1 Tbsp. water for 1 minute on High until wilted.  Drain, and squeeze water out.  Add chopped roasted red peppers, minced garlic, and goat cheese.  Stir to combine.

Cut a slit in each pork chop to create a pocket, being careful not to cut through to other side.

Spoon half of spinach mixture into the pocket of each pork chop.

Mix breadcrumbs, basil, oregano, parsley, and seasoned salt in shallow dish.  Press stuffed pork chops  on both sides into the bread crumb mixture to coat.

Heat oil and butter in skillet over medium/high heat.  Add pork chops, and cook 4-5 minutes until nicely browned.  Flip over and brown on other side until now longer pink in the middle.  (If chops are extremely thick, you may want to put chops in preheated 375 degree oven for an additional 10 minutes once browned.)

*Iowa Chops:  The notorious “Iowa Chop” is a seriously thick and succulent pork chop cut from the lower back of the hog just behind the rib.   The thickness (1.25-1.5 inches) of this chop led it to be coined “The Iowa Chop” in the 1980’s by the Iowa Pork Producers Association.

Enjoy!

Cheers & Hugs,
Jodi

(P.S. If you are a subscriber and seeing this twice, sorry for the inconvenience!  I somehow scheduled it to publish in an incomplete state last evening, so have updated.  Thanks for reading!)

The BEST Summer Sammie

Fresh Tomato and Basil Sandwich - Best Summer Sammie

Fresh Tomato and Basil Sandwich – Best Summer Sammie

The BEST Summer Sammie.

My tomatoes
are FINALLY
ripening!

We planted
a bit late
this year.

But
it was well worth
the wait.

I can now
eat my FAVORITE
summer sammie…

For breakfast,
lunch,
or dinner!

Fresh tomato slices,
fresh sweet basil,
and toasted ciabatta slathered with mayo.

Who needs a burger?
Who needs a dog?
When these rubies and golds have finally arrived!

Cheers & Hugs,
Jodi


Zucchini Pizza Casserole

Zucchini Pizza Casserole.

Are you enjoying the abundance of garden fresh zucchini squash in new and creative ways?

There are oodles of zoodles.  There are breads and brownies.  There are soups and sticks,  fries and fritters  and frico.  There are even planks and boats.

Well – here’s one that is sure to be a crowd pleaser.  It is Hubby tested and two thumbs up approved here!

A version of this recipe was recently posted by a friend on Facebook in one of those hyperlapse videos that make everything look easy.  And in this case, it was!

This is a wonderfully delicious, cheesy, gluten-free, low-carb way to get your protein and veggies all in one wonderful casserole.

Serve it with a fresh green salad, and you will be all set.

We really, really, really loved this, and it made enough that we’ll be happily enjoying it for a few days!

Give it a try, and let me know if you like it as much as we did.

Zucchini Pizza Casserole*

Ingredients:

  • 4 cups shredded zucchini (do not peel)
  • 2 eggs
  • 1 cup freshly shredded Parmesan cheese
  • 1 cup shredded cheddar cheese
  • 1 lb fresh Mozzarella cheese, sliced thinly
  • 1 lb ground beef or turkey
  • 1 medium onion, chopped
  • 2 cloves garlic, minced
  • 1 (15oz.) jar of your favorite pizza or tomato sauce
  • 1 medium sweet red, yellow, orange, or green pepper, chopped
  • Salt and Pepper
  • 2-4 leaves fresh basil, chopped

Directions:

Preheat oven to 400 degrees F.  Place grated zucchini in a colander, sprinkle with about  1 tsp salt.  Let set for 10 minutes.  Squeeze out water.

In medium bowl, combine zucchini, eggs, 1/2 cup Parmesan, and 1/2 cup cheddar cheese.  Mix well and press into a greased 13×9″ baking dish.  Top with half of the mozzarella cheese slices.  Bake for 20 minutes.

While that is baking, brown ground beef or turkey with onion and garlic, and salt and pepper in a large saucepan.  Add pizza or tomato sauce, and stir well.

Spoon meat mixture over top of baked zucchini mixture.  Top with remaining 1/2 cup Parmesan, 1/2 cup cheddar, sliced mozzarella and chopped peppers.  Sprinkle with chopped basil.  Bake for 20 more minutes until browned and bubbly.

Let stand for 5-10 minutes before serving.

Enjoy!

Cheers & Hugs,
Jodi

*Slightly adapted from Taste of Home.

Homemade Dark Sweet Cherry & Basil Sorbet

Homemade Dark Sweet Cherry and Basil Sorbet.

What could be more refreshing on a hot August day than deliciously creamy sorbet?!

And who knew how easy it is to make?

No special equipment needed.
Simple ingredients.
Gourmet flavor!

You simply make a simple syrup from water and sugar and blend with fresh fruit (and herbs if you like).

I made mine yesterday with fresh sweet dark cherries and a hint of fresh basil, but imagine all the possibilities!  Cantaloupe, Raspberry, Blackberry, Blueberry, Pear, Watermelon, Honeydew, Pineapple, Kiwi, Mango…….  Maybe a  leaf or two of mint instead of basil.  Maybe a sprig of rosemary.  Maybe no herbs.  A dash of fresh lemon or lime juice would add a lovely kick.

Here is the recipe for this simple, refreshing, indulgence.

Homemade Dark Sweet Cherry and Basil Sorbet

Ingredients:

  • 1 cup water
  • 1 cup sugar
  • 2 fresh basil leaves
  • 4 cups pitted dark sweet cherries

Directions:

Make simple syrup by boiling water and sugar for 2-3 minutes in small saucepan until sugar is dissolved.  Remove from heat, and add basil leaves.  Pour syrup into a small glass bowl or measuring cup and refrigerate approximately 1 hour until cooled.  Remove and discard basil leaves.

Place cherries in a blender.  Pour simple syrup over cherries.  Blend on high until cherries are fully blended into syrup and no chunks remain.  Pour into glass 9×13 dish and place in freezer.  After one hour, stir with spoon from outside edges to center and mash together.  Repeat after two hours.

Remove from freezer and place sorbet in blender again.  Blend on high until consistency is creamy.  Pour back into glass dish and place in freezer for another 2 hours or until ready to serve.  Scoop out with ice cream scoop or spoon.

Enjoy!

Cheers & Hugs,
Jodi

S’Mores Cookies

S’Mores Cookies.

It’s been a tough week.
Have you been feeling it too?

It’s time to have some fun!

And what s’more fun than homemade cookies?

Especially when they are loaded with milk chocolate and graham crackers and tiny bits of marshmallow yumminess?

It was s’more fun to take my go-to chocolate chip cookie recipe and give it a s’mores twist.

Are you going to make s’more?
Hope you think they are s’more fun and delicious!

S'Mores Cookies

Ingredients:

4 sticks (1 lb.) butter, softened
1 1/2 cups packed brown sugar
1 1/2 cups white granulated sugar
2 tsp vanilla
4 eggs
2 tsp baking soda
2 tsp salt
5 cups all purpose flour
6 1.55 oz Hershey’s milk chocolate candy bars, coarsely chopped
6 honey graham crackers, coarsely chopped
1 cup mini dehydrated marshmallows

Directions:

With electric mixer, beat butter and sugar together until completely incorporated. Add vanilla and eggs, and beat until light and fluffy. Add baking soda and salt, and mix another minute. Gradually add flour and beat until well incorporated, but do not overbeat.

Fold in 4 of the coarsely chopped Hershey’s bars, 4 of the coarsely chopped graham  crackers, and 3/4 cup of the mini dehydrated marshmallows.  Refrigerate dough for at least 2 hours or up to 2 days.

When ready to bake, preheat oven to 375 degrees F. With your hands, form a cookie dough ball about 1-1/2 inches in diameter.  Place on baking stone. Decorate tops of cookies with reserved candy, graham crackers, and marshmallows.  Bake for 8-10 minutes. Do not overbake. Allow to cool on baking stone for 5-6 minutes, then remove to cooling rack to cool completely.

S’more Cheers & Hugs,
Jodi


Homemade Old-Fashioned Glazed Donuts

Homemade Old-Fashioned Glazed Donuts!

Seriously…….
could anything be more decadently delish?!

A tender ring of fried sweet dough
drenched in a glorious glaze?

I couldn’t resist making these,
and they did not disappoint.

Every once in a great while,
I allow myself to be treated to a donut….
a wickedly wonderful waste of calories.

But since it is only Hubby and me at home,
a dozen donuts AND holes
are way too much sugary goodness!

So after enjoying one each
(and a few holes – which are completely calorie free  – right?)
I shared the rest.

That really is my joy in baking…
giving it away.

Hopefully creating a brief smile…
a tiny treat or surprise for a loved one or friend.

These are soooooo worth making!
They are easy and quick to make.

I hope you will treat yourself and those you love!

Homemade Old-Fashioned Glazed Donuts

Ingredients:

  • 2 1/4 cup  cake flour  (no cake flour?  no problem!  make it easily by the cupful – take one level cup of all-purpose flour, remove two tablespoons, and then add two tablespoons of cornstarch back in)
  • 1 1/2 tsp. baking powder
  • 1 tsp. salt
  • 1/2 tsp. ground nutmeg
  • 1/2 cup  sugar
  • 2 Tbsp. butter, room temperature
  • 2 large egg yolks
  • 1/2 cup  sour cream or Greek yogurt
  • Canola oil, for frying

For the glaze:

  • 3 1/2 cup  powdered sugar
  • 1 1/2 tsp. corn syrup
  • 1/4 tsp. salt
  • 1/2 tsp. vanilla extract
  • 1/3 cup hot water

Directions:

In a bowl, combine flour, baking powder, salt, and nutmeg.

In the bowl of a stand mixer, beat butter and sugar together until sandy. Add egg yolks, and mix until light and thick. Add dry ingredients to the mixing bowl in 3 additions, alternating with the sour cream, ending with the flour.  Cover with plastic wrap and chill for 1 hour.

On a floured surface, roll dough out to about 1/2 inch thickness. Use a donut cutter to cut out approximately 12 donuts and holes.

Pour 2 inches of canola oil into a heavy bottomed pot with a thermometer attached. Heat to 325°F.  Fry donuts a few at a time, being careful not to overcrowd the pot. Fry on each side about 2 minutes, being careful not to let them burn. Let drain on a paper bag to soak up the excess grease.

For the glaze:

Mix all ingredients in a bowl with a whisk until smooth.  Dip each donut into the glaze. Place on a wire rack above a sheet of waxed paper to catch any excess glaze. Let sit for 20 minutes until glaze is set.

Best served the day they are made, but may be stored in an air tight container at room temperature for a few days.

Cheers & Sugary Sweet Hugs,
Jodi

Recipe found at:  Huffington Post’s “The Greatest Homemade Doughnut Recipes You’ll Ever Find.


Fresh Red Raspberry & Blueberry Pie

Fresh Red Raspberry & Blueberry Pie.

Are you looking for an amazing fruit pie that is tart and sweet and bursting full of fresh fruits of the season?

I haven’t baked a pie in a while, so I thought it was high time I treated hubby to something he would love being that it is Father’s Day weekend and all.

He would choose pie over cake or cookies approximately 99.5 times out of 100 – conservatively speaking.

I had some fresh red raspberries and some fresh blueberries in the fridge, but not enough of either to make a whole pie, so I decided to try combining the two into one pie.

I researched some recipes and then decided to combine things I liked about different ones into my own creation – including using tapioca instead of cornstarch as the thickening agent for this pie.  Grandma always used tapioca in her berry pies, so there is no other way in my book!

This pie turned out perfectly thickened and so full of fresh berry flavors.  It was a complete hit with Hubby – especially when topped with a melting scoop of vanilla bean ice cream.

If you are looking for a new twist on berry pie, I hope you’ll give this recipe a try!

Fresh Red Raspberry & Blueberry Pie

Ingredients:

  • Double recipe for Pie Crust
  • 2 cups fresh red raspberries
  • 2 cups fresh blueberries
  • 1 cup + 1 Tbsp. white sugar
  • 1/4 cup tapioca
  • 1 Tbsp. flour
  • 2 tsp. freshly grated lemon peel
  • 1 tsp. vanilla extract of paste
  • 1/2 tsp. cinnamon
  • 1 Tbsp butter
  • 1 Tbsp. milk or water

Directions:

Preheat oven to 400 degrees F.

Line a 9 inch pie plate with bottom pastry.

In a bowl, combine berries, 1 cup sugar, tapioca, flour, lemon peel, vanilla, and cinnamon.  Gently stir, and pour into pastry lined pie plate.

Top with remaining pie crust cut and wove into lattice.

Brush with milk or water, and sprinkle with remaining 1 Tbsp. sugar.

Bake at 400 degrees F for 45-50 minutes or until crust is golden brown and filling is bubbly.

Enjoy!

Cheers & Hugs,
Jodi

Roasted Potatoes and Fennel

Roasted Potatoes and Fennel

Recipes like this one I am sharing today are ones where I really wish I had the ability to share “smell-a-blogavision!”

The amazing aroma that filled my kitchen and nose when I roasted this fennel and potato recipe is too divine for words.  Seriously!

So after the euphoria of the fragrance faded, and I began typing this post, I was trying to find a word worthy to describe it.  It was THAT amazing!

In my “research,” I found that fennel is actually used as an essential oil and  in aromatherapy.  Well…. there you have it!  I was not kidding about how awesome it smelled!  Apparently, sweet fennel essential oil helps nourish and restore an optimal mind and outlook. It is believed to bring strength and courage in the face of adversity.

Have you cooked much with fennel?  Besides smelling like heaven, it has great health benefits too.  It is wonderfully crunchy and sweet when served raw  in salads or silky and succulent when roasted or braised.  It has an interesting licorice-like flavor.

Now… before those of you who are not licorice fans skip over this recipe….. STOP!  You have to give it a try!

When you roast this amazing celery-like root vegetable…. O. M. G!    I don’t have the words for the amazingness.

Mixed with some simple sliced potatoes and seasoning, it makes for a simply glorious addition or highlight to your dinner.

We had ours with some grilled chicken and a simple cucumber and tomato vinaigrette salad one day last week.

I will be making this again and again.  I adore it!  Hope you do too!

Roasted Potatoes and Fennel

Ingredients:

  • 4-6 small/medium potatoes (I used Yukon golds), sliced into 1/4 inch slices
  • 1 large fennel bulb, cut in half and sliced into 1/4 inch slices
  • 2 Tbsp olive oil
  • Salt and freshly ground pepper to taste
  • 2 Tbsp finely chopped fresh rosemary

Directions:

Preheat oven to 425 degrees F.  Spread sliced potatoes and fennel in an even layer on a stoneware baking dish or baking pan.  Drizzle with the olive oil, and season with salt, pepper and rosemary.  Roast approximately 40 minutes, tossing 2-3 times during roasting, until golden brown and tender.

Enjoy!

Cheers & Hugs,
Jodi