Healthy and Oh So Yummy Italian Spaghetti Squash

spaghetti squash 1

I know I often post yummy cookie and dessert recipes (and do I ever have an amazing Cinnamon Chip Brown Sugar Cookie recipe I will be posting later this week that I think has become my ALL TIME FAVORITE cookie ever!  Get READY cinnamon lovers!)…

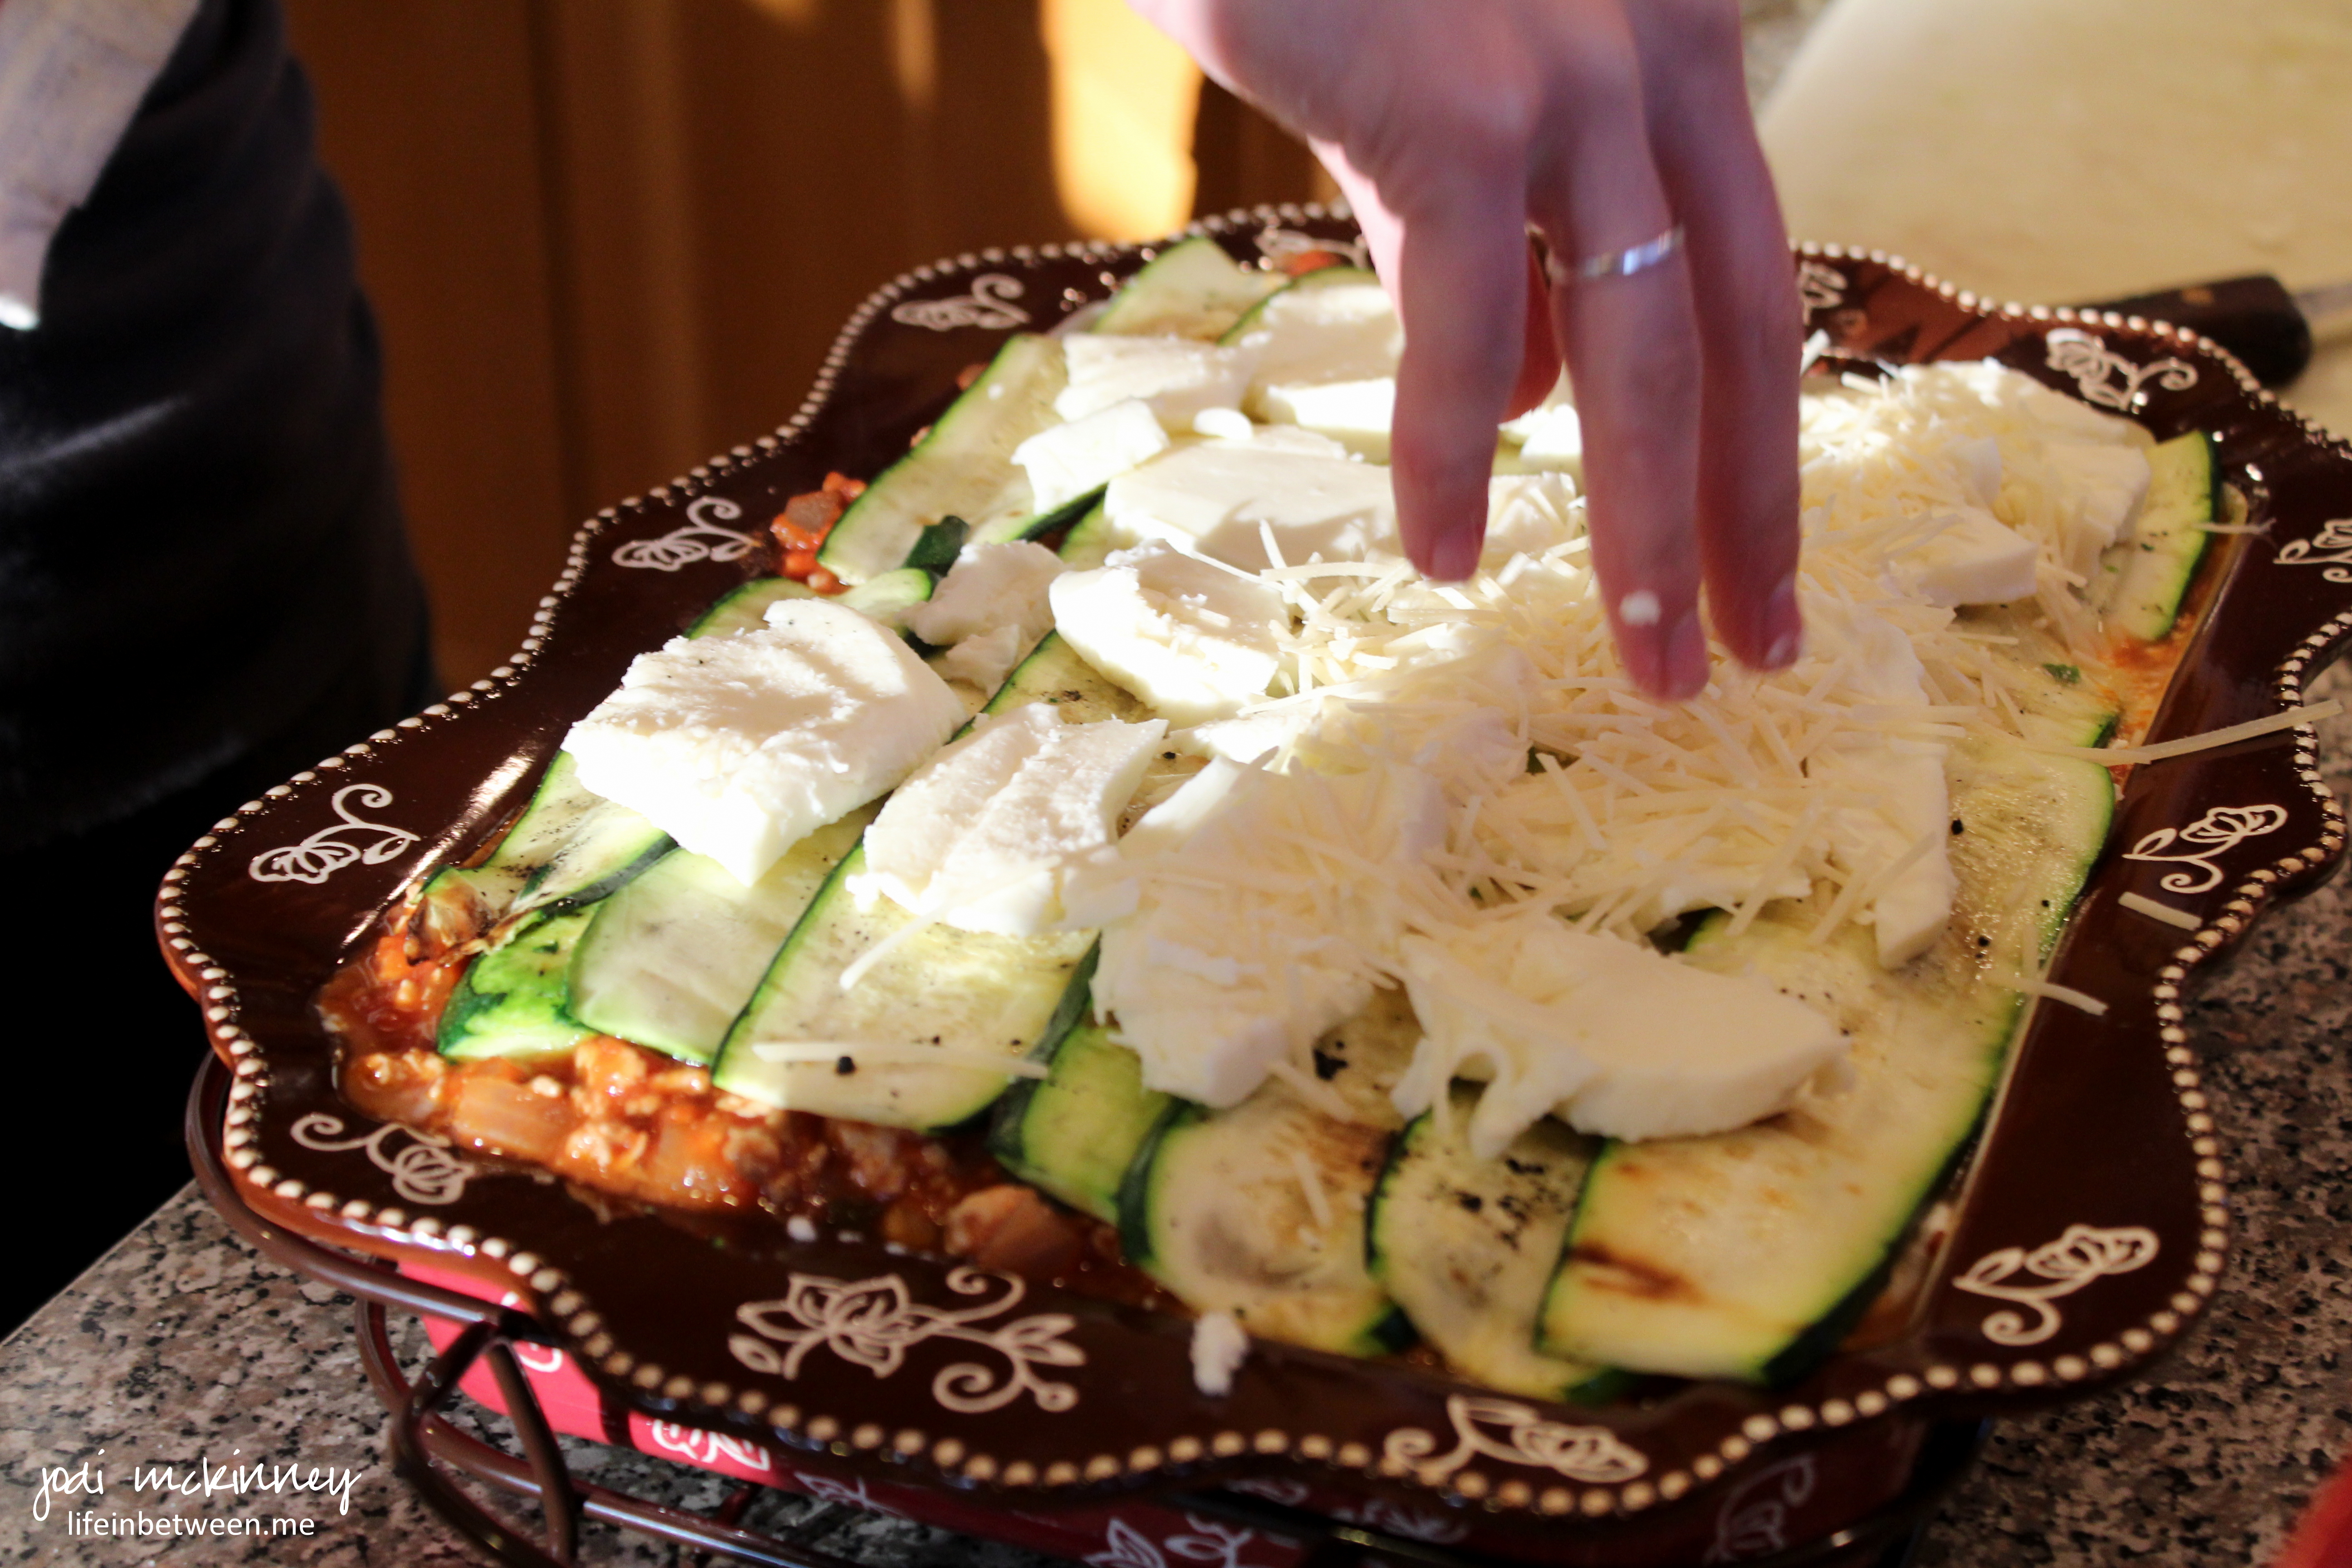
But I had to share this amazingly delicious, totally healthy, guilt-free recipe for SQUASH (of all things squash!) that has even won over hubby and son despite it’s “healthiness!”  Yahoo!

spaghetti squash 2

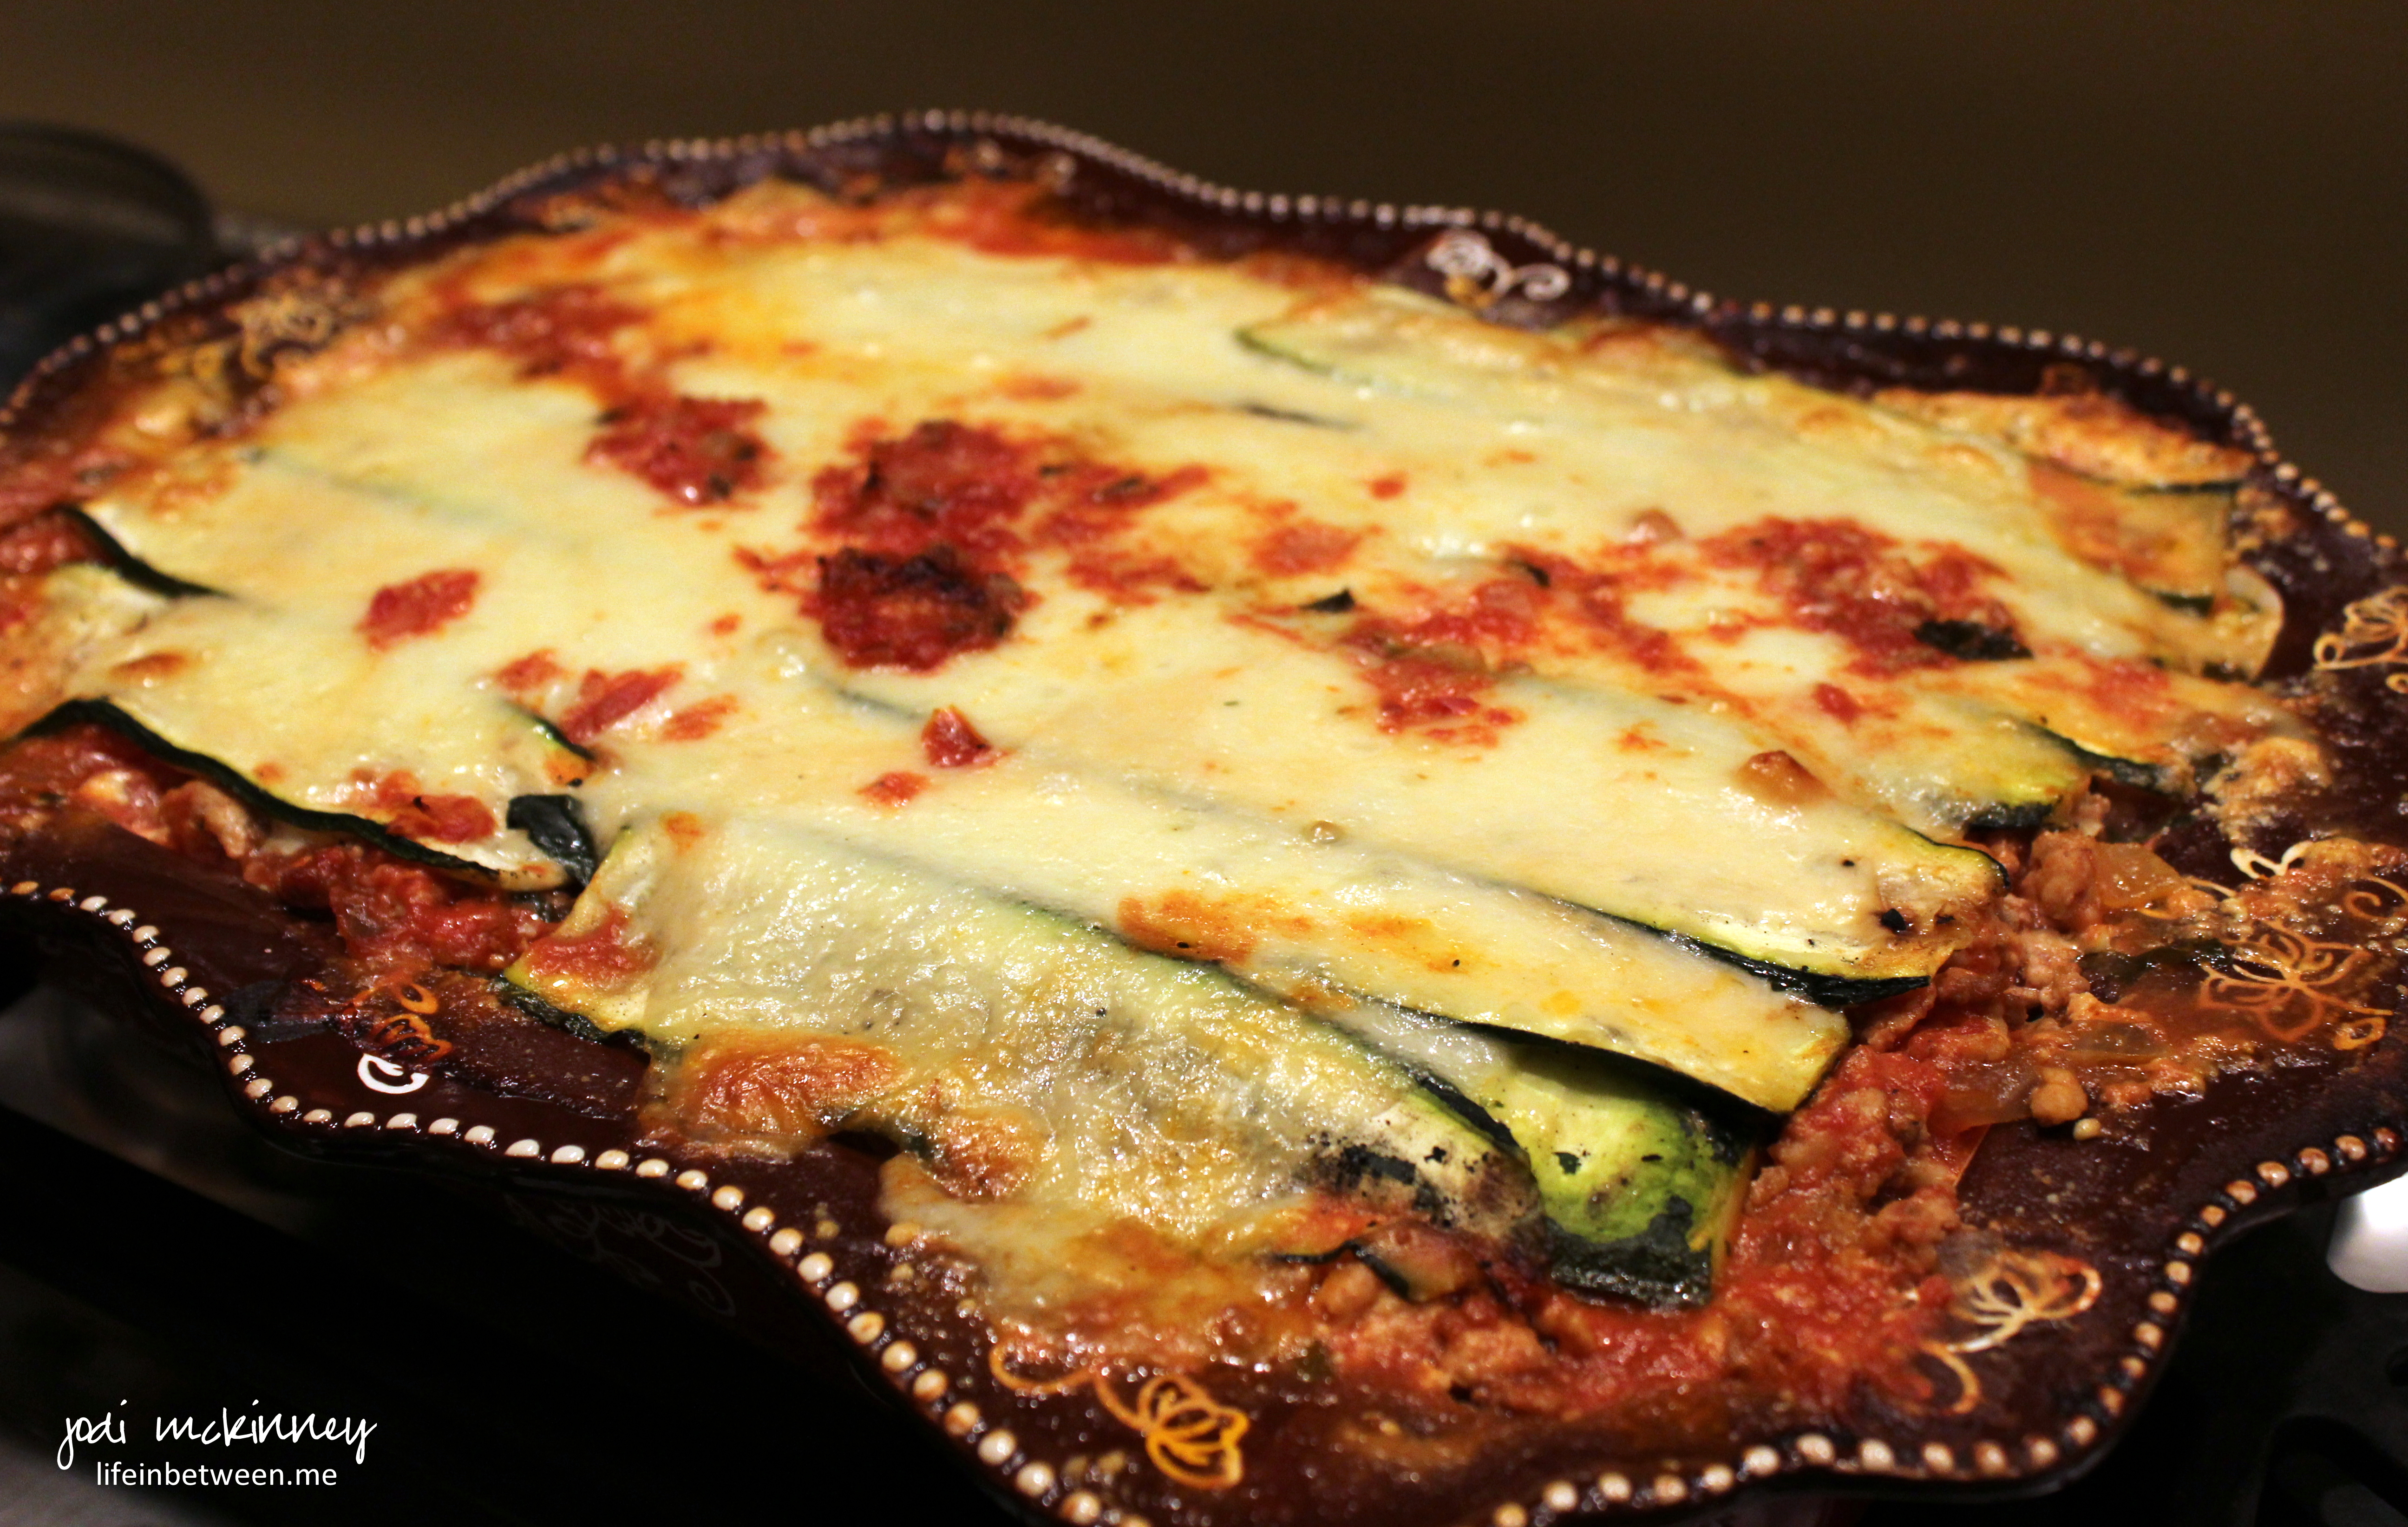
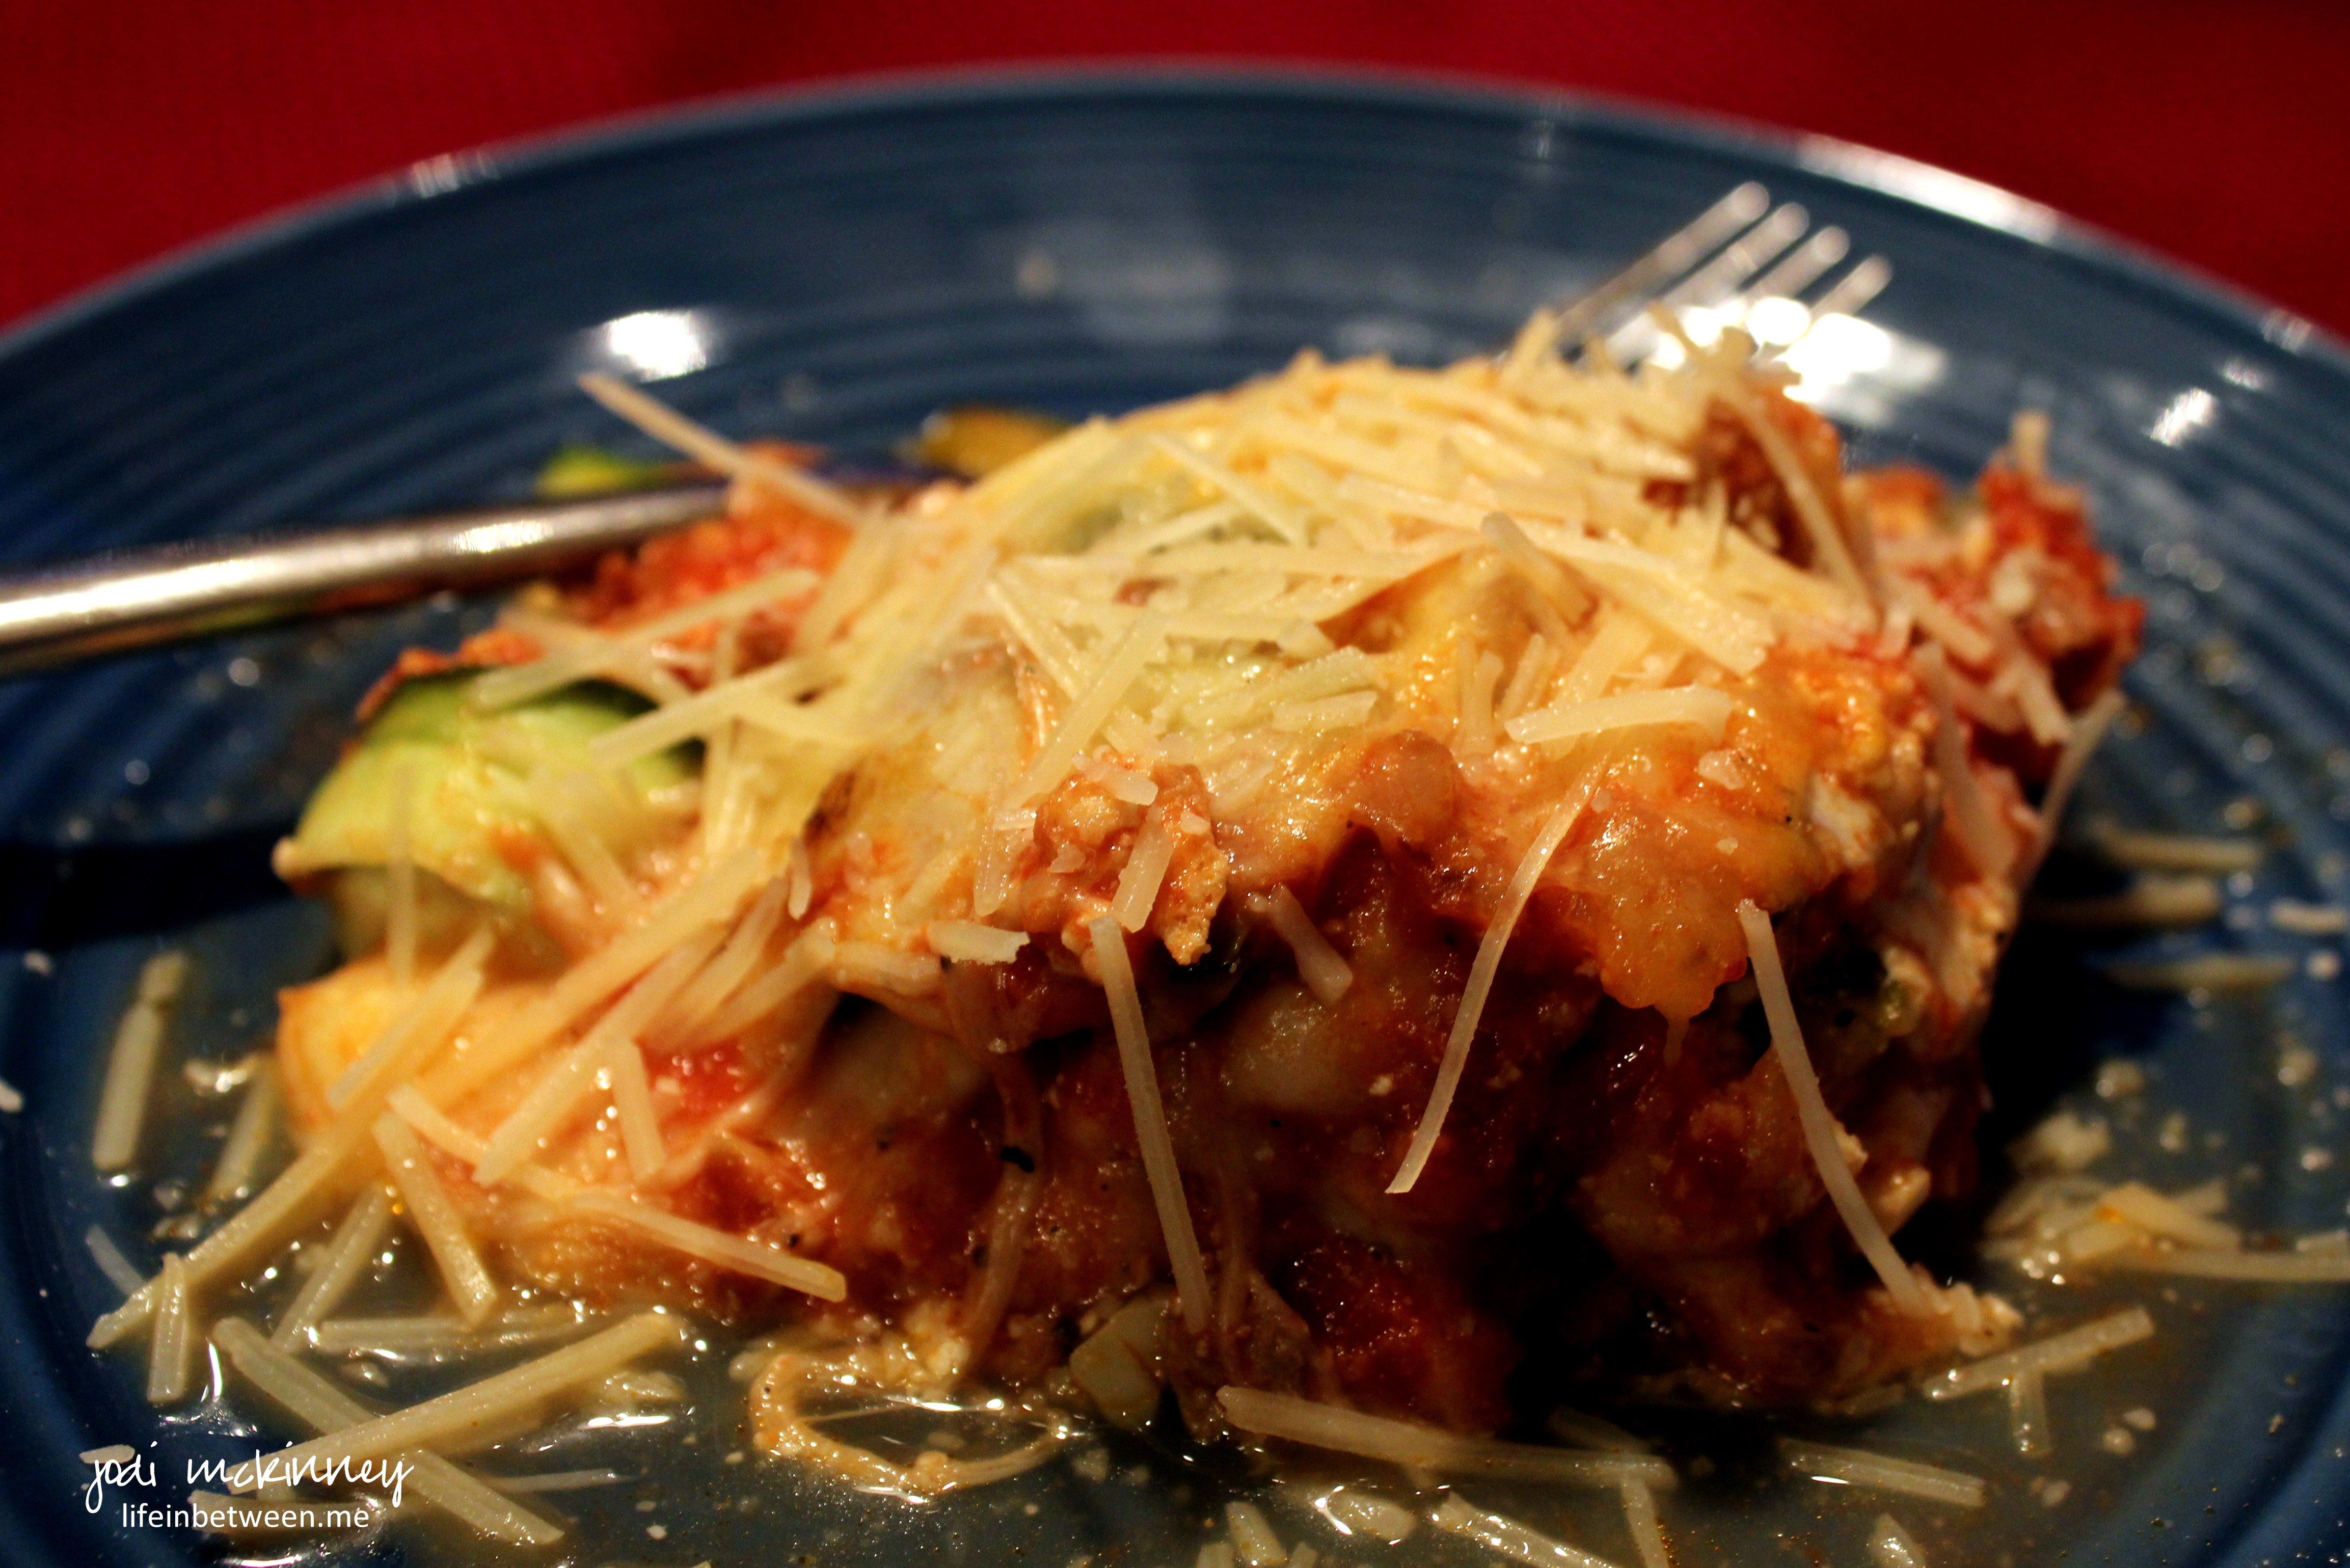
It is spaghetti squash – Italian style, and it barely has any calories despite it’s full-flavor and filling-ness.  You can eat oodles of this and not feel a bit guilty!

spaghetti squash

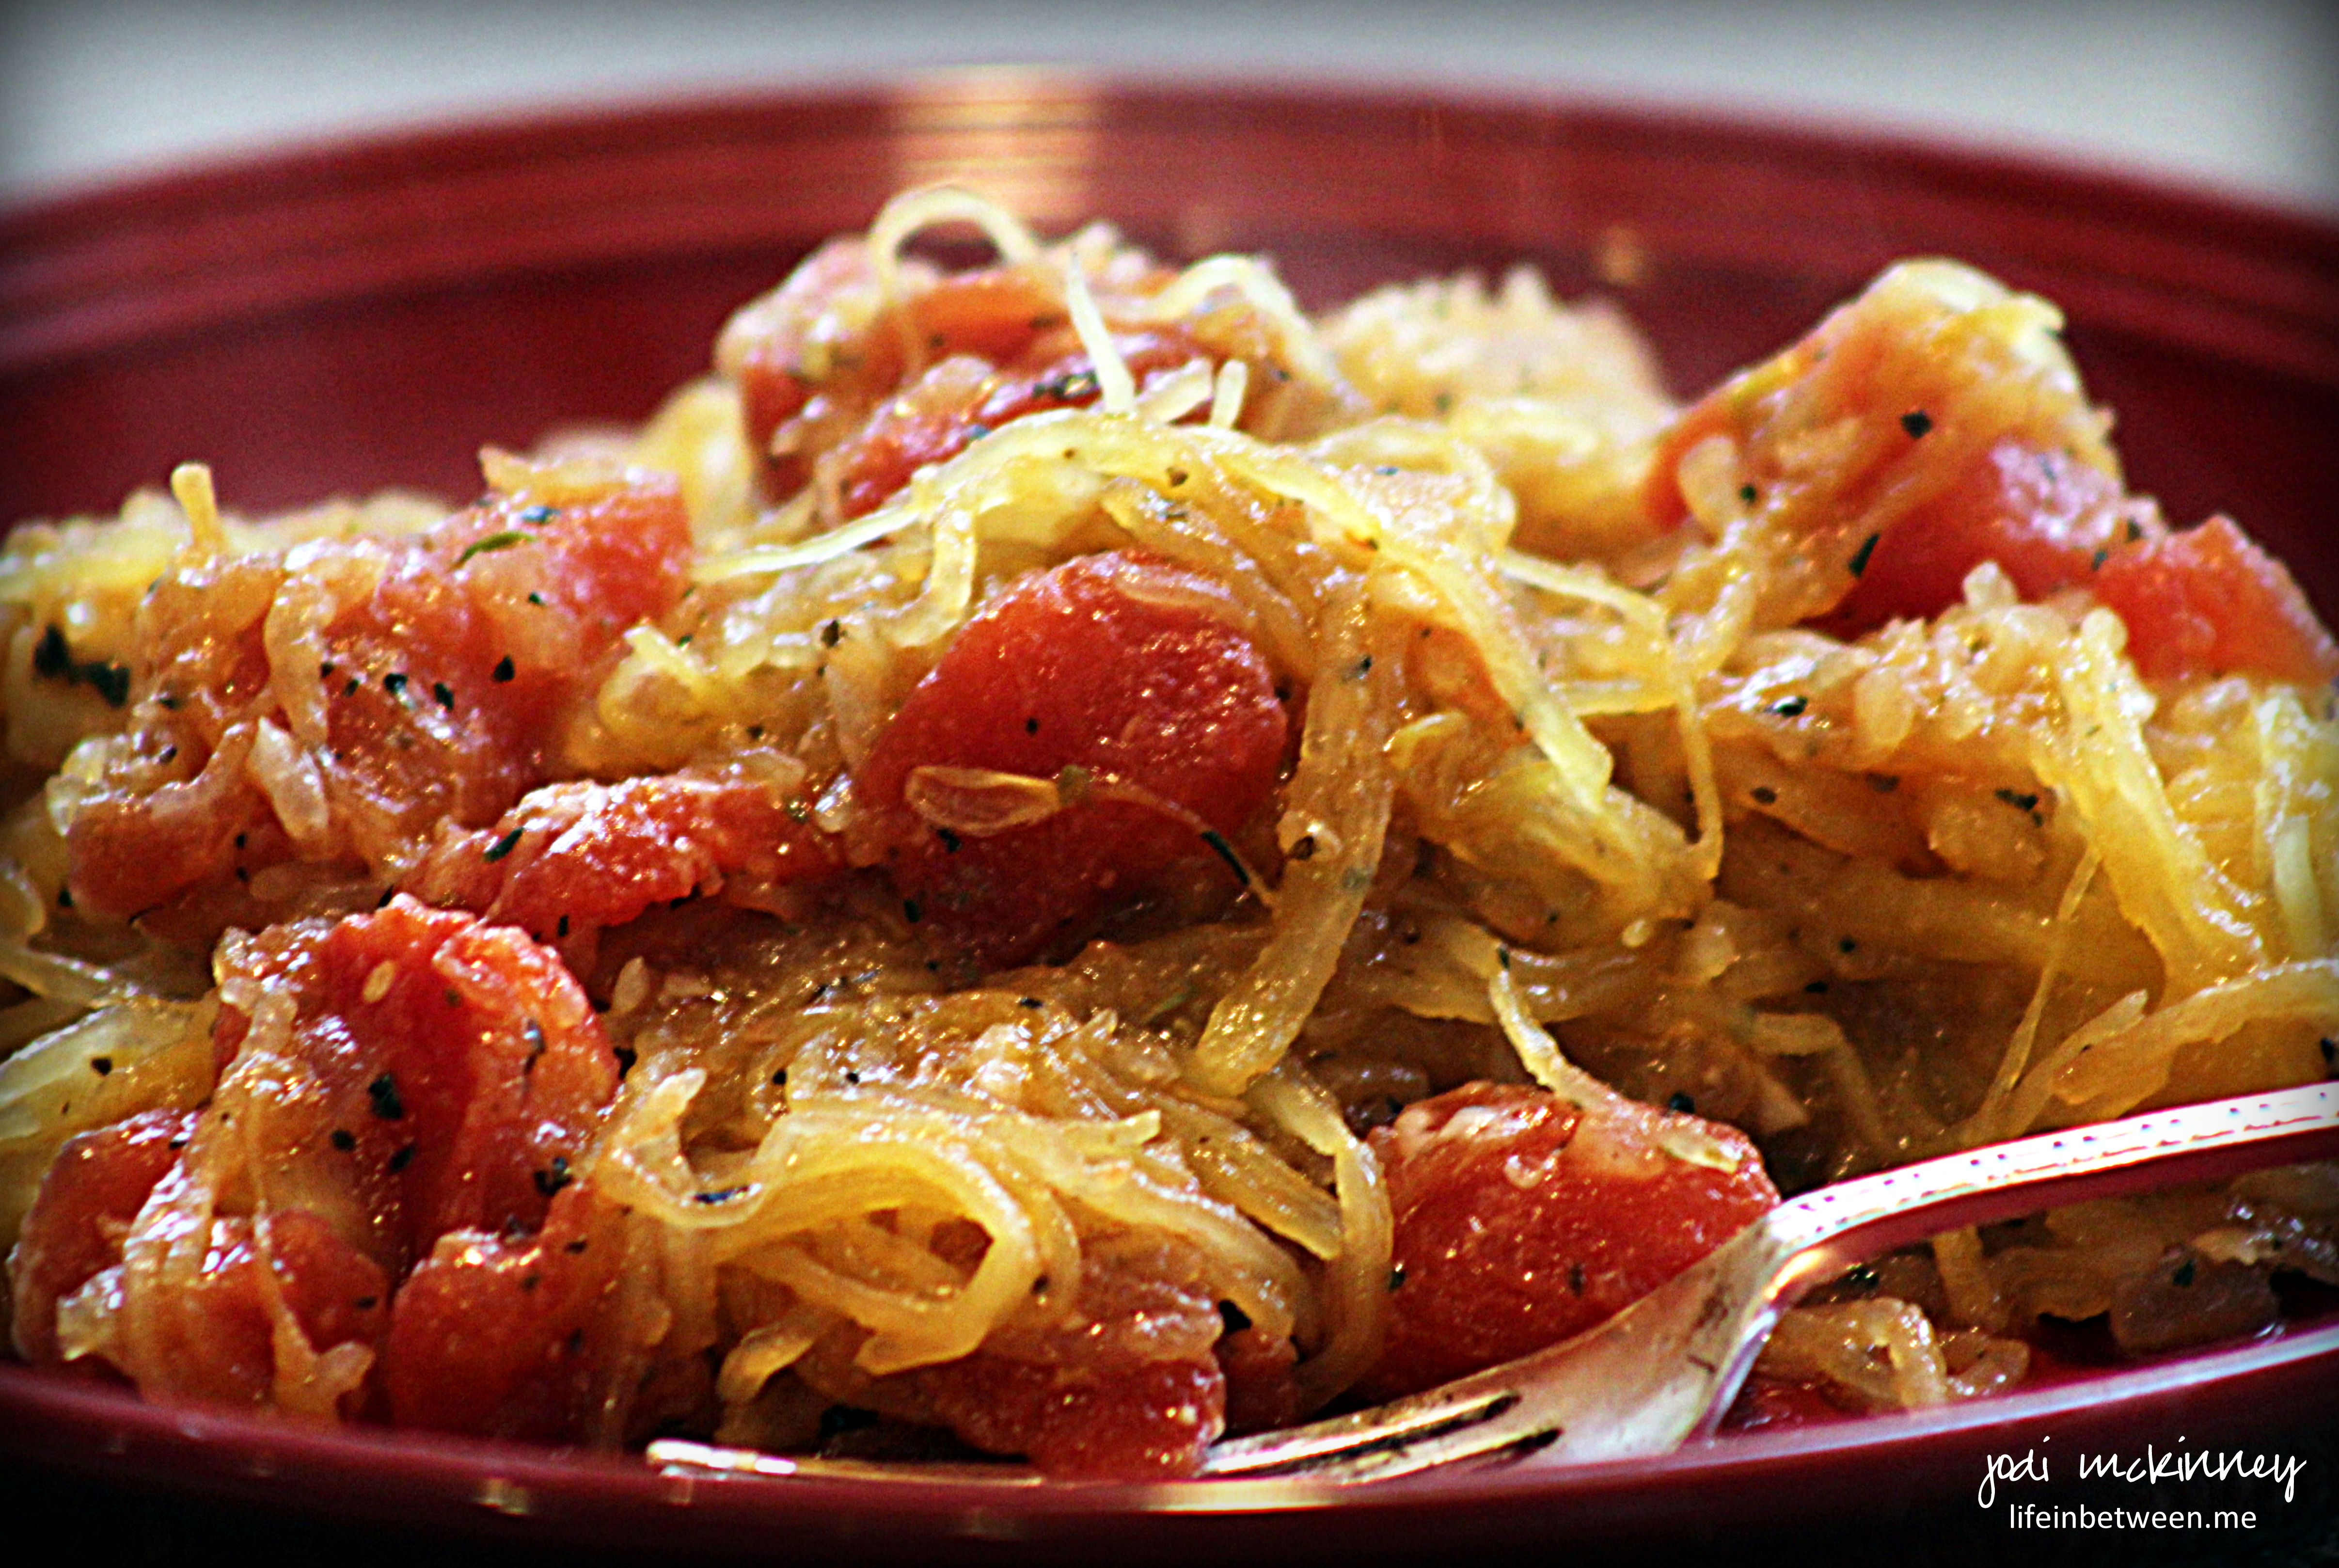
You can serve it as a vegetarian main course or as a side dish with a protein.

We had it as a side with dry-rubbed pork tenderloin on the grill and a fresh salad for Sunday dinner.

Here’s the recipe as I make it.  Hope you will try, and let me know what you think.  I would love to hear how you make it too!

Italian Spaghetti Squash

  • Servings: approximately 6
  • Print

Ingredients:spaghetti squash

  • 1 large spaghetti squash
  • 3 Tbsp olive oil
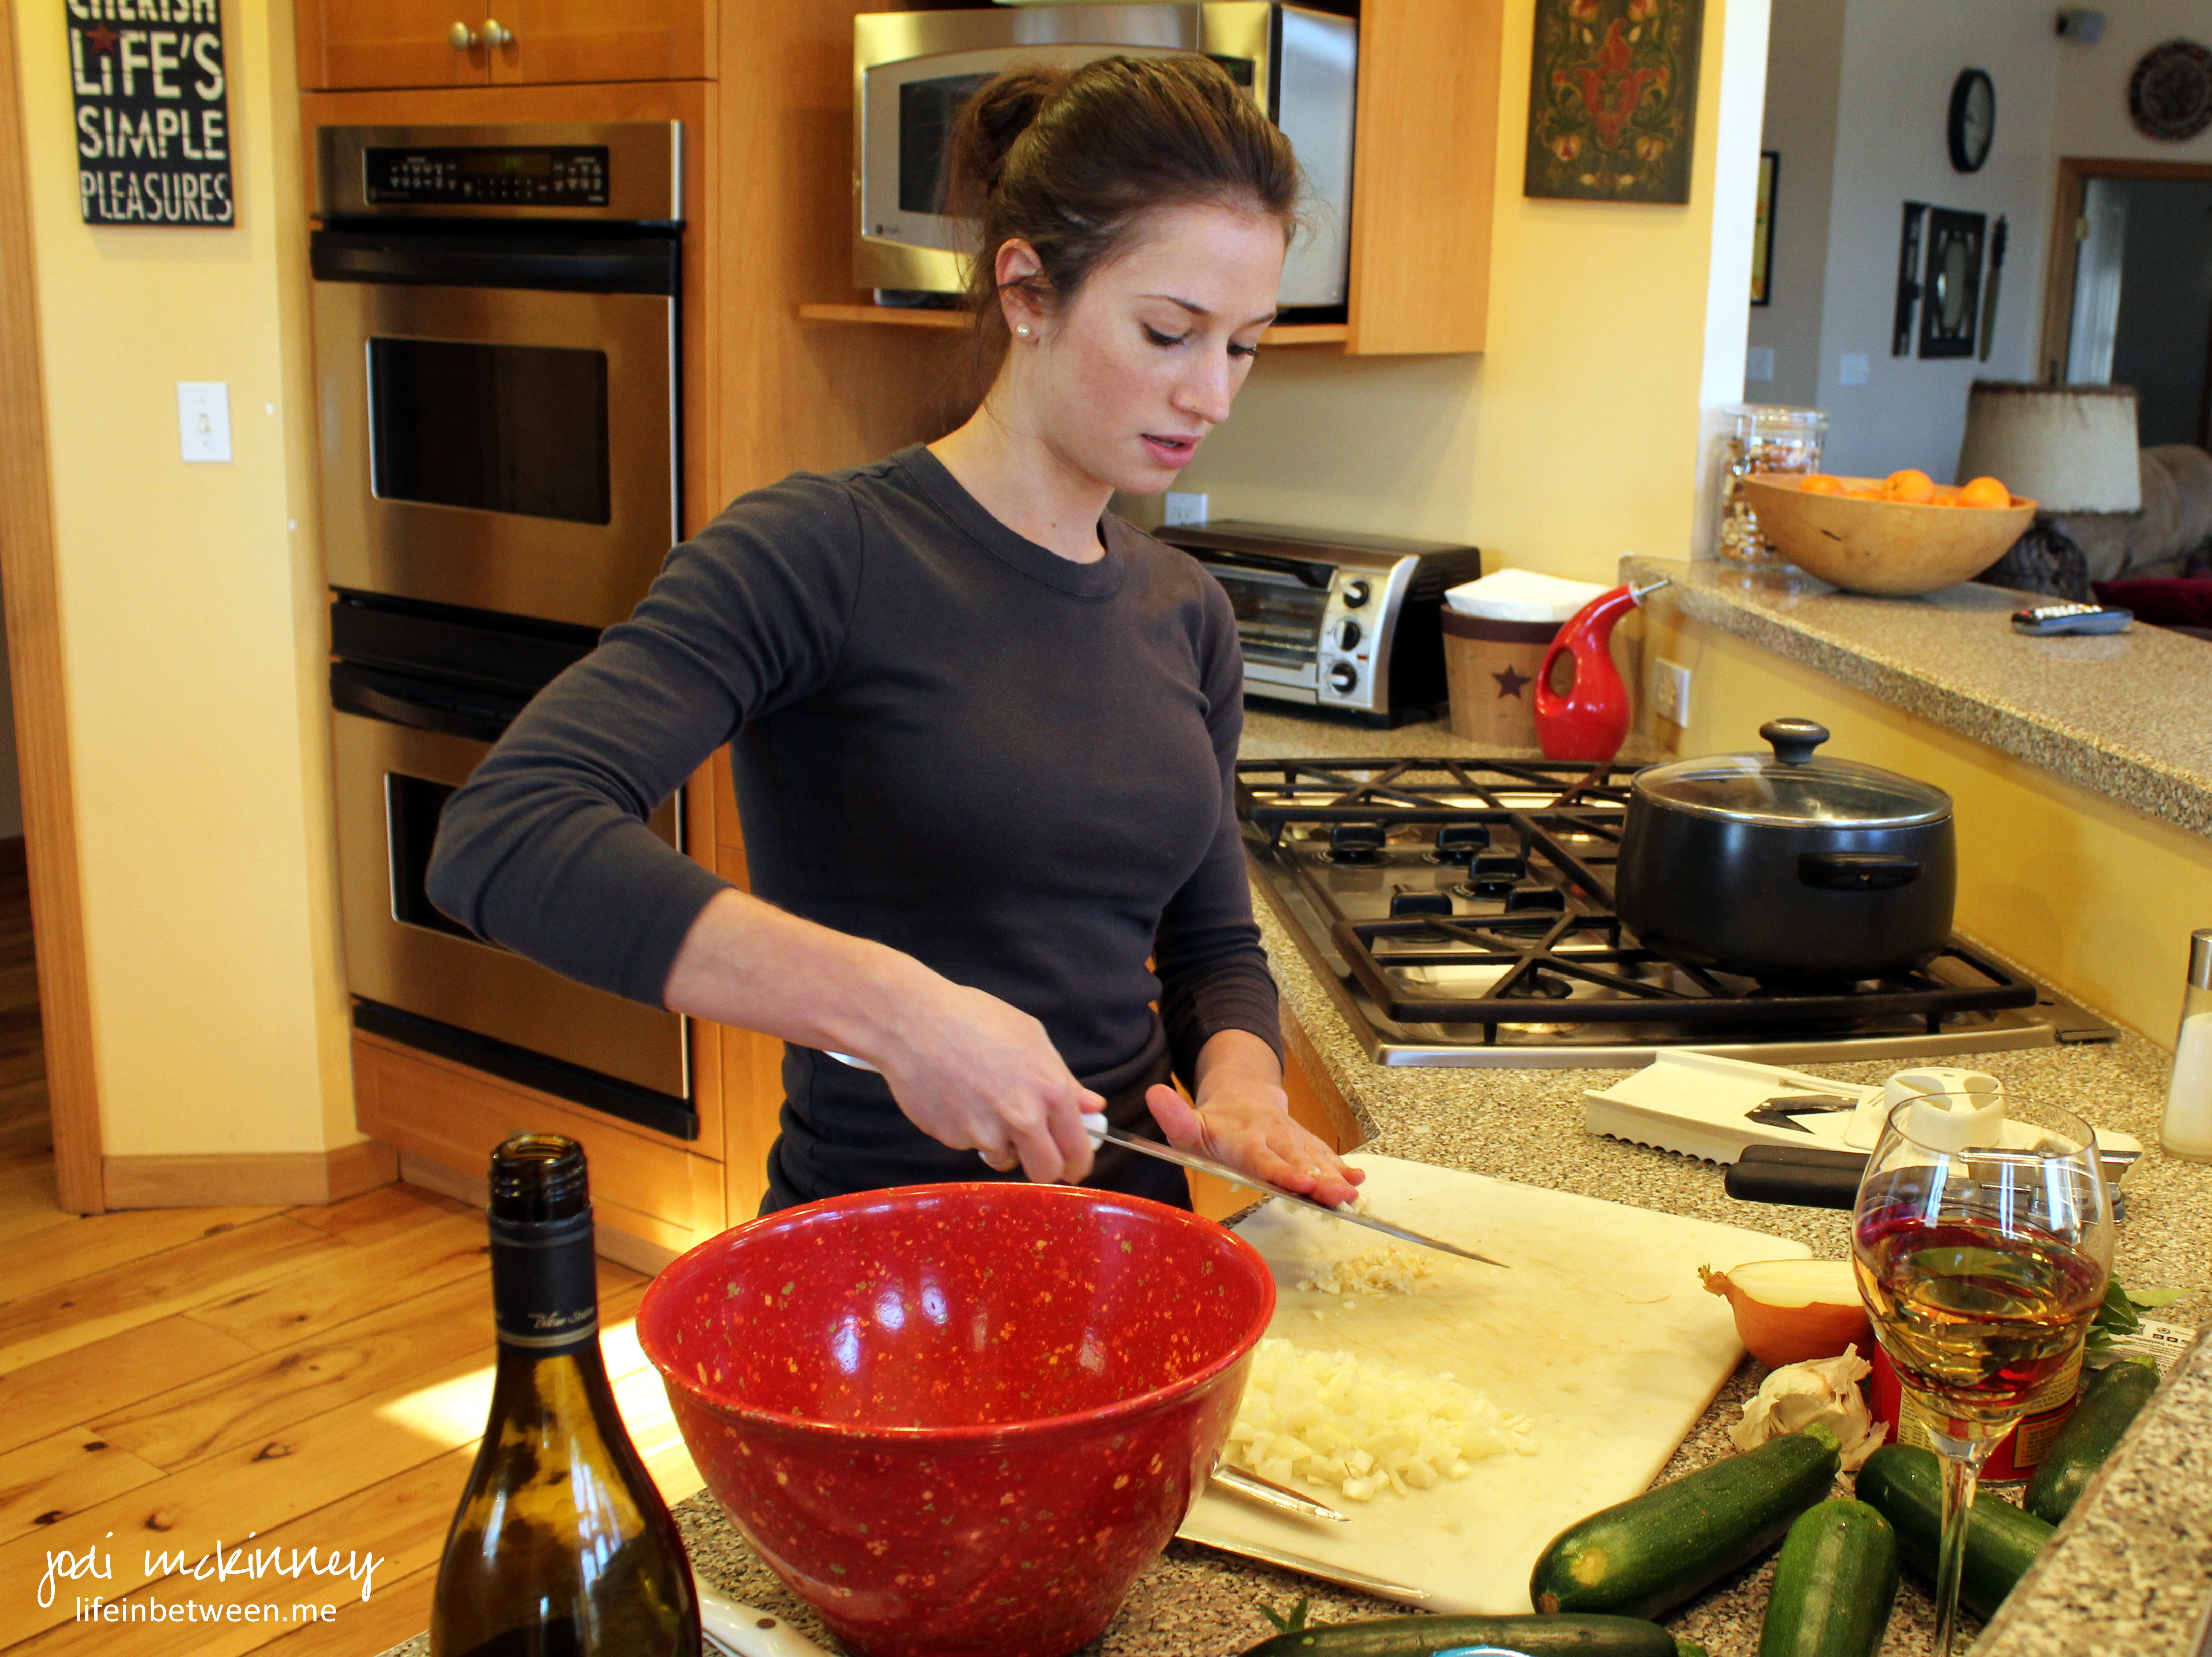
  • 1/2 sweet onion, diced
  • 3 large cloves garlic, minced
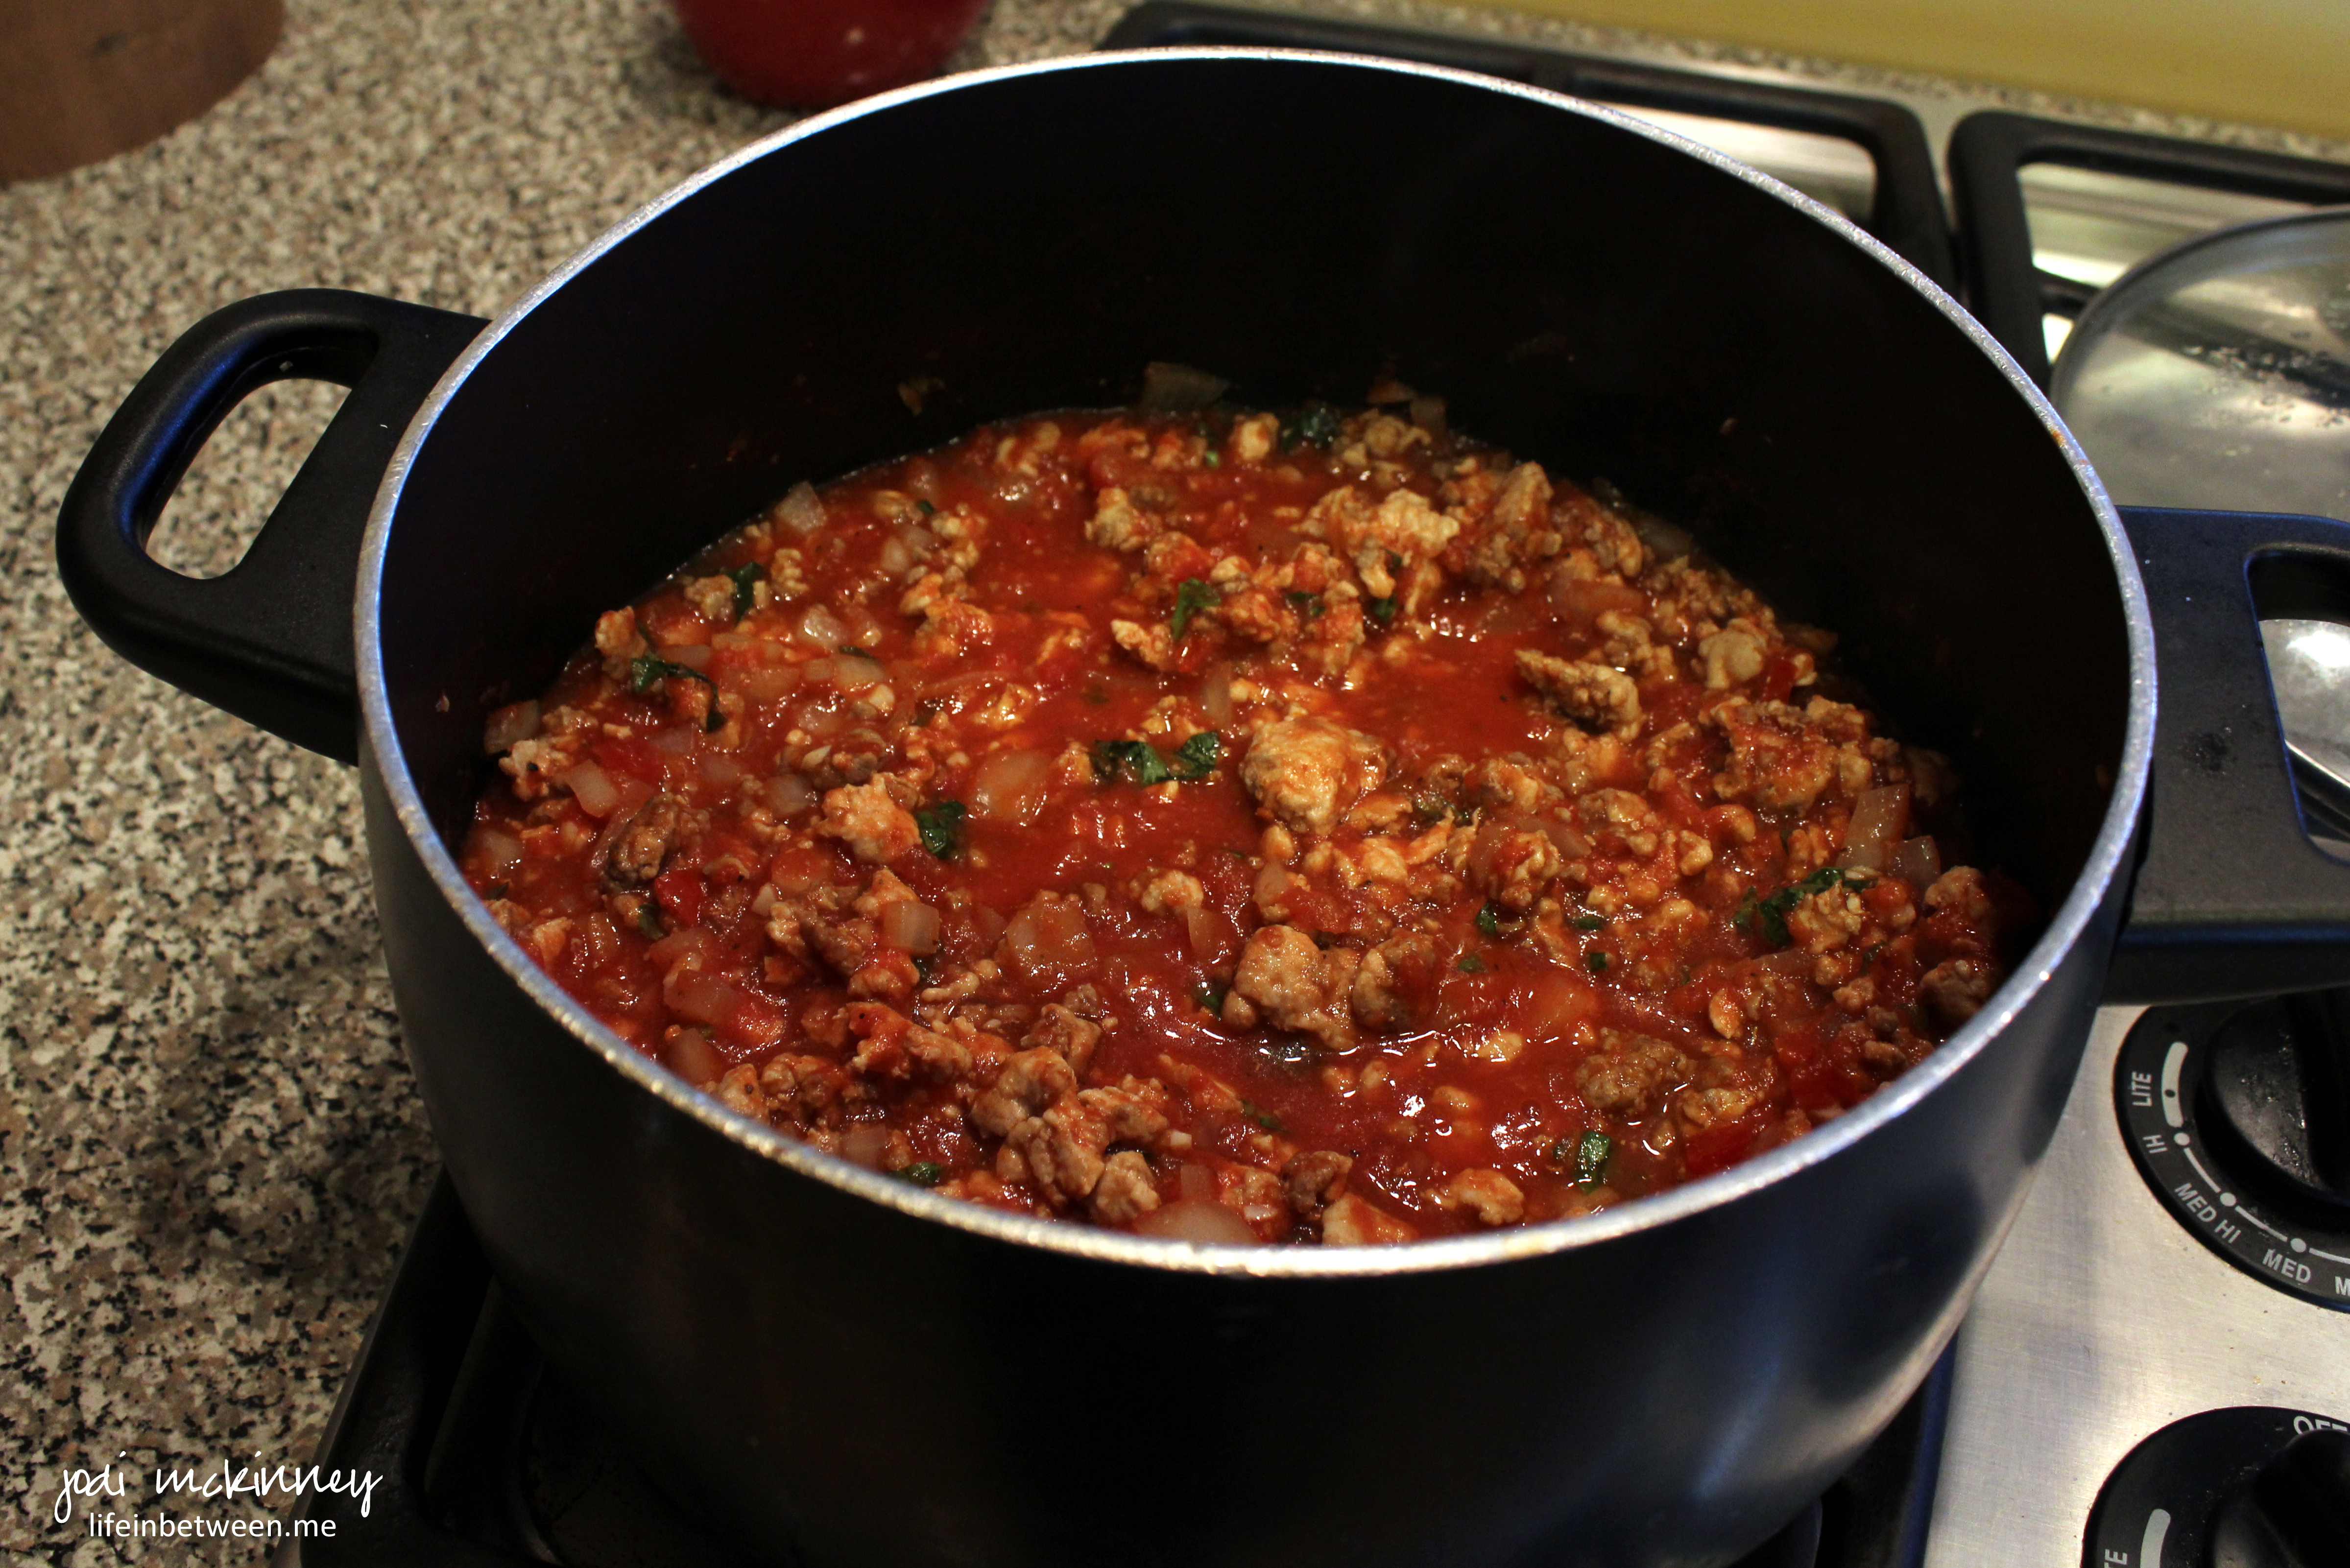
  • 1 large can diced tomatoes
  • 2 Tbsp dried Italian Seasoning (oregano, basil, thyme)
  • Salt and pepper to taste
  • Fresh Parmesan cheese to taste

Directions:

  • Pierce whole squash 3-4 times with a fork, and microwave for approximately 12 minutes.
  • Let cool slightly until manageable to work with.
  • Cut squash in half and remove seeds.
  • Scrape squash with fork forming strands of “spaghetti,” and set aside.
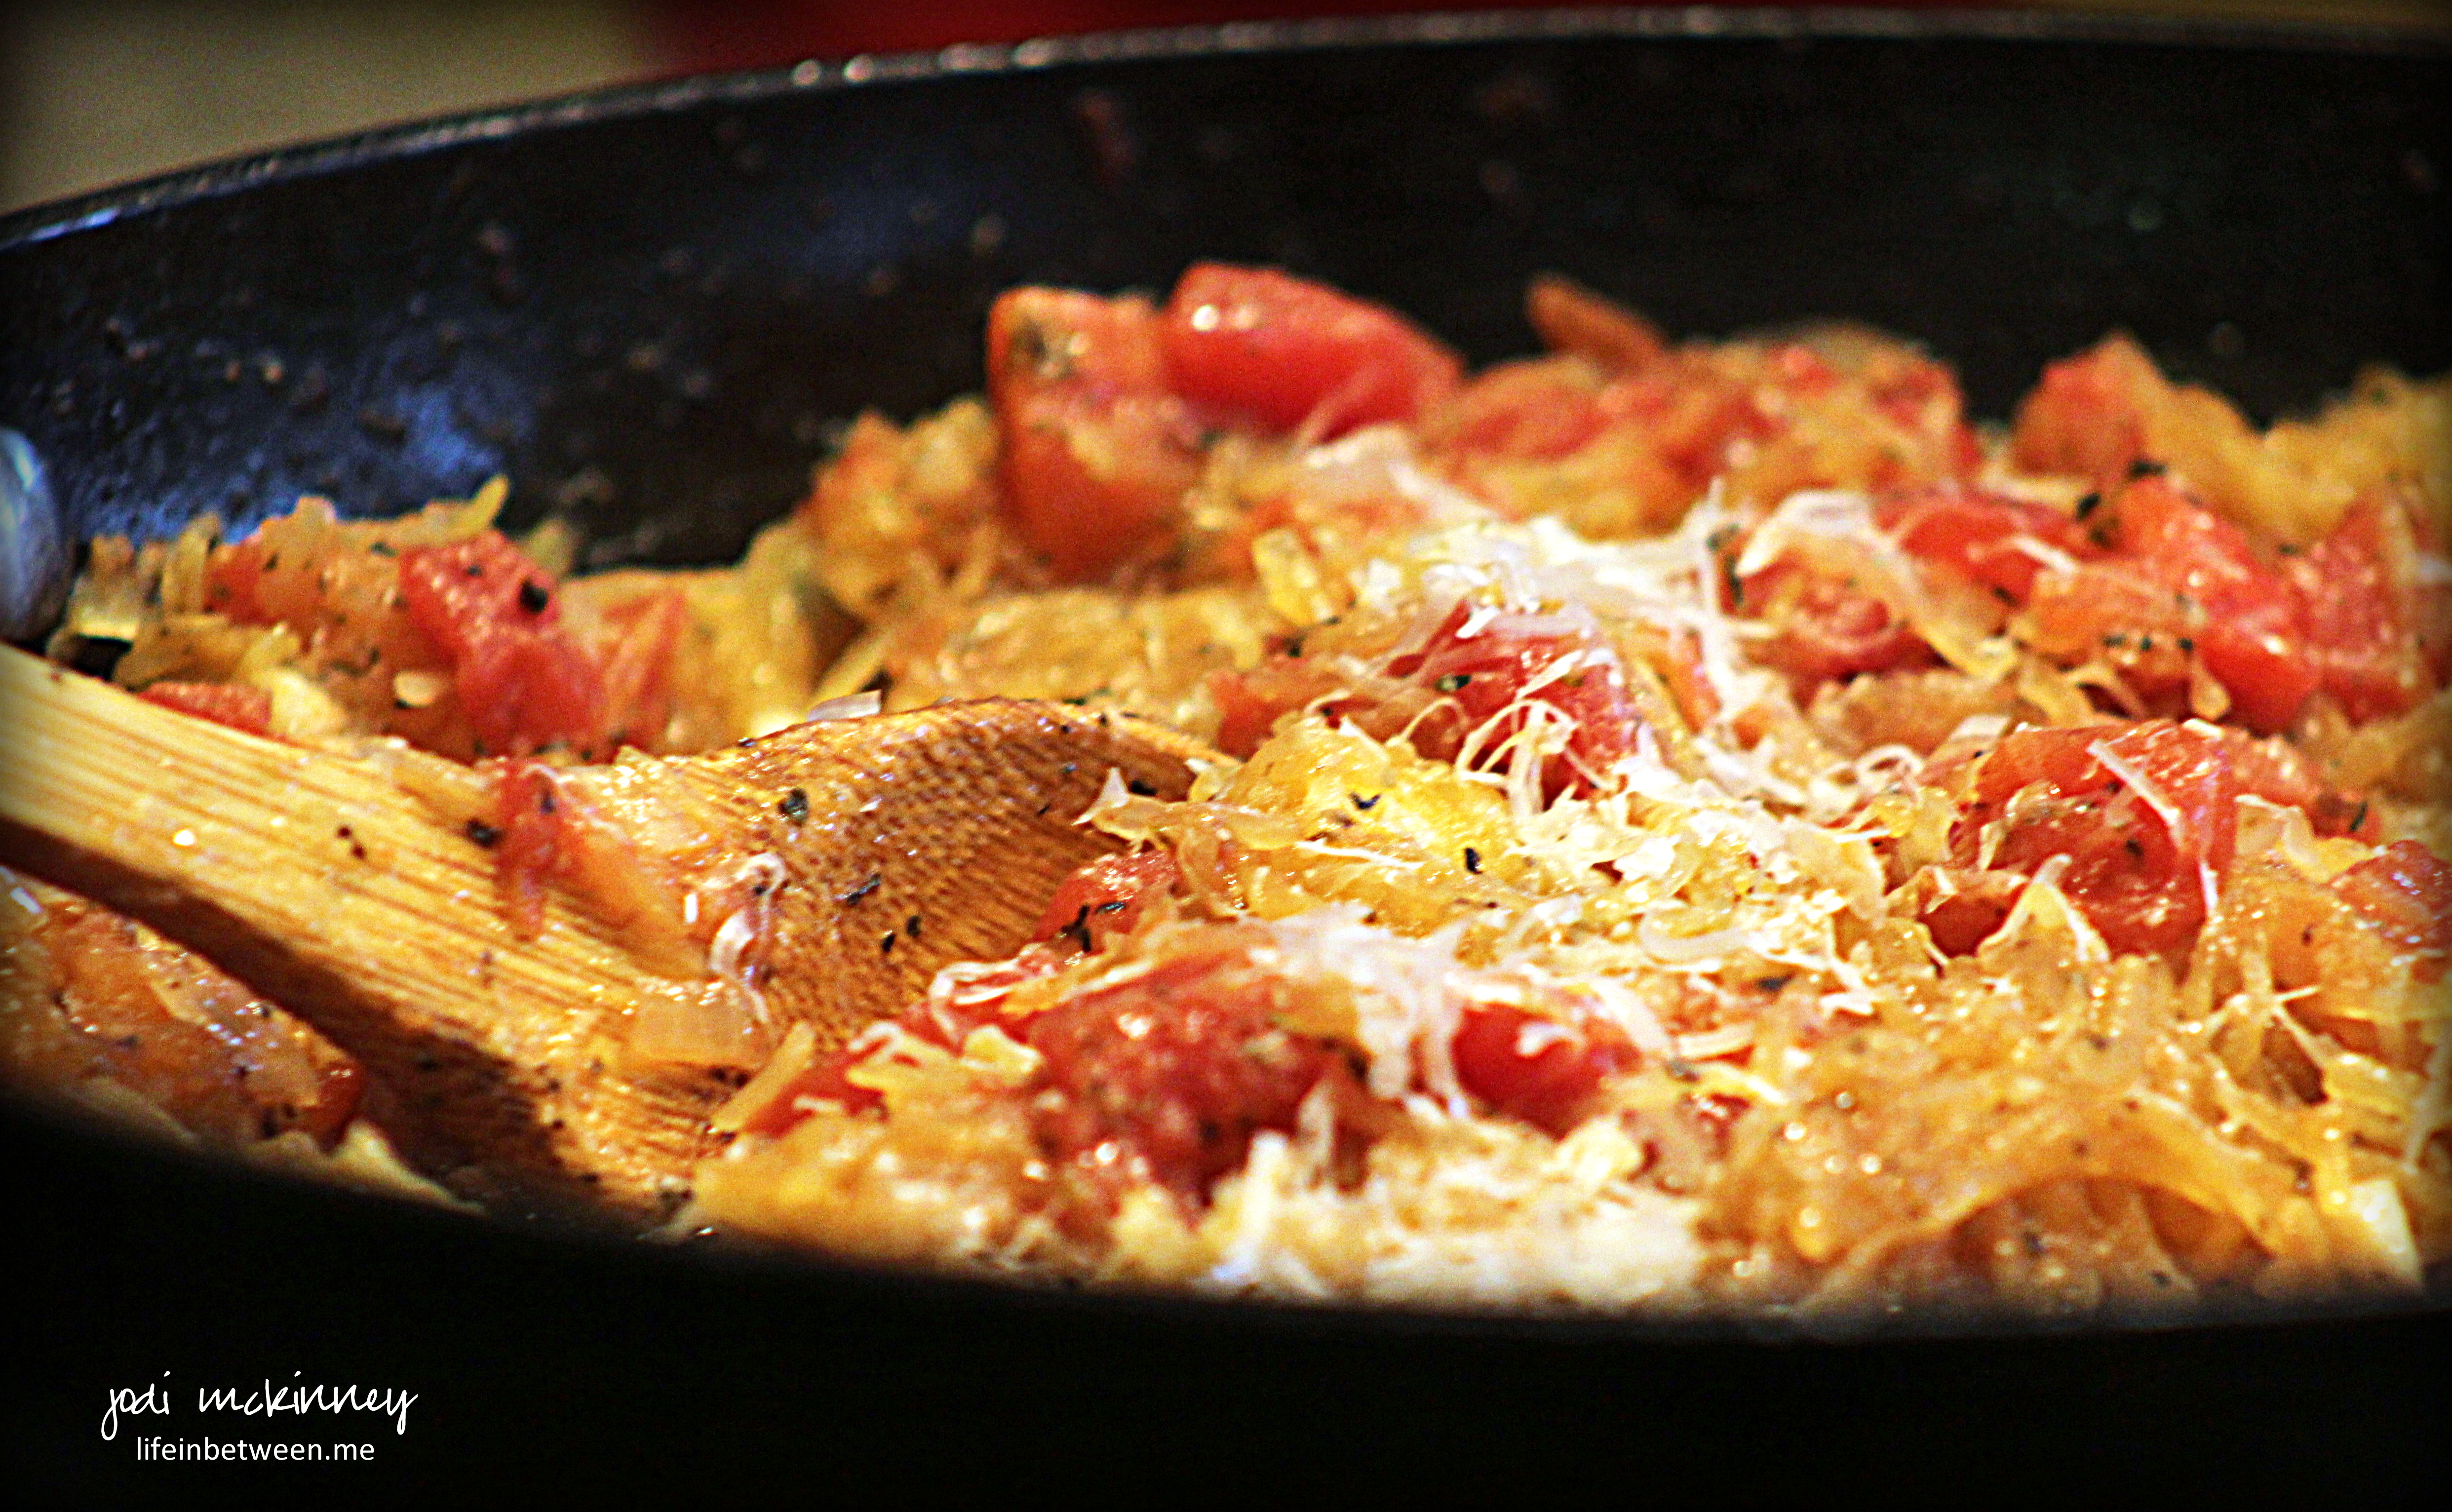
  • In a large skillet saute chopped onion in olive oil and a sprinkle of salt until “sweated” out – 2-3 minutes.
  • Add minced garlic and saute another 1-2 minutes.
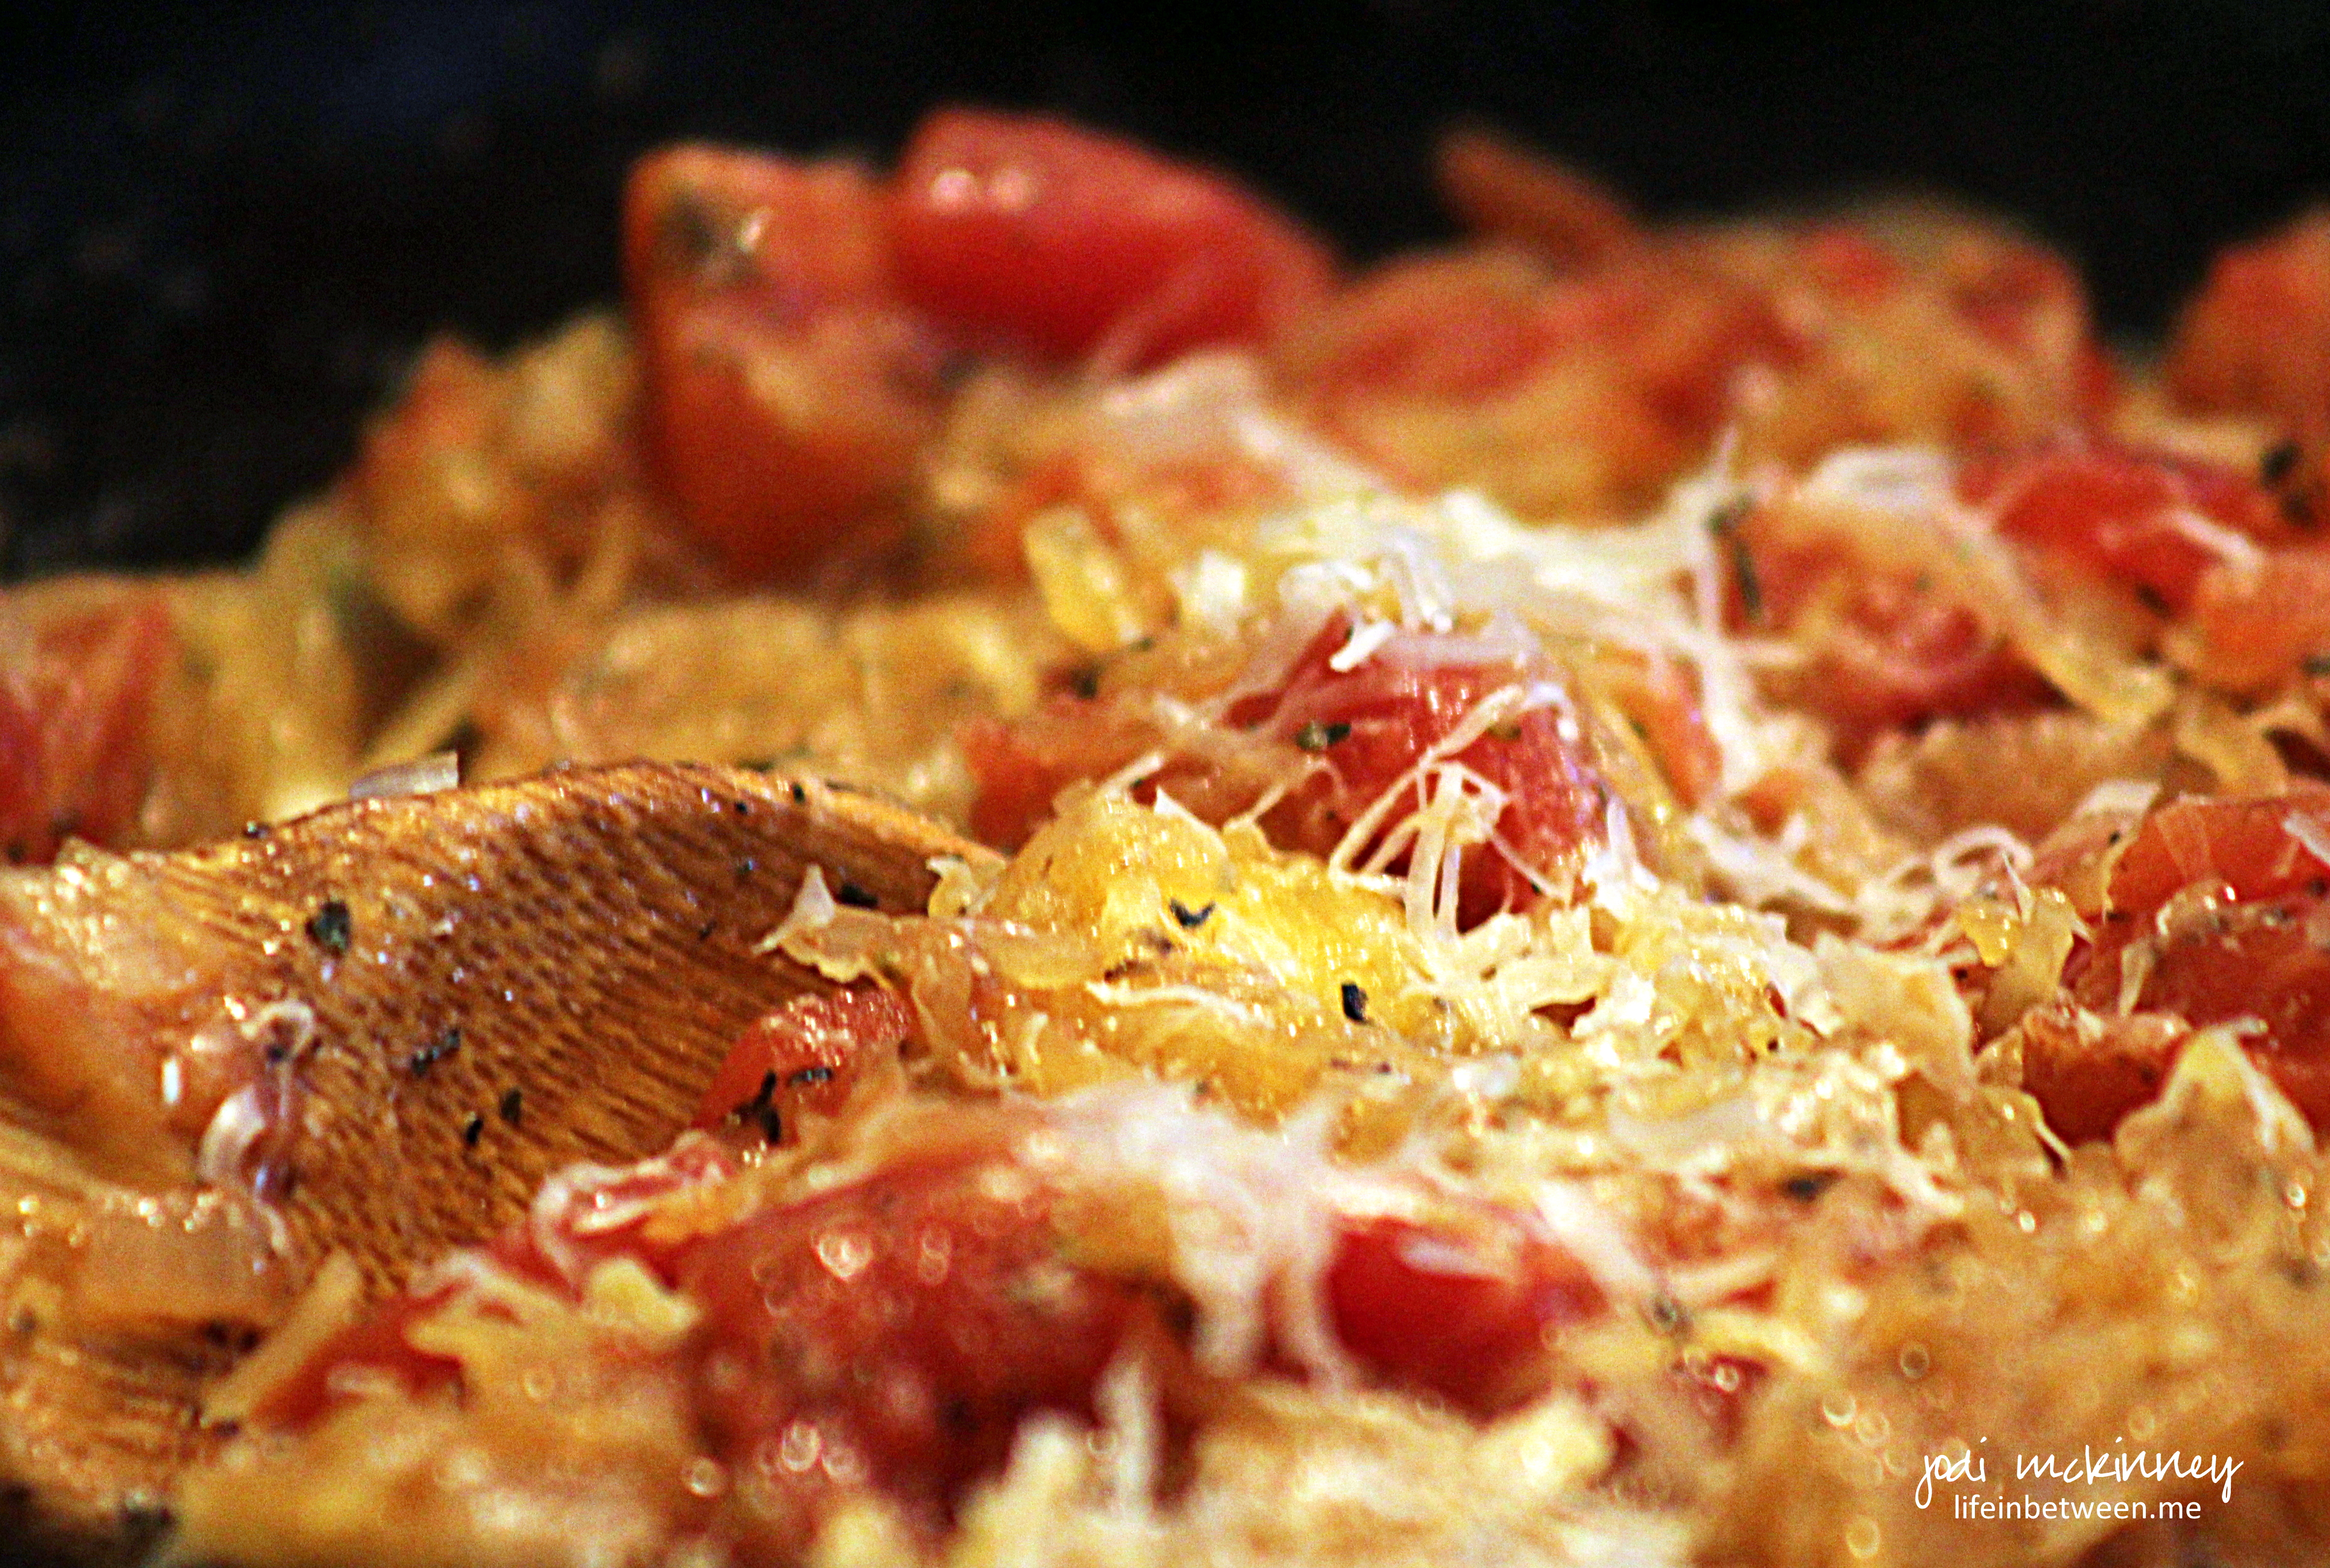
  • Add spaghetti squash and saute all together.
  • Add diced tomatoes and seasonings and saute all together.
  • Top with freshly grated Parmesan cheese.
  • Serve immediately.

I hope you enjoy this as much as we do!  It sure is great when you can find a recipe that is healthy, hearty, and full-flavored too!

Cheers & Hugs,
Jodi

Sugar-Free (Almost) Chocolate Oatmeal No Bake Cookies

almost sugar free chocolate no bake cookies 2

Do you remember these chocolately no-bake cookies from your childhood?

My Grandma’s friend and neighbor, Audrey, used to make these in the summer, and I loved them.

almost sugar free chocolate no bake cookies 3

I hadn’t thought about them or had them in a long time.  Then I noticed my friend, Janet, posted this healthy, no-sugar version on her Facebook page.

Yesterday was our first day home from vacation, and there were no cookies in the house.  That is something that doesn’t happen often around here! 

Knowing we were heading over to our oldest son’s and daughter-in-law’s house for a visit, I didn’t want to go empty handed, so I thought I would give this recipe a try.

almost sugar free chocolate no bake cookies 1

The original recipe from my childhood calls for 2 cups of sugar, 1/2 cup of butter and 1/2 cup of milk.

This recipe has NO sugar (except for what is in my peanut butter – but if you used natural peanut butter, it would have NONE!).  Honey is used instead, and I use local honey (Molinaro Apiaries here in Mars).  Have you heard that using local honey can help treat those with allergies as you ingest small doses of pollen the bees carry that is local to you and builds antibodies like getting a “vaccine?”

This recipe has no butter.  It uses healthy coconut oil instead.  And it uses no milk.

And best of all…. these “healthy” cookies taste DELISH!

almost sugar free chocolate no bake cookies 4

And… they take only minutes to make.

They are best eaten right out of the freezer on hot summer days.

The recipe Janet shared is from 12 Tomatoes, and they say the recipes makes three dozen cookies.

WHY do I always only get HALF the number of cookies any cookie recipe calls for?  I got exactly 18…. One and one half dozen.  Do I really make my cookies TWICE as big as everyone else!?!!???  🙂

It was good to be back in the kitchen – even if only briefly – and not really baking!

But it was even better to be with our “kids.”  And I played ladder golf for the first time.  Us girls ALMOST won!

Sugar Free (Almost) Chocolate Oatmeal No Bake Cookies

  • Servings: 1-1/2 - 3 dozen
  • Print

Ingredients

  • 3 cups quick-cooking oats
  • 3/4 cup honey
  • 2/3 cup natural peanut butter (I didn’t have “natural” so used Jif – thus the “almost” sugar free reference)
  • 1/2 cup coconut oil
  • 1/3 cup unsweetened cocoa powder
  • 1 1/2 teaspoon vanilla extract
  • 1/4 teaspoon salt

Directions

  1. Line 2 baking sheets with parchment paper.
  2. In a medium saucepan over medium-high heat, combine honey, peanut butter and coconut oil, stirring until well blended and smooth.
  3. Stir in oats, cocoa powder, vanilla and salt and mix well.
  4. Drop cookies by tablespoonful onto parchment-lined baking sheets
  5. Place in freezer for at least 15 minutes to set.
  6. Store in an airtight container or Ziploc bag either in the fridge or freezer.

Enjoy!

Cheers & Hugs,
Jodi

How I turned Peach Coffee Cake with Browned Butter Peach Glaze into the HEALTHIEST Fruit Dessert EVER!

peach coffee cake with brown butter glaze

First, I spent about an hour or so early in the morning blanching, dicing, mixing, melting, streuseling,  spreading, baking, glazing, and plating.

peach coffee cake with brown butter glaze 2

I then cut a slice,
took a photo of the whole cake,
plated a slice for a photo,
placed it on the edge of the deck railing with the cake where I was photographing for good lighting so I could share here,
considered how I should be careful balancing so much on the railing….

peach coffee cake disaster

Shrieked!
Cursed……
cleaned up the broken plate, ENTIRE cake AND plated slice out of the mulch 10 feet below the deck…

and cut up a ripe, juicy cantaloupe for dessert.

cantelope

I’ll have to try that one again another time…

or not….

The upside:

We saved hundreds of calories,
The cantaloupe was SUPER sweet,
and I allowed myself an extra glass of wine that evening.  🙂

Cheers & Hugs,
Jodi

PS  If you would like the recipe for the Peach Coffee Cake (which I cannot tell you how it tasted), here is a link to The SeaSideBaker where I found the recipe.  If you would like the recipe for my Cantaloupe dessert: cut up one fresh, ripe, juicy delicious cantaloupe into bite-sized pieces, and enjoy.  🙂

Balsamic Grilled Peaches & Chicken Salad Dinner

balsamic grilled peaches and chicken 3

Oh Friends… you know how much I love chicken and discovering new and different ways to prepare it.

Well this week I discovered another Winner Winner Chicken Dinner!

It’s simple, it’s fast, it’s healthy, and it’s YUMMY!

balsamic grilled peaches and chicken 2

I have seen and heard about grilling peaches, and I was intrigued.

Having some ripe peaches in the fridge that weren’t getting eaten, now was the time to try it!

grilled peaches

It was so easy, and they were DELISH! 

Balsamic Grilled Peaches and Chicken

If you are looking for another light and simple, but full-flavored summer chicken dinner, look no further!

And remember, like I always say, if you don’t like a particular ingredient, switch it up!  Substitute goat cheese or feta or even shredded cheddar for the blue cheese if you are not a blue cheese fan (but BOO to you because it is DIVINE!).  Change up the greens to ones you prefer.  I used Spring Mix, but it would be awesome with Spinach or Arugula or Kale too!

Be creative.

Have fun!

Make dinner a celebration.

Create art on a plate.

You won’t be sorry about this one!

Balsamic Grilled Peaches & Chicken Salad

Ingredientsbalsamic grilled peaches and chicken 2

  • 4 chicken breast halves
  • 4-6 cups Spring Mix Salad Greens
  • 2 large sweet Vidalia onions, sliced into 1/2 thick slices
  • 4-6 ripe peaches – cut in half and pitted
  • 1/2 cup crumbled blue cheese
  • 1 Bottle Balsamic Vinaigrette Dressing (I used Ken’s Light version)
  • Olive Oil
  • Balsamic Vinegar
  • Salt & Pepper to taste

Directions

  • Marinade chicken breasts in 1/2 bottle balsamic vinagrette for at least 4 hours.
  • Grill chicken when ready to serve.
  • Place Onion Slices in a grill basket (or foil).  Sprinkle with olive oil, salt and pepper.  Grill until translucent and char-grilled.  Place on one side of grill while chicken is grilling on the other side.  These two take about the same amount of time – approximately 20 minutes.
  • Once chicken is done, remove from grill, and set aside.
  • Sprinkle peach halves with olive oil, salt, and balsamic vinegar.  Place cut side done on grill, and grill for about 5-7 minutes until soft and char-grilled.  When done, remove from grill and slice peach halves into three or four pieces.
  • To plate, place a cup of greens on plate, top with grilled onions, peach slices and crumbled blue cheese.  Add chicken to side or slice and mix in with chicken.
  • ENJOY!

Cheers & Hugs,

Jodi

Leftover Lunch Salad

leftover lunch salad

One of the best things about having a job where you can work from home most days, besides being able to roll out of bed and be at your desk in about 17 seconds, not needing to comb your hair or put makeup on, working in yoga pants and t-shirts, having a furry co-worker by your side, getting to take walks at lunch time….

Ok – there are A LOT of things I like about my job and being able to work from home…

But, one really nice benefit is being able to make healthy and easy leftover lunches instead of going out and eating fast food or having to pack a sack!

Like this salad I made the other day – a small piece of leftover grilled Delmonico steak on top of leftover salad.  Voila!  Veggies and protein and nourishment that tastes good and is good for me!

And after yesterday’s DECADENCE of those Fudgy Fresh Raspberry Chocolate Chip Brownies, I thought it best to show I don’t always eat like that!

QUICK TIPS:

  • Always make more salad than you need for dinner and throw it in a Ziploc bag to keep fresh for a day or two.
  • Don’t add tomatoes to your salad until serving.  Tomatoes completely lose their taste when refrigerated (so never refrigerate them – you don’t – right?!!?!!).  Tomatoes also make leftover salad SOGGY.  Yuk!
  • Make an extra piece or two of your protein – chicken, steak, pork, fish – and throw it in a Ziploc bag too.  It can be sliced on a salad, added to a wrap, thrown on a bun, or even just eaten as is – hot or cold – depending on your work day and stress level.
  • Keep seeds and nuts on hand to toss in and on things.
  • Hard boil some eggs in the beginning of the week, and you always have a quick protein ready.
  • Canned beans area also great additions to salads and wraps.  Open a can of black beans or any kind you like, drain and put in a plastic container in the fridge.  This way you can easily toss on your lunch or pop in your mouth in a jiffy.
  • Keep fresh fruit around so you can grab a handful of berries or snack on a clementine or banana or crunchy apple when your tummy gets to grumbling.

Cheers & Hugs,

Jodi

Zucchini Lasagna

z
The Challenge:  Take a classic recipe, and make a healthier version.

That was the assignment my son, Nick’s girlfriend, Liz, had for her final assignment in a cooking class she is taking as part of her Master’s Degree Program in Nutrition.

We were excited to help her out and have her cook dinner for us last evening.

And she rocked it!  This Zucchini Lasagna recipe is a KEEPER!  I do believe I like it even better than the classic version.

Liz was sweet enough to allow me to photograph her and share the adventure and recipe here with all of you.

z1

One of the joys of cooking is appreciating and embracing the fresh ingredients that make a recipe so wonderful – like the smell of fresh basil.

z2

And the only thing better than smelling fresh basil is the smell of sauteed onions and garlic in olive oil!

z5

For the meat sauce, Liz used lean ground turkey instead of beef or sausage, and when mixed with crushed tomatoes, fresh basil, onions and garlic, you would never know you are “missing” anything – except you get the bonus of less fat and calories!

Z3

This adorable amateur in the kitchen totally mastered using a mandolin (which she formerly only knew as a musical instrument 🙂 ) to perfectly slice the zucchini to replace the pasta noodles.

Z4

And of course Mikey was on his steadfast “clean the floor” duty making sure no crumb is left behind (and yes – he even likes raw zucchini).

z6

This recipe even includes mastering the grill, so Nick was in charge of instructions here, and the zucchini strips were char-grilled beautifully.

z7

Yummy ricotta and Parmesan cheeses are mixed with some parsley, salt, pepper, and an egg for the traditional filling.

z8

Everything was layered, using the zucchini strips as “noodles” and topped with fresh slices of mozzarella for that extra yumminess.

z9

And who can’t resist an extra sprinkle of freshly grated Parmesan on top before diving in?!

Here is the recipe Liz used as adapted from Skinnytaste.com:

Zucchini Lasagna

Ingredients:  z

  • 1 lb ground turkey
  • 4 cloves garlic, minced
  • 1/2 onion, chopped
  • 1 tsp olive oil
  • salt and pepper to taste
  • 1 28 oz can crushed tomatoes
  • 4 Tbsp chopped fresh basil
  • 4 medium zucchini, sliced thin
  • 24 oz part-skim ricotta cheese
  • 1 Tbsp fresh or dried parsley
  • 1 1/2 lbs. part-skim fresh mozzarella cheese, sliced
  • 1/2 cup shredded Parmigiano Reggiano
  • 1 large egg

Directions:

In a medium sauce pan, brown ground turkey.   Season with salt.  Remove from pan to bowl, and add olive oil to the pan.   Saute garlic and onions about 2 minutes.  Return the meat to the pan, add tomatoes, basil, salt and pepper. 

Simmer for 30-40 minutes, covered.

While sauce is simmering, slice zucchini into 1/8″ thin slices.  Salt lightly, and set aside for 10 minutes. Zucchini has a lot of water when cooked, salting it takes out some of the moisture. After about 10 minutes, aggressively blot excess moisture with a paper towel.

On a gas grill or grill pan, grill zucchini on each side, until cooked, about 1-2 minutes per side. Place on paper towels to soak any excess moisture.

Preheat oven to 375° F.

Stir together ricotta and Parmesan cheese, parsley, salt, pepper and egg in a medium bowl.

With zucchini, sauce, and cheese mixture complete, you are ready to begin assembling the lasagna.

In a 9×12 inch casserole, spread half the sauce on the bottom and layer the zucchini to cover. Then place the ricotta cheese mixture topped with half  of the mozzarella cheese.

Repeat with remaining sauce, another layer of zucchini, mozzarella and a bit of extra Parmesan.

Cover with foil, and bake for 45 minutes.

Uncover, and bake an additional 15 minutes.

Let stand 10 minutes before serving to “set.”

ENJOY!

Thanks, Liz, for being such a good sport and for being such a bright spot in our lives.  We love you!  🙂

And you all are going to love this recipe!

Cheers & Hugs,

Jodi


Roasted Cabbage Slices with Garlic

roasted cabbage

O. M. G. I am becoming obsessed with roasting vegetables!  And this one is another winner!

Cabbage has NEVER tasted better!  Nor has it ever been easier!

roasted cabbage before

I’ve seen a variety of versions of this recipe floating around, but when I saw this simple version with roasted garlic that you smear on top of the cabbage slices after roasting, I had to try.  And it so delivered!

How can something so stinking simple end up tasting so luscious?  It is truly magical… and so wonderful to eat food in its purist state with just a little olive oil, salt, pepper and garlic that tastes like this.

roasted cabbage before 1

You can use green or purple cabbage.  Slice it, drizzle it generously with pure olive oil, and sprinkle it generously with coarse sea salt and fresh cracked black pepper.  Add a few cloves of peeled garlic drizzled with olive oil to roast along side.  Throw it in a 425 degree F oven for about 30 minutes, and get ready to rumble!

roasted cabbage after

This is a great accompaniment to most any meal.  SO DELISH!  I’ll bet this would make a cabbage loving fan out of ANYone!

Try it TODAY!

Roasted Cabbage with Garlic

Ingredients:
1 head cabbageroasted cabbage after
6 large cloves garlic
Olive Oil
Salt and Pepper

Directions:
Preheat oven to 425 degrees F.
Carefully slice cabbage into 6 thick slices, and lay on a shallow baking stone or baking dish.
Drizzle both sides of each slice with olive oil.
Generously sprinkle coarsely ground sea salt and freshly ground cracked pepper on top of each slice.
Peel garlic cloves and add to dish. Drizzle with olive oil.
Roast for approximately 30 minutes.
When done, smash garlic cloves and spread one on top of each cabbage slice.

ENJOY!

jodimckinney @lifeinbetween.me

Can’t wait to hear if you try it and like it!

Cheers & Hugs,
Jodi

Homemade & Healthy Chewy Granola Bars

granola bar cover

Are you often looking for a quick, yet healthy and energy-packed breakfast or snack-on-the-go?  I felt like making something this weekend, but wanted to resist a sugar laden baked good (after making and sharing a hefty portion of “Crazy Addictive Caramel Corn” for a Pig Roast picnic we attended on Saturday) 🙂

granola breakfast

I searched a variety of recipes on line, and tried to find a tried and true one I had from a work friend to no avail (Tonya – if you are reading this, I need that recipe again 🙂 )

granola bar ingred

I ended up using the basics of a recipe I found at Five Heart at Home 

granola bar mix

and tweaked it up Jodi-style – adding some of our favorite things

granola bkfst

After preparing, I packaged them in individual bags and refrigerated for anyone to grab on the go or for a quick pick me up or breakfast on the fly.

granola bars wrapped

My taste testers (Marty, Nick and Liz) all gave them a thumbs up 🙂

granola bar cover

Here’s the recipe as I prepared it, but feel free to substitute your favorite ingredients:

1 cup peanut butter
1/2 cup honey
1/2 cup coconut oil (solid form)
2 1/2 cups oats
1 cup shredded coconut
1/4 cup slivered almonds
1/2 cup chopped dried apricots
1/4 cup dried blueberries

Melt peanut butter, honey, and coconut oil in a saucepan.
Remove from heat and stir in remaining ingredients.
Spread in a 13 x 9 pan.
Refrigerate approximately 2 hours.
Cut into bars and wrap or bag individually.
Return to refrigerator.

Feel free to substitute other dried fruits (golden raisins, dried cranberries or cherries) or nuts (walnuts, pecans, peanuts) or even chocolate chips (milk, semi-sweet, white, peanut butter, butterscotch)  if you like.  They would be great with sunflower or pumpkin seeds, too, but I didn’t have any on hand…

Then, I found this great site called Spark Recipes where you can enter the ingredients to a recipe you create, and it calculates the nutritional information, so I have provided that here also.

granola bar nutritional info


Enjoy!

granola bars

Cheers & Hugs,

Jodi