
Orange is…
Energetic,
Optimistic,
Bright and Bold and Brave.
Orange is…
Spontaneous,
Sunny,
Outrageous, Outgoing and Outspoken.
Orange is
the HAPPIEST color!
Cheers & Hugs,
Jodi
Orange is…
Energetic,
Optimistic,
Bright and Bold and Brave.
Orange is…
Spontaneous,
Sunny,
Outrageous, Outgoing and Outspoken.
Orange is
the HAPPIEST color!
Cheers & Hugs,
Jodi

If you haven’t finished your holiday cookie baking yet – you are in luck! I have discovered an amazing new recipe for Chocolate Orange Crinkle Cookies using Terry’s Chocolate Oranges that is TO DIE FOR!

Terry’s Chocolate Oranges are sometimes only available around this time of year, so drop what you are doing and get to the store and stock up on these so you can make them now and throughout the year! ( You can always order from Amazon too!)
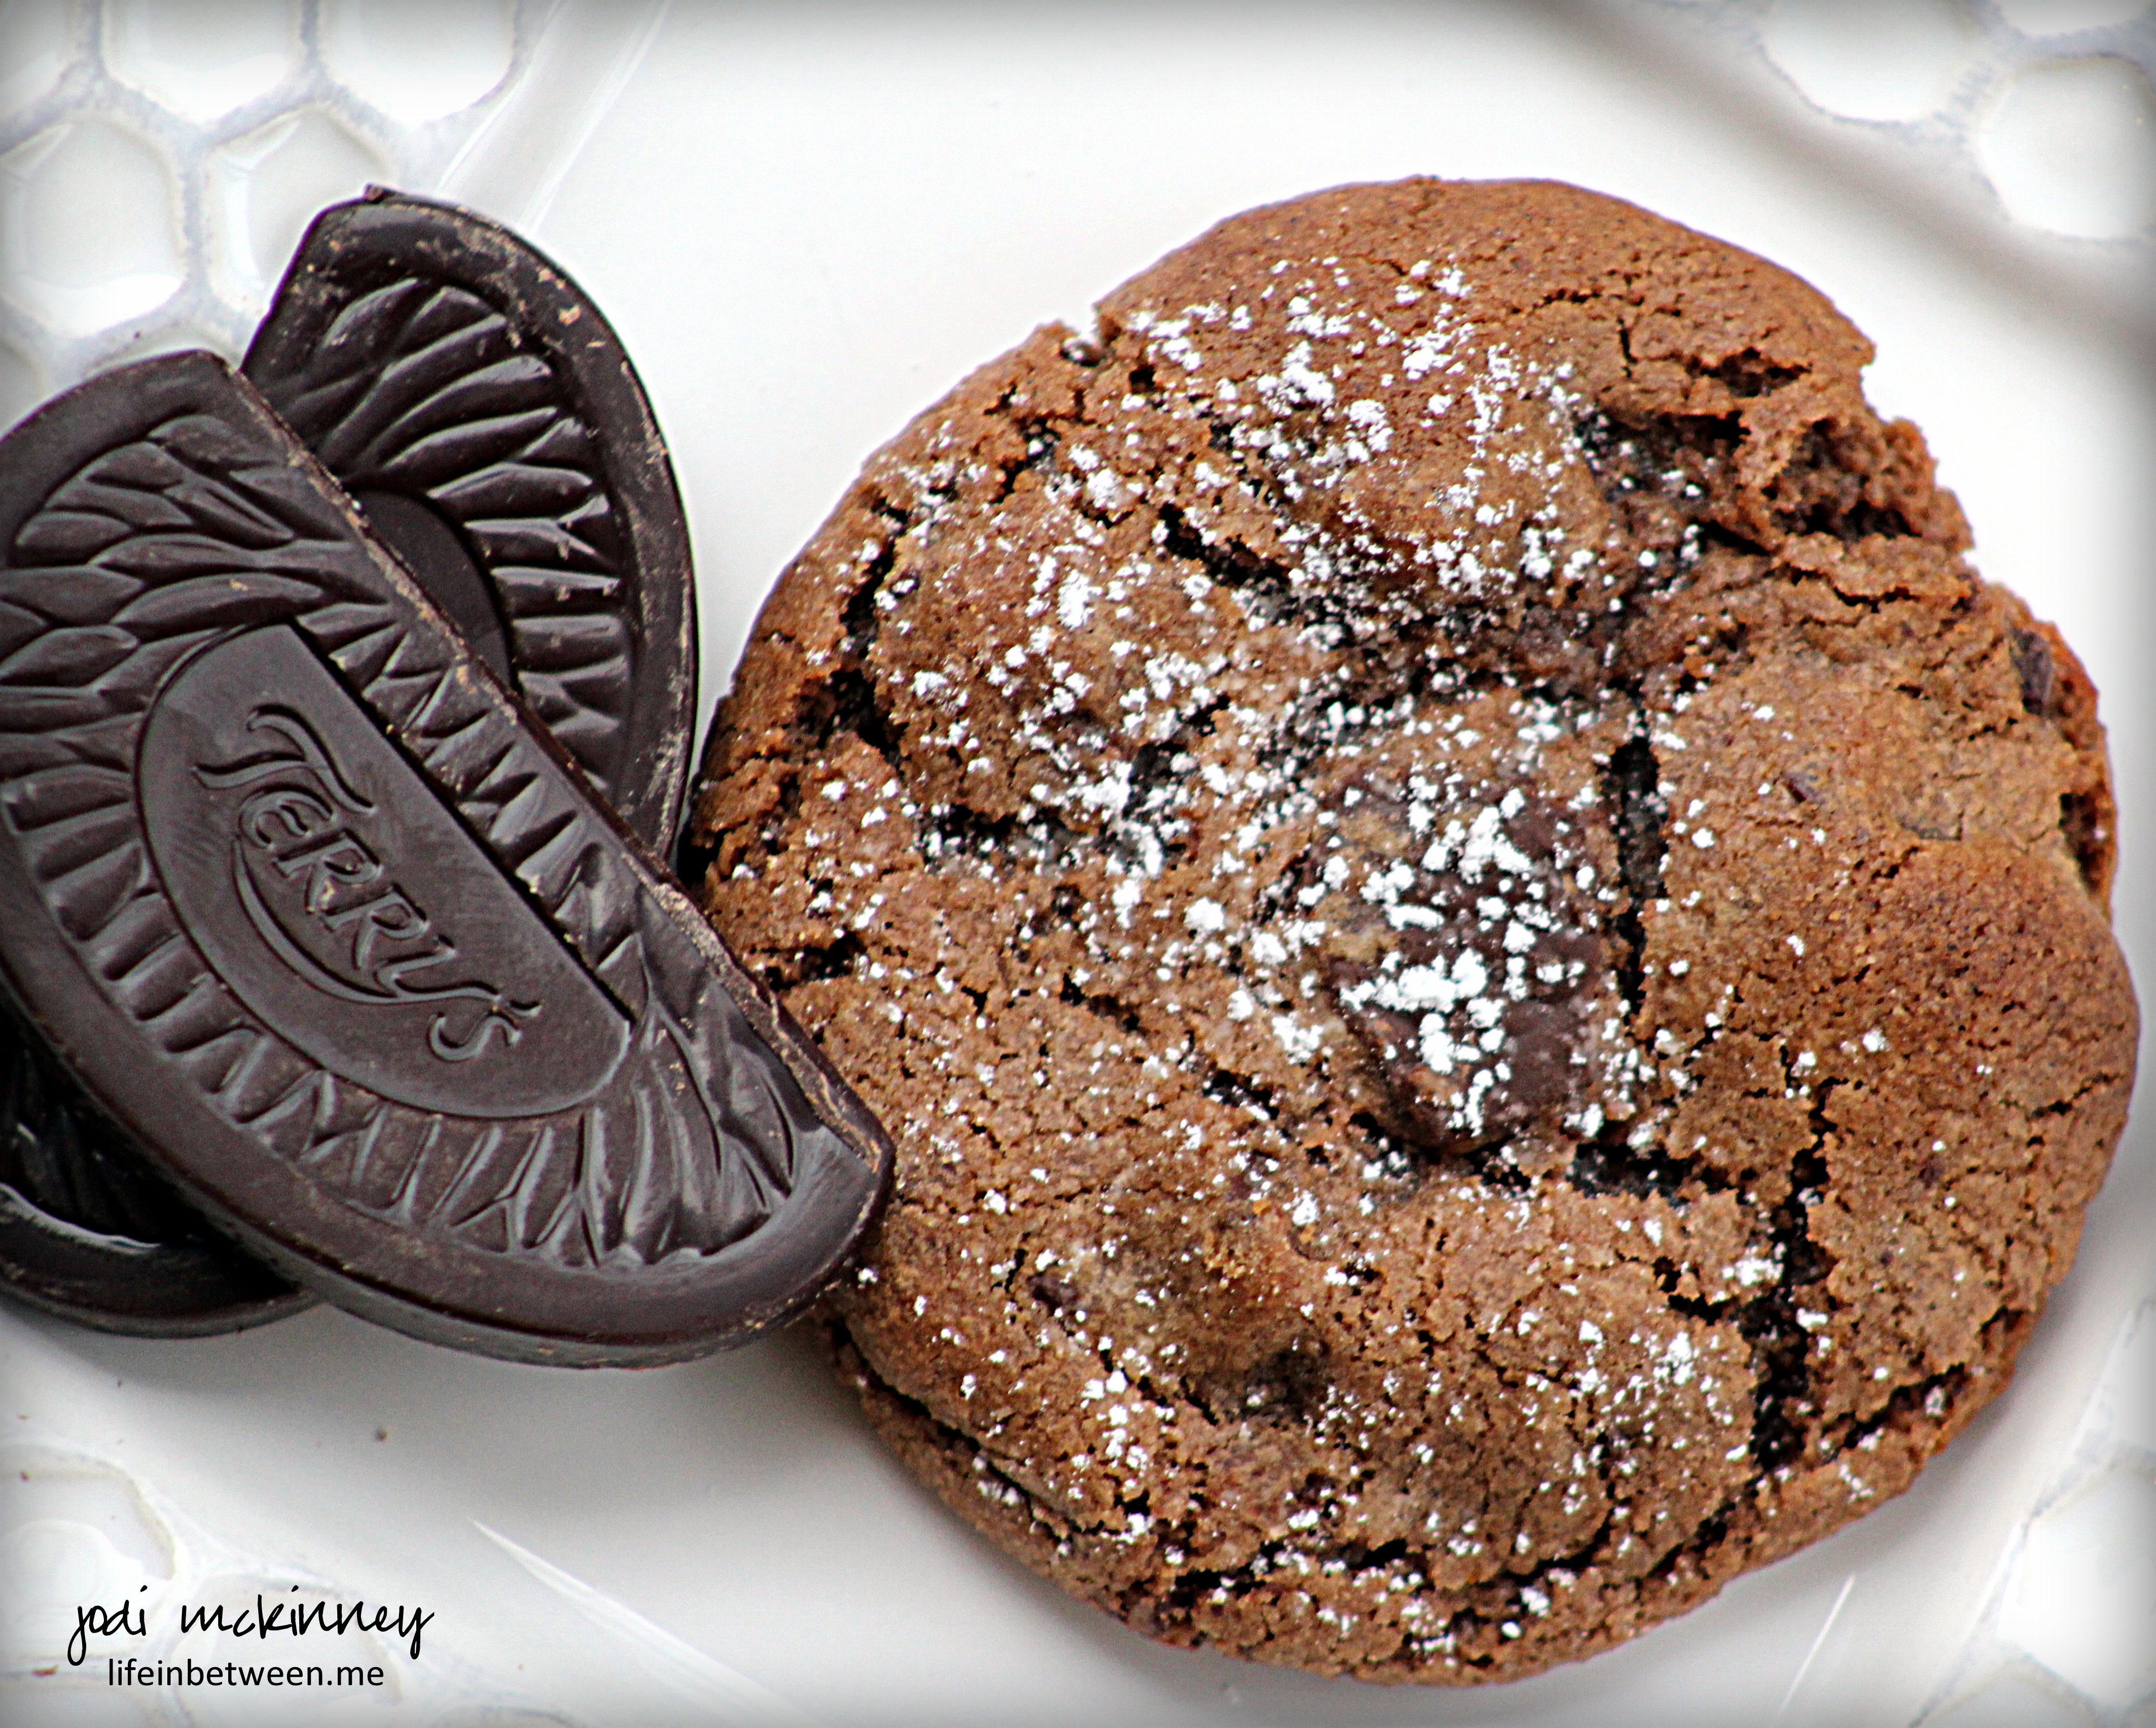
I found this recipe on a lovely blog called, What Jessica Baked Next, and I’m looking forward to continuing to see what Jessica bakes next! In Jessica’s recipe, she calls for using EITHER Terry’s Chocolate Oranges OR chocolate chips with fresh orange zest. I, however, used both Terry’s Chocolate Oranges AND fresh orange zest! OH MY MY MY!
I also decided to dust them with a sprinkle of powdered sugar to make them look a bit more festive.
This cookie is like a brownie and a cookie all in one. Crispy on the outside, gooey on the inside and just that right amount of fresh orange taste to compliment the chocolate in such a divine way!
Here is the recipe. ENJOY!
Cheers & Hugs,
Jodi

How do you know when you have one of the best of besties?
Answer #1,743: When she brings you flowers… just because… even though she abhors cut flowers.
I sure have a best bestie!
Wishing you a best kind of weekend.
Cheers & Hugs,
Jodi
WordPress Daily Post Photo Challenge: Today was a Good Day
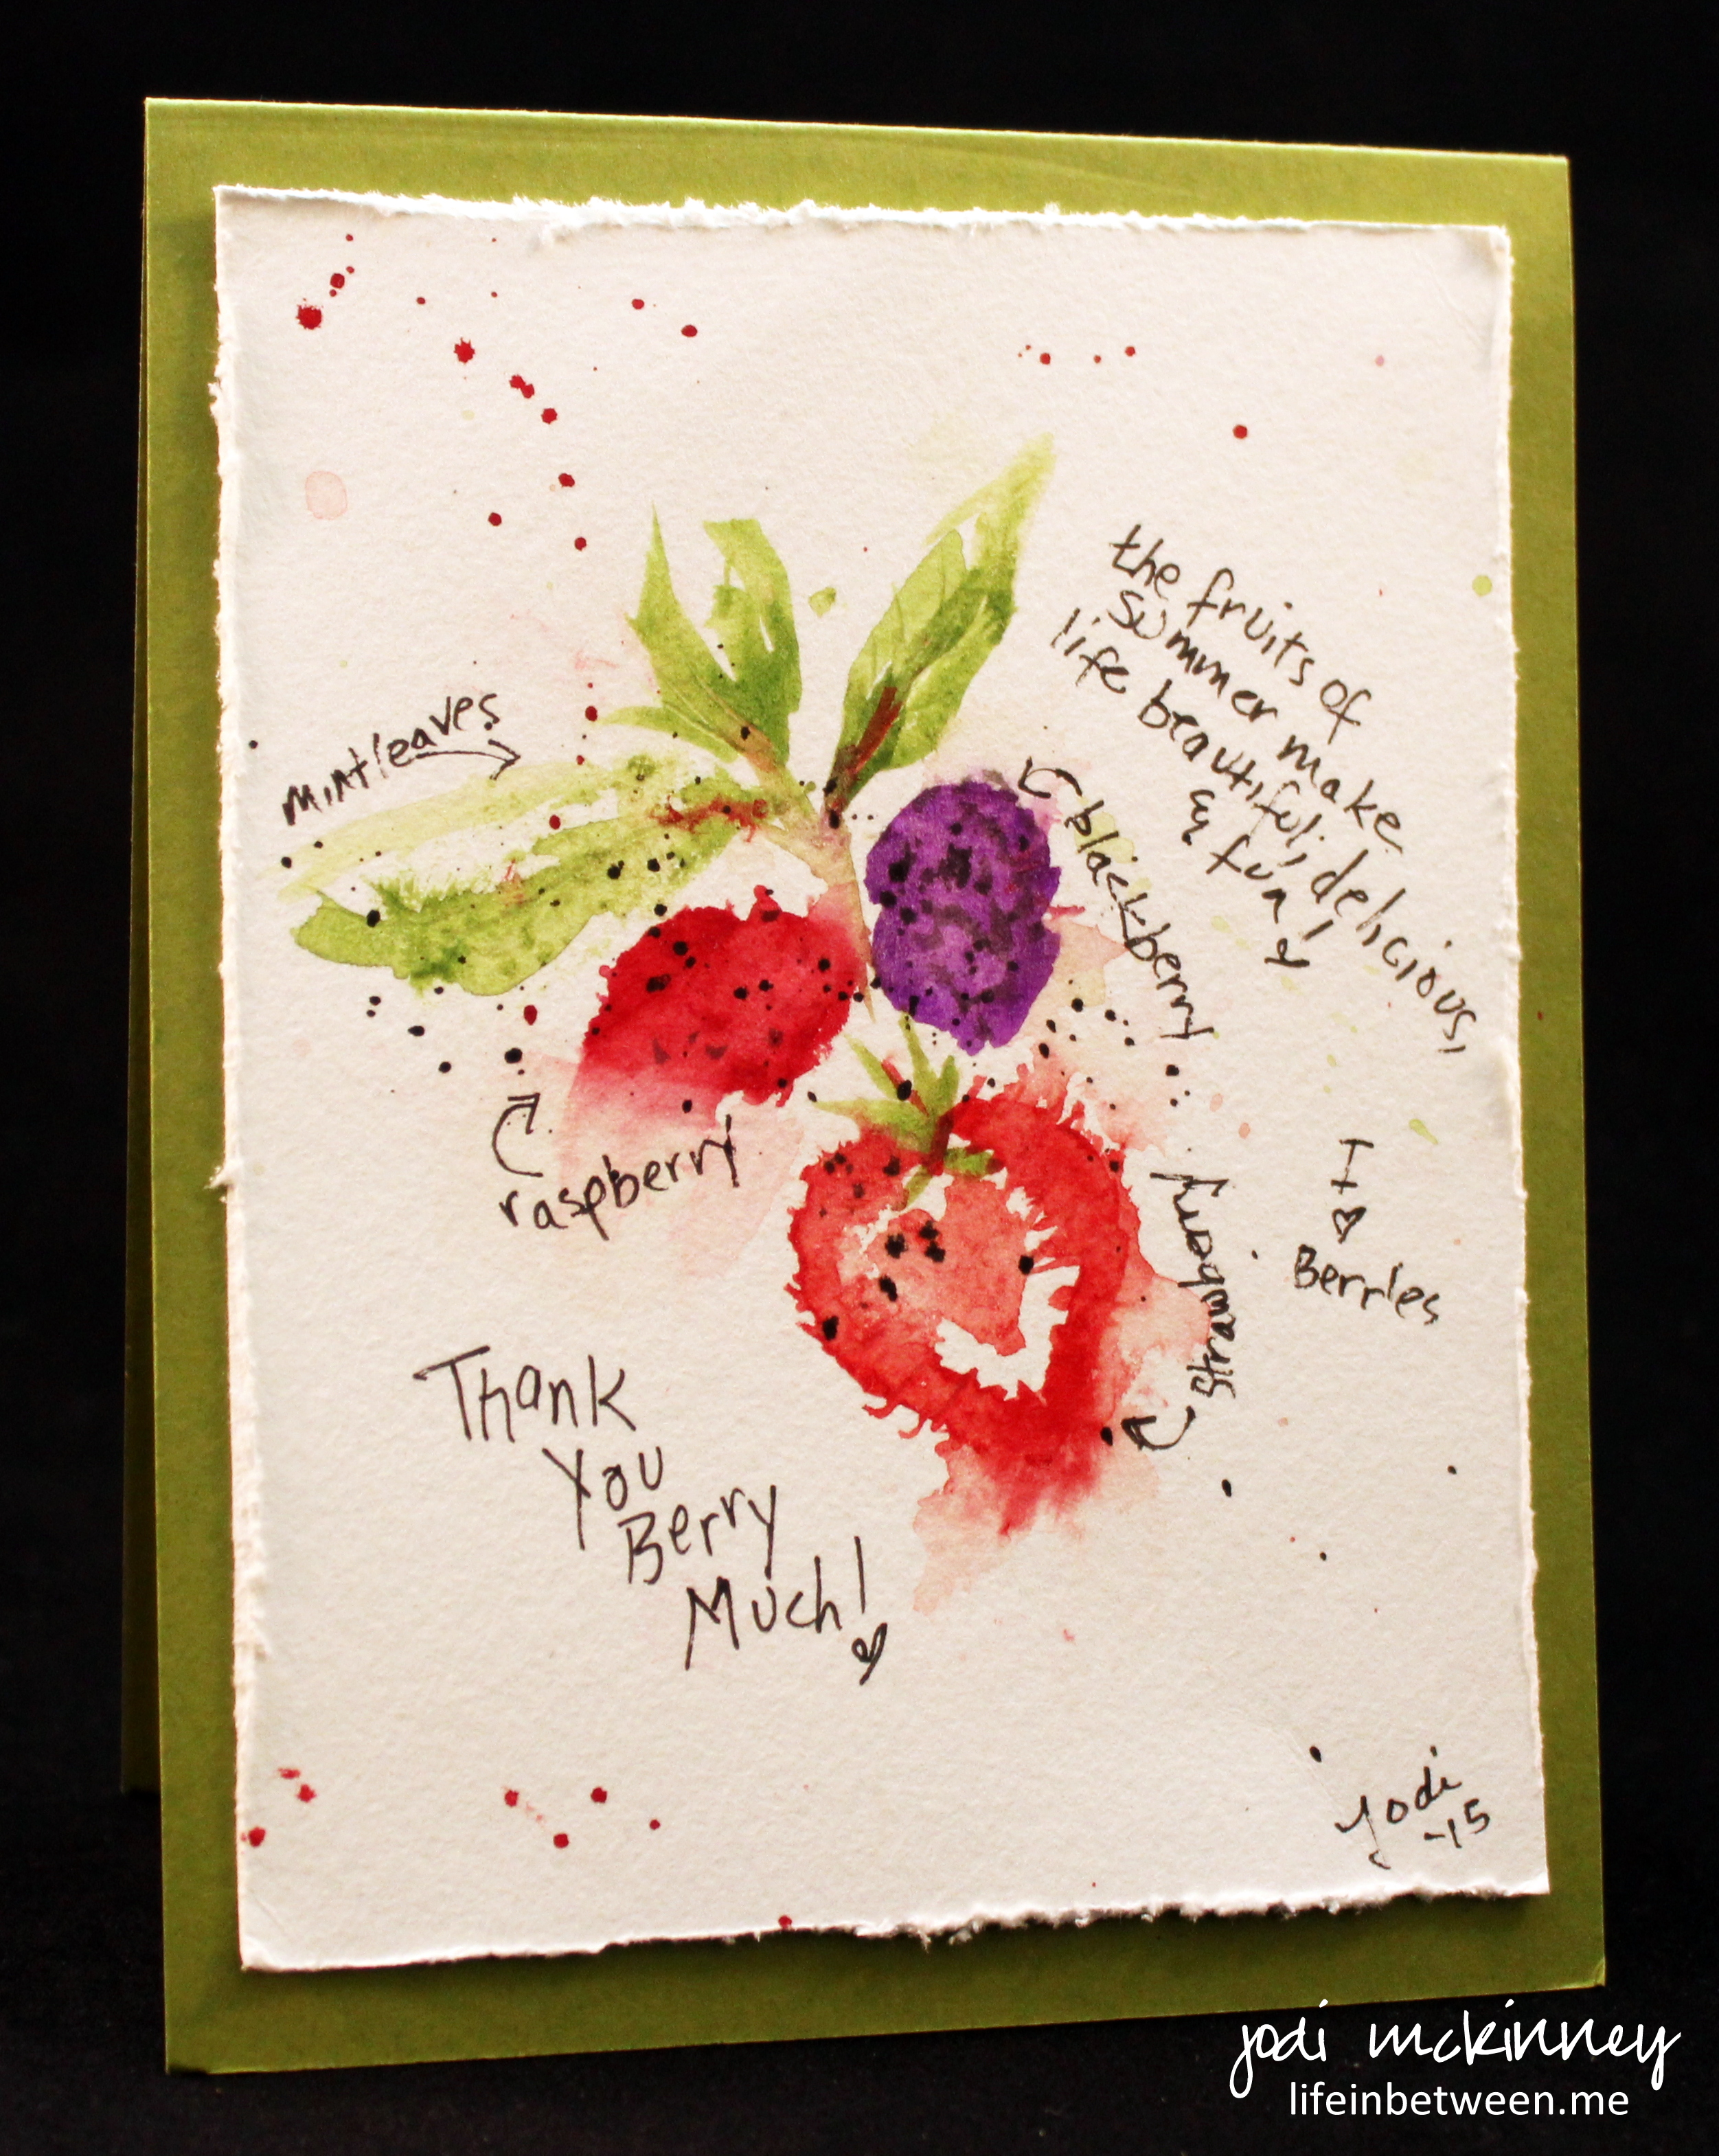
Thank you cards might be my favorite cards to make and send. There is something so heartwarming about putting to art and words your feelings of gratitude and sharing it with the person you are thankful to.
So when one of my co-workers did something especially nice and helpful (which is a regular occurrence from her – lucky me – eh?!), I had this little card I had made a while back when I was practicing water color painting where I had laid out some fruit and mint leaves and tried to create it. I was goofing around with making it a (not sure of the term?) combination of words and “art.” (Anybody know the technical name for this or is there even such a thing?) Need to work on my handwriting, but thought it was fun… or maybe I ruined it??
Nonetheless, I used this, along with a little batch of my Fresh Raspberry Chocolate Chip Cookies as a way to thank my friend and co-worker. (Thank you Judy!!)
And while we are talking about the wonderful fruits of summer and berries, it brought to mind a favorite recipe I used to make and demonstrate from Pampered Chef years ago when I was a “Pampered Chef Lady” that I thought I’d share with you here today. Only, I kicked it up a notch by adding fresh red raspberries too! I’ve got to make this again soon!

Photo courtesy of myreciperoundup.blogspot.com
Ingredients:
2 Medium Granny Smith Apples, chopped
1 Cup Strawberries, hulled and chopped
1 Kiwi, peeled and chopped
1 Cup Red Raspberries
1 Medium Orange, juiced and zested
2 Tbsp Brown Sugar
2 Tbsp Apple Jelly
4 Large Tortillas
2 Tbsp Sugar
1 tsp Cinnamon
Directions:
Gently mix together first seven ingredients in a bowl.
Preheat oven to 475 degrees F. Brush tortillas with water using a pastry brush. Combine cinnamon and sugar and sprinkle over tortillas. Cut each tortilla into eight wedges, and place on a baking stone (or cookie sheet). Bake 5-7 minutes until golden brown and crisp. Remove to cooling rack, then place in a bowl or basket alongside the salsa, and ENJOY!
Recipe from The Pampered Chef (modified)
Cheers & Hugs & Thank You BERRY Much for Visiting LifeinBetween.me,
Jodi
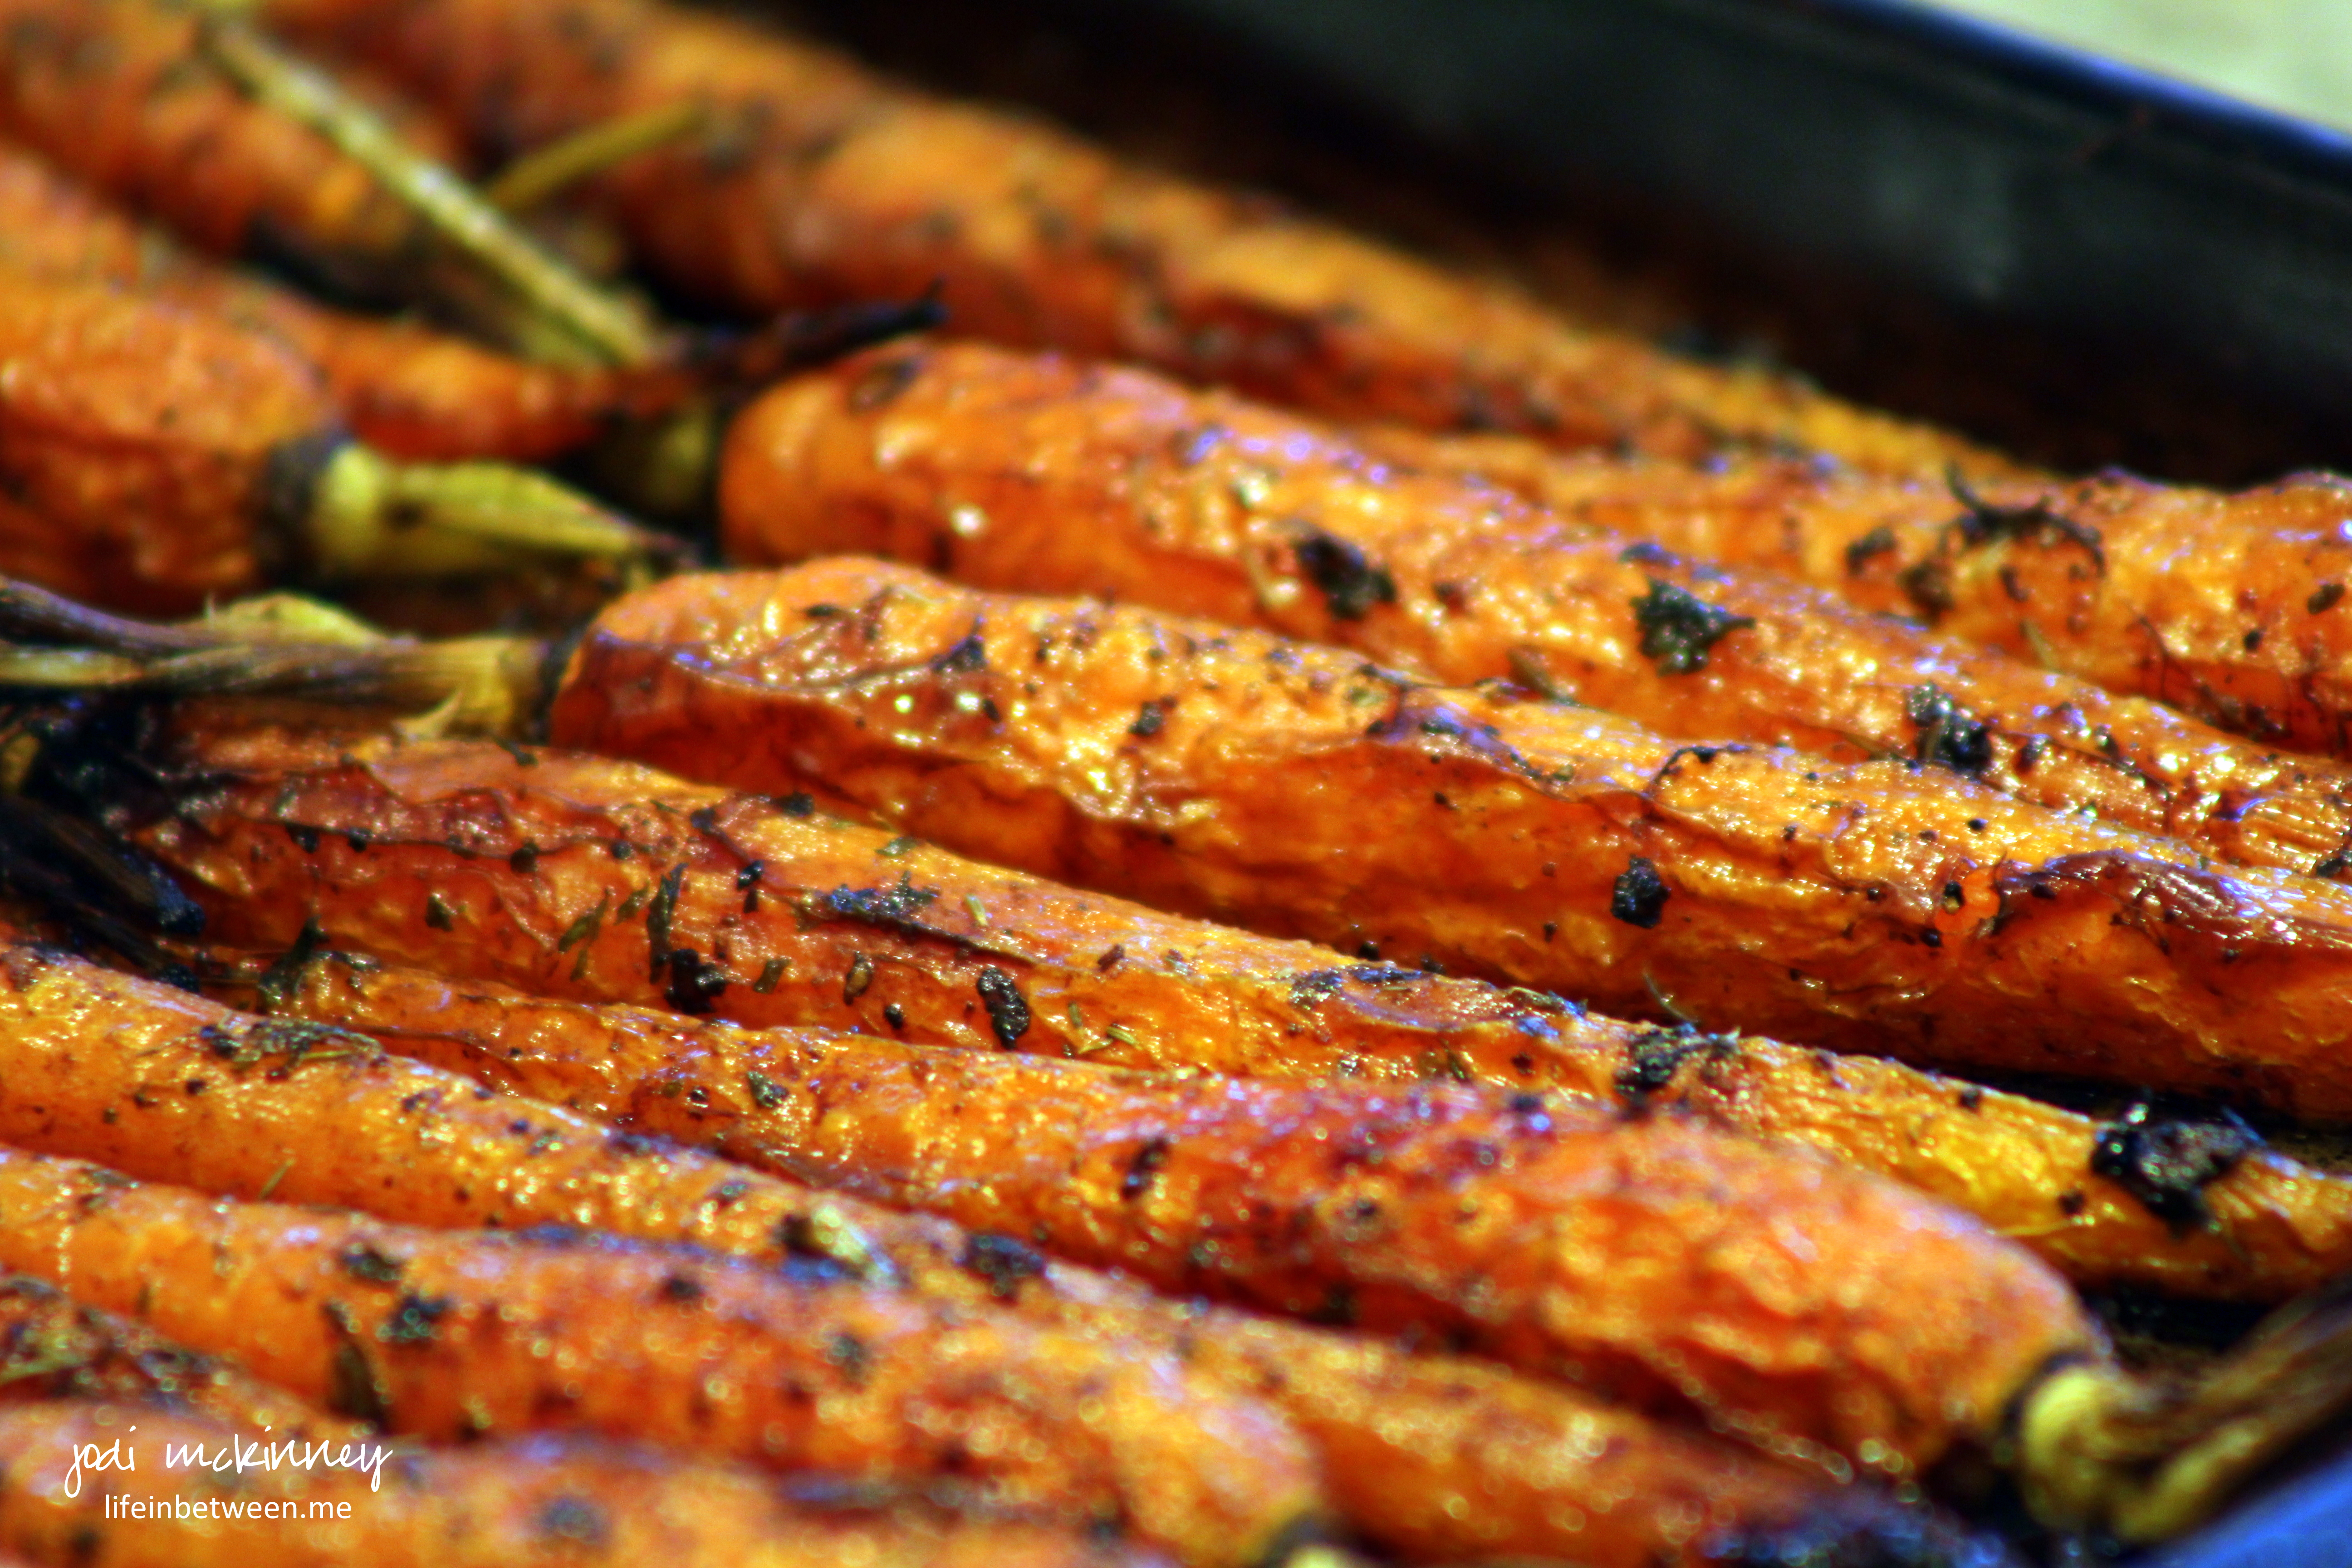
Are you often looking for new ways to prepare and serve veggies? I’ve got another delicious, nutritious orange food for you today. This time in the form of beautiful, fresh roasted, caramelized, garlicky carrots. Nom Nom! I find so many vegetables are best when roasted. Flavor and nutrients are retained and the flavor is hard to beet. (pun intended)
Lots of fresh garlic, thyme, parsley, olive oil, and balsamic vinegar sprinkled onto fresh young carrots creates a wonderful veggie to complement almost any meal.
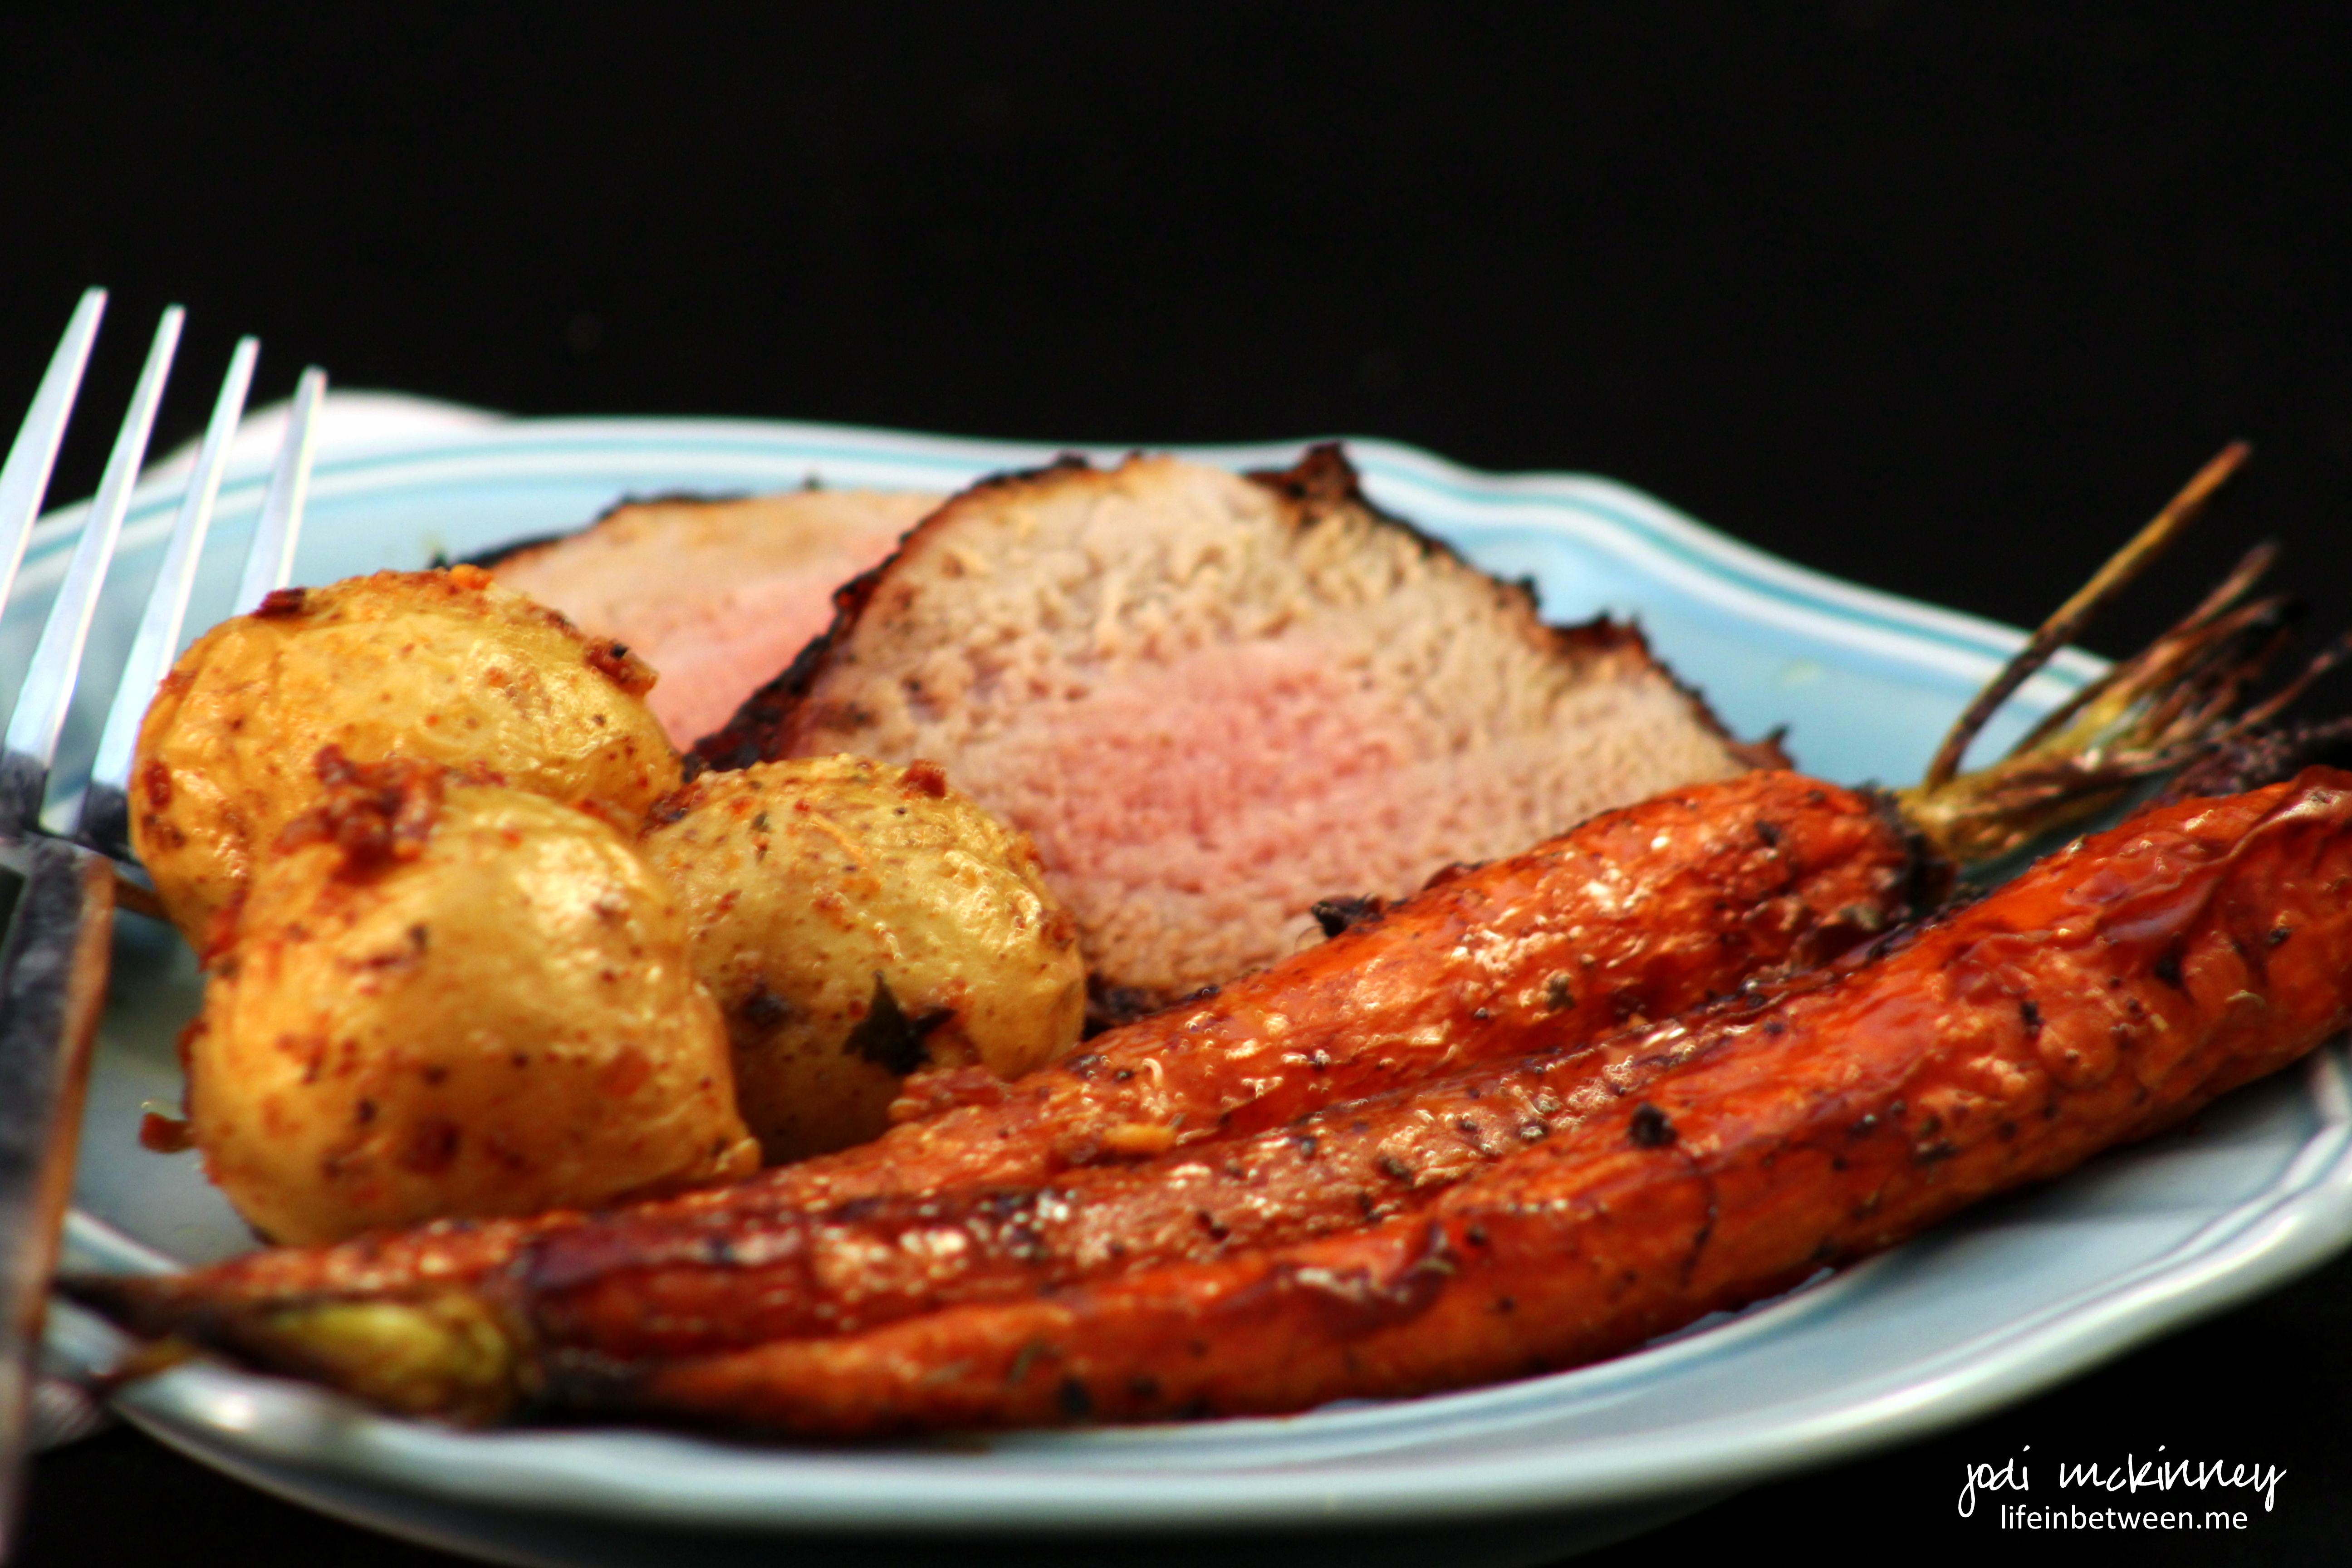
We had ours with an herb marinated pork tenderloin and tiny roasted golden Yukon potatoes.
Here is the recipe as I made it. I was inspired by another great recipe Chungah posted on Damn Delicious. Measurements are guesstimates. Make it how you enjoy. That is the true JOY of cooking.
Ingredients:
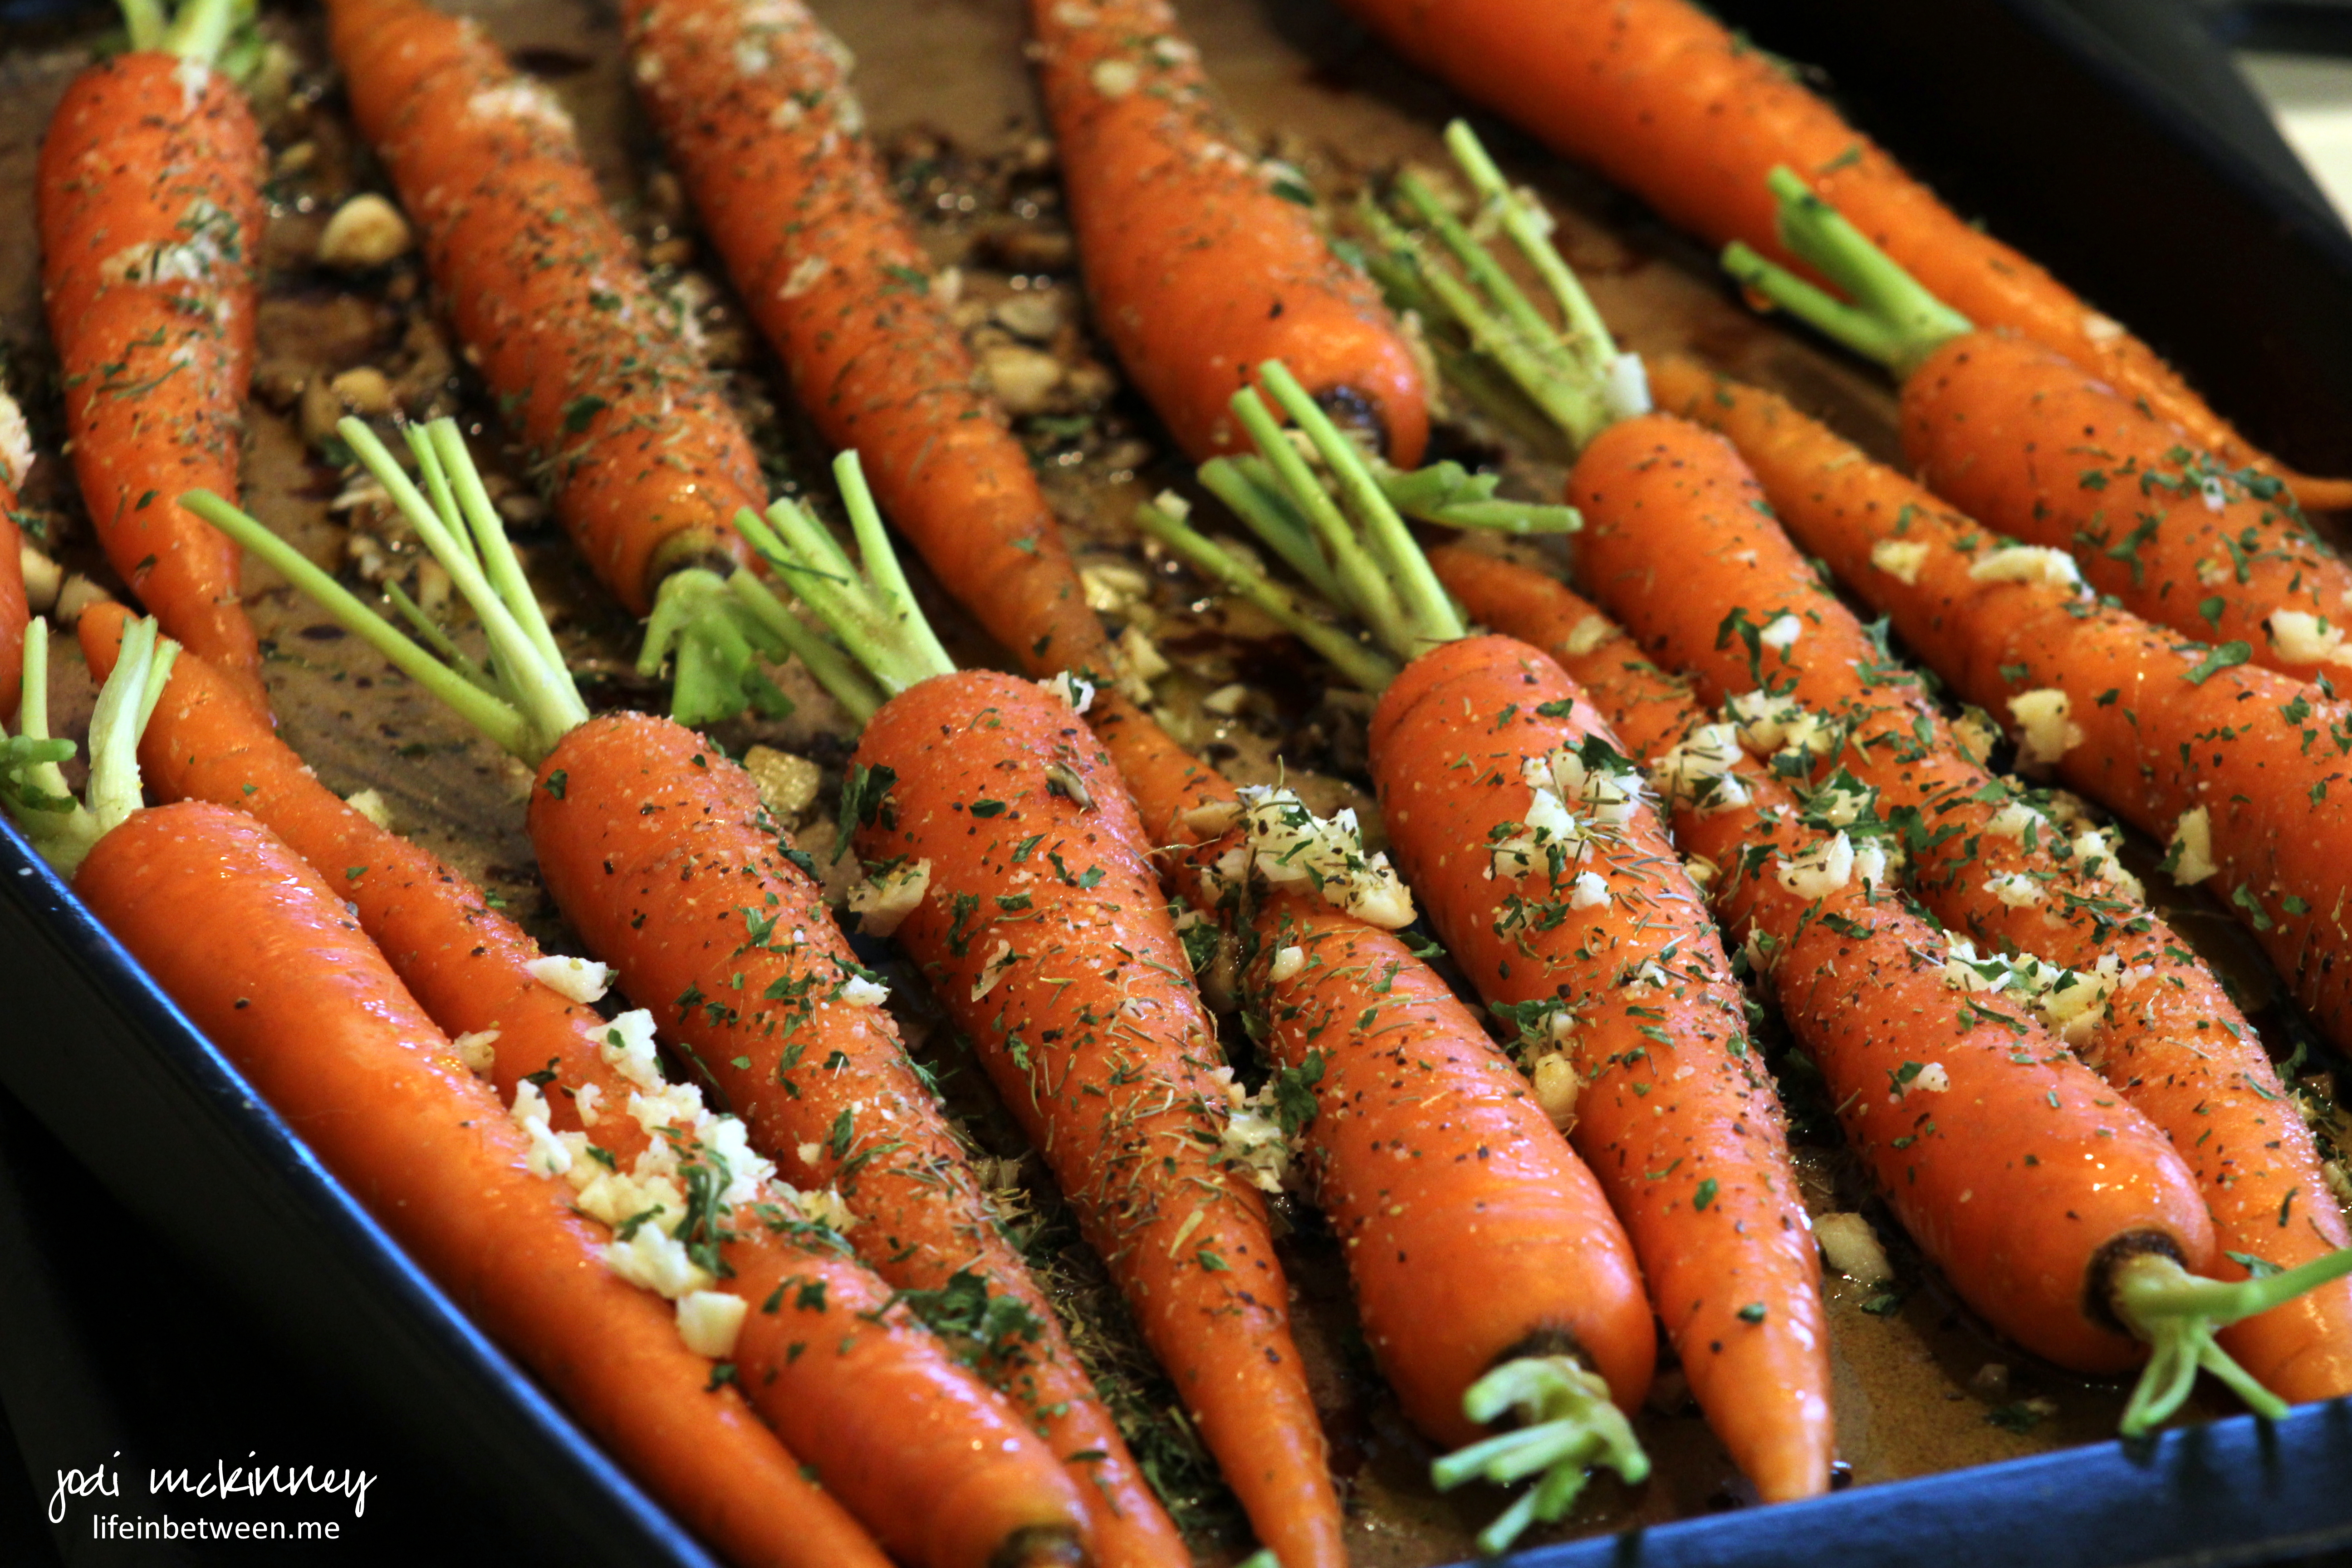
15 fresh new carrots with stems trimmed, no need to peel
4 cloves garlic, coarsely minced
1 Tbsp dried thyme or 2 Tbsp fresh thyme
1 Tbsp dried parsley or 2 Tbsp fresh parsley
1 tsp. coarse sea salt
1 Tbsp. coarse ground black pepper
Approximately 1/4 cup olive oil
Approximately 1/4 cup balsamic vinegar
Directions:
Preheat oven to 375 degrees F.
Wash carrots and lay in a single layer on a baking stone or baking dish.
Drizzle with olive oil.
Liberally sprinkle with garlic, thyme, parsley, salt and pepper to your taste and liking.
Drizzle all with balsamic vinegar.
Toss to coat.
Roast for 30-40 minutes – turning once or twice during cooking.
I daresay even kids will enjoy these carrots that turn out so sweet and delicious. I found them almost addicting!
Enjoy!
Cheers & Hugs
Jodi

Hey – remember a few days ago when I challenged you (I use that terminology loosely) with “If you are what you eat, then eat something cute?”
Well – this week’s WordPress Weekly Photo Challenge is ORANGE – and guess what we call Clementines around here?
CUTIES! (a brilliant marketing campaign established to target kids and their parents). Are you familiar?
So you really can eat something cute! And these little buggers are so sweet and delish right now!
Orange you going to try one?! (Couldn’t resist…)
I actually have some more orange to post, but I’m going to save it for tomorrow.
I made some luscious roasted carrots for dinner last night. Look for the recipe tomorrow. They are seriously like veggie candy – caramelized with olive oil, balsamic vinegar, garlic, cracked black pepper, thyme…. Ooooh La La!
And while we are talking about sunshine…. We were – weren’t we?
Oranges come from Florida, the Sunshine State, so yes – you see my logic – right?
I declared yesterday “50 Shades of SUNSHINE Day.”
Mikey and I got two wonderful walks in – one at lunch time and one after work – and no coat needed at 50 degrees and sunshine! WOOHOO!
Spring is in the air!
Enjoy your day – whatever it brings. Find the sunshine!
Cheers & Hugs,
Jodi
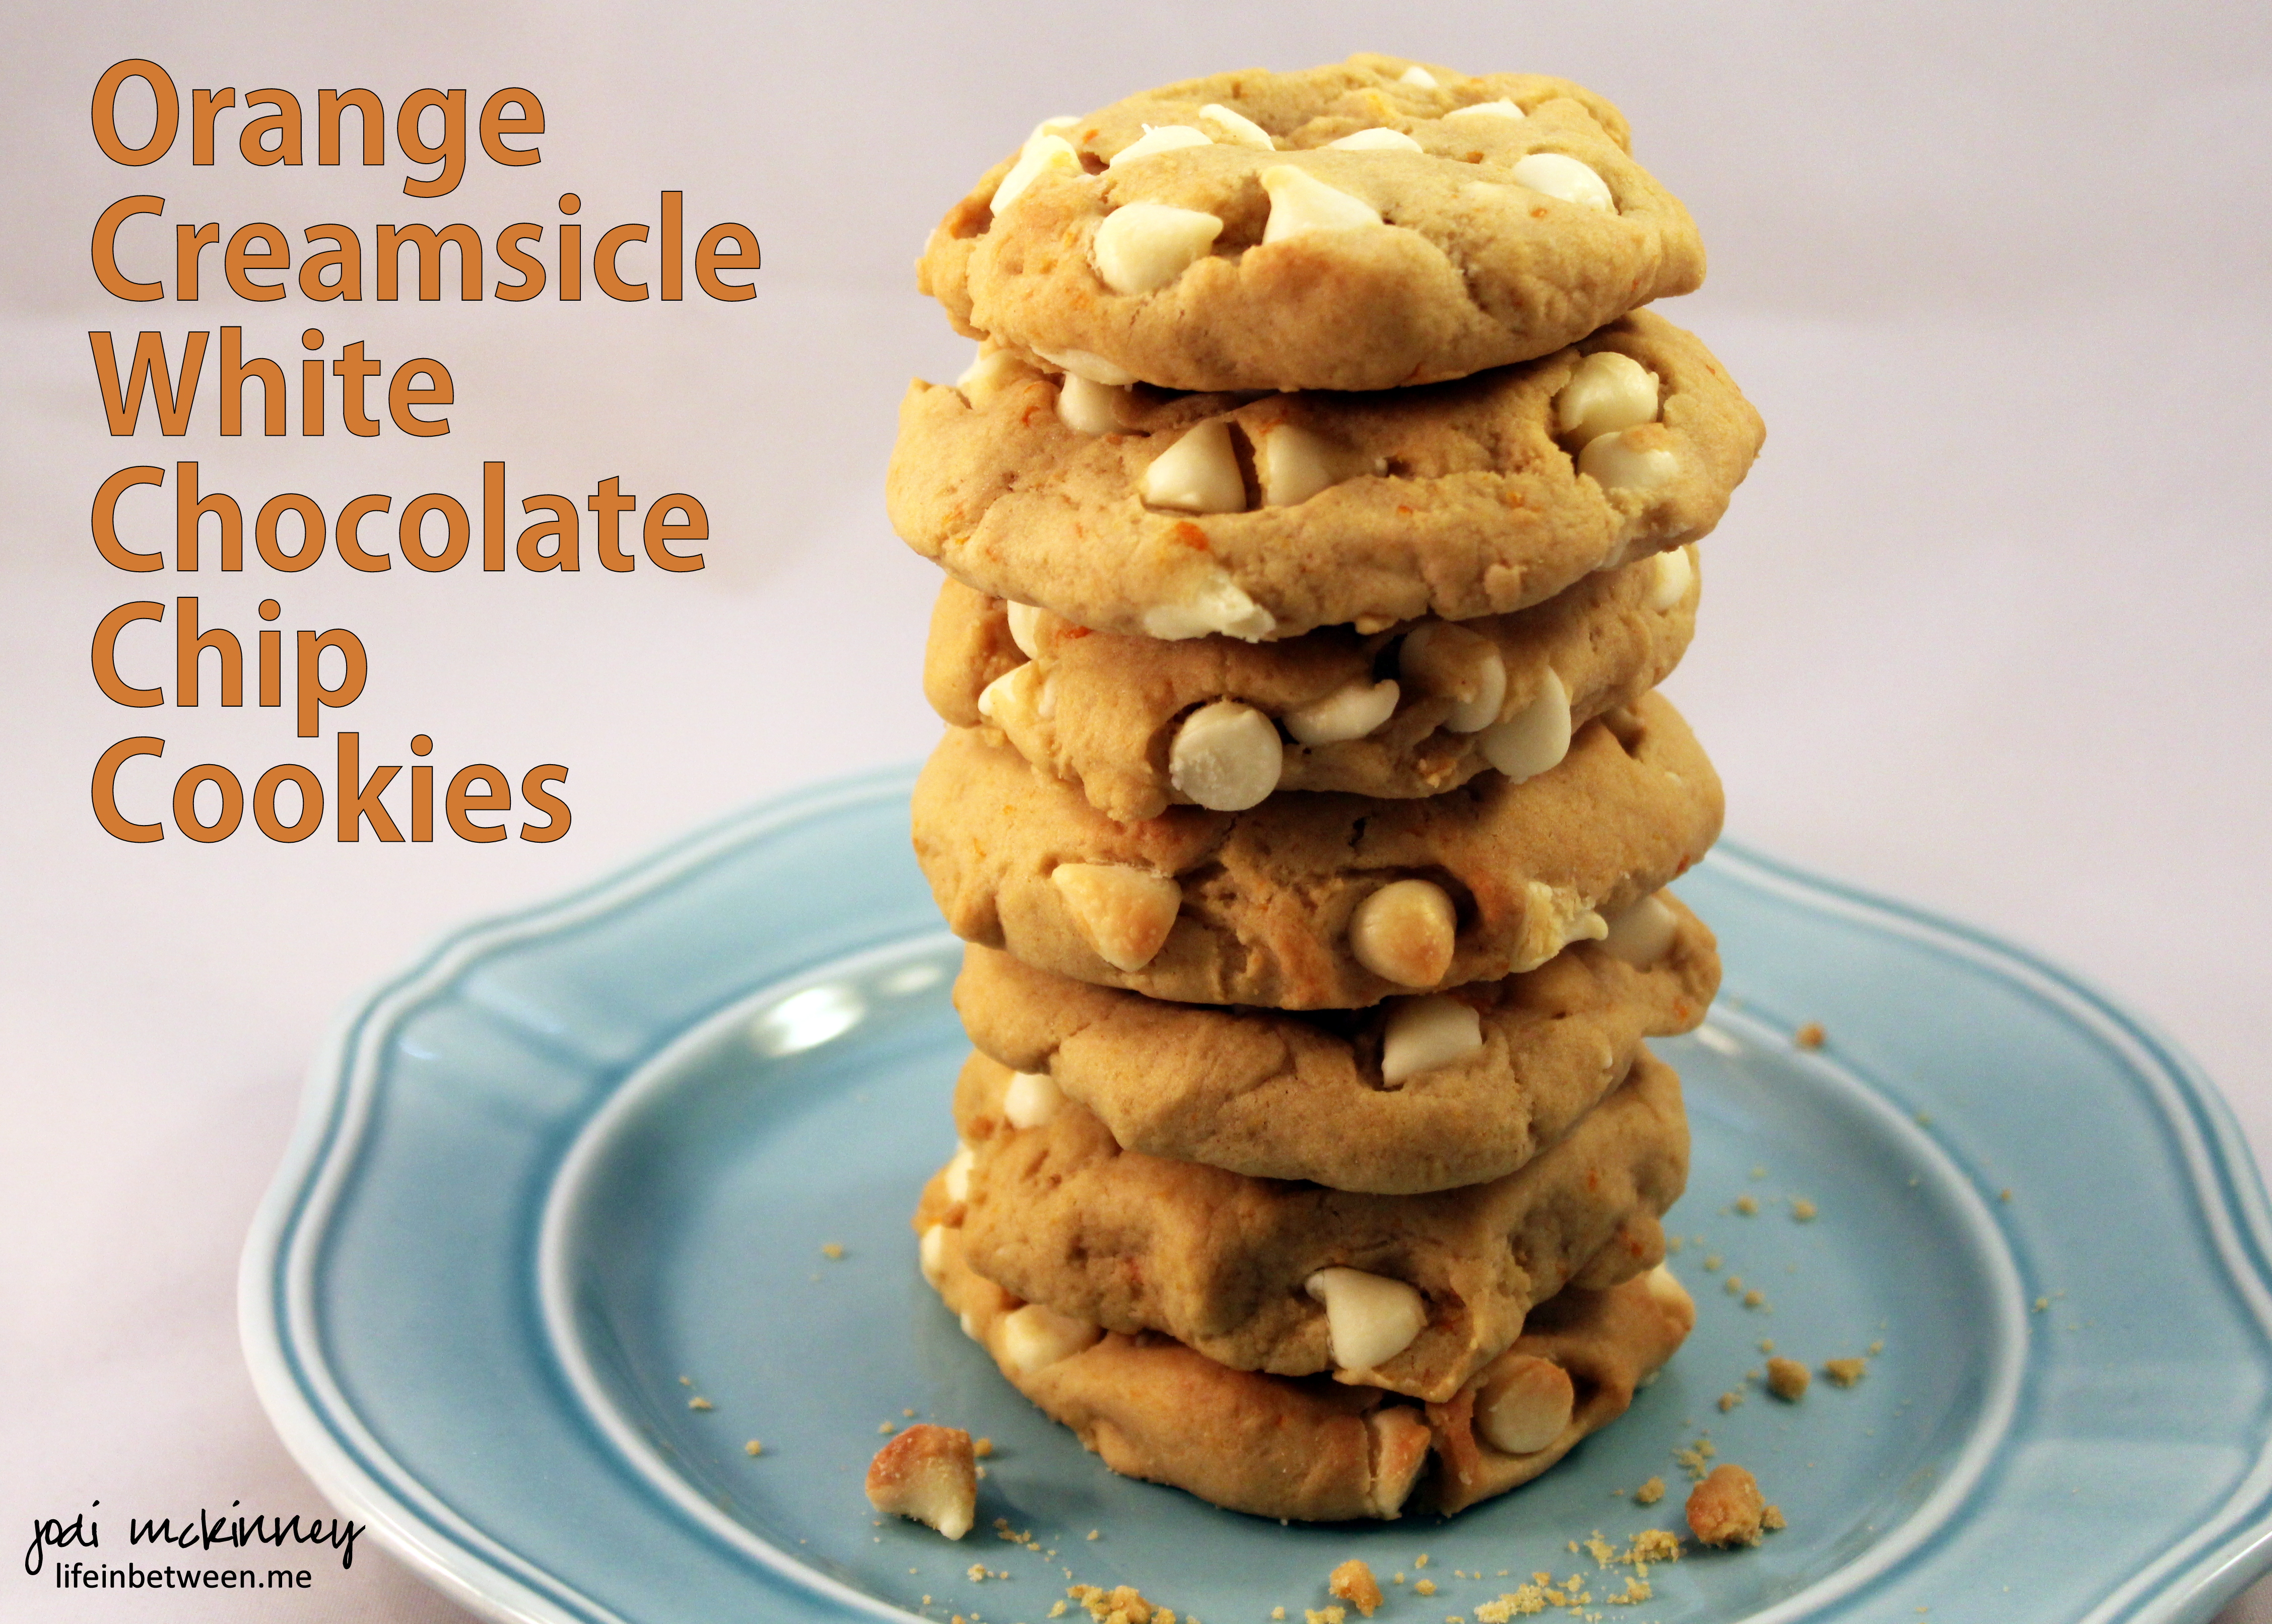
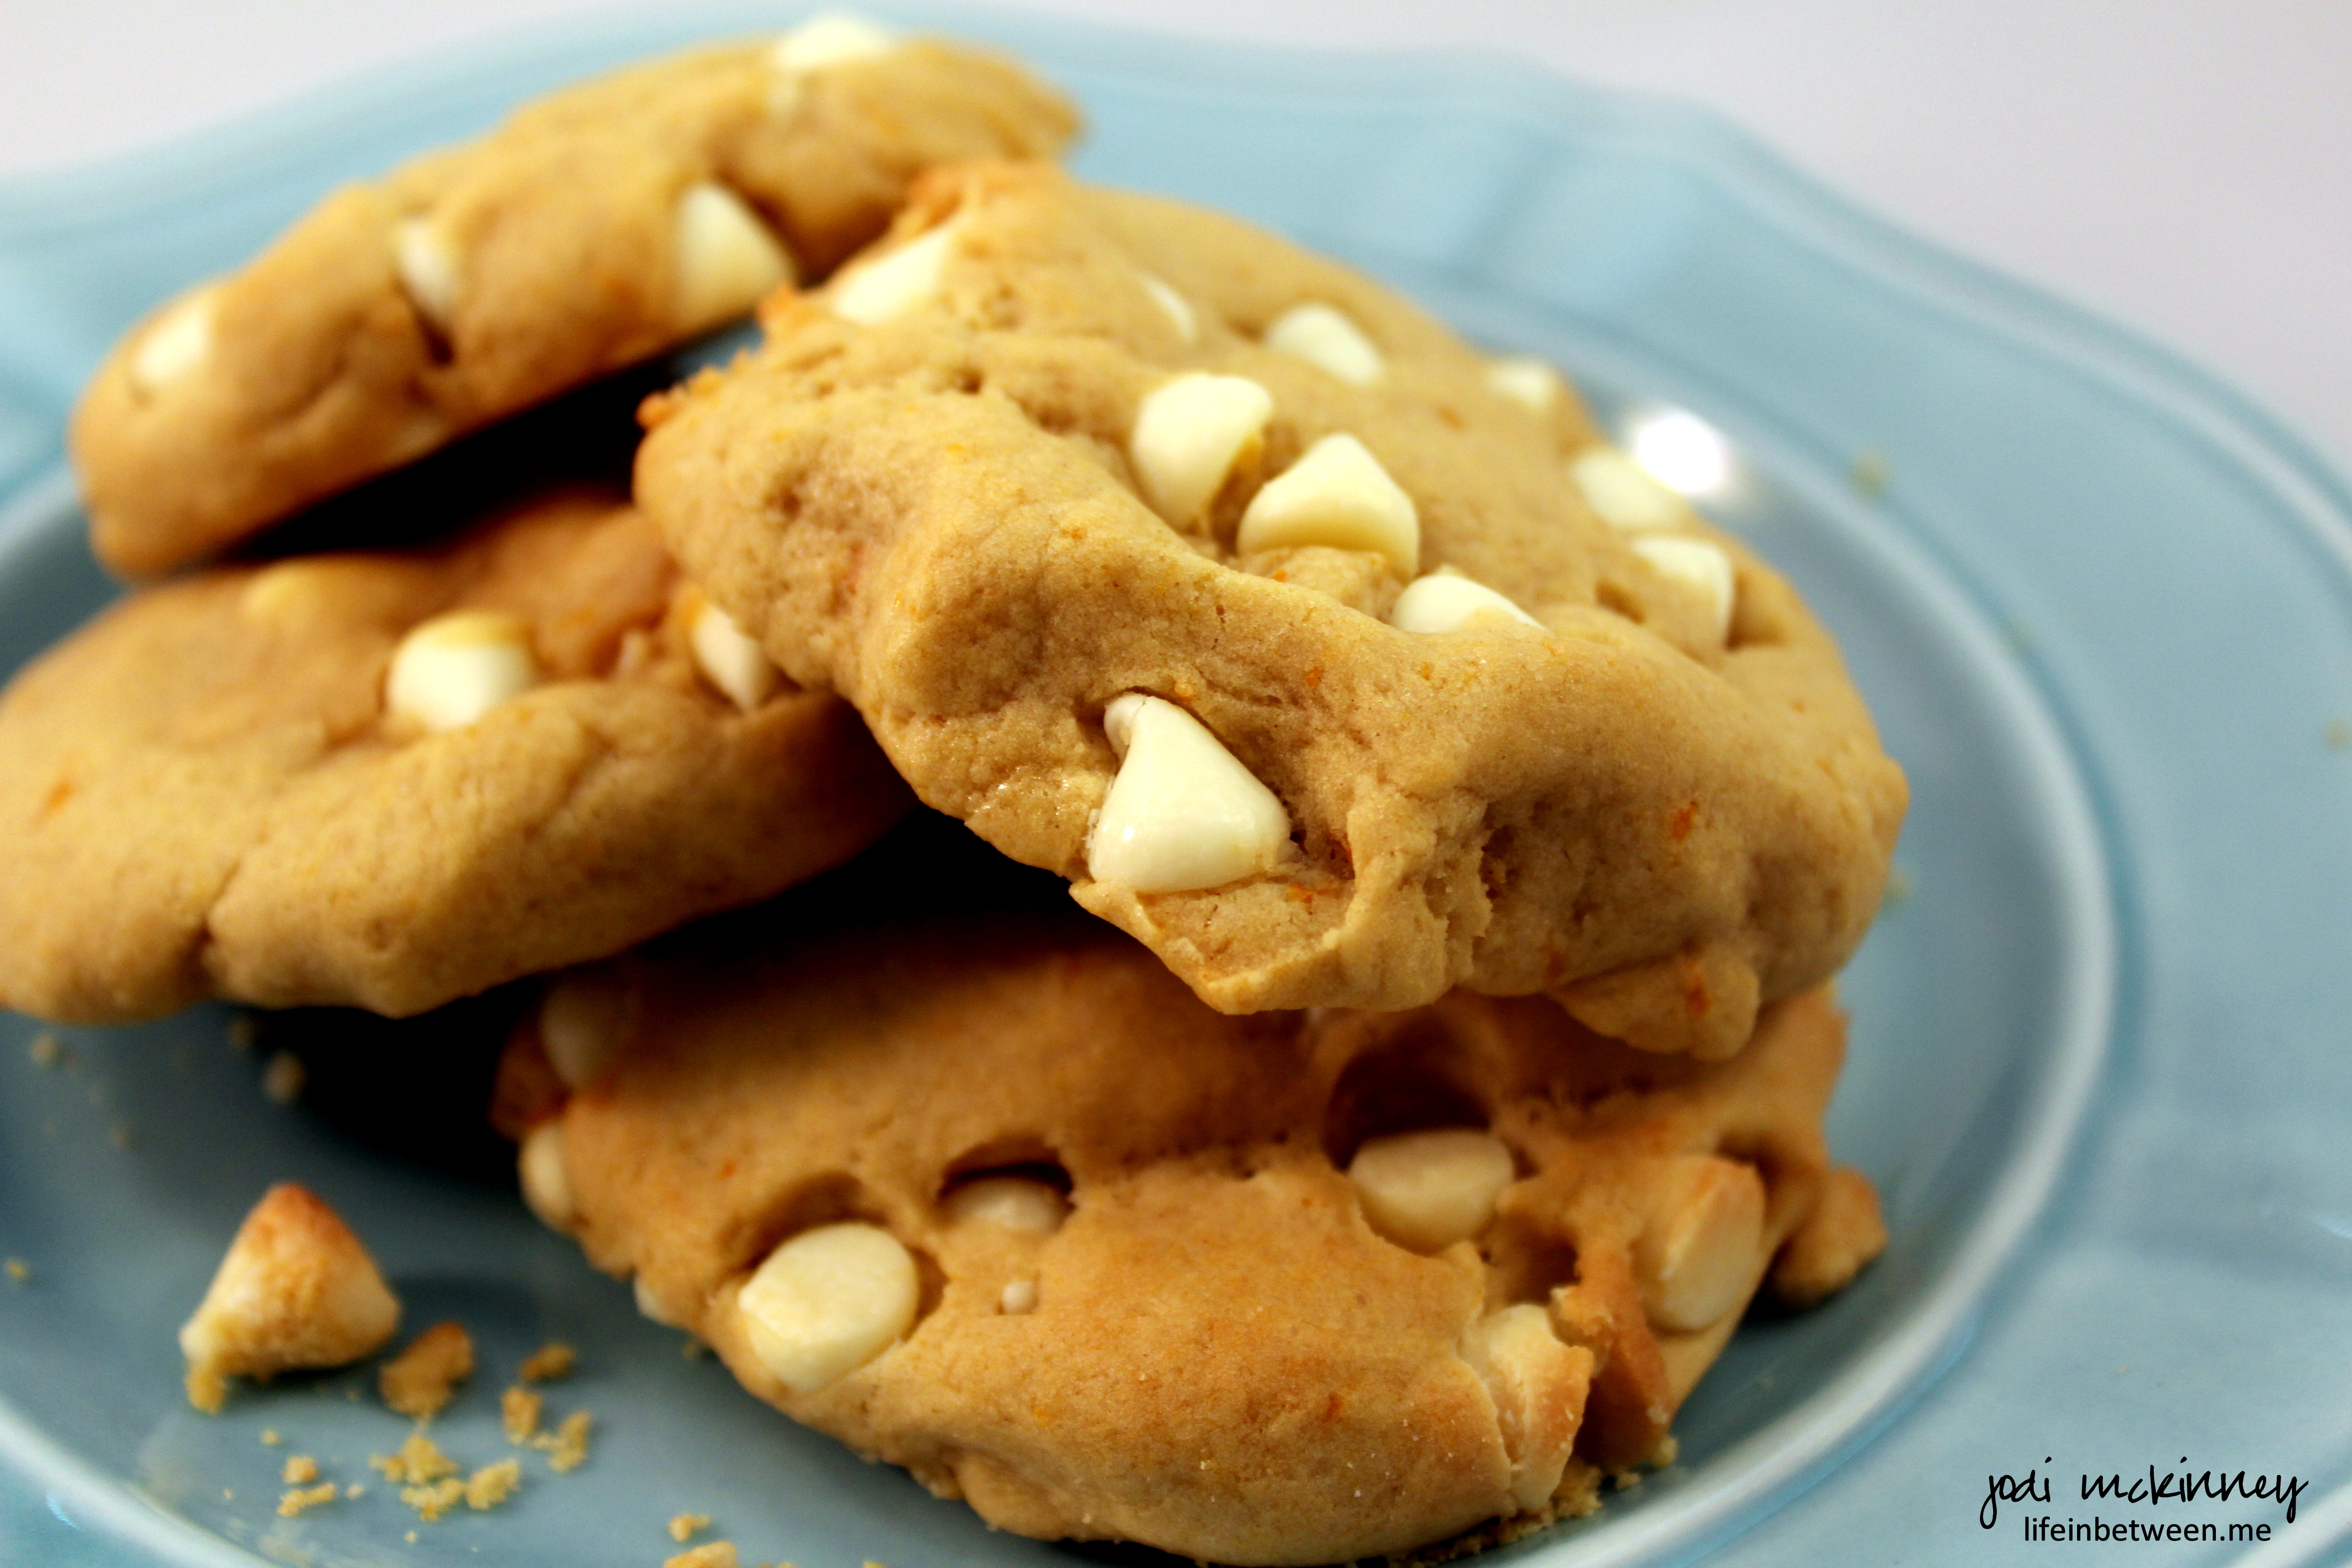
As promised yesterday, today I am sharing the other orange cookie recipe that I made this weekend: Orange Creamsicle White Chocolate Chip Cookies.
And they really taste like Orange Creamsicles! Remember that yummy ice cream treat we used to get as kids? A little orange citrusy tang, but oh so ice creamy!!
I have never made a cookie recipe that called for cornstarch before, but I love how tender these cookies turned out – just a tiny bit crispy on the outside, but softbatch-like on the inside.
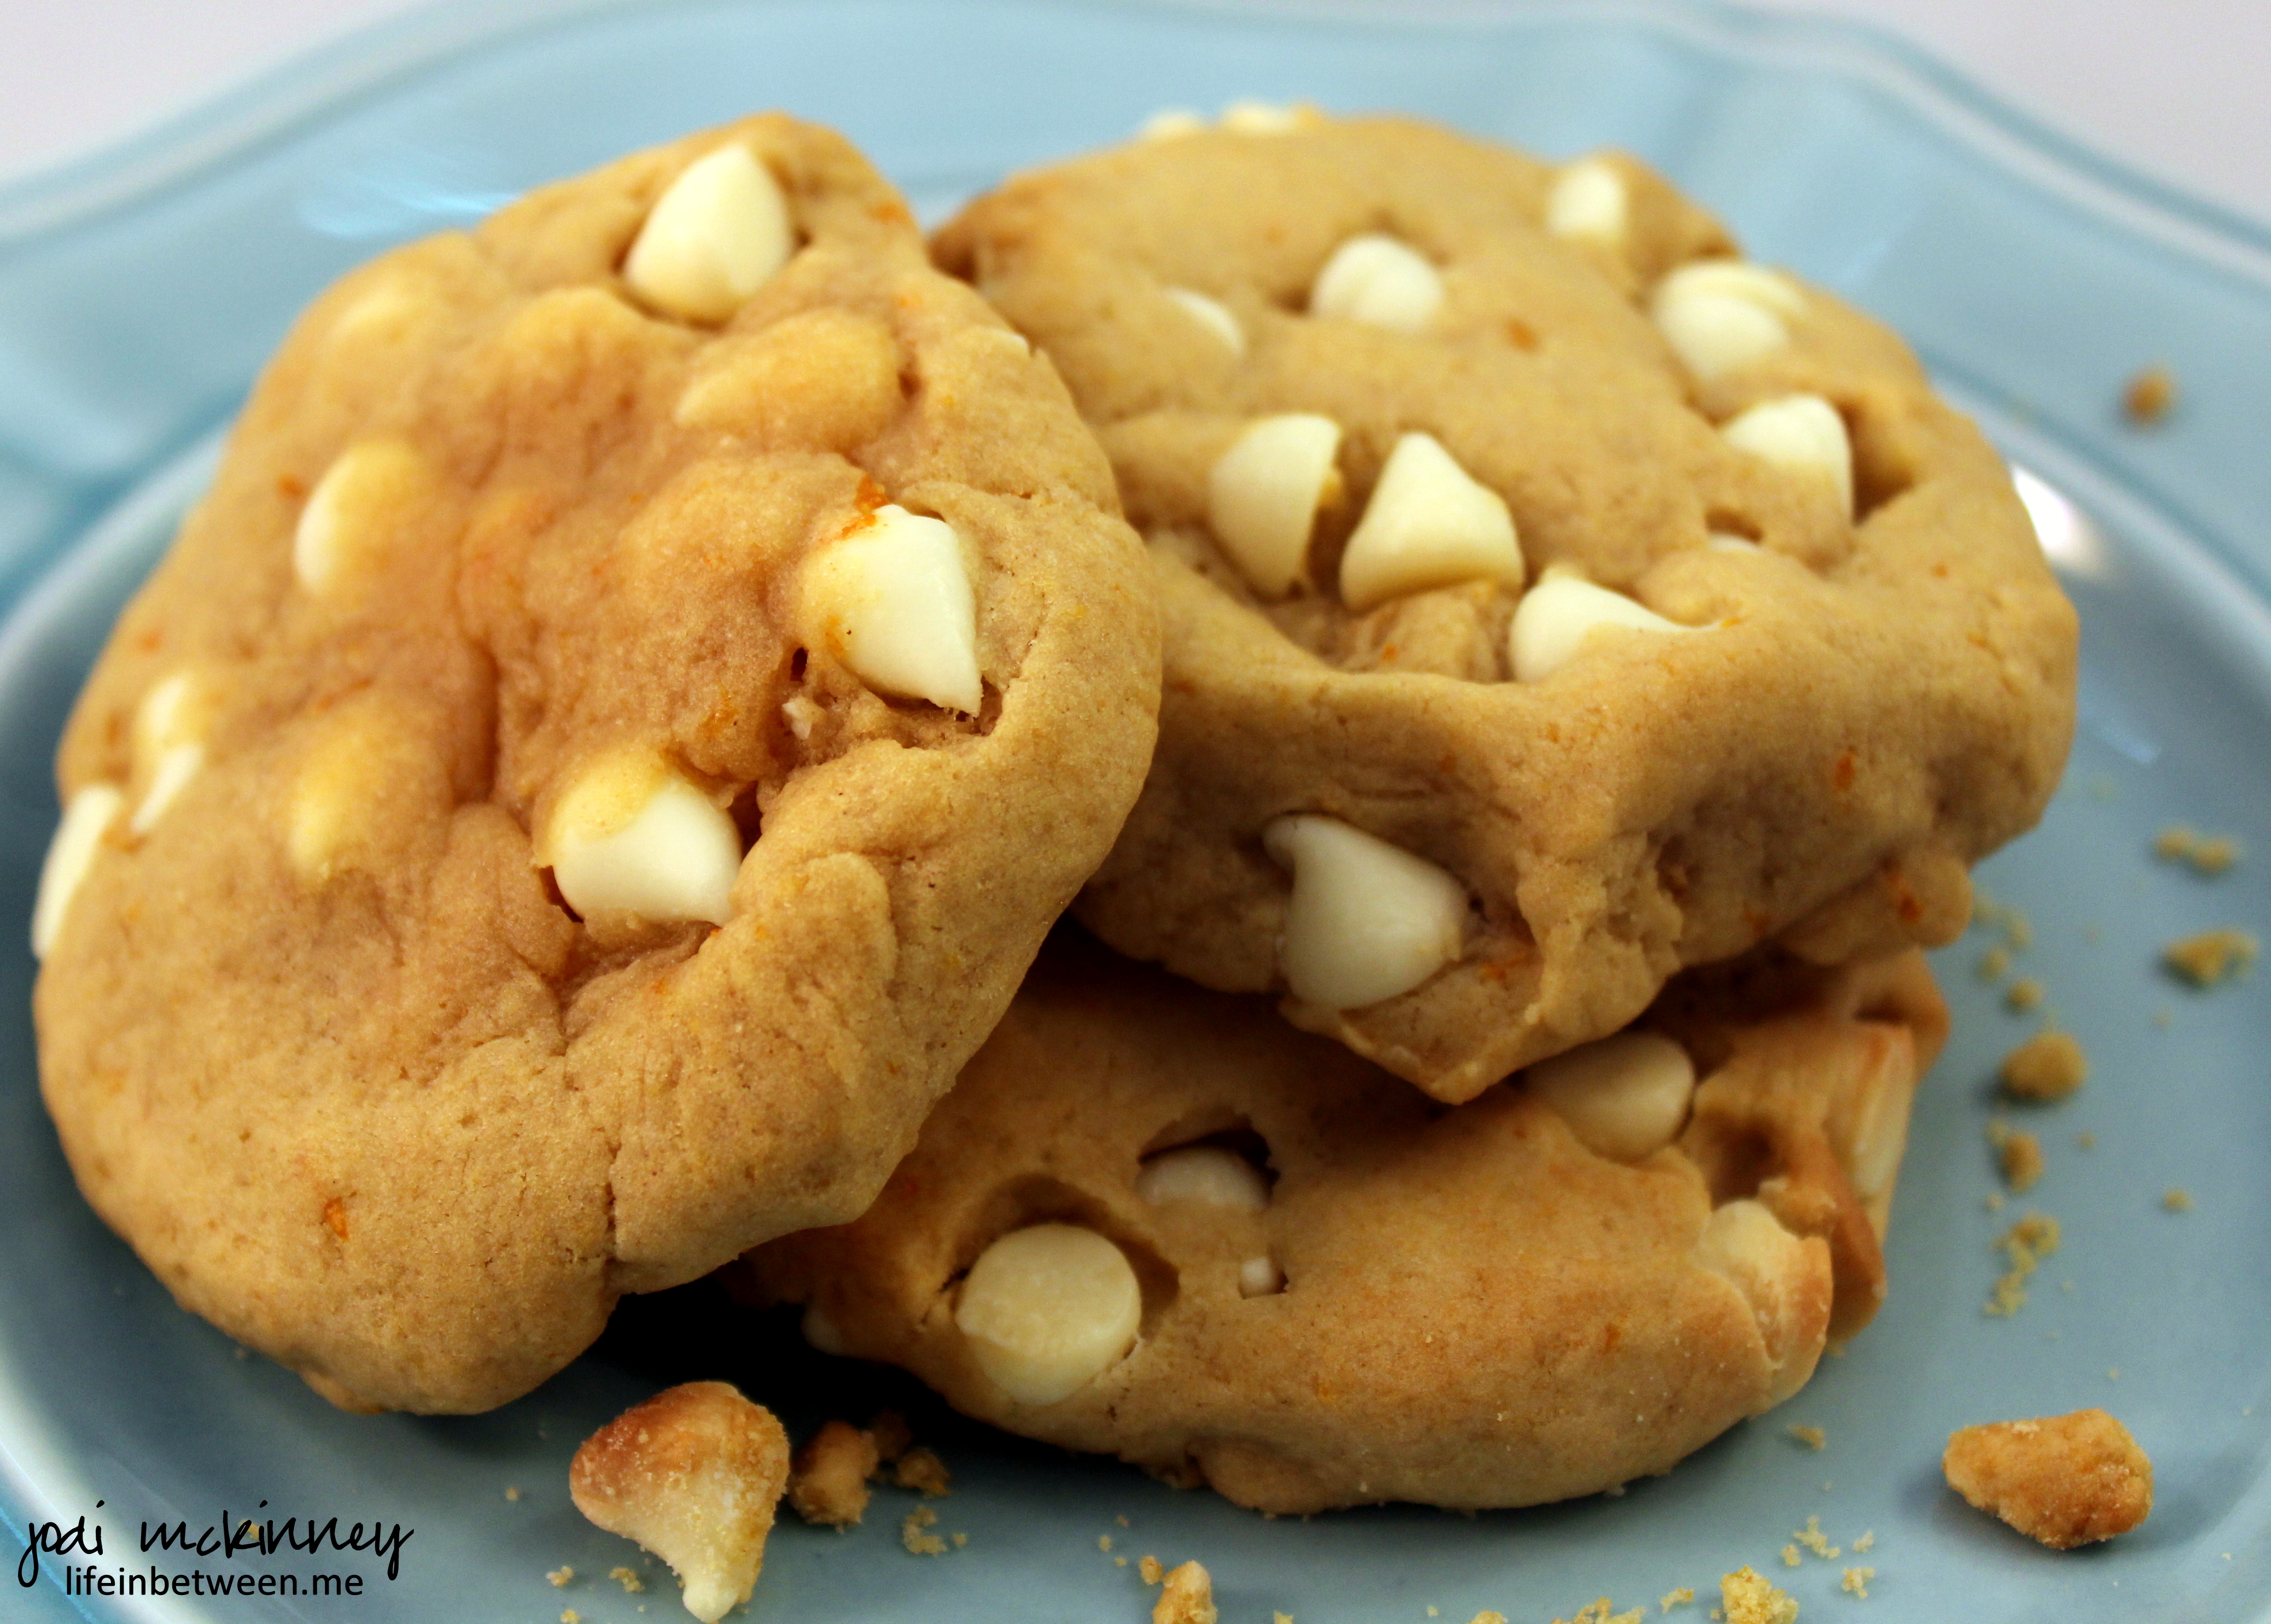
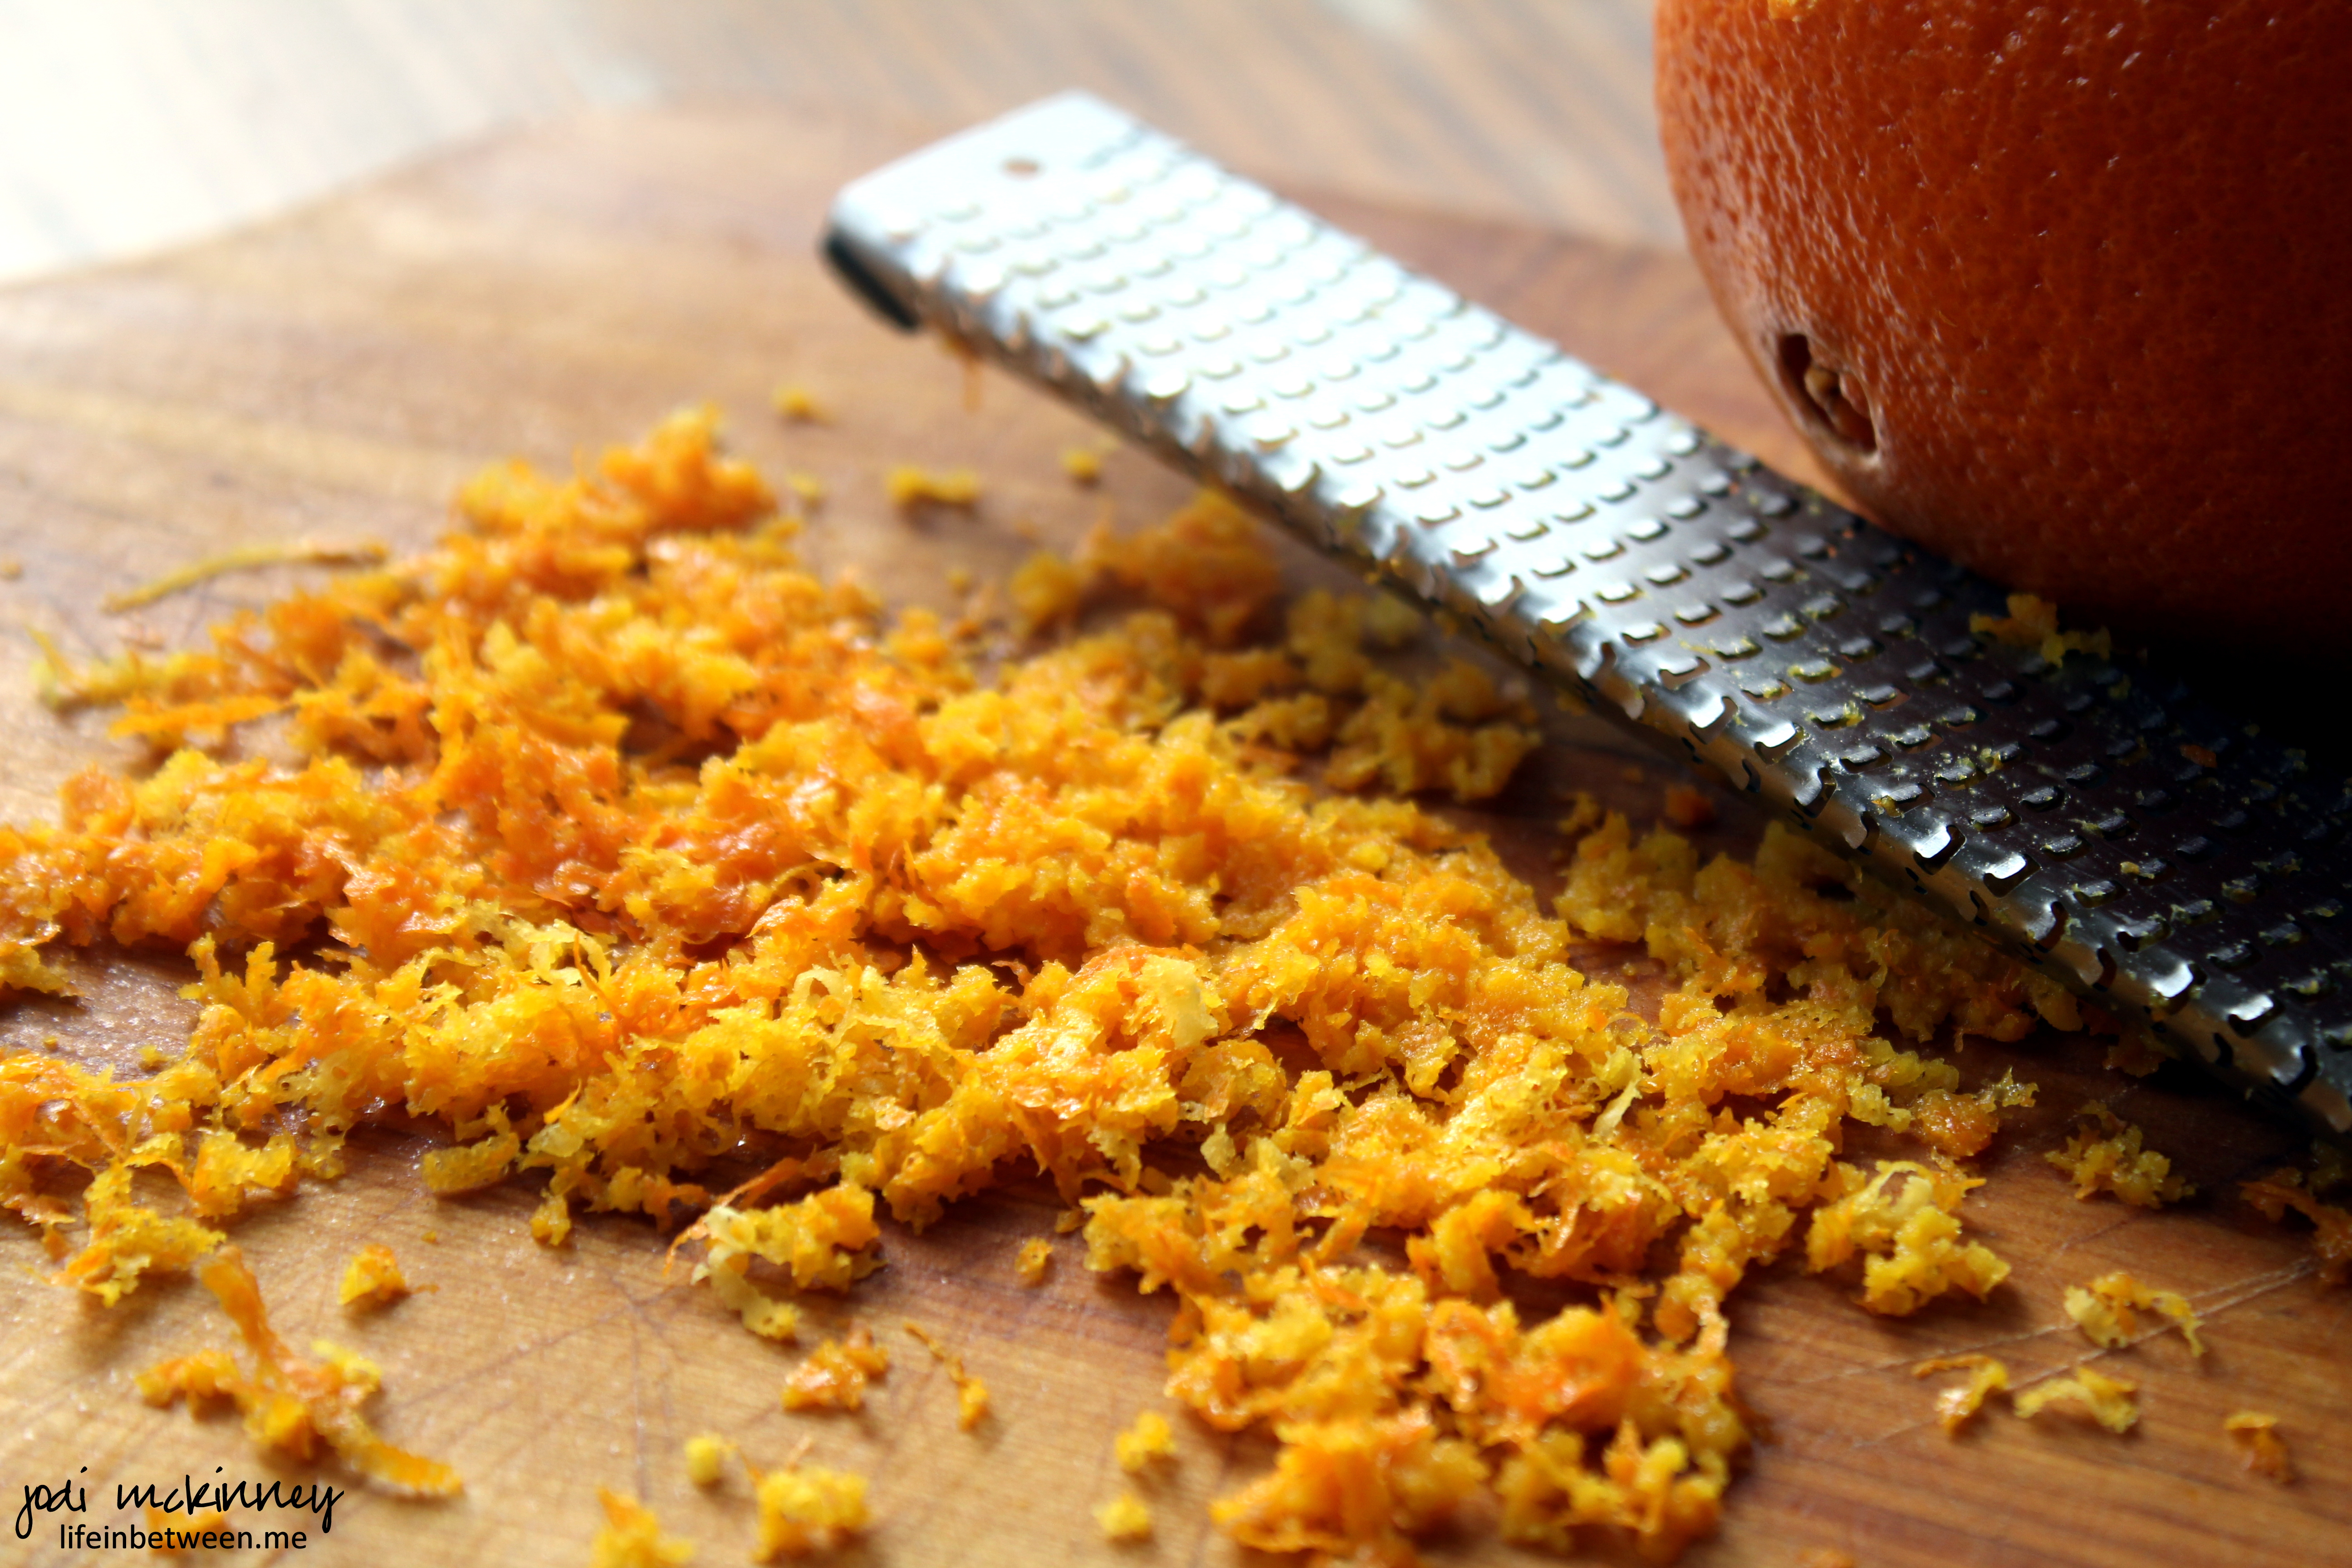
They also get their intense flavor from using three extracts: vanilla, almond, and orange, as well as a couple tablespoons of freshly grated orange zest.
The creamy flavor comes from the addition of half and half and from the white chocolate chips.
I took both these and the Orange Slice & Oatmeal Cookies to our Chinese New Year’s Party yesterday, as oranges are supposed to bring good luck.
Come back tomorrow to see some highlights from that great celebration. (Here’s a little sneak peek – appetizer time with tender teriyaki beef on skewers.)

Here’s today’s cookie recipe:
ORANGE CREAMSICLE WHITE CHOCOLATE CHIP COOKIES
INGREDIENTS: (As adapted from Averiescooks.com)
1/2 cup butter, softened
3/4 cup light brown sugar, packed
1/4 cup granulated sugar
1 large egg
2 teaspoons vanilla extract
2 teaspoons almond extract
2 teaspoons orange extract
2 tablespoons half-and-half
2 tablespoons freshly grated orange zest
2 cups all-purpose flour
2 teaspoons corn starch
1 teaspoon baking soda
pinch salt
12 ounce bag white chocolate chips
DIRECTIONS:
With electric mixer,cream together butter, sugars, egg, and extracts on medium-high speed until very light and fluffy, about 5 minutes.
Scrape down the sides of the bowl, and add the cream, zest, and mix on medium speed until incorporated, about 1 minute.
Scrape down the sides of the bowl again, and add the flour, corn starch, baking soda, and salt, and mix on low speed until just incorporated, about 1 minute. Do not overmix.
Add the white chocolate chips, and mix on low speed until just incorporated.
Form heaping two-tablespoon mounds. Place mounds on a large plate, flatten slightly, cover with plastic wrap, and refrigerate for at least 3 hours, or up to 5 days, before baking. Do not bake with warm dough because cookies will spread and bake thinner and flatter.
Preheat oven to 350F. Place mounds on baking sheet, spaced at least 2 inches apart (I bake 8 cookies per sheet) and bake for about 8 to 9 minutes, or until edges have set and tops are just beginning to set, even if slightly undercooked, pale and glossy in the center. Do not overbake because cookies will firm up as they cool. Baking longer than 10 minutes could result in cookies with overly browned undersides.
Allow cookies to cool on the baking sheet for about 5 minutes before transferring to a wire rack to finish cooking. Cookies will keep airtight at room temperature for up to 1 week or in the freezer for up to 4 months. Unbaked cookie dough can be stored airtight in the refrigerator for up to 5 days, or frozen for up to 4 months.
