Peanut Butter Banana Bread with Chocolate Chips

peanut-butter-banana-bread-with-chocolate-chips

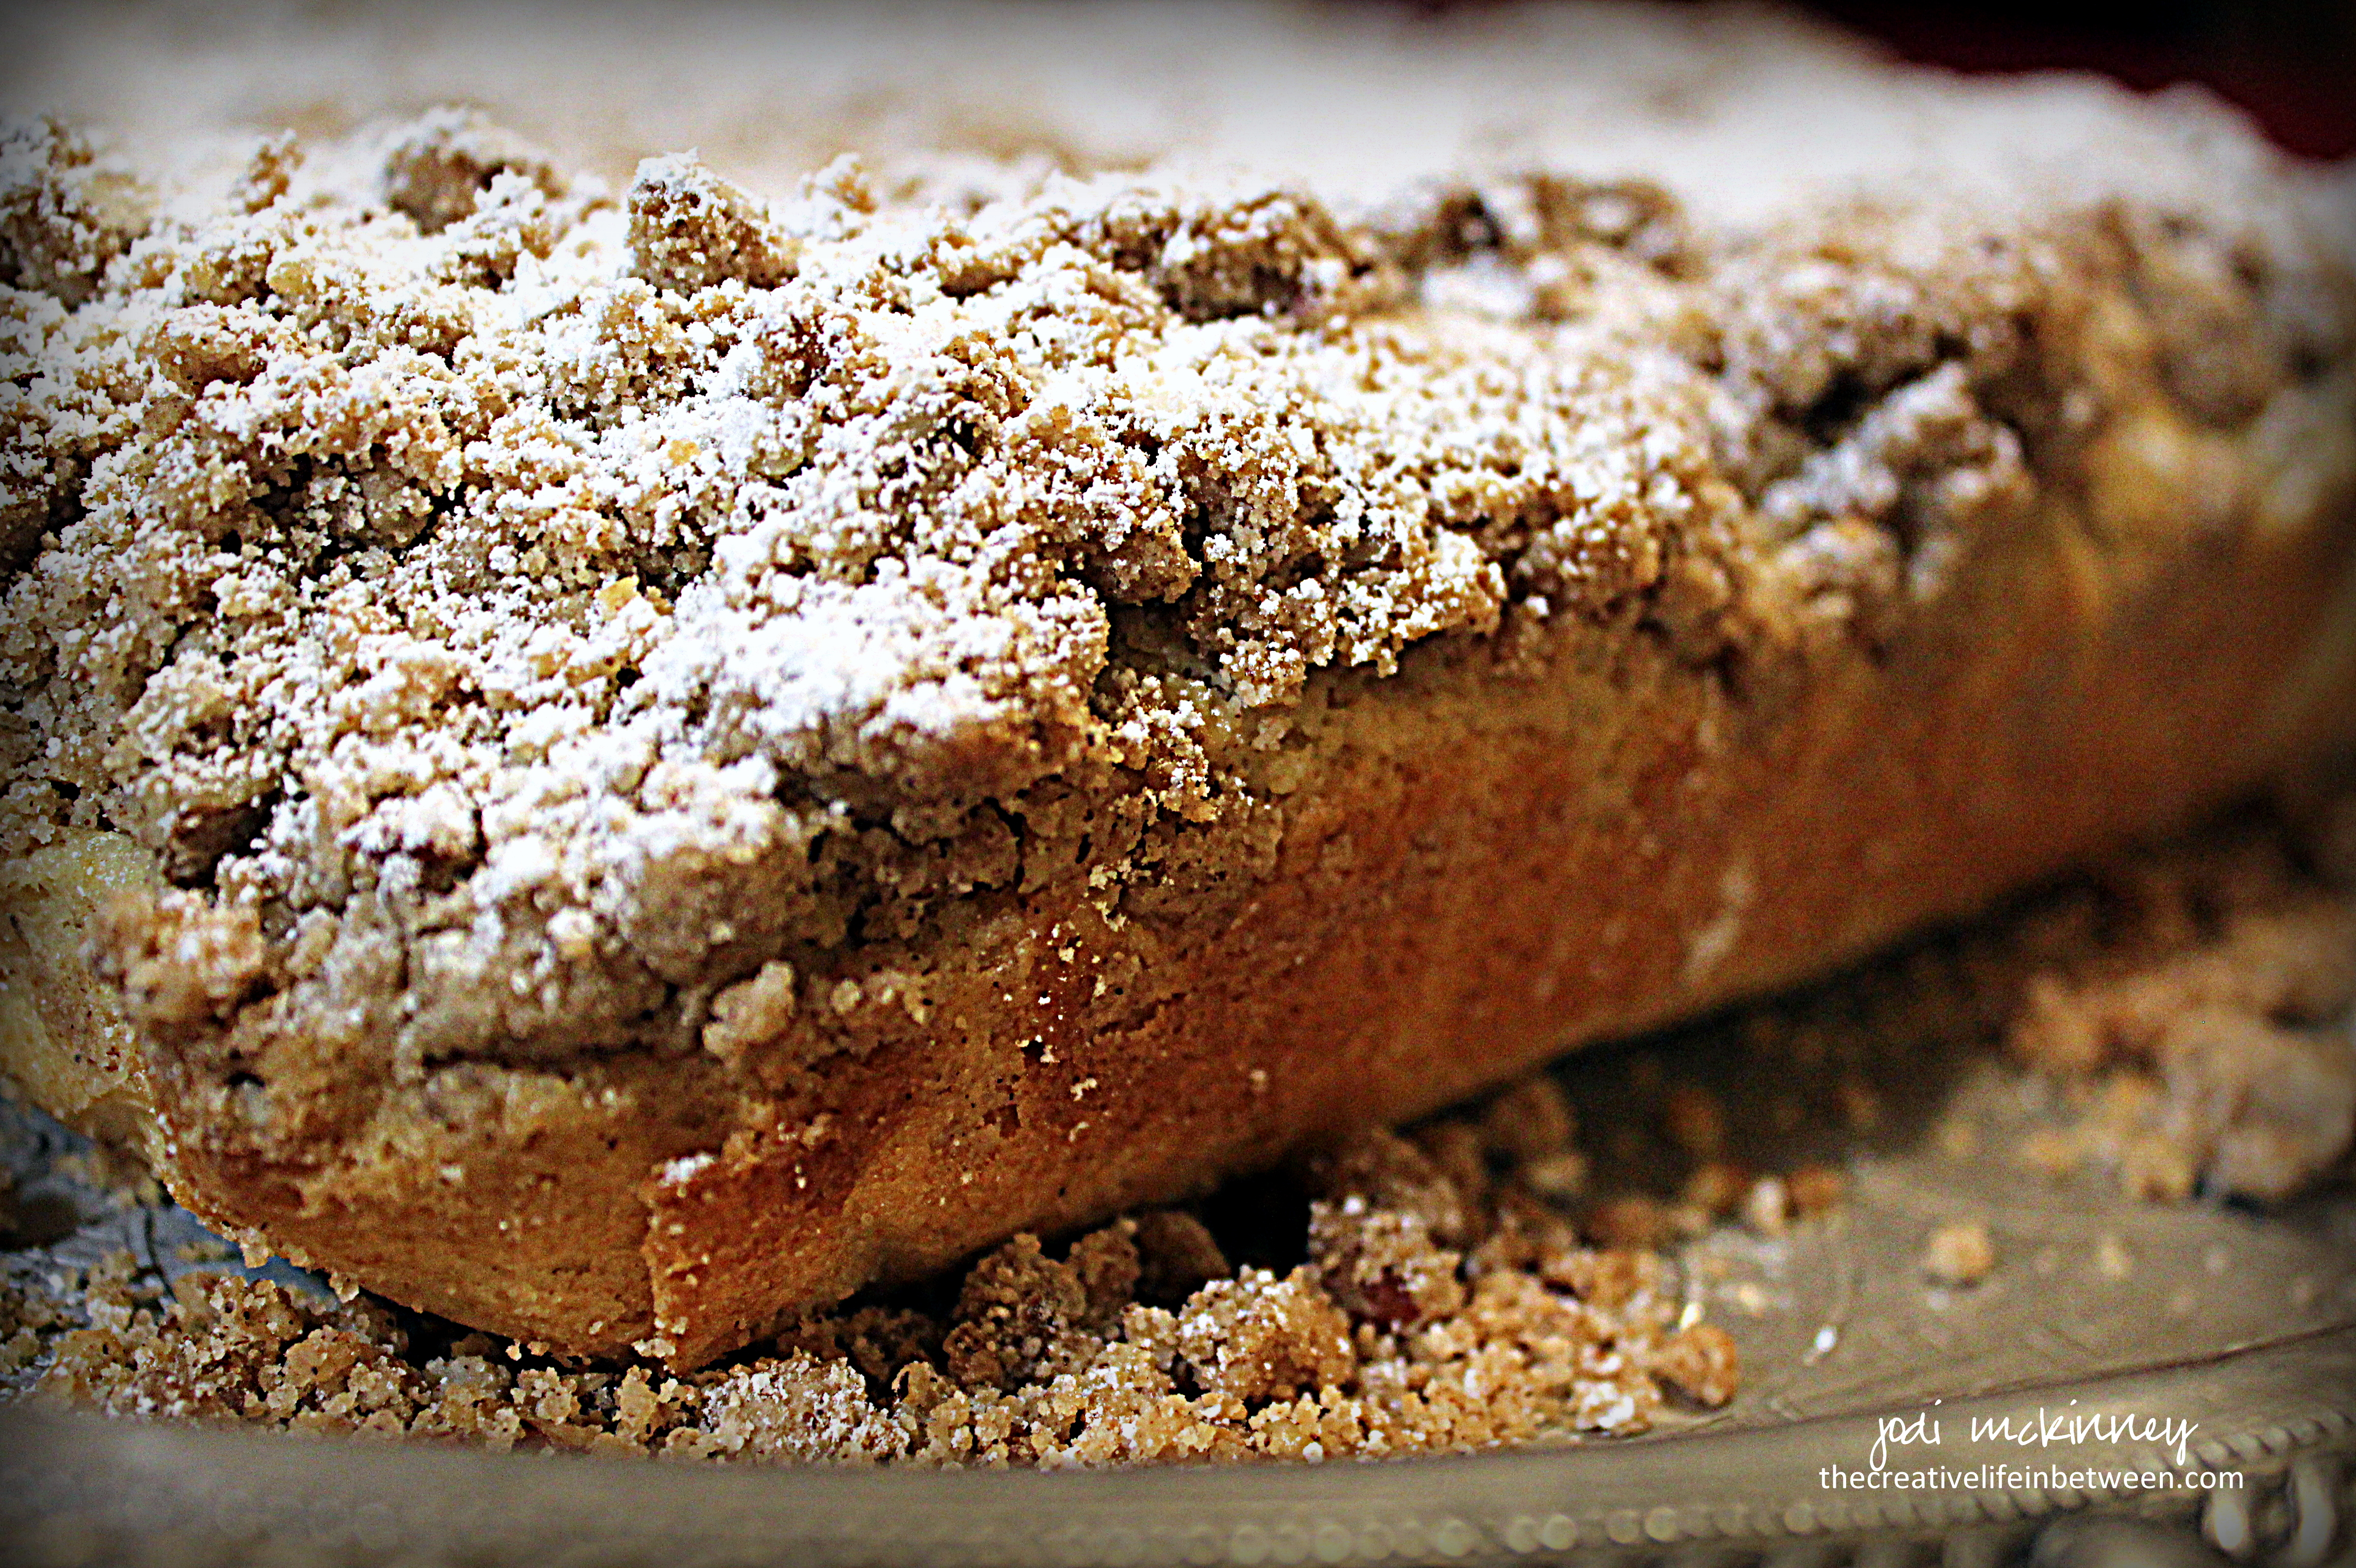
Peanut Butter Banana Bread with Chocolate Chips.

I had a few bananas hanging out that were getting very ripe, so I decided to make a loaf of banana bread yesterday morning.

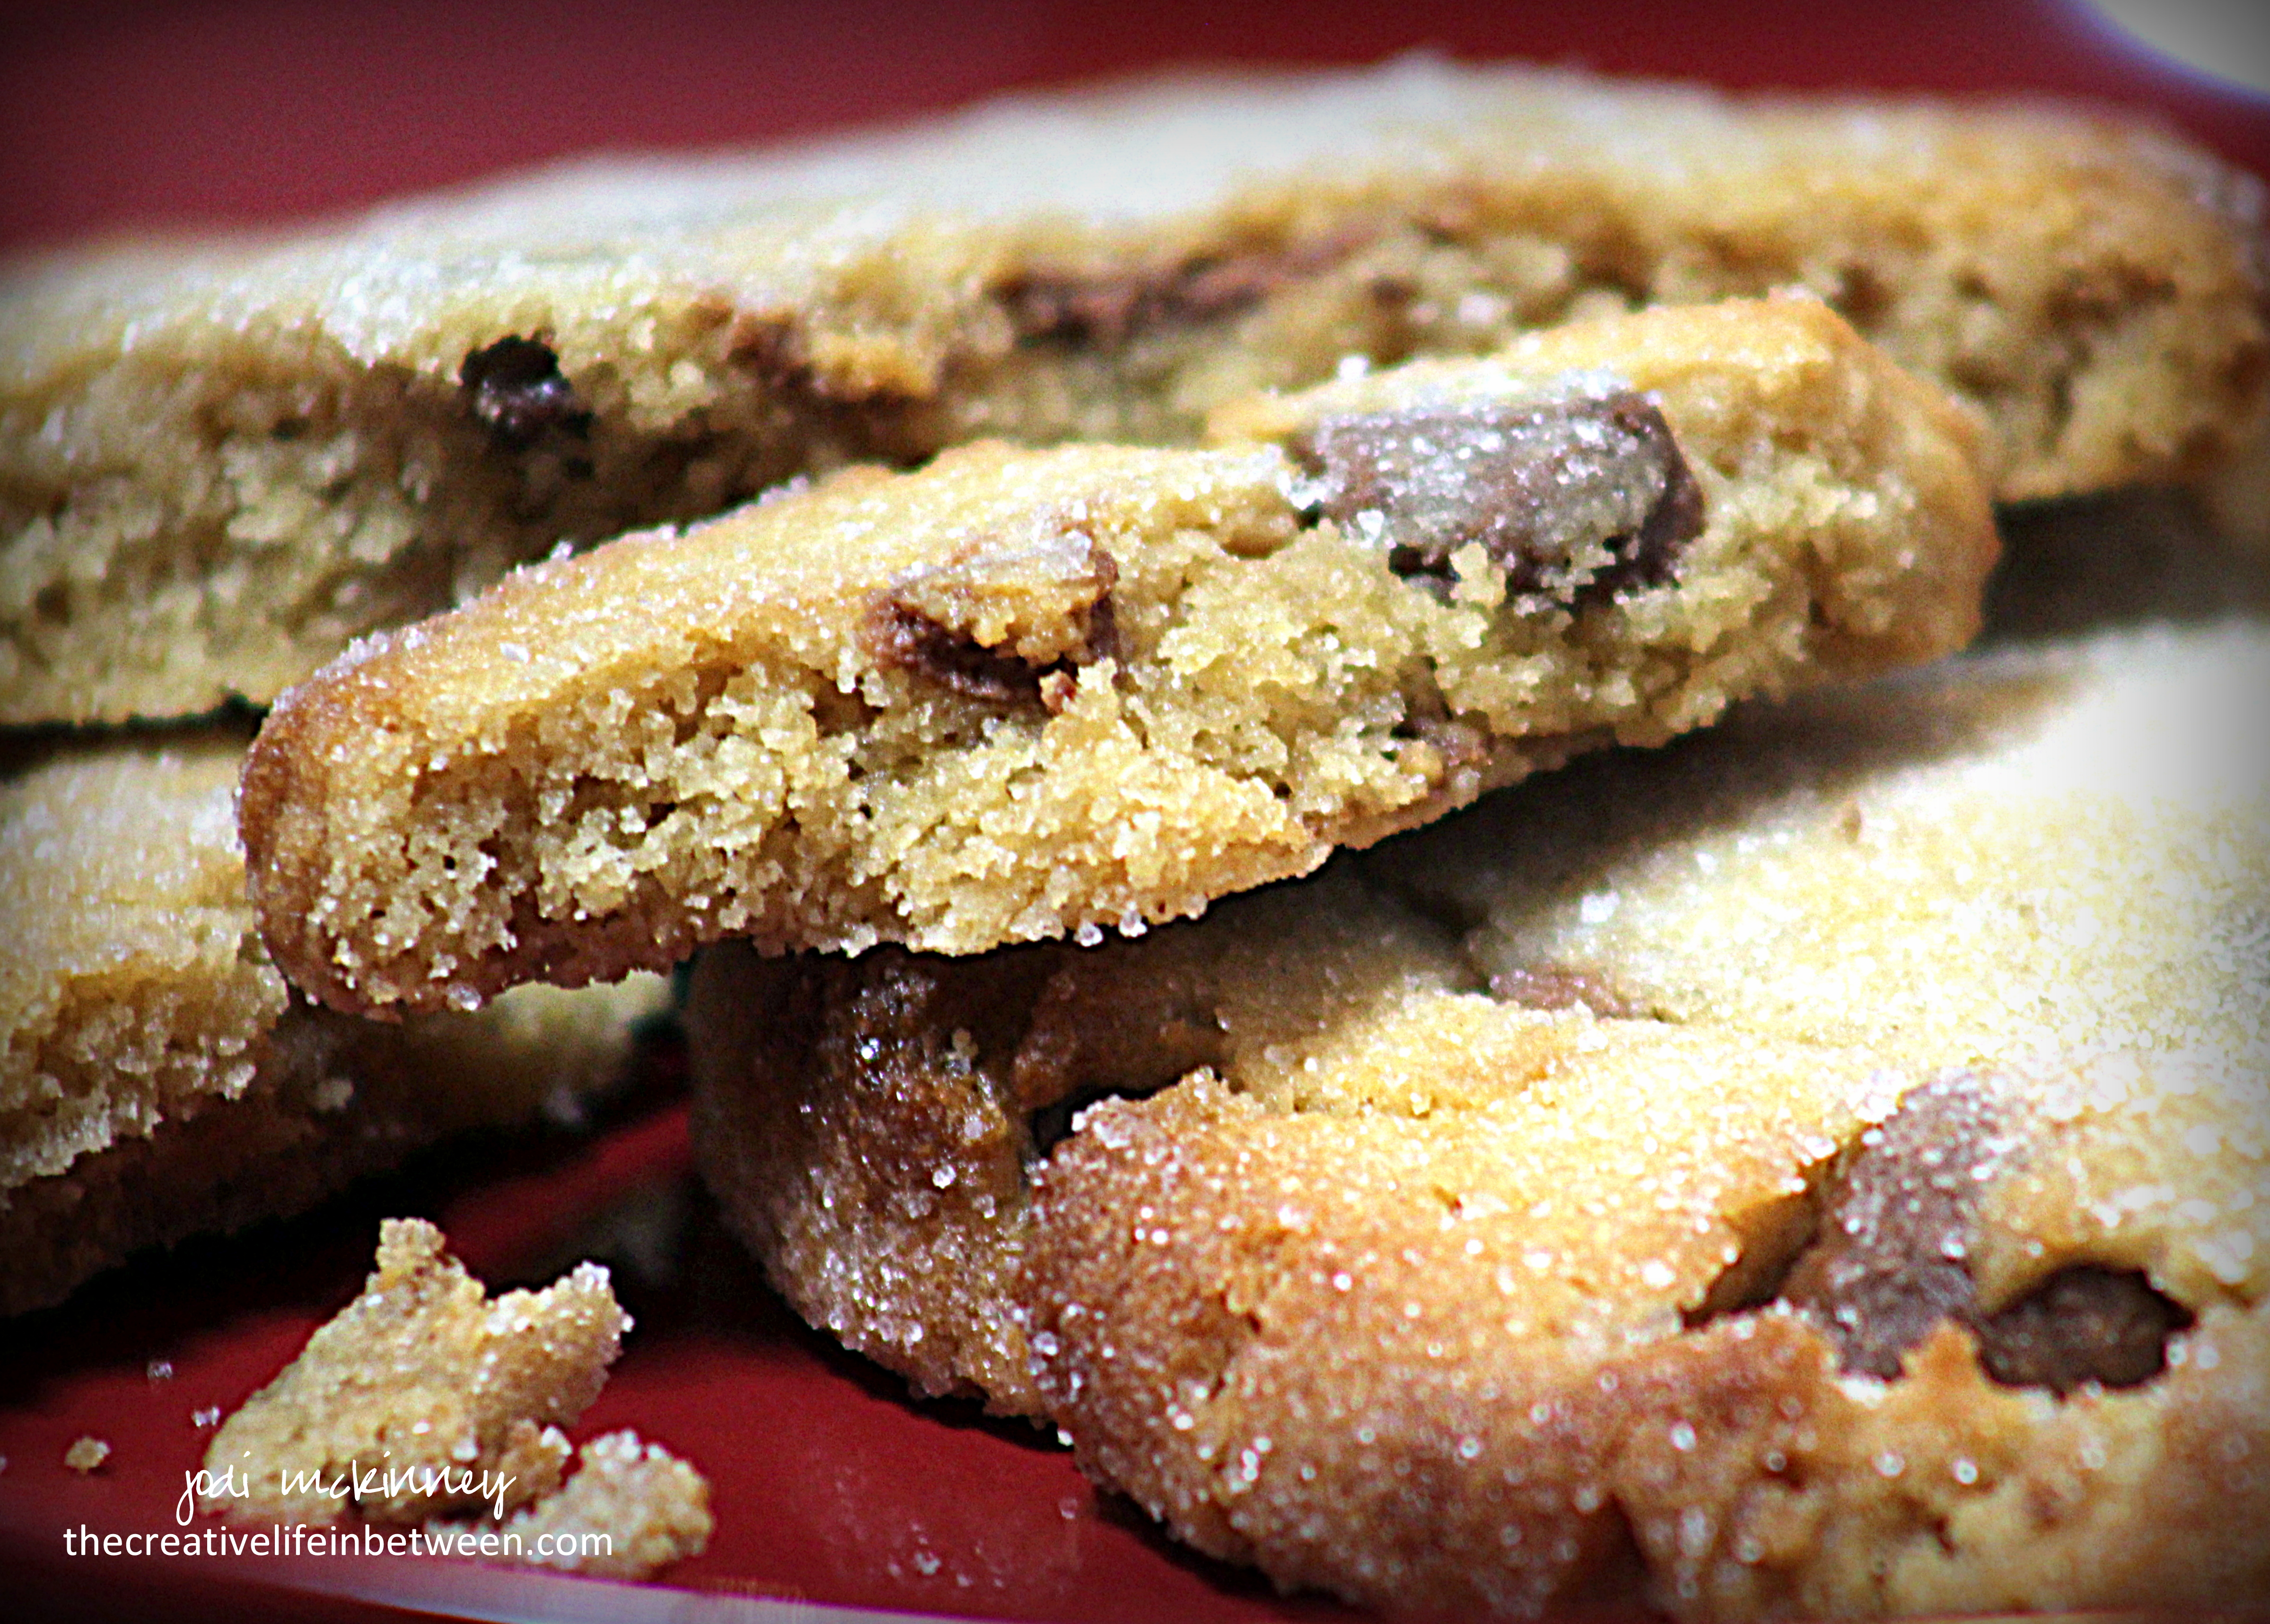
Instead of making my usual, I wanted to try something different.  Knowing how yummy peanut butter toast is with sliced bananas (right??!!), I thought peanut butter would be a wonderful addition to banana bread.  And while I was at it, why not throw in a few chocolate chips?!

peanut-butter-banana-bread-with-chocolate-chips-2

Thinking I was a genius for coming up with this idea, I searched online just in case.  Well of course others had tried this combo!  (Where have I been?!) I found a few different versions, so I took what I liked from them and adapted to come up with this one below.  It was delish!  The peanut butter is subtle, but adds a wonderful new twist.  This bread is SUPER moist and really wonderful warm out of the oven.

Hope you’ll give this twist on banana bread a try!

Peanut Butter Banana Bread with Chocolate Chips

Ingredientspeanut-butter-banana-bread-with-chocolate-chips

  • 4 medium ripe bananas, mashed
  • 1/2 cup creamy peanut butter
  • 1/2 cup sugar
  • 1/2 cup brown sugar
  • 1/3 cup buttermilk (I make by mixing milk and a dash of vinegar)
  • 1/4 cup vegetable oil
  • 2 eggs
  • 2 tsp vanilla extract
  • 1 tsp baking soda
  • 1/4 tsp salt
  • 2 1/4 cups all-purpose flour
  • 1 cup semi-sweet chocolate chips or chunks

Directions:

Preheat oven to 350 degrees F.  Grease or spray a large bread loaf pan (of course I use a stoneware bread pan), then line with parchment paper allowing it to hang over the edges for easier removal.

In a large bowl, combine first 8 ingredients.  Mix well.  Add baking soda, salt, and flour.  Mix until combined.  Gently fold in chocolate chips reserving a handful to sprinkle on top. of batter.

Pour batter into prepared pan.  Bake approximately one hour or until toothpick inserted in center comes out clean.   If the bread starts getting too brown, place a tent of foil over top at around 45 minutes.

Cool in pan for 10 minutes, then lift out by grabbing parchment paper.  Cool on wire rack.  

Enjoy!

Cheers & Hugs,
Jodi

Five-Minute Homemade Rustic Artisan Bread

bread-5-minute-rustic-artisan-bread

Five-Minute Homemade Rustic Artisan Bread.

Aren’t these loaves beautiful?!  I recently found this recipe that makes homemade bread so easy!

bread-5-minute-rustic-artisan-bread-2

You can mix this dough together in five minutes.  Then it just needs to rest for two hours while you go about doing something… anything else.  After that, throw it in the fridge – for up to 14 days!  Whenever you want a fresh loaf of bread, grab a hunk of dough, and bake it.  Super simple, super delicious!

bread-5-minute-rustic-artisan-bread-3

So… disclaimer… you obviously can’t make it from start to finish in five minutes, but that really is all the longer the dough takes to mix together, and there is no kneading, so it really is a simple way to make warm, fresh, delicious homemade bread quickly and easily with just a few simple staple ingredients!

Five-Minute Homemade Rustic Artisan Bread

  • Servings: 4 1 lb loaves
  • Print

Ingredients:bread-5-minute-rustic-artisan-bread

  • 3 cups lukewarm water (approx. 100 degrees F)
  • 1 Tbsp active dry yeast
  • 1 1/2 Tbsp coarse salt (I love using Maldon Sea Salt Flakes)
  • 6 1/2 cups flour

Directions:

Pour water in large bowl.  Sprinkle with yeast and salt, and mix until dissolved.  Add flour all at once, and mix until completely incorporated.  That’s it!  Five minutes.  No kneading.

Place a clean kitchen towel over the bowl and let it sit for two hours.

After two hours, cover bowl with saran wrap (but not too tight as it needs a little vent for gases to escape), and throw it in the fridge.

Your dough is ready to use at anytime in the next 14 days.

When you are ready to bake a loaf, preheat oven to 450 degrees F.  Grab a hunk of dough with floured hands.  Do not punch it down, and do not knead or overwork it.  Gently shape as desired into a ball, loaf, rolls – whatever you like.  Place on a baking stone. (I bake absolutely EVERYthing on baking stones – cookies, bread, roasted vegetables, meatloaf, french fries – they are all I use in the oven – and the results are awesome!) You can let it rest for 30-40 minutes or bake right away – depending on the density you desire.  Dust top of dough with flour (and salt if desired).  Slash a few cuts in the dough with a serrated knife.

Place an empty metal broiler pan on bottom rack of oven and fill with warm water right before placing dough in oven.

Bake for 20-30 minutes until the crust is a rich brown color and firm to the touch.  Remove from oven and cool on wire rack.

Enjoy!

Cheers & Hugs,
Jodi

*original recipe found at Leite’s Culinara

Yellow & Green Grilled Chicken Spring Mix Salad

yellow-and-green-spring-mix-salad-1

Yellow & Green Grilled Chicken & Spring Mix Salad.

They say it is important to balance colors in our diet.

yellow-and-green-spring-mix-grilled-chicken-salad-2

I love to make salads from whatever I can find in the fridge and pantry – especially at lunch time – when it is only me, and I can make it whatever way I want!

I often make a large batch of grilled chicken during the week so I can have leftovers for salads and snacks.

I love mixing veggies and proteins and fruits and nuts in a beautiful, colorful meal.

yellow-and-green-spring-mix-grilled-chicken-salad-3

This yellow and green salad just “happened.”  I had not planned it to be yellow and green, but when it ended it up that way, I marveled at it’s beauty as well as it’s deliciousness.

For this “springy” lunch time salad in the middle of February – when the temperatures in our part of the world have been more spring-like than wintry – I found myself topping a bed of Spring Mix greens with beautiful yellows.

Enjoying yellows and greens not only in my salad, but in the air here in Mars in this beautiful stretch of Spring in February.

Yellow & Green Grilled Chicken & Spring Mix Salad

Ingredients:

  • 2 cups mixed greens -Spring Mix
  • 1/4 cup sliced Vidalia sweet onion
  • 1/2 cup yellow cherry tomatoes, halved
  • 1/4 cup shredded cheddar cheese
  • Handful of golden raisins
  • 1 grilled chicken breast, sliced
  • Balsamic Viniagrette Dressing
  • Salt & Pepper to taste

Directions:

Place Spring Mix salad greens in large salad bowl.

Add onion, tomatoes, shredded cheese, golden raisins and chicken.  A handful of walnuts and/or pumpkin or sunflower seeds  would be great too!

Drizzle with Balsamic Viniagrette and a dash of salt and pepper.

Enjoy!

Cheers & Hugs,
Jodi

Creamy Cauliflower Soup

creamy-cauliflower-soup-4

Creamy Cauliflower Soup.

Does anything warm you up more wonderfully on cold winter days than a steamy, creamy bowl of soup?

I made this yummy creamy, cheesy cauliflower soup one day this past week, and we absolutely loved it.

creamy-cauliflower-soup-1

When hubby, who typically prefers to eat lunch out during the work week, asked for a serving to take for lunch the next day, I knew I had a real winner on hand!

creamy-cauliflower-soup-2

It is chock full of delicious vegetables simmered in broth and then creamed by adding an easy cheesy roux and blending a bit.  You could completely cream it if you like, but I like to cream about half and leave plenty of hearty chunks of the cauliflower, celery, carrots and sweet red peppers.

creamy-cauliflower-soup-3

Fresh thyme really adds a fabulous fragrance and taste, and hot sauce is a great way to kick it up just a bit!

Imagine serving this with some crusty french or chewy ciabatta bread to dunk in it or alongside a sandwich or salad.

Hope you’ll give it a try, and hope you enjoy it as much as we did!

Creamy Cauliflower Soup

Ingredients:creamy-cauliflower-soup-4

  • I head cauliflower, broken into florets (5-6 cups)
  • 1 cup finely chopped carrot
  • 1/2 cup chopped celery
  • 1/2 cup chopped sweet onion
  • 1/2 cup chopped sweet red pepper
  • 1 tsp freshly chopped thyme
  • 3 cups chicken broth (I made from water and 3 tsp. chicken base)
  • 3 Tbsp butter
  • 3 Tbsp flour
  • Dash of salt and pepper to taste
  • 2 cups half and half or milk
  • 1 cup freshly grated sharp cheddar cheese (do not use pre-grated)
  • 2 tsp Cholula Hot Sauce (or you can use Sriracha or your favorite or none)

Directions:

  • Combine all vegetables, thyme, and chicken broth in a large pot.  Cover and bring to a boil.  Reduce heat, and simmer for 15 minutes.
  • In a medium saucepan, melt butter, then add flour, salt and pepper to create a roux.  Whisk half and half in slowly.  Bring to a boil over medium-high heat.  Cook and continue whisking for 2 minutes until thickened and smooth.  Turn heat off and stir in shredded cheese until melted.  Add hot sauce (if desired).
  • Pour creamy cheese mixture into vegetables and broth.  Stir until completely combined.
  • Puree to desired consistency using Immersion Blender leaving chunks of vegetables, but creating a creamy texture.
  • Ladle into bowls to serve.  

Cheers & Hugs,
Jodi


Strawberry Chocolate Ganache Tart with Oreo Cookie Crust

chocolate-strawberry-tart-valentines-day-couples-camp-dessert

Strawberry Chocolate Ganache Tart with Cookie Crust (No Bake).

You may recall seeing this dessert I made for our Valentine’s Couple Camp Party.  I promised then that I would share the recipe.

I have to tell you… this dessert is not only beautiful and elegant looking, it is so simple, uses only five basic ingredients, and is possibly the most luscious chocolate dessert I have EVER tasted.  And I’m really not exaggerating.  I absolutely loved this tart!

I typically make dessert, but just taste enough to know it is okay to serve.  This one, however… I not only had the evening of our party, I ate the last leftover slice!

I am certain I will make this tart again.. and again.  It is a great dessert for ANY occasion, any season, anybody.  I would take this to a summer picnic.  I would make this for a birthday “cake.”  I would make this for a Christmas dinner dessert.  I would make this for ANY reason.

chocolate-strawberry-tart-valentines-day-couples-camp-dessert-2

I originally came across this recipe posted by Mary at HomeisWheretheBoatis, and I only tweaked it slightly.  Thanks for sharing Mary!

I so hope you will give this a try, and I cannot wait to hear how you like it!

Strawberry Chocolate Ganache Tart with Oreo Cookie Crust (No Bake)

Ingredients:chocolate-strawberry-tart-valentines-day-couples-camp-dessert

  • 1 pkg. Oreo Cookies (approx. 32 cookies)
  • 1/2 cup (1 stick) butter, melted
  • 12 oz. of Your Favorite Chocolate (I used Baker’s German Sweet)
  • 1 1/2 cups Heavy Cream
  • Strawberries

Directions:

  • Place Oreo cookies in a gallon size Ziploc bag.  Then place entire bag in another bag to double (so you can crush them without making a mess!)  Crush Oreo cookies using a heavy rolling pin, your hands, or whatever way you prefer to smash them fine enough to make a crust from.  (The original recipe calls for pulsing them in a food processor, so feel free to do that if you have one.)  
  • Pour melted butter into the bag.  Zip to close again and  completely incorporate the cookie crumbs and butter using your hands.  Pour crumb and butter mixture into an 11″ tart pan.  Pat onto bottom and up sides of tart pan.  Refrigerate to firm up for one hour before preparing and adding filling.
  • To make filling, break up chocolate and place in a heat-proof bowl.  Bring heavy cream to a boil in a small sauce pan.  As soon as it boils, pour over chocolate.  Let sit for a couple minutes to soften the chocolate, then slowly whisk until until smooth and fully incorporated.  Pour into chilled, firm crust.  Refrigerate for 4-6 hours or overnight.
  • Garnish with strawberries (red raspberries would amazing too if you prefer!).  Drizzle melted chocolate over all if desired.  I also sprinkled just a tiny bit of sea salt flakes, which gave it an amazing, but subtle taste burst.  And then – any cookie crust crumbs that fall off when you remove the tart bottom from the sides of the pan can be thrown on top too. 

Enjoy!  I know you will!

Cheers & Hugs,
Jodi

Chocolate Dipped Sugar Wafer Cookies

chocolate-dipped-sugar-wafer-cookies-2

Chocolate Dipped Sugar Wafer Cookies.

Remember those light, crispy, sweet wafer cookies you loved as a child that came in fun colors and flavors?  Vanilla, Strawberry, Chocolate, even Peanut Butter…  Oh how I loved them!

Grandma would occasionally get them as a special treat, and we would enjoy them as a late night treat on a hot summer night while sitting outside on the swing catching a cool breeze that could not be felt sitting in the overheated non-air conditioned house.

chocolate-dipped-sugar-wafer-cookies

I hadn’t thought about these sugary treats for years, but I recently stopped in a local candy shoppe where they featured a pair of these sweet little cookies dipped in chocolate, sprinkled with colorful sprinkles, and wrapped in cellophane.   I couldn’t resist trying – even at the crazy price they were asking… several dollars for two little treats.

chocolate-dipped-sugar-wafer-cookies-3

Well – OMG – there were delish!  And I realized they would be so easy to make!  So I found them at my local grocery store, where a whole package of sugar wafer cookies cost a whopping 99 cents!

I dipped them in chocolate, sprinkled them with fun Valentine sprinkles, and I’ll be sharing them with some friends I love dearly this weekend!

Cheers & Hugs,
Jodi

Broccoli Slaw with Vinaigrette Dressing

broccoli-slaw-with-viniagrette-dressing-1

Broccoli Slaw with Vinaigrette Dressing.

YUM!  Another wonderful way to enjoy one of my favorite vegetables!

Hubby said we are going to turn into broccoli this week!  We’ve had broccoli sprouts, steamed broccoli and broccoli slaw over the past few days.  I think I could eat it every day.

broccoli-slaw-with-viniagrette-dressing-2

This recipe is so easy – especially if you buy the pre-packaged broccoli slaw mix Green Giant makes.

Have you tried it yet?  What do you like to mix into your slaw?

Here’s how I made it:

Broccoli Slaw with Vinaigrette Dressing

Ingredients:broccoli-slaw-with-viniagrette-dressing-1

  • 1 12-oz bag Broccoli Slaw Mix or 6 cups shredded broccoli stems, shredded carrots, and shredded red cabbage
  • Dressing
    • 1/3 cup vegetable oil
    • 1/4 cup cider vinegar
    • 2 Tbsp sugar
    • 1 tsp seasoned salt
    • 1/2 tsp dill weed
    • 1/2 tsp celery seed
  • Optional Add-ins
    • 1/4 cup chopped green onions
    • Sunflower seeds
    • Soy nuts
    • Craisins (dried cranberries) or golden raisins
    • Broccoli sprouts

Directions:

Whisk dressing ingredients in a small bowl.

Empty broccoli slaw mix into large bowl.  Drizzle dressing over top and mix thoroughly to combine.  Add any optional add-ins you like.  Refrigerate at least one hour before serving to allow flavors to meld.

Enjoy!

Cheers & Hugs,
Jodi

Cinnamon Pecan Crumb Cake

cinnamon-pecan-crumb-cake-piece

BEWARE:  This Cinnamon Pecan Crumb Cake is only for the most serious crumb cake lovers!  Are you one like me?  Do you love more buttery, sugary, nutty crumbs than cake?  If so, this is the cake for you!  And I dare say it should not be consumed without a large steaming cup of coffee to wash down the “crumby” goodness.  Be still my coffee crumb cake lovin’ heart!

Let’s take a closer look at all that “crumby” deliciousness…

cinnamon-pecan-crumb-cake-piece-2

Don’t say I didn’t warn you.  This is a seriously “crumby” cake!

cinnamon-pecan-crumb-cake-piece-3

With buttery, nutty, cinnamony wonderfulness, this cake is a serious indulgence justified as breakfast when served with coffee…. but Hubby discovered it works very well as an evening snack when topped with a scoop of Vanilla Caramel Gelato!

If you don’t like your cake quite so “crumby,” you could double the cake batter or half the crumb topping.  Also – be careful not to overbake and dry the cake out – –  unless you are eating it with vanilla caramel gelato or dunking it in coffee.  In that case – who cares!

Diet shmiet – this cake is worth the calories!  Enjoy!

Cinnamon Pecan Crumb Cake

Ingredients:cinnamon-pecan-crumb-cake-piece-2
  • Topping
    • 2 1/2 cups flour
    • 1 cup packed light brown sugar
    • 2 1/2 tsp ground cinnamon
    • 1/2 tsp freshly ground nutmeg
    • 2 sticks (1 cup) butter, melted
    • 1 cup finely chopped pecans (or walnuts)
  • Cake
    • 1 1/2 cups flour
    • 1/2 cup sugar
    • 2 1/2 tsp baking powder
    • 1/2 tsp salt
    • 2/3 cup milk
    • 1 large egg
    • 2 Tbsp canola or vegetable oil
    • 3 tsp vanilla extract

Directions:

Preheat oven to 325° F.  Prepare  8 or 9 inch square baking pan by spraying with vegetable spray and lining with parchment paper so it overhangs sides of pan. Spray the parchment paper with vegetable spray and set aside.

Make topping by combining flour, sugar, cinnamon, and nutmeg in a large bowl.  Make a well in the center of the mixture and add the melted butter. Stir to combine, then add the pecans using your hands to thoroughly mix. Topping should have a loose, crumbly consistency.  Set aside.

Prepare cake by whisking milk, oil, egg, and vanilla in medium bowl.  Add sugar, baking powder, salt, and flour.  Stir until just combined.

Pour the cake batter into prepared pan. Add all of the crumb topping evenly over the batter.

Bake approximately 30 mins.  The cake will rise, and the topping will bake into the cake batter.

Remove from oven and cool for 10 mins. in pan. Run a butter knife along the edges of the pan to loosen cake and lift it out to a cutting board. Cut into 9 squares. Sprinkle with powdered sugar to garnish if desired. 

Cheers & Hugs,
Jodi

*recipe adapted from Garlic&Zest

The Perfect Hard Boiled Egg

perfect-hard-boiled-egg

The Perfect Hard Boiled Egg

It’s a age old debate, and there are likely as many methods as there are stars in the sky, but I recently tried this method from a great book I’ve started devouring that was recommended by a friend, Deep Run Roots by Vivian Howard.  This book is as much a story as it is a cookbook and as much an inspiration as it is picture book.  I am thoroughly enjoying it.  Vivian also has a PBS Series called A Chef’s Life and a restaurant called Chef & the Farmer.

So I tried Vivian’s method and loved it.  Complete simplicity and success.  A hard boiled egg generously topped with more salt and pepper than seems reasonable and a dab of Cholula hot sauce served on a bed of sprouts drizzled with fresh lemon juice = the perfect quick breakfast!

Here’s how to make them:

The Perfect Hard Boiled Egg

Place two eggs in a 2-quart sauce pan.  Cover with cool water to an inch above theperfect-hard-boiled-egg eggs.  Bring to a boil and cook for one minute.  Remove from heat, cover, and let sit for 10 minutes.  Drain the eggs, and run cold water over them until they are cool enough to handle.

If you are cooking more eggs, let sit 12 minutes.  

That’s it!  Simple!  Success!  The perfect food.

Enjoy!

Cheers & Hugs,
Jodi

The Ultimate Reese’s Peanut Butter Cup Cookie & That Something about Baking

reeses-peanut-butter-cup-cookies-stack

The Ultimate Reese’s Peanut Butter Cup Cookie

The Ultimate Reese’s Peanut Butter Cup Cookie

A few months ago, I recall my youngest son, watching me mix together a batch of cookie dough, asking, “Do you actually enjoy doing that?  Seems like a lot of work!”

I thought about it.

It is a bit tedious.

It makes a mess in the kitchen.

I could be binge-watching Gilmore Girls on Netflix or painting or exercising or reading or so many other things.

But…

There’s something about baking…

reeses-peanut-butter-cookies-close-up

There’s something about using Grandma’s old tin measuring cup and reminiscing about childhood summers.

There’s something about the way the house smells like home when you bake.

There’s something about the smiles you know will emerge when hubby sees stacks of cookies cooling on racks when he comes home or comes in from out of the cold.

There’s something about making goody packages to send home with your kids (even though they are grown and on their own and perfectly capable of making themselves).

There’s something about taking a special treat into the office for a long day of meetings and seeing your co-workers’ faces light up.

There’s something about taking a plate of cookies to the Thursday night gang at John’s Bar and watching your buddy eat one cookie before his dinner and two after.

There’s something about trading a cookie or piece of cake with Cliff the mailman when he delivers a package and handful of mail right to the kitchen door (with a treat always in hand for your furry kid).

There’s something about your kids’ friends saying “You make the BEST cookies Mom M!”

reeses-peanut-butter-cookies-with-coffee-and-book

So you see – baking is more than the chore of mixing butter and sugar and flour.  It’s about creating happiness.

When I read a recent blog post by one of my very favorite blog writers, Pam at Catching My Drift, I knew I HAD to try her cookie recipe.  Pam is not a food blogger, but a storyteller – a GREAT storyteller I might add.  And the story she wove about her persistent and passionate quest to recreate her ultimate cookie painted a picture of the most heavenly bite on earth.  Pam tells the story of  how she loves sitting in the Starbucks snack bar of her local Barnes & Noble noshing on the most amazing Reese’s peanut butter cookie while sipping dark Italian roast and paging through glossy magazines.  You must read about her 35-year quest to recreate this cookie and the surprising place she found the recipe.

reeses-peanut-butter-cookies-1

Well, dear Pam, we were certainly not disappointed in this Ultimate Reese’s Peanut Butter Cookie!  It is indeed the ultimate.  It is a new favorite of hubby’s.  And it will now be a staple in my cookie recipe collection!  They are super crispy on the outside edges and tender and  soft on the inside.  The perfect combination of texture and flavor.

Here is the recipe as shared by Pam (which of course I doubled – because I knew I had to share)!

Reese's Peanut Butter Cup Cookies

Ingredients:

  • 1 cup margarine (I used butter)
  • 1 cup peanut butter (I used Jiff Creamy)
  • 1 cup white sugar
  • 1 cup brown sugar
  • 2 eggs
  • 1 tsp vanilla
  • 2 1/2 cups flour
  • 1 tsp. baking powder
  • 1 tsp. baking soda
  • 1 tsp. salt
  • Candy or chocolate of your choice to mix in (I used 4-6 Reese’s peanut butter cups, chopped, and 1/2 cup chopped Hershey’s Kisses.)
  • Sugar for dipping

Directions:

Preheat oven to 350 degrees F.

Beat first six ingredients until fluffy.  Add next four ingredients.  Blend well.  Fold in chopped candy.  Shape into 1 1/2 – 2 inch balls.  Roll in sugar.  Place 2 inches apart on ungreased cookie sheet.  Flatten with sugared bottom of glass.  Bake 12-15 minutes or until browned on the edges and beginning to crinkle.  Remove from oven, and cool completely on wire cooling rack.  

Enjoy immensely!

Cheers & Hugs,
Jodi