Homemade Margherita Pizza with Roasted Tomatoes

homemade margherita pizza with roasted heirloom tomatoes 1

The other day, our sweet friend and master gardener, Jack, gave us a generous box full of his amazingly beautiful heirloom tomatoes freshly picked from his garden.

Jacks Heirloom Tomatoes

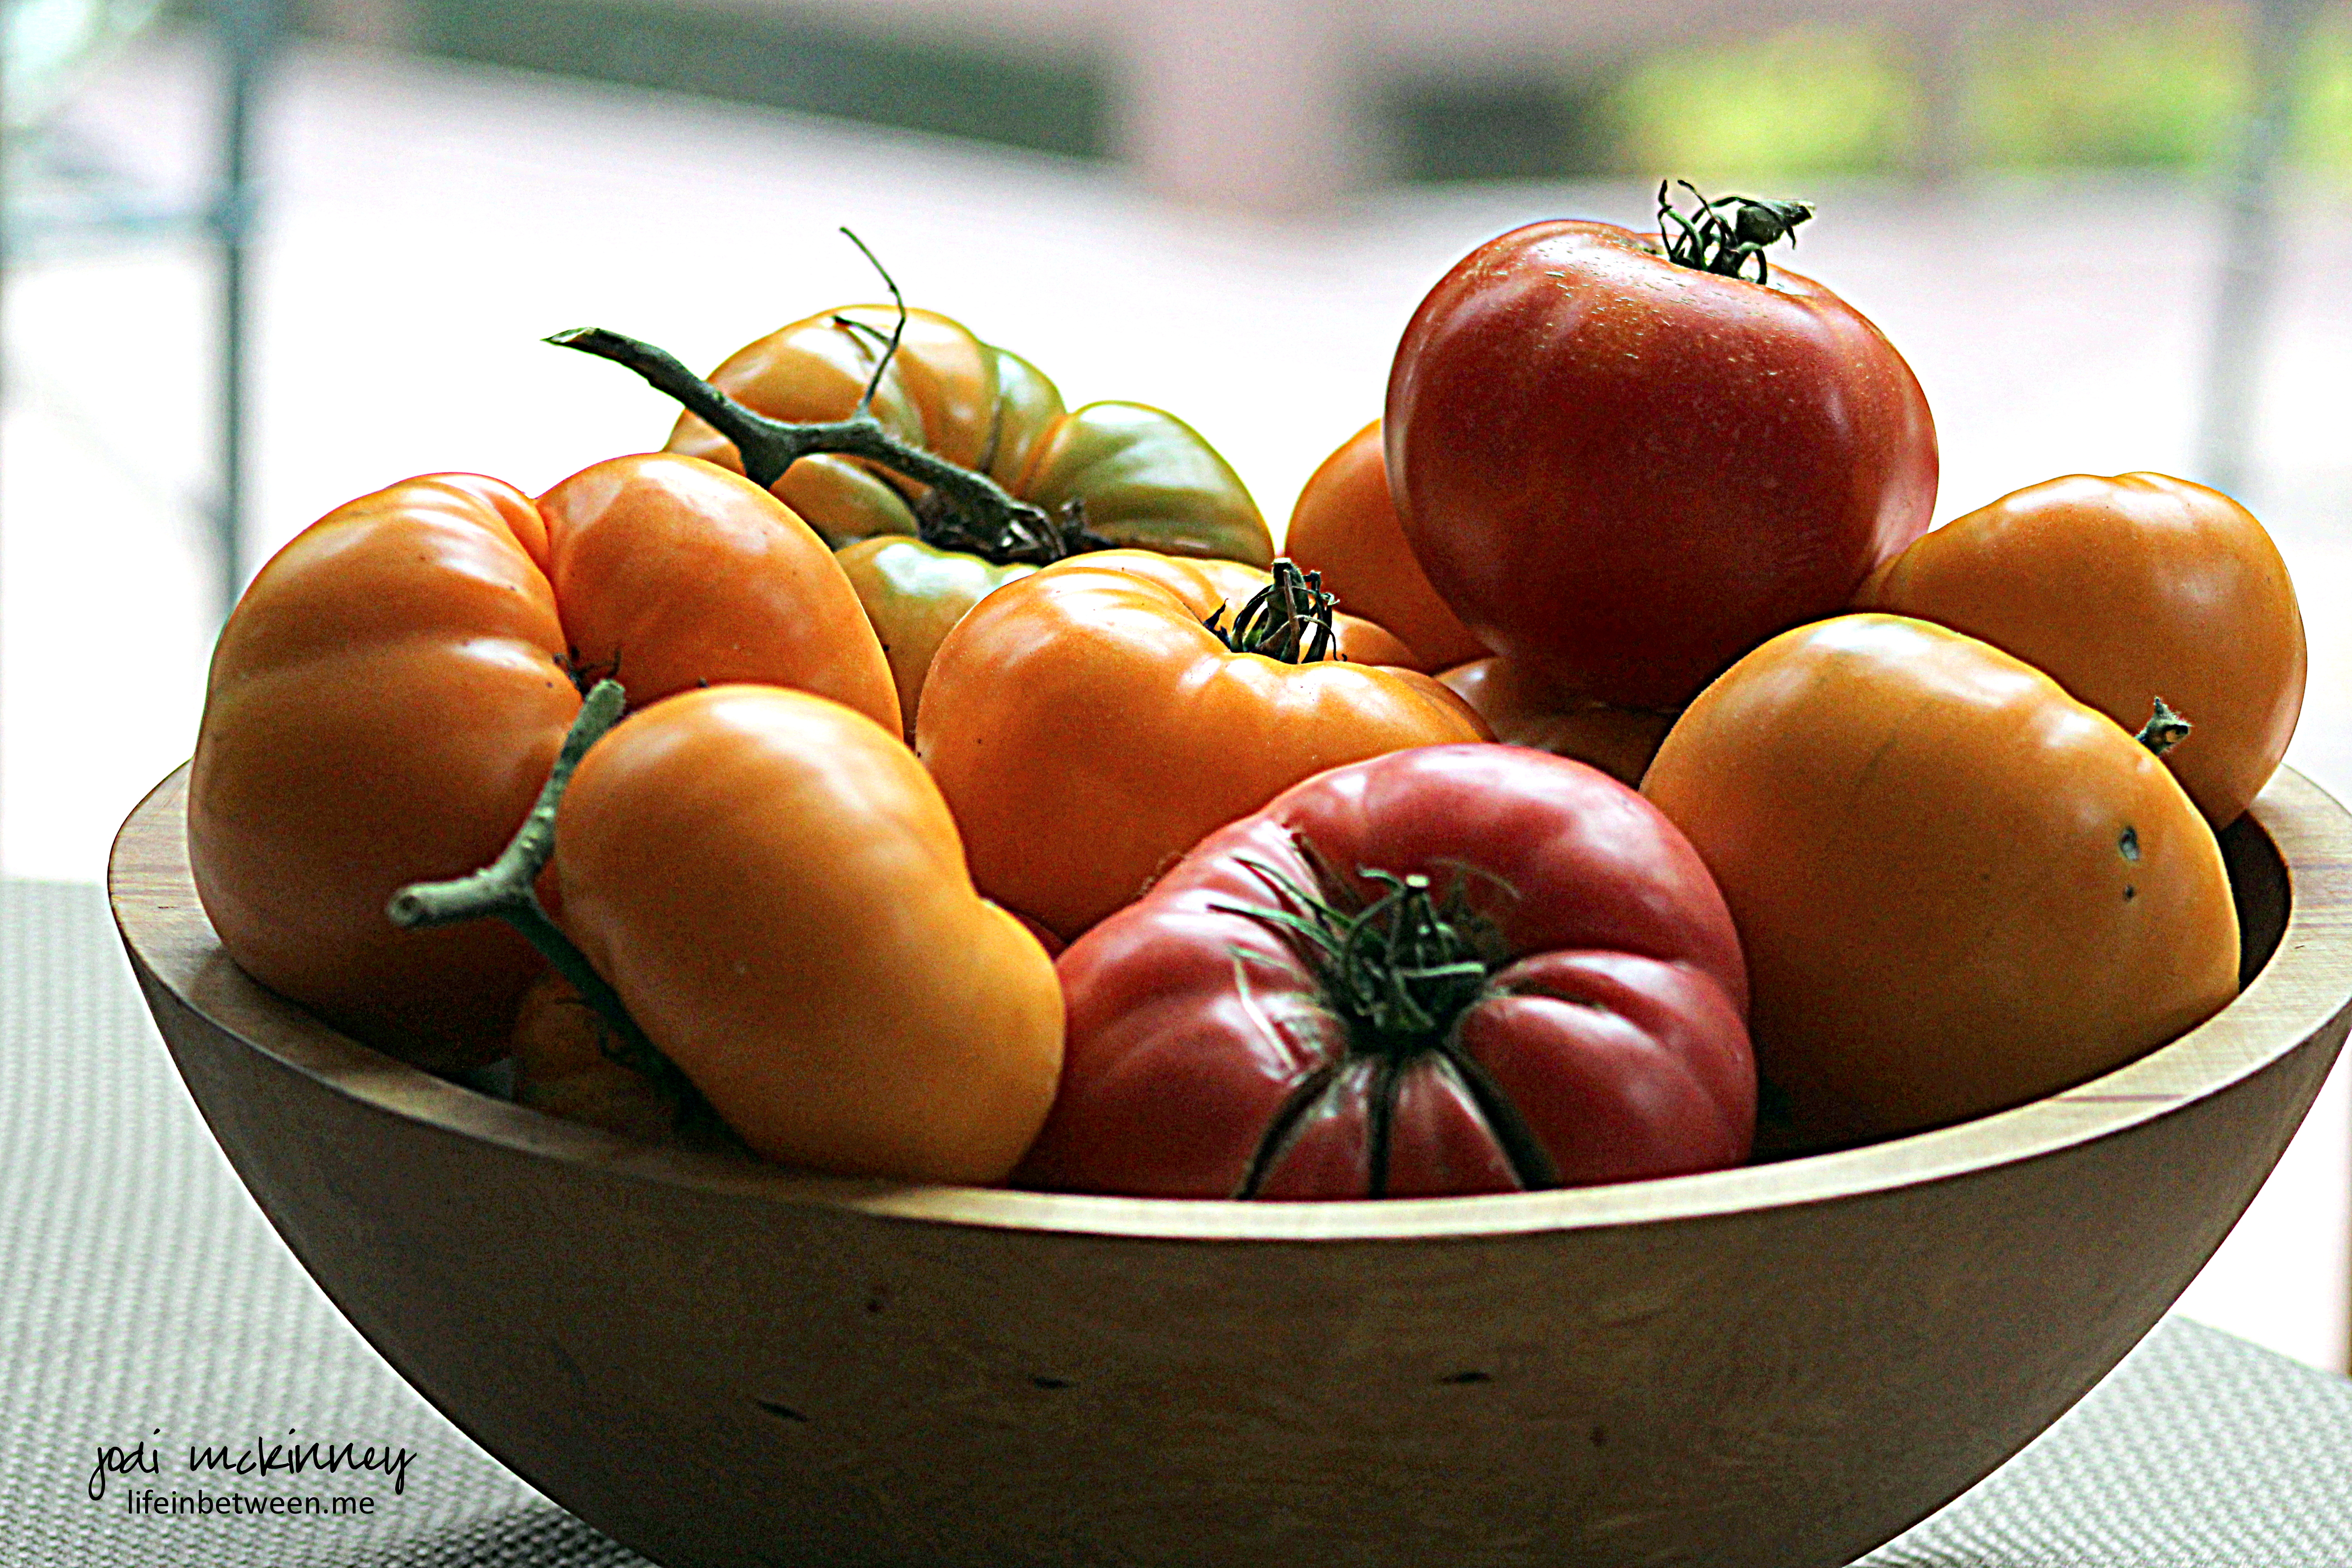
Not only are they practically works of art how beautiful they are, but there is nothing like the taste of these gems!  (I do believe I would trade an entire box of chocolate covered salted caramels for one of these super sweet garden goodies!)

Roasting Heirloom tomatoes

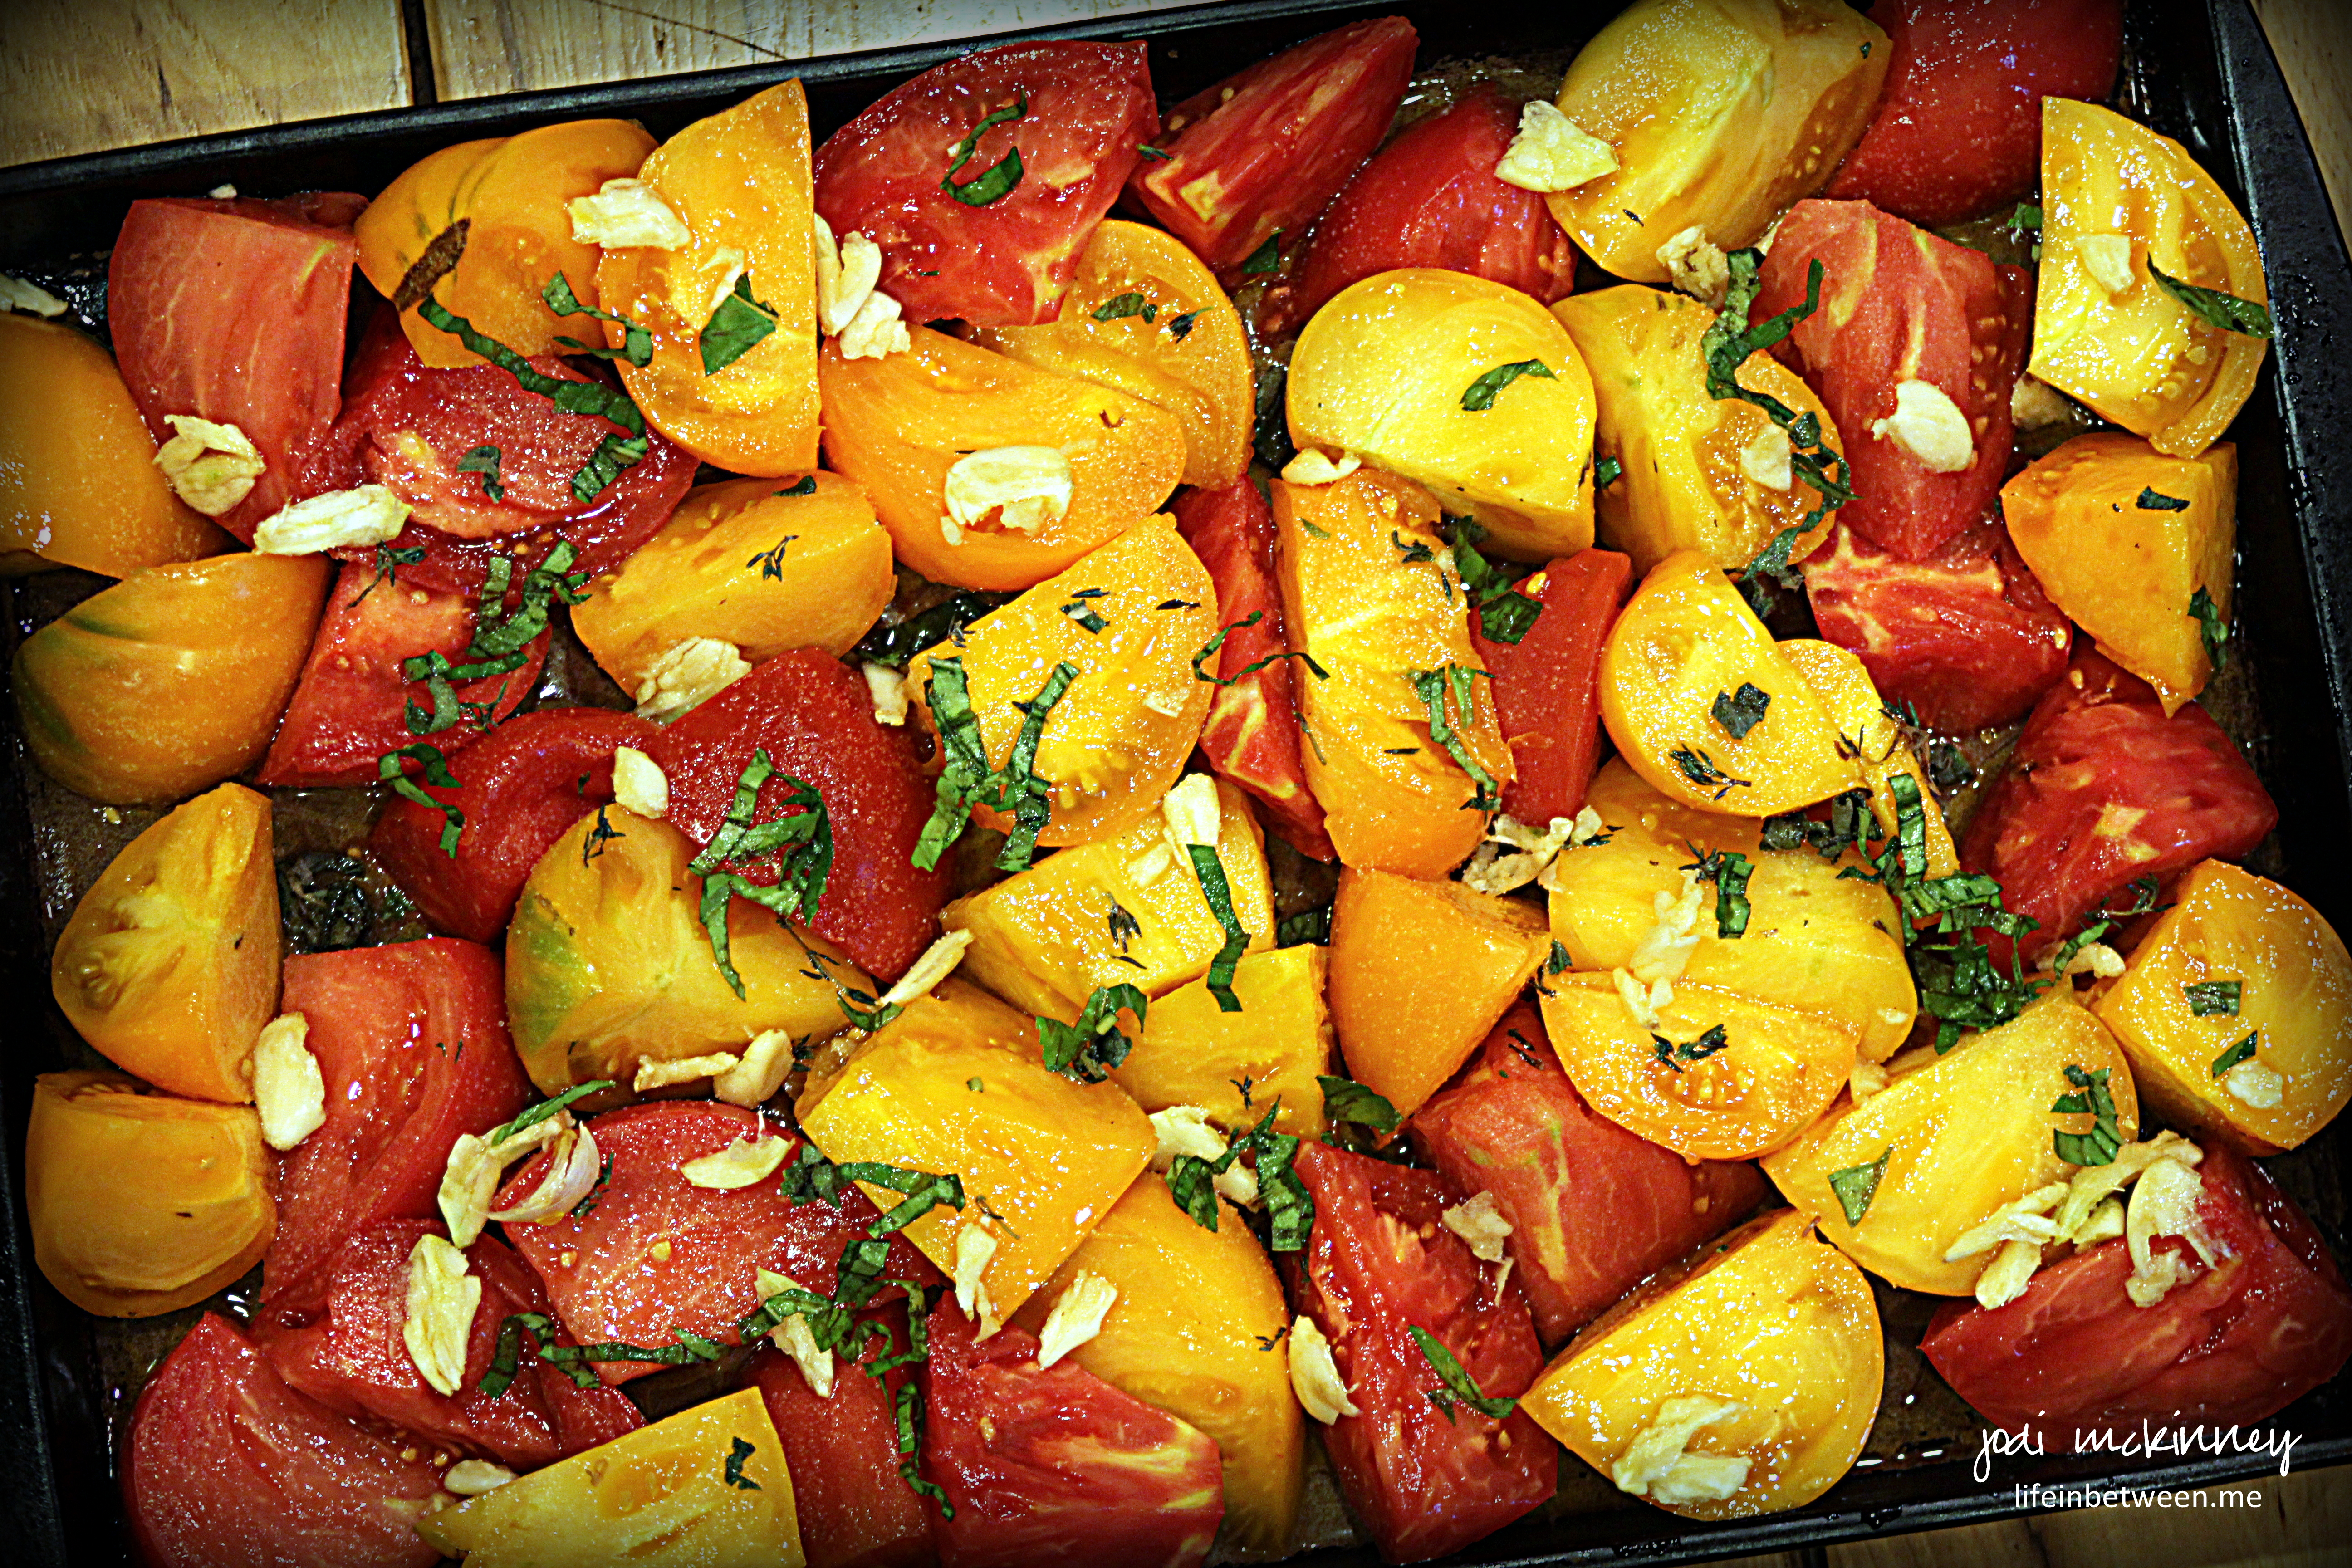
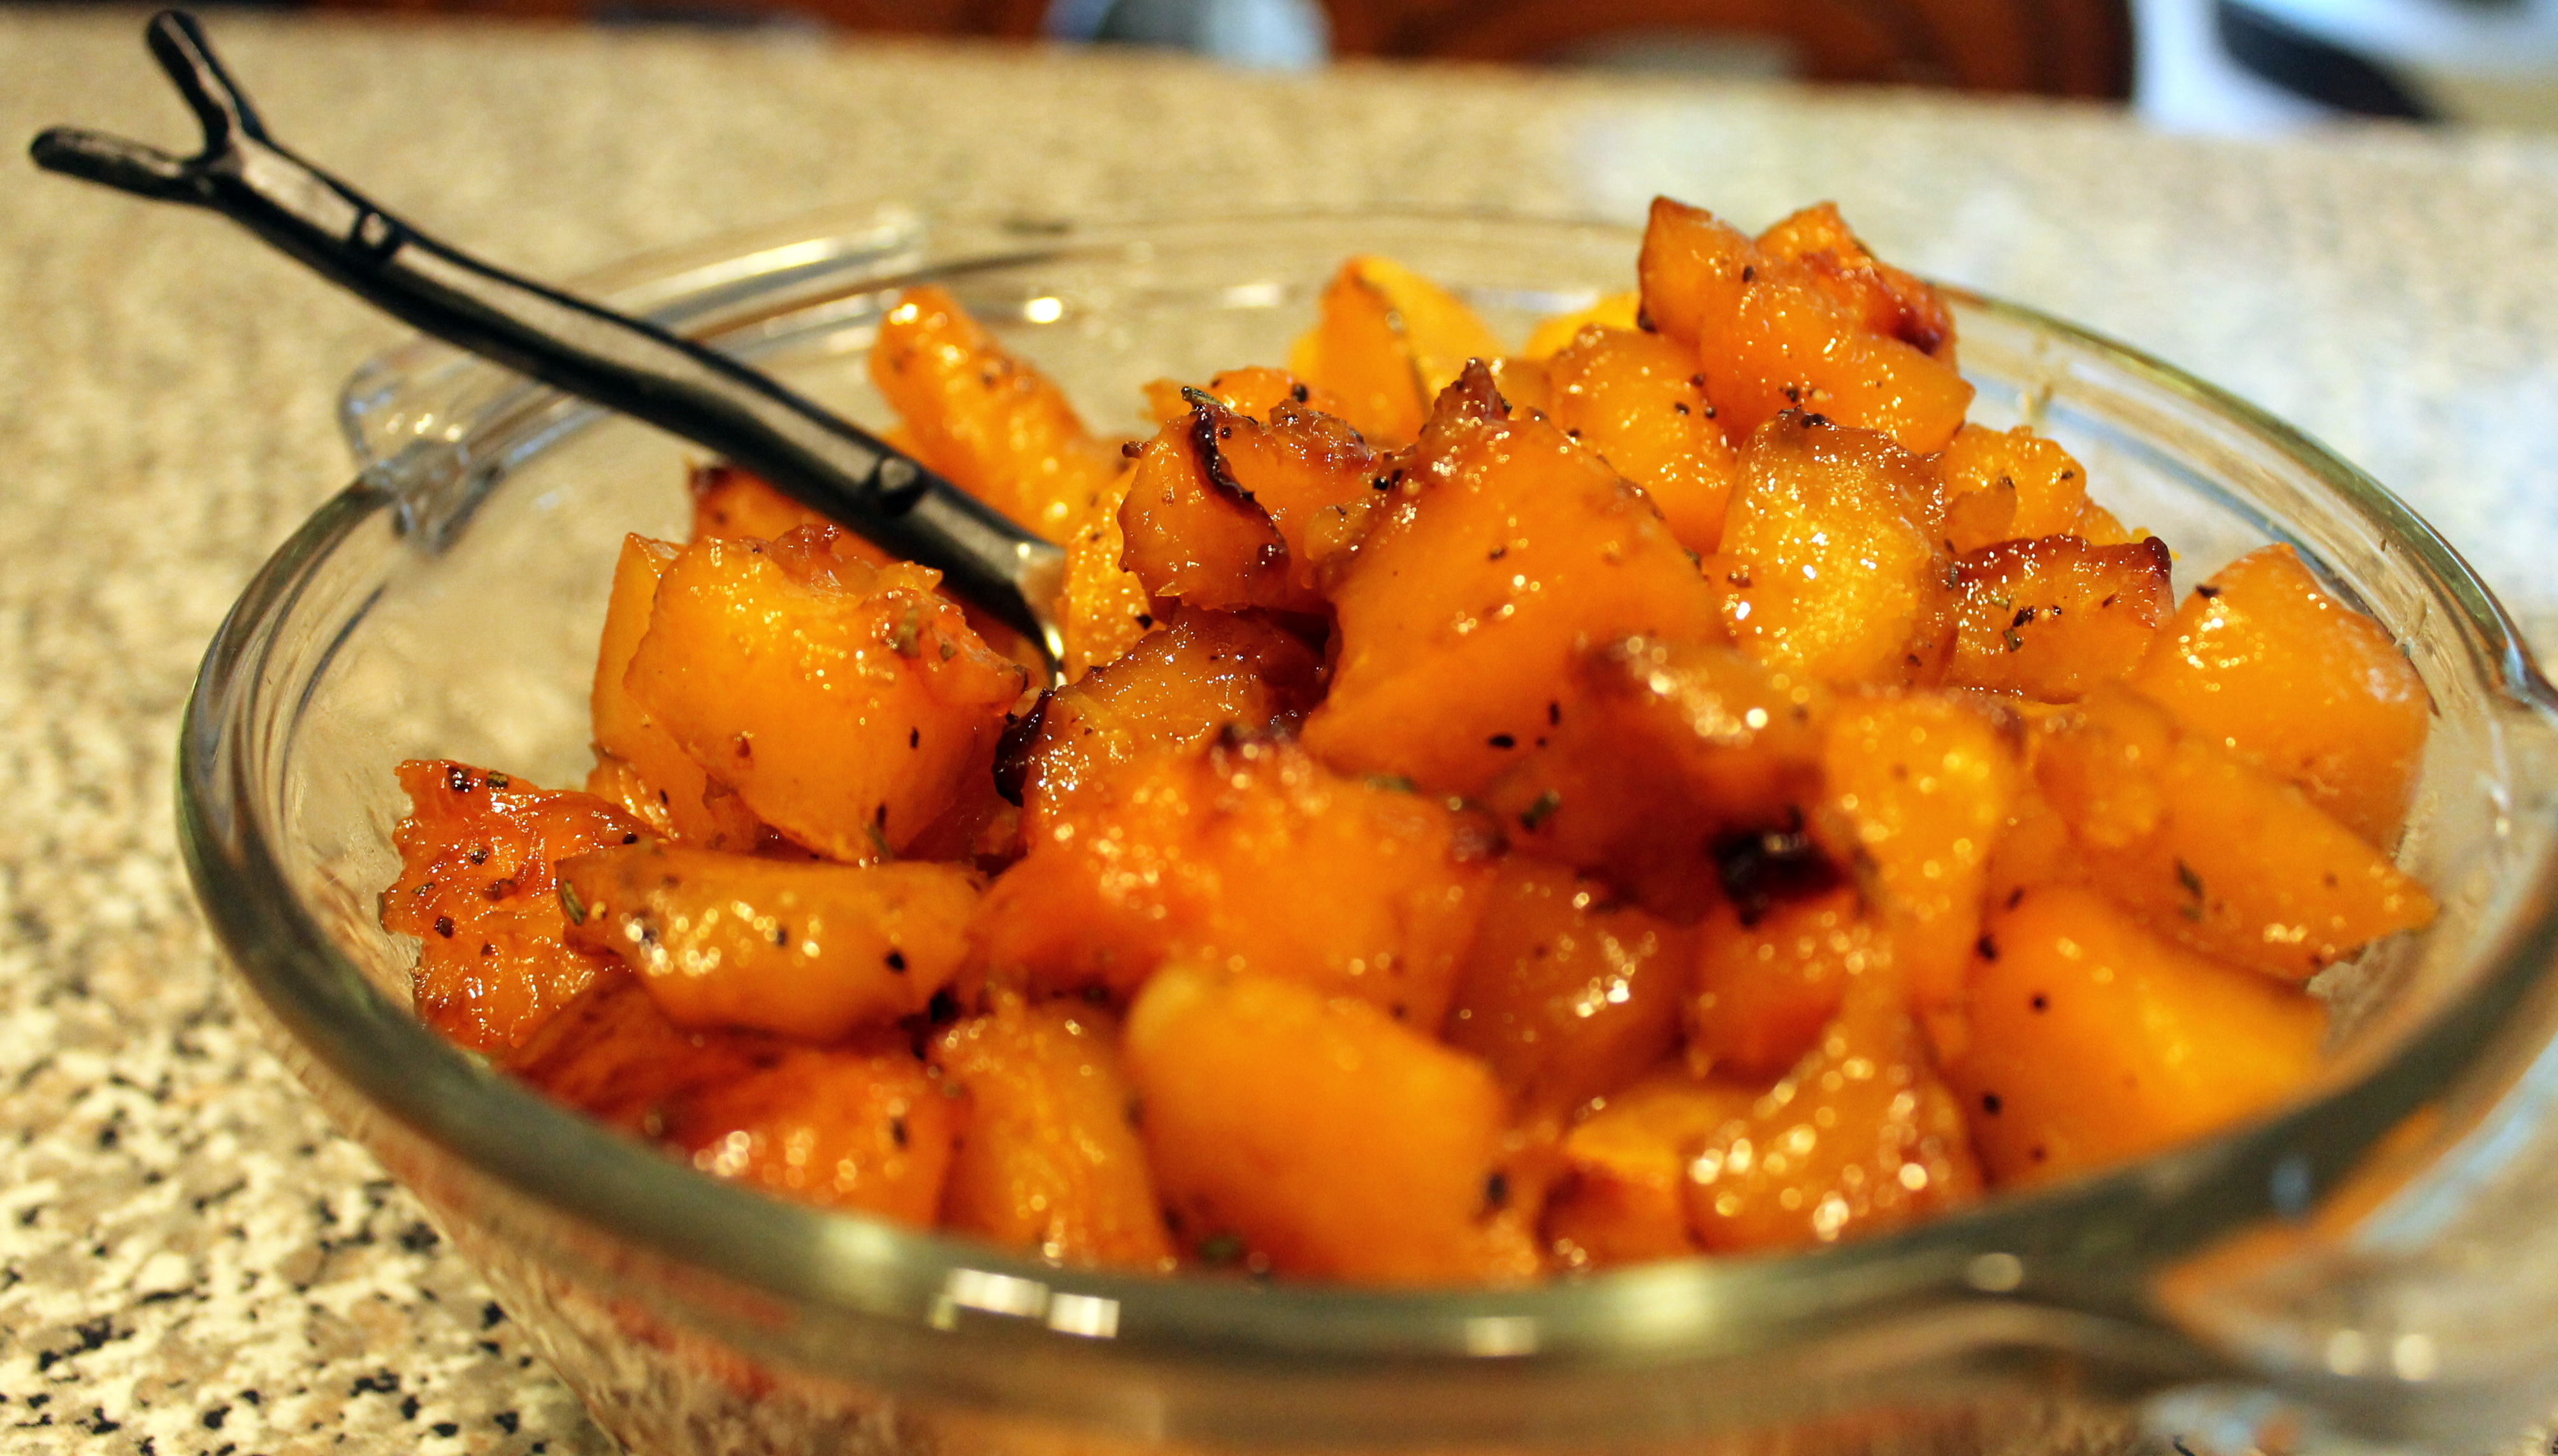
When trying to decide what I could I make with them to give them the showcase they deserved (and eating one for breakfast while contemplating!), I decided to roast them up for fresh homemade Margherita pizza.

Roasting Heirloom tomatoes close up

If EVER I wished for scratch and sniff or “smell-a-computers,” I so wish I could share how my entire house smelled while garlic and fresh basil and thyme infused with these golden and crimson chunks of lusciousness.

roasted heirloom tomatoes

And I even decided to sacrifice one of them to ferment and save some seeds to see if I could master growing these in my own garden next year.

Fermenting heirloom tomato seeds

And then…..

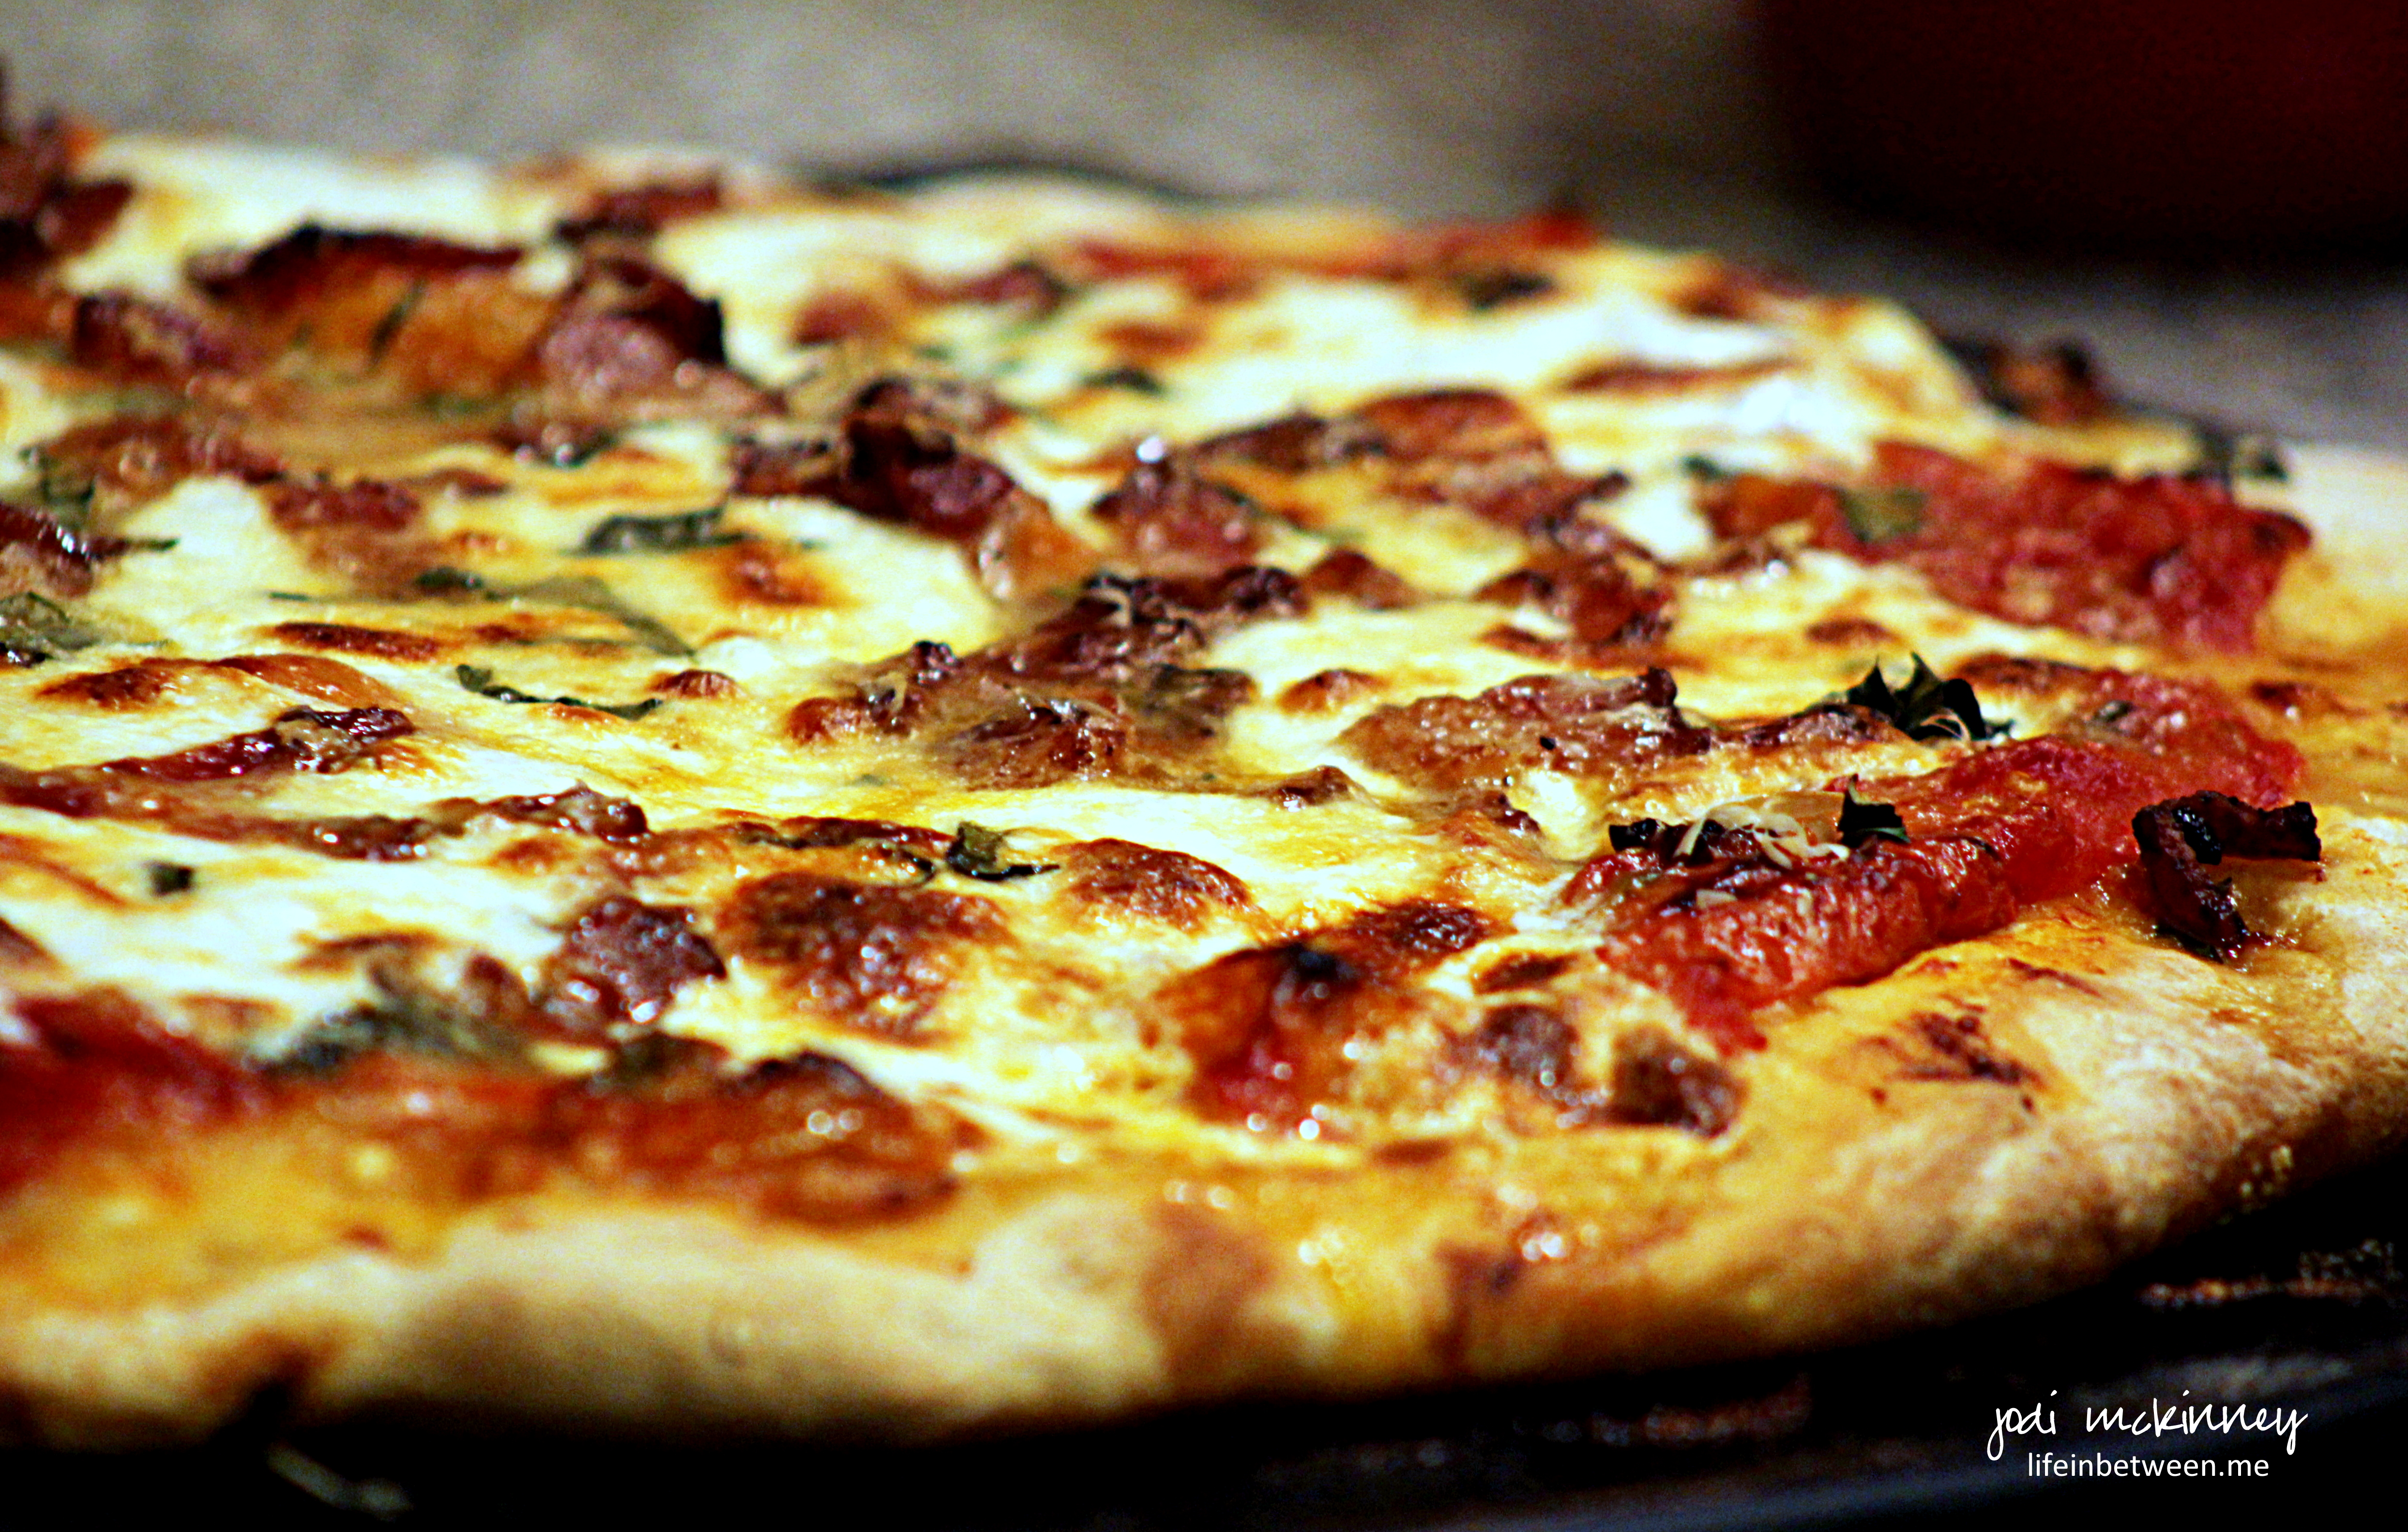
After making some fresh dough, I rolled it out and placed a generous portion of these precious concentrated bursts of flavor atop.

homemade margherita pizza with roasted heirloom tomatoes

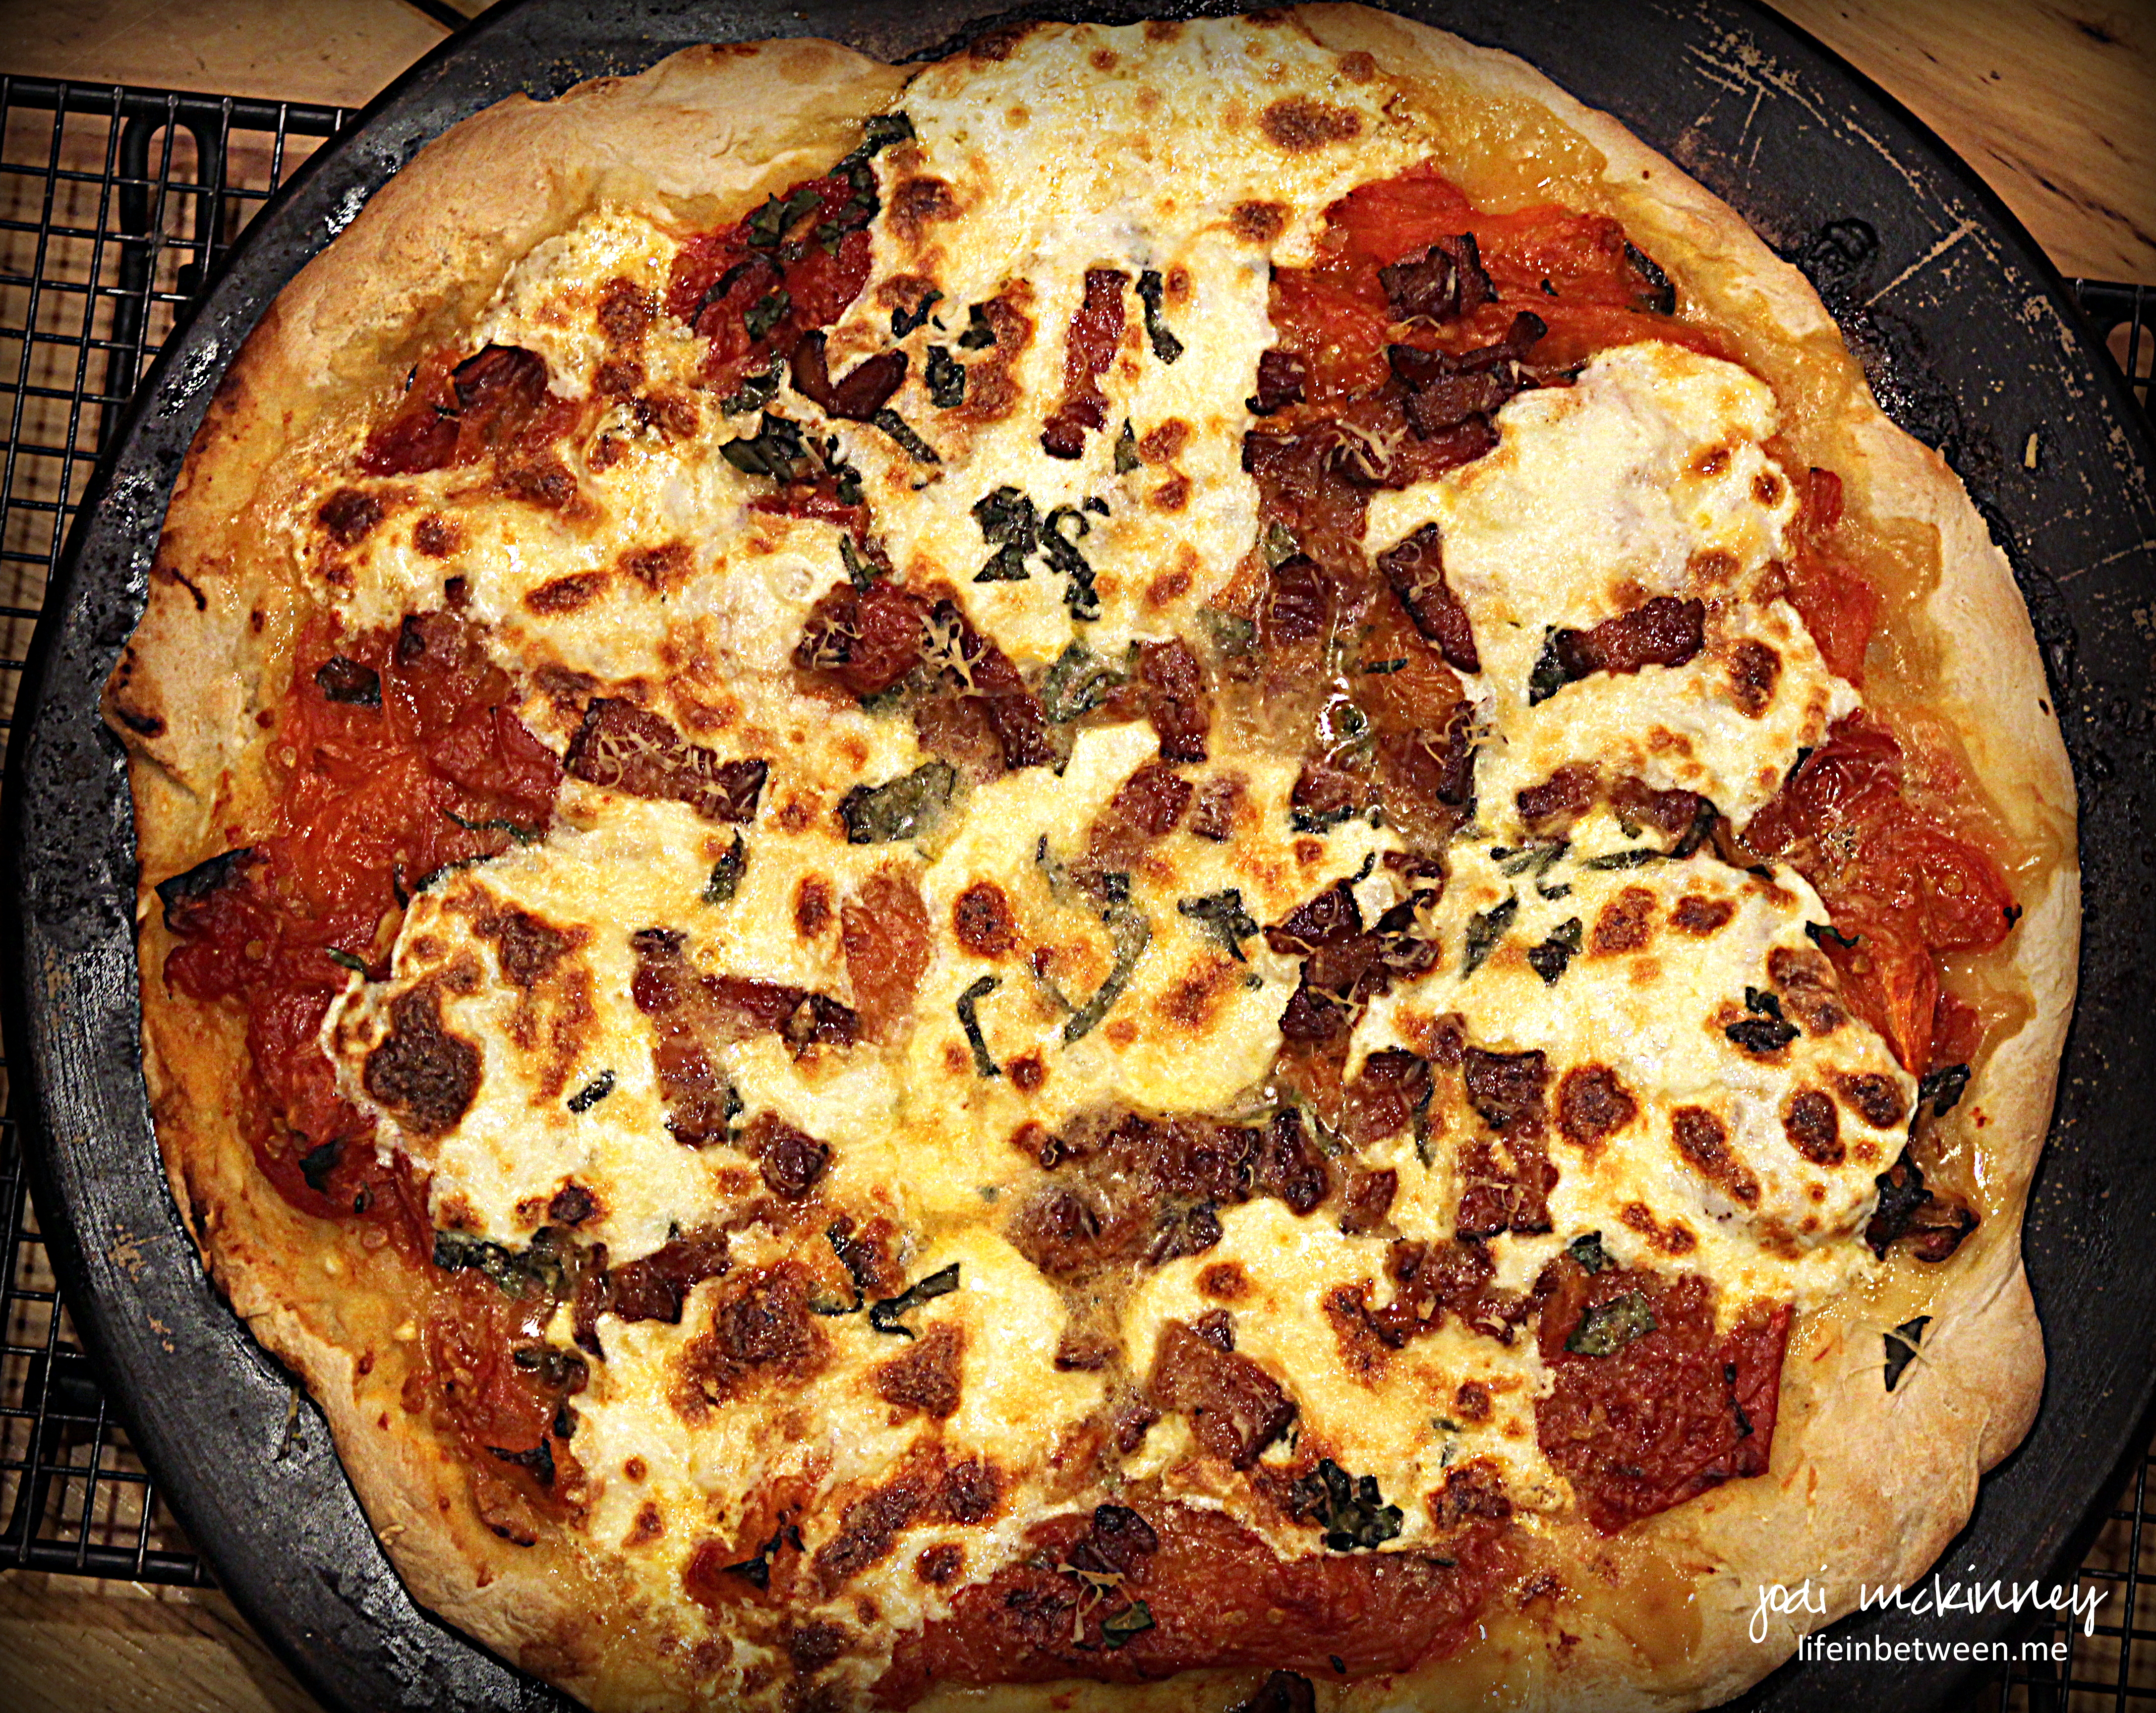
I topped that with slices of fresh Mozzarella, finely grated, salty Parmesan cheese, and coarsely chopped fresh basil right from the plant in the garden.


homemade margherita pizza with roasted heirloom tomatoes 2

And just for a bit of extra yumminess (and because I had some in the fridge), I topped it off with some chopped up thickly sliced smokey bacon ( O…. M….. G!!!)

homemade margherita pizza with roasted heirloom tomatoes slice.

This is the BEST pizza I ever ate in my life!  My son Nick took what was leftover for lunch, and I had the one solitary piece that was left in the refrigerator for breakfast the next day – stone COLD – and it was even better than I remembered the night before!

It had to be those tomatoes!  Thanks Jack!

Homemade Margherita Pizza with Roasted Tomatoes

Roasted Tomatoes:homemade margherita pizza with roasted heirloom tomatoes

  • 6-8 large tomatoes
  • 6 cloves garlic, coarsely chopped
  • 1/4 cup coarsely chopped fresh basil
  • 1 Tbsp fresh thyme
  • 1/4 cup olive oil
  • Salt & Pepper to taste

Cut tomatoes into quarters and spread in a baking dish.  Add garlic, basil, thyme, salt and pepper.  Drizzle all with olive oil.  Bake in 350 degree F oven for one hour.  Turn oven off and leave tomatoes in until ready to use.   (I roasted in the morning and let them set all day).

Dough:

  • 4 cups flour
  • 2 tsp salt
  • 1 1/2 cups lukewarm water
  • 2 tsp (1 envelope) active dry yeast

Mix flour and salt in a large bowl.    Mix water and yeast until dissolved in a measuring cup or small bowl.  Combine both until well incorporated.  Turn dough out onto counter and knead for several minutes.  Place in oiled bowl covered with towel, and let rise until ready to use.  (It really doesn’t matter whether it is an hour or several.)

Toppings:

  • Roasted Tomatoes
  • 1 lb Fresh Mozzarella cheese, sliced
  • 1/2 cup freshly grated Parmesan cheese
  • 1/4 cup fresh coarsely chopped basil
  • Any other toppings you like (or not)

Punch down dough and divide into 2 balls.  Stretch and roll out onto two baking stones to form thin crust.
Top with Roasted tomatoes, cheeses, basil, and anything else you like.
Bake at 425 degrees for approximately 20 minutes until crust is done and cheese is browned and bubbly.
Let set for 10 minutes before serving.
ENJOY!  

Cheers & Hugs,
Jodi

Roasted New Potatoes with Garlic, Bacon & Blue Cheese

Roasted New Potatoes with Garlic, Bacon, & Blue Cheese on fork

Can you imagine any more amazing way to make potatoes?

Garlic, Crisp Smokey Bacon, and Creamy Blue Cheese?!?!

If you are looking for a SIMPLE, but KNOCK-OUT potato dish to serve for special company, with a steak for dinner, or to take to a potluck, get ready to make a lot of new friends with this dish and make your tummy VERY happy too!

Roasted New Potatoes with Garlic, Bacon, & Blue Cheese

My friend Janet came over for dinner the other evening, so I wanted to step up the potatoes a little and thought of this.  We had them with marinated grilled London Broil, Sauteed Fresh Green Beans and Fresh, Sweet Cantaloupe.  YUM!

And if you don’t like Blue Cheese (I realize some people do have an aversion for this cheese that I absolutely ADORE), you can substitute Cheddar or Swiss, or Monterrey Jack, or your favorite cheese – or – you can even eat them without cheese.  They are good that way too.

Here’s the recipe.  I dare you to not like this!

Roasted New Potatoes with Garlic, Bacon & Blue Cheese

Ingredients:Roasted New Potatoes with Garlic, Bacon, & Blue Cheese on fork

  • 3 lbs Baby New Potatoes – I used 1.5 lbs of Yukon Golds and 1.5 lbs of Red
  • 8-10 Strips Thick Sliced Bacon – I used Peppered Slab Bacon
  • 4 Large Cloves Garlic, Minced
  • 2-3 Tbsp Olive Oil
  • Salt & Pepper to taste
  • 4-6 oz. High Quality Blue Cheese, Crumbled

Directions:

  • Preheat oven to 450 degrees F.
  • Dice bacon into small bite-sized pieces and fry in skillet until cooked well, but not too crisp as it will continue to cook and crisp when you roast the potatoes in the oven.
  • Drain the diced bacon on paper towels, and remove all but 1 Tbsp of bacon drippings from pan.
  • Add Olive Oil, Garlic and Potatoes.  Mix to coat potatoes.  Sprinkle with salt and pepper, and stir fry for 3-4 minutes.  Add bacon back in, and stir.
  • Place all in a shallow baking dish and roast at 450 for 20 minutes or until potatoes are done.
  • Remove from oven and crumble blue cheese over all.  Stir to coat, and ENJOY!

Cheers & Hugs,

Jodi

Roasted Cabbage Slices with Garlic

roasted cabbage

O. M. G. I am becoming obsessed with roasting vegetables!  And this one is another winner!

Cabbage has NEVER tasted better!  Nor has it ever been easier!

roasted cabbage before

I’ve seen a variety of versions of this recipe floating around, but when I saw this simple version with roasted garlic that you smear on top of the cabbage slices after roasting, I had to try.  And it so delivered!

How can something so stinking simple end up tasting so luscious?  It is truly magical… and so wonderful to eat food in its purist state with just a little olive oil, salt, pepper and garlic that tastes like this.

roasted cabbage before 1

You can use green or purple cabbage.  Slice it, drizzle it generously with pure olive oil, and sprinkle it generously with coarse sea salt and fresh cracked black pepper.  Add a few cloves of peeled garlic drizzled with olive oil to roast along side.  Throw it in a 425 degree F oven for about 30 minutes, and get ready to rumble!

roasted cabbage after

This is a great accompaniment to most any meal.  SO DELISH!  I’ll bet this would make a cabbage loving fan out of ANYone!

Try it TODAY!

Roasted Cabbage with Garlic

Ingredients:
1 head cabbageroasted cabbage after
6 large cloves garlic
Olive Oil
Salt and Pepper

Directions:
Preheat oven to 425 degrees F.
Carefully slice cabbage into 6 thick slices, and lay on a shallow baking stone or baking dish.
Drizzle both sides of each slice with olive oil.
Generously sprinkle coarsely ground sea salt and freshly ground cracked pepper on top of each slice.
Peel garlic cloves and add to dish. Drizzle with olive oil.
Roast for approximately 30 minutes.
When done, smash garlic cloves and spread one on top of each cabbage slice.

ENJOY!

jodimckinney @lifeinbetween.me

Can’t wait to hear if you try it and like it!

Cheers & Hugs,
Jodi

Roasted Caramelized Garlic Carrots

roasted carrots after

Are you often looking for new ways to prepare and serve veggies?  I’ve got another delicious, nutritious orange food for you today.  This time in the form of beautiful, fresh roasted, caramelized, garlicky carrots.  Nom Nom!  I find so many vegetables are best when roasted.  Flavor and nutrients are retained and the flavor is hard to beet.  (pun intended)

roasted carrots before

Lots of fresh garlic, thyme, parsley, olive oil, and balsamic vinegar sprinkled onto fresh young carrots creates a wonderful veggie to complement almost any meal.

roasted carrots plated

We had ours with an herb marinated pork tenderloin and tiny roasted golden Yukon potatoes.

Here is the recipe as I made it.  I was inspired by another great recipe Chungah posted on Damn Delicious.  Measurements are guesstimates.  Make it how you enjoy.  That is the true JOY of cooking.

Roasted Caramelized Garlic Carrots

Ingredients:
15 fresh new carrots with stems trimmed, no need to peel
4 cloves garlic, coarsely minced
1 Tbsp dried thyme or 2 Tbsp fresh thyme
1 Tbsp dried parsley or 2 Tbsp fresh parsley
1 tsp. coarse sea salt
1 Tbsp. coarse ground black pepper
Approximately 1/4 cup olive oil
Approximately 1/4 cup balsamic vinegar

Directions:
Preheat oven to 375 degrees F.
Wash carrots and lay in a single layer on a baking stone or baking dish.
Drizzle with olive oil.
Liberally sprinkle with garlic, thyme, parsley, salt and pepper to your taste and liking.
Drizzle all with balsamic vinegar.
Toss to coat.
Roast for 30-40 minutes – turning once or twice during cooking.

I daresay even kids will enjoy these carrots that turn out so sweet and delicious.  I found them almost addicting!

Enjoy!

Cheers & Hugs
Jodi

Easy Roasted Butternut Squash

roasted butternut squash

A variety of squash is plentiful this time of year.

I love butternut squash, and I love to make it this simple way that I did this week for dinner.

The hardest part is “peeling” the squash.

Here is how I make it:

Roasted Butternut Squash
1 Butternut squash halved, seeded, peeled.
5-6 Tbsp butter
1/4 c brown sugar
1 sprig fresh rosemary, minced
salt and pepper to taste

Cut butternut squash into cubes and spread onto baking dish/stone. Melt butter, add brown sugar, and mix well. Drizzle over squash cubes. Sprinkle rosemary and salt/pepper over all. Roast in 400 degree F oven for 20-30 minutes, until tender and brown.

ENJOY!

Cheers & Hugs,

Jodi