Love is Kindness – A Card – An Adventure

PP227 1

I needed to make an anniversary card for a very special couple that is celebrating 55 years together later this week.

My Aunt Gwen and Uncle Frank are very special to me.  You see, they have just come back into my life about four and a half years ago when I reunited with my Dad (my first Dad). [You can read more about that here if you would like.]

Aunt Gwen is my Dad’s sister, and she has become more of a mother-figure to me (as well as sharing her two daughters with me that are more like sisters).  The day I [re]met them as an adult (the last time I’d seen them I was 9 years old) was a day I will never forget.  I sat with Aunt Gwen and had a heart-to-heart talk where she shared with me that my birthday remained on her calendar every single year, and she had always known I would come back to them.  Uncle Frank hugged me and told me he would know me anywhere.

When they came to my home for the first time, Uncle Frank brought me a gift.  It was something he told me he had bought years ago and knew he would be able to give to me some day.  It was a collector’s doll – – – named “Jodi.”

Aunt Gwen and I talk often – either via phone and/or email.  We are Facebook “friends,” and she is one of my blog followers, so I am so happy to honor her and Uncle Frank and profess my deep love and admiration and gratitude to them.

Happy Anniversary Aunt Gwen and Uncle Frank!

I love you dearly!  And this card is on its way to you 🙂

 PP227 2

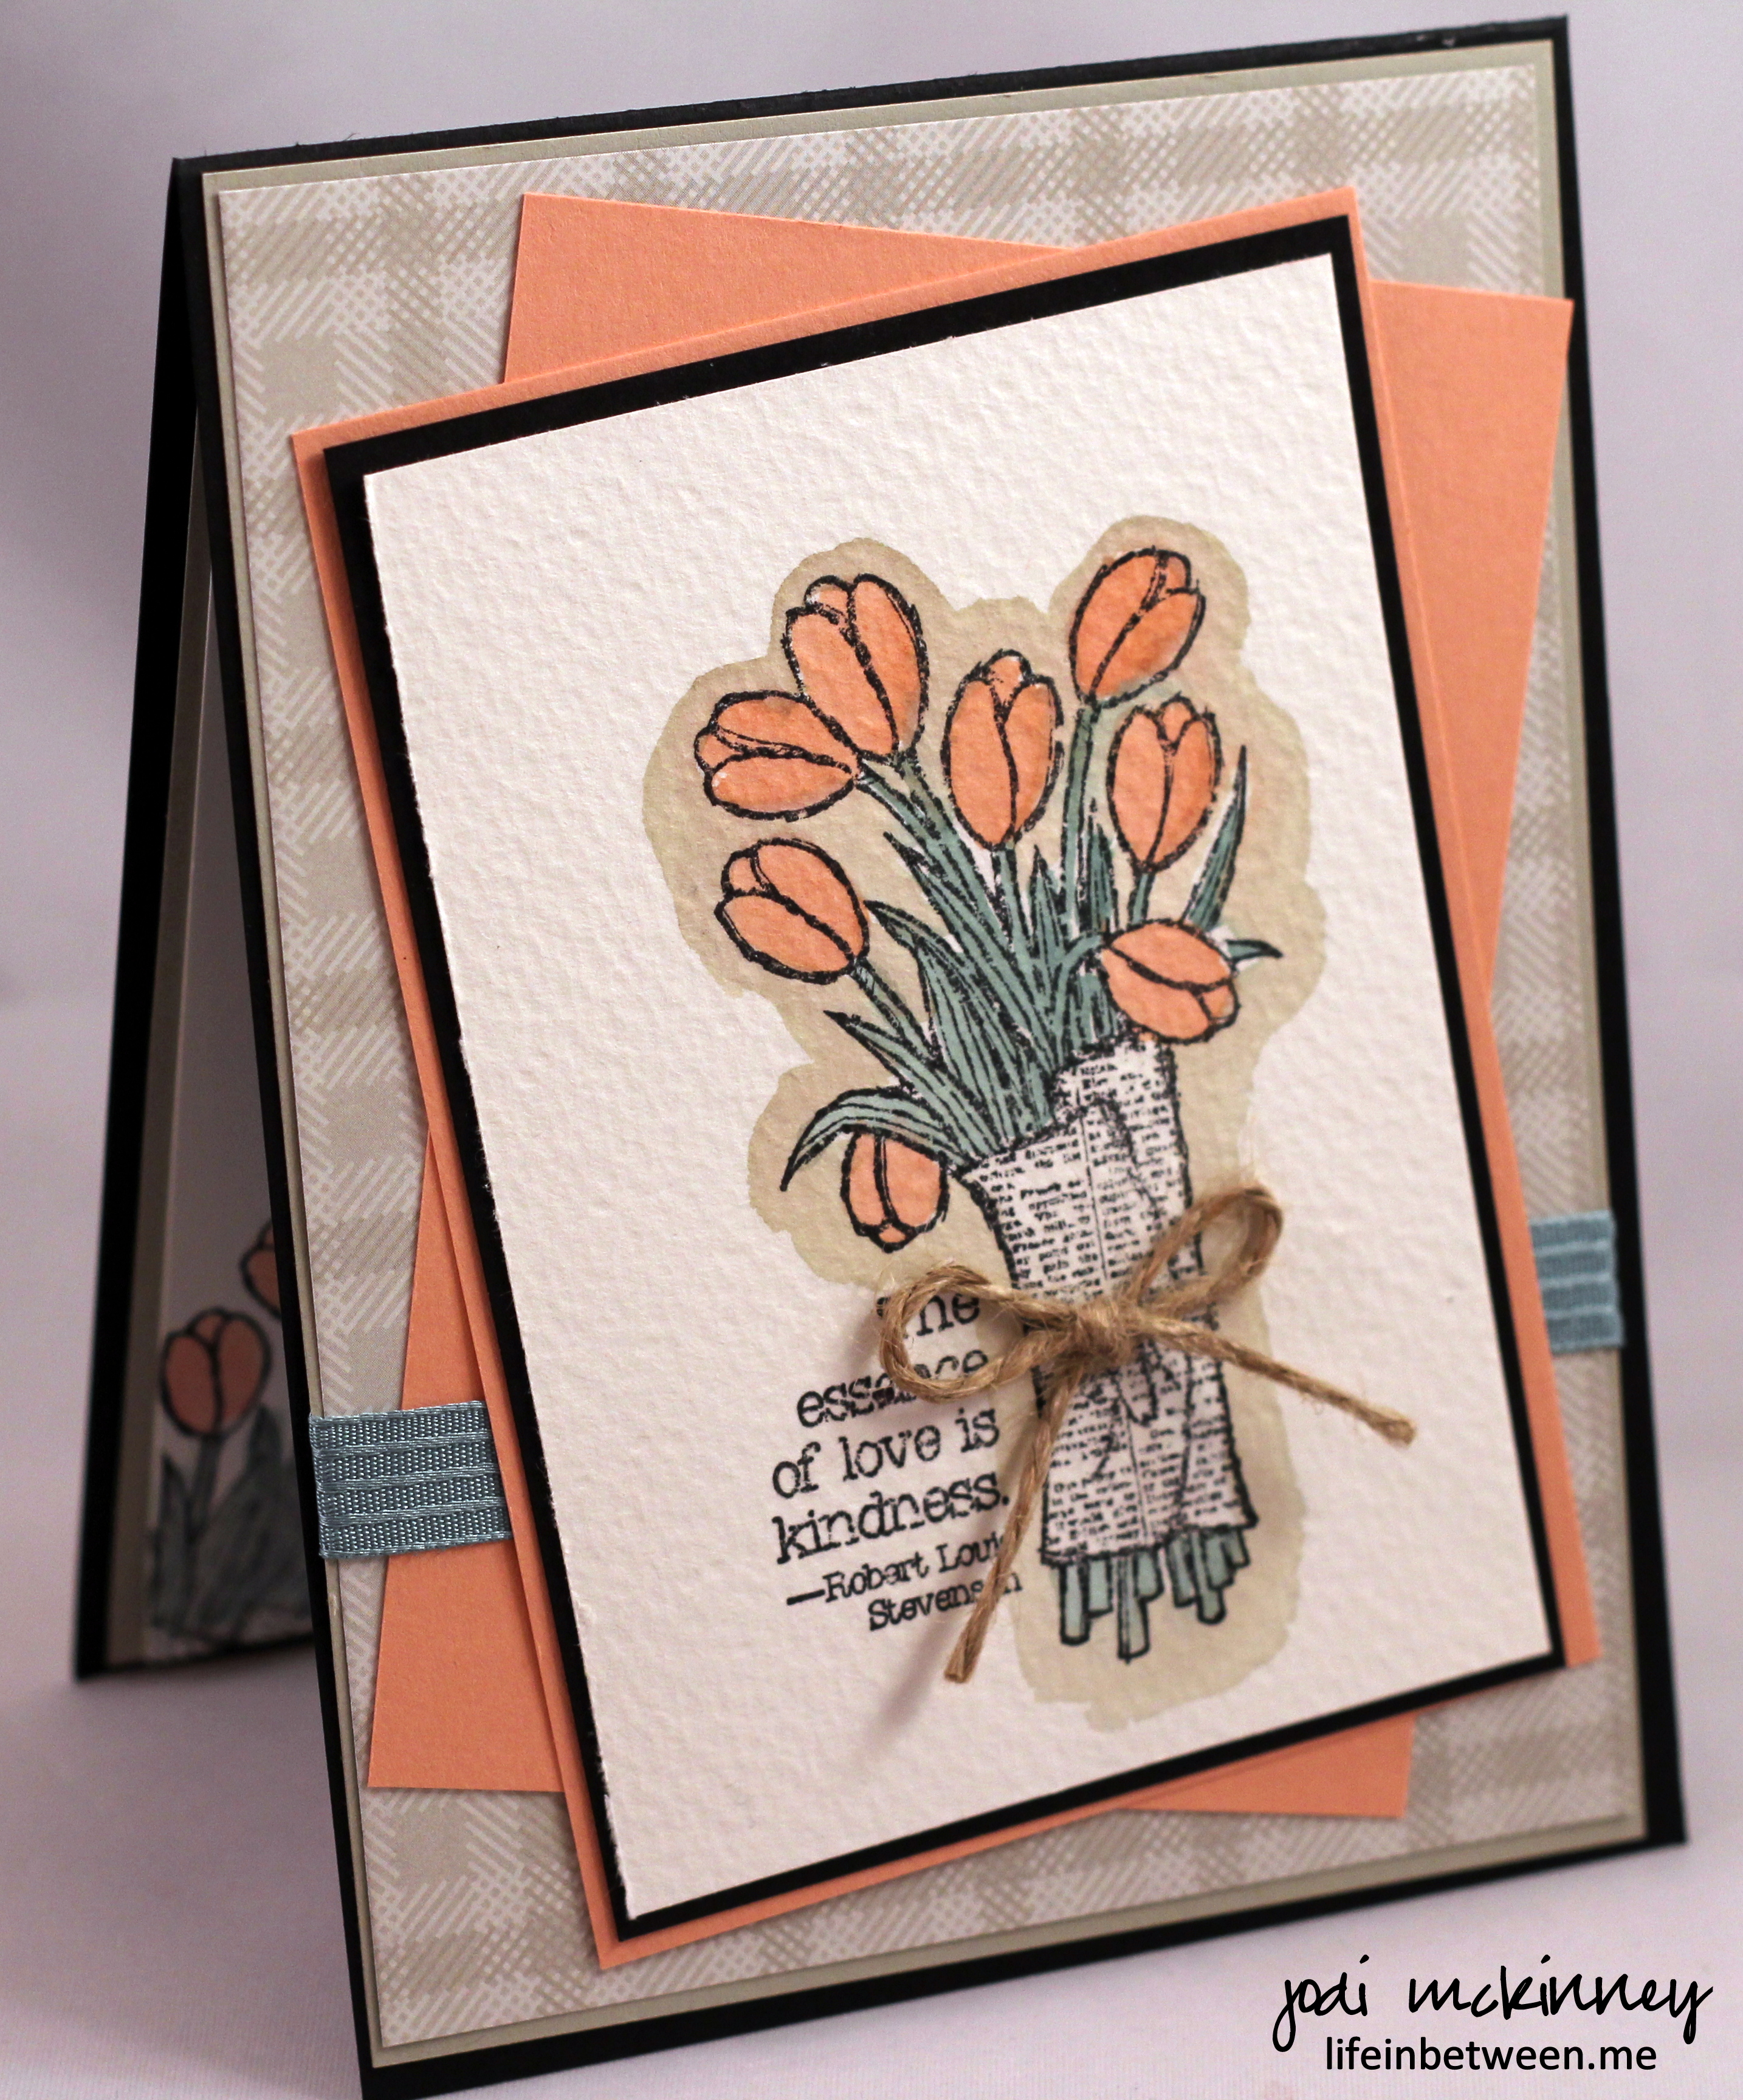
For my card, I couldn’t wait to use this new StampinUp “Love is Kindness” stamp Cindy Brumbaugh of CindyLeeBee Designs gave all of us that attended her Spring StampinUp Tea on Saturday.

My stamper partner in crime and daughter-in-law, Colleen and I had so much fun – – – and quite the adventure – as it seems we always do when we are together.  🙂

It started out with the fact that my car had a near empty tank of gas.  It’s been so stinkin’ cold that I’ve been waiting for it to warm up a bit before stopping to refill.  But no – – – that didn’t happen.  Turns out I was reaching near empty on the very coldest day of all.    We made it to gas station fine, but apparently my freezing fingertips entered my debit card pin number wrong too many times until it was rejected, so I had to go inside the station to the attendant in the 2 degree weather to pay.  Problem solved – right?  Wrong!  The pump still didn’t work….  So Colleen made two trips in and so did I before we finally got it all working.  The attendant had assumed I wanted “regular” gas, and I kept pushing the premium grade.  Sheesh!

So we got back on the road and onto the turnpike (toll limited access road).  I buzzed through the EZ Pass lane and off we went….  until we got to the exit booth, and I was in the pay lane instead of the EZ Pass lane.  What to do?  No matter how much I willed it and sent telepathic messages to switch, the red light would not turn green.  I looked up at the irritated attendant watching me.  He barked at me to hand him my EZ Pass.  But it is attached to my windshield.  “Just pull it off,” he grunted.  With what took much stumbling and stammering and excuses about thinking I was in the only lane that was open and near super-human strength, I was finally able to release the unit from the velcro.

“That will be $23.95 charged to your pass,” Mr. Friendly grumbled.

When my mouth dropped open, knowing we had only traveled two exits, he cracked himself up laughing.

“Just kidding,” he said.  Phew!  He did have a sense of humor!  And off we go again.

We found our way to the Mall where the class was being held at Cindy’s studio.  I’d been there before, but couldn’t recall exactly which entrance to go into, so we choose Entrance 5, and I decided we should head left.  It felt like that was the “right” way.  The mall is a large circle where many people go to exercise walk in the winter since it is quite large (and a big circle).  So we walked, and we walked, and we walked, and we were late, and later and later.  Then, with Entrance 5 just a few steps ahead of us after almost fully completing our first “lap” with the other walkers, there was the studio.  Yep – only a few feet to the RIGHT of Entrance 5!  So out of breath, 20 minutes late, but laughing and still smiling, we joined the class.

We had a great time!  We stamped and chatted and laughed with the 25 or 30 other ladies at the “party,” had a delicious lunch Cindy prepared HERSELF, and I even passed on the chips and cupcakes!  (You proud??)

When it was time to go, I thought I better grab my key before we head out into the bone-chilling weather.  I checked my purse – hmmm….  maybe I put them in my coat pocket?  hmmm….. Maybe in my jeans pocket?   hmmmm….  Let me check my camera bag….  hmmmm…..

“Okay – Colleen – you check my purse while I check the camera bag.”

“Not in your purse,” said Colleen.

YIKES!  We dumped everything out of my purse.  Where is that darn key?  We put everything back in the purse.

Check pockets again.

Colleen checks purse again.

Then all of the sudden – TA-DA!  Somehow that little bugger was there at the bottom of my purse all along (as well as the tweezers I just told Colleen I’d lost and needed to buy a new pair…)  Score!

You would think we would have just headed home at this point – right?  Nope.  Not us.  We continued carrying on.  Even went grocery shopping together.

But sheesh – I sure digressed here from this “card” and “anniversary” post – eh?

PP227

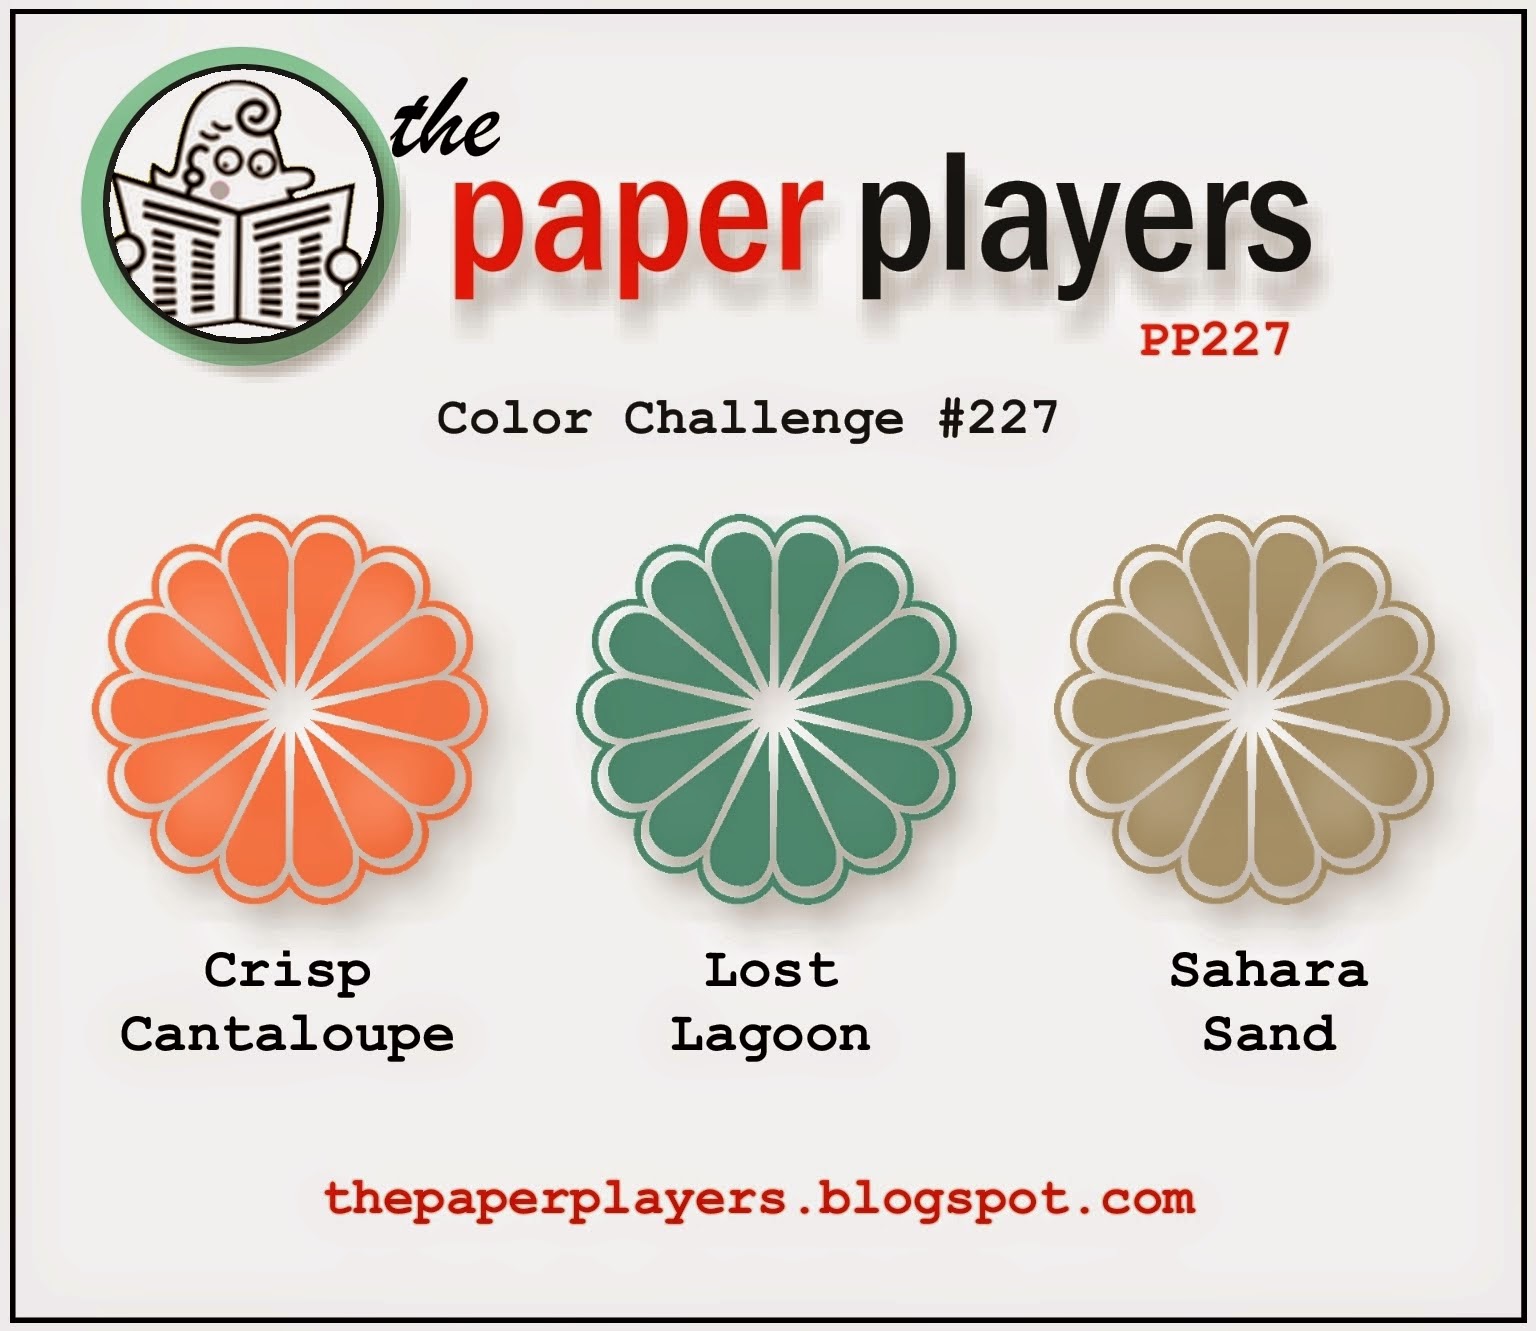
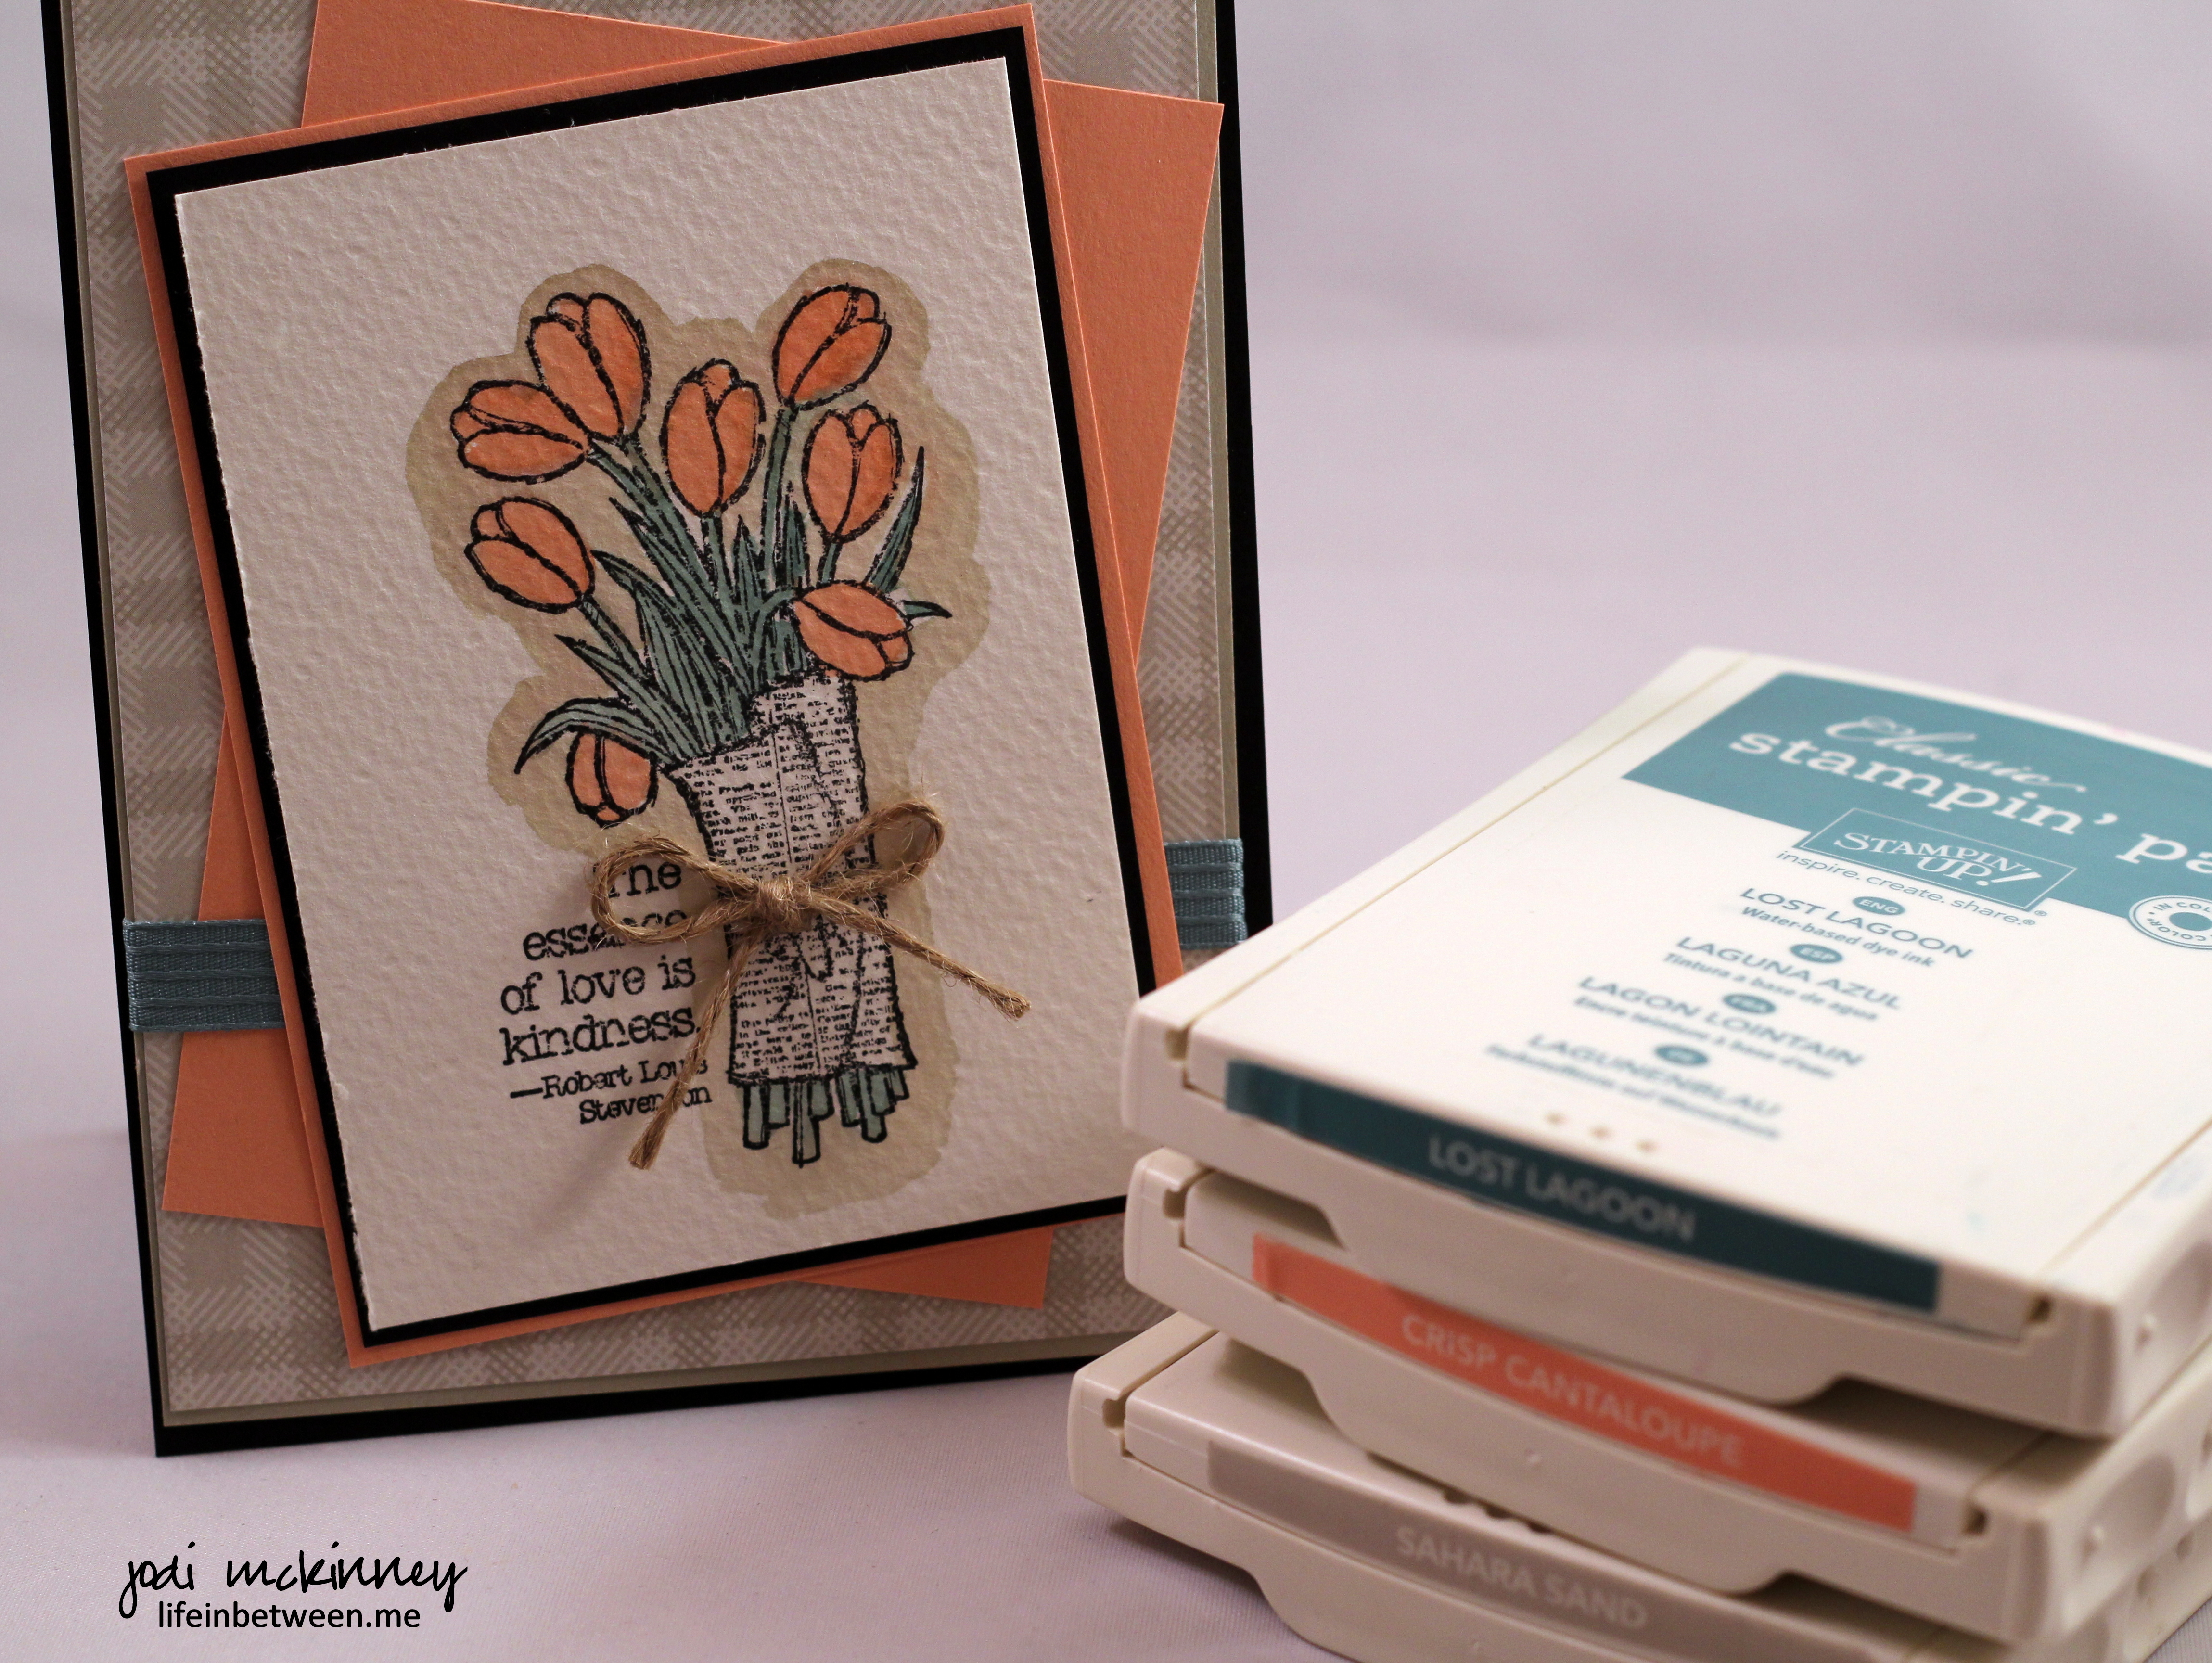
Along with the stamp I chose, I decided to play along with The Paper Players Color Challenge this week (PP227) and use Crisp Cantaloupe, Lost Lagoon, and Sahara Sand.

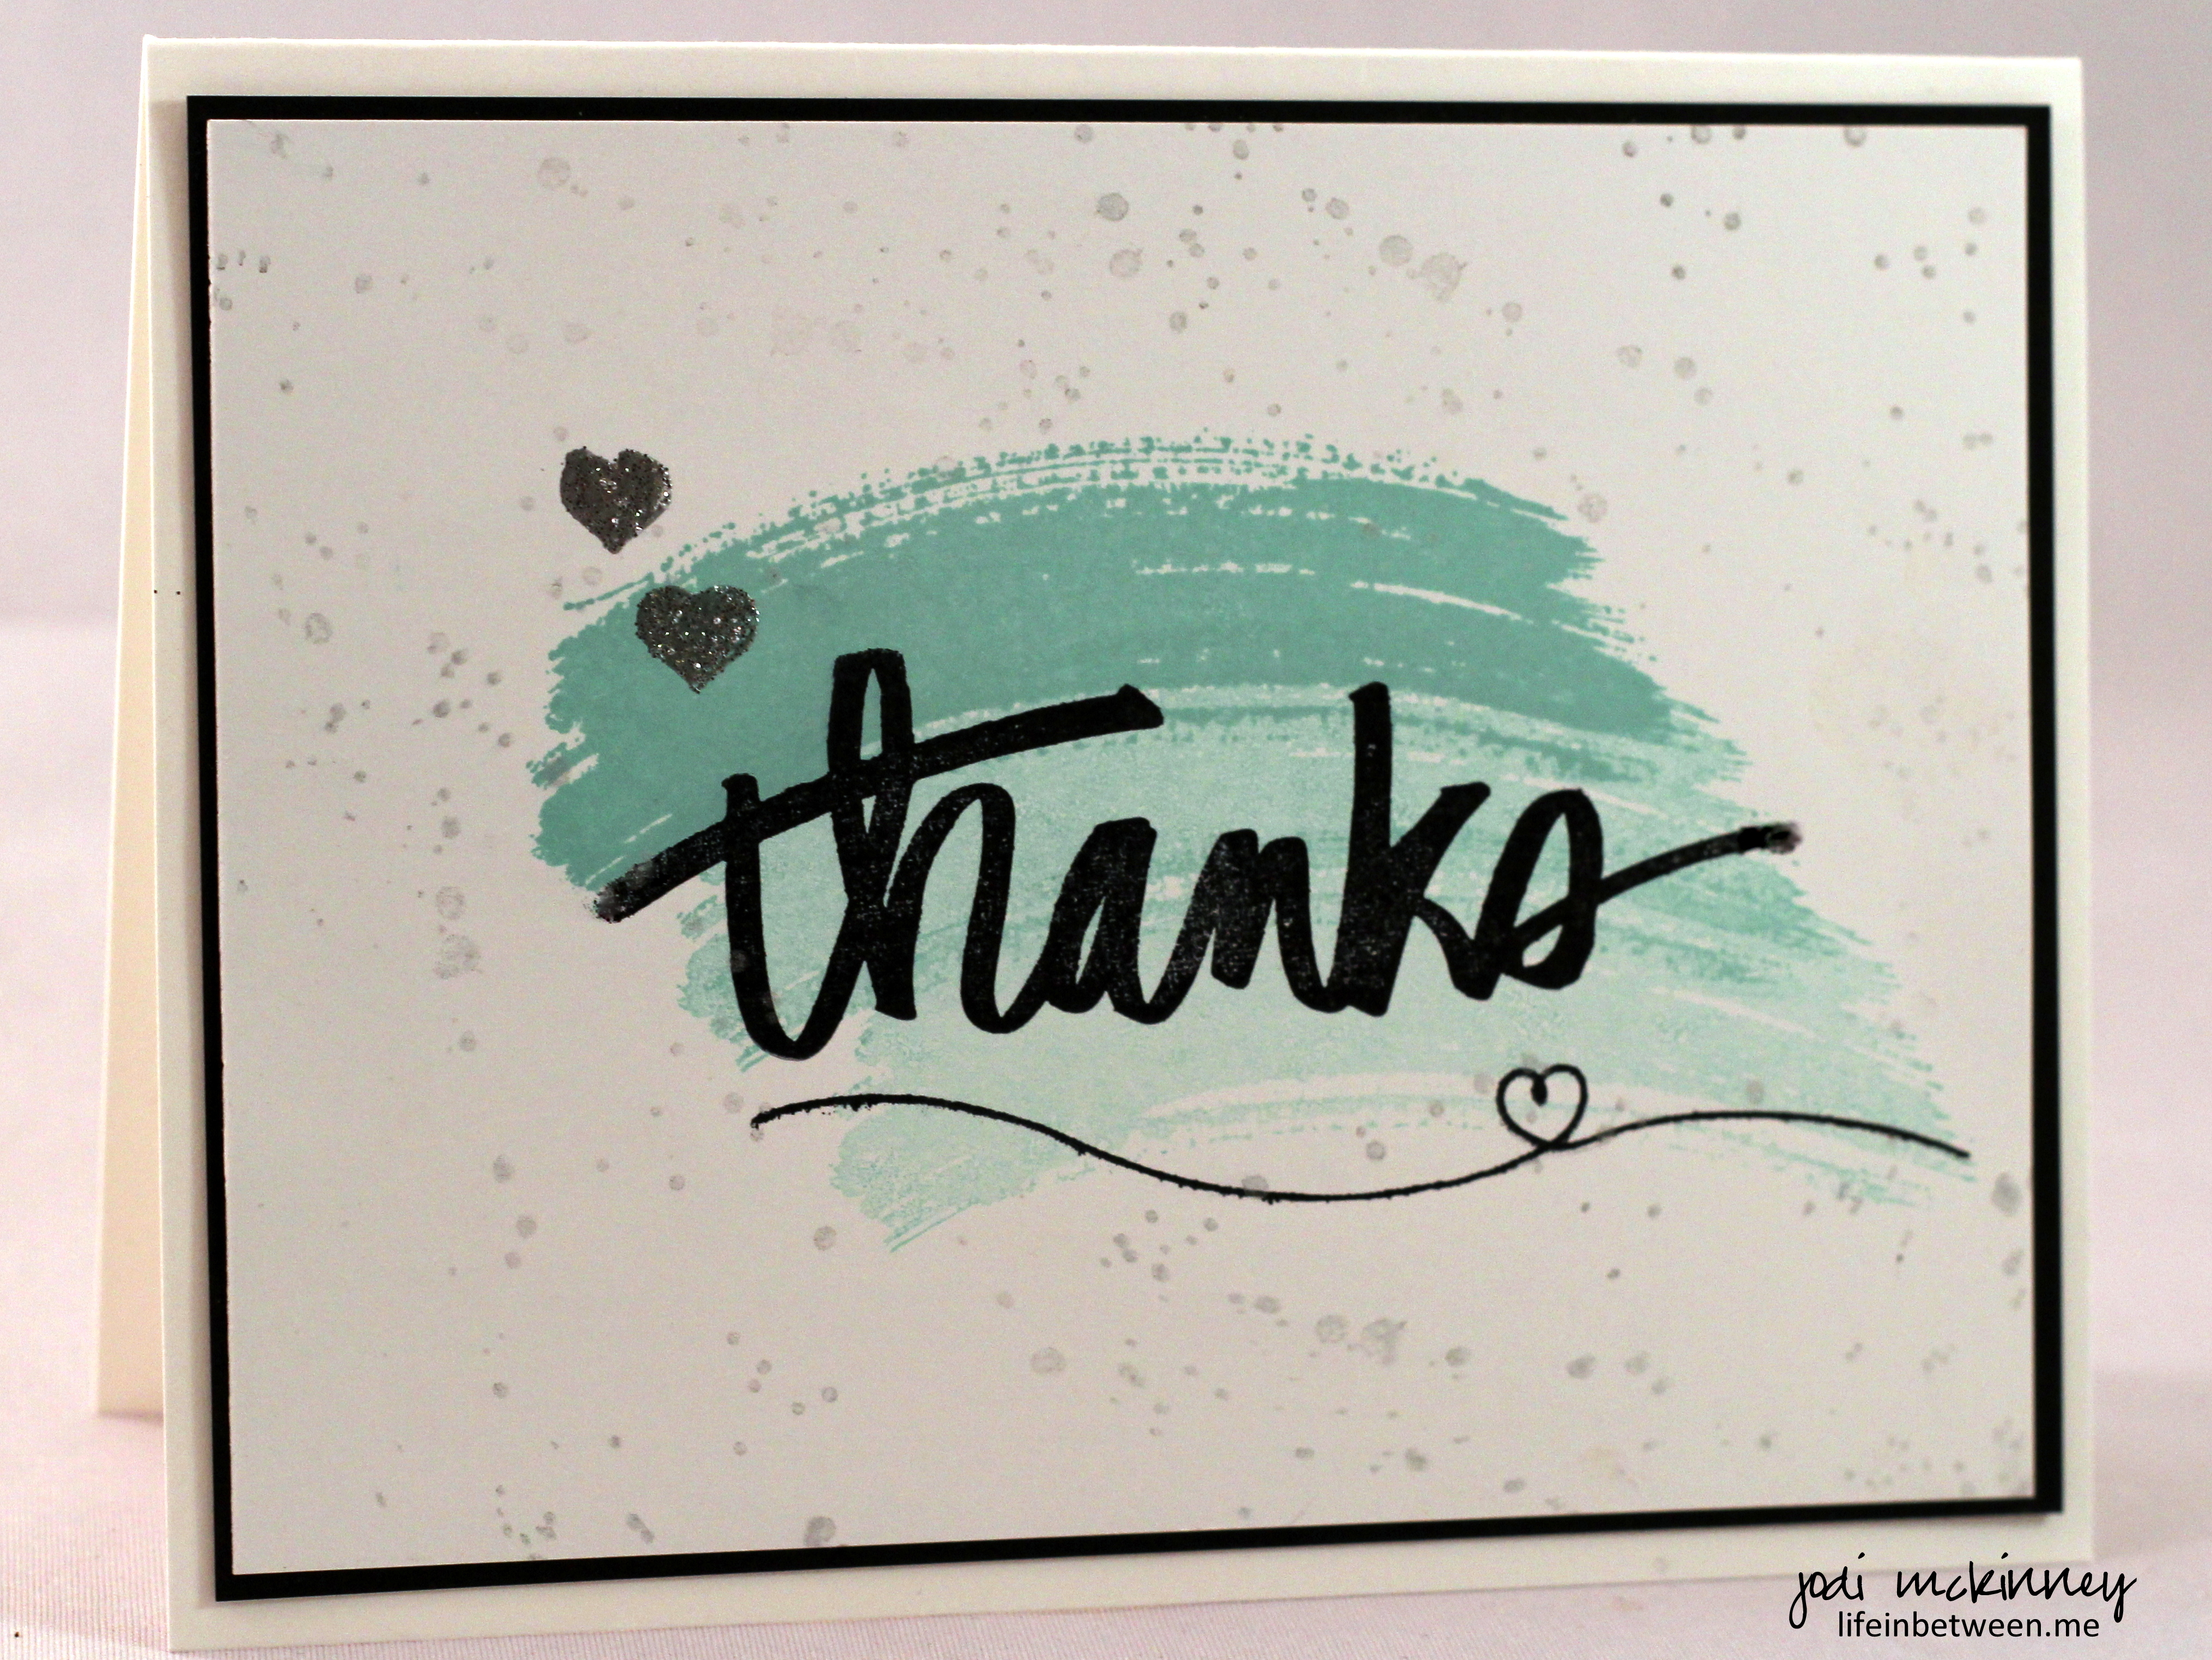
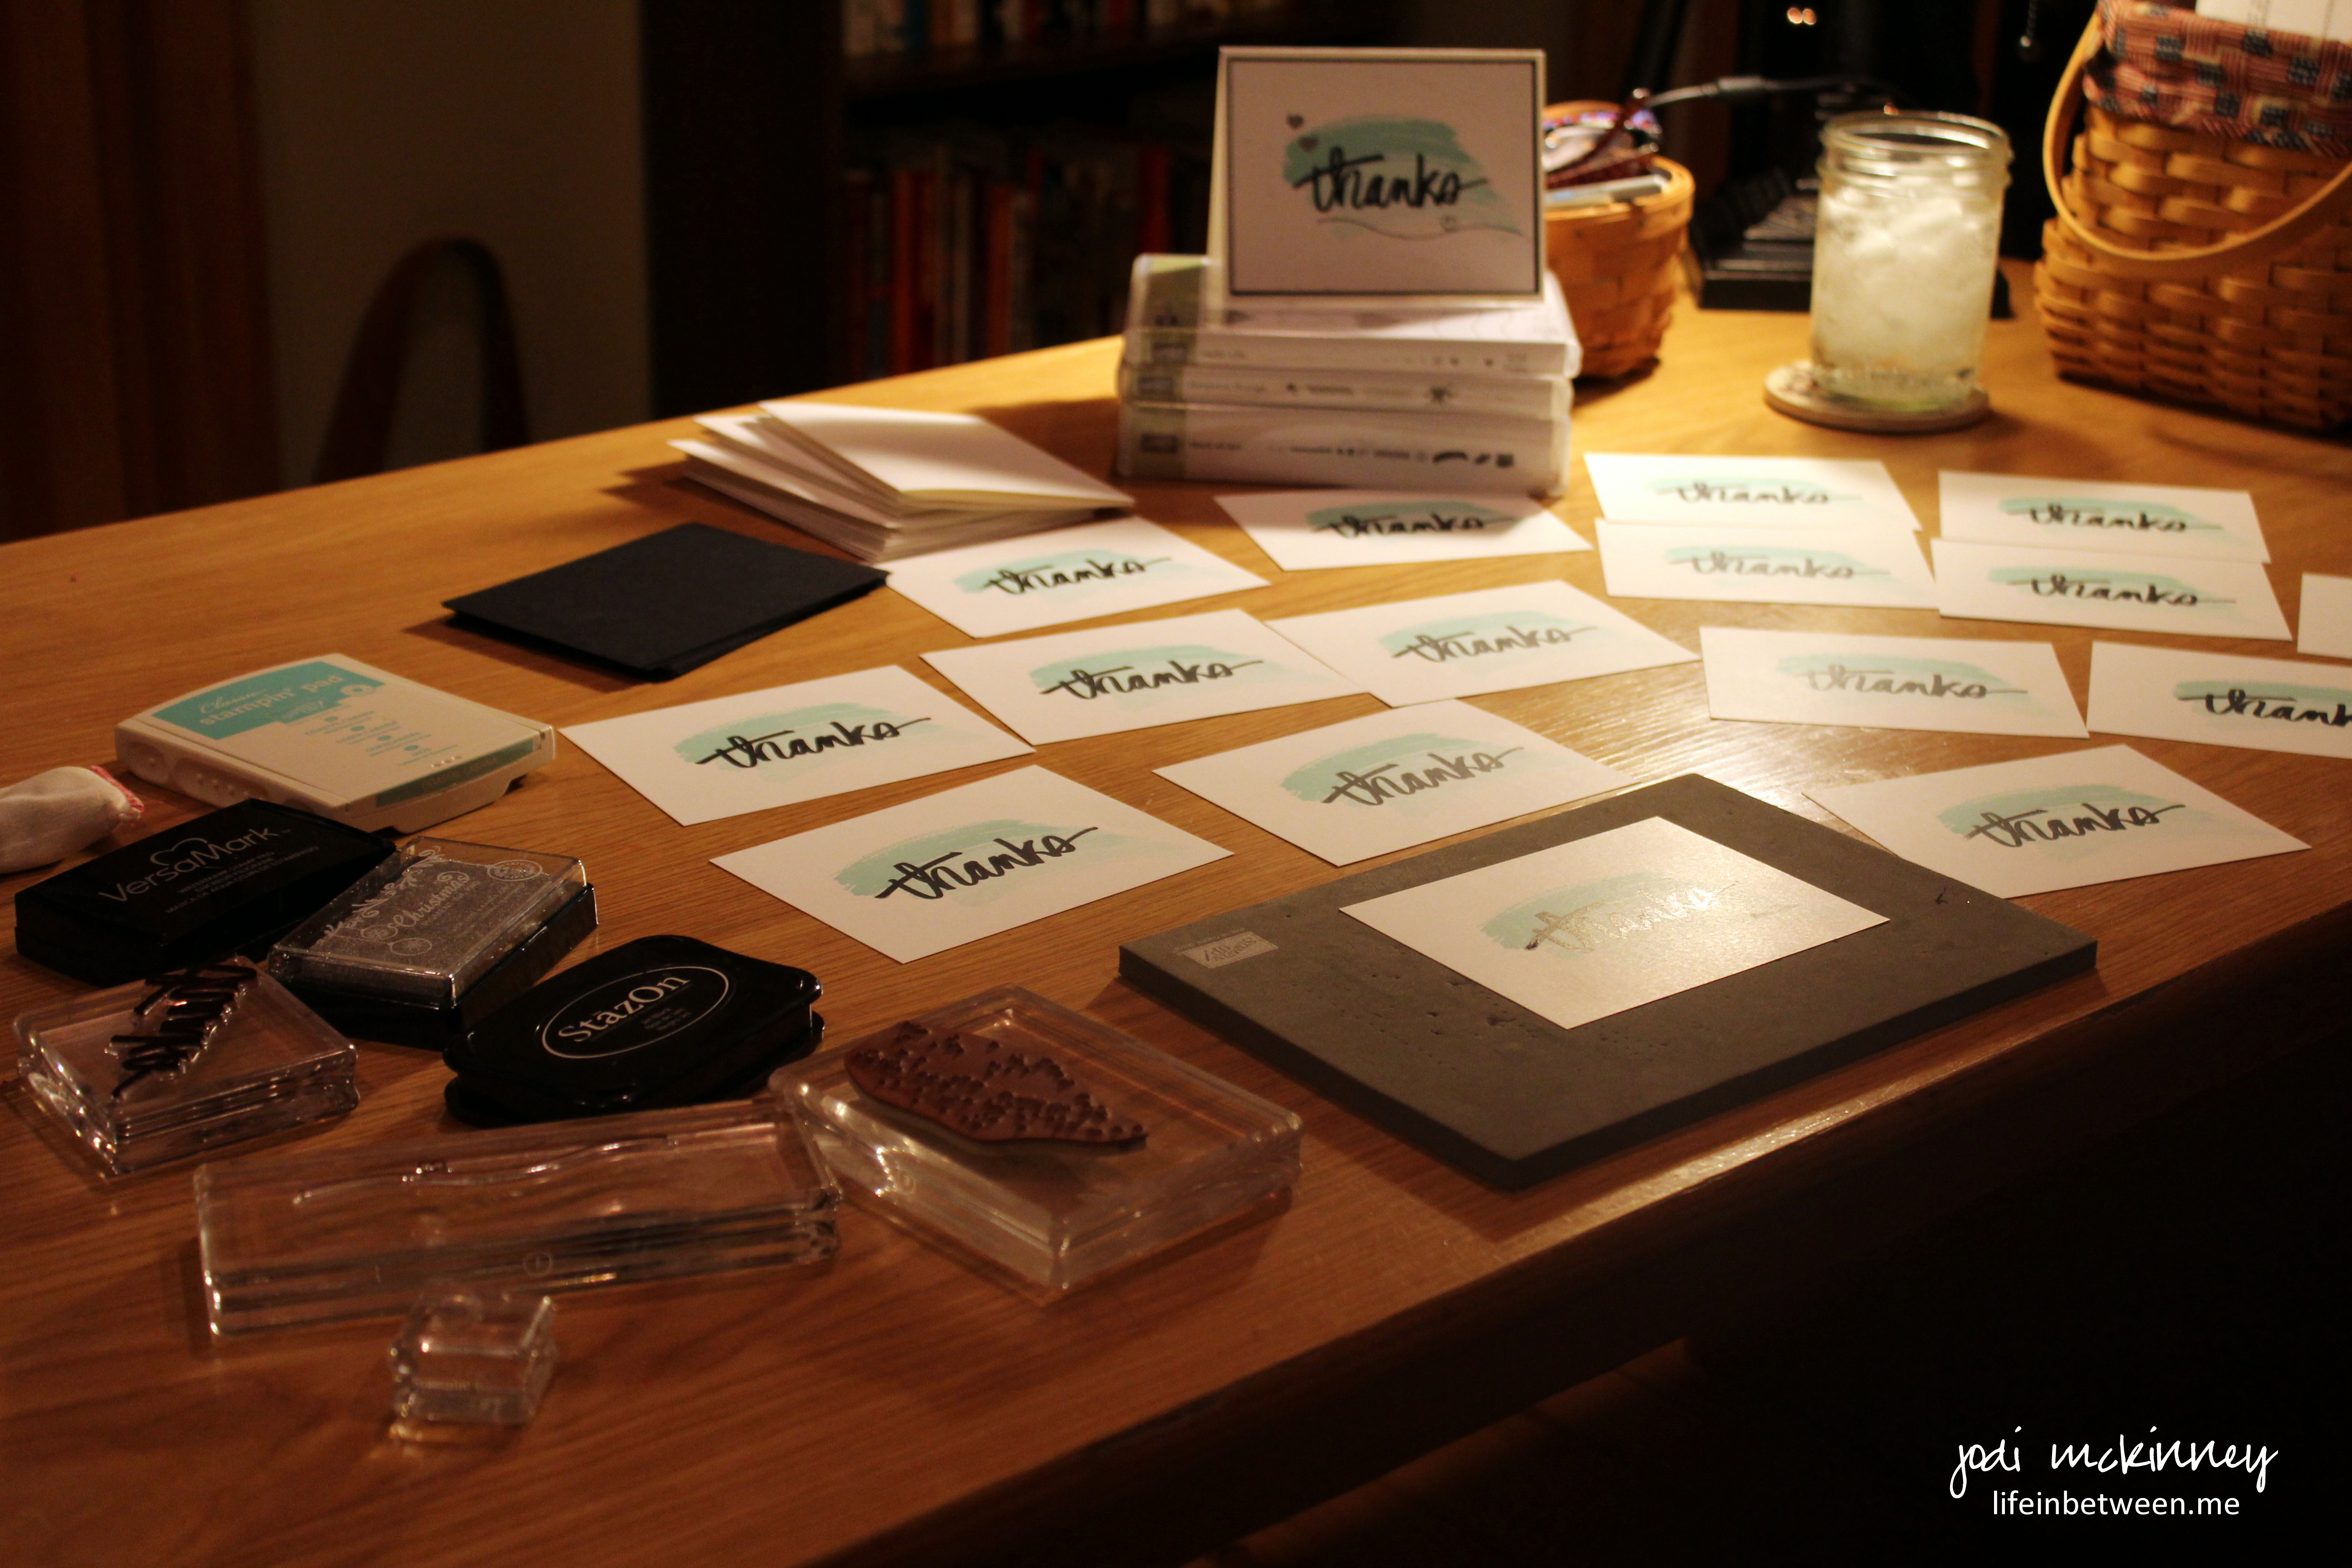
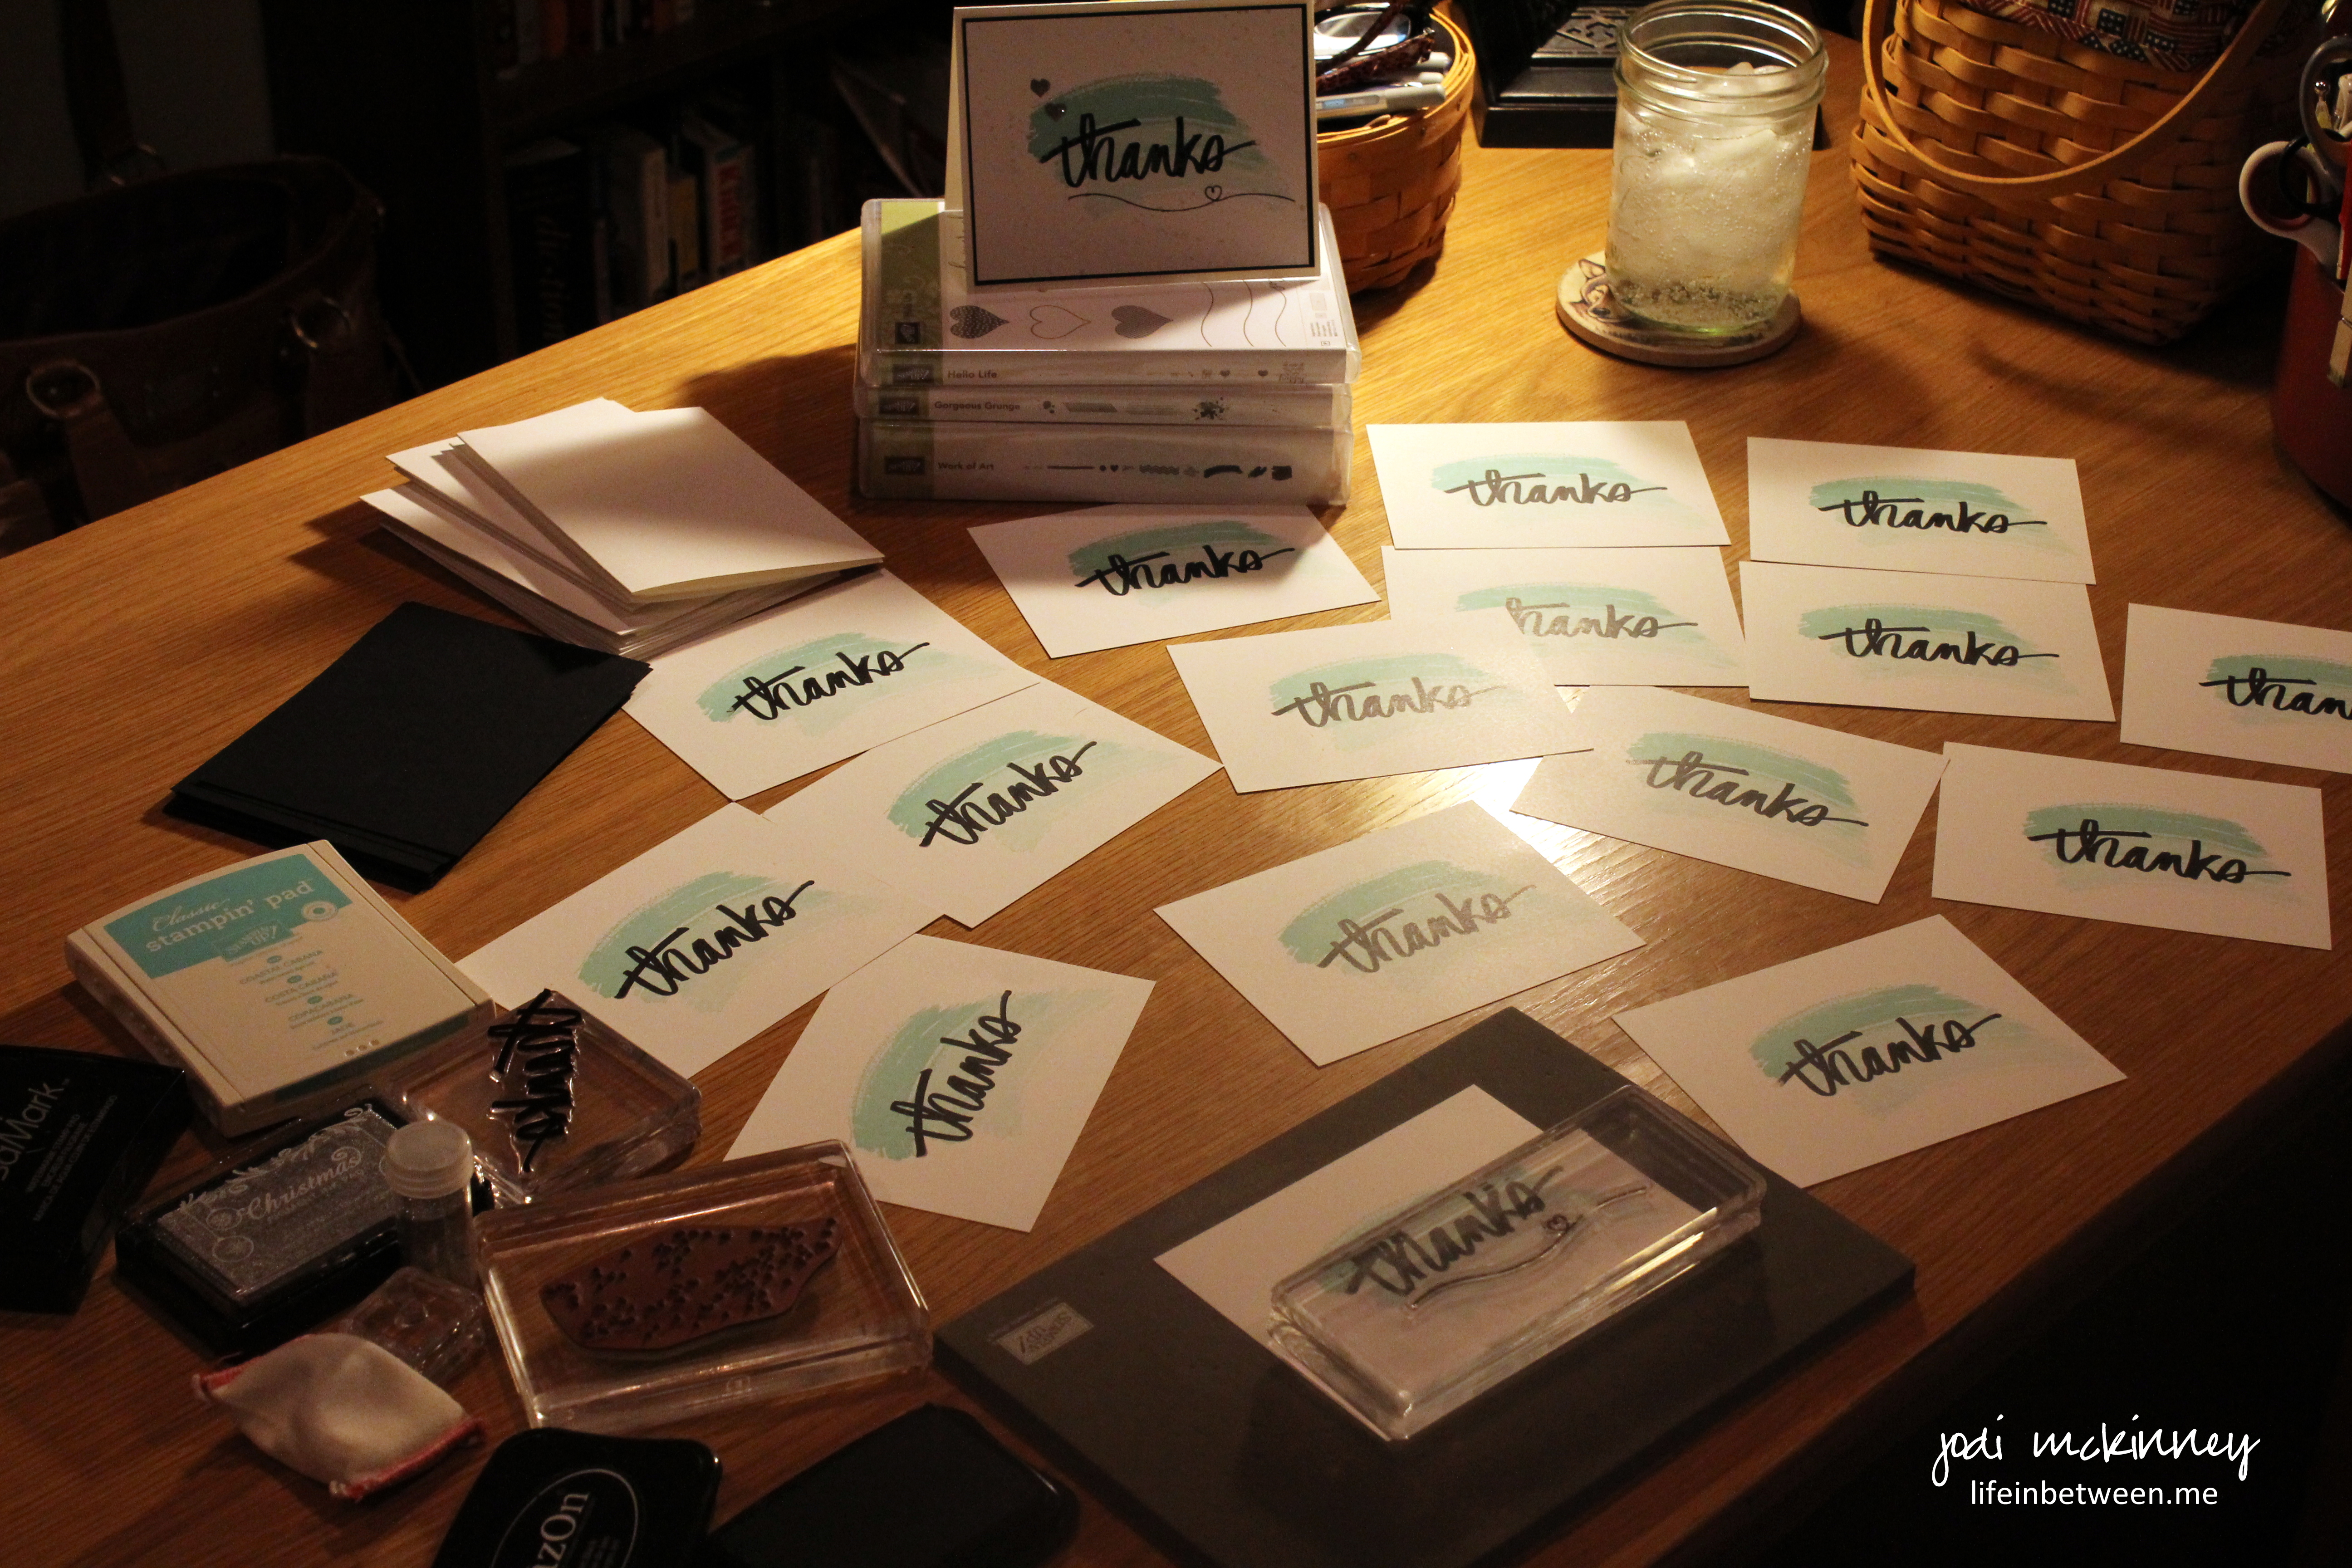
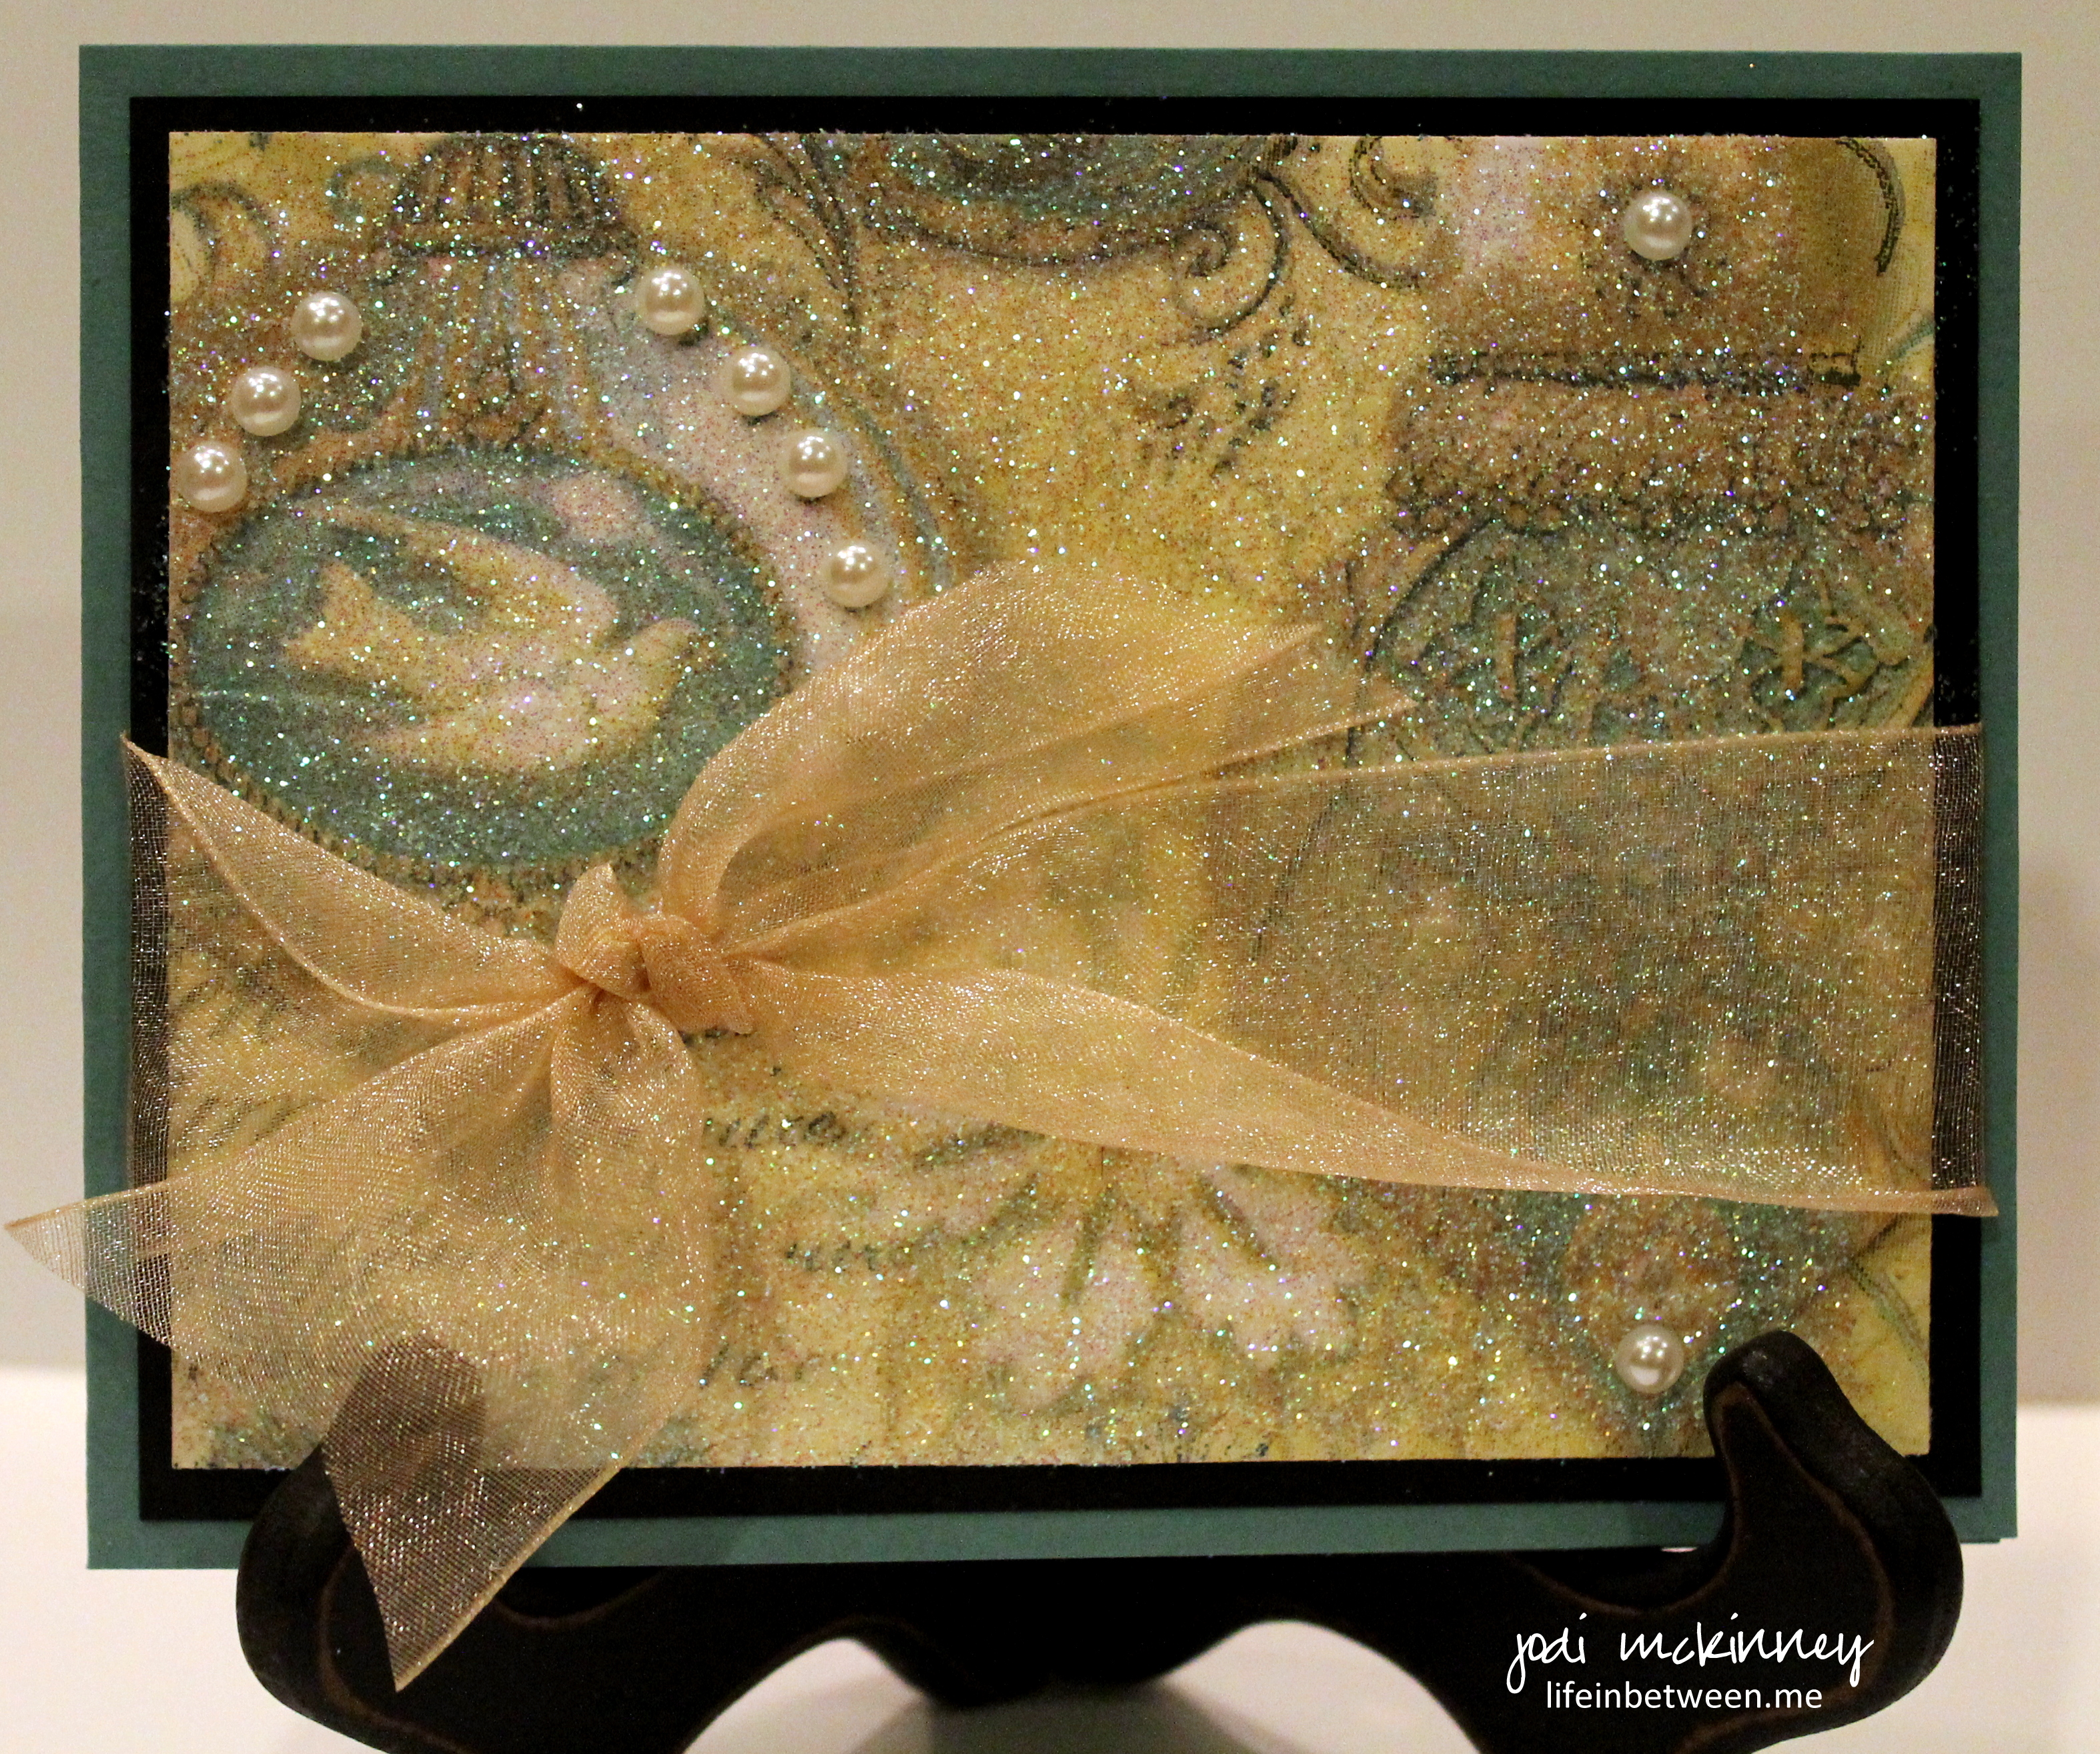
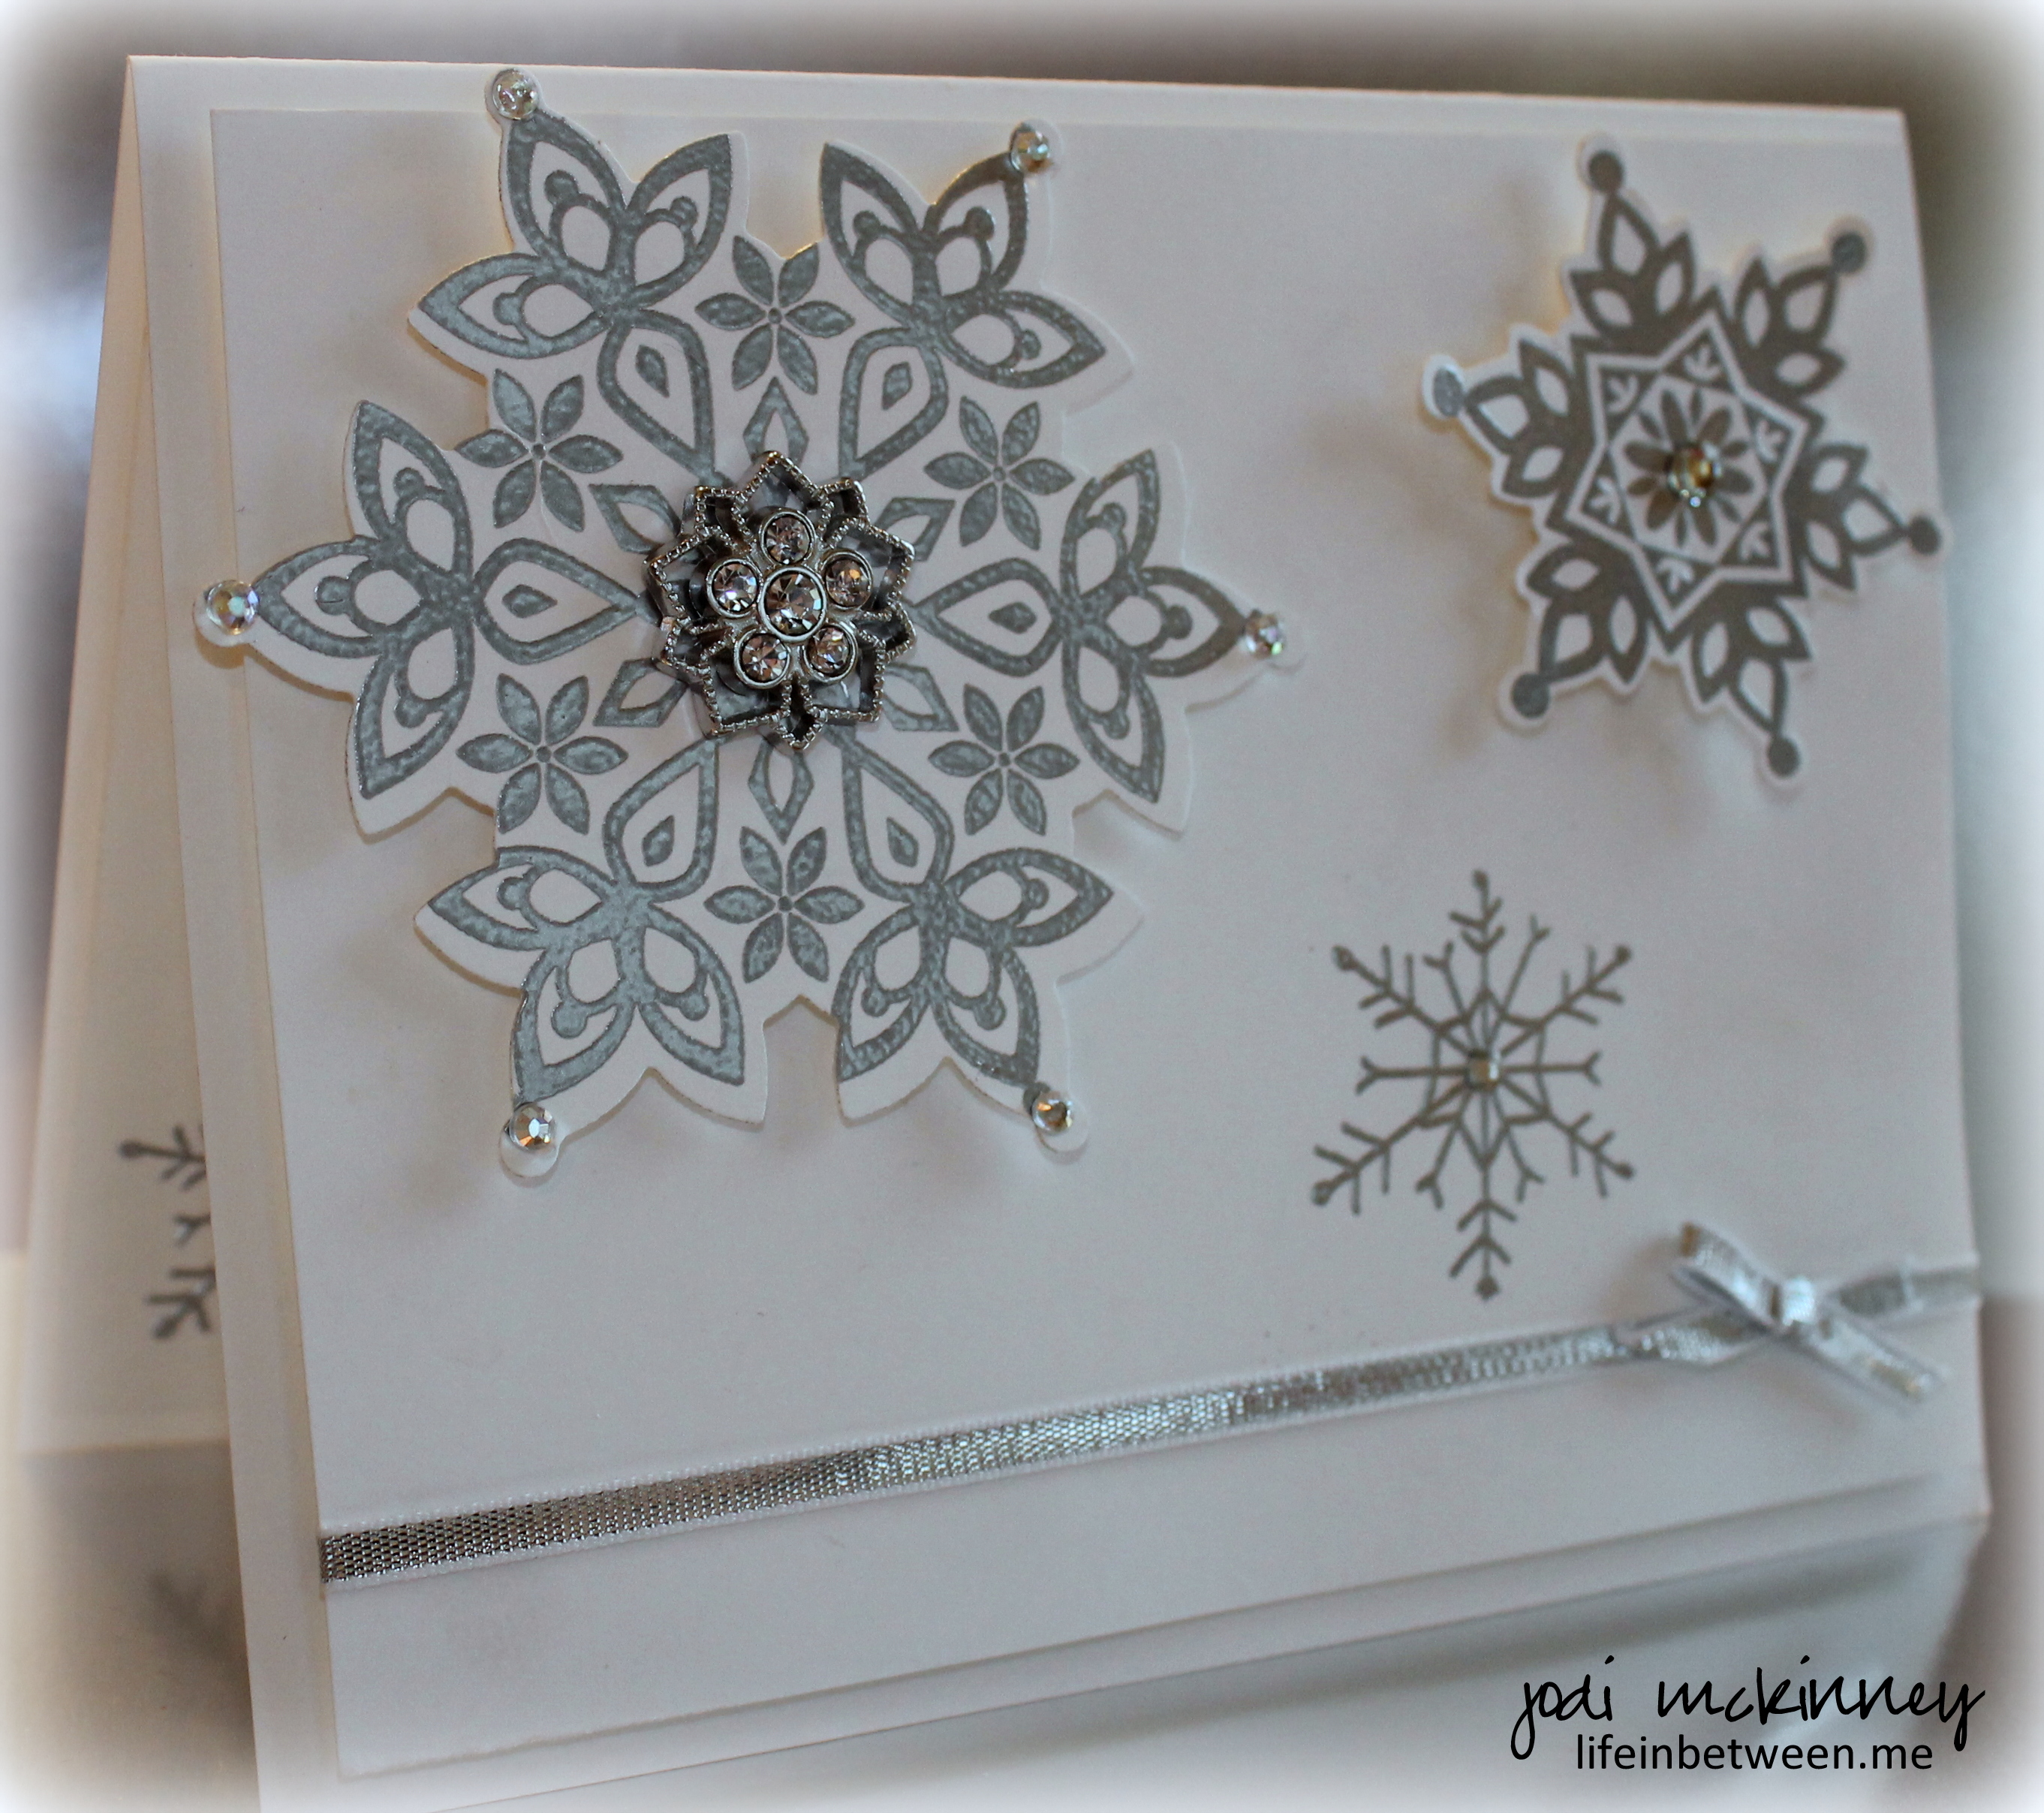
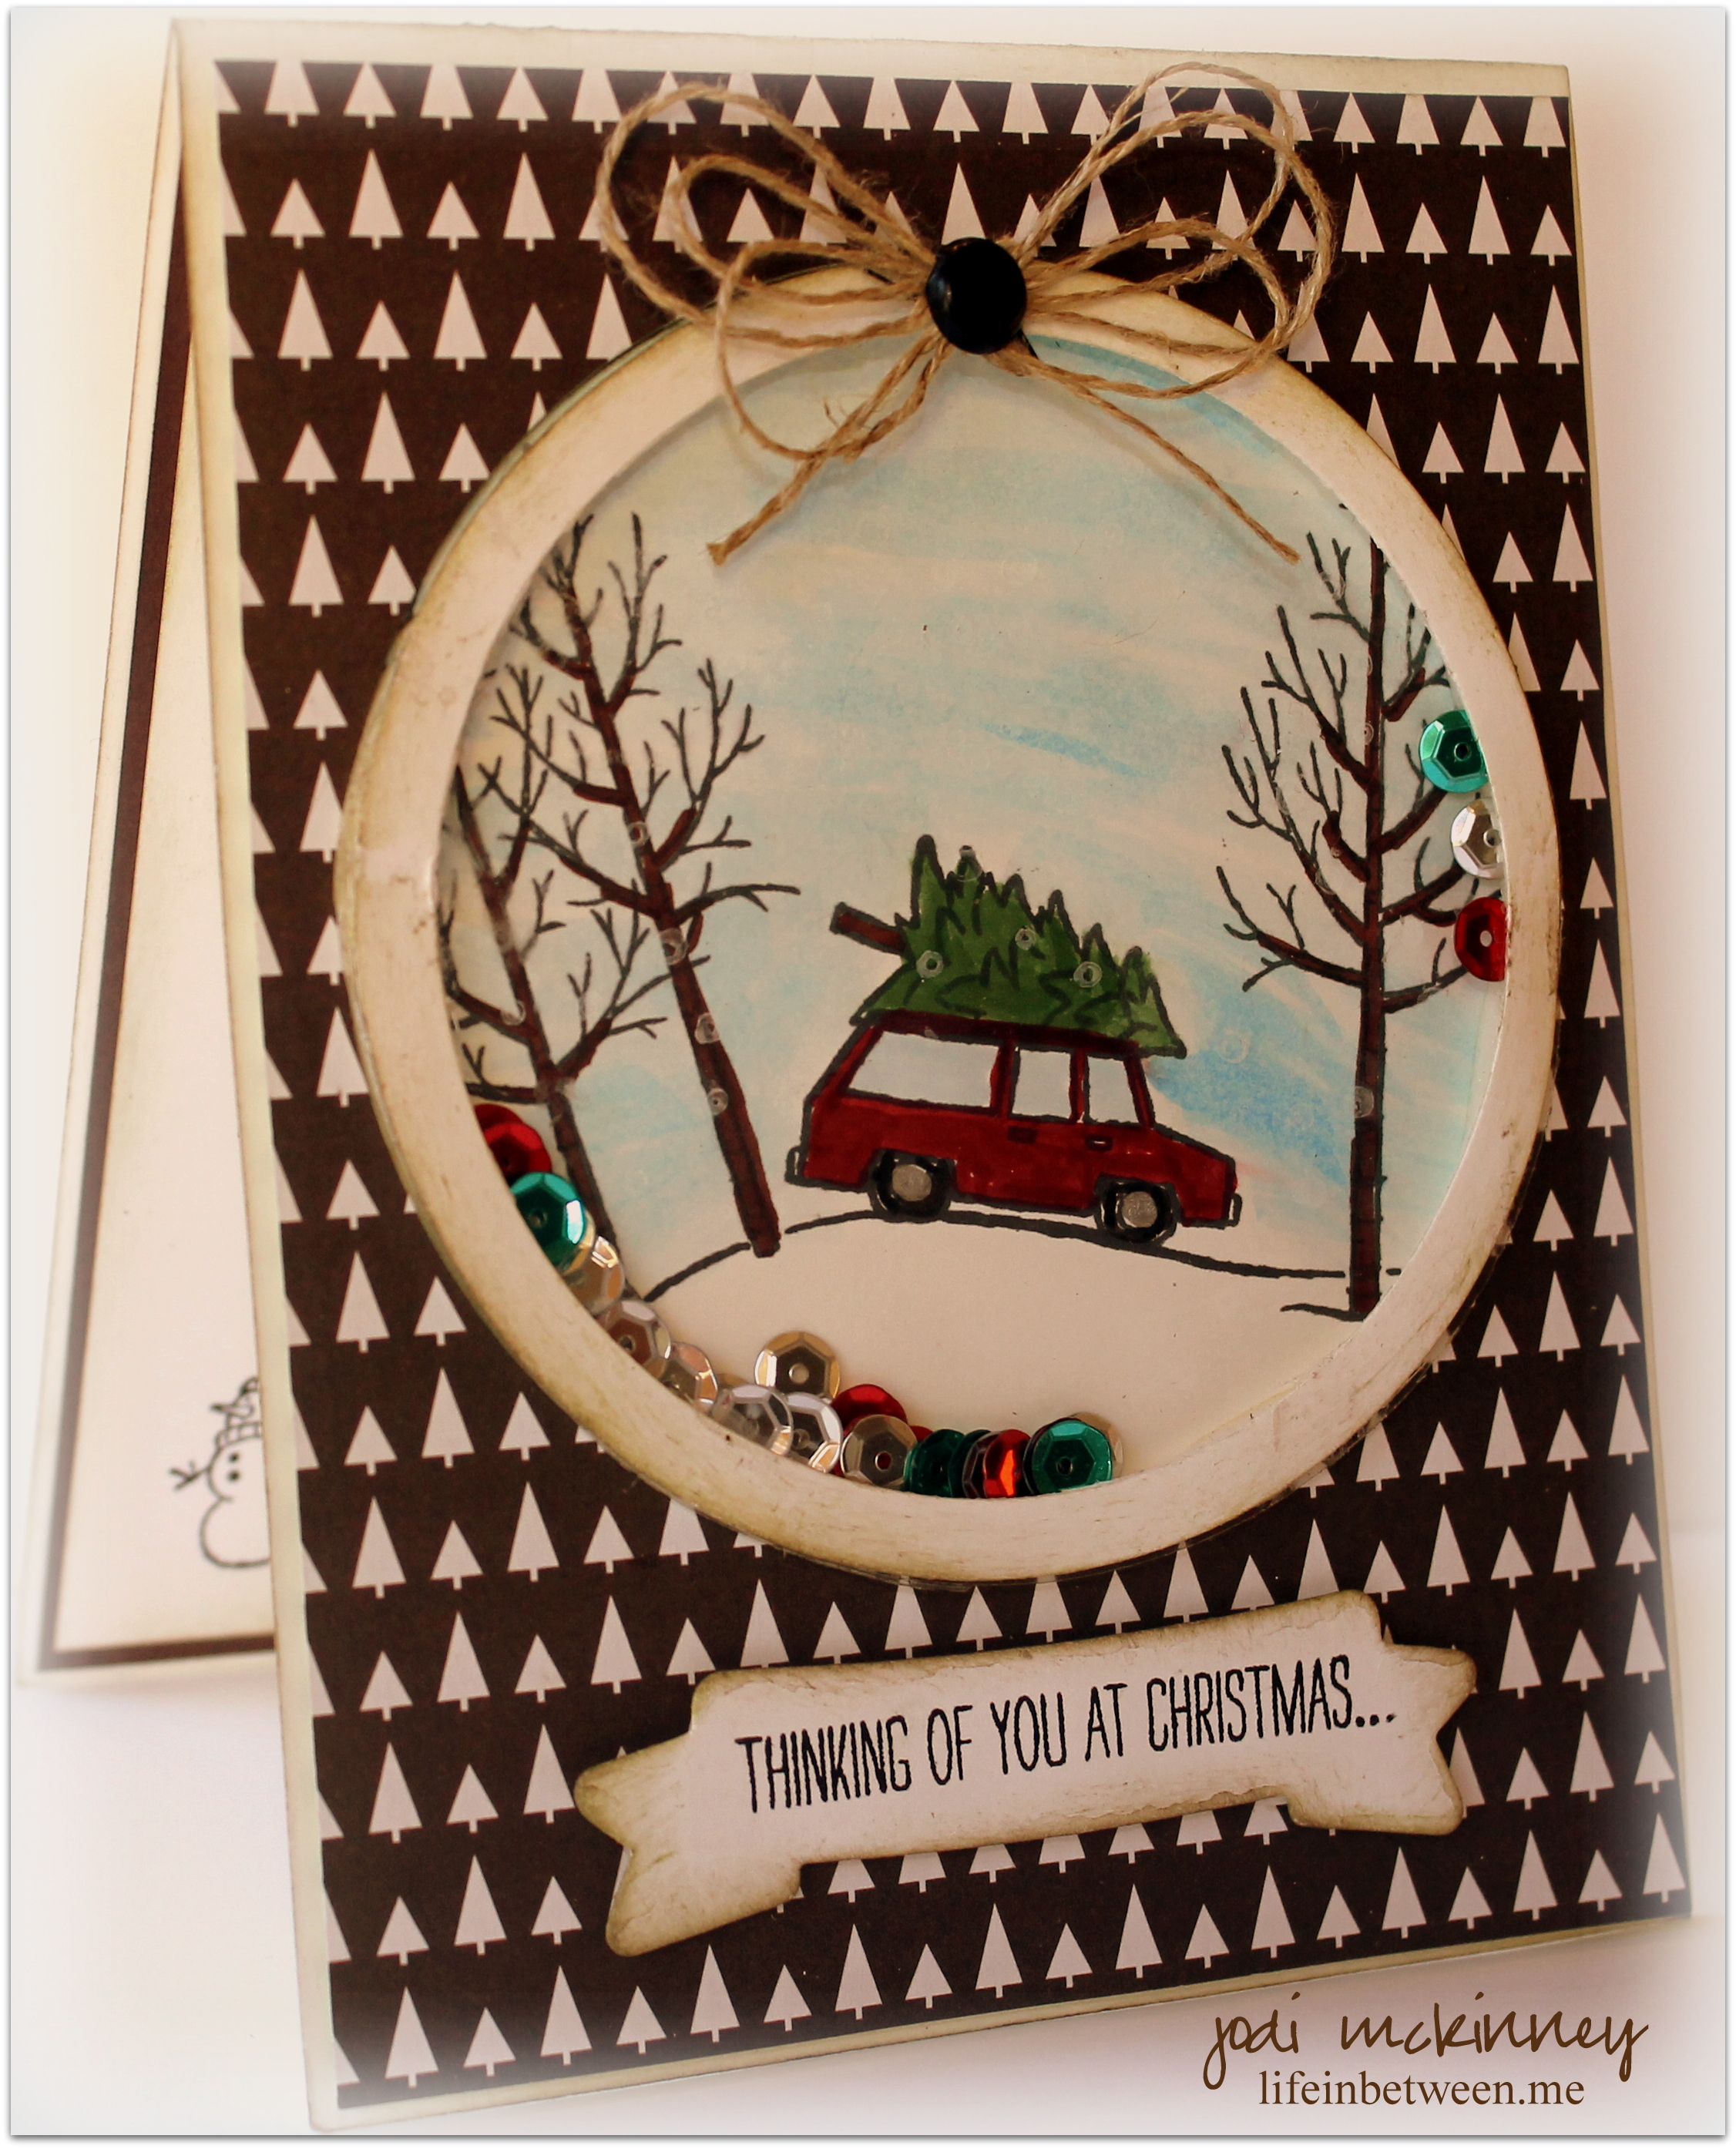
I like how the colors worked together for this stamp and card.  I decided to stamp it on watercolor paper with Black Stazon Ink and watercolor the ink into it for a softer look.  I also used some of the new “Adventure Bound”  Designer Series Paper for a background that seemed to compliment the color scheme.  A piece of lost lagoon ribbon and a little jute bow finished it off.

PP227 3

I sure hope this card arrives to Aunt Gwen and Uncle Frank’s mailbox easier than my trip to get this stamp did!

Cheers & Hugs,

Jodi

Thanks

thank you card 2015

Decorations down…. thank you notes sent…  the holidays are over.

Now it is another New Year.  A time for renewal, hope, dreams, clean slates, reflections on the past, goals for the future.

For the first time, I “mass produced” a batch of cards.  I had many thank yous I wanted to send in appreciation for wonderful friends and family – good times spent together, generous and meaningful gifts exchanged, love and appreciation expressed.

thank you card 2015 w

I designed a card I liked that I thought would be somewhat easy to duplicate 15 or 20 times.  I’m happy with how they turned out, but the important part was the handwritten message inside – a message of appreciation and gratitude.  I love sending thank you notes.  They are probably my favorite….  Maybe because they are becoming such a lost art and etiquette.  Mostly because it is an opportunity to let the recipient know how thankful I am to have them in my life.

jodjodi

Thank YOU my lifeinbetween.me blog friends!  I am thankful to have you in my life.

Cheers & Thankful Hugs,
Jodi

It’s a “Back to” Kinda Day…

PP226 Birthday Butterfly Basics

I gotta say, it was a great “back to” kinda day yesterday …
Back to work…
Back to the gym…
Back to the craft room in the evening… and back to The Paper Players Challenge!!
Felt so good!

I need a birthday card for a special friend, so I was excited to use the Stampin Up Butterfly Basics Stamp Set and Framelit to make it.

Butterflies remind me of renewal and hope and change and that speaks January birthday to me and also this special lady.

The Paper Players first challenge of the new year #226 is “Everything Old is New Again – create a project using a recycle or re-purposed item.  This challenge is right up my alley and just the right challenge to get me back in the stampin’ groove!

PP226

For my card, the recycled/re-purposed items are craft paper packing material from my endless Amazon Prime Christmas gift shopping packages and a touch of  burlap ribbon from my dear daughter-in-law, Colleen’s wedding shower (we both love burlap!)  🙂

PP226 Birthday Butterfly Basics

I loved creating a rustic, but fresh and renewed look with the recycled/re-purposed materials and a bright butterfly.  And I adore the ferns that are in this stamp set and how great they work for the stamping-off technique to get a variety of shades.

PP226 Birthday Butterfly Basics Inside
I only used three colors of ink for this card – SU Mossy Meadow for the ferns, Stazon Black for the sentiments and a bit of Ranger Tim Holtz Tea Dye Distress Ink for the vintagy edges.

Hope you are getting “back to” your groove after the holidays and seeking cherished moments at lifeinbetween and always.

Cheers & Hugs,

Jodi


P.S.  For my stamping friends, if you haven’t seen Deb Valder’s Youtube technique tutorial on dryer sheets for thinlits, I urge you to check it out.  Possibly life-changing for these challenging die cuts! 🙂

Brown Paper Packages tied up with String

…these are a few of my favorite things…

christmas brown paper packages tied up with string

I kept my wrapping simple this year – brown paper packages tied up with string…

and plenty of gift bags, which saved a lot of time!

I like to have lots of packages to give even if it is just something small or the traditional socks and boxers 🙂

And I would like to put the gifts under the tree, but little Mr. Mikey cannot be trusted these days – especially if I leave him alone in the house for any length of time (he already ate half of a Yankee peppermint-scented candle that was in a zippered gift pouch in a pile to be wrapped in my home office…. Seriously – a dog who likes peppermint!?!!?  And can unzipper a cloth bag to get to it!)

So the gifts are all stacked in my office, and the office door remains CLOSED!

christmas brown paper packages and bags

One year Mikey ate an entire pound of Chocolate Peanut Butter Meltaways that was in a box wrapped in cellophane and then gift wrapped and was in the middle of a pile of gifts under the tree.  No other boxes were disrupted somehow, but the entire box of candy was G-O-N-E!  And though chocolate is supposed to be “poison” to dogs, Mike had a bit of a tummy ache and slugged around for a few hours, but was no worse for wear.  Oh Mikey!

Anyway – the package is half the fun.  Right?

Well – I ran out of bags and had some special little gifts left to wrap that are odd shaped, so I found this cute little easy-to-make gift bag on Pootles Papercraft’s YouTube channel.

festival orf trees christmas gift bags

Sam does great tutorials on all kinds of little gift bags and boxes if you want to check her out.  And her accent is so fun to listen to also!  I used StampinUp’s Holiday Craft Paper (Under the Tree DSP), the Festival of Trees Stamp and Punch, and a bit of jute string to tie it closed.

Hope you are enjoying doing some of YOUR “favorite things!

https://www.youtube.com/watch?v=ikpj24WMOLw
“The Sound of Music” was my Mother-in-Law’s favorite movie of all. Remembering her fondly, and thankful for the best gift she ever game me – her son – my Merv. ❤

Cheers & Hugs,
Jodi

a little dash of Merry

little dash of merry

A little dash of merry on this Friday before Christmas!

(This card was made using StampinUp’s Endless Wishes Stamp Set inked in white on Night of Navy card stock and simply embellished with pearls.)

Cheers & Merry Hugs,
Jodi

Black Tie Christmas Wishes

Happy Sunday Friends!

I’ve finally accomplished getting a card made this week for the last Paper Players Challenge (PP225) of the year, and it is a Black Tie theme.  (Holiday Projects that are Fancy)

Christmas Wishes Black Tie

I had seen similar cards like this done on Pinterest various ways and thought the clean and simple look with pearls, a classy sheer cream ribbon and a simple glittery string spoke elegance.  The sentiment I chose is from StampinUp’s Ornamental Pine Stamp Set.

pp225

Now if I could just get some of my Christmas cards in the mail, I’ll be in good shape!  It’s on today’s list, but we’ll see what happens…

Enjoy your day.

Cheers & Hugs Dahlink,

Jodi

Sparkle & Glitter!! Napkin Cards

napkin glitter card ho ho ho

I went a little nuts last night with glitter and napkins!

napkin glitter card gold and blue dove and ornaments

When I first started seeing these glitter napkin cards, I poo-poo’d them thinking cards made of napkins take no talent, no effort, no creativity……

Then I went to a class where we made one recently.  I almost didn’t go, because I didn’t want to make cards from napkins – being a bit of a snob about it I must admit…..

napkin glitter card snowman and snowflakeWell – now I am eating my words, because I had so much fun making these cards!  It’s okay if something is a little easier, a little less creative sometimes….

napkin glitter card merry christmas wreathas long as you enjoy it… and I’m actually kind of excited with how these turned out!  All made from paper napkins!

napkin glitter card joyI am excited to share this simple, but beautiful technique, because I think many of you might enjoy trying this method to making homemade cards that doesn’t require a lot of equipment and materials.  And if you like do a “production-line” style of getting a bunch of the same thing done at once, one pack a napkins can make a ton of beautiful cards.  In fact, each individual napkin makes four cards!

napkin glitter card suppliesBesides some card stock and some pretty napkins you can get at the dollar store or craft store or wherever you might find paper products, the only other things you need are a VersaMark stamp pad, some type of adhesive tape, Heat & Stick Powder, and glitter (I used Stampin Up’s “Dazzling Diamonds” Dahling) :).

There is a great video tutorial on Youtube done by a Stampin’ Up Demonstrator from Canada, Tina Weller that you may want to watch if you are interested in learning how to do this:

Tina talks about using a specific type of Stampin’ Up adhesive sheets, but I just used double faced tape and/or the glue tape runner you can find at any craft or drug or variety stores and completely covered  some white card stock with it to adhere the napkin.

napkin glitter card santa and sleigh

I made all of these cards last night, and I pretty much love all of them!  🙂

If you haven’t bought, made, sent your holiday greeting cards, you may just want to try this fun and easy technique.

And if you are interested in purchasing any Stampin’Up products, just let me know, and I can hook you up. 🙂 

And I think I am going to enter the snowman/snowflake card as another entry into  The Paper Players PP224 Tic Tac Toe Challenge for White, Snowflake, & Glitter.

napkin glitter card snowman and snowflake

Have a sparkly, glitterly, dazzling day!

Cheers & Hugs,

Jodi


Green Acres & Christmas Cards

So it’s getting down to crunch time on Christmas cards, and one or two cards a week is probably not going to cut it at this point…  (… but if that’s all I get to – that’s okay too!  Too much pressure takes the fun out of it – right?!)

I did get around to making two last night.  They are two completely different cards – which is the joy of hand creating cards to me.  I rarely (if ever) make the same card twice.  The fun is in the creating for me.  And even more fun is individualizing them for the recipient.

The first one is a more elegant card with white glittery, silver, sparkly, shiny snowflakes in clean and simple simplicity.

festive flurry silver elegant christmas 2014

I made it to enter into two challenges.  It meets the requirements for 3 in a row down at The Paper Players PP224 Tic-Tac-Toe Challenge this week for white, snowflake, and glitter.  It also meets the Friday Mashup FM187 It’s All About Weather criteria for using a metal embellishment (SU Frosted Finishes embellisment) and having a weather inspiration (snowflakes from SU Festive Flurry).

festive flurry silver elegant christmas 2014 inside

I just love this “Mingle all the Way” stamp sentiment and was dying to use it, so I came up with this simple, rustic, country design in brown craft and red with a big red bow.  I distressed and sponged all the edges and added just a few tiny pearls for a little pop.

mingle all the way christmas card 2014

I used the SU Holiday Home stamp for the inside to continue the rustic classic theme on the inside.

holiday home inside card

So welcome into my mind….

this is the wacky way it works sometimes…

As I looked at these two completely different cards, all I could think about was the old classic television show from the late sixties when I was a wee-one, called “Green Acres.”

Anybody remember?  (Take a moment to listen and travel down memory lane...)

So the first card is for Eva and the second is for Eddy.

Which is more your style?  Are you an Eva or an Eddy?

Though I am FAR from a farm girl, country life is more to my liking – with visits to the city.

Green Acres is the place to be…

I dare you to try and get this song out of your head now!  (No thank yous necessary)  🙂

So whether your holiday is in the “fresh air” or in “Times Square,” make it merry and bright!

Cheers & Hugs,

Jodi


White Christmas Shaker Card

White Christmas Shaker Card

It’s the day after Thanksgiving…

What a wonderful day we had sharing with family and friends.  I hope all of you that celebrated did also.  We are STUFFED to the gills with turkey and stuffing and pumpkin pie, and we have lots of leftovers to continue the feast for at least a few more days.  I hope to share some more about that later, but for now I wanted to share another Christmas card I made, since we are now in full fledged Christmas season!

I made this SU White Christmas Shaker card after Linda Heller from Where the Rubber Hits the Road was kind enough to send me some SU shaker frames (from our #FreebieFriday random drawing contest).  For this card, I cut and pieced two of them together to create a larger shaker to contain this scene that is reminiscent of this time of year – getting the annual Christmas tree.  I stamped it all in Memento Black Ink and then colored in with SU Stampin’ Write Markers.  I filled it with some sequins, wrapped it with SU DSP and sponged the edges to vintage it up a bit.  Finishing touches were a linen thread bow and brown metal brad.

The SUO Challenge SUO#110 this week is “Marker Fun,” and this one was fun with markers, so I am sharing there.

I know just who this card is going to, and I hope they have as much fun shakin’ it as I did coloring it!

White Christmas Shaker Card

Cheers & Thankful Holiday Hugs,

Jodi


Thanksgiving Crack Snack Mix

Are you looking for a simple little way to give a little Thanksgiving gift to a co-worker or neighbor, as a hostess gift, something for your friendly delivery person or grocery clerk or……  (whoever you are looking to give a little gesture of Thanksgiving to)?

thanksgiving crack snack mixI came up with a quick Thanksgiving Crack Snack Mix.    Easy Peasy Stuff Here!

Just grab a bag of Mini Pretzels, Bugels, Cheez It Crackers, Peanuts, Candy Corn, and Reese’s Pieces.  Mix it all together in a huge bowl (and if you want to get fancier 🙂 – drizzle some white or milk chocolate or dark chocolate over it – I did not this time).

thanksgiving crack snack mix bowlYou can then package it up in cute jars or bags, dress it up with a cute tag and a bow, and a sweet little treat is created.

thanksgiving crack snack mix 2

Easy, thoughtful, homemade, and yummy!

Hope your Thanksgiving is STUFFED with HAPPINESS!

Cheers & Hugs,

Jodi