Easy Grilled Sweet Corn on the Cob

Easy Grilled Sweet Corn on the Cob.

It is Fresh Sweet Corn on the Cob Season in our part of the world!

Corn is a vegetable we rarely eat – except in the heat of summer when it is fresh and sweet and bought the same day it was picked from a local farm stand.

After being in Arizona for a week recently, where it seemed everything we ordered had grilled or roasted corn in it (even a delicious deconstructed Caesar Salad), I had corn on the brain.

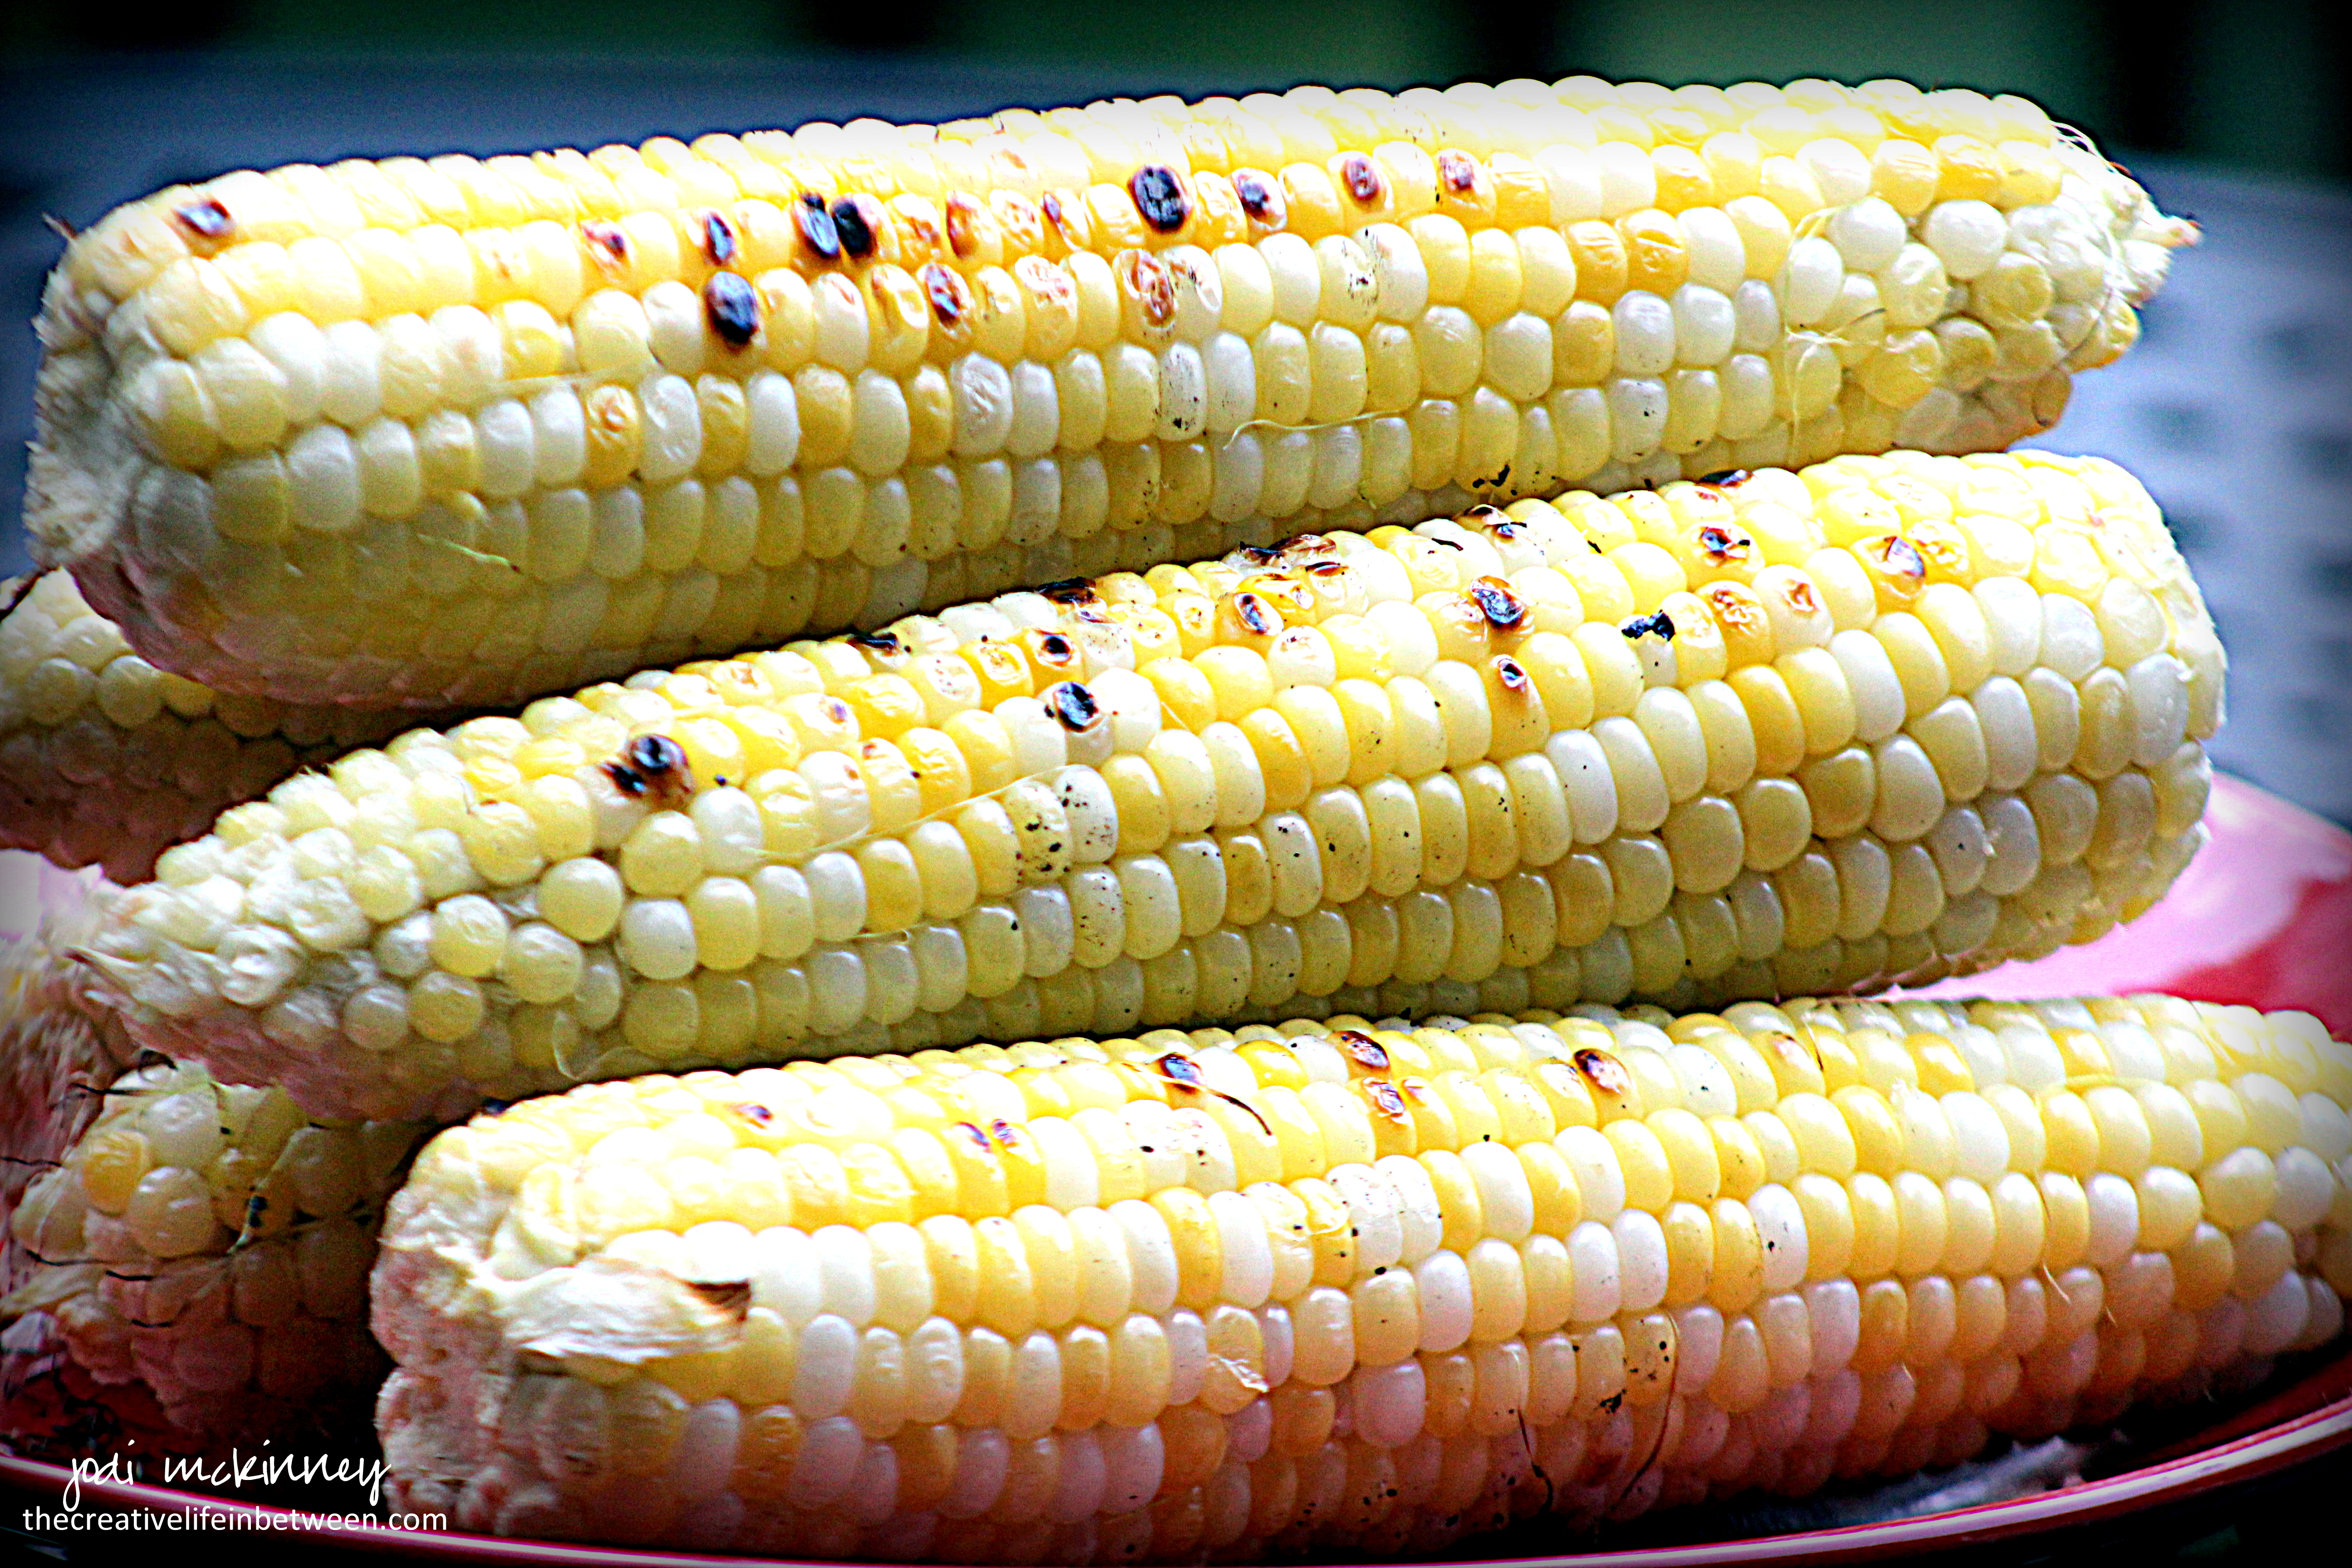
We had always boiled our sweet corn on the cob, but I fell in love with the magically charred kernels we experienced on our Southwest trip, so we decided to grill it this time.

O.M.G!  We LOVED it!  Oh how easy!  Keep the heat outside by using the grill.  And save clean up time with no pots of boiling hot water.

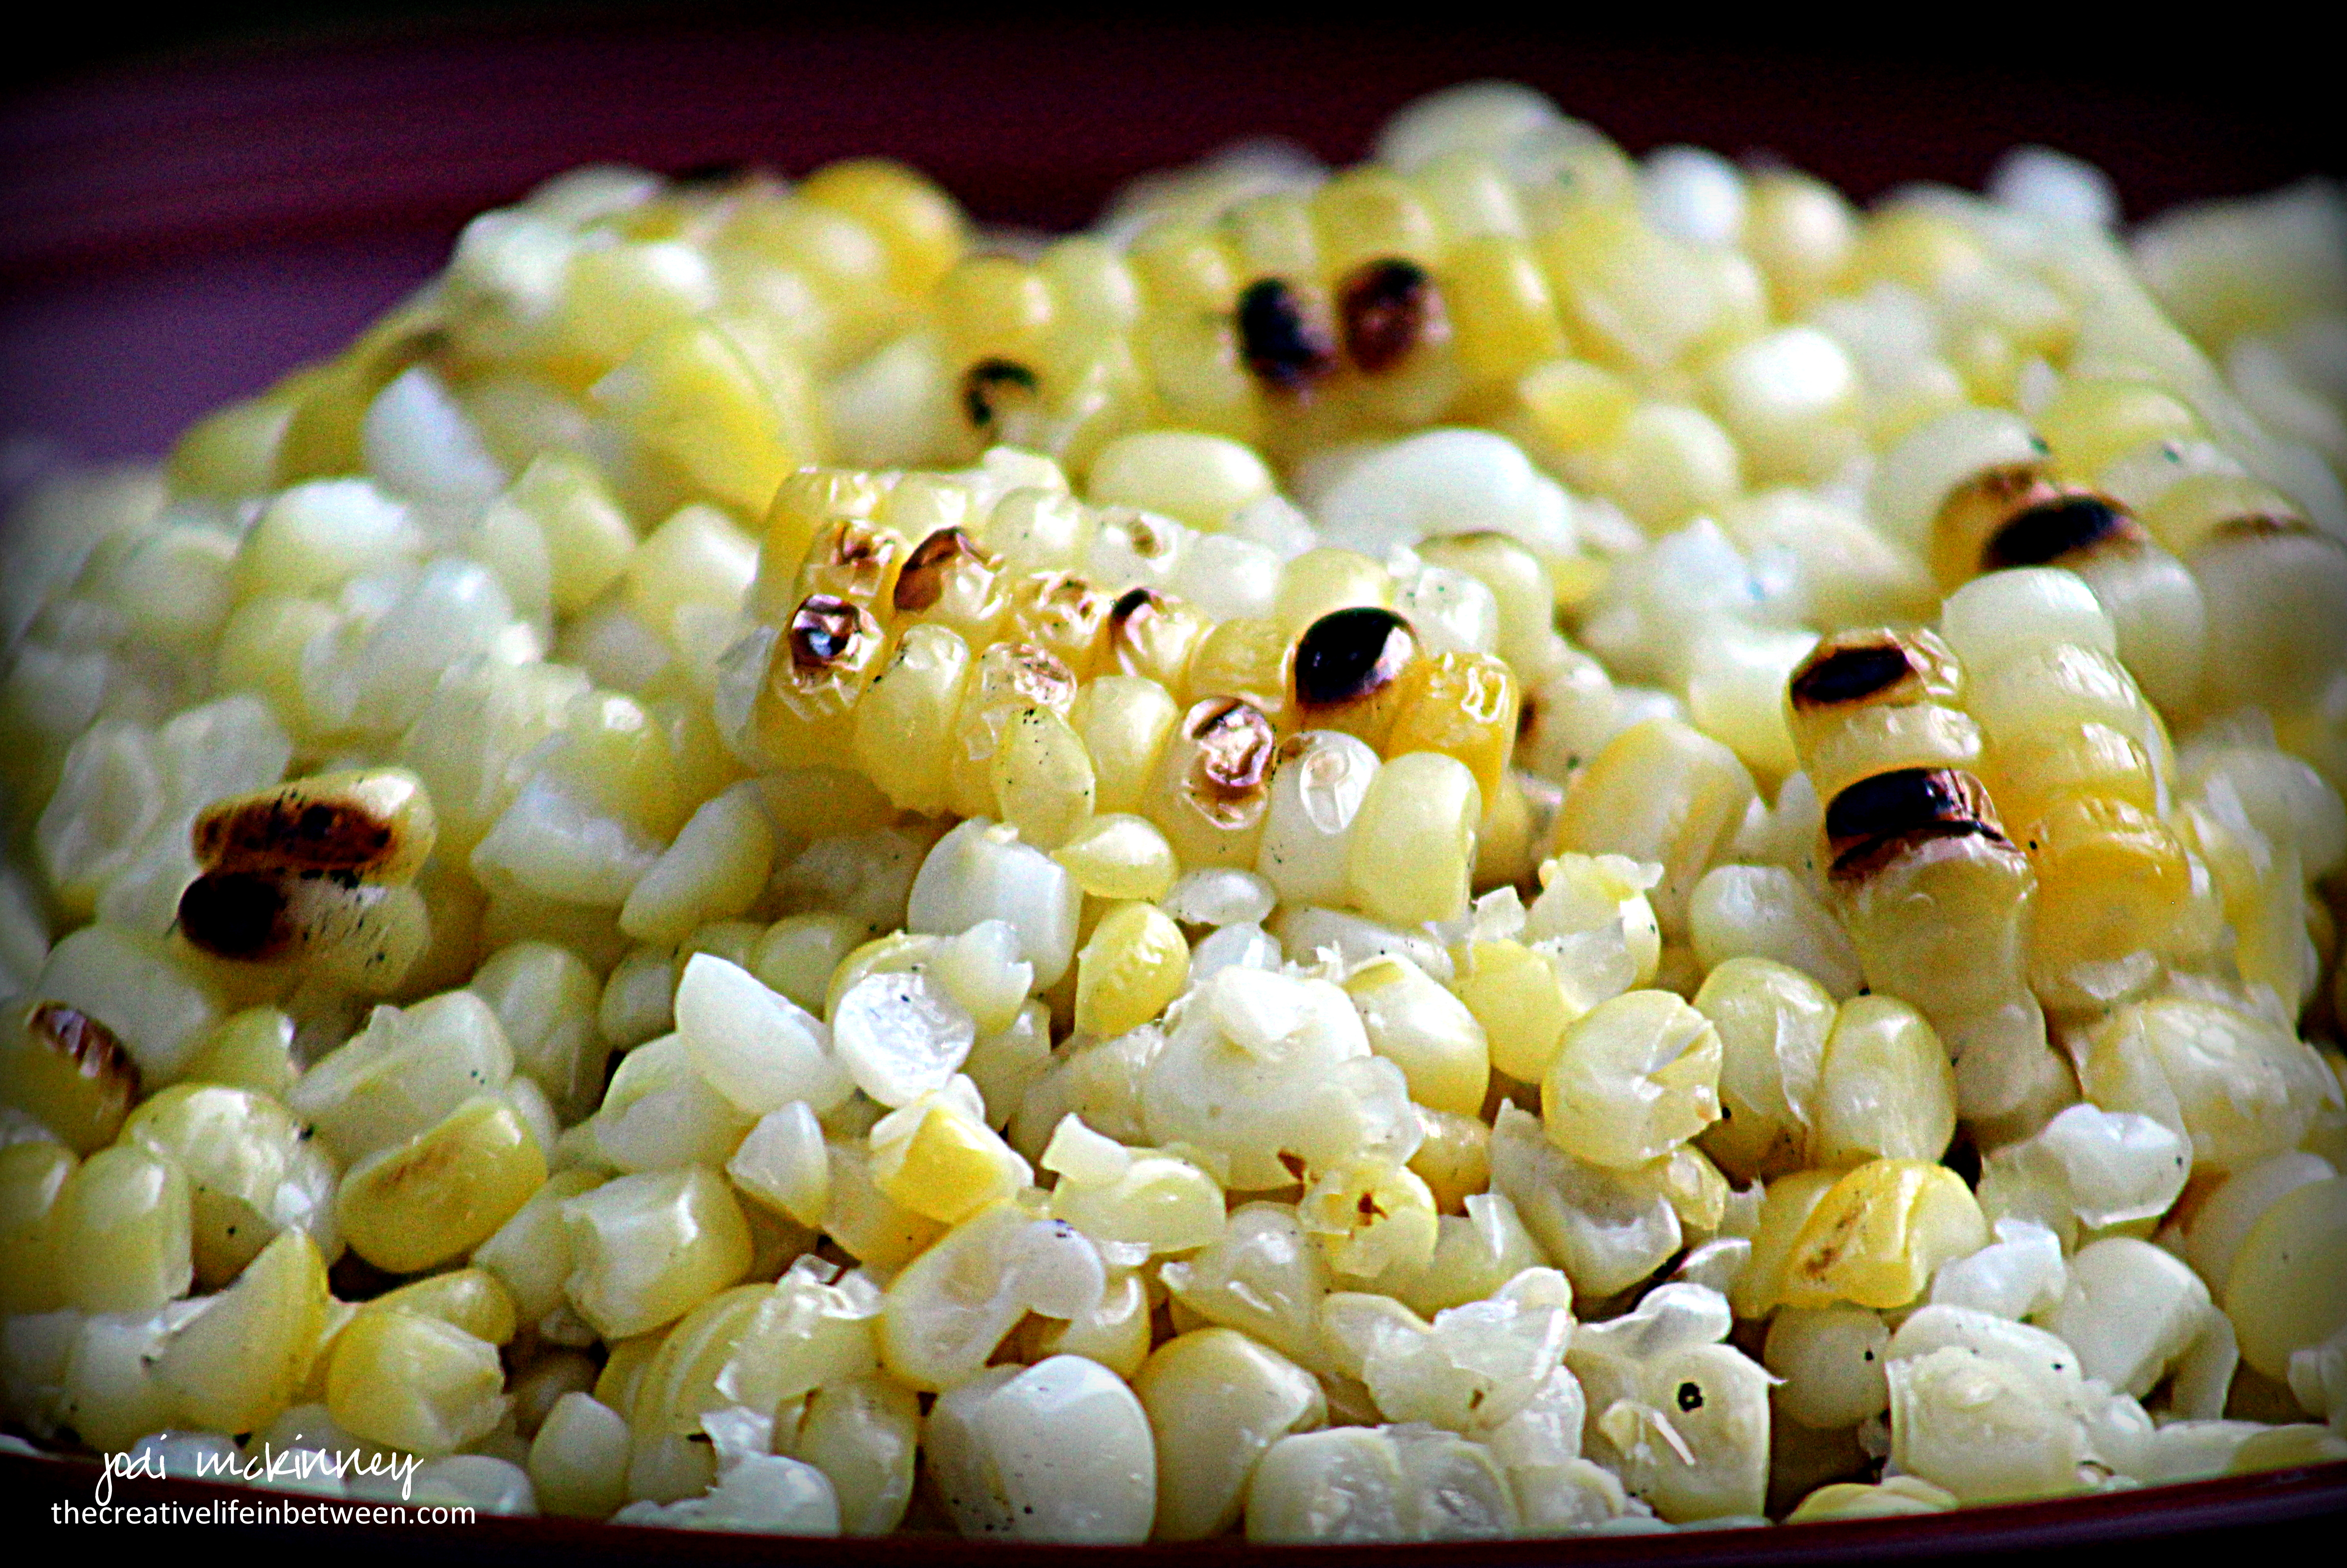
When I buy corn on the cob, even though is only the two of us now, I buy a full dozen.  We usually only eat about half of it, so we cut the rest off the cob and either freeze it in Ziploc bags for a fresh corn treat in the winter or save it for using in other recipes or reheating another day that week.

Here is how we did it.  Quick, easy, and oh so delicious!

By the way – I think the mistake many people make with corn on the cob is OVERcooking it.  Sweet corn on the cob truly tastes its best when you just cook it long enough to heat, but retain its wonderful sweetness, crunch and flavor.  Also, don’t look for the biggest ears of corn.  They could likely be tough.  Look for smaller, young, tender ears, and buy them from the farm or farm market – not the grocery store, where it could be several days old.  There is nothing like eating corn the day it is picked!

Roll it in some butter and sprinkle with salt and pepper for even more yumminess, but when you get fresh, sweet, seasonal corn, it barely needs anything else!

Here is how we made it.

Easy Grilled Sweet Corn on the Cob

Ingredients:

  • 1 dozen fresh ears of corn on the cob

Directions:

Heat grill to approximately 450 degrees F.

Husk corn, and clean of the silks as best you can.  Rinse under cold water.

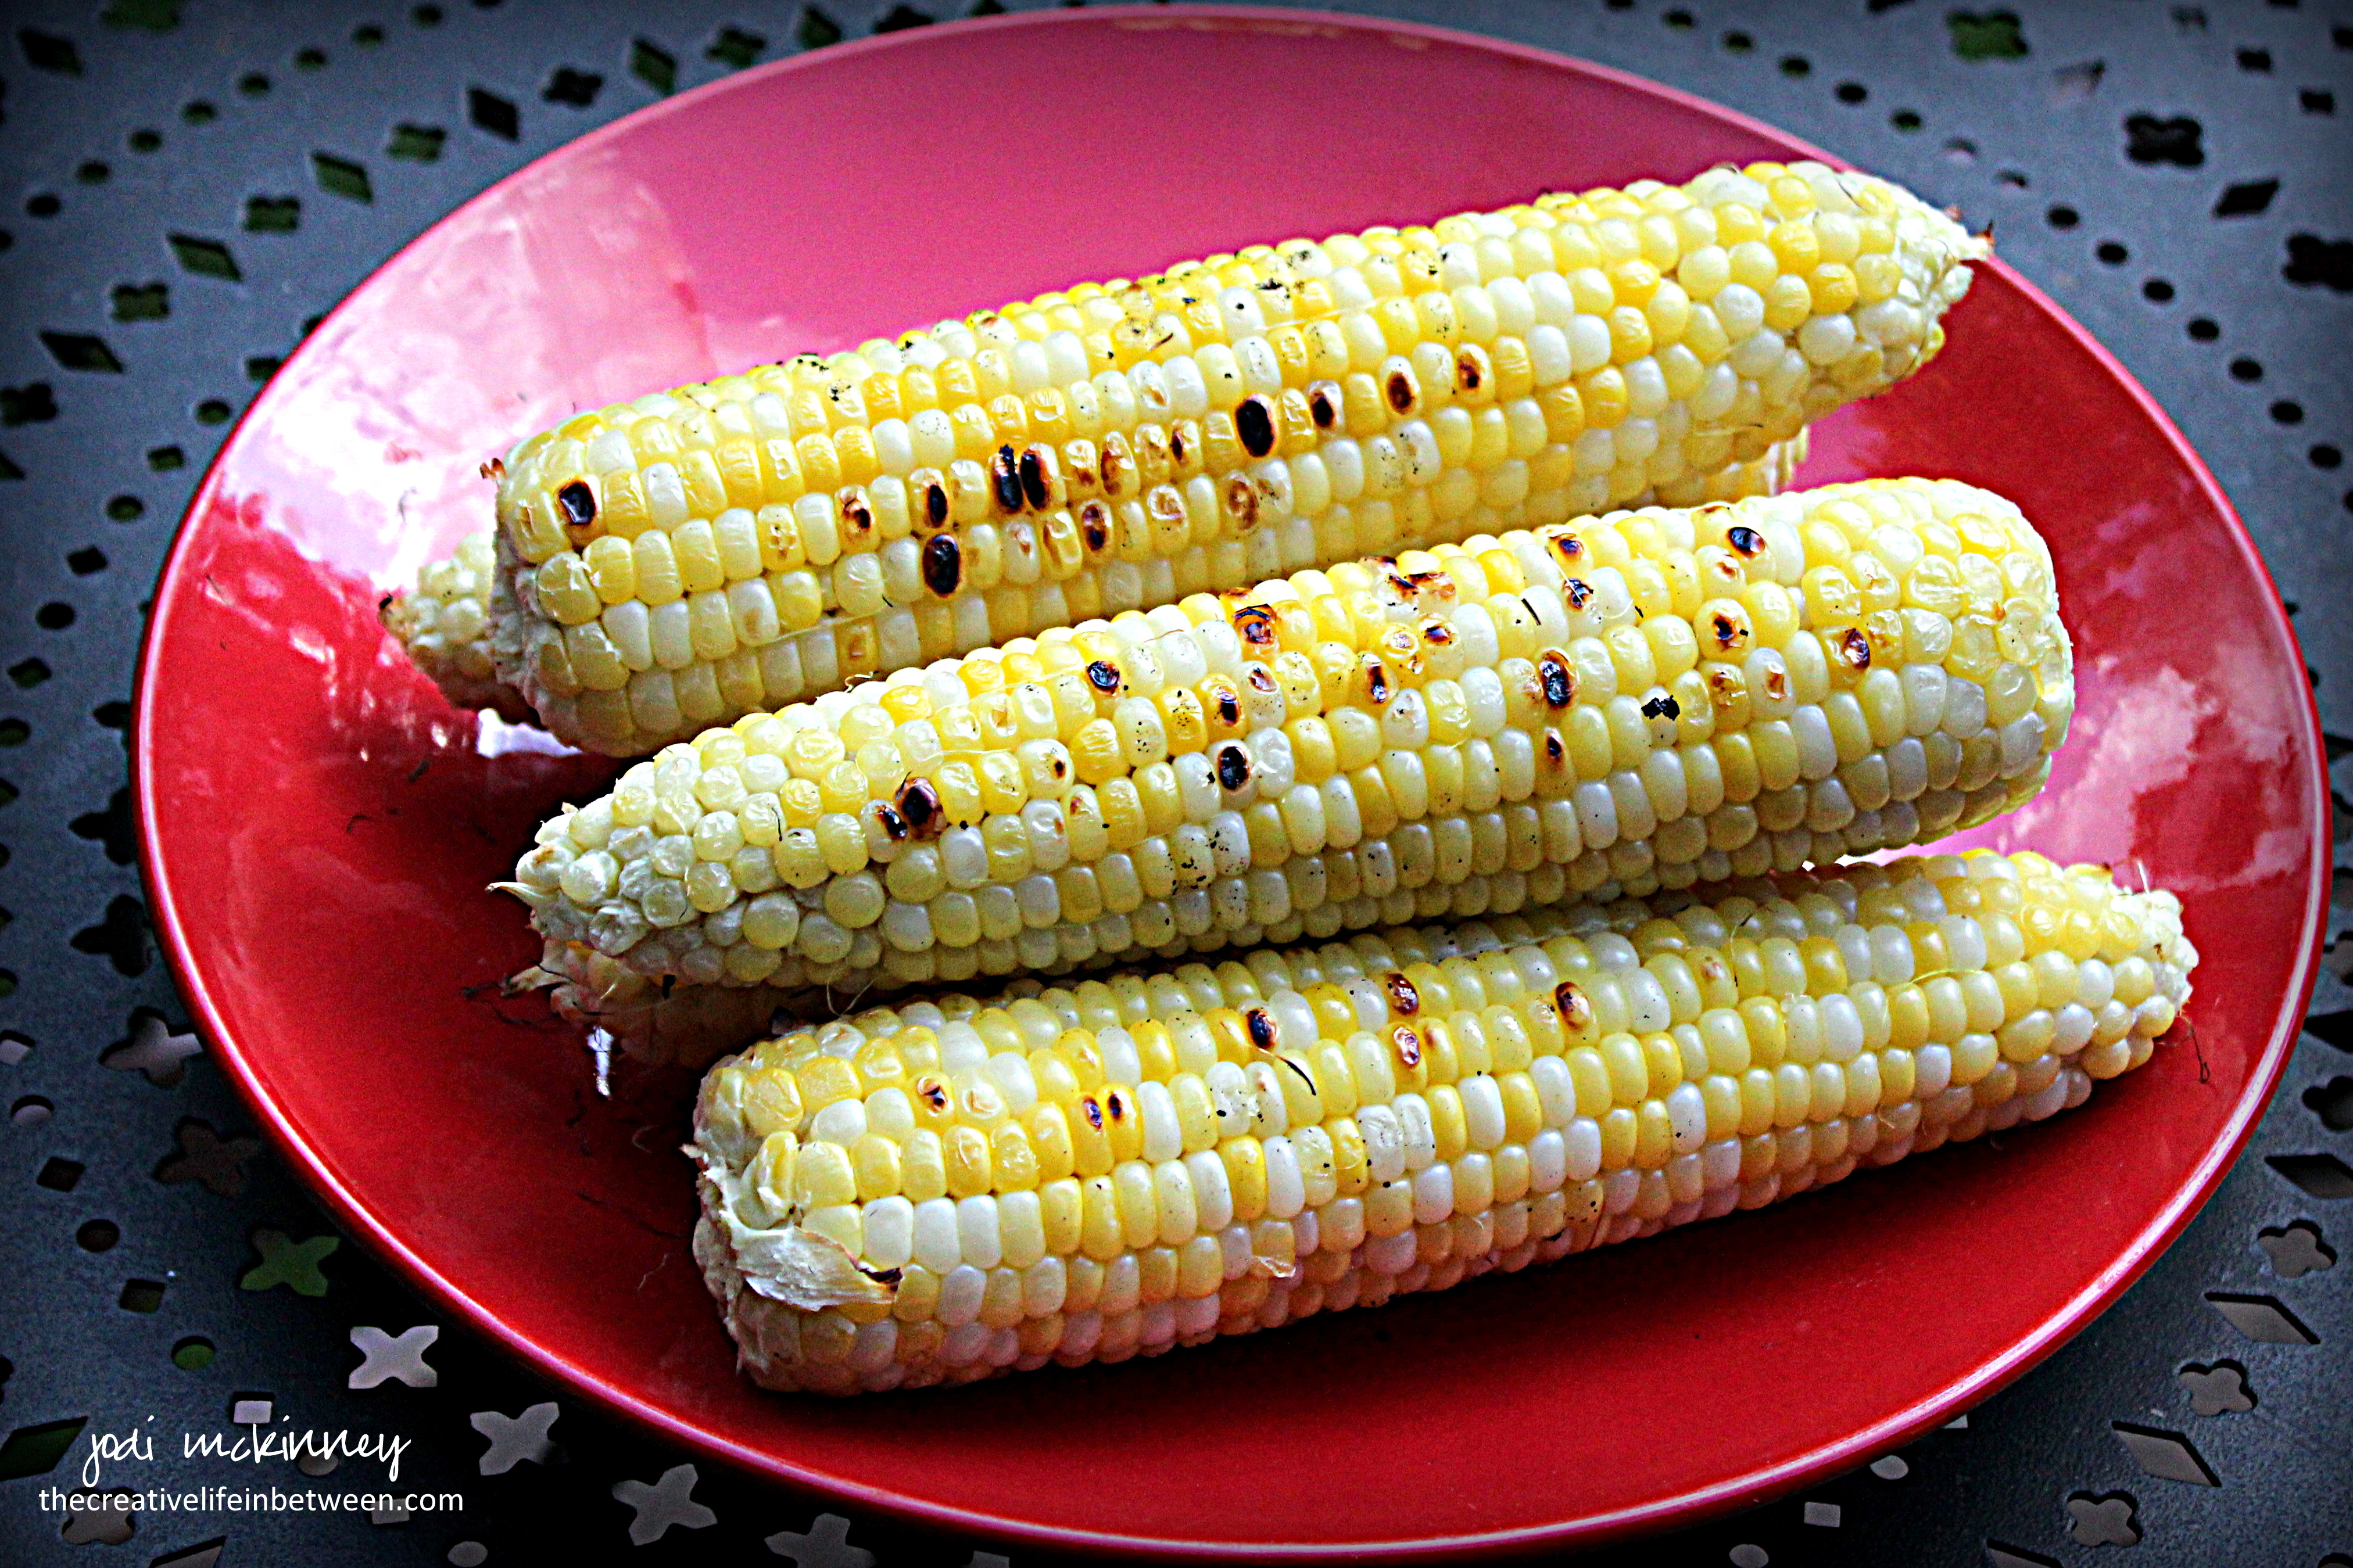
Place cleaned ears of corn directly on grill for 5 minutes.  Turn and grill for another 5 minutes.

Serve immediately with sweet butter, salt, and pepper.

Enjoy!

Cheers & Hugs,
Jodi


Peanut Butter Banana Bread with Chocolate Chips

peanut-butter-banana-bread-with-chocolate-chips

Peanut Butter Banana Bread with Chocolate Chips.

I had a few bananas hanging out that were getting very ripe, so I decided to make a loaf of banana bread yesterday morning.

Instead of making my usual, I wanted to try something different.  Knowing how yummy peanut butter toast is with sliced bananas (right??!!), I thought peanut butter would be a wonderful addition to banana bread.  And while I was at it, why not throw in a few chocolate chips?!

peanut-butter-banana-bread-with-chocolate-chips-2

Thinking I was a genius for coming up with this idea, I searched online just in case.  Well of course others had tried this combo!  (Where have I been?!) I found a few different versions, so I took what I liked from them and adapted to come up with this one below.  It was delish!  The peanut butter is subtle, but adds a wonderful new twist.  This bread is SUPER moist and really wonderful warm out of the oven.

Hope you’ll give this twist on banana bread a try!

Peanut Butter Banana Bread with Chocolate Chips

Ingredientspeanut-butter-banana-bread-with-chocolate-chips

  • 4 medium ripe bananas, mashed
  • 1/2 cup creamy peanut butter
  • 1/2 cup sugar
  • 1/2 cup brown sugar
  • 1/3 cup buttermilk (I make by mixing milk and a dash of vinegar)
  • 1/4 cup vegetable oil
  • 2 eggs
  • 2 tsp vanilla extract
  • 1 tsp baking soda
  • 1/4 tsp salt
  • 2 1/4 cups all-purpose flour
  • 1 cup semi-sweet chocolate chips or chunks

Directions:

Preheat oven to 350 degrees F.  Grease or spray a large bread loaf pan (of course I use a stoneware bread pan), then line with parchment paper allowing it to hang over the edges for easier removal.

In a large bowl, combine first 8 ingredients.  Mix well.  Add baking soda, salt, and flour.  Mix until combined.  Gently fold in chocolate chips reserving a handful to sprinkle on top. of batter.

Pour batter into prepared pan.  Bake approximately one hour or until toothpick inserted in center comes out clean.   If the bread starts getting too brown, place a tent of foil over top at around 45 minutes.

Cool in pan for 10 minutes, then lift out by grabbing parchment paper.  Cool on wire rack.  

Enjoy!

Cheers & Hugs,
Jodi

Chocolate Dipped Sugar Wafer Cookies

chocolate-dipped-sugar-wafer-cookies-2

Chocolate Dipped Sugar Wafer Cookies.

Remember those light, crispy, sweet wafer cookies you loved as a child that came in fun colors and flavors?  Vanilla, Strawberry, Chocolate, even Peanut Butter…  Oh how I loved them!

Grandma would occasionally get them as a special treat, and we would enjoy them as a late night treat on a hot summer night while sitting outside on the swing catching a cool breeze that could not be felt sitting in the overheated non-air conditioned house.

chocolate-dipped-sugar-wafer-cookies

I hadn’t thought about these sugary treats for years, but I recently stopped in a local candy shoppe where they featured a pair of these sweet little cookies dipped in chocolate, sprinkled with colorful sprinkles, and wrapped in cellophane.   I couldn’t resist trying – even at the crazy price they were asking… several dollars for two little treats.

chocolate-dipped-sugar-wafer-cookies-3

Well – OMG – there were delish!  And I realized they would be so easy to make!  So I found them at my local grocery store, where a whole package of sugar wafer cookies cost a whopping 99 cents!

I dipped them in chocolate, sprinkled them with fun Valentine sprinkles, and I’ll be sharing them with some friends I love dearly this weekend!

Cheers & Hugs,
Jodi

Grandma’s Old-Fashioned Apricot Nut Bread

grandmas-apricot-nut-bread-2

For those of you that have been following my blog for a while, you may recall this recipe.

It is worth repeating – at least for me.

Let me share what I wrote in my post two years ago when I first shared this recipe that is one of my ALL-TIME favorites.

grandmas-apricot-nut-bread-1

December 15, 2014:

One of my favorite things to bake (and eat) for the holidays is my Grandma’s Old-Fashioned Apricot Nut Bread.

For me, it is like spending a little time with Grandma – even though she’s been gone for 20 years now.  The smells that fill the house… using her recipe card – complete with stains from baking episodes past… using her old tin measuring cup, snipping apricots, chopping nuts…  To me, the holidays aren’t truly here until I make Grandma’s Apricot Nut Bread and spend a little time with her through this ritual.

When I was young, I spent Christmas vacations (and every other moment I could) with Grandma.  We spent a lot of our time together in the kitchen.  While we were cooking or baking, Grandma would tell me stories about her childhood.  It was sadly a pretty short one, because she had to become Mama to her baby brothers at only 9 years old when her mom died at a devastatingly early age.  We would talk about her early married life with outhouses, coal furnaces, and washboards.  And some of my favorite stories, especially when I was young, were the ones she would tell about me when I was a baby and how she danced in the hospital hallway with the doctor after I was born and how she fed me her homemade chicken soup on my first day home.

We laughed while we worked, and I never felt so loved.

One of the things Grandma made every year was Apricot Nut Bread.  Growing up, it really wasn’t my favorite.  I much preferred the lady locks or nut horns or nut roll – even the chocolate chip cookies.  This bread is not overly sweet.  It is not overly moist.  But as an adult, it has become my absolute favorite.  A slice with a swirl of creamy salted butter or a schmear of rich cream cheese and a cup of coffee might just be my favorite way to start the day.

This weekend, I once again made my annual batch of Grandma’s Old-Fashioned Apricot Nut Bread.  I can  only hope for cherished times like this to share with my granddaughter some day.

grandmas-apricot-nut-bread-loaves

Here’s the recipe if you’d like to try.  May it bring you as much joy as it does me.

Grandma’s Old-Fashioned Apricot Nut Bread

  • Servings: 2 medium or 1 large and 1 small loaf
  • Print

Ingredients:

  • 1 cup dried apricots, chopped
  • 1 cup boiling water
  • 2 eggs
  • 1 cup sugar
  • 2-3/4 c. flour
  • 3 tsp baking powder
  • 1 tsp salt
  • 1/2 tsp baking soda
  • 1 cup chopped walnuts

Mix together 1 cup chopped apricots and 1 cup boiling water.  Let stand until the rest of the ingredients are ready.

In larger mixer bowl, beat two eggs and gradually add 1 cup of sugar.

In a third large bowl, stir together flour, baking powder salt and baking soda.

Add the first two mixtures to the dry ingredients – alternating as you incorporate.  Fold in chopped nuts.

Bake one large loaf at 375 degrees F for approximately 40 minutes, then 350 degrees F for 20 additional minutes, or until toothpick inserted comes out clean.

For smaller loaves, bake at 350 degrees for 40-50 minutes.

P.S. I typically quadruple the recipe, and I get 8 mini loaves and 1 large loaf.  We eat the large loaf (right away!) and I give away the mini loaves.

Cheers & Holiday Baking Hugs,
Jodi

Homemade & Healthy Blackberry Banana Oat Bars

Blackberry Banana Oat Bars

Are you looking for a really yummy treat to give to your sweet for Valentine’s Day that is not only super delish, but also healthy?

These amazing blackberry banana oat bars have NO sugar and NO flour!  How about that?

blackberry banana oat bar

They are packed full of wholesome, nutrient rich fruits and superfood ingredients, while tricking your brain and tummy into thinking you are eating something decadent.

Give them a try!  Heart healthy, hearty, and from the heart for your sweetheart!

Blackberry Banana Oat Bars

  • Servings: 12 squares
  • Print

(adapted from recipe found here)Blackberry Banana Oat Bars

Ingredients:

Blackberry Chia Jam Filling:

2 cups fresh (or frozen) blackberries
2 1/2 Tbsp. honey (local if possible)
1 tsp vanilla extract
1 tsp fresh lemon juice
2 Tbsp chia seeds
1/4 tsp ground cinnamon
1/8 tsp freshly ground nutmeg

Banana Oat Crust:

2 ripe bananas
2 cups oats
1 tsp baking powder
1/4 tsp cinnamon
1/8 tsp freshly ground nutmeg
1/4 cup honey
1 tsp vanilla extract

Directions:
To make the jam fruit filling, add blackberries and honey to a saucepan and boil over medium heat for about 10 minutes until fruit is mostly broken down and has released a lot of juice.  Add the other ingredients and boil for another 5 minutes until it thickens.   Allow to cool.

Next, make the crust. Blend up 1 cup of the oats into a fine powder (I used the Ninja).   Stir all ingredients together.

Spray an 8×8 baking stone or dish with Pam and then line with parchment paper.  Spread 2/3 of the oat crust mixture on the bottom of the pan. Spread jam fruit filling mixture evenly over crust. Use the rest of the oats to sprinkle over the top.

Bake at 375 degrees F for 30 minutes until the oats are golden brown.

Cheers & Hugs,
Jodi

Chocolate Peanut Butter Acorn Cookies

I couldn’t resist trying this cute idea for a fun little Thanksgiving treat.

chocolate peanut butter acorns 2Aren’t they so stinking cute?!

chocolate peanut butter acorns 3

So easy to make…

chocolate peanut butter acornsand even more sweet to eat!

chocolate peanut butter acorns 1

I simply used chocolate icing in a tube to “glue” Nutter Butter Bites to Hershey’s Kisses and topped with a Nestle Mini Morsel Chocolate Chip.

(I’ve also seen these done with mini Nilla Wafers if you’re not a big peanut butter fan, but I think these are way yummier! 🙂 )

Voila! A fun, easy, and sweet treat!

Cheers & Hugs,

Jodi