And the WINNER is…..

Ann Coleman!

Congratulations Ann!  You are the winner of the card give-away from Sunday’s post.

PP269 Let us Give Thanks Fall Theme Card

I asked hubby to choose a random number from all the lovely comments you left on my post, and he picked Number 37.

So Ann, if you will email me your address to mckinneyjodi@gmail.com, I have a package ready to send with this card and a few more goodies.

Thanks ever so much to all of you, and I’m sure we will do it again soon.

Happy Weekend!

Cheers & Hugs,
Jodi

Ferny Hello

fern hello

In need of a few special thank you cards, I really enjoyed creating this ferny hello card.

For my stamping friends:

The fern is a single Hero Arts stamp and the Hello is a die cut from WPlus9.

I stamped the ferns randomly on Stampin Up (SU) Whisper White card stock using VersaMark ink and then heat embossed with white embossing powder.  I sponged some green and yellow SU inks over all, then added a brush of glitz (which just doesn’t show up in the photo) with my favorite Wink of Stella clear brush marker.  I randomly placed a sprinkle of gold and silver sequins, adhered to SU Very Vanilla card stock and then the rich SU Mossy Meadow base.

This card went in the mail today.  I just love sending handmade cards out and hoping for smiles on the other end when the recipient finds them amidst the junk mail and bills.

Cheers & Hugs,

Jodi

Thank You! – and how to make Faux Enamel Dots for Card Embellishments

watercolor thank you washi tape enamel dots

Thank you for visiting my blog.

Today is my 50th day blogging LifeinBetween.Me – and my 50th post!

What a joy it has been to receive messages and comments from folks I didn’t even know were reading this fun little project of mine…

People I know – and people I don’t – some who I haven’t talked to in a while – and some who are becoming new friends!

If I can make an impact in some small way, then it is a success!

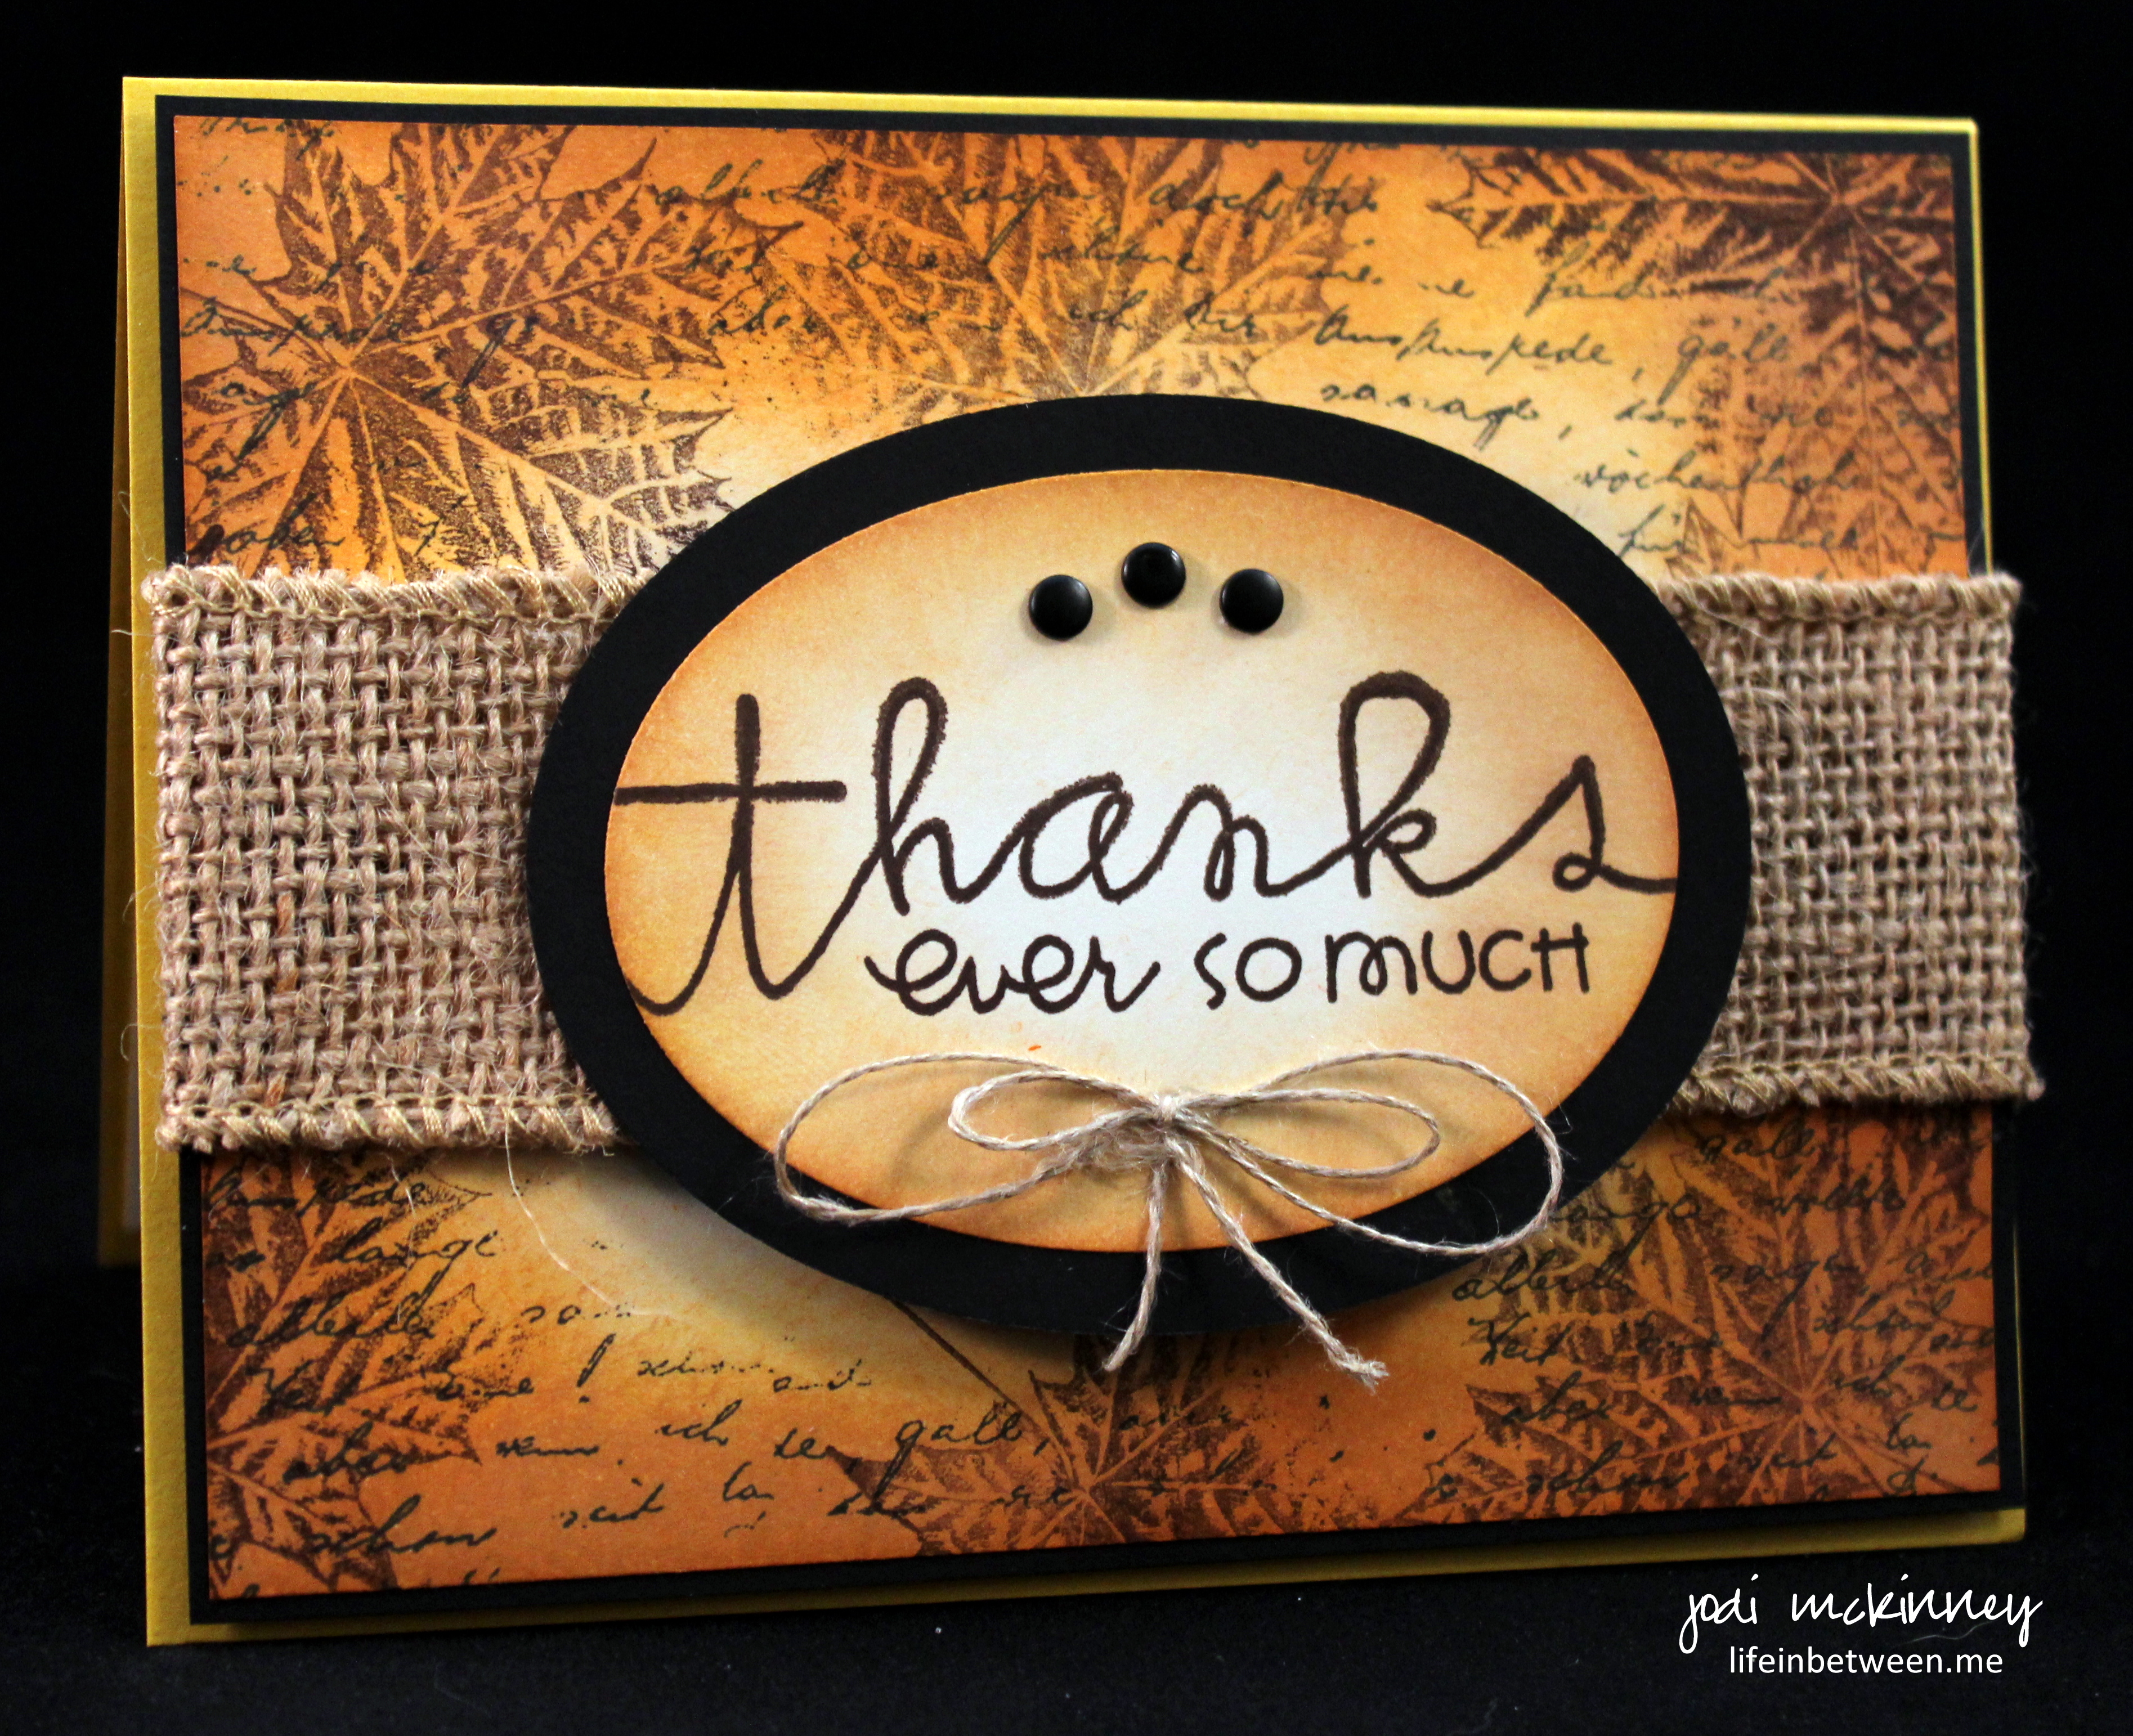
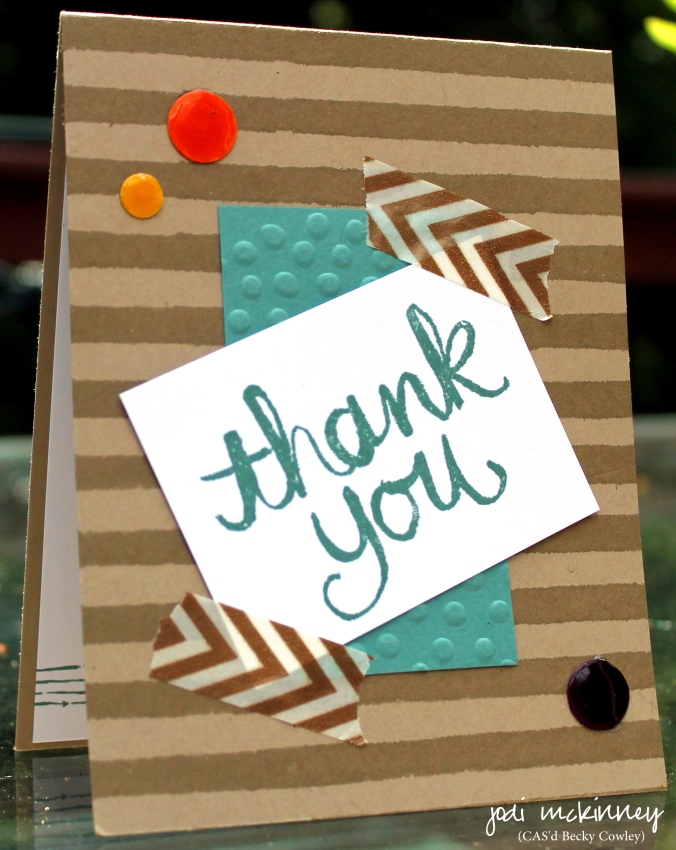
Today’s card is a thank you to all of you.  This was a super easy and fun one to make that was inspired by one I saw on Pinterest by a StampinUp Design Artisan! – Becky Cowley.

thank you card

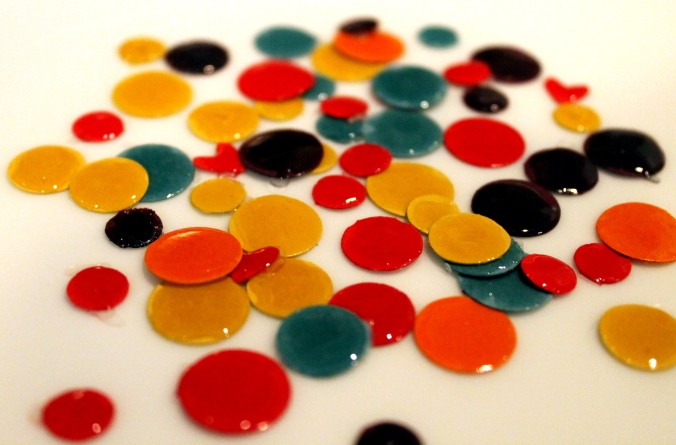
The fun part about it was making the faux enamel dots.  While I only needed a few, I thought it well worth making a bunch in an assortment of colors and sizes.  I used a variety of punches (including the good ole’ StampinUp Owl Punch!), which has several different size circles.

enamel dots

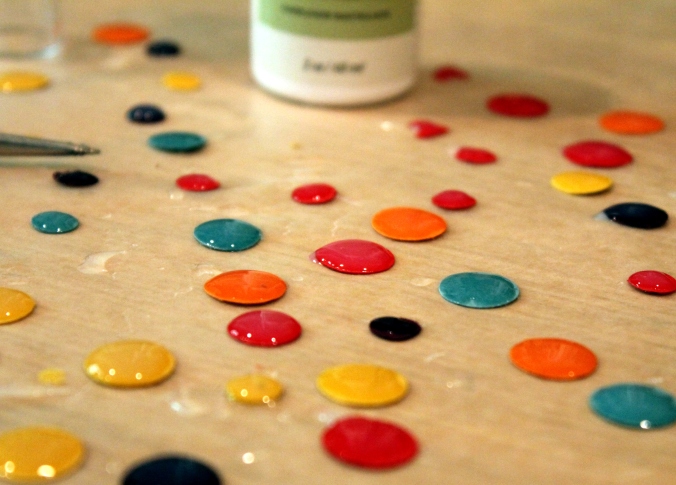
After punching out the circles (and even a couple little hearts), I scattered them on wax paper and put a “glob” (such a technical term) of StampinUp’s Crystal Effects on each.  Then you just let them dry to a shiny, glossy, bright and fun embellishment for future cards.

enamel dots 2

Wishing you a shiny, bright and fun day.

at LifeinBetween.

Cheers and Hugs,

Jodi