Old-Fashioned Homemade Butter Mints

old fashioned homemade butter mints

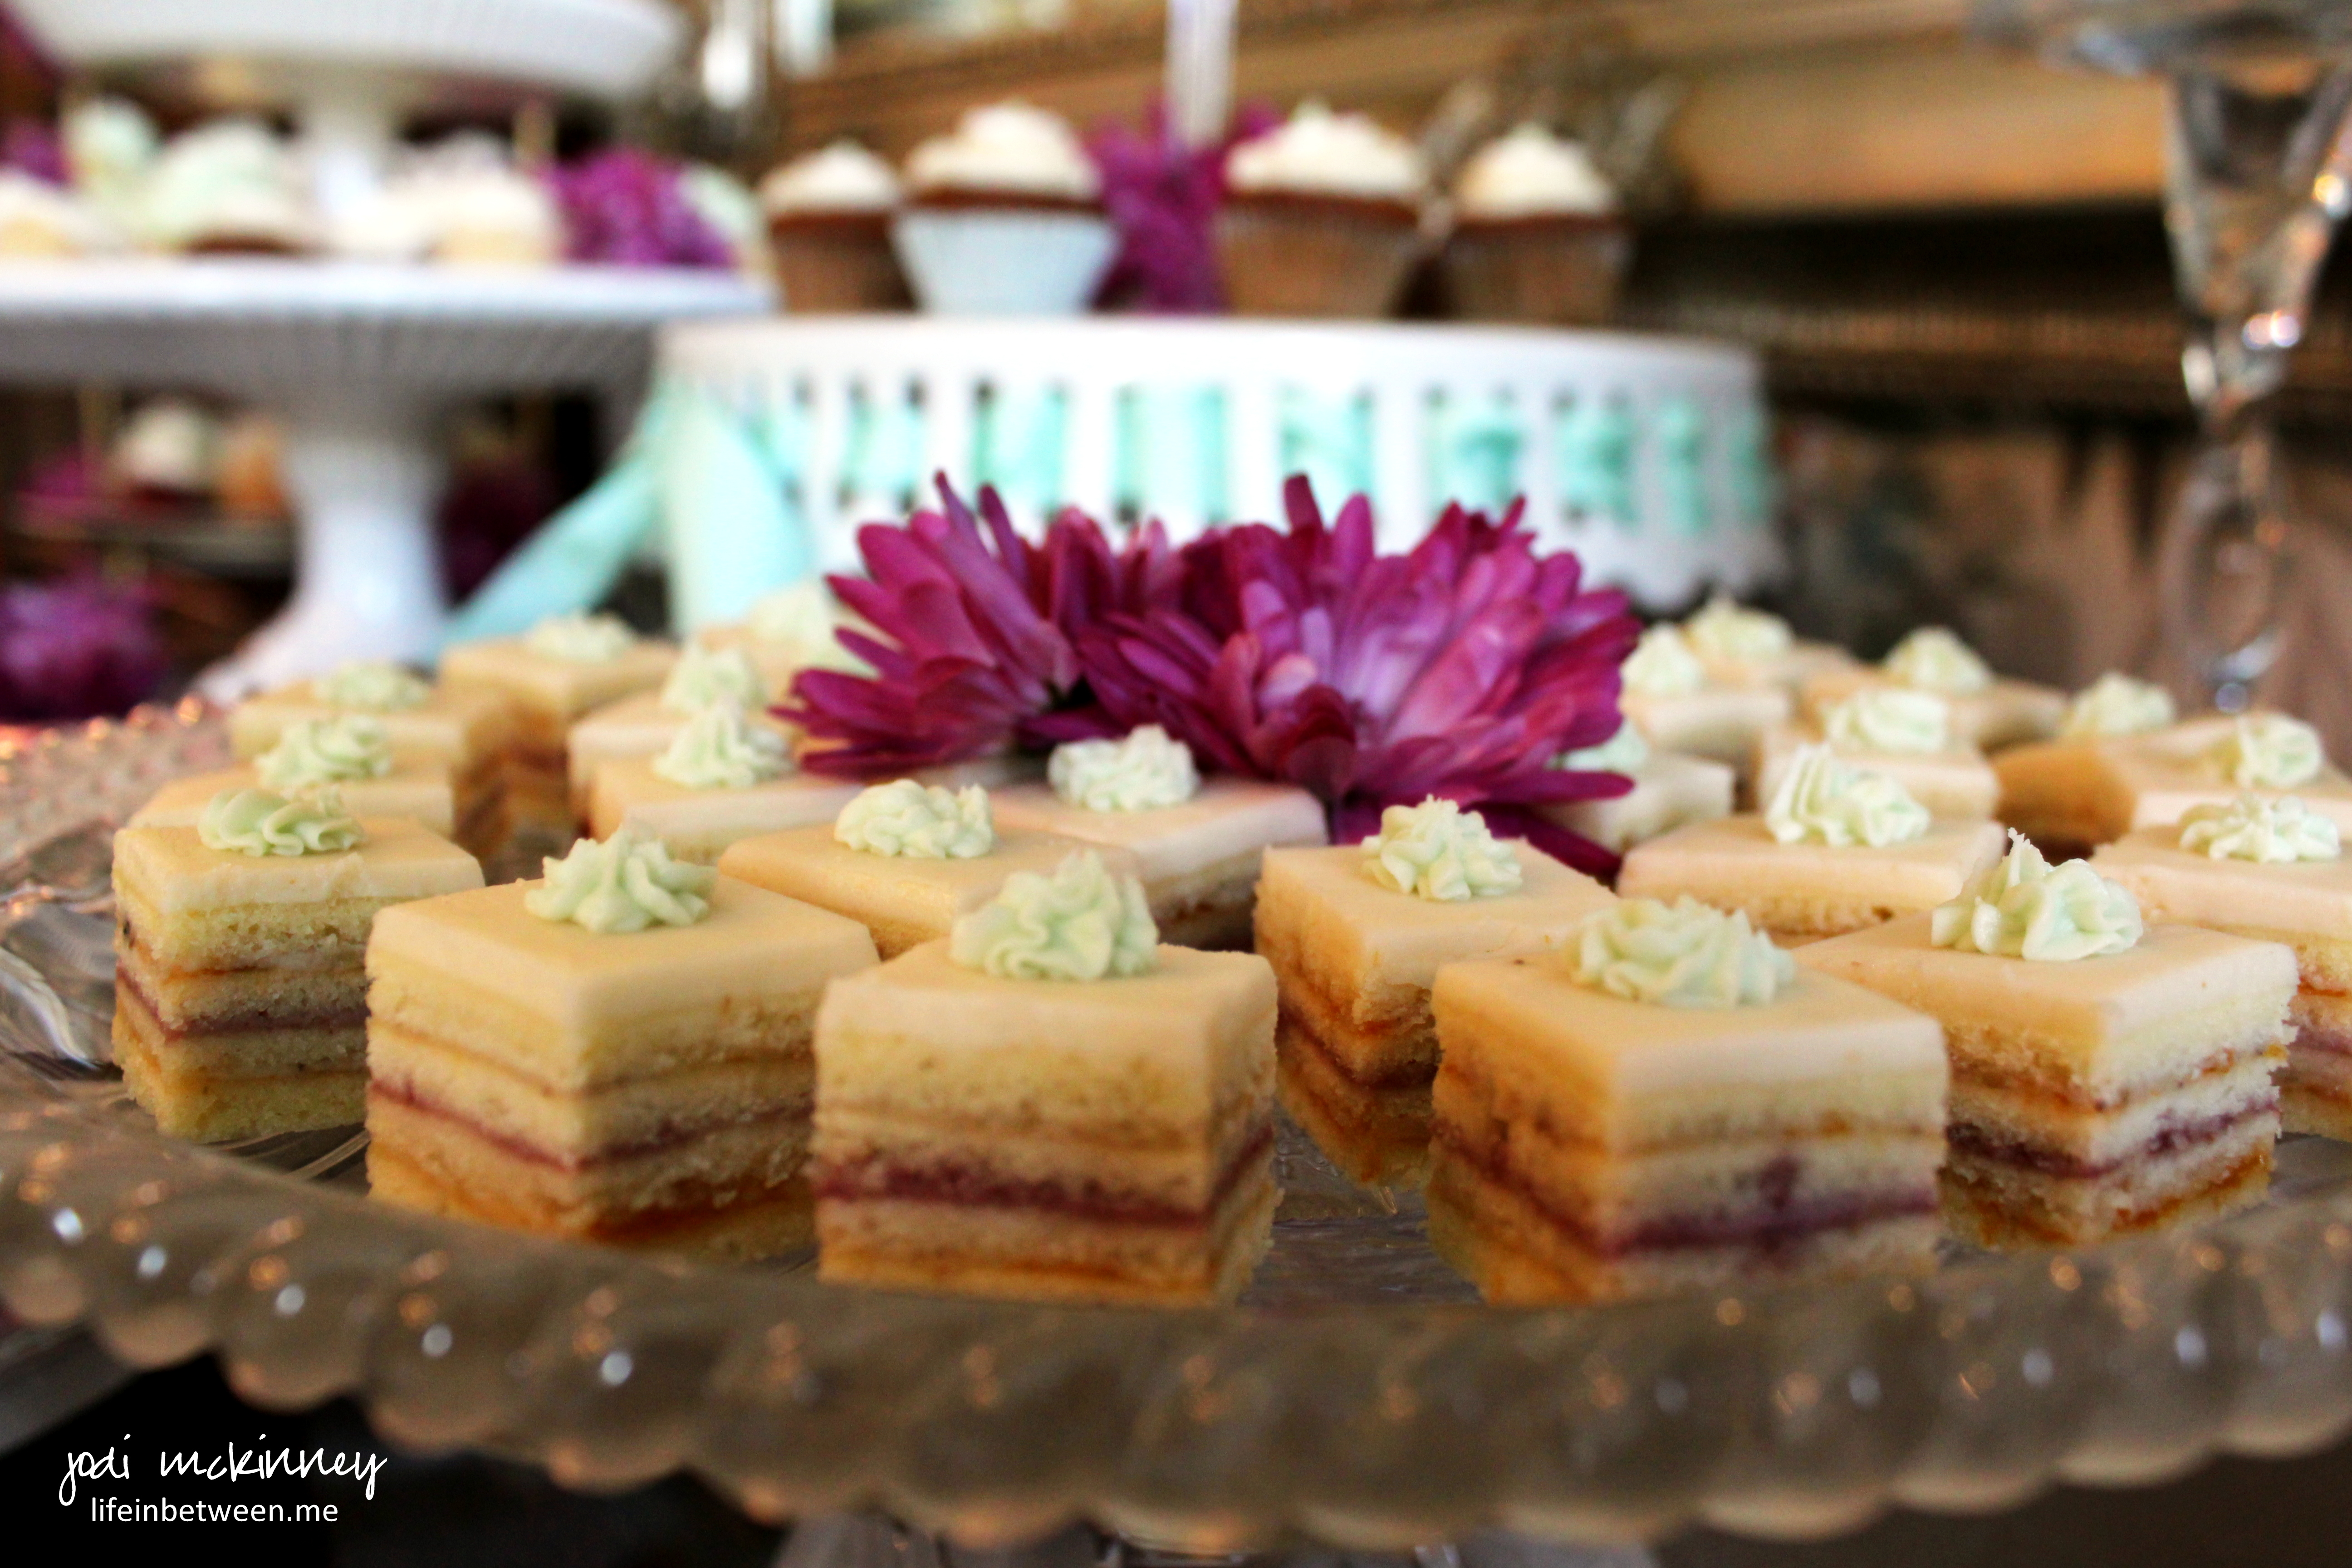
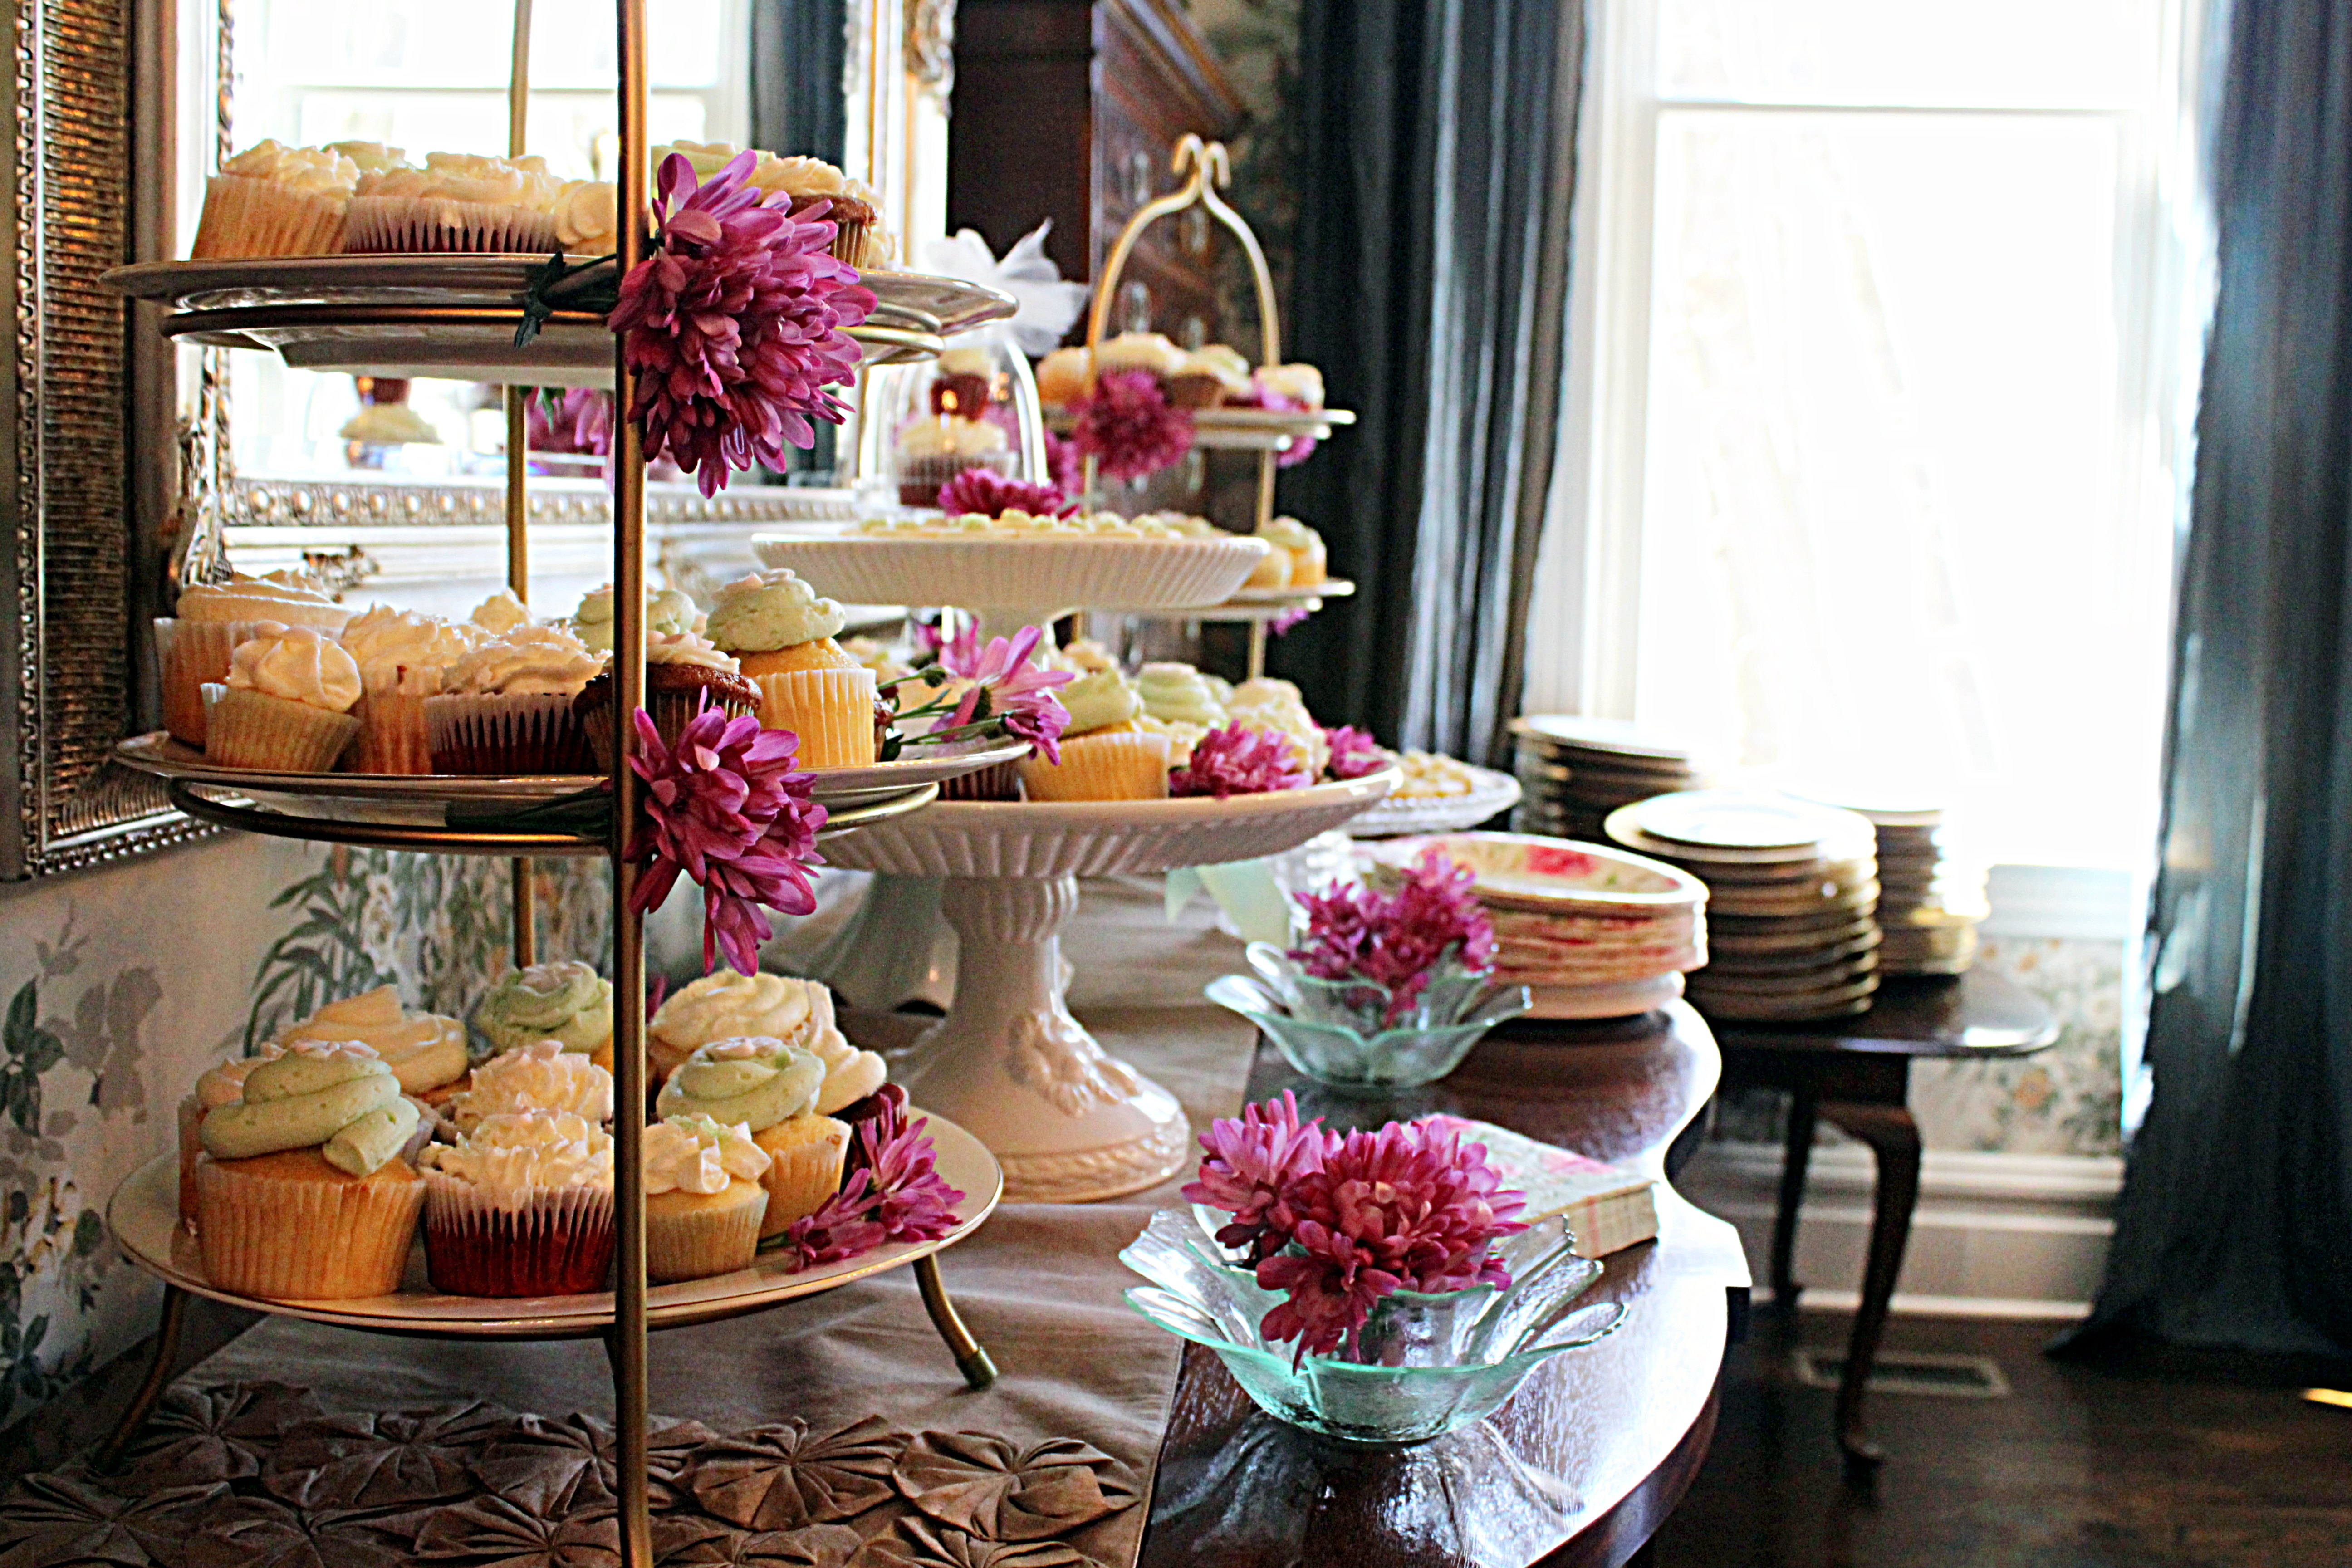
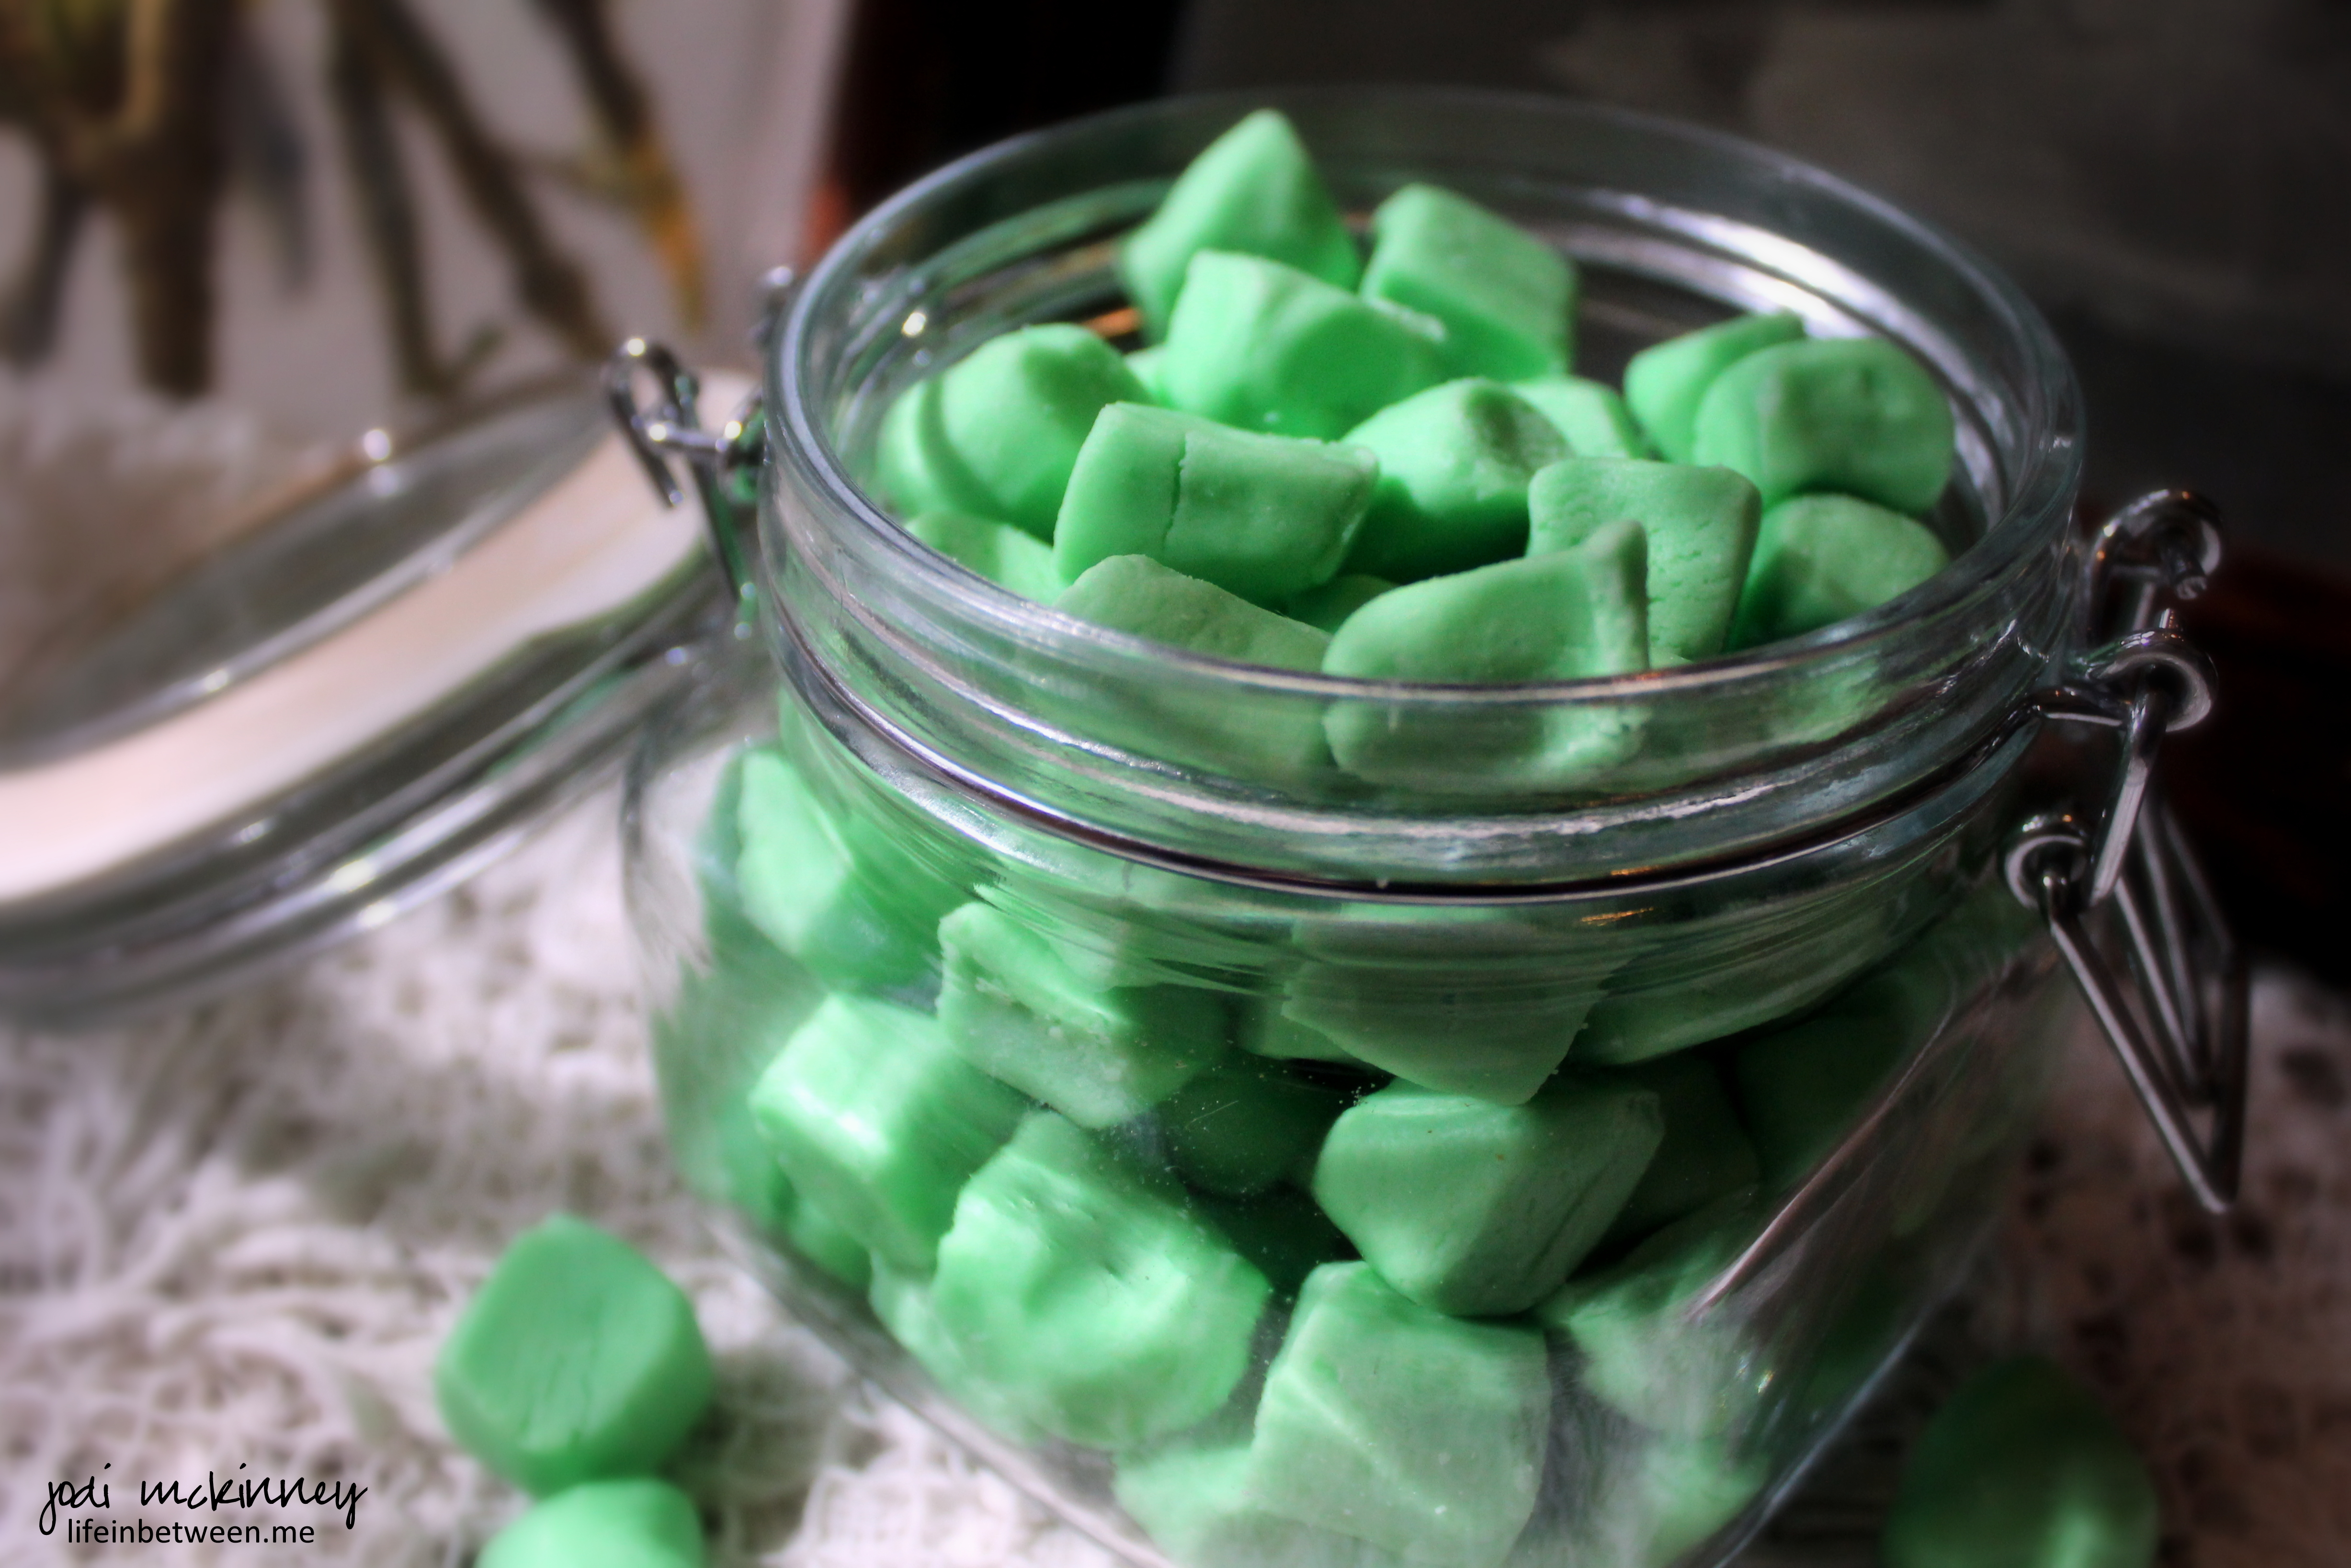
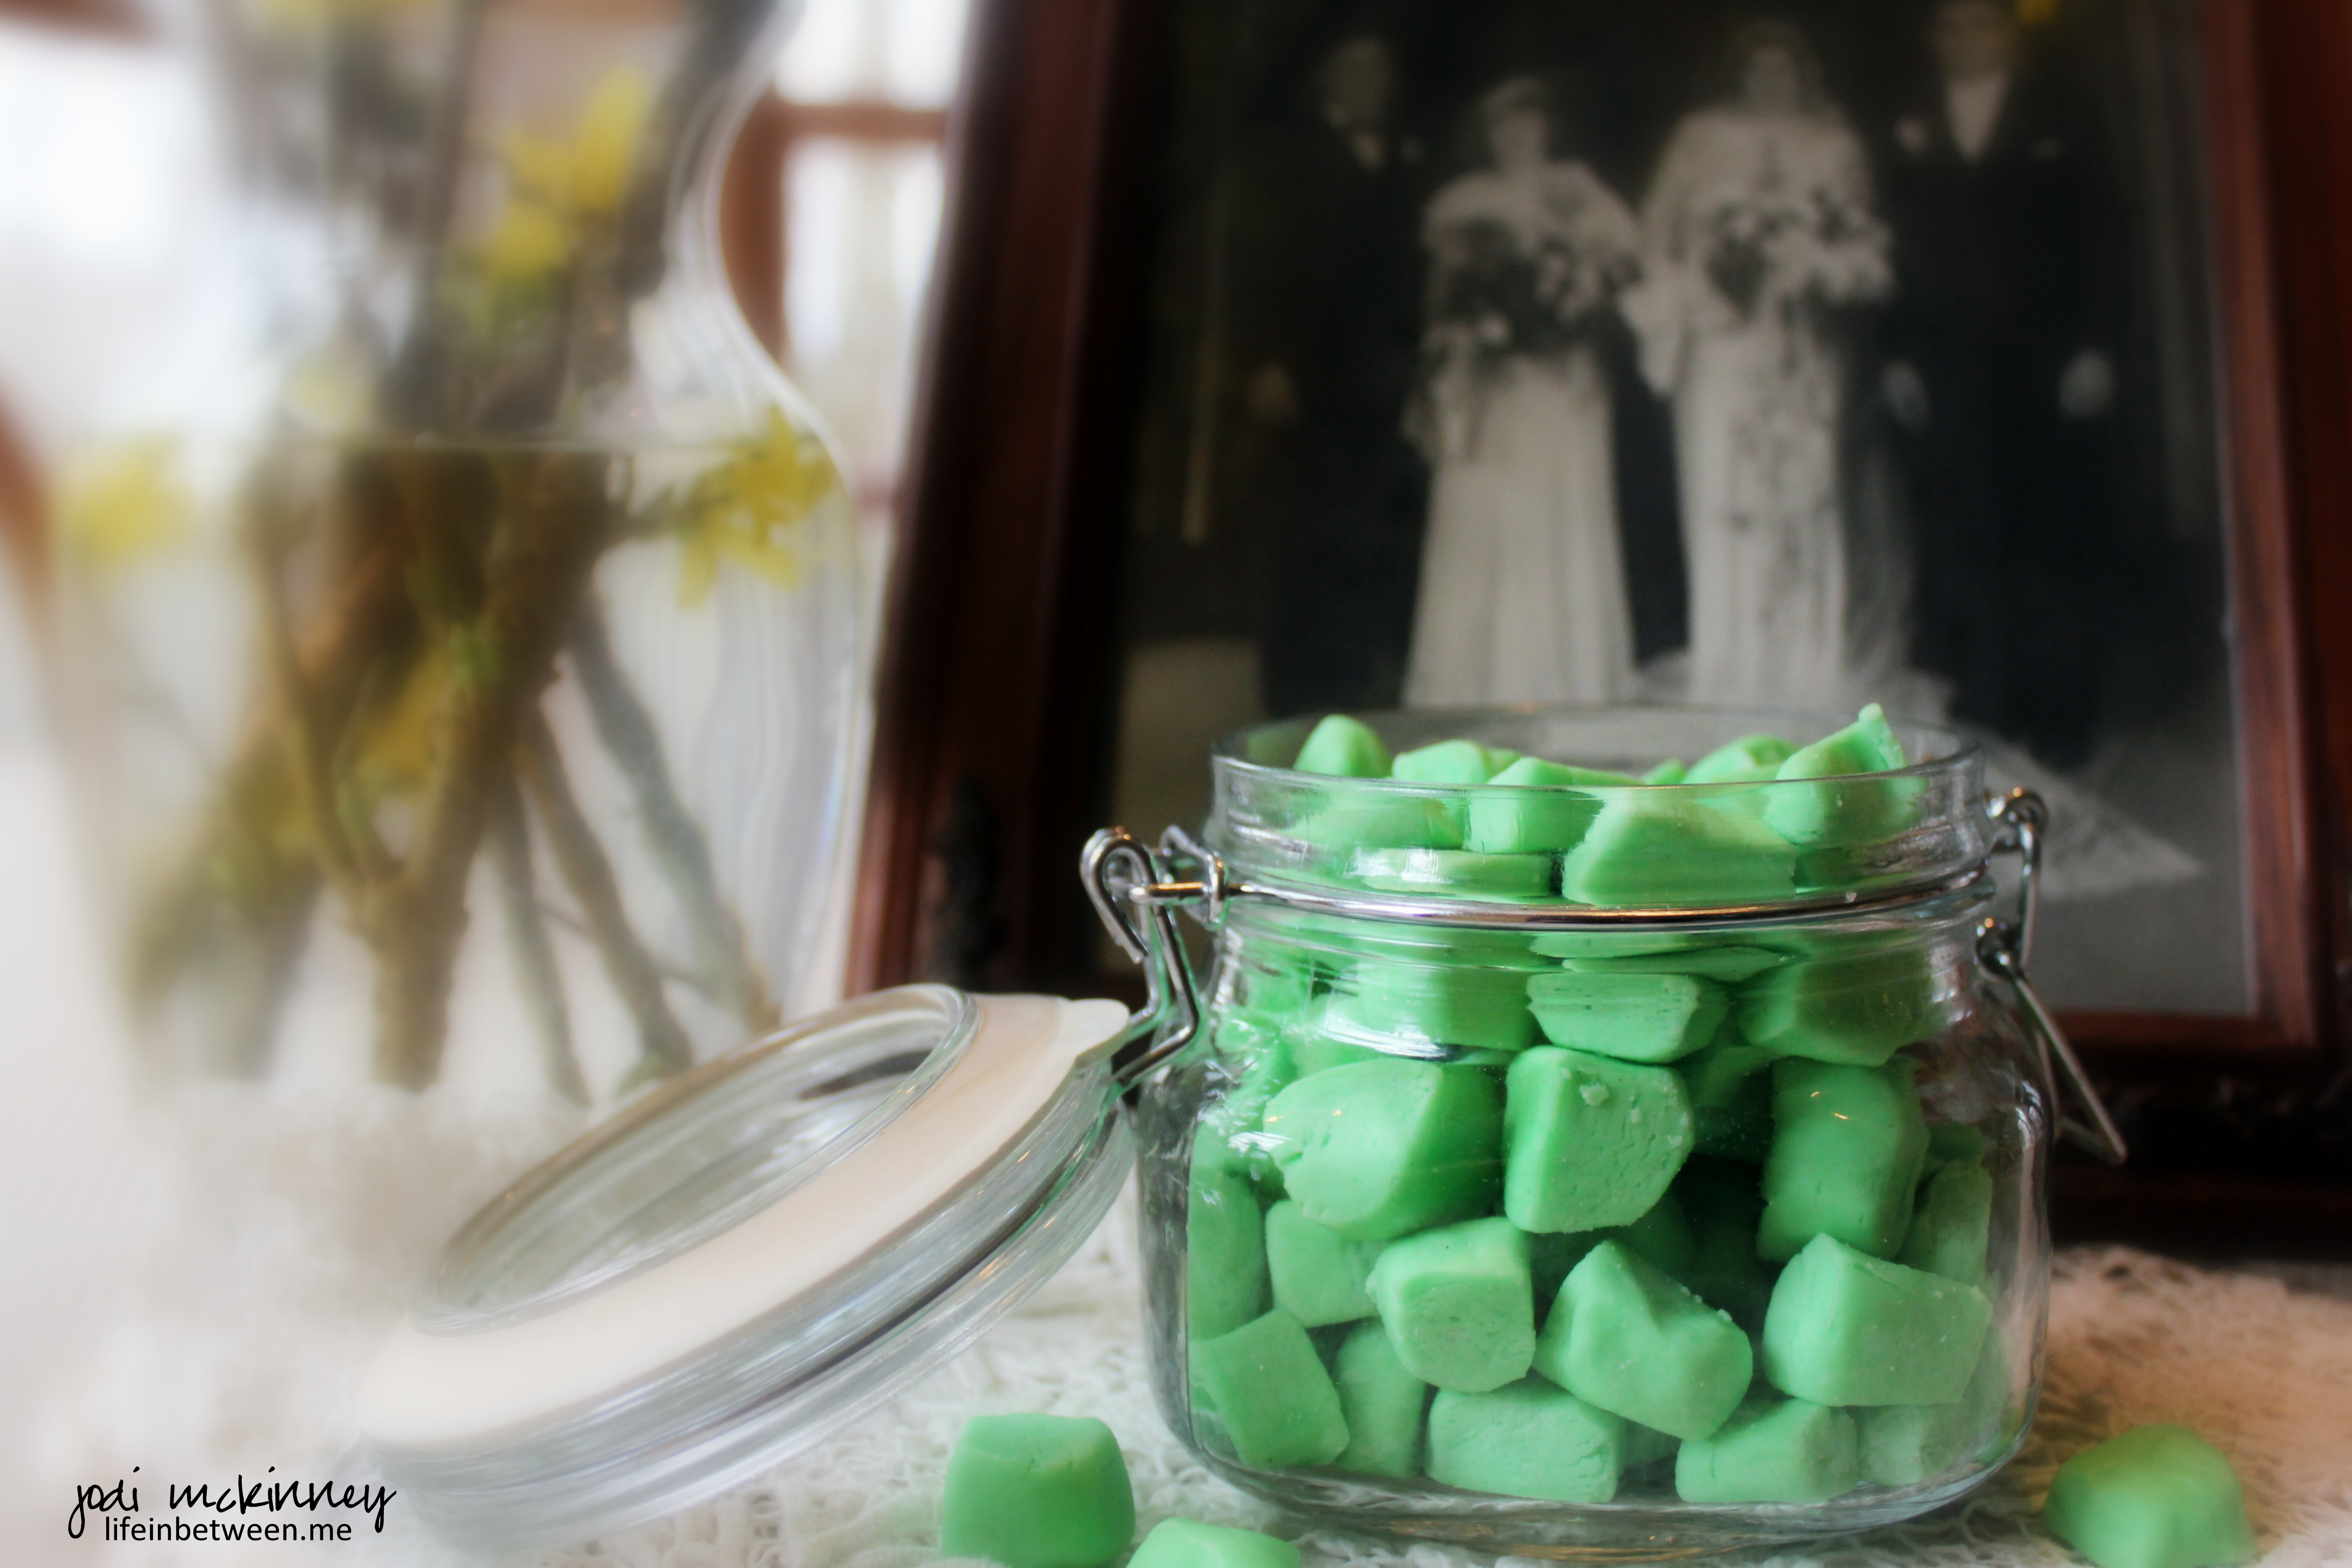
I have always loved these soft smooth buttery mints. Not those hard so-called “party” mints that crack your teeth (and like Grandma sometimes had in her candy dish), but the butter mints in soft yellow or pastel shades that were often put out as “after dinner” mints at special occasions or for parties when I was growing up.

I had pinned a recipe for homemade butter mints some time ago on my Pinterest page, not knowing when I’d get around to making them, and/or deciding on an occasion to make them so I wouldn’t eat them ALL myself! Then a friend recently asked me about them for a special party she is working on, and it was the perfect opportunity to give the recipe a whirl.

And whirl I did indeed! Woohoo! Are these ever EASY peasy and even better than I remember.

old fashioned homemade buttermints 2

Did your Grandma always have a candy dish full of these little treats at her house like mine?

Grandma kept hers in a special candy dish atop the server in her dining room.

I can still picture it vividly. It sat on the far left back corner of the server, and it was amber glass with a pointed dome lid on a pedestal. We always tried to carefully lift the lid when we were sneaking taking a piece so as not to “clink” the glass and make it ring throughout the entire house (at least that is what it felt like!)   Because if you did happen to just tap it ever so lightly to make a tiny tingy noise, Grandma’s little dog, Felix, would come a running! Felix loved those mints, and you always had to throw him one if you wanted to prevent the entire house from knowing you were in the candy jar again!

My brother was often known for purposely rattling the jar just to get Felix all worked up.  The poor little thing did practiccandy dishally have a heart attack when he heard that dish a ringing!

When I was trying to describe the candy dish, I thought I’d google it using the descriptive words I came up with, and to my surprise, I found what I believe would be the EXACT match (at least as far as my memory serves)!  It is actually for sale on Etsy.  I saw several.  I guess they are considered somewhat prized antiques at this point.  I’m kinda tempted to get it, but I think I’ll just keep the memory.

Here is the recipe I found on Barefeet in the Kitchen.  (Mary even made a cocoa mint version if you want to check that out too, and her recipe is slightly adapted from Averie Cooks)

Homemade Old-Fashioned Butter Mints

  • Servings: Approx. 200 mints or 3 cups
  • Print

Ingredients:old fashioned homemade buttermints

1/4 cup softened butter
1/4 tsp salt
1/3 cup sweetened condensed milk
3 1/4 – 3 1/2 cups powdered sugar
1/2 teaspoon peppermint extract
Optional: Food coloring for the desired shade you would like

Using an electric stand mixer, combine the soft butter and salt, and beat to combine. Add the condensed milk and beat again to combine. Add the powdered sugar one cup at a time, beating to combine thoroughly. Add the peppermint extract and food coloring if you are adding. The dough will be mostly crumbs, but should stick together when squeezed into a ball.  If it is sticky, add a little more powdered sugar.

Remove the dough from the mixer and pull off golf ball size pieces. Roll each ball with the palm of your hand into a long skinny log about 1/2″ in diameter – just as if you were making a snake with play dough.  Slice the strips into tiny mint-size pieces. A pizza cutter works great for this, and you can cut several strips at a time quick and easily.

Spread the soft pieces across a baking sheet and allow them to sit at room temperature overnight. You could speed up the process and put them in the refrigerator uncovered.  When they have hardened enough to store, transfer the mints to an airtight container.   Enjoy!

Cheers & Hugs,

Jodi

The little things

PP241 Clean and Simple Watercolor Butterfly

Long walks on country roads and chats with neighbors along the way.
Raspberry lemonade sipped from a straw on a chaise lounge in the sunshine.
Sunday boat rides with your lifelong partner and a furry companion.
Simple suppers of sausage and potatoes and salad.
Red wine to sip while painting and creating.
Cool breezes and light showers at bed time.
These are the little things,
That are really the big things.

It was a great weekend….  full of “little things.”  So I ended it late Sunday evening by creating this Clean & Simple Watercolor Card for The Paper Players PP241 Challenge this week.  How could I resist a watercolor card?!  🙂  I knew exactly what I wanted to do.

pp241

I’ve been dying to do something watercolory with the SU Swallowtail stamp.  I’ve had it for a while.  It is a very large stamp, and just begs to be watercolored.  I envisioned it offset a bit, and the watercoloring loose and abstract.  I kinda love how it turned out.  A few splatters in blue and the sentiment from the SU Hello Life stamp set that says “the little things” just added the perfect finishing touches.

So Happy Monday!  Enjoy the little things that this day and week brings.

Cheers & Hugs,

Jodi

Watercoloring Week 4

watercolor cat tails

I’m trying to work at getting “looser” with my watercoloring.

I surely have a long way to go, but I am having so much fun in the process.

watercolor 6 hibuscus

This hibiscus flower and the cat tails were more tutorials by Lindsay @ The Frugal Crafter.  If this is something you’ve thought about trying, Lindsay really breaks it down into manageable projects.  Hers are so gorgeous and effortless.  I cannot wait to get to that point.  For now, I try – and I enjoy.  Learning to loosen up while drawing and painting.

I’ve watched a few other YouTube tutorials, but so far Lindsay’s have been my favorites.  If you know of others, please do share and let me know.

It is so amazing to allow myself to put pencil to paper again. To brush water on it, and then add paint and watch it spread.  I wish I could describe how glorious it feels.  This last one was just kind of a random time time filler while I was waiting for another to dry.  I was just using the colors and trying to be loose.  It is supposed to be the view I could see from my deck while I was painting (LOL!).

watercolor random trees

Yesterday was so gorgeous…  I started out the day with a long walk in the morning (with my camera and a friend) followed by a bit of gardening, then some relaxing and painting on the deck.  The sun was shining, a breeze was blowing – temps were in the high 70s.  It was simply divine!

Oh – and I was notified that my “Oh Happy Day” card was chosen as a winner in both challenges I entered Friday  The Paper Players and Can You Case It!  Woohoo! How awesome is that?!?  🙂

And then… a sweet friend let me know she was cooking and baking some of my recipes, and she and her family loved them.  YAY!  Lori made the Raspberry Chocolate Chip Cookies, Chicken Caprese Lasagne, and Poppy Seed Cake.  What a way to make a great day even greater – eh?!

I hope you are finding time to do things you love this weekend.

Cheers & Hugs,

Jodi


Oh Happy Day!

PP240 CYCI65 Oh Happy Day Starburst Sayings

Oh Happy Day – It’s Friday!

This is just a fun, happy card that I created for The Paper Players Color Challenge #240 and the Can You Case It #65 Clean & Quick Challenge.

pp240

CYCI65-300x206

I love the happy colors Joanne chose for the color challenge – truly some of my faves – StampinUp’s Strawberry Slush, Coastal Cabana, and Pistachio Pudding.  They are so springy and tropical.

PP240 CYCI65 Oh Happy Day Starburst Sayings 2

For this card, I used the StampinUp Sunburst Sayings Stamp Set & Die, some candy dots and linen thread, and Best Day Ever DSP (Designer Series Paper).  It was quick and simple, but makes a happy punch.

Oh Happy FRIday!

Cheers & Hugs,
Jodi

PS 4/18/15:  Thank you Marisa for choosing my card as a winner at CanYouCaseIt!!  And thank you Nance for choosing my cards as A Cut Above at The Paper Players!  Woohoo!  It surely was a happy day!  🙂

Winner-001Cut Above Badge

Chicken Caprese Lasagna

Chicken Caprese Lasagna

Are you like me?  Always looking for new ways to prepare chicken?  I could eat it every night!  It is so versatile.  There are so many different ways you can prepare it.

And this one……. A HUGE WINNER!

I have to admit… I kinda moaned when I ate this.

Chicken Caprese Lasagna pan

And I’m so glad it turned out good, because I made it for dinner the other night when my McSister came to stay.

After allowing Kelly to munch down a Fresh Raspberry Chocolate Chip Cookie,

Fresh Raspberry Chocolate Chip Cookies Plated

settle into her room, and get into some comfies, we enjoyed an extra dry dirty martini, and then settled in for a fresh salad and this YUMMY creamy white chicken caprese lasagna.

Chicken Caprese Lasagna 2

Thumbs up all around on this amazing recipe that I originally discovered and tweaked a bit from Becky at TheCookieRookie.

Becky used sun dried tomatoes, but I decided to go with thinly sliced fresh tomatoes.  Then there is this issue I have with MORE cheese and MORE garlic…

I definitely recommend trying this awesome recipe for a special occasion (and when calories don’t matter!)

Chicken Caprese Lasagne

INGREDIENTSChicken Caprese Lasagna
  • 3 cups cooked and chopped chicken (I used a rotisserie chicken)
  • 1 can (14 oz.) artichoke hearts, drained, chopped
  • 1 1/2 lbs. fresh mozzarella cheese
  • ½ cup grated Parmesan Cheese
  • 3 ripe tomatoes, thinly sliced
  • 1-1/2 pkg. low fat cream cheese
  • 1 cup Half & Half
  • 4 cloves garlic, finely minced
  • 1/3 cup fresh basil, chopped
  • 1 box lasagna noodles, cooked
  1. Preheat oven to 350 degrees F
  2. Combine chicken, artichokes, 1 cup of the mozzarella cheese shredded, the grated Parmesan, and half of the basil in a bowl.
  3. In a separate bowl using an electric mixer, beat cream cheese and garlic until well combined.  Add Half and Half, and beat until creamy. Gently stir in half the basil. Set half of the cream cheese mixture aside and stir the remaining half into the chicken mixture.
  4. Spread half of the cream cheese mixture in the bottom of a 13 x 9 baking dish.
  5. Layer 4 noodles on top.
  6. Top with one third of the chicken mixture.
  7. Place one layer of thinly sliced tomatoes.
  8. Repeat the noodles, chicken  mixture and tomatoes two more times, ending with a noodle layer.
  9. Top with the other half of the cream cheese mixture.
  10. Place slices of fresh mozzarella slices on top.
  11. Top with a little more fresh basil if desired.
  12. Bake 45 min. or until heated through and bubbly on top.
  13. Get ready to moan!


Cheers & Hugs,

Jodi


Fresh Raspberry Chocolate Chip Cookies

Fresh Raspberry Chocolate Chip Cookies

O – M – G !  Fresh raspberries meet freshly baked homemade chocolate chip cookies – Can you even imagine the yumminess?!?!

Fresh Raspberry Chocolate Chip Cookie

I was a little skeptical about trying this, but I wanted to do something a little different…

something a little extra special…

You see I have a very special house guest arriving tonight.  My sweet McSister, Kelly.

And what kind of hostess would I be if I had no fresh cookies on hand??!!  (And besides – last week’s batch of chewy oatmeal raisin cookies has vanished, so we needed a fresh stash for my hungry guys.)  🙂

Fresh Raspberry Chocolate Chip Cookie 2

All I did was take my standard chocolate chip cookies recipe and fold in some fresh raspberries.

In order to avoid making a big pink, smooshy mess of the dough, I simply added a fresh raspberry to each ball of cookie dough as I formed it assuring that some of the berry remained in tact and the rest spread around to flavor more of the cookie.

If you love red raspberries, you are going to go crazy for these!

I hope my McSis likes them.

In case you are wondering why Kelly is so special…

Well – besides being an incredibly amazing woman, hospice advocate, and the best dirty martini maker east of the Mississippi, Kelly saved my life…

At least that’s the way I see it.

Several years ago, I was on a business trip to our Northeast PA office in Wilkes-Barre, PA.  It was a newly acquired entity to our business, and I didn’t know many of our new employees.  I don’t remember a lot of the details of the trip, with the exception of one biggie – the town decided to flood during my trip.

It was scary!  People were being evacuated, businesses were closed, and I was very anxious to get home.

Problem was – every road that led back home was flooded – even the major interstate.  Try as I might to drive home, I kept getting turned around and blocked by rushing water.

Giving up, I found the first hotel in the town I was in when I got stuck, but alas no room at the inn…  At every place I tried….

Kelly was one person in this area that I had talked to at least a couple of times.  I had her number in my cell phone, and I called her, practically in tears, seeking direction.

Kelly calmly informed me that she lived on “high ground” near the Pocono Mountains, and didn’t even hesitate to guide me, road by road, turn by turn, to her home, welcome me in with a hug as if we’d been friends for life, provide me with a soft, warm bed, some simple delicious food, and the best dang dirty martinis I have ever ever ever had (and I’ve had my share!)

Another co-worker had been evacuated from her home, so Kelly invited her to join our “party.”

That night, three ladies – all with last names that start with Mc – became “sisters.”

We laughed, we cried, we drank, we ate, we hugged, and we formed a bond that I will never ever ever forget.

My sweet Kelly has moved away from that area to a warm southern climate where her hubby got a new job, but she is still a valuable member of our company’s hospice team and a lifelong friend.  So when she informed me she was heading to Mars to visit our HQ office, there was no questions where she would be staying.  Her room is waiting.  Cookies are baked.  Olives are ready to be stuffed with blue cheese to float in martinis.

And my hubby will finally get to meet my McSister, Kelly.

Love you buddy!

Fresh Raspberry Chocolate Chip Cookies

Ingredients:Fresh Raspberry Chocolate Chip Cookie 2

4 sticks butter, softened
1 1/2 cups packed brown sugar
1 1/2 cups white granulated sugar
2 tsp vanilla
4 eggs
2 tsp baking soda
2 tsp salt
5 cups all purpose flour
3 cups Nestle Semi-Sweet Chocolate Chunks (1 1/2 bags)
2 cups fresh red raspberries

Directions:

With electric mixer, beat butter and sugar together until completely incorporated. Add vanilla and eggs, and beat until light and fluffy. Add baking soda and salt, and mix another minute. Gradually add flour and beat until well incorporated, but do not overbeat.

Fold in chocolate chunks. Refrigerate dough for at least 2 hours or up to 2 days.

When ready to bake, preheat oven to 375 degrees F. With your hands, form a cookie dough ball about 1-1/2 inches in diameter. Make an indentation with your thumb and place a fresh raspberry in the indentation. Squeeze together, shape and flatten slightly. Place on baking stone. Bake for 8-10 minutes. Do not overbake. Allow to cool on baking stone for 2-3 minutes, then remove to cooling rack to cool completely.

To make eating these even more special, enjoy with a nice glass of Port wine. Oooooo Laaaa Laaa!

Cheers & Hugs,
Jodi

April Showers – Celebrating with Charrie

cw 1

You might remember I shared the card & gift wrapping I made for our family friend’s shower yesterday.

Well, today I invite you to experience a little “taste” of the shower.  Charrie and her mom and the lovely hostesses gave me permission to shoot away and then share here with all of you.

The weather was sunshiny perfect, the hostesses smiles were just as bright, Charrie was beaming, and the details were amazing.  Enjoy the little visit to the party.

And you may notice I was completely slightly obsessed with the petit four and cupcake display! 🙂  I can’t wait to get the petit four recipe, and if successful, share them with you here.  They were TO DIE FOR!  (I know hubby will love them!  Layers of raspberry and apricot yumminess!)

Add to that blueberry pomegranate sangrias, pickled marinated asparagus, chicken salad, fresh fruit kabobs, and chocolate galore – oh my!!

Here is the lovely bride to be with her sister and maid of honor.  Aren’t they beautiful?

cw 2

Click on any of the photos to enlarge.  Hope you enjoy as much as we did.

cw 3 cw 4

cw 5 cw 6

cw 7

cw 8

cw 11 cw 13

cw 9

cw 17

cw 18 cw 20

cw 21 cw 24 cw 23

cw 25

cw 26

cw 27 cw 29

cw 30

cw 32

cw 28

cw 33

cw 34

cw 35 cw 37

cw 31 cw 38

cw 45

cw 39

cw 40 cw 41

cw 42

cw 47 cw 48

cw 22

cw 49

Cheers & Hugs to Charrie and Corey!  Looking forward to celebrating your big day with you soon!

Jodi