Love you Bunches

by the tide love you bunches 3

I cannot believe it is Back to School time already!  Where did the summer go?

And even though my boys are grown, I still get that funny feeling in the pit of my stomach this time of year…

When my boys were young, I was always a little sad to see summer end and have them go back to school.  Summer was so much fun!  I recall rushing to get our “chores” done in the morning, getting some semblance of a dinner started, even setting the table, and then spending lazy afternoons EVERY SINGLE sunny day at my friend, Barb’s pool.   Oh those were the days!   I was so fortunate to be a stay-at-home mom until Jake started 9th grade and Nick 7th grade.  There was no job I would have rather done when they were young.  (And I think that is why I can love my job so much now – because I have no regrets of time not spent with my guys when they were young – and since they don’t need me anymore – <SIGH!> – at least in the way they did when they were young – I needed more “purpose” to my days.)

I wonder if I’ll ever not get that feeling at this time of year?  When I hear my Dad tell me about the kids on the bus (and today is the first day of Kindergarten for the area where he is a bus driver – – – in his retirement after being bored staying home – – – hmmm – see any correlation there?! 🙂  ), my heart remembers those days of walking the boys to the top of the lane to meet the bus (and then take a walk with Tracy – who is still my walking buddy! 🙂 ) and passing the hours until they would come bounding home in the afternoon!

I sure did love those days and I sure do still love those guys – BUNCHES and BUNCHES!  And they both have terrific ladies they share their lives with now that I have grown to love also.   Marty and I are truly blessed.

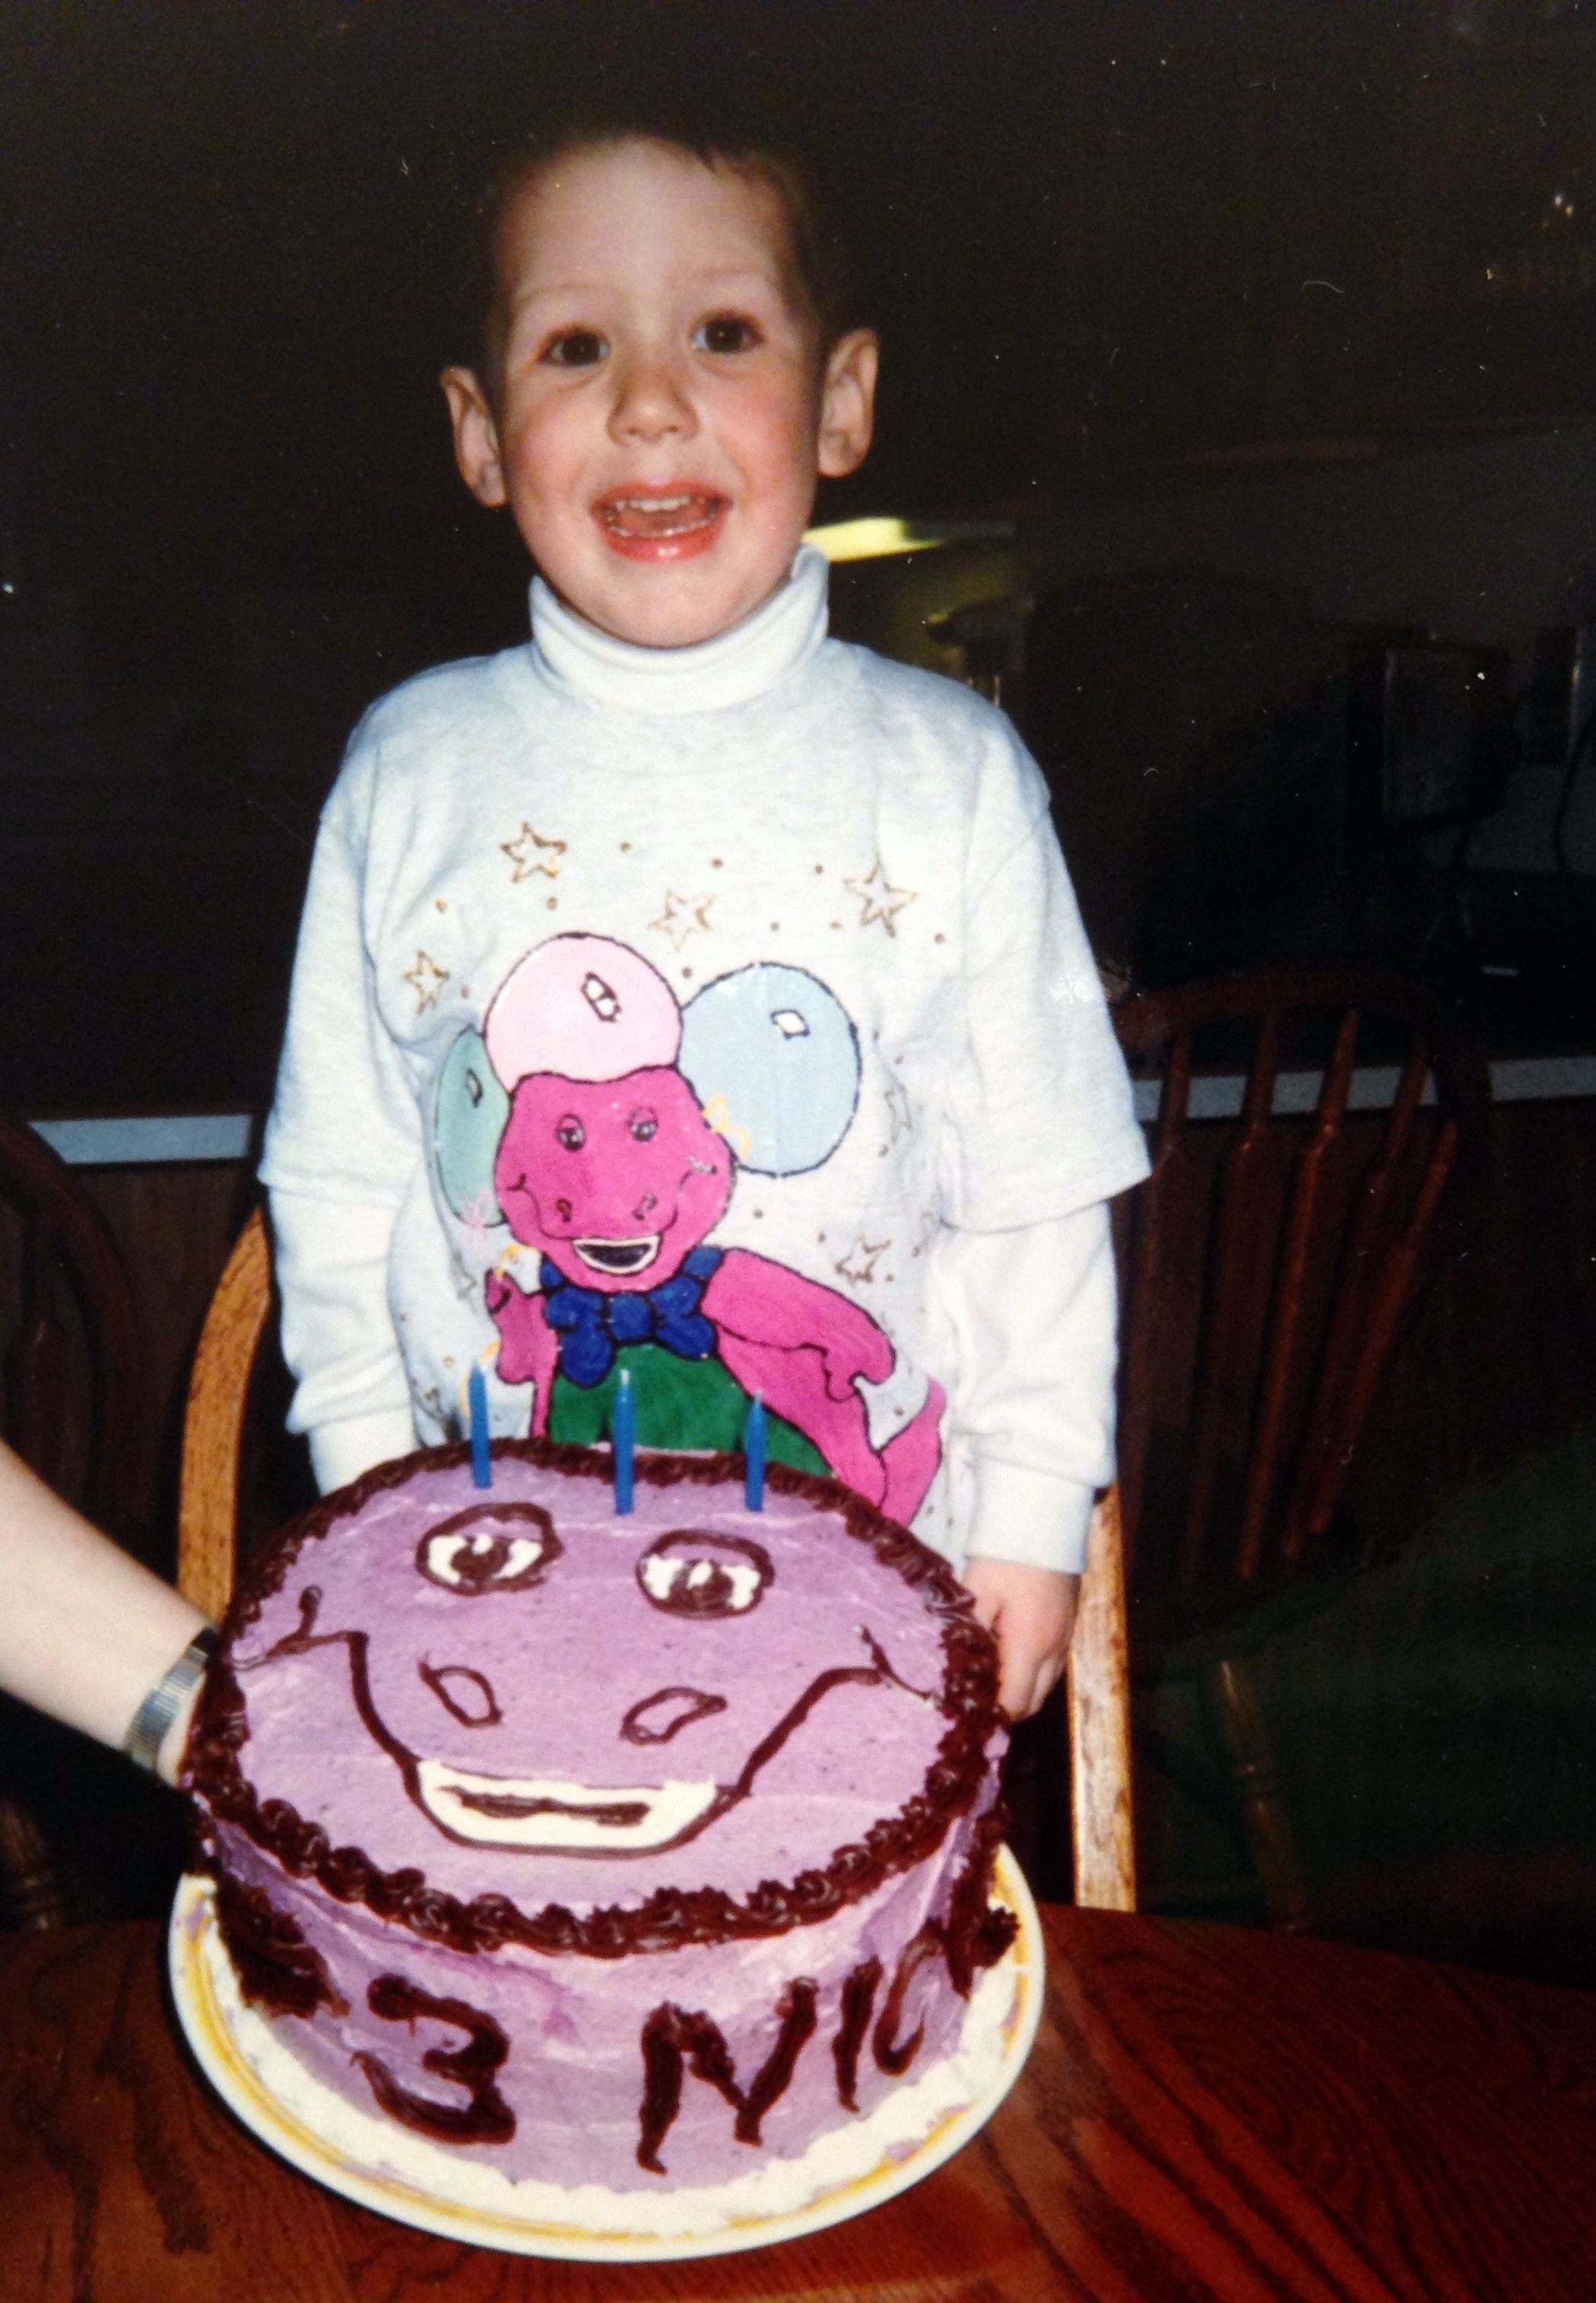
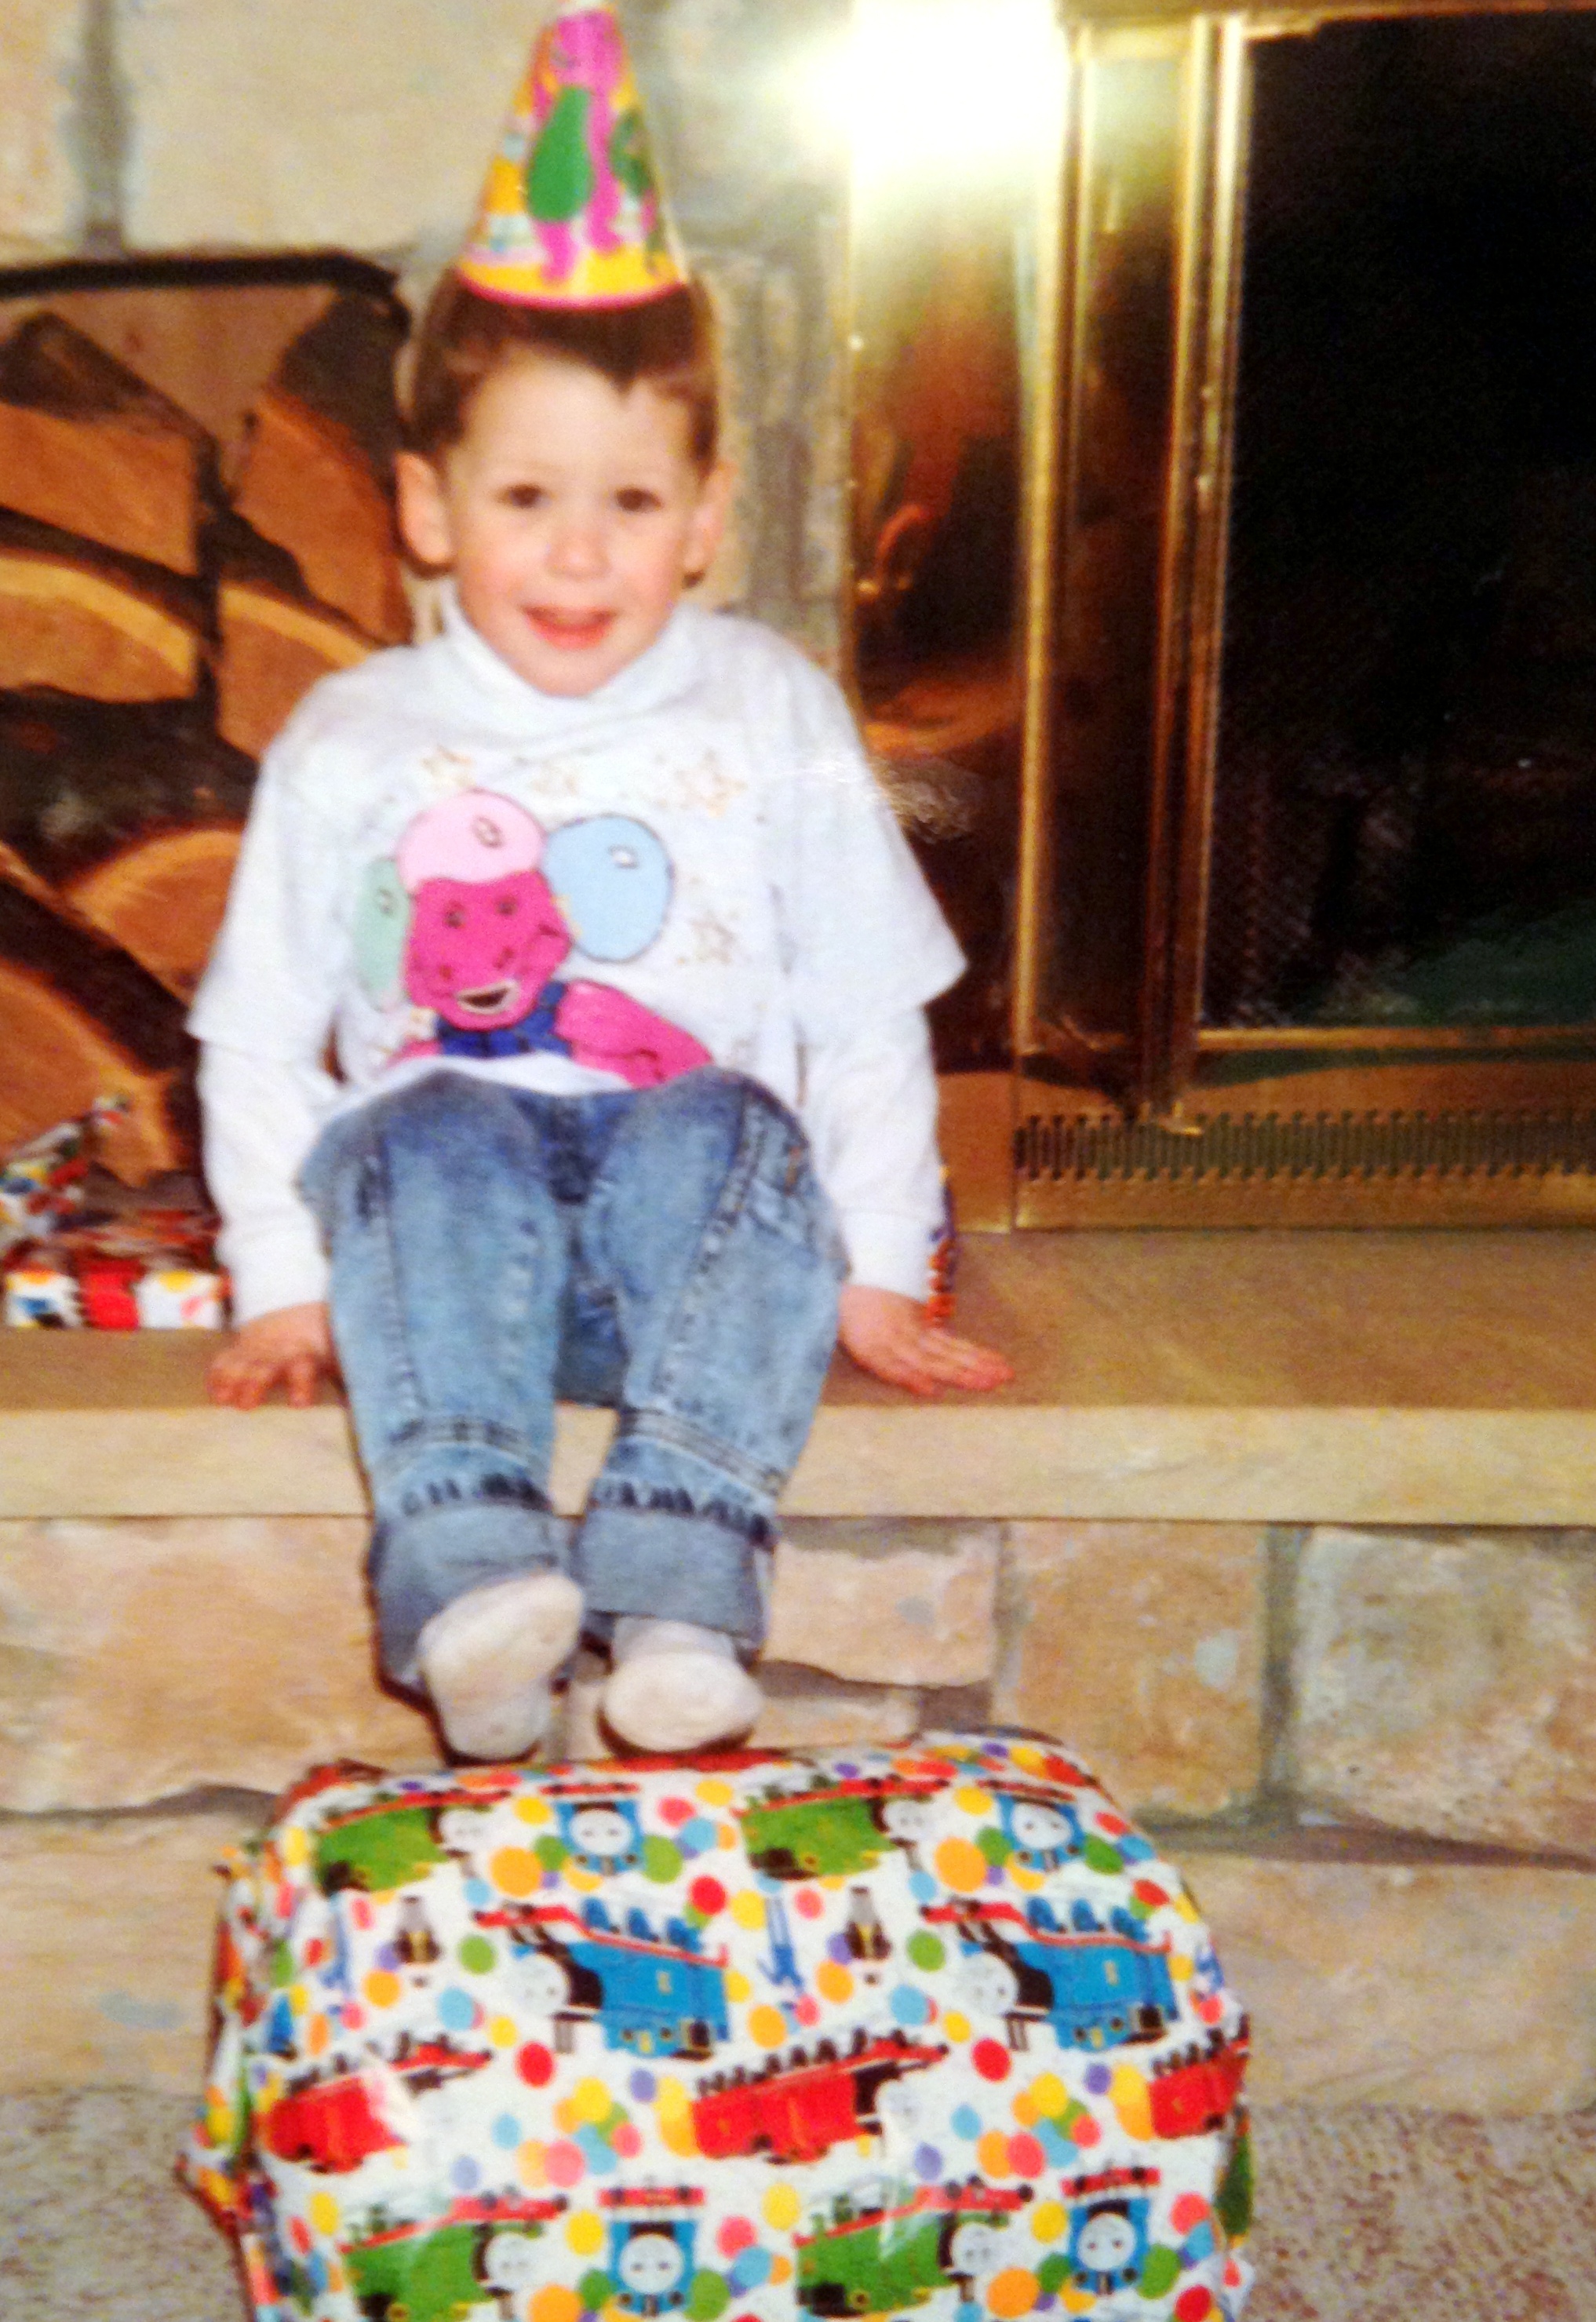
Here is one of my favorite “First Day of School” photos taken at the bus stop, which is close to 20 years old!:

photoGosh!  How did I blink, and that turn into this?!?!?

JMW Nick Jake
Well – enough of that reminiscing!  Thanks for indulging me if you’ve read this far!  🙂

I hope you all are enjoying (or at least getting through) this back to school time of year!

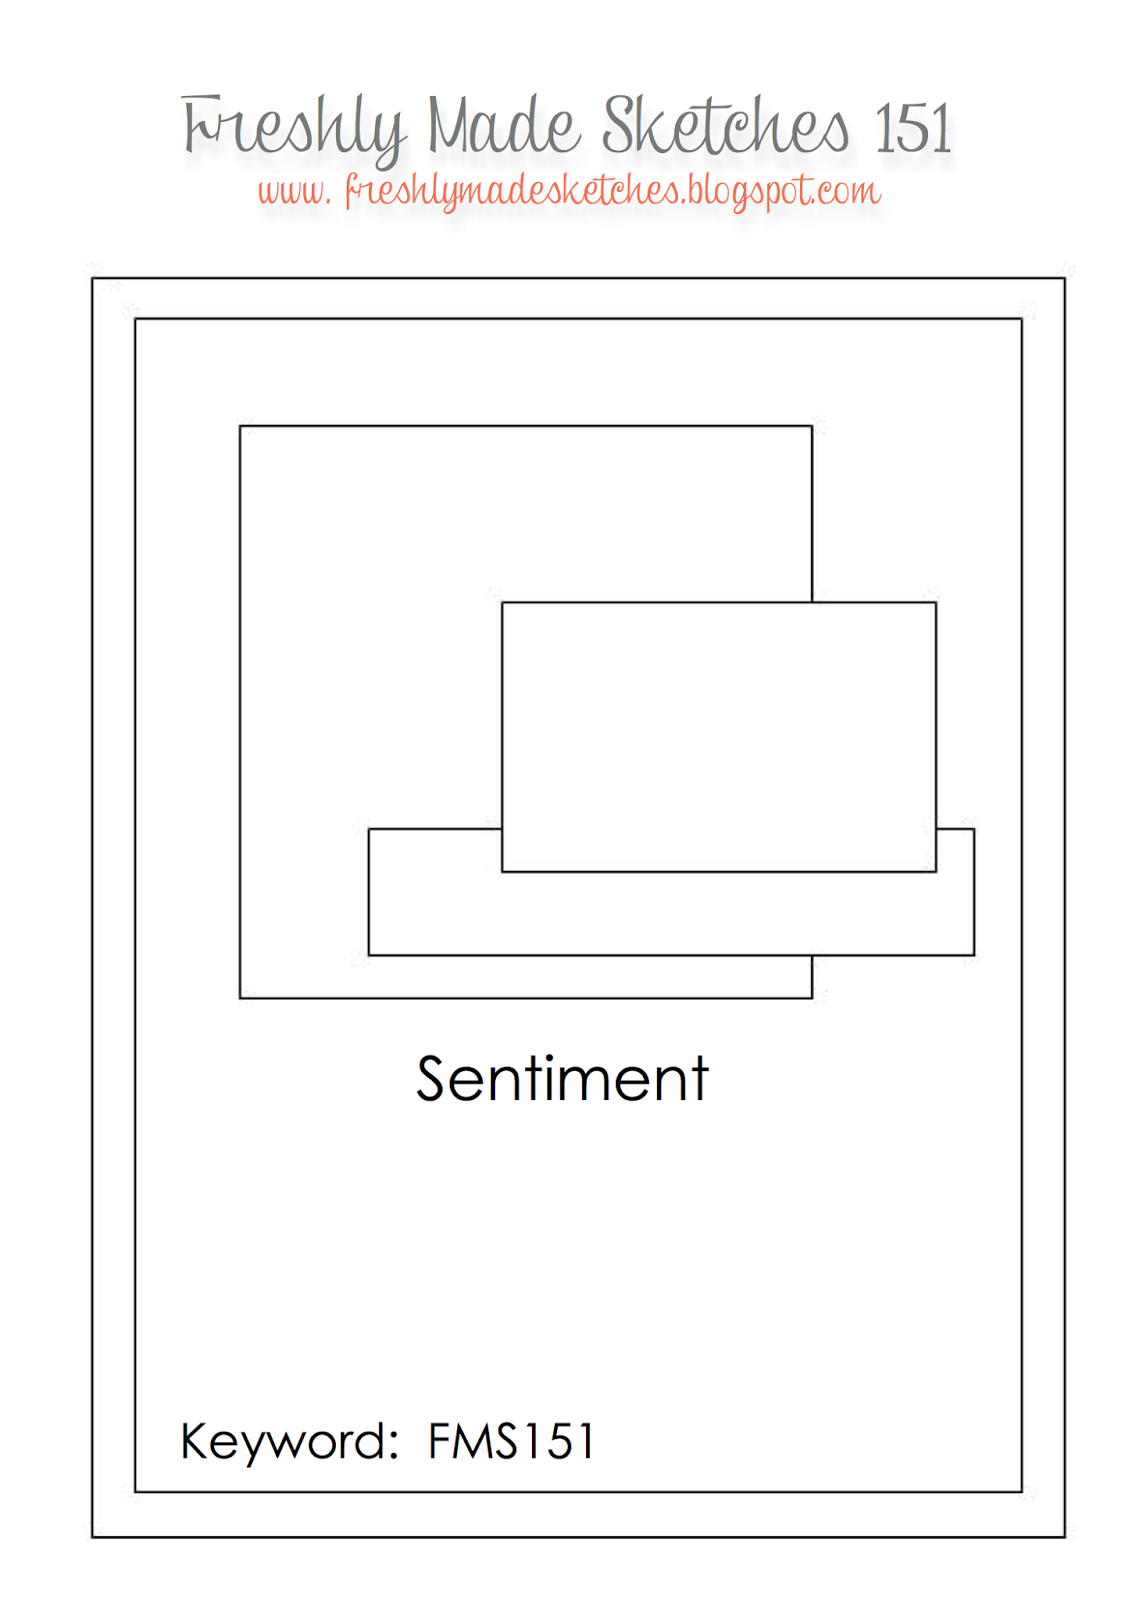
The card I am sharing today is one I created for a new challenge to me – Freshly Made Sketches #151.  Here is the sketch we were presented with to create a card design from:

untitledSince I have lots of guys in my life, I need to come up with some more “masculine” cards.  For this design, I used SU By the Tide stamp set for the fish and seaweed, did a little watercoloring and sea salt technique to create my “ocean” background square, used some fun Neat ‘n Tangled “Punchinella” for an embellishment (cool stuff to repurpose the sheet that sequins are punched!!), a little fish scale look with my #WinkofStella brush pen (do you think I just love this brush pen because it is named after MY Grandma!? 🙂 ), and a couple of pearls for bubbles.

Enjoy – and Happy Back to School time!

by the tide love you bunches 3Cheers & Hugs,

Jodi


Sometimes you just MUST have Chocolate!

rolo fudge brownies

Words are not needed…….

rolo fudge brownies 2

Sometimes you just MUST HAVE chocolate!

rolo fudge brownies 3

I could do nothing to perfect this amazingly decadent recipe for Rolo Fudge Brownies shared by one of my favorite bloggers, Cookies & Cups.  Thank you Shelly!

Rolo Fudge Brownies (as originally posted by Shelly at Cookies & Cups)

Ingredients

  • 1 box prepared Fudge Brownie mix
  • 1/2 cup caramel sauce
  • 2 cups unwrapped Rolo candy, candies cut in half after measured
  • 1 (14 oz) can sweetened condensed milk
  • 3 cups semi sweet chocolate chips
  • 2 tsp vanilla


  1. First make Fudgy Brownies in a 9×13 pan lined with aluminum foil and sprayed with cooking spray.
  2. Let brownies cool completely.
  3. Pour and evenly spread caramel sauce over brownies, it will be a very thin layer
  4. Spread chopped Rolos over caramel sauce
  5. In a medium saucepan over low heat melt sweetened condensed milk and chocolate chips together.
  6. Once melted remove from heat and stir in vanilla.
  7. Immediately spread over Rolos using an off-set spatula.
  8. Let fudge set for at least 2 hours and cut into squares.

Notes

Store airtight for up to 5 days. If you are using a boxed brownie mix, make according to package directions, but line the pan with foil and spray with cooking spray. It will make removing and cutting much easier. ( I missed this note when I prepared!)

TIP:  Did you know you could make sweetened condensed milk from a evaporated milk?  I was bummed when I realized I didn’t have sweetened condensed milk in the pantry, but had a couple of cans of evaporated milk.  I know there had to be a way to “convert.”  I googled – and Voila! – yep – simple – you just need to take a can of evaoporated milk and add (ahem – yikes – are you ready for this??!! ….) – 1 1/2 cups sugar!  Boil and let cool.

ENJOY!

Cheers & Hugs,

Jodi

Most Favorite

most favorite

I have ALWAYS had trouble choosing “FAVORITES”…..

Even as a child, I  could never choose a favorite color when asked….    I like one color to wear, another to just look at, another to decorate my house with….. how do you choose which one of those is your ultimate favorite???

Favorite food????  Well – favorite for breakfast, lunch, dinner, snack, dessert?????

Favorite book?  Usually every book I am currently reading is my favorite….

Favorite season?  Whichever one we are in!

Favorite holiday – well – that’s easy – CHRISTMAS!!!

Anyway – you see I have trouble choosing Favorites, but I LOVED this stamp from Neat and Tangled (the sentiment – the type font), and I figure I can send it to any one of my “favorites” – of which I am blessed to have a few 🙂

I do love black and white, and I just got this awesome SU Cherry Cobbler Sheer Linen Ribbon as a #FreebieFriday PRIZE from Linda Heller (thanks Linda!), and was dying to use it, so I created this card for The Paper Players Challenge #210. 

Here is the sketch challenge Jaydee created:pp210
I was so excited to be chosen as “A Cut Above” last week for my “Birthdays are for the Birds” card.  How fun is that?!?!?  🙂  I get to post this little badge, and you would think I won an Emmy!  (which I am watching while writing this, so excuse any typos as I switch back and forth…  another thing I love – Award shows! )

Cut Above Badge

So here is my card – may not have nailed the challenge – but I still kinda like it – – –  just couldn’t decide which photo angle was my favorite…………
from the right……
or from the left ………?
You decide!  I just can’t!

most favorite 2

Thanks for checking in.
Just having some fun – – – at Life in Between.

Cheers & Hugs,

Jodi

Homemade & Healthy Chewy Granola Bars

granola bar cover

Are you often looking for a quick, yet healthy and energy-packed breakfast or snack-on-the-go?  I felt like making something this weekend, but wanted to resist a sugar laden baked good (after making and sharing a hefty portion of “Crazy Addictive Caramel Corn” for a Pig Roast picnic we attended on Saturday) 🙂

granola breakfast

I searched a variety of recipes on line, and tried to find a tried and true one I had from a work friend to no avail (Tonya – if you are reading this, I need that recipe again 🙂 )

granola bar ingred

I ended up using the basics of a recipe I found at Five Heart at Home 

granola bar mix

and tweaked it up Jodi-style – adding some of our favorite things

granola bkfst

After preparing, I packaged them in individual bags and refrigerated for anyone to grab on the go or for a quick pick me up or breakfast on the fly.

granola bars wrapped

My taste testers (Marty, Nick and Liz) all gave them a thumbs up 🙂

granola bar cover

Here’s the recipe as I prepared it, but feel free to substitute your favorite ingredients:

1 cup peanut butter
1/2 cup honey
1/2 cup coconut oil (solid form)
2 1/2 cups oats
1 cup shredded coconut
1/4 cup slivered almonds
1/2 cup chopped dried apricots
1/4 cup dried blueberries

Melt peanut butter, honey, and coconut oil in a saucepan.
Remove from heat and stir in remaining ingredients.
Spread in a 13 x 9 pan.
Refrigerate approximately 2 hours.
Cut into bars and wrap or bag individually.
Return to refrigerator.

Feel free to substitute other dried fruits (golden raisins, dried cranberries or cherries) or nuts (walnuts, pecans, peanuts) or even chocolate chips (milk, semi-sweet, white, peanut butter, butterscotch)  if you like.  They would be great with sunflower or pumpkin seeds, too, but I didn’t have any on hand…

Then, I found this great site called Spark Recipes where you can enter the ingredients to a recipe you create, and it calculates the nutritional information, so I have provided that here also.

granola bar nutritional info


Enjoy!

granola bars

Cheers & Hugs,

Jodi


The Next New Action Drama

JMW Nick Jake

TM1

Clean or Dirty…..

I think these two are ready for the next new action drama!

Or ….

maybe I’m just

Anudder #ProudMudder 🙂

Cheers & Hugs,

Jodi

Dazzling Dahlia

dahlia

Is there any more beautiful art than that created in nature?

(Thank you Gary for the beautiful bouquet!  Your dahlias are stunning!)

Aint it Good to Know You’ve Got a Friend!

MOJO359 2
Happy Friday!

Today I am sharing a card I designed for the Sketch Challenge #359 at Mojo Monday (MOJO359).

This card was totally inspired by one I saw done by Mojo Monday’s Julee Tillman.

Mojo359SketchHere is the sketch we were challenged to design from.

For my card, I started with some Navy and White SU DSP, embossed a “friendly” sentiment on vellum with gold embossing powder, colored a flower from SU Bloom with Hope with alcohol markers, then fussy cut and embellished with #WinkofStella and glued and stitched it all together for this fun friend card.

MOJO359 closeup

If you have a few moments, enjoy one of my all-time favorite versions of one of my all-time favorite songs 🙂

Friends make the world a better place.

Aint it good to know you’ve got a friend?

Cheers & Hugs,

Jodi

Oh My Halupki! (Grandma-Style Stuffed Cabbage)

halupki cover

I think my Grandma made Halupki (stuffed cabbage to some) almost every week.

When Grandma cooked – even when it was just her towards the end of her life – she cooked for a small army…

Halupki pan 1

… and she ALWAYS made a care package for me.

I visited her at least once a week, and there was always a quart jar of some kind of homemade soup waiting for me in the fridge, usually a container of halupkis (or maybe stuffed peppers or something else that week), and then a bag full of goodies (cookies or cereal or candy or ALL three!) to treat the kids.

Grandma 80 birthday with Nick

Grandma’s 80th Birthday sharing her cake with Nick in our backyard

She kept an ongoing bag in the closet that she added to each time she shopped or made something so I always had a “Grandma Bag” to take home.  Sometimes she even picked up dish towels or other small kitchen tools.  She was always thinking of me, and always so giving.

I haven’t made halupkis in quite a while, so thought it would be fun to do.  (Funny how this blog has inspired me to stretch out of the normal chicken salad, pasta with meatballs, and other “usual” dinners to more creativity so I can blog about it…)  Definite bonus for Marty and family and friends that I share the “lovin’ from my oven” with 🙂 .

halupki 1

I hope Grandma would be proud of my halupkis – – – though hers were pure perfection – each sized the same in tight little cabbage packages – – – I’m not so fussy…

Halupki is a dish made of rice, beef, and pork encased in cabbage with a thin, sweet tomato sauce.  Every family has their own twist on this traditional “hunky” comfort food dish.

halupki pan closeup

One of Grandma’s tricks for her sauce was to mix tomato sauce, tomato soup and some of the water the cabbage was boiled in.

halupki 2

I hope you enjoy these with mashed potatoes – a must with Grandma’s halupkis.

halupki plated

Here is the recipe as I made it and as I recall from Grandma.

Makes: Enough for a small army (or approx. 60 halupkis)

Preheat oven to 350 degrees F.

3 large heads of cabbage, cored
2 lbs ground beef
2 lbs pound ground pork
2 lbs ground veal
1  1/2 lbs thick sliced bacon
4 cups cooked white rice
3/4 cup chopped onion
4 cloves garlic, minced
3 eggs
Salt and pepper to taste
2 28 oz can tomato sauce
4-5 Family size cans Campbell’s Tomato Soup

halupki pan closeup

Place cabbage in a deep pot and cover with water. Add salt to taste, and bring water to a boil.

Remove outer leaves as they begin to separate from cabbage head. Continue to pull leaves off while boiling for approximately 15 minutes. Trim thick center vein off cabbage leaves. Chop remaining core of cabbage and place in bottom of greased (I use Pam spray) roasting pan.

Reserve 4 cups of the cabbage water to mix with the tomato sauce and soup for sauce. Combine sauce ingredients and place 2 cupx over chopped cabbage in roasting pan.

Chop bacon into bite-sized pieces and fry. When cooked, drain off most of the grease, leaving enough in the pan to saute onions and garlic. Saute until translucent.

In a large bowl, combine ground beef, pork, veal, bacon, rice, onion, garlic, egg, salt and pepper.

Form oblong balls of meat mixture and place in center of cabbage leaves. Fold sides over filling and roll cabbage around meat.

Place in a roasting pan on top of chopped cabbage and sauce. When all are rolled and placed, pour remaining sauce over top of all.

Cover pan, and bake approximately 4 hours, basting every 30 minutes.
ENJOY!

71q-+ZrrnAL._SL1050_
Best Ever Blue Enamel Pot for Roasting Halupkis! You can get it HERE!

Cheers & Hugs,
Jodi

Birthdays are for the Birds

child birthday card punch art birds on wire

Birthdays were so much fun when we were kids – right?

And even more when my boys were young and we could do (what they eventually came to dread….)

THEME parties!

I recall parties themed with pirates and magic shows, and Barney the purple dinosaur………

jake 5 cake jake 5 pirates 2 jake 5 pirates

Oh the days….  (I can’t believe these were over 20 years ago now!)

Nick 3Nick 3 2

So I was excited to see The Paper Players Challenge #209 this week be a child’s birthday card.  Gave me a chance to be silly and fun.

pp209

Leanne Pugliese, of The Paper Players Design Team, is celebrating her granddaughter, Cassidy’s, 4th Birthday this week (Happy Birthday Cassidy!), so she chose a Clean and Simple (CAS) Child’s Birthday Card for #PP209 Challenge.

child birthday card punch art birds on wire
My card is a “punch art” card.  I’ve seen some amazingly creative critters created out of punched out shapes.  They range from puppies and turtles and hippos, lions, elephants, and monkeys to caterprillars and lambs and bears and birds – silly birds, angry birds, real birds.  There are some awesomely talented artists and designers out there!

I saw little birds similar to these somewhere at some point and thought they would make a fun child’s birthday card – especially for a “wee one.”  My “birds” are cut out using SU framelit circles and the bird builder punch for the wing and nose.  I sponged them with some pumpkin pie ink, glitzed their feathers a bit with #WinkofStella, cut out party hats from SU DSP, added some Crystal Effects to their beaks, and popped on a candy dot for the eye.  The background is done with a cloud embossing folder, the “telephone wire” is made from baker’s twine, and the Happy Birthday sentiment is from the Bloom with Hope stamp set.

I can’t wait to share this card with a wee one on their birthday.  As for me – no more birthdays please…  Birthdays are for the birds!

Cheers & Hugs,

Jodi