Shrimp & Vegetable Lo Mein

Lo Mein

Anyone who has followed along here at LifeinBetween.me for any length of time might be wondering what an ole’ Hunky Polish chick that loves baking cookies and cakes and breads and makes halupkis and haluski and pierogies is doing trying her hand at Chinese comfort food….

Well – why not?!

And oh YUMMMM!

Lo Mein 2

Who knew how easy and healthy it could be without buying it from the local Chinese take-out?

And is there anything more versatile?!

The sky is seriously the limit with all the things you can mix into this!

Change up the protein from shrimp to chicken or pork or even beef.

Almost any vegetable works too!

Can’t find Lo Mein Noodles at your local grocery?  Spaghetti noodles work just fine!

lo mein prep

I used inspiration from the real experts like the gang at The Woks of Life and  Chungha at Damn Delicious.

Here’s my version.

Homemade Lo Mein

  • Servings: Enough for a Hungry Family
  • Print

 Ingredients:

1 – 1.5 lbs Thin Spaghetti (or Lo Mein noodles) – cooked al dente
1 lb Cooked, Deveined Shrimp, Tails removed (or chicken or pork or beef)
5 cups spinach leaves
1 cup shredded julienne carrots
1 cup diced celery
1 cup sliced mushrooms
1 cup thin asparagus tops
1 cup green onions, cut into 2 inch lengths
1 cup sugar snap peas
2 red peppers, cut into strips
2-3 cloves minced garlic
3 tsp. Olive Oil
Sauce:
5 Tbsp. Soy Sauce
1 Tbsp. Sesame Oil
2 Tbsp Sugar dissolved in 2 Tbsp hot water
1 tsp Salt-Free Asian Spice Seasoning
1 Tbsp freshly minced ginger
1 tsp Siracha Sauce

Directions:

Heat olive oil in large wok or skillet. Add garlic and cook for 1 minute. Add rest of vegetables, except spinach (any of the above or any that you like) and cook for 4-5 minutes. Stir frequently. Add cooked shrimp (or protein of your choice or simply keep vegetarian). Cook 2-3 more minutes. Add spinach and cook 1-2 more minutes. Stir in noodles and sauce mixture. Gently toss.

Serve and enjoy!

Need to see it again?

Lo Mein 2

Cheers & Hugs,
Jodi

Cinnamon Popcorn & How I Flunked out of Poetry School

cinnamon popcorn


So just yesterday I announced how I was taking on a two-week poetry challenge for the WordPress Daily Post…  Right?

Today’s assignment was the topic of Trust using an Acrostic Poem and using Internal Rhyme…….. YIKES!

It is 10 pm.

I’ve worked all day, spent the evening at a fun card class with Colleen (and Katie :)).

I’m sipping a G&T, and… WTH!

Too much to deal with…  too many rules…

I like poetry and all, but….

Can I just share a recipe instead?  🙂

How about some yummy and SUPER easy Cinnamon Popcorn?!

At first try, I was so-so on this, but after my G&T (and skipping dinner), I think I might have to throw the rest of this stuff away before I eat it all!!

Some of you may recall my super-addictive, super-delicious, super-amazing Homemade Caramel Corn.  It is so crazy delish – seriously!  A MUST Make recipe.  DO NOT HESITATE!

Well – when I saw recipes circulating for cinnamon popcorn, like Rachael Ray’s, I envisioned a kicked up version using Hulless Butter Popcorn.

I happened to have a bag of  Cinnamon Red Hot Imperials on hand.  Isn’t this an item in everyone’s pantry?!?!  🙂

cinnamon popcorn red hots

I also happened to have a bag of Snyder’s of Berlin Hulless Butter Popcorn.

cinnamon popcorn 1

So I adapted and created this Kicked-Up Version of Cinnamon Popcorn that I think you will like.

Give it a go…. or NOT if you are on a DIET! 🙂

cinnamon popcorn 2

This is how simple this stuff is:

Jodi’s Kicked Up Cinnamon Popcorn

1 bag (approximately 8 cups) Snyder’s Hulless Butter Popcorn (or you can pop 8 cups of popcorn)
1 cup Cinnamon Red Hot Imperials (or any other type of cinnamon candy)
1/2 cup water


Spread popcorn out on a baking sheet covered with parchment paper.
Melt cinnamon candy and water in a saucepan until completely melted.
Pour cinnamon candy over popcorn.
Bake in 250 degree F oven for approximately 20 minutes.
Let cool completely.

DEVOUR! 🙂


Cheers & Hugs,
Jodi


Chocolate Sprinkle Cherry Kiss Cookies

chocolate sprinkle cherry kiss cookie 5

Chocolate Cookies…  Sprinkles…. Hershey’s Kisses…. How can you go wrong?!?!

chocolate sprinkle cherry kiss cookie 1

Before heading away for a week, I had to make a special sweet treat for the guys.

chocolate sprinkle cherry kiss cookie 2

I had some Hershey’s Cherry Cordial Kisses in the pantry and thought it was time I used them.  PLUS I was dying to eat one or two or ten or twenty.

chocolate sprinkle cherry kiss cookie 4

I found a recipe for a Chocolate Valentine Kiss Cookies on The Kitchen is My Playground that sounded good, but since I didn’t have “Valentine” sprinkles, I just used some fun colorful ones and some chocolate ones.  Tracey’s are really cute with Valentine sprinkles though, so check the out here if you want to see.

chocolate sprinkle cherry kiss cookie 3

They are really chocolatey fudgy inside, a little crispy on the outside with the sprinkles and just the right amount of creamy chocolate cherry cordial in the center for a bite or two!

chocolate sprinkle cherry kiss cookie 6

Enjoy!

Chocolate Sprinkle Cherry Kiss Cookies

  • Servings: 25-30 cookies
  • Print

Ingredients chocolate sprinkle cherry kiss cookie 4

  • 1 c. all-purpose flour
  • 1/3 c. cocoa powder
  • 1/4 tsp. salt
  • 8 T. (1 stick) butter, softened
  • 2/3 c. sugar
  • 1 egg yolk
  • 2 T. milk
  • 1 tsp. vanilla extract
  • 3/4 to 1 c. assorted  sprinkles
  • 25 to 30 Hershey’s Cherry Cordial Kisses (or your own favorite flavor)

Directions

  1. Combine flour, cocoa, and salt; set aside.
  2. With an electric mixer on medium-high speed, beat butter and sugar until light and fluffy, about 2 minutes. Add egg yolk, milk, and vanilla; mix until incorporated. Reduce mixer speed to low and add the flour mixture until just combined.
  3. Wrap dough in plastic wrap and refrigerate until firm, at least 1 hour or overnight.
  4. Roll chilled dough into 1-inch balls and roll each ball in sprinkles completely covering the dough ball with sprinkles. Place balls about 2 inches apart on a baking sheet. Gently press down into the center of each ball slightly to make a very small indentation.
  5. Bake at 350 degrees 10-12 minutes.
  6. After removing cookies from the oven, immediately place a Hershey’s Kiss in the center of each cookie. Let cookies cool on the baking sheet for about 3 minutes, remove to a cooling rack to cool.
Original recipe found at The Kitchen is My Playground – please check out Tracey’s yummy blog.
Cheers & Hugs,

Jodi

Apricot Chocolate Chip Cookies

apricot chocolate chip cookies

Apricot and semi-sweet or dark chocolate is such a yummy combination, so I thought I’d try it in a cookie – as a twist to my “almost famous” chocolate chips cookies.

apricot chocolate chip cookie

and it’s a winner according to my guys.

apricot chocolate chip cookie batter

I snipped a half pound of dried apricots into the batter.

apricot chocolate chip cookies on rack

and tweaked up my original chocolate chip recipe by exchanging vanilla extract with half almond and half orange extract (though I think vanilla might be yummy too) and used 1/2 a bag of mini semi-sweet chocolate chips to allow the apricot to be the “star” of the cookie.

apricot chocolate chip cookies plate

The balance of flavors seemed just right.

Hope you’ll give them a try.

And can you believe it is the last day of January 2015 already!?!?  We are hunkering down for a snow storm here in Mars this weekend, and of course, the Super Bowl, so we will be set with some sweet treats if “needed.”  🙂

How about you?  What’s happening in your part of the world this weekend?

Have a good one!

Cheers & Hugs,
Jodi

And here is the recipe.  Enjoy!

Jodi's Apricot Chocolate Chip Cookies

  • Servings: 2 dozen large cookies
  • Difficulty: Easy
  • Print

1 cup butter, softenedapricot chocolate chip cookies plate
3/4 cup granulated sugar
3/4 cup brown sugar, packed
1/2 tsp. almond extract
1/2 tsp. orange extract
2 eggs
2 1/2 cups flour
1 tsp. baking soda
1 tsp. salt
1/2 lb. (8 oz.) dried apricots, snipped into small chunks
1/2 lb. (8 oz.) Nestle’s Mini Semi-Sweet Chocolate Chips

Blend softened butter with granulated and brown sugar with mixer until well incorporated. Add in almond and orange extract and eggs and mix on medium-high speed until creamy. Add in flour, baking soda, and salt on low speed until incorporated. Fold in apricots and chocolate chips.

Chill dough for at least 2 hours.

Preheat oven to 375 degrees F. Roll dough into golf ball sized balls and flatten slightly.

Bake for approximately 10 minutes.

I think I will share this recipe with my friends over at Fiesta Friday for the Anniversary Party, because every party needs cookies – right?!  Check it out for lots of awesome recipes by some amazing foodie bloggers!

Blackberry Blondies

Blackberry Blondies 1

My son, Nick declared these Blackberry Blondie Cookie Bars “the best dessert” I’ve made in a long time!  (I think he ate four last night – and he usually has extreme self control over sweets)  Score!  🙂

Anyway, I have literally been longing to bake something…

I had a big, juicy carton of fresh blackberries in the fridge I bought to eat with my morning cereal, but when I found this recipe for Blackberry Blondies from Nicole Weston at BakingBites.com, I knew this is what I wanted to make.  Thanks for sharing Nicole!

Blackberry Blondies 2

Blondies are basically the opposite of brownies in that they are the same idea of a bar-type cookie, but typically vanilla flavored instead of chocolate.  Blondies can be plain or they can be the base for many different additions – like these yummy blackberries.

blackberry blondies 3

And since this recipe uses fresh, vitamin-packed blackberries (not a sugar-laden preserve or fruit filling) – they are a teensy bit healthy – eh? 🙂

I only had a bite of one, so I could know what they taste like, and it was so worth it!  YUM!  (And yes – I did go to the gym today)

These remind me of blackberry cobbler in a cookie.  How divine is that?!?!

Here is the recipe from Nicole at Baking Bites with just a few small tweaks I made.  I was out of vanilla extract (seriously don’t know how that happened!), so I used all almond extract, and you know what?  I don’t think I would change it.

Hope you will try, and hope you enjoy.  Let me know if you do.

Blackberry Blondies

1/2 cup butter, melted and cooled
1 cup sugar
1/4 tsp salt
1 large egg
1 tsp almond extract
1 cup all purpose flour
1 1/2 cups fresh blackberries

Preheat oven to 350F.
Line a square 8×8-inch baking pan with parchment paper and lightly grease.
Whisk together butter and sugar in a large bowl until well combined.
Beat in salt, egg, and almond extract until well combined.
Stir in flour and mix just until fully incorporated.
Gently fold in blackberries.
Transfer dough to prepared pan and spread carefully into an even layer.
Bake for about 35-40 minutes, until bars are set and golden.
Cool completely in the pan before cutting.

Makes 16.

Cheers & Hugs,
Jodi

Breakfast Energy Bars – Getting Back in the Groove

breakfast energy bars cover

My glorious two-week holiday “vacation” has come to an end, and it is time to get back to work – – – and back in the groove – of a structured work schedule – and a better eating and exercising habit too after a month or so of glutenous indulgence!

So yesterday, I made a batch of breakfast energy bars to have a go-to breakfast or protein and energy-packed snack.  I have made a similar version of these before and blogged about.  The beauty of this recipe is you can use whatever you have on hand (within reason) to create a unique bar each time.

I received several gorgeous sets of measuring utensils as Christmas gifts, so I was excited to get to use some of them for photographing below.  (Really don’t need to measure these things precisely…. but it made for a fun photo to share 🙂 ).  I gathered some creamy peanut butter, coconut oil, honey, oats, shredded coconut, a variety of seeds (pumpkin and sunflower), dried cranberries, and chopped some dates and some beautifully healthy English walnuts.

breakfast energy bars ingredients

To begin, melt the peanut butter, coconut oil, and honey in a good size saucepan.

breakfast energy bars saucepan

When melted, remove from heat and add your chosen dry ingredients.

breakfast energy bars saucepan and dry ingredients

Mix all ingredients until incorporated.


breakfast energy bars saucepan mix

Then spread in a 13 x 9 pan and chill for several hours until firm.

breakfast energy bars pan

Once completely chilled, cut into bars.

breakfast energy bars cut

I packed them in pairs in Ziploc bags and placed in the freezer – ready to grab for a quick breakfast at home…

breakfast energy bars home

or on the go…

breakfast energy bars on the go

Here is the recipe you can use to tweak with the ingredients you like:

Breakfast Energy Bars

1 cup peanut butter
1/2 cup honey
1/2 cup coconut oil (solid form)
2 1/2 cups oats
1 cup shredded coconut
1/2 cup chopped walnuts
1/2 cup chopped dried dates
1/3 cup dried cranberries
1/3 cup pumpkin seeds
1/3 cup sunflower seeds

Melt peanut butter, honey, and coconut oil in a saucepan.
Remove from heat and stir in remaining ingredients.
Spread in a 13 x 9 pan.
Refrigerate approximately 2 hours.
Cut into bars and wrap or bag individually.
Return to refrigerator or freeze.

Feel free to substitute other dried fruits (golden raisins, dried blueberries or cherries) or nuts (slivered or chopped almonds, cashews, pecans, peanuts) or even chocolate chips (milk, semi-sweet, white, peanut butter, butterscotch).

I am going to share this recipe as my first at Fiesta Friday #49.  Fiesta Friday is an online ‘party’, where bloggers share posts in a link up.  Everyone ‘brings’ (shares) a recipe, photograph, craft, memorable story, etc. to the party  I have been hearing about it from several others and decided to join the party this year.  Gotta love a good party – right?  🙂

Groovy Cheers & Hugs,
Jodi

Tired, Blocked, Blessed…

How is it that is is January 3rd, 2015 already?!?!

What a busy, wonderful, joy-filled holiday season it has been.

I have been a bit lazy in my posts lately, but only because I have been so busy simply enjoying life!

I have taken two full weeks off from my full-time job to just relish in and enjoy the holidays, and boy has it been lovely!

I spent the first few days of my vacation baking and shopping and last-minute preparations for the upcoming 4-days in a row of hosting festivities.

Grandmas Old Fashioned Apricot Nut Bread Last

christmas gifts 2014

We started on Christmas Eve by sharing dinner and the evening with our boys and and our sweet daughter-in-law.  We made our first prime rib dinner, exchanged gifts, and played games.

prime rib

risk christmas eve 2014

On Christmas Day, we hosted extended family for a hunky styled feast of halupkis and pierogies, ham, and lots of other goodies.

pierogi homemade polish pittsburgh

mason on christmas day

The day after Christmas was our special McHendy Christmas celebration with our “best friend family,” followed by Saturday with my Dad and “Mom II,” brothers and their families, Aunt and Uncle.

mchendy christmas

mchendy christmas 2

Sunday was spent with hubby’s 91-year-old Aunt who was in need of a little TLC.

Monday was an effort to get back to some normalcy and a bit of time in the gym.

Tuesday was prepping for New Year’s Eve celebrations, and Wednesday brought friends and family to celebrate New Year’s Eve (and my birthday!).

NYE 2014

NYE Kiss

We were fortunate to have friends stay over and enjoy New Year’s brunch.

Friday brought my first “free” day, so Marty and I took a ride to the city and I got to take some photographs with my new camera from Santa 🙂 .

pittsburgh 2 010215

Pittsburgh from west end 010215

Two more days of vacation, and I’m thinking,  “where did the time go?”

I’m glad the weekend is still in front of us!  Then it is time to get my groove back. 🙂

For now, it is cheers and hugs from a tired, but very content, very blessed, completely humbled, extremely grateful, but briefly blocked blogger who is so grateful for all of you and your “likes” and “comments” and love!

Jodi

Making Homemade Polish Pierogies

pierogi homemade polish pittsburgh

We revived another one of Grandma’s Christmas traditions this year.  We made her homemade Polish pierogi recipe.

I don’t know how Grandma did all this work herself every year for our holiday meal.  She never asked anyone else to bring anything.  She did all the cooking, all the baking, hosted, and did all the clean up.  Occasionally I was asked to dry dishes….  and I complained!  UGH!  How could I have?!  If only we had the wisdom of experience and could turn back time to show our gratitude and appreciation…

I am fortunate enough to have my hubby, Marty, help with these little buggers.  There are not a lot of ingredients, but there are a few tedious steps, and the dough is a bit “tight” to roll out.  pierogi 1

In fact, you would laugh if you would have seen me climbing on a chair and kneeling on the kitchen counter to roll it out easier!  Much less strain on the back that way! 🙂

pierogi 2

We made the filling the day before and refrigerated overnight so it was easy to roll into little balls for the filling.

pierogi 3

It is really important to seal them completely so the filling doesn’t seep out when boiling.

pierogi 4

I use a little bit of water on my fingers to help seal, then pinch with tines of a fork.

pierogi 5

Boiling only takes a few minutes, and they are done when they float to the top.

pierogi 6

When ready to serve, fry the pierogies in a skillet with butter until golden brown.

pierogi 7

Then the really yummy part comes when you caramelize sweet onions in butter and layer in between your pile or bowlful or pan full of these wonderful little pasta pockets of cheesy potato goodness.

pierogi 8

Pierogies are a Polish tradition and a Pittsburgh tradition.  There are even several stores/restaurants that strictly sell and serve pierogies.  They can be made with a variety of fillings.  Our favorite is potatoes and cheese, but we also love them filled with homemade saurkraut sauteed in pork.  Others fill them with a cottage cheese or prune filling.  Grandma always pronounced them ‘pee dough gee‘.  Some people spell them ‘pieroghi’.

Whatever way you pronounce it or spell or fill it, pierogies are a wonderful treat and another fond memory of my dear Grandma, my Stella star.

pierogi homemade polish pittsburgh

Here is Grandma’s Polish Pierogi Recipe:

Dough:
4 cups flour
2 eggs
1 tsp salt
1 pint sour cream
2 Tbsp melted butter

Potato & Cheese Filling:

2 lbs. potatoes (I like to use Yukon Gold) Peeled, Boiled and Mashed
1/2 lb Shredded Extra Sharp Cheddar Cheese (do not use pre-shredded)
Salt to taste
2 Tbsp butter

For Filling: Mash potatoes, add rest of ingredients, and blend well. Chill until ready to use.

Assembling the Pierogies:
Mix all dough ingredients together and knead until dough is smooth.
Roll out to approximately 1/4″ thickness and cut into 2-3″ circles with a drinking glass.
Add about a tablespoonful of filling to center, then fold over, seal, and crimp.
Place pierogies in boiling water and boil until they rise to the top, then remove.
When ready to serve, fry in butter in a skillet until golden brown.
Sauteed onions – the more the better are excellent served with pierogies.
We also love a dollop of sour cream on top.

Cheers & Hugs,
Jodi

Chocolate Caramel Crisp Cookies

Chocolate + Crisp, Salty, Buttery Ritz Crackers + Rolo Candies = PURE BLISS in my book…
Do you agree?

chocolate caramel crisp cookies 1

Oh THANK YOU, Ruthanne at easybaked.net for sharing this super easy, wonderfully delicious recipe!

chocolate caramel crisp cookies 3

It is literally THREE (3) ingredients + any embellishments you want to add – or not.

Ritz Crackers
Rolo Candies
Chocolate

Now seriously – anyone can do that – right?

chocolate caramel crisp cookies 5

chocolate caramel crisp cookies 6

And according to Ruthanne’s Dad, they are the BEST cookies he’s ever eaten…

chocolate caramel crisp cookies 2

Here is Ruthanne’s recipe from her awesome websiteeasybaked.net:

INGREDIENTS: (makes about 50 cookies)

  • One box of Ritz Crackers
  • One bag of Rolo caramel candies
  • Two bags of Wilton’s Candy Melts in dark (or milk) chocolate – ( I used one of each)

DIRECTIONS:

  • Unwrap all those little Rolos…this is the hardest part of this recipe….booooring!
  • Preheat oven to 350F degrees.
  • Place Ritz Crackers, bottom side up, on a cookie sheet and set one unwrapped Rolo on each one.
  • Put these into the oven and leave them for one to two minutes until the Rolo is soft enough to press flat with another cracker- I actually just kept checking until they were soft enough.
  • Remove them from the oven and use another Ritz cracker to make a little sandwich of that soft Rolo.
  • Allow these to cool completely.
  • Melt Candy Melts in the microwave in 30 second increments, stirring in between until they are completely melted and smooth.
  • Cover each cookie with melted chocolate and use a fork to lift the cookie up. Tap the fork against the side of the bowl to allow excess chocolate to drain off, slide bottom of cookie along edge of bowl to remove extra off bottom, and tip gently off fork and allow cookie to slide onto parchment or wax paper. Sprinkle/ decorate as desired and allow cookie to harden completely.

ENJOY!

chocolate caramel crisp cookies 4

Cheers & Chocolately Hugs,

Jodi


Grandma’s Old-Fashioned Apricot Nut Bread

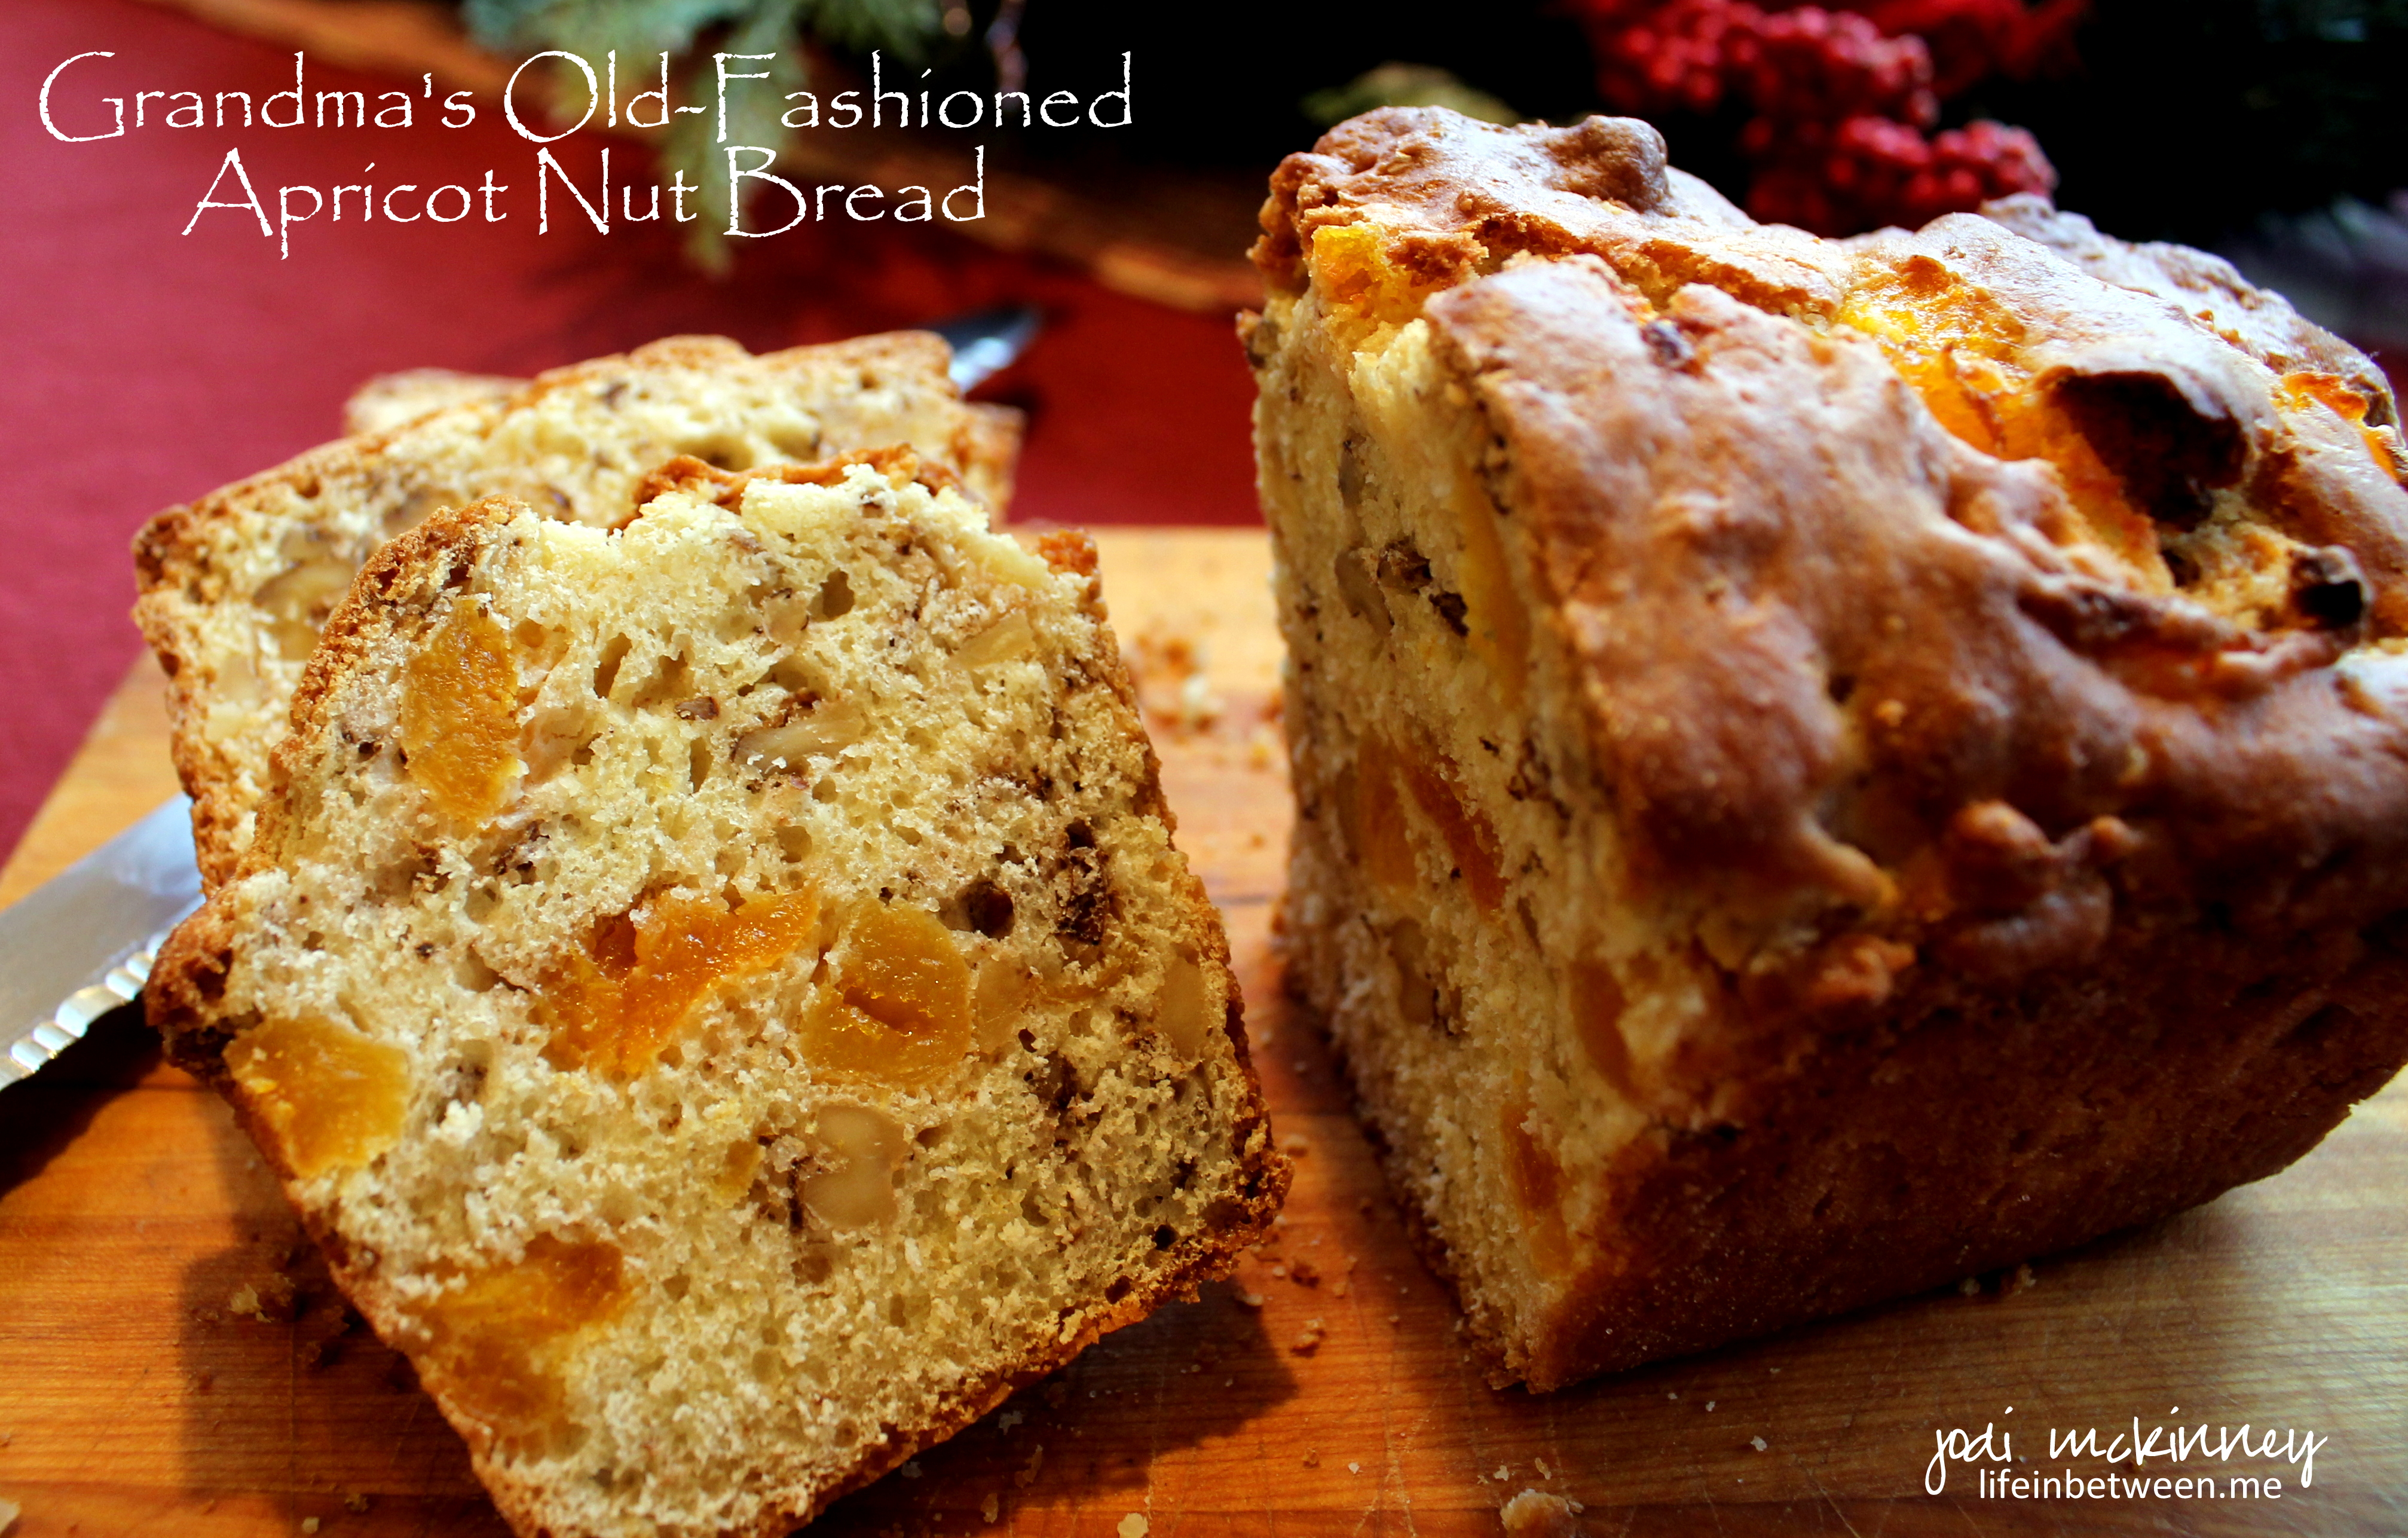
One of my favorite things to bake (and eat) for the holidays is my Grandma’s Old-Fashioned Apricot Nut Bread.

Grandmas Old Fashioned Apricot Nut Bread Cover

For me, it is like spending a little time with Grandma – even though she’s been gone for 20 years now.  The smells that fill the house… using her recipe card – complete with stains from baking episodes past… using her old tin measuring cup, snipping apricots, chopping nuts…  To me, the holidays aren’t truly here until I make Grandma’s Apricot Nut Bread and spend a little time with her through this ritual.

When I was young, I spent Christmas vacations (and every other moment I could) with Grandma.  We spent a lot of our time together in the kitchen.  While we were cooking or baking, Grandma would tell me stories about her childhood.  It was sadly a pretty short one, because she had to become Mama to her baby brothers at only 9 years old when her mom died at a devastatingly early age.  We would talk about her early married life with outhouses, coal furnaces, and washboards.  And some of my favorite stories, especially when I was young, were the ones she would tell about me when I was a baby and how she danced in the hospital hallway with the doctor after I was born and how she fed me her homemade chicken soup on my first day home.

We laughed while we worked, and I never felt so loved.

One of the things Grandma made every year was Apricot Nut Bread.  Growing up, it really wasn’t my favorite.  I much preferred the lady locks or nut horns or nut roll – even the chocolate chip cookies.  This bread is not overly sweet.  It is not overly moist.  But as an adult, it has become my absolute favorite.  A slice with a swirl of creamy salted butter or a schmear of rich cream cheese and a cup of coffee might just be my favorite way to start the day.

This weekend, I made my annual batch of Grandma’s Old-Fashioned Apricot Nut Bread.

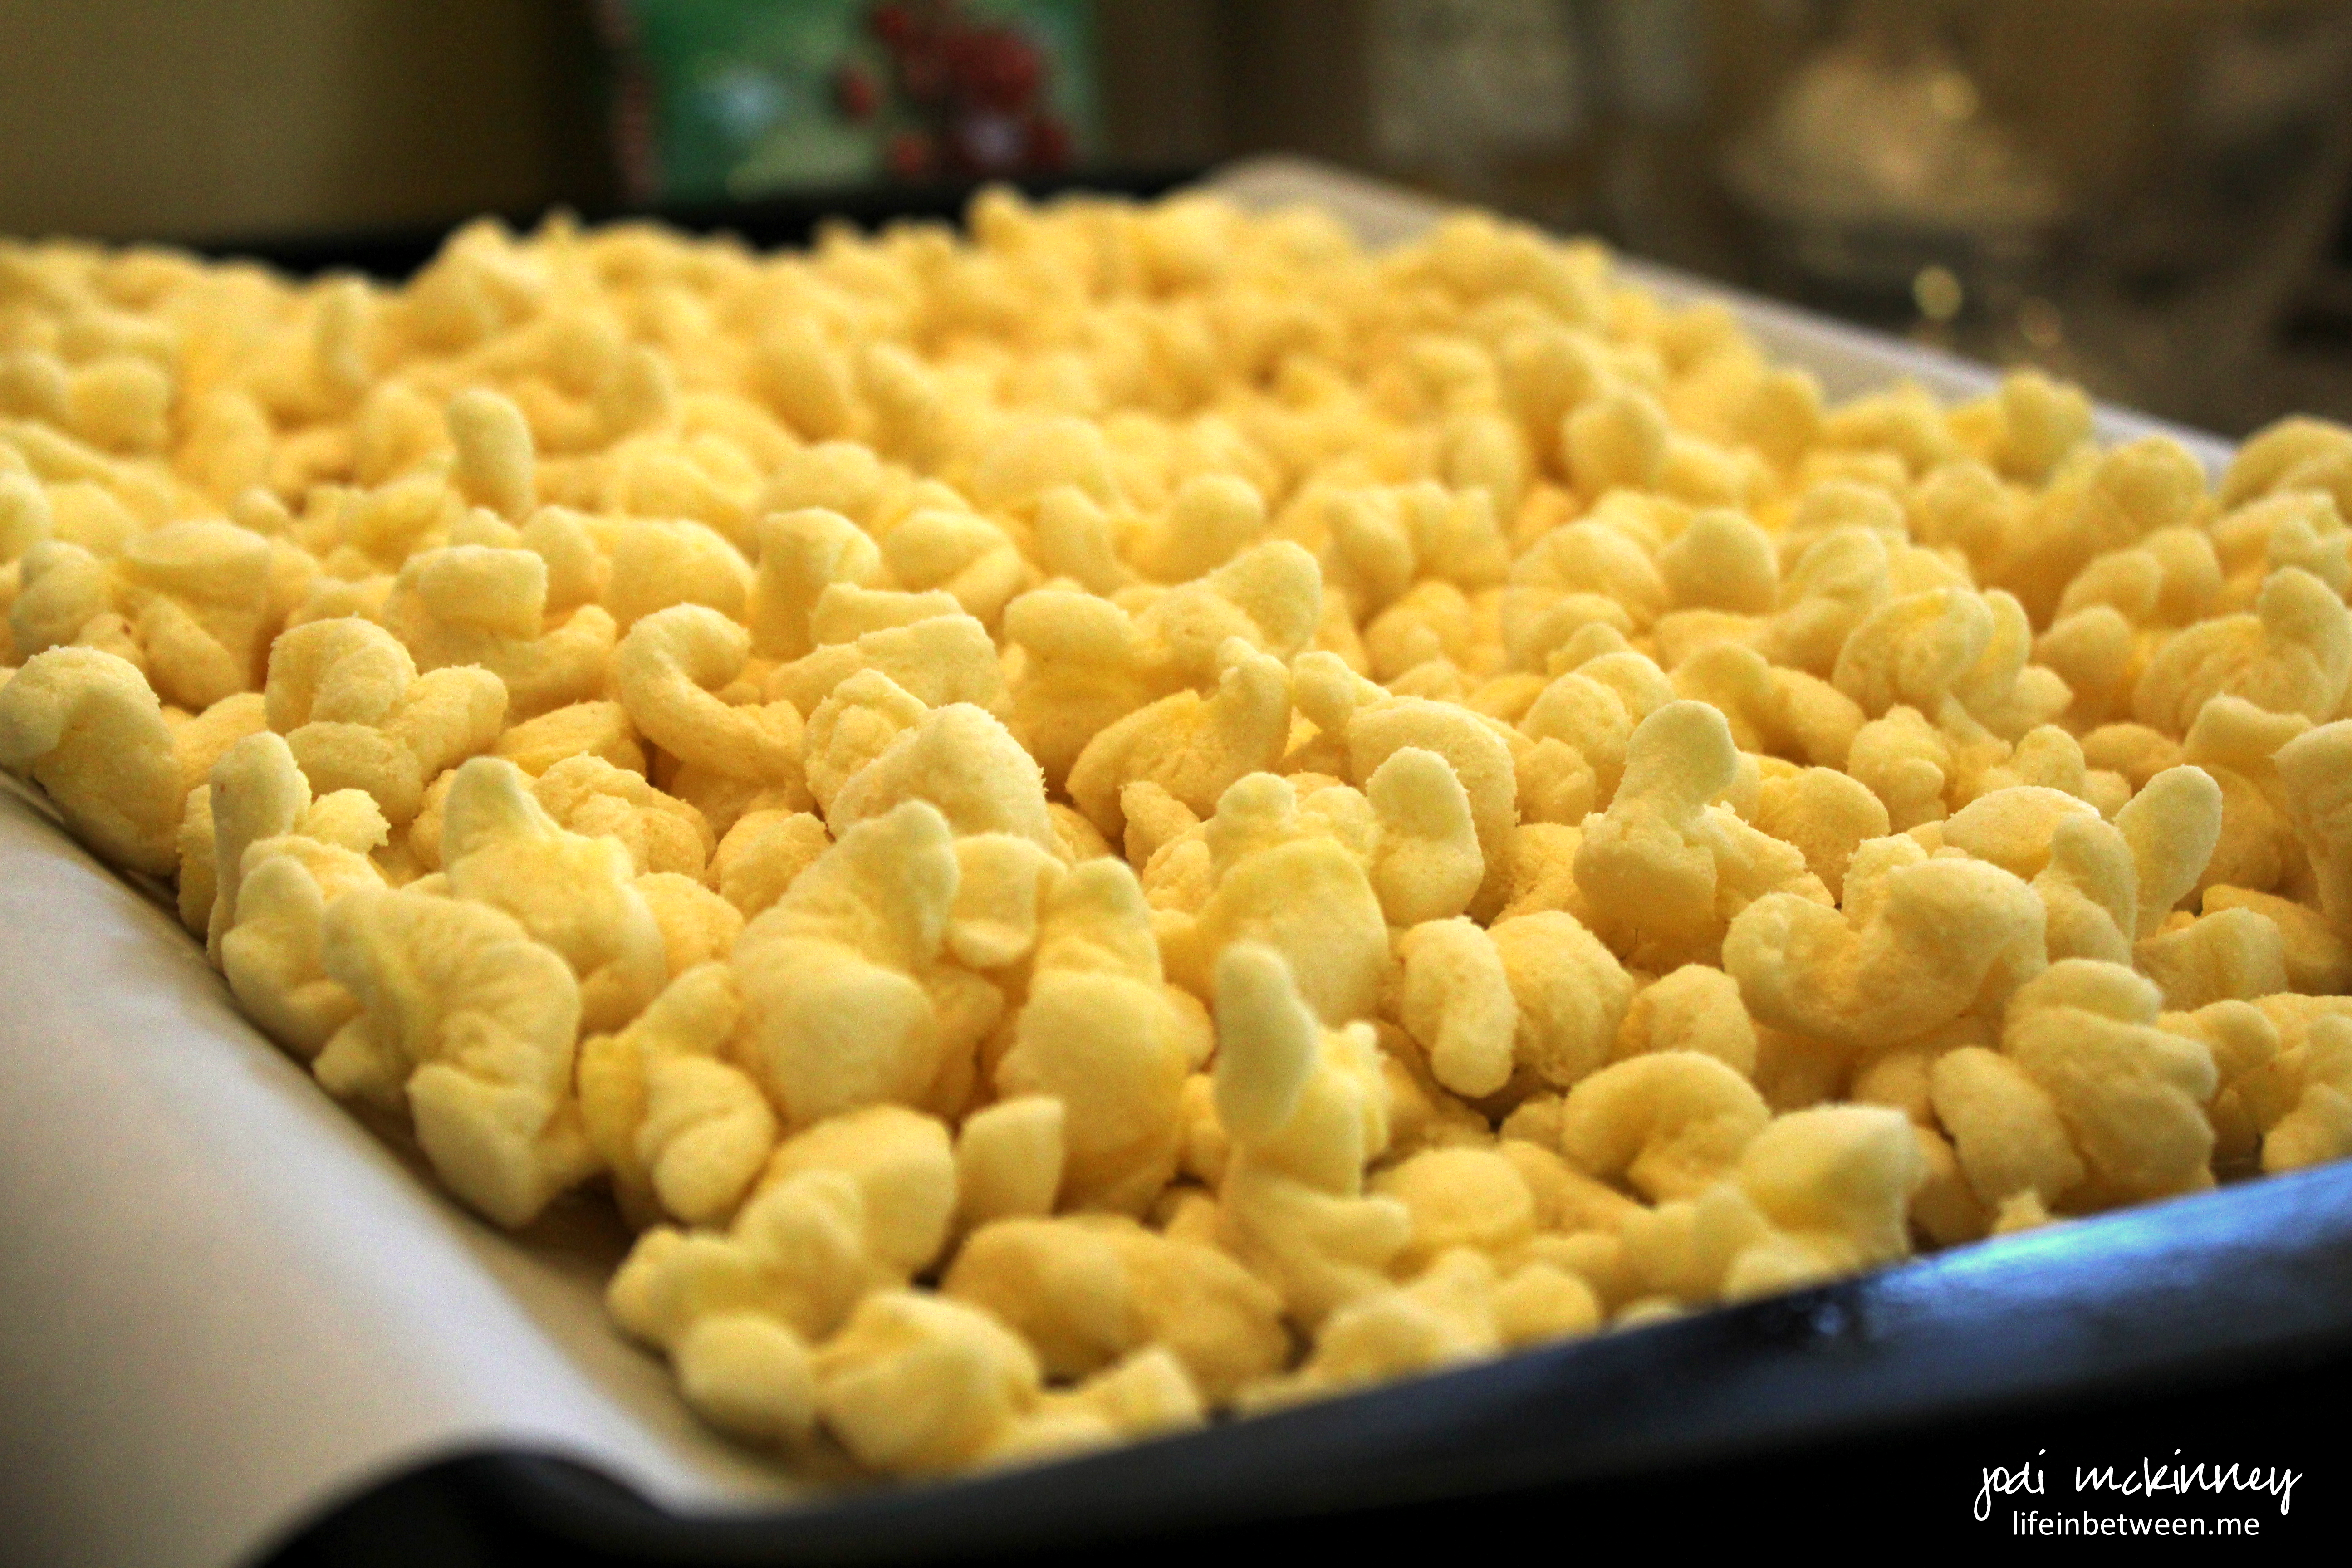
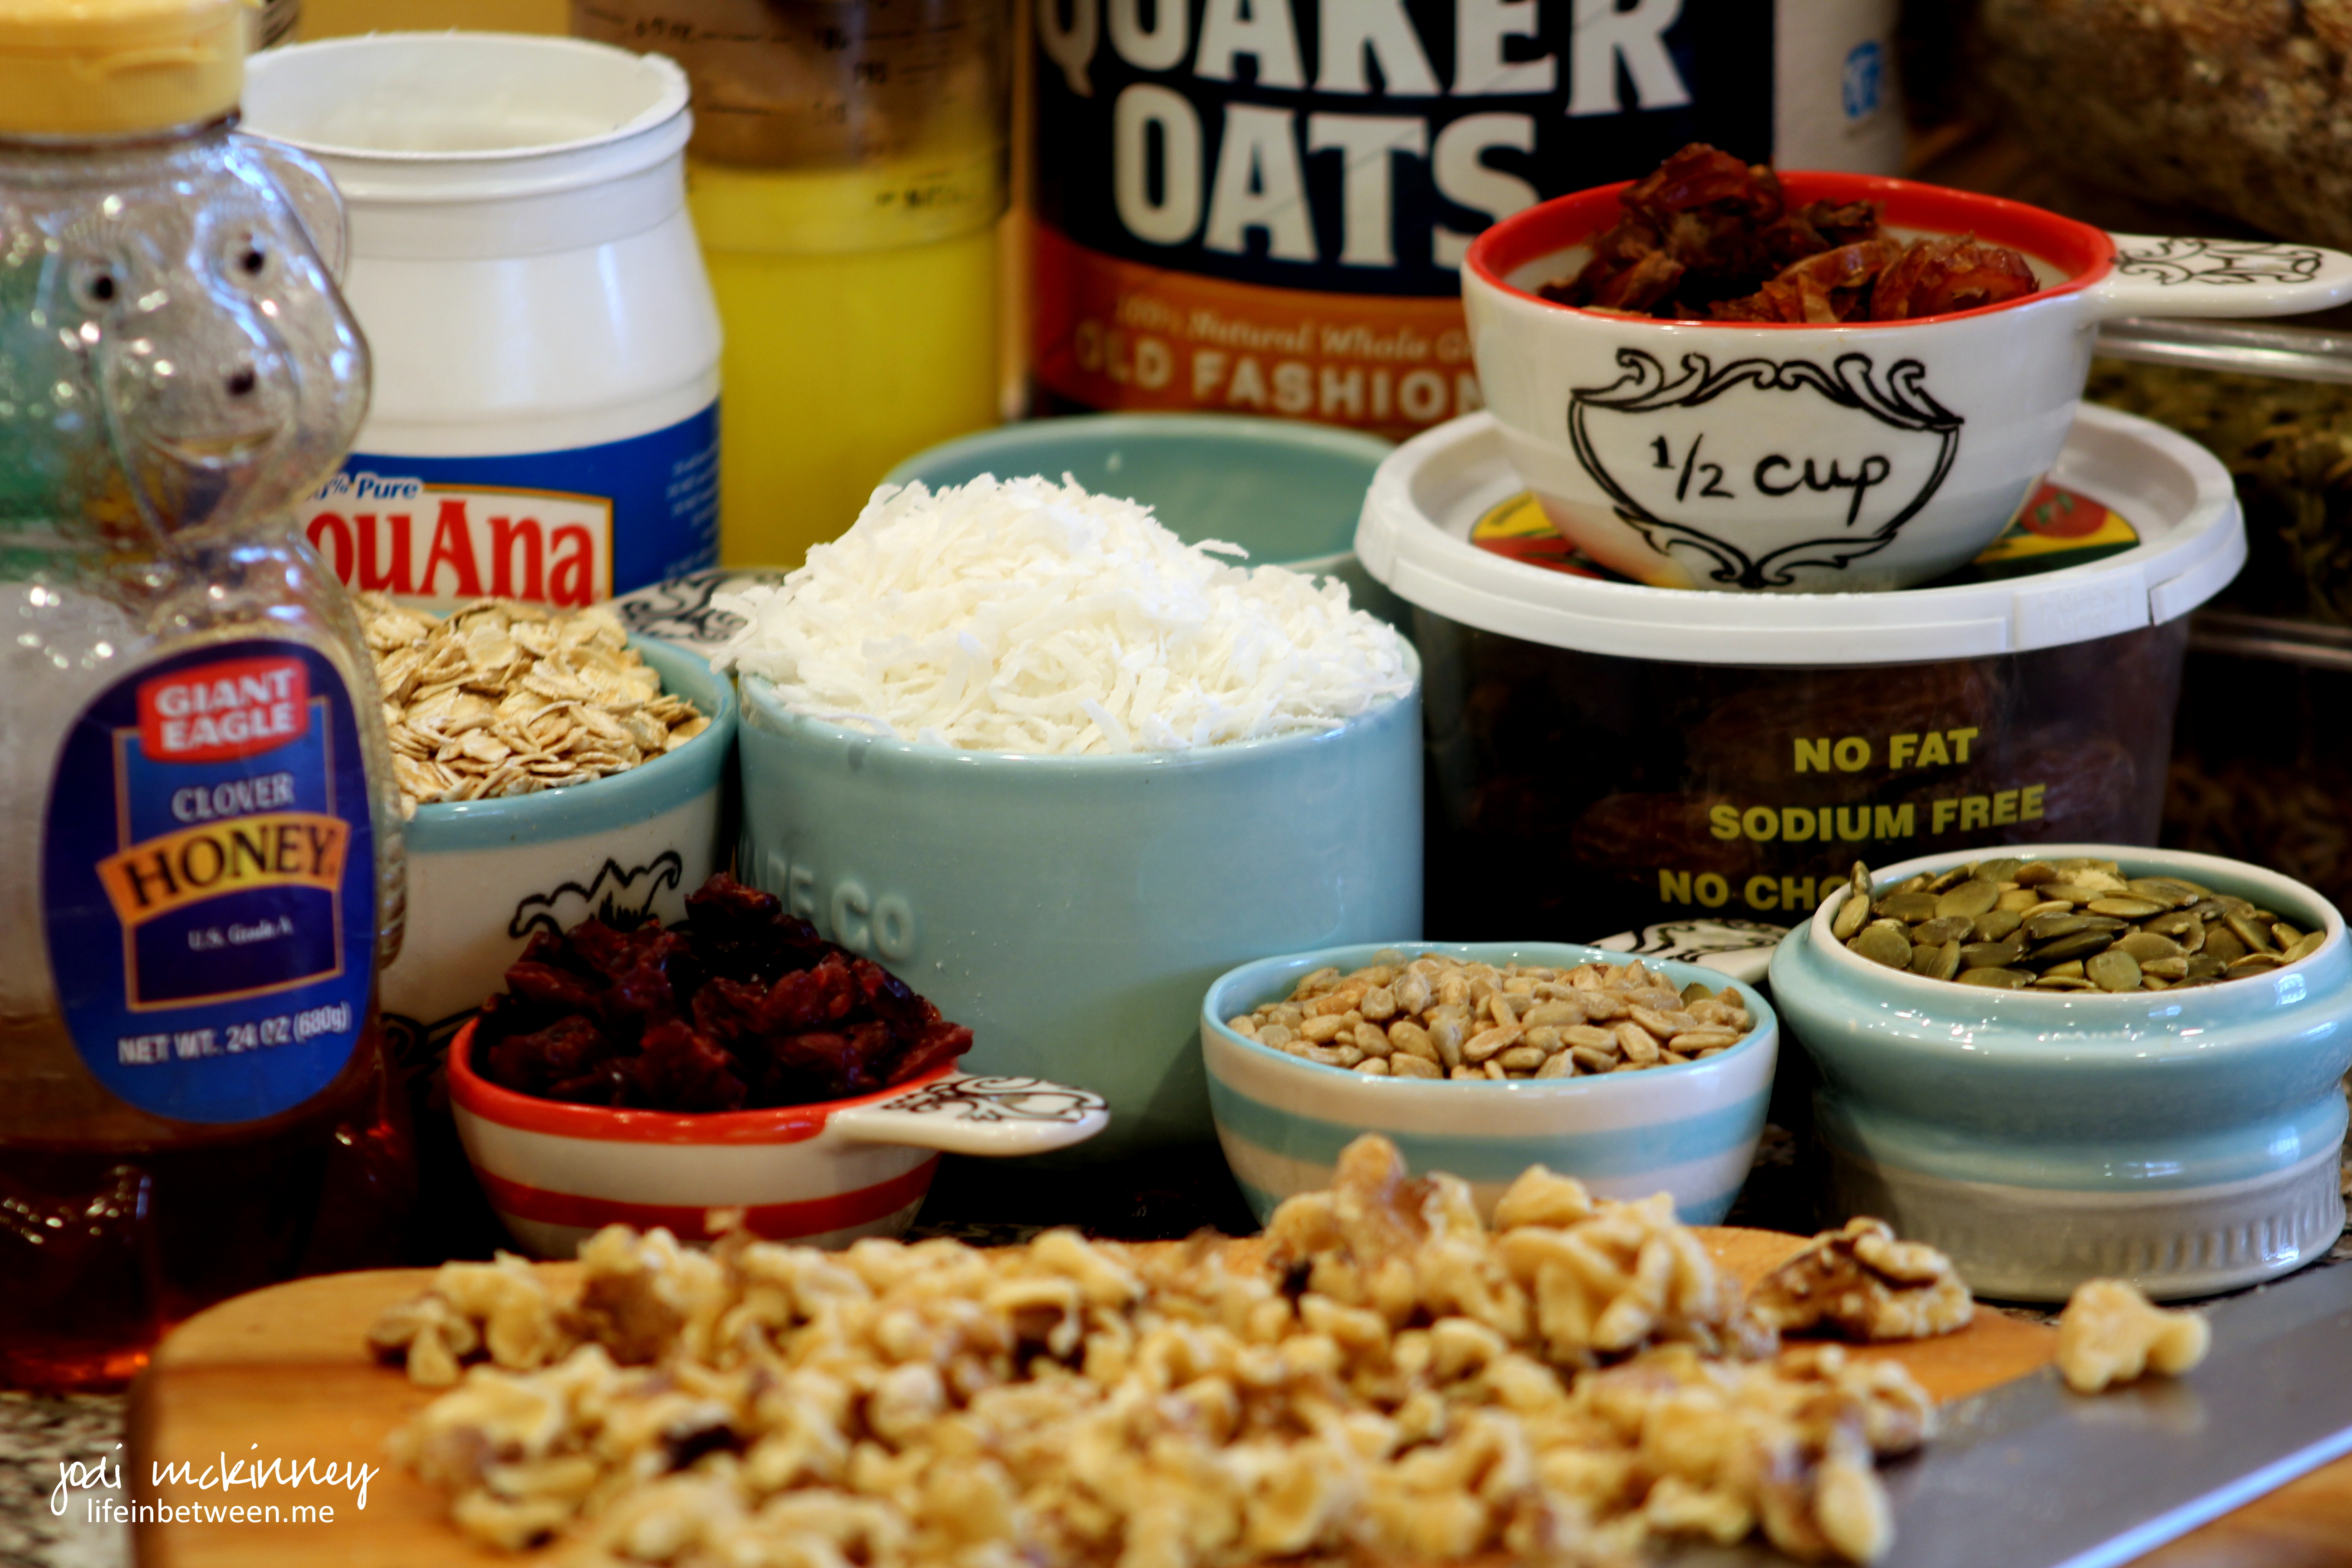
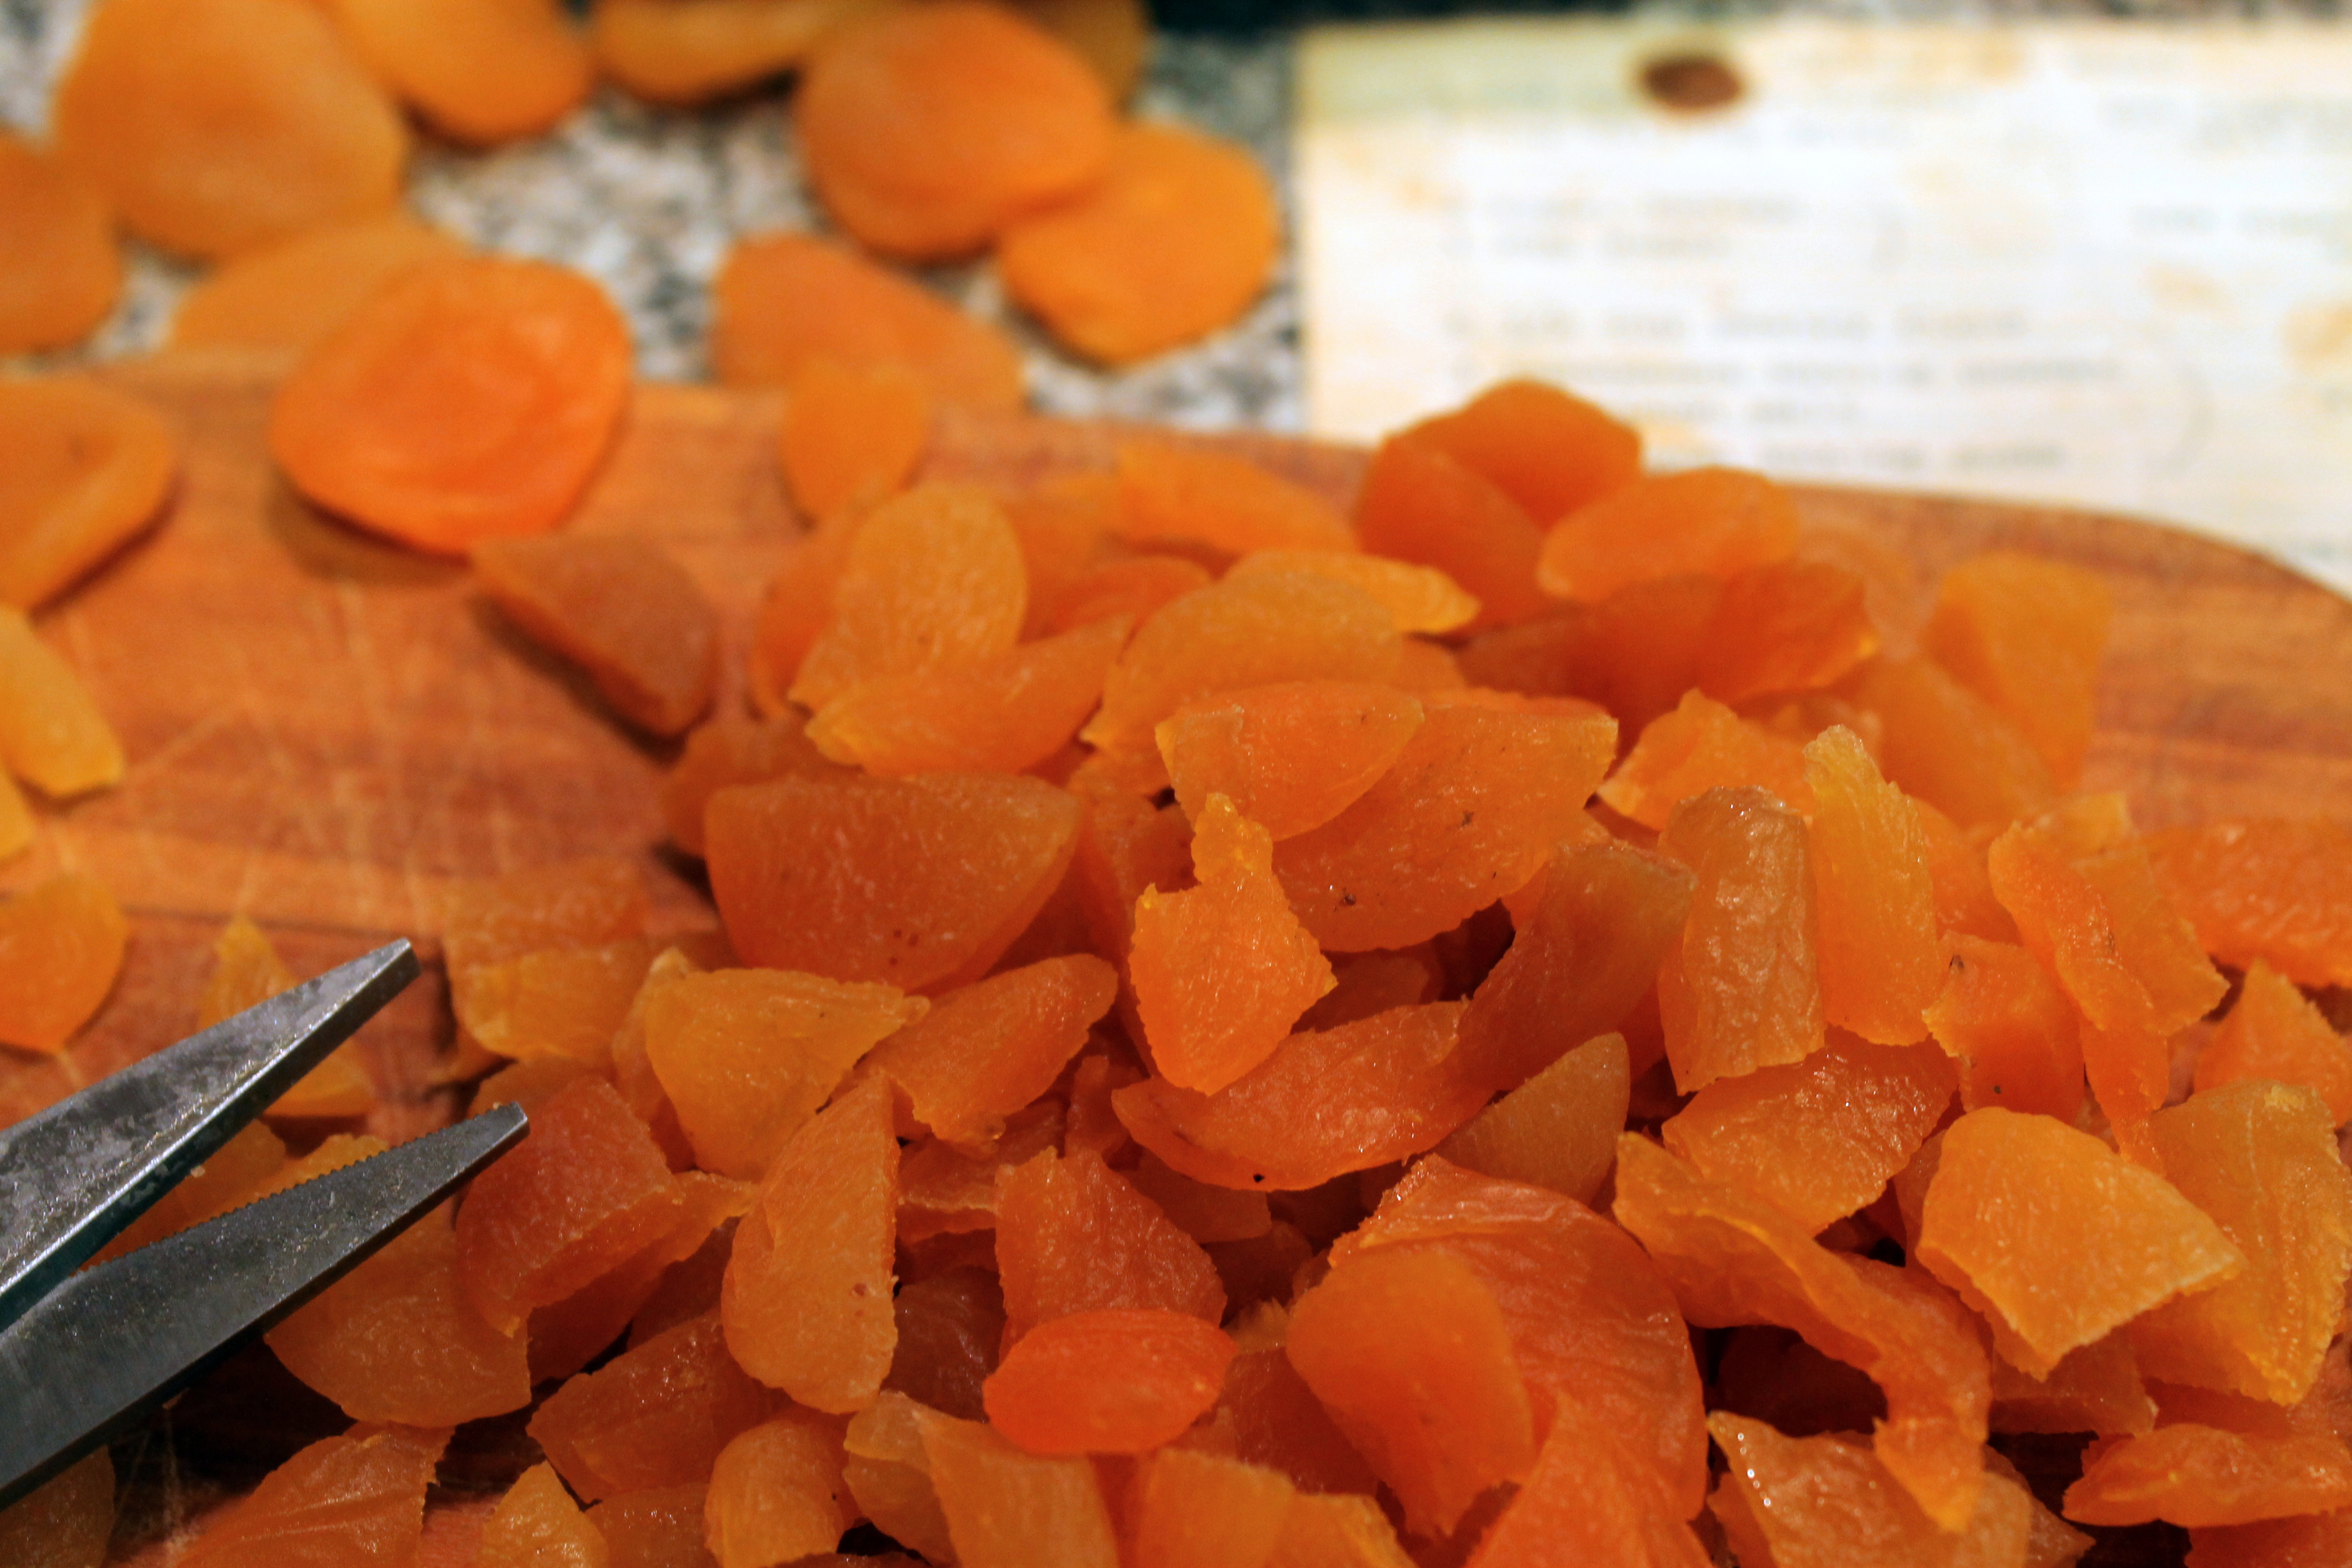
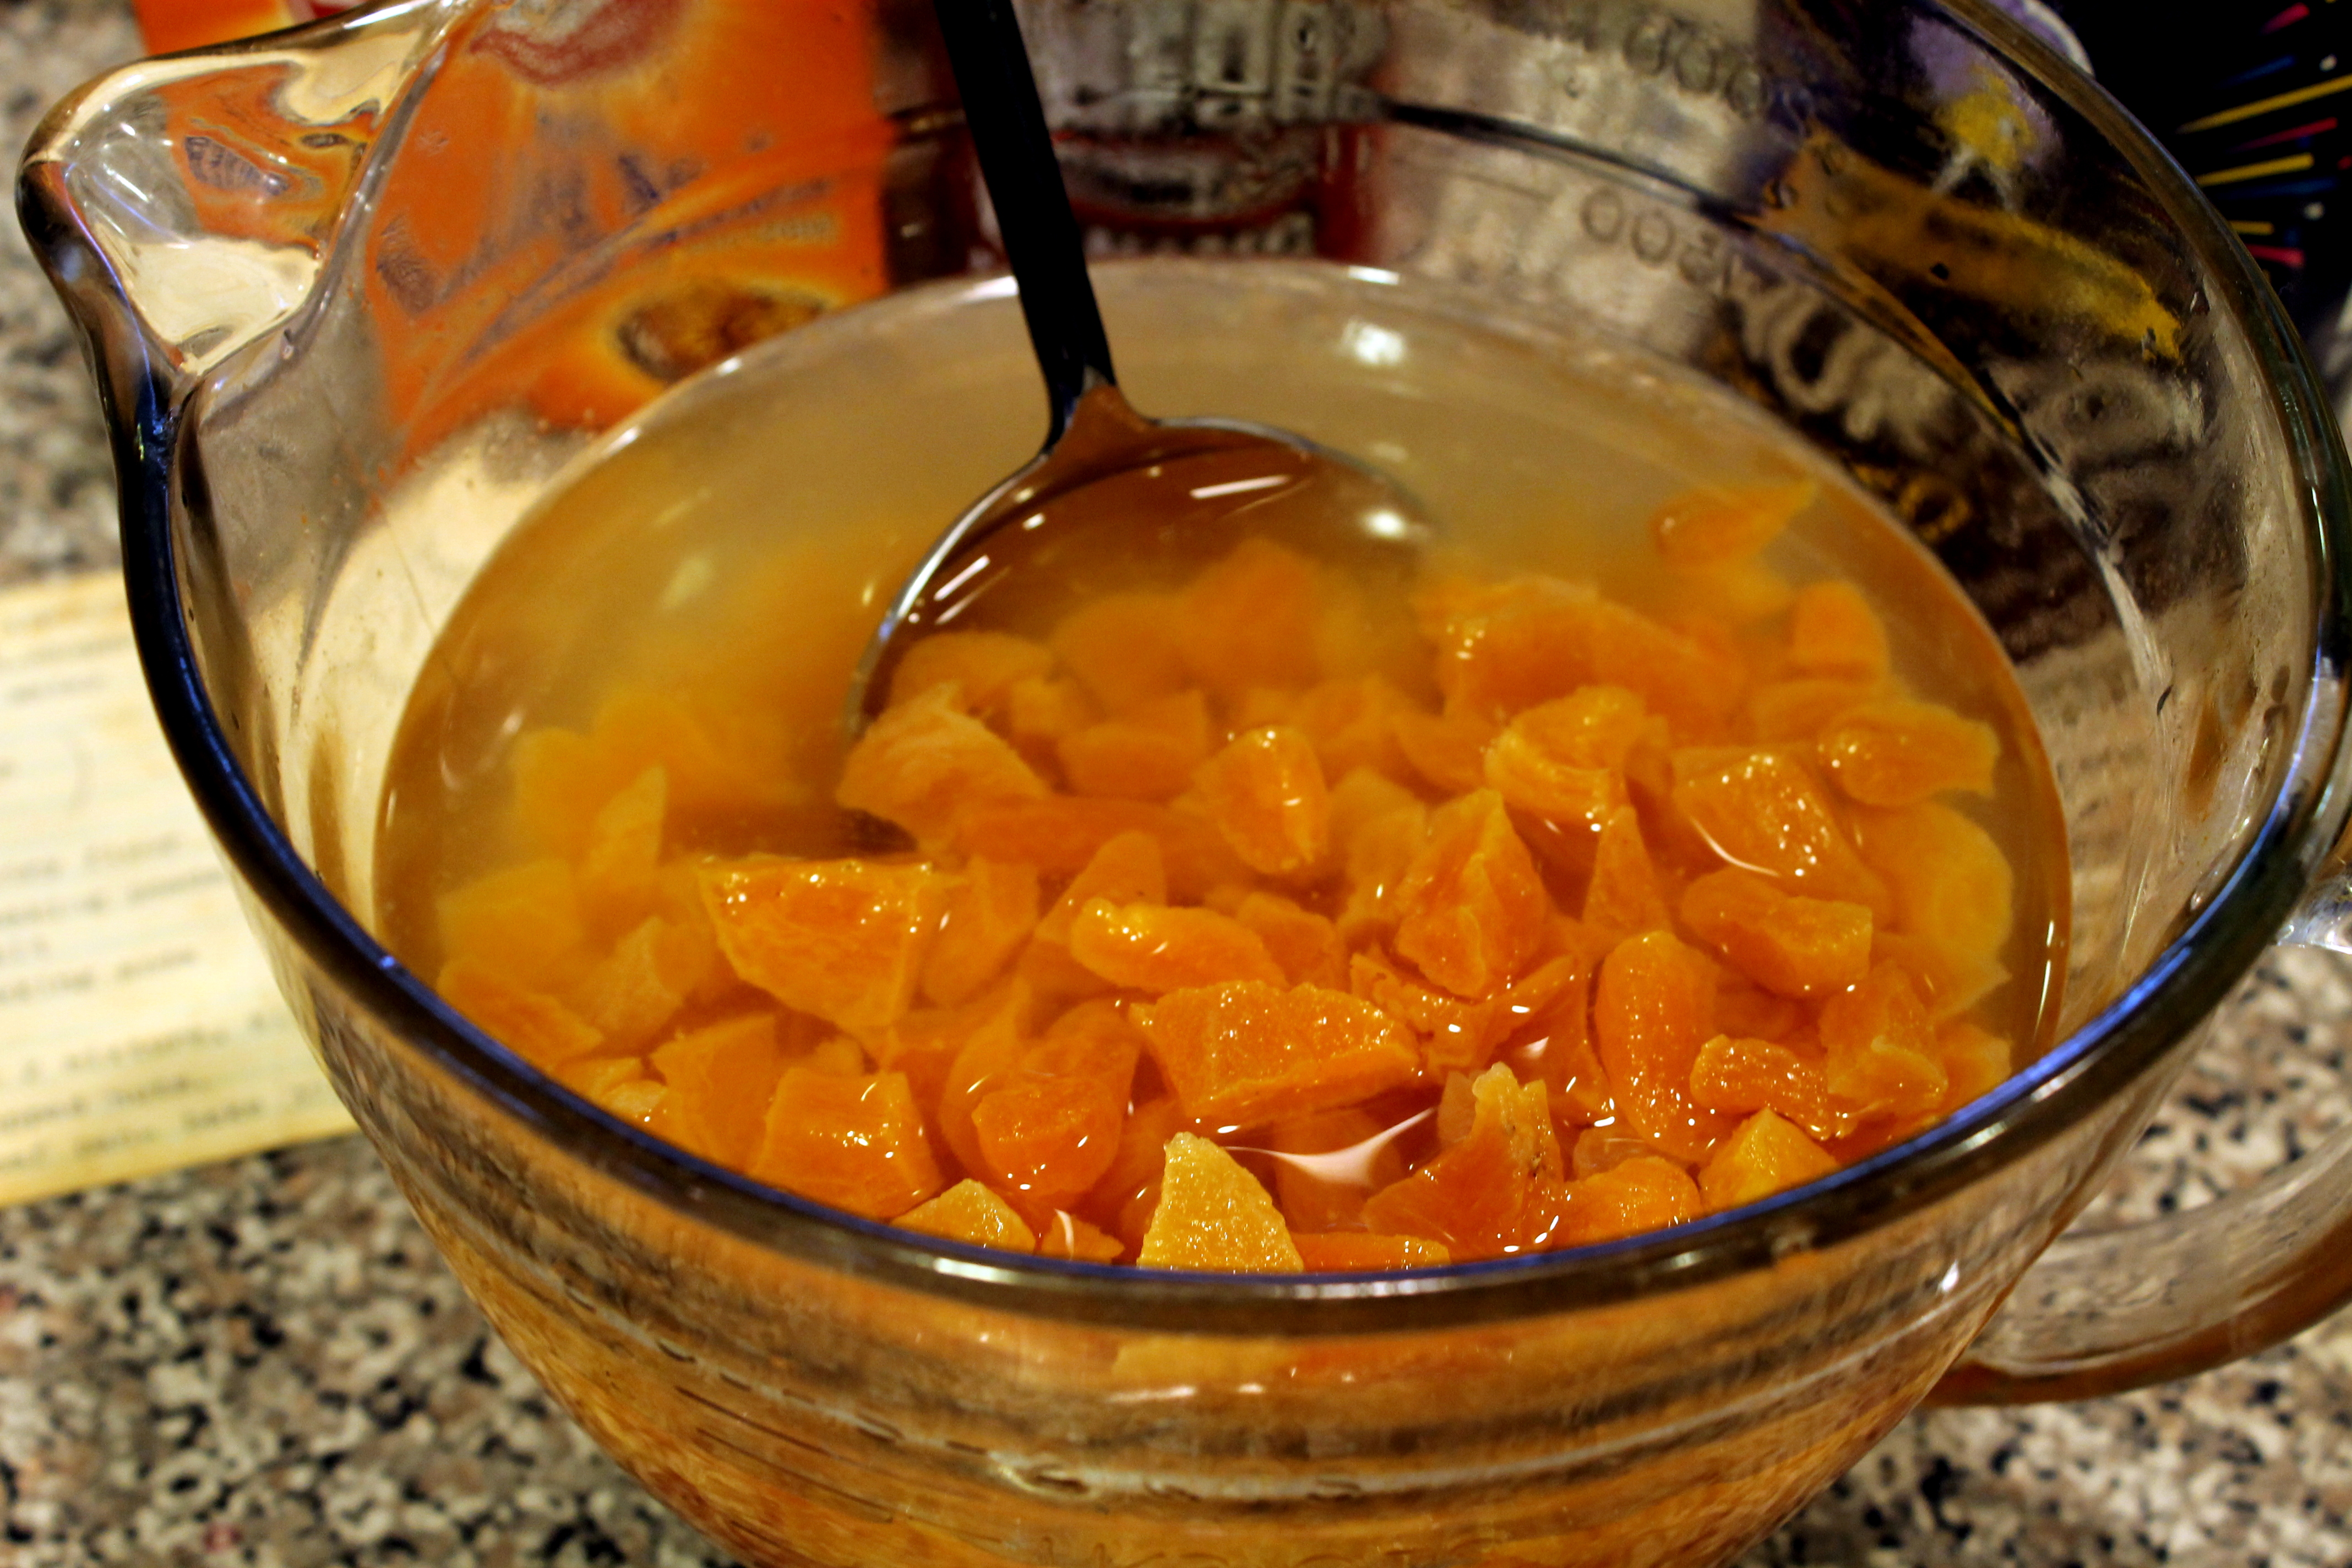
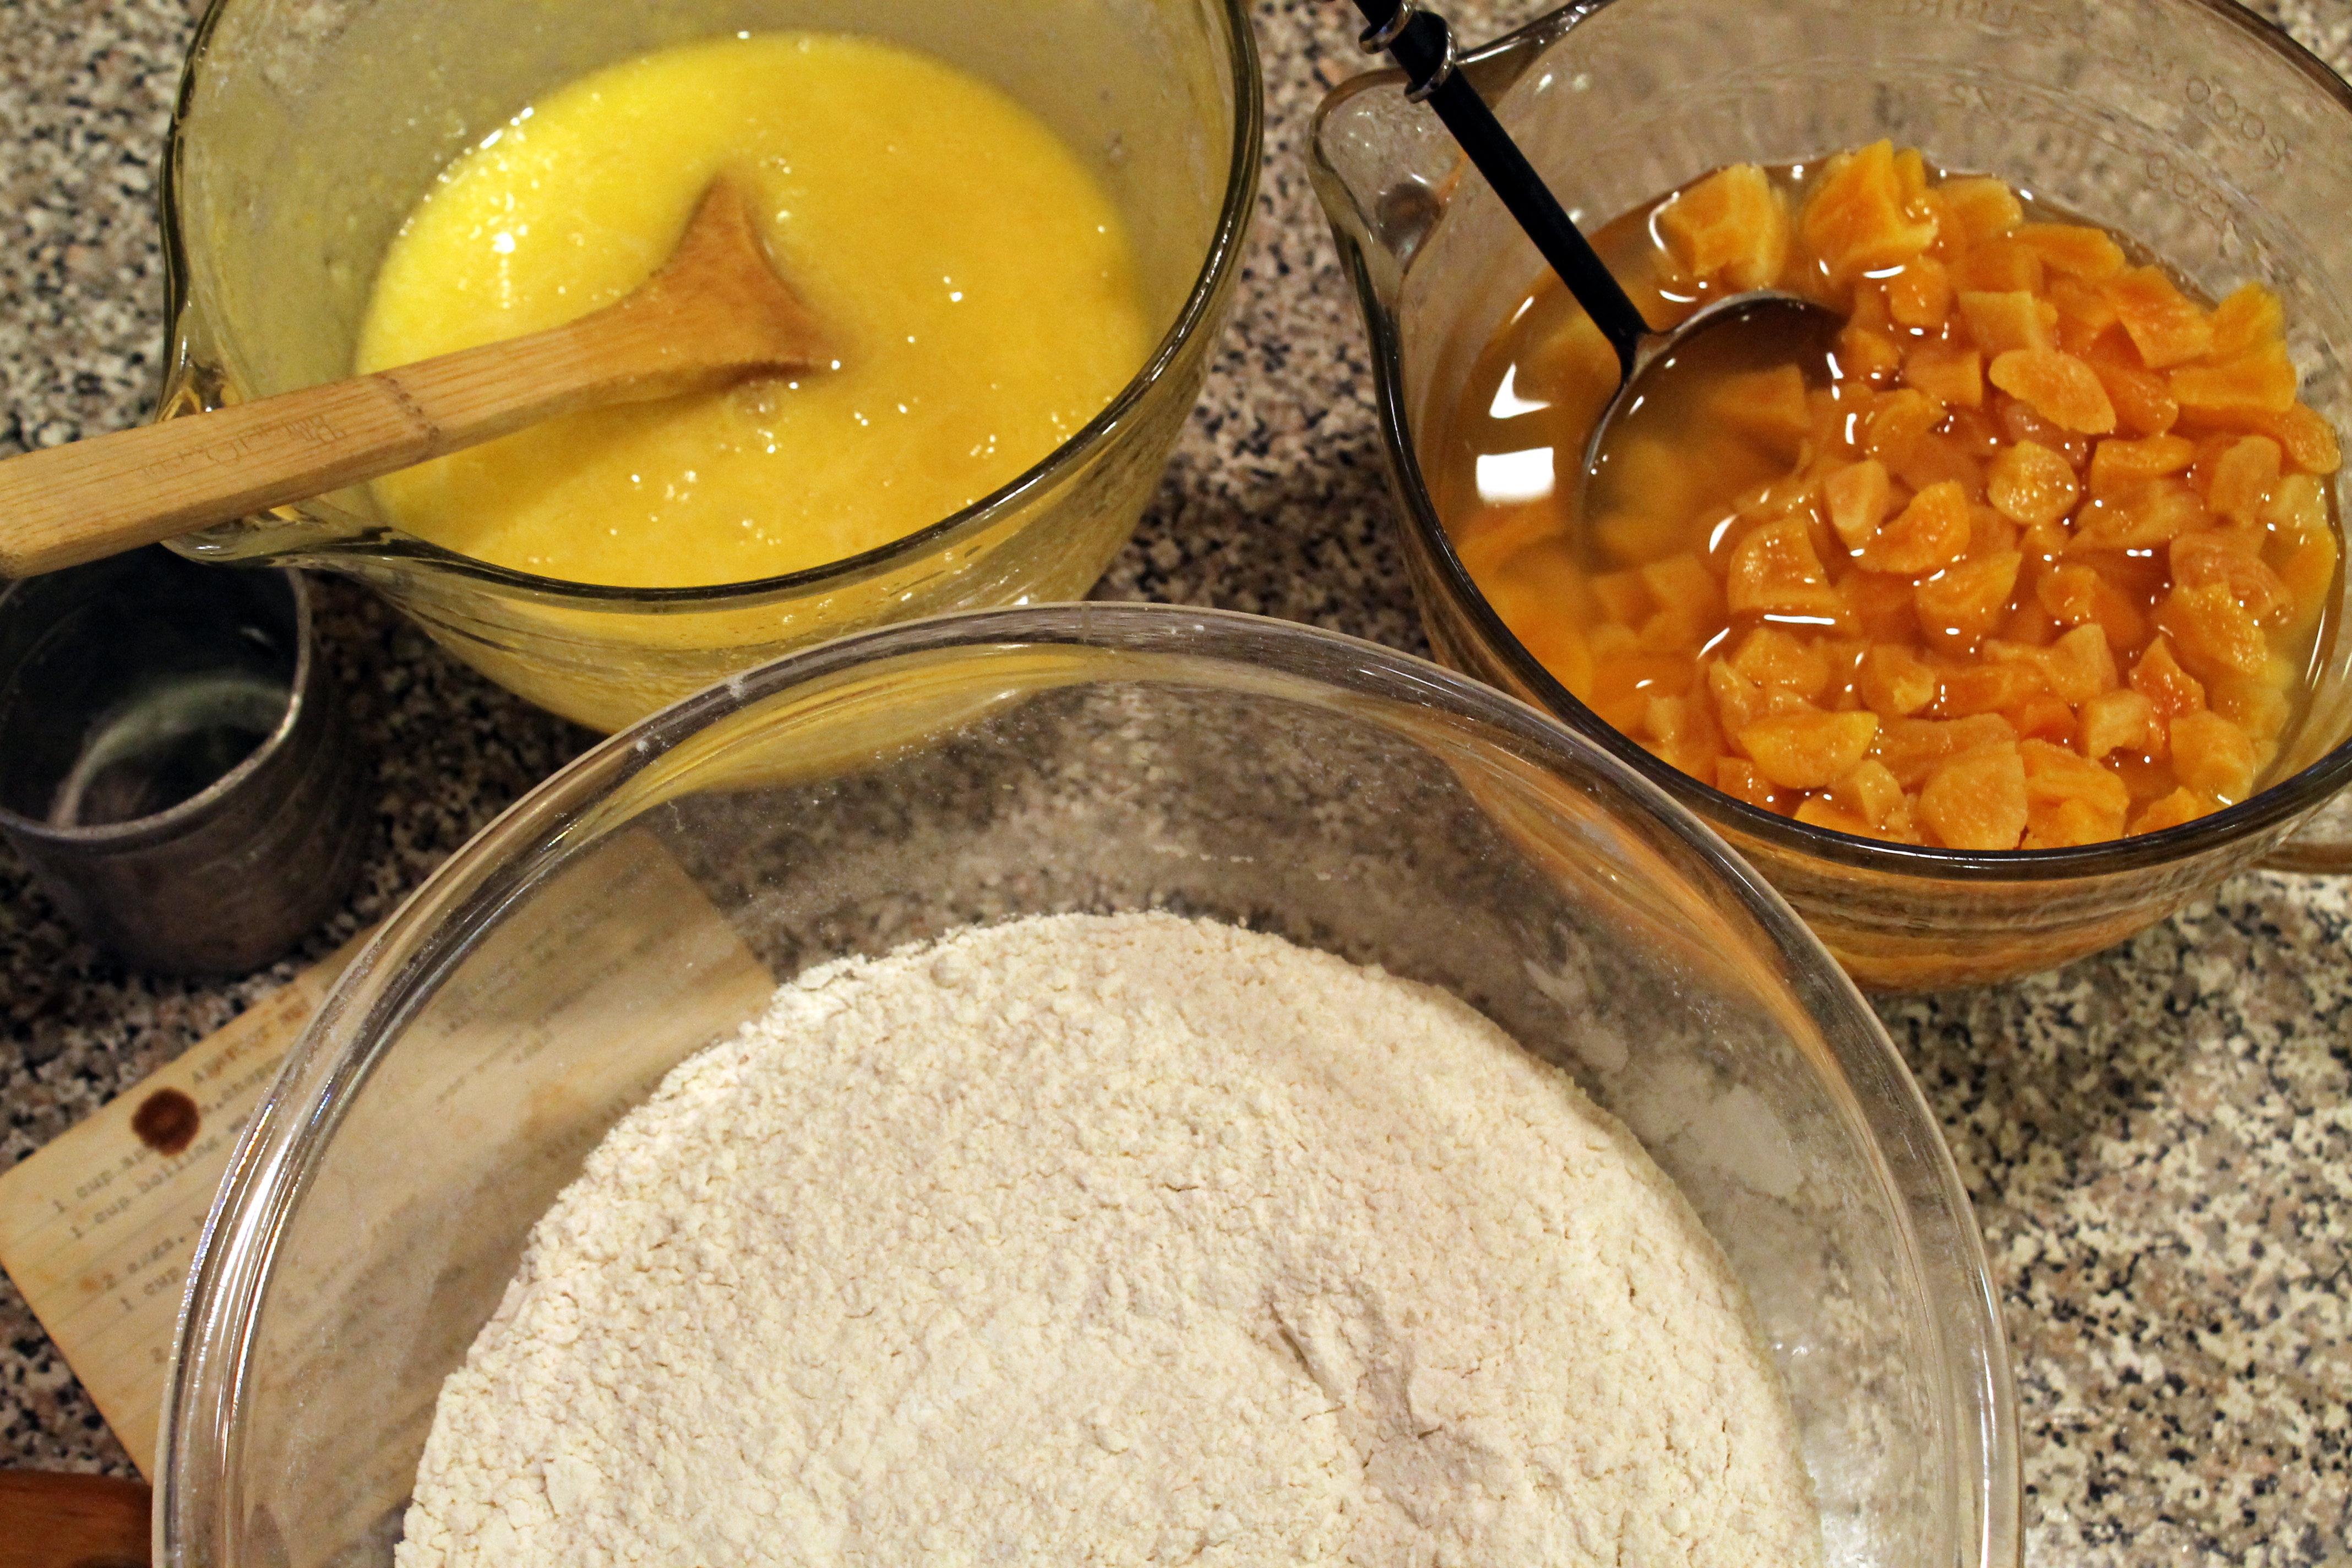
I started with some dried apricots, which I snipped with scissors into large chunks.  (I cut most of the apricots into fourths.)  Sharp kitchen shears work much better than a knife given the stickiness of the apricots while cutting.  And – it’s how Grandma did it…

Grandmas Old Fashioned Apricot Nut Bread 1After the apricots are coarsely snipped, they are placed in a bowl of hot water to further plump and soften.  Equal parts of apricots and water are used.

Grandmas Old Fashioned Apricot Nut Bread 2
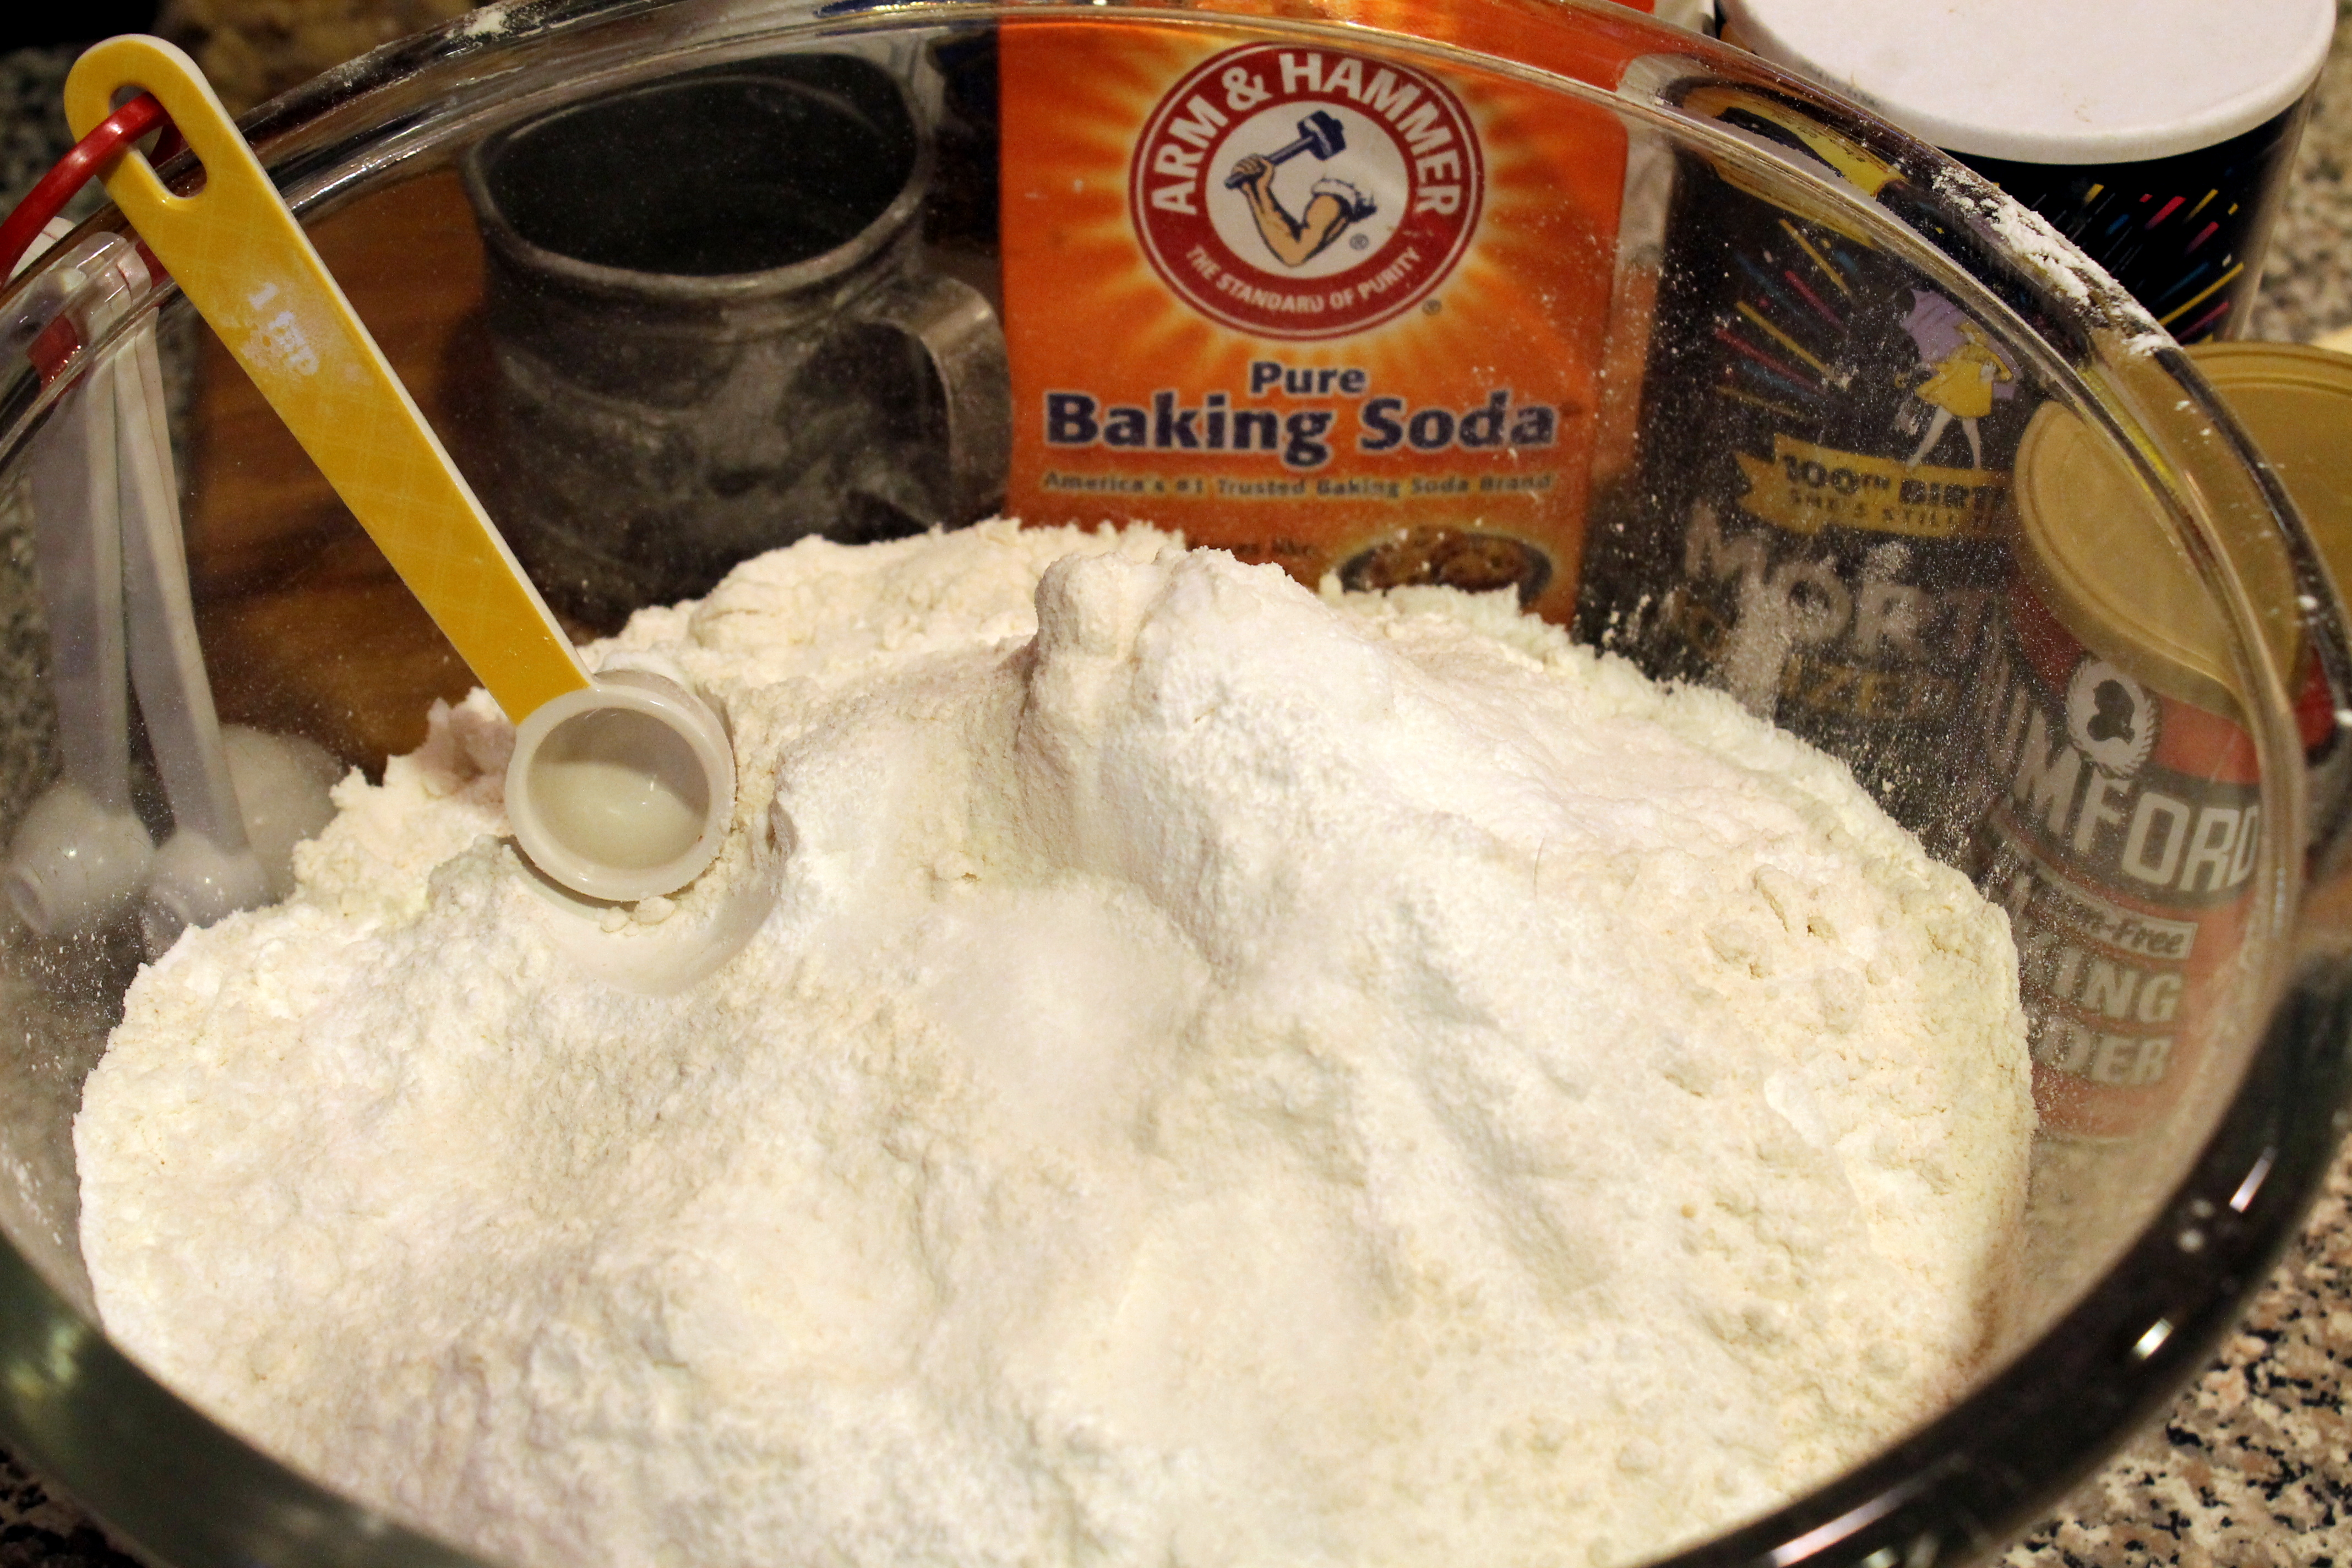
The dry ingredients are mixed together next in a separate bowl:  flour, baking soda, baking powder, and salt.

Grandmas Old Fashioned Apricot Nut Bread 3
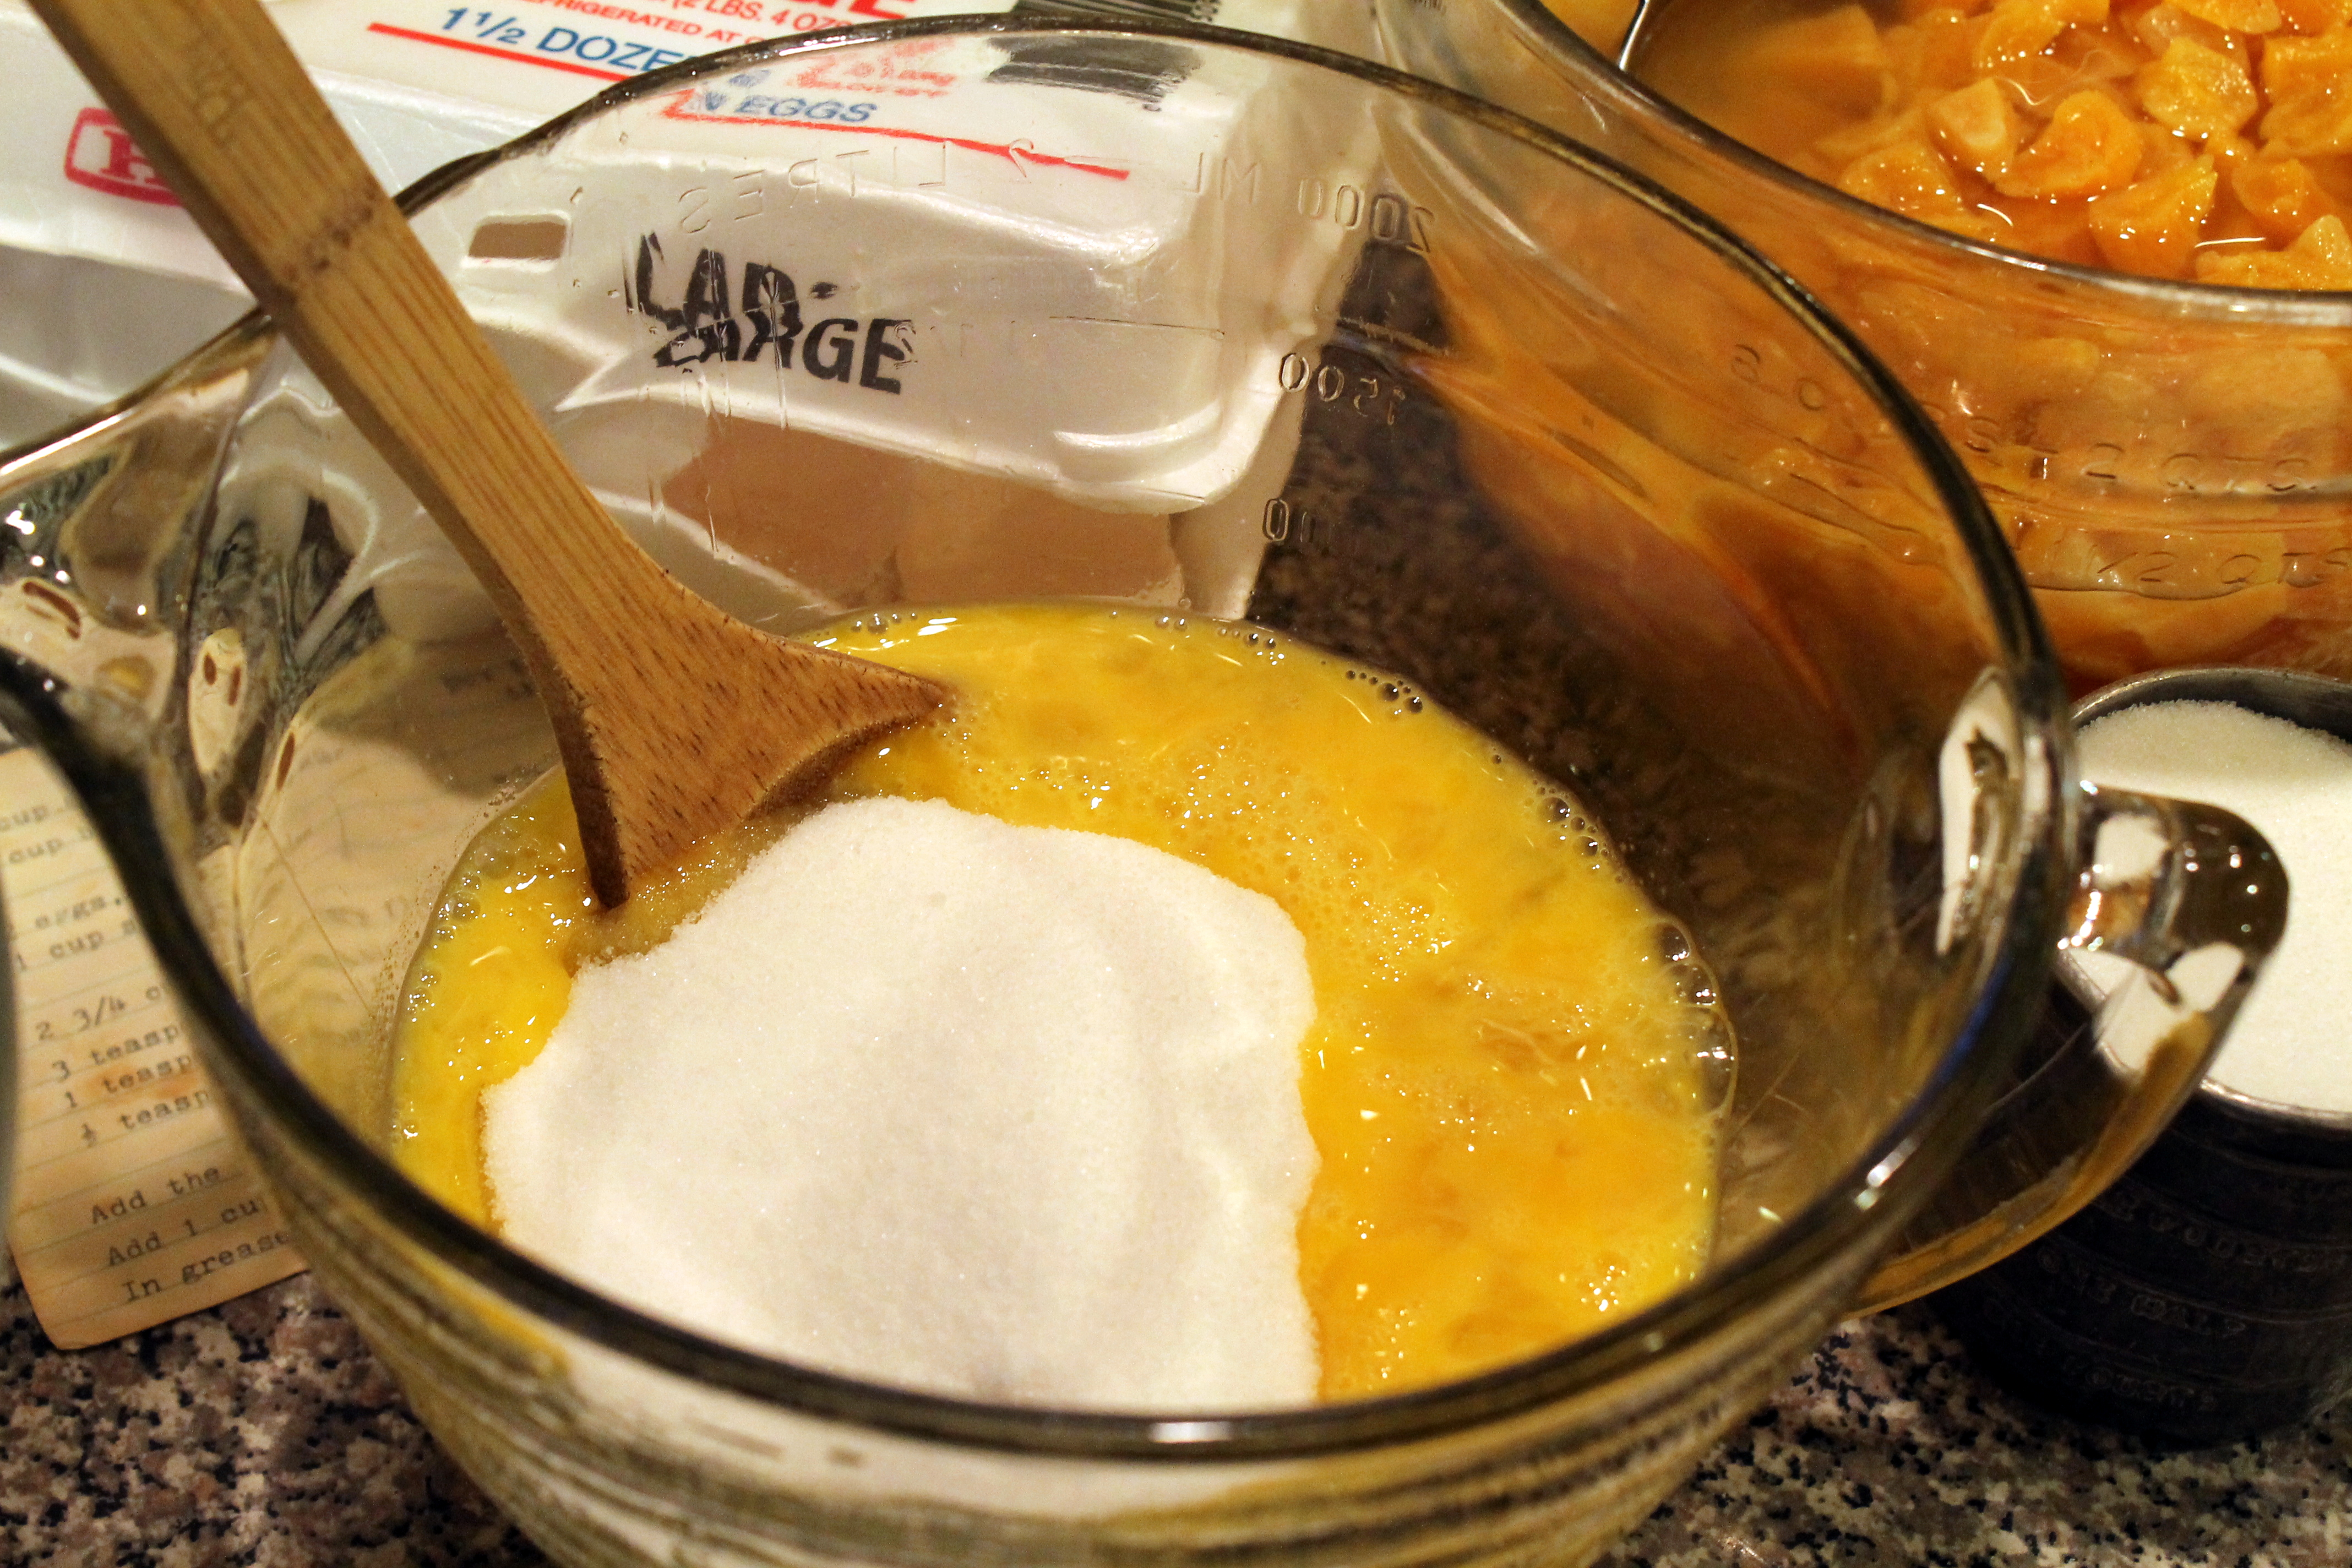
In a third bowl, eggs are beaten, and sugar is added.

Grandmas Old Fashioned Apricot Nut Bread 4
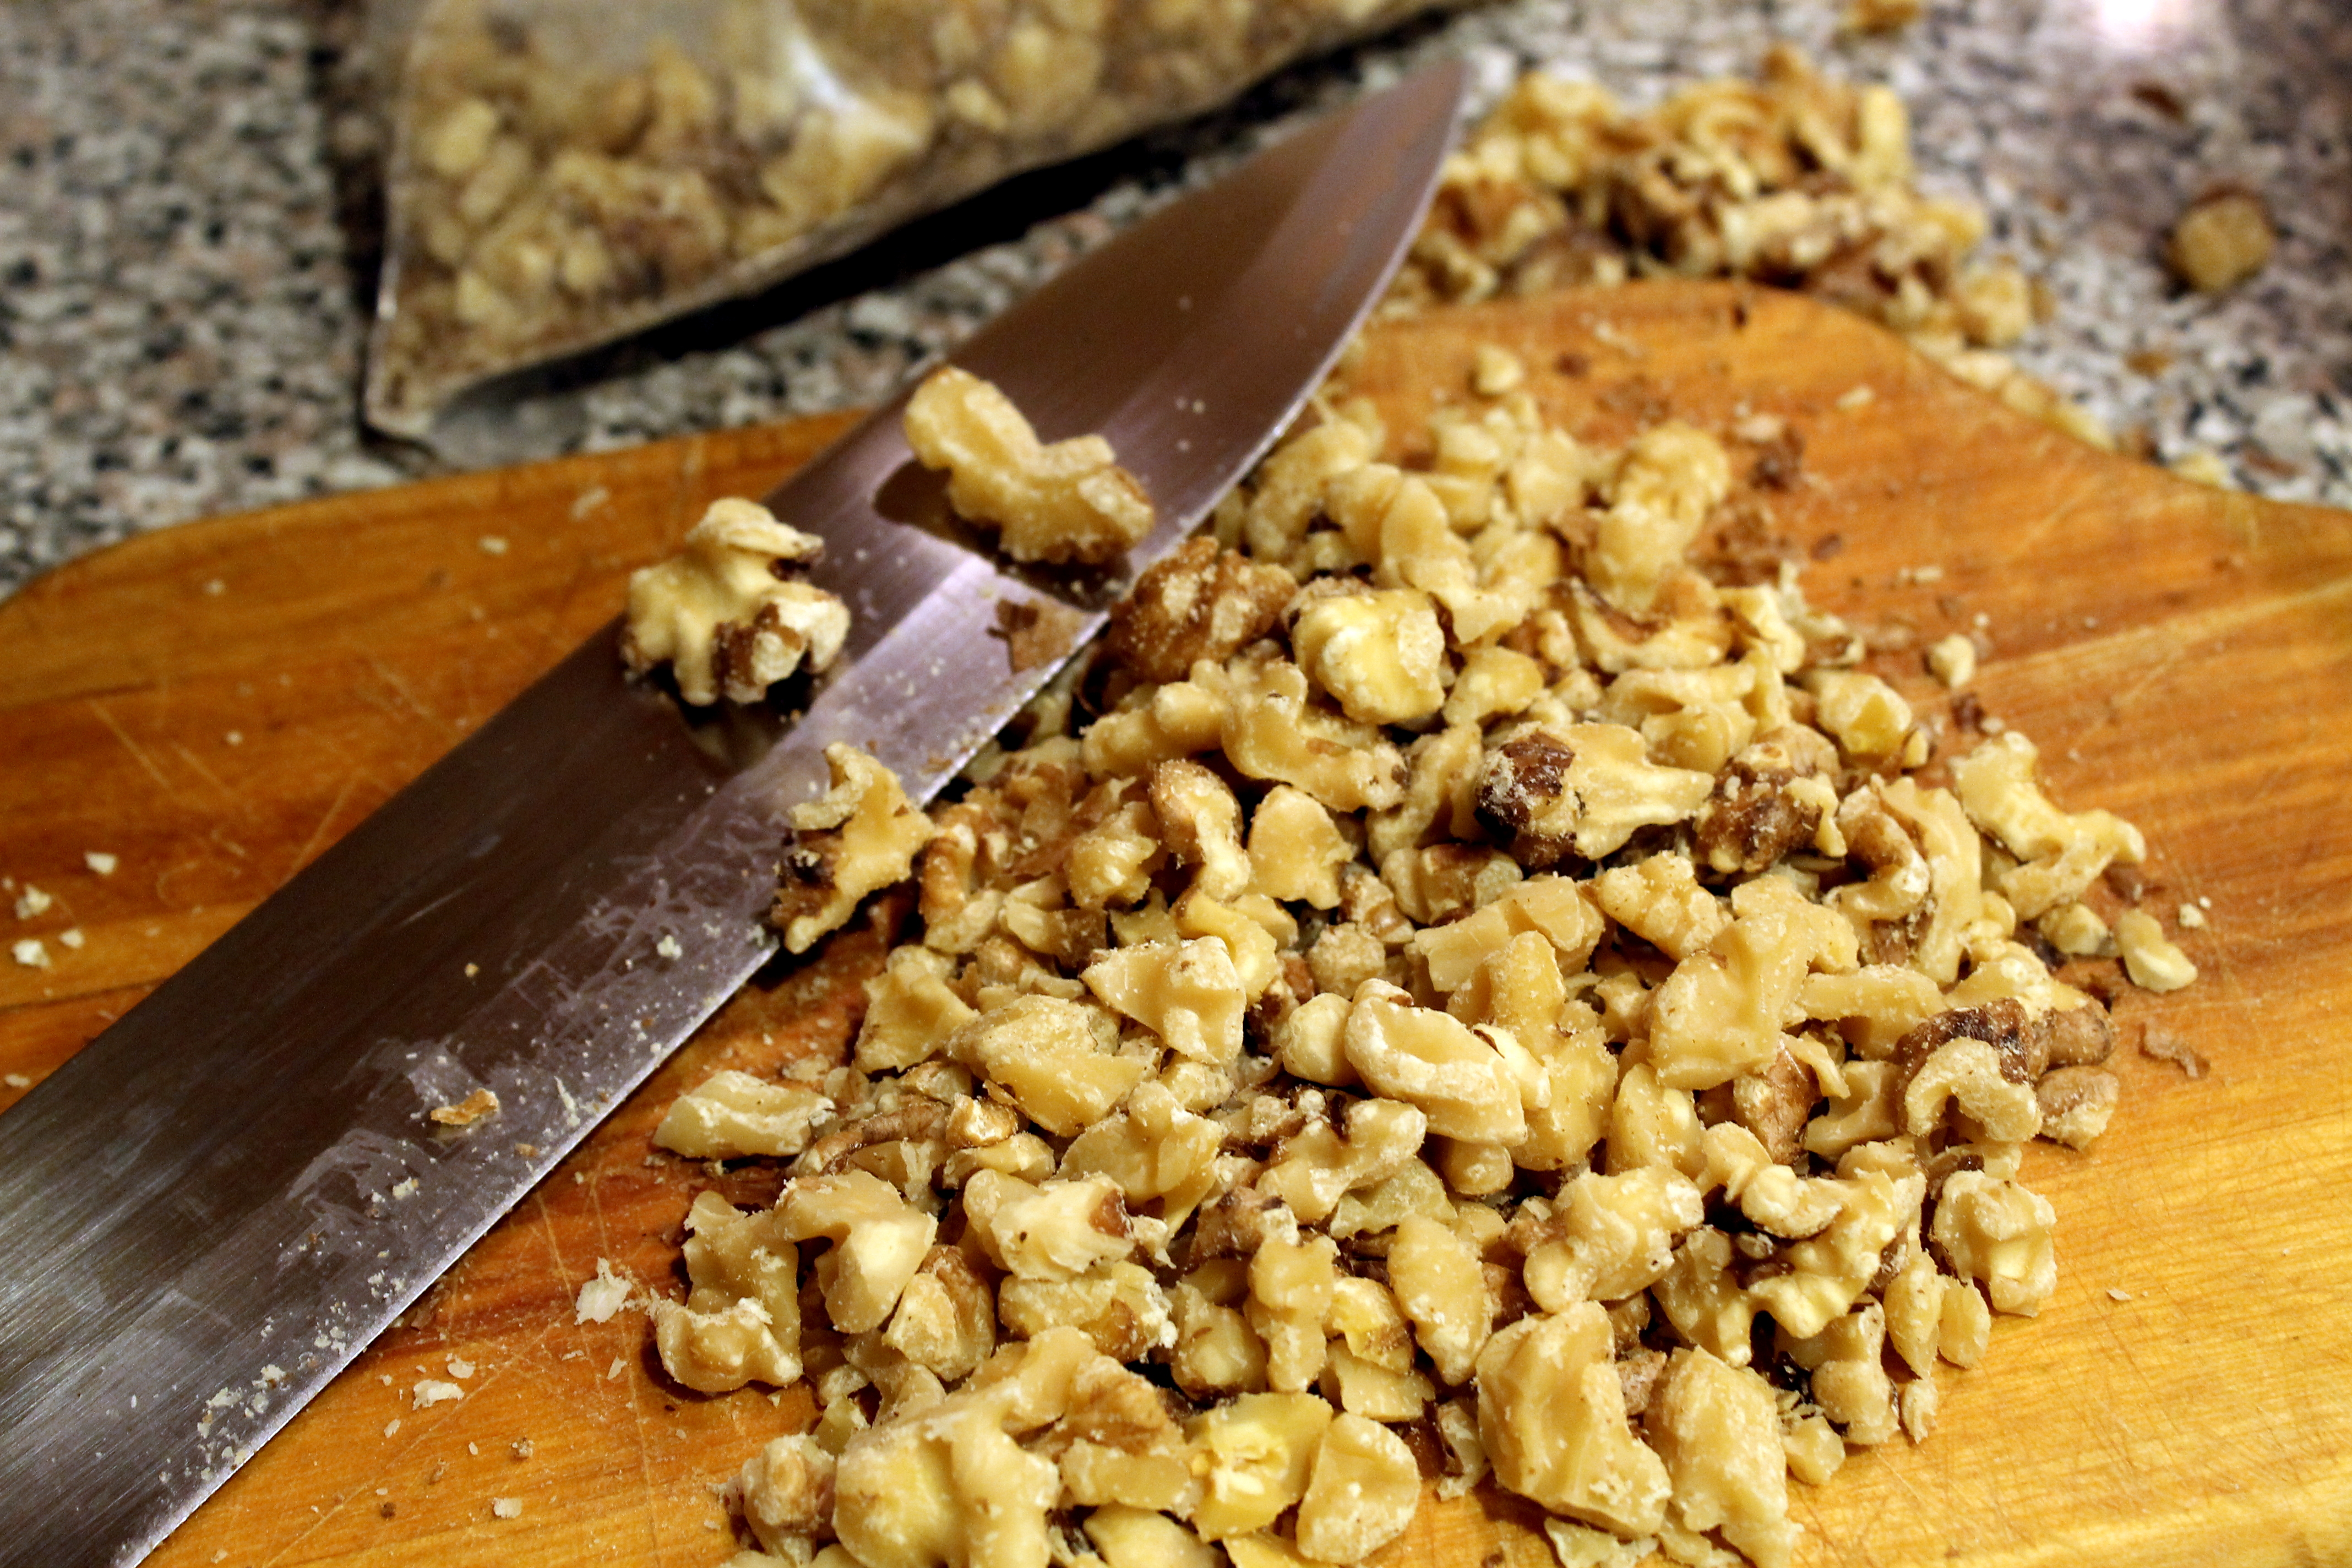
Next is time to coarsely chop some walnuts – 1 cup per batch (unless you are my son, Nick – then no nuts are added!)

Grandmas Old Fashioned Apricot Nut Bread 5
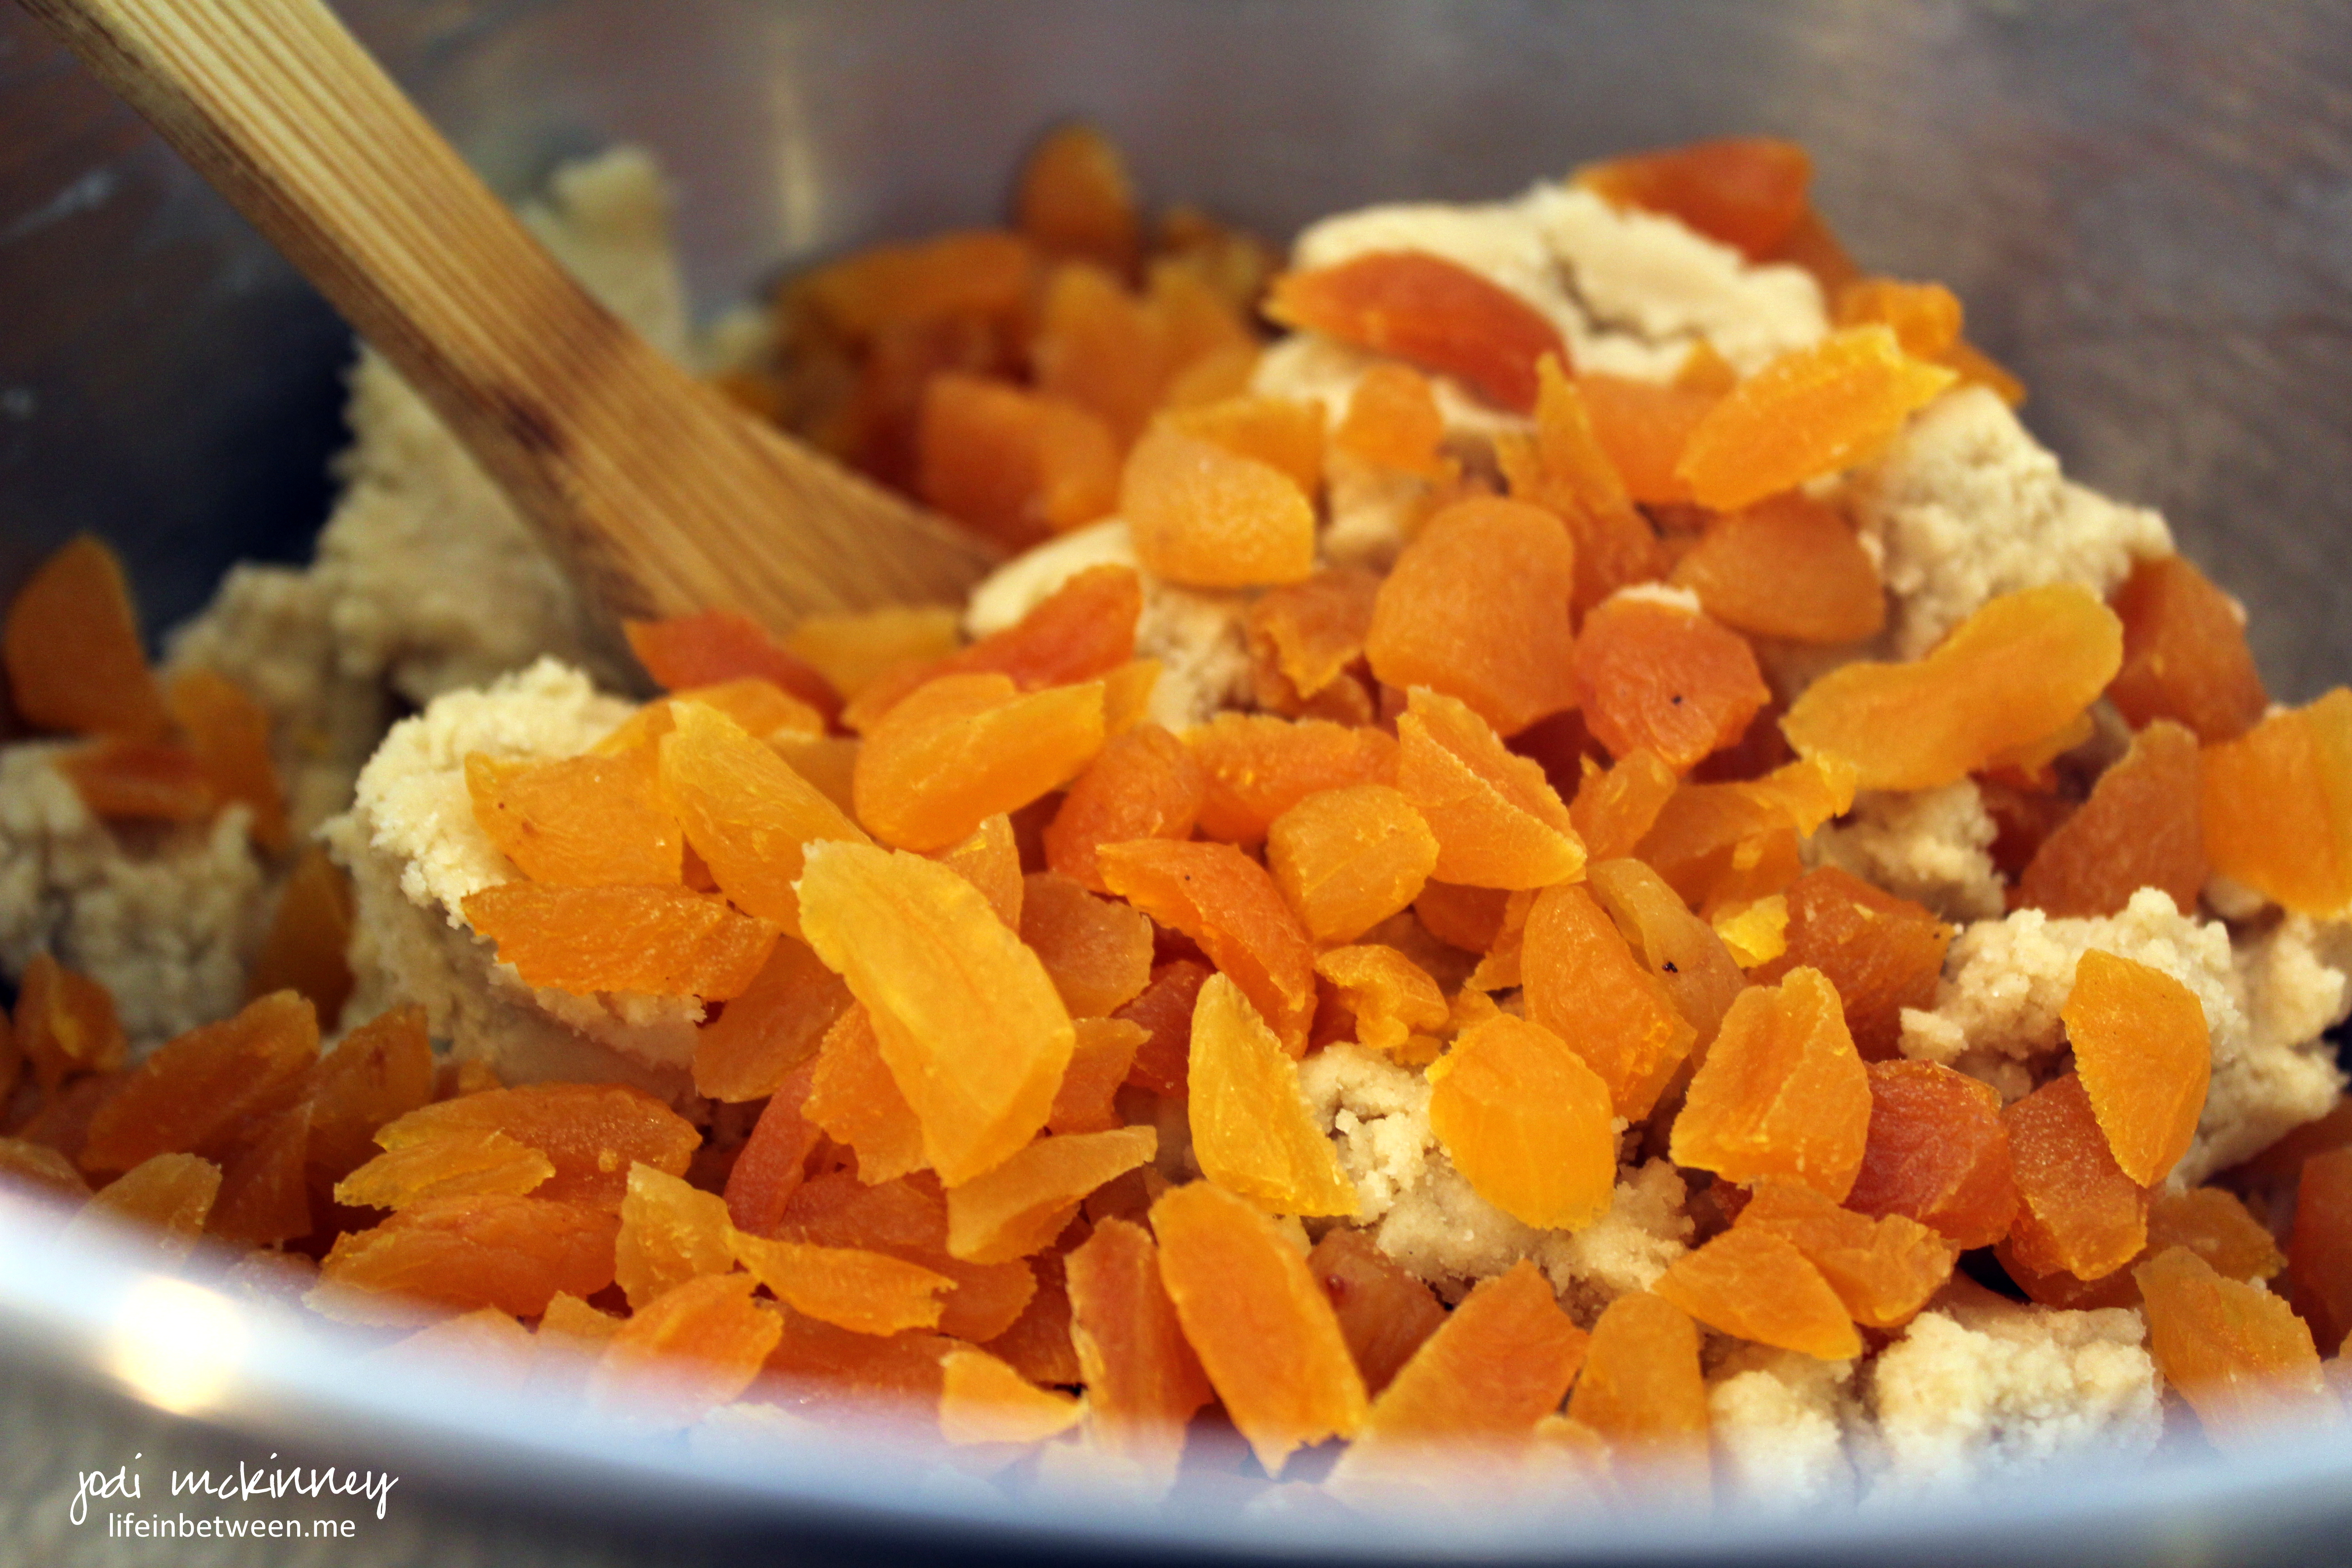
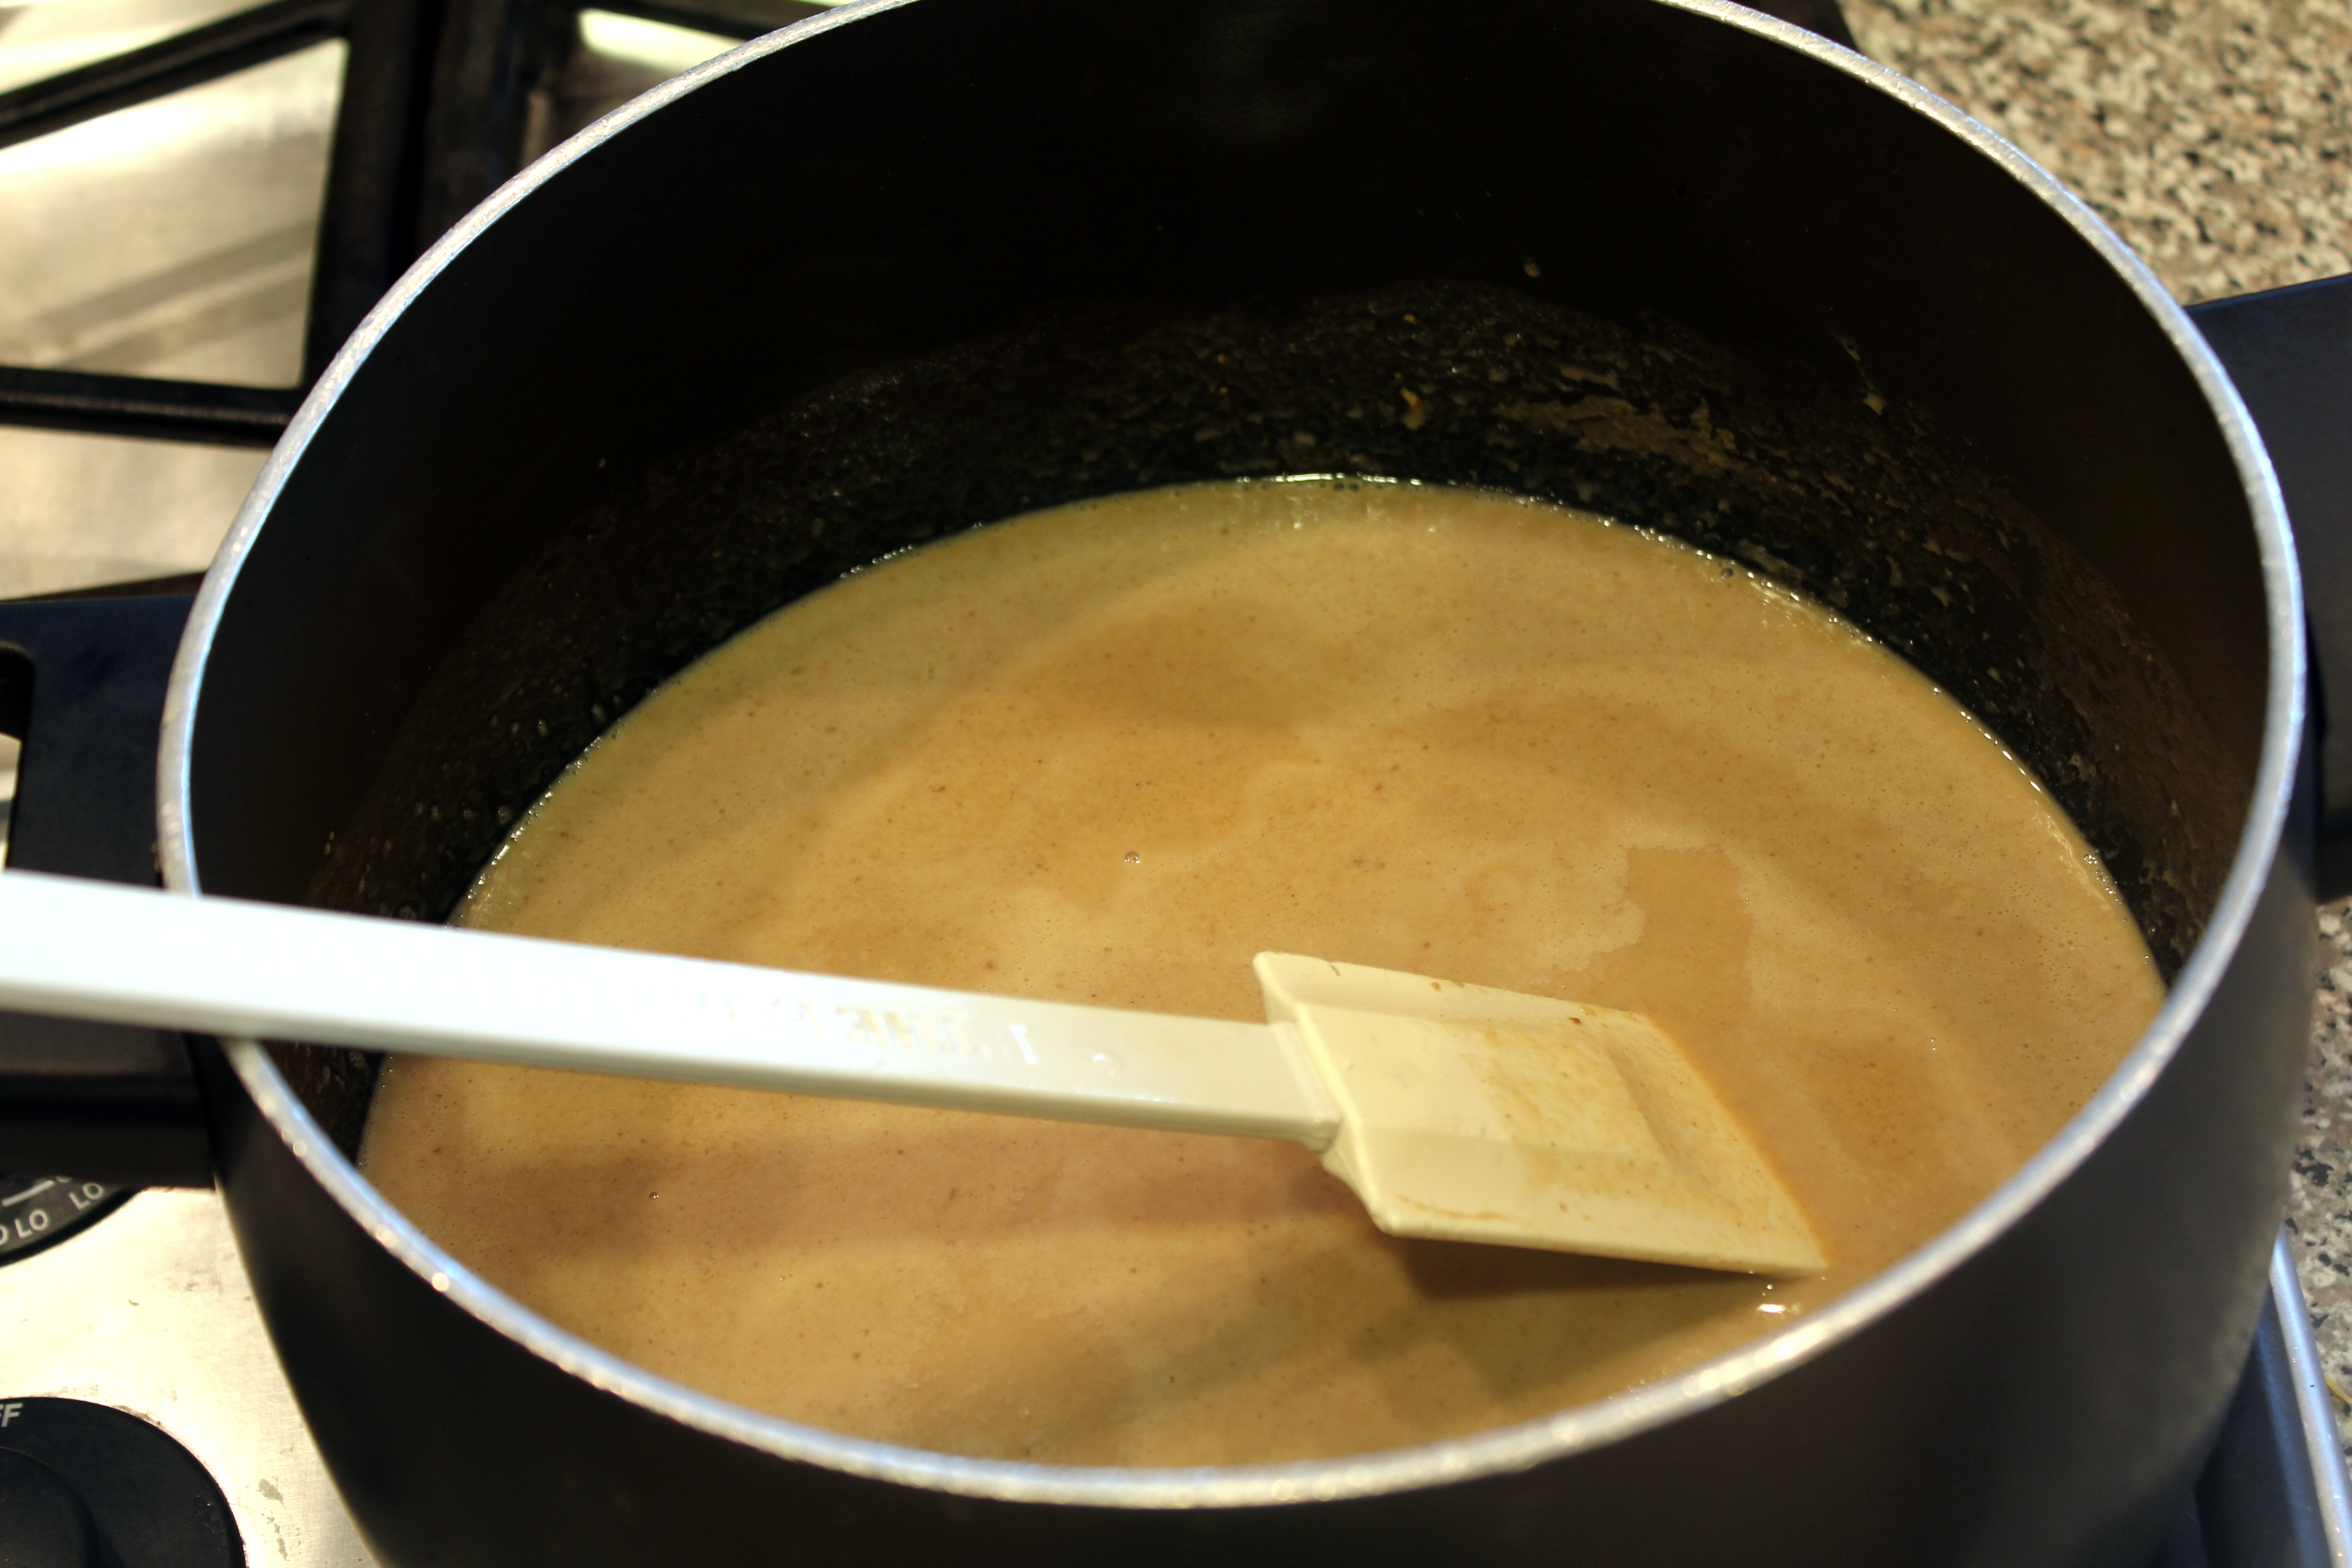
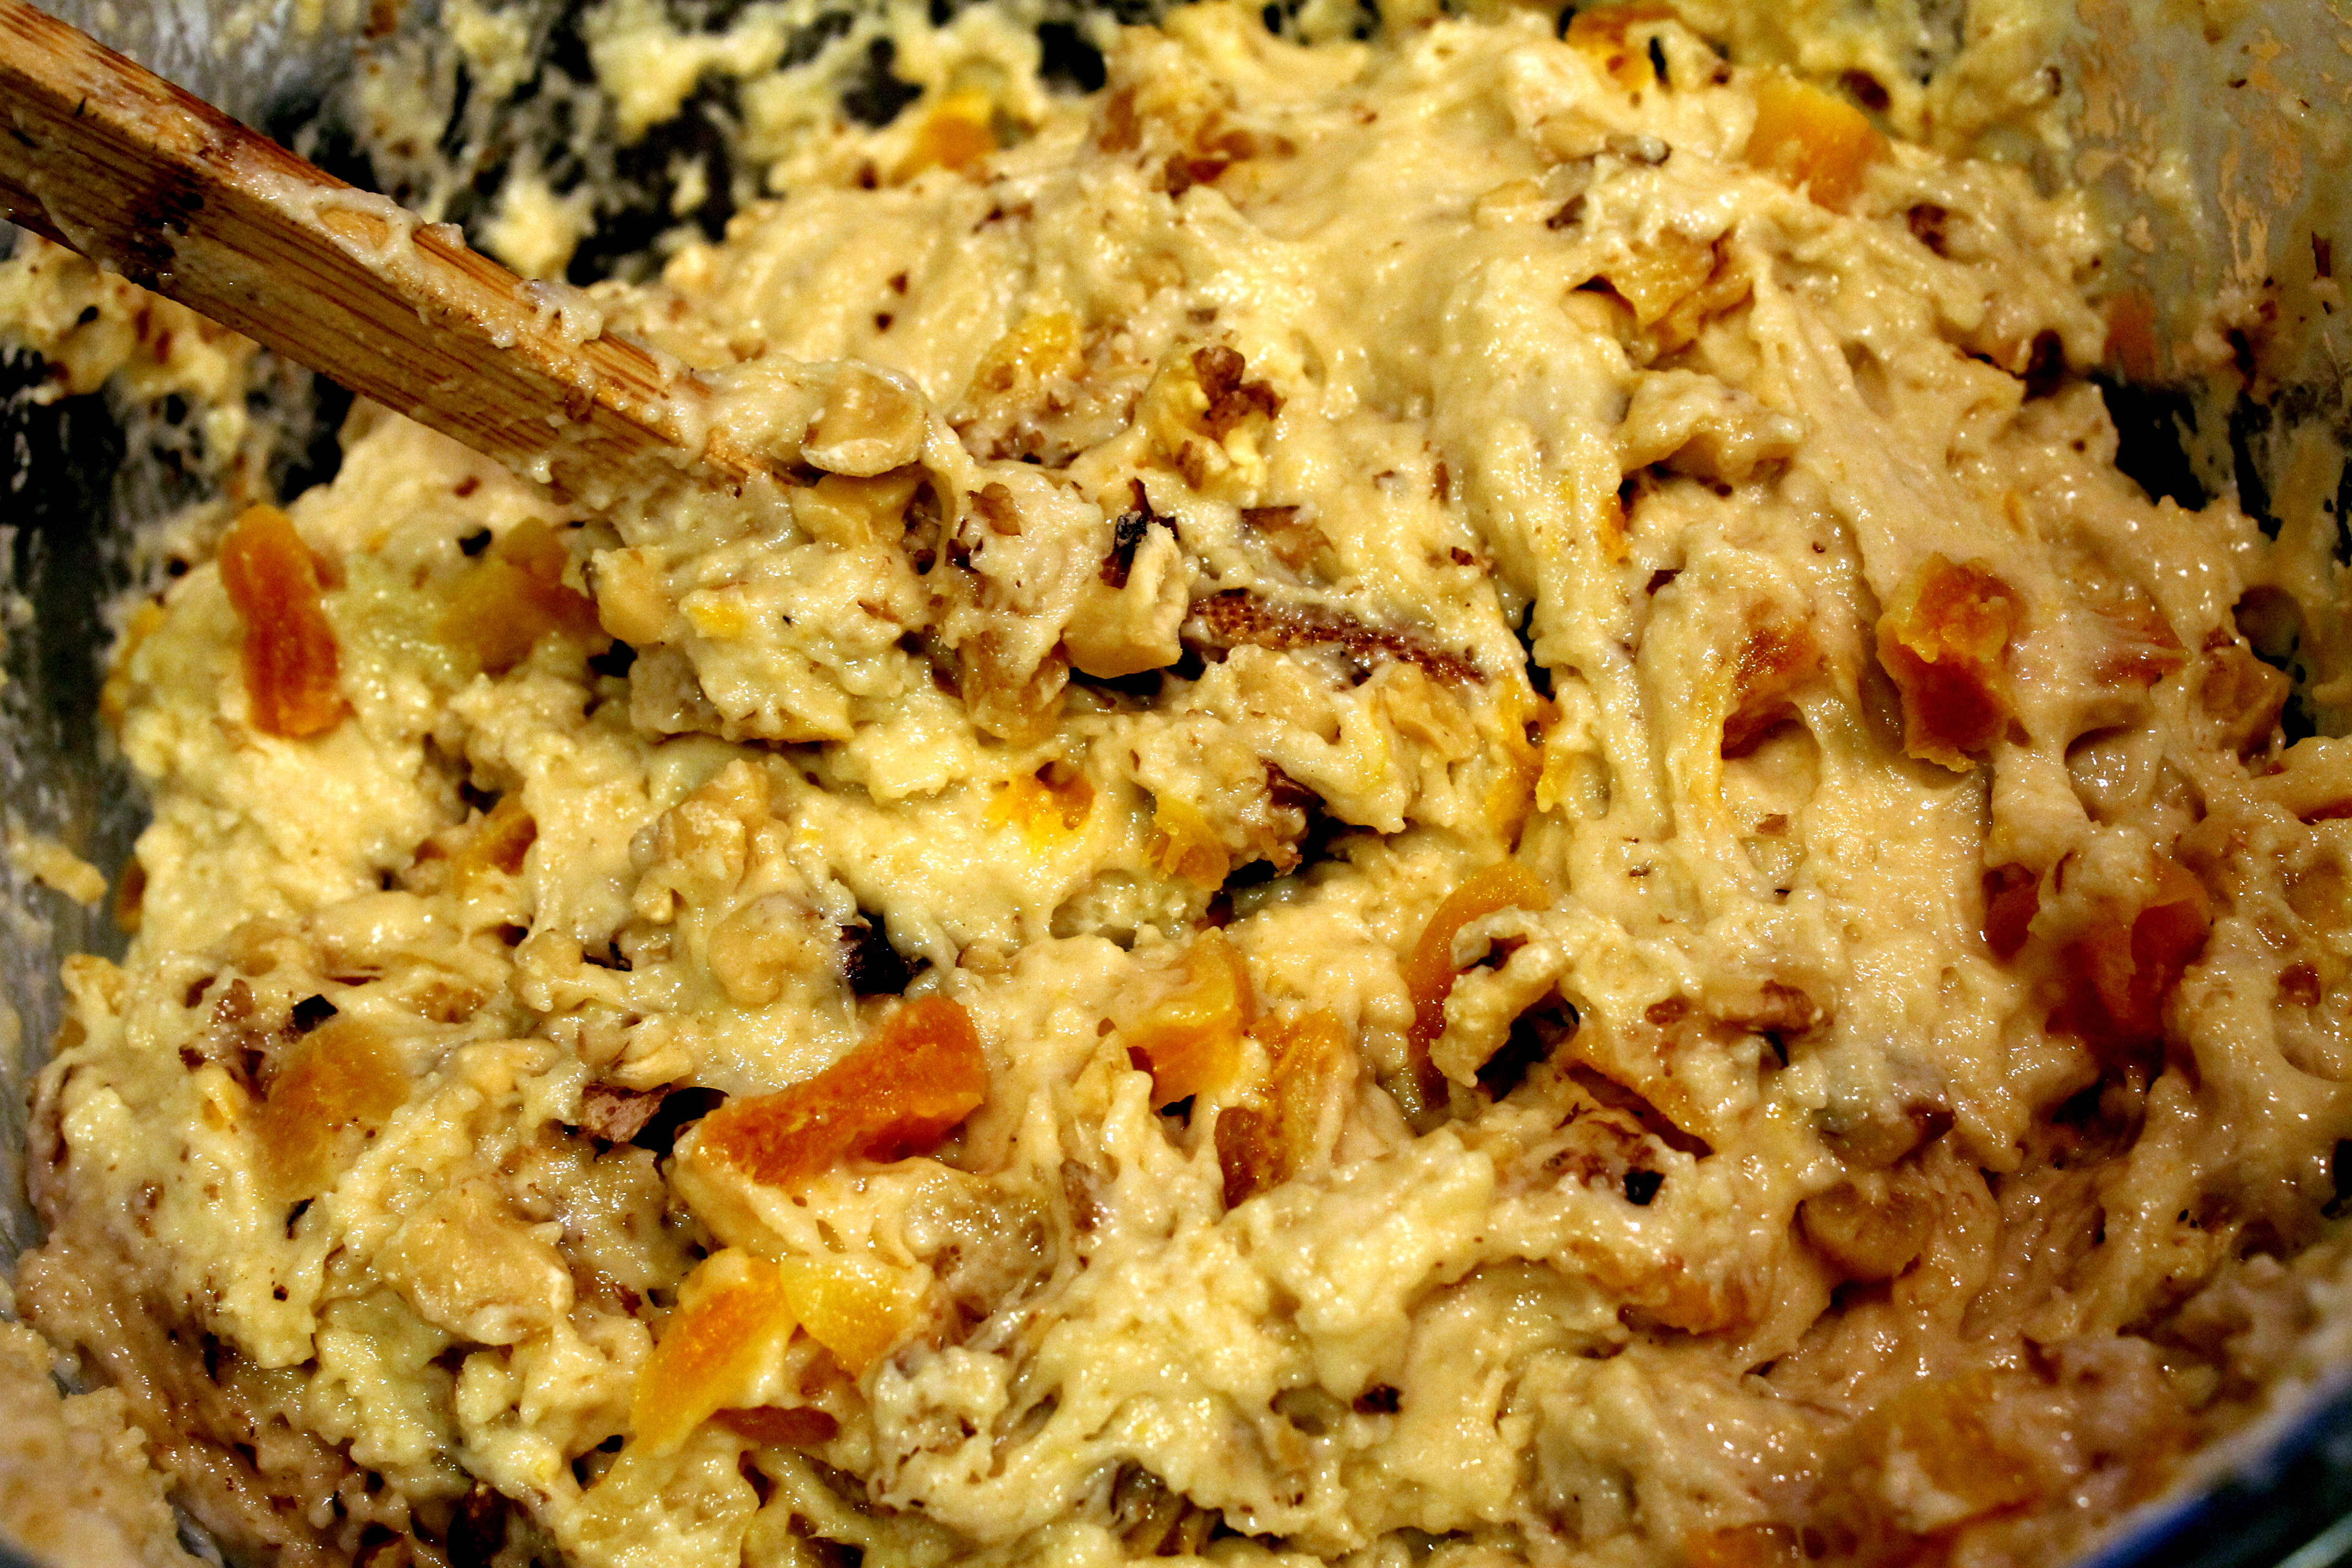
To combine everything, alternately add the apricots with water and egg/sugar mixture to the dry ingredient bowl.

Grandmas Old Fashioned Apricot Nut Bread 6At this point, you could place the batter in your greased and floured bread pans if you are not adding nuts.

Grandmas Old Fashioned Apricot Nut Bread 7
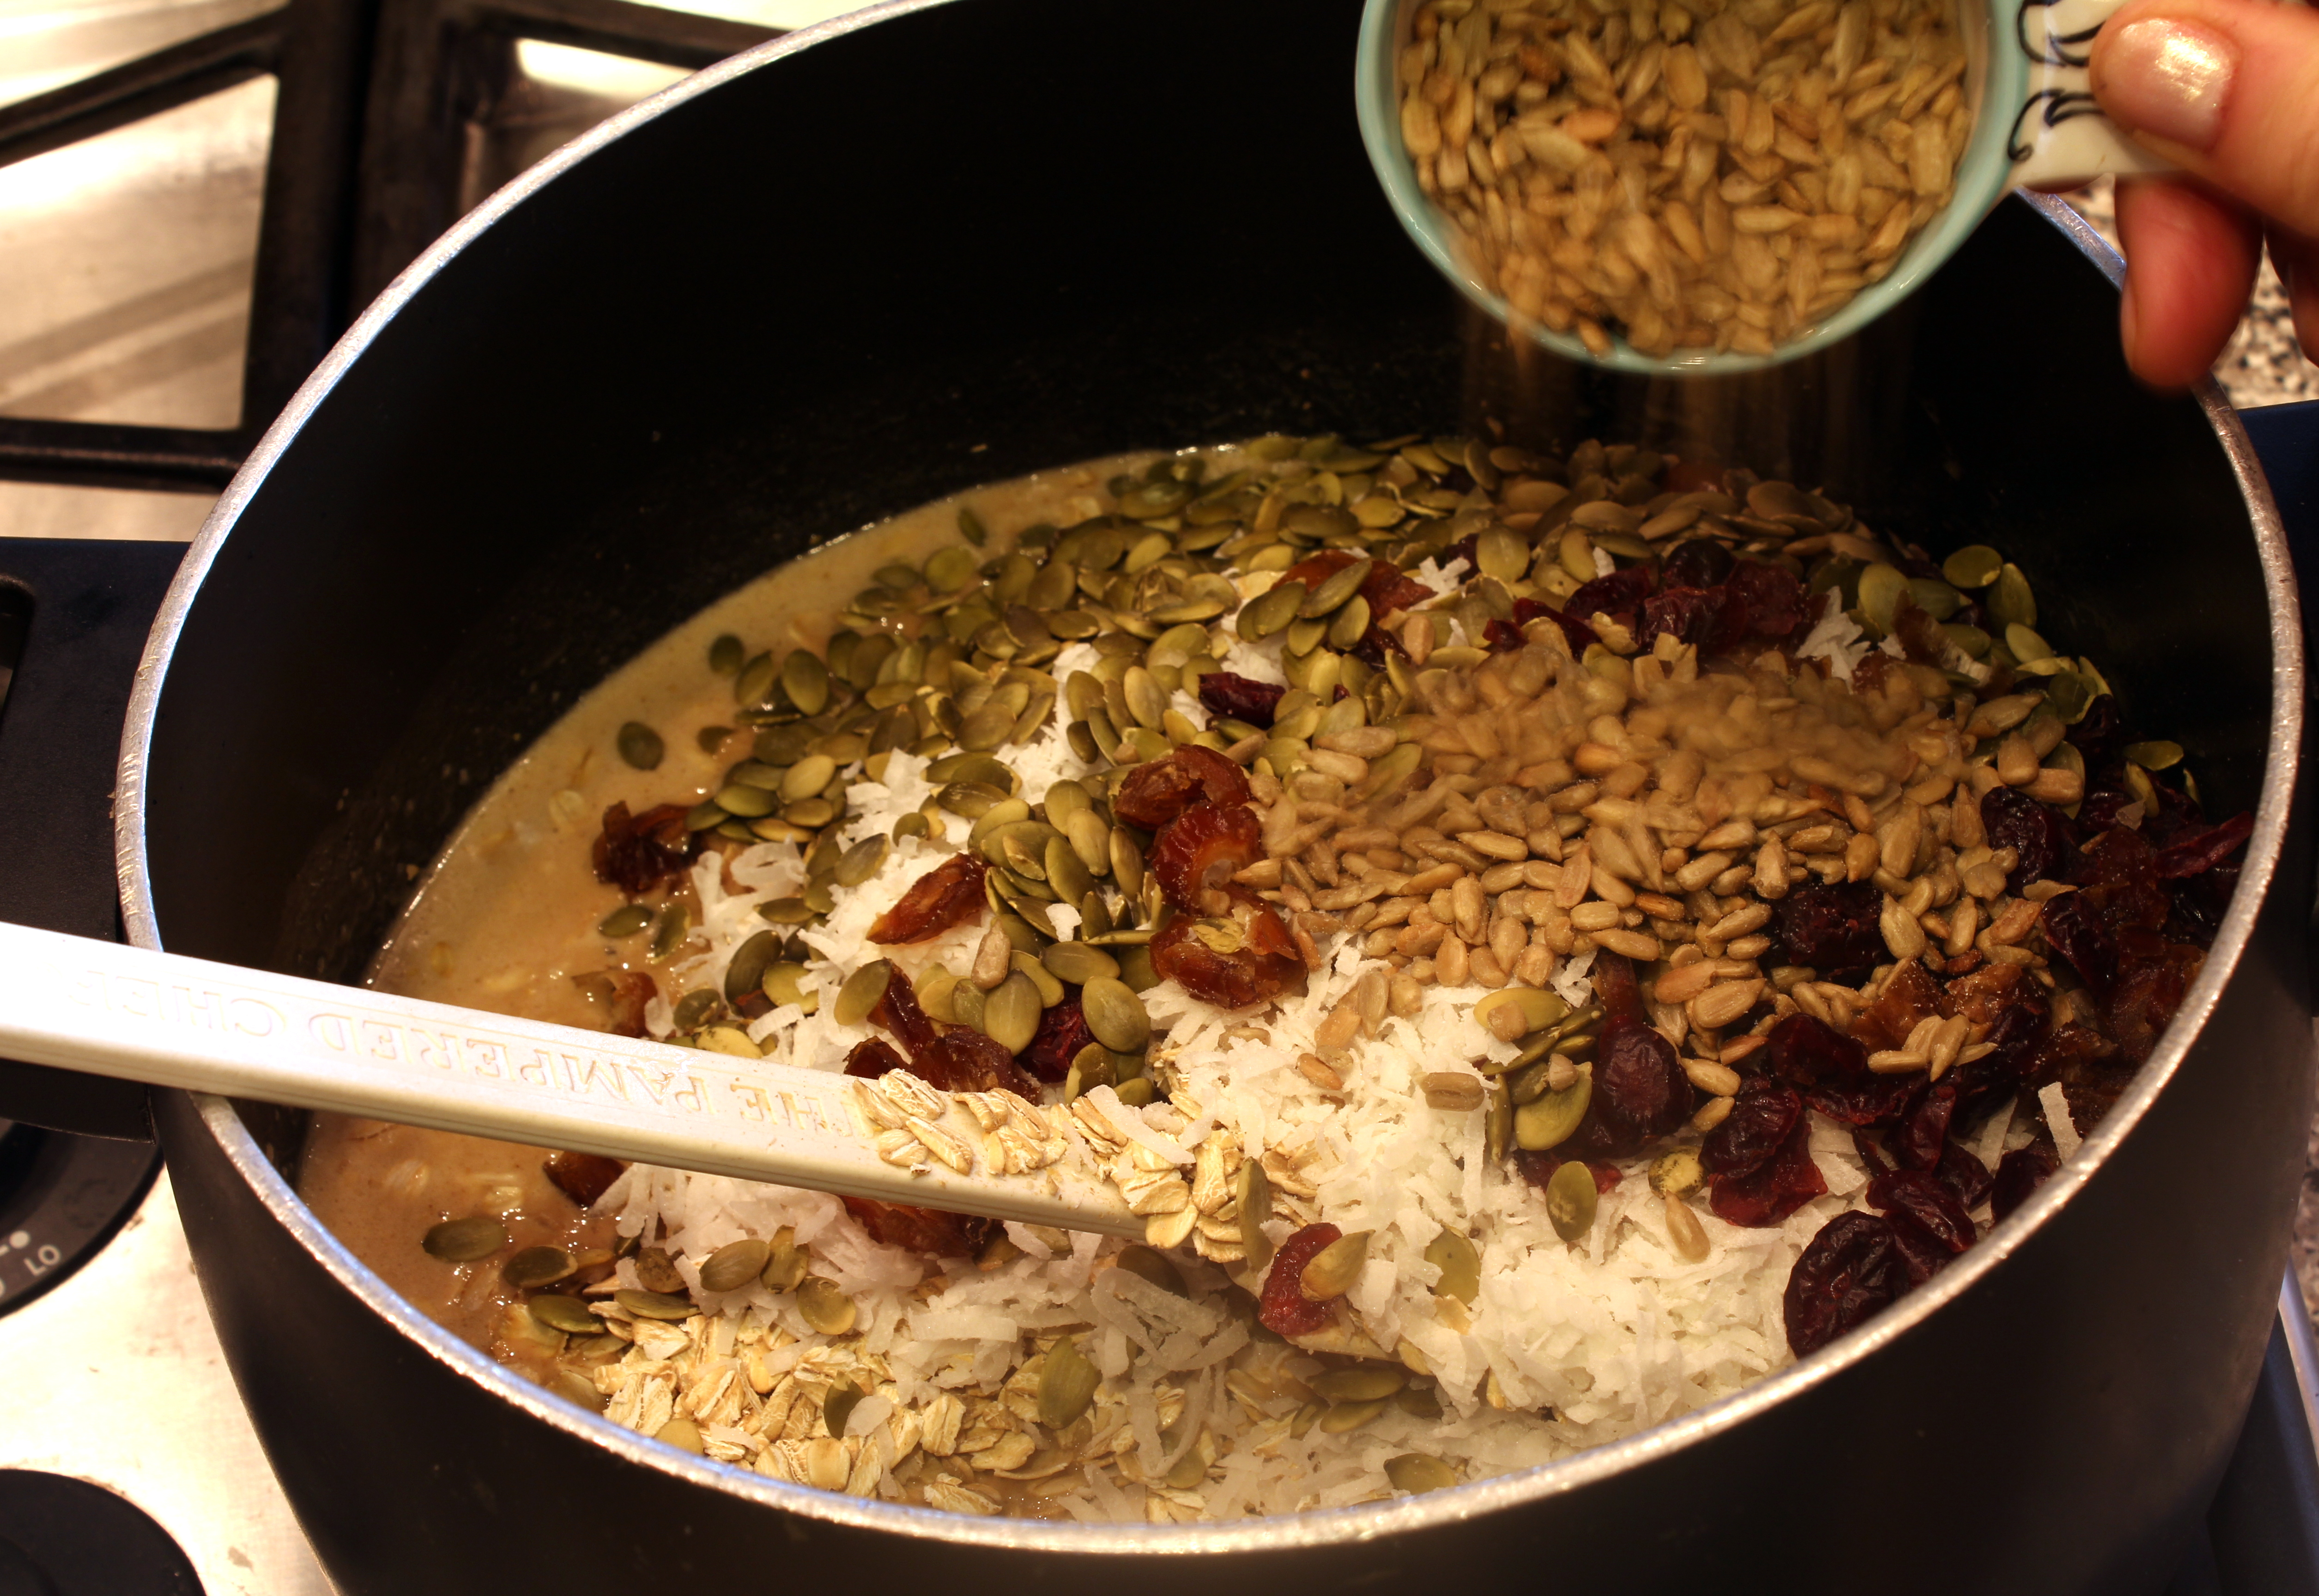
Or gently fold in the nuts.

Grandmas Old Fashioned Apricot Nut Bread 8
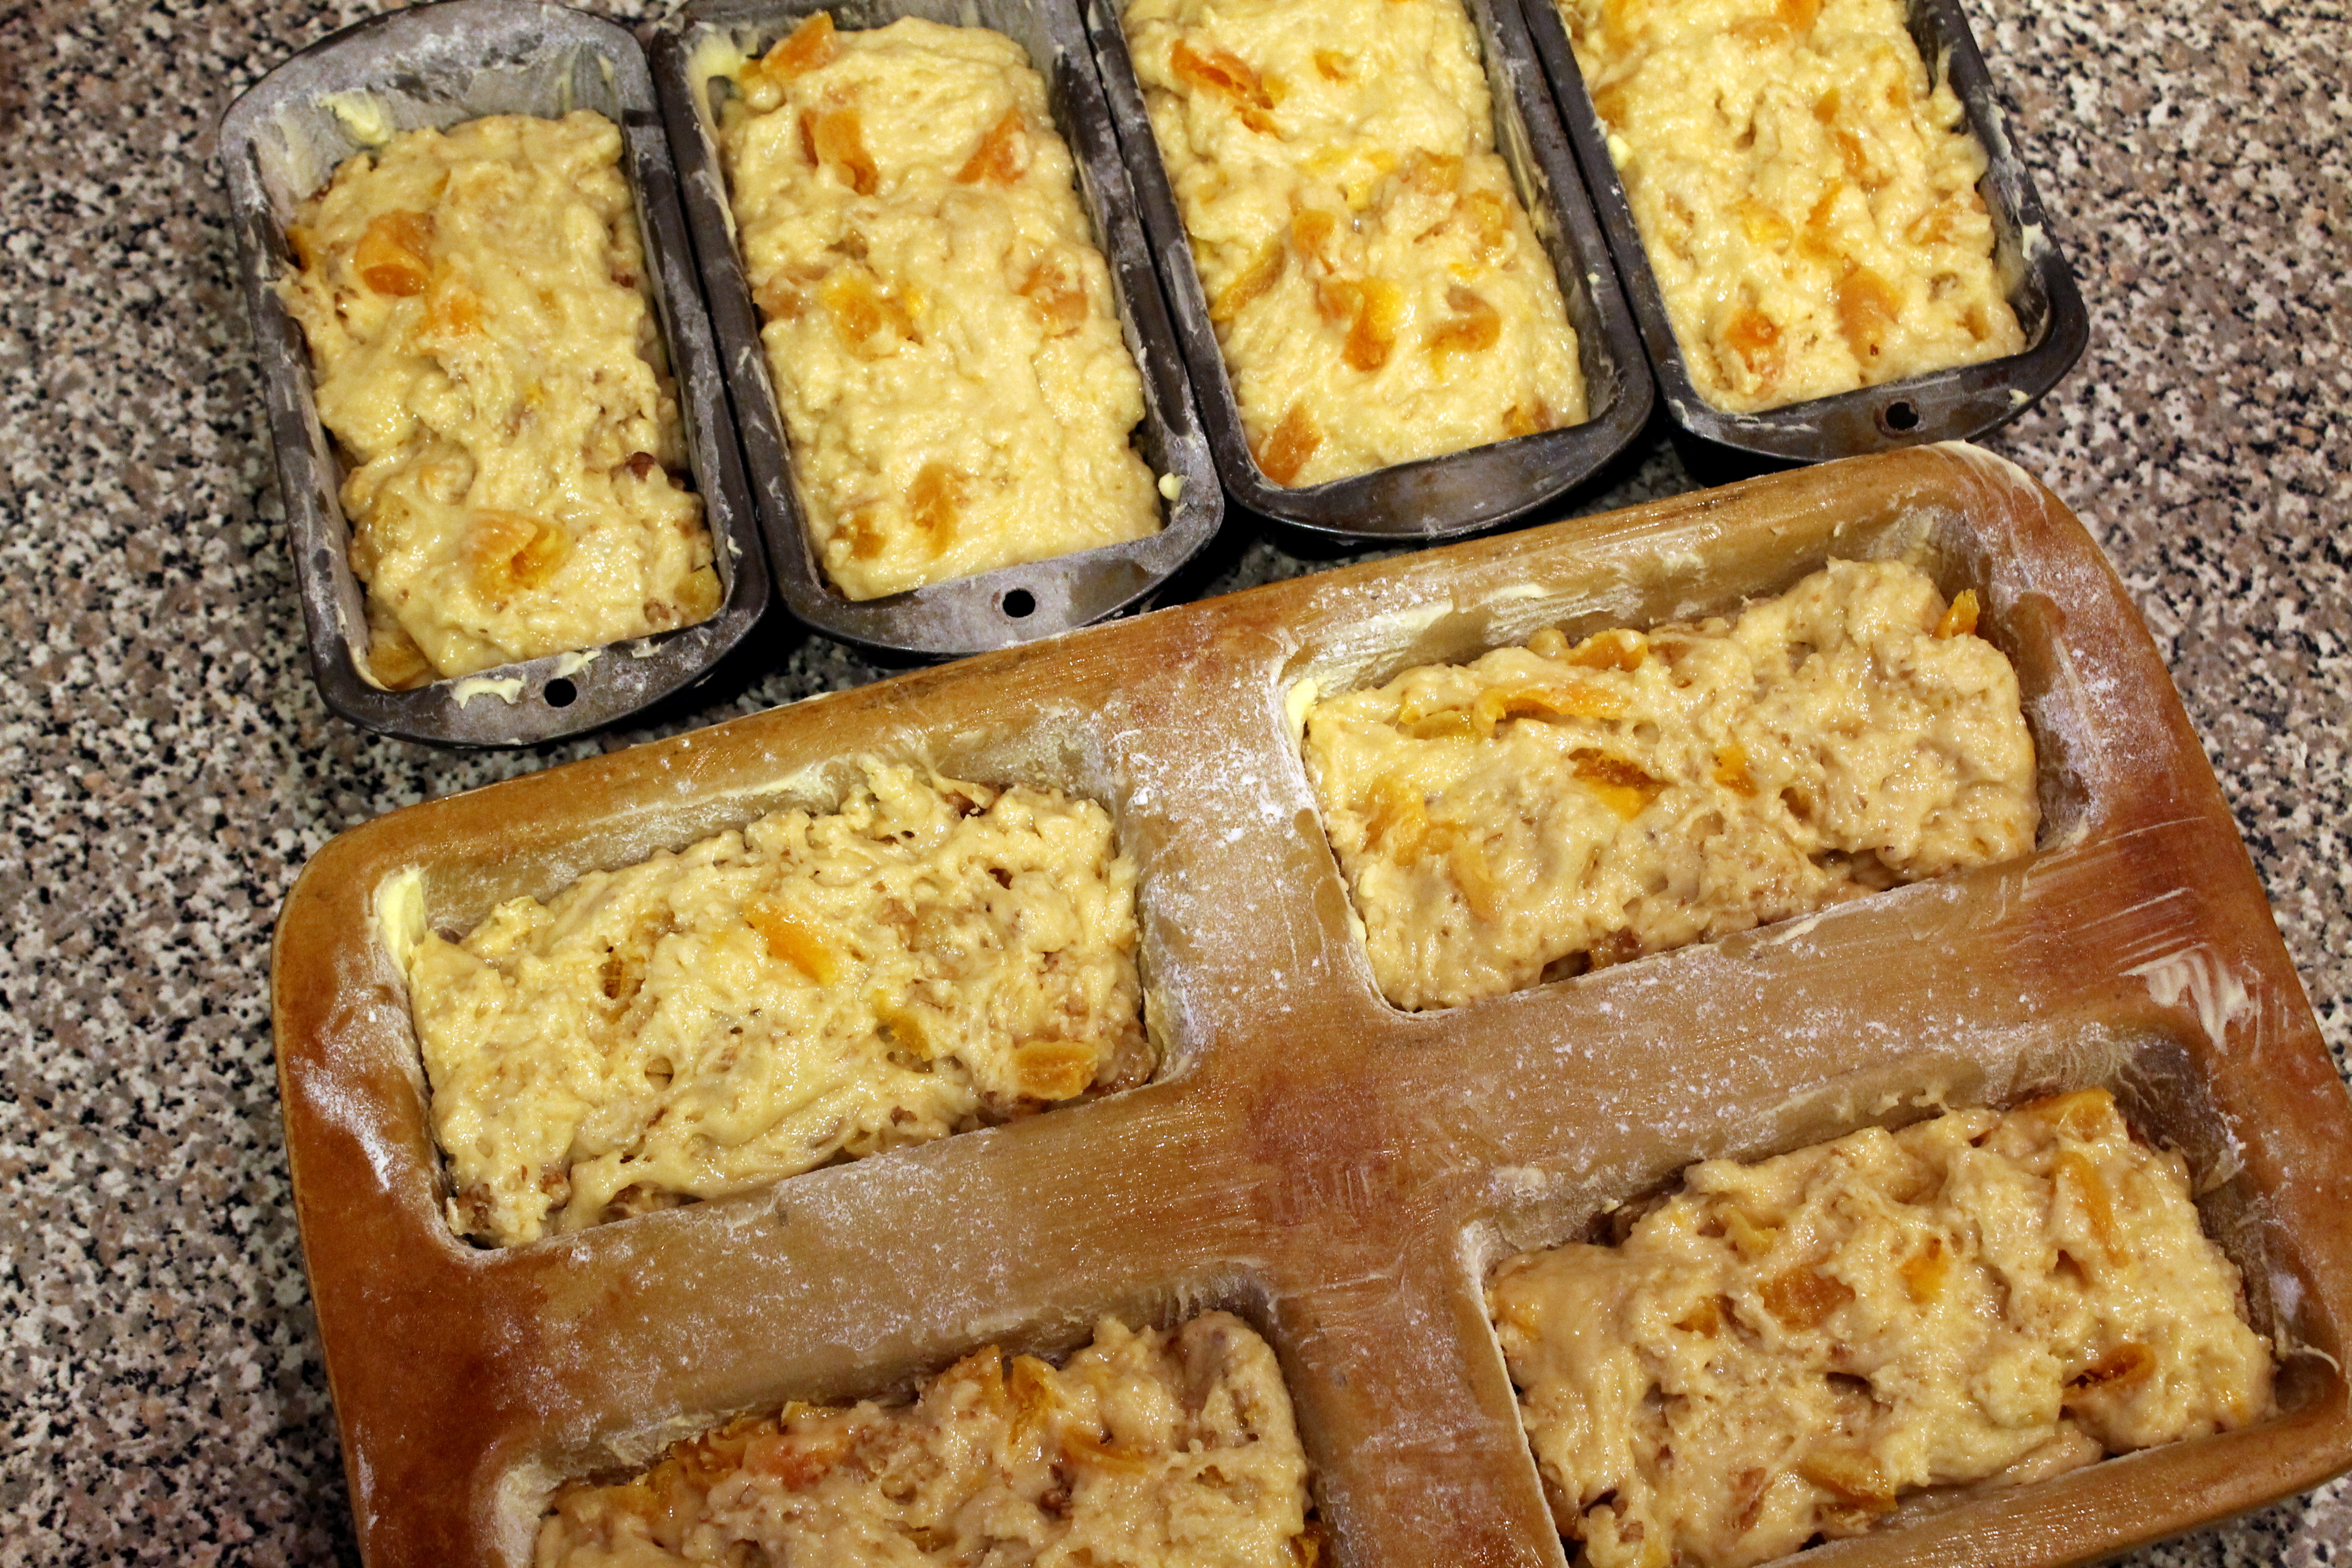
It is important to thoroughly grease and flour your bread pans.  I use a paper towel to generously smear Crisco into every corner and crevice of the pan and then dust thoroughly with four.  If done well, the bread will roll right out when you tip the pans once out of the oven.

Grandmas Old Fashioned Apricot Nut Bread 9You can use a number of small bread pans or one large bread pan for a single recipe.  I tripled the recipe this weekend and made eight smaller loaves.

Grandmas Old Fashioned Apricot Nut Bread 10
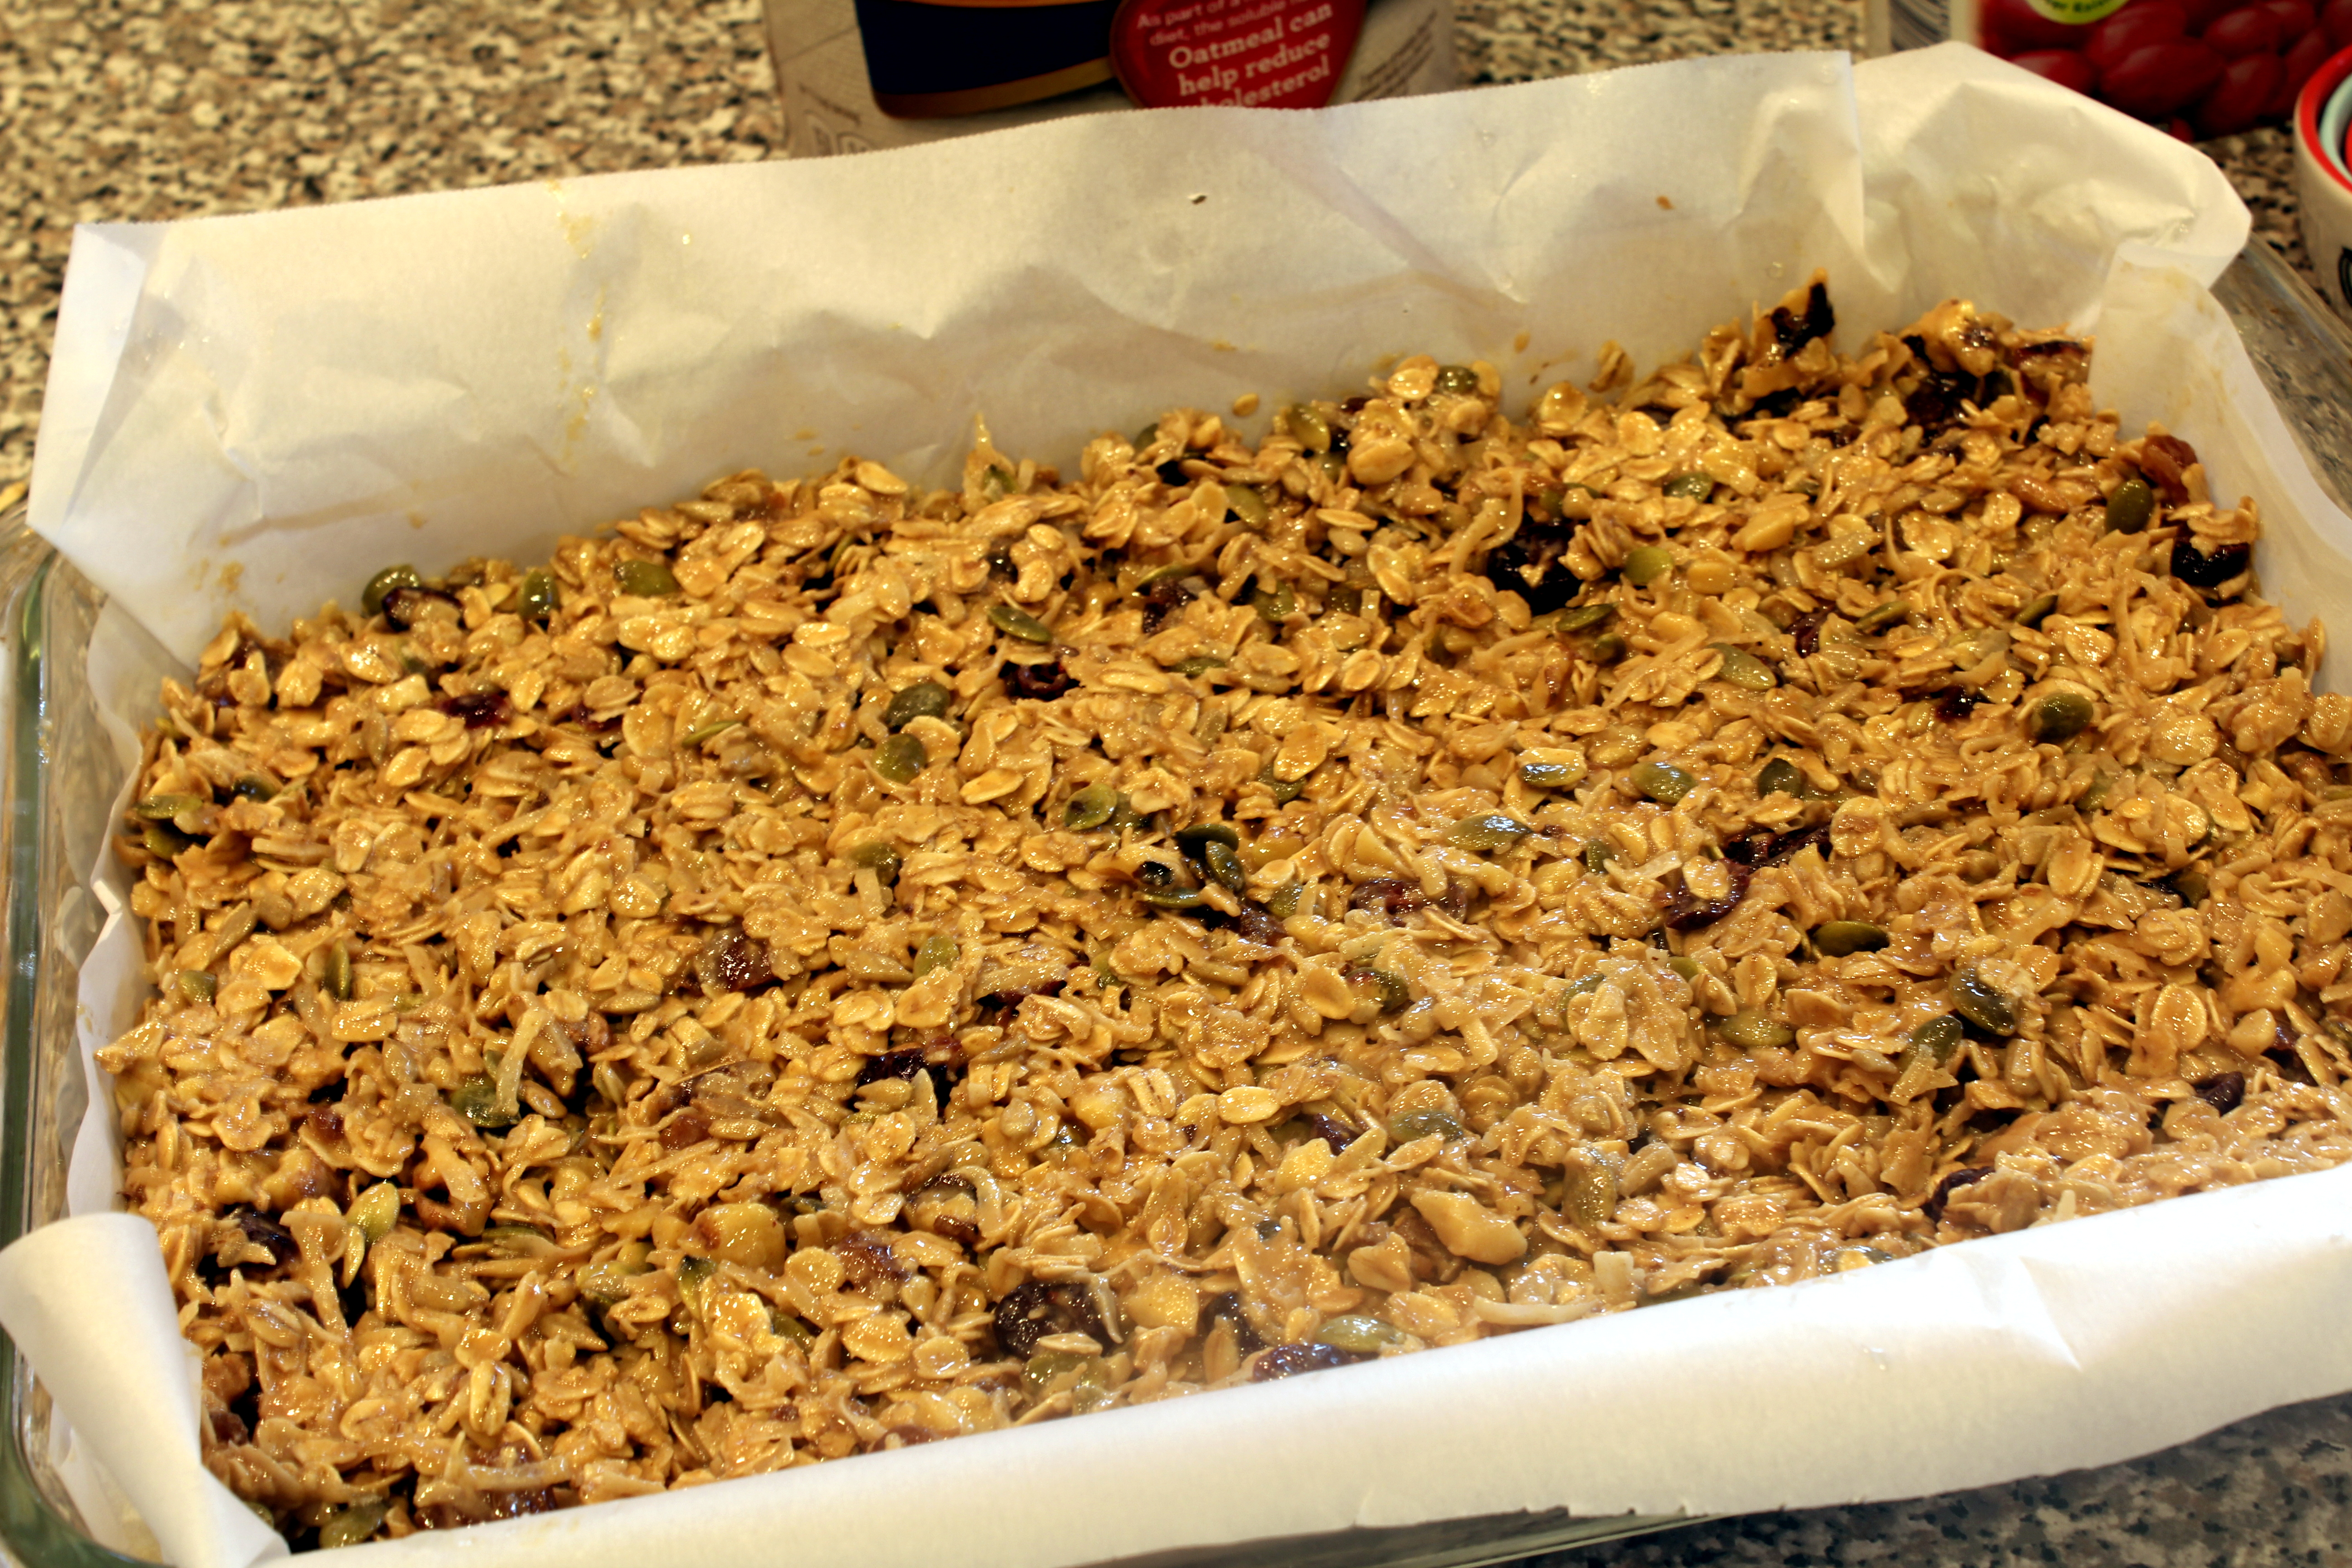
I fill them about 3/4 full to get a nicely risen loaf.

Grandmas Old Fashioned Apricot Nut Bread 11Baking time varies depending on the size of the loaf, so watch carefully and check with a toothpick.  If you insert a toothpick in the center and it comes out clean, the bread is done.

Grandmas Old Fashioned Apricot Nut Bread 12
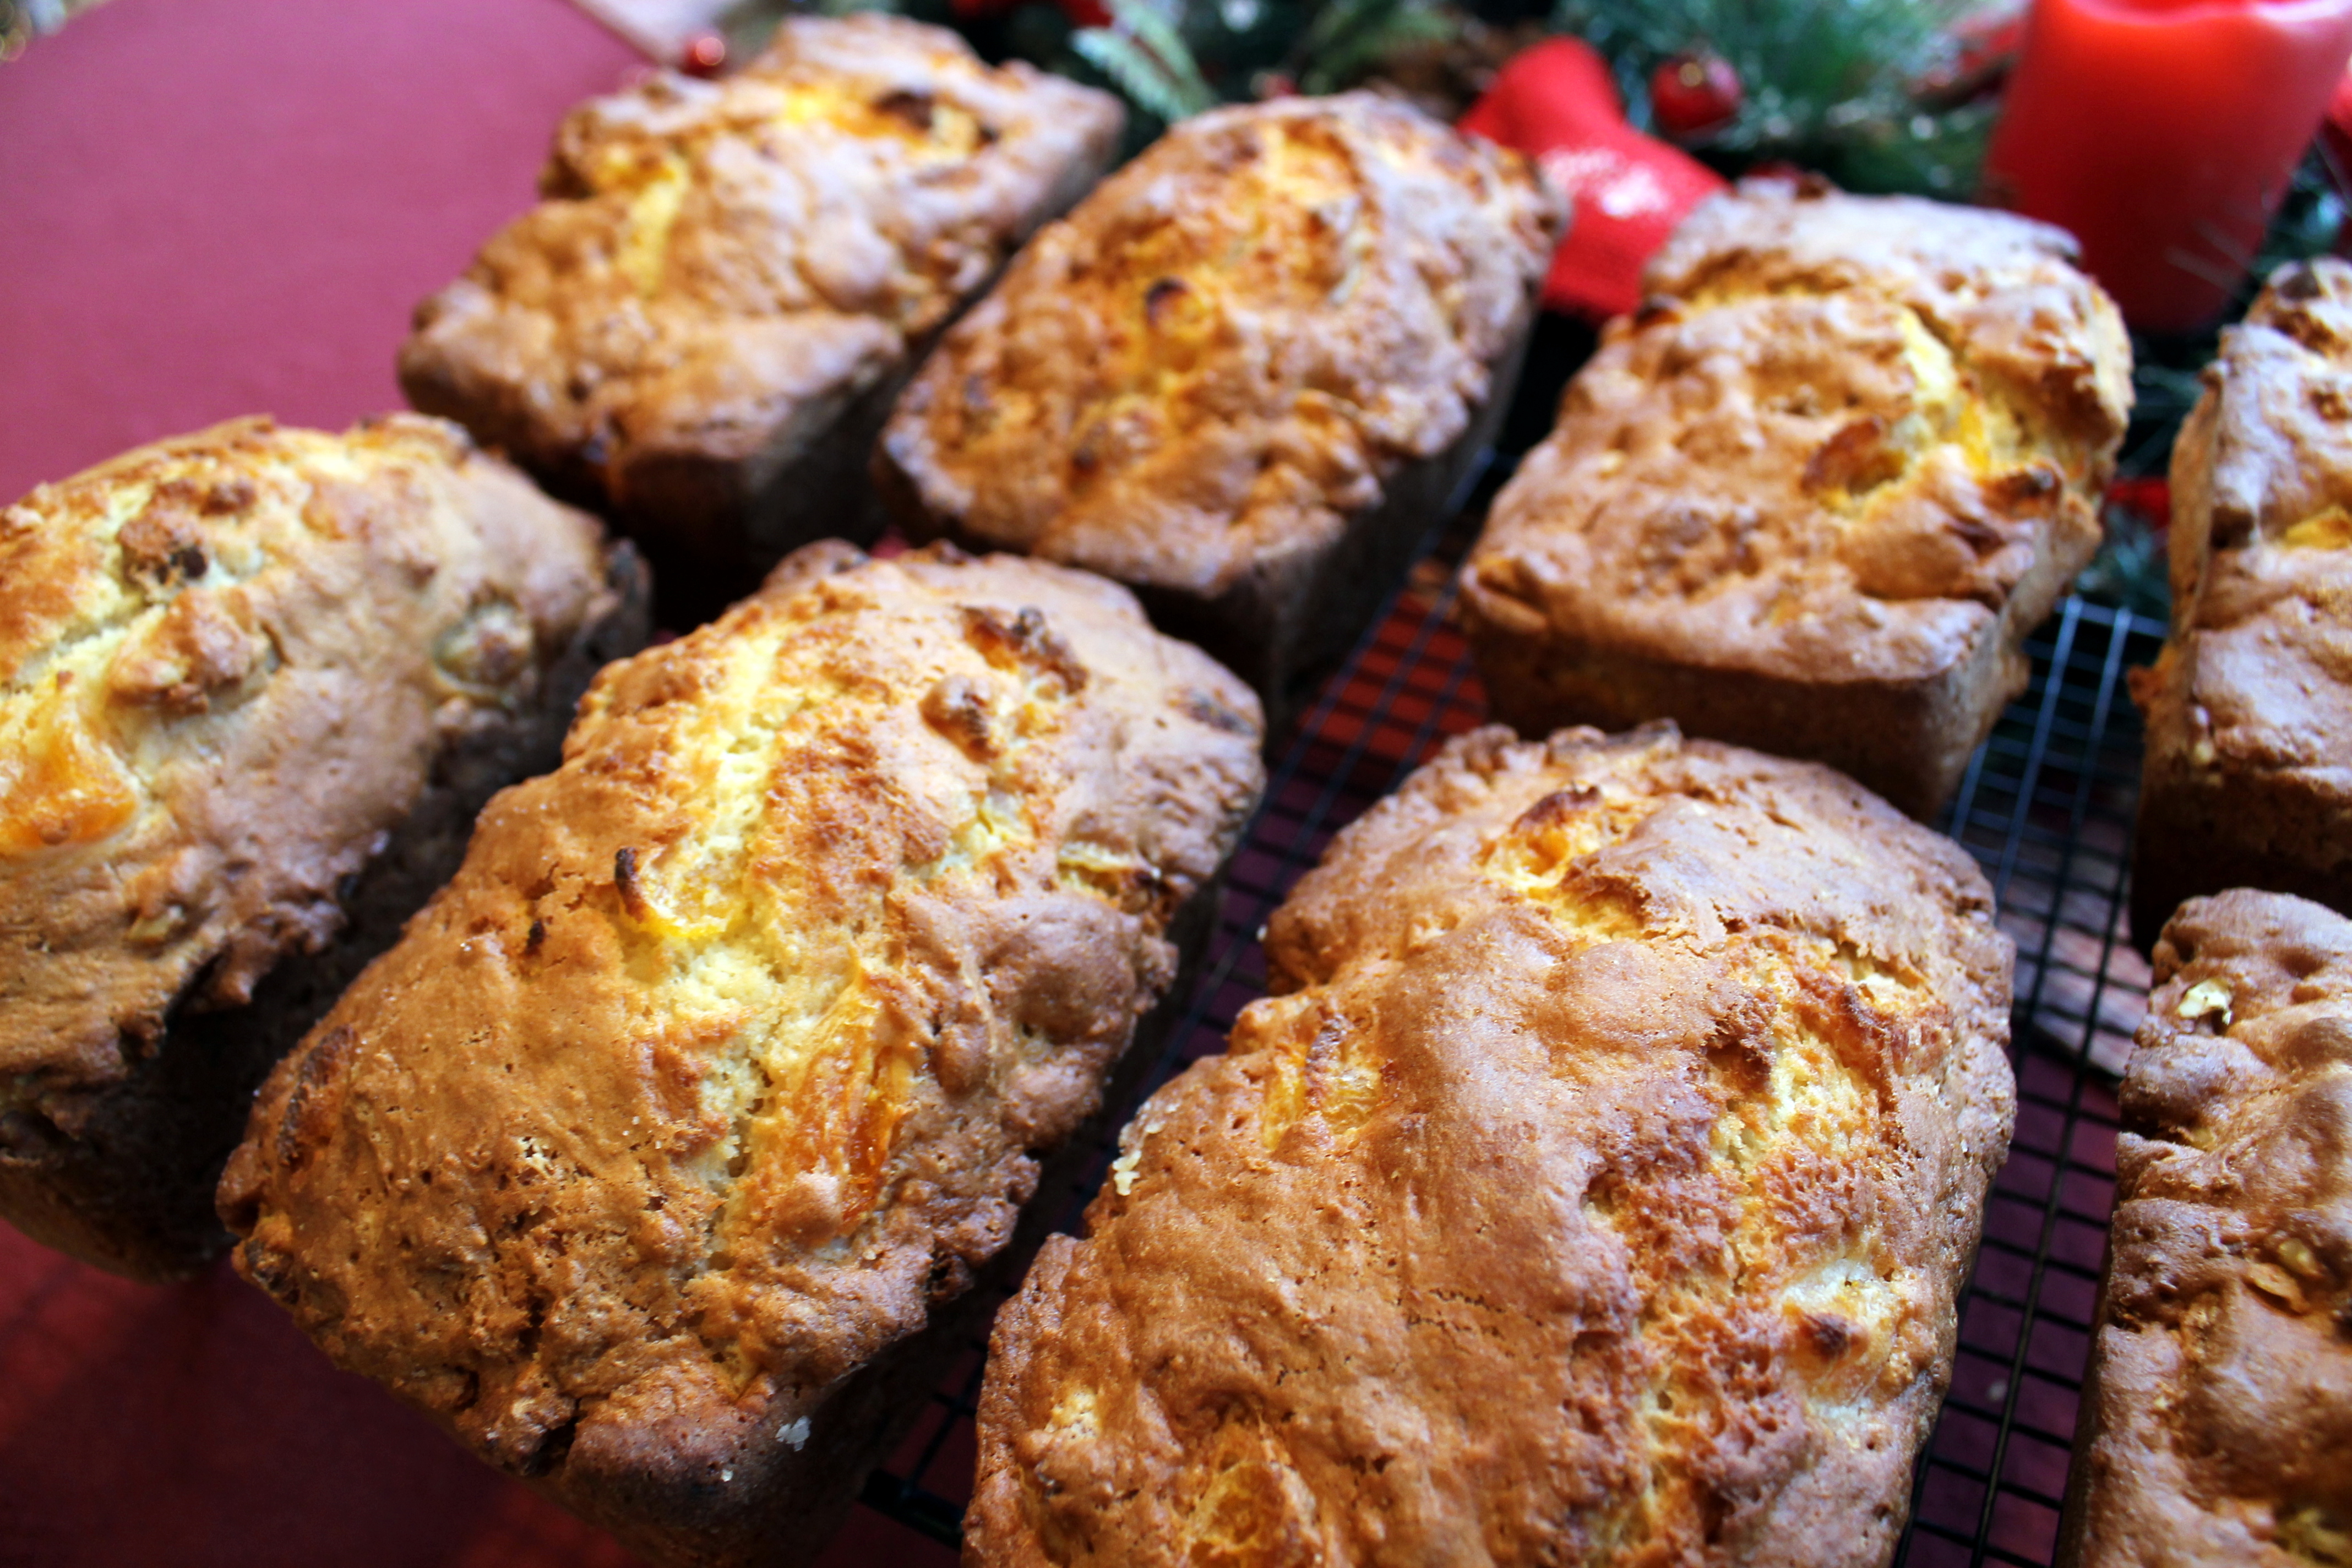
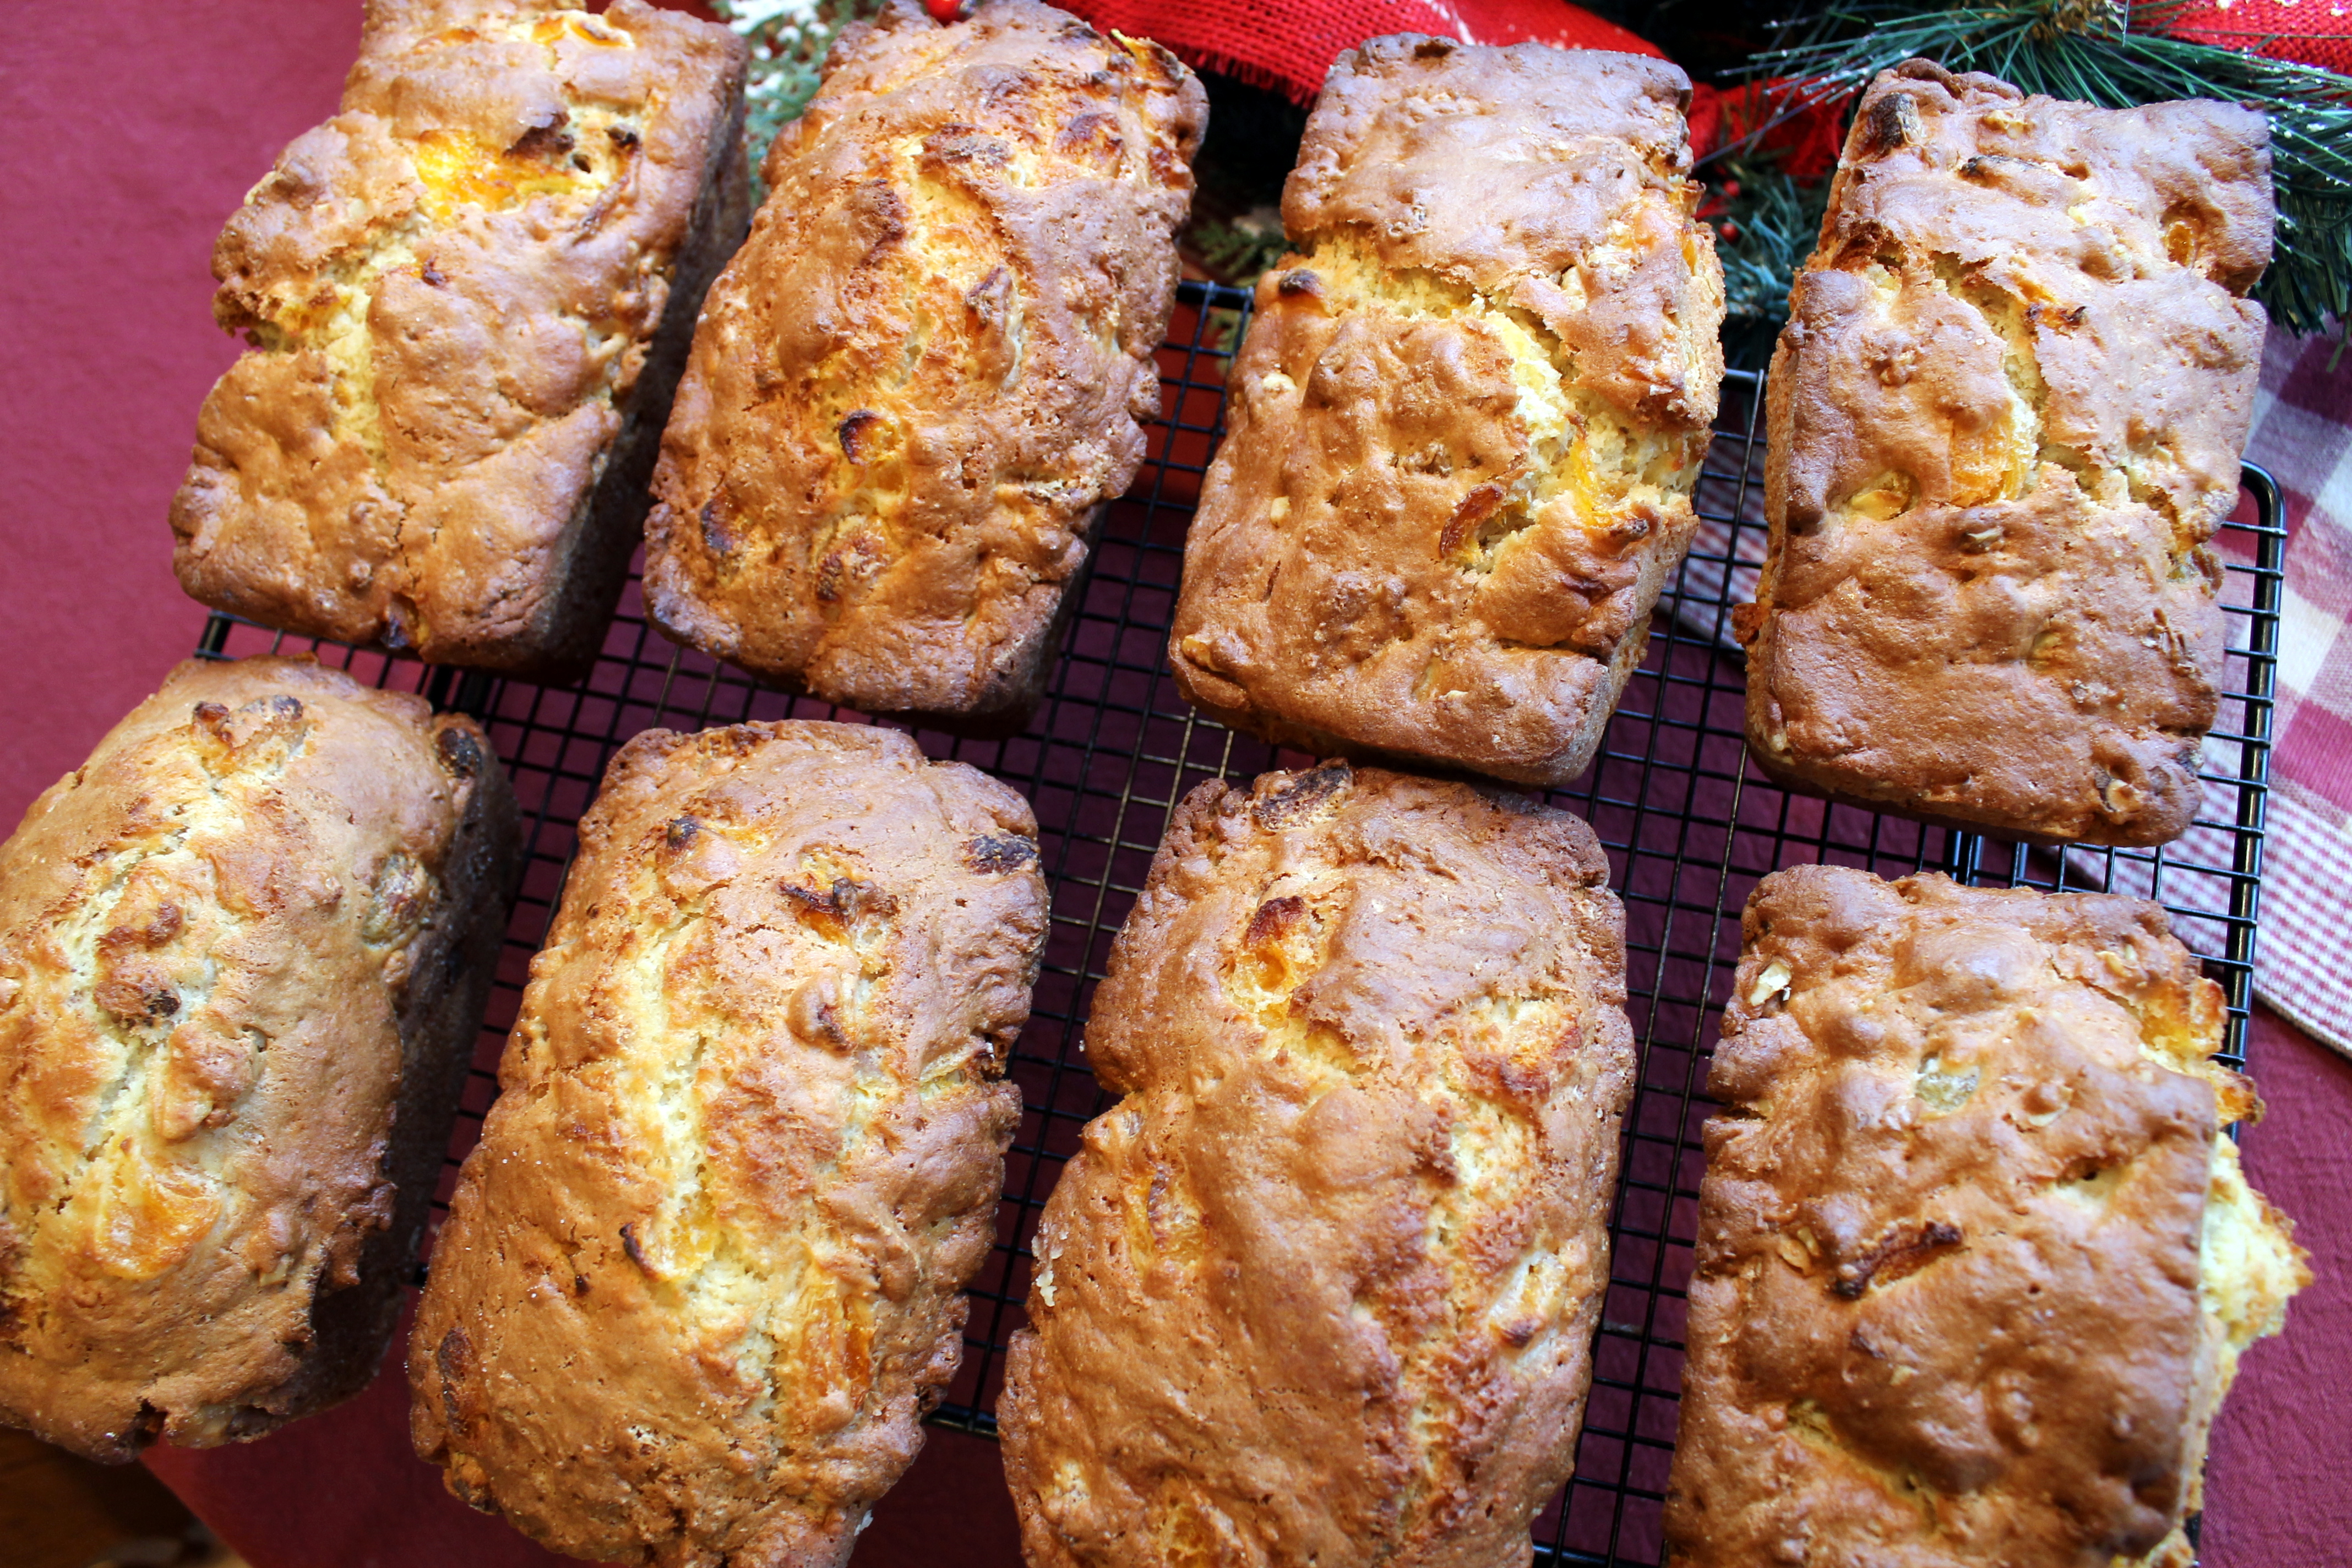
I immediately pop them out out of the pans and cool completely on a wire rack.  These loaves freeze beautifully if wrapped in saran wrap and foil or in freezer Ziploc bags.

Grandmas Old Fashioned Apricot Nut Bread Last
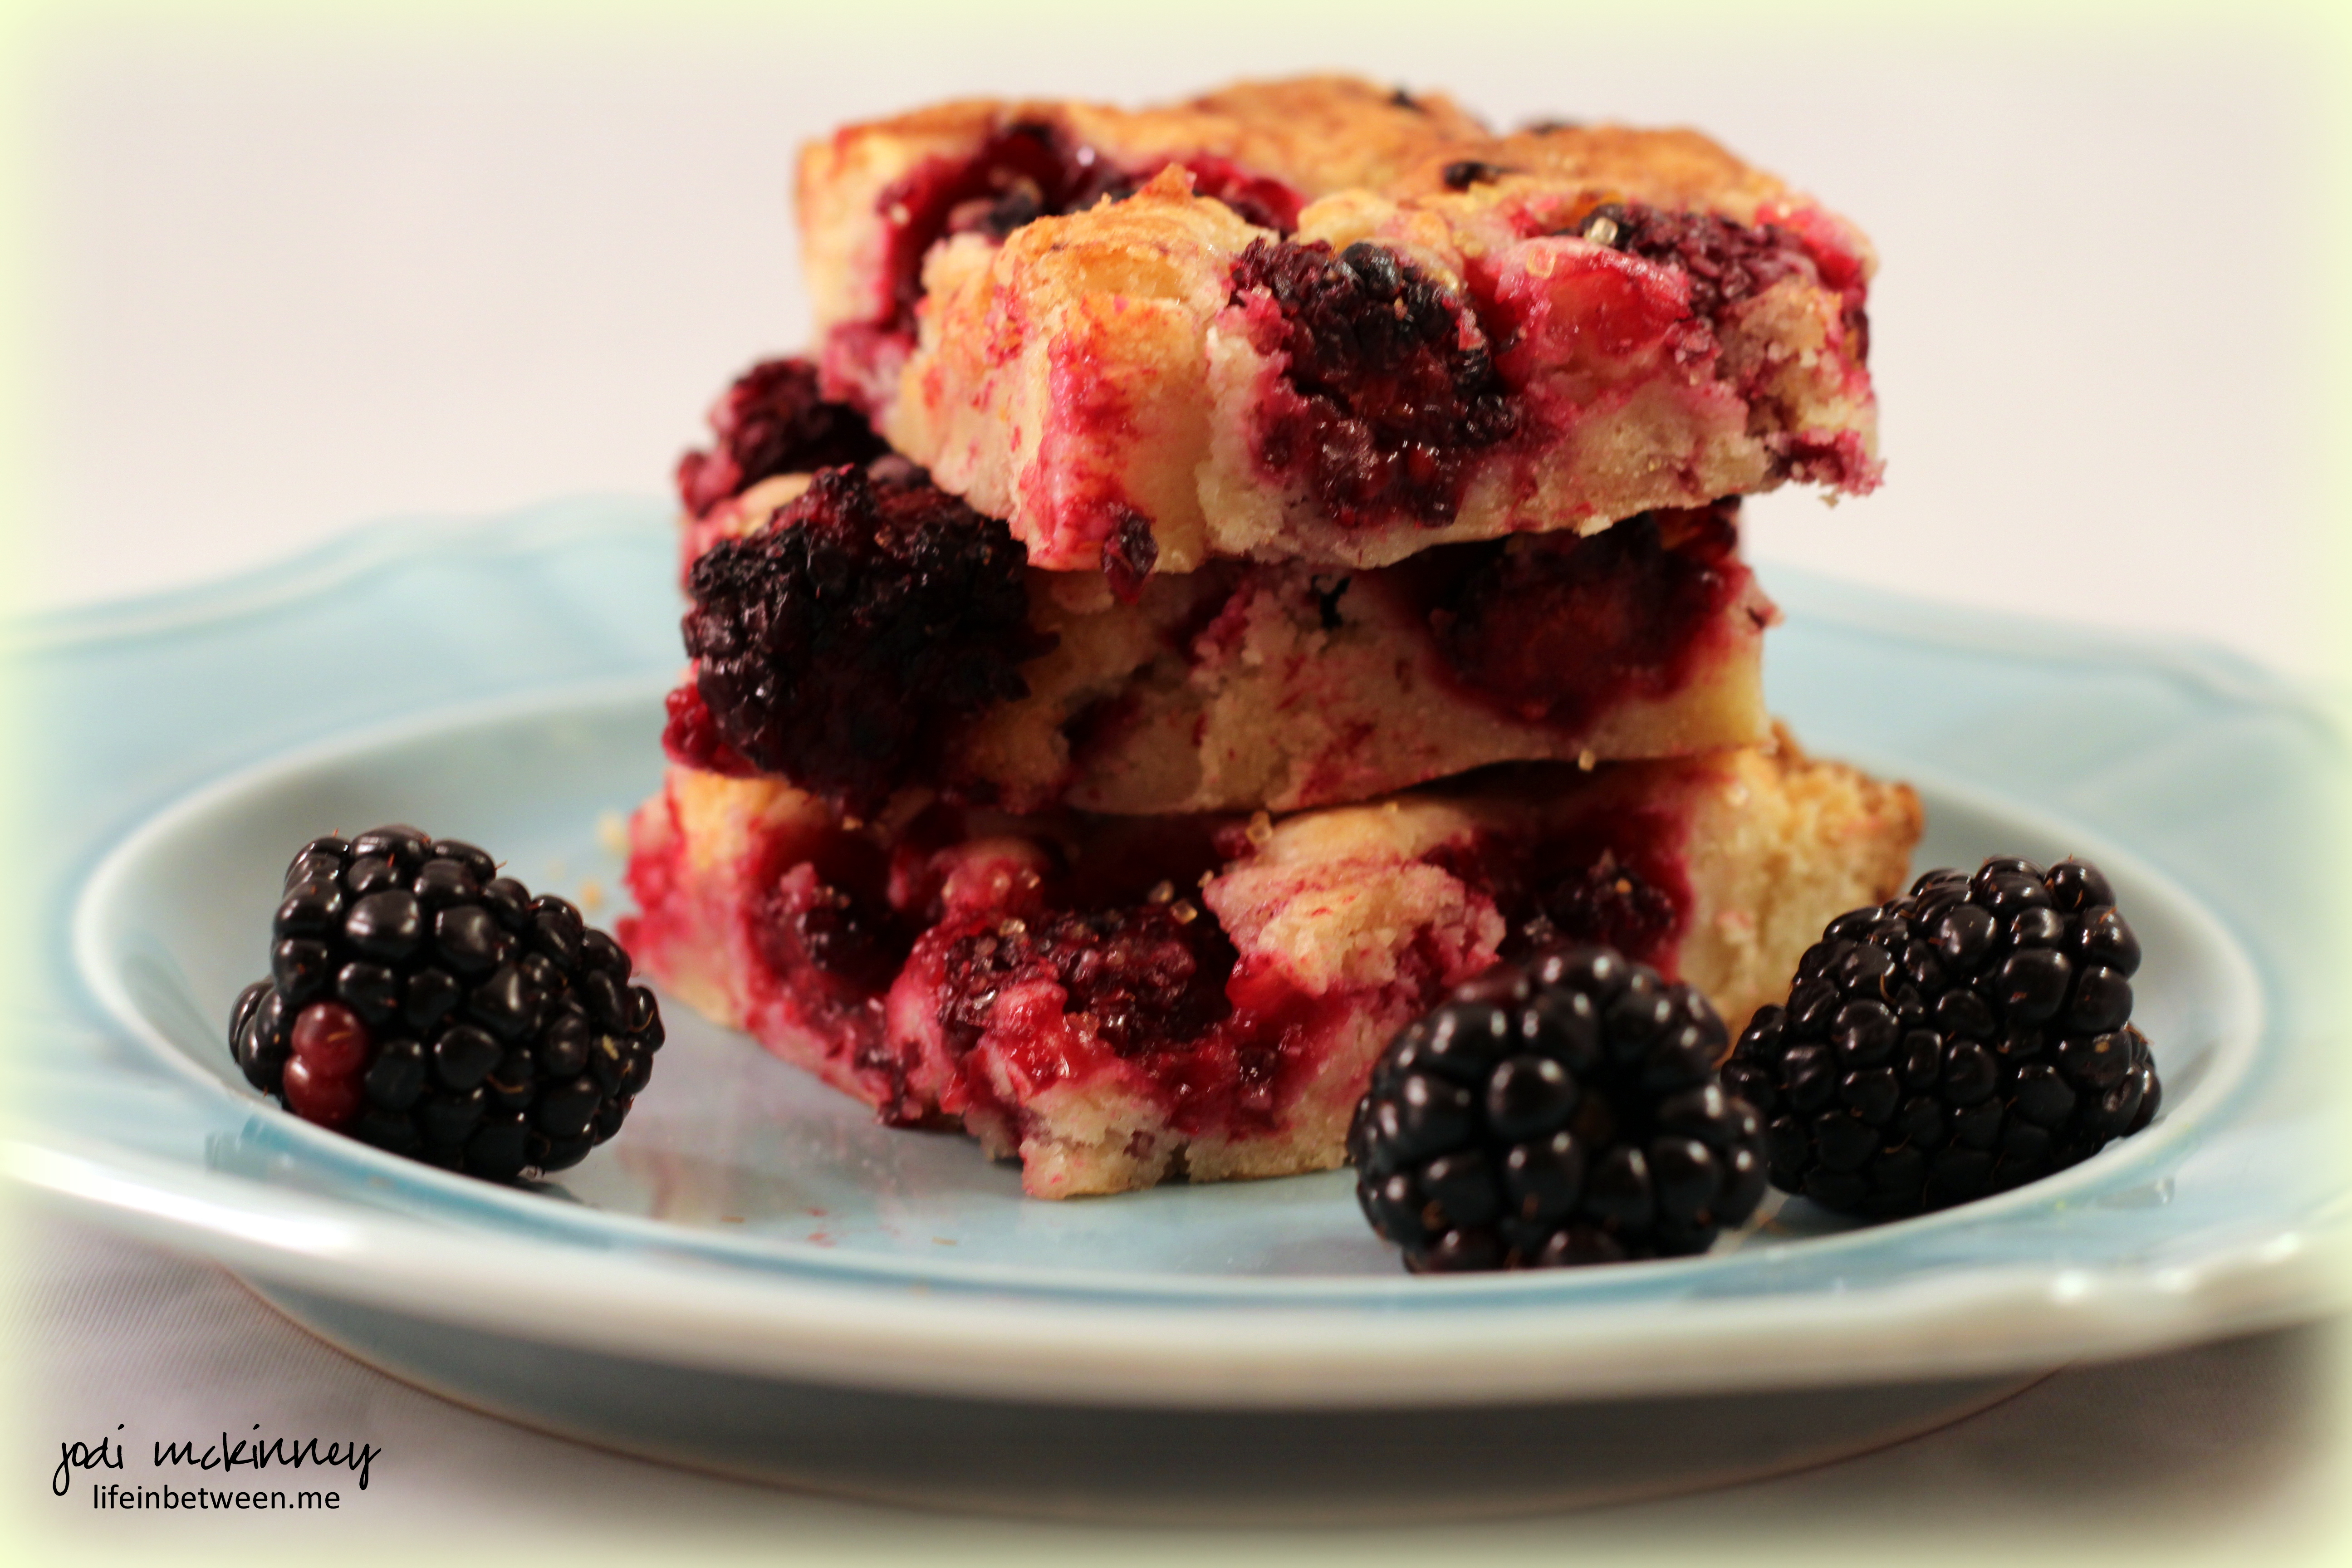
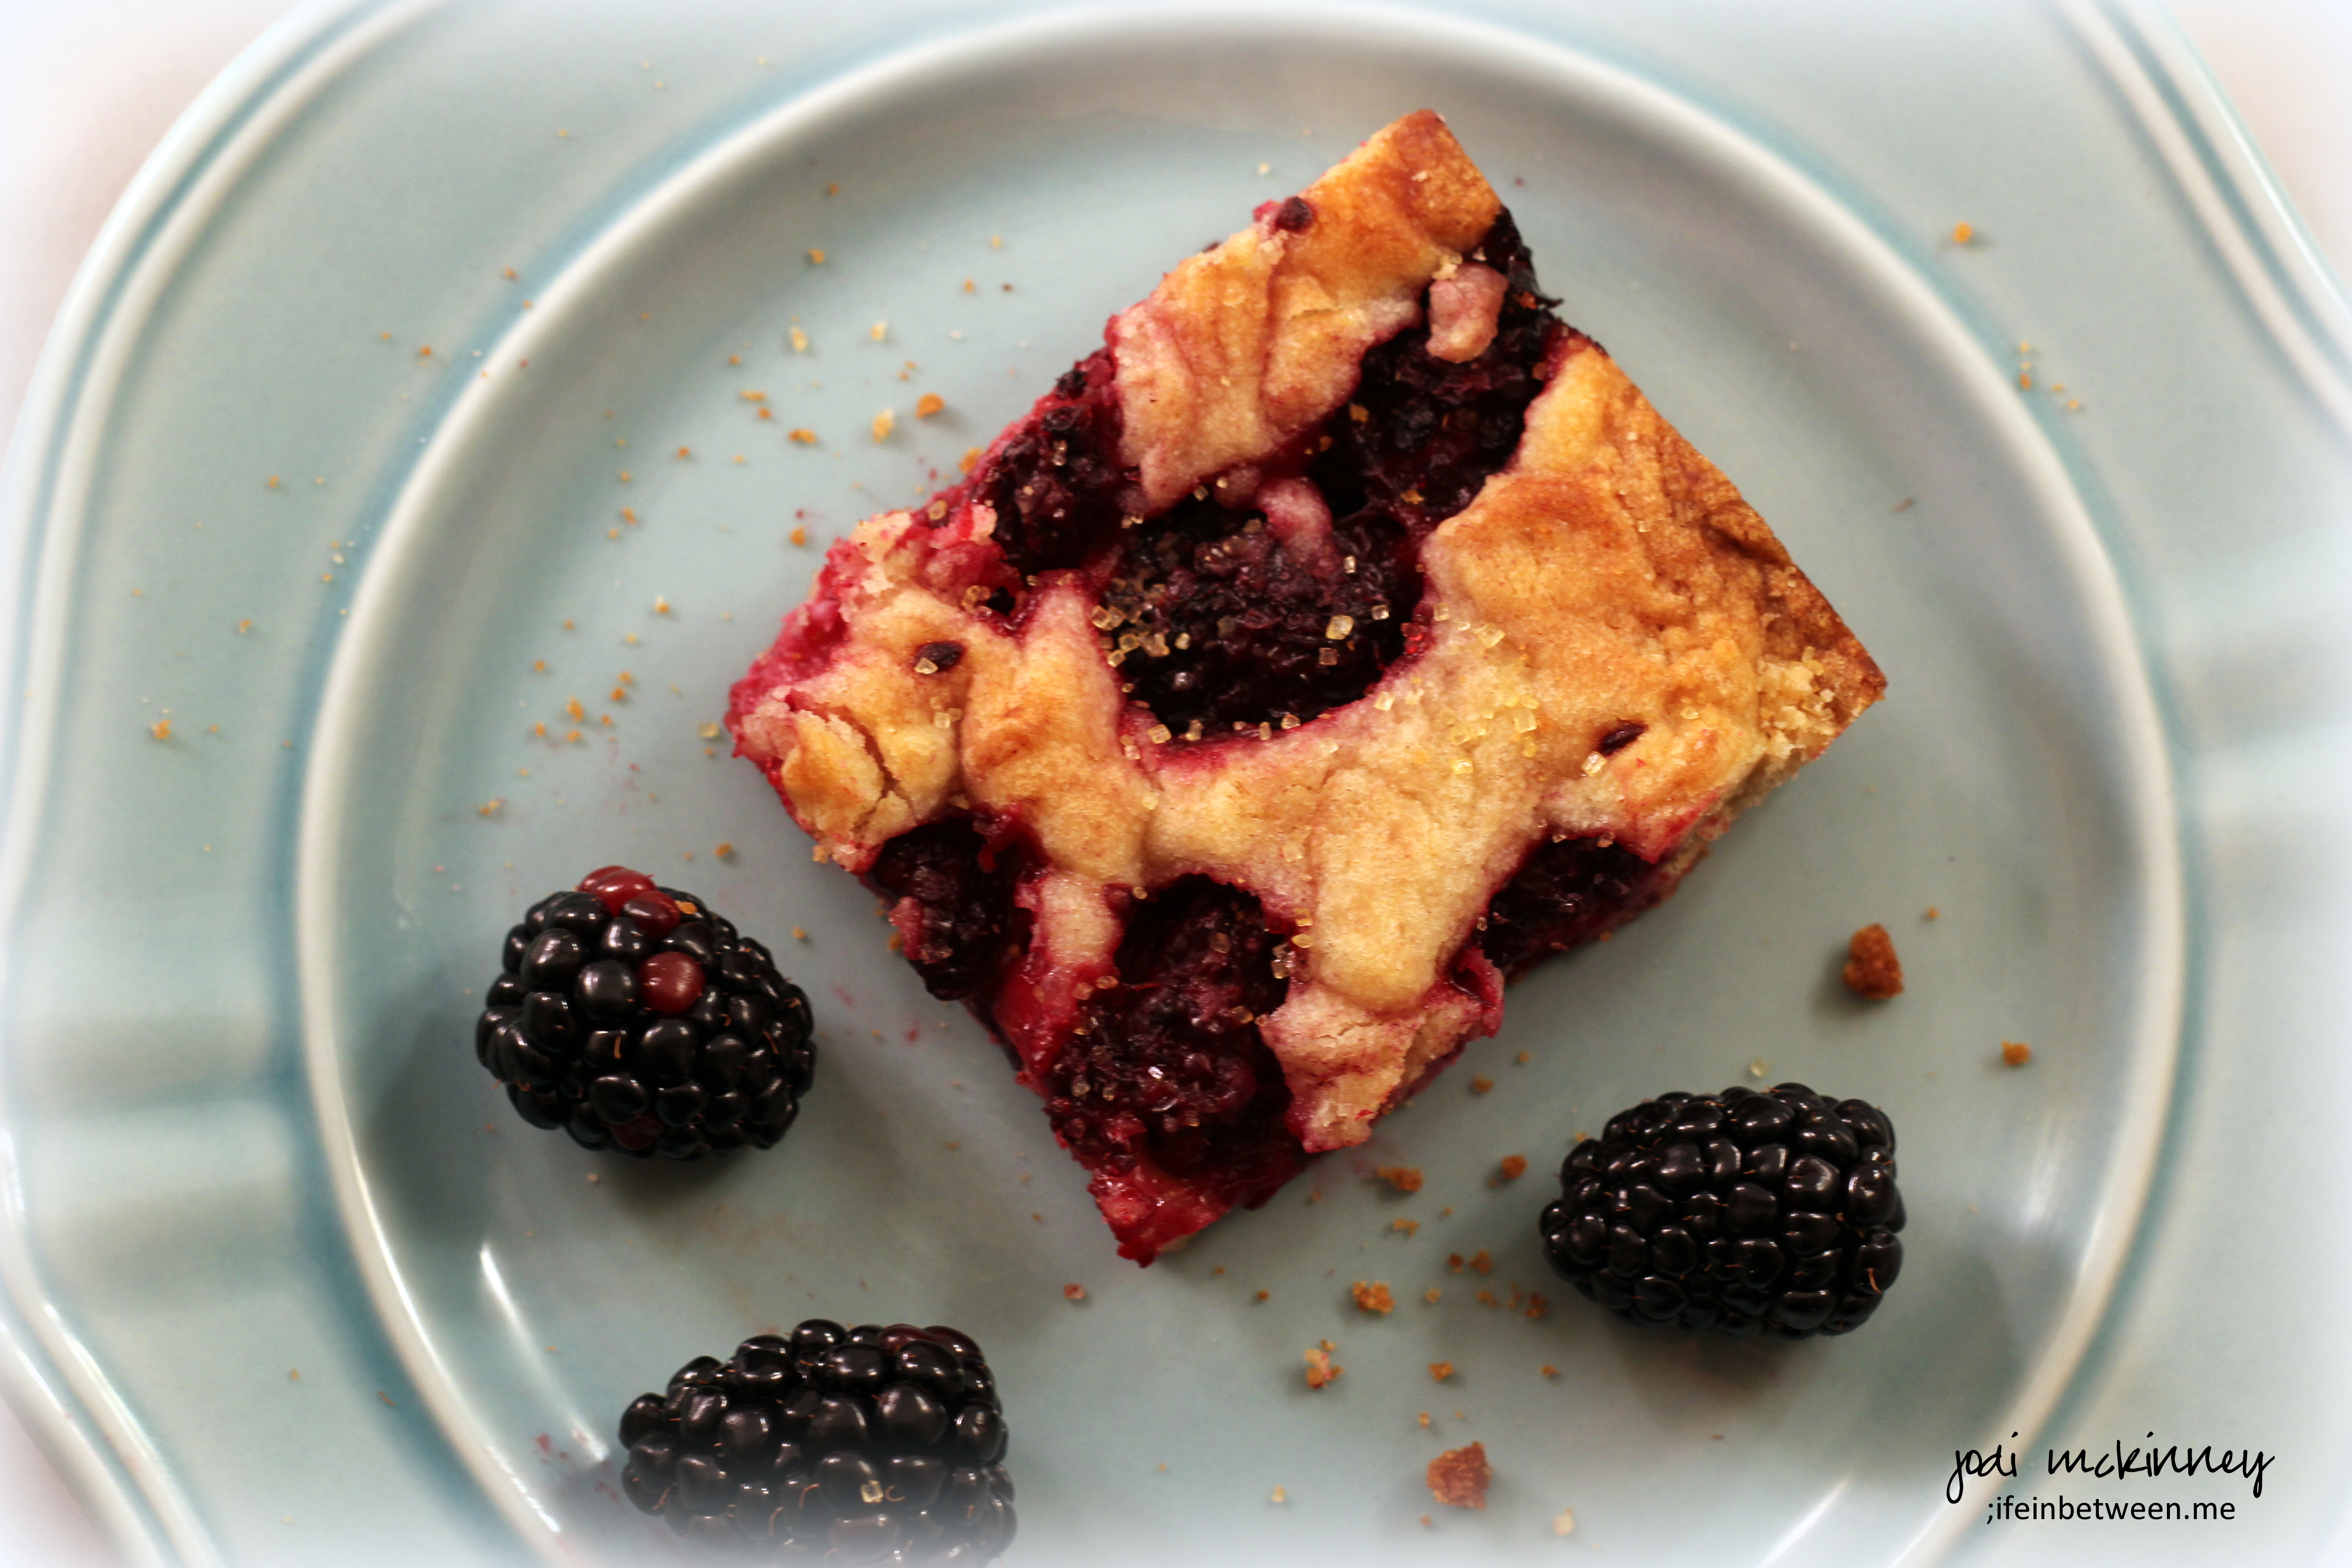
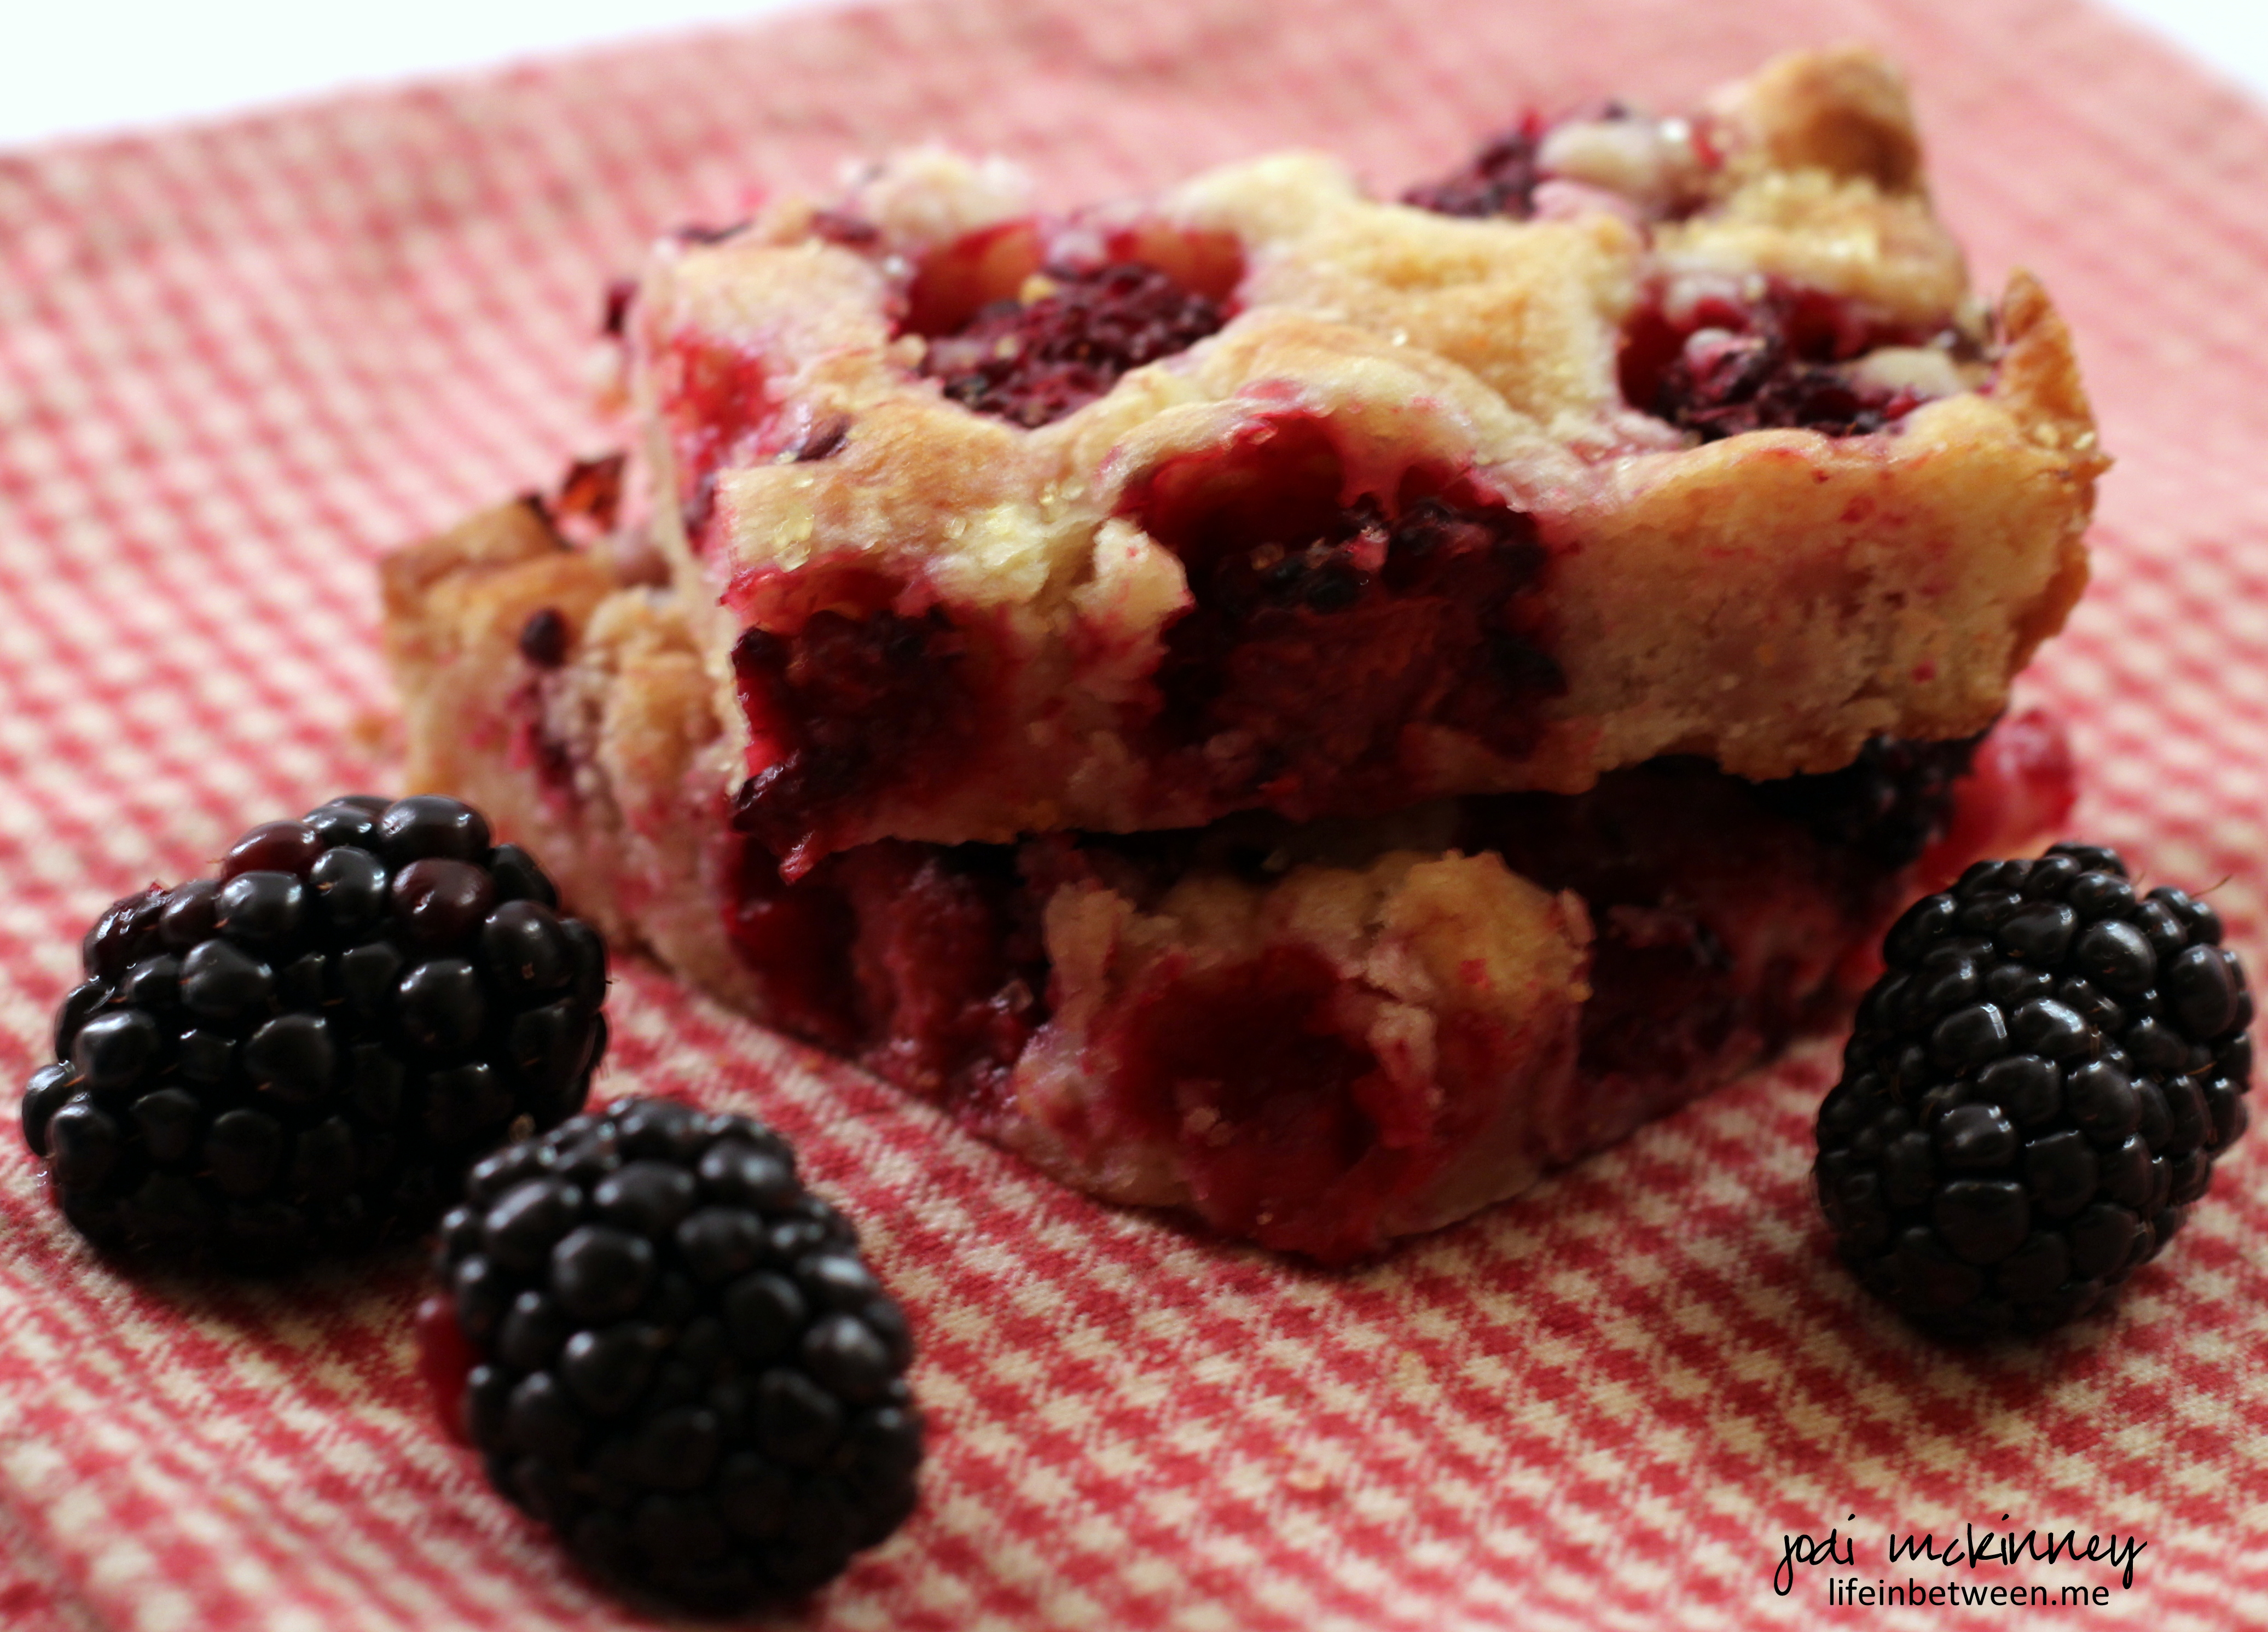
Slice and serve warm or cold and with or without butter or cream cheese.  In my opinion, this is best served as breakfast or brunch fare with a steaming cup of coffee (with Italian Sweet Cream of course!).  Sometimes we even toast a slice of it, and then the edges are crisp and the center is warm and gooey and the butter just melts into it.

Here is Grandma’s well-loved and stained recipe card:

Grandmas Old Fashioned Apricot Nut Bread Recipe Card 1jpgI remember typing these on index cards for Grandma as a young girl.  I wish I had more of her handwritten copies, but they are long gone…

Grandmas Old Fashioned Apricot Nut Bread Recipe Card 2

Some beloved people and possessions in our lives may no longer be around, but memories can never be erased or replaced.

May cherished memories of your loved ones and holidays past fill you with warmth and happiness.

Here is the recipe for you to try:

Grandma’s Old-Fashioned Apricot Nut Bread

Mix together 1 cup chopped apricots and 1 cup boiling water.  Let stand until the rest of the ingredients are ready.

In another bowl, beat two eggs and gradually add 1 cup of sugar.

In a third large bowl, stir together:

2-3/4 c. flour
3 tsp. baking powder
1 tsp salt
1/2 tsp baking soda

Add the first two mixtures to the dry ingredients – alternating as you incorporate.  Fold in chopped nuts.

Bake one large loaf at 375 degrees F for approximately 50 minutes, then 350 degrees F for 25 additional minutes.

For smaller loaves, bake at 350 degrees for 40-50 minutes.

I hope you enjoy.

Cheers & Nostalgic Hugs,

Jodi