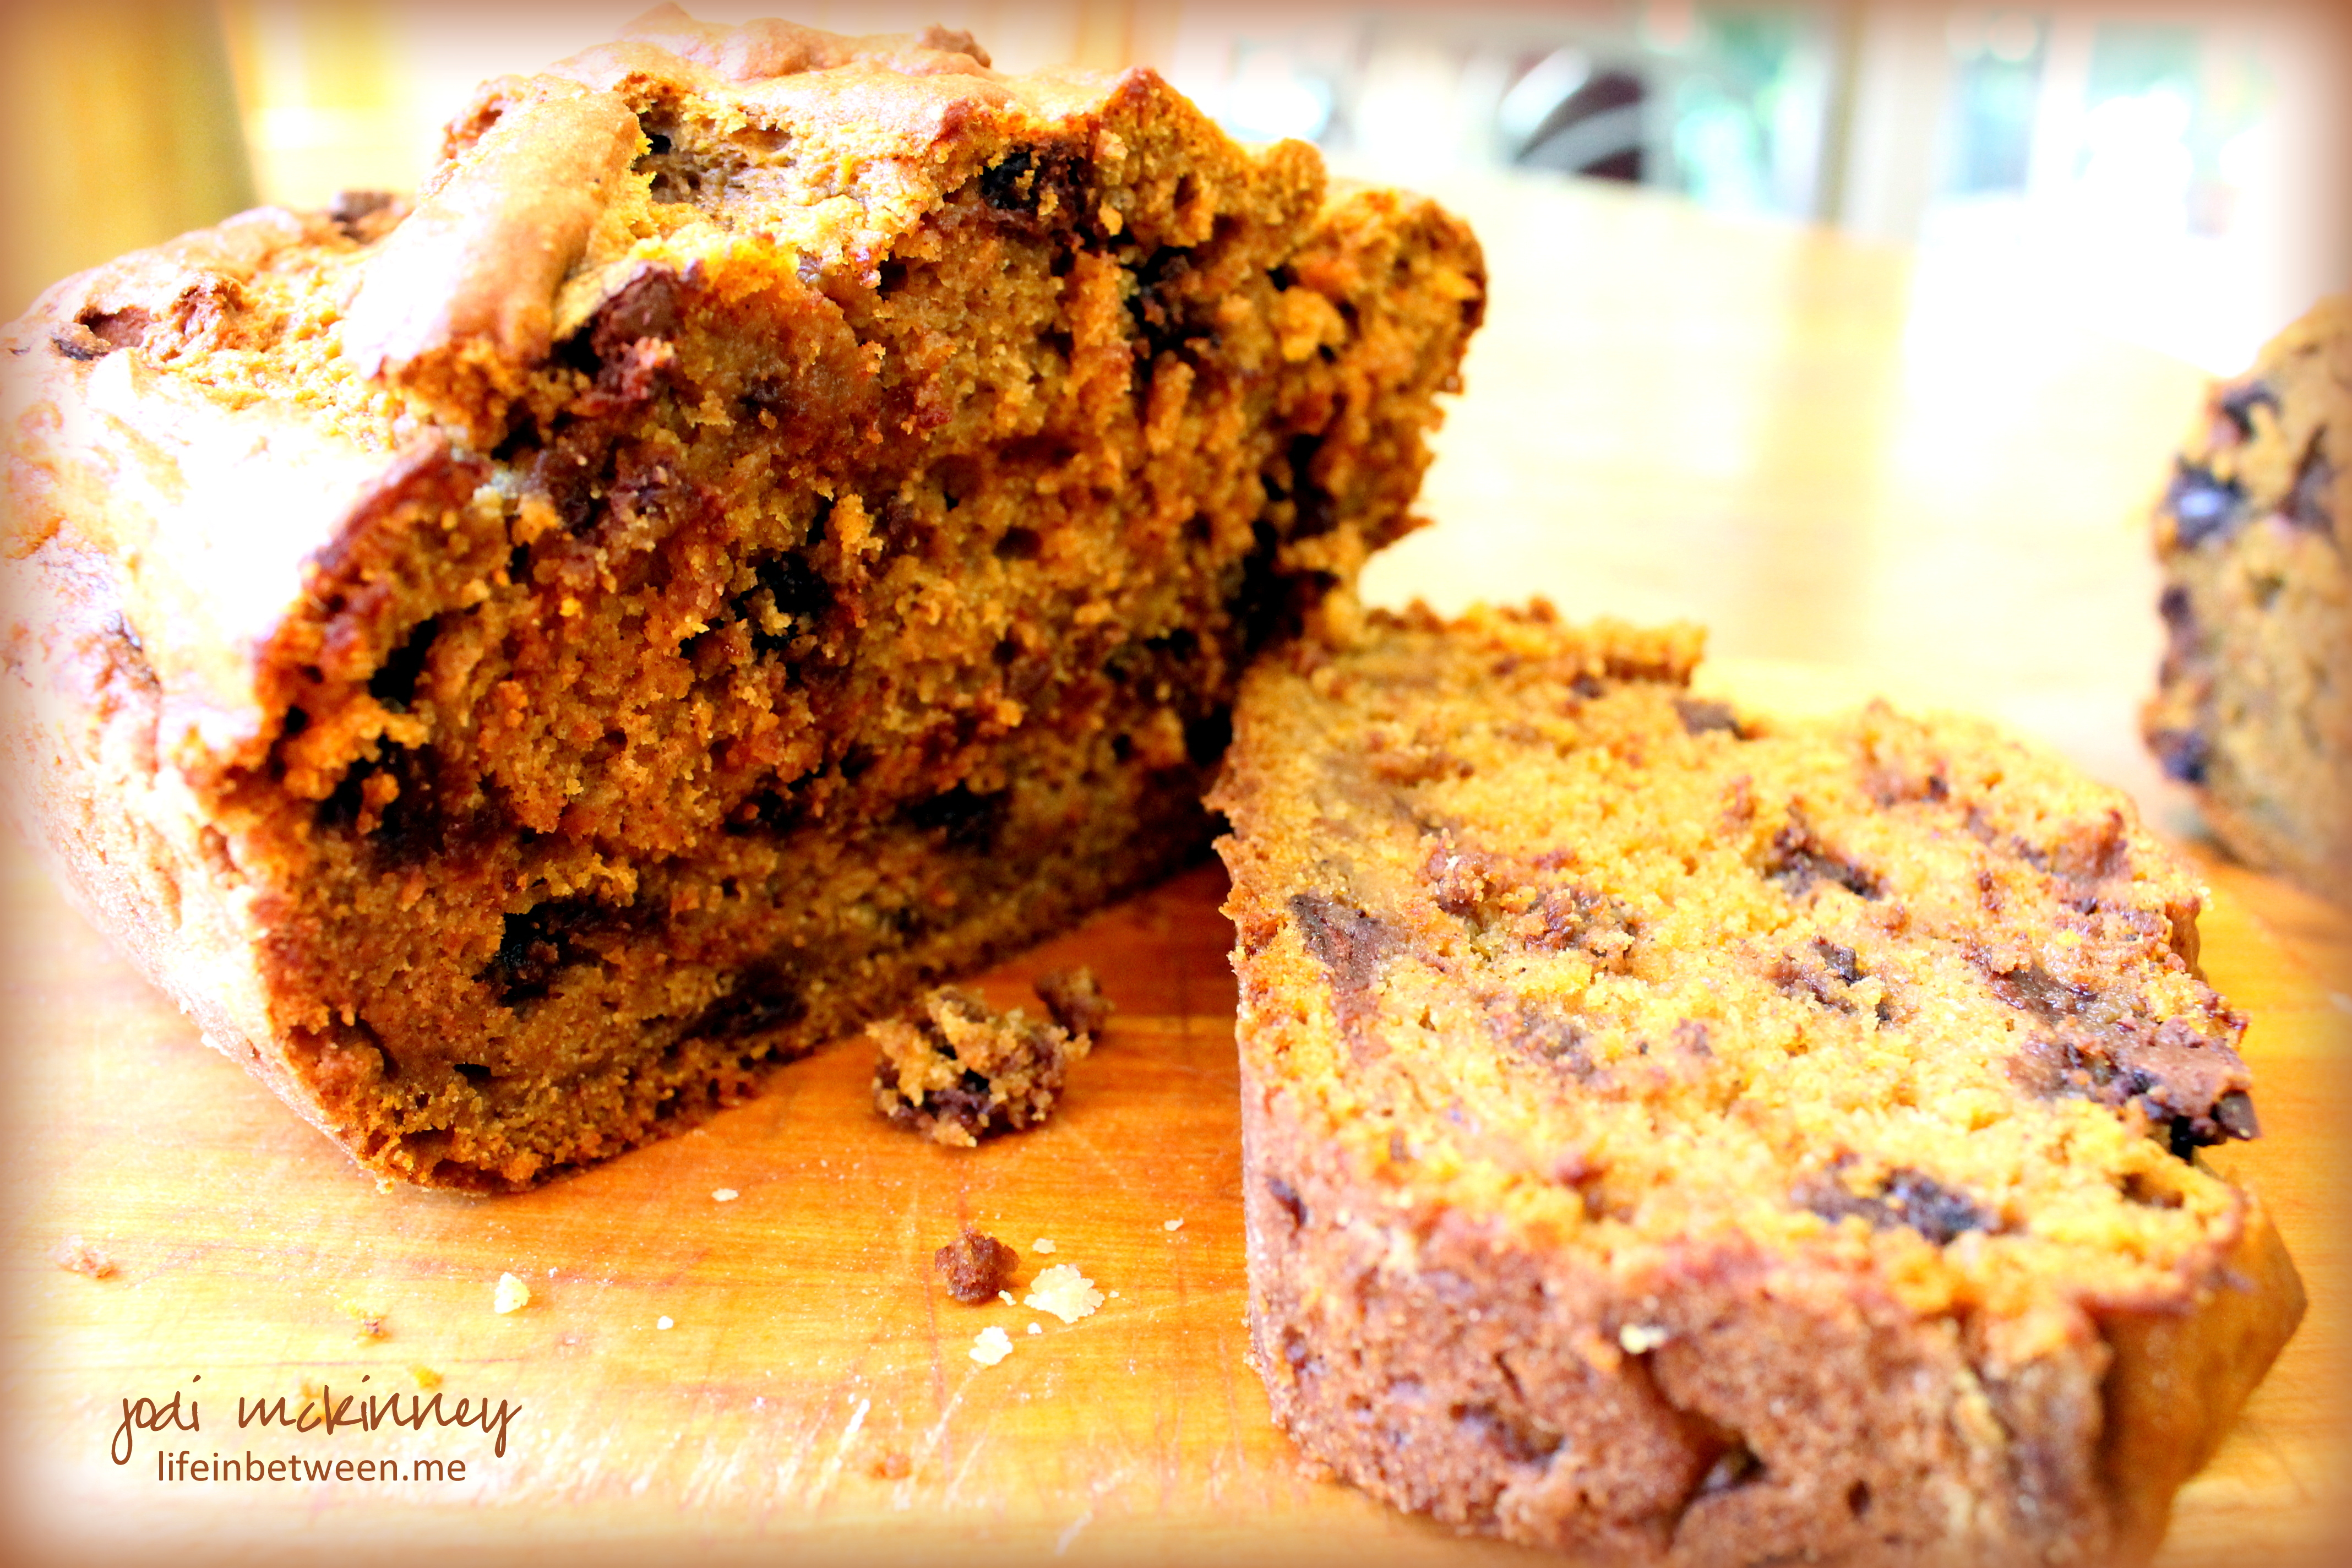
One of my hubby’s favorite treats this time of year is Apple Dumplings, so after a crisp Autumn morning walk on Saturday followed by a cup of coffee and phone call to catch-up with my BFF, I decided I was going to make some of these classic Fall favorites. Nothing fancy, just pure nostalgic goodness.
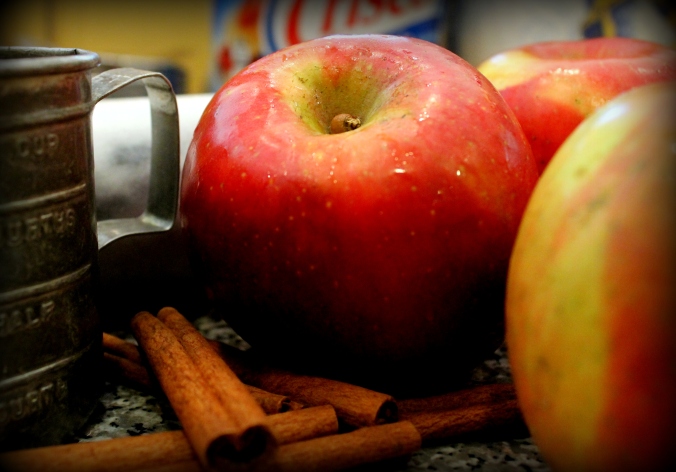
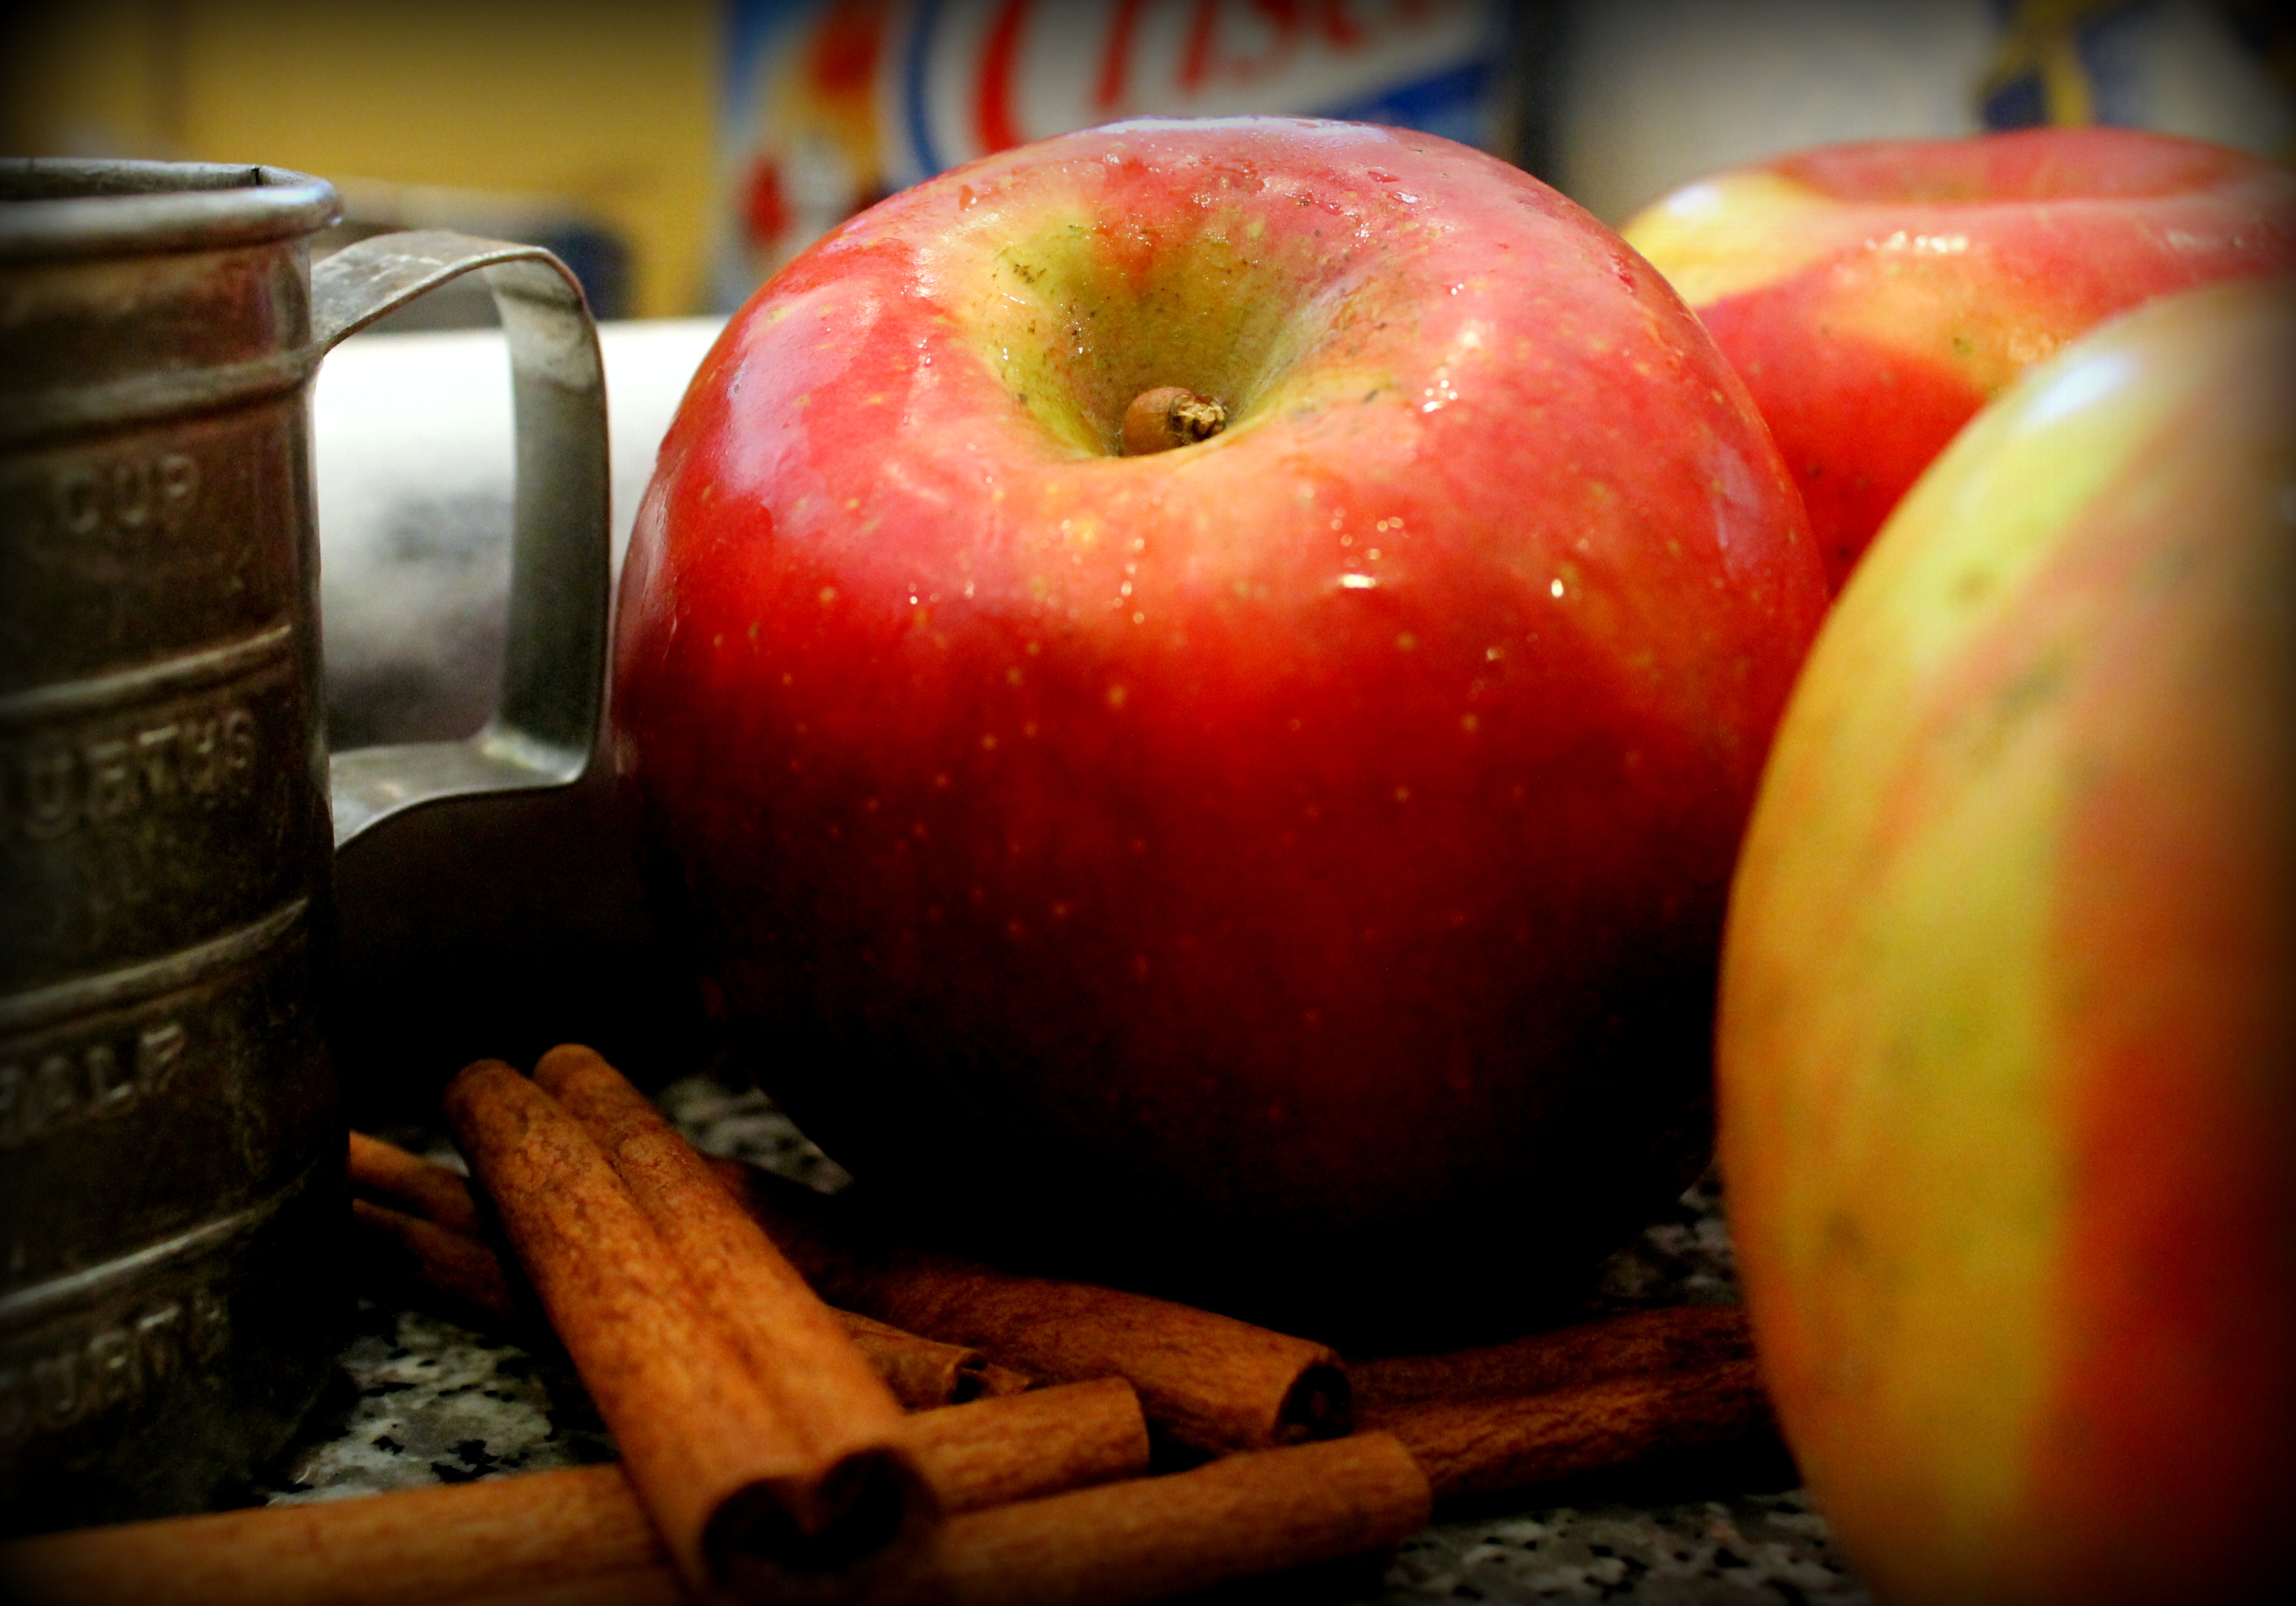
It’s apple time of year in Western Pennsylvania, so the varieties to choose from are plenty. You can use pretty much any kind of apple you love best. The only one I NEVER buy and NEVER bake with is Red Delicious. Never could understand why they are so popular…

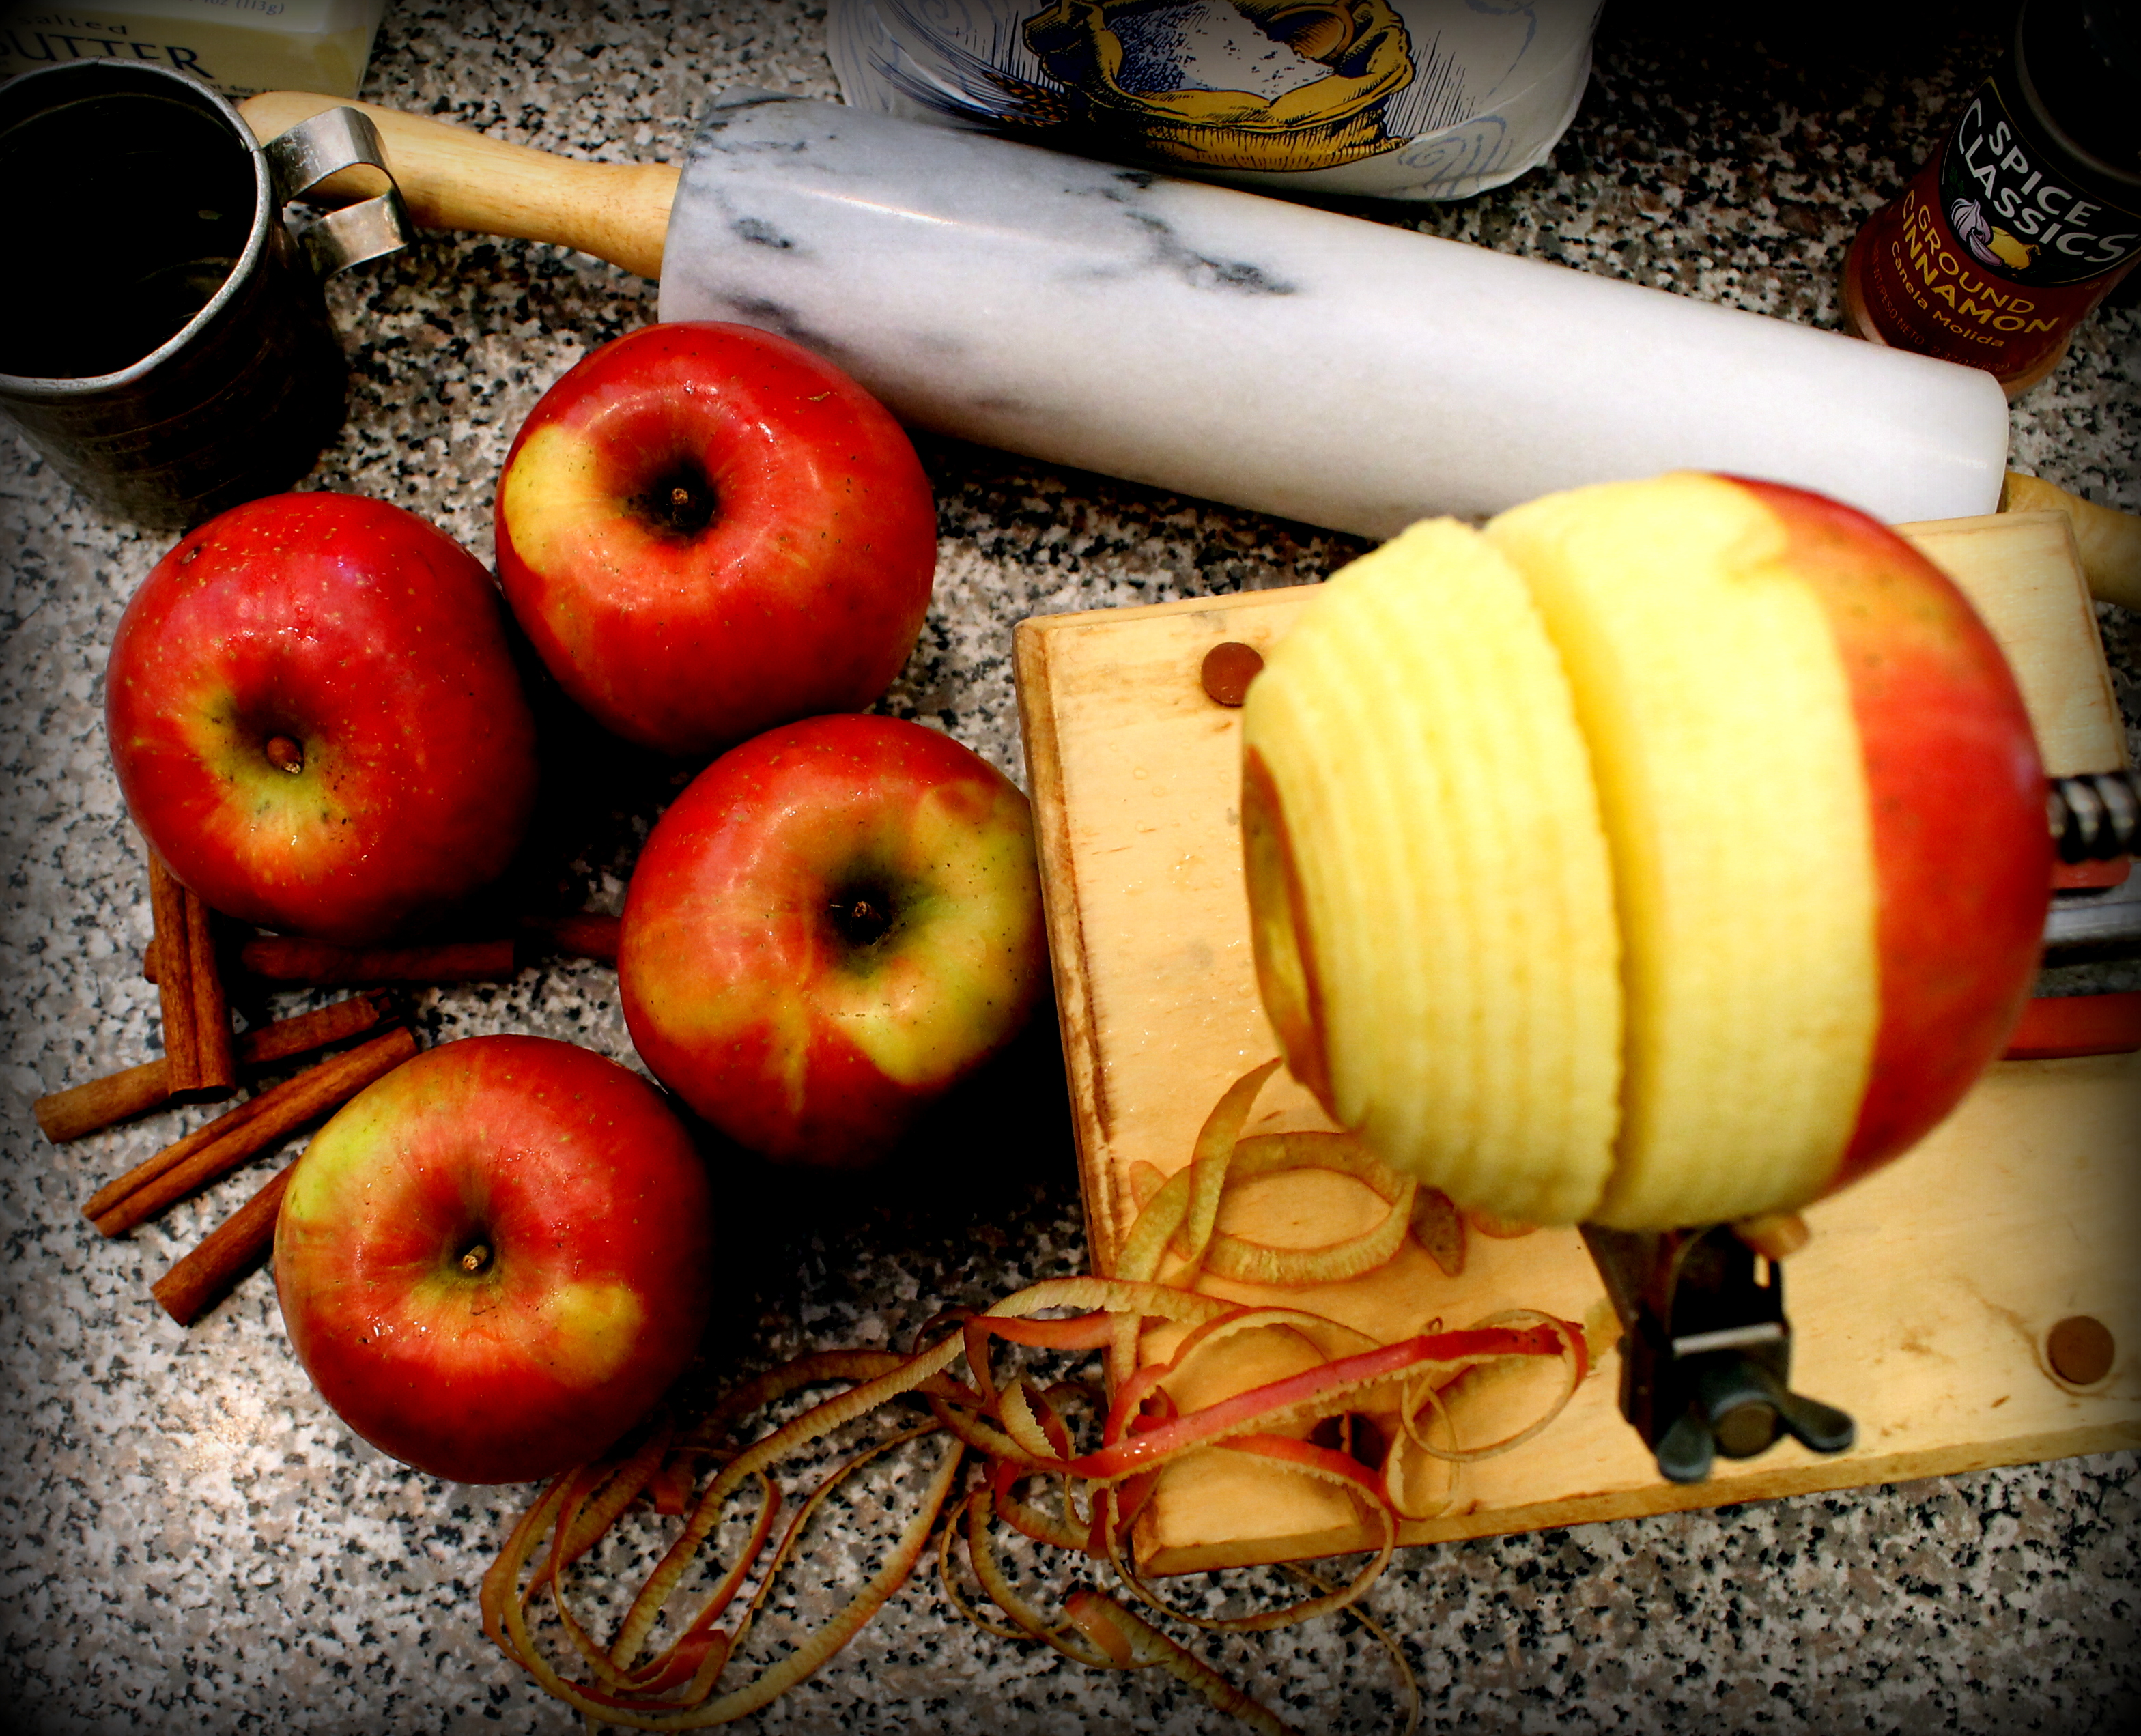
The apple/peeler/slicer I have from back in my Pampered Chef days sure comes in handy for this job, but you can do by hand if you don’t have one.

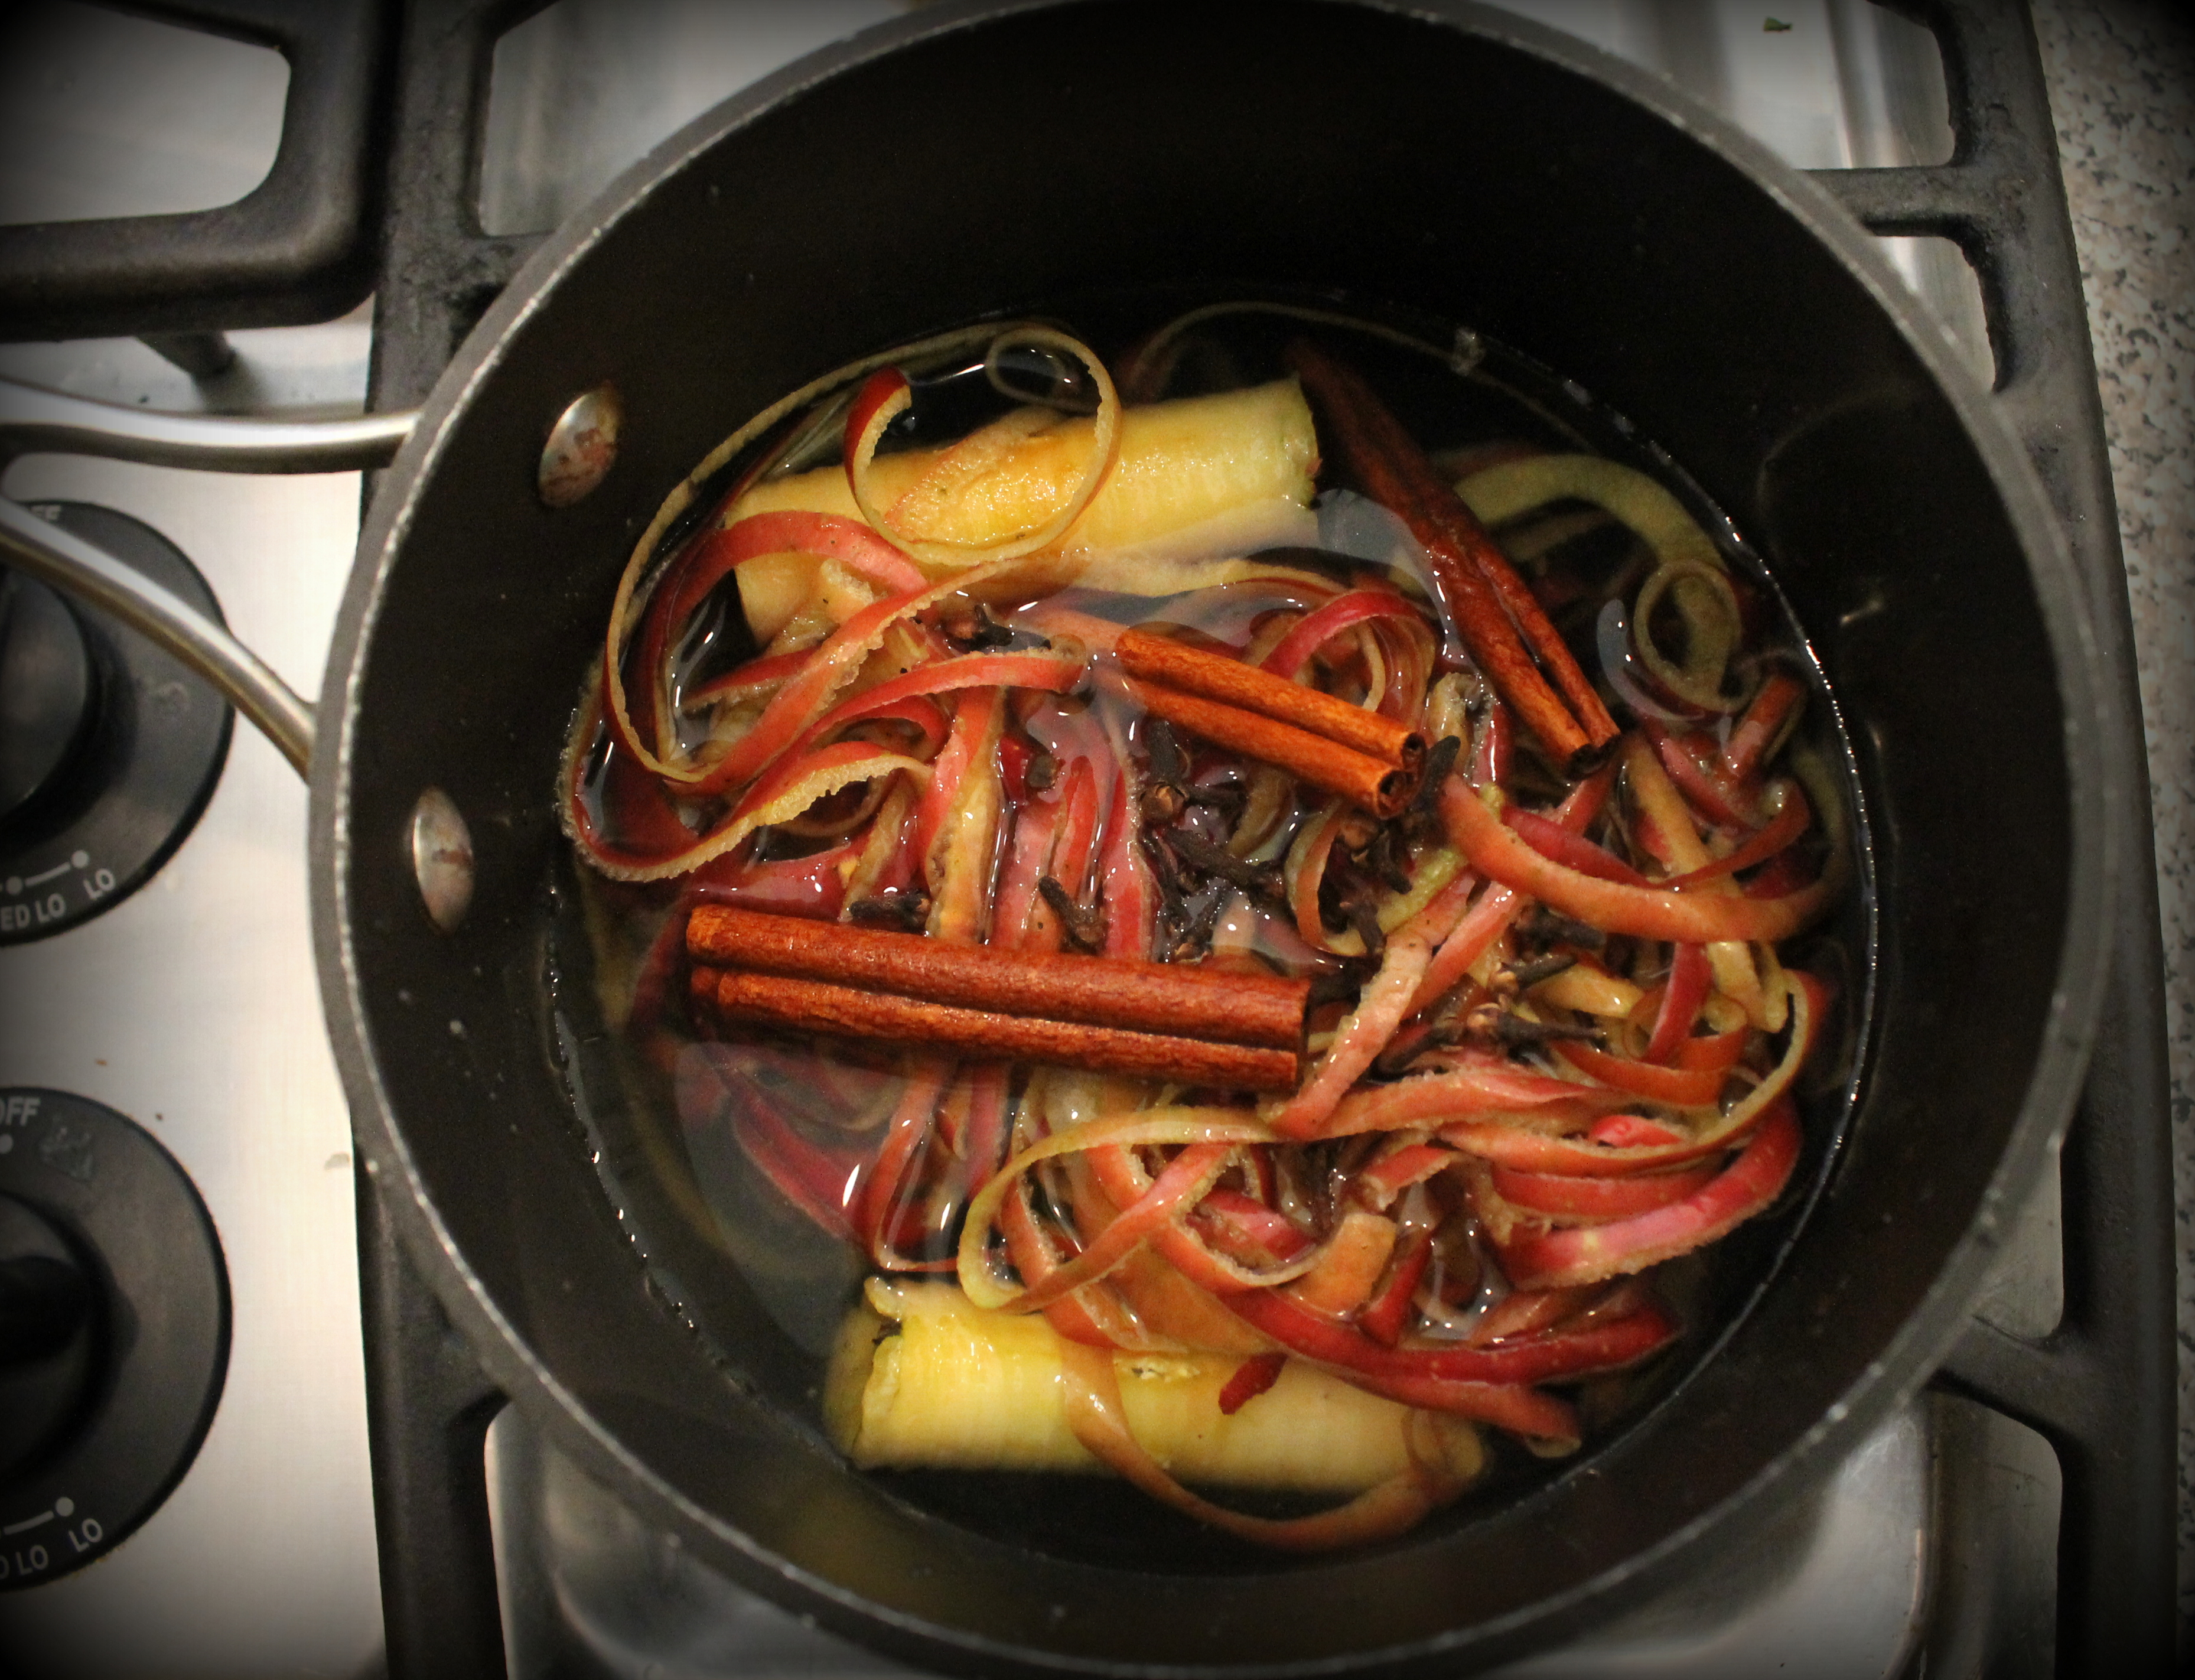
A fun little tip to make your house smell wonderful for days is to take all of those peelings and cores and throw them in a saucepan with a couple cinnamon sticks (and cloves if you like), cover with water and simmer. The steam will permeate through your house and leave it smelling cinnamony applicious.

You can even cover it and leave it on the stove for a couple days, removing the lid and simmering for a few hours a day just to bring that wonderful Fall aroma back.
I have a funny story from back in the good ole’ Pampered Chef Days. I had a young lady who was new to the business that I had been training, and I shared this tip with her. Holly still lived at home with her parents. One Saturday morning, after practicing some recipes to demonstrate with her apple/peeler/corer/slicer, Holly decided to make some of this Fall potpourri. She had it simmering on the stove while she went upstairs to take a shower. When she came down, her Mom had a perplexed, comical look on her face.
“Holly Honey,” she said. “I don’t recommend you make this recipe at your cooking demonstrations. It just really doesn’t taste that good.”

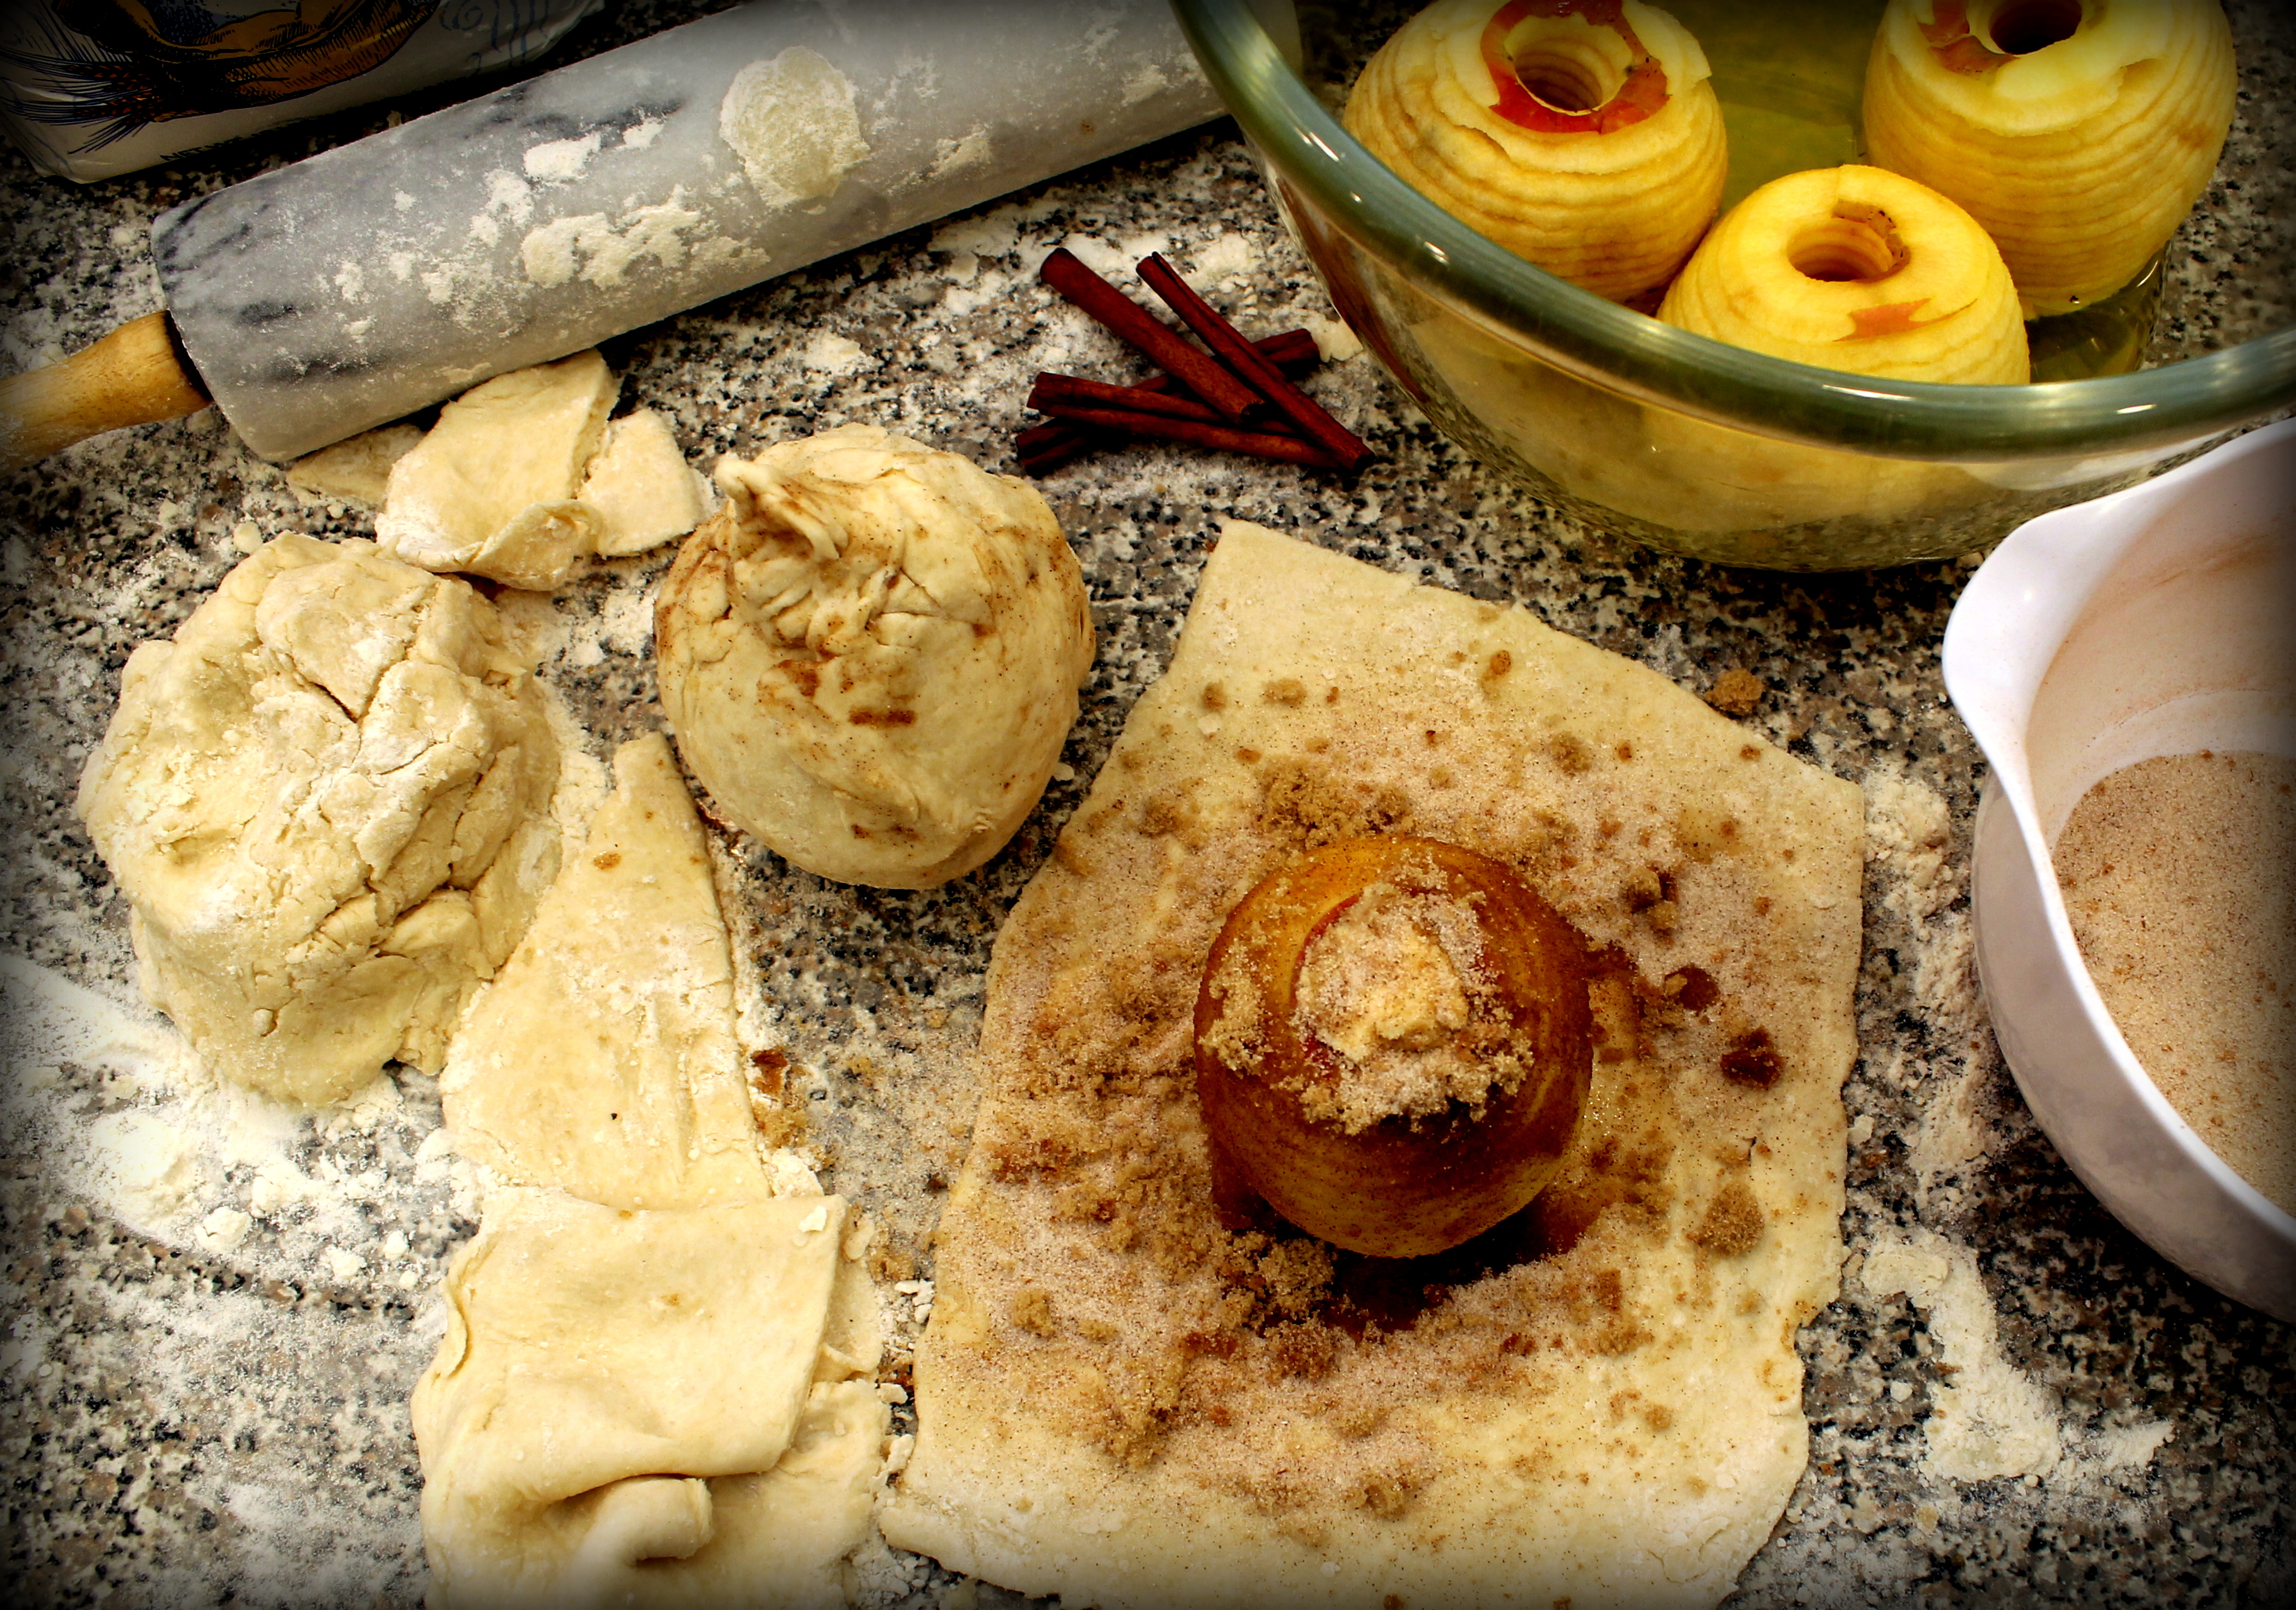
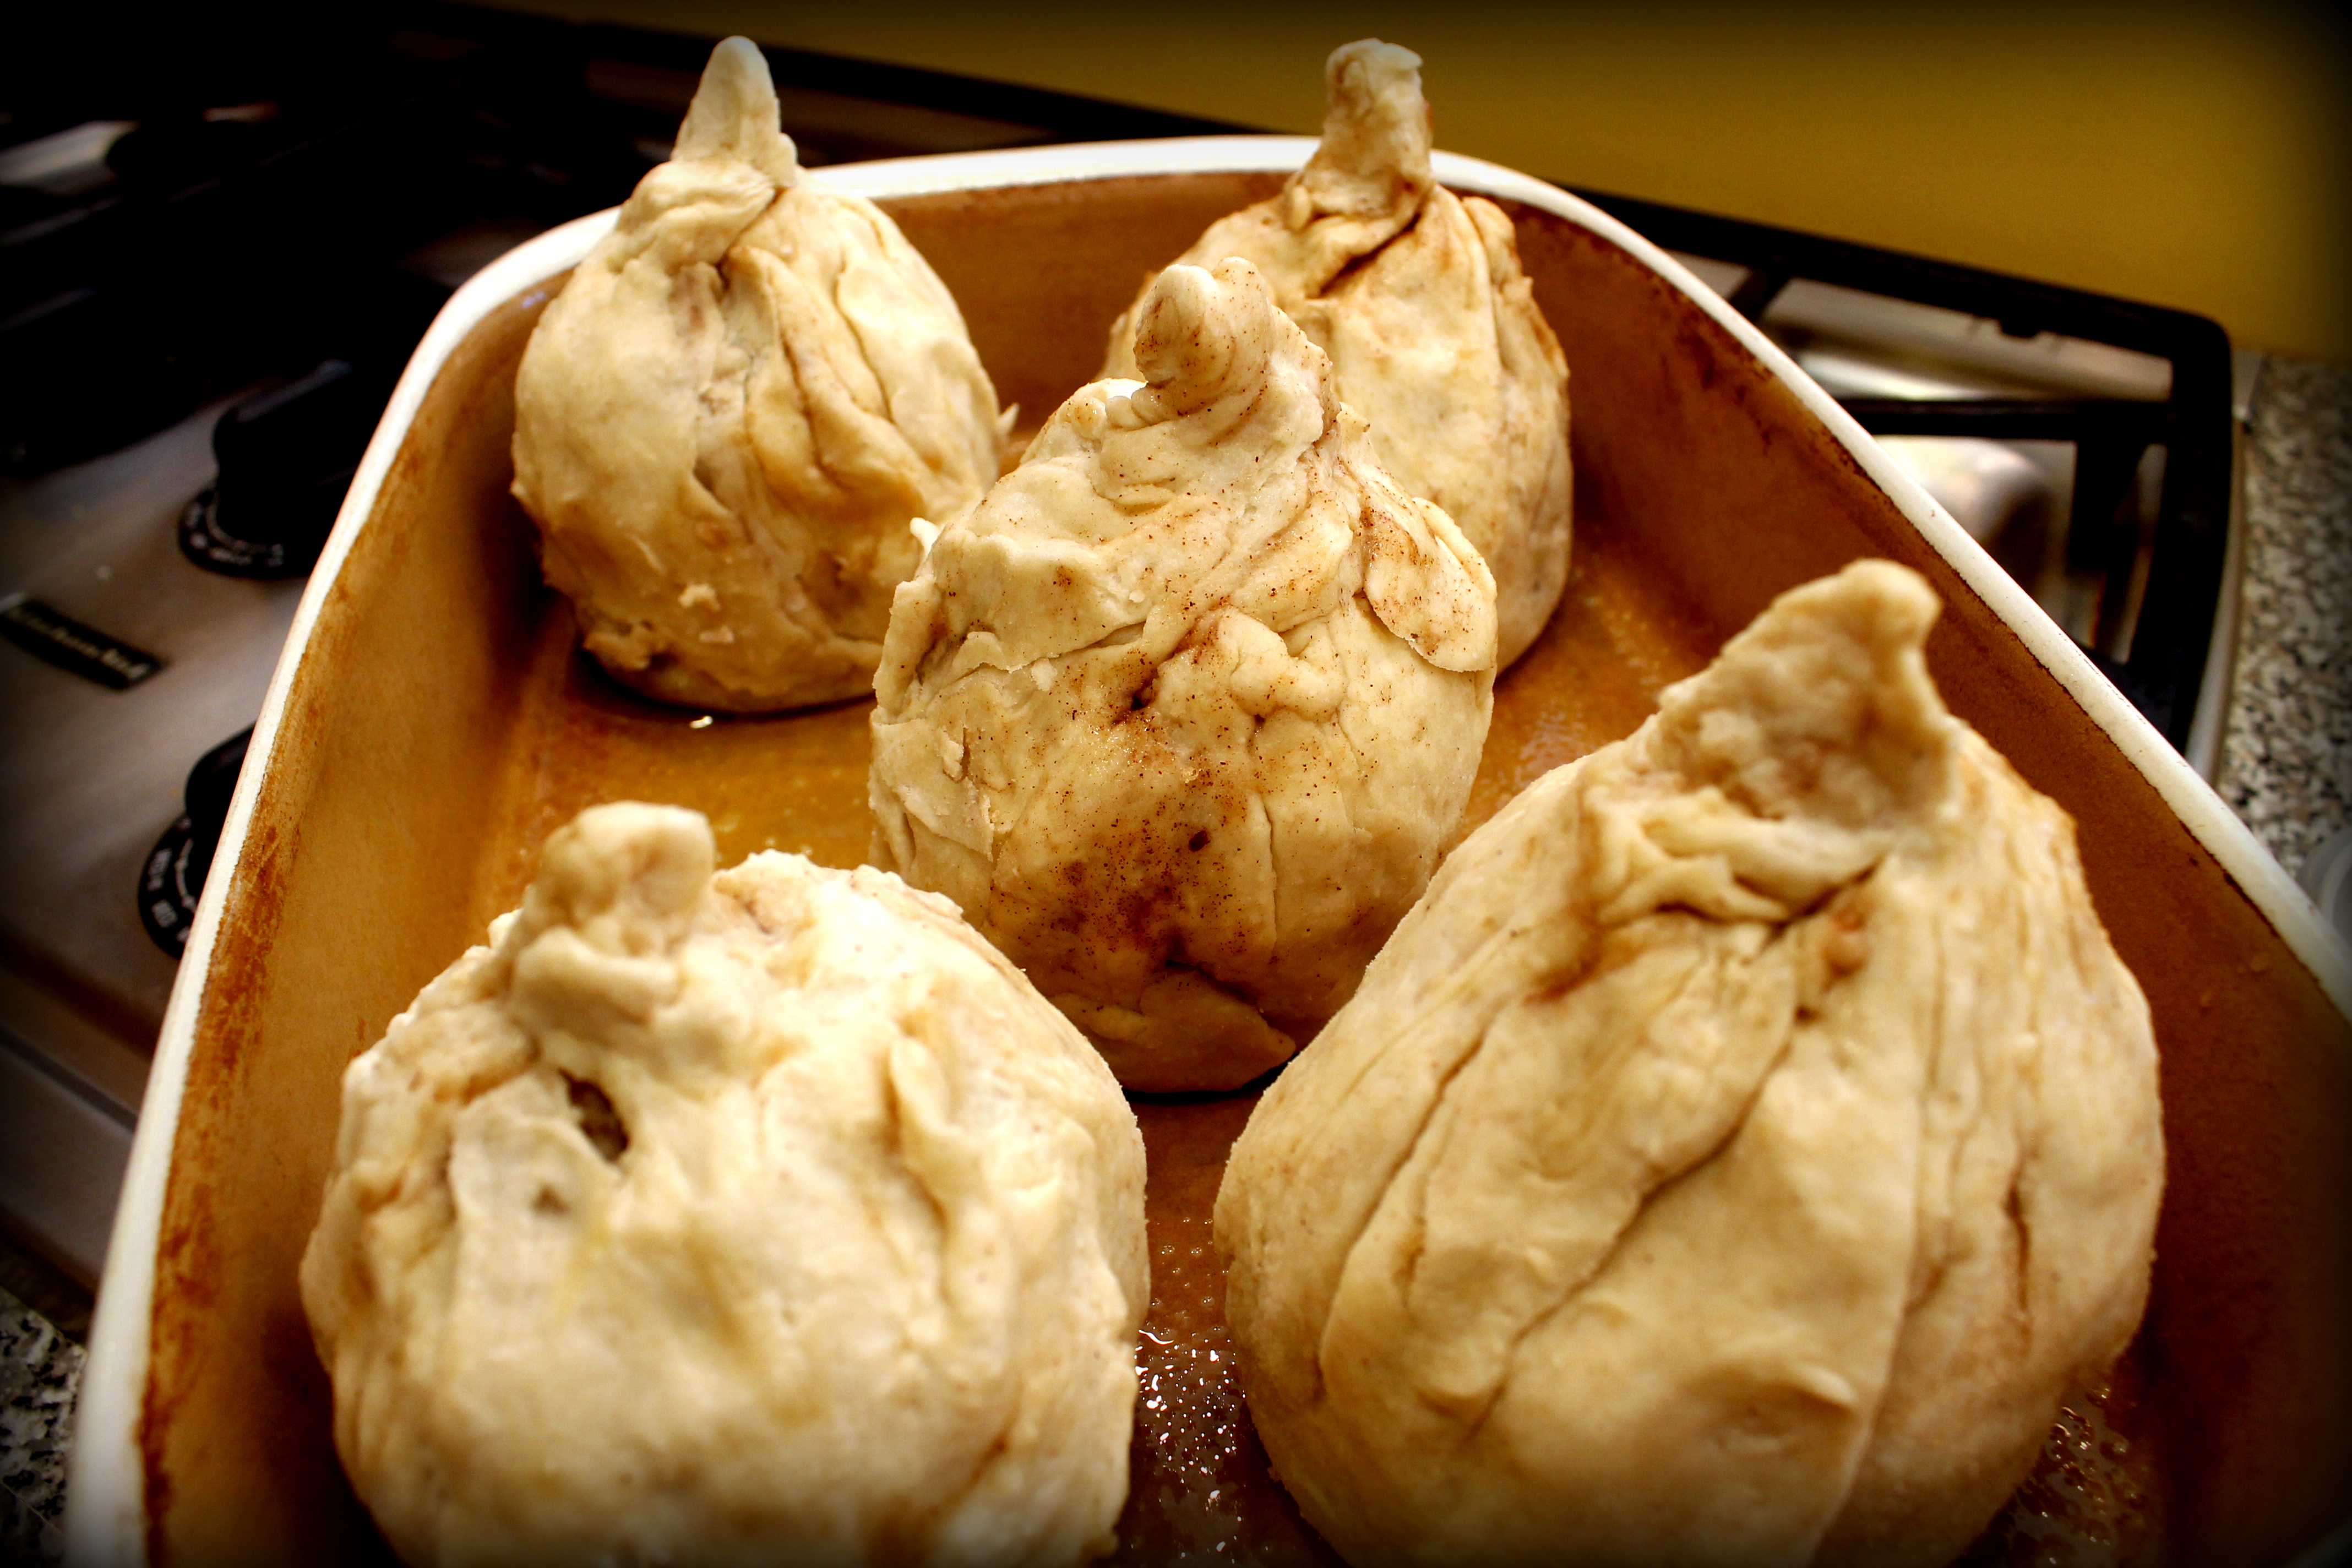
For my dumplings, I just use my standard pie crust. Remember the trick to flaky pie crust is to not overwork it. (You can check out my secrets to successful pie crust here.)

No special dimensions on cutting the dough – just make sure it is large enough to cover the apple completely.
And if it doesn’t, you can always use scraps of dough to patch and “glue” with water. No perfection needed in my kitchen!

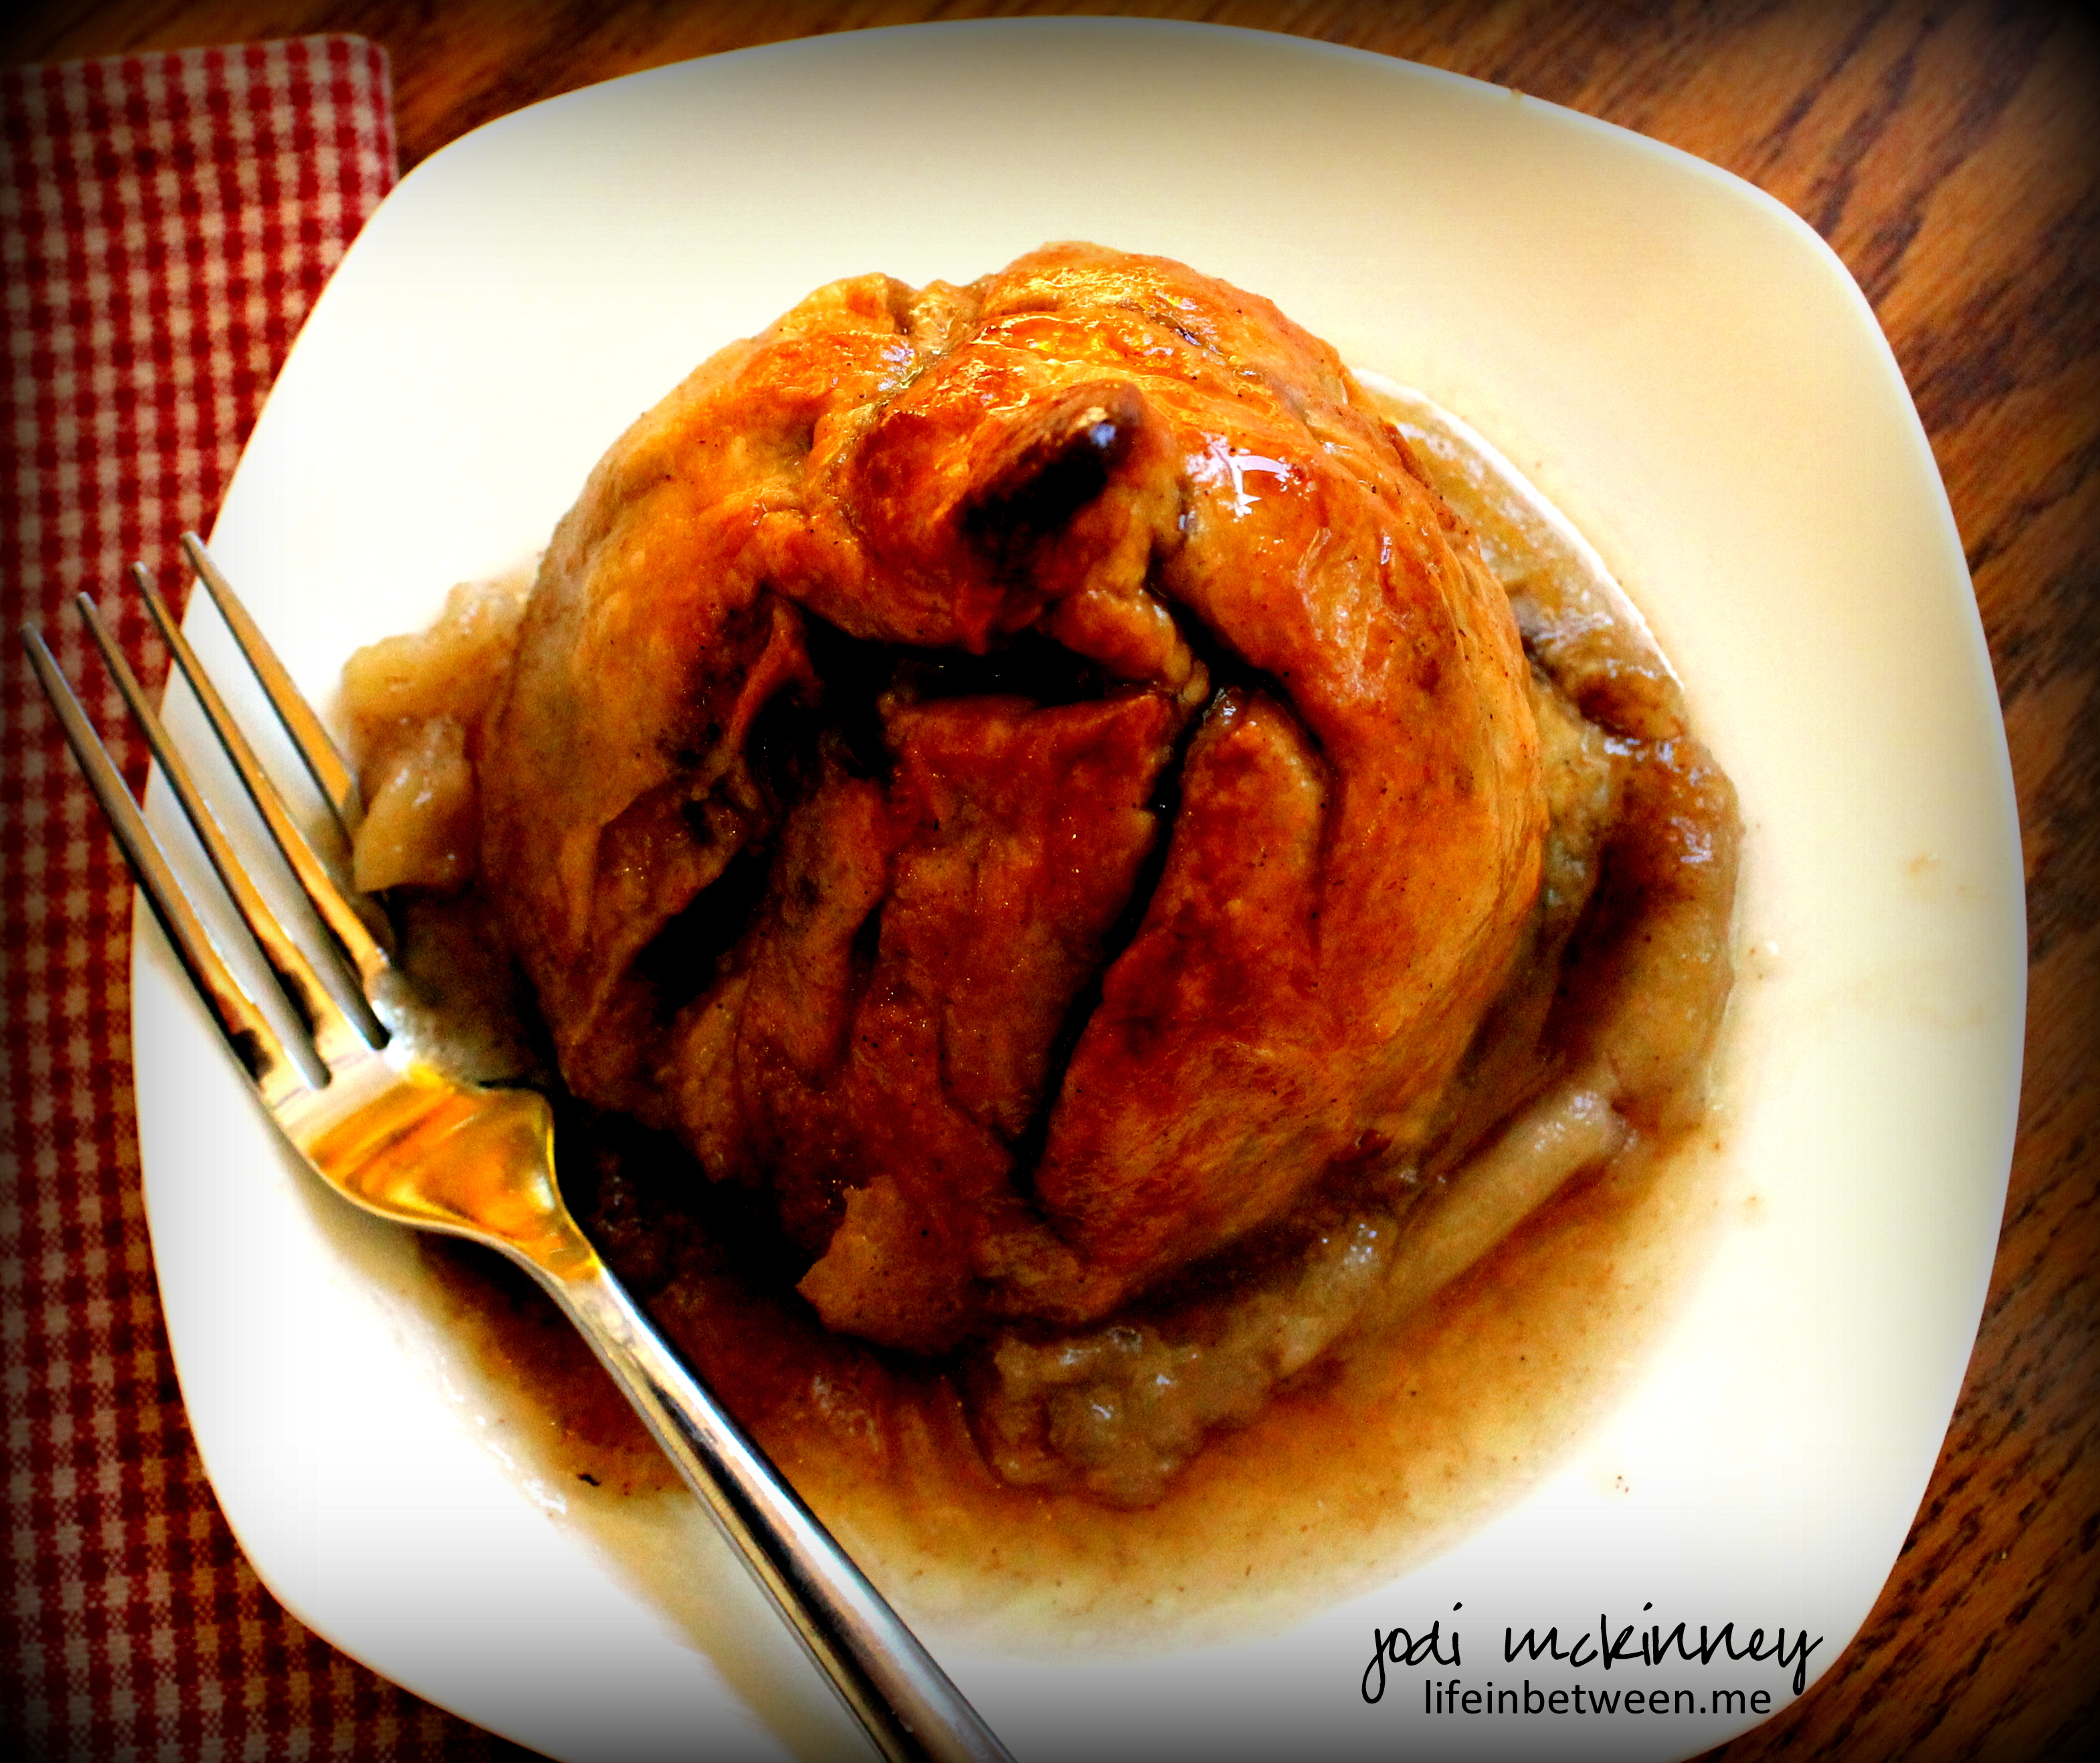
Bake them for 30 minutes without the sauce.

And then for 30 additional minutes with the sauce.

If you don’t (want to) eat them all at once, Apple Dumplings freeze well. It is nice to freeze them individually with a little sauce for a sweet treat when you want it most.

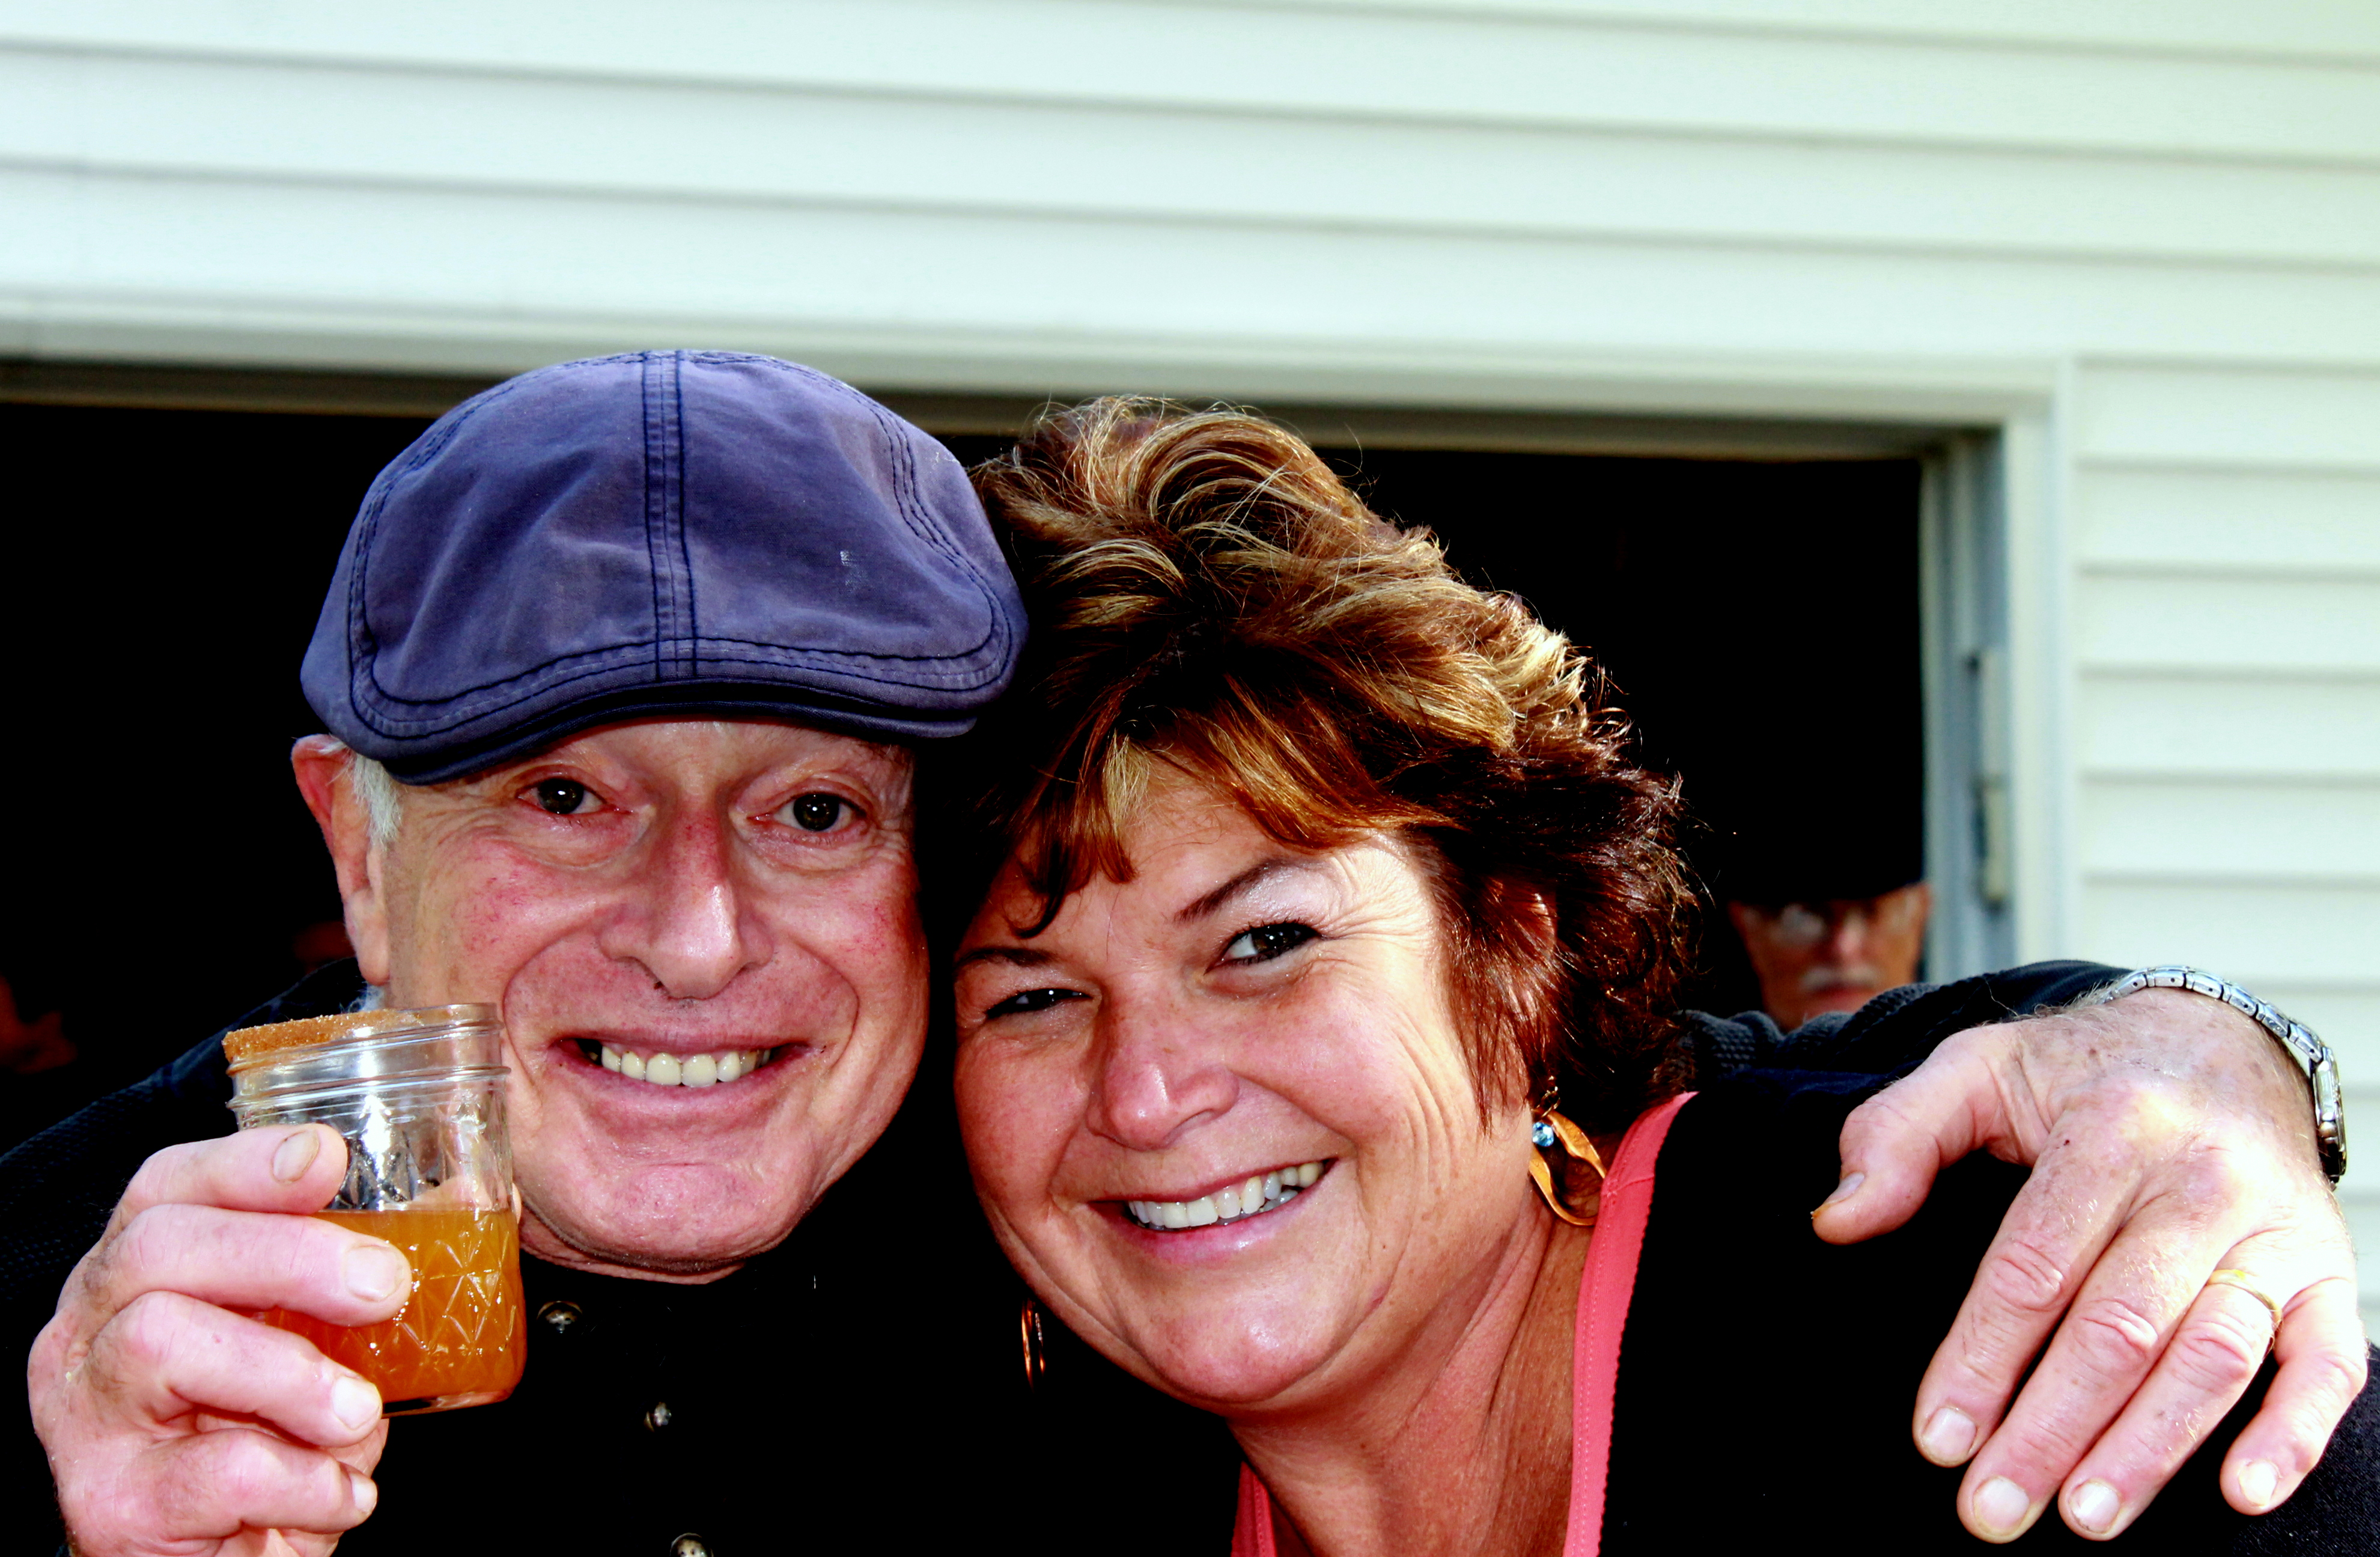
Marty was a pretty happy camper when he saw what I was baking.
And I kinda thought he deserved it after publicly professing he thinks I’m cuuuuuuute! 🙂
The old bugger is losing his eyesight a bit… Isn’t it nice how that happens as you age and grow old together?!
Cheers & Hugs,
Jodi
Classic Apple Dumplings
Pie Crust Pastry:
2 c. flour
2/3 c. shortening
Dash of Salt
3/4 c. water
Apples:
5-6 med-large firm apples (Fuji, Gala, Granny Smith)
1 can Mountain Dew or Lemon Juice
1/2 c. granulated sugar
1 tsp. cinnamon
1 c. brown sugar
1 Tbsp. butter
Sauce:
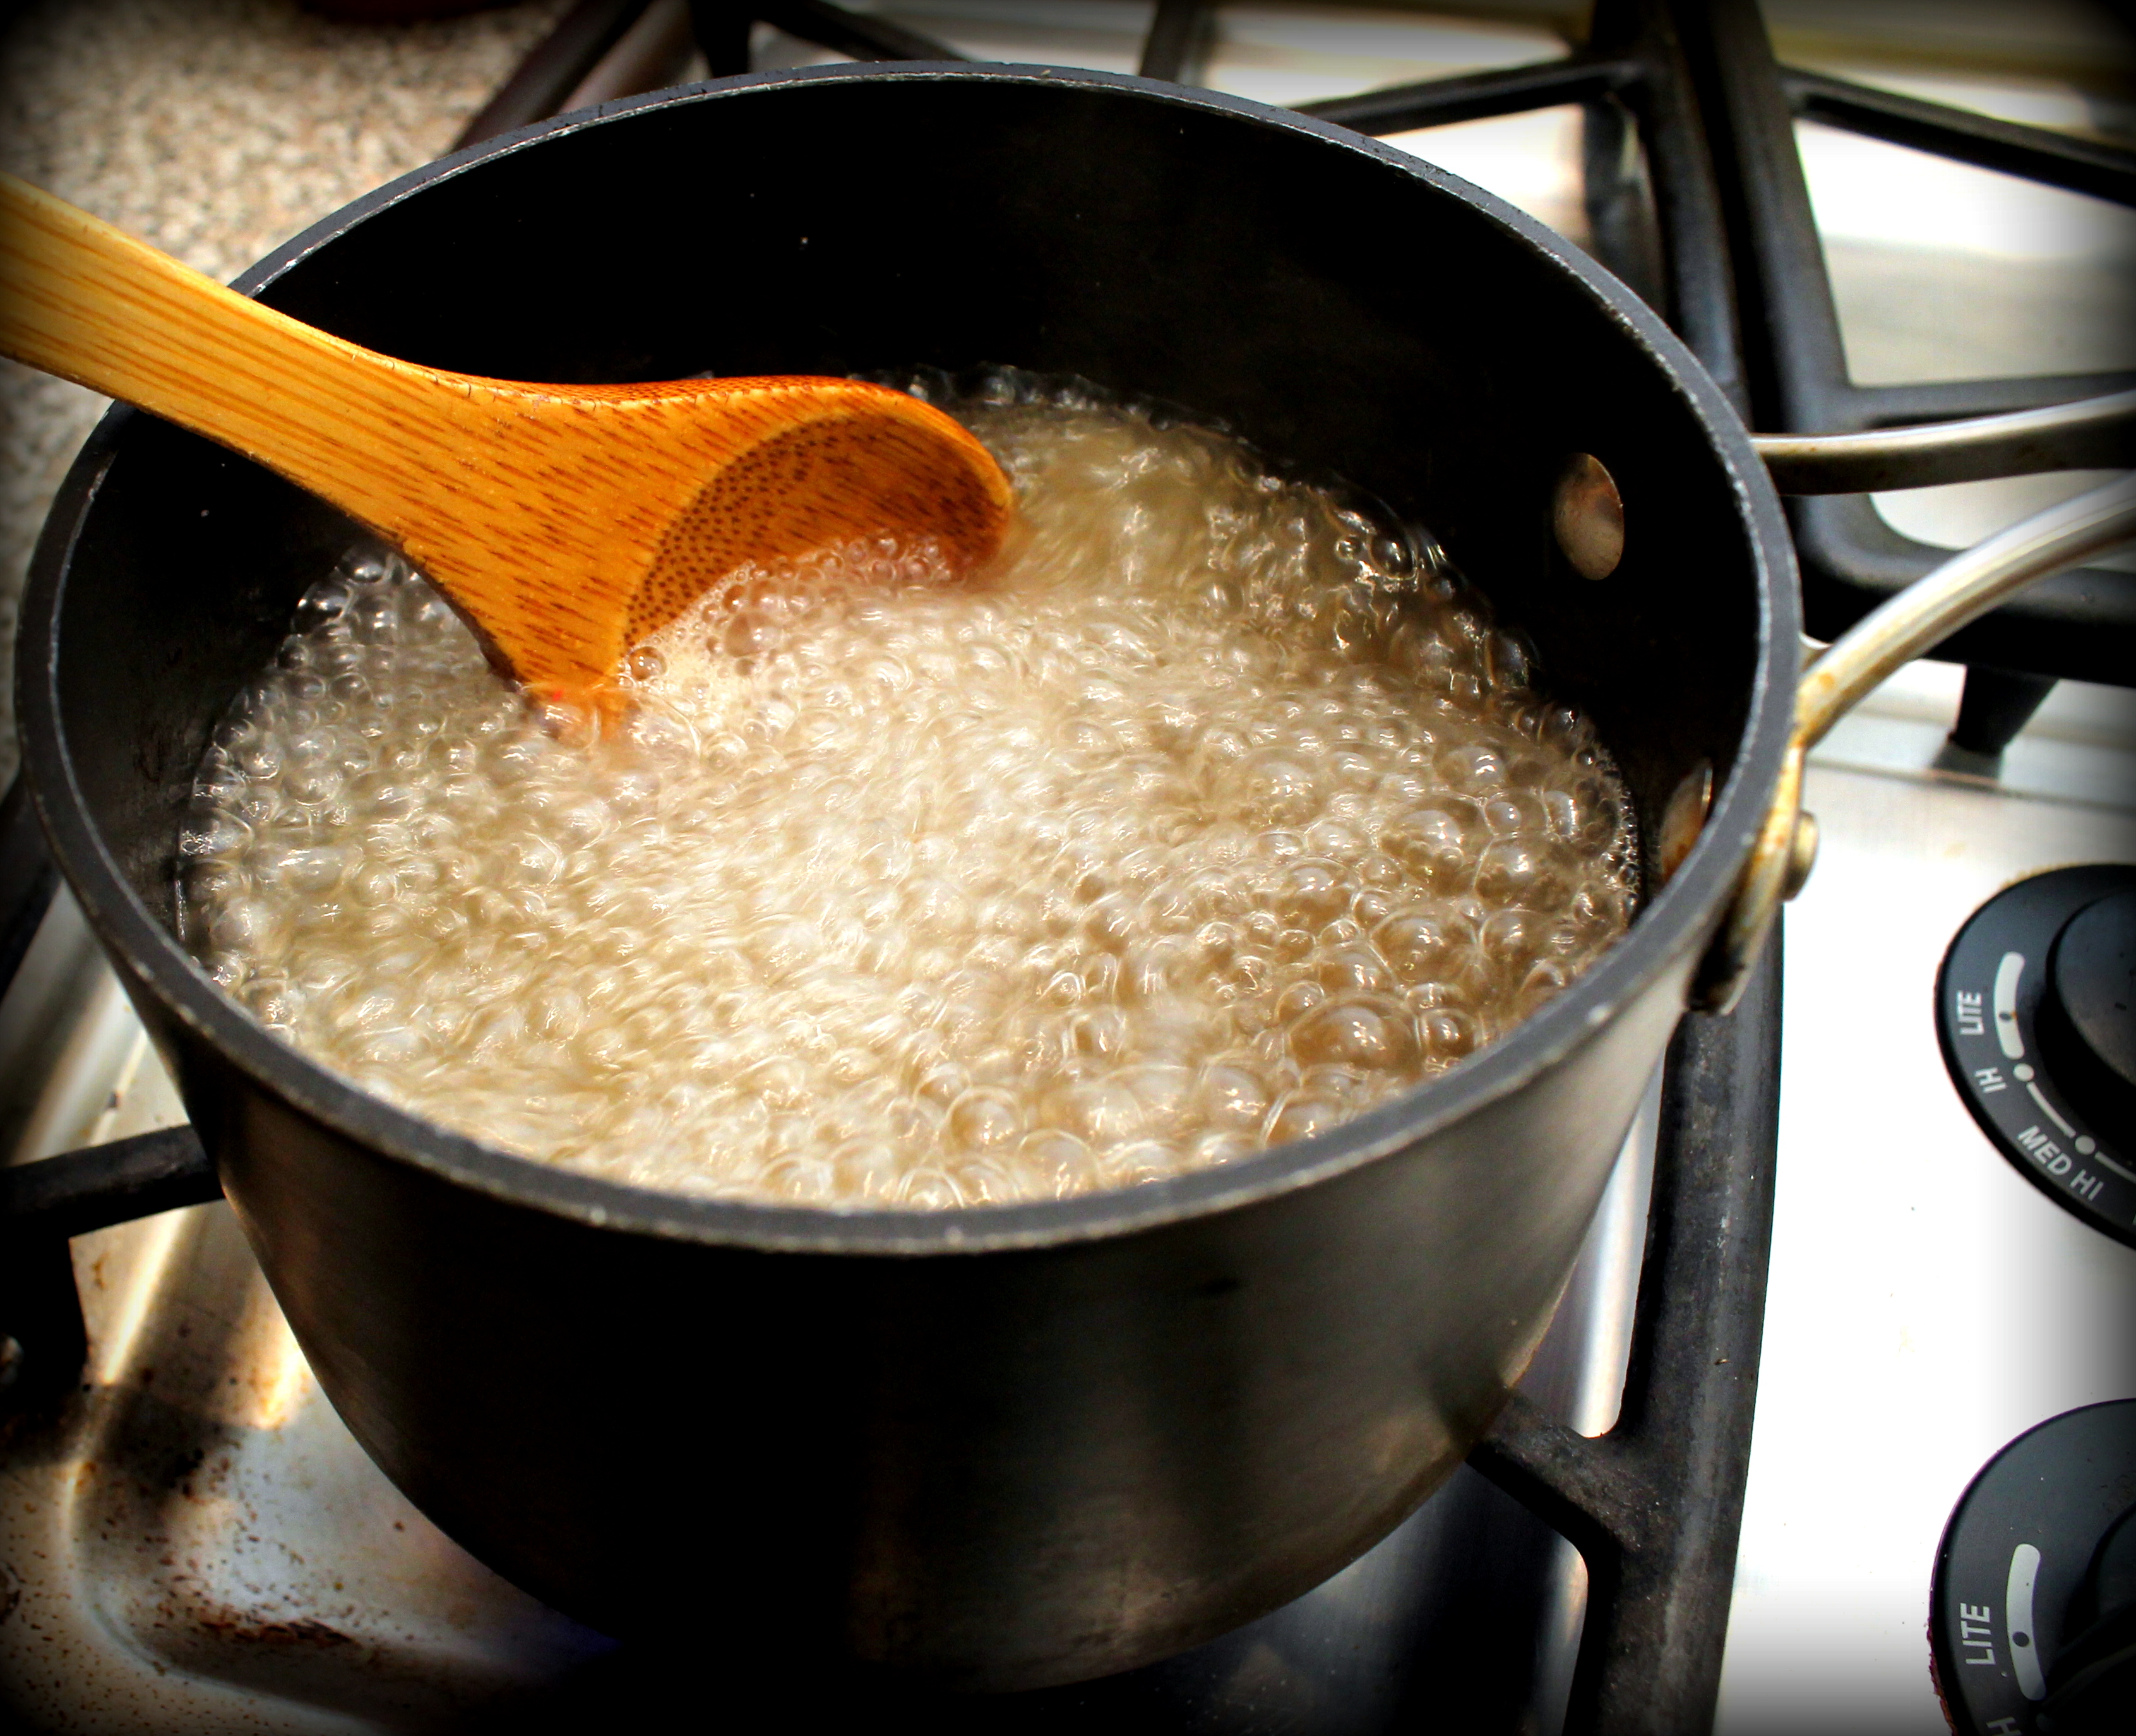
2 c. water
3/4 c. granulated sugar
2 Tbsp. butter
1 1/2 tsp. vanilla
1/8 tsp. grated nutmeg
Preheat oven to 375 degrees.
Roll out pie dough, and cut into 5-6 uniform squares.
Peel and core apples, but leave them whole.
Pour the Mountain Dew or lemon juice over peeled, cored apples in bowl to keep from browning while assembling.
In another bowl, combine the granulated sugar and cinnamon.Place apple in center of square pastry. Sprinkle all over with cinnamon sugar mixture.Fill each apple cavity with approx. 2 Tbsp. brown sugar and 1 tsp. butter.Pull the pastry squares up over the apples and twist on top. Seal well, using water if necessary as “glue.”Place in an greased 9x13x2 inch baking pan or stone.Bake for 30 min.While apple dumplings are baking for first half of time, combine sauce ingredients in saucepan over high heat. Bring to boil and continue boiling for 1 minute.After the dumplings have baked for 30 minutes, pour the sauce over top and bake 30 minutes longer, basting occasionally.Serve hot with cream or vanilla or cinnamon ice cream or cold – however you like best!