Jodi’s Blueberry White Chocolate Chip Cookies

Blueberry White Chocolate Chip Cookies

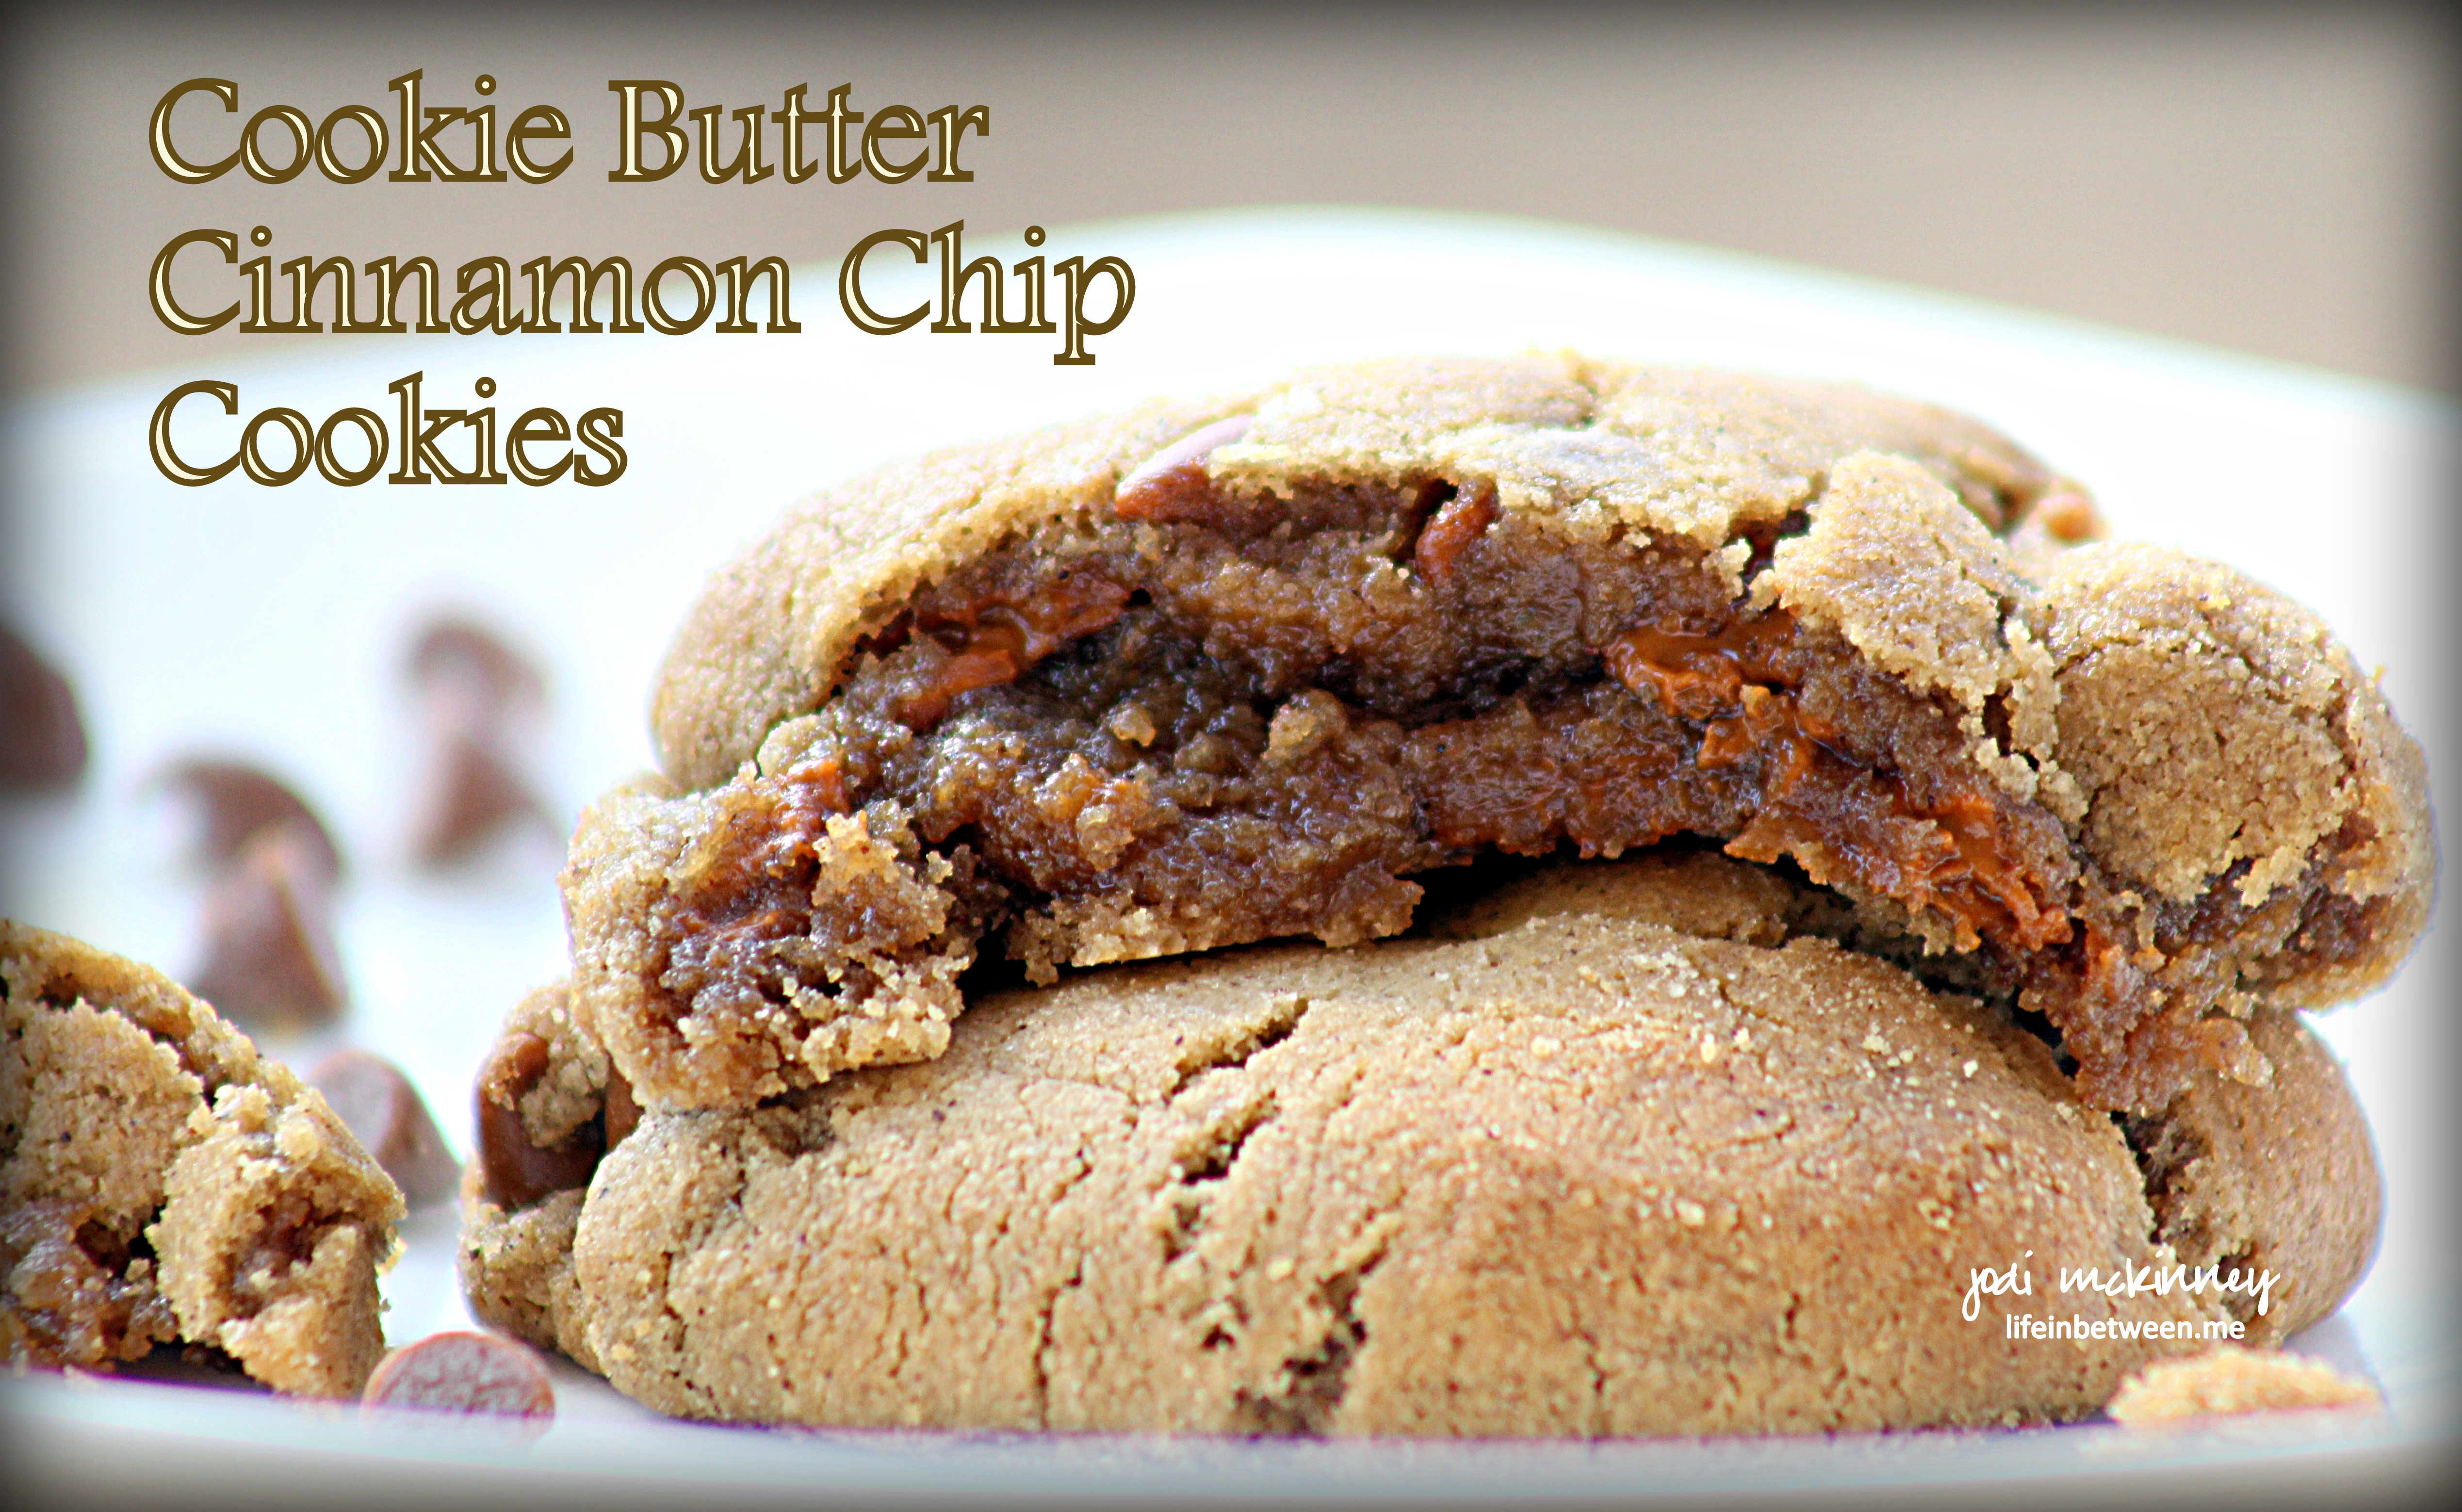
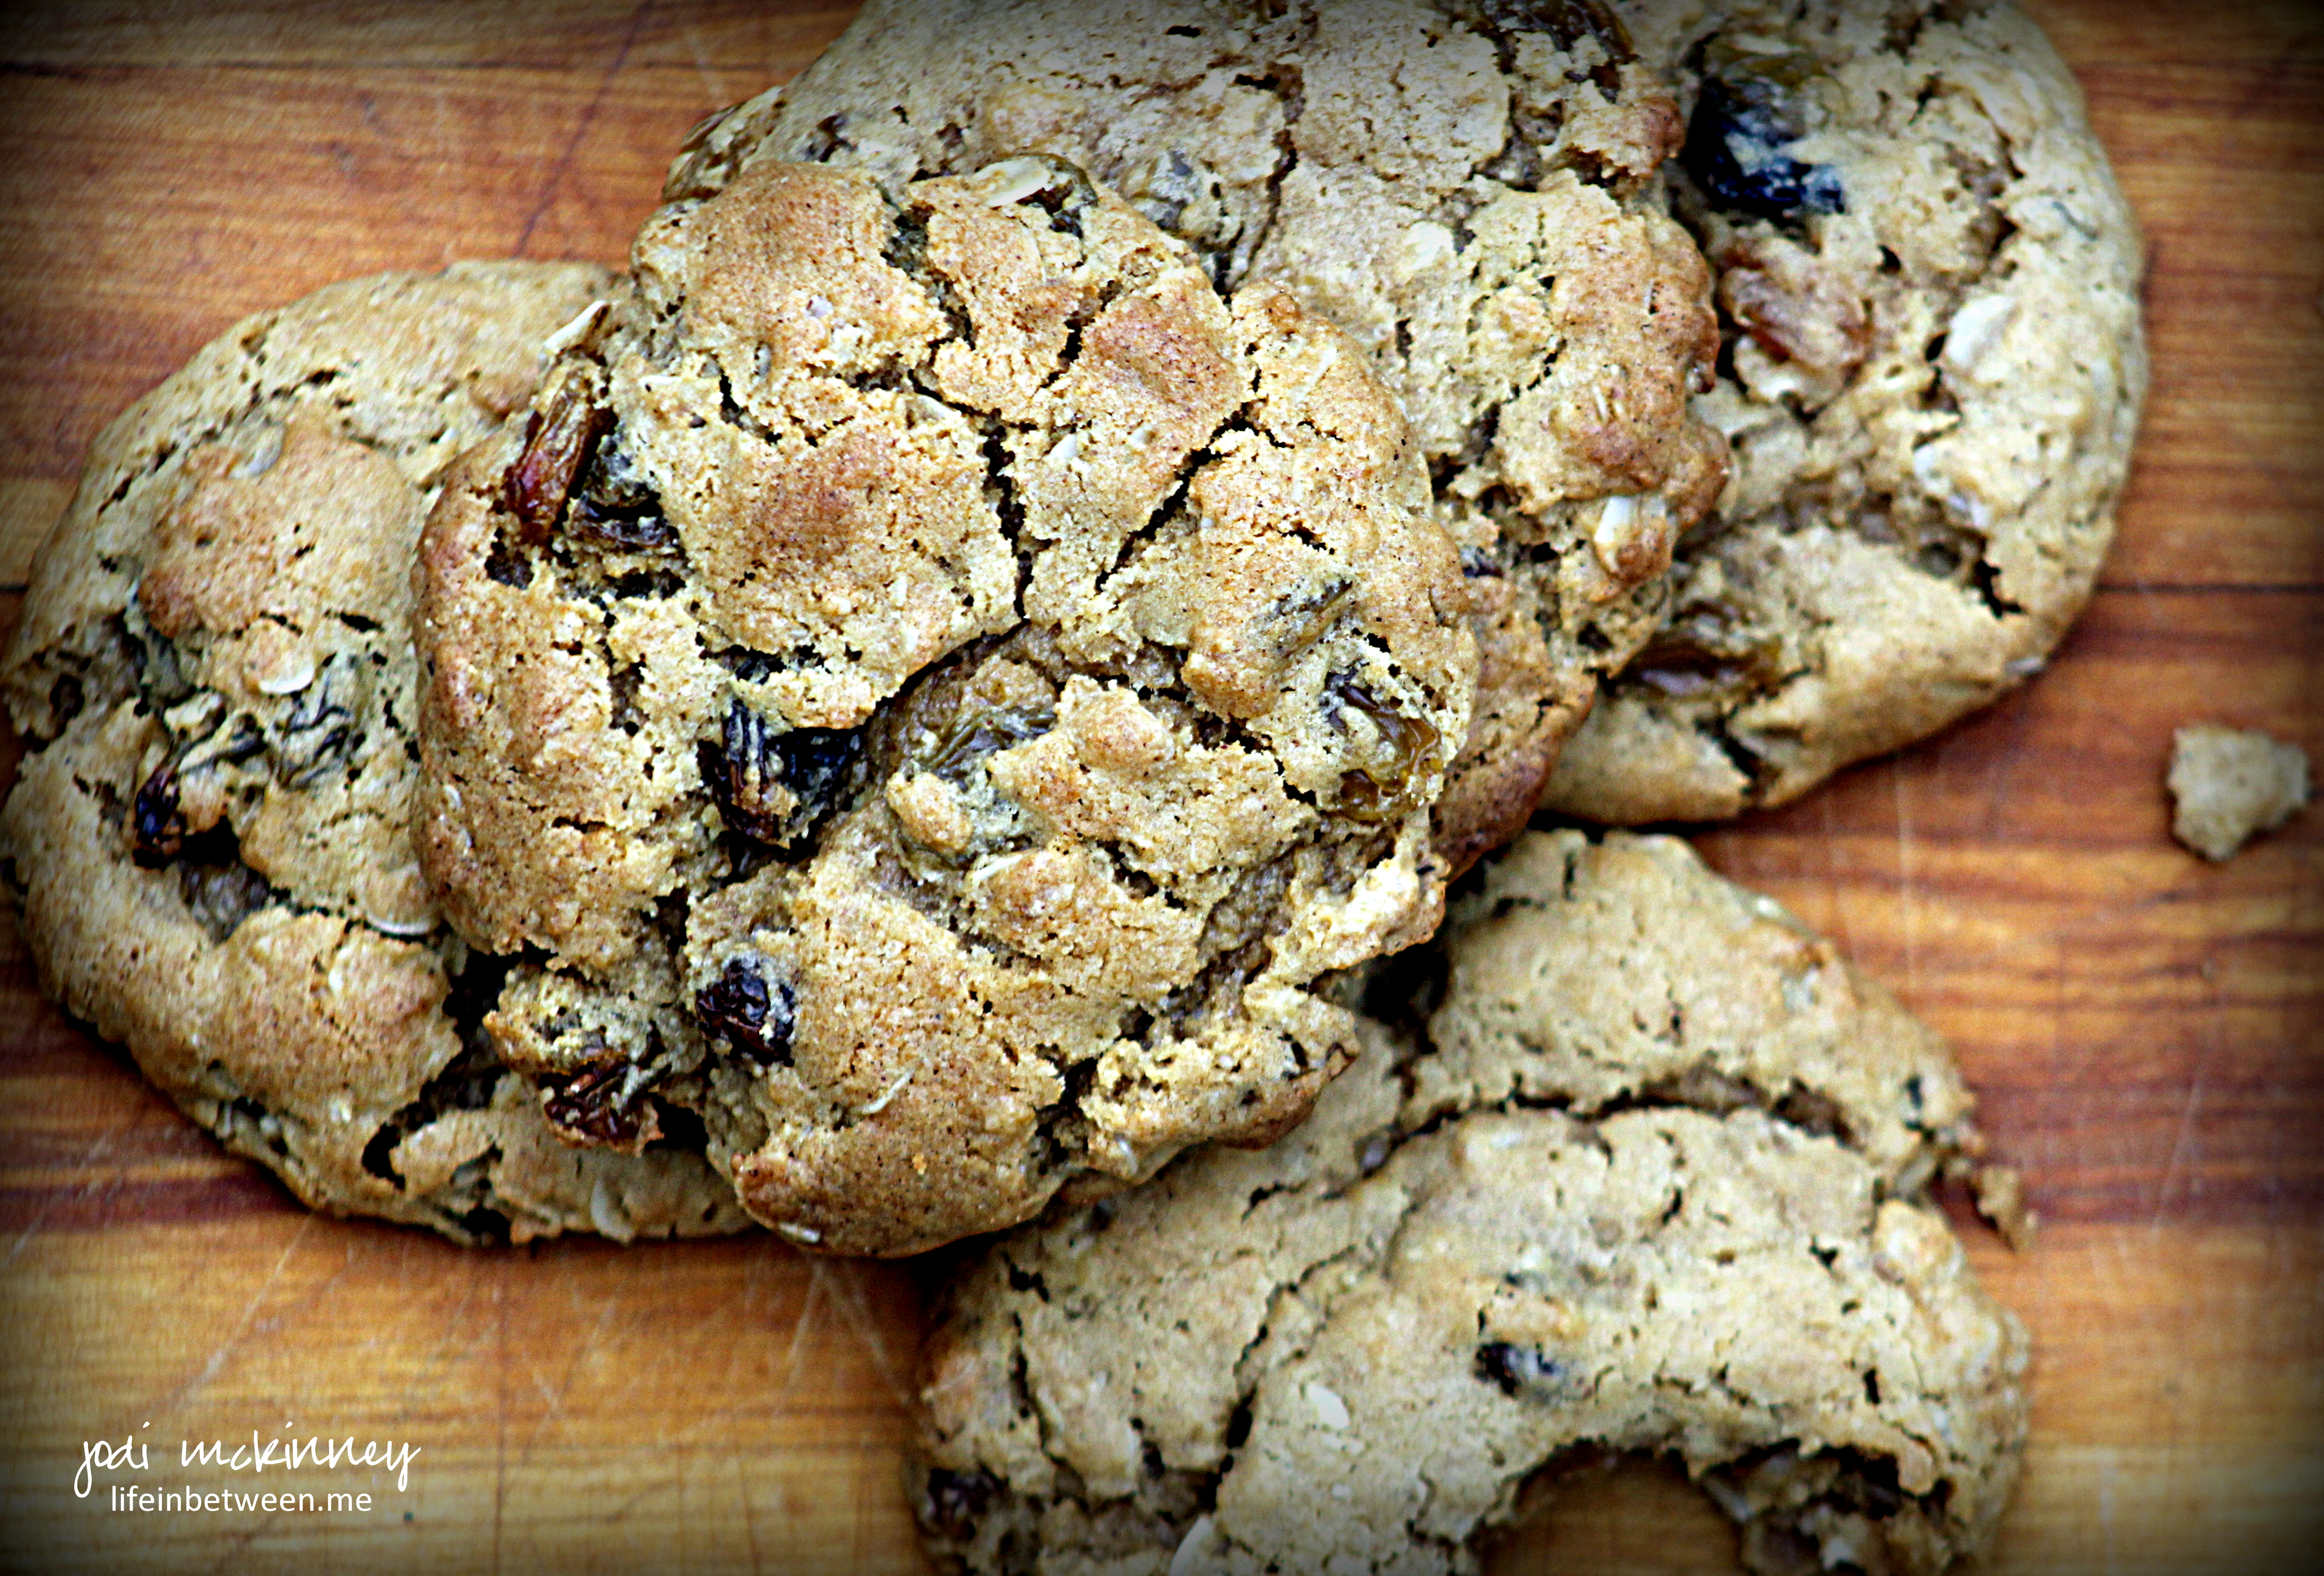
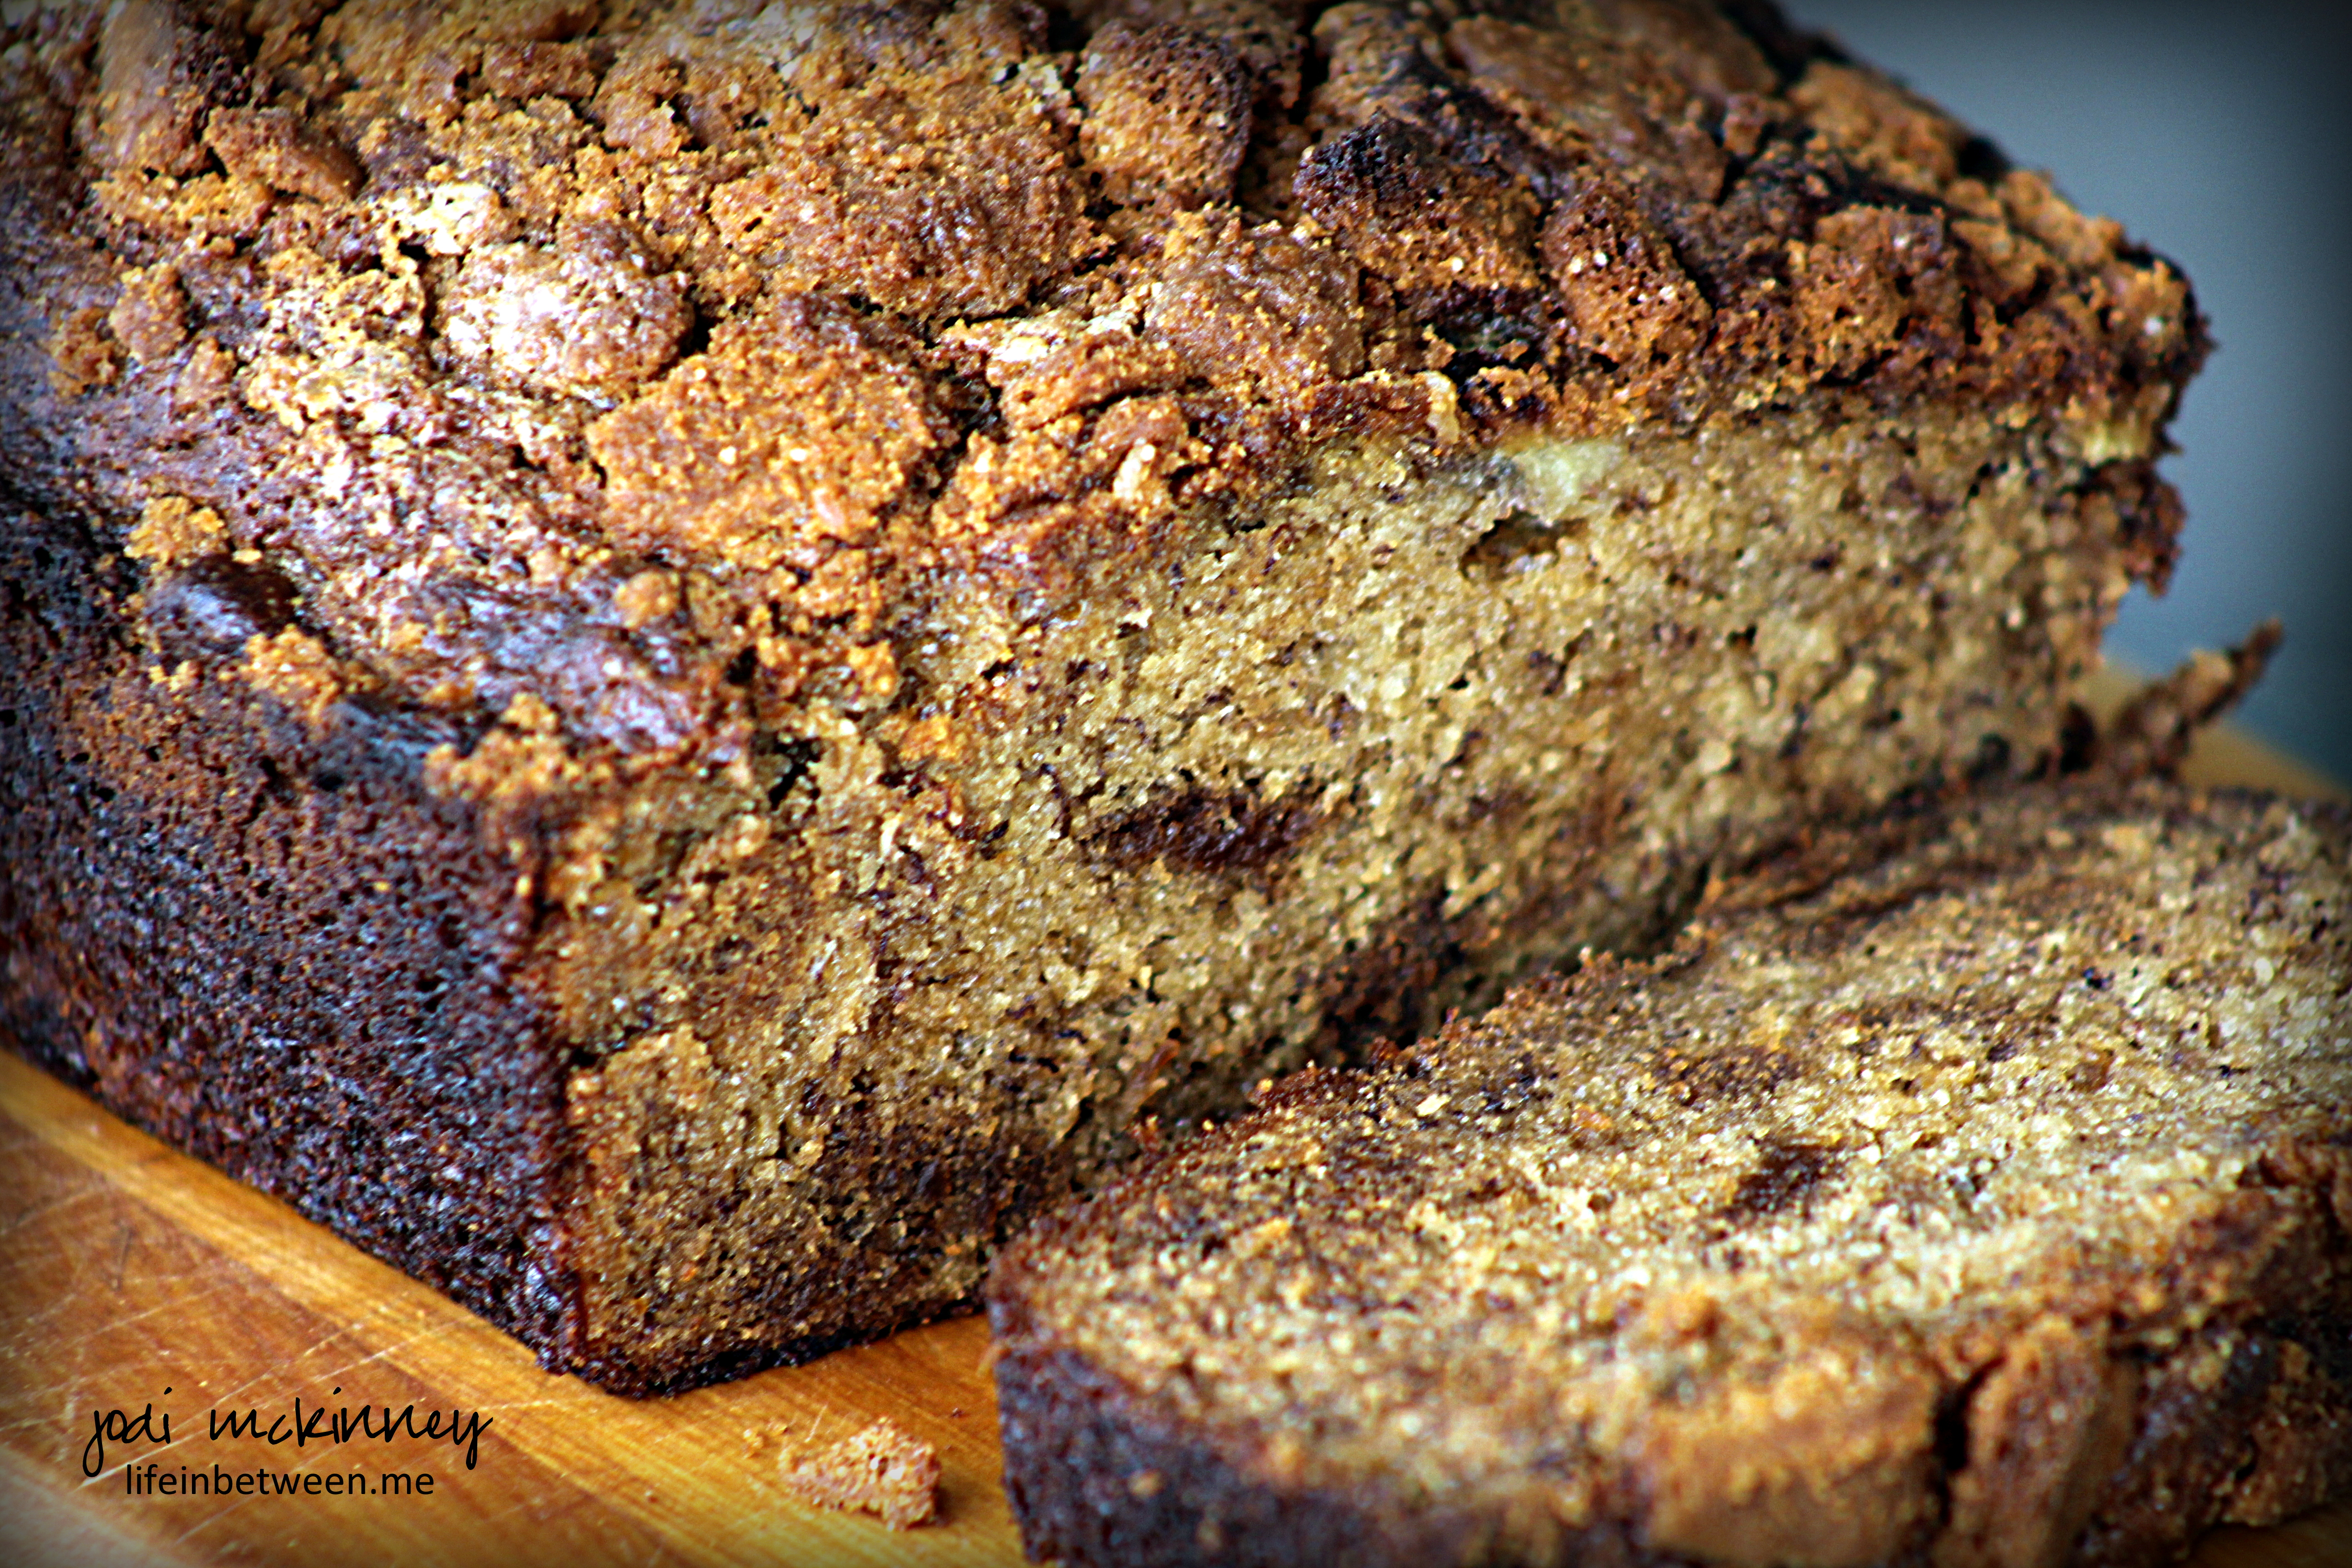
I created and started baking this super yummy cookie years ago by taking my old reliable base cookie recipe and adding dried blueberries and white chocolate chips.

Blueberry White Chocolate Chip Cookies 2

It has become a favorite of hubby’s and some of my other cookie-lovin’ friends.  I was surprised to realize I had not posted this recipe here yet, so I’m excited to share it with you.

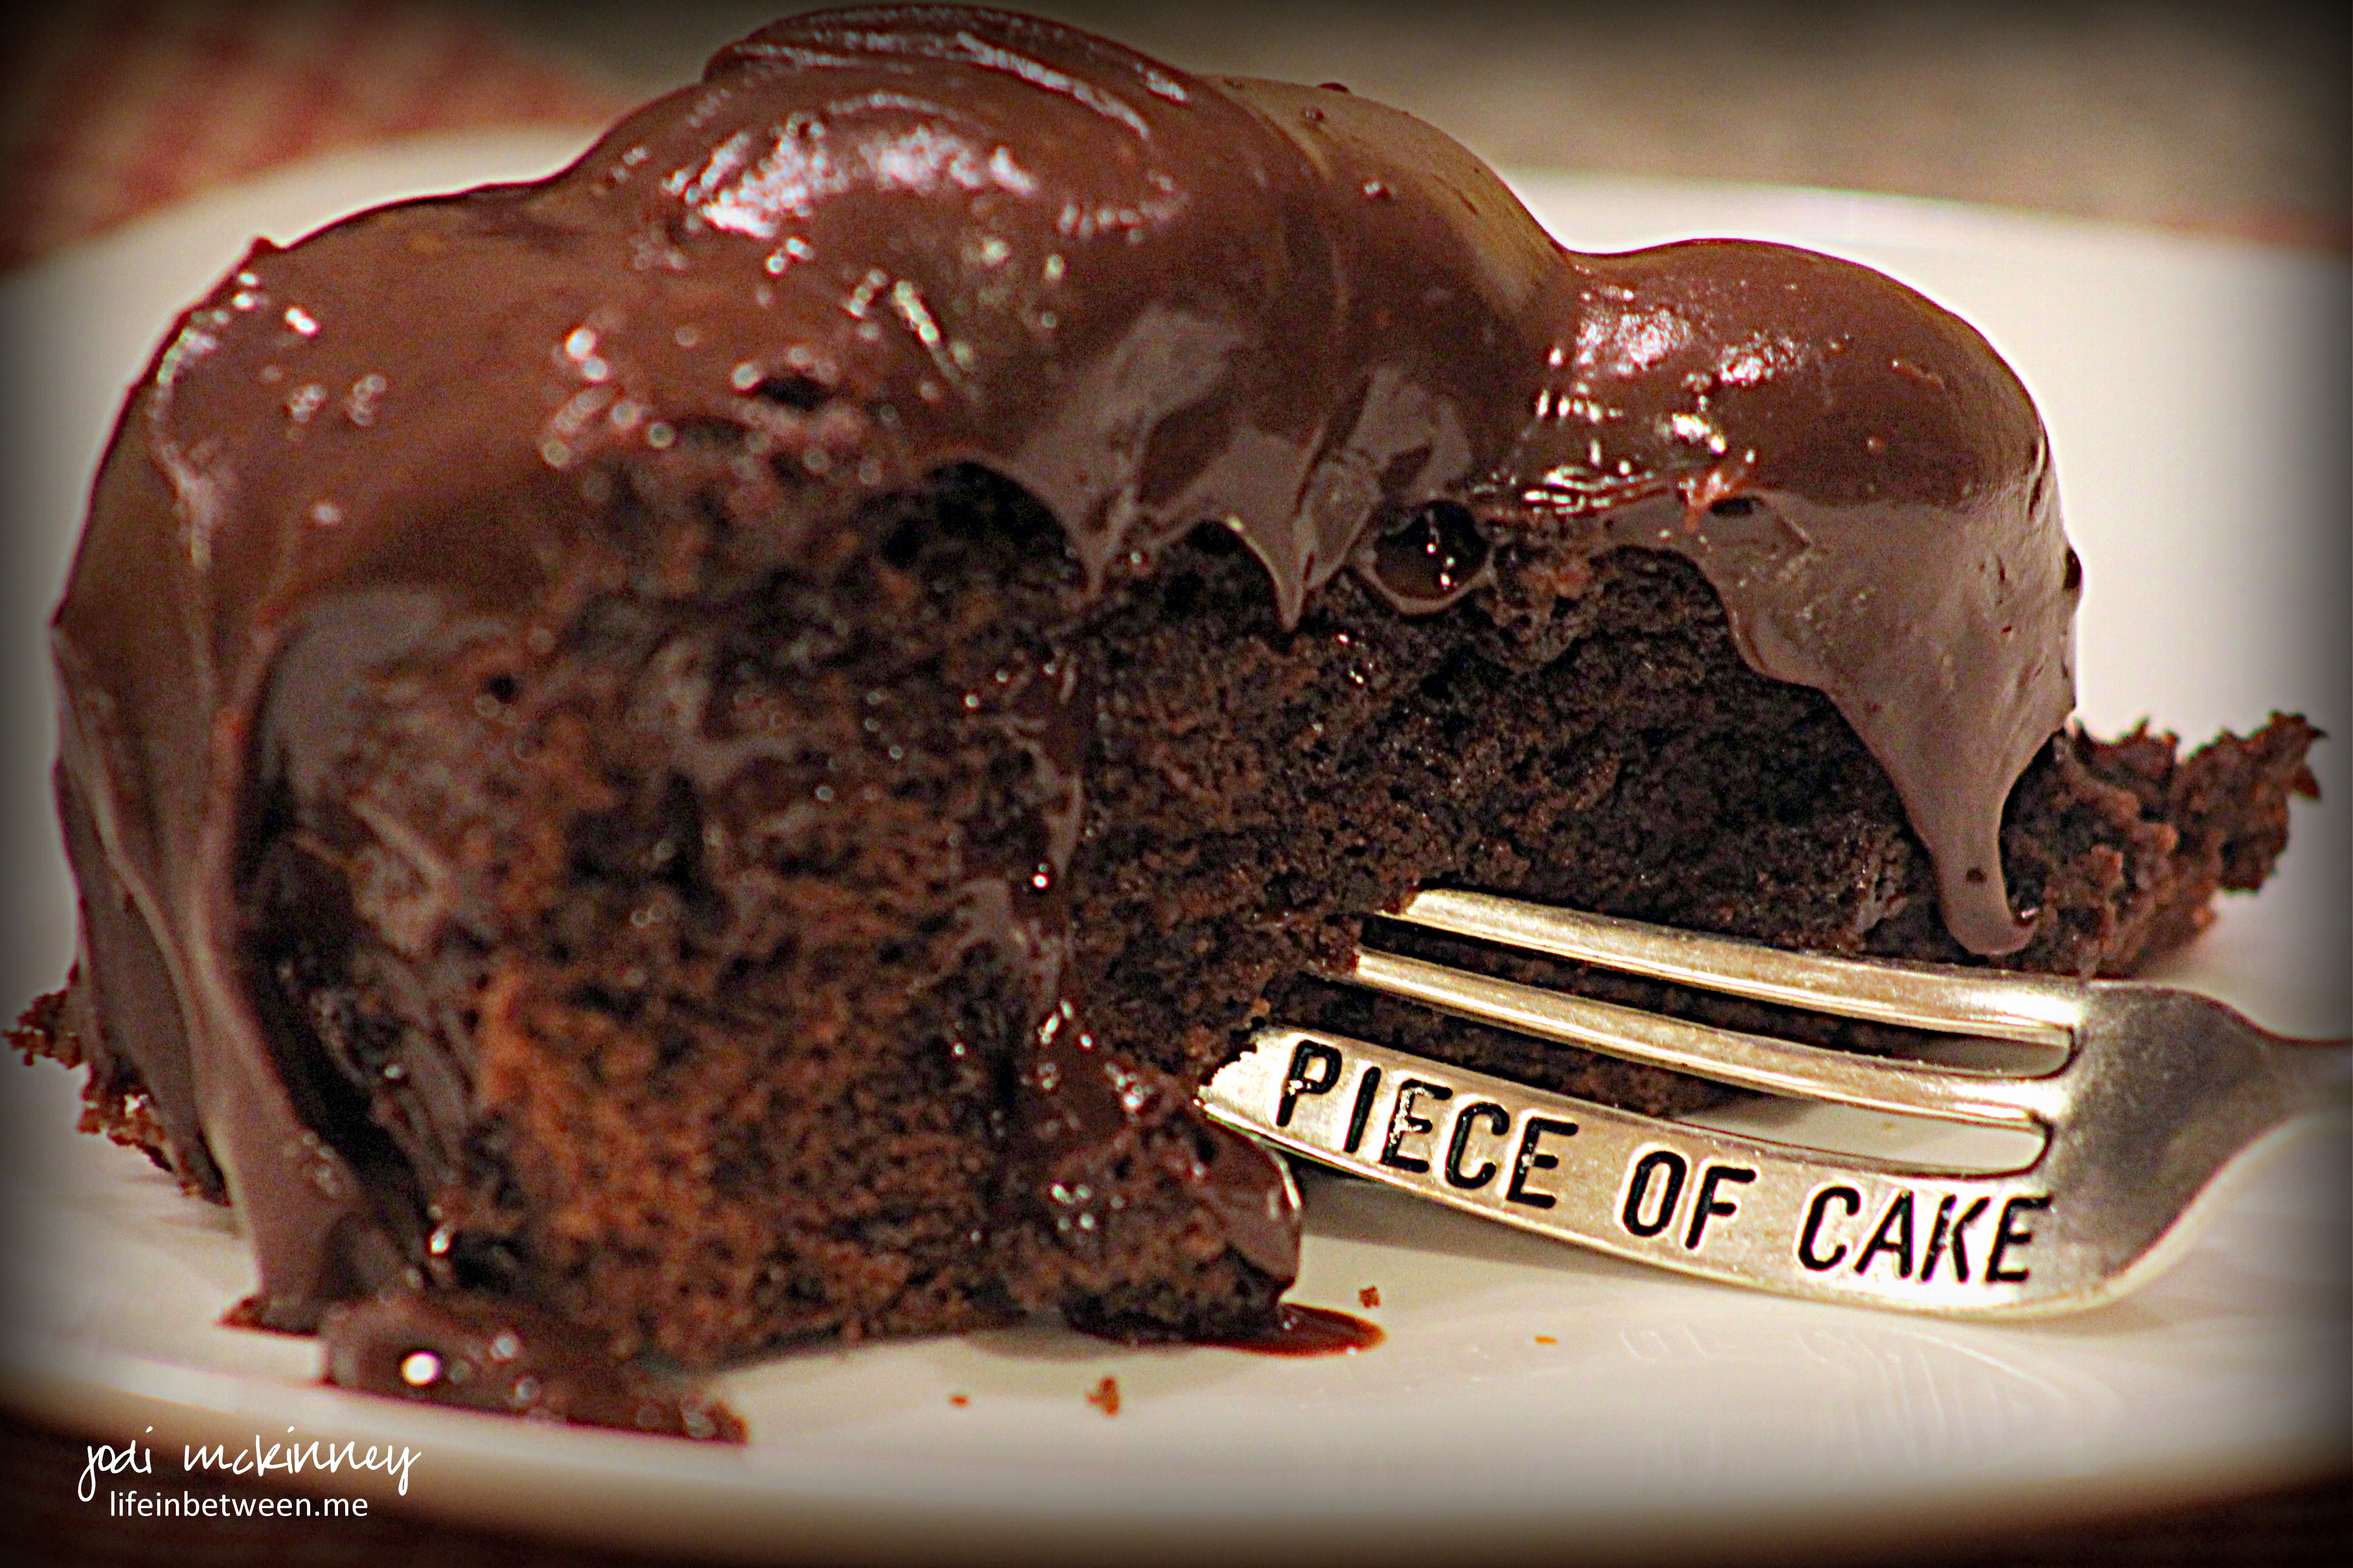
If you are looking for a unique and delightful treat, you really should try this cookie.  I have been hard-pressed to find someone who doesn’t like these!

Dried blueberries can be a bit pricey, but Trader Joe’s is a great source of delicious and reasonable ones.  And they are sooooo worth it once you’ve taken a bite of this cookie!

Blueberry White Chocolate Chip Cookies 3

Blueberry White Chocolate Chip Cookies

Ingredients:Blueberry White Chocolate Chip Cookies

4 sticks (1 lb.) butter, softened
1 1/2 cups packed brown sugar
1 1/2 cups white granulated sugar
2 tsp vanilla
4 eggs
2 tsp baking soda
2 tsp salt
5 cups all purpose flour
1 12-oz bag Nestle Premier White Chocolate Chips (or your favorite)
1 8-oz bag Trader Joe’s dried blueberries (or your favorite brand)

Directions:

With electric mixer, beat butter and sugar together until completely incorporated. Add vanilla and eggs, and beat until light and fluffy. Add baking soda and salt, and mix another minute. Gradually add flour and beat until well incorporated, but do not overbeat.

Fold in white chocolate chips and blueberries. Refrigerate dough for at least 2 hours or up to 2 days.

When ready to bake, preheat oven to 375 degrees F. With your hands, form a cookie dough ball about 1-1/2 inches in diameter.  Place on baking stone. Bake for 8-10 minutes. Do not overbake. Allow to cool on baking stone for 2-3 minutes, then remove to cooling rack to cool completely.

Enjoy!

Cheers & Hugs,
Jodi

Lemon Poppy Seed Biscotti

lemon poppy seed biscotti cover

Yesterday was the first day of Spring…

lemon poppy seed biscotti

and it snowed here in Mars!

lemon poppy seed biscotti 3

So I decided to make something bright and sunny and lemony…

lemon poppy seed biscotti 2

to dunk in my steaming cup of coffee by the warmth of a fire.

I’ve never made biscotti before, so decided it would be fun to try.  I love poppy seed, and it is so wonderful with lemon.

I found and slightly adapted a recipe from Lynn at FreshAprilFlowers, and I really enjoyed it.

This would make a wonderful Easter or hostess gift for coffee and tea lovers.

Lemon Poppy Seed Biscotti

Ingredients:lemon poppy seed biscotti cover
  • ½ cup granulated sugar
  • zest of one lemon
  • 1 Tablespoon butter, melted
  • 3 Tablespoons vegetable or canola oil
  • 1 large egg
  • 1 teaspoon vanilla extract
  • juice of one lemon, divided
  • 1 and ¾ cup all-purpose flour
  • 1 teaspoon baking powder
  • ¼ teaspoon salt
  • 2 Tablespoons poppy seeds
  • Egg Wash: 1 large egg, beaten with remaining lemon juice
Directions:

Preheat oven to 350ºF. Line a large baking sheet with parchment paper.

Place sugar in a medium bowl and add the lemon zest. Using your fingers, rub the zest into the sugar until all of the zest has been incorporated and most of the sugar is pale yellow. Whisk in the butter, oil, egg, vanilla extract, and 2 teaspoons of the lemon juice.

In a large bowl, toss together flour, baking powder, salt, and poppy seeds. Add the wet ingredients to the dry, and mix until combined.

Turn dough out onto baking sheet and pat dough into a rectangle about ½” thick ( approximately 6″ x 7 ½”.   The dough will be a bit dry and crumbly, but can be pressed together.

Brush egg wash on top and on sides of the dough.  Bake for 20 minutes or until the top and sides are lightly browned. Remove from the oven, but do not turn off the heat.

Place baking sheet on a wire rack and allow to cool for 10 minutes. Once the dough is cool enough to touch, cut into 1″ thick slices using a sharp knife. Cut these 1″ slices in half, making a horizontal slice down the center. Set slices cut sides up on the baking sheet. Return to the oven to bake for 6 minutes. Remove from oven, turn biscotti over, and bake the other side for 6 more minutes.

Remove from the oven and allow to cool for 3 minutes on the baking sheet (cookies will become crunchy as they cool). Transfer biscotti to a wire rack to cool completely.

Store biscotti in an airtight container for up to 2 weeks or in freezer for up to 3 months.

Enjoy dunking this delicious treat in a cup of your favorite coffee, tea, or hot cocoa!

Cheers & Hugs,
Jodi

Cookie Butter Cinnamon Chip Cookies

cookie butter cinnamon chip cookies

Have you discovered the amazingness of Trader Joe’s Cookie Butter yet?  (It’s quite similar to Biscoff spread, which I also absolutely adore!)

cookie butter cinnamon chip stack

I knew there had to be an EXTRAordinary cookie to make with this magical spread, so I went a googling and discovered a great recipe to start with at the wonderful Averie Cooks blog.

cookie butter cinnamon chip cookie

These cinnamony, gingergread biscuity, ooey-gooey brown sugary in the center, crispy crunchy on the outside little gems of deliciousness may just be my new favorite cookie ever!

Bake them if you dare!

Cookie Butter Cinnamon Chip Cookies

  • Servings: 2 1/2 dozen
  • Print

Ingredients:cookie butter cinnamon chip cookies

  • 2 large eggs
  • 1 ½ cups Trader Joe’s Cookie Butter or Biscoff Spread
  • 1 stick (1/2 cup) butter (softened)
  • 1 1/2 cups packed brown sugar
  • 3 Tablespoons vanilla extract
  • 1 3/4 cup flour
  • 4 teaspoons cornstarch
  • 3 teaspoons cinnamon
  • 2 teaspoons baking soda
  • pinch of salt
  • 1 bag Hershey’s Cinnamon Chips

Directions:

Cream the egg, Cookie Butter, butter, brown sugar, and vanilla on medium-high speed of an electric mixer until light and fluffy, about 4-5 mins.

Add flour, cornstarch, cinnamon, baking soda, and salt.  Mix on low speed until just incorporated, about 1 min.  Fold in cinnamon chips.

Make 1 ½ inch balls from the cookie dough, place on a cookie sheet, cover with plastic wrap, and refrigerate for at least 3 hours before baking. Do not bake with warm dough because cookies will spread and bake thinner and flatter. Chilling the dough is a must.

Preheat oven to 350F.  Place cookie balls on baking stone or sheet, spaced at least 2 inches apart, and bake for 8-9 mins, or until edges have set and tops are just beginning to set. Do not over-bake.

Allow cookies to cool on the baking sheet for about 5-10 minutes before removing and transferring to a rack to finish cooling.

Enjoy!

Cheers & Hugs,
Jodi

Bailey’s Irish Cream Chocolate Mud Cake

Baileys Irish Cream Chocolate Cake cutting

Do you every just get a “hankering” for something?  Something you don’t usually have, but you just get stuck in your mind that you really, really, really want?!

That’s how I was feeling this past week about chocolate cake.  And chocolate cake is not something I usually make/eat/crave.

Baileys Irish Cream Chocolate Cake unfrosted

But – there was no getting it out of my head, so what’s a girl to do?!  Bake cake!

And when I found this recipe for a “boozy” chocolate cake – well – even better!  But dang, it was in metric measurements, and try as I could to search for it in U.S. equivalents, no luck.  So I postponed doing it the first day I thought of it, but then just bit the bullet the next day and converted it myself.  I’m not sure if I converted exactly or correctly, but it turned out absolutely amazing!

Baileys Irish Cream Chocolate Cake adding ganache

Oh Dear Me!  This is a real treat for the hankering!  It is rich and dense and chocolately and smothered in a decadent Bailey’s chocolate ganache!   I only needed a few bites to satisfy.

Baileys Irish Cream Chocolate Cake sliced

Hubby loved it too!

After our couple of bites/slices, however, I decided to put it in the freezer to save for special occasions or special guests.  I’m guessing it will freeze well (as all cakes do), and be just the thing to pull out and slice when “needed!”

Baileys Irish Cream Chocolate Cake slice

So here it is – the Bailey’s Irish Cream Chocolate Mud Cake – converted for us U.S. bakers and also in Metric equivalents.

Are you craving chocolate cake yet?!  Grab that bottle of Bailey’s and get baking!

Baileys Chocolate Mud Cake

Ingredients:

Cake:Baileys Irish Cream Chocolate Cake adding ganache

  • 1 1/3 sticks butter (10.5 Tbsp) or 150 grams
  • 3.5 oz or 100 grams dark chocolate, chopped
  • 1/2 cup or 100 grams sugar
  • 1/2 cup or 100 grams brown sugar
  • 1/2 cup or 50 grams  cocoa powder
  • 3/4 cup or 180ml Baileys Irish Cream Whiskey
  • 1 1/3 cups or 170 grams all-purpose flour
  • 1 1/2 tsps baking powder
  • 1/2 tsp baking soda
  • 1/2 tsp salt
  • 3 eggs, room temperature

Baileys Ganache:

  • 7 oz or 200 grams good quality dark chocolate,  chopped
  • 3/4 – 1 cup or 200ml Baileys Irish Cream (you can also do 1/2 cream and 1/2 Bailey’s if you don’t want it quite so “boozy,” but what the heck?!)
  • pinch of salt
  • 1 – 1 1/2 Tbsp or 15 grams butter, softened

Directions:

Preheat oven to 325° F (160°C). In a pan over low heat, melt the butter, chocolate, sugars, cocoa powder and Baileys. When chocolate and butter has melted, whisk together to combine making sure to get rid of any lumps of sugar or cocoa powder. Remove from heat and leave cool for 5 minutes.

Meanwhile, grease and line an 8″ (20-21cm) round cake pan.

Mix together the flour, baking powder, baking soda and salt and set aside. Add the eggs to the slightly cooled chocolate mixture and whisk to combine. Gently fold in the sifted flour mix until free of lumps.

Scrape into cake pan and bake for about 25-30 minutes or until a skewer comes out clean (Be cautious, however, as this is one cake you don’t want to over-bake so better to be a little under than over). The top of the cake will have some beautiful cracks.  This is normal for a mud cake, and you will be covering it with a lovely and oh so concealing ganache anyway!

Remove cake from oven and cool in pan for 10 minutes before removing and cooling completely on wire rack.

To make the ganache, heat the Bailey’s and the salt to a simmer in a pan (be careful to not get the heat too high and catch the alcohol on fire like I did!).  Remove from heat and add the chocolate.  Stir until completely incorporated, and then stir in the butter.

Set aside at room temperature and cool until it is thick enough to spread over your cooled cake (or if you are as impatient as me, put in the freezer to cool more quickly).  Gently stir the ganache occasionally as it cools to keep the temperature even and the ganache smooth.

When it is cooled and thickened, spread the ganache on the top of your cake and let it drip down the sides.

Enjoy!

Recipe found at:   Runcible Eats (www.leaandjay.com)

Cheers & Hugs,
Jodi

Best-Ever Amish Oatmeal Raisin Cookies

Amish Oatmeal Raisin Cookies

If you are an oatmeal raisin cookie lover……

You know – you love the ones that are crispy around the edges, but caramely chewy with plump sweet raisins on the inside…..

You are going to be in OATMEAL RAISIN COOKIE HEAVEN when you make and taste these amazing Amish Oatmeal Raisin Cookies.

Amish Oatmeal Raisin Cookies 2

I honestly believe these are the BEST EVER Oatmeal Raisin Cookies on the Planet!

Earth AND Mars!

Amish Oatmeal Raisin Cookies 3

Get ready to be a Cookie Rock Star when you make these!

Now go get baking!  You MUST have these!

Amish Oatmeal Raisin Cookies

  • Servings: 4 dozen large cookies
  • Print

Ingredients:Amish Oatmeal Raisin Cookies 2

  • 3/4 cup softened butter
  • 3/4 cup coconut oil or shortening
  • 2 cups granulated sugar
  • 1 large egg
  • 1/3 cup molasses
  • 2 tsp vanilla
  • 3 1/2 cups flour
  • 1 tsp salt
  • 2 tsp cinnamon
  • 1 Tbsp baking powder
  • 1 Tbsp baking soda
  • 3 cups oatmeal
  • 1/2 cup buttermilk ( you can make a substitute by adding 1/2 Tbsp white vinegar to milk or half and half and allowing to sit for 5 min as a substitute, and it works perfectly fine!)
  • 1 1/2 – 2 cups golden raisins

Directions:

Preheat oven to 350 degrees F.

Cream together butter, coconut oil or shortening, and granulated sugar until fully incorporated.  Add the egg, molasses and vanilla and beat well.

Combine dry ingredients in a separate bowl – flour, salt, cinnamon, baking soda, baking powder – and add to creamed butter/sugar mixture.  Add buttermilk next, followed by oatmeal.  When well combined, gently stir in raisins.

Drop by heaping tablespoon onto baking stone or cookie sheet.  Flatten slightly.  Bake for 10-12 minutes.  Let cool on baking stone/cookie sheet for additional 5 minutes, then remove to cooling rack to cool completely.

Enjoy these amazing cookies (that include some healthy ingredients)!

I cannot wait to hear what you think of them, and I dare you to challenge me to a better oatmeal raisin cookie recipe! 🙂

Cheers & Hugs,
Jodi

Groundhog Day Cupcakes

groundhog day cupcake

Tomorrow, February 2nd, is Groundhog Day, a rather silly U.S. holiday, where we wait for a Groundhog (Punxsutawney Phil) to emerge from his burrow and let us know when Spring will arrive.

According to folklore, if the groundhog sees his shadow, winter will last for six more weeks.  If he does not, Spring will come early.

Punxsutawney Phil is the “official” Groundhog Day meteorologist.  He lives in Punxsutawney, Pennsylvania, which is only about an hour and a half from Mars.  The largest Groundhog Day celebration in the U.S. is held here with an early morning festival and national news coverage.

When my son, Nick, told me he was going to dinner on Sunday at his girlfriend, Liz’s house for a Groundhog Day party, I immediately asked, “Can I make a dessert for you to take?”  (Any excuse to bake works for me!)

Seems Groundhog Day is Liz’s dad’s favorite holiday.  The family celebrates with a dinner party and an annual viewing of the comedy movie, Groundhog Day.

So I searched for some inspiration on Pinterest and came up with these little cupcakes from things I had in the pantry.

If you are looking for a fun treat to make for Groundhog Day, here is how I made them.

Groundhog Day Cupcakes

Ingredients:groundhog day cupcake

  • 1 box Duncan Hines Yellow Cake Mix
  • 1 can White Cake Frosting
  • 1 can Chocolate Frosting
  • 1 bag (12) Lindt’s Lindor Sea Salt & Milk Chocolate Truffles
  • 36 small candy eyes (24 for eyes and 12 to cut edges off for tooth)
  • 24 chocolate chips
  • Chocolate jimmies/sprinkles
  • 1 tube black decorative frosting
  • Green food coloring

Directions:

Bake cupcakes according to box instructions.  Cool completely.

Frost cupcakes with chocolate frosting from center to about 2/3 coverage.

Tint white frosting with green food coloring and pipe around top circle of cupcake.  Sprinkle chocolate jimmies on edge of chocolate frosting to appear like “loosened dirt.”

Pipe dabs of chocolate frosting onto truffle where eyes and ears and tooth and chubby cheeks and hair of groundhog head will go (I put some in a Ziploc sandwich bag and cut off small tip of corner) Add eyes, chocolate chips for ears, eye with edges cut off for tooth, and jimmies to top of head.  Finish with black frosting dab for nose.  Place in center of cupcake to appear like the groundhog is emerging from it’s hole in the ground.

Here’s to hoping Phil sees his shadow!

Cheers & Hugs,

Jodi


Biscoff Crunch Banana Bread

Biscoff banana bread 1

I thought I had discovered the best ever banana bread recipe (which is ULTRA amazing!) – but then…. I discovered…

are you ready??…..

BISCOFF BANANA BREAD!

biscoff banana bread 2

Oh Goodness Gracious – the YUMMMMiness of Biscoff Spread, crunchy Biscoff cookies, and sweet, moist banana bread.  It is pretty much the ultimate deliciousness – especially for this time of year when we just crave comforting foods!

biscoff banana bread 3

My guys loved it!

In fact, when I gave Nick his “sample,” I asked if it was a thumbs up.

His reply:

“2”

Score!

No oil in this bread either.  It is made with Greek yogurt.

The original recipe, which I have shared below from Table for Two, calls for plain Greek yogurt.

I used vanilla.

Yum!

And I added about one more tablespoon of butter, which I added in dabbles on top of the crushed up Biscoff cookies on top, just to make them a bit crisper and crunchier.   (I can never just leave well enough alone!)

Biscoff Banana Bread


From: Table for Two

3 ripened bananas, peeled and mashedBiscoff banana bread 1
1/3 cup plain Greek yogurt
1/2 cup Biscoff spread
3 tbsp. butter, melted
2 eggs
1/2 cup granulated sugar
3/4 cup all purpose flour
3/4 tsp. baking soda
1/2 tsp. salt
1/2 tsp. ground cinnamon
18 Biscoff cookies, crushed

1. Preheat oven to 350 degrees. Grease a 9×5 loaf pan and set aside.

2. Combine the first five ingredients and mix until well blended.

3. In a large bowl, combine the sugar, flour, baking soda, salt, and cinnamon.

4. Add the dry ingredients to the wet ingredients and mix until combined.

5. Gently fold in 3/4 of the crushed Biscoff cookies with a spatula.

6. Pour the batter into loaf pan and top with the remaining 1/4 crushed Biscoff cookies.

7. Bake for 1 hour or until toothpick inserted in the middle comes out clean.

8. Let cool completely before removing from pan and slicing.

ENJOY!

Cheers & Hugs,

Jodi


Goji Berry Energy Bars – A Super Food Snack

Goji Berry Energy Bars 3

So this is pretty out of character for this cookie-baking, haluski and halupki making – lover of all comfort foods – but it IS the new year –

and we ALL seem to go off on little kicks….

Well, my son, Nick has been making healthy breakfast smoothies lately, so we bought him a Super Food Smoothie cookbook to go with his new Ninja for Christmas, and we’ve been discussing super foods.

We decided to try some new things like Goji Berries and Chia Seeds, and Cacao Nibs and Maqui Berry Powder.

I’m not really big on drinking my breakfast.

I like something I can sink my teeth into.

So I found and tweaked a recipe for these healthy, tasty, energy bars that make a great breakfast or mid-morning or mid-afternoon pick-me-up snack.

Goji Berry Energy Bars 2

I love all the ingredients in them – almonds and walnuts and sunflower seeds with a bit of sweetness from the cacao and goji berries and dates.

Goji Berry Energy Bars

Who says healthy and good for you can’t be tasty and comforting!?

Give them a try.  Throw them in a ziploc in the freezer and grab when on the go!  Let me know what you think about them if you try.   And keep in mind, this recipe can be tweaked and improvised in many ways.  Change up the nuts or berries.  Use local honey instead of agave, whole wheat or coconut flour, raisins instead of dates.  The possibilities are endless.  Just like the taste!

Goji Berry Energy Bars a Super Food Snack

Ingredients:Goji Berry Energy Bars 3

  • 1 cup walnuts
  • 1 cup almonds
  • 1 cup pumpkin seeds
  • 12 dates
  • ½ teaspoon sea salt
  • 1 teaspoon vanilla
  • 2 Tablespoons almond flour
  • ½ cup agave
  • ½ cups cocoa nibs
  • 1 cup goji berries

Directions:

Preheat oven to 350 F.  Grind walnuts, almonds and pumpkin seeds in a food processor or Ninja or blender. Add the dates and pulse, making sure not to pulverize, but leaving some texture.

Pour into a mixing bowl, and add the rest of the ingredients.  Mix well.

Spread into an 8×8 baking dish, and bake for 20 minutes.

Cut into squares, and serve.  Freeze in Ziploc bag to maintain freshness and have on hand for snacks on the go.

Cheers & Hugs,

Jodi

Not Your Momma’s Cookie Exchange Party

Colleens Cookie Swap Group Photo Aprons Whip Nae Nae

Remember those aprons I shared yesterday that I made for my daughter-in-law’s cookie swap party?

Well – here we are doing the Whip Bake Bake at the party!

I am so excited to share some photos of the amazing party my even more amazing daughter-in-law (third from the left back row – next to me) threw.

This is not your momma’s cookie exchange like we did back in the day!

Check out the amazing drink station where Colleen served Hot Chocolate with all the fixings and add ins as well as gin and tonics and wine.  All the makings for a “spirited” cookie swap!

drinks 2

Hot Chocolate Bar

hot cocoa fixings

drinks

There were cozy Christmas socks on a festively-decorated antique child’s chair for anyone whose piggies got cold,

cozy socks

and a well-equipped cookie packaging station for us to box, wrap, clip, tag, and/or plate our cookies to take home.

cookie packing station

clips at cookie packing station

tags at cookie packing station

We all brought enough cookies to share tastes that evening and enough for everyone to pack up 5 or 6 dozen to take home and share with our families and friends and for our own parties.  Colleen made little labeled tags for each type of cookie so we knew what we were sampling and so we could vote on the “Most Delicious,” “Most Unique,” and Most Attractive.”  And boy were they ever!

Katie rocked “Most Unique” with these adorable and absolutely luscious cherry snowmen cake balls.

snowman cake balls most unique

Michelle’s Apple Delights were a slam dunk for the “Most Attractive!”  Aren’t the awesome?

apple delights most beautiful

And Alaine’s Pistachio Cherry Cookies had us all swooning for “Most Delicious,”

cookies

though they truly were ALL delicious and beautiful and unique and made with “lovin from the oven.”

lovin from the oven

And……. two of the young ladies actually had some “lovin in their ovens!”  Jen is in her first trimester and Jessica is due any day!

Jen and Jessica pregnant bakers

How cute is this sign that went with Colleen’s Grinch cookies (green crinkle cookies with teeny tiny hearts?

Grinch cookies

And check out these Inside Out S’more Cookies!  (and the little polka-dot wooden spoons to stir your cocoa)

inside out smores

She even had prizes!

prizes most delicious

Before we ate cookies…. Well – we pretty much ate cookies the whole evening…  Colleen made some fabulous food including the most amazing Hawaiian Ham and Cheese Party Sliders,

Hawaiin Ham and Cheese Party Sliders

and Hassleback potatoes,

hassleback potatoes

as well as plenty of veggies and dip, cheese and crackers, spreads, and and adorable cheese and olive wreath.

olive wreath

We even played some fun and silly games like teaming up to make the best reindeer antlers out of balloons stuffed in panty hose!

team 2

Team 1


Reindeer Katie and Michelle

Reindeer Michelle

It was the most fun, most unique, most delicious cookie swap party I’ve ever been part of!  I am so proud of my beautiful, generous, creative daughter-in-law, and I thank her for kindly allowing me share this with all of you.

Hope you are enjoying this festive holiday time however you choose to celebrate!

Cheers & Hugs,

Jodi

Watch me Whip – Watch me Bake Bake

watch me whip watch me bake bake christmas aprons

I’m guessing most of you are familiar with the current party dance song if you’ve been to a wedding or holiday party recently or listen to the radio:  Whip Nae Nae!   (I dare you not to wiggle when you hear this song!)

So taking on this twist, I made 12 aprons for a Holiday Cookie Swap my daughter-in-law hosted last night.  ( and I can’t wait to share more on the amazing party she threw when I get a chance!)

For now, gotta BOP BOP BOP to wear off those cookies!  🙂

#watchmedance

Cheers & Hugs,

Jodi