Pittsburgh-Style Sprinkle Thumbprint Cookies

Pittsburgh Sprinkle Thumbprint Cookies Cover

So – we have already discussed that we Pittsburghers do cookies for weddings.  Right?

Massive cookie tables that serve as appetizers, desserts (along with cake!), and take-home treats/gifts/doggie bags.

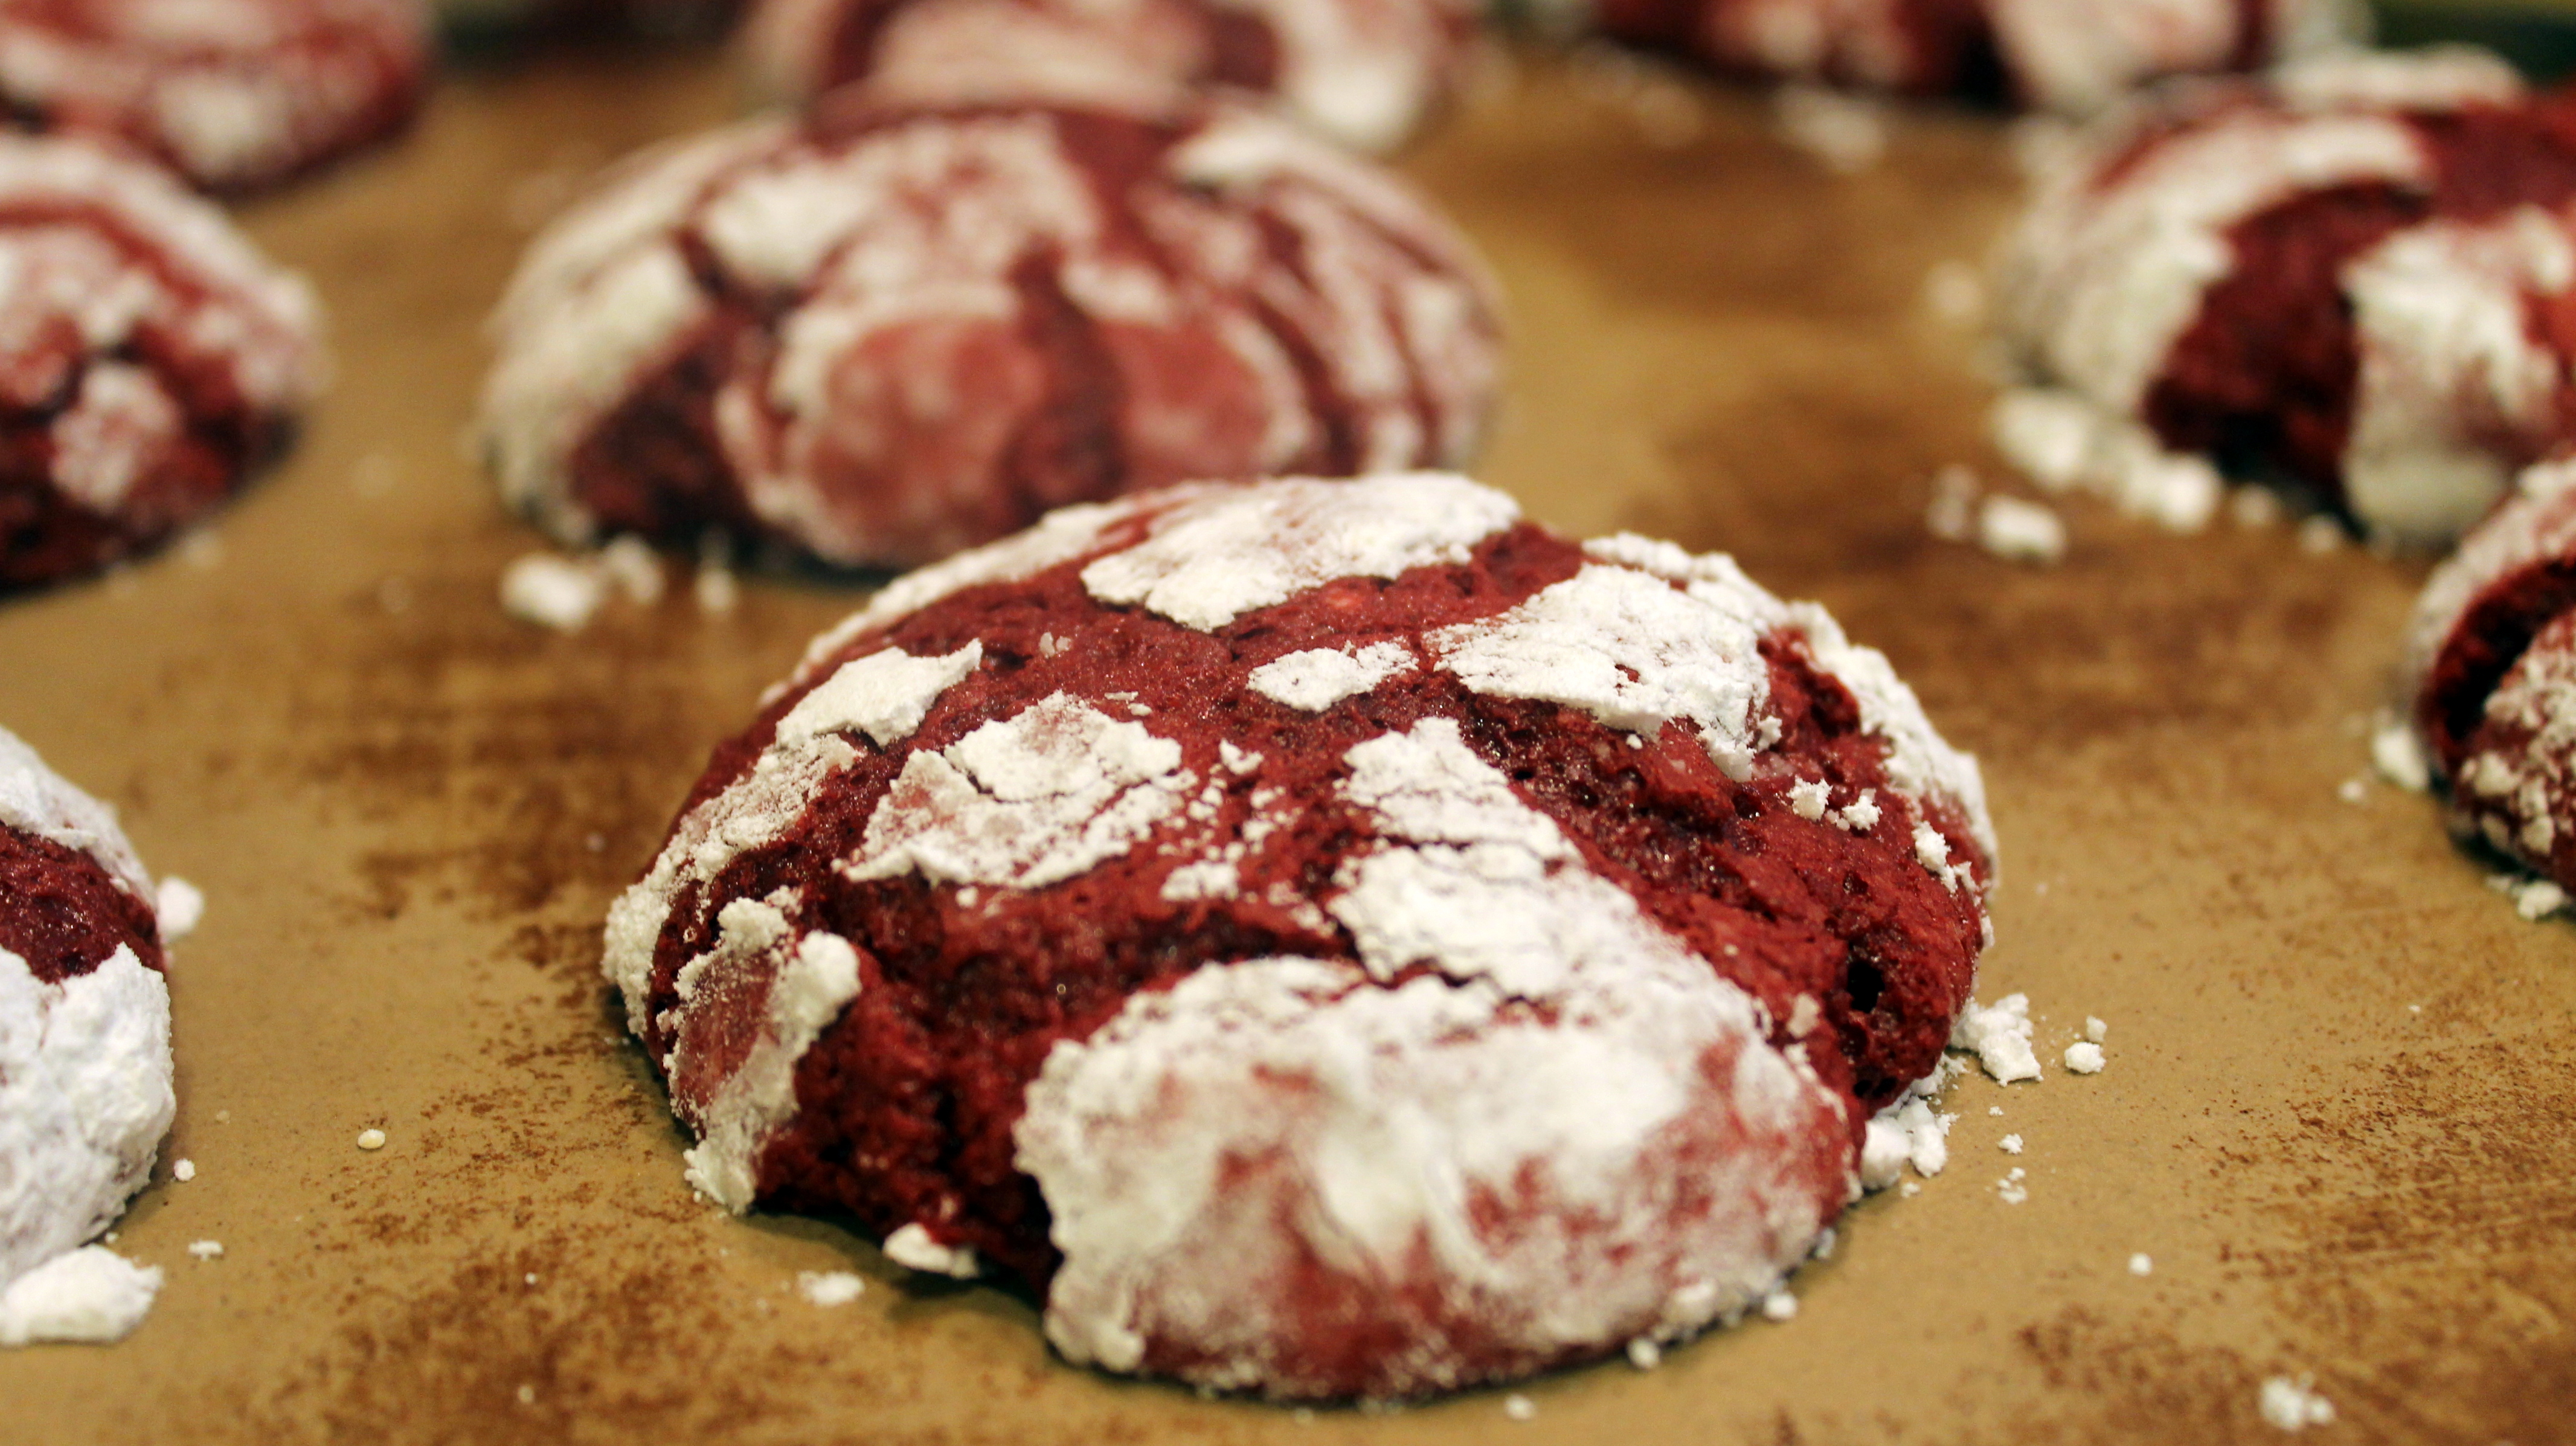
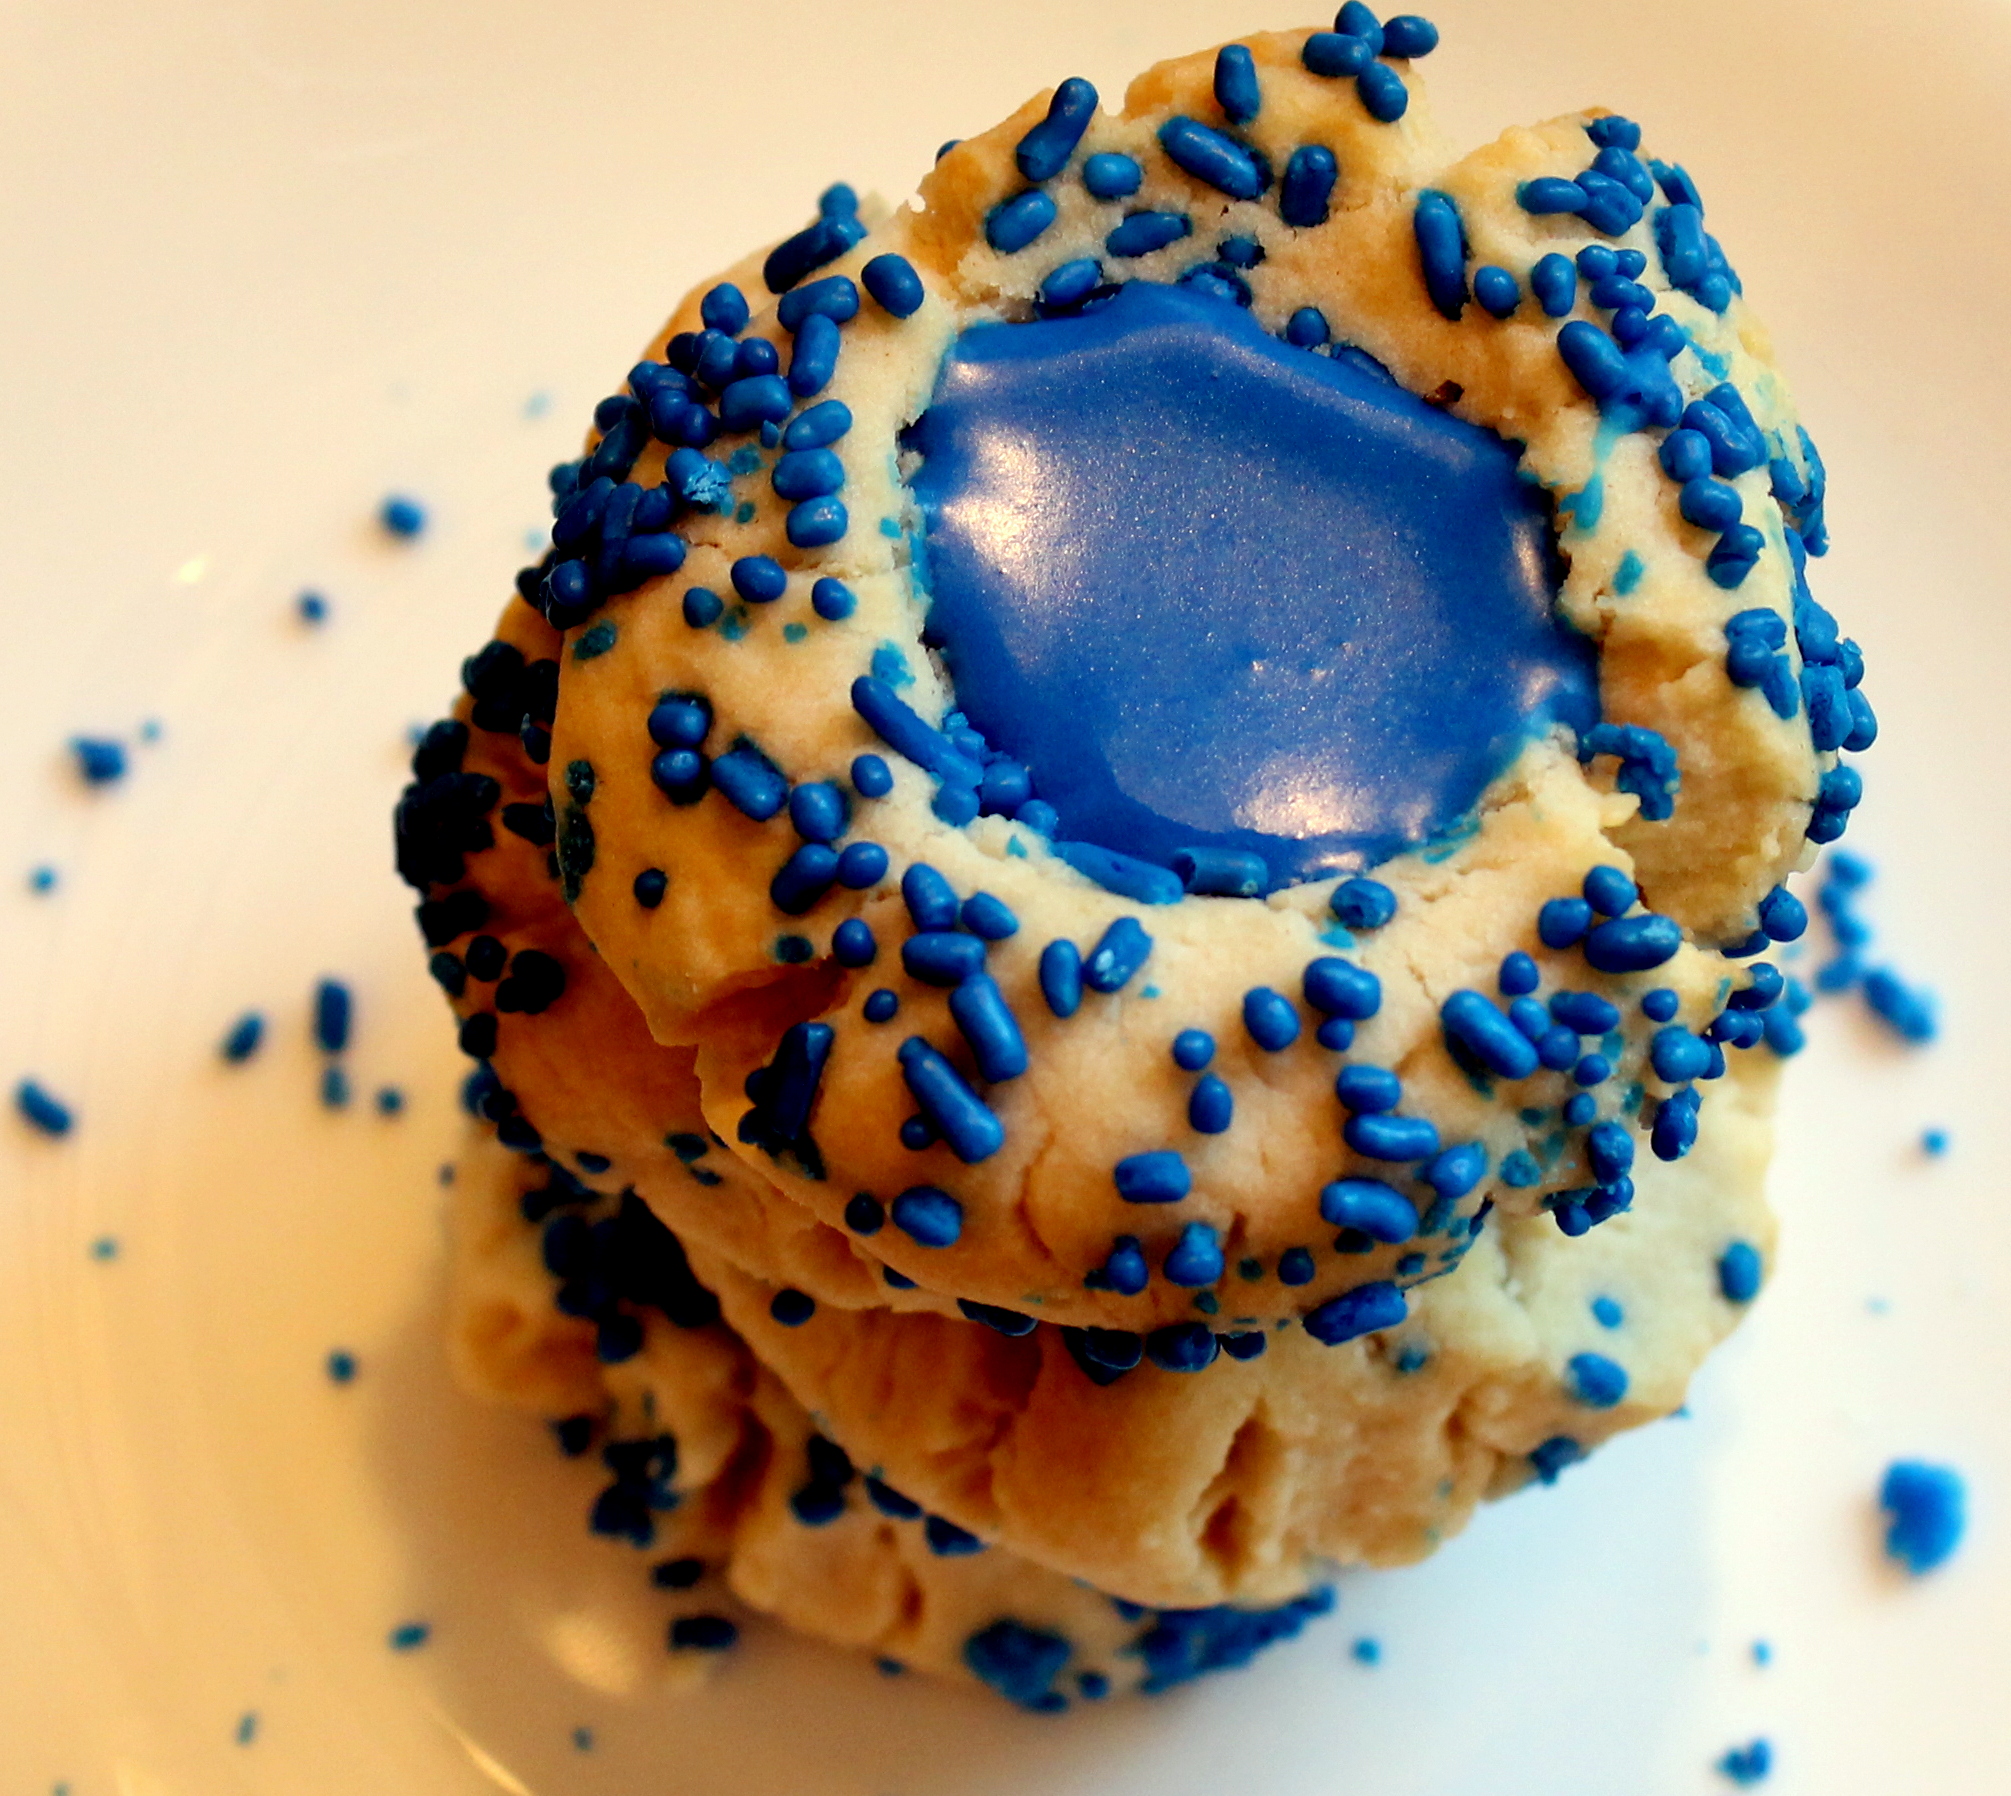
Pittsburgh is also kinda famous for our twist on the traditional thumbprint cookie, which is typically filled with jam or fruit preserves and rolled in nuts.

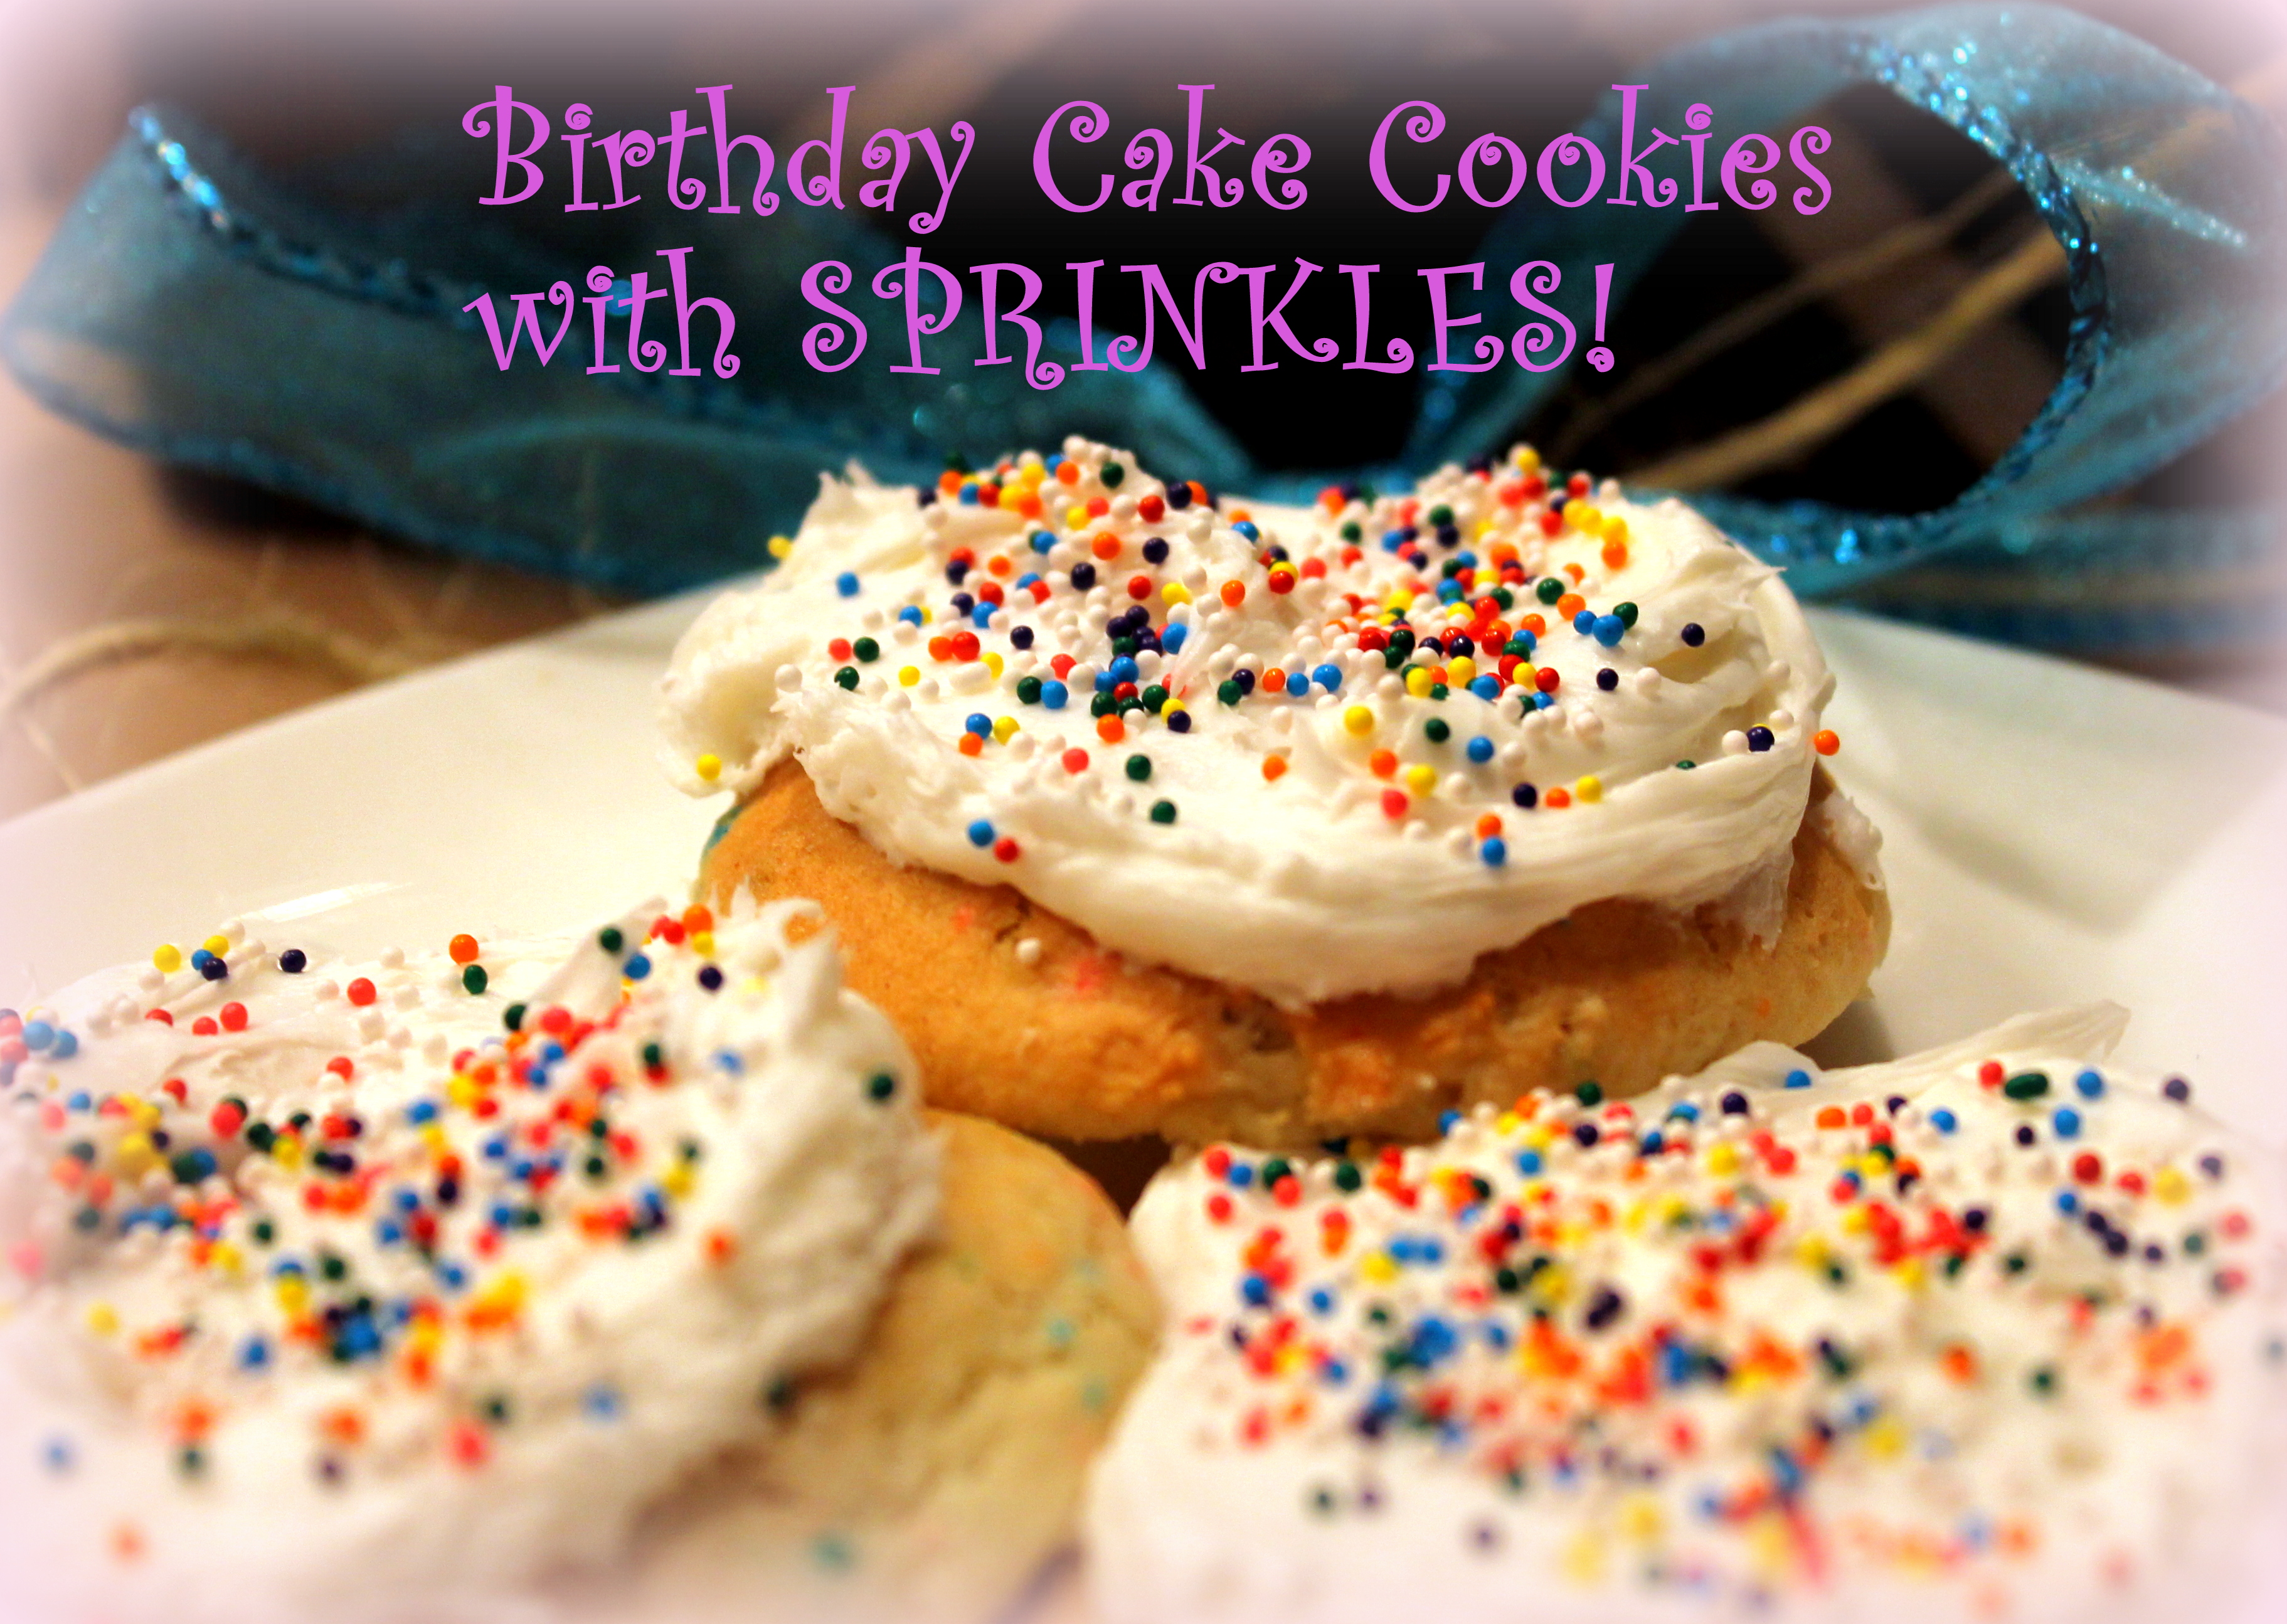
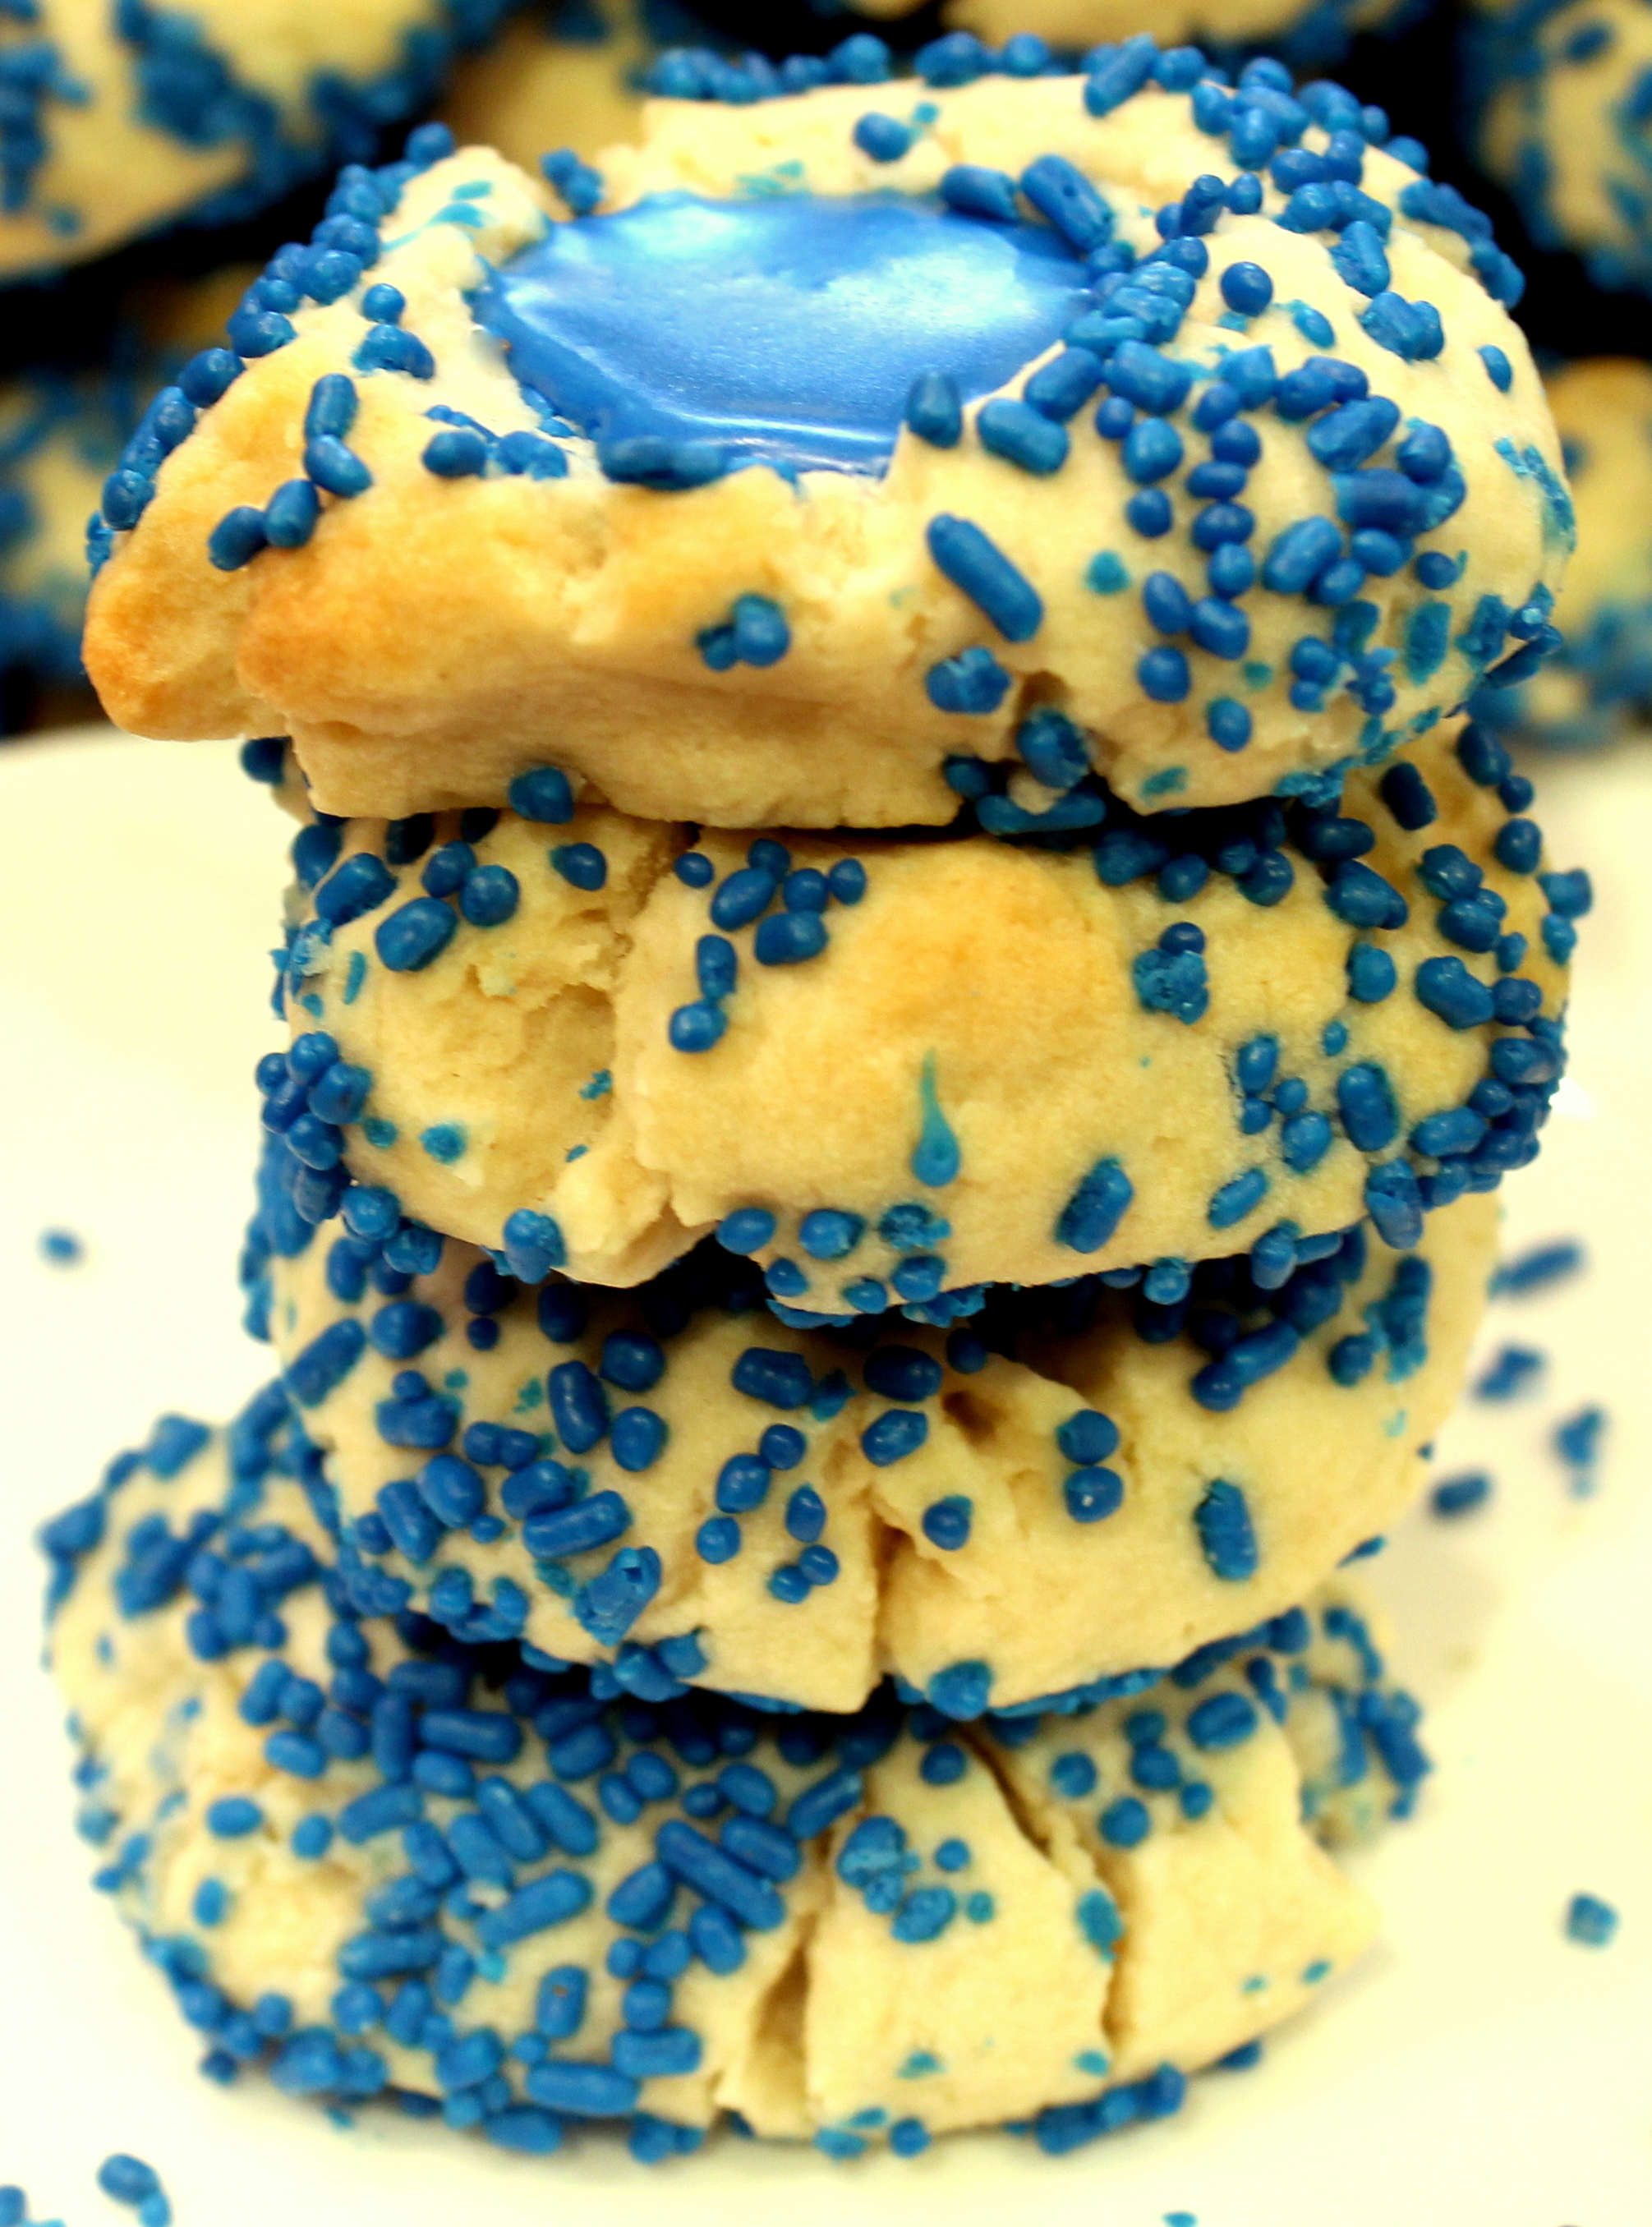
Nope – in the Burgh, we do sprinkles and icing on our thumbprints!

blue sprinkle thumbprint cookie stack top down

Many of the local bakeries as well as our large grocery store chain, Giant Eagle, make and sell these by the hundreds of dozens.  They come in a variety of colors of icing and sprinkles and there is also a chocolate icing version.

The ones I made this week are blue because, well – they are for an upcoming wedding (WOOHOO Jackie and Matt – only a little over a week to go!) – and I wanted to match the wedding color theme (as close as possible with sprinkles and icing – there are only so many shades of blue sprinkles available….)

blue sprinkle thumbprint cookie stack1

Here are the ones I made last year for Jake and Colleen’s wedding in yellow.

yellow sprinkle thumbprints

I must give credit to two great baking bloggers for this recipeMichelle – Brown Eyed Baker and Chelsea – Chelsea Bakes.

Pittsburgh-Style Sprinkle Thumbprint Cookies:

2½ cups all-purpose flour
½ teaspoon salt
1 cup butter, at room temperature
1 cup powdered sugar
2 teaspoons vanilla extract
Sprinkles of your color choice

1. Preheat oven to 350 degrees F.

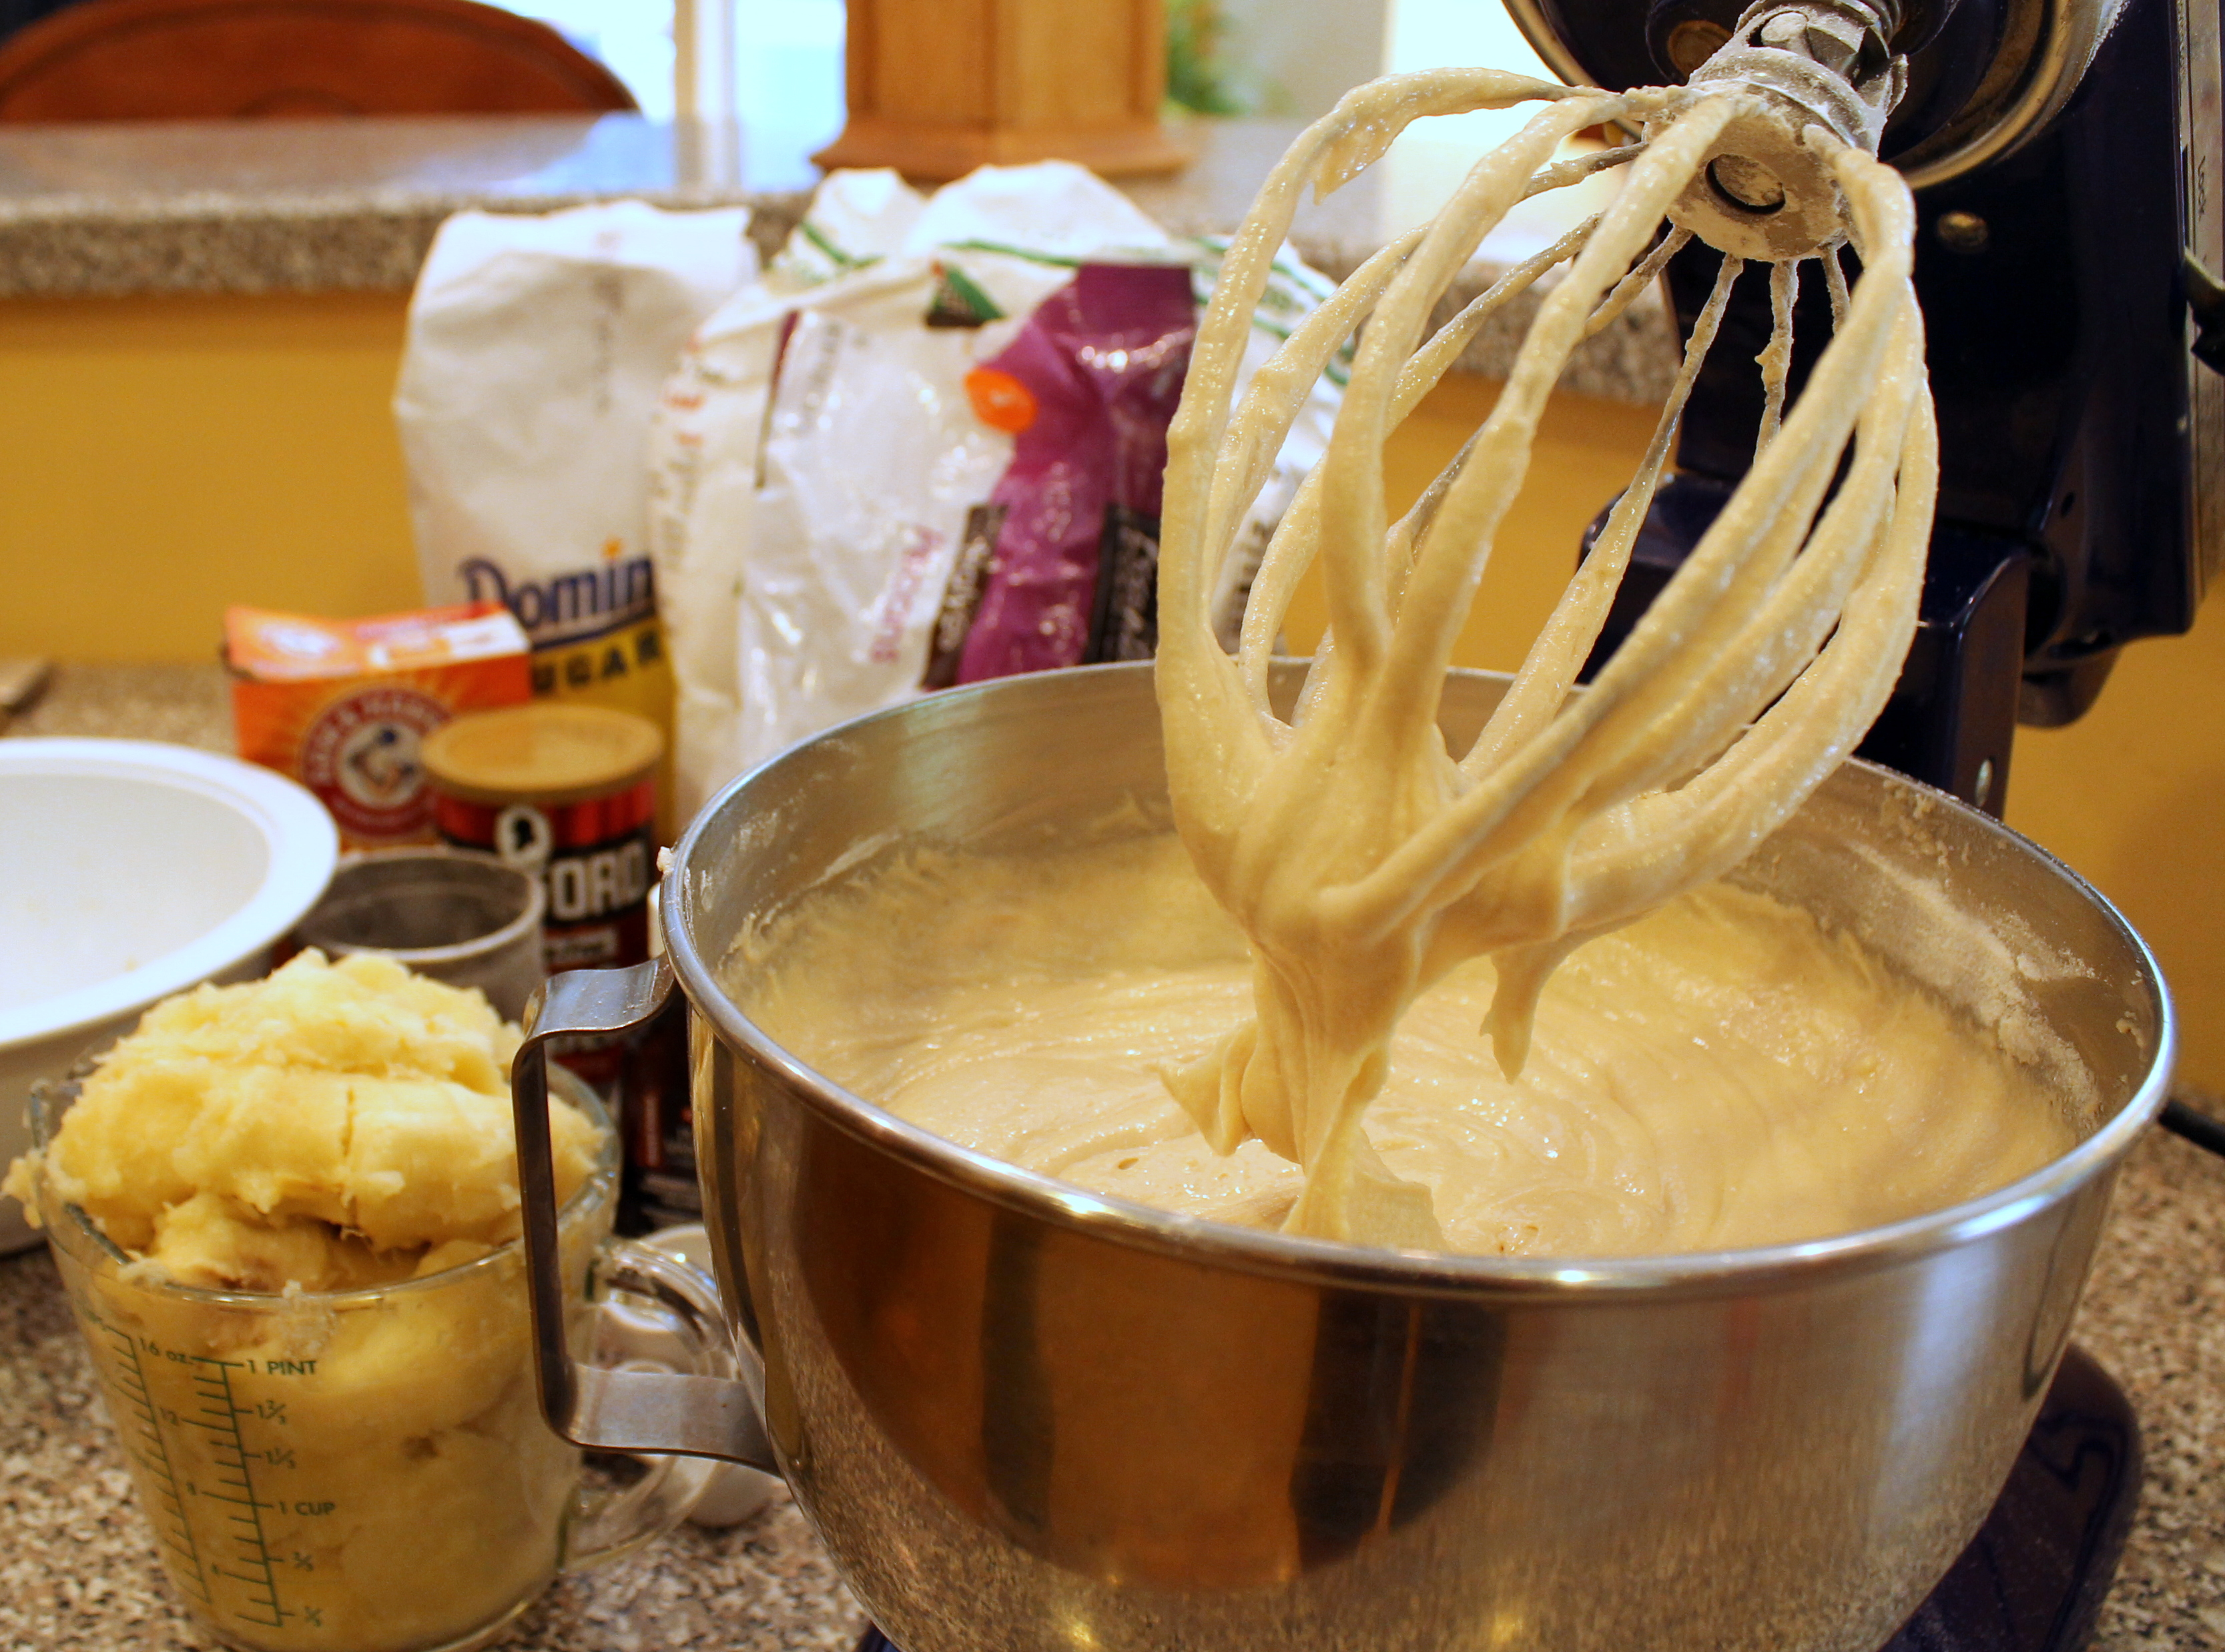
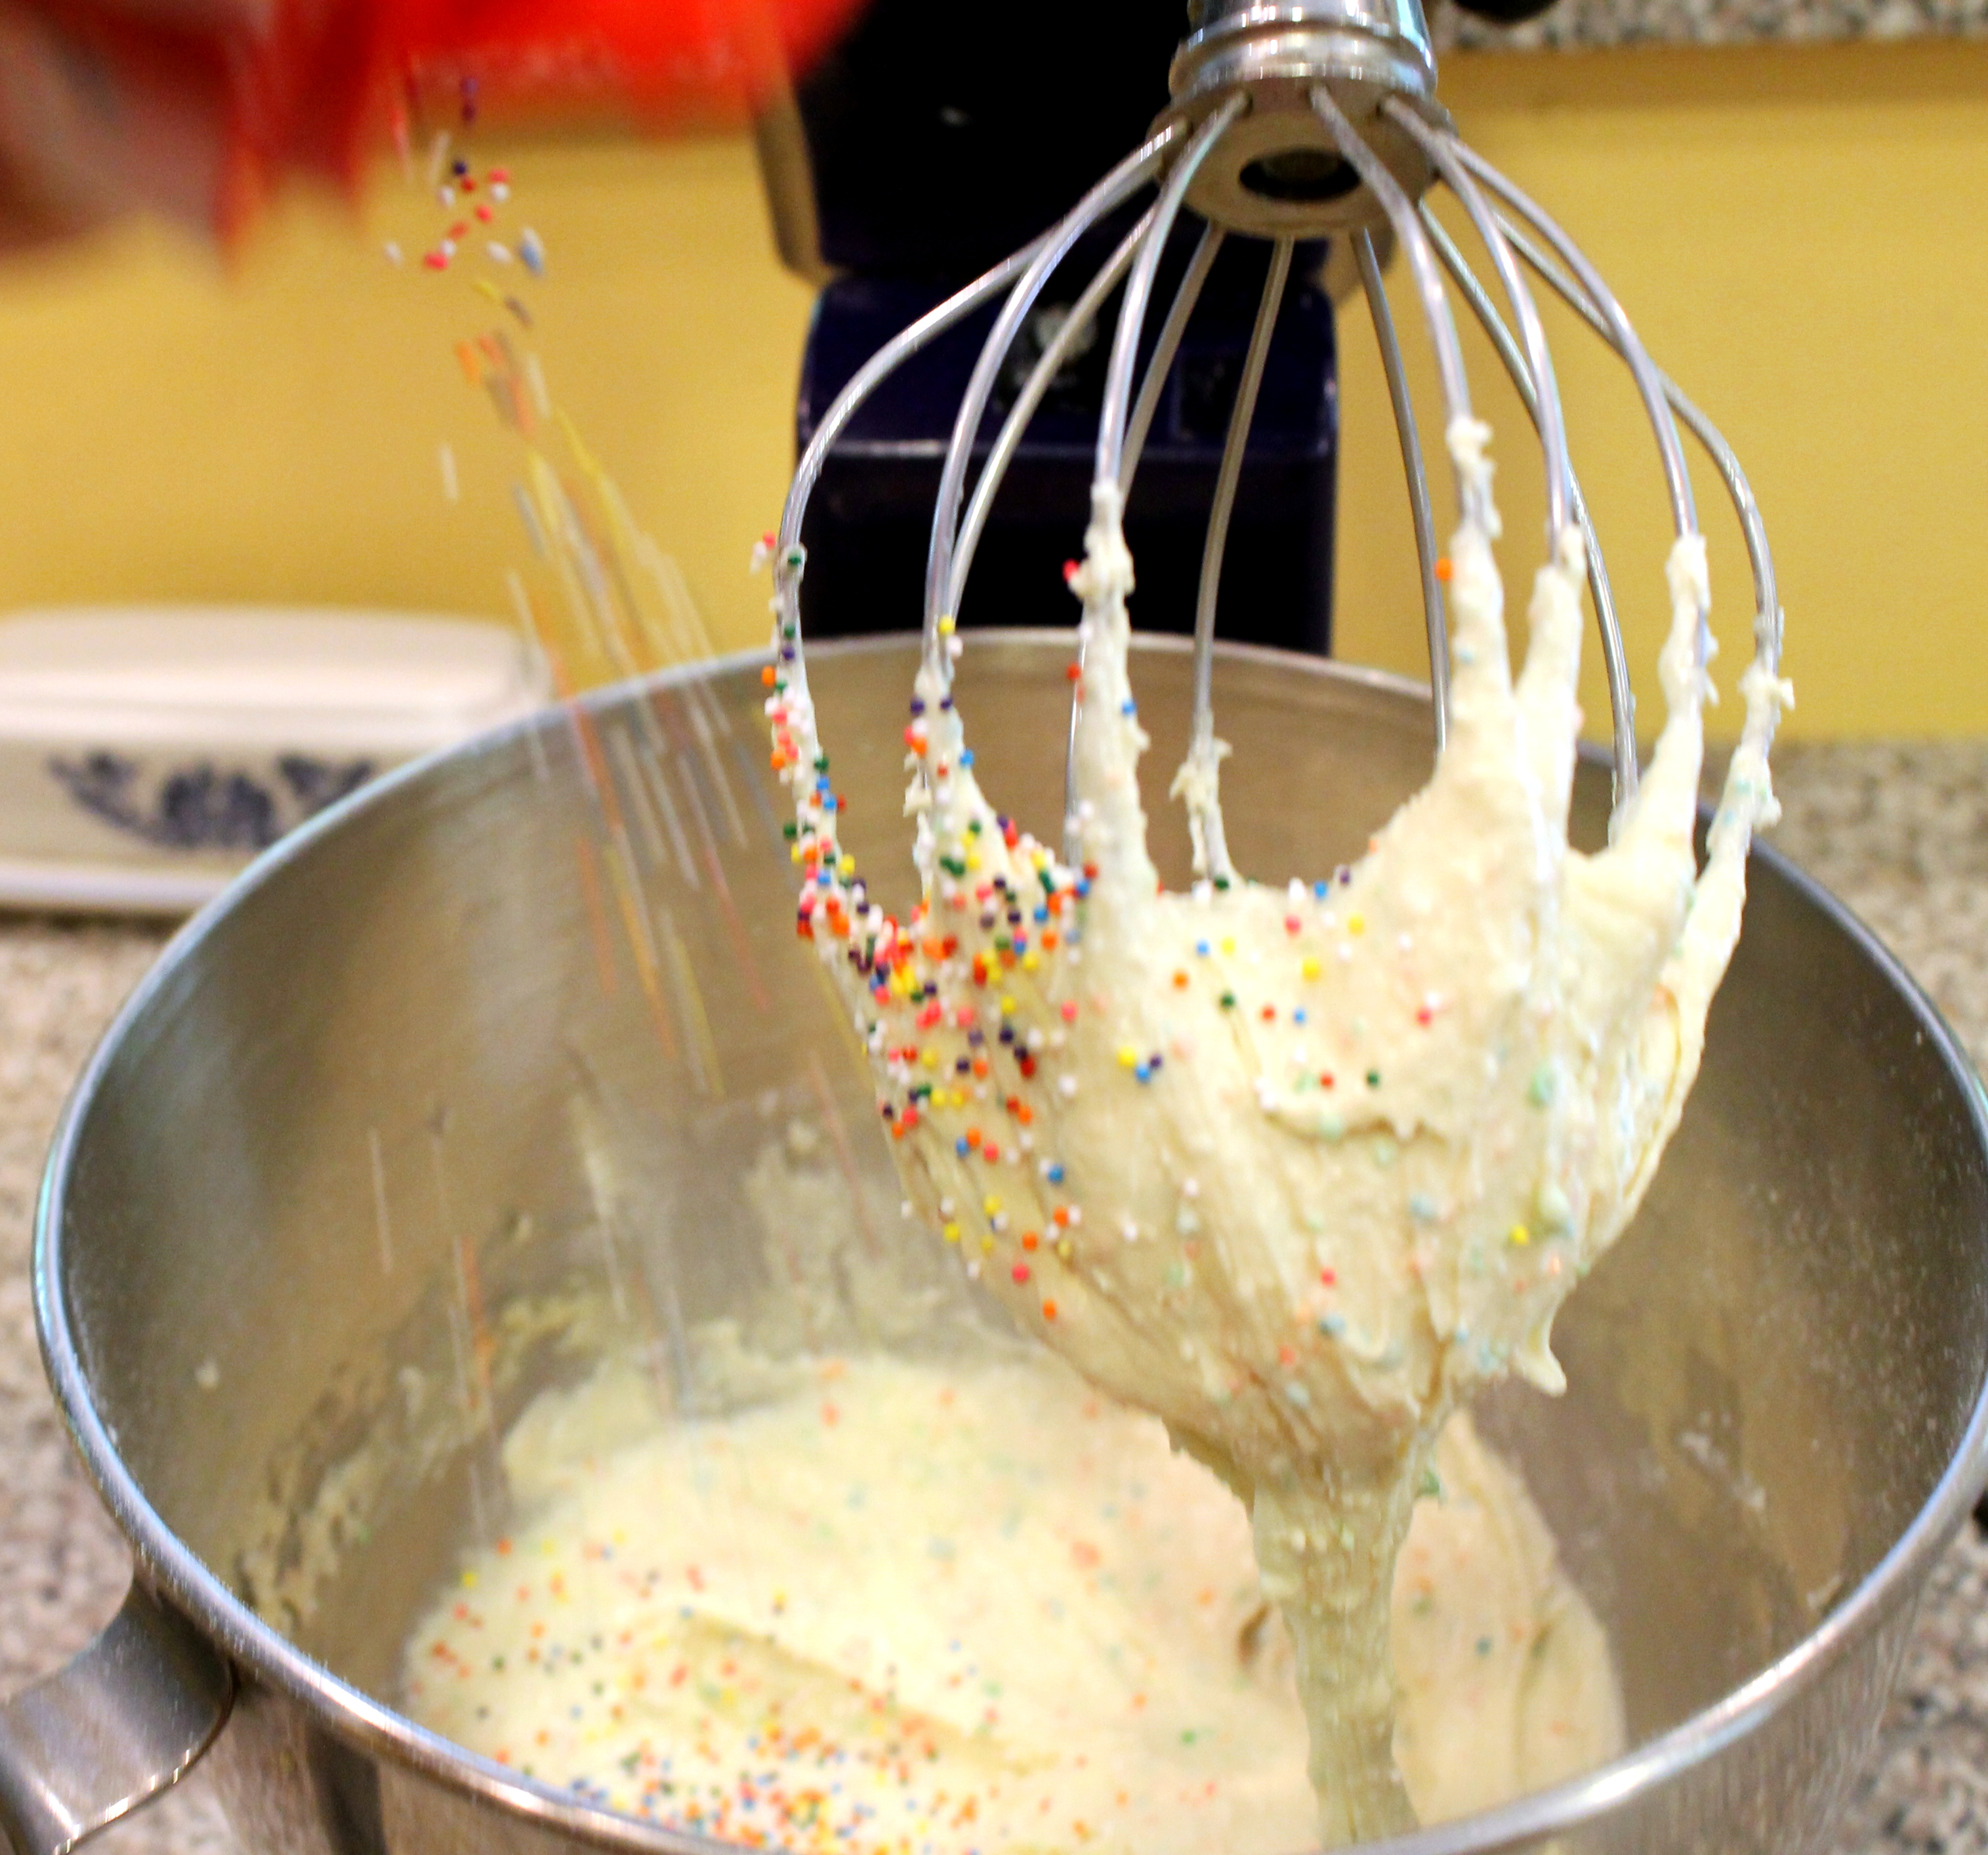
2. Using an electric mixer on medium-high speed, cream together the butter, powdered sugar and vanilla extract until light and fluffy, about 3 minutes. Reduce the mixer speed to low and add the flour and salt. Once it is mostly incorporated, slowly increase the speed back to medium-high and beat for another minute or so until a dough forms.

3. Form tablespoons of dough into balls and roll in the sprinkles.  If dough is a bit dry, you can add a little bit of milk or cream or put on your hands when rolling the balls to allow sprinkles to stick.

4.  Place on baking stone about 1 – 1/2  inches apart. Make a slight indentation with your thumb or finger on the tops of all the cookies.

5. Bake for 8 minutes, then make a deeper indentation in the middle, and bake for an additional 7-8 minutes. The cookies should not brown much at all around the edges. Transfer the cookies to a wire rack to cool completely.

Icing:
3/4 cup powdered sugar
1 tablespoon corn syrup
1 1/2 tablespoons milk or cream
Pinch salt
1/4 tsp vanilla
1 tsp butter, room temperature
food color of your choice

Stir together all ingredients until smooth, then drop a spoonful into each cooled cookie.

pittsburgh sprinkle thumbprint cookies

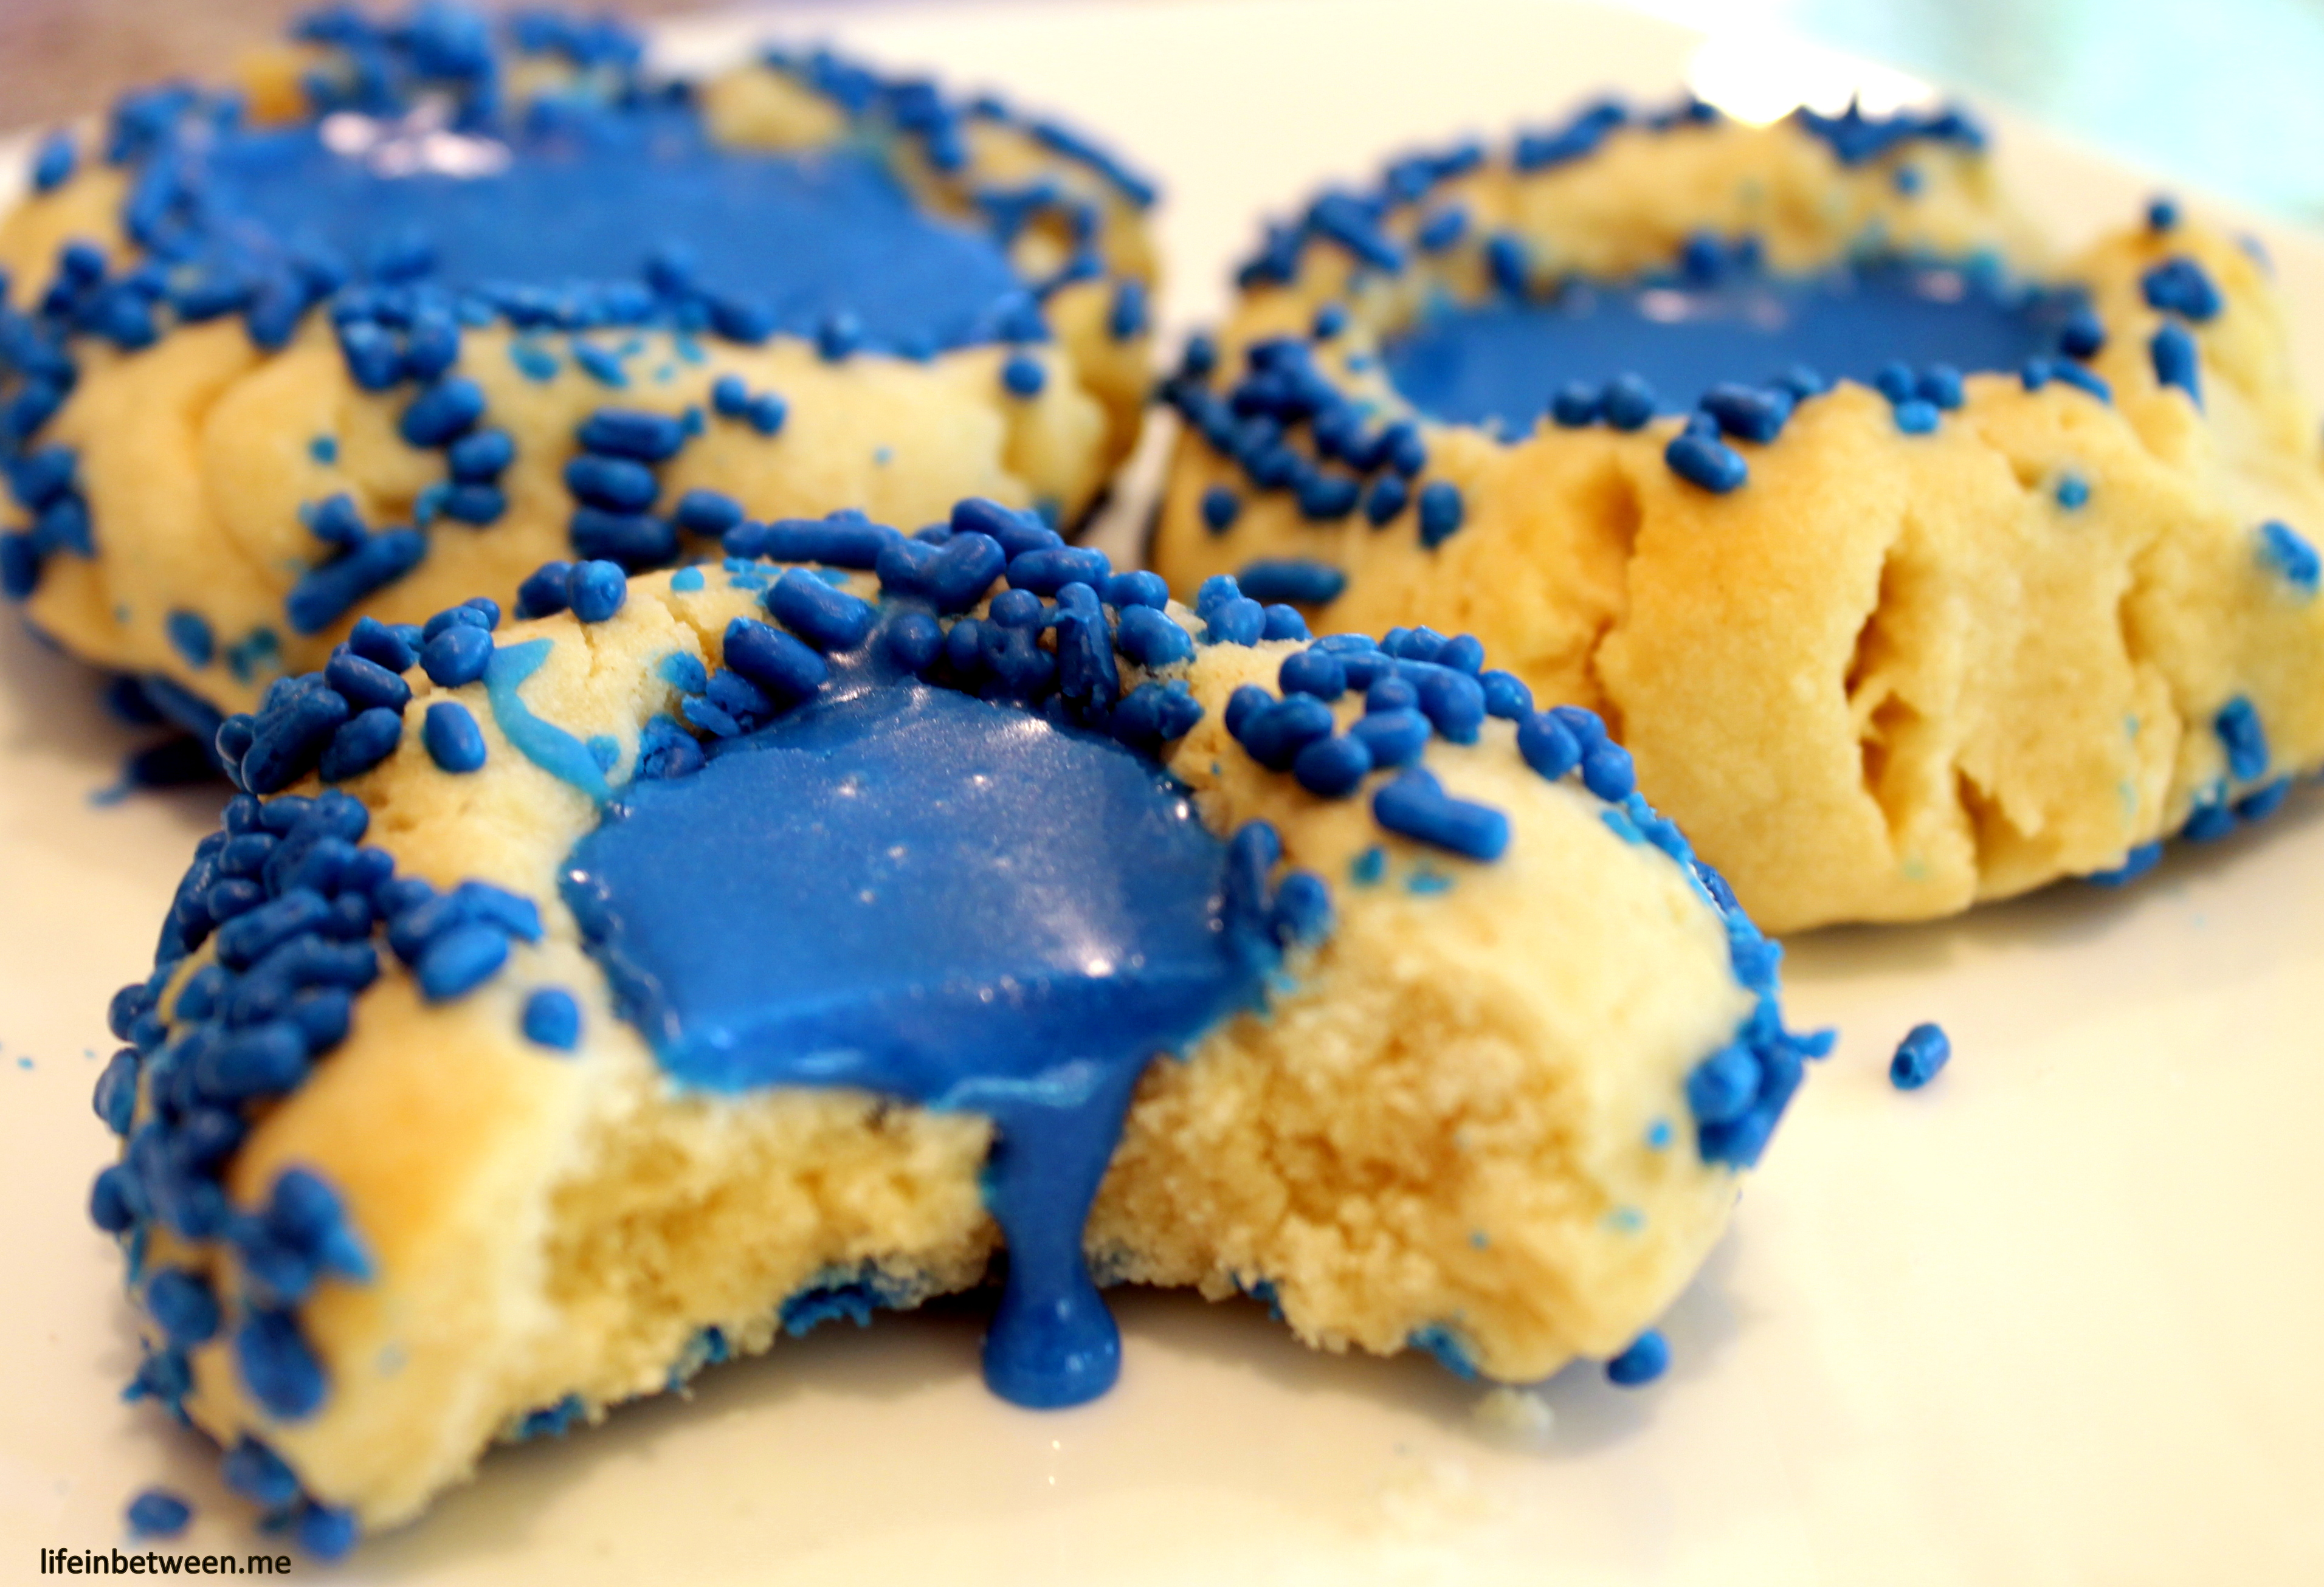
I liken the taste of this buttery cookie to that of shortbread.  It is thick and moist and dense and tender flaky all at once.

You need to allow these cookies to cool for quite a long time for the icing to “set.”  I leave mine on racks overnight and then place in Ziploc Freezer bags.

To make the chocolate frosting version, see Michelle’s recipe on her Brown Eyed Baker Blog here.

Enjoy these Burgh style cookies.

Cheers & Hugs,

Jodi

Biscoff Blondies with Cinnamon and White Chocolate Chips

biscoff blondies title photo

OOOO  LA LA!!  Have you ever tasted Biscoff Spread?

O… M… G…

It kinda tastes like those little teddy graham cookie crackers, but in a peanut buttery-like spread.  (Can you imagine?!)

biscoff

It is amazing on toast, bagels, English muffins…..

It is heavenly licked from a spoon!

Add it to a blondie with some cinnamon chips and some white chocolate – and it is magical!

biscoff blondies 2b

Remember – I was recently cleaning out the baking shelf??   Well – I had some Biscoff Spread, had some cinnamon chips, and Biscoff Blondies came to my imagination.

So, of course, I googled Biscoff Blondies to see if anyone had thought of it yet or if there was a similar recipe; and lo and behold, the amazing Sally from Sally’s Baking Addiction, had just the recipe!

I thought it needed cinnamon chips, so that was just the way to “Jodi” it up.

biscoff blondies 4

I simply followed Sally’s recipe, but subbed 1/2 cinnamon chips and 1/2 white chocolate chips for her 1 1/4 cups of white chocolate chips.

Here’s the recipe:

Ingredients:

  • 1 cup  flour
  • 1/2 tsp baking powder
  • 1/8 tsp baking soda
  • 1/2 tsp salt
  • 5 Tbsp  butter, melted
  • 1 cup light brown sugar, packed
  • 1 large egg + 1 egg yolk
  • 1 tsp vanilla
  • 1/2 cup Biscoff spread
  • 3/4 cup white chocolate chips
  • 3/4 cup cinnamon chips

Directions:

Preheat oven to 350F degrees. Line a 8×8 or 9×9 baking pan with parchment paper or spray with nonstick spray (I used a 9 x 9 square baking stone).

In a small bowl, mix the flour, baking powder, baking soda, and salt.

In a large bowl, mix the melted butter and brown sugar until combined. Whisk in the egg and egg yolk, then add the vanilla. Stir in the Biscoff spread. Gently fold in the dry ingredients.

(Per Sally – be careful not to overmix, as it will result in crumbly, hard blondies.).

Fold in the cinnamon and white chocolate chips.

Spoon the batter into the prepared baking dish. Bake for 20-25 minutes. The blondies may appear very soft, but they will set up as they cool.  Always UNDERBAKE for yummy goodness.

Allow the blondies to cool completely before cutting into squares.

Makes 16 yummy, awesome blondies.

biscoff blondies 2a

Betchya can’t eat just one!

Enjoy!

Cheers & Hugs,

Jodi

Cinnamon Chip Scones

sc

Another one of my “almost famous” recipes is this super easy, yet super yummy recipe for homemade Cinnamon Chip Scones.

I made some this week to take to a morning meeting at work, so I thought I would share with  you.

The first time I had these was at a friend’s house for a holiday party.  Brenda is quite the chef, baker, and entertainer.  We all raved about these scones, but I had never attempted making them before.  I assumed they were difficult.  And truthfully – every scone I ever had before this was less than exciting…..  Many I’ve had were quite dry and lacking in anything that really made me want to do cartwheels.

But these – oh my – I wish I could express to you have awesome they are.  They are tender and moist and full of sweet and cinammony chips.  sc8

And though they end up looking like they would be something difficult or time consuming to make, they are really easy.

sc6

So here we go.

Start by mixing the dry ingredients together (I often do this the night before and put in a bowl with a lid, so I can make fresh in the morning by simply adding the wet ingredients and baking):

2-3/4 cup Flour
1 TBSP Baking Powder
1 tsp Baking Soda
1/4 cup + 2 TBSP Sugar
Pinch of Salt
2 tsp Cinnamon

Then add 1-1/2 sticks of cold butter, sliced and cut in with a pastry blender (Sorry, Kurt – I told you there was no butter in them – just keep believin’ that – Wink! Wink!)

It starts out looking like this…
sc1

and with the magic of the pastry blender (who needs a food processor?! – have had two – gave away – over-rated), in a matter of about 2 minutes, it becomes a crumbly mixture like this:

sc2Easy Peasy.

Then you add 3/4 cup (or a little more if it is too dry) Buttermilk and 1 TBSP Vanilla with a wooden spoon just until dough forms a ball.

Then you transfer it to a floured surface, blend in a bag of Cinnamon Chips, and shape into a 15 x 3″ rectangle.

Cut it in half, then each half in thirds, then each third on a diagonal into triangles – like this:

sc3

I then brush with a little bit more buttermilk or water, sprinkle some coarse raw sugar on top, place on baking stone (I use 2 with 6 on each) – allowing room for them to GROW.  They go in the oven looking like this:

sc4

Bake at 400 degrees F for 10-15 minutes, and they come out looking like this:

sc5

These are truly best served the day they are baked.  If you store them in an airtight container or bag, they get soft and lose the crispy outside that contrasts so well with the tender inside and makes them so amazing.

sc7Hope you’ll give these a try – even if you don’t think you like scones.  I think you’ll be pleasantly surprised.

sc8Enjoy!

Cheers & Hugs,

Jodi

Homemade Rustic Crusty Bread

br 3

Do you think computers, iPads, smartphones will ever have scratch ‘n sniff available?  Perhaps “smell-a-vision,” “smell-a-phone,” “smell-a-computer?”

Oh how I wish you could SMELL this homemade rustic crusty bread!

And you know what is even better?!?!?!  It is SOOOO simple!

Seriously!

I have been having bread-making envy from a couple of folks I know (ahem – Oh Rob and Nancy), who have been talking so much about baking bread, I couldn’t take it anymore – I HAD TO BAKE SOME BREAD!

But, alas, I am not a bread baker, so I searched for the simplest rustic crusty bread to start with – thinking – is there such a thing?!??

THERE IS!  Thank you Mel – from Mel’s Kitchen Café for this amazing recipe that was apparently adapted from a New York Times article  about “Artisan Bread in Five Minutes a Day,” by Jeff Hertzberg and Zoë François (Thomas Dunne Books, 2007).

br

There are THREE ingredients.  That’s it!  Well – ok – four – if you count tap water.

It is simply:

Ingredients

  • 1 1/2 tablespoons instant yeast (equivalent of 2 envelopes)
  • 1 tablespoon salt
  • 6 1/2 cups unbleached, all-purpose flour

Talk about easy – talk about cheap!

This recipe does NOT require a mixer, does NOT require a bread machine, does NOT even required kneading.  I was skeptical, but thought it was worth a try.  I had time while I was doing other things to let it sit, so what the heck!

br 2

Here are the instructions I adapted from Mel:

Directions

  1. In a large bowl mix yeast and salt into 3 cups lukewarm water (about 100 degrees). Stir in flour, mixing until there are no dry patches. Dough will be quite loose. Cover lightly with a kitchen towel but don’t seal the bowl airtight. Let the dough rise at room temperature 2-5 hours until doubled.
  2. Divide the dough in half to form two loaves (or you can make 3-4 smaller round loaves if you prefer).  Turn the dough in your hands to lightly stretch the surface, creating a rounded top and a lumpy bottom. Put the dough on floured baking stone, and let it rest for another 40 minutes at room temperature.
  3. After the dough has rested and is ready to bake, dust the dough lightly with flour, slash the top with serrated or very sharp knife three times, and sprinkle with a little bit of coarse sea salt if desired.
  4. Preheat oven to 450 degrees F.  Place a broiler pan on the bottom rack of the oven.  Pour one cup of hot water into the pan and shut the oven quickly to trap the steam.
  5. Bake the bread until well browned and it sounds a bit “hollow” when you knock on it –  about 20-28 minutes depending on your oven.  (Mine is an electric convection oven and only took about 20 minutes.)
  6. Slice when cooled and ENJOY!

br w pepWe enjoyed ours for Sunday dinner with spicy sausage stuffed banana peppers from my garden.  It was perfect for cutting the heat and soaking up the juice.

I think I’ll be baking some more of this soon, and maybe branching out to try some others.

br 3

Homemade bread that is easy and inexpensive, has no preservatives, and tastes OUT OF THIS WORLD!

You are going to want to try this!

Cheers & Hugs,

Jodi


Salted Caramel Black Walnut Brownies

br

We were going to a special event on Saturday (a wedding celebration for my brother, Jeff, and new Sis-in-Law, Terri 🙂 ), and I didn’t want to go empty-handed.  I had figured on taking the usual “Jodi’s Almost Famous Chocolate Chip Cookies” because the kiddos really love them.

But I wanted to make something else special and yummy for the occasion.  I was watching one of my cooking “heroes,” Ree Drumond aka The Pioneer Woman, in the morning and was inspired by her Crazy Brownie recipe.

So I checked the baking shelf (which needed cleaning out desperately – so it led to that!)  Think I have enough stuff???!!

baking shelf

And set out to make my own brownies.  I used some of her tricks, including a box of Duncan Hines Devil’s Food Cake for the base to which I added 1/3 of a cup of evaporated milk and a stick of melted butter.

I pressed about 2/3 of that into the bottom of my round baking dish.  (I’ve always loved to bake my brownies in a round dish – my BFF Jill got me started on that years ago I think….)

br4

Then I had all of these caramels in a Ziploc bag ALREADY unwrapped from some other baking project from who knows when, so I figured I would melt them with the rest of the evaporated milk and make a caramel gooey layer.

It starts like this….

br2

and turns into this yummy goodness!

br3

So I layered that on, sprinkled it with a layer of sea salt, added the rest of the batter in blobs (technical term) on top of it, then a sprinkling of chopped black walnuts, some leftover shaved chocolate and a smidge more sea salt.

br5

It went in the oven looking like this:

br6and came out like this:

br7

and was pretty amazing when I cut into it…

br8

Yummy, sweet, salty, gooey goodness!

br9

at Life In Between.

Cheers & Hugs,

Jodi


The BEST Ever Banana Bread

bbcoverI used to have the best banana bread recipe years ago from Aunt Francie.  (Aunt Francie is Marty’s 91 year old Aunt – who happens to be engaged and living with her 92 year old boyfriend – a random, but oh so cute piece of information 🙂 )

Somehow I seemed to have lost it, so I’ve been trying various banana bread recipes on the web every time I have a few over-ripe bananas to spare.

bb1

Sadly – none have even come close to comparing…

UNTIL NOW.

O… M… G…

I found a recipe for Extreme Banana Nut Bread and read the various comments and reviews.  Seemed everyone LOVED it, but tweaked it this way or that.

bb6

So I set out to put this extreme banana bread recipe to the test with my own little touches, and I have to say…  THIS IS IT!

Dare I say even better than Aunt Francie’s?!

I made it three different ways for my first experiment.

bb5

I divided the recipe into three separate batches.  I added pecans to one batch, cinnamon chips to another batch, and kept the last batch plain.  Then I made some loaves and some muffins.

bb3

This bread is dense and sweet with crispy edges and a buttery, rich banana taste like no other.

bb4

One of the new tricks I tried that made it even EXTRA AMAZING was  greasing the pans with shortening and then coating with cinnamon sugar instead of the usual flour dusting.

WOWSERS!  On top of the banany goodness, imagine a crust that taste like the cinnamon toast of our childhood days. OUTRAGEOUS!!

This bread doesn’t raise very high, and it isn’t fluffy or light in any way, shape or form.  It is more rustic looking as it stays dense and ooeey gooeey.  Some of mine ran over the edges and got extra crusty, but it only added to the awesomeness.

bb7

Not the most perfect loaves of bread to look at, but I dare you to try it and tell me if you’ve ever tasted better.

This is my new GO TO recipe for Banana Bread.

It is truly Extreme.

It is truly the BEST BANANA BREAD EVER.
—————-

Best Ever Banana Bread Recipe:

Ingredients:

1 cup white sugar
1 cup brown sugar
1 cup butter
4 eggs, beaten
1 Tbsp vanilla
2 cups flour
1 tsp salt
2 tsp baking soda
1 tsp baking powder
2 cups mashed over-ripe bananas
Optional: Pecans or Walnuts or Cinnamon Chips
Sugar and Cinnamon Mixture for coating pans

Preheat oven to 350 degrees F. Grease and cinnamon sugar coat pans (do the same way as you would with flour).

In mixer, beat together sugars and butter until creamy. Add beaten eggs and vanilla, and continue creaming until well beaten.

Combine flour, salt, baking soda and baking powder together, then add to creamed wet mixture, beating well with electric mixer.

Once that is all well combined, beat in the mashed bananas.

If using nuts or cinnamon chips, fold those gently in last.

Fill pans 3/4 full. Bake until toothpick inserted comes out clean. Let loaves cool in pan for about 5 mins, then remove to cooling rack to finish cooling.

Once cool, place in large Ziploc bag or wrap in aluminum foil and refrigerate.

BEST served if refrigerated for at least 2 hours first.

Large loaf pan needs to bake about an hour.
Mini loaf pans approximately 30 minutes.
Muffins approximately 20 mins.

WARNING             WARNING                 WARNING
This recipe is NOT low-fat and may become HABIT FORMING!

ENJOY!

Cheers and Hugs,

Jodi


Rhubarb Custard Pie (& Secrets to Successful Pie Crust)

rpcover

Rhubarb Custard Pie is not a common one in circles I’m in, but this was a favorite of Marty’s family, and has become a favorite of ours too.

The recipe is Marty’s mom’s.  She taught me how to make it – and how to make a simple, but tender and flaky pie crust.

Rhubarb Custard Pie was always one of Pap’s (and IS Nick’s) favorite pie I make.  For Marty, it is not complete without a scoop of vanilla ice cream on top.

rp slice

Many folks I know like to mix rhubarb with something else sweet, like strawberries.

Not here… sliced chunks of the tart, crimson, tangy rhubarb stalks

rp 1

are a perfect contrast to the creamy, sweet, simple custard to make this a dynamite summertime pie.

rp 11

We took it to a picnic this weekend, but of course I had to make one for home too.

Here is my recipe in its original form passed on and lovingly stained from my mother-in-law, who taught me so much about baking and cooking and canning… and how sometimes good things are messy.  🙂

rp 17The recipe is short and sweet.

I think it takes me longer to clean up than it does to make it.

You may notice the recipe does not include how to make the pie crust, so here is our “secret family recipe.”

Note that I was making 6 crusts in these photos (for 3 pies), but my recipe will be for one crust.  You simply double or triple or quadruple, etc. as necessary.

rp 2

For 1 pie crust, mix 1 cup flour, a heaping 1/3 cup Crisco shortening, and a dash of salt in a bowl blending with a pastry blender till crumbly.

rp 3Add enough cold water to just moisten and be able to form a ball (about 1/3 cup)

rp 4

and put on a floured surface to roll out.rp 5Important:  Do not overwork the dough.  This is NOT bread dough.  It shouldn’t be “kneaded.”  The more you work it, the tougher it will become.  The less you play with it, the more tender and flaky it will be.

rp 6If you are doing more than one crust, simply divide the dough into that number of balls and set aside all but one to roll out.

rp 7I like to use a heavy marble rolling pin to gently roll out the pie dough – working it as little as possible and turning over a few times to keep from sticking to the rolling pin and surface.

rp 8Lift it from the surface to your pie pan (I prefer baking stones) by folding it in quarters, placing in the pan,

rp 9then unfolding and pinching edges

rp 10and add filling.

For Rhubarb Custard Pie, I like to make a lattice crust, so simply roll out another ball of dough and cut into 8 strips.

rp 13Place 4 on the pie in one direction, then weave by lifting two alternating and place one the opposite direction, then lifting the other two, and repeating.

rp 14

A finishing touch is to brush with some cream (or melted butter)

rp 15and sprinkle with sugar.

rp 16

Lastly, cover the edges of the pie with strips of aluminum foil to prevent the edges from getting overbaked or burnt.

rp 18Bake and enjoy!

And with those leftover scraps of dough, Marty always loves with I brush them with a little cream or melted butter and sprinkle with cinnamon and sugar and bake into yummy cinnamon stick treats.

IMG_0061Hope you and yours will enjoy this pie as much as we do!

rp19Cheers and Hugs,

Jodi


Peanut Butter & Chocolate Chunk Cookie Bars

Peanut butter chocolate chunk cookie bars

Does the name just say it ALL?!?!?

PEANUT BUTTER CHOCOLATE CHUNK Cookie Bars

Oh My!!!!    I first saw this simple recipe on the AverieCooks Blog.  Have you seen Averie’s blog yet?  It’s one of my faves.   I think she could take a picture of a piece of cardboard, and I would want to eat it!

Oh #AverieSunshine – I think you are my hero! (Check out her amazing BLOG here.)    I can only aspire to be like Averie Sunshine (sigh).

 I wonder if it would help if I had a cooler name…??!!  

Maybe I could use Marty’s “pet” name for me……  Do you think Gertrude PIA Wisenheimer has a cool ring to it??!!??  (and if you are wondering… PIA is an acronym for Pain in A$$). 

I guess that’s what I get for calling him Merv.  🙂

IMG_9346

Anyway – We were going to a barbeque picnic Saturday – one of those parties where everyone brings something to share.  (with our buddies from John’s Bar btw)
Marty suggested I make a dessert.   Seems I’m always the dessert lady.
Too bad I don’t L O V E baking!

So I remember these amazing looking cookie bars from AverieCooks, and decided that is what I was making.

But I had to somehow “Jodi – ize” them.   Hmmm…. ????  What could make a peanut butter chocolate chunk cookie bar any better??  I know!  A sprinkling of Peanut Butter M&Ms on top!  Am I a genius or what??!!

IMG_9336

This recipe is seriously so easy and basic.  You probably have all the ingredients on hand already (if your pantry looks anything like mine).  You really don’t even need a mixer, and they only take a few minutes to mix together and 20 minutes to bake.

IMG_9311Note how I measure my peanut butter….  teeheehee!

So here’s the recipe:

1 cup (2 sticks) butter, room temperature
2 eggs
1 1/2 cups packed light brown sugar
1/2 cup granulated sugar
2 Tbsp vanilla
1 Heaping cup creamy peanut butter
2 1/2 cups all purpose flour
1 tsp baking soda
Pinch of salt  (did you know a pinch is 6 shakes?  Trivial Pursuit Question!)
1 Bag Nestle Semi Sweet Chocolate Chunks

Garnish:  1 cup (ish) Peanut Butter M&Ms

Preheat oven to 350F. Line a 13×9 baking pan with aluminum foil, spray with cooking spray.

Mix butter, egg, sugars, vanilla.

Stir in the peanut butter.

Add the flour, baking soda, and salt and stir until just incorporated.

Stir in chocolate.

Turn batter out into prepared pan, smoothing it lightly with a spatula.

Bake for approximately 20 minutes, or until center is just set and golden.  (Underbaking is always better!)

Bars will firm up more in pan as they cool.

ENJOY!

IMG_9344Let me know if you make them and how you like them.

IMG_9340Cheers and Hugs,

Jodi

Red Velvet Crinkle Cookies

rvThis weekend, I needed to whip up some cookies for Nick to take to a special someone’s birthday dinner.  Always happy to bake cookies, I wasn’t even fully unpacked from our weekend away before I was mixing up some dough to chill a bit before baking and getting done in time for him to take.

I always like to chill my cookie dough for at least an hour, if not a few, before baking.  It helps hold the cookie shape better, prevents them from spreading and flattening on the cookie sheet, and makes for a chewier cookie center while allowing for a bit of a crispy outside.

This recipe is a simple, but quite yummy cake mix cookie that has been getting raves.  The recipe is on the side of the box of Duncan Hines Red Velvet Cake Mix, and the ingredients are basic pantry stock items, so these make a great last-minute special treat.

rv1For 3 dozen cookies, I used:

2 boxes Duncan Hines Red Velvet Cake Mix, 2 sticks of softened butter, the zest of two lemons, and 4 eggs.

rv2After thoroughly blending and refrigerating for a bit, roll the dough into tablespoon-sized balls and then in powdered sugar.

rv3Place the powdery sugared balls of red velvety gooey goodness on a baking stone about 2 inches apart, and bake for about 8 minutes at 375 degrees.

rv4When they come out of the oven, they are a crinkly red and white delight.  Let them set on the baking stone to cool for at least 10-15 minutes, then remove to fully cool on a cooling rack.

rv5Your guests will be pleasantly surprised by the lemony “twist” to these red velvet cookies that makes them super delish.

Marty took what was left to a friend in the hospital whose wife and sister-in- law asked for the recipe.  I think that means they were good.  I actually didn’t even get to try one, but with rave reviews from Marty, Nick and friends, I think I will be making these again –

soon –

when I have some time –

at Life in Between.

Cheers and Hugs,

Jodi

Birthday Cake Cookies with LOTS OF SPRINKLES

birthday cake cookies with sprinklesThere’s another birthday in the house this week!

Happy Birthday Liz!

Since I’m more of a cookie baker than a cake baker (at least currently) – thought I’d take the traditional SPRINKLY birthday cake mix and make some cookies with them.

EASY PEASY!

Start with just a box of your favorite sprinkly birthday cake mix (I used Betty Crocker Party Rainbow Chip), 1/3 cup oil, and 2 eggs.

bd cookies 1Then it NEVER hurts to add some MORE SPRINKLES!

bd cookies 2Refrigerate a bit to firm up, roll in tablespoon size balls, flatten with a flour-dipped cup, bake for about 8 mins, frost, add MORE sprinkles – and VOILA – Birthday Cake Cookies!

birthday cake cookies


Hope you’re having a sprinkly kind of day – at life in between.

Cheers and Hugs,

Jodi