Buckeye Balls

Buckeye Balls.

Calling all chocolate and peanut butter lovers!  Another must-have “staple” at any Pittsburgh wedding cookie table is the Buckeye Ball!

These delectable little creamy peanut butter delights coated in dark chocolate are called Buckeye Balls because they look like Buckeye nuts and originated in Ohio – the Buckeye state.

Simple, but absolutely delish, this is cookie #9 on my wedding cookie table list.   The freezer is filling up fast, and the wedding date is closing in on us!  Cookie baking continues.

Here’s the recipe.  Hope you will give them a try.

Buckeye Balls

  • Servings: approx. 6 doz.
  • Print

Ingredients:

  • 1 1/2 cups creamy peanut butter
  • 1/2 cup butter, softened
  • 2 tsp. vanilla
  • 4 cups powdered sugar
  • 1 lb. dark chocolate, melted

Directions:

Mix peanut butter and butter in a bowl with wooden spoon until creamy.  Blend in vanilla.  Add powdered sugar, and stir until incorporated and a stiff mixture forms.

Roll teaspoon-sized pieces into balls, and place on wax paper lined cookie sheet or cutting board.  Refrigerate for several hours or overnight.

Melt chocolate in narrow deep container in microwave for 1 minute and then at 30 second intervals until smooth.  Using a wooden skewer, dip balls into chocolate all but for a bit at top.  Place on waxed paper lined cookie sheet.  Allow to cool completely and chocolate to harden.  Smooth over hole created by skewer with a small spatula or your clean finger.

Enjoy!

Cheers & Hugs,
Jodi

Wedding Cookie List Baking so far:

  1. Jodi’s Best Ever Chocolate Chip Cookies
  2. Hershey Kiss Brownie Bites
  3. Pecan Tassies
  4. Peanut Butter Cup Cookies
  5. Pecan Sandies
  6. Carrot Cake Thumbprints
  7. Raspberry Dark Chocolate Shortbread Cookies
  8. Apricot Kolaches
  9. Buckeye Balls


Raspberry Dark Chocolate Shortbread Cookies

Raspberry Dark Chocolate Shortbread Cookies.

Is anything more divine than tart, sweet raspberry and velvety, dark chocolate?

Then combine it with a flaky, buttery shortbread cookie?!

Heaven in a bite – right?!

These little gems are the most recent cookie baking project for the wedding cookie table.

I think you might want to make some of these too!

Raspberry Dark Chocolate Shortbread Cookies

Ingredients:

  • 1 cup butter, softened
  • 1 1/3 cup sugar
  • 2 tsp. vanilla extract
  • 4 cups flour
  • 1 cup raspberry jam
  • 16 oz. dark chocolate, melted

Directions:

Cream butter, sugar, and vanilla until creamy with electric mixer.  Gradually add flour and combine until dough forms.

Refrigerate dough at least 2 hours.

When ready to bake, preheat oven to 350 degrees F.

Roll dough into 3/4″ balls.  Place on baking stone about an inch apart.  Press small indentation in center of dough with your finger.  Place a 1/4 tsp. raspberry jam in indentation.

Bake for approximately 12 minutes until lightly browned on edges.  Let cool 5-10 minutes on baking stone, the remove to cooling rack to cool completely.

Once cooled, melt chocolate and spoon into plastic bag.  Snip corner and drizzle on top of cookies.  

Enjoy!

Cheers & Hugs,
Jodi

Pecan Sandies Shortbread Cookies

Pecan Sandies Shortbread Cookies.

Wedding Cookie Table baking continues as we approach the last few weeks until the wedding!

I couldn’t resist trying a Pecan Sandie Shortbread Cookie to add to the selection given that I overbought pecans for the Pecan Tassie recipe.

And Oh How Gloriously Buttery, Nutty Deliciouso these turned out!  Be still my nut-loving shortbread heart!  (Oh Rob – you are going to LOVE these!)

Anyone who loves Keebler’s Pecan Sandies, you are in for SUCH a TREAT with this recipe!  Can I get an Hallelujah?  Can I get an Amen!

Hope you will give this simple, yet extraordinary recipe a try!

Pecan Sandies Shortbread Cookies

  • Servings: approx. 6 doz.
  • Print

Ingredients:

  • 1 cup butter, softened
  • 1 cup vegetable oil
  • 1 cup confectioner’s sugar
  • 1/2 cup white sugar
  • 1/2 cup brown sugar
  • 2 eggs
  • 2 tsp. vanilla extract
  • 1 tsp cream of tartar
  • 1 tsp baking soda
  • 1 tsp salt
  • 4 1/4 cups all purpose flour
  • 3 1/2 cups toasted pecans (Coarsely chop 3 cups and reserve 1/2 cup whole)

Directions:

In a large electric mixer bowl, combine softened butter, vegetable oil, and sugars until creamy.  Beat in eggs, one at a time, then add vanilla.  Continue beating at high speed until light and fluffy.

Add cream of tartar, baking soda and salt until combined.  Add four one cup at a time and slowly combine.  Remove from mixer, and fold in 3 cups chopped toasted pecans.

Place dough in Ziploc bag in refrigerator and chill for several hours or overnight.

When ready to bake, preheat oven to 375 degrees F.

Roll dough into 1 inch balls.  Roll top half of ball with sugar, flatten slightly, and add a pecan half to center.

Place on baking stone or cookie sheet lined with parchment paper, and bake for 8-10 minutes until lightly golden brown.  Do not overbake.  Remove to cooling rack to cool.  

Enjoy!

Cheers & Hugs,
Jodi


Pecan Tassies: Wedding Cookies

Pecan Tassies:  Wedding Cookies

If I were standing at a wedding cookie table and was told I could only choose ONE cookie from all the varieties on the table…

every single time…. I would choose a Pecan Tassie.

That’s just me.  Now I know my friend Mary would pick the Hershey Kiss Brownie Bite.  Nick would pick the Chocolate Chip.  My friend Wayne would go for the Carrot Cake Thumbprint.  Jake would likely take the Peanut Butter Cup Cookie.  Hubby – he always goes for the Apricot Kolache….  Always – anything apricot.

So this week, as I continue to bake cookies for the wedding cookie table, I made my faves, and I happily continue to bake.

If you could only pick one cookie from the cookie table, which would yours be?

Pecan Tassie Cookies

Ingredients:

  • Cookie Crust
    • 1 cup butter, softened
    • 6 oz. cream cheese, softened
    • 2 cups flour
  • Pecan Filling
    • 1 1/2 cups brown sugar
    • 2 tsp. vanilla
    • 2 eggs
    • 1 1/2 cups chopped pecans

Directions:

Prepare cookie crust by blending cream cheese and butter.  Stir in flour and work with your hands to form a ball of dough.   Wrap tightly with plastic wrap and refrigerate for several hours or overnight.

When ready to bake, preheat oven to 325 degrees F.

Divide dough into 48 balls and place into mini muffin pans.  Press balls in with Mini Tart Shaper (the most genius baking invention ever!) to form shell for filling.

Combine brown sugar, eggs, vanilla and chopped nuts.  Scoop into mini tarts filling 1/2 to 3/4 full.

Bake 12-18 minutes – depending on your oven – until lightly browned.

Cool and gently remove from pans.

Enjoy!

Cheers & Hugs,
Jodi

Peanut Butter Cup Cookies

Peanut Butter Cup Cookies.

The wedding cookie table baking continues with another classic.

Most everyone loves a little cookie cup with a Reese’s Peanut Butter Cup in it – right?

So many wonderful little treats you can bake in mini muffin pans!

Peanut Butter Cup Cookies

Ingredients:

  • 1 cup butter, softened
  • 1 cup white sugar
  • 1 cup brown sugar
  • 1 cup peanut butter
  • 2 eggs
  • 2 tsp. vanilla extract
  • 4 Tbsp. milk or half & half
  • 1 tsp. salt
  • 2 tsp. baking soda
  • 3 1/2 cups all-purpose flour
  • 70-80 miniature Reese’s Peanut Butter Cups

Directions:

Preheat oven to 375 degrees F.

Cream together butter, sugars, and peanut butter until light and fluffy.  Beat in eggs, vanilla, and milk.  Mix in salt and baking soda, and finally flour just until incorporated.

Roll dough into 1 inch balls and place in ungreased nonstick mini muffin pan.  Bake 7-8 minutes.

Remove from oven, and immediately press a miniature Reese’s peanut butter cup into each ball.  Cool  and carefully remove from pan.

Enjoy!

Cheers & Hugs,
Jodi

Carrot Cake Thumbprint Cookies

Carrot Cake Thumbprint Cookies.

I tried a new cookie recipe this weekend to add to the wedding cookie table.

And OMG – if you ever dreamed you could have your cake and eat it in a cookie too – well – your dream has come true with this recipe.  Seriously… carrot cake delightfulness in a cookie!

The frosting filling alone…… well…. all I can say is it makes me think of what a cloud might taste like in heaven….  sweet creamy, buttery, cream cheesey delight with a swirl of apricot.  Can you even imagine?!

A nutty, crunchy, shortbread-like cookie with a delightful apricot cream cheese filling.  If you are looking for a beautiful, sweet treat for a special occasion like perhaps – a wedding cookie table – these lovely little morsels are just the ticket!

Carrot Cake Thumbprint Cookies

Ingredients:

  • 4 sticks butter, melted, plus 2 sticks, room temperature, for frosting
  • 1 1/3 cup packed light brown sugar
  • 1 1/3 cup sugar
  • 4 large egg yolks
  • 4 cups all purpose flour
  • 2 tsp ground ginger
  • 2 tsp ground cinnamon
  • 2 tsp salt
  • 3 cups old-fashioned rolled oats
  • 3 cups finely grated carrots
  • 1 cup chopped dried apricots or golden raisins
  • 2 cups chopped walnuts or pecans
  • 1 cup confectioner’s sugar
  • 8 oz cream cheese, softened to room temperature
  • 6 tsp. apricot jam

Directions:

Preheat oven to 350 degrees F.

In a large mixing bowl, beat melted butter, sugars, and egg yolks until light and creamy.  Blend in ginger, cinnamon, and salt.  gradually beat in flour.  Mix in oats, carrots, and chopped apricots or raisins.  Cover and refrigerate for at least 30 minutes.

Roll dough into 1 1/2 inch balls.  Roll into chopped nuts.  Place on baking stone or cookie sheet, and bake for 8 minutes.  Remove from oven, and quickly press an indentation into center of each cookie ball.  Return to oven and bake for 8 more minutes until lightly golden brown.

Transfer to a cooking rack and cool completely.

In a mixing bowl, beat remaining 2 sticks of softened butter and confectioner’s sugar until light and fluffy.  Beat in cream cheese.  Gently swirl in apricot jam.

Place frosting in large Ziploc bag.  Snip corner and pipe into each cooled cookie.

Enjoy!

Cheers & Hugs,
Jodi

*Adapted from Martha Stewart


Jodi’s Best Ever Chocolate Chip Cookies

Jodi’s Best Ever Chocolate Chip Cookies.

Wedding cookie baking continues; and I think if my son Nick had his way, the wedding cookie table would be completely covered with chocolate chip cookies.

I often vary this basic chocolate chip cookie recipe up by substituting a portion of the chocolate chips with dried tart cherries (Nick’s current fave) or half the chocolate chips with peanut butter chips, or making them with white chocolate chips and dried blueberries, or half chocolate chips and half chopped Girl Scout Thin Mint cookies, but this is my classic, stand-by best ever chocolate chip cookie recipe, and I made three batches for the upcoming wedding.

A couple tips for those that ask how I make these: always refrigerate the dough for at least a few hours before baking, roll dough into large balls, bake on baking stones (no greater investment for baking!), electric convection ovens are the best for baking cookies.

Best Ever Chocolate Chip Cookies

Ingredients:

4 sticks (1 lb.) butter, softened
1 1/2 cups packed brown sugar
1 1/2 cups white granulated sugar
2 tsp vanilla
4 eggs
2 tsp baking soda
2 tsp salt
5 cups all purpose flour
2 12-oz bags Nestle Chocolate Chunk Morsels (or your favorite)

Directions:

With electric mixer, beat butter and sugar together until completely incorporated. Add vanilla and eggs, and beat until light and fluffy. Add baking soda and salt, and mix another minute. Gradually add flour and beat until well incorporated, but do not overbeat.

Fold in chocolate chunk morsels.  Refrigerate dough for at least 2 hours or up to 2 days.

When ready to bake, preheat oven to 375 degrees F. With your hands, form a cookie dough ball about 1-1/2 inches in diameter.  Place on baking stone. Bake for 8-10 minutes. Do not overbake. Allow to cool on baking stone for 5-6 minutes, then remove to cooling rack to cool completely.

Happy Baking!

Cheers & Hugs,
Jodi

Hershey’s Kiss Brownie Bites

Hershey’s Kiss Brownie Bites
might just be the ultimate  little treat
for the inner chocoholic in
all of us (well – 99.999999% of us… Hard as it is to believe – there is an itsy bitsy, teeny tiny  population of people on this earth who do not like chocolate!)

But for the rest of us….
Imagine a bite-sized scoop of Ghiradelli Double Chocolate Brownie mix
baked to perfection of fudgy center with slightly hardened and cracked outside
in a mini muffin baking pan (be sure to line) and topped off with a smooth, creamy milk chocolate Hershey’s Kiss.

Not only are they sheer decadent delight, they are about as easy to make as desserts come.

I have started baking for my son’s wedding next month.  We have a unique tradition in our little part of the world that requires an overflowing cookie table at weddings.  The cookies are eaten for appetizers, dessert (along with wedding cake), and supplied to take home in to-go boxes.  I’m happily in charge of the cookie table for the wedding, so a baking I will go.

I started with these little brownie bites and will be stocking the freezer with chocolate chips and apricot kolaches and lots more in the coming weeks!

Wedding cookie table or not, you are going to want to try these.  Your friends and family will thank you, and you won’t be sorry!

Hershey's Kiss Brownie Bites

Ingredients:

Directions:

Preheat oven to 325 degrees F.

Line mini-muffin baking pan with foil mini-muffin liners.

Prepare brownie mix according to package directions by combining mix, water, oil, and egg.  Scoop batter into foil liners to 3/4 full.

Bake for approximately 12 minutes.  While brownie bites are baking, unwrap Hershey’s kisses.  Remove from oven and immediately insert a Hershey’s kiss into the center of each brownie bite.  Press gently.  Allow to cool.  The kisses take a while to set, so be careful.

Enjoy!

Cheers & Chocolate Kisses,
Jodi

Cake Pops! Tips for Beginners


chocolate-dipped-german-chocolate-cake-pops

Cake Pops!  Tips for Beginners.

I adore cake pops!

Because… really…  what could be better than a bite-sized morsel of cake dunked in chocolate?  And then maybe adorned with sprinkles?!

They are delicious and pretty and cute; but until this past weekend, I had never tried to make them.

I wanted to practice for an upcoming event or two, so I read and researched and asked around and gave them a whirl this past weekend.

white-and-gold-elegant-cookie-pops

They are really not that difficult, but there are a few tricks to success.  I thought I would provide a few tips that helped make mine turn out delicious and beautiful!  At least that is the consensus I got from the party I took them to as “practice” pops.

cake-pops-german-chocolate-before-dipping

To make cake pops, bake a cake mix – whatever you favorite flavor is.  Then follow these tips for success.

  • Freeze cake – even if overnight.  It allows you to plan ahead and also adds to the moisture of the cake.  Simply place baked  cake – crumbled, broken pieces, or all in one piece – in a large Ziploc bag in the freezer.
  • 1 boxed cake mix  makes approximately 3 dozen cake balls.
  • When ready to assemble, defrost the cake and crumble to fine crumbs with your hands in the bag.
  • Add only enough frosting (ready made works perfect) to add a bit of “glue” for forming and holding balls together.  I used 1 heaping tablespoon – that is it!  This allows your cake balls to truly taste like cake.
  • Scoop crumb mixture with a small scoop to form uniformly-sized 1 inch balls.  Then roll with your hands to round ball.
  • Melt chocolate candy melts in microwave in a deep cup that is not too wide to allow for ease of dipping.  It only takes 1 1/2 – 2 minutes.
  • Dip tips of sticks into candy melts and insert into cake balls.
  • Refrigerate or freeze for at least a half hour or several hours.
  • Remelt chocolate at 30 second intervals until desired consistency.
  • Dip cake balls on sticks into chocolate candy melts.  Allow excess to drain.
  • Place on parchment paper if using with stick up, and sprinkle with jimmies or edible glitter.
  • Stick into styrofoam if using cake ball up and decorate as desired.
  • Make ahead up to 3-5 days if needed – no more than 7 days.  (there are horror stories of moldy cake balls made too far ahead of time)
  • I found this site – Heavenly Cake Pops – to be extremely informative.

Have fun and enjoy!

Cheers & Hugs,
Jodi

My First Post Revisited

My First Post Revisited…
A sweet blogging friend, Carolina Russo at YesterdayAfter, tagged me and threw out a challenge to revisit and repost our very first blog post.   I thought it would be fun to reread and repost.
I can’t believe I have been doing this for almost three years!  My first post was on May 18, 2014.It’s fun to read how some things have changed and how some things never change!
My sweet Mikey is gone.   And now we have Charlie.
Papercrafting is still something I enjoy, but I’ve gravitated to watercolor painting.  Hadn’t even touched a paintbrush back then when I started.
You can see I was wishing and hinting about being a grandma…. and now that dream has come true!
Still in our same home.
The daffodils are blooming again – unseasonably early.
Life is a joyful journey, and it is fun to look back and cherish the moments.
Hope you enjoy.

the first post – so how do I begin?

May 18, 2014

So I have a good idea what I want to write about… for the most part. My BFF’s oldest daughter told me I should start a “lifestyle” blog.  I guess she thinks my life is interesting….  or at least enough that one or two people might want to read about things I do….  (Hopefully I’ll have at least one subscriber – Jacyln Rae – hint hint!)

Or maybe she just thinks I would enjoy doing it, and that is enough.

Hmmm…. I think I like that…

You know…. that’s one of the perks of growing – err – older and wiser – you get to the point where you realize you can do things just because you want to. Yes – there are those things most of us HAVE to do – like paying bills, doing laundry, working – you get the gist – but what do you like to do in between all that?

That’s the real “living” part.

“Life in between” can mean so many things…

The main reason I titled this blog with it is because I want to share the things I choose to do in between the things I “have” to do.

It can also be a stage of life that is in between stages – and aren’t they all?!

Right now – I’m kind of in between the mom stage and the empty nester and grandma stage. And Oh I Can’t Wait to be a Grandma!  (No hint hint Jake and Colleen – whenever you are ready…  well – maybe a little hint hint)

I think I was born to “mother.”  And oh poor everyone around me that I “mother” – sorry! It’s just in my DNA – I want to nurture, I want to comfort, I want to make happy. Could be worst things -right?!  (clear throat)  But don’t ask my boys…

So anyway – the things I love to do “in between” the things I have to do – that’s what I want to share with you here.

French Macarons

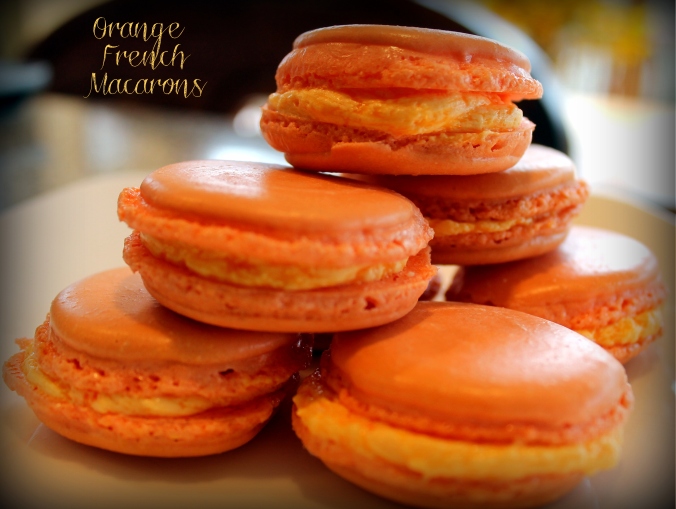
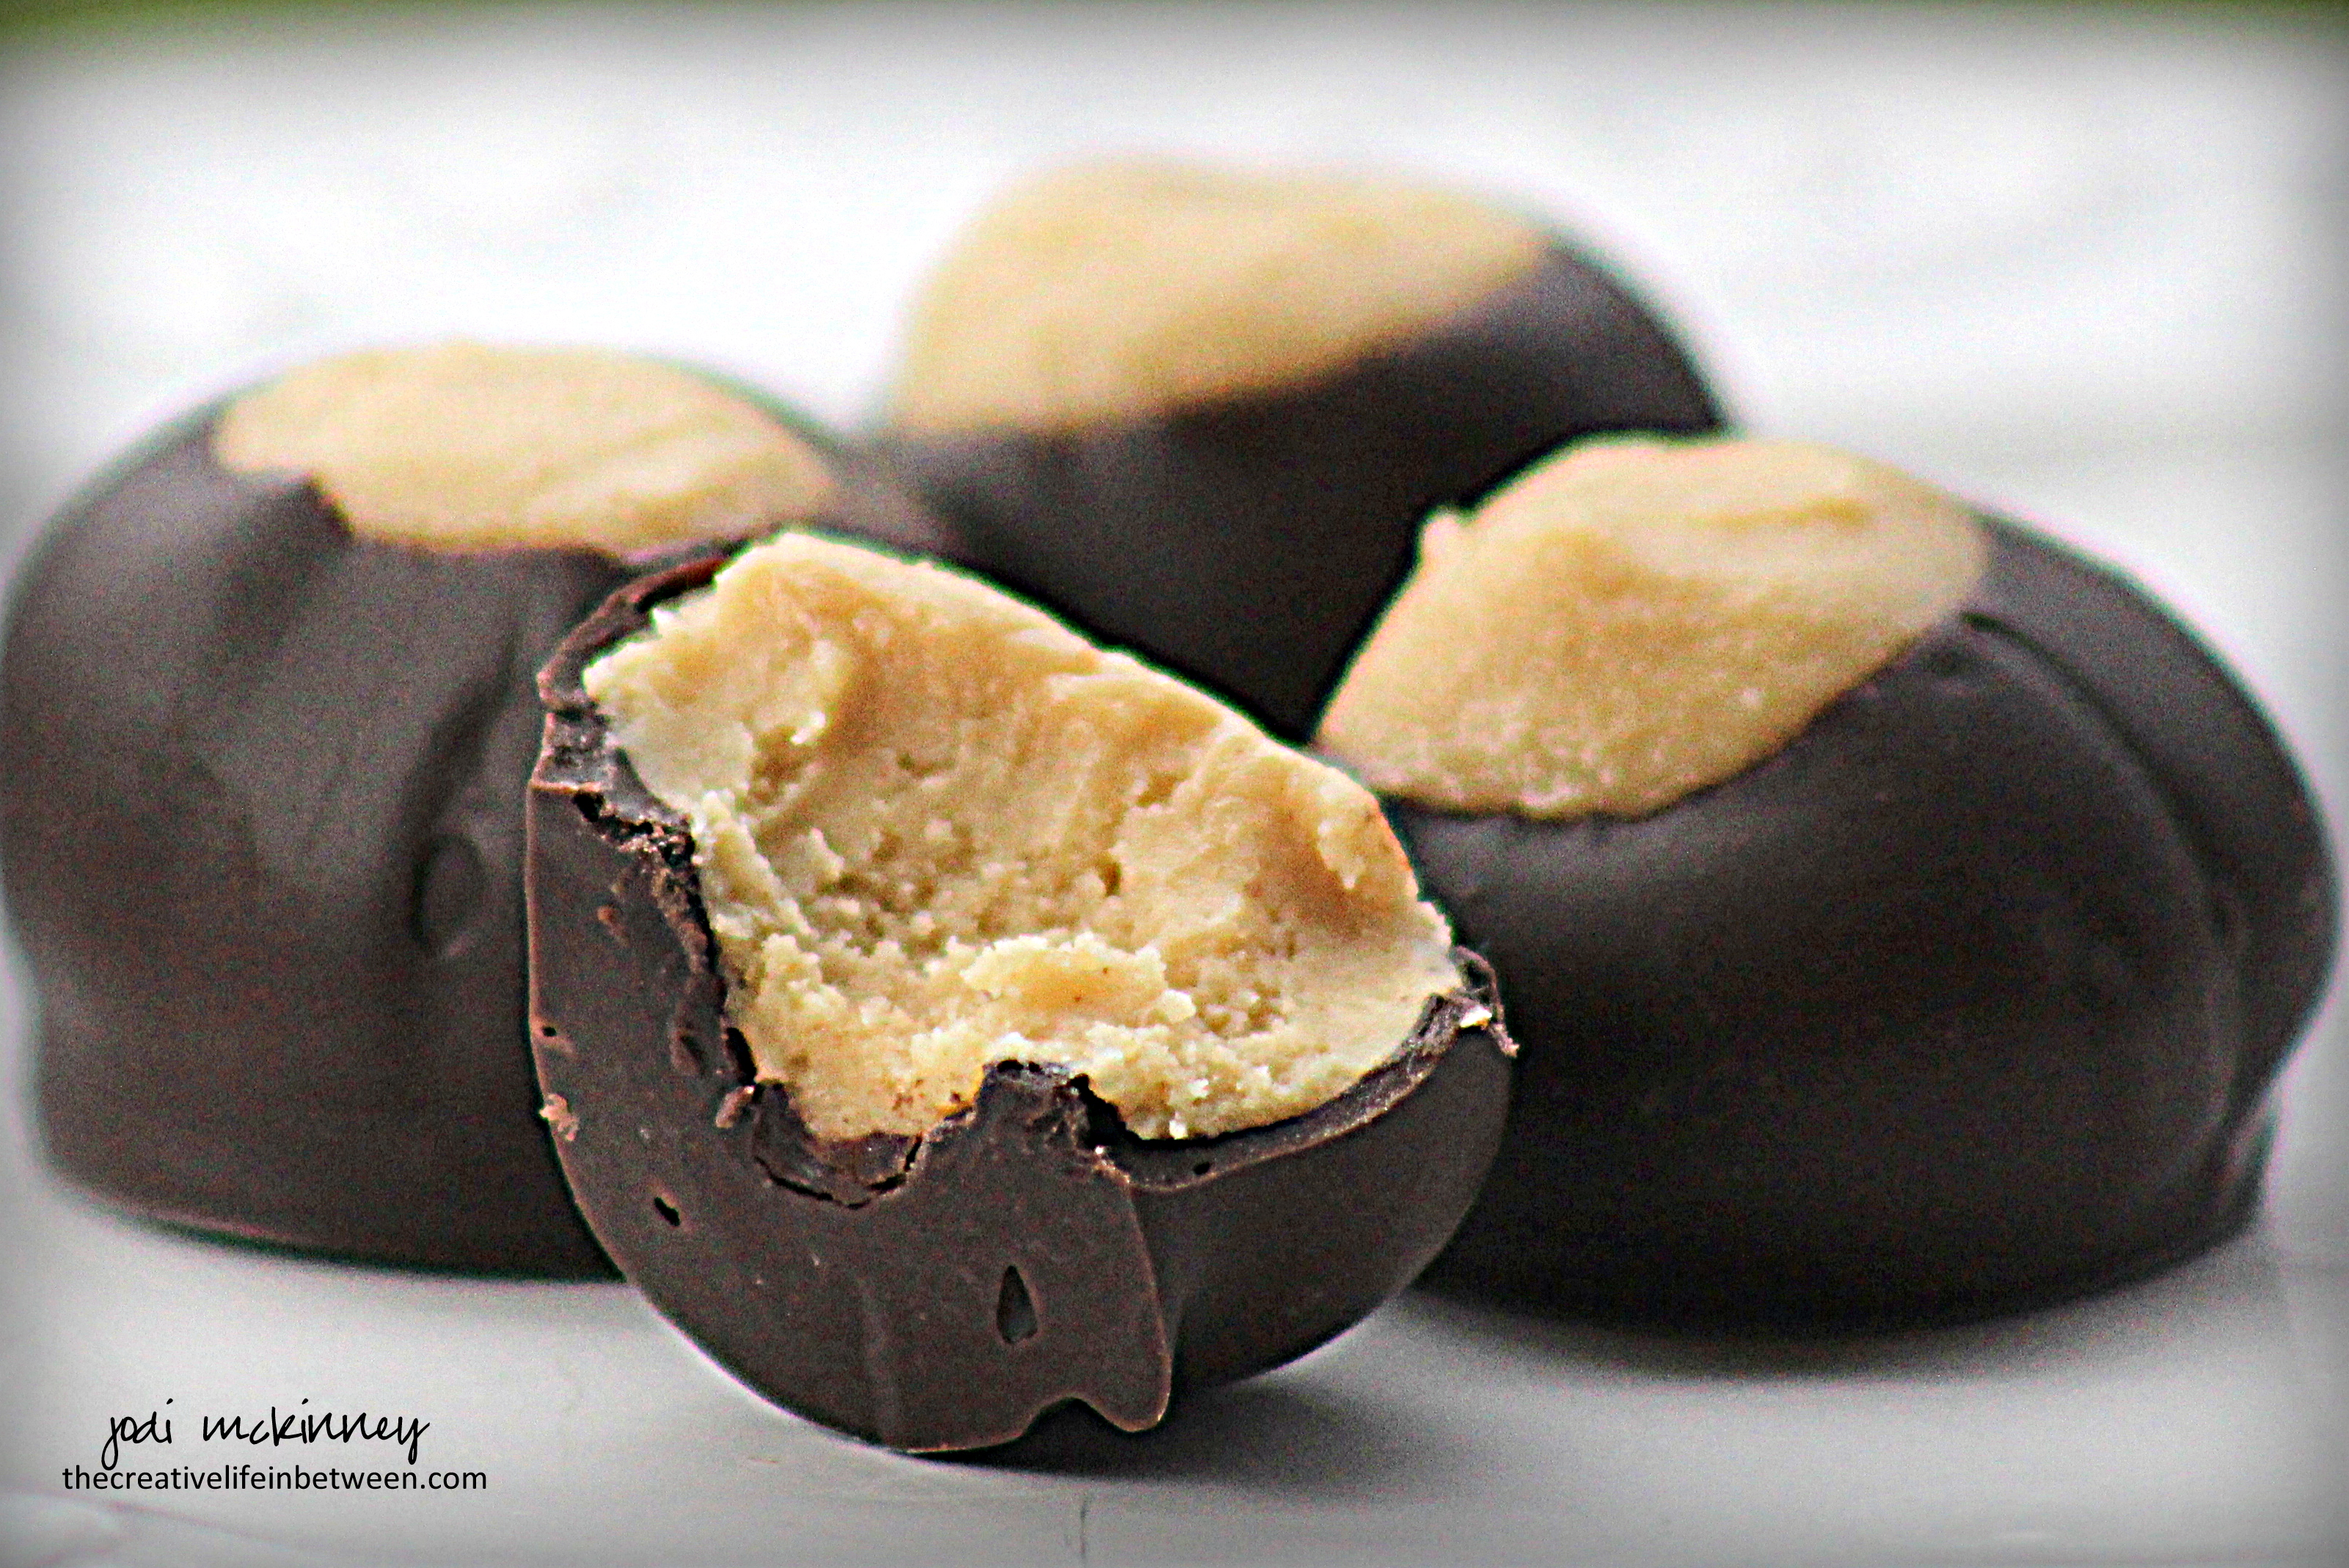
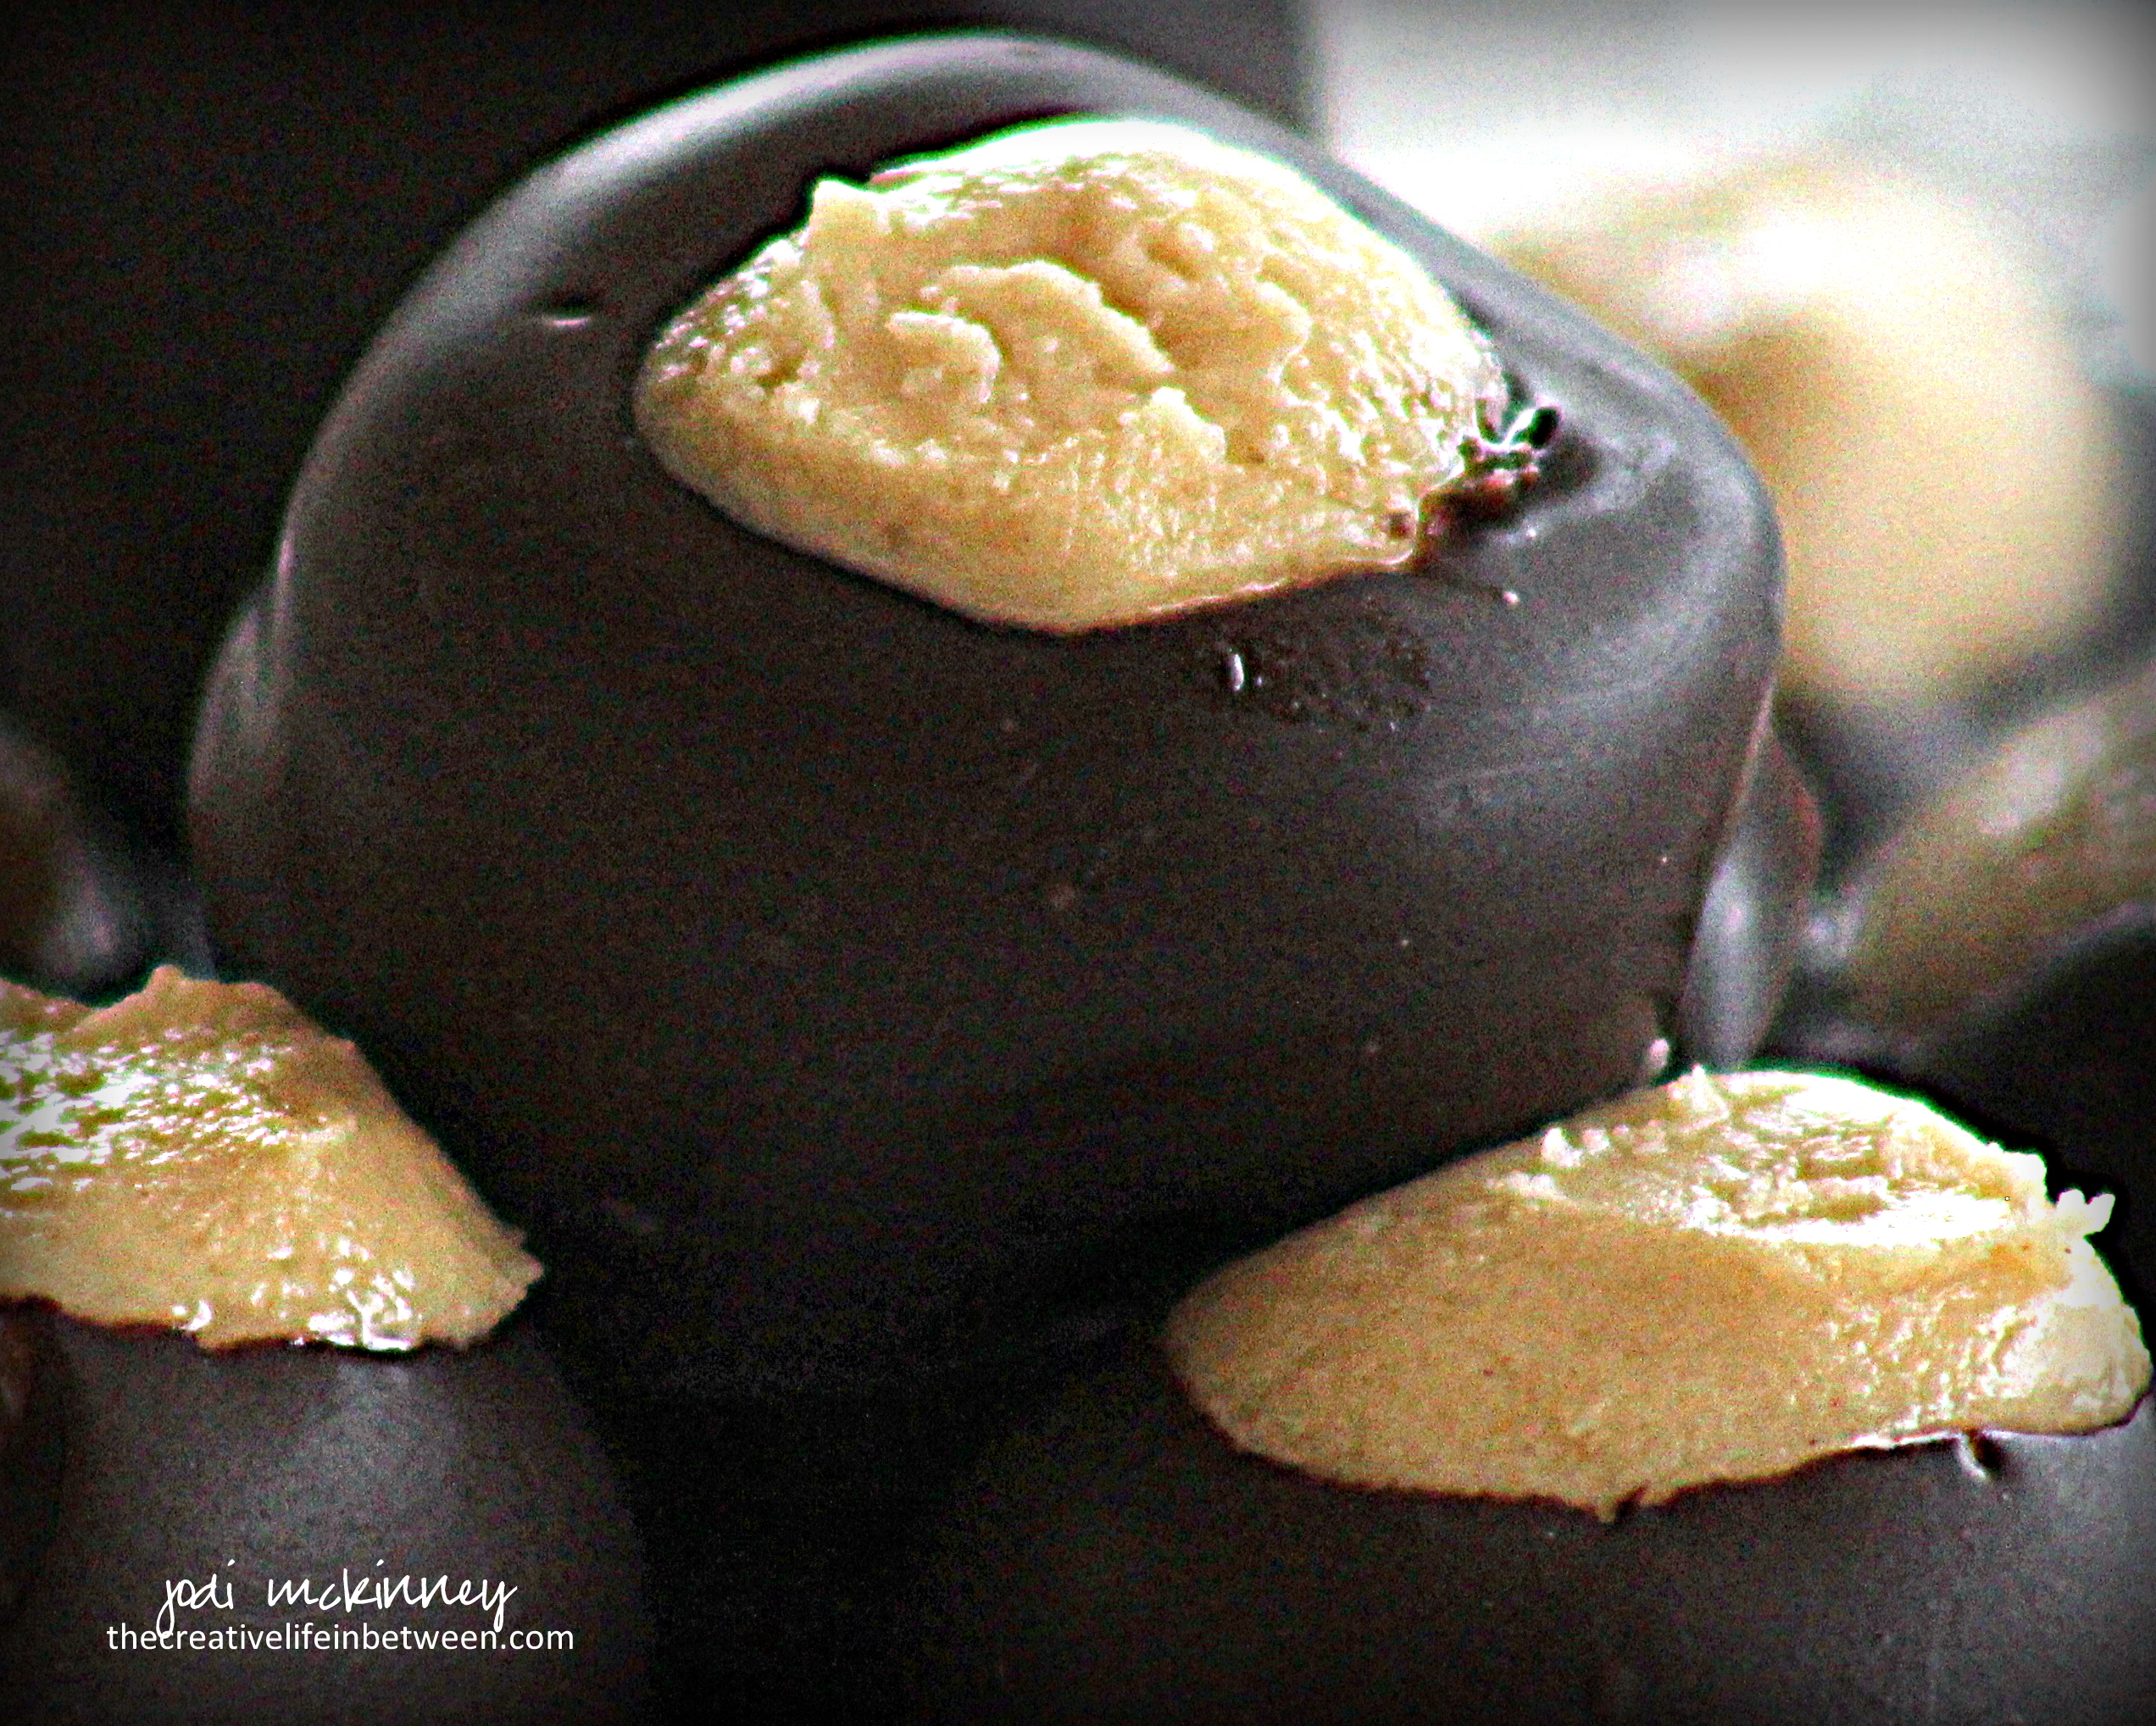
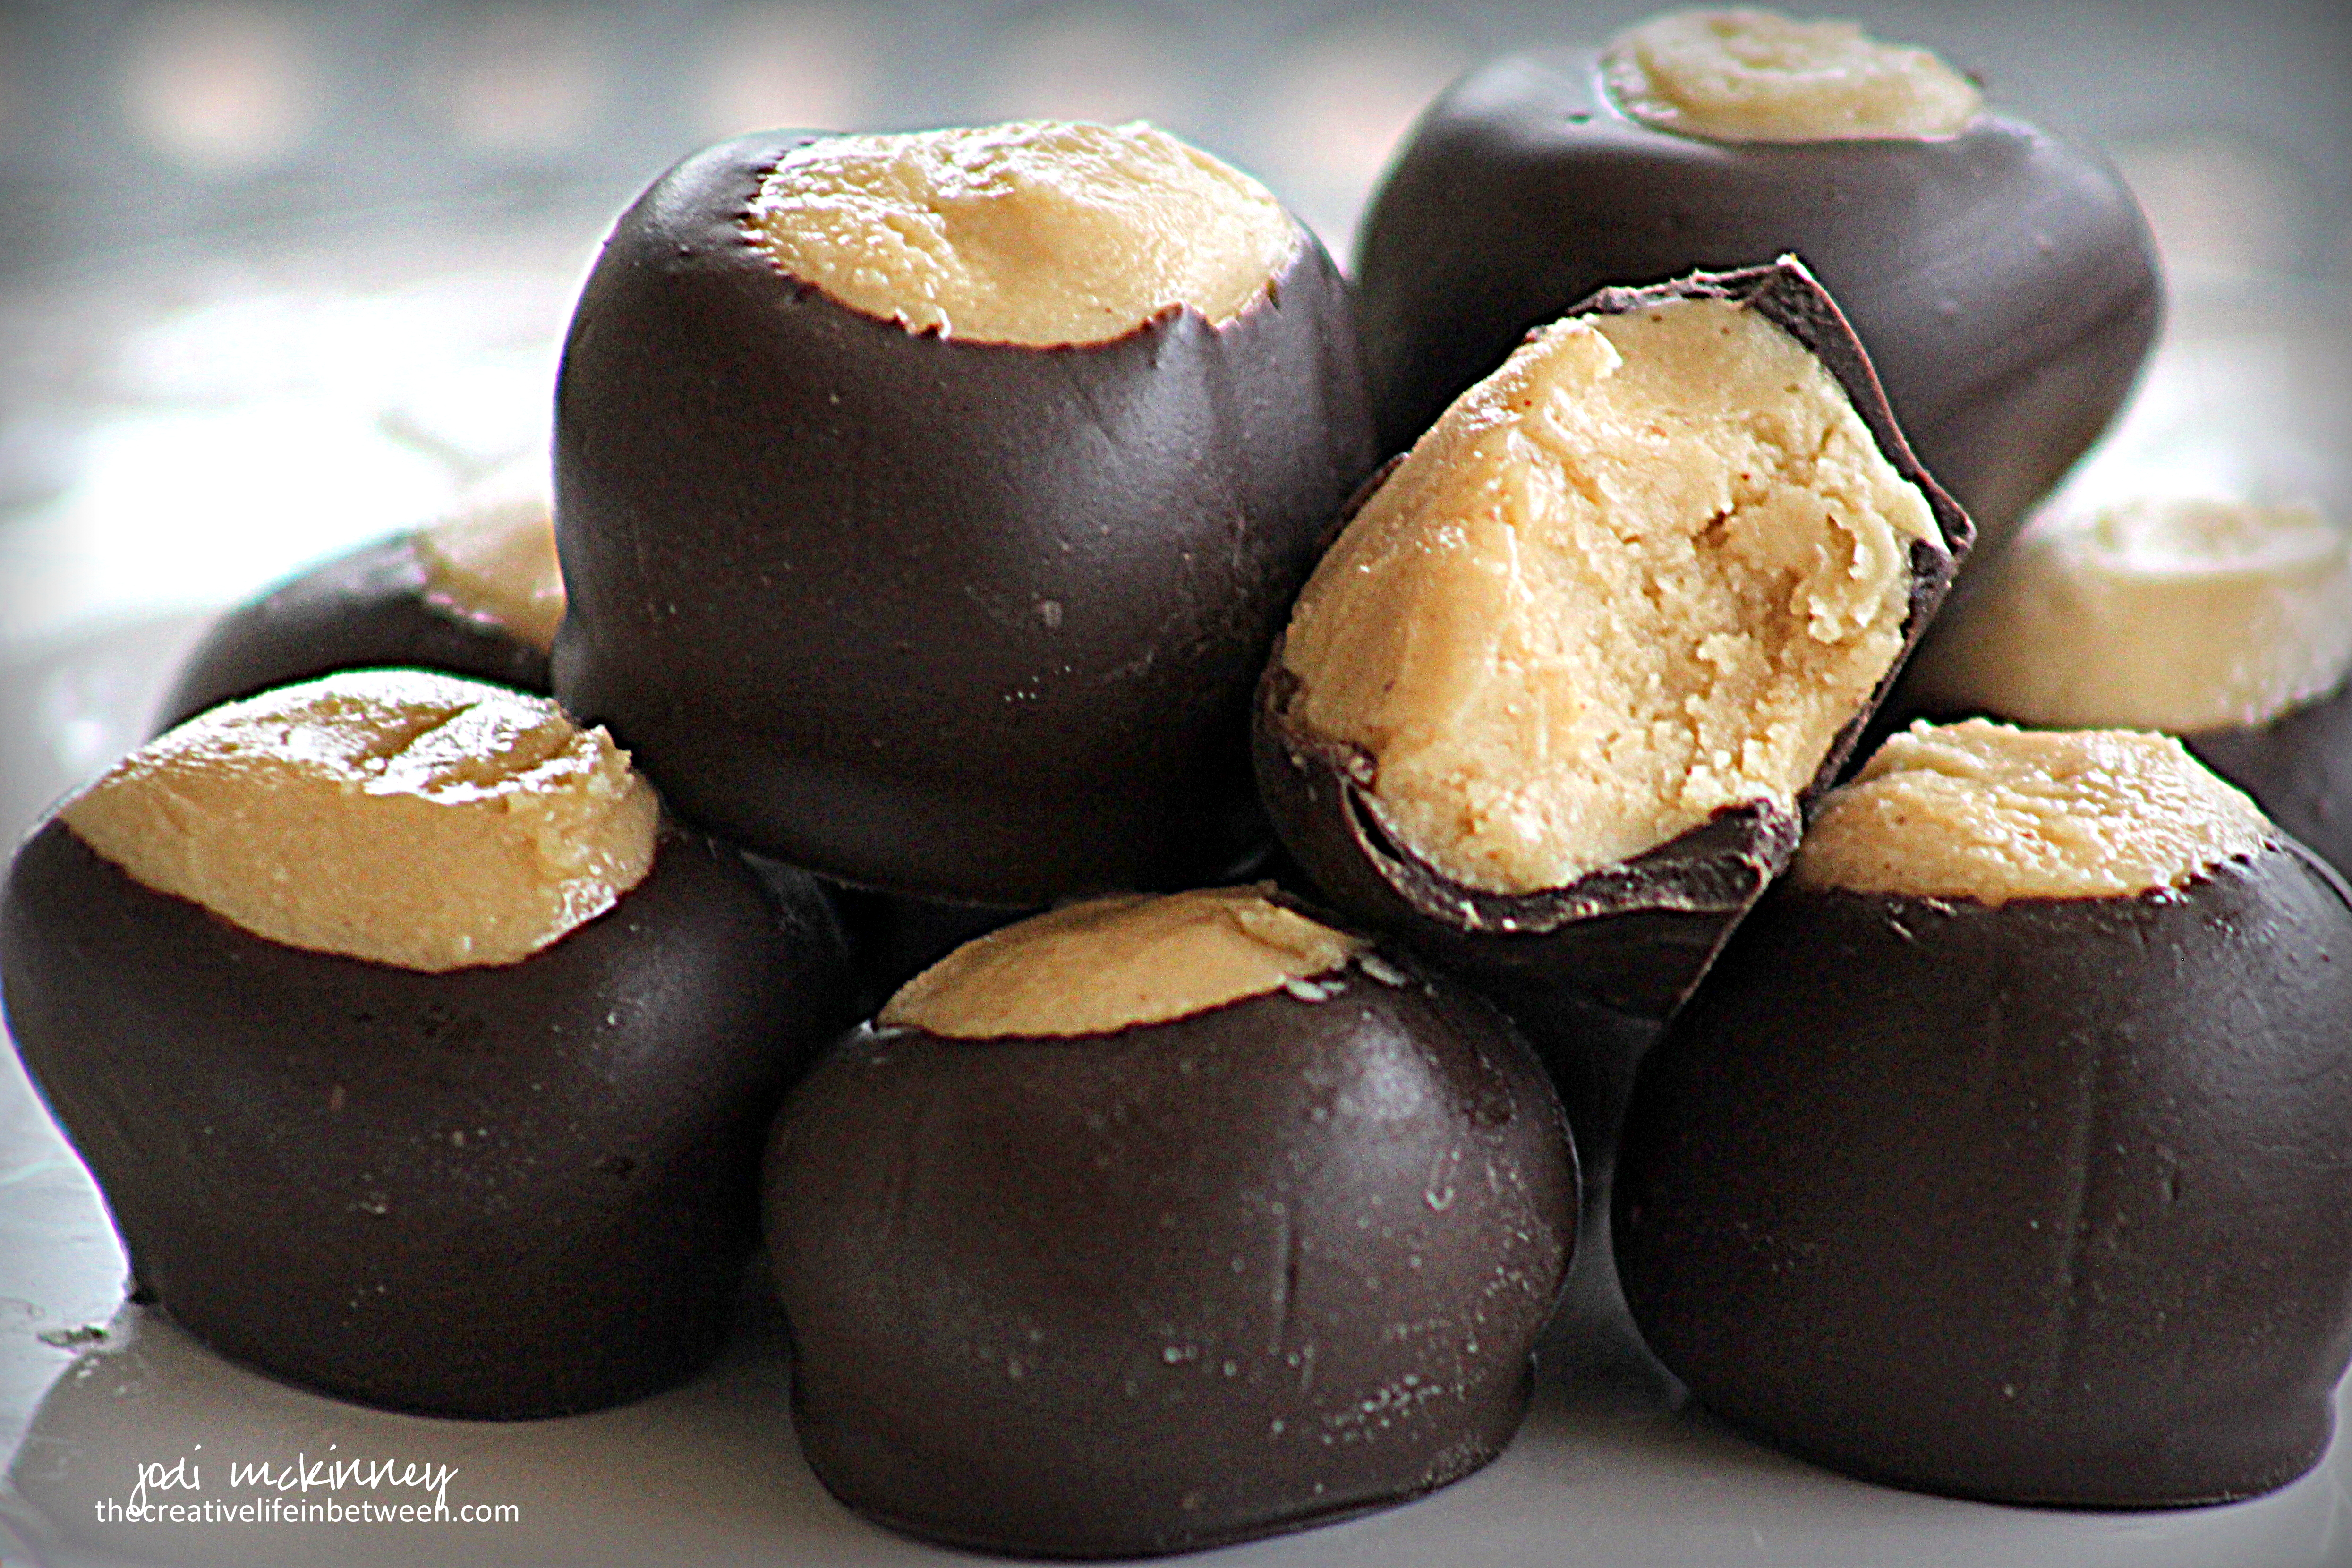
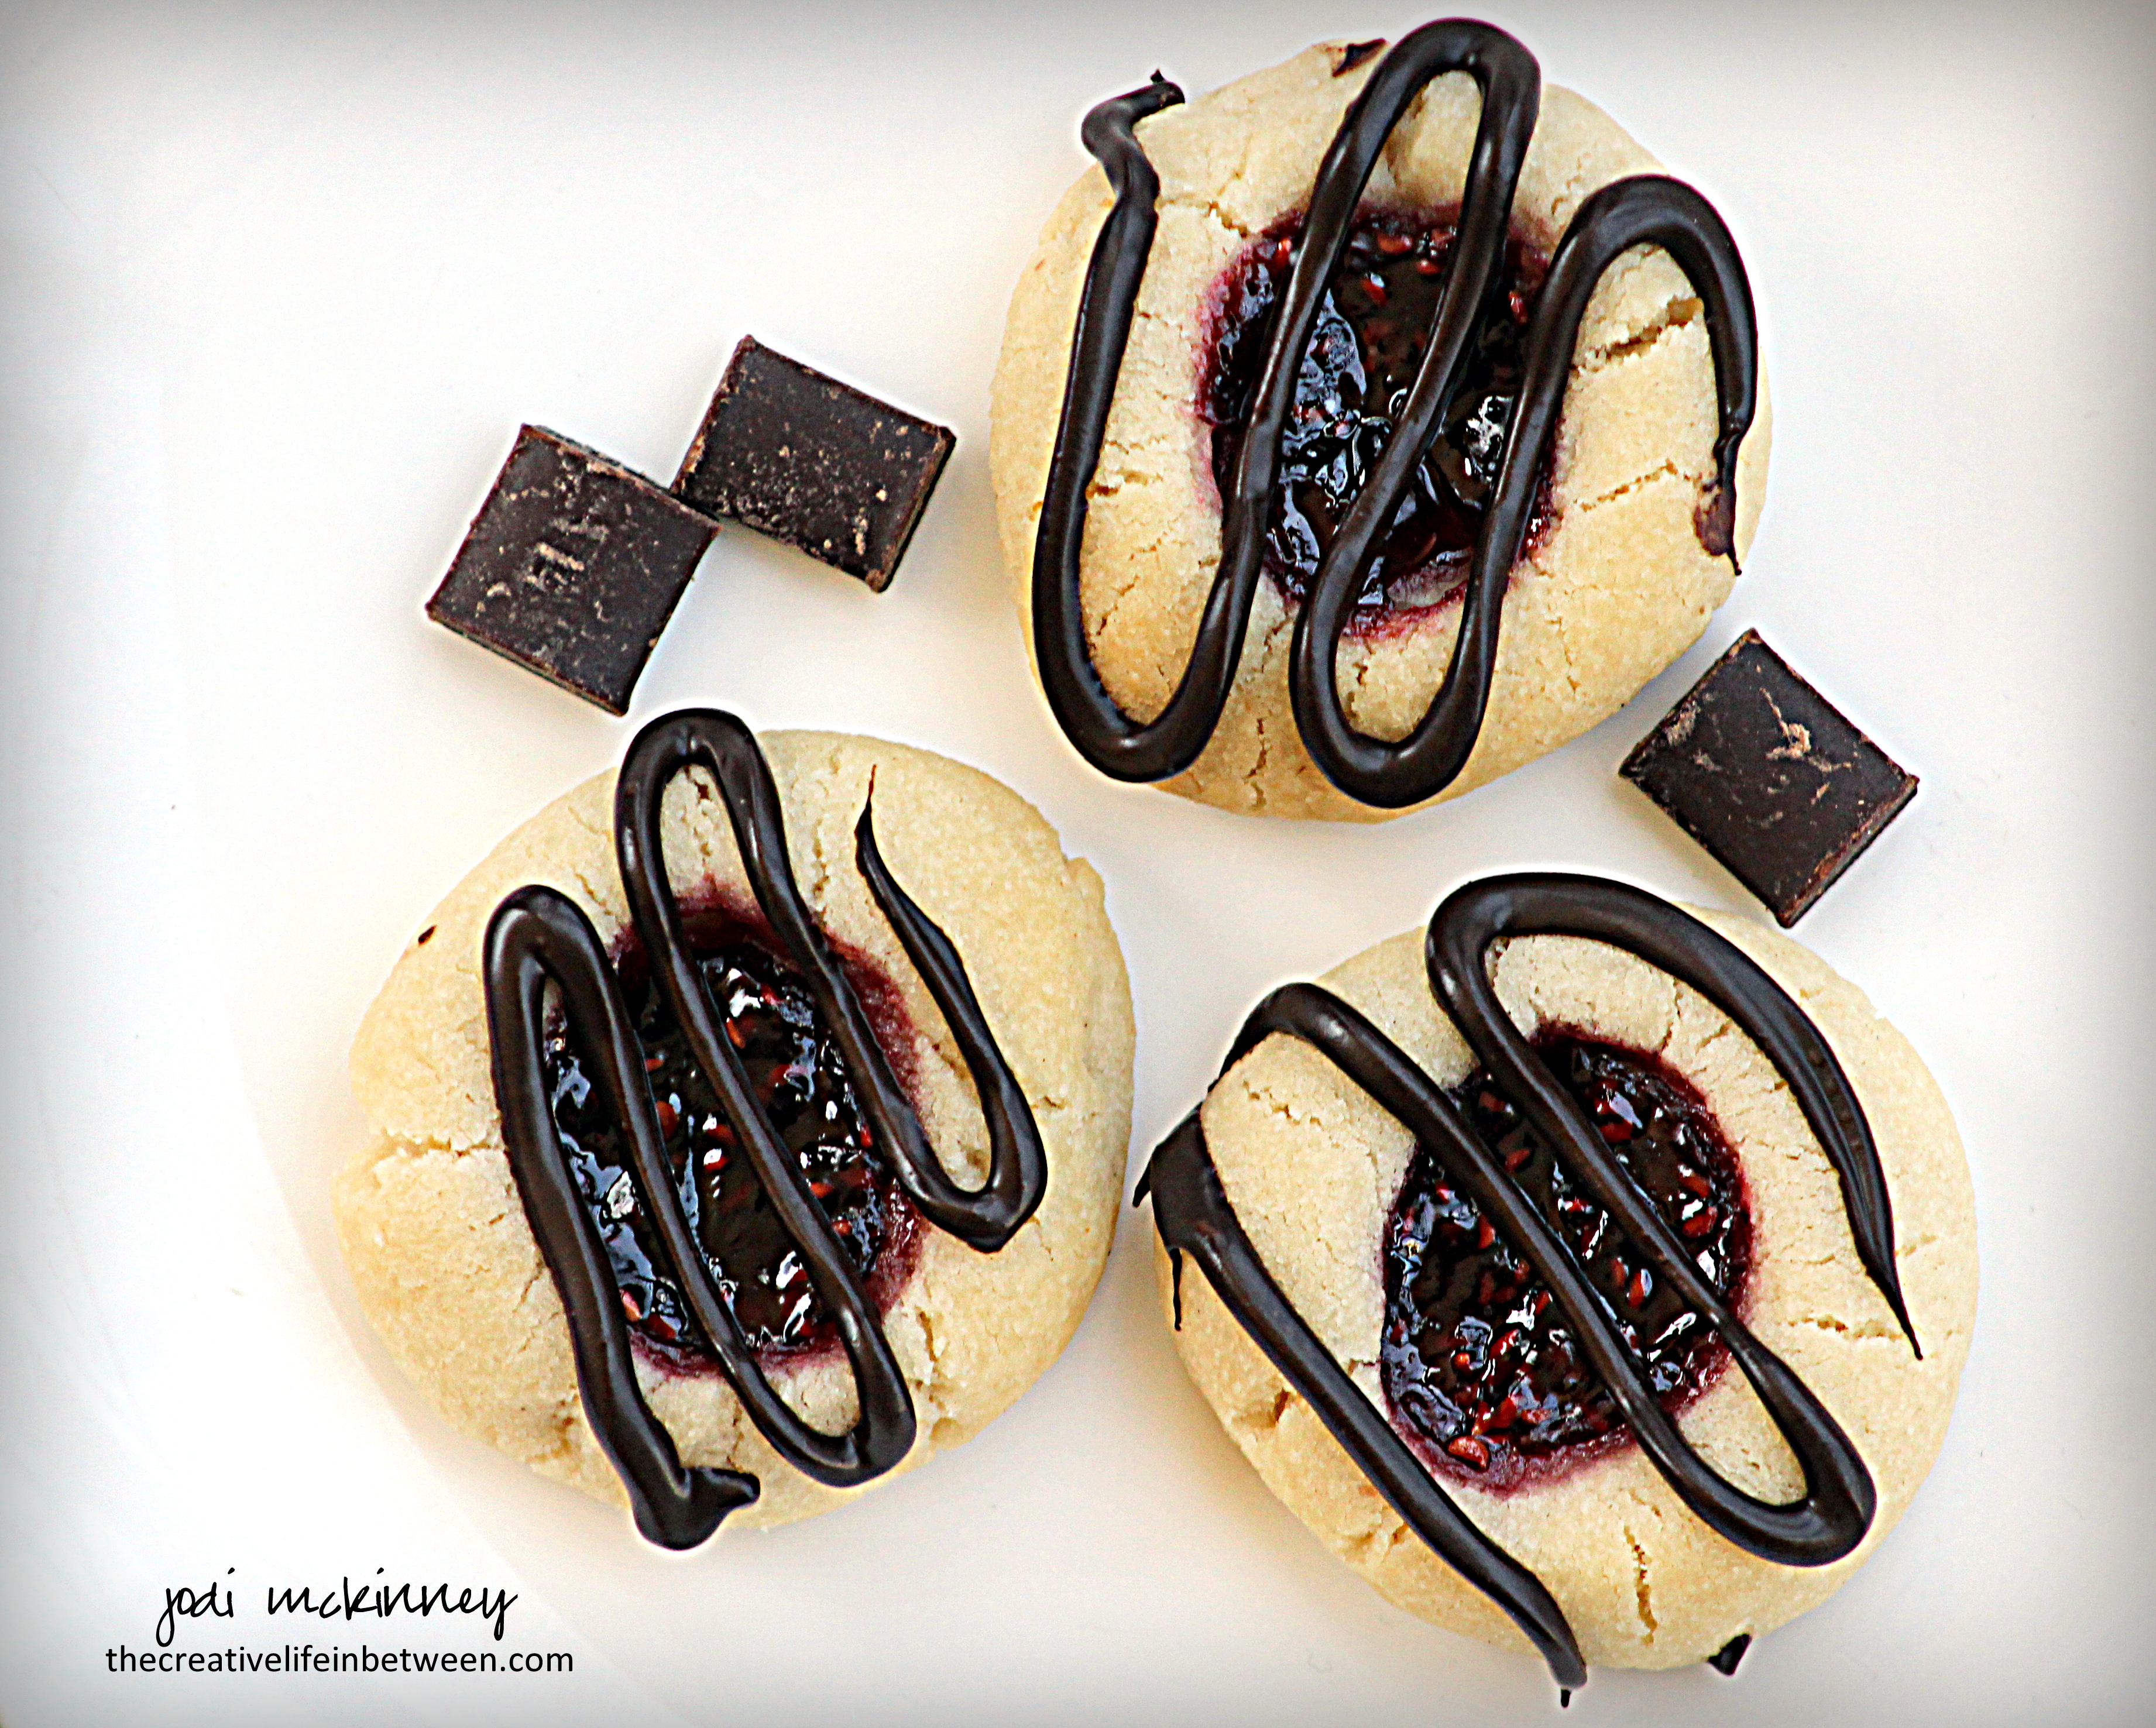
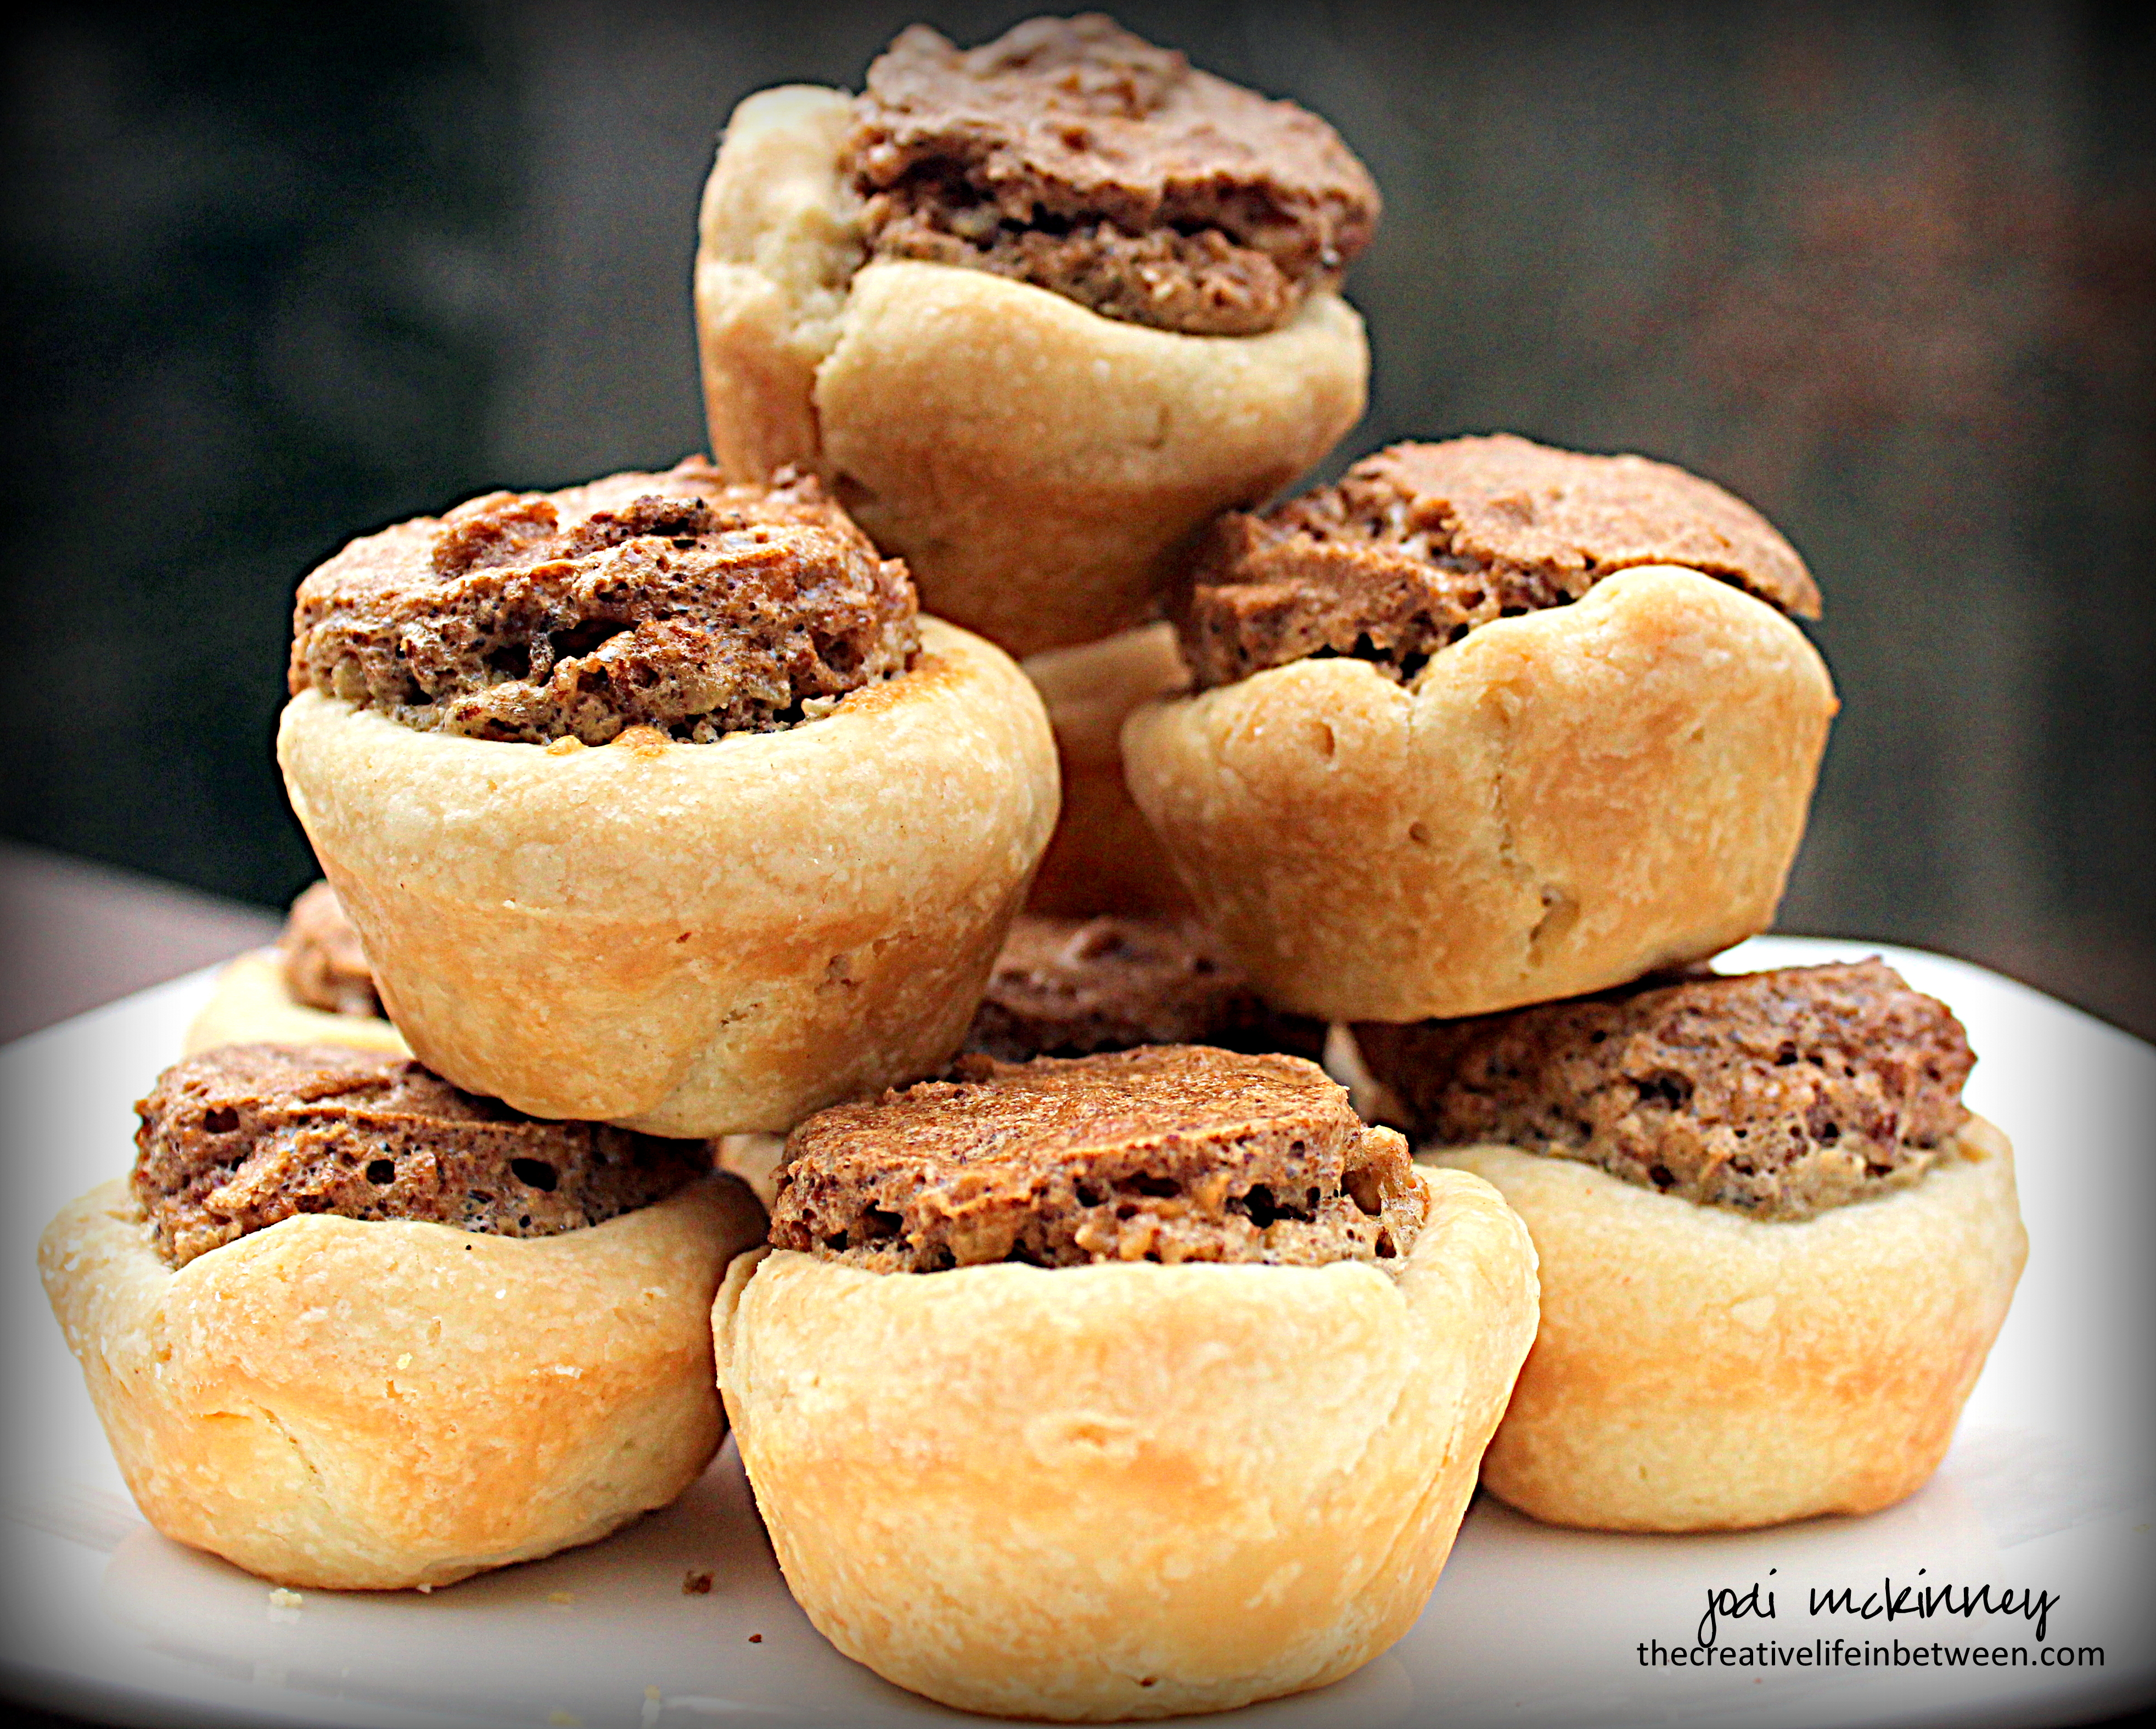
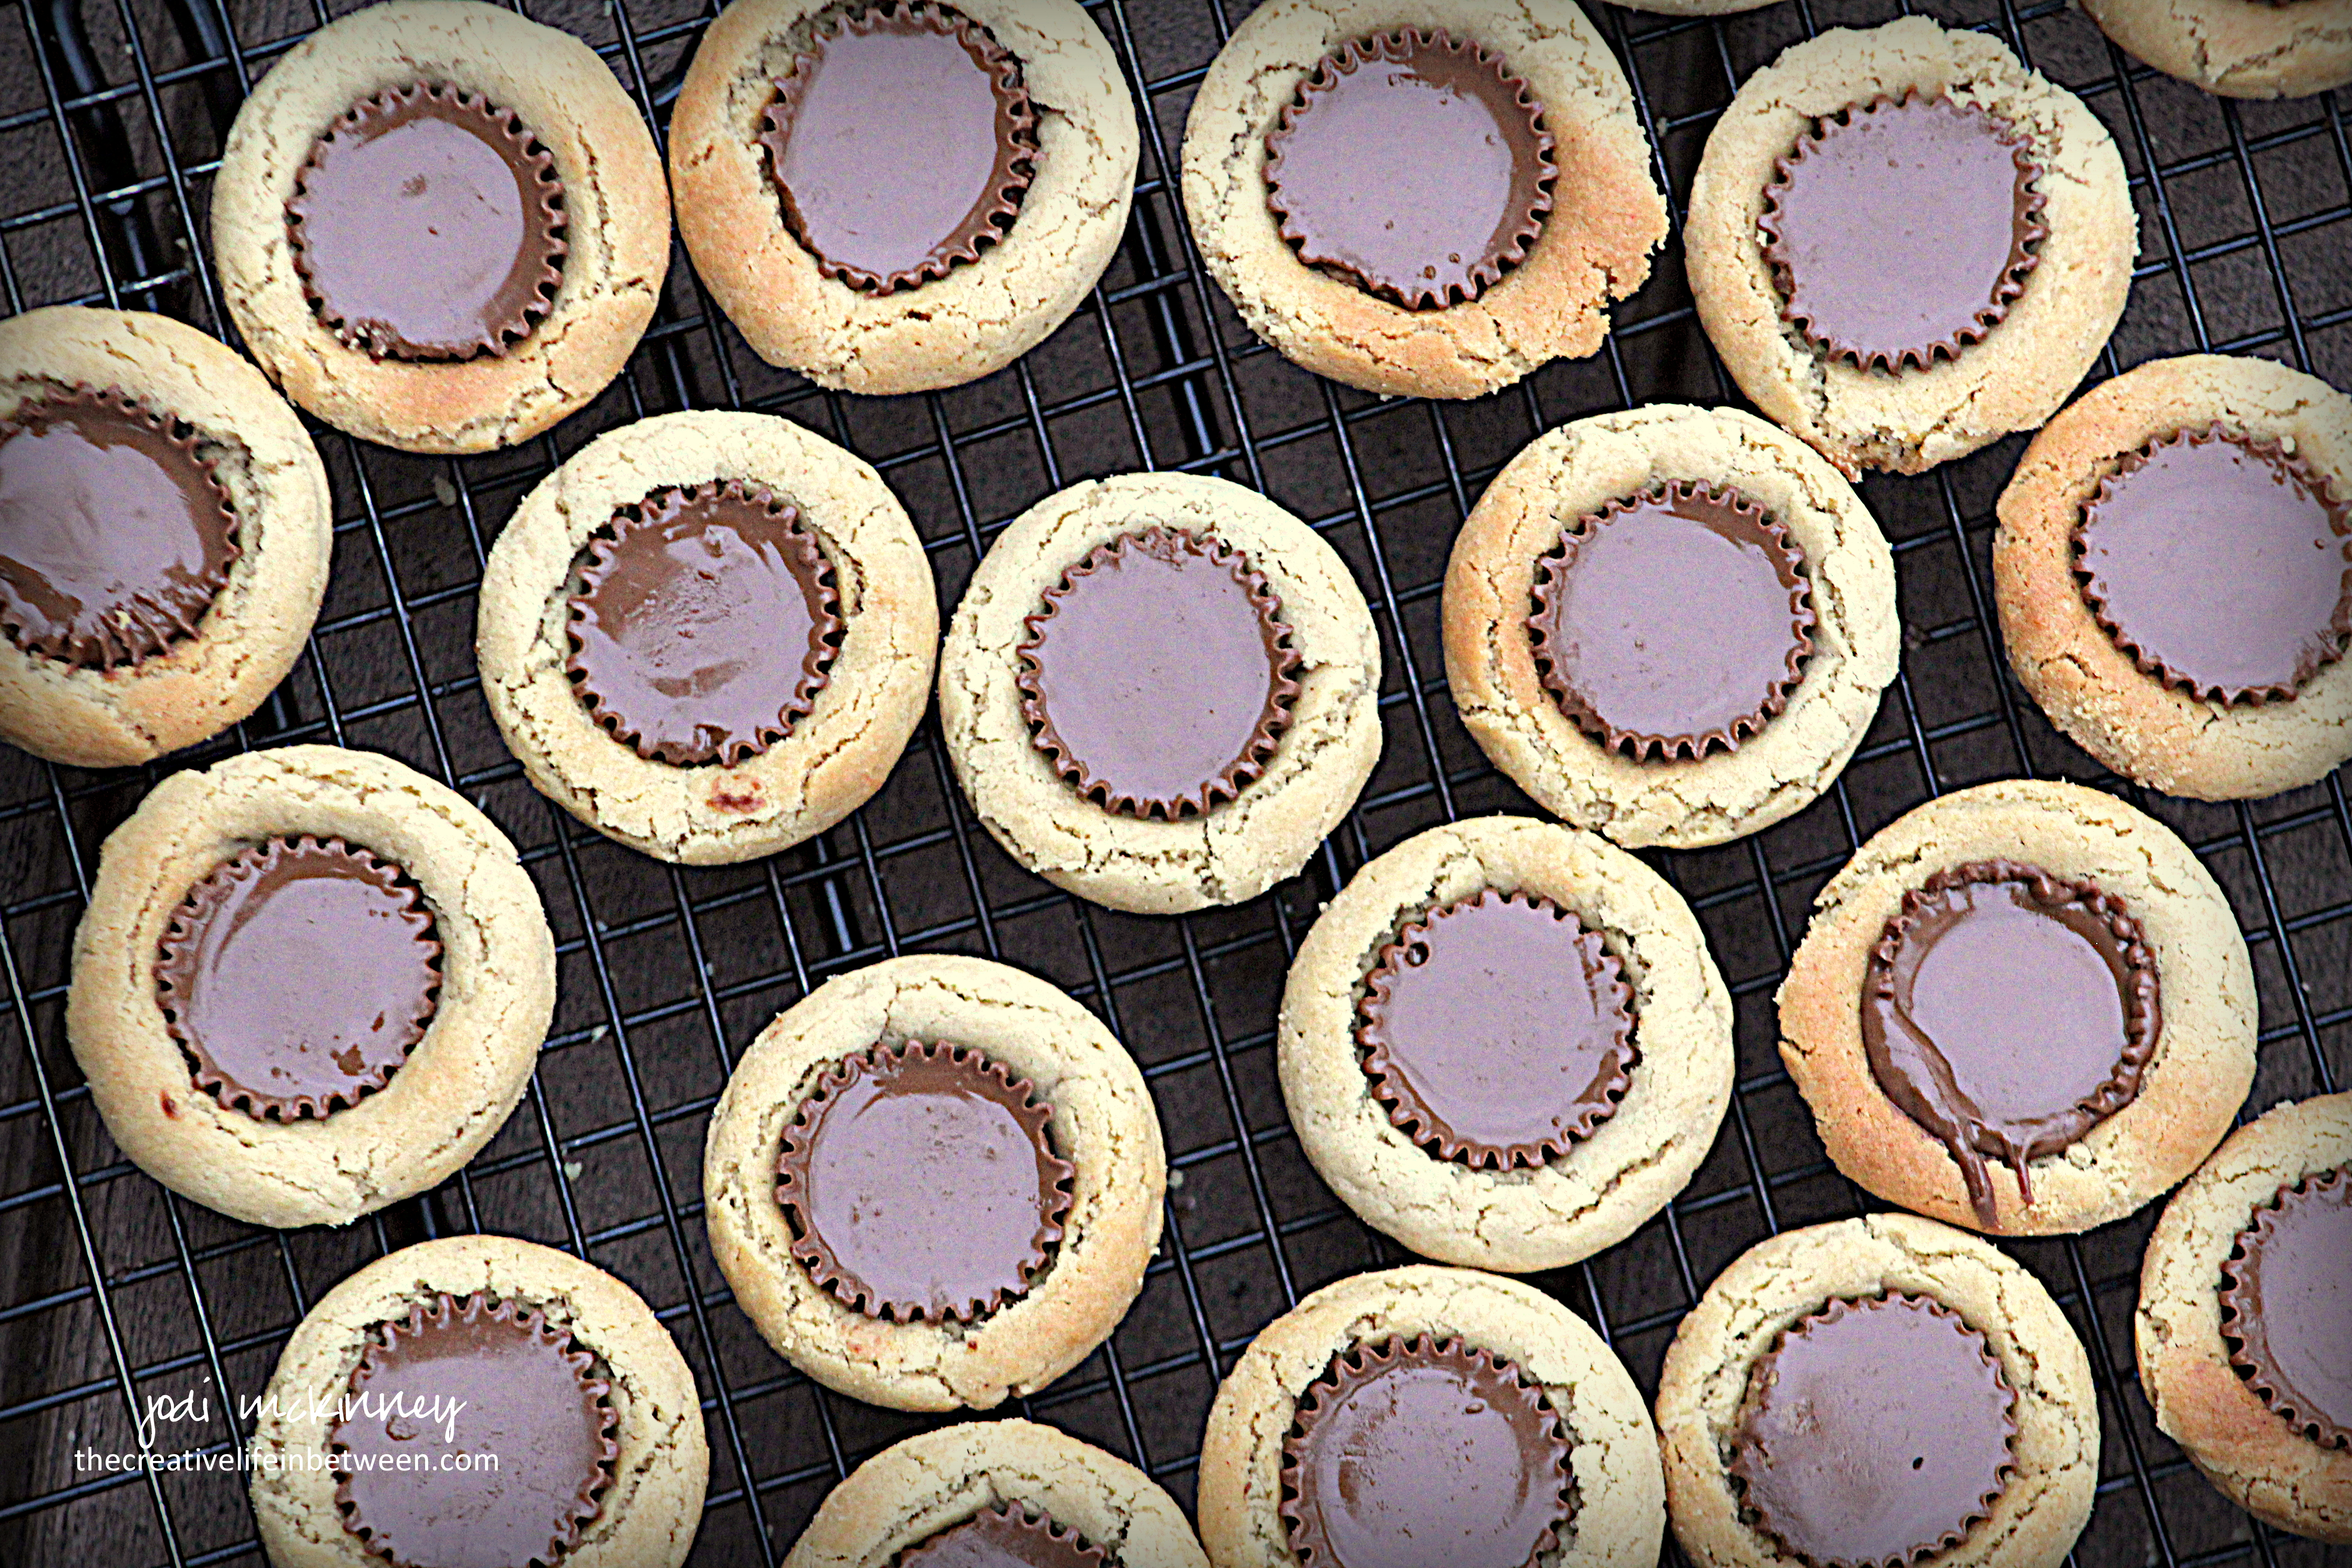
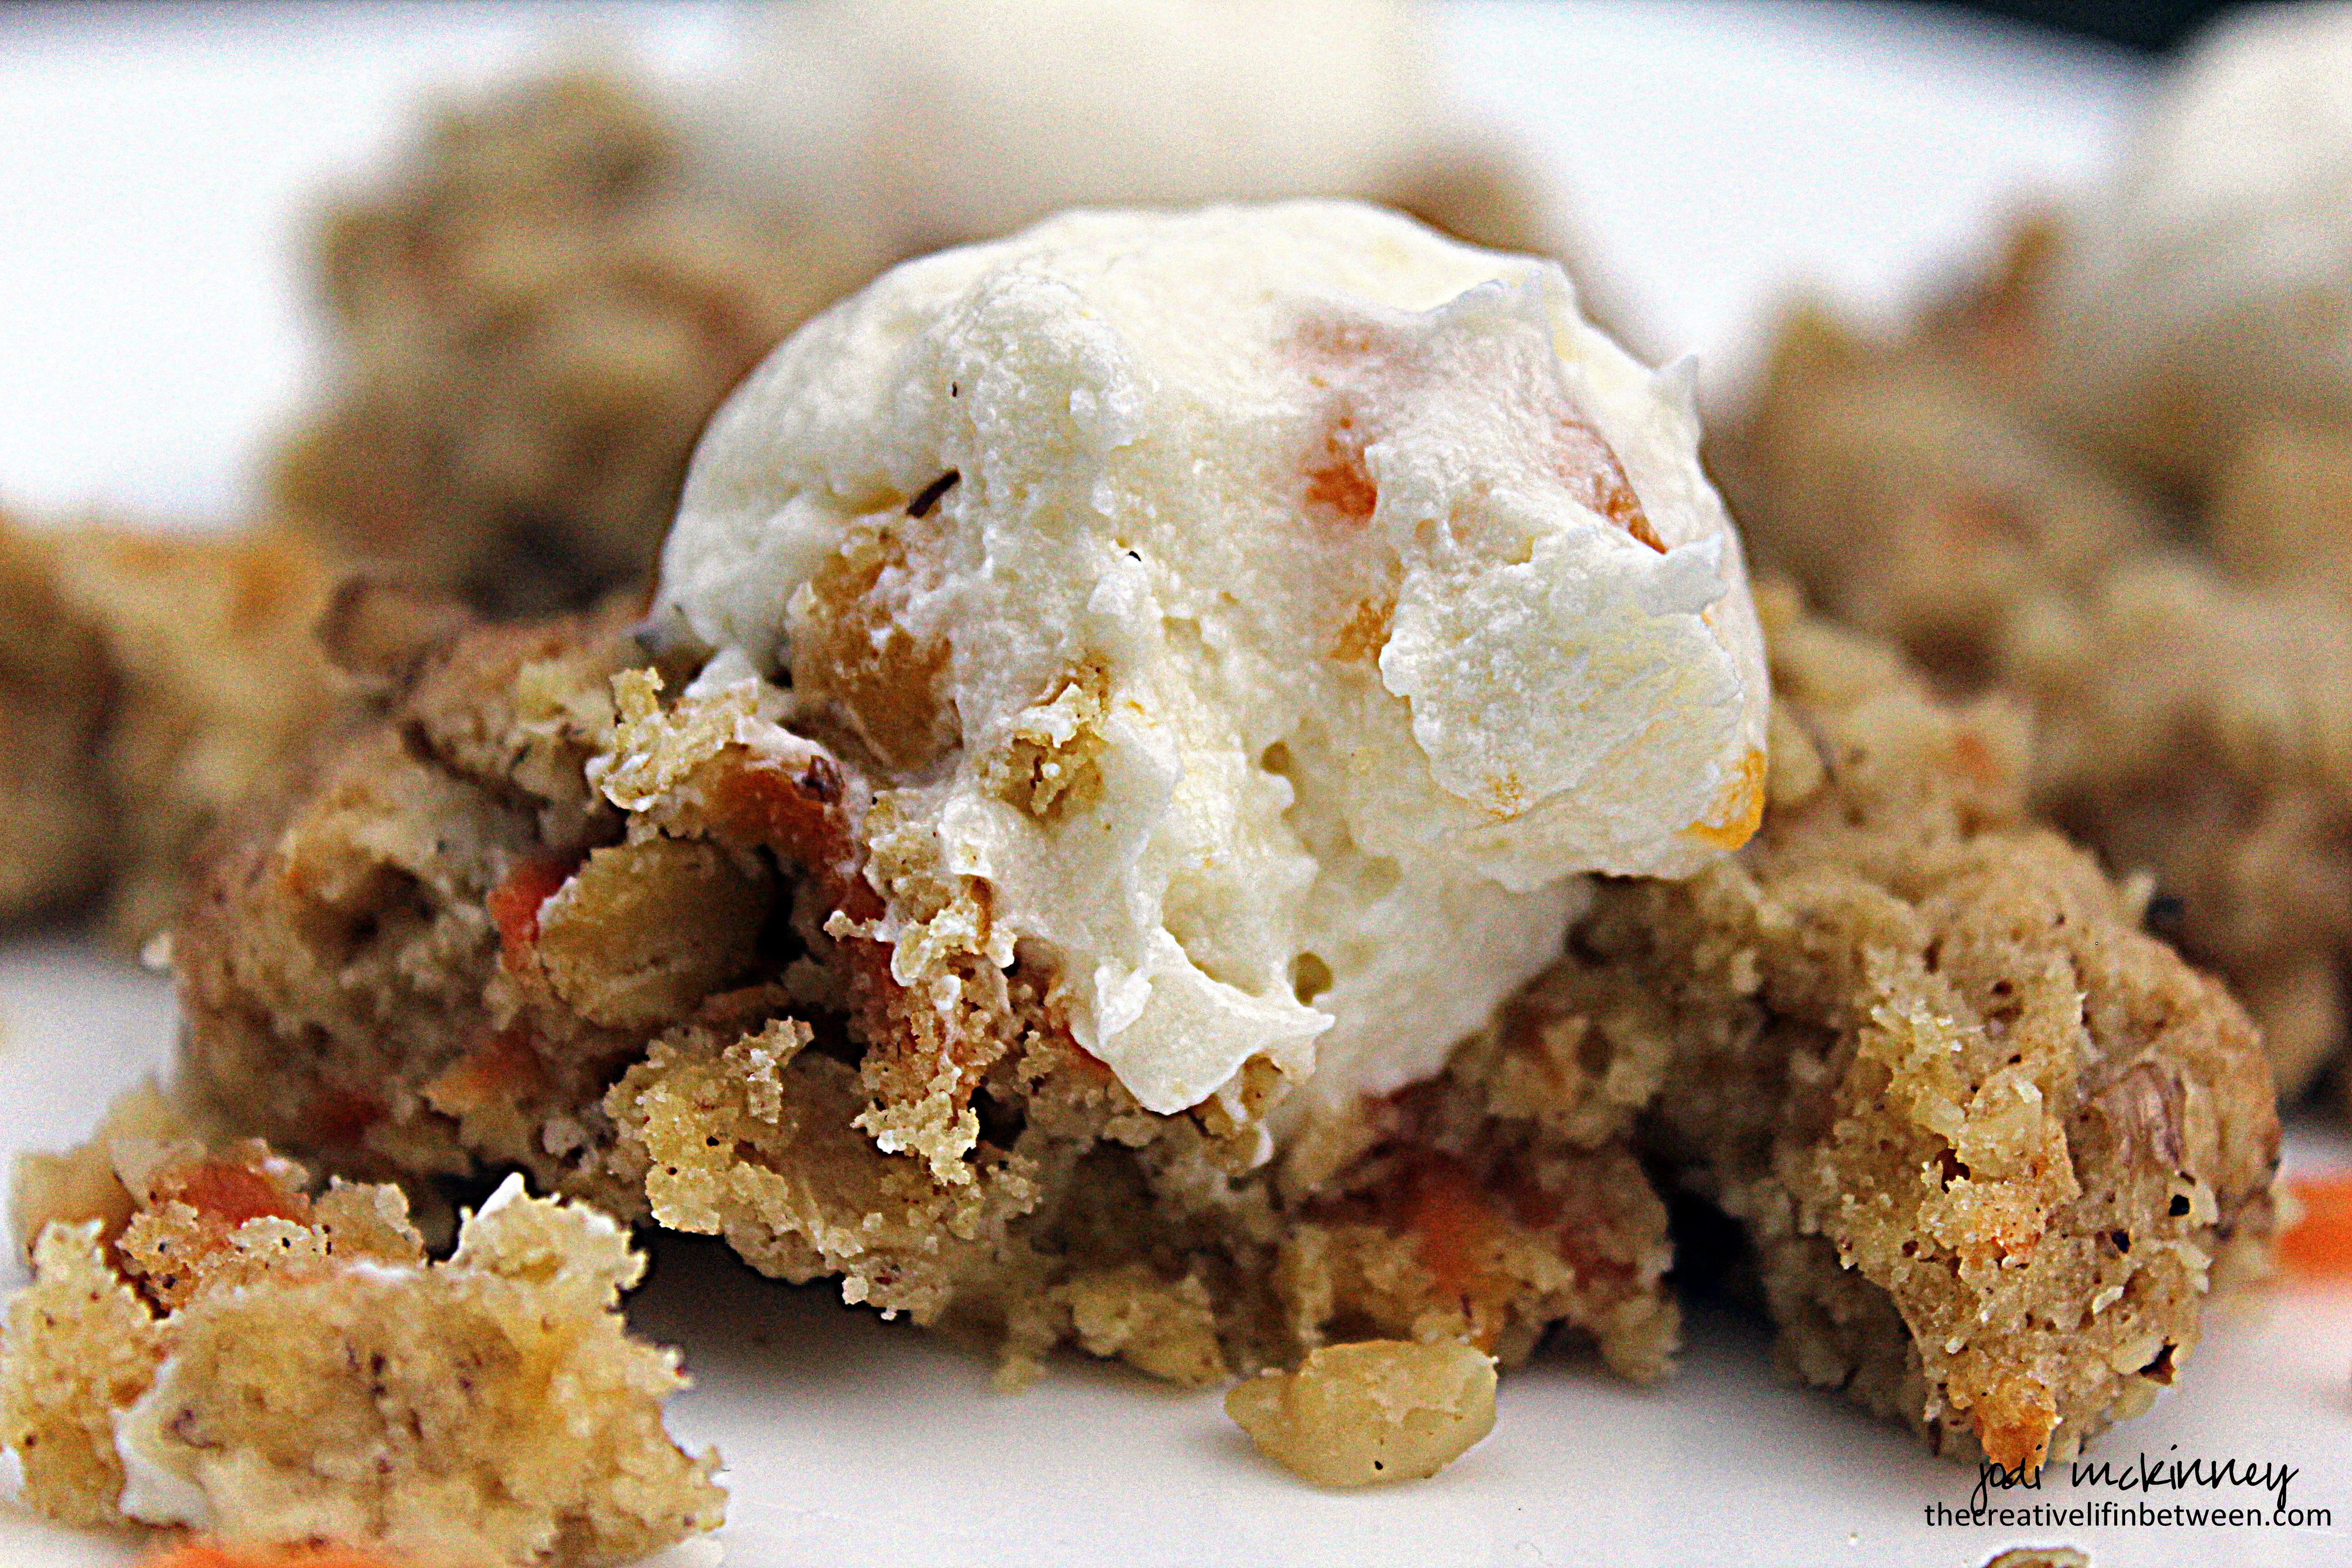
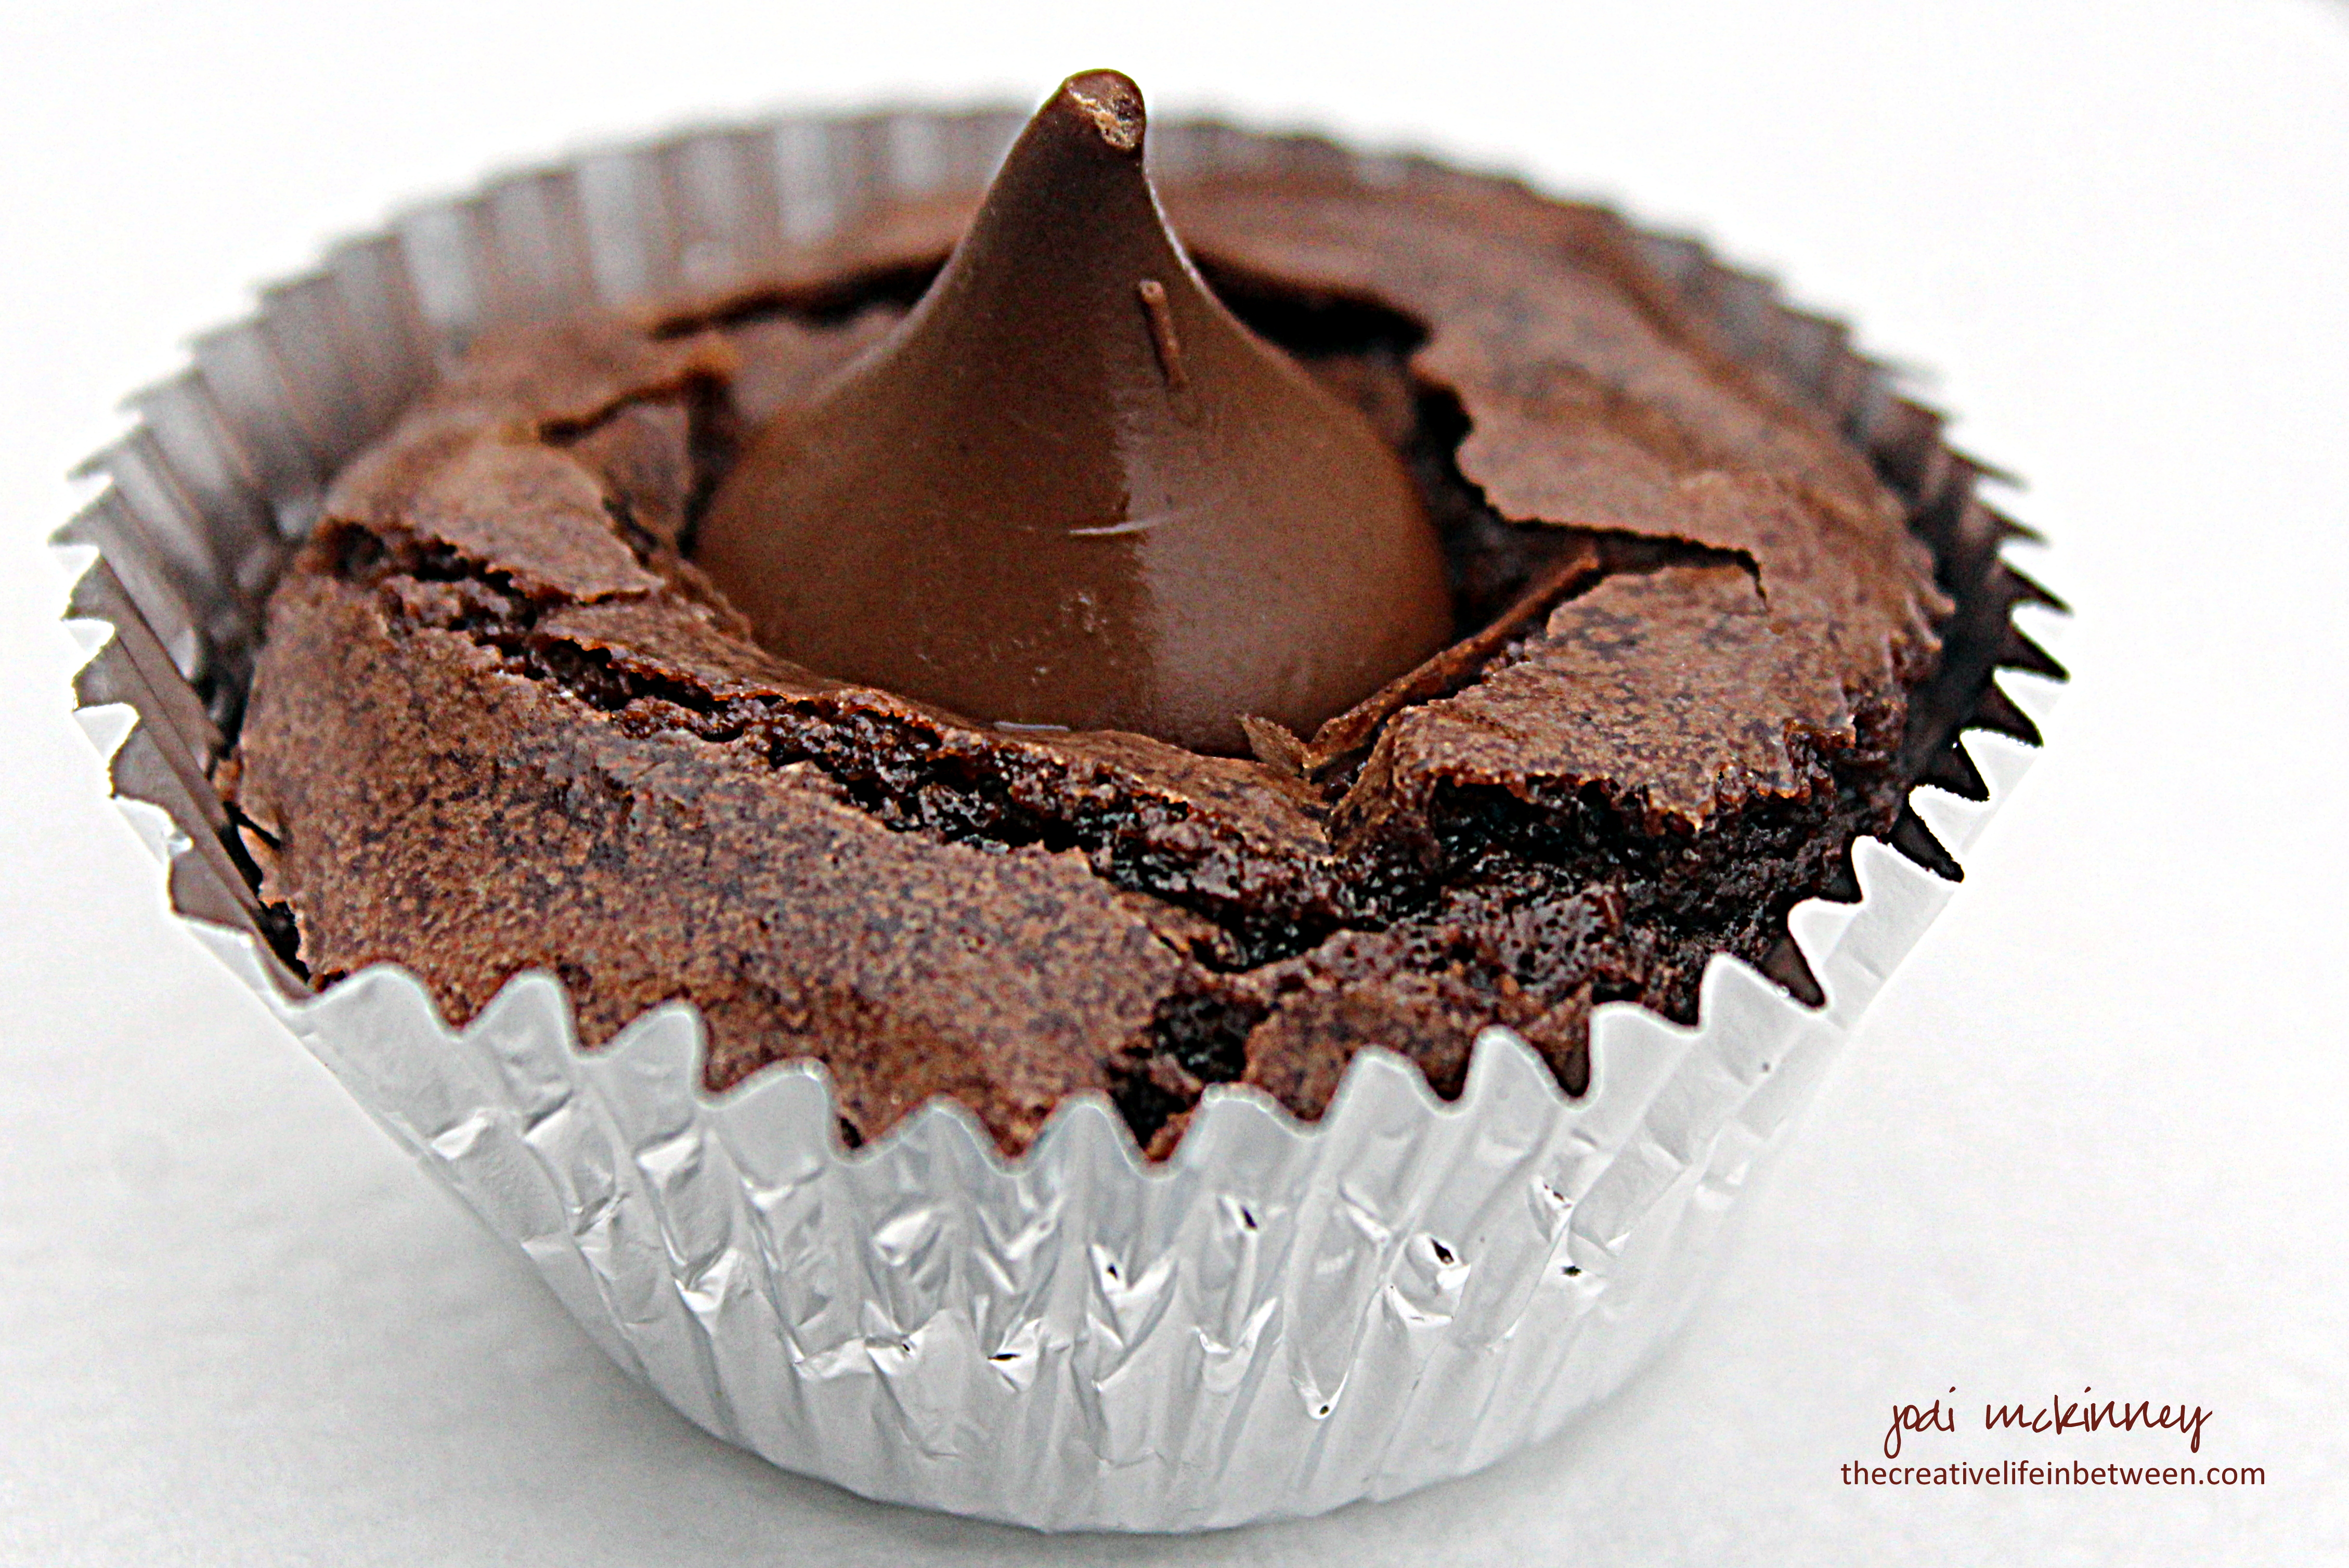
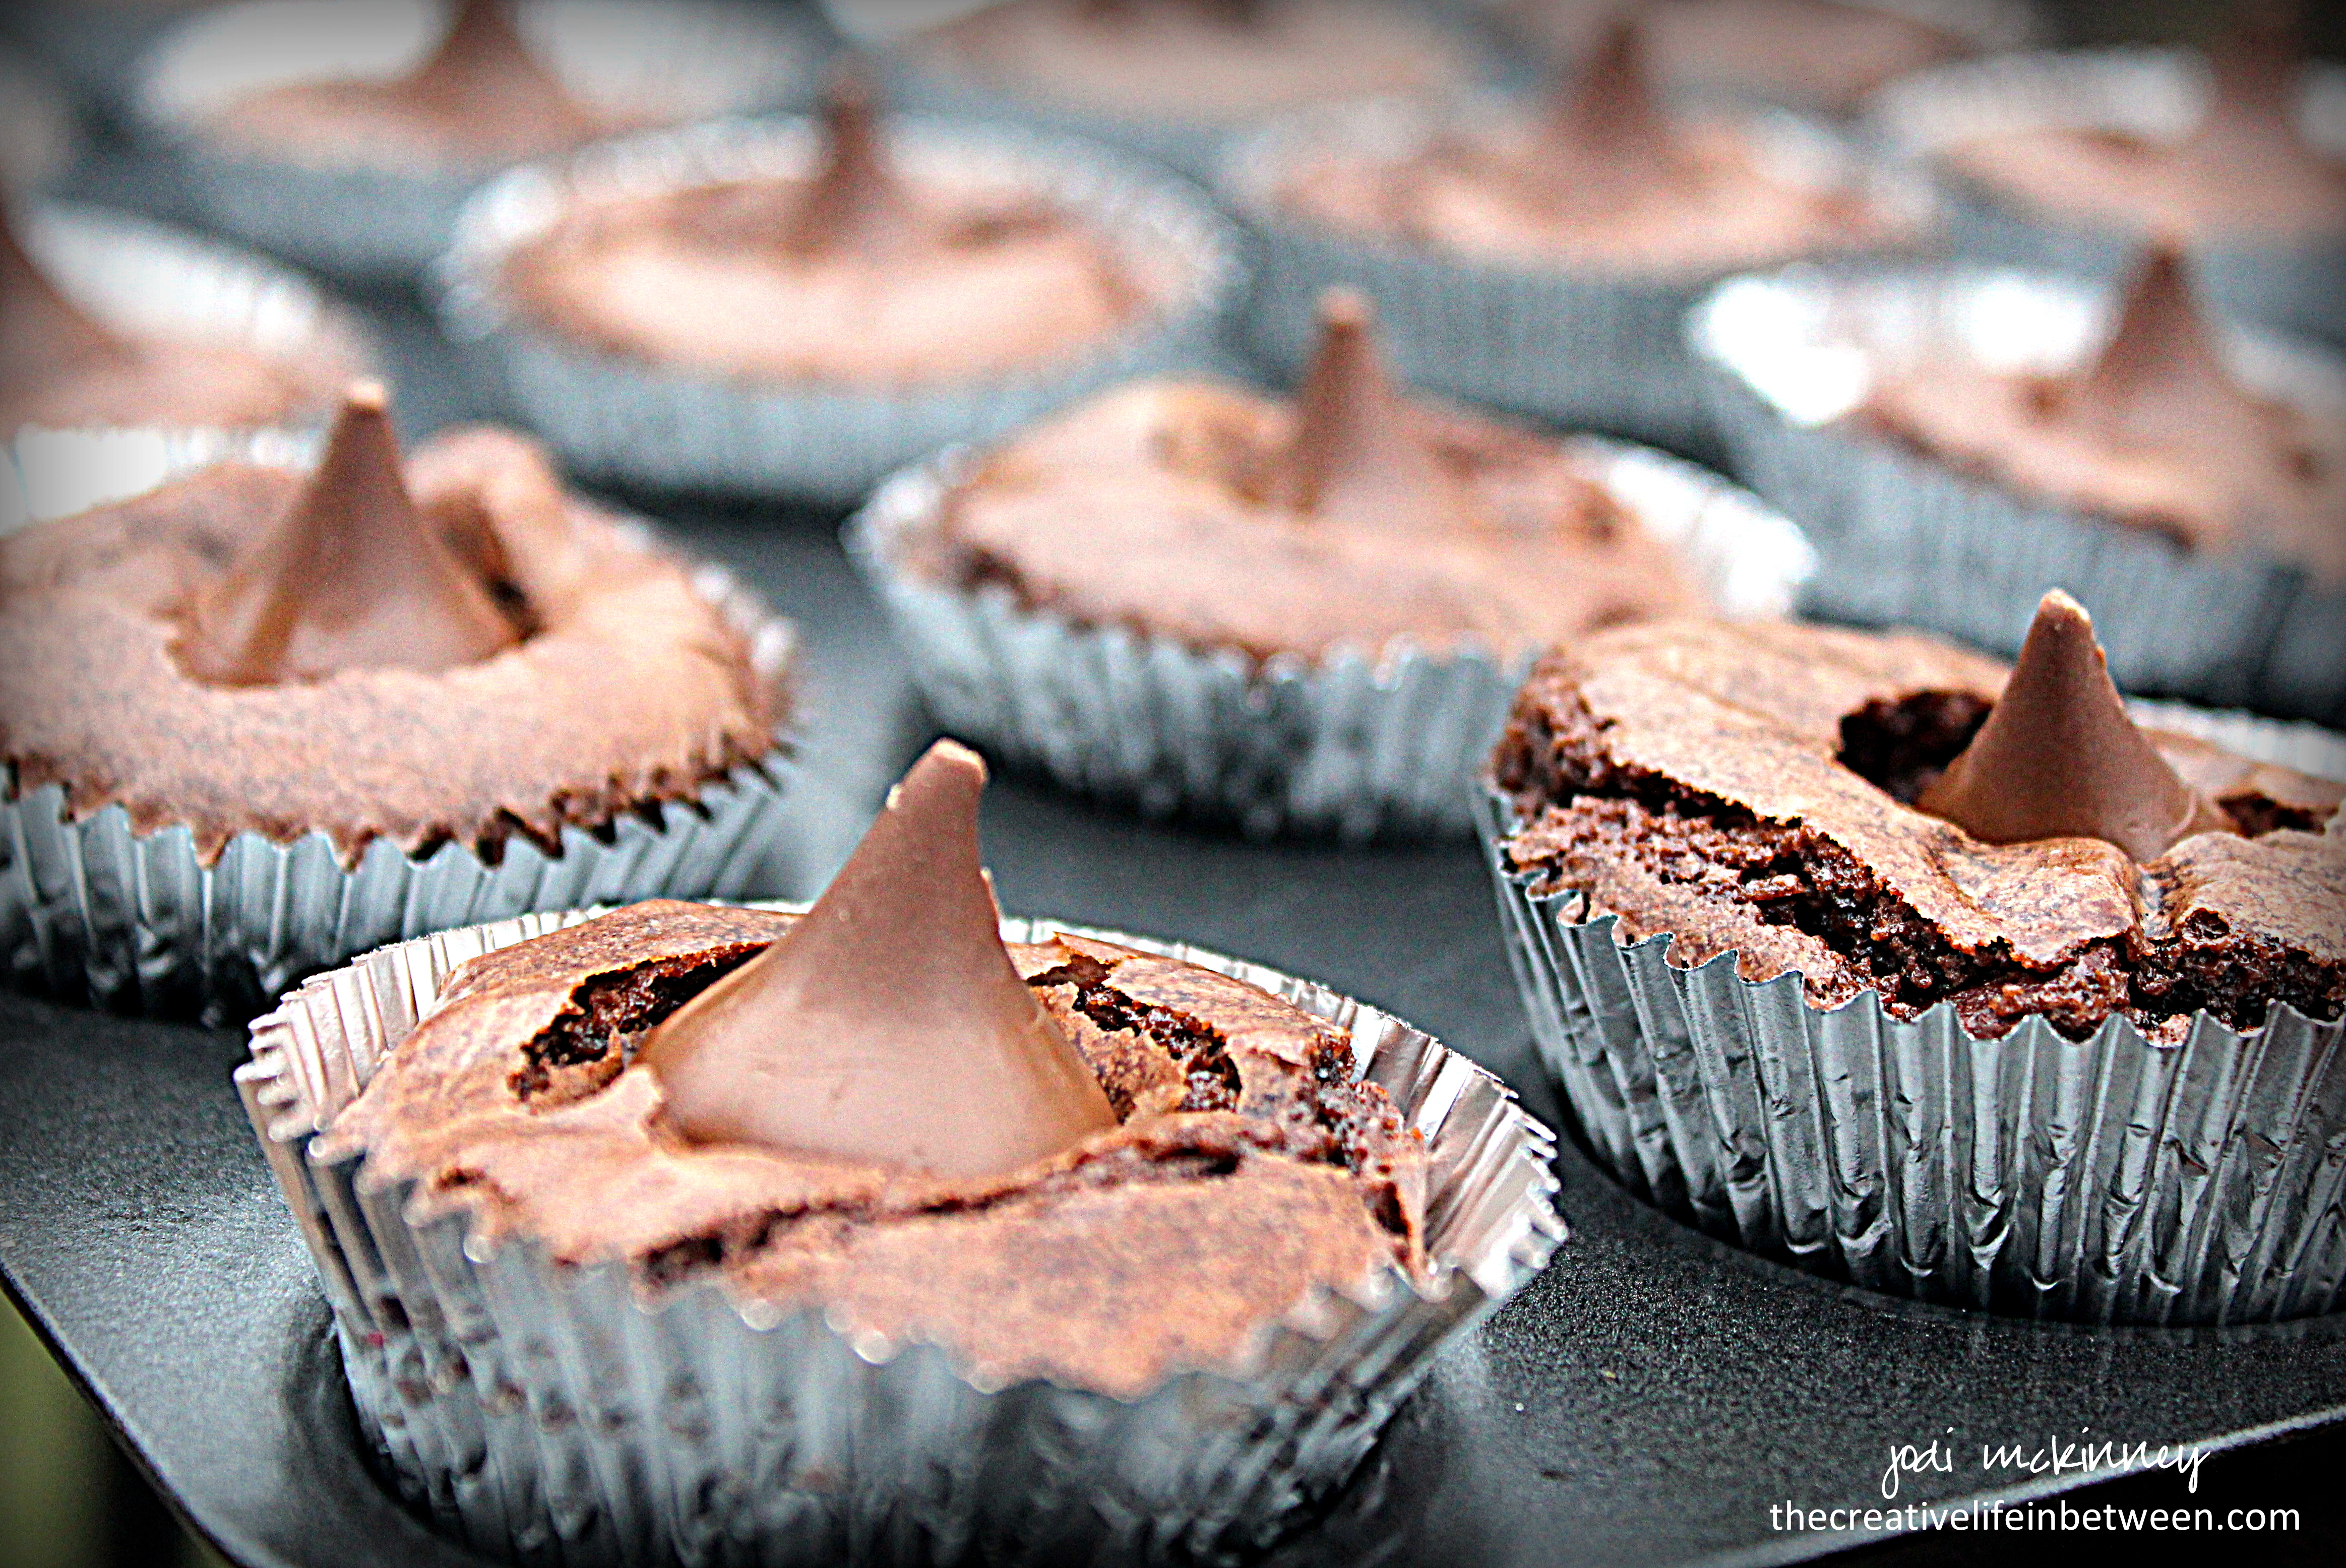
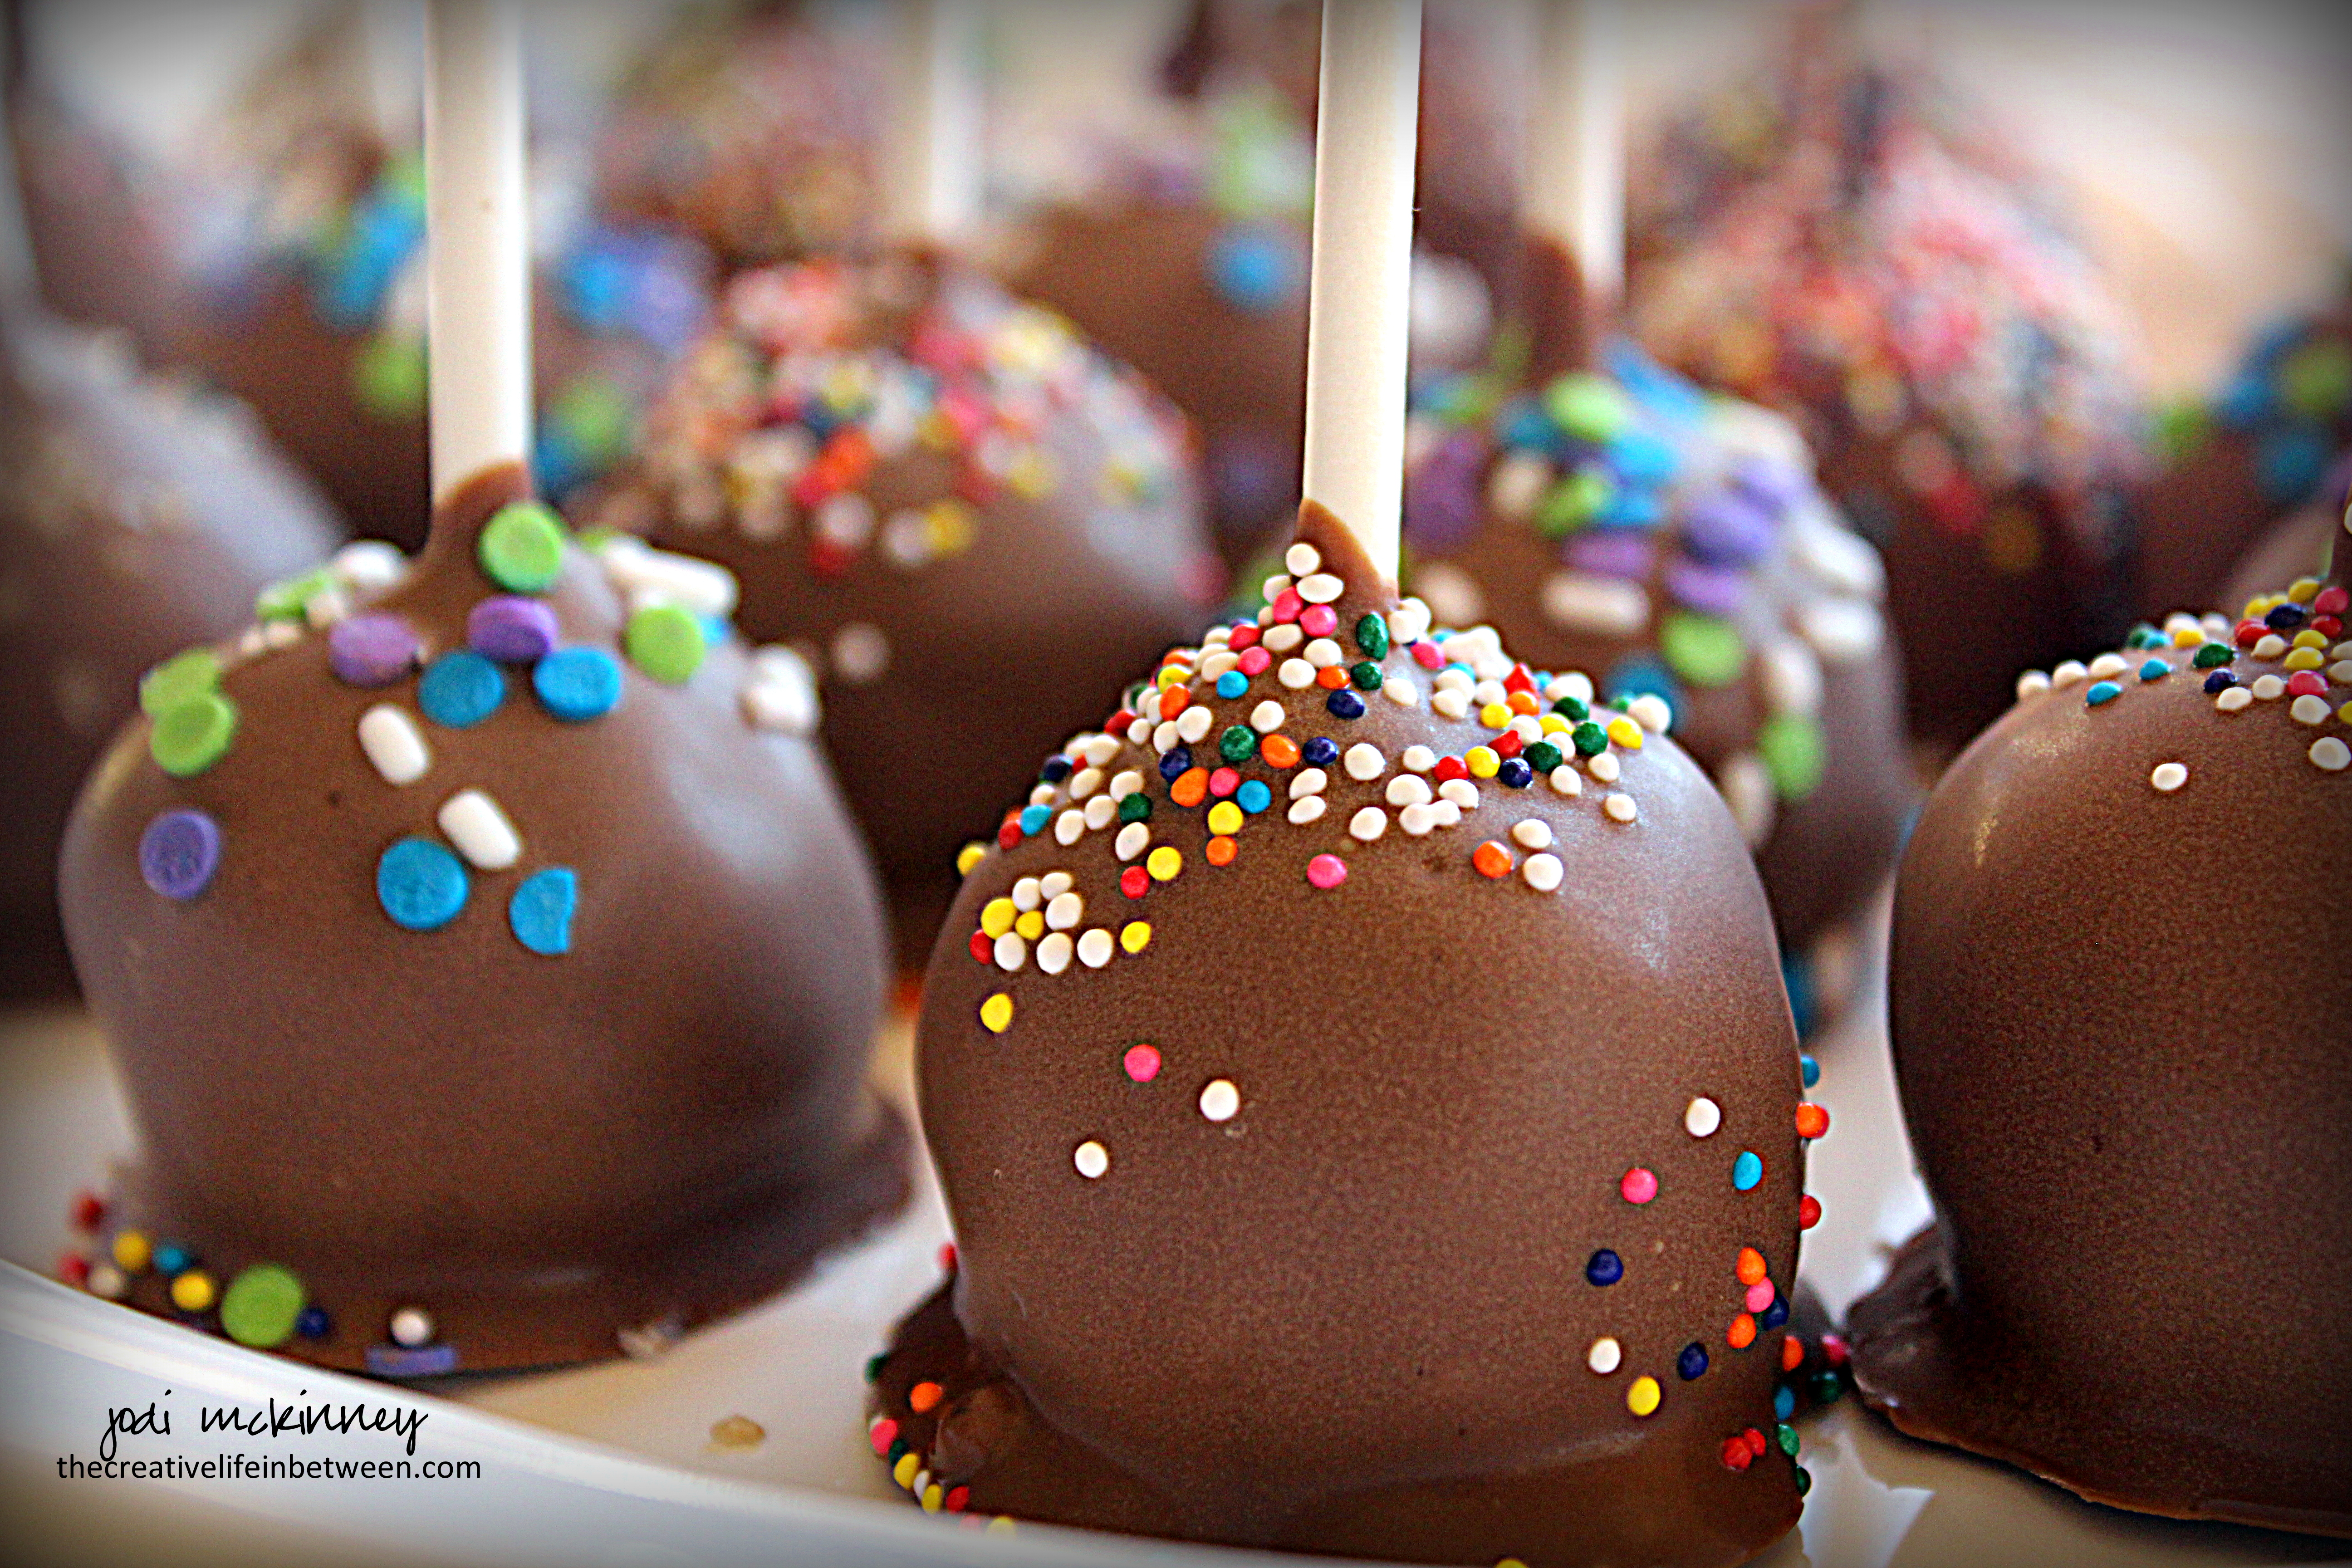
I love to bake.  I love how it makes the house smell.  I love how it makes people feel when they bite into a buttery, chocolately, caramely yummy thing.  I love surprising someone with a special treat of something they love.  Here is a picture of my first attempt at French Macarons.  I was so excited these testy little buggers turned out.  Not sure I’ll ever make them again – so much work – so temperamental – and what if they don’t turn out the next time?  Was it beginner’s luck?  I’ll just believe I’ve MASTERED them….  and leave it at that….

I also love to decorate – my home that is.  And it’s not all about it being House and Garden perfect for those of you that know me and are thinking  “Jodi – you are NOT an interior decorator!”

My ultimate goal (in deocrating) is to create a place that is warm and welcoming.  A place where someone can just drop by (no formal invitations needed around here) and feel comfortable and welcomed and loved.  No shoes off in my house.  So what if the carpet has stains…  Those stains represent someone who I shared my home with or that spilled a drink or our dog who came in after a rainy spring day – so what…  I grew up in a house that was House and Garden perfect… that meant NO SHOES inside…  it meant that you could see sweeper marks in the carpet from the daily vacuum…. it meant that you could literally eat off the garage floor if you were so inclined because it was so clean….  and that’s all good…  Mom was an awesome “cleaner”…  but it’s not me.  I want comfort, warmth, welcoming.  I want my house to feel like your favorite worn slippers or most comfortable fleece hoodie or your “go to” black yoga pants.  That’s what trips my trigger.

Here’s a little peek at our home – and that’s my little buddy “Mikey” who is never far from my side.  After this LONG COLD winter, it was so nice to see the daffodils and grass recently.

signs of spring

And I also love to craft.  It’s been various things through the years…  I’ve tried knitting and crocheting and cross-stitching, tole painting, slate painting, wood crafts, and ceramics.  My most recent crafting obsession is papercrafting – stamping, coloring, cutting, punching, pasting, tying – anything with paper and ink.  I guess it feels comforting being that I (and so many of us) spend so much time on the computer.  It feels extra special to create and send a special handmade something to someone and hope they realize the time and love you put into it – just for them. Here’s a card I made for a very special cousin and friend – Oh Rob! (I’m sure you’ll hear more about him in coming posts). Oh how I love that guy – and his amazingly talented and loving wife and superhero to me, Joyce.  Rob’s “One Little Word” this year is “reflection,” so I wanted to create a birthday card acknowledging and celebrating “reflection.”

rob reflection birthday card 2014

And then – I love to photograph it all.  Dear hubby got me my first good camera for Christmas this year – and I think he might regret it….  I know my boys do…. but I just love taking photographs of crazy, silly, normal, everyday things.   Not a trained professional by any means – not even a class – haven’t even read the whole manual (sorry Patty – I will get there!) – just have fun with it and love seeing what it captures.  My BFF, Jill, honored me with the privilege of capturing  her daughter, Jackie’s bridal shower recently – oh what fun that was – and even allowed me to do a “photo shoot” with her in-laws (I think George and Alice are going to be more famous than all of us) for a work campaign.

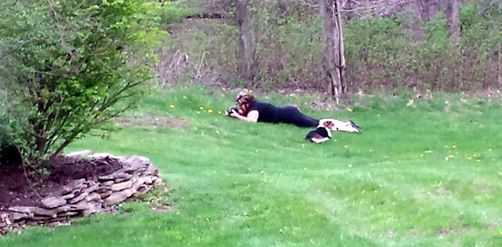
Recently, while Marty (that’s the dear hubby’s name) was cutting grass, I was doing very important things like taking pictures of dandelions and bees on them….  and HE snapped this little gem with his phone while on the tractor…. Not flattering – but yep – that about sums it up.  The silly things I do in my life in between…..

Untitled

So we’ll see how this goes….  I now have my first post under my belt.

Cheers and hugs,

Jodi

#MyFirstPostRevisited