So I don’t know about you, but I make something with chicken at least once… often twice… and sometimes three times a week (if I can get away with it!). I love how versatile chicken is, and I challenge myself to find a new recipe to try with chicken every week.
Chicken Fajitas are a family favorite, and I have made them a variety of ways throughout the years. Yesterday, however, I created this FREAKIN’ FABULOUS version that is my absolute favorite to date!
I started with a fresh lime and cilantro marinade…
adding some spicy chili powder, cumin, and garlic salt.
I put half the marinade on the chicken and half on the sliced veggies.
After allowing everything to marinate most of the day, we grilled the chicken and veggies.
Wow! The smell… the taste… So Dang DELISH!
Add some fresh homemade guacamole, shredded cheddar cheese, fresh greens, and WOWSERS! Best meal in a wrap! Add a tossed green salad, and you have an amazing weeknight dinner.
Here’s my recipe. You HAVE TO try this! I swear it is the best chicken fajita I’ve EVER had.
Jodi's Best Ever Lime Cilantro Marinated Grilled Chicken Fajitas
Marinade:
1 large ripe lime, juiced (approx 4 tsp juice)
1 cup chopped fresh cilantro
1 cup olive oil
2 tsp. chili powder
3 tsp. cumin
1 tsp. garlic salt (I use the kind with parsley in, but not necessary)
3 large chicken breasts, sliced into three thin slices each, to make 9 pieces.
1 large vidala onion, sliced
2 cups sliced sweet red, yellow, orange peppers
8 Large Flour Tortilla Wraps (wrapped in foil and placed on grill for a few minutes to warm)
Directions:
Prepare marinade by whisking together all ingredients.
Pour half on chicken in a glass baking dish. Cover with saran wrap and refrigerate.
Pour other half on sliced onions and peppers in another glass baking dish. Cover with saran wrap and refrigerate.
Marinade 4-8 hours.
When ready to prepare, grill chicken and veggies (we used a wire grill basket for the veggies).
When done, slice chicken into strips.
Assemble fajitas by spreading about a tablespoon of guacamole onto the warmed tortilla, top with chicken strips, grilled onion and pepper strips, cheddar cheese, and fresh greens. Wrap and ENJOY!
Serve with a fresh salad, mexican rice, or refried beans.
Anyone who has followed along here at LifeinBetween.me for any length of time might be wondering what an ole’ Hunky Polish chick that loves baking cookies and cakes and breads and makes halupkis and haluski and pierogies is doing trying her hand at Chinese comfort food….
Well – why not?!
And oh YUMMMM!
Who knew how easy and healthy it could be without buying it from the local Chinese take-out?
And is there anything more versatile?!
The sky is seriously the limit with all the things you can mix into this!
Change up the protein from shrimp to chicken or pork or even beef.
Almost any vegetable works too!
Can’t find Lo Mein Noodles at your local grocery? Spaghetti noodles work just fine!
1 – 1.5 lbs Thin Spaghetti (or Lo Mein noodles) – cooked al dente
1 lb Cooked, Deveined Shrimp, Tails removed (or chicken or pork or beef)
5 cups spinach leaves
1 cup shredded julienne carrots
1 cup diced celery
1 cup sliced mushrooms
1 cup thin asparagus tops
1 cup green onions, cut into 2 inch lengths
1 cup sugar snap peas
2 red peppers, cut into strips
2-3 cloves minced garlic
3 tsp. Olive Oil
Sauce:
5 Tbsp. Soy Sauce
1 Tbsp. Sesame Oil
2 Tbsp Sugar dissolved in 2 Tbsp hot water
1 tsp Salt-Free Asian Spice Seasoning
1 Tbsp freshly minced ginger
1 tsp Siracha Sauce
Directions:
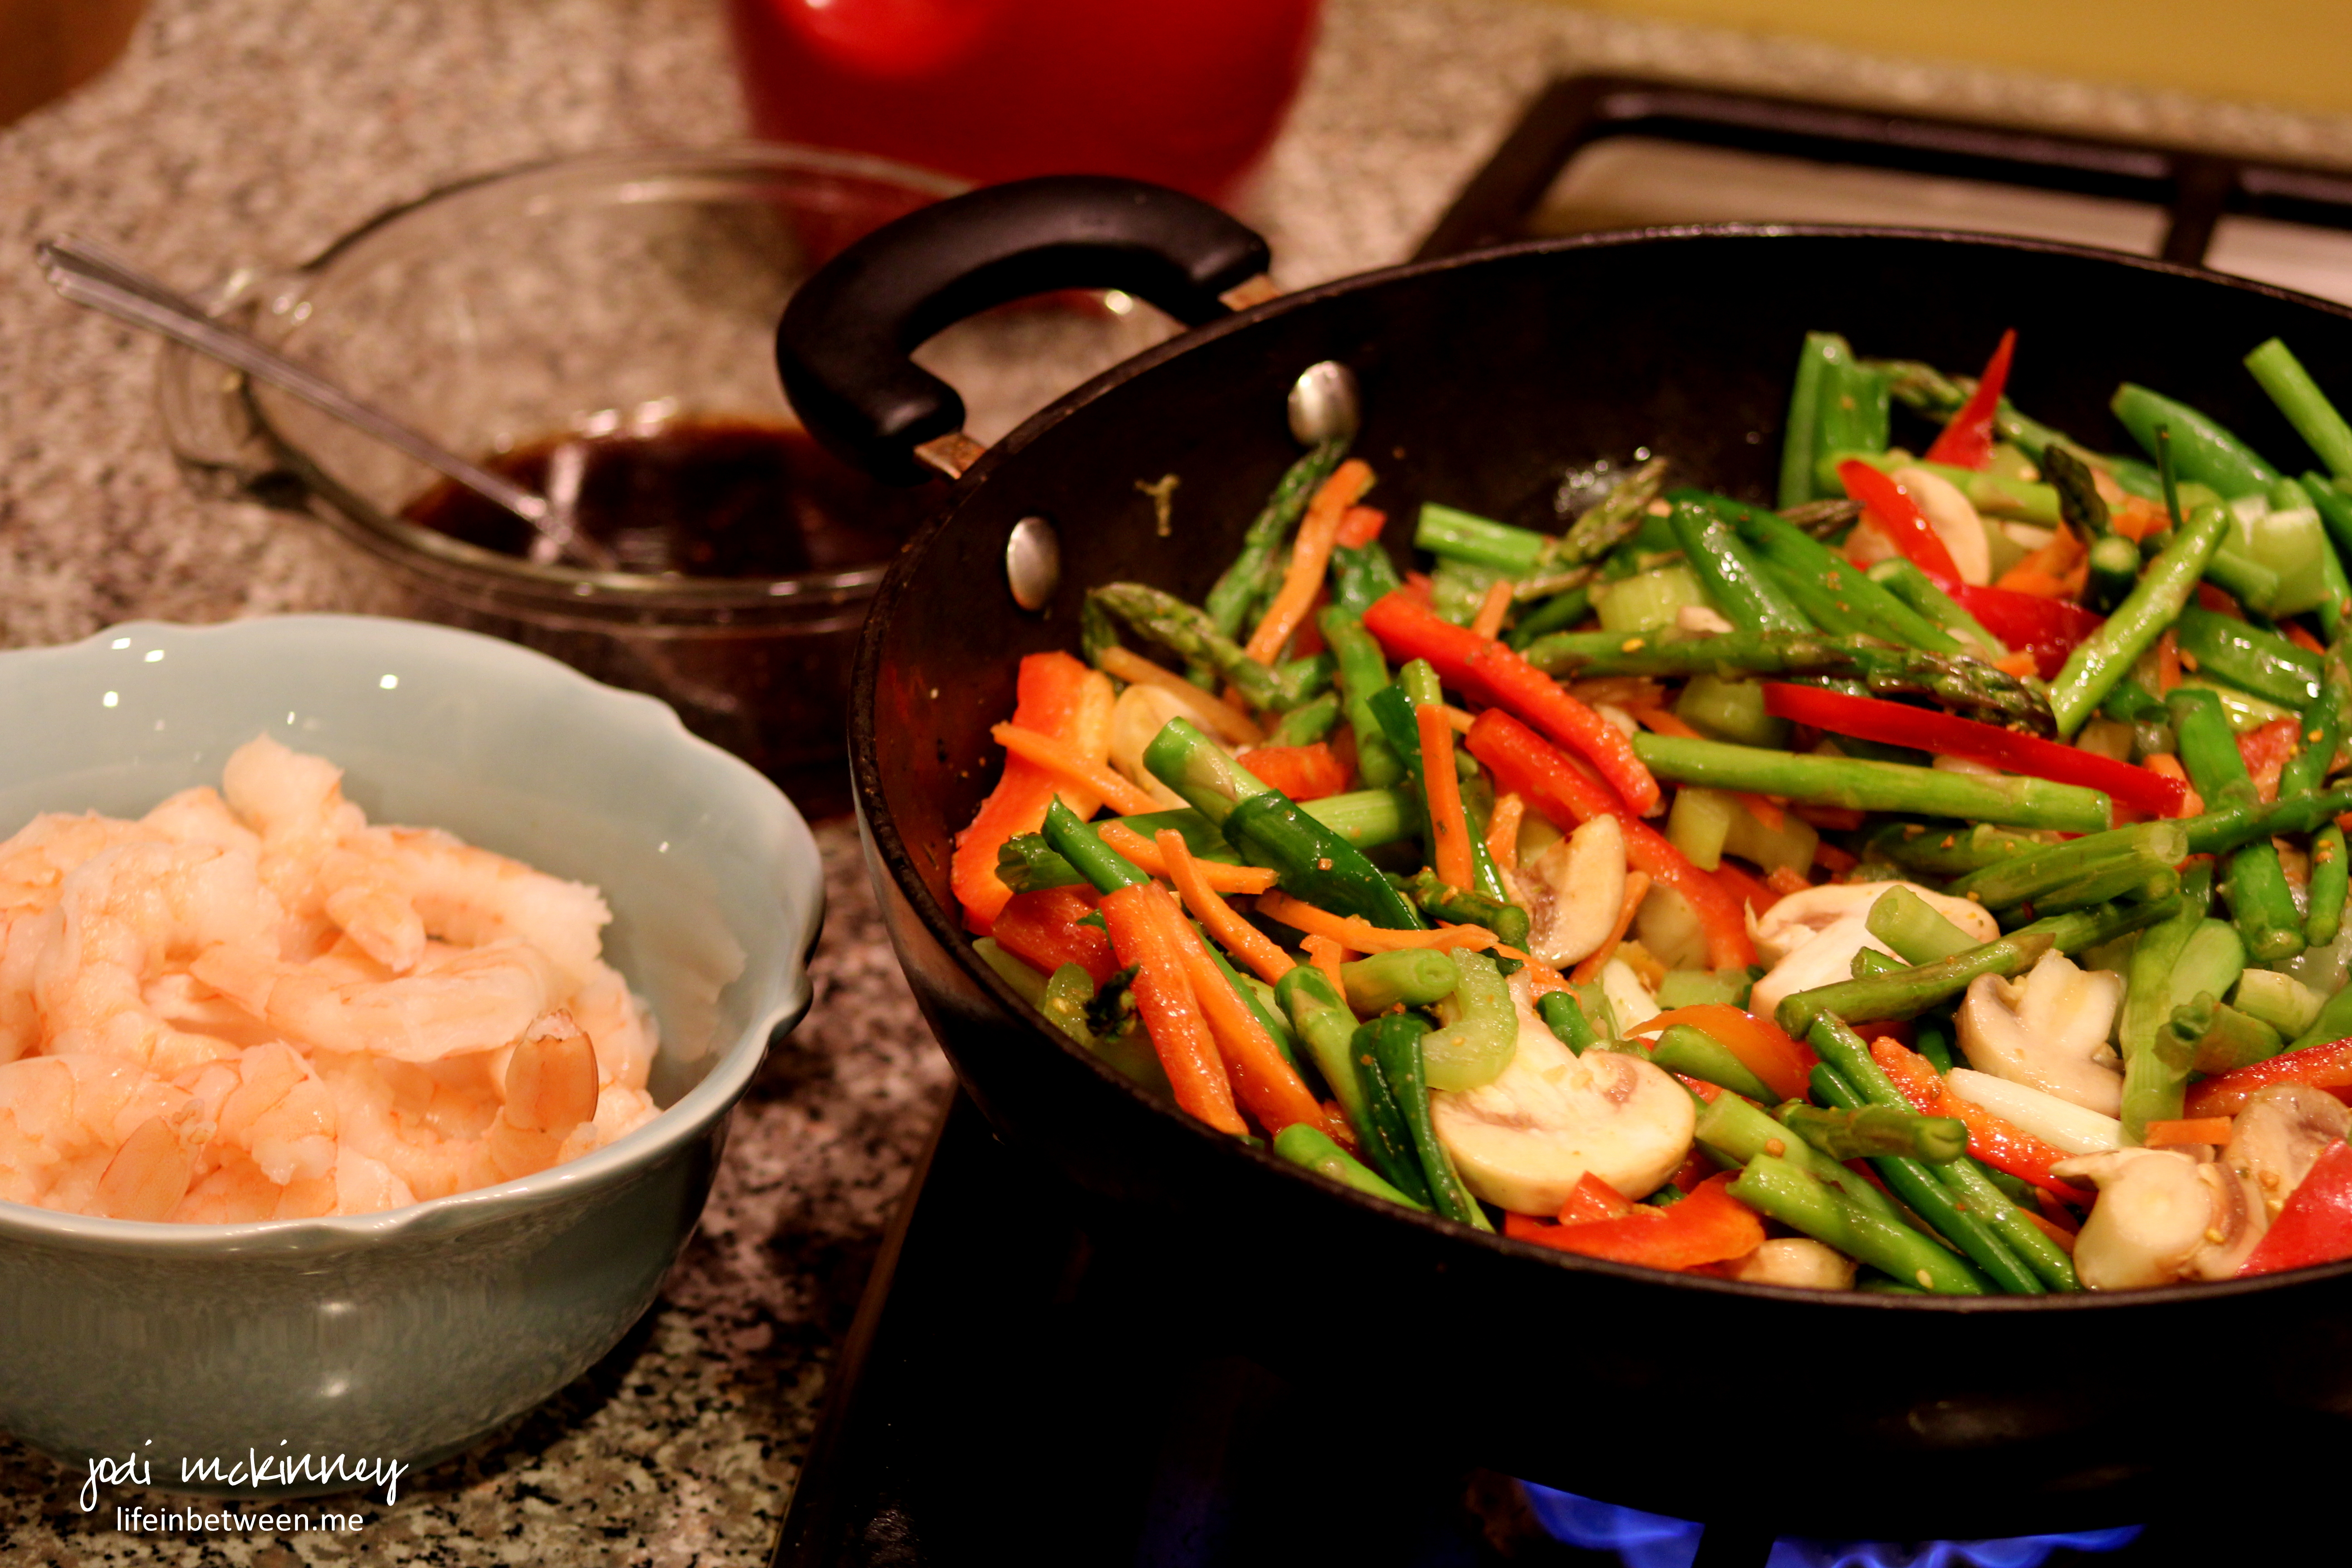
Heat olive oil in large wok or skillet. Add garlic and cook for 1 minute. Add rest of vegetables, except spinach (any of the above or any that you like) and cook for 4-5 minutes. Stir frequently. Add cooked shrimp (or protein of your choice or simply keep vegetarian). Cook 2-3 more minutes. Add spinach and cook 1-2 more minutes. Stir in noodles and sauce mixture. Gently toss.
So just yesterday I announced how I was taking on a two-week poetry challenge for the WordPress Daily Post… Right?
Today’s assignment was the topic of Trust using an Acrostic Poem and using Internal Rhyme…….. YIKES!
It is 10 pm.
I’ve worked all day, spent the evening at a fun card class with Colleen (and Katie :)).
I’m sipping a G&T, and… WTH!
Too much to deal with… too many rules…
I like poetry and all, but….
Can I just share a recipe instead? 🙂
How about some yummy and SUPER easy Cinnamon Popcorn?!
At first try, I was so-so on this, but after my G&T (and skipping dinner), I think I might have to throw the rest of this stuff away before I eat it all!!
Some of you may recall my super-addictive, super-delicious, super-amazing Homemade Caramel Corn. It is so crazy delish – seriously! A MUST Make recipe. DO NOT HESITATE!
Well – when I saw recipes circulating for cinnamon popcorn, like Rachael Ray’s, I envisioned a kicked up version using Hulless Butter Popcorn.
I happened to have a bag of Cinnamon Red Hot Imperials on hand. Isn’t this an item in everyone’s pantry?!?! 🙂
I also happened to have a bag of Snyder’s of Berlin Hulless Butter Popcorn.
So I adapted and created this Kicked-Up Version of Cinnamon Popcorn that I think you will like.
Give it a go…. or NOT if you are on a DIET! 🙂
This is how simple this stuff is:
Jodi’s Kicked Up Cinnamon Popcorn
1 bag (approximately 8 cups) Snyder’s Hulless Butter Popcorn (or you can pop 8 cups of popcorn)
1 cup Cinnamon Red Hot Imperials (or any other type of cinnamon candy)
1/2 cup water
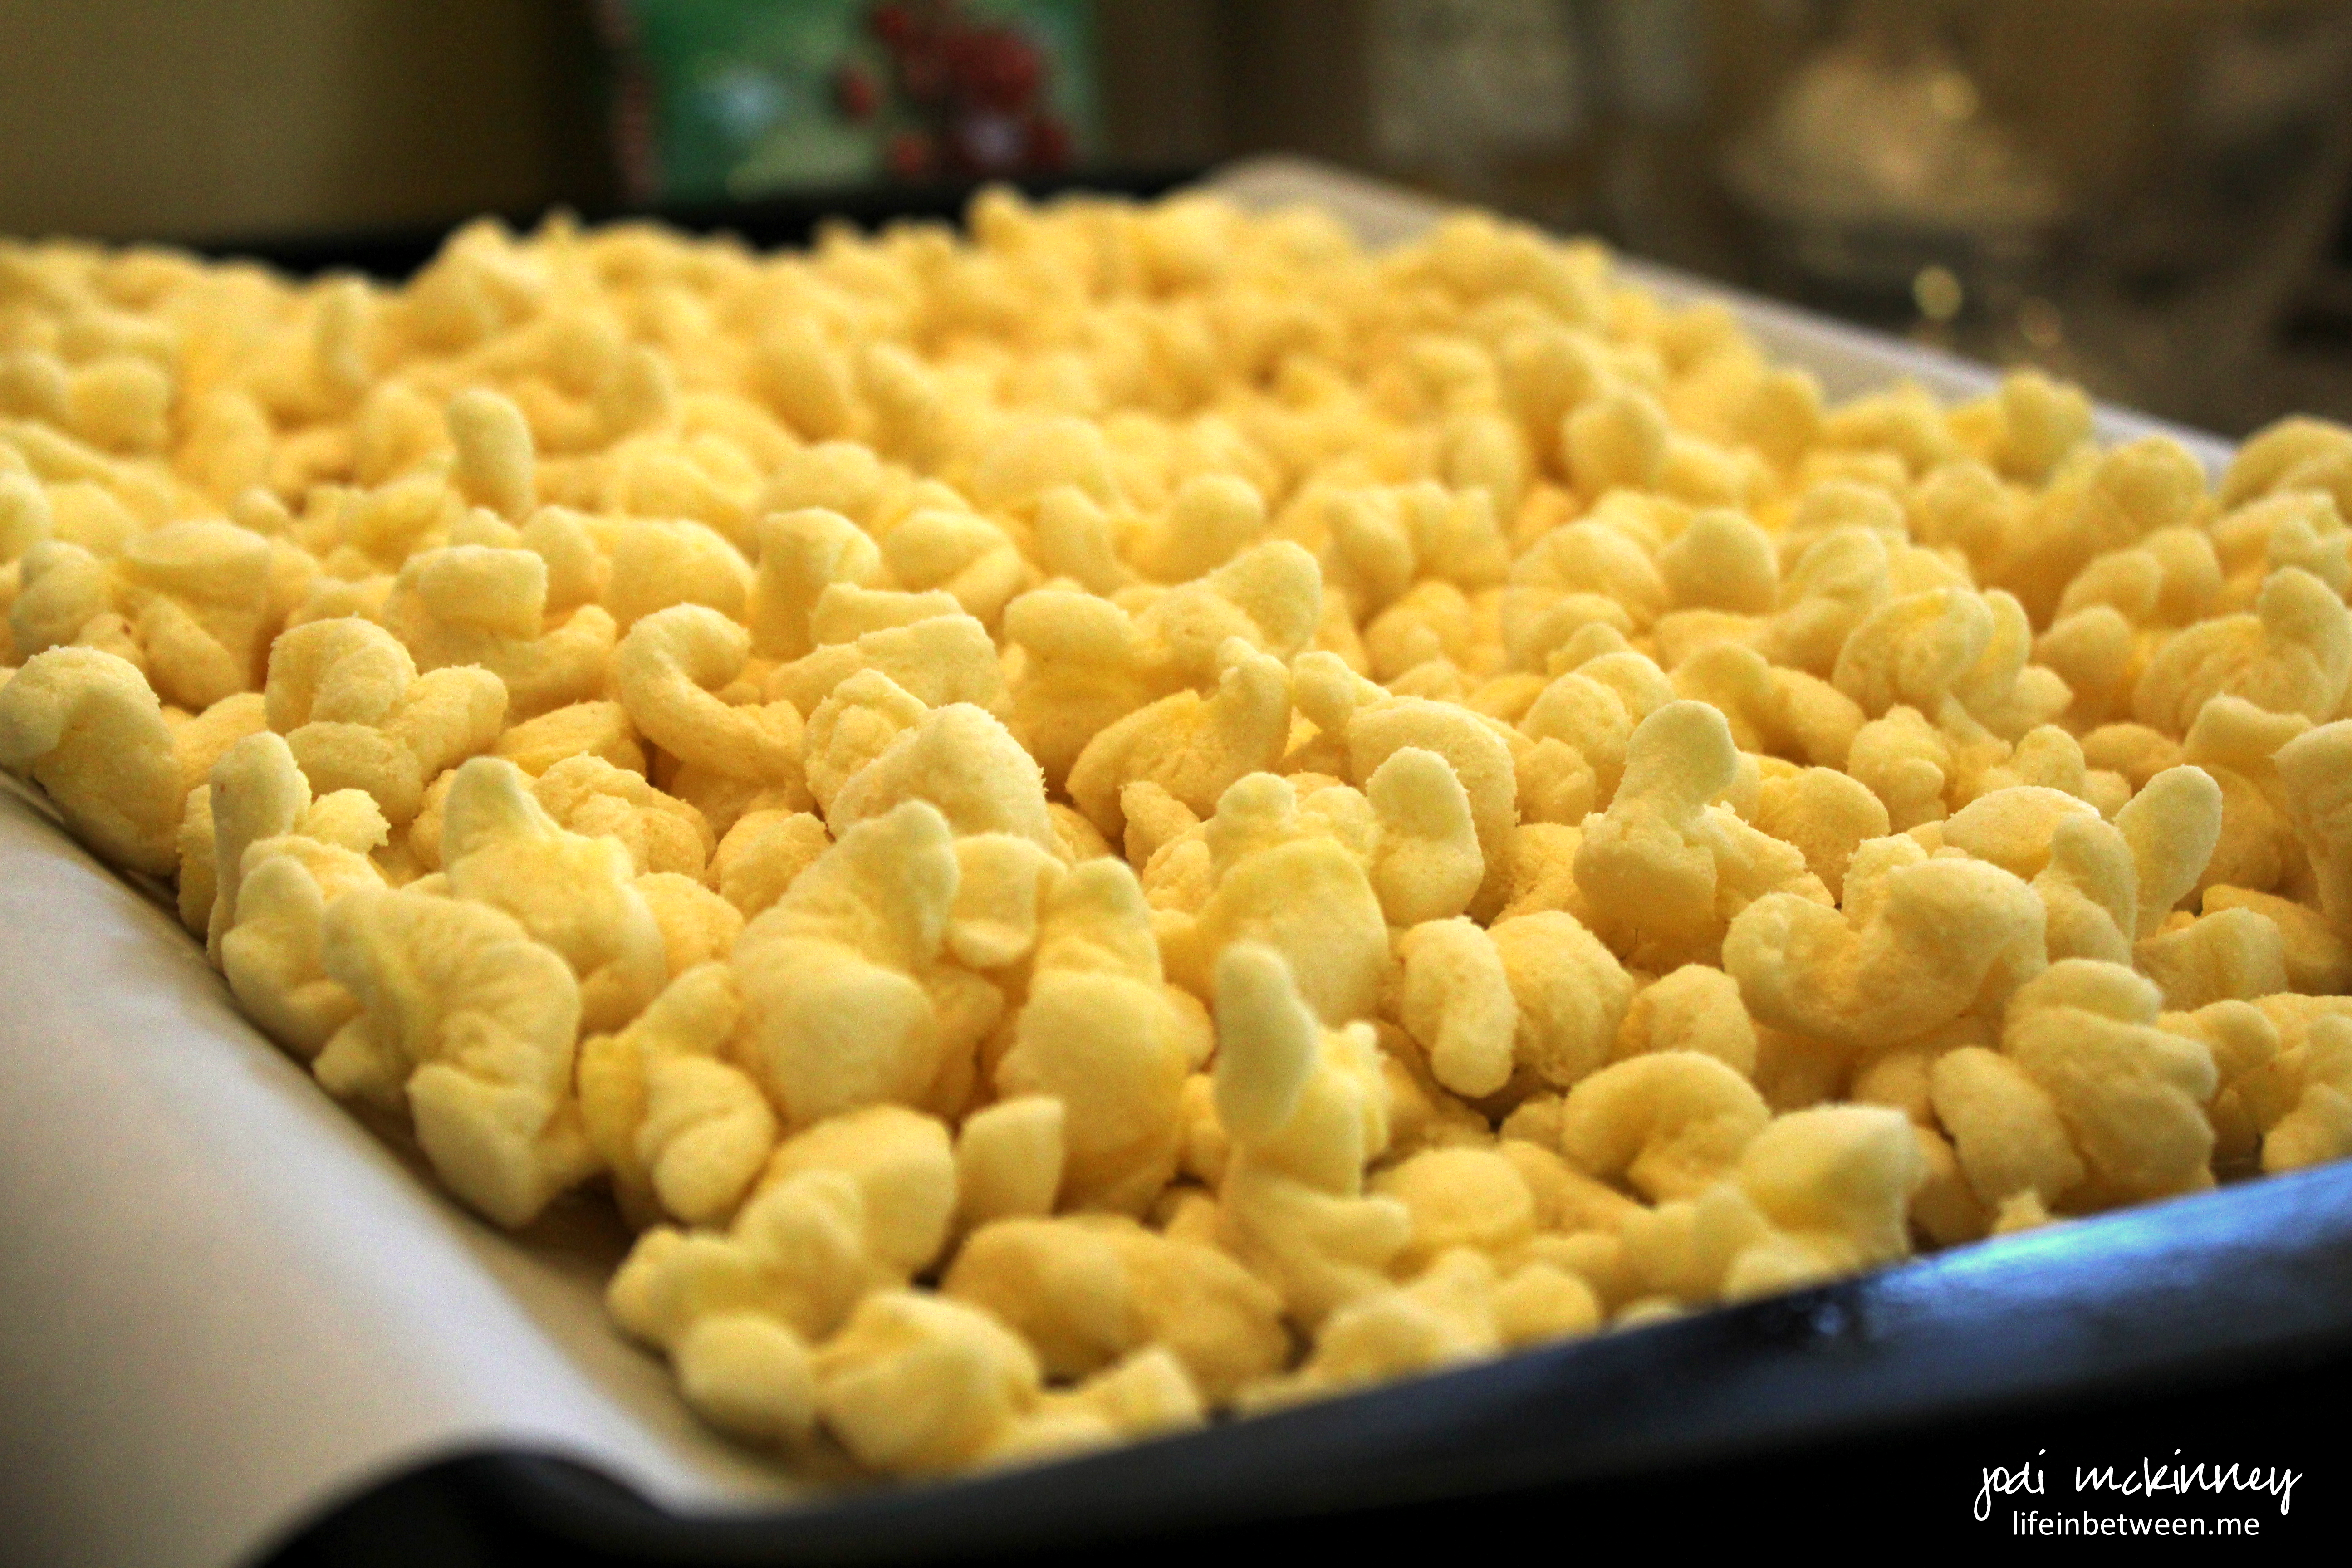
Spread popcorn out on a baking sheet covered with parchment paper.
Melt cinnamon candy and water in a saucepan until completely melted.
Pour cinnamon candy over popcorn.
Bake in 250 degree F oven for approximately 20 minutes.
Let cool completely.
As promised yesterday, today I am sharing the other orange cookie recipe that I made this weekend: Orange Creamsicle White Chocolate Chip Cookies.
And they really taste like Orange Creamsicles! Remember that yummy ice cream treat we used to get as kids? A little orange citrusy tang, but oh so ice creamy!!
I have never made a cookie recipe that called for cornstarch before, but I love how tender these cookies turned out – just a tiny bit crispy on the outside, but softbatch-like on the inside.
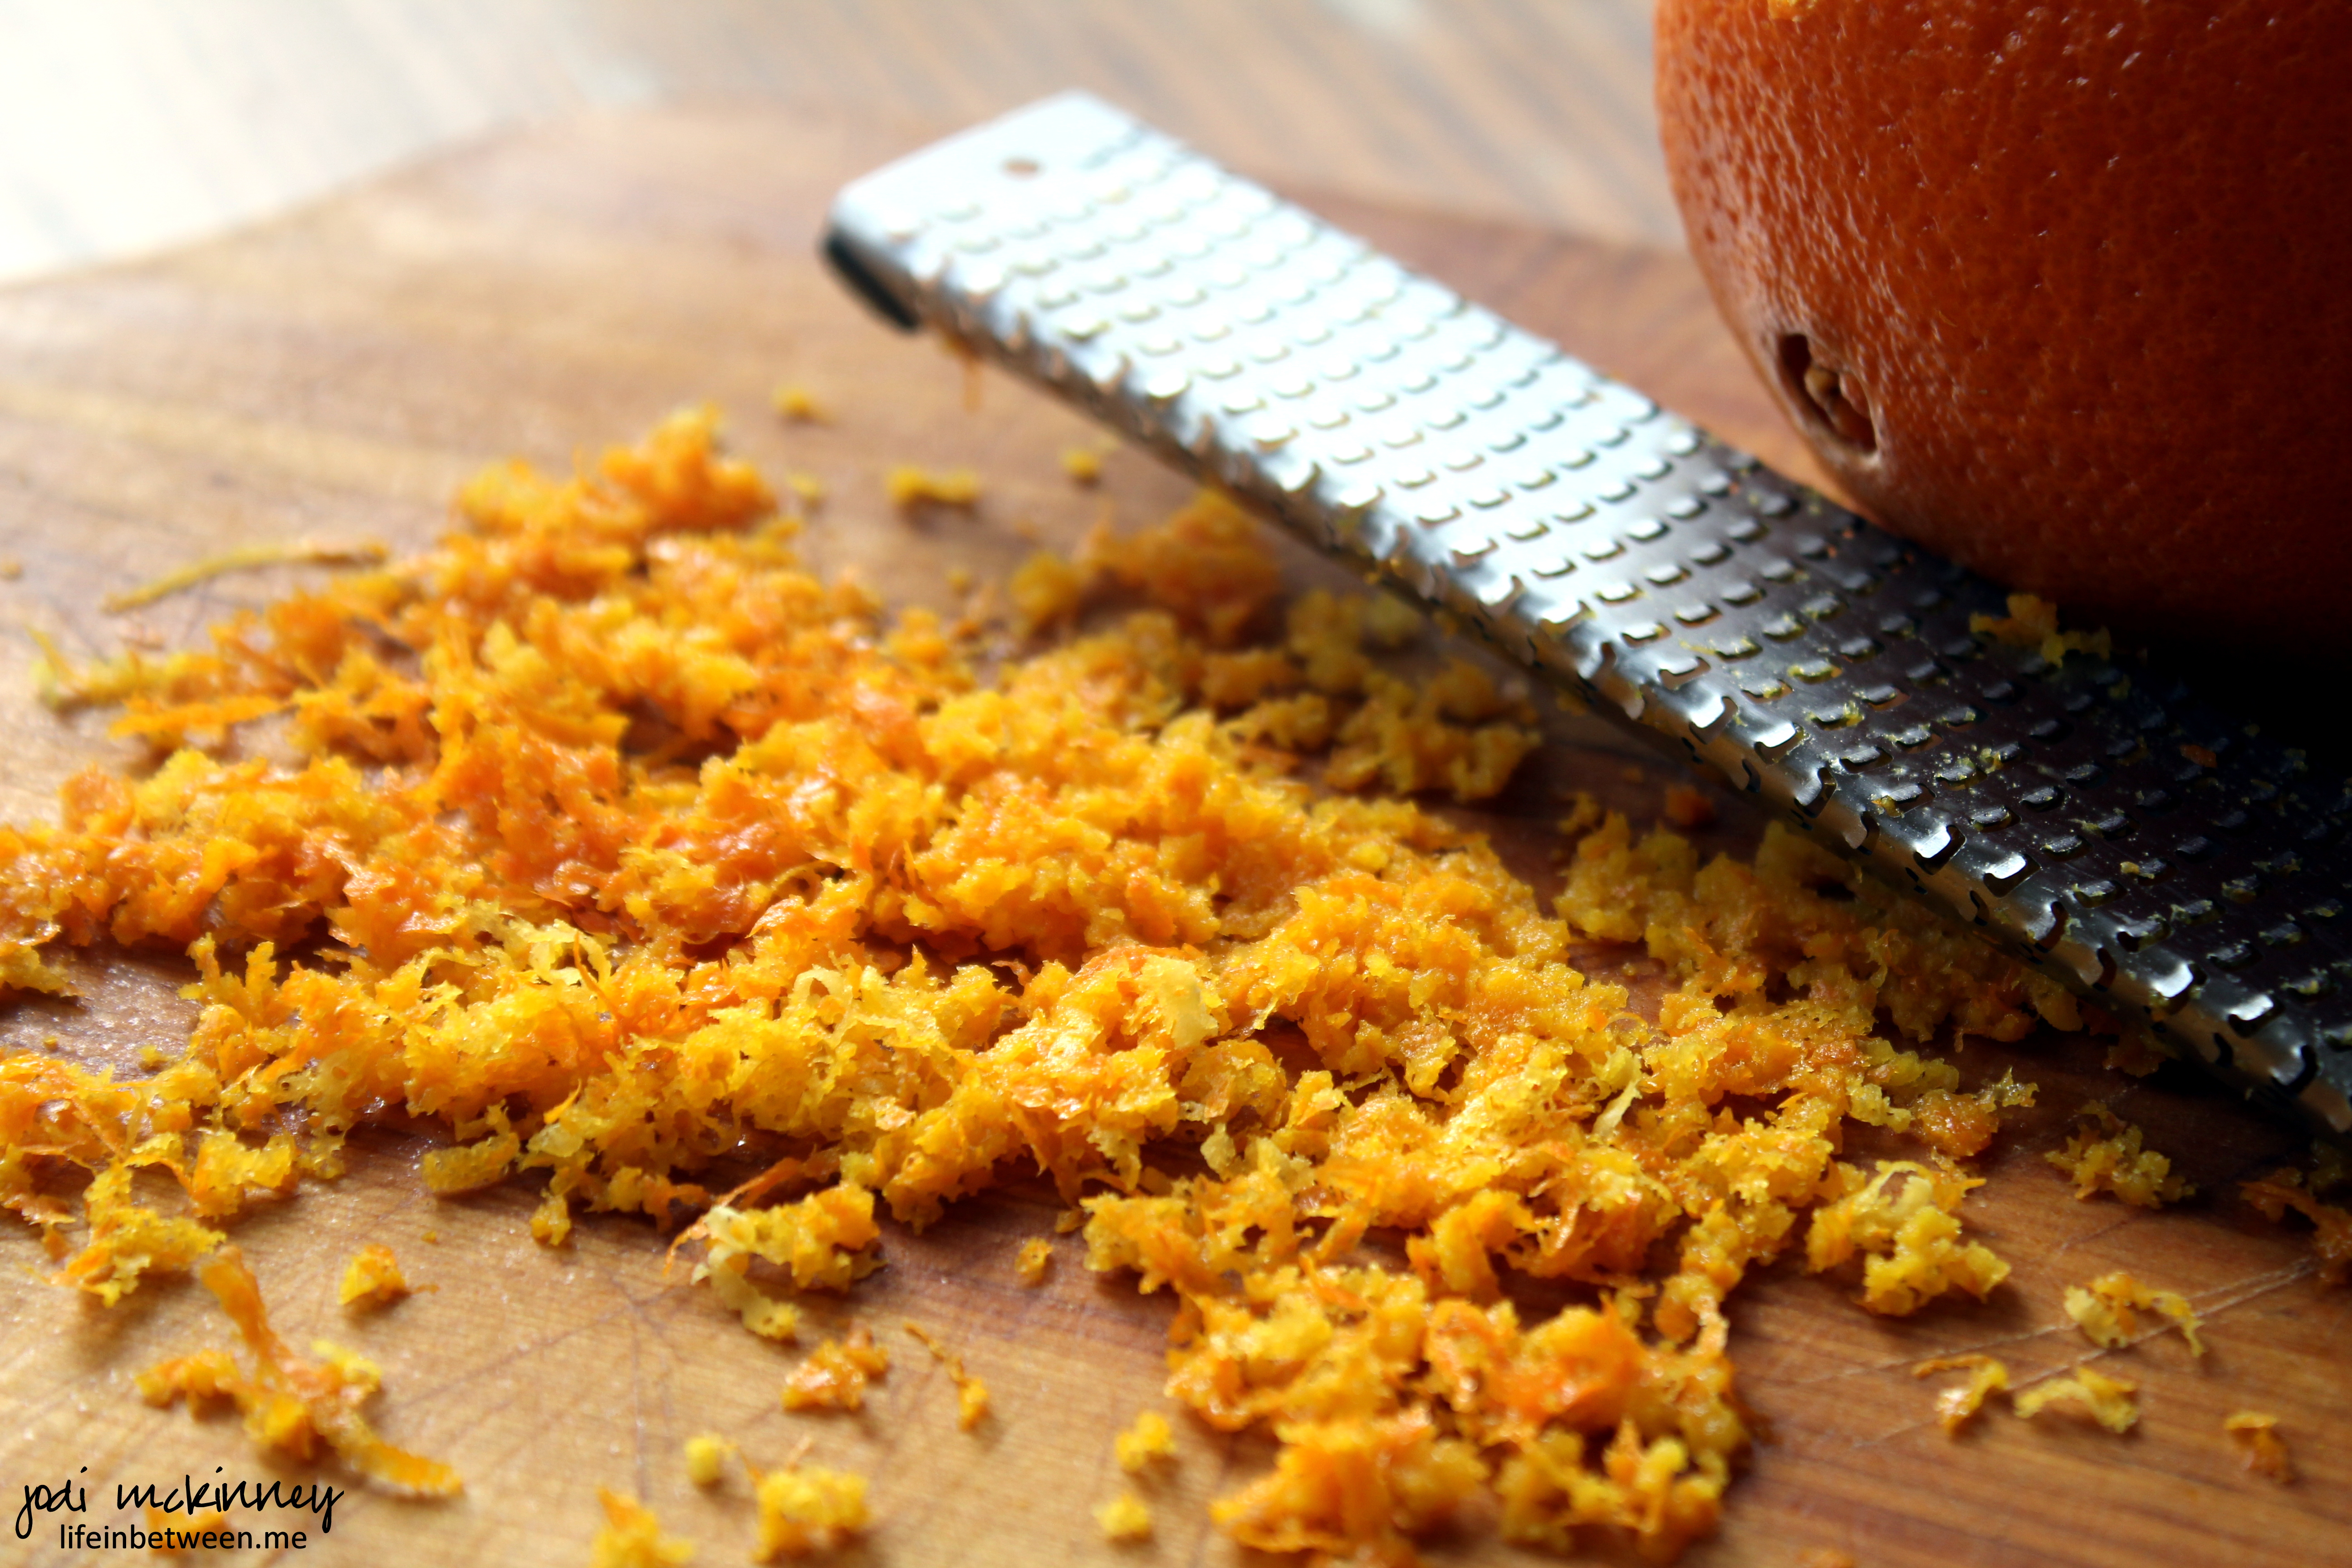
They also get their intense flavor from using three extracts: vanilla, almond, and orange, as well as a couple tablespoons of freshly grated orange zest.
The creamy flavor comes from the addition of half and half and from the white chocolate chips.
I took both these and the Orange Slice & Oatmeal Cookies to our Chinese New Year’s Party yesterday, as oranges are supposed to bring good luck.
Come back tomorrow to see some highlights from that great celebration. (Here’s a little sneak peek – appetizer time with tender teriyaki beef on skewers.)
1/2 cup butter, softened
3/4 cup light brown sugar, packed
1/4 cup granulated sugar
1 large egg
2 teaspoons vanilla extract
2 teaspoons almond extract
2 teaspoons orange extract
2 tablespoons half-and-half
2 tablespoons freshly grated orange zest
2 cups all-purpose flour
2 teaspoons corn starch
1 teaspoon baking soda
pinch salt
12 ounce bag white chocolate chips
DIRECTIONS:
With electric mixer,cream together butter, sugars, egg, and extracts on medium-high speed until very light and fluffy, about 5 minutes.
Scrape down the sides of the bowl, and add the cream, zest, and mix on medium speed until incorporated, about 1 minute.
Scrape down the sides of the bowl again, and add the flour, corn starch, baking soda, and salt, and mix on low speed until just incorporated, about 1 minute. Do not overmix.
Add the white chocolate chips, and mix on low speed until just incorporated.
Form heaping two-tablespoon mounds. Place mounds on a large plate, flatten slightly, cover with plastic wrap, and refrigerate for at least 3 hours, or up to 5 days, before baking. Do not bake with warm dough because cookies will spread and bake thinner and flatter.
Preheat oven to 350F. Place mounds on baking sheet, spaced at least 2 inches apart (I bake 8 cookies per sheet) and bake for about 8 to 9 minutes, or until edges have set and tops are just beginning to set, even if slightly undercooked, pale and glossy in the center. Do not overbake because cookies will firm up as they cool. Baking longer than 10 minutes could result in cookies with overly browned undersides.
Allow cookies to cool on the baking sheet for about 5 minutes before transferring to a wire rack to finish cooking. Cookies will keep airtight at room temperature for up to 1 week or in the freezer for up to 4 months. Unbaked cookie dough can be stored airtight in the refrigerator for up to 5 days, or frozen for up to 4 months.
My BFF was coming for dinner one night this week, and I wanted to make one of her favorites. Jill loves creamy potato soup, especially on these cold winter evenings, so I was excited to make it for her to enjoy for dinner with Marty and I since her hubby is out of town. How lucky for me to get to have extra time with her!!!
I found a recipe for Crockpot Potato Soup and thought that would be perfect – I could prep it in the morning, let it cook while I work, then finish it up after work and enjoy the evening with Jill.
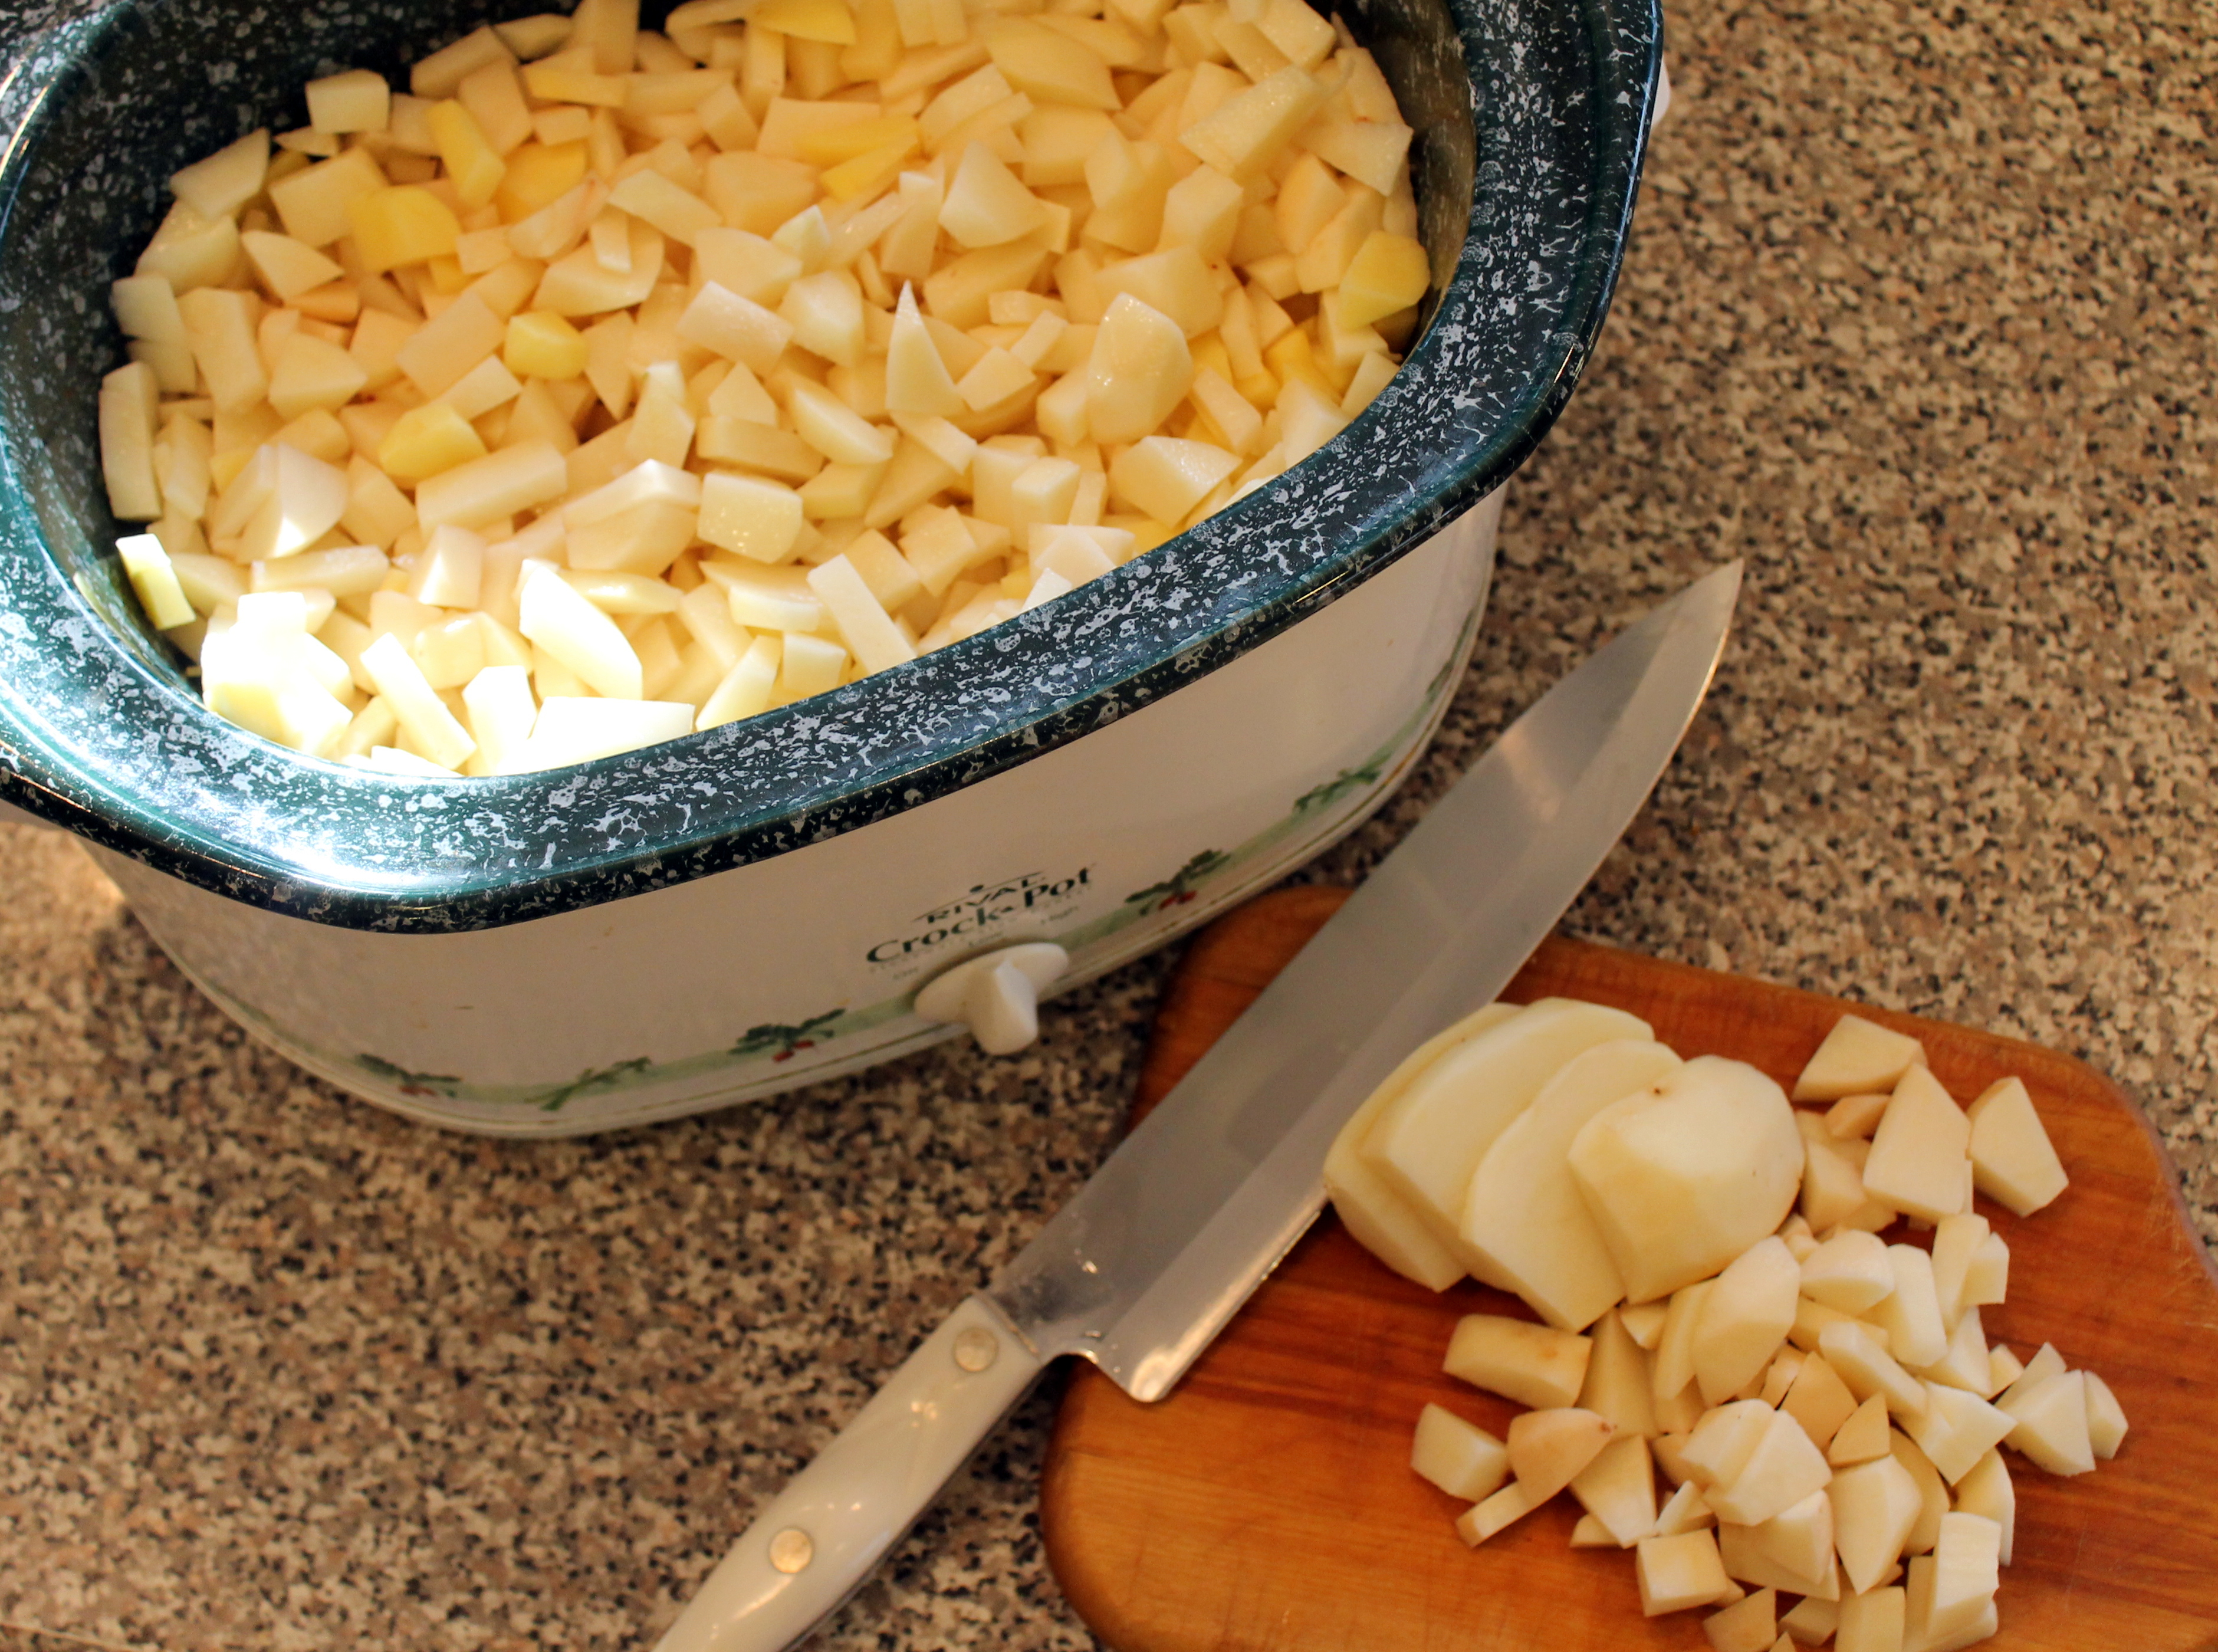
So I started peeling and dicing the potatoes. The recipe called for 3 to 3 1/2 lbs, but I decided to double it to assure there would be plenty leftover for Jill to have for the rest of the week to take for lunch or have for dinner at home.
And as a side note: Marty would be so proud that I actually used the vegetable peeler tool to peel all 7 lbs. of potatoes! What a hassle! I usually just use a paring knife to be quicker, but I do waste an awful lot that way… I had a bag of red potatoes and several loose russet and Yukon Golds. I used every single one of them.
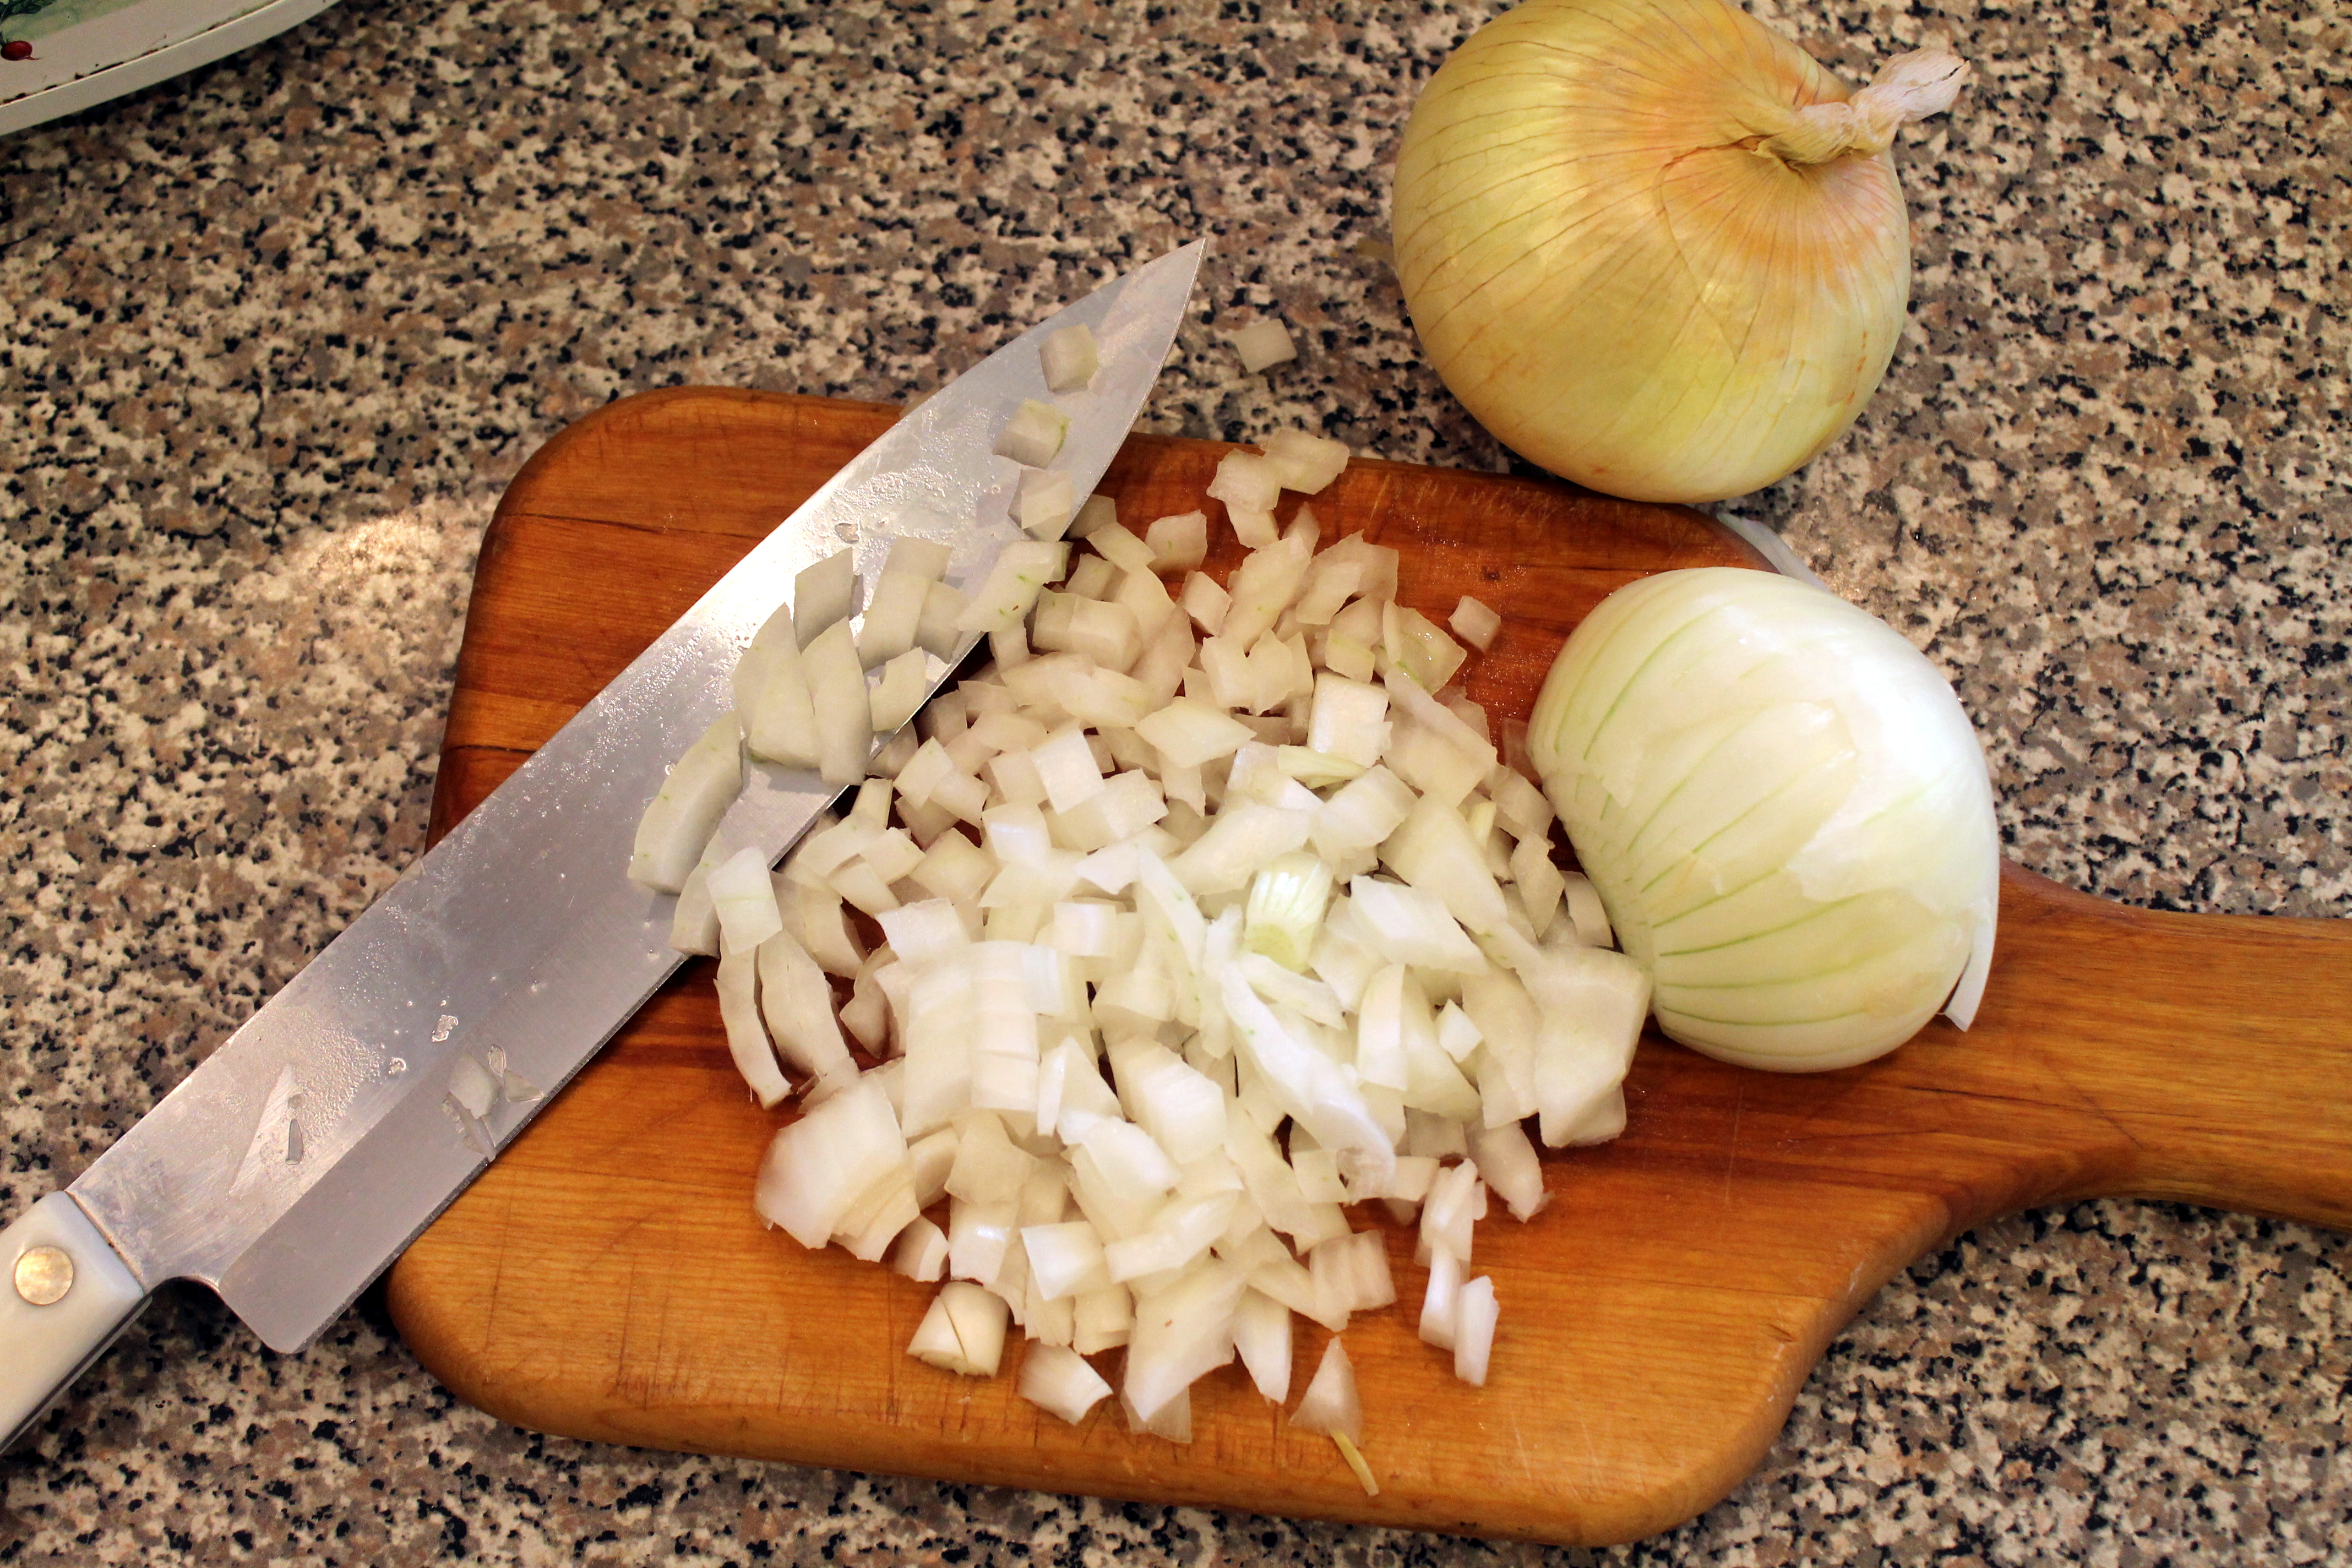
Then I chopped two wonderfully large sweet Vidalia onions. I’m not the best chopper/dicer. I just don’t have the patience to “finely” chop or dice. Marty and Jake are so much more precise. I like to refer to my style of chopping as “rustic.” Doesn’t that sound so much more artistic and purposeful than “too lazy to bother?” 🙂
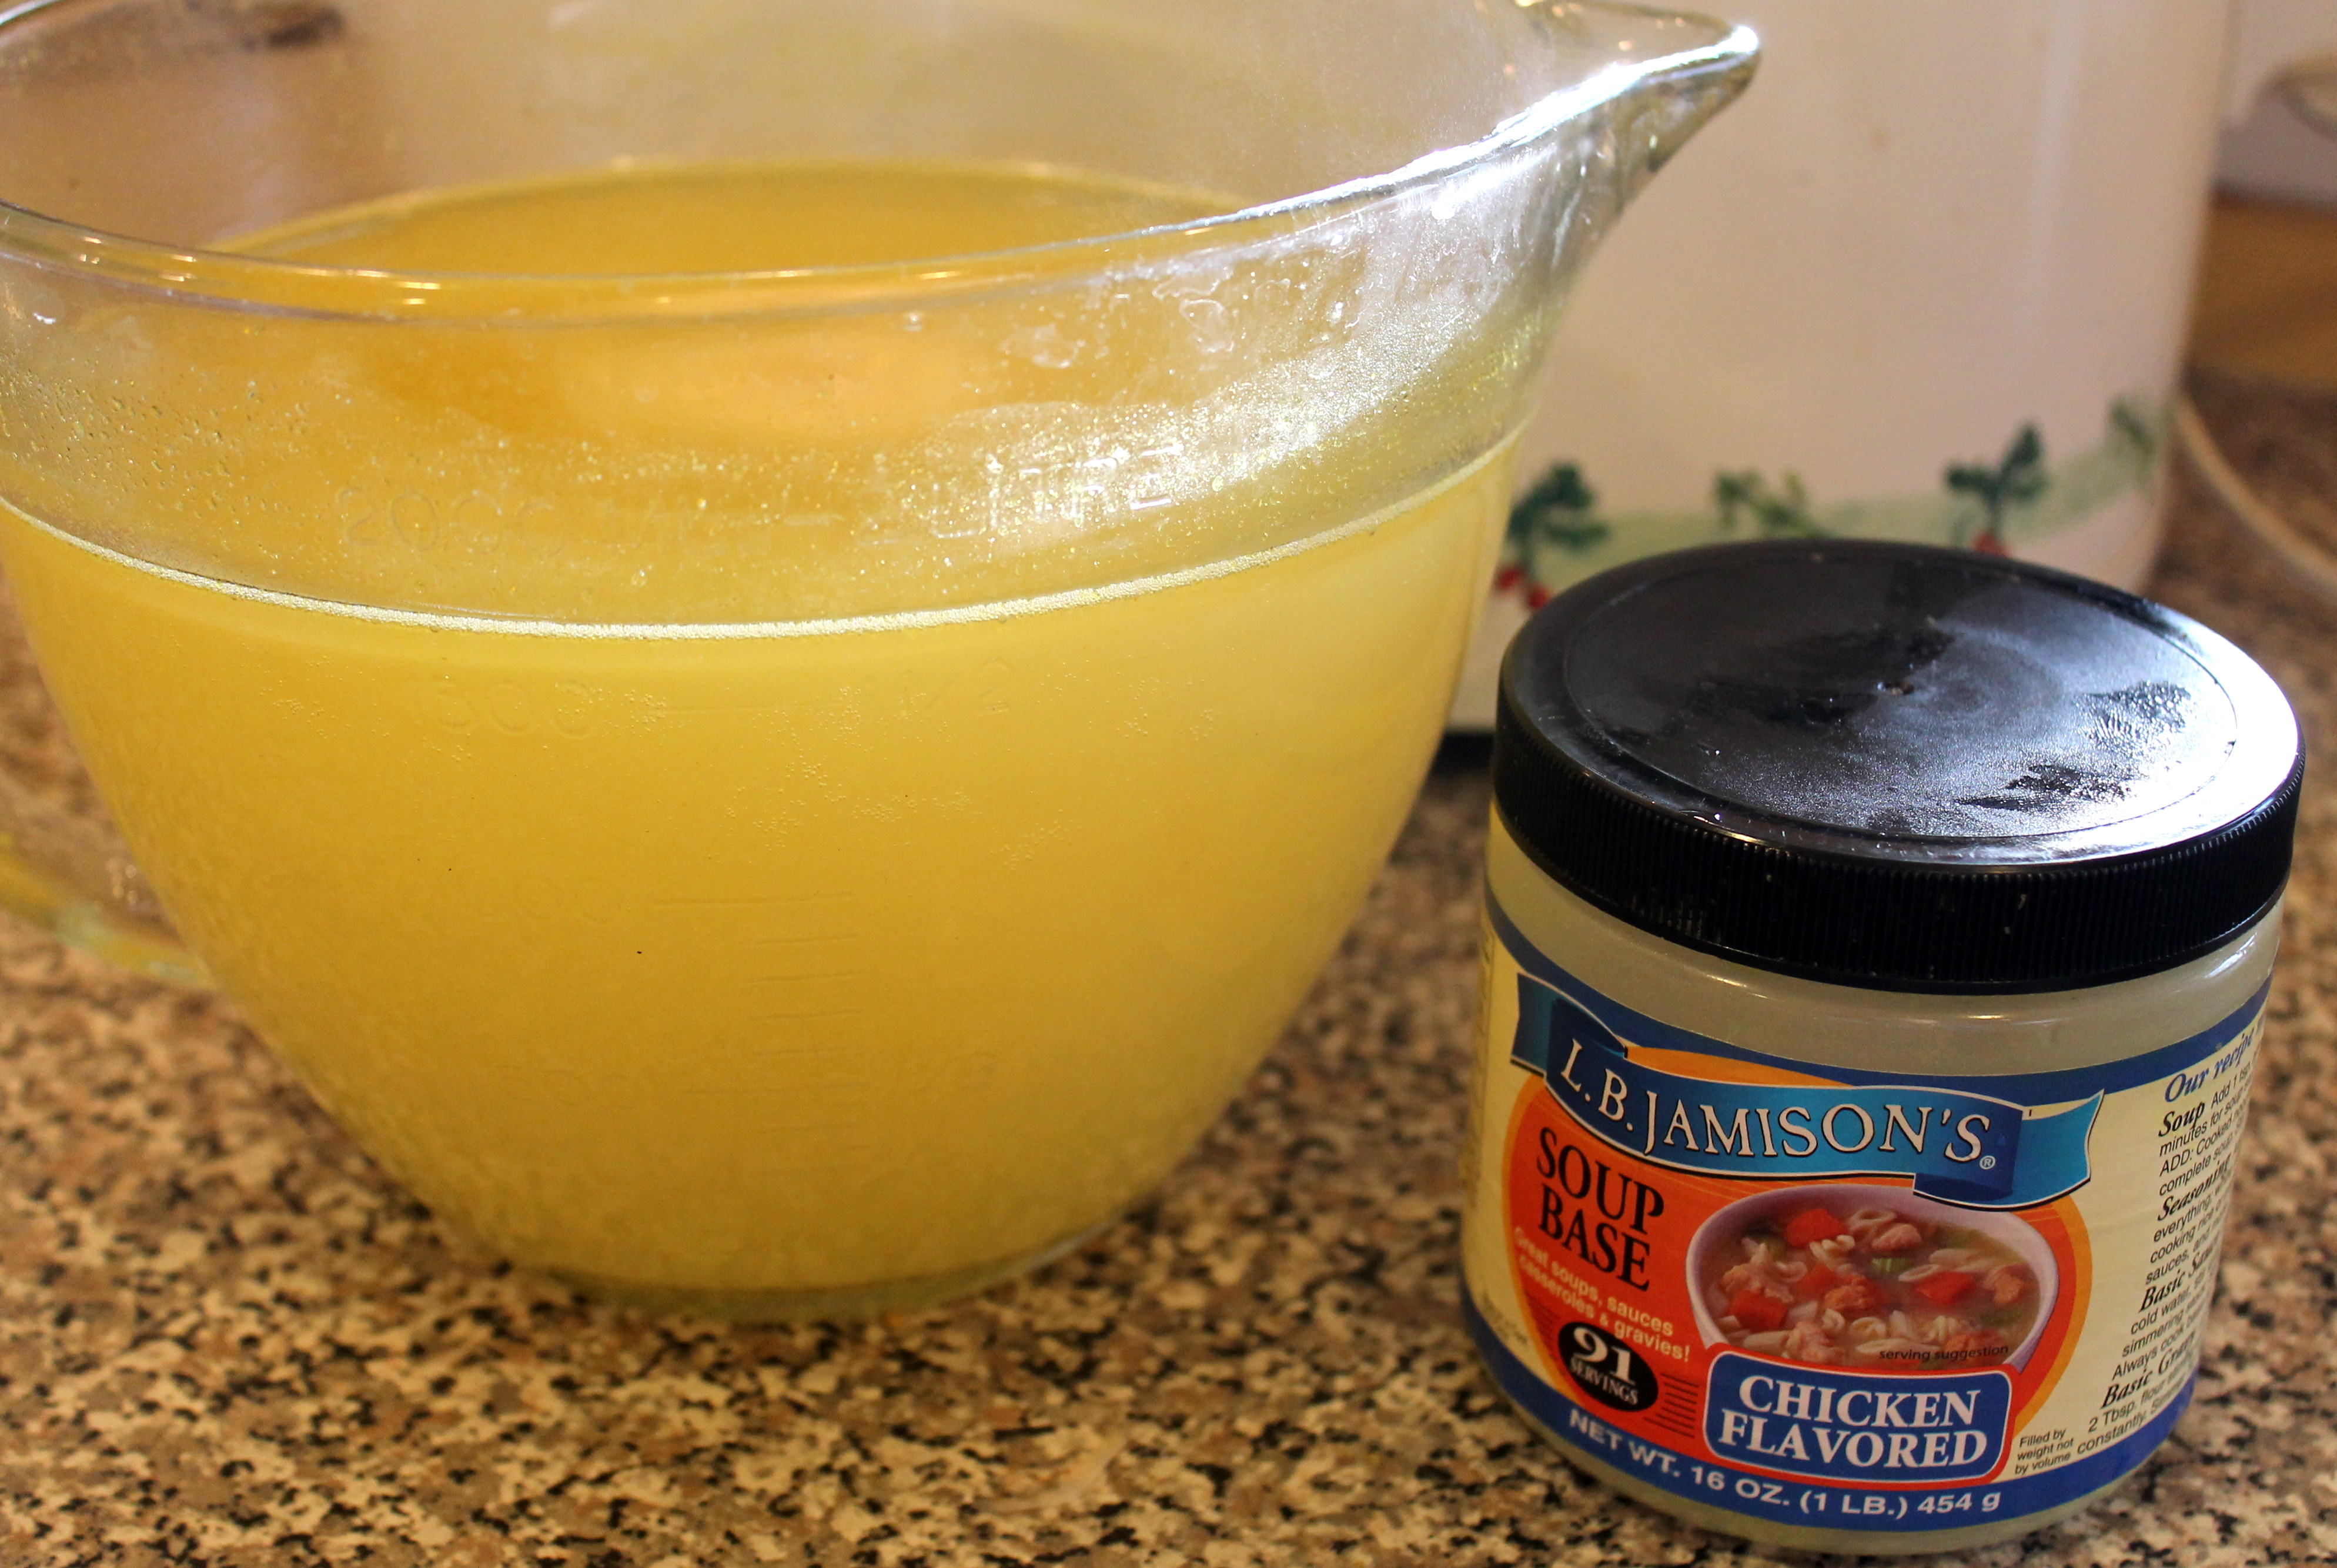
Next the recipe called for chicken broth. I didn’t have any canned or boxed, but I did have chicken base, which makes a wonderful and much less expensive broth.
Since I was doubling the recipe, I needed 10 cups of chicken broth.
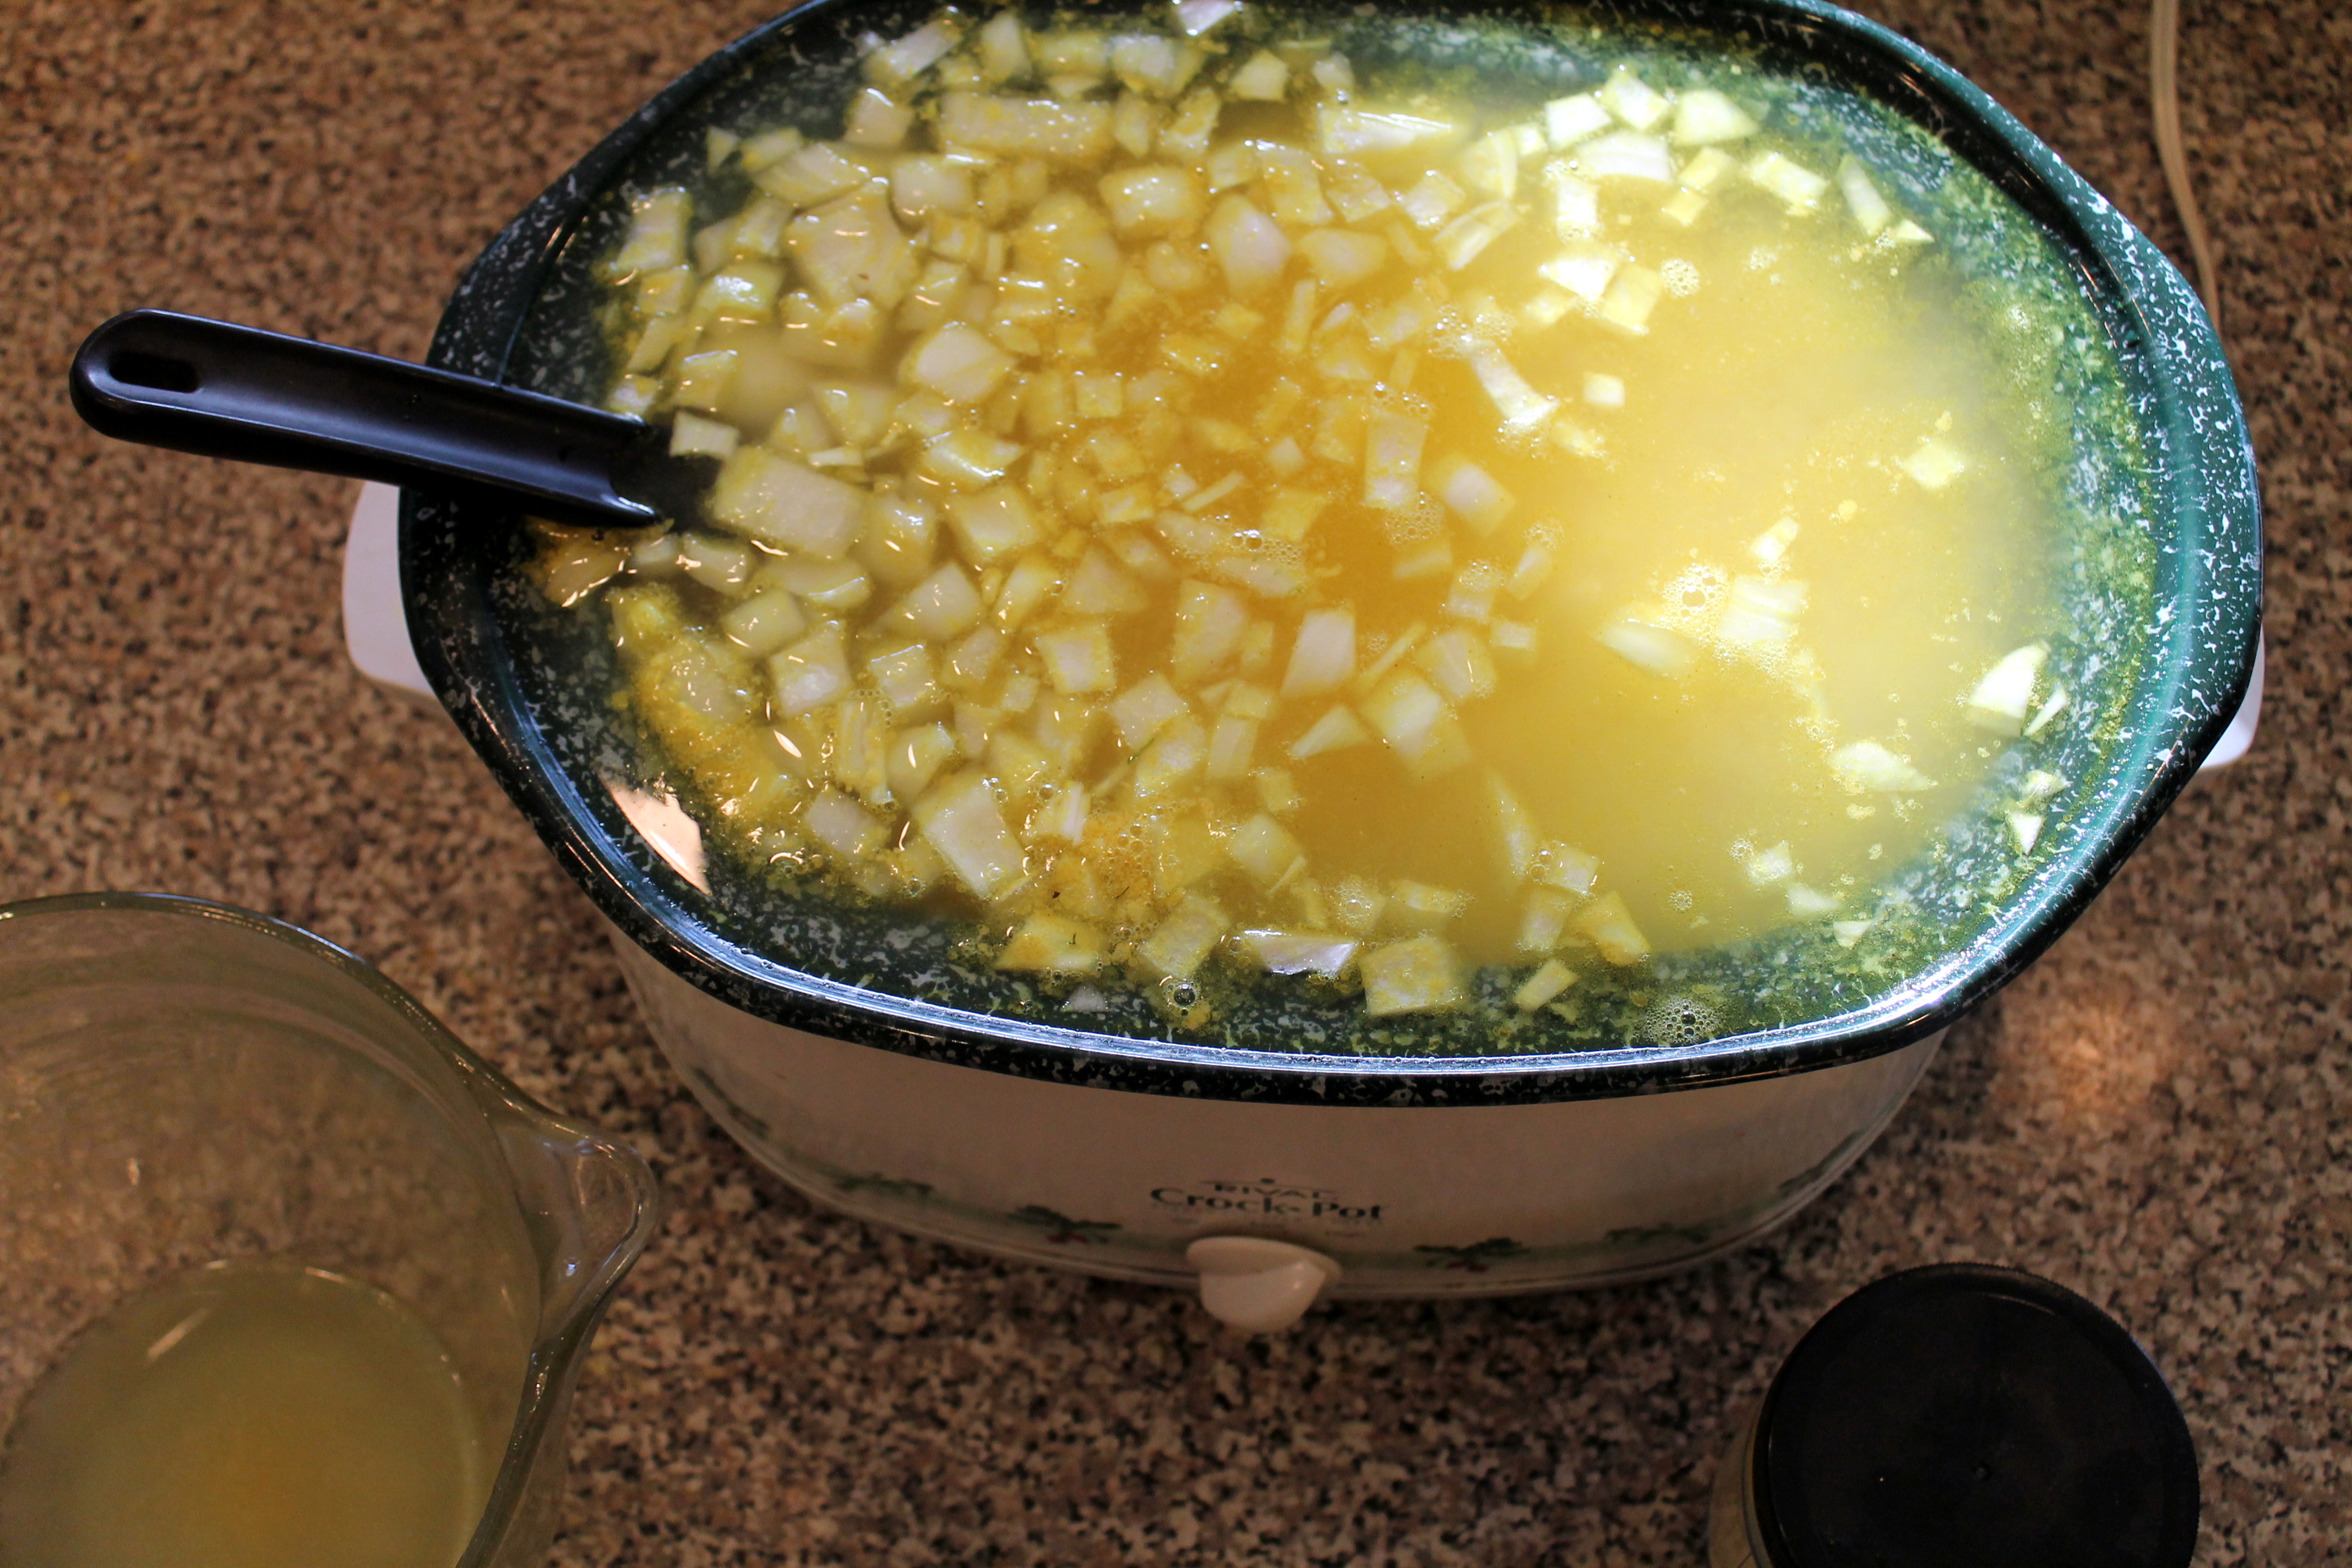
Well – I have a pretty large crockpot, but wasn’t thinking straight (Disclaimer: it was like 7:30 am, and I was only on my first cup of coffee), so 7 lbs. of diced potatoes and 10 cups of chicken broth…. well – not happening in the crock pot…. And there was more to add….
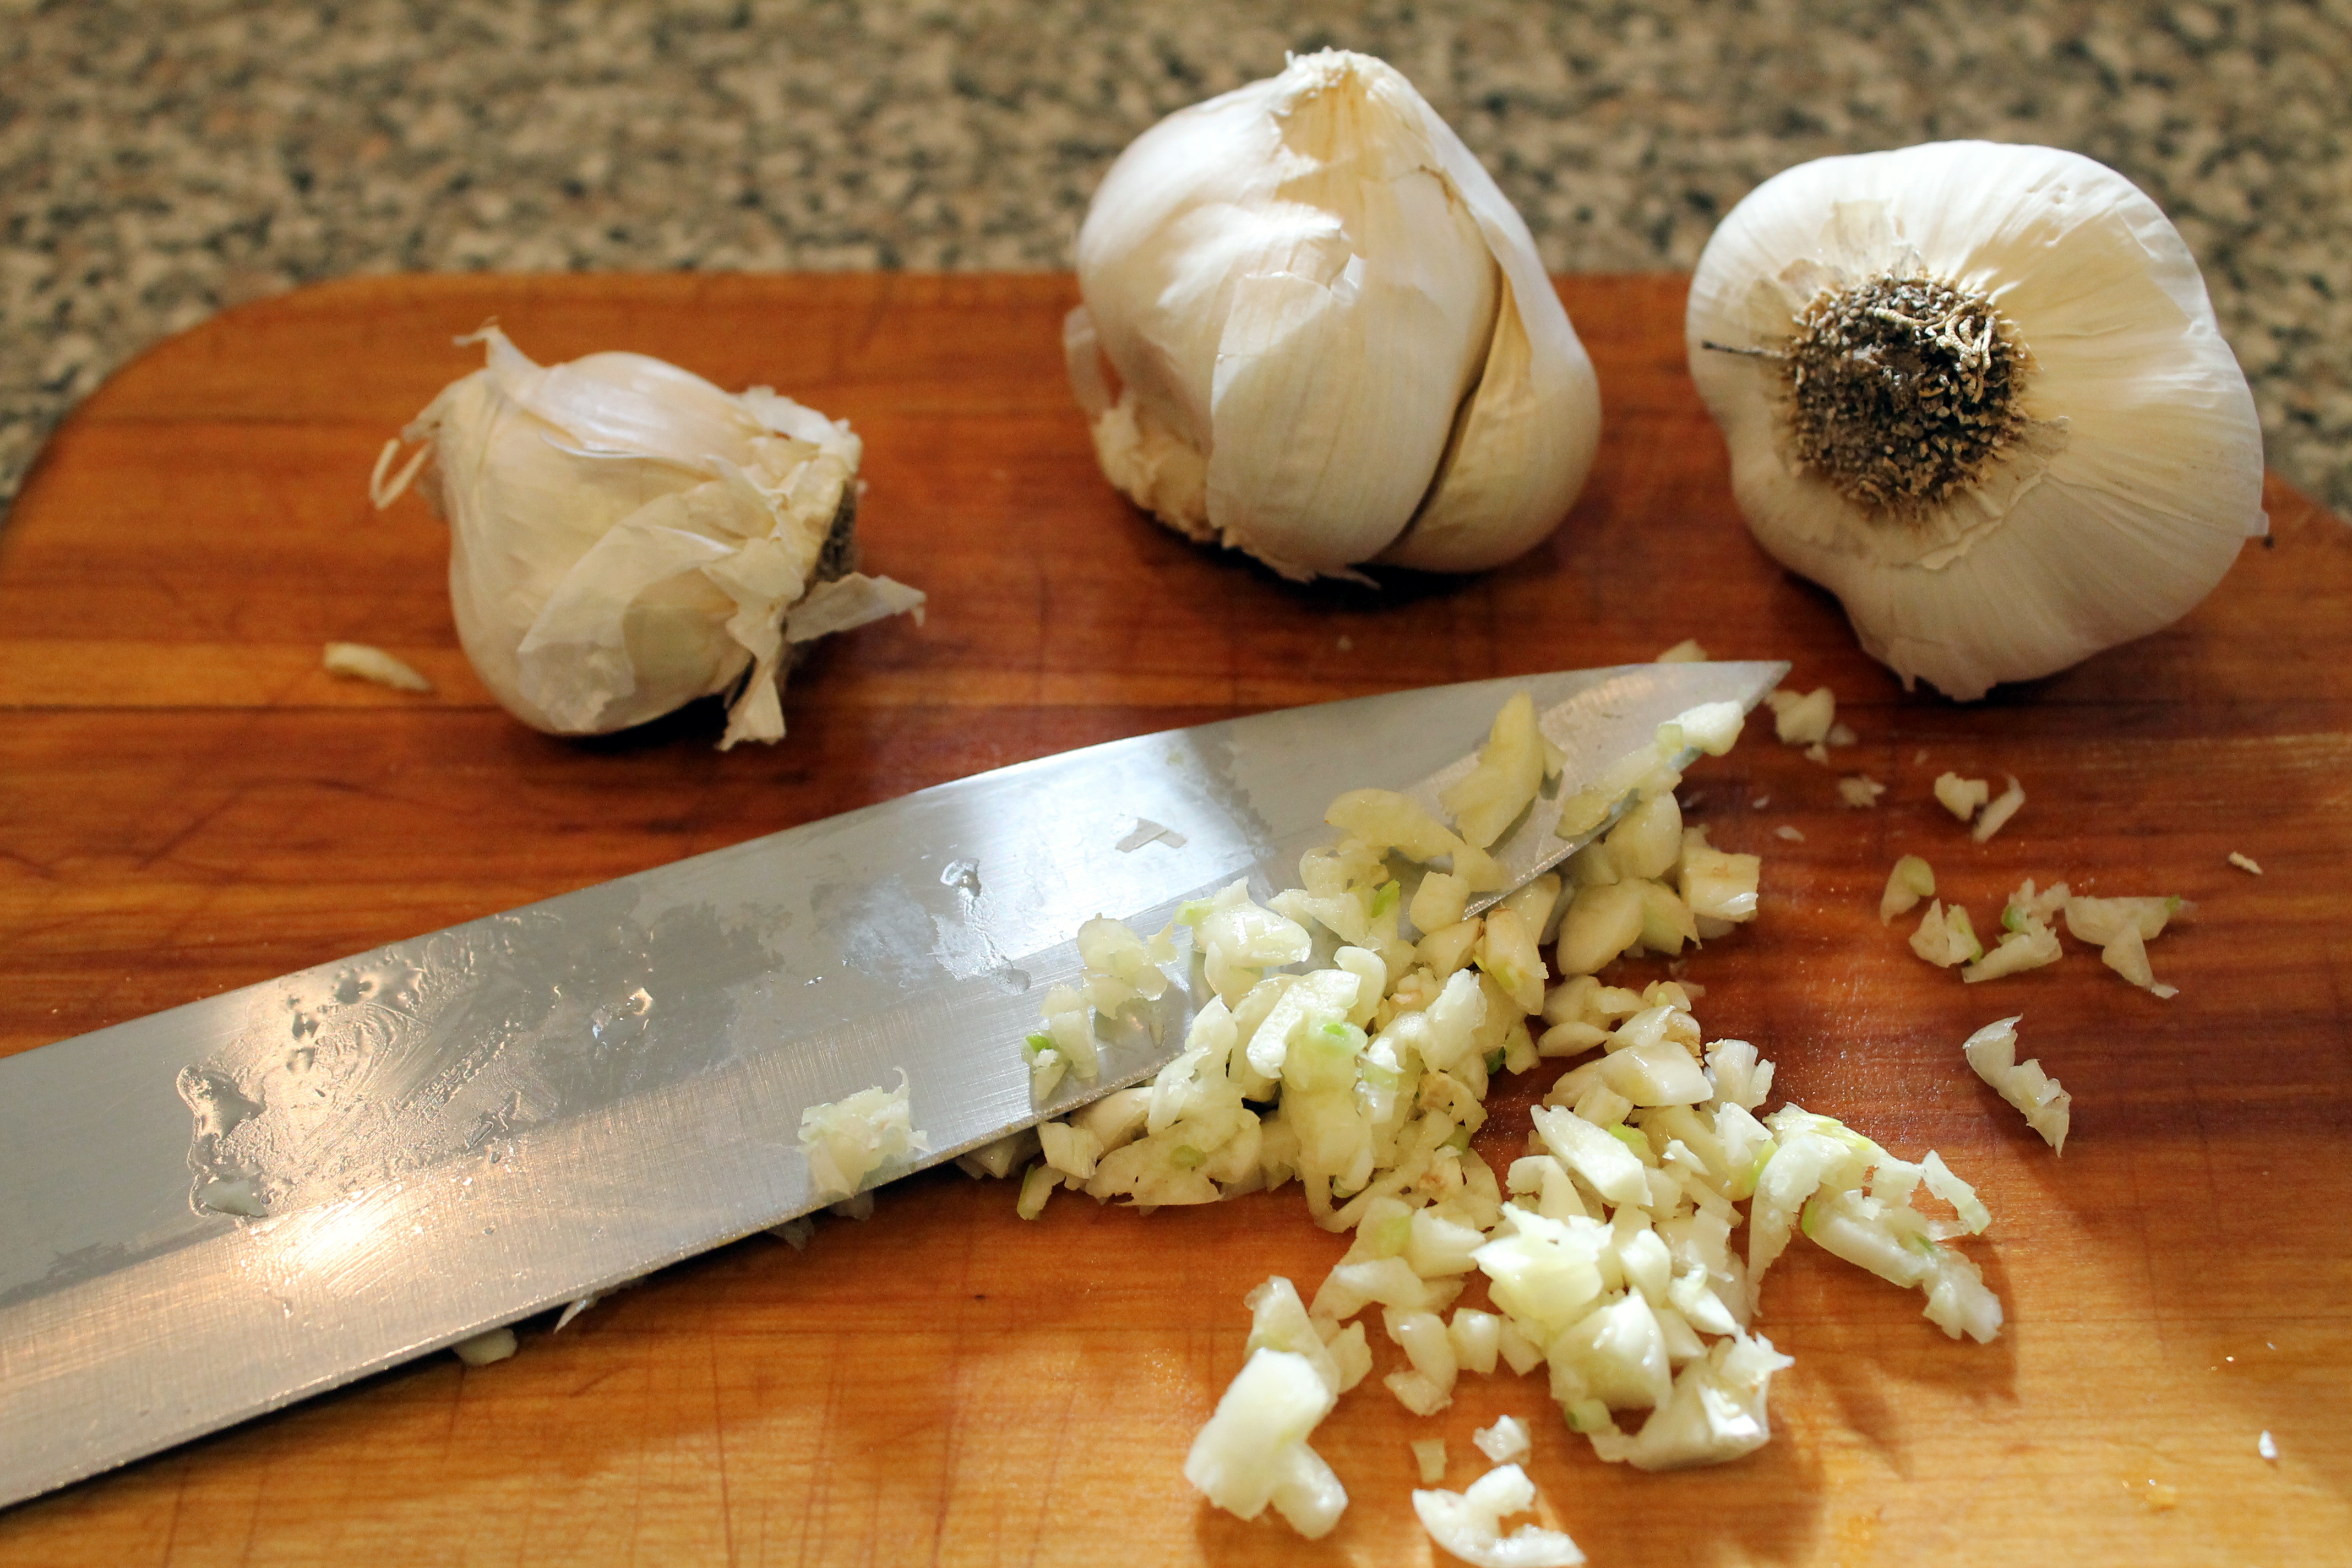
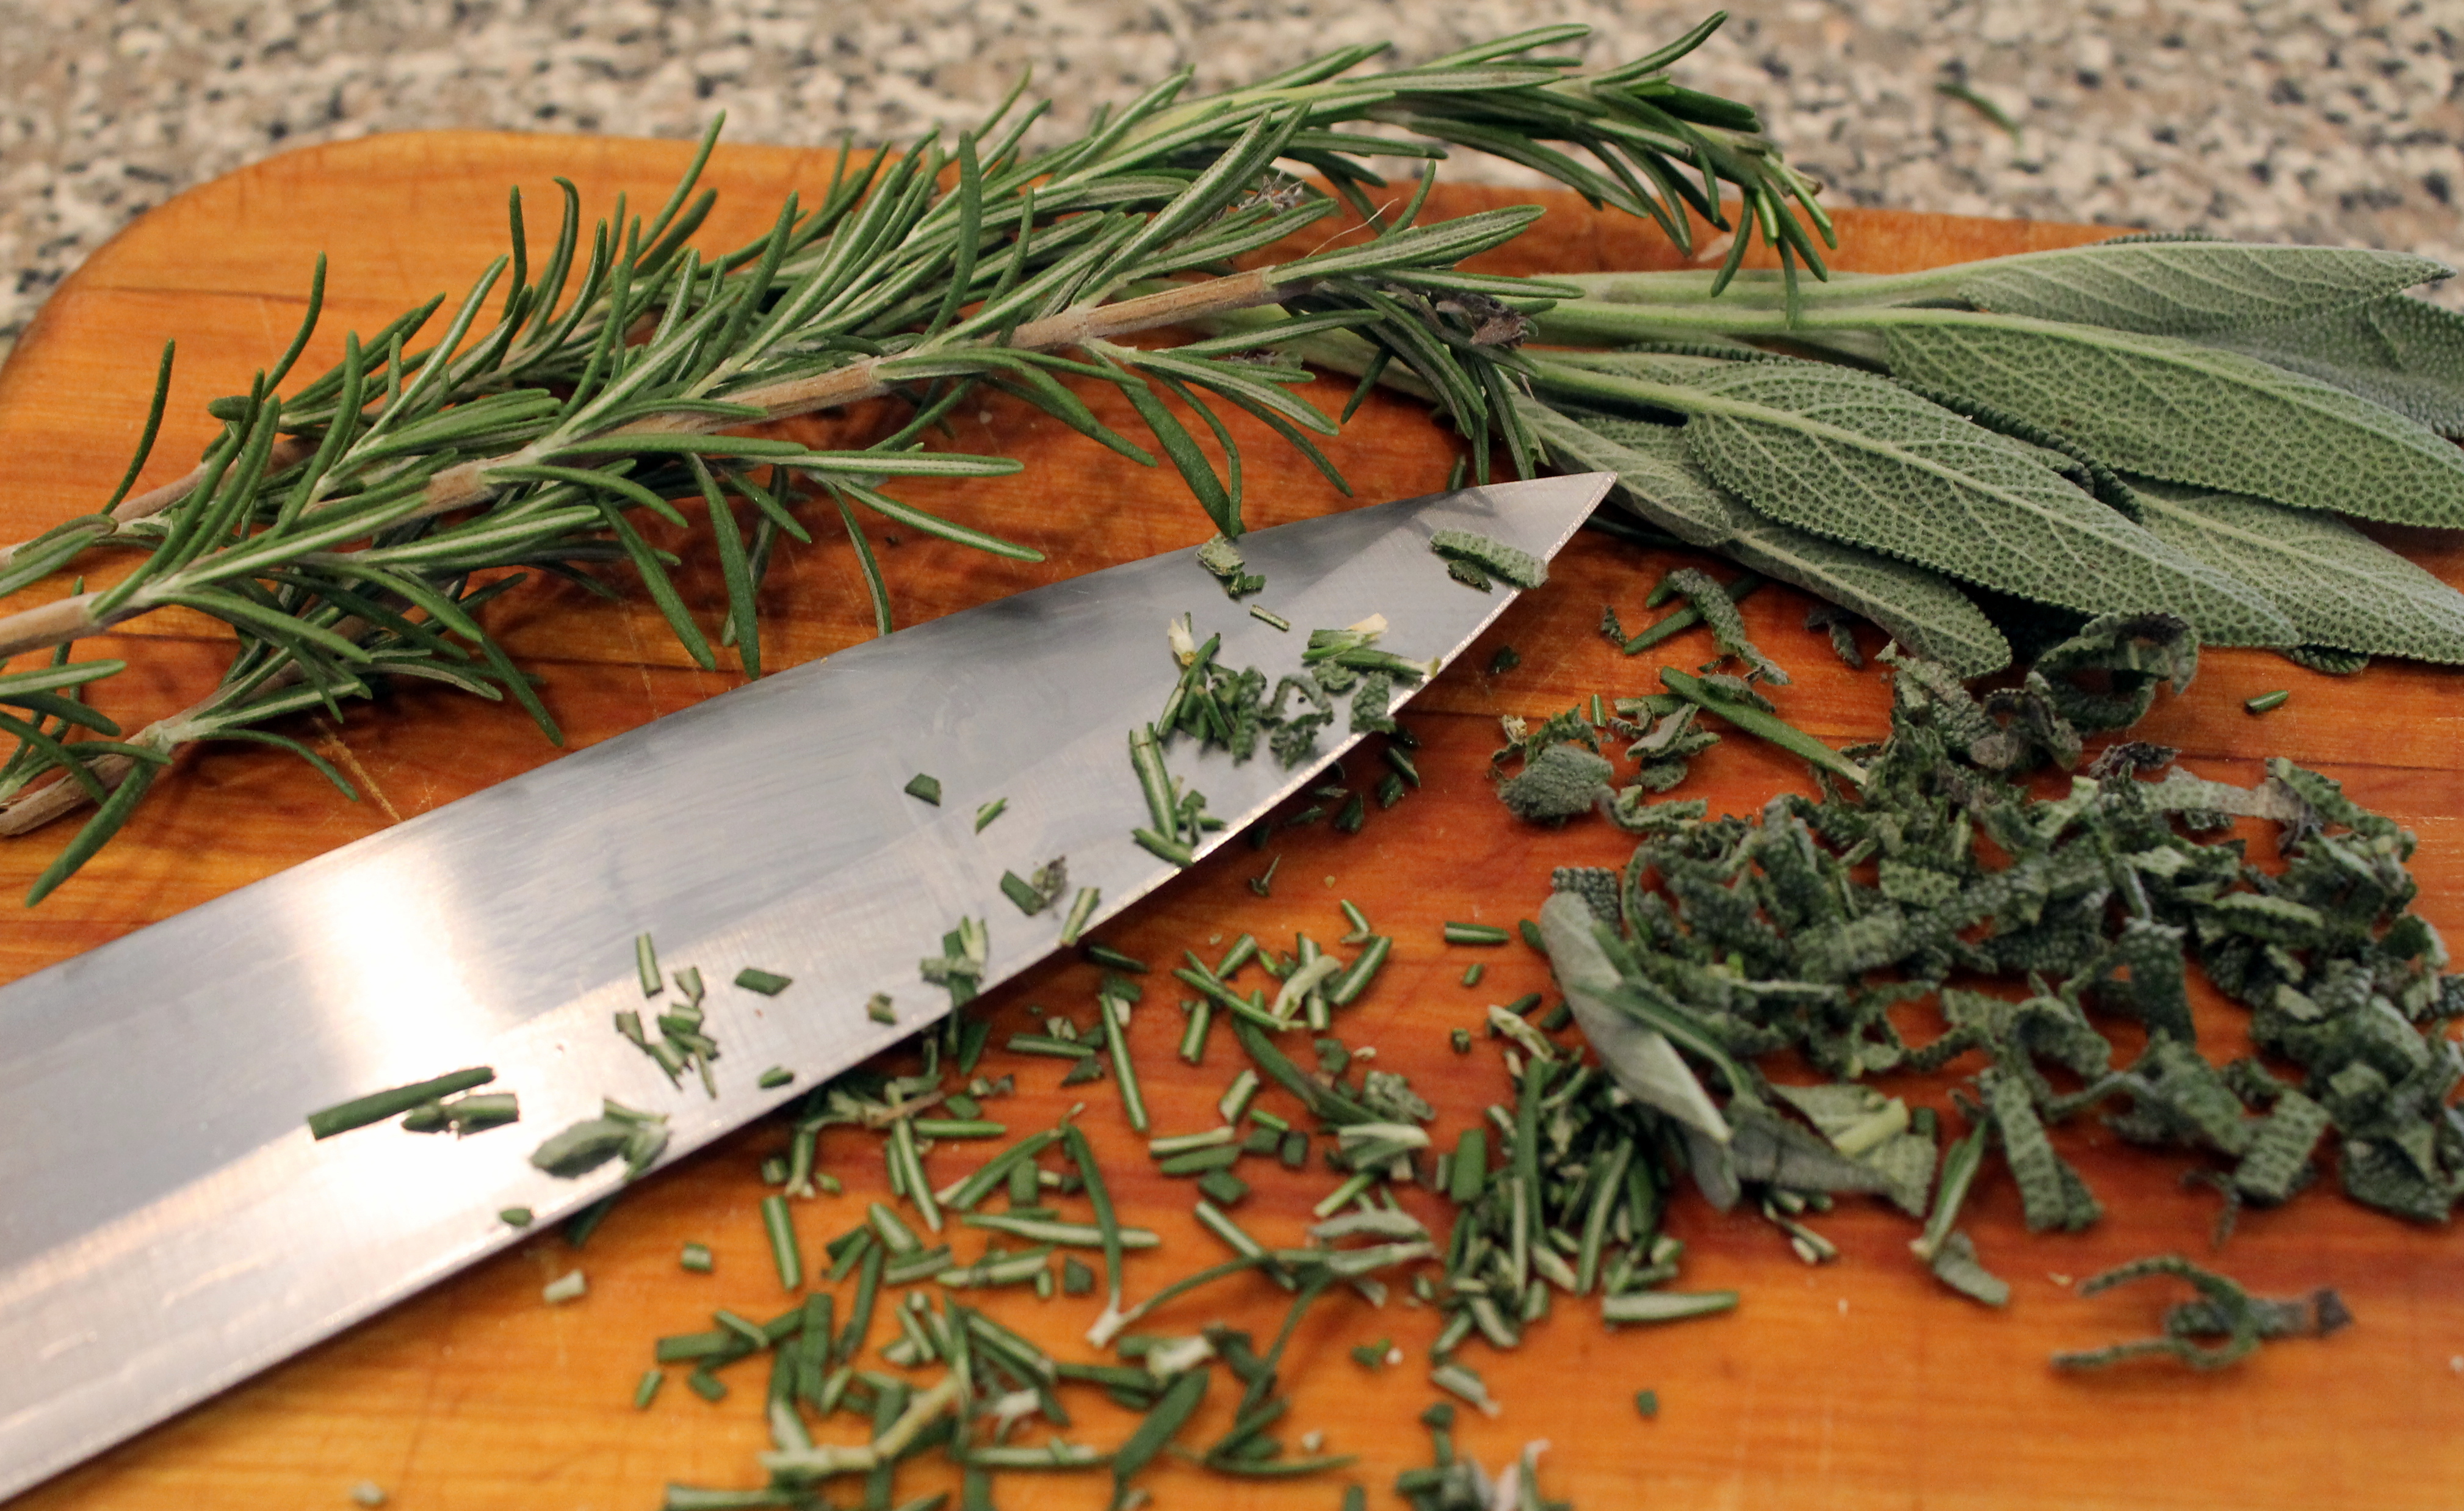
The recipe didn’t call for garlic, but c’mon – what savory dish doesn’t taste better with some freshly minced garlic in it? Again – note the “rustic” mincing job I do with my garlic…
And just because I had it – – and because it is yummy – – – I wanted to throw in some fresh “rustically” chopped rosemary and sage. Oh the wonderful aroma!!!!
So before I had a huge mess, I dumped it all in a LARGE pot – way too large – but whatever – it fit – and too big is better than too small (for soup pots)!
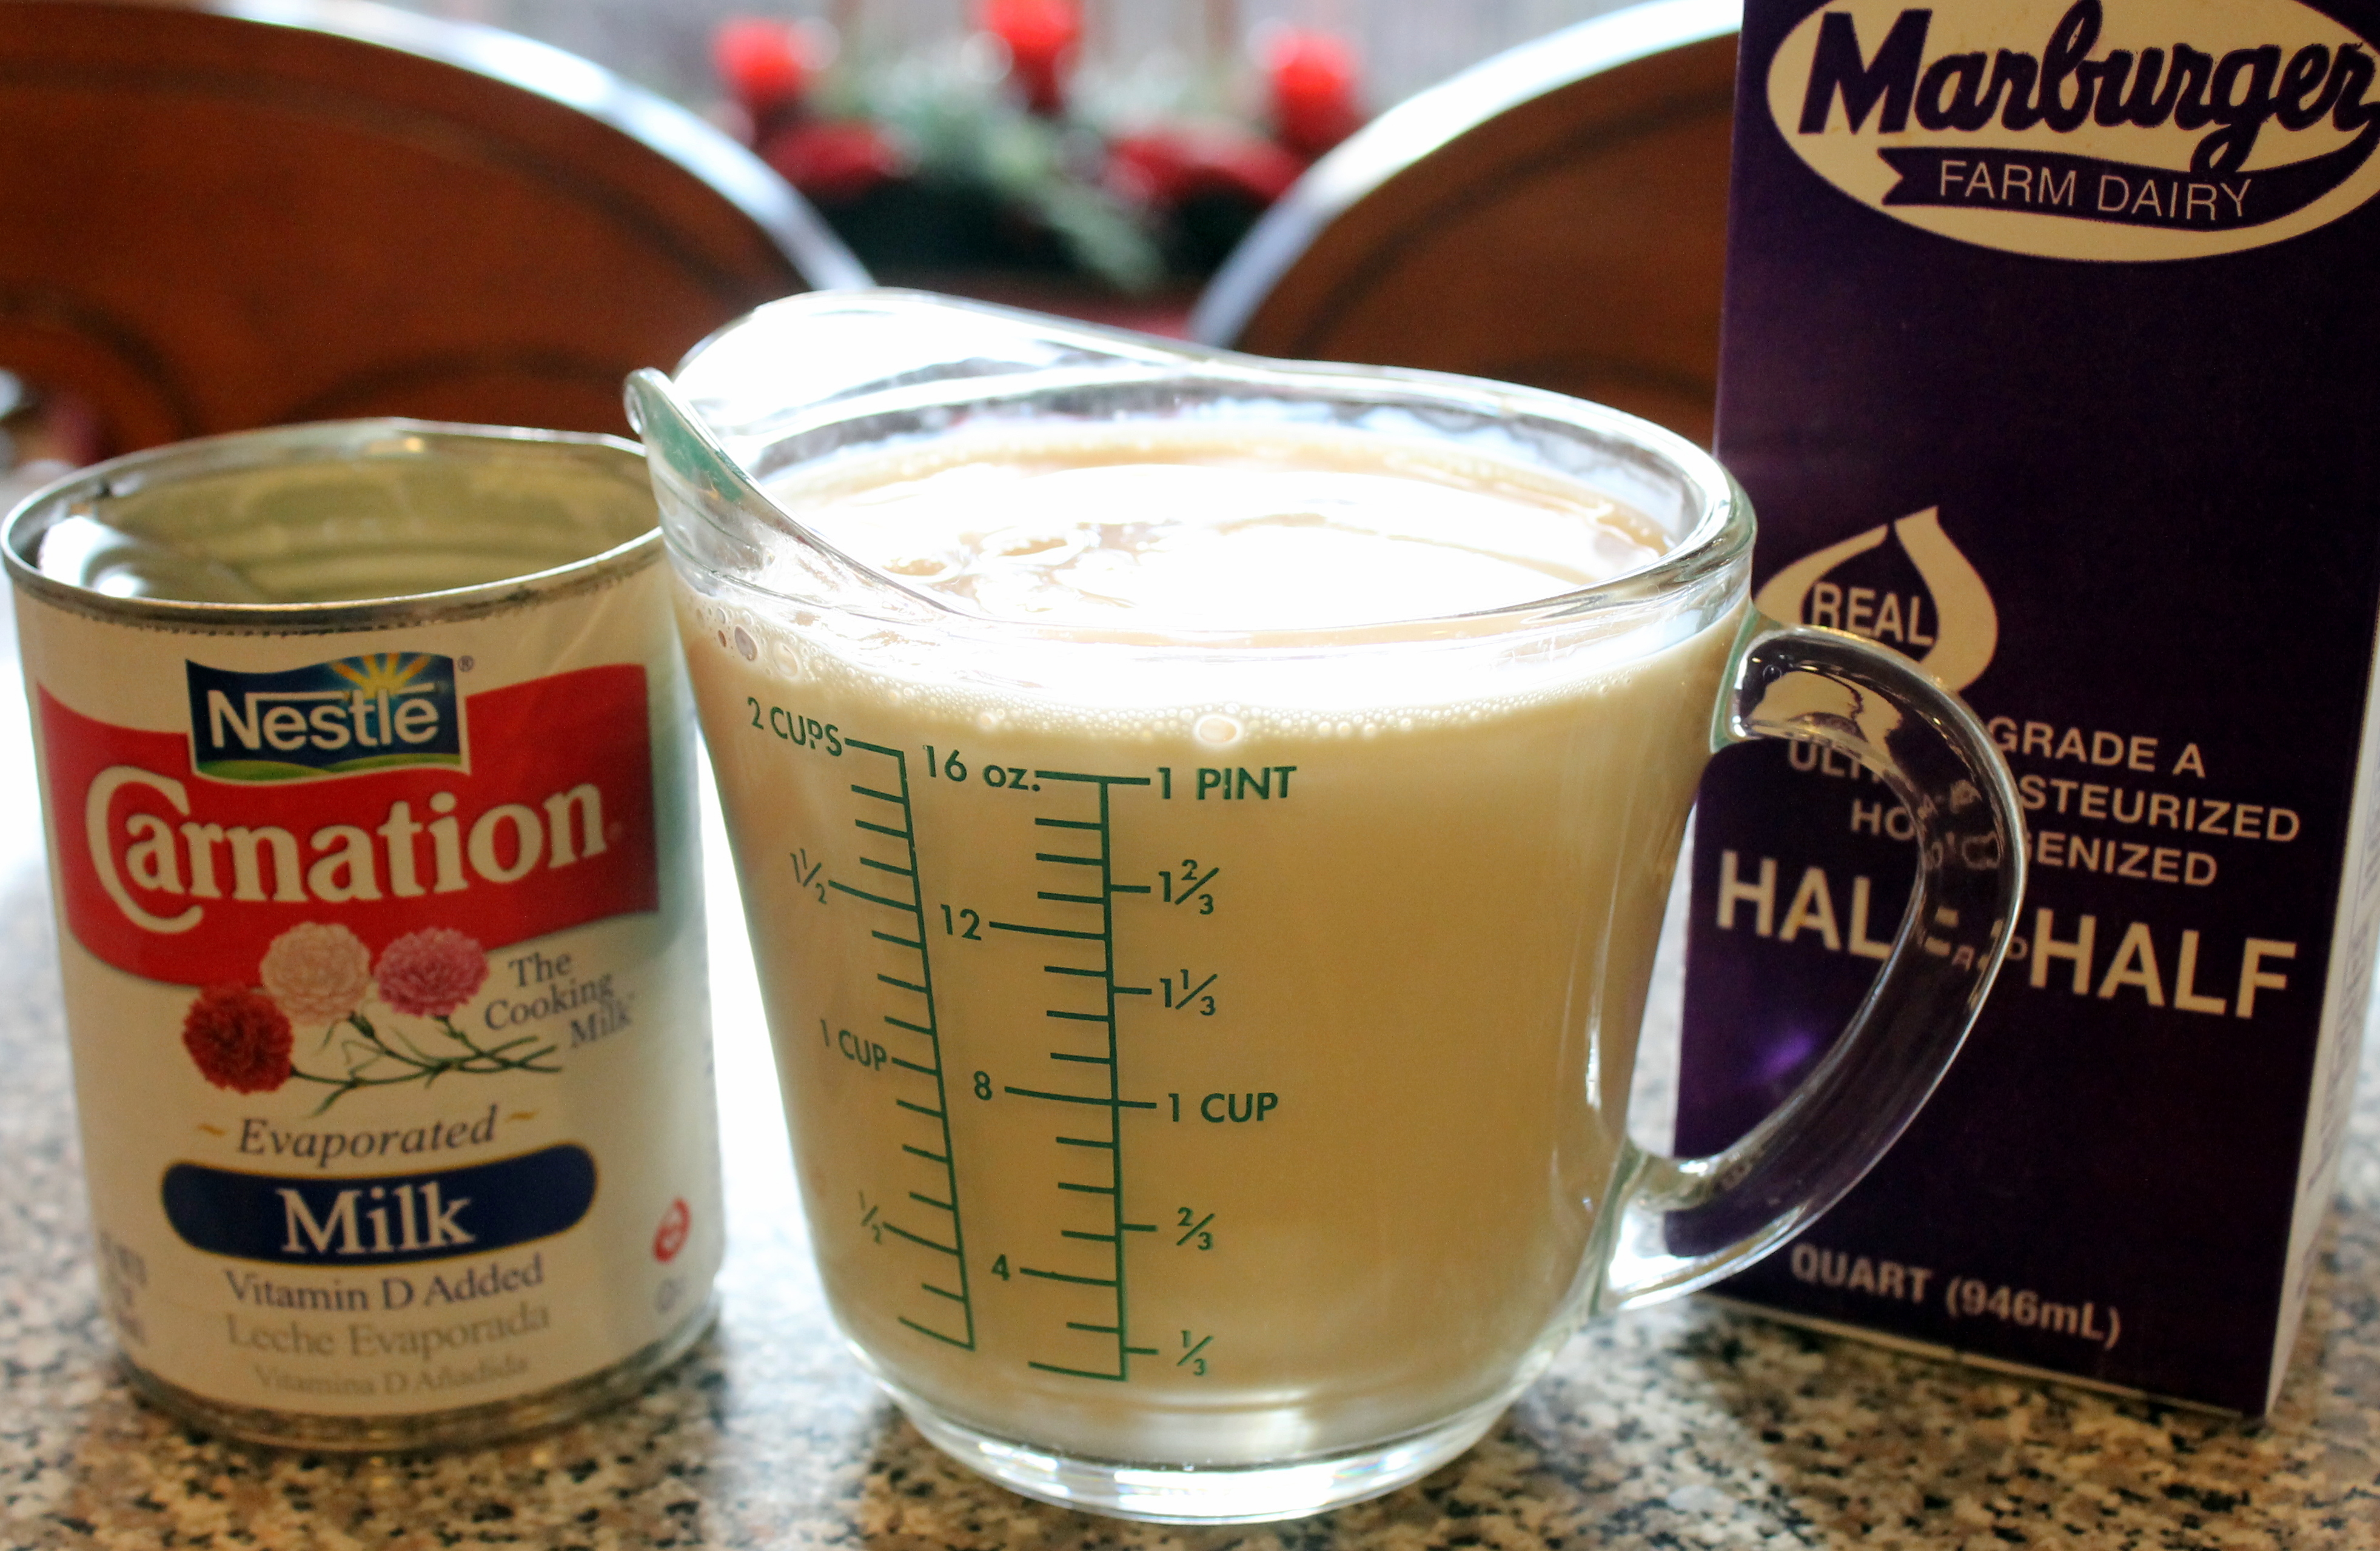
Next – the recipe called for a cup of evaporated milk. I had one can. I needed 2 cups (doubling – remember?) One can does NOT equal two cups….
… so I just filled the remaining half cup with Half and Half. I dumped poured it in the pot, then added a dash of salt and pepper.
According to the crockpot recipe, this is all to simmer on HIGH for 4 hours or LOW for 8 hours…. I put a lid on the pot, set the burner to simmer, and it only took about an hour of simmering for the potatoes to be fully cooked and soft. So it just sat there (and the flavors melded) for the day once done.
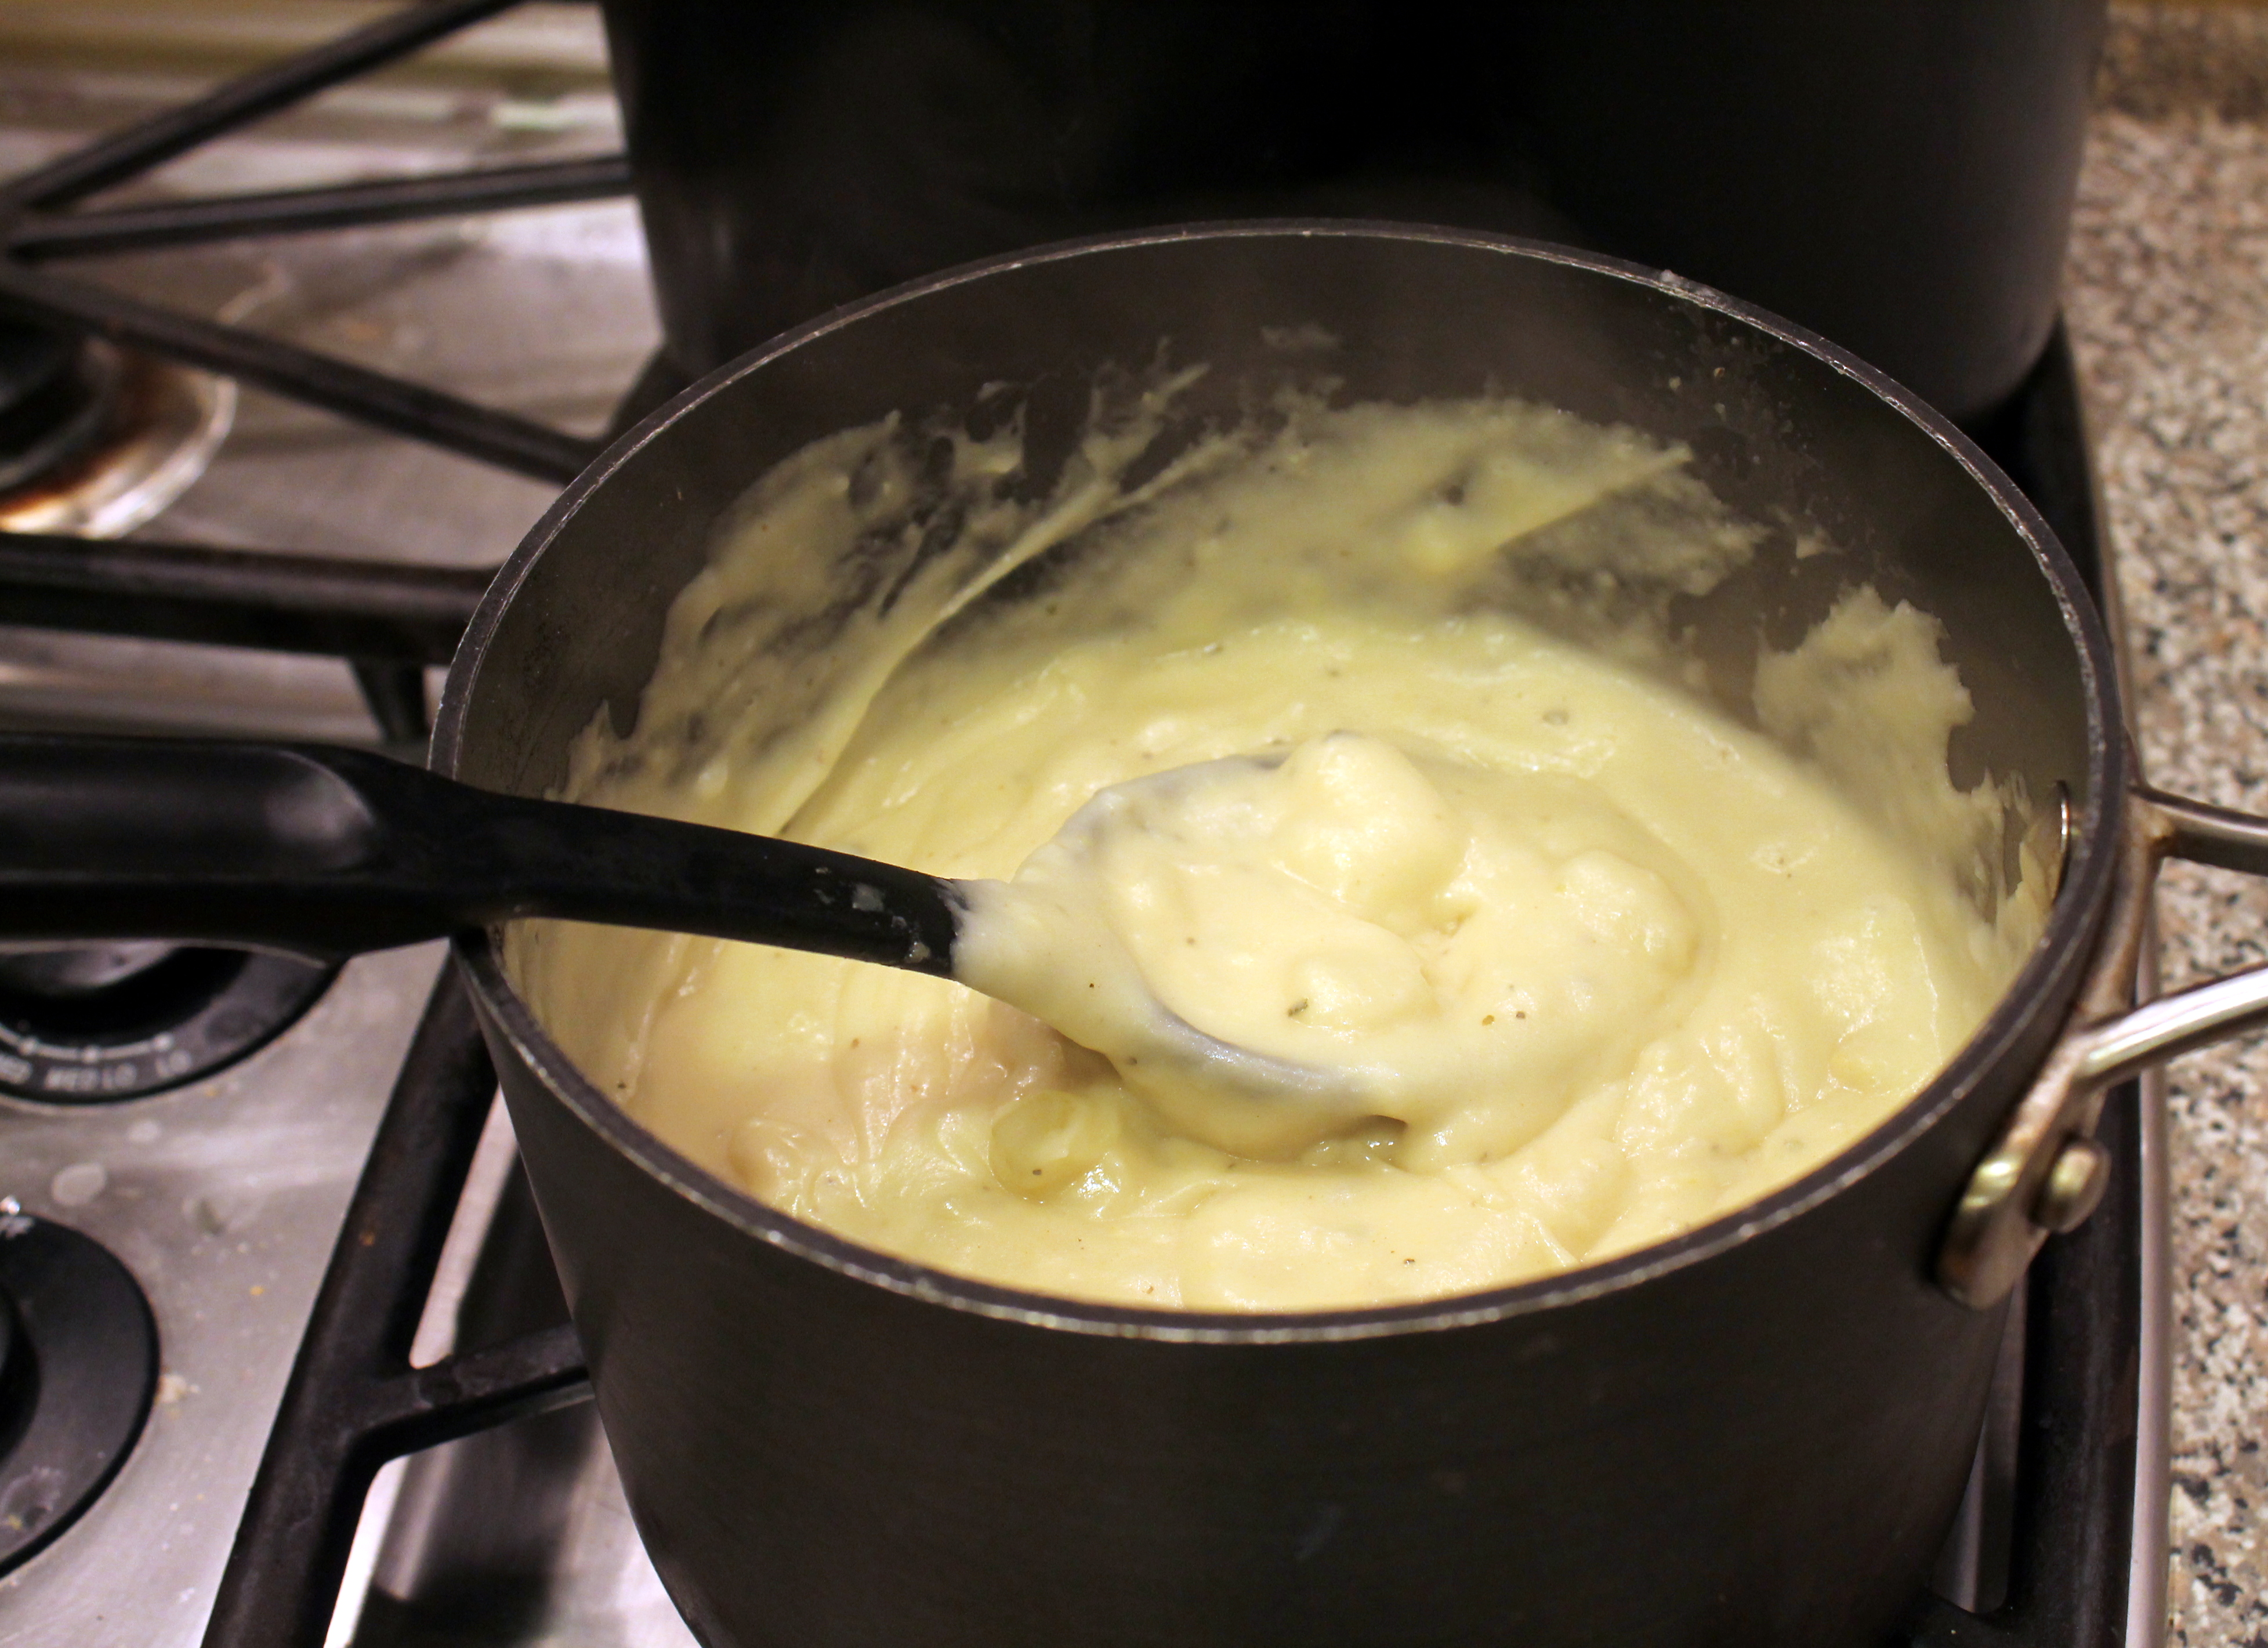
After work, when I was ready to finish the soup, I melted 2/3 cup butter in a medium saucepan. Once melted, I whisked in 2/3 cup flour and cooked for a couple minutes. I then whisked in 4 cups of the potato soup broth.
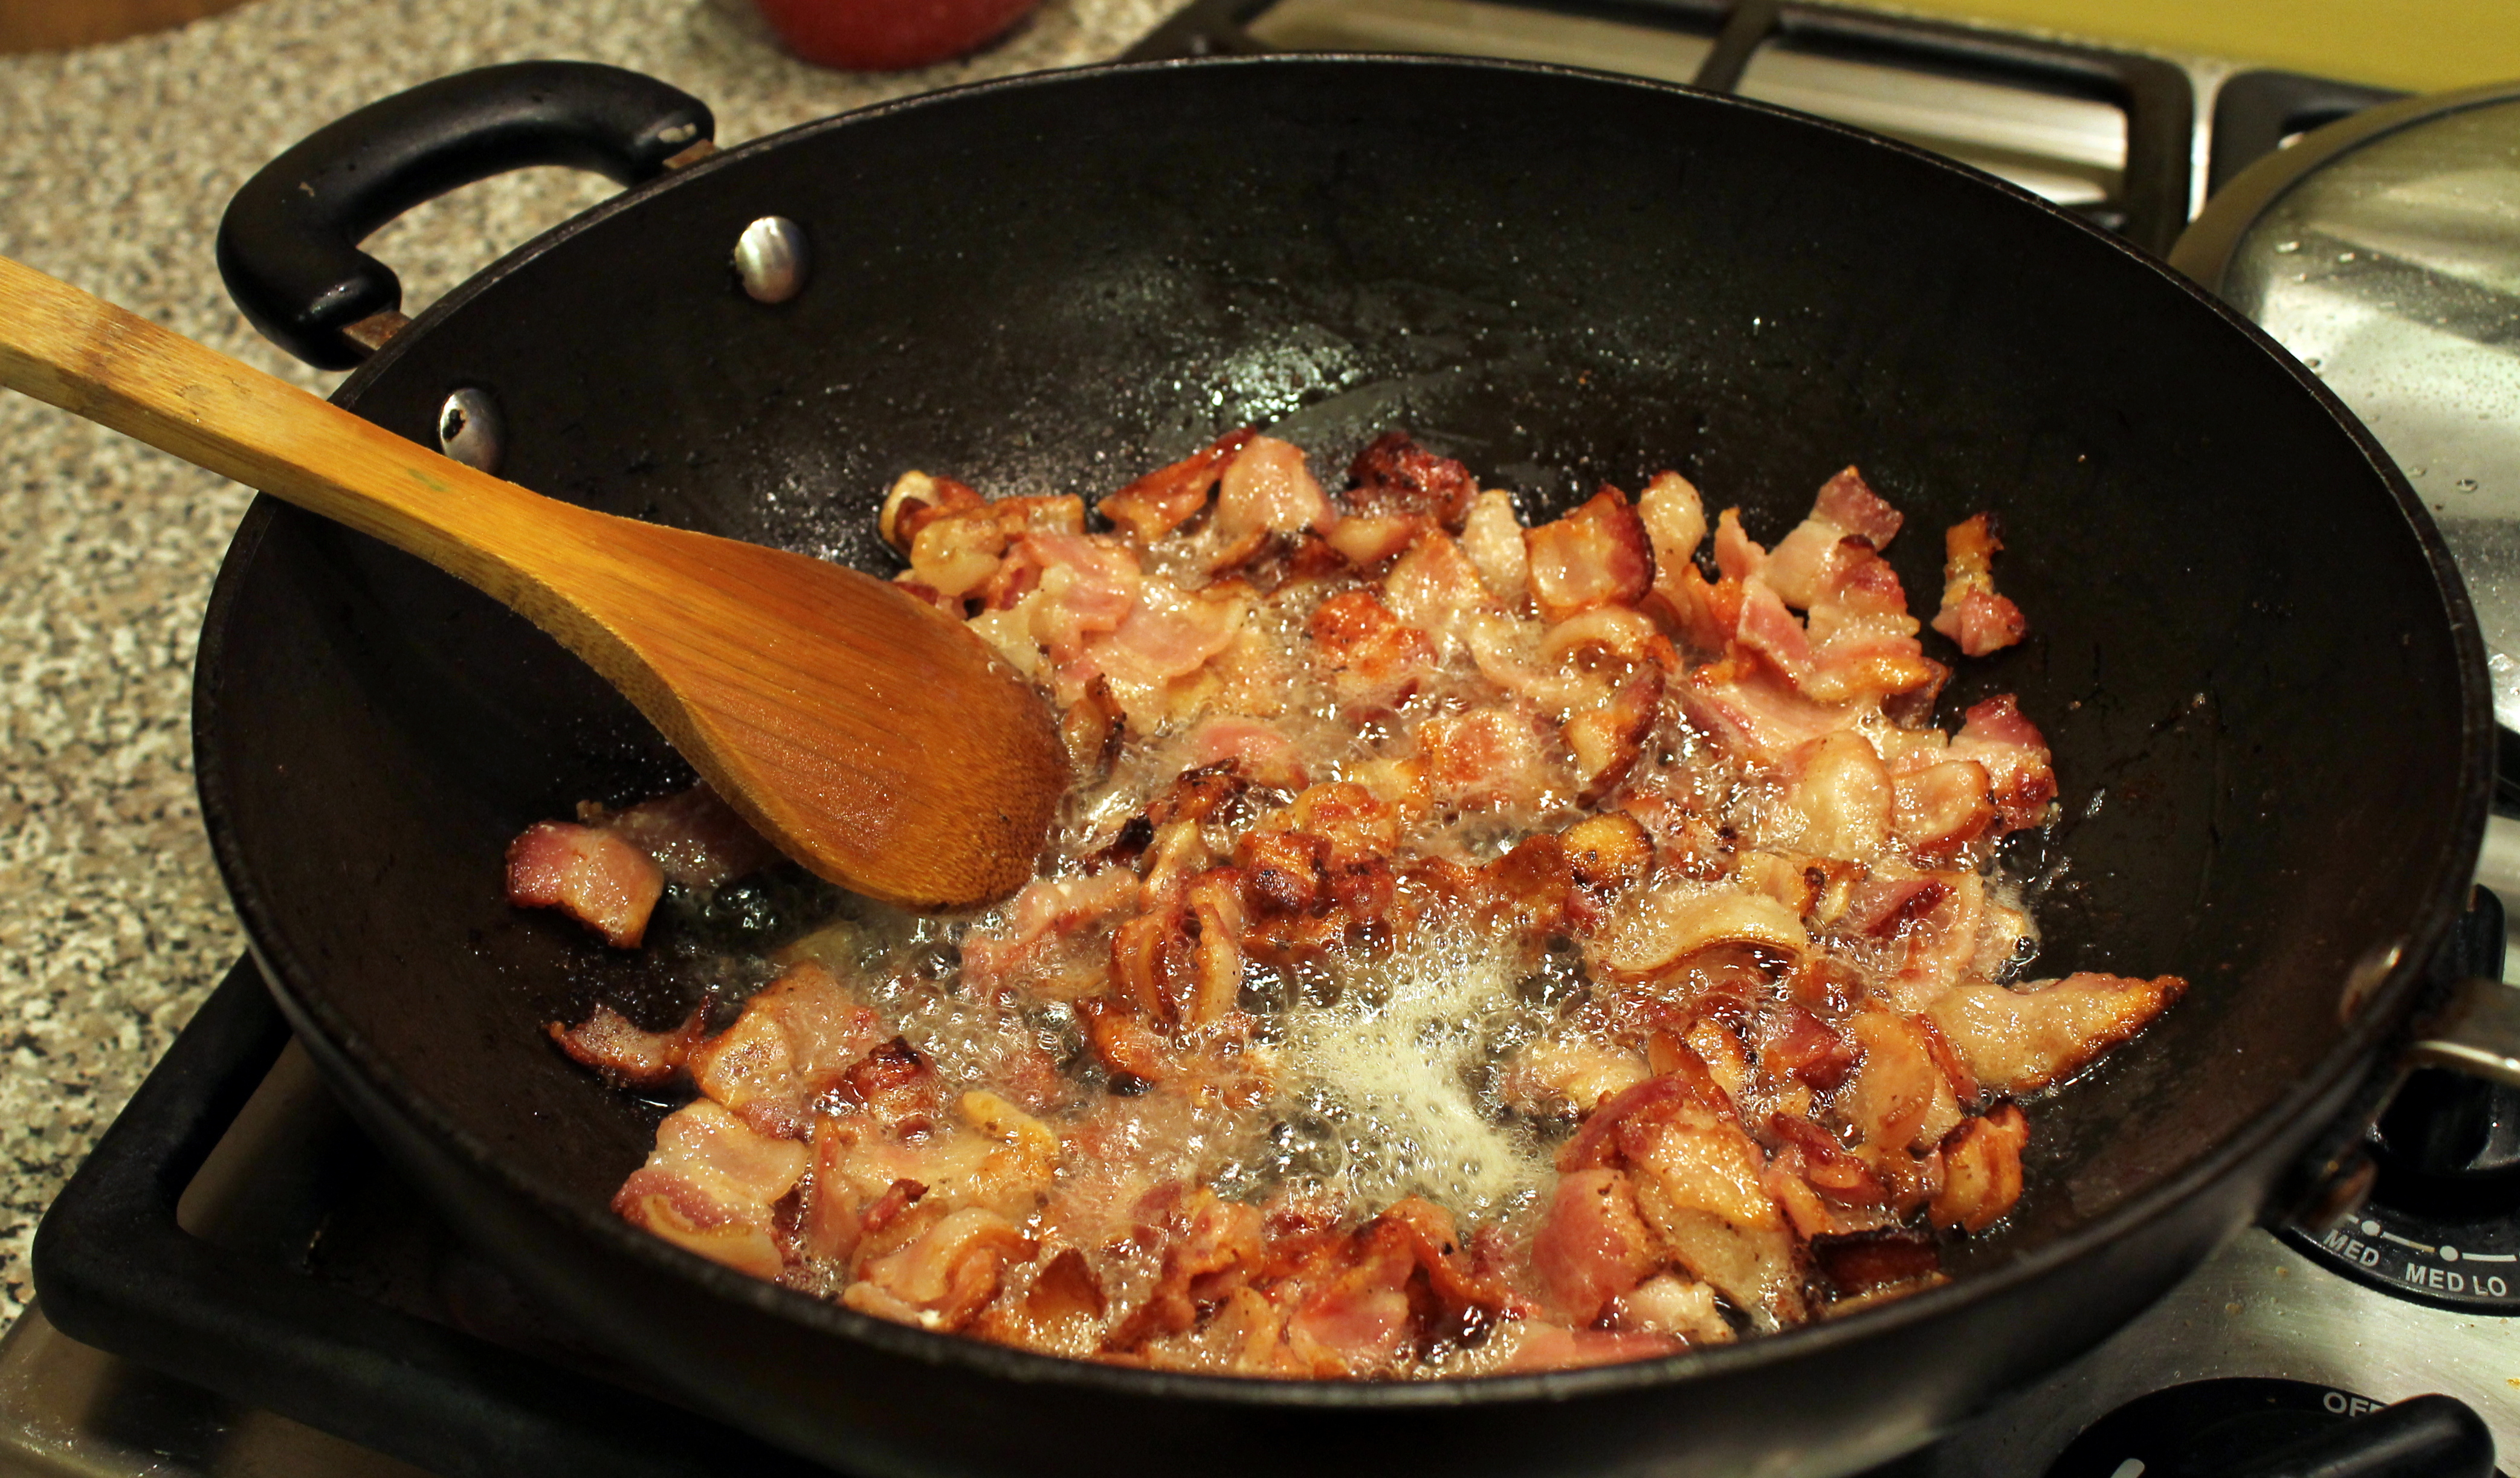
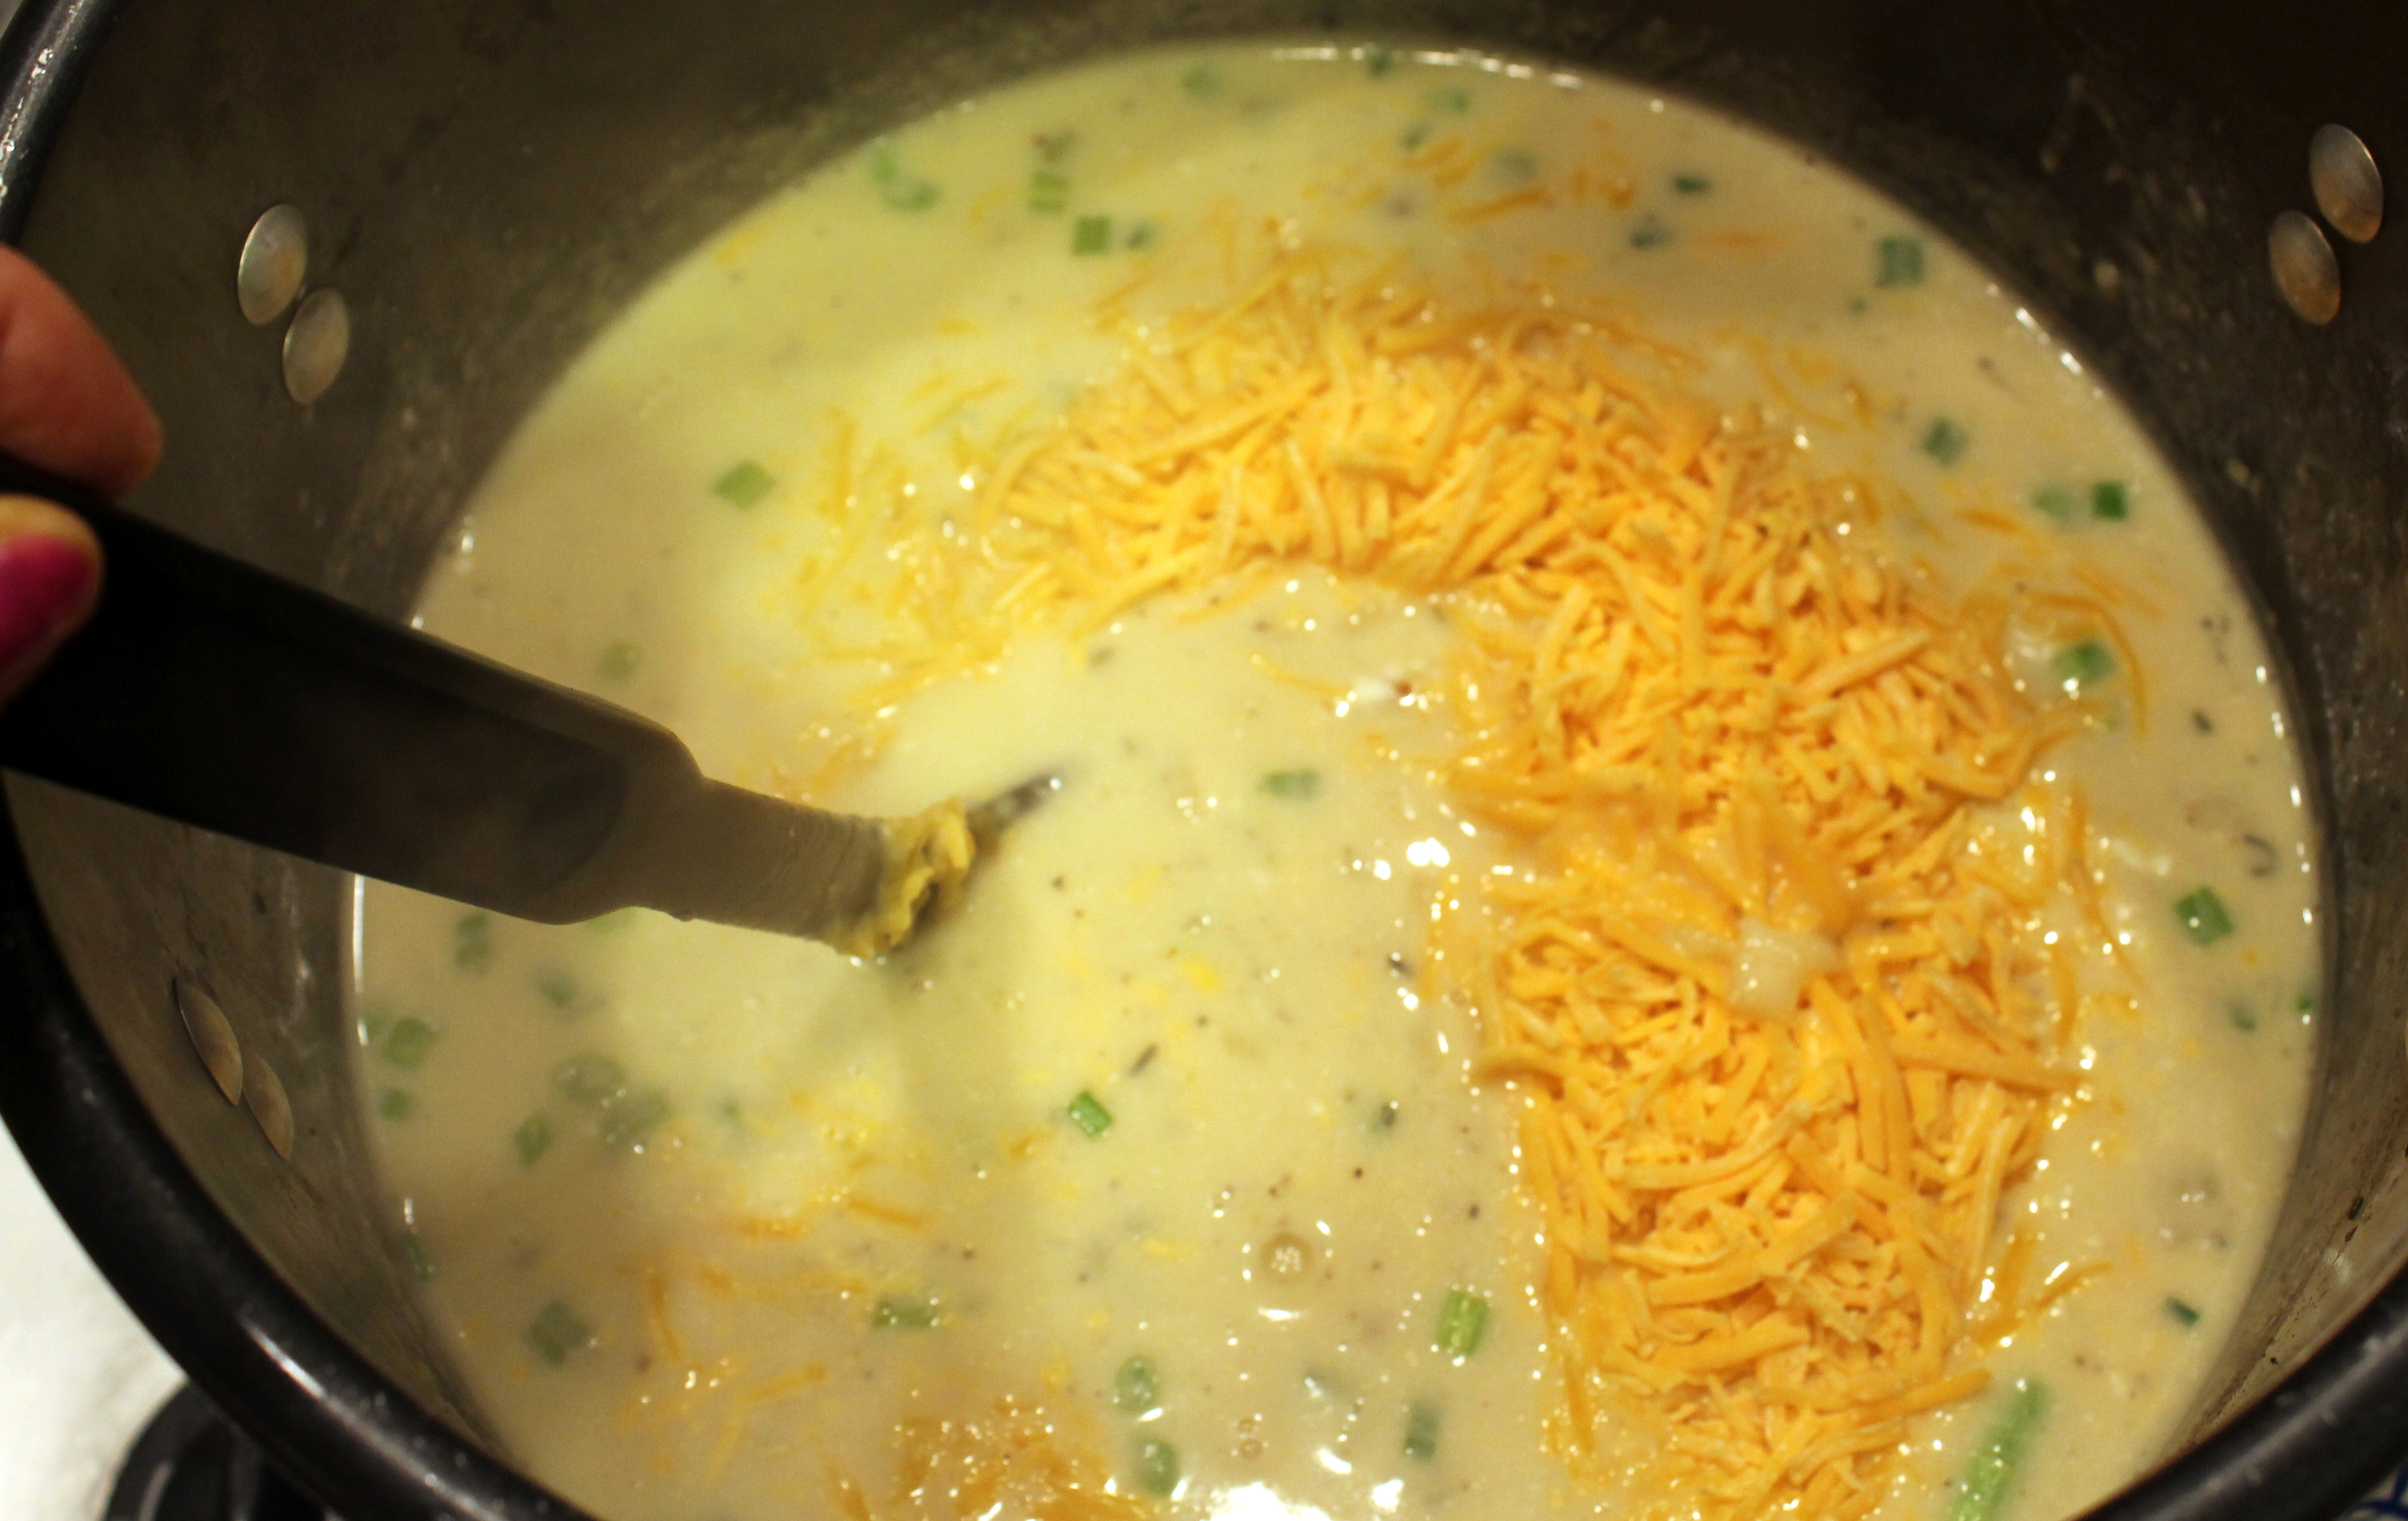
This was then added to the big pot and cooked for about 10 minutes. While that was cooking, I fried up a pound of sliced bacon, chopped a handlful of green onions, and grated some cheddar cheese.
I stirred half the bacon, onion and cheese into the pot, along with a cup of sour cream…
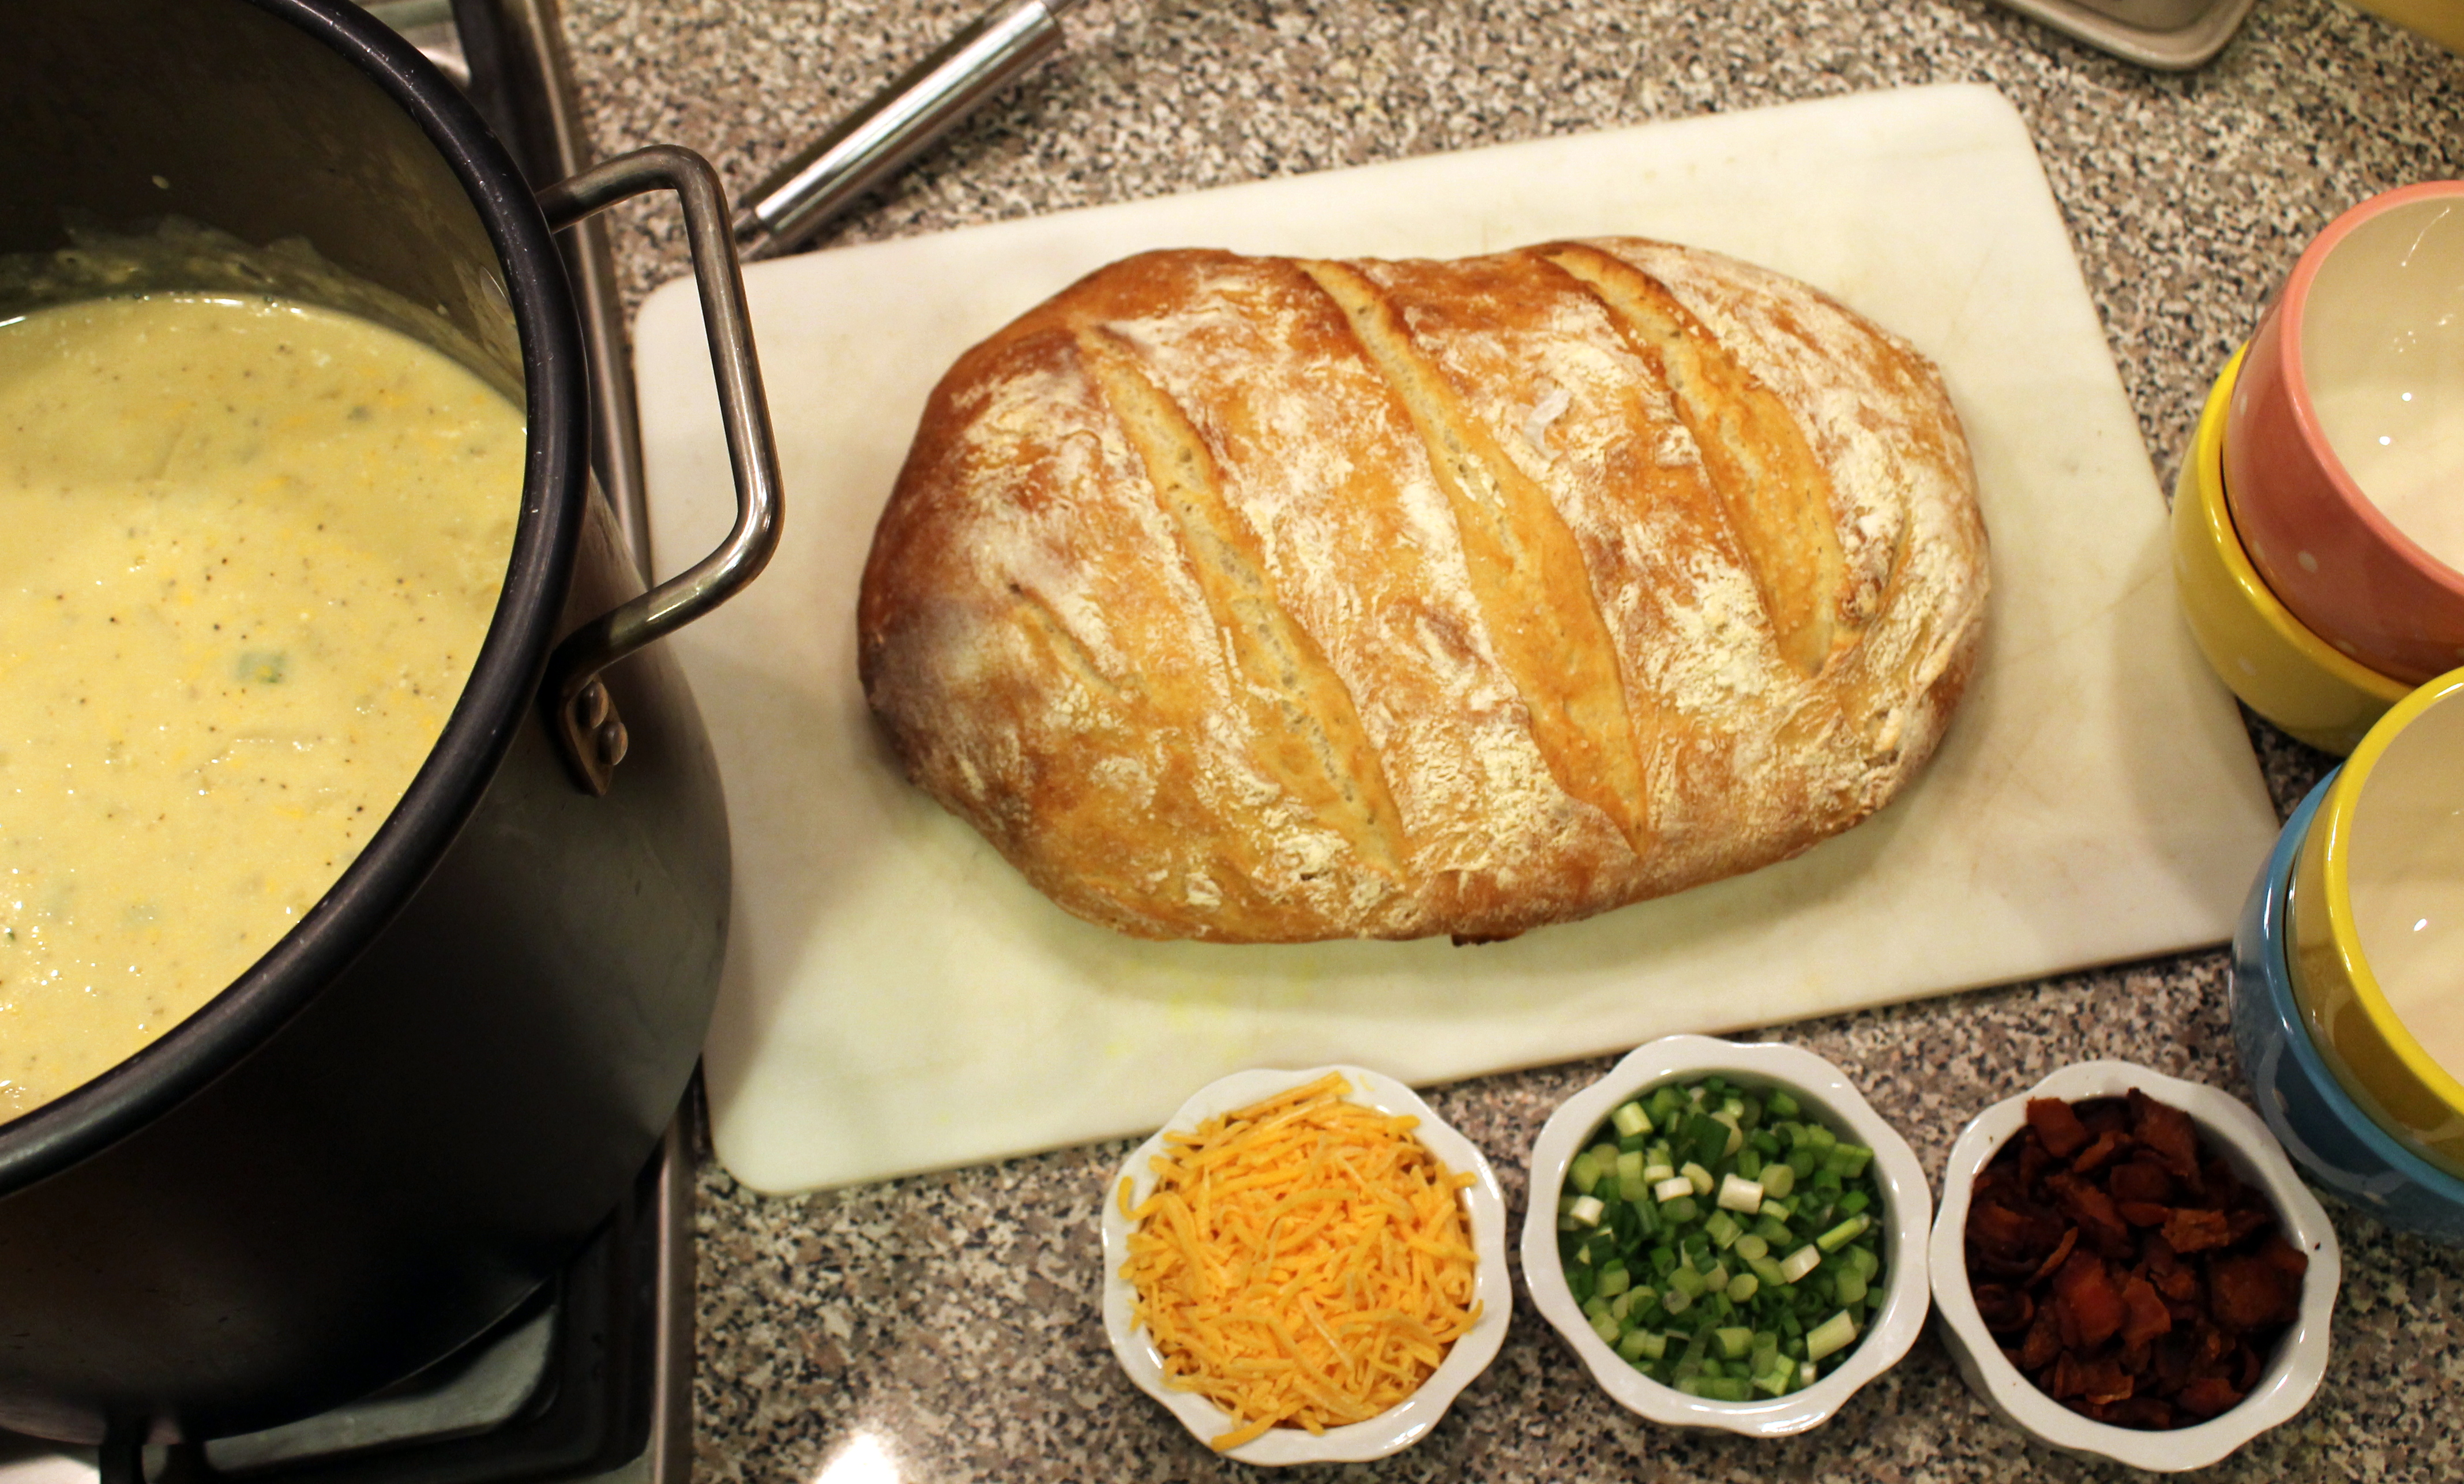
I reserved the rest of the bacon, green onions and cheese for garnishing on top of the soup.
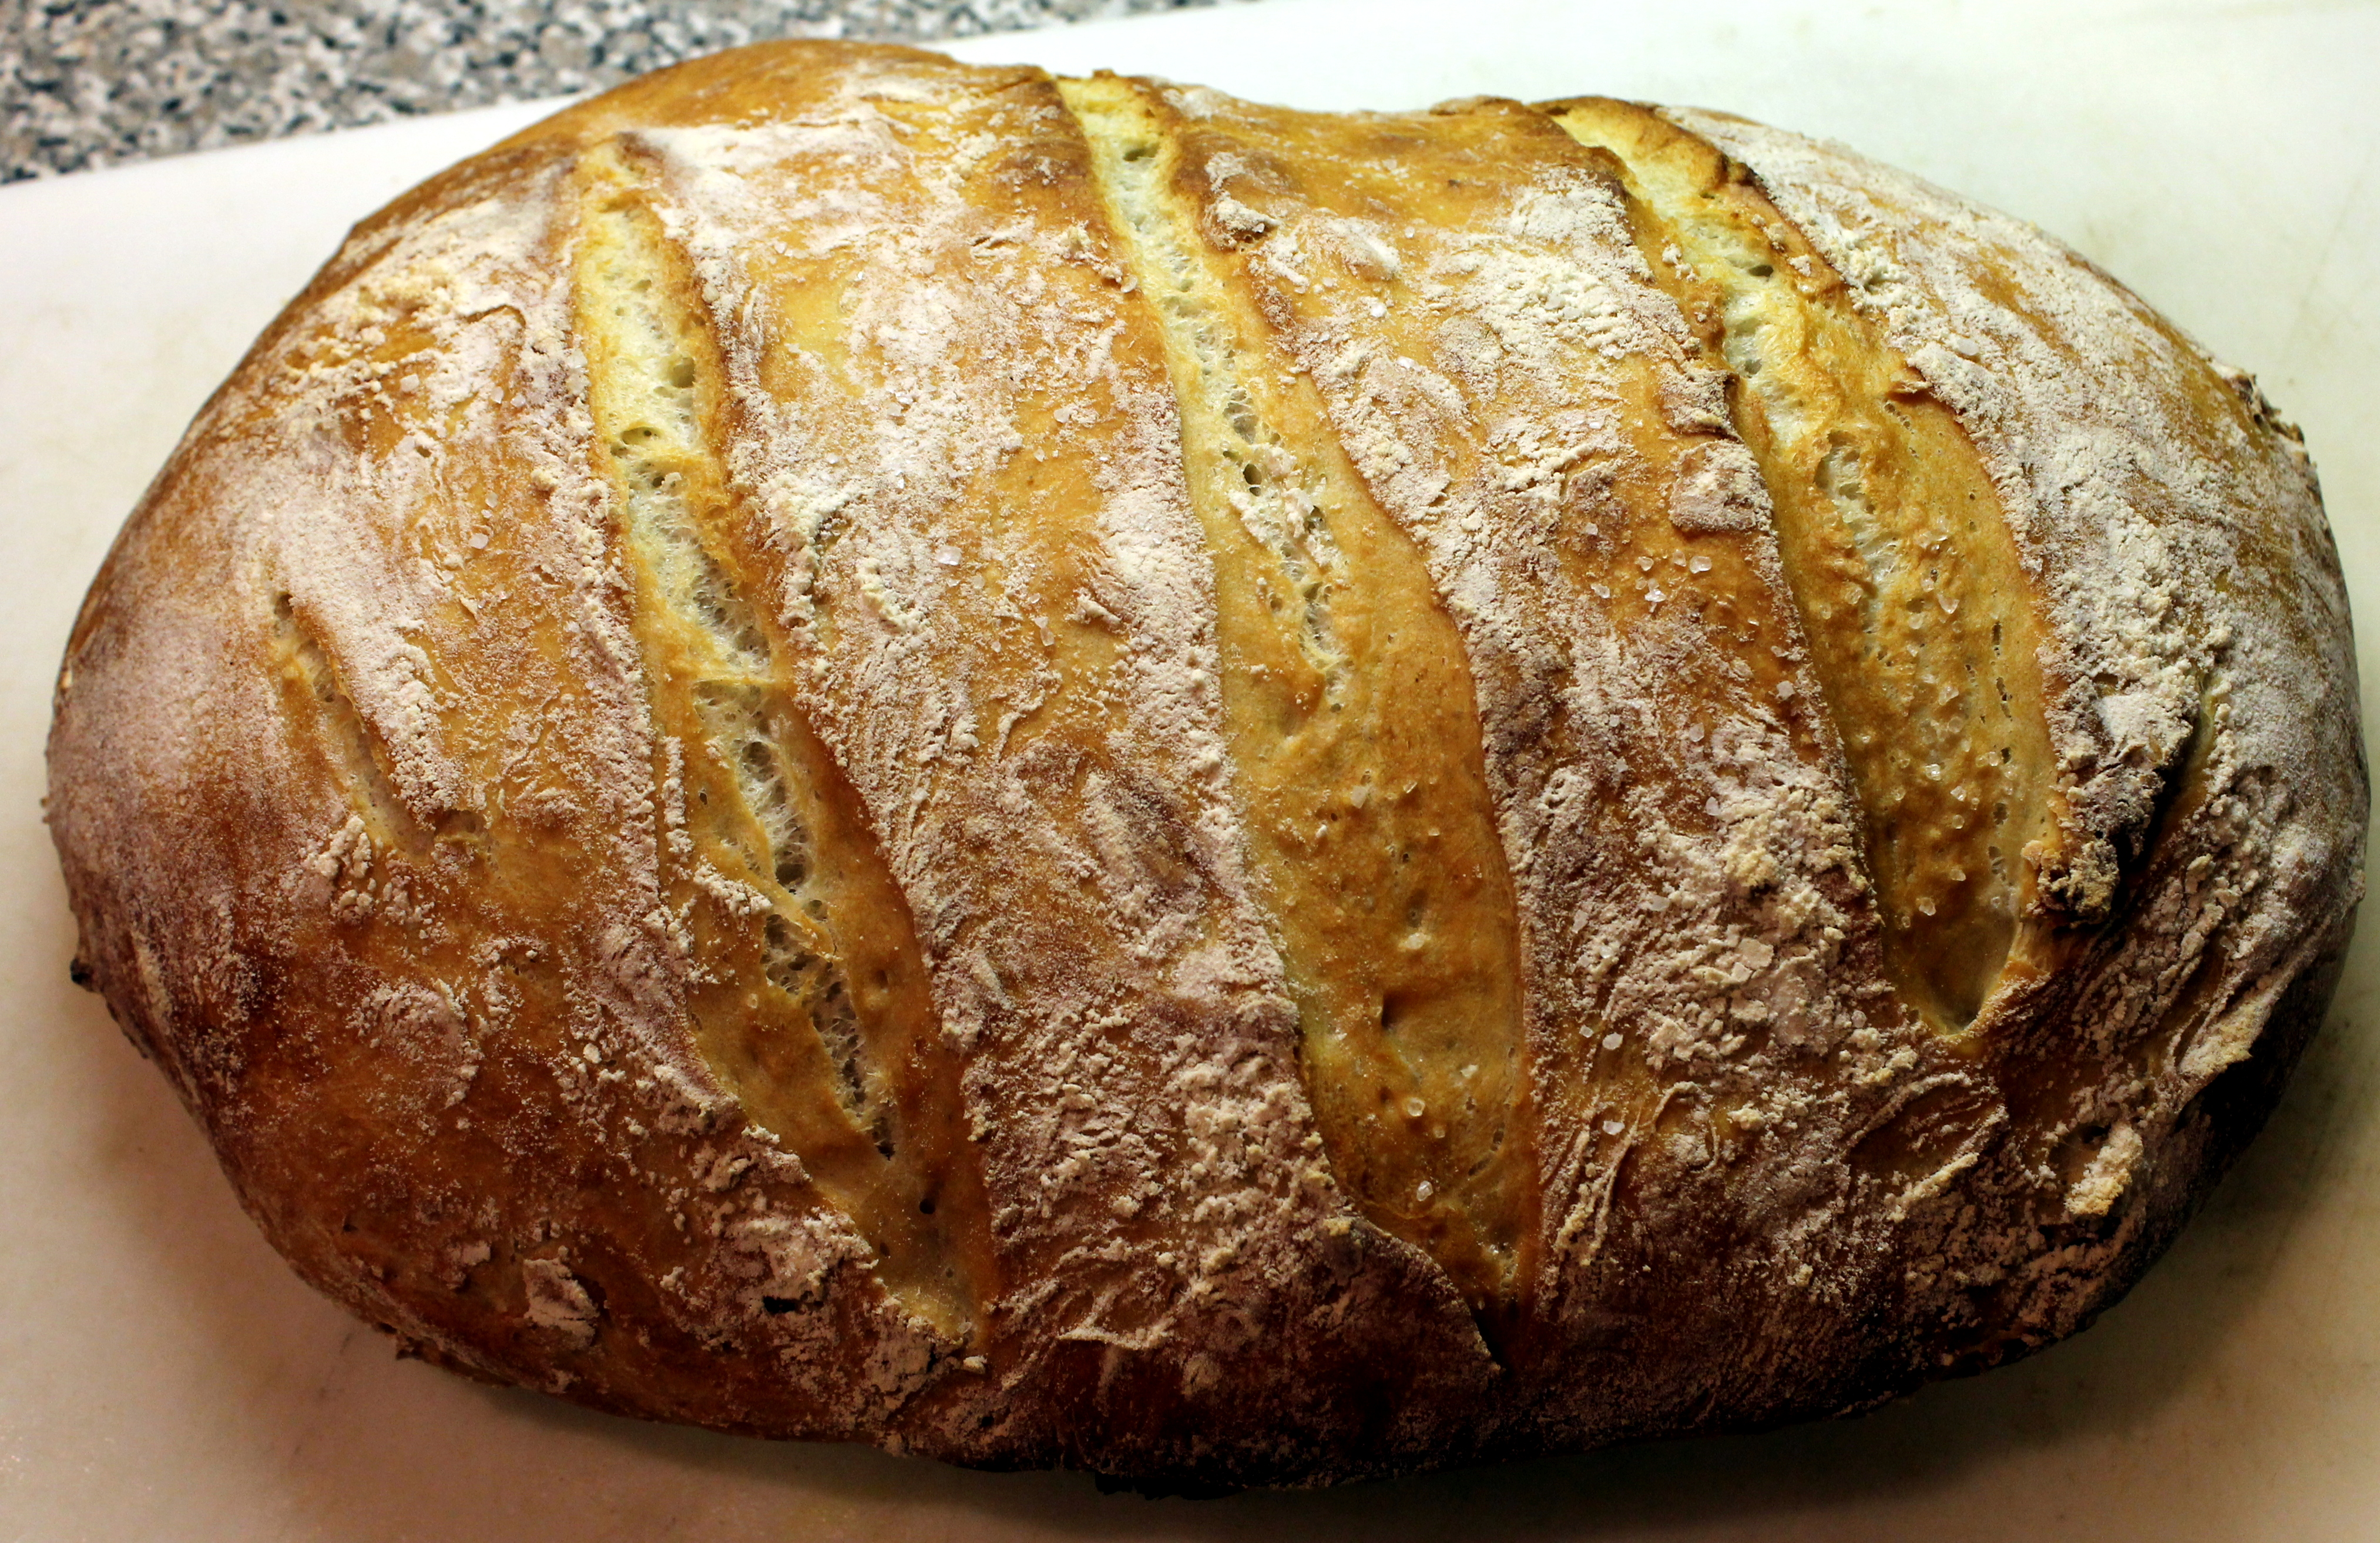
And because nothing goes better with warm, creamy soup than rustic crusty homemade bread, I made a loaf for dunkin’. (You can find the recipe for this super-easy, no-knead, three ingredient crusty bread here from a previous post.)
We filled and warmed our bellies, and then…… the best part….. my favorite holiday show was on! RUDOLPH the Red-Nosed Reindeer! And I got to watch it with my bestie!
And Jill got to take a big container home to enjoy for the rest of the week. It was a pretty great Tuesday! 🙂
Here is the recipe (the SINGLE recipe that FITS in the crockpot!) as posted by www.CookingClassy.com.
Make it however you like, add whatever spices you like, substitute whatever you need…. That’s the beauty and fun of cooking!
3 to 3 1/2 lbs russet potatoes, peeled and diced into 1/2-inch to 3/4-inch pieces (about 7 medium potatoes, 8 – 9 cups)
1 medium yellow onion, finely diced (1 cup)
3 (14.5 oz) cans low-sodium chicken broth
1 cup evaporated milk
Salt and freshly ground black pepper, to taste
1/3 cup butter
1/3 cup all-purpose flour
1/2 cup sour cream
1 1/2 cups shredded cheddar cheese (6 oz)
9 oz bacon, cooked and diced or crumbled
4 green onions, diced
Directions
To a 6 or 7-quart slow cooker, add potatoes, onion, chicken broth, evaporated milk and season with salt and pepper to taste. Cover with lid and cook on HIGH heat for 4 hours or LOW heat for 8 hours (poke potatoes with a fork to check make sure they’re soft).
Ladle out 2 cups liquid from soup mixture in crock pot into a liquid measuring cup, set aside. In a medium saucepan, melt butter over medium heat. Add flour and cook, stirring constantly, 2 minutes. While whisking, slowly pour 2 cups liquid in measuring cup into butter mixture (it will thicken quickly). Pour butter mixture into slow cooker and stir to blend. If desired, mash potatoes with a potato masher to break down into smaller pieces or use an emulsion blender to puree. Cover and cook on HIGH heat until thickened, about 10 minutes. Turn heat off (or to warm), stir in sour cream. Serve warm topped with cheddar, bacon and green onions (you can just mix in those three remaining ingredients into slow cooker or top individual servings).
Cheers & Warm Hugs,
Jodi
I am submitting this post as part of my #Writing201 Assignment: A How-To How-To – We all have something we can teach others. This week, dig into your bucket of expertise to pen an instructional post.
Have you seen Chef Mimi’s Blog? Oh My My! Talk about mouth-watering photos and unbelievably talented cooking skills!
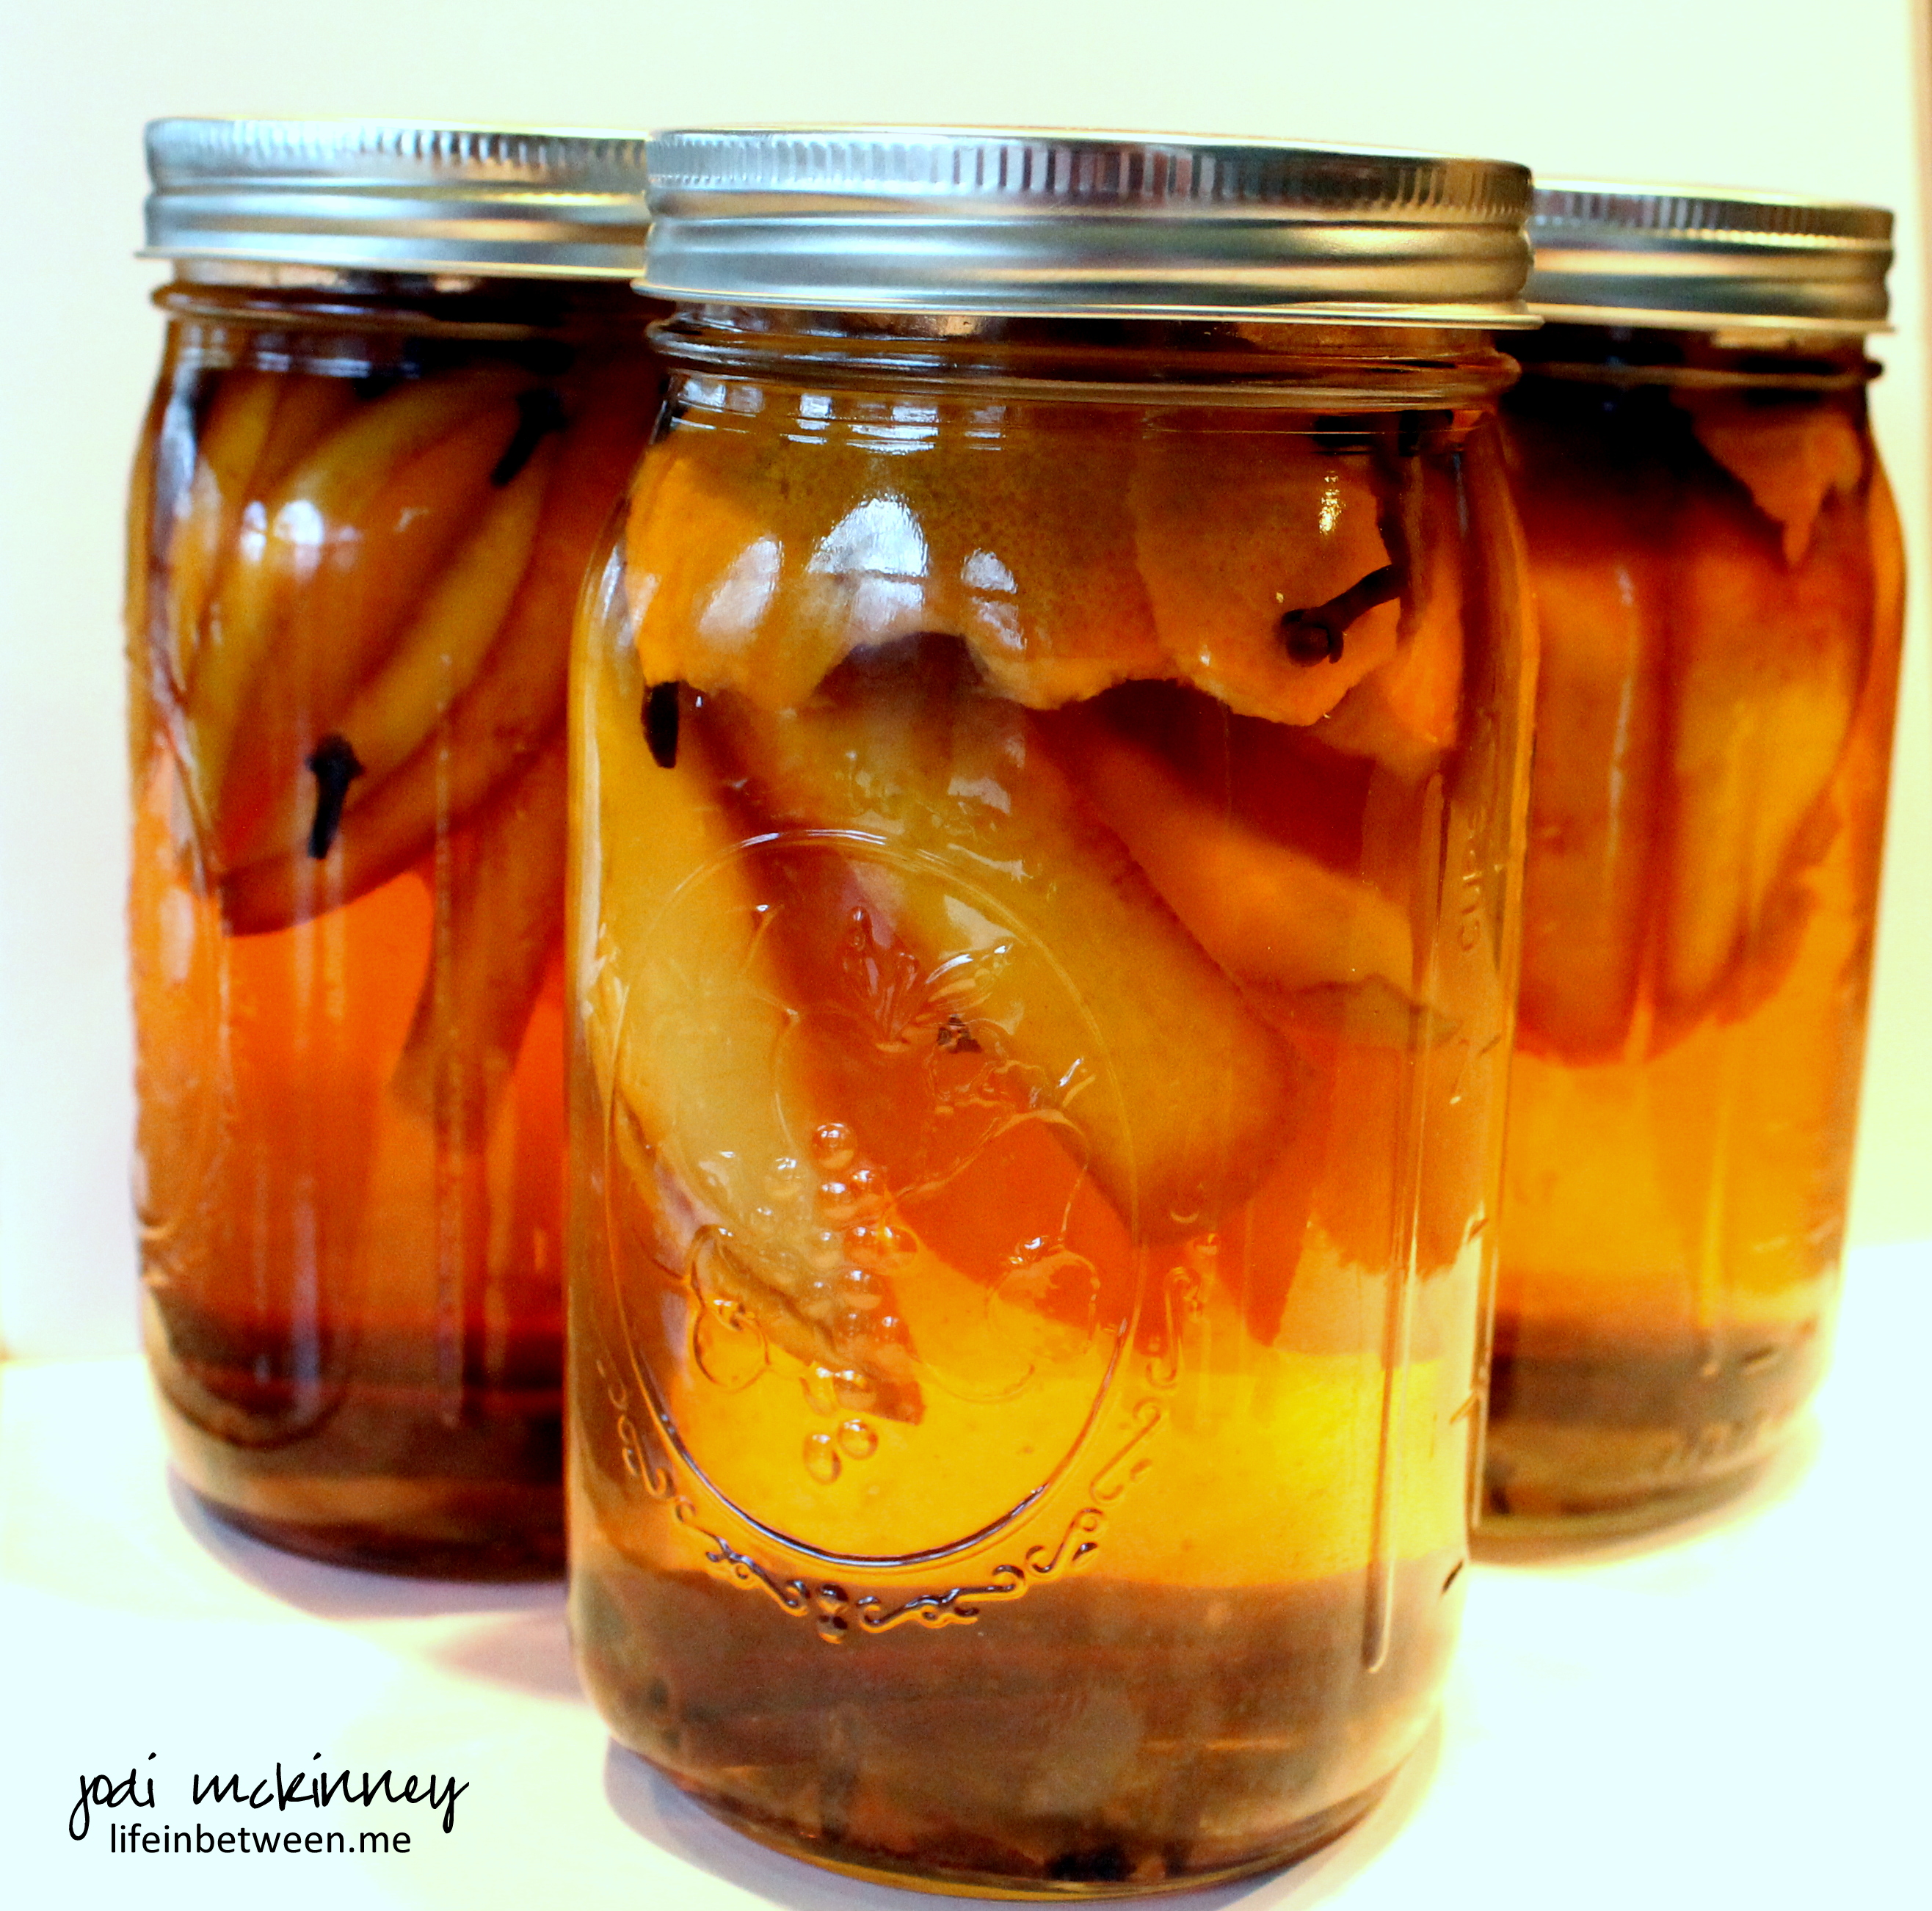
When I saw a post where Chef Mimi shared this recipe for Spiced Pear Liqueur, I had to try it.
I have never tried making anything like this before (with the exception of the ever-popular and classic Apple Pie Moonshine 🙂 that didn’t turn out too shabby!), so I am excited to see how it goes and what other wonderful libations I may want to try concocting…
1/2 cup sugar
Small handful whole cloves
Small handful whole allspice (I did not have allspice, so did not use)
2 cinnamon sticks
1 ripe pear, I used red D’anjou
Few pieces of orange peel
Vodka, approximately 3 cups
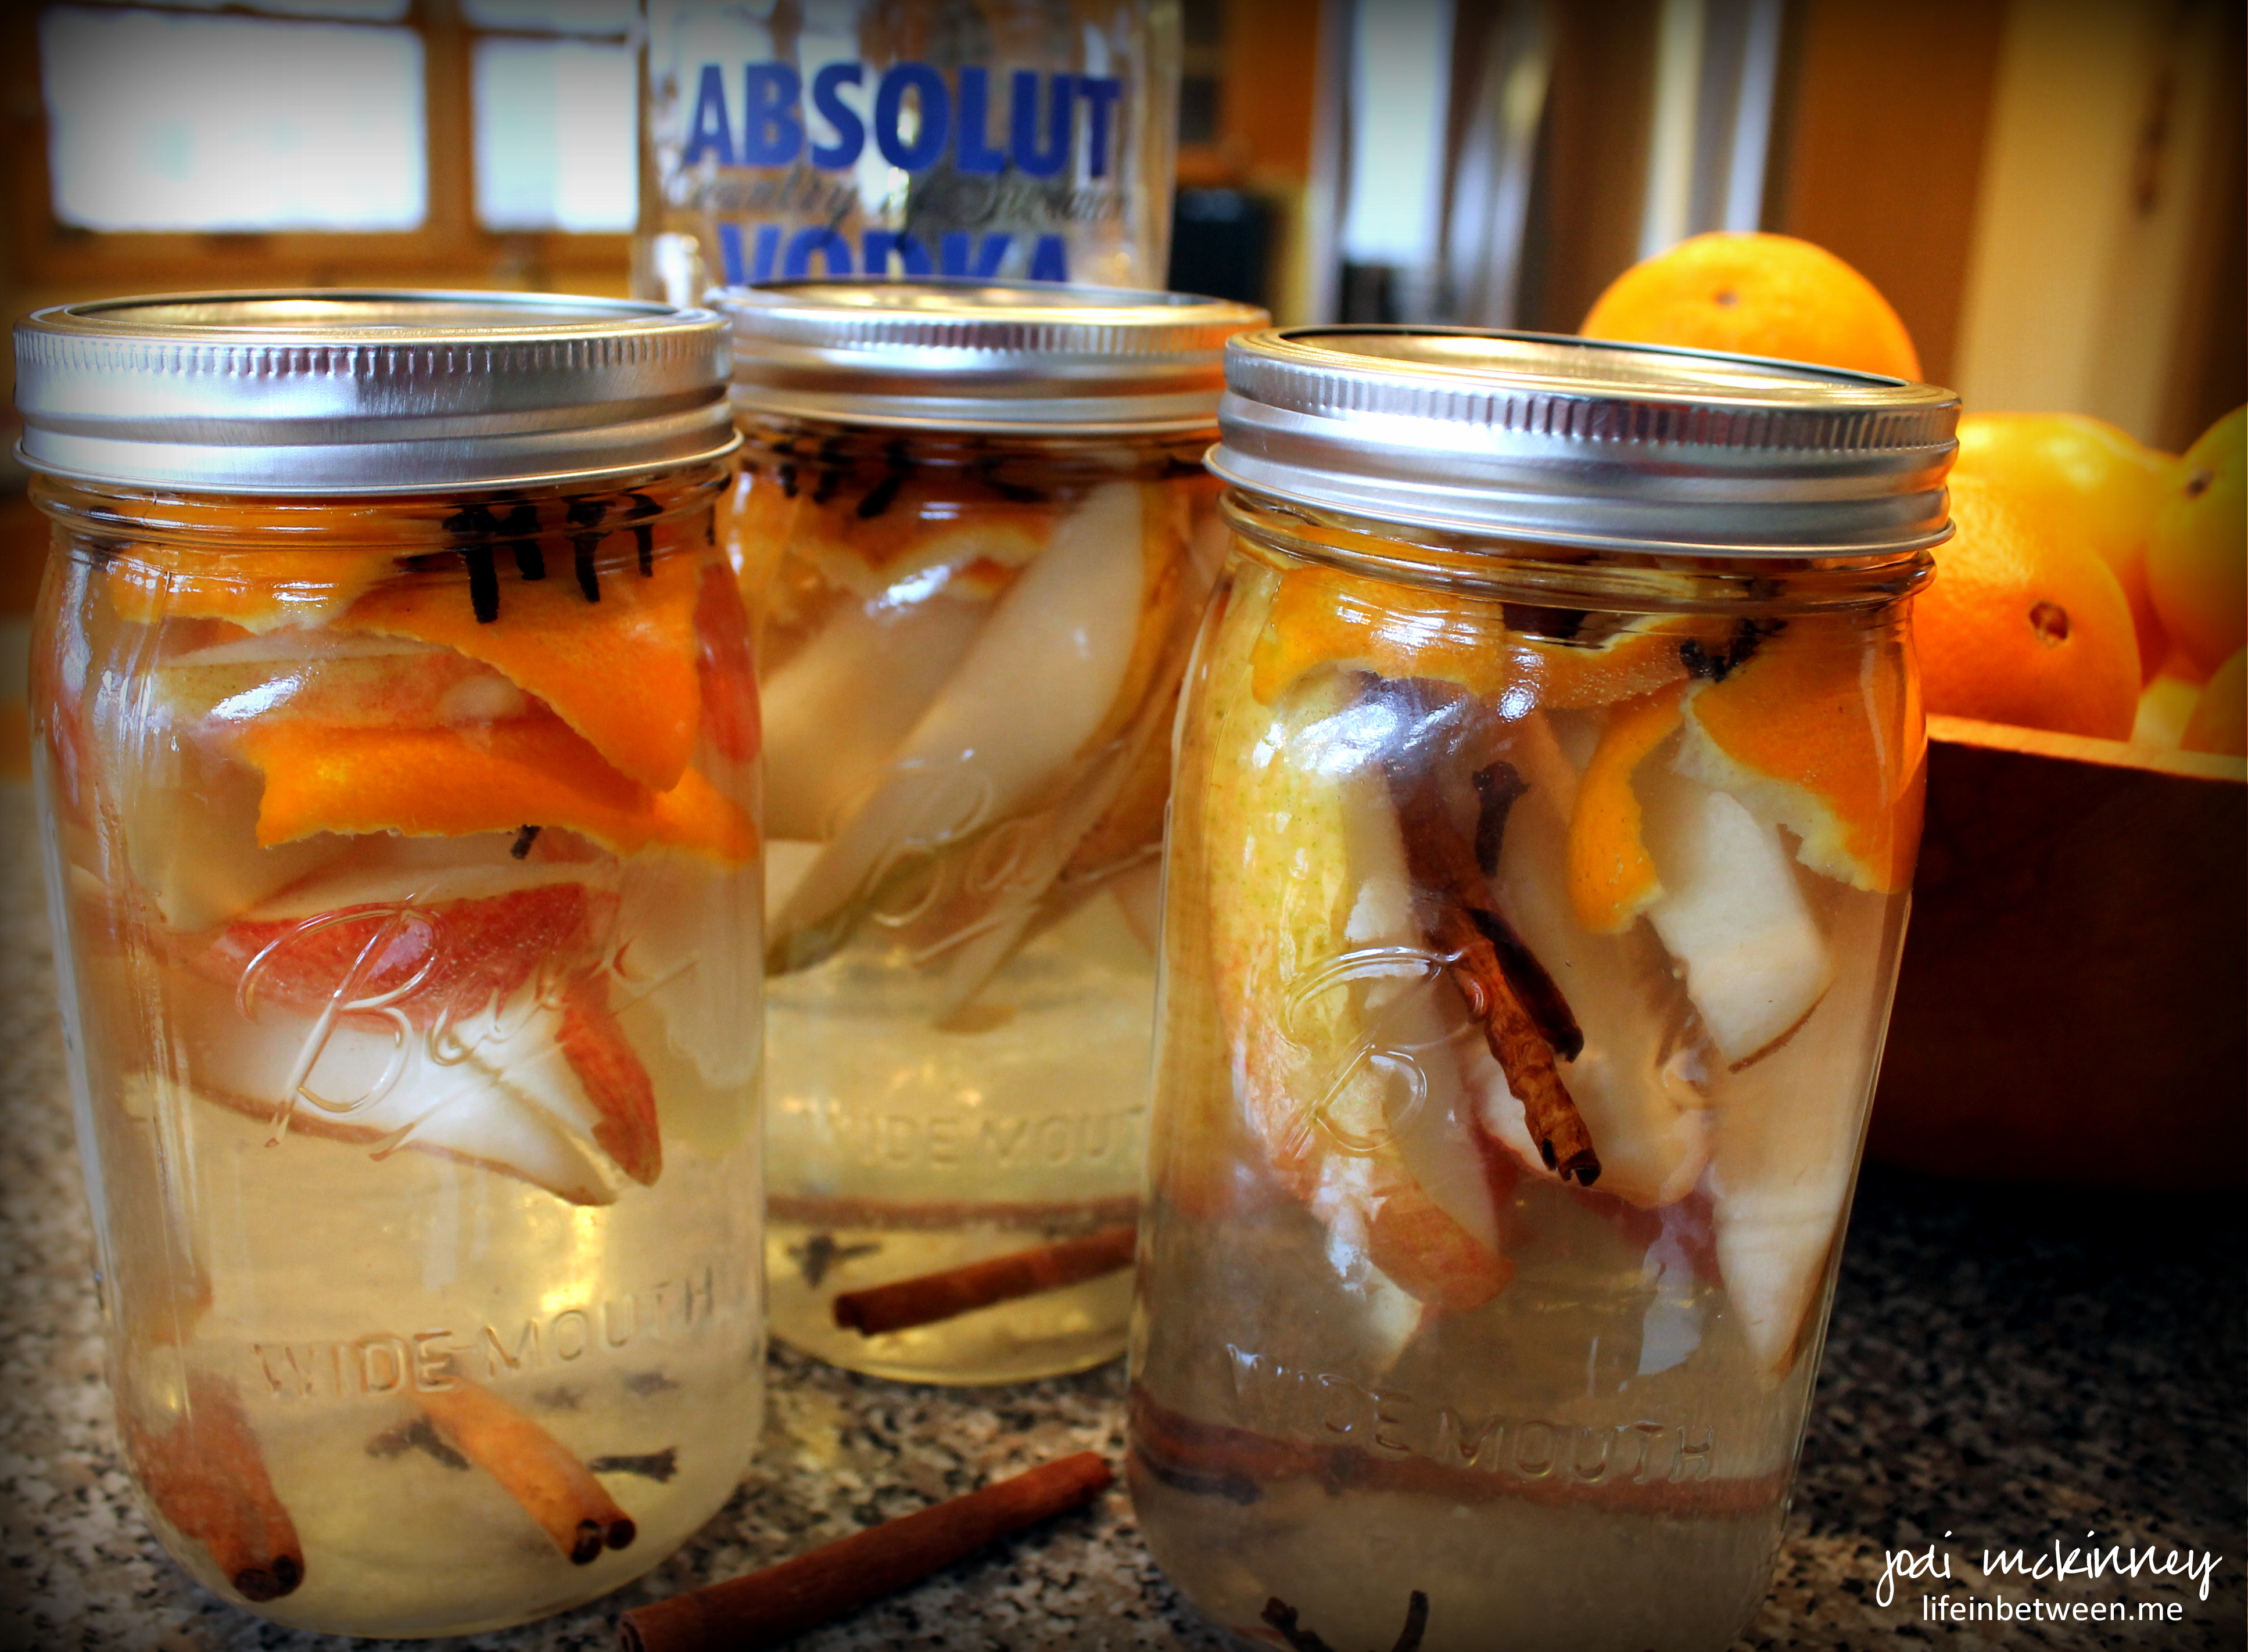
Place the sugar, cloves, allspice and cinnamon sticks in a large, clean bottling jar with a lid. Slice up the pear, avoiding the core, and place wedges into the jar. Add the orange peel.
Pour vodka until it reaches the top. I used approximately 3 cups. Shake well until the sugar dissolves. Then store away for 4-6 weeks.
I love all the wonderful colors and aromas of the ingredients that went into this, and after almost a week, it has achieved this beautiful amber color below.
Can’t wait to try taste-testing in a few more weeks!
My sweet friend, Janet, brought us over some butternut squash from her garden the other day.
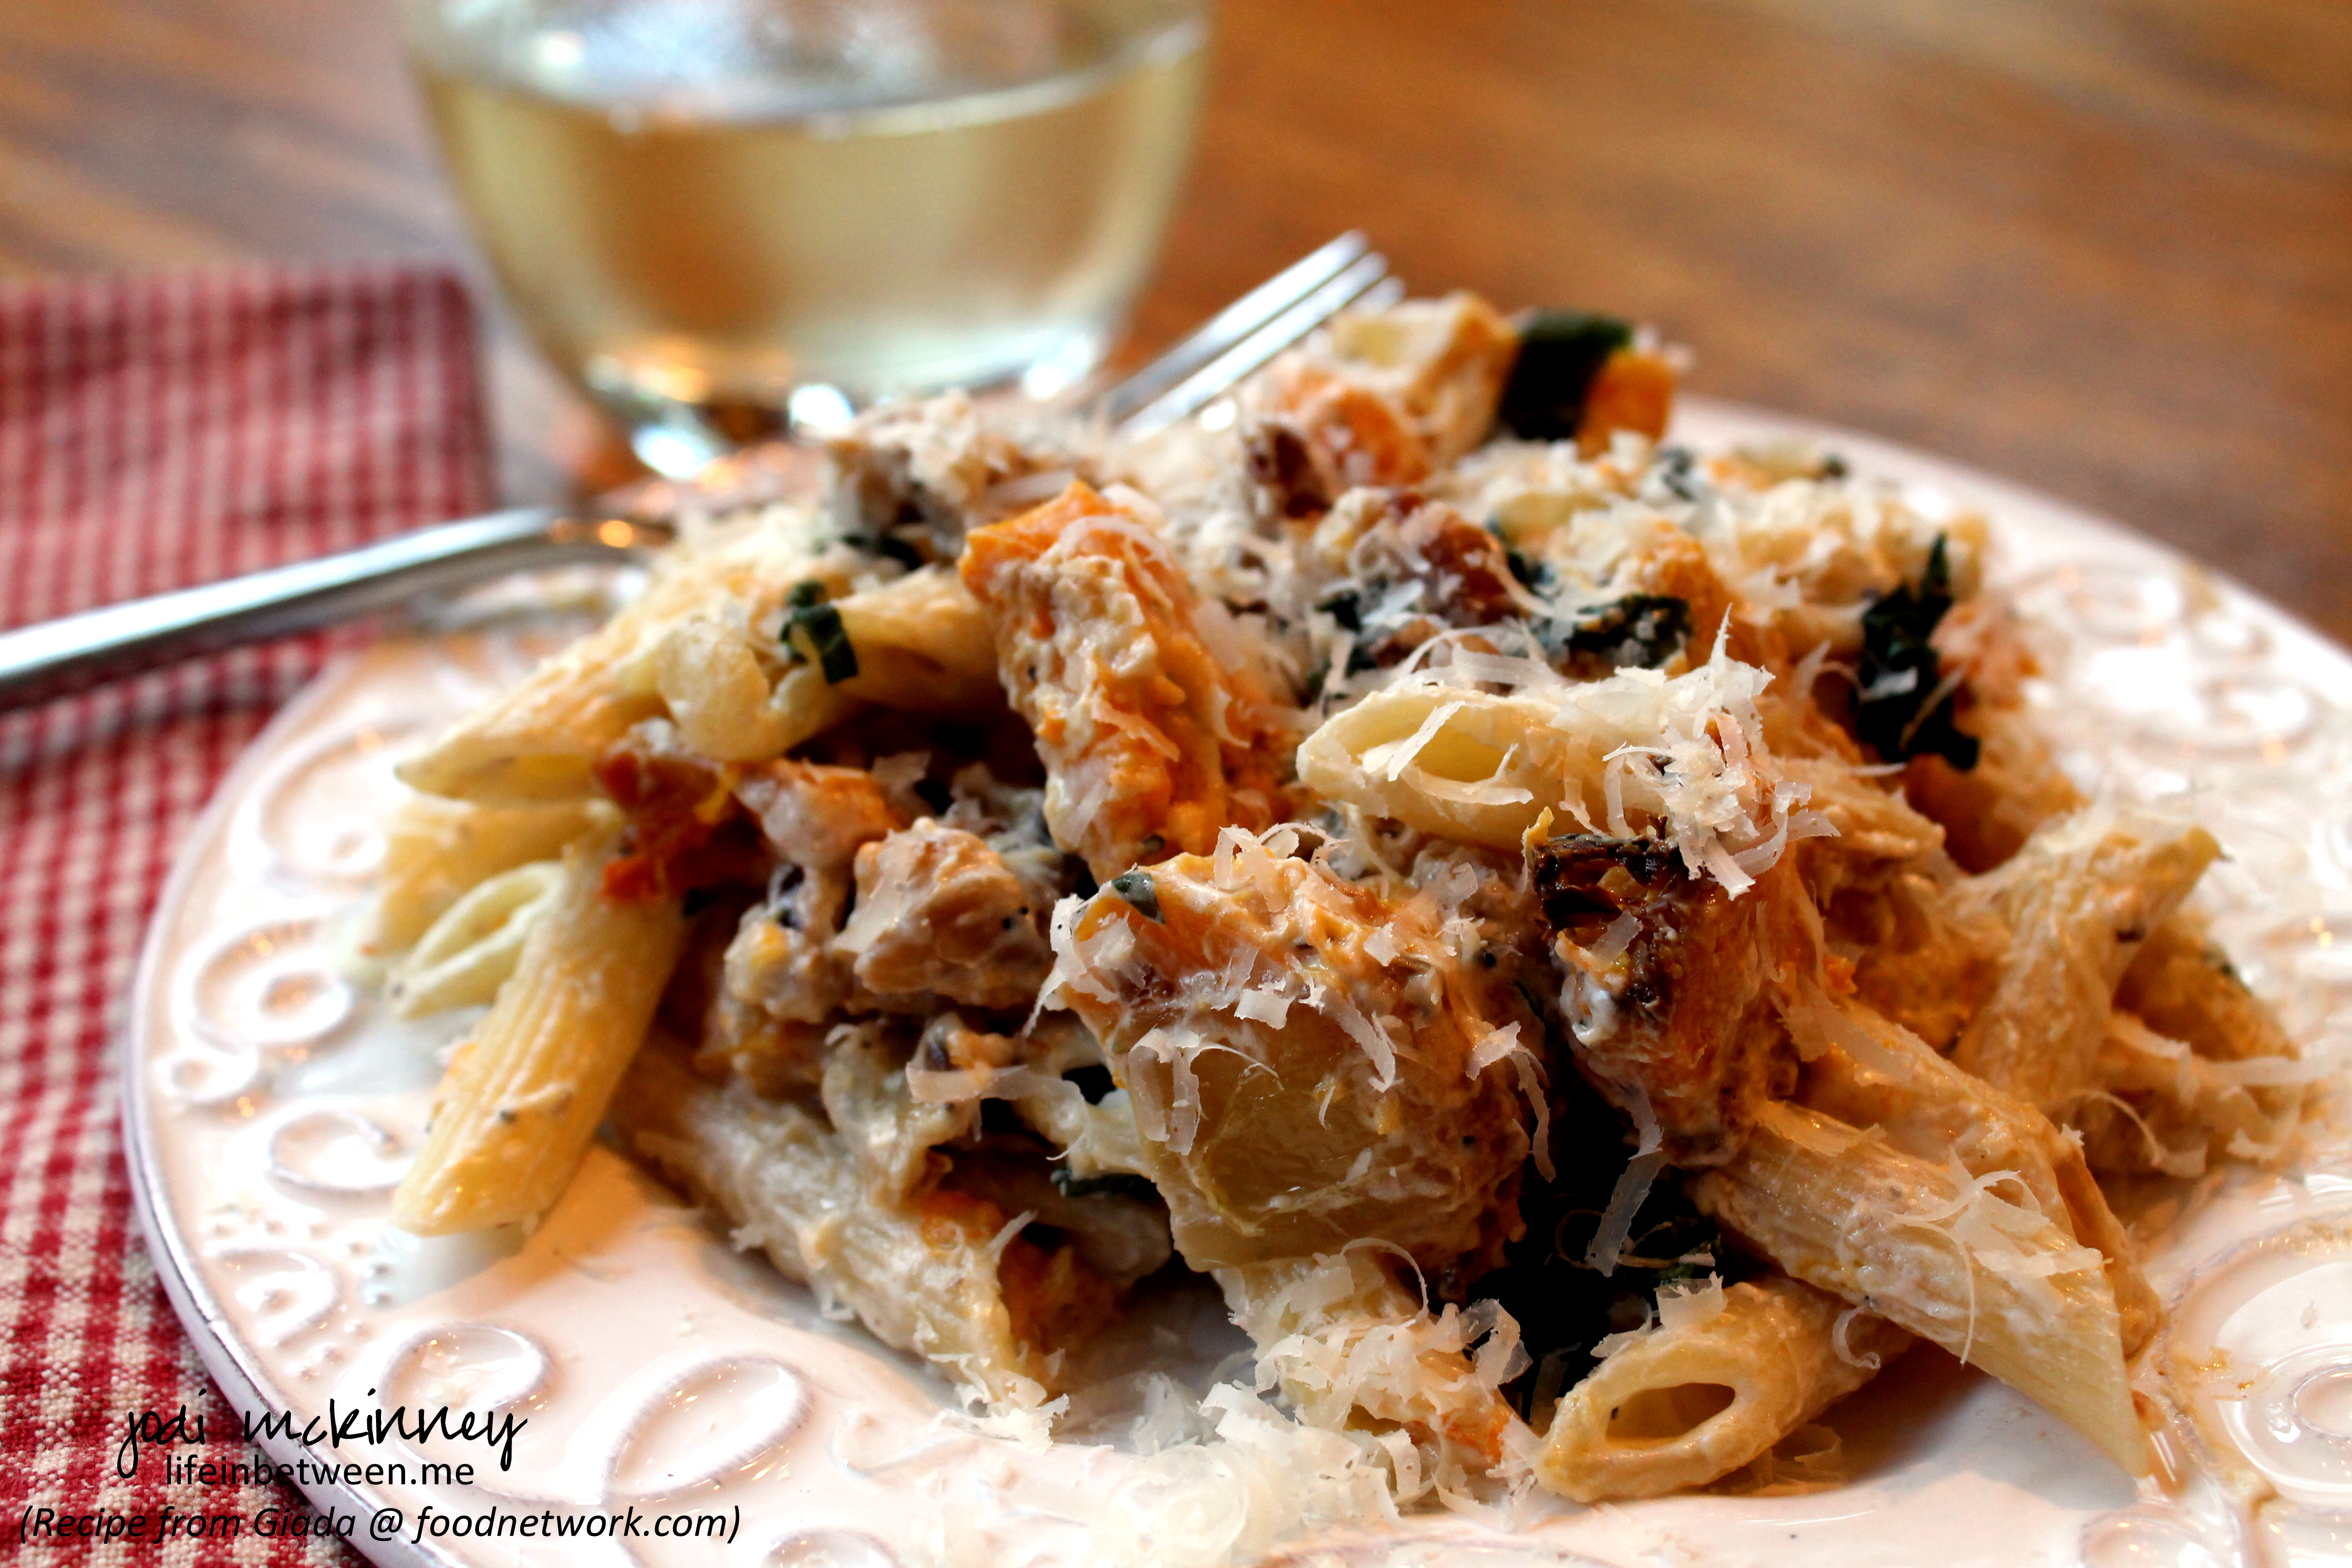
I was excited to try something new with it, and found this amazing recipe from Giada at the Food Network.
I just happened to have all the ingredients on hand, so Score! A simple (and no meat) dinner last night. I added a big, green tossed salad, and we were set.
(My guys do prefer to have “meat,” but I’ll keep trying with baby steps to slip in alternatives occasionally.)
So seriously – how can you go wrong with…
Penne pasta,
Creamy goat cheese,
Sweet onions and butternut squash roasted to perfection with a little olive oil, salt, and pepper,
Crunchy toasted walnuts,
Fresh, fragrant basil,
and salty grated Parmegiano Reggiano cheese
(well – – – Marty says omit the walnuts and add chicken – – – spoil sport! Might work – but I LOVED it this way!!)
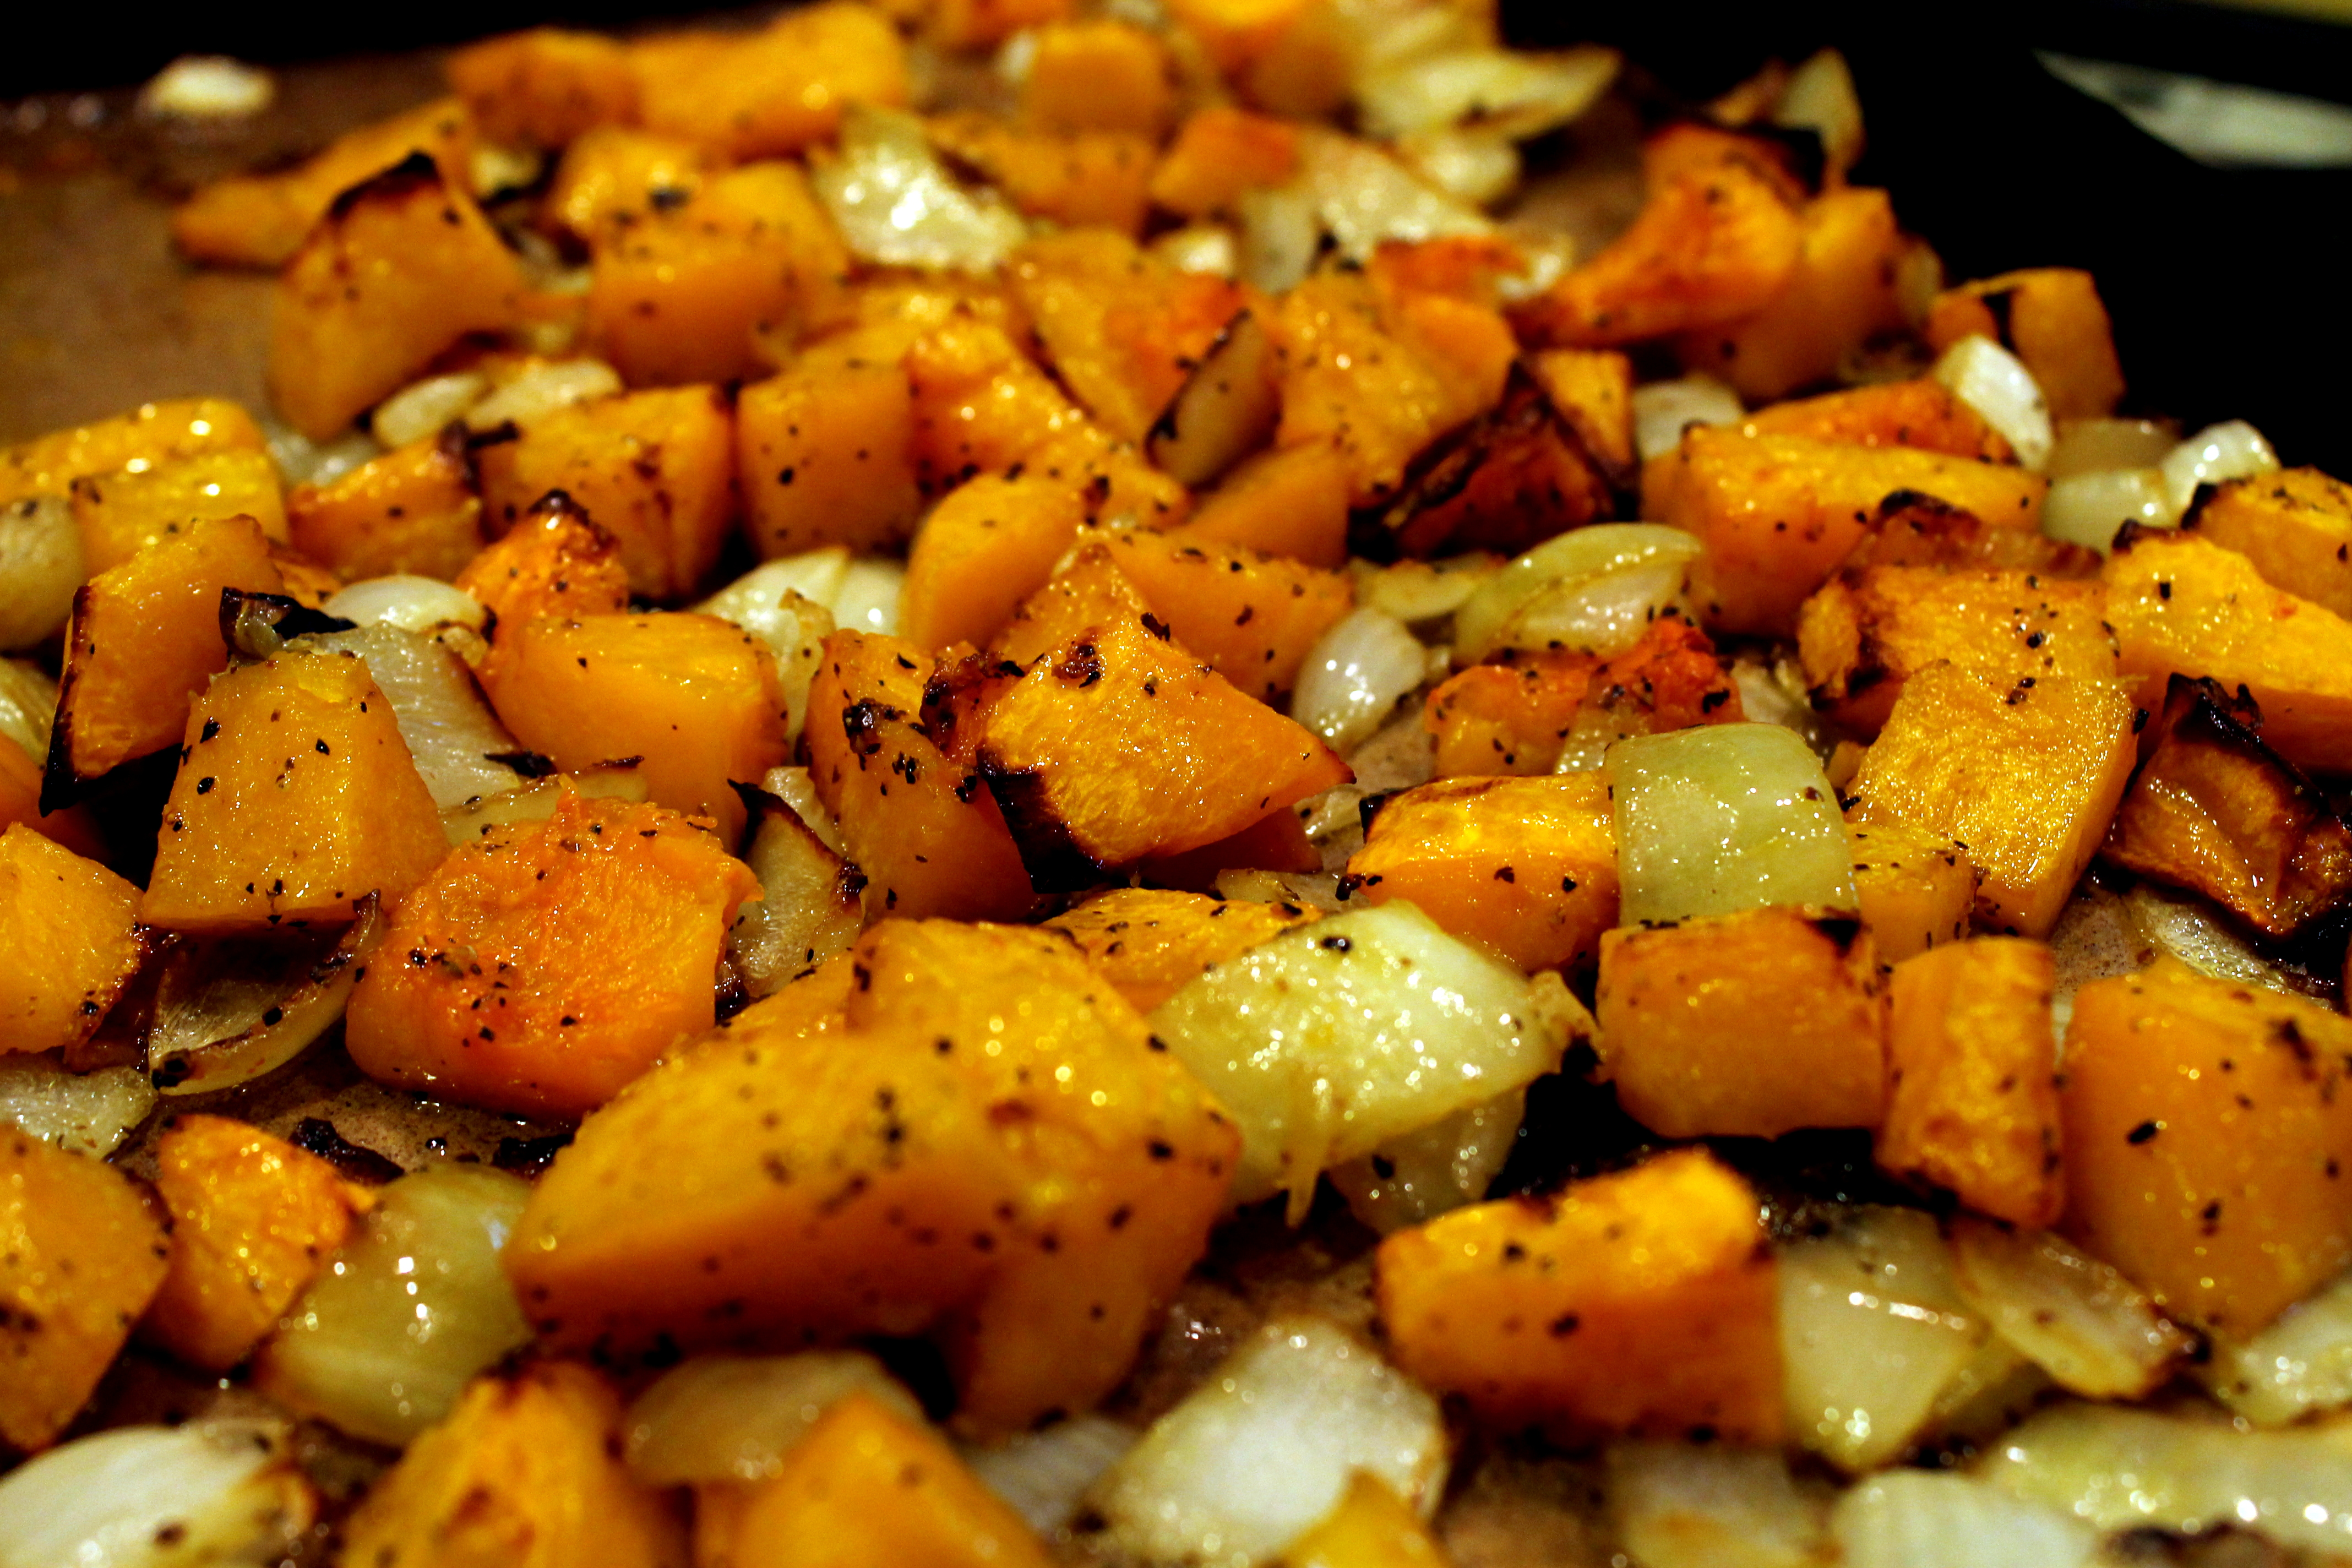
I just love roasting vegetables. The way this process caramelizes and brings out the sugars and flavors of vegetables is so amazing!
1 butternut squash, peeled, seeded and cut into 3/4-inch cubes
1 sweet onion, diced into 1/2-inch pieces
Olive oil, for drizzling
Kosher salt and freshly ground black pepper
1 pound penne pasta (or whatever shape you like)
1 1/2 cups goat cheese, crumbled – or how much ever you like
1 cup coarsely chopped walnuts, toasted
1 cup chopped fresh basil leaves
1/2 cup coarsely grated Parmigiano Reggiano cheese
Preheat the oven to 425 degrees F.
Arrange the squash and onion together in a single layer on a baking sheet (I always use baking stones). Drizzle with olive oil and season with salt and pepper to taste. Bake for 30-40 minutes stirring occasionally making sure to not overbake – or squash will become “mushy” when mixed in with pasta.
While the squash mixture is cooling, bring a large pot of salted water to a boil over high heat. Add the pasta and cook until al dente – about 8 minutes. Drain and reserve about 2 cups of the pasta water. Mix the pasta, goat cheese and pasta water together and stir until the cheese melts into a creamy sauce. Add the squash and onion mixture, the walnuts and the basil. Toss well and season with salt and pepper, to taste. Garnish with Parmesan and serve.
To toast the walnuts, arrange them in a single layer on a baking sheet. Bake in a preheated 350 degree F oven until lightly toasted, about 6 to 8 minutes Cool completely before using.
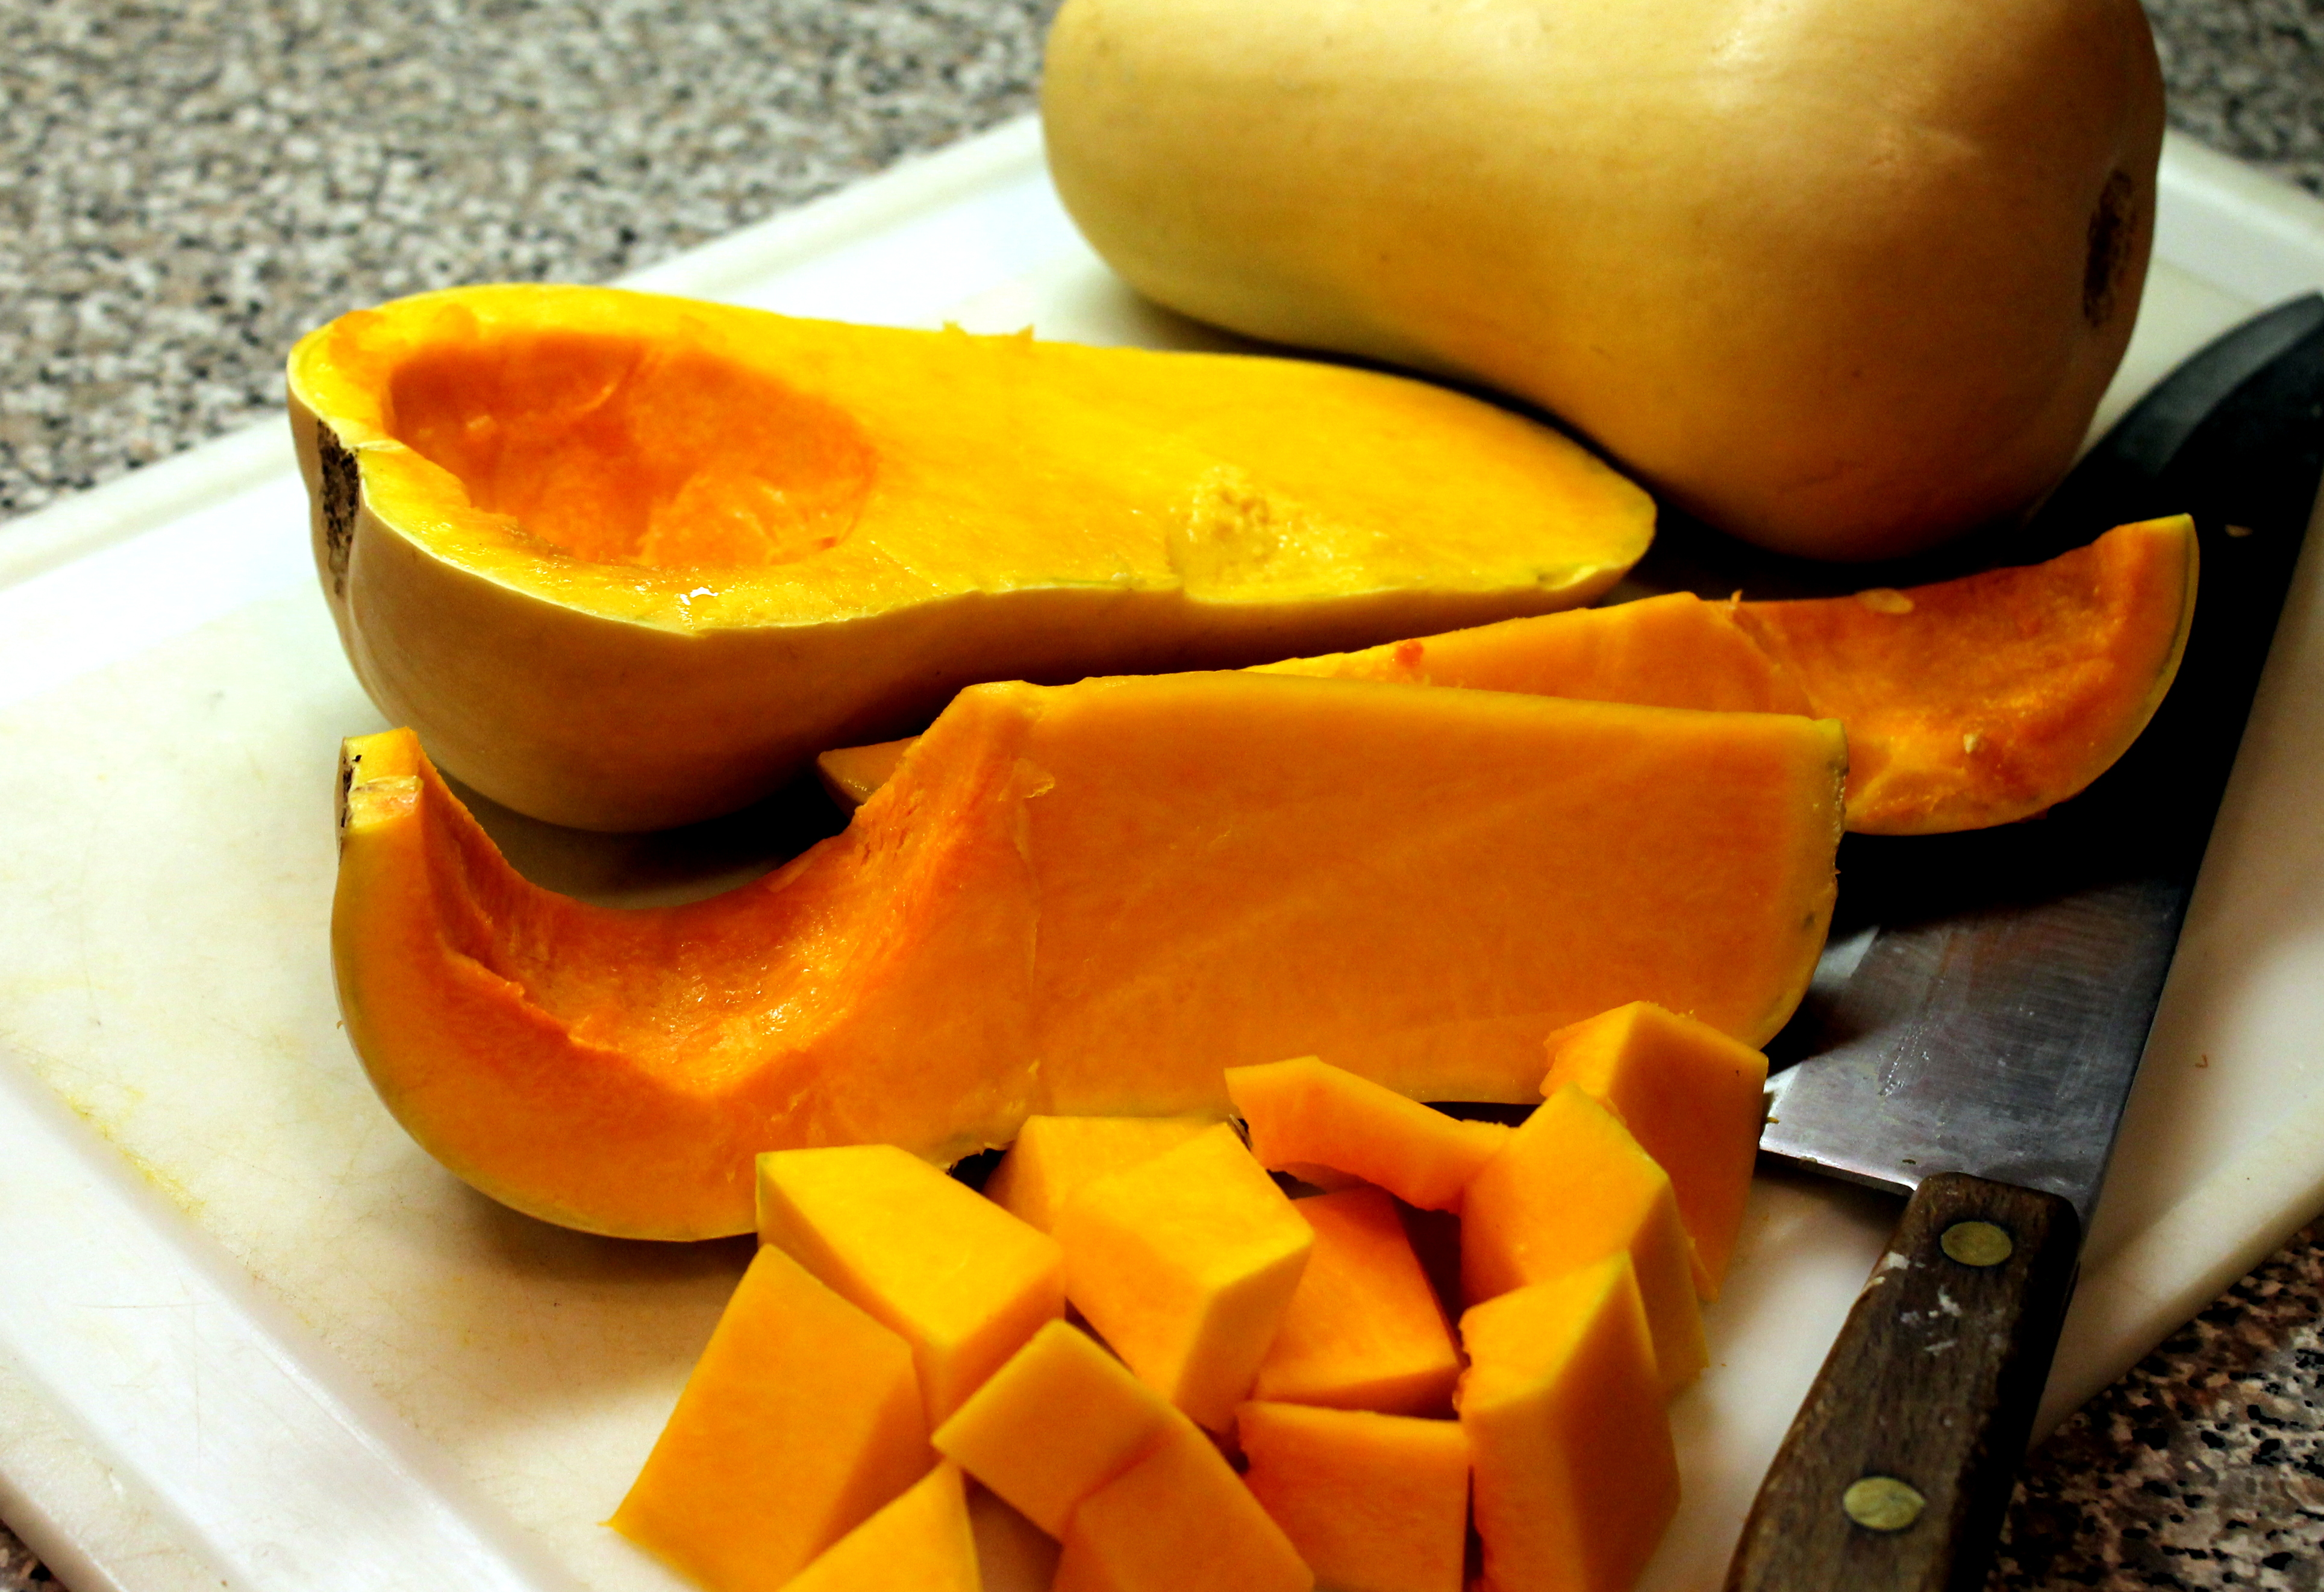
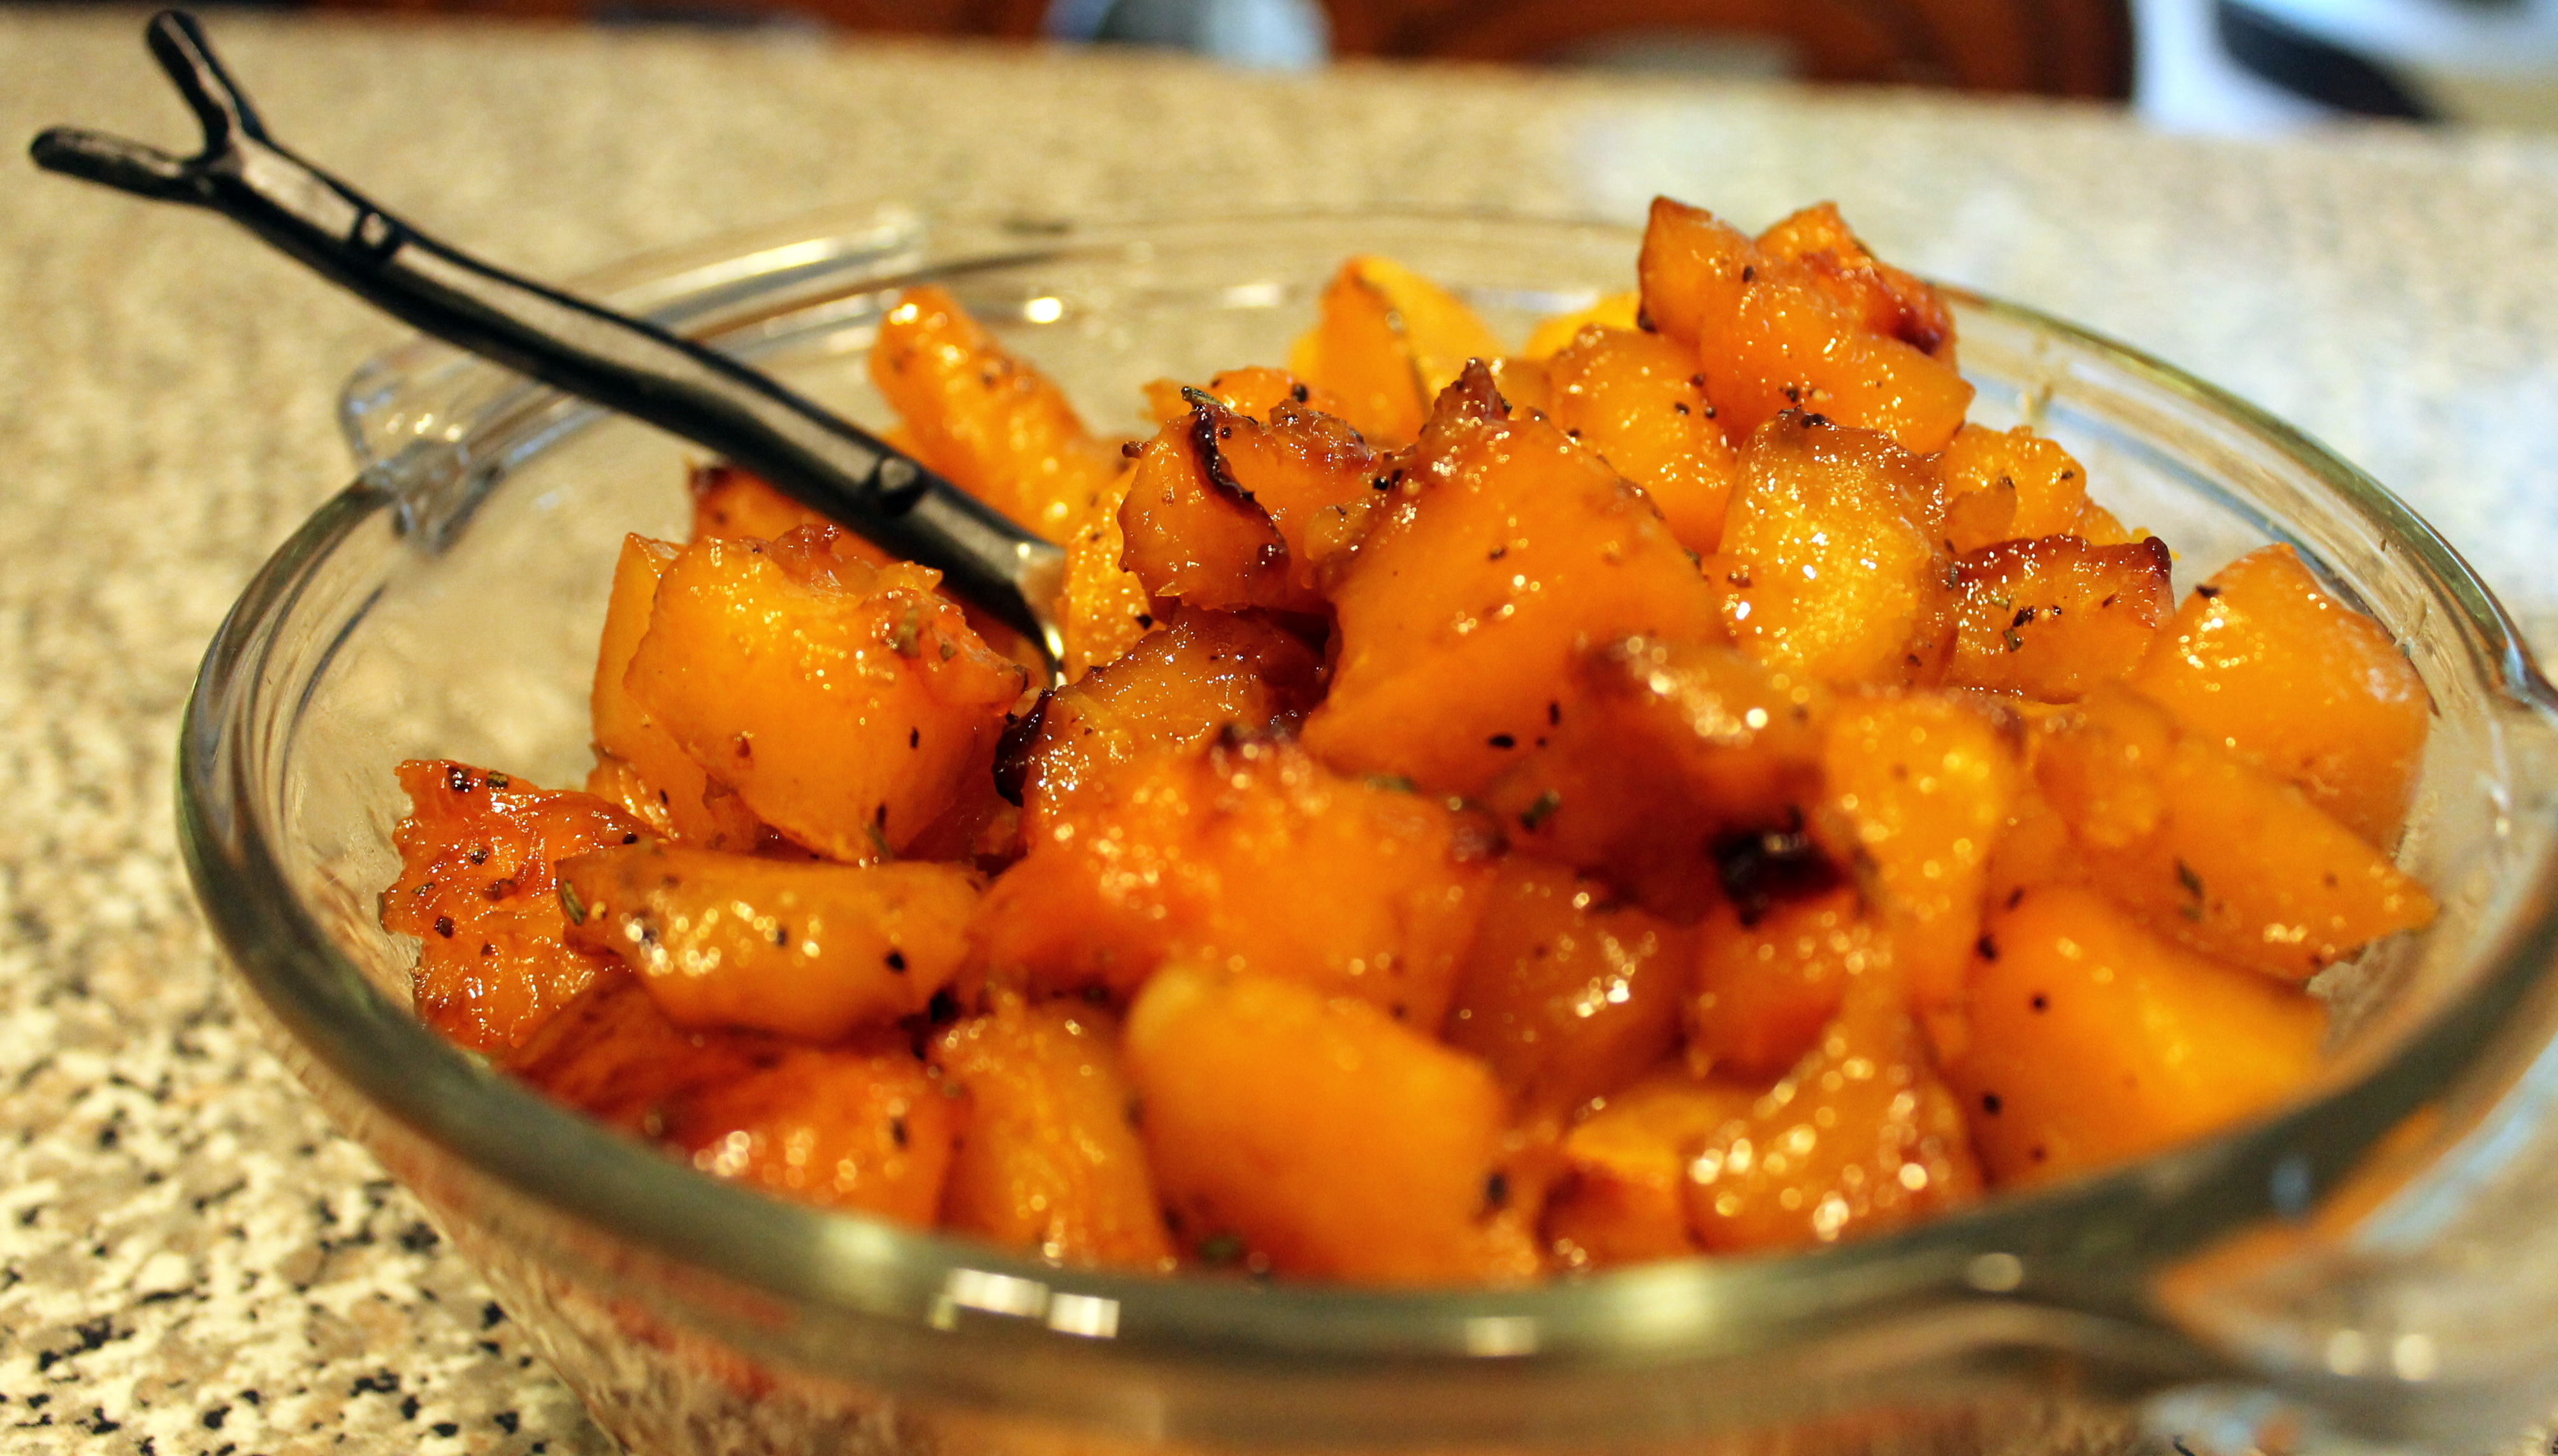
A variety of squash is plentiful this time of year.
I love butternut squash, and I love to make it this simple way that I did this week for dinner.
The hardest part is “peeling” the squash.
Here is how I make it:
Roasted Butternut Squash
1 Butternut squash halved, seeded, peeled.
5-6 Tbsp butter
1/4 c brown sugar
1 sprig fresh rosemary, minced
salt and pepper to taste
Cut butternut squash into cubes and spread onto baking dish/stone. Melt butter, add brown sugar, and mix well. Drizzle over squash cubes. Sprinkle rosemary and salt/pepper over all. Roast in 400 degree F oven for 20-30 minutes, until tender and brown.
One Christmas holiday season about 15 years ago, some dear friends, Jan and Mike, showed up at our front door on a snowy, blustery day with a warm loaf of this amazing Dill Bread.
I thought I had died and gone to heaven.
After sharing with my family devouring this luscious loaf, I quickly begged for the recipe. Jan sweetly obliged, and I have been making this bread at least once a year ever since.
This bread is so right up my alley of flavor fiestas! Sauteed buttery onion flakes and dill seed baked into this dense, no-knead bread and topped with a sprinkling of coarse sea salt. A cup of cottage cheese in the dough makes it moist and dense.
Yesterday was a bit windy and rainy and seemed a perfect day to let an easy loaf of bread raise and bake for dinner to accompany a beef pot roast and caramelized butternut squash. A perfect Fall feast.
Here’s the recipe for “Jan’s Dill Bread”
1 pkg dry yeast
1/4 cup warm water
2 Tbsp sugar
1/4 c olive oil
2 Tbsp minced onion flakes
2 Tbsp butter
1 c cottage cheese
1/4 tsp baking soda
1 egg
2 Tbsp dill seed
1 tsp salt
2 1/2 c flour
Soften onion in butter over low heat and let cool.
Dissolve yeast in warm water. Add all ingredients except flour, and mix well. Then stir in flour to make stiff dough.
Let rise until doubled (an hour or so). Punch down and place in greased 2 qt casserole or baking stone. Let rise 40 min. Bake for approx. 30 minutes at 350 degrees F until well browned.
Brush top with butter and sprinkle with coarse sea salt.