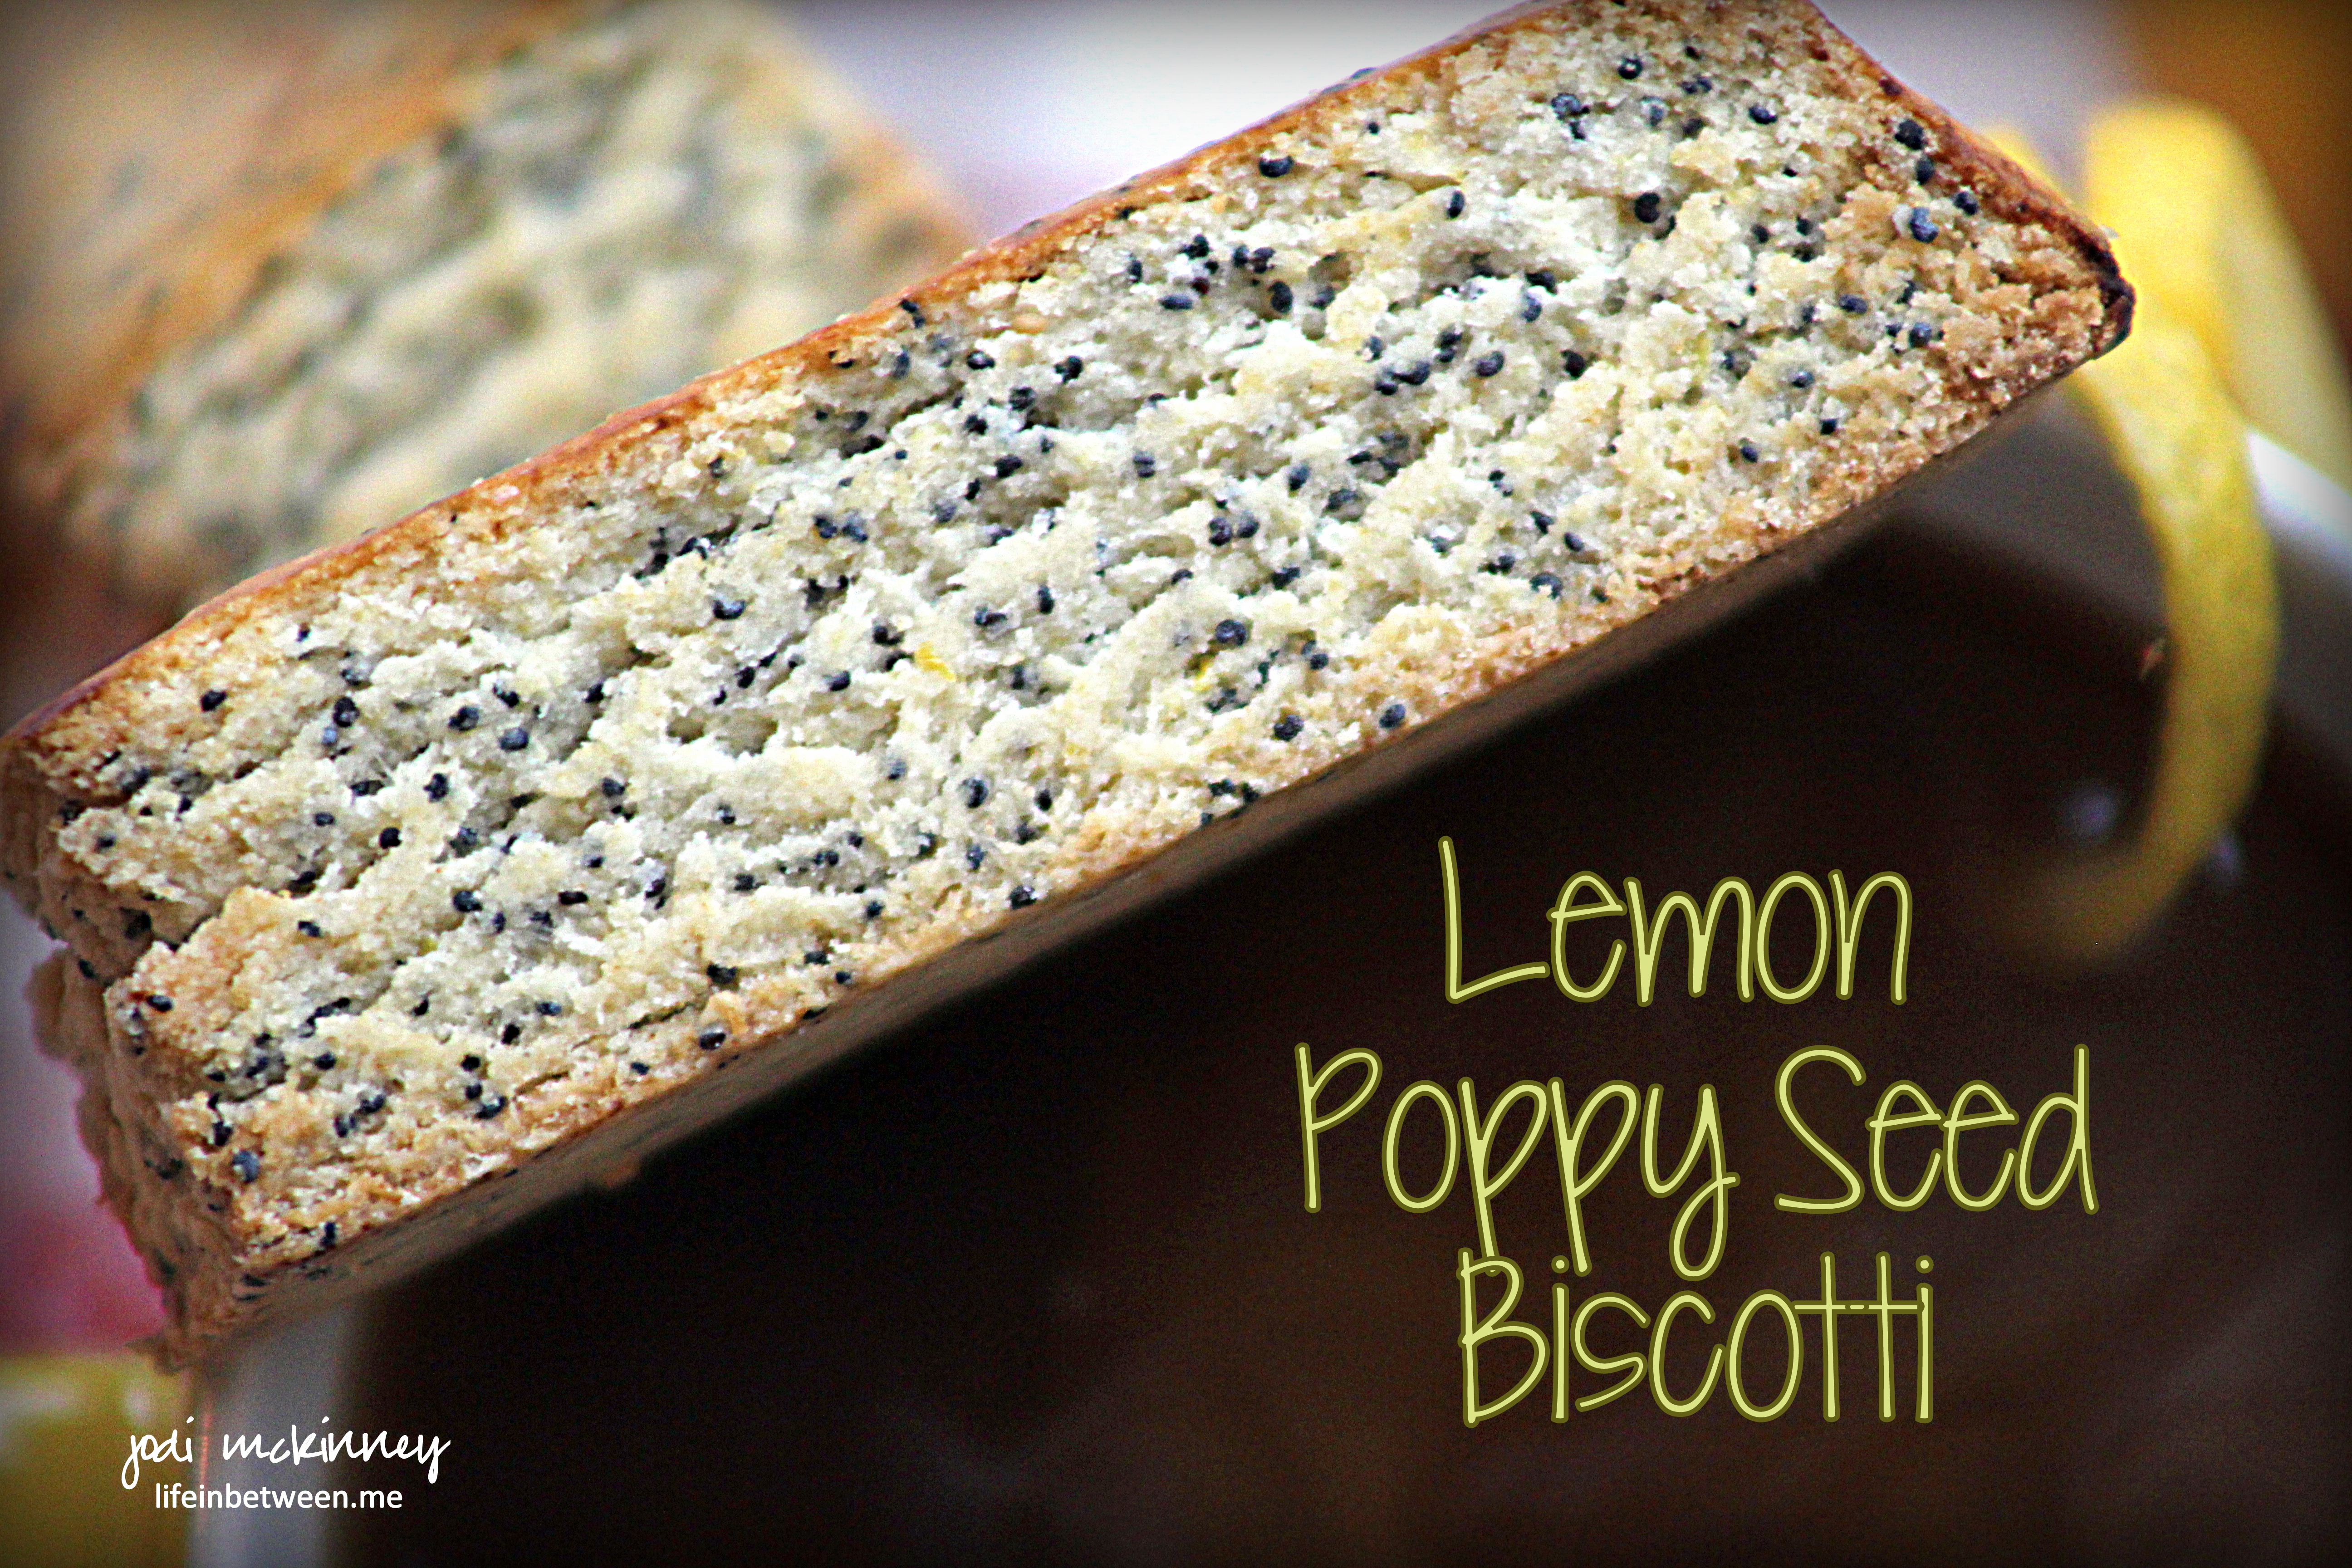
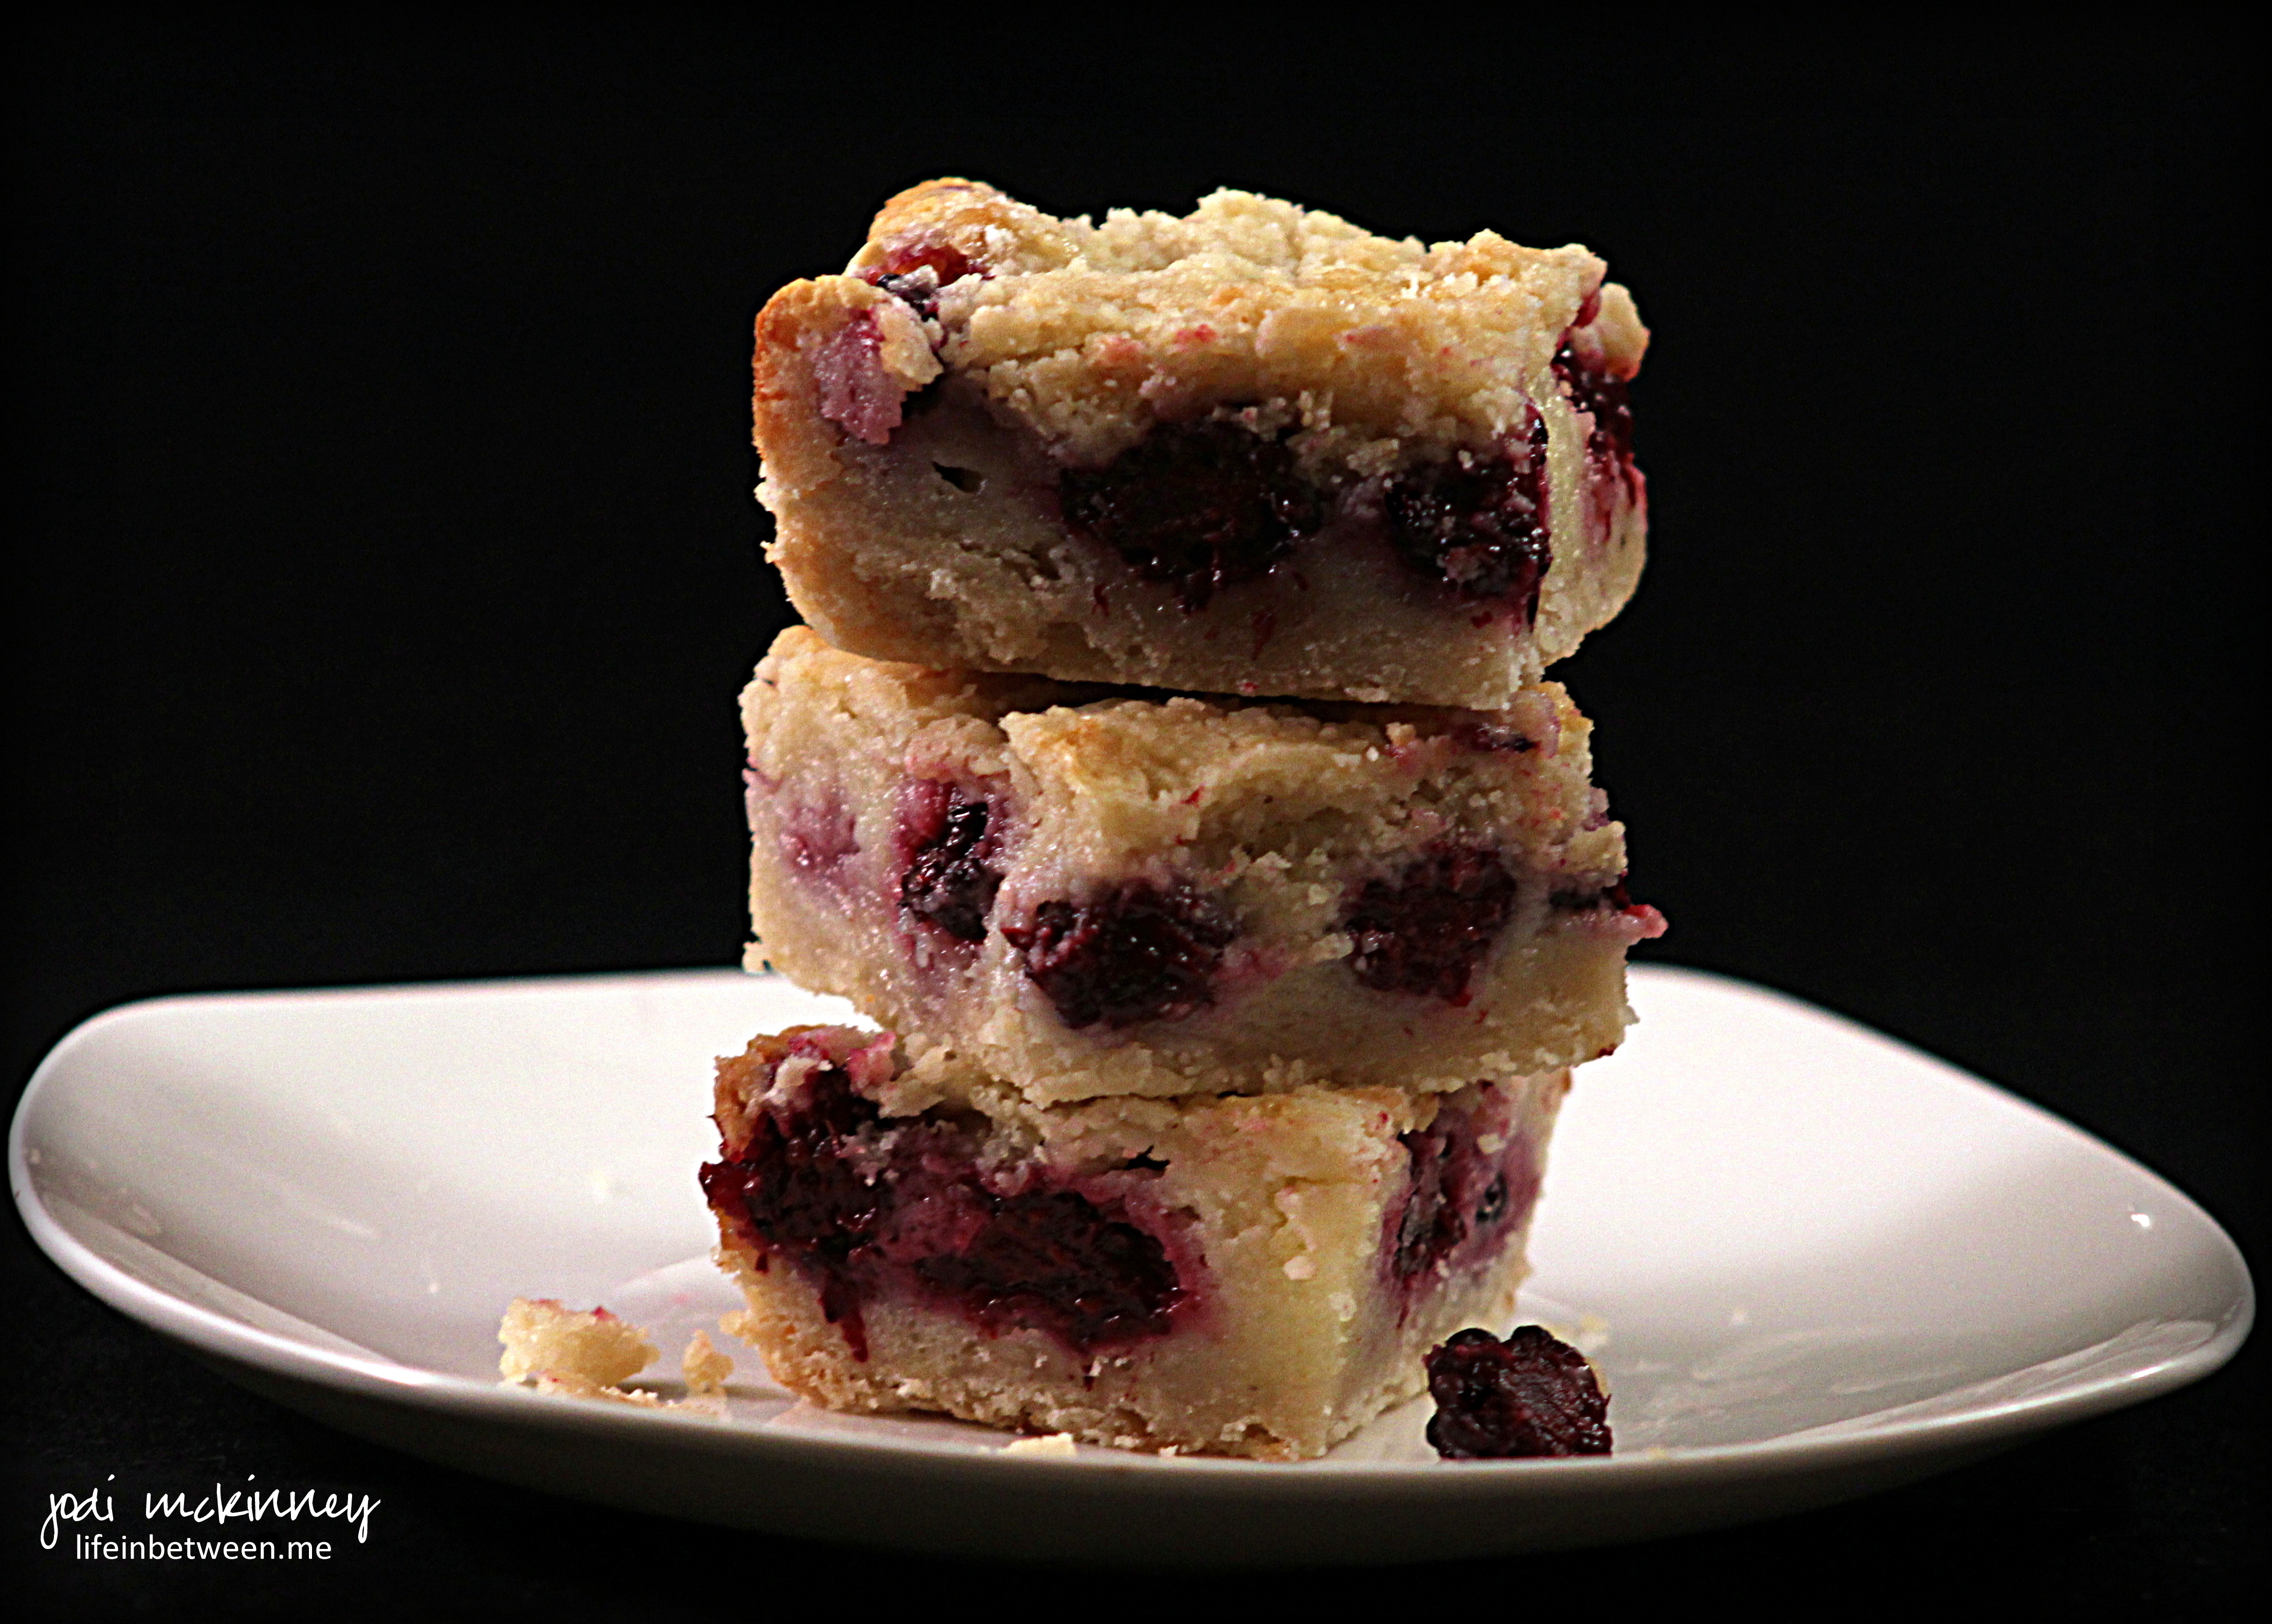
Cinnamon Churro Ice Cream Bowl Sundae
Can you even handle the yumminess of these Cinnamon Churro Ice Cream Sundae Bowls?

Cinnamon Churro Bowl Ice Cream Sundae
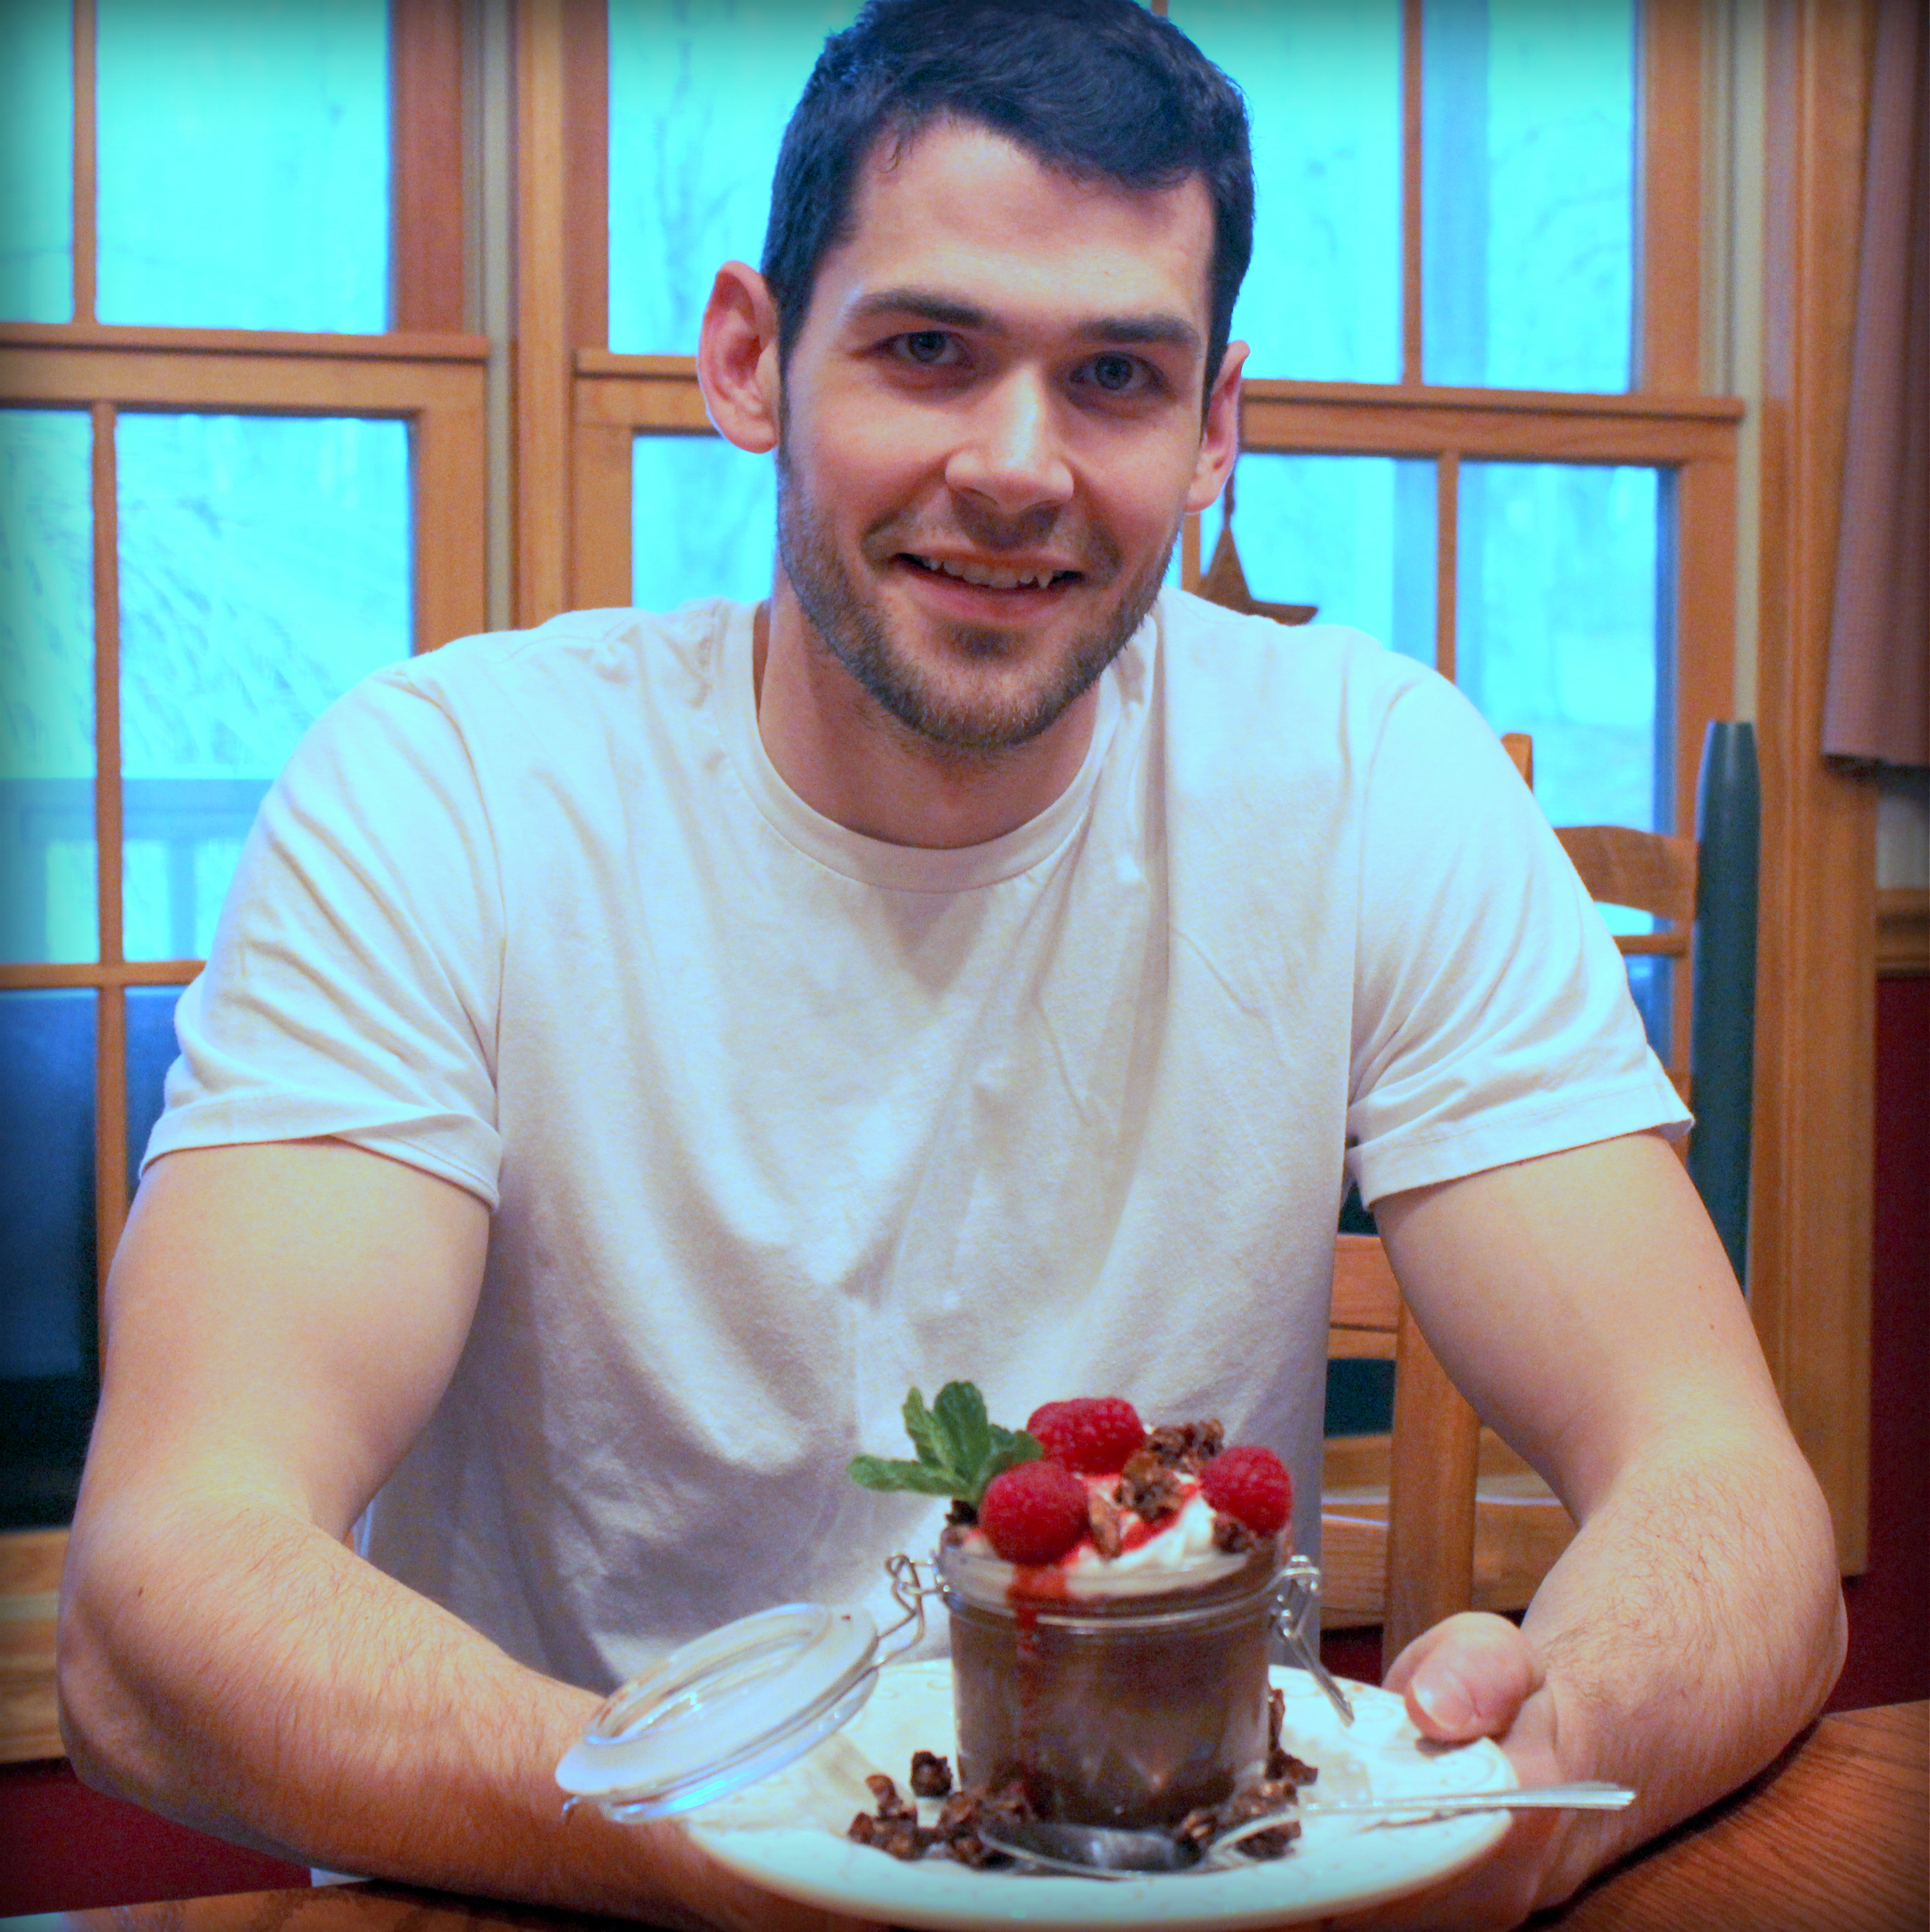
On Sunday, my son, Nick, saw this gif recipe on Reddit and decided he wanted to try it. It was an unseasonably cold “Spring” day. I was feeling a bit under the weather feeling a head cold starting and making some of my favorite remedy – homemade chicken noodle soup.
I perked up when he said he wanted to try and watched and gave him a few pointers along the way.
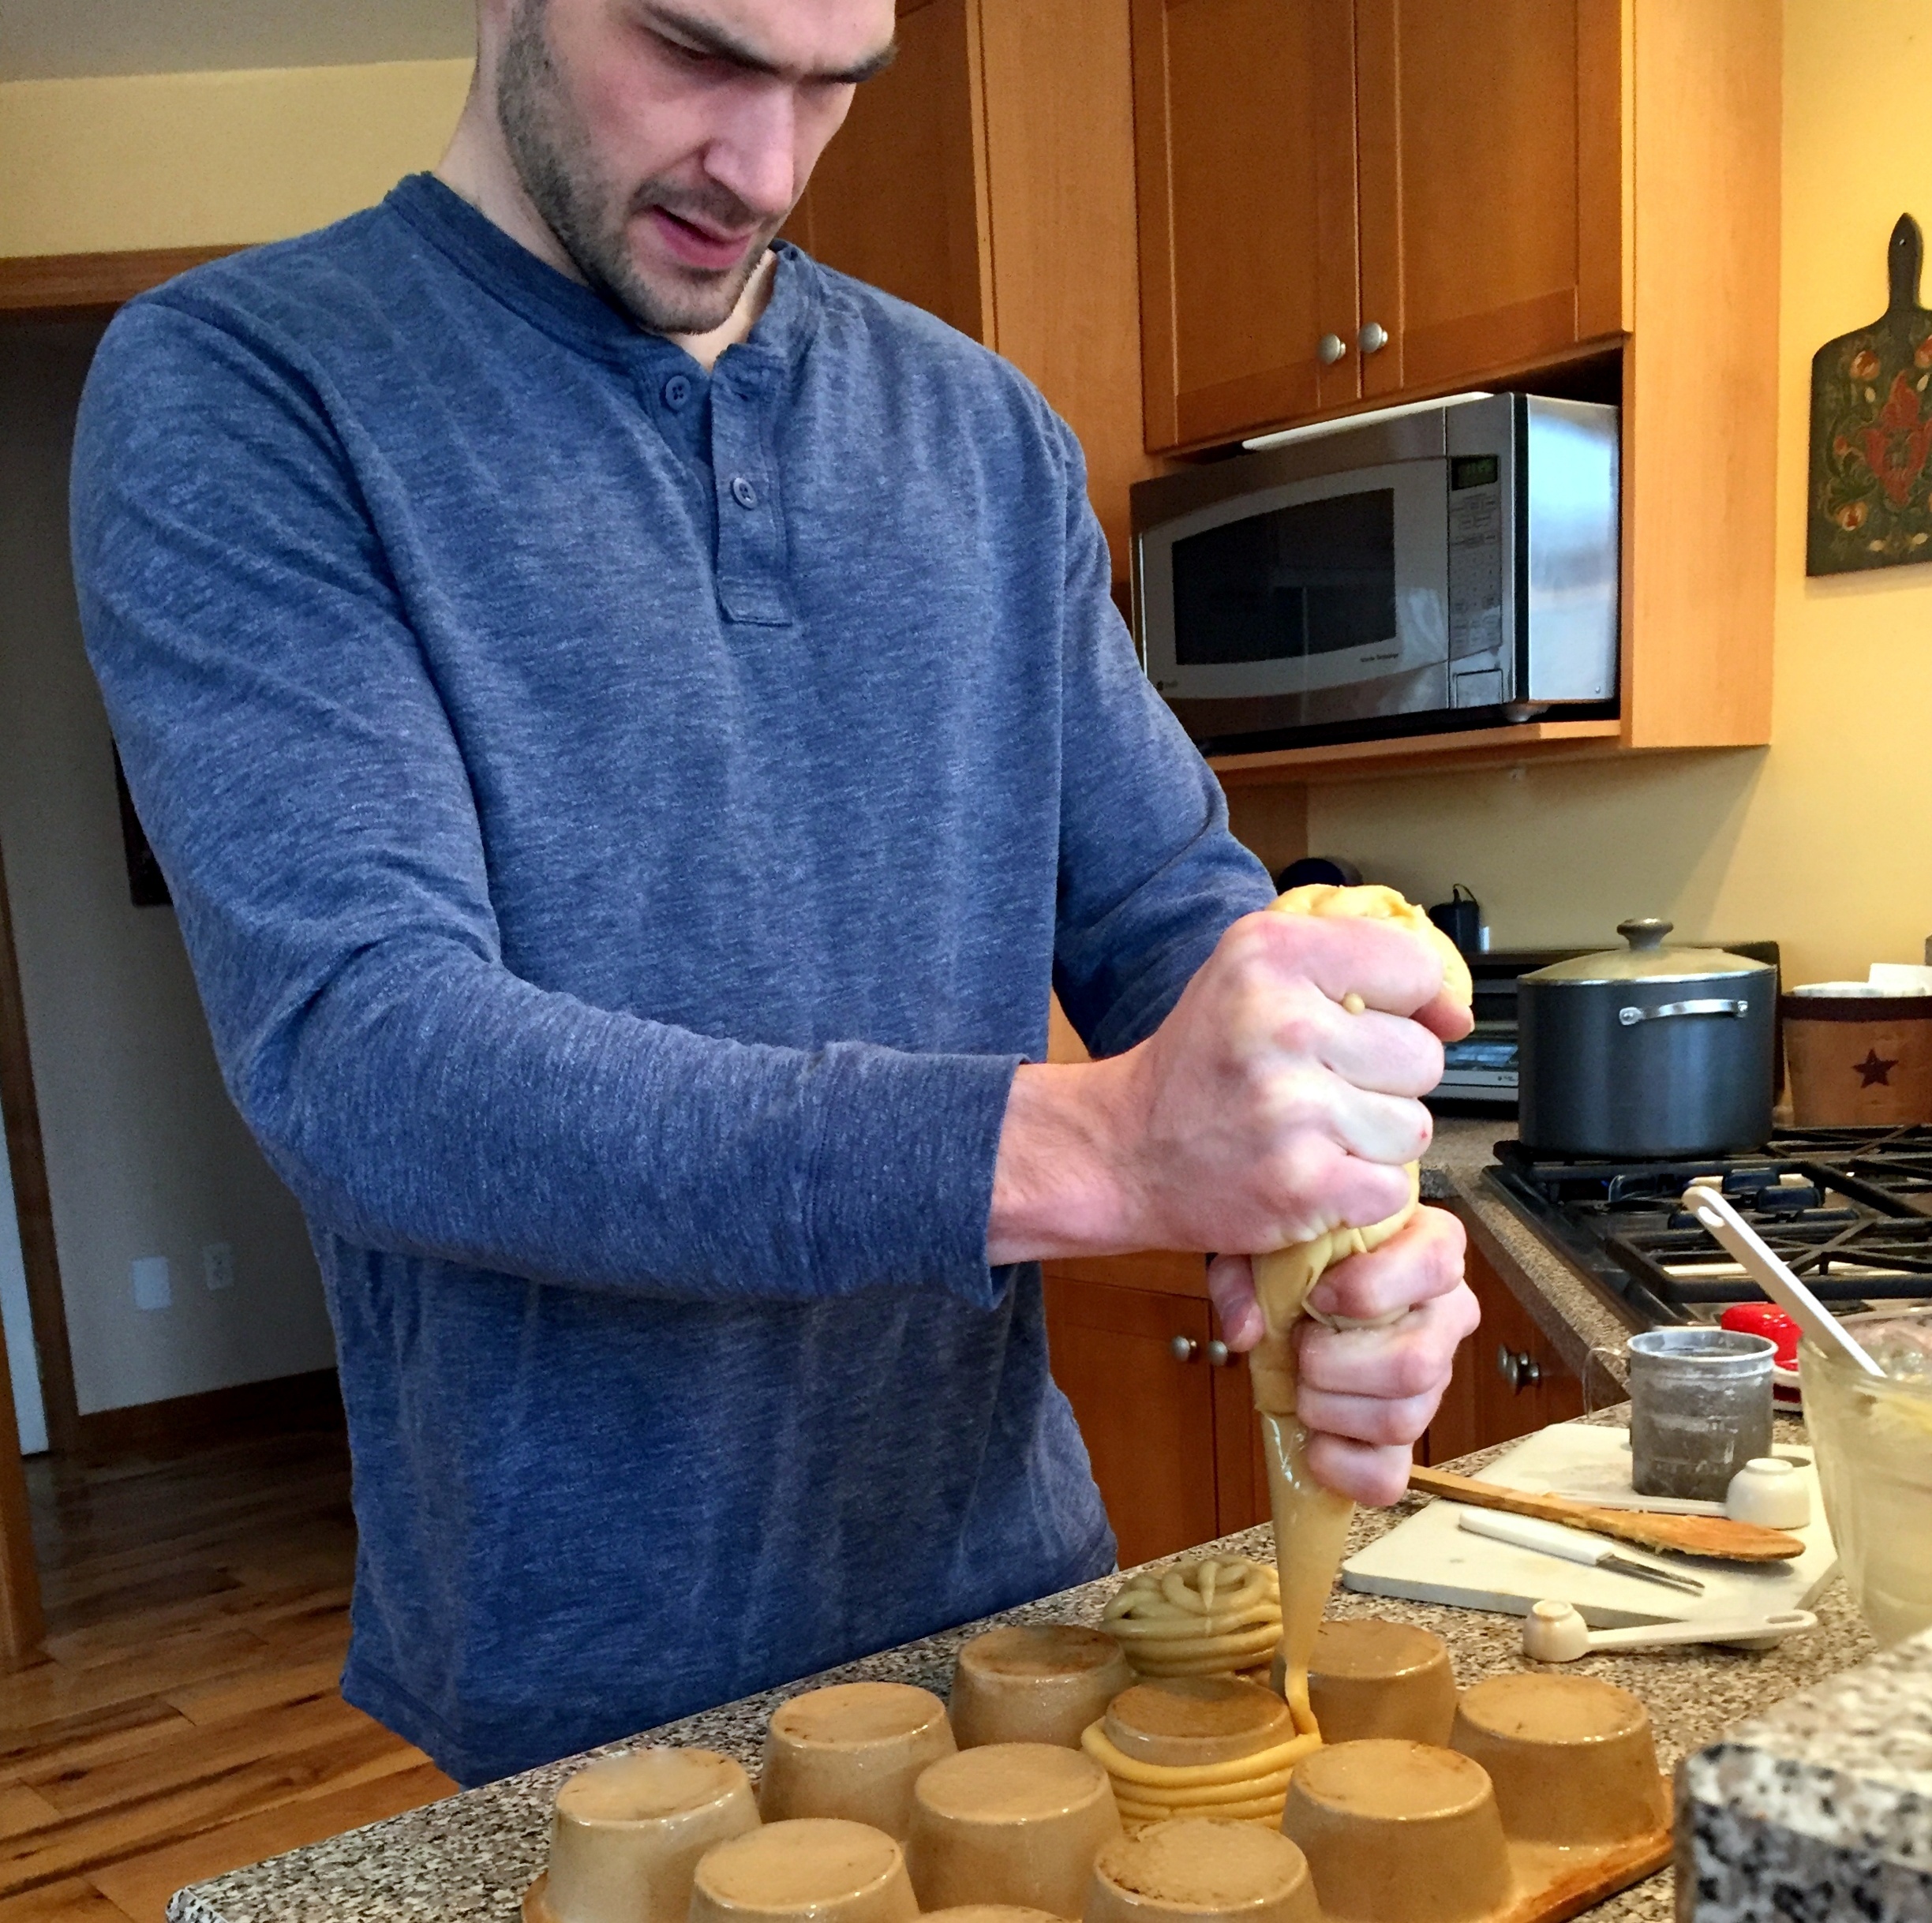
Nick in the kitchen making cinnamon churro sundae bowls
So often you see these amazing-looking recipes on Pinterest or Reddit or other blogs that look so pretty and are made to look so easy, but when you go to make them…… well…. not so great. I wasn’t expecting much when Nick began piping the batter around the bottoms of the cupcake pan, but had my fingers crossed and encouraged his desire to give it a try.
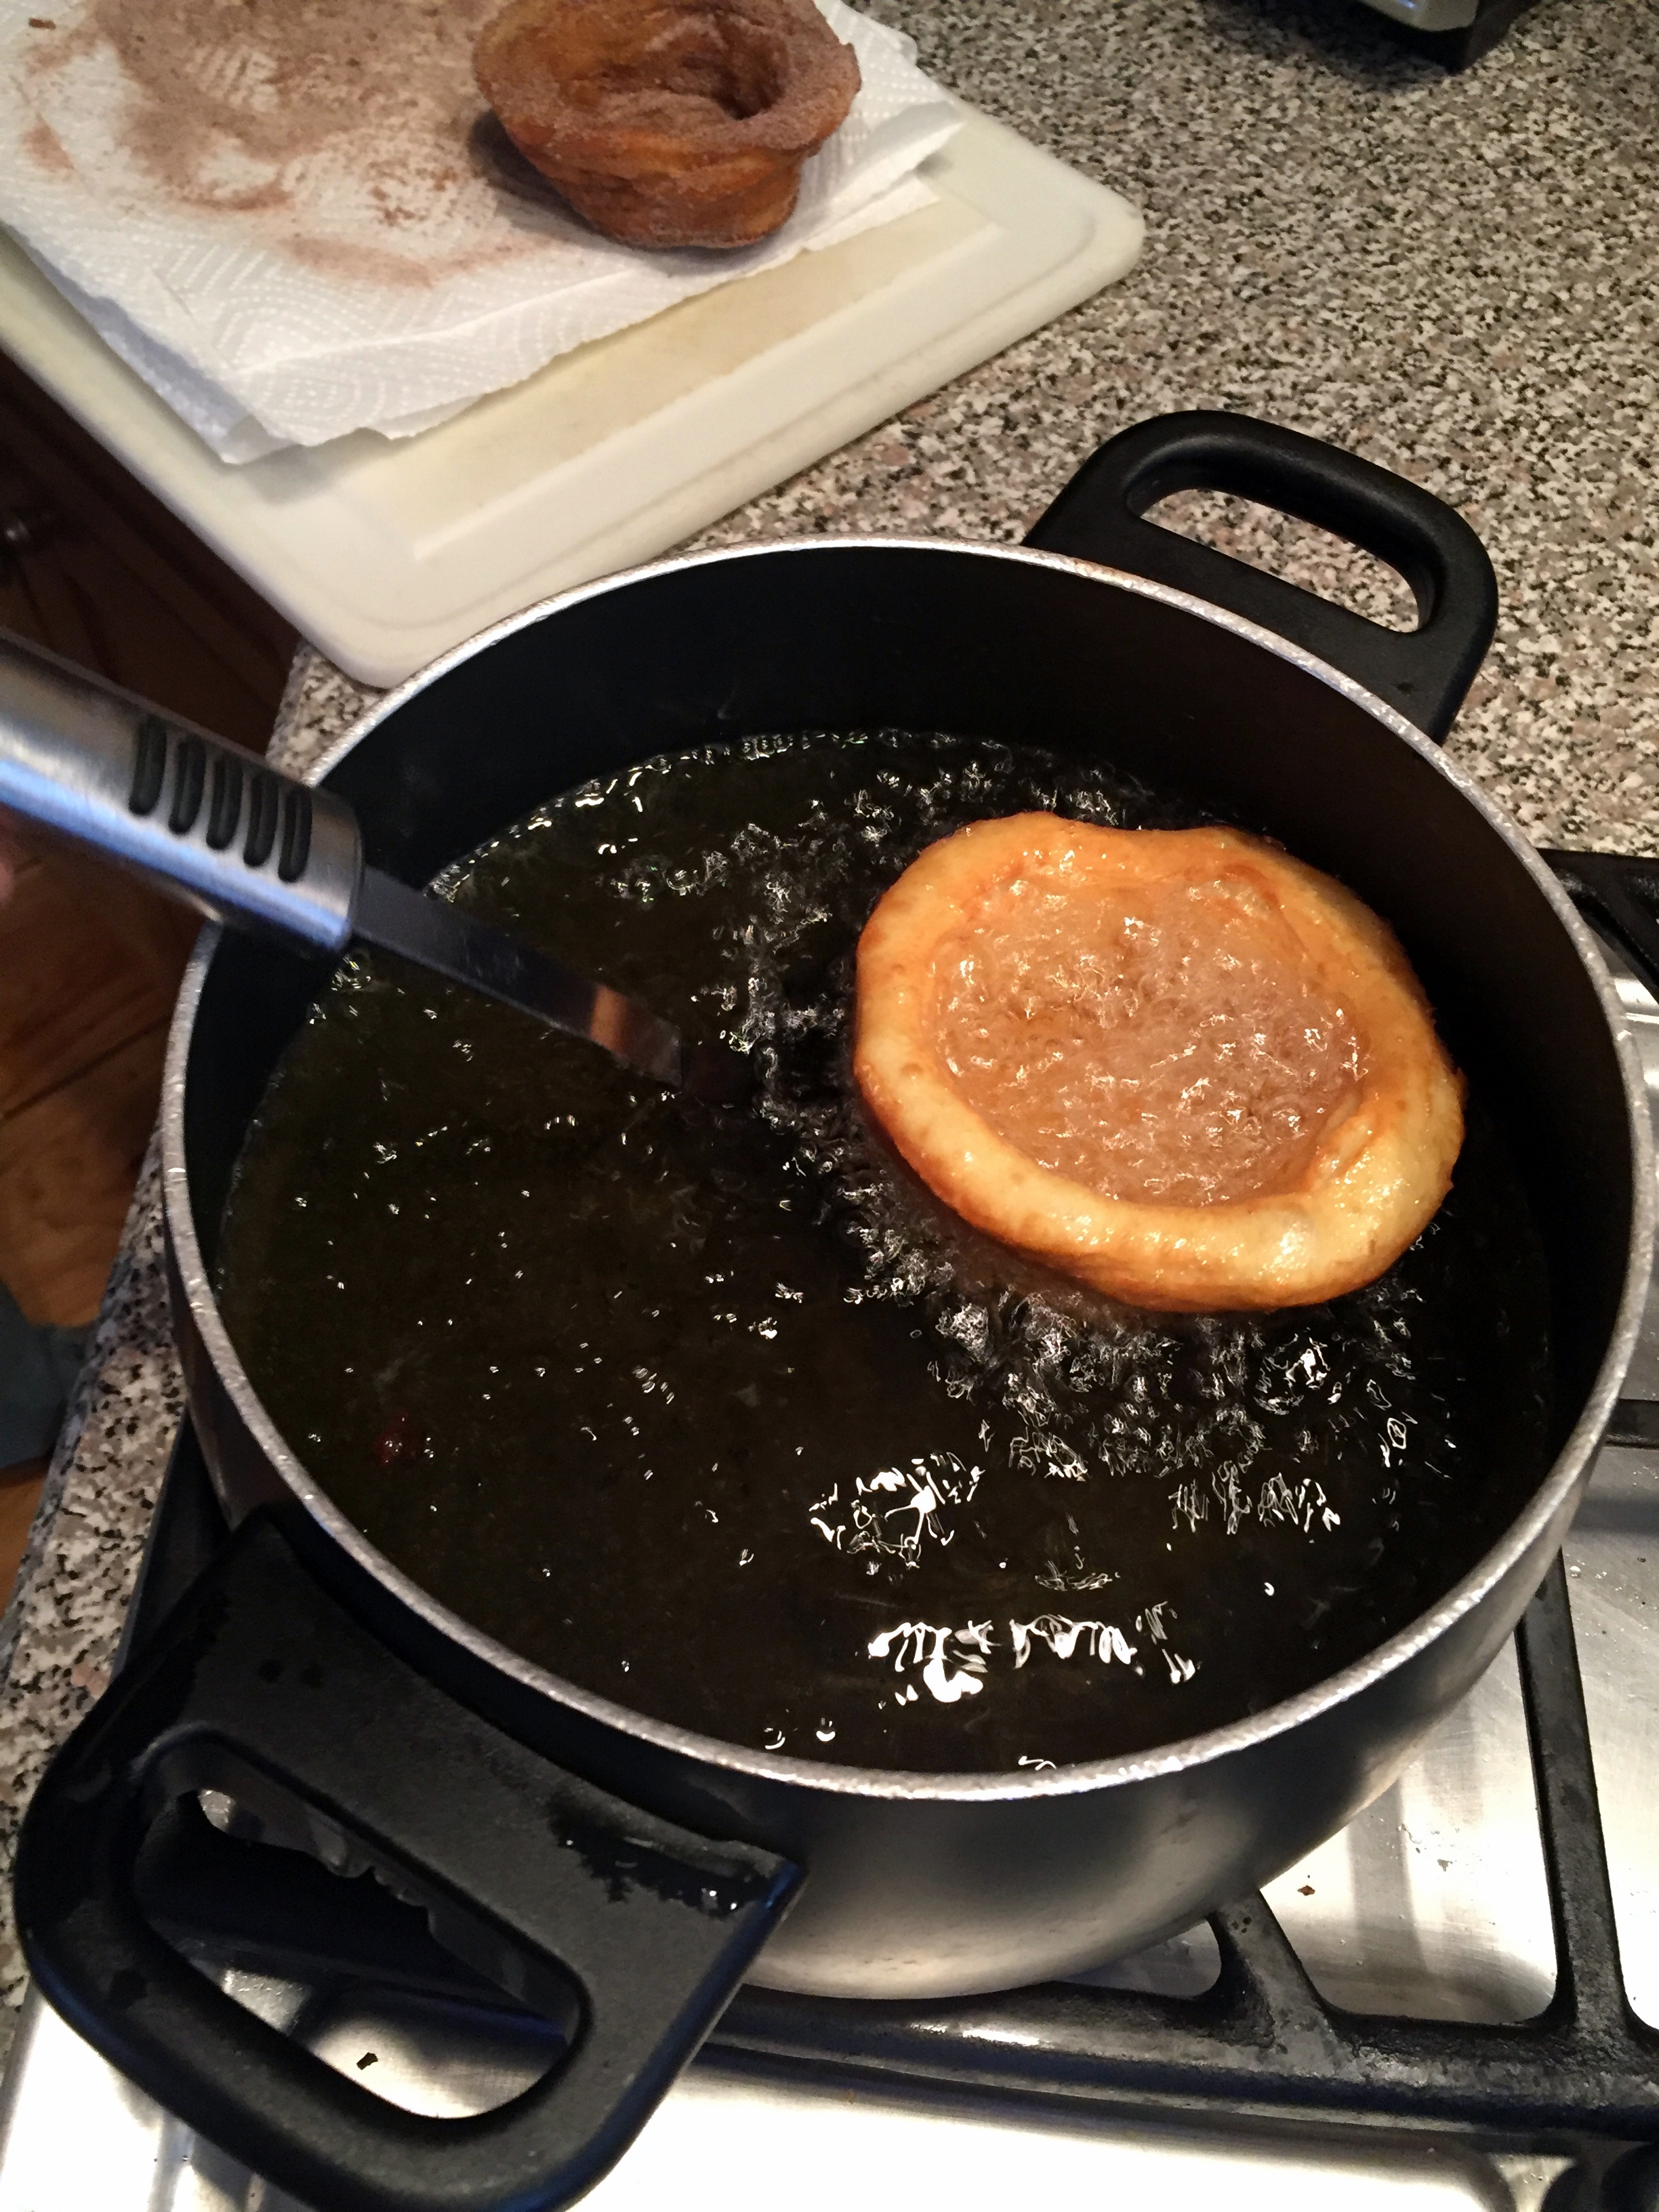
frying the cinnamon churro bowls
We were amazed at how easily they came off the pan and fried up to a golden brown.

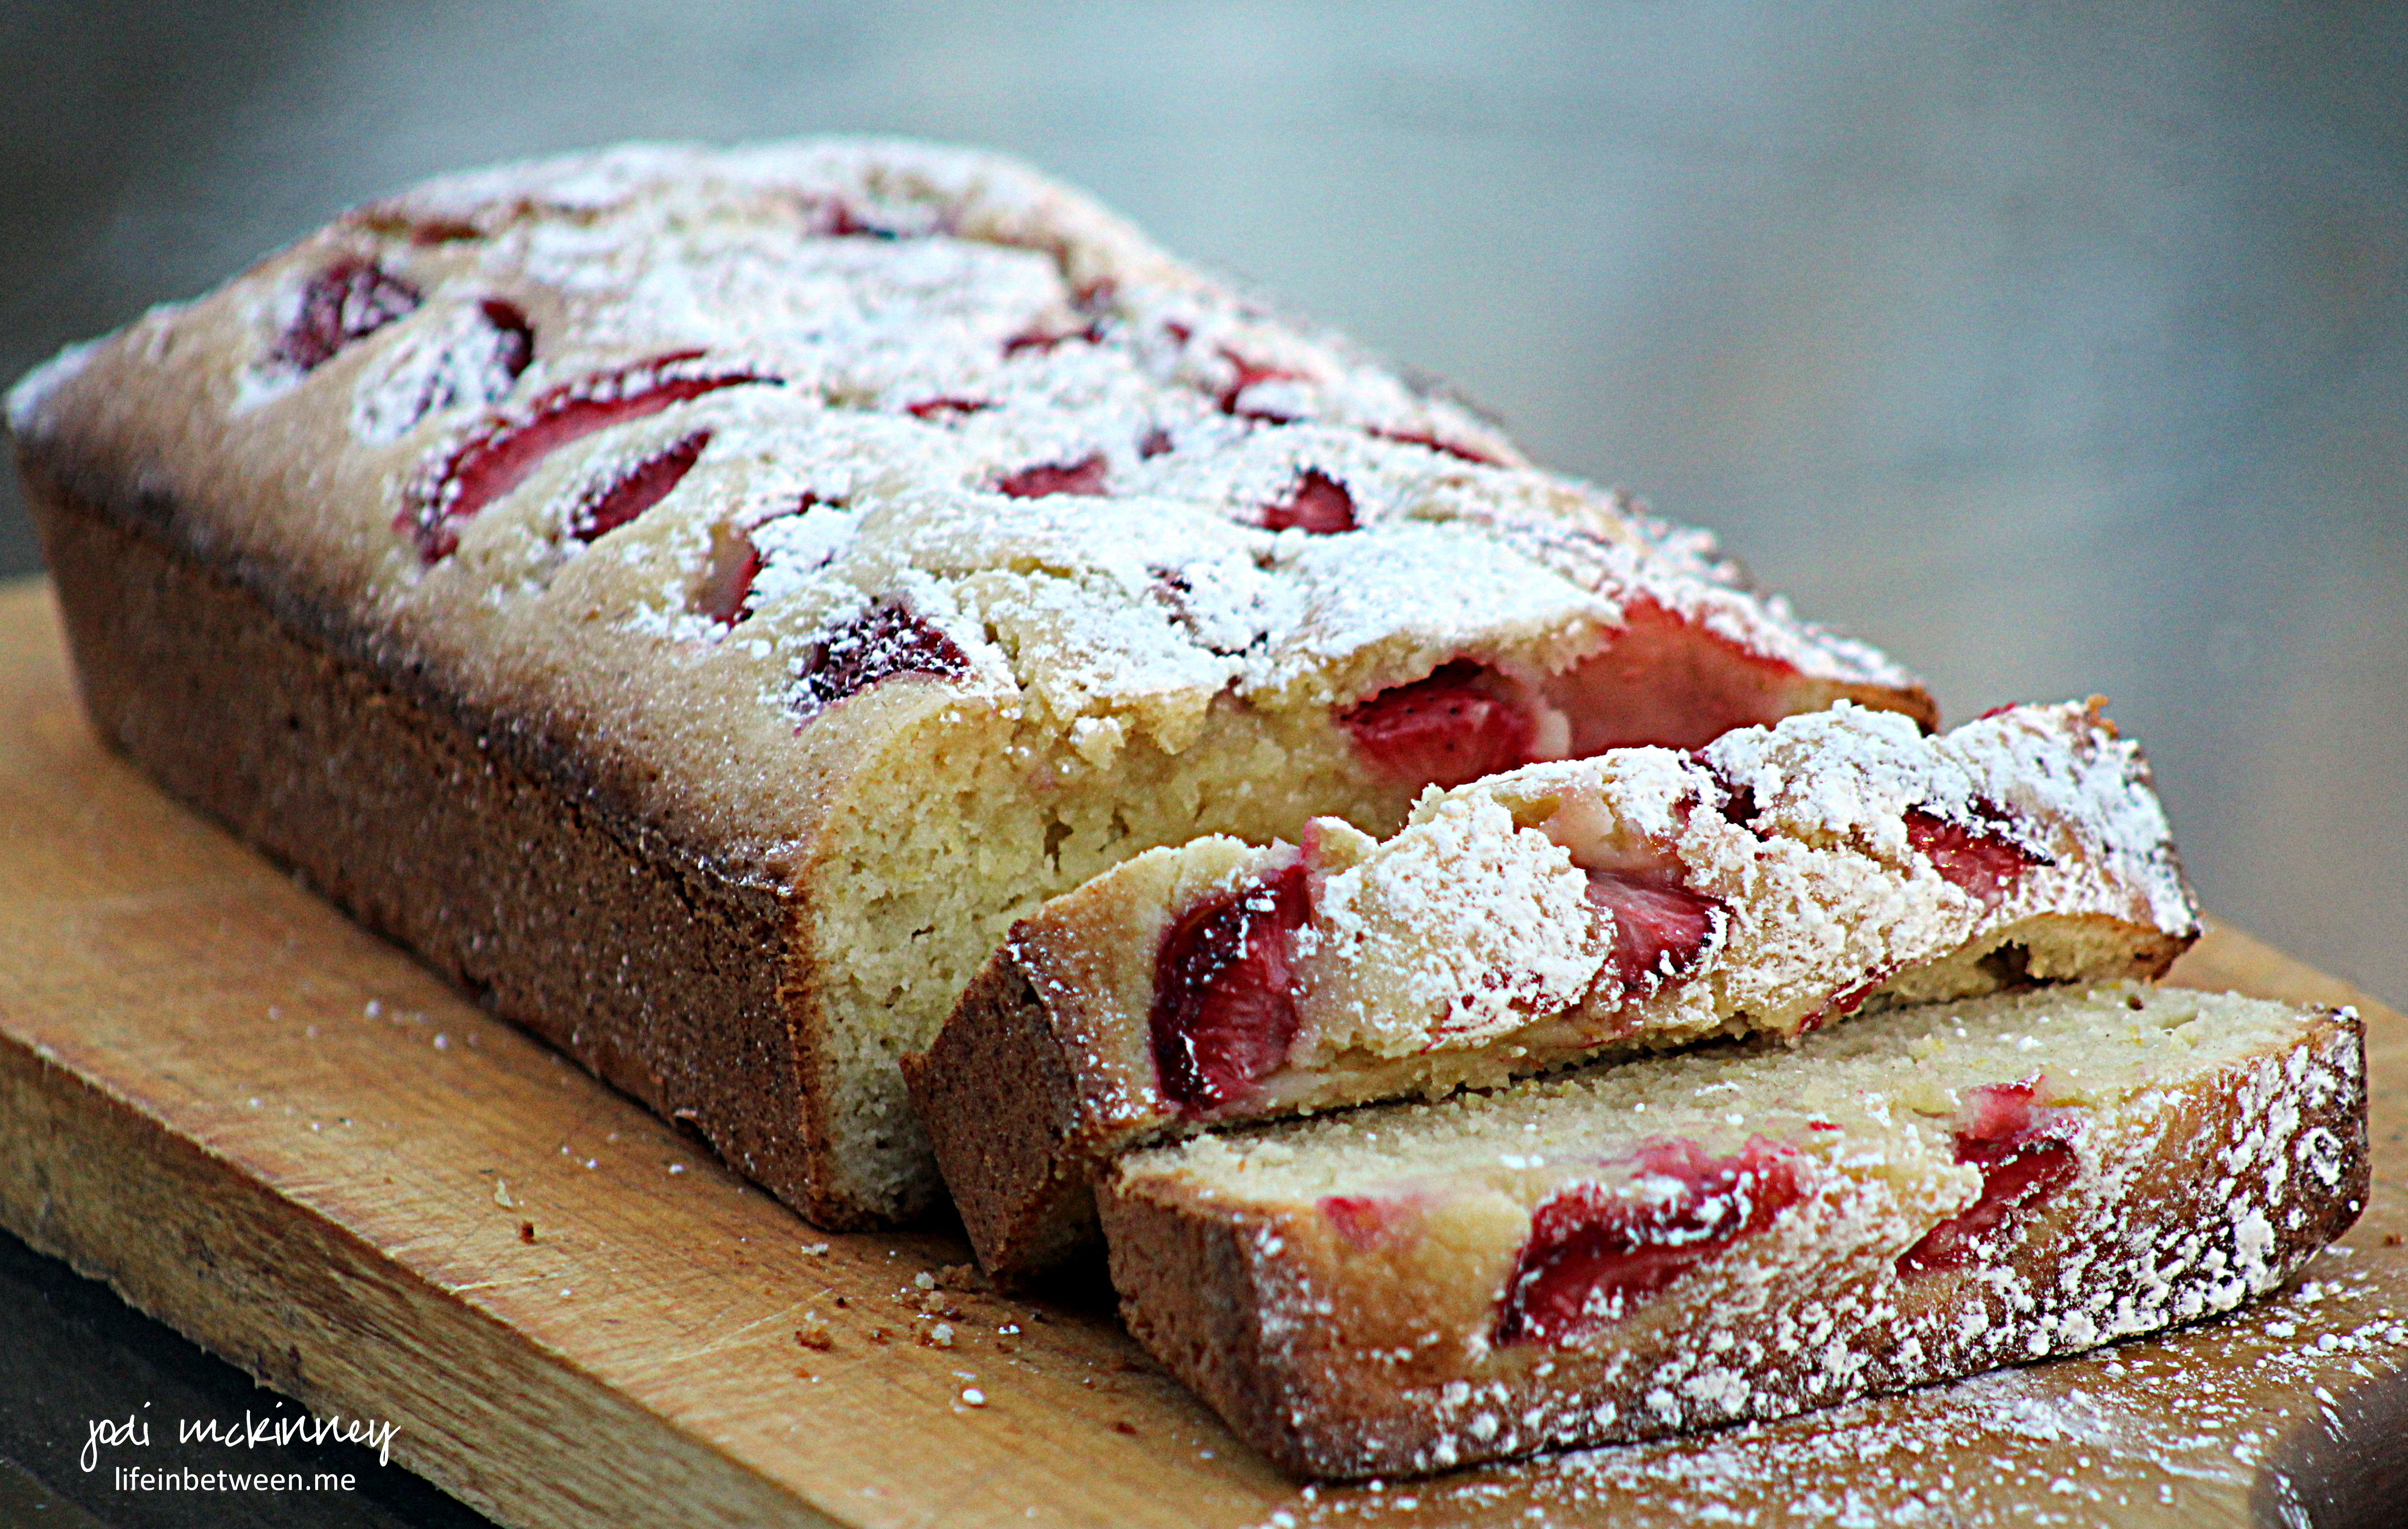
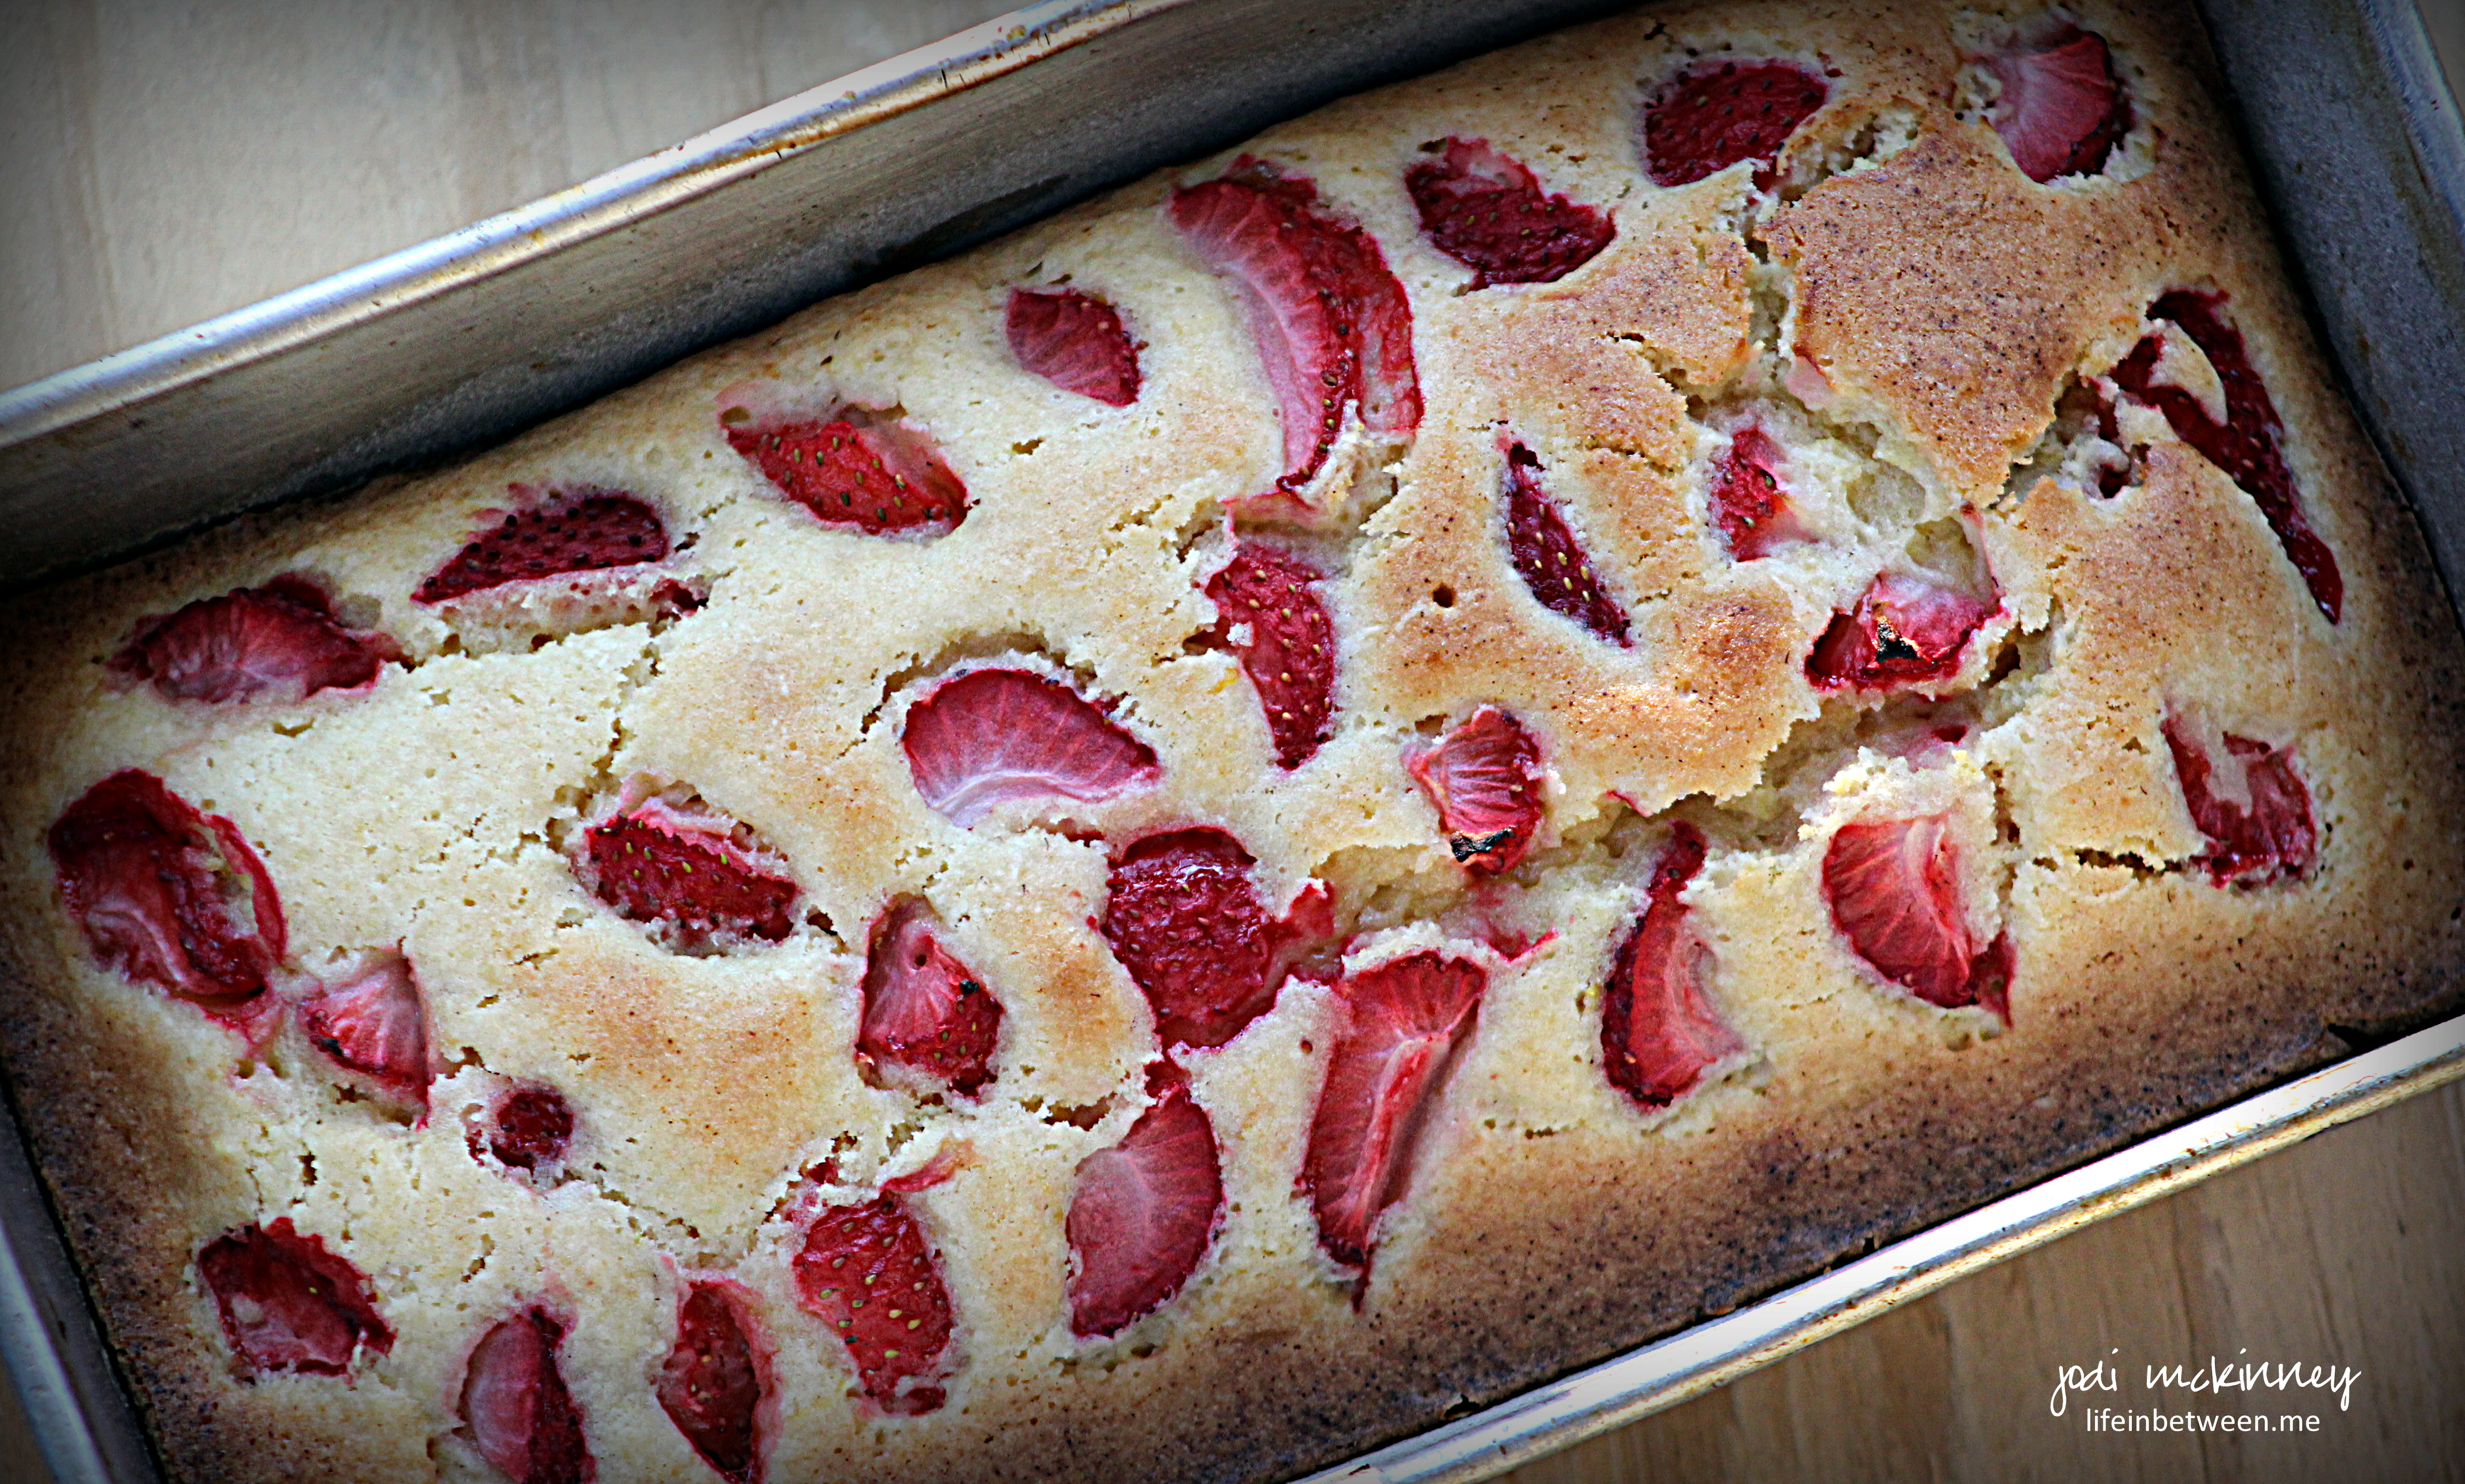
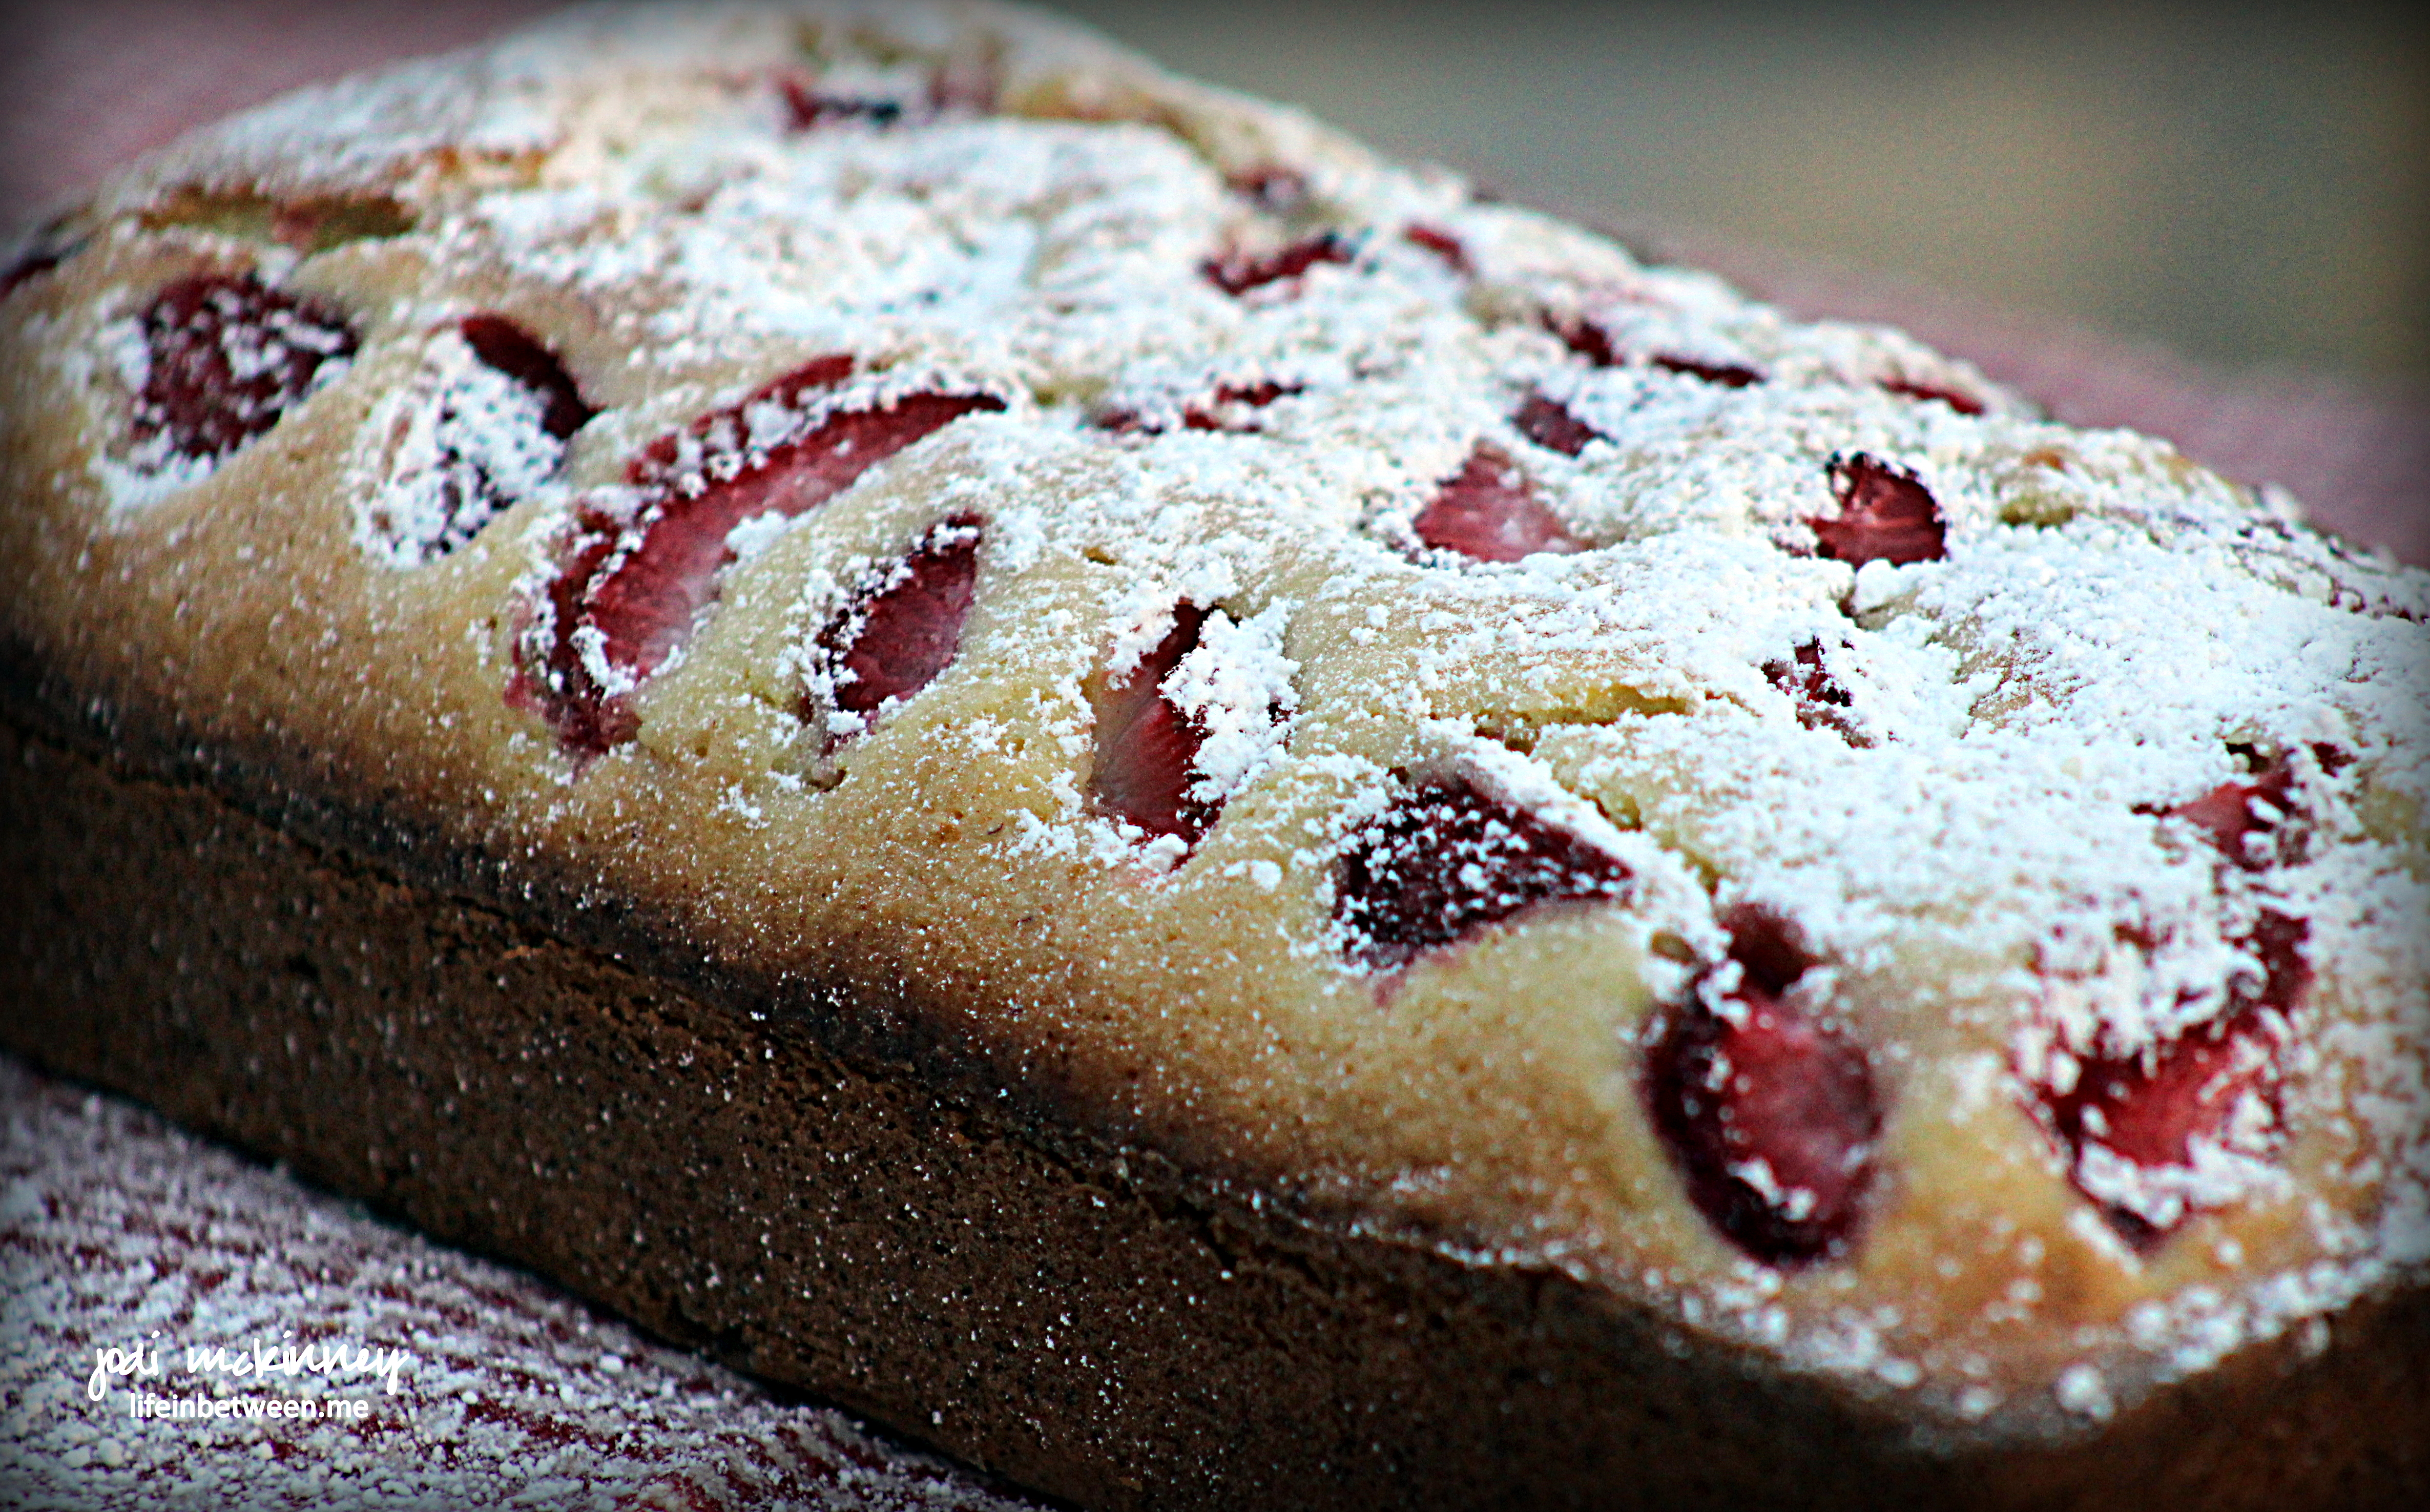
Cinnamon Churro Ice Cream Bowls
And we were even more blown away by how amazing they tasted! What a special treat! These could very easily be made ahead and frozen for a special occasion.
And any occasion would be made special with these yummy treats.
Thanks, Nick! You made a “down” day a bit brighter for me to help and photograph, and Dad was very happy to enjoy eating.
Hope you will give these a try.
Churro Ice Cream Bowls
Ingredients:
1/4 cup butter, cubed
2 Tbsp. brown sugar
1/2 tsp salt
1 cup water
1 cup flour
1 tsp vanilla
4 eggs
Non-stick cooking spray
oil for frying
cinnamon sugar
ice cream
hot fudge or caramel or your toppings of choice
6-12 cup muffin pan
Directions:
In a medium saucepan over medium/high heat, add butter, brown sugar, salt, and water. Bring to a boil. As soon as the butter has fully melted and the mixture begins to boil, reduce the heat to medium/low and add in flour. Using a wooden spoon, stir until the dough comes together into a ball (about 1 minute). Remove from heat and let cool for 5 minutes before proceeding to the next step (to prevent accidentally cooking the eggs).
Mix in the vanilla extract. Add in the eggs, one at a time, being sure to fully incorporate each egg before adding the next. Once all the eggs are incorporated, transfer it to a piping bag.
Invert a muffin pan and spray thoroughly with non-stick cooking spray. Pipe the dough around the inverted cups in spirals to form the bowls. Immediately transfer the tray to the freezer and freeze until solid (about 3 hours).
Heat oil in a deep pot to 350˚F (175˚C). Remove the muffin tin from the freezer and use a small knife under the bottom edge to help release the churro bowls.
Fry them in batches or one at a time, until nicely browned – about 2-3 minutes, flipping once. Be sure to carefully tip them into the oil so they sink to the bottom. Once desired color is reached remove them from the oil to a paper towel lined plate. Sprinkle with or roll in a cinnamon sugar mixture. Fill with you favorite ice cream and toppings. Enjoy!
Cheers & Hugs,
Jodi