The Sparkly Magic of the Season

Sparkly Trees in Pink and Blue Original Watercolor Jodi McKinney 11x14

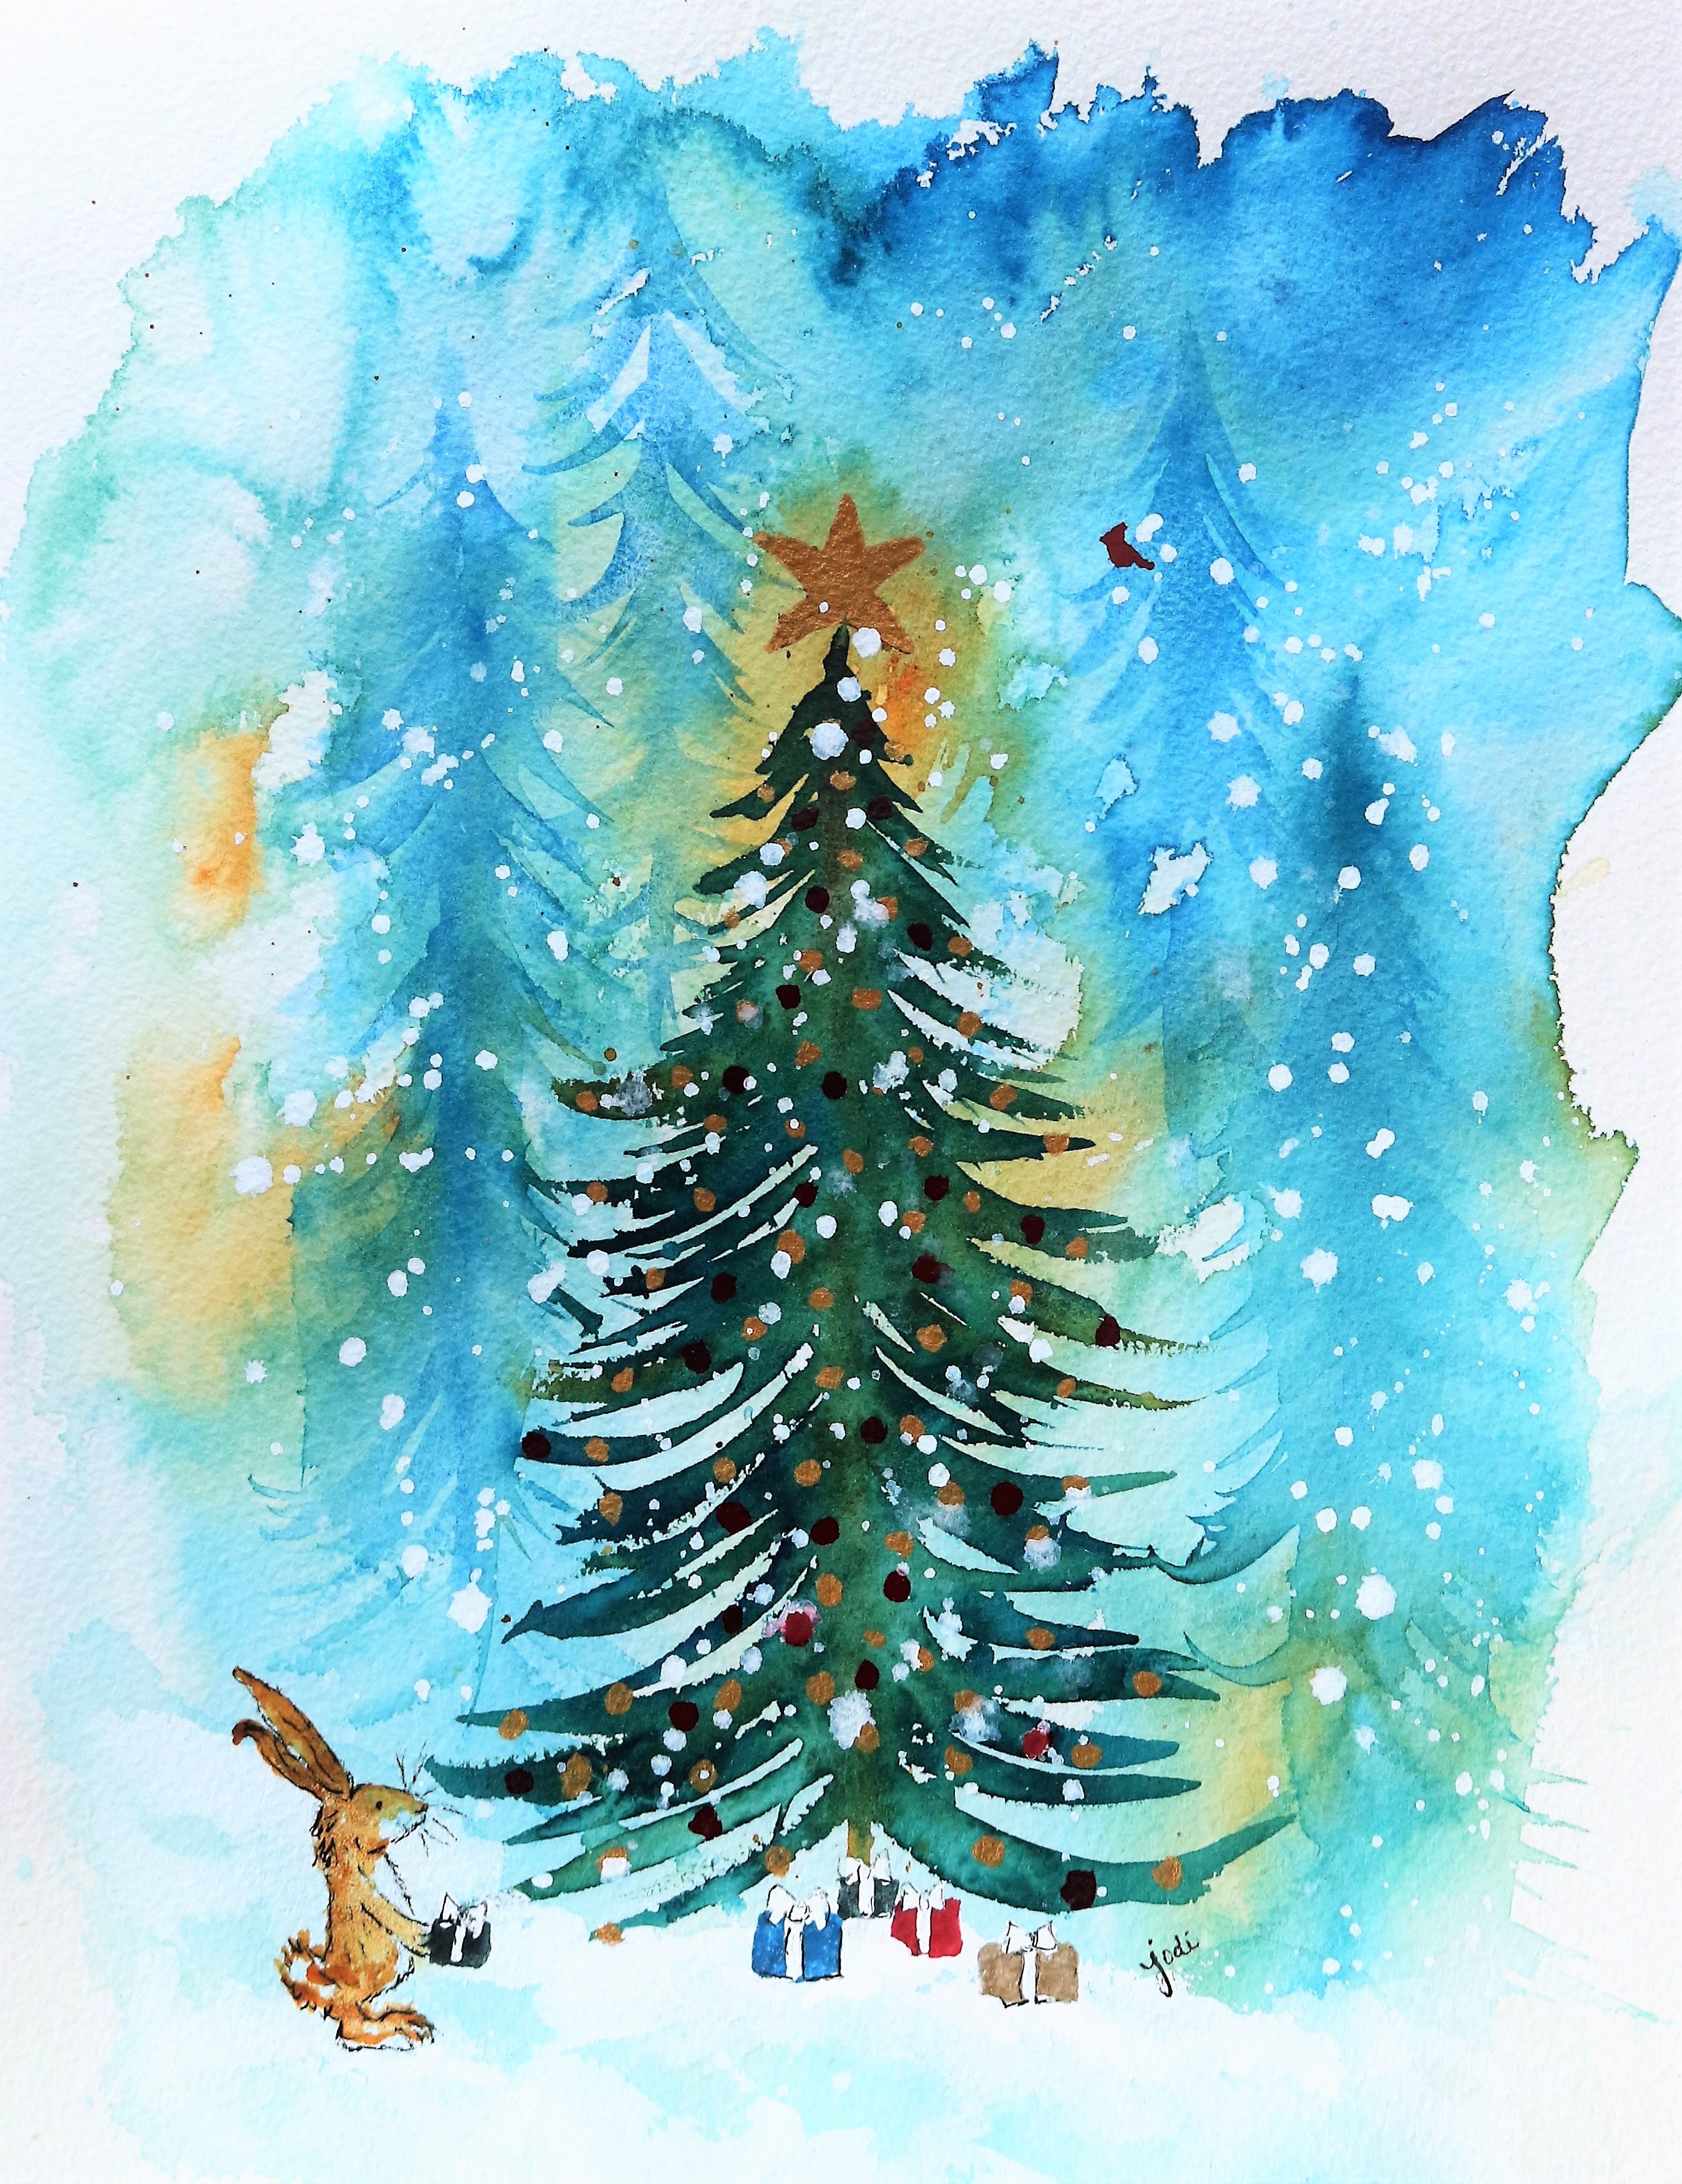
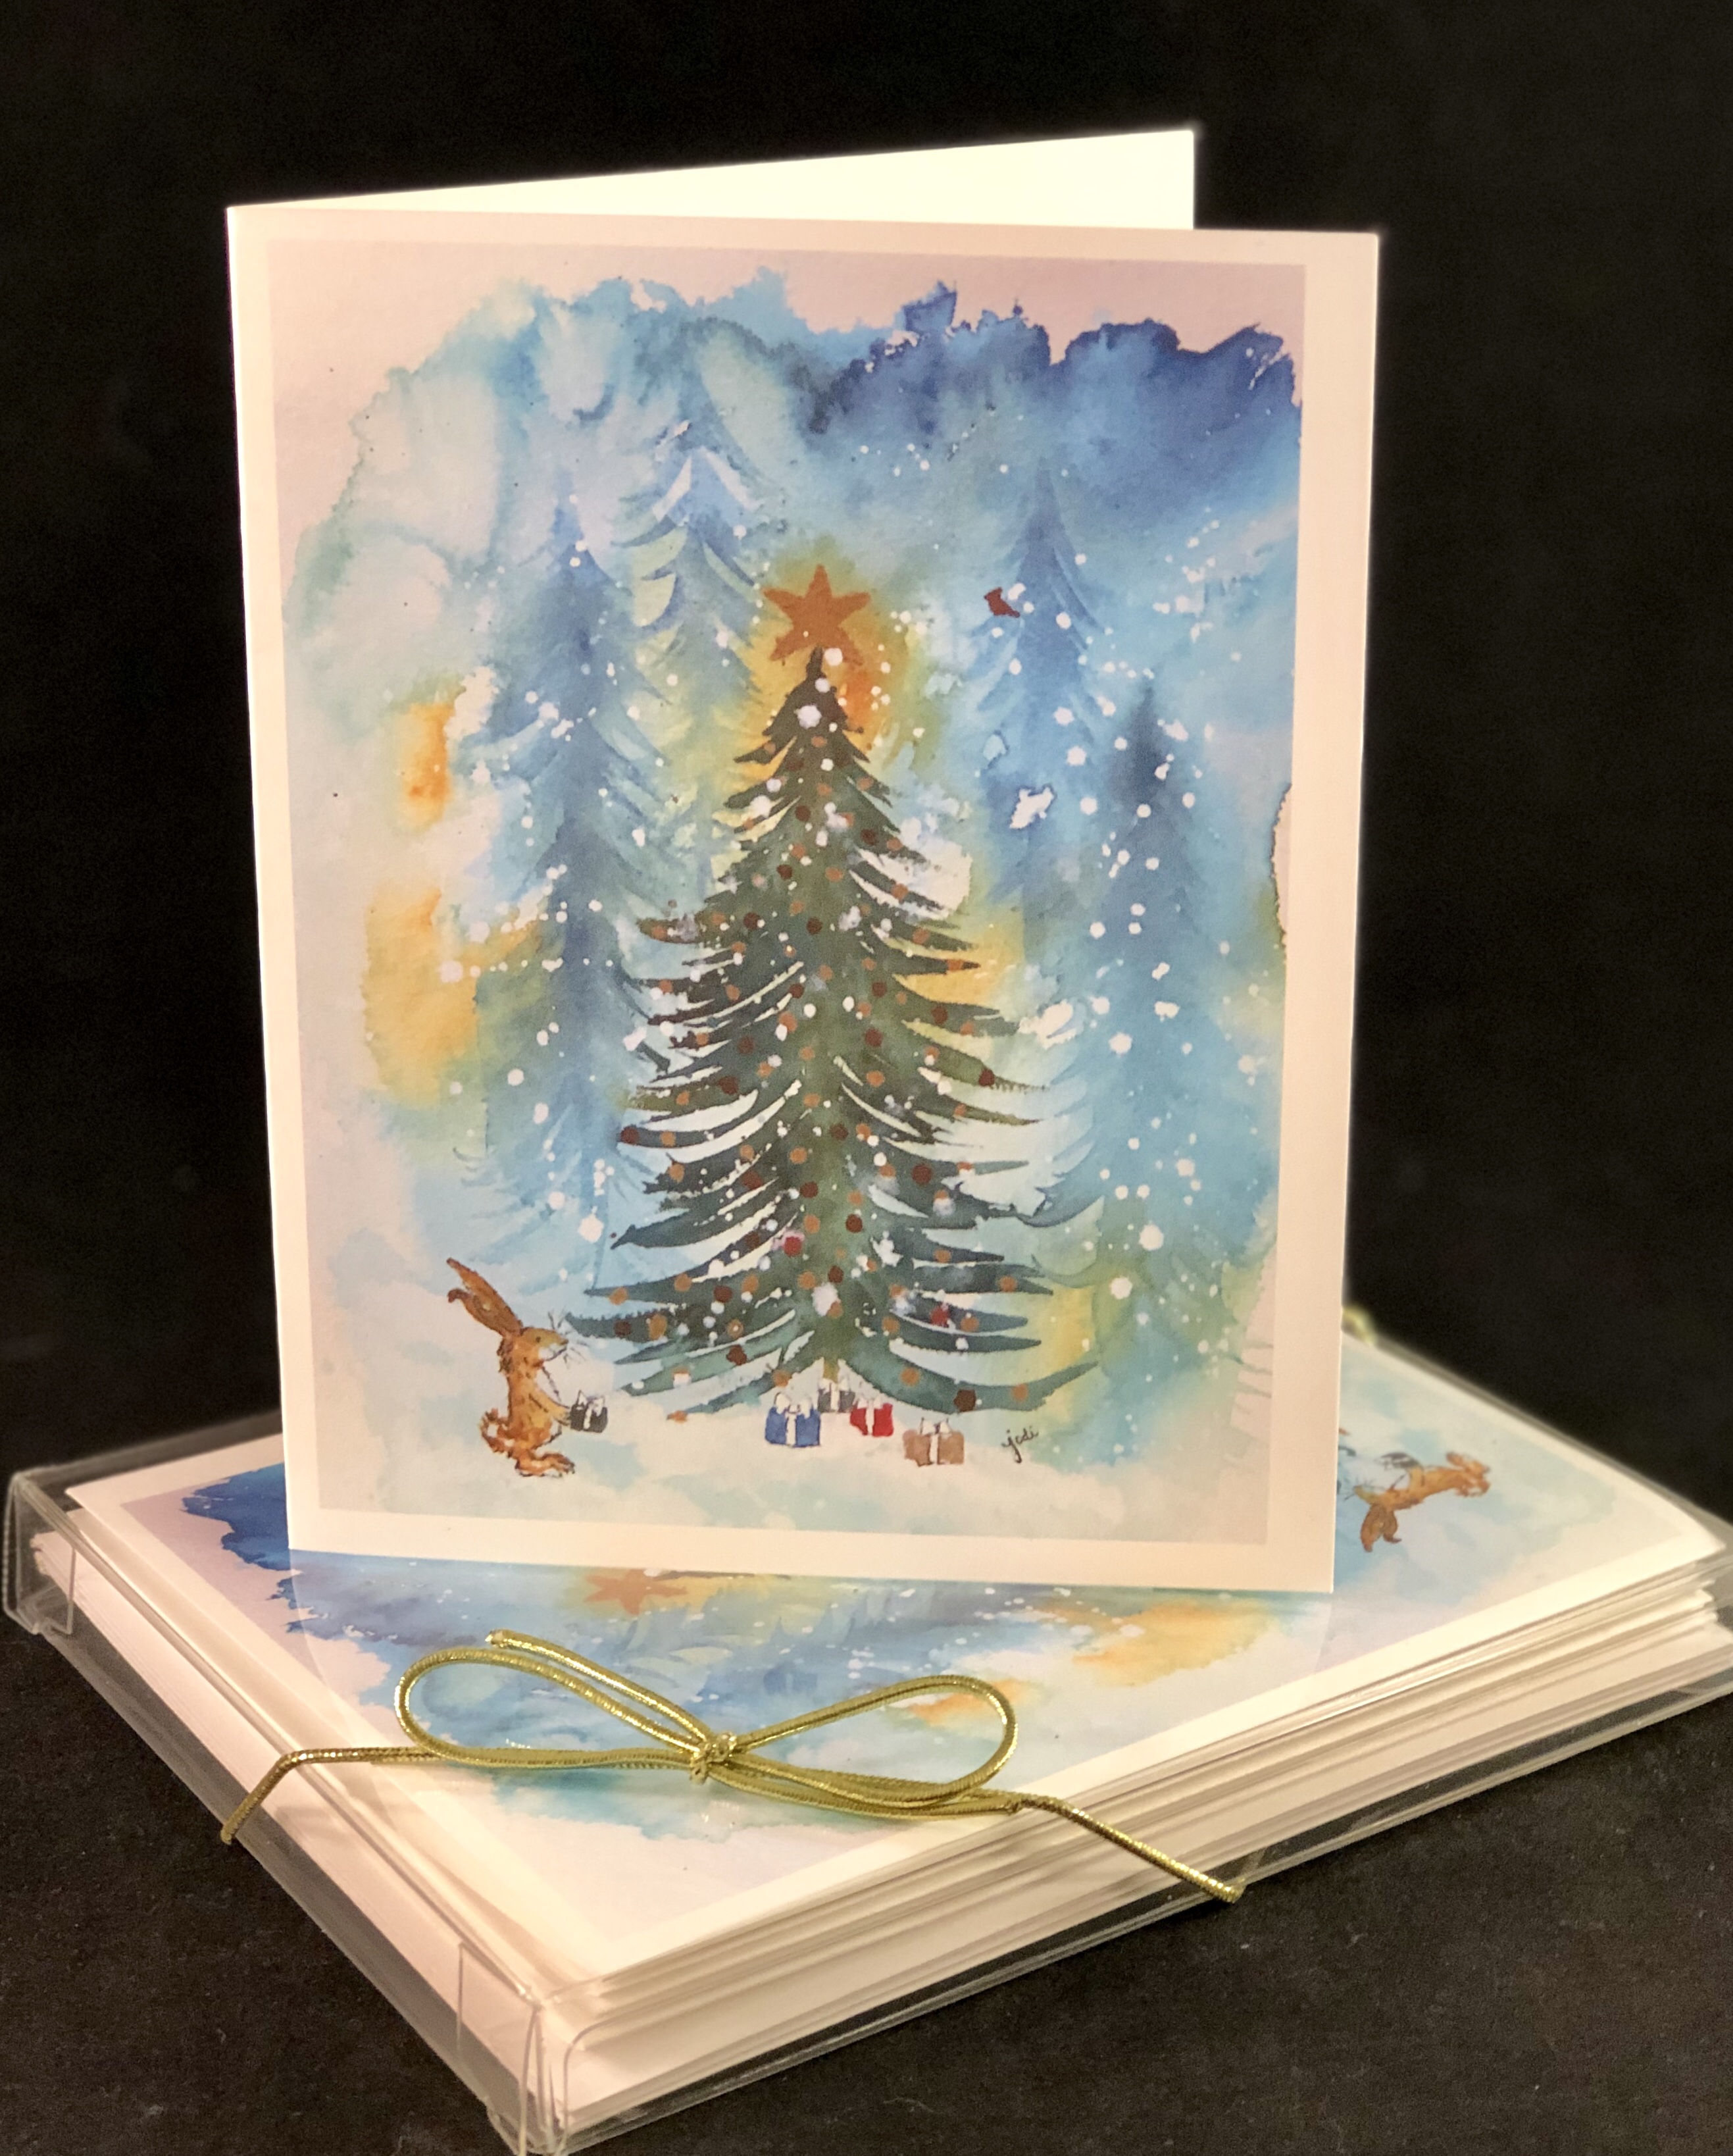
Sparkly Trees in Pink and Blue – Original Watercolor Jodi McKinney 11×14

The Sparkly Magic of the Season.

Are you feeling it friends?
Are you feeling the sparkly magic of the season?
Christmas is only eight days away!
But the magic is here already.
Do you feel it too?

Don’t miss it.

Don’t get too caught up
in what you feel you “have” to do…
in what you “have” to buy…
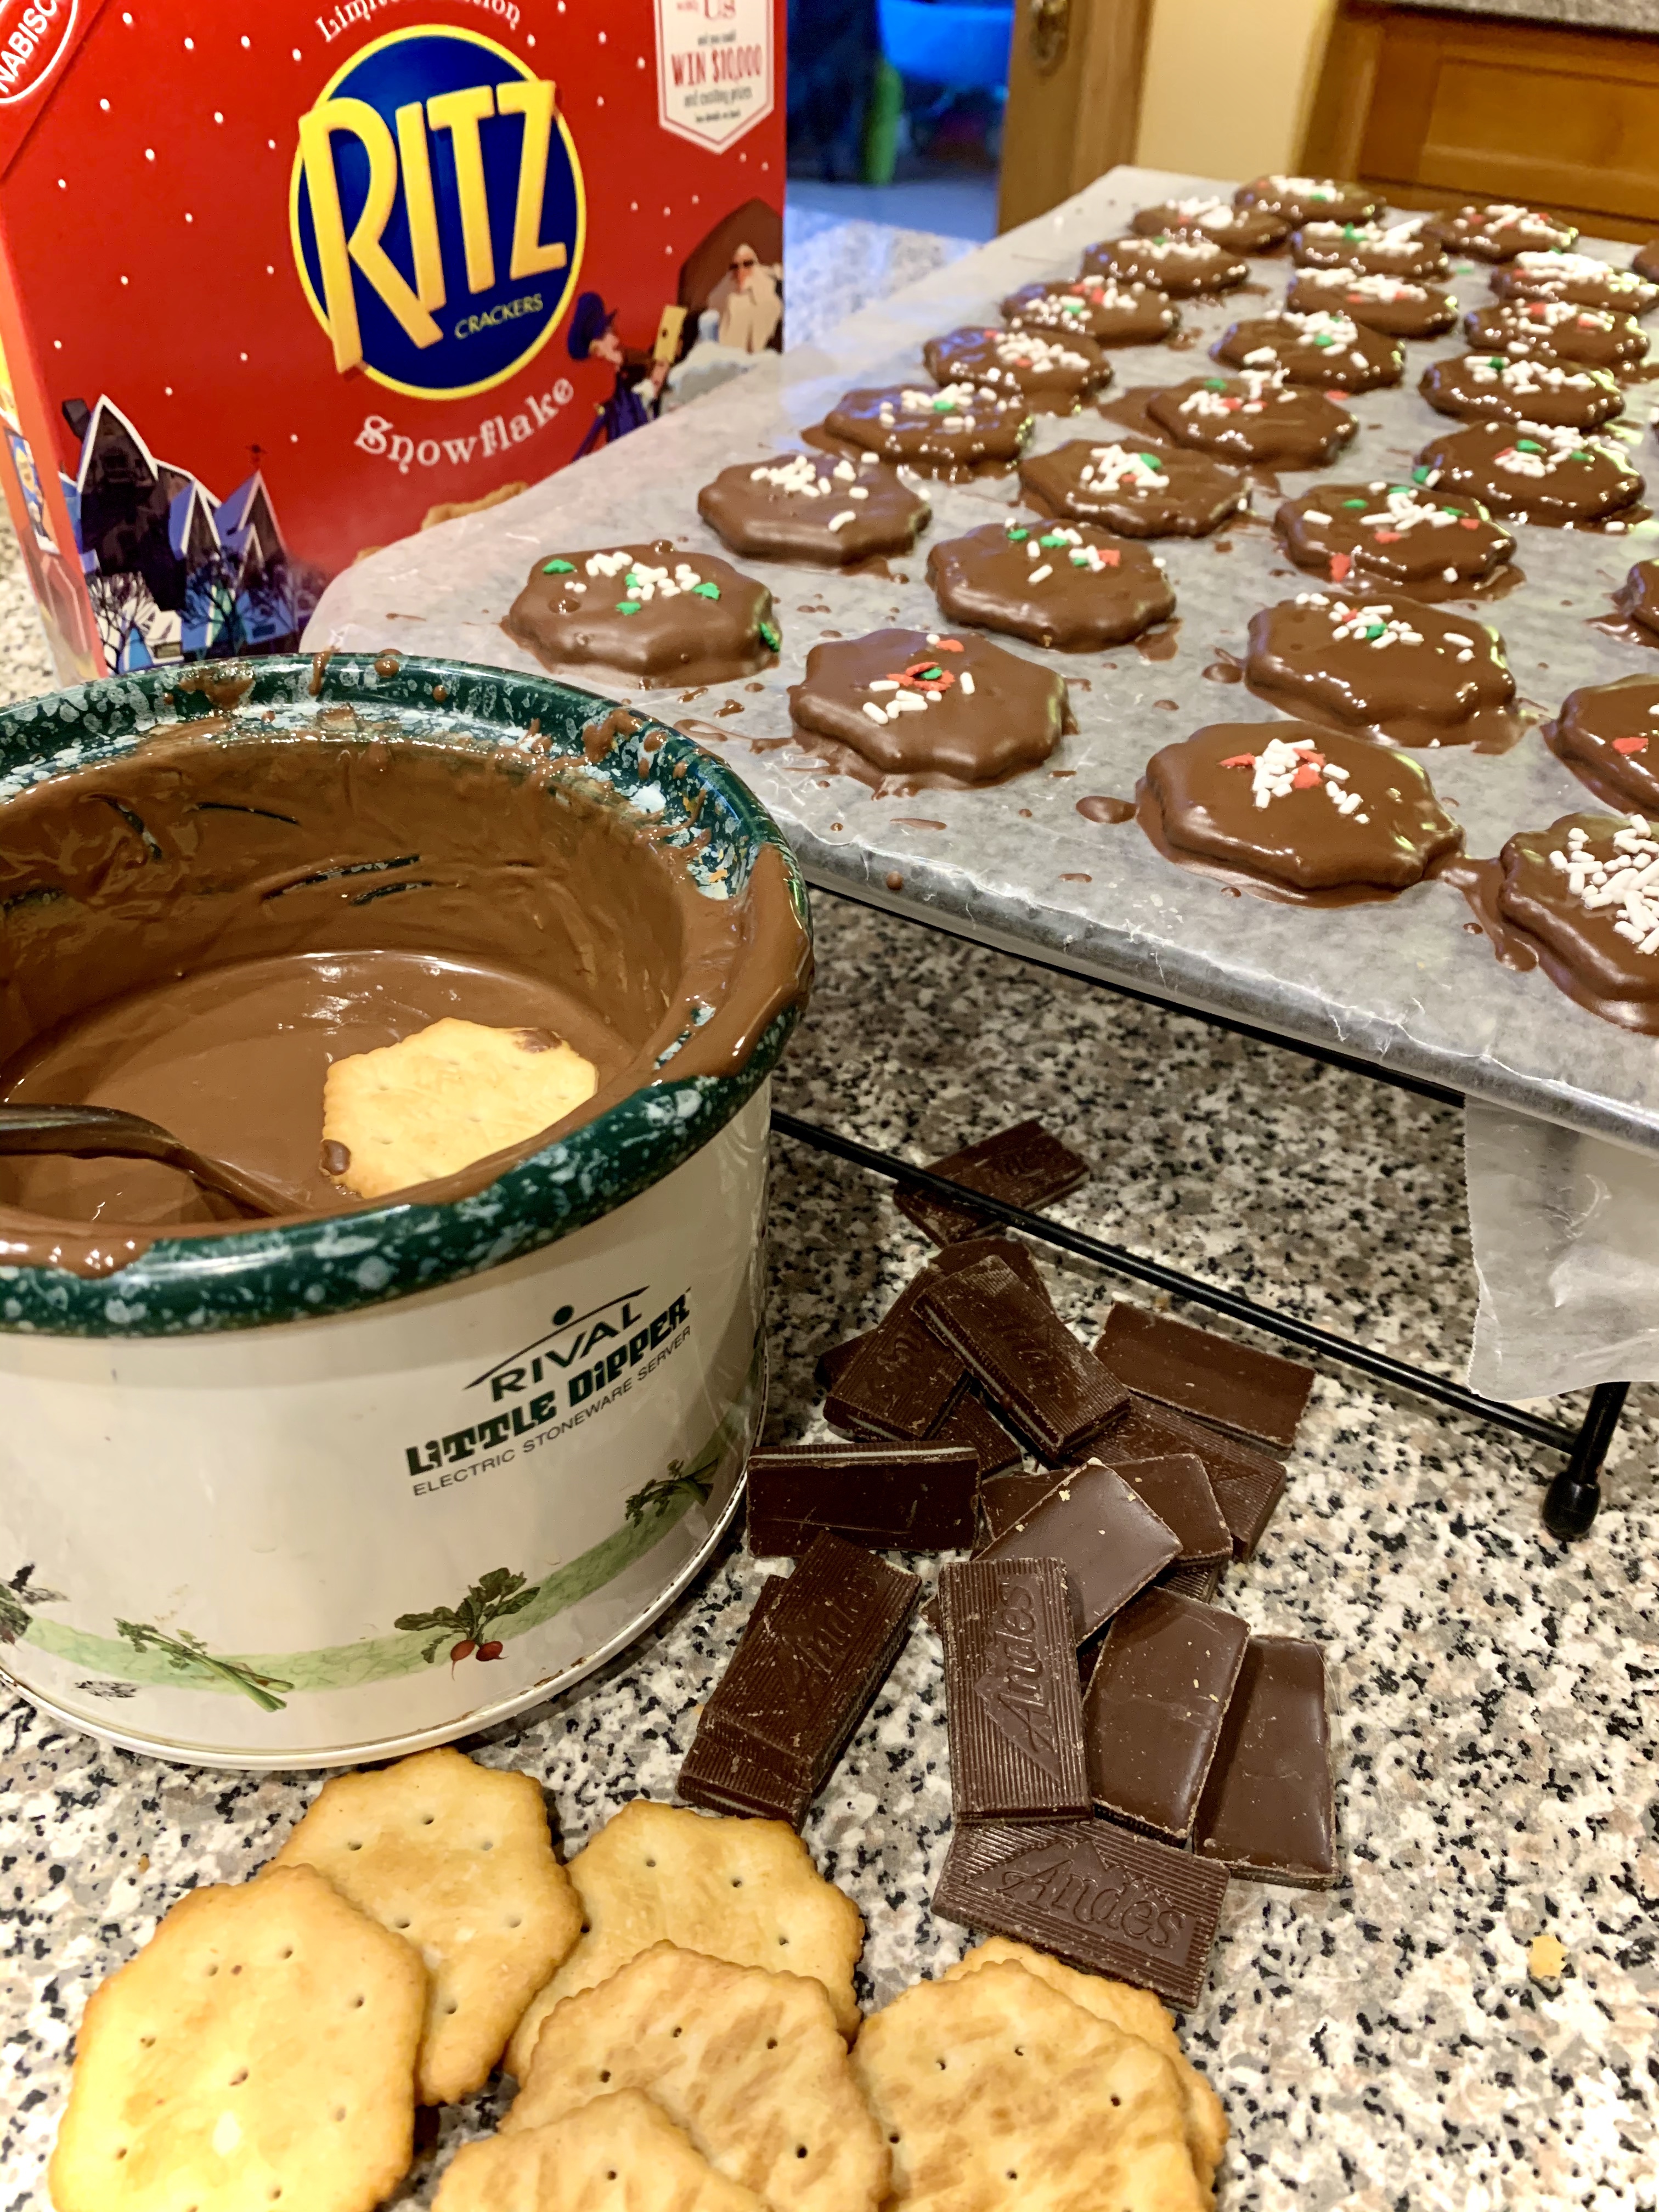
in what you “have” to bake…
in what you “have” to accomplish.

Relish the magic
that is all around!

To me, the magic is now….
in these days that lead up to Christmas and New Year.
The excitement…
The anticipation!
Oh how I wish we could bottle it to sprinkle on everyone throughout the year!

I went to the post office this afternoon.
The line was longer than I have ever seen it –
and I go almost ever day.
But people were smiling and laughing and cheerful –
those that worked behind the counter –
and those I stood in line and chatted with.
Customers balanced stacks of packages in their arms.
Postal workers kindly explained options.
Friends and strangers chatted.

I visited my son and grandie girls for a brief time
on my way home from work
like I do most every Monday afternoon.
We danced and sang.
We snuggled and hugged.
They dug through my purse with expectant anticipation
of treats they knew they would find.
And then they decided – for the first time ever –
to send home a piece of one of their treats
to their Pap, who they love…
and who loves them back more dearly
than he could ever express,
but we all know.

I went to the grocery store after work.
Sam, a high school junior at a local private Christian school,
was my check-out attendant.
He asked me what special plans I had for the holiday,
and he shared his.
He told me he would be taking the test for his driver’s license
the day after Christmas,
so it was either going to be a Merry Christmas
or a disappointing one,
but he had been practicing his parallel parking with his Dad
and was feeling confident.
He was also studying for mid-terms
and telling me how much he enjoyed music and the arts.
And while we were talking,
a voice from behind –
cheerful and surprised –
told him she was glad to hear he was studying…
and didn’t know he worked here.
She was his high school music teacher.

When I arrived home,
the mail contained colorful envelopes
and tightly sealed packages…
cards and letters from friends and relatives
and a box filled with juicy grapefruits and crisp apples,
bright oranges and ripe pears…
All delivered from a mail carrier
who always takes the time to chat
and scratch Charlie’s ears…
even when his day is running hours later than usual.

This painting
is a product of a late night visit to my art room.
I was feeling the magic,
and I painted my feelings.
Do you feel it?
I sure hope so!

Feel the sparkly magic of the season!
It is as special as a pink or blue or turquoise tree
found in a magical forest…
or in an art room…
or on a piece of paper…
or in your heart.

Don’t miss it!

Cheers and Hugs,
Jodi


Easy Festive Thin Mint Cookies

Easy Festive Thin Mint Cookies.

Do you do holiday cookie baking?

Are you a traditionalist where you do the same cookies each year or do you like to try new and different things?

I’m a little of both.  There are some things that I feel it just wouldn’t be the holidays without…

Like Grandma’s Apricot Nut Bread, Chocolate Chip Cookies, Homemade Chex Mix, and Apricot Kolaches.

But I love to try new things.

Sometimes I’m in the mood for spending hours in the kitchen…

and sometimes I want to bake/not bake.  You know what I mean?

That is how I was feeling yesterday, so when I saw this TWO-INGREDIENT, No Bake “Cookie” recipe, I had to give it a try.

And wow did they deliver!  It is crazy how they taste exactly like Girl Scout Thin Mint Cookies!

It’s really barely a “recipe,” but here is how you make them.

Easy Festive Thin Mint Cookies

Ingredients:

Directions:

Melt Andes Mint Chocolates.  Dip Ritz Crackers in melted chocolate.  Sprinkle with festive sprinkles if desired.  Allow to dry on waxed paper.

If you are looking for something quick and easy that everyone will love, I hope you will try these.  Enjoy!

Cheers & Ho Ho Holiday Hugs,
Jodi

Dreaming of a Pink Christmas Tree


Pink Watercolor Christmas Tree 11×14

Dreaming of a Pink Christmas Tree.

I woke up wide eyed early Saturday morning with a burning desire to paint a pink Christmas tree…

I had a busy day ahead.  I was assigned to work a few hours at Berry Vine Gifts (the local gift shop where my DIL and I have our McKinneyX2Designs shop) and plans to visit Santa with my grandie girls.  I wanted to get a nice walk in with Charlie too.

But first…. I had to paint.

I had to paint this pink Christmas tree.

I painted it with layers of three pink watercolors – Opera Pink, Rhodonite Genuine, and Permanent Rose.  I started with a little wet in wet after lightly spritzing the paper with water and spritzed a little more after adding the layers.

I then went for a walk.  Stepping away to let it dry and let the watercolor magic happen is sometimes the hardest part, but it is also often so rewarding!

The thing with watercolor painting (that is so different from acrylic or oils) is that what you first paint is not how it will look once dried.  It can be frustrating (for impatient peeps like me), but it is also the fun and fascinating part of the art.

Once the pink watercolor was dry, I splattered some Inka Gold “ornaments” and Dr. Ph. Martin’s Bleed Proof White “snow” on the tree.

I totally envisioned this painting framed in gold, so in between my time at Berry Vine and our visit with Santa, I cruised through Home Goods where I found some beautiful gold frames that I wanted to try with prints of this painting.

Then today, with a full festive heart, I processed some prints and created some greeting cards from my dream of a pink Christmas tree.

I absolutely adore it!

I imagine there will be some who don’t “feel it” or don’t like a pink Christmas tree, but that is the beauty of art.

As I mature in my art journey, I am really seeking to paint what I love and what I feel in my heart rather than painting for what (I think) others will like.  There will always be those that like and dislike…. love or hate….  but that is what makes art so wonderful.

I’ve added this piece – the original – as well as prints and cards – to our McKinneyX2 Etsy shop if you are interested.

May YOUR Christmas dreams come true….
kinda like my little dream of a pink Christmas tree.

Cheers & Hugs,
Josi


Lucas the Lucky Lion

Lucas the Lucky Lion OriginalWatercolor Painting – 11×14

Lucas the Lucky Lion.

In a faraway land that was known as Zion,
lived Lucas, the exceedingly lucky little lion.

No matter the game – played morning or afternoon,
Lucas the lion was always the most opportune.

He seemed to be blessed
with the very best success.

And never did he possess
even the teeniest bit of stress.

Lucas knew he was king
of kickball and juggling.

This extremely lucky lion was tops at kicking balls and batting.
He even stole the show when dribbling, dunking, and passing.

But the thing that made Lucas the luckiest of all –
the skill that made him so very exceptional…

Was Lucas the Lucky Lion’s quintessential charm.
For there wasn’t a friend or foe he couldn’t charismatically disarm.

************************************************

Lucas the Lion is a special surprise for one of my BFs.  I was looking for recommendations on what to paint after taking a little break for the holidays, and she requested a Lucas the Lion and Harper the Hippo for her two grandchildren, who are fans of Klaus the Mouse.

I thought you might like to see a bit of the process I go through for a painting.

First I draw a pencil sketch.

Once I am happy with a design, I either redraw in pencil on watercolor paper or use a light box to trace the basic outline.

If the pencil markings are too dark, I then use a kneaded putty eraser to lighten up the lines.  If needed, I use some masking fluid to preserve any areas I want to assure stay white.

I then consider colors using my watercolor swatch charts, choose a few brushes I may use, fill my water bucket, and assure paper towels and a Mr. Clean Magic Eraser sponge are handy.

I am then ready to put on my first wash of paint.

After the first wash is dry, I rub off the masking fluid, and I begin adding layers, allowing to dry as necessary until I am happy with the painting.

Once my original is finished, I take the best photo I can of it for printing.  Most all of my paintings are available in our McKinneyX2Design Etsy shop in prints (sizes 11×14, 8×10, and 5×7 – matted or not) and greeting cards, like below.  For those friends who are local, my daughter-in-law (who makes beautiful rustic wood pallet signs) and I also have our art on display and available at Berry Vine Gifts in BradfordWoods, PA.  You can find all of our information here.


Look for Harper the Happy Hippo in my next post here at The CreativeLifeInBetween, which is scheduled to post Tuesday.

By the way, if you are interested in a custom watercolor painting of an animal character for a child you love, you can order via our McKinneyX2Designs Etsy shop at this link.  Let me know the child’s name and the animal you would like.  It will be an 11×14 original watercolor painting.  If you would like an original rhyming poem to go with it, that can also be ordered for an additional charge.  It will come printed on an 8.5×11 sturdy cardstock sheet that can also be framed.  Please allow two weeks for any custom orders.

My artwork can also be made into pillows and clocks and coasters and mugs and tote bags and a lot of other fun things – all available at Society6.  Let me know if there is a piece you like that I should add there.

Lucas the Lion Pillow

I hope you are all enjoying the beginning of this new year and settling back into your normal routines after the busy holiday season.  It was good to undecorate from the holidays yesterday and find time to paint again.

Happy Sunday!

Cheers & Hugs,
Jodi

Fancy Sprinkles

Fancy Sprinkles.

I’ve mentioned before...  I kinda have a “thing” for sprinkles.

Well… what a SWEET surprise I came home to yesterday after an especially long day at the office to find a glittery, sparkly package in the mail pile with a sweet note from my bestie!

She has a knack for always knowing the right timing and just the right thing!

I’ve recently had a couple cookie fails in my attempts to try “something new” for Christmas cookies.

UGH!

Yep – happens to all of us I guess.

One was with a “best ever” sugar cookie recipe a baking blogger claimed to have refined after many attempts to create the absolute best.

Well…. NOT!  At least for me.  I knew when I made the dough, it wasn’t right….

Take it from someone who bakes cookies almost every week.  You get a “feel” for it.

I told hubby the dough felt dry, and I didn’t think they were going to turn out.

I baked a batch, and yep…. DRY!  (Though hubby didn’t seem to mind spreading jam on them like biscuits and enjoying them.

For some reason, I just can’t seem to make sugar cut-out cookies.  Anybody else have a “best ever” recipe I should try?

So even though it was late, I just couldn’t resist whipping up a batch of Sprinkle Cookies from a recipe I knew was yummy with these special Fancy Sprinkles.

I made one batch with the beautiful blue and white “Frostbite” sprinkles that had  hearts and stars and pearls and blue metallic balls and another batch with the adorable red, brown, and white “Peppermint Hot Chocolate” sprinkles – complete with tiny gingerbread men and mini marshmallows!

And, ironically, earlier in the day, a coworker and I laughed about the love her 6-year old son has for sprinkles and how he chose the “sprinkliest” cake he could find for his “second” birthday cake this year.

If you’d like my recipe for Sprinkle Cookies, just click here.  They are fun and festive and delicious!  I added just a smidge less flour to this batch and flattened the dough balls just a bit before baking to make this batch a little chewier.   I like how they turned out.  You can always adjust the amount of flour a bit to make your cookies flatter or thicker.

Thanks for sprinkling me with your friendship and love, Jill!

Happy holiday baking friends!

Cheers & Hugs,
Jodi

Pecan Pie Thumbprint Cookies

Pecan Pie Thumbprint Cookies.

It’s December, and that means time to start Christmas cookie baking!

These cookies are a wonderful version of pecan pie in a cookie!

They are similar to Pecan Tassies, but a lot easier.

The cookie is buttery and shortbread-like, while the filling is nutty and sticky and sweet and AMAZING!

I had a little bit of extra filling left that I just couldn’t throw away, so I spread it on a sheet of crescent roll dough, rolled it up, and sliced it into 8 easier-than-pie pecan “sticky buns!”

So
worth
it!

Hope you will give these yummy cookies a try for something new on your Christmas cookie baking list.  I do believe these will become a regular in our home!

Here is the recipe I found at  Crazy for Crust, which I only slightly altered.  Thanks for a great recipe, Dorothy!

Pecan Pie Thumbprint Cookies

Ingredients:

Cookie Batter:

  • 2 cups brown sugar
  • 1 1/2 cups butter, softened
  • 2 eggs
  • 2 tsp. vanilla
  • 4 cups flour
  • 2 tsp. baking powder
  • 1/2 tsp. salt

Pecan Pie Filling:

  • 2 cups pecans, chopped
  • 1/2 tsp. coarse or flaked salt
  • 1 cup brown sugar
  • 4-5 Tbsp. Half and Half or Heavy Cream
  • 2 tsp. vanilla

Optional:  Powdered sugar for sprinkling on top of cooled cookies.

Preheat oven to 350 degrees F.

Beat brown sugar, butter, egg, and vanilla in electric mixer until creamy.   Add in baking powder, salt, and flour, and mix on low speed until well combined.

Shape dough, two tablespoons at a time, into balls, and place the balls two inches apart on a baking stone or cookie sheet.  Indent a hole in center with your thumb.

Prepare filling by stirring pecans, salt, brown sugar, and vanilla with cream until it forms a thick mixture.  Spoon approximately one teaspoonful into thumb indentation of each cookie.

Bake for 10-12 minutes.  Cool for 5 minutes on stone or cookie sheet before removing to rack to cool completely.

Sprinkle with powdered sugar if desired.

Cookies freeze well for up to a month.

Enjoy!

Cheers & Hugs,
Jodi

Easy DIY Christmas Countdown Advent Calendar


Easy DIY “Christmas Countdown” Advent Calendar.

I’ve been dreaming of making this since summer….
and I finally got busy and did it this week.

Just in time!

I was looking for a fun way for my granddaughter to count down the days until Christmas with a little surprise each day, so when I found this inexpensive Over the Door Shoe Organizer this summer, I knew just what I was going to do.

I used fabric paint to paint the numbers on each “shoe pouch” – just the right number for an advent calendar!

And it was so much fun shopping for little toys and art projects and treats and hair bows and socks and mittens to fill all 24 compartments.

I think the anticipation of Christmas is almost more fun than the day itself.  I love the whole month leading up to it.

A friend shared this Advent Calendar of Kindness recently on Facebook, and I couldn’t resist sharing it too.

Don’t let the stress of the materialism of the holiday ruin this special time.  Small gifts of anticipation and everyday acts of kindness can make all the difference!  It’s what we need more of.

Happy Holidays!!

Cheers & Hugs,
Jodi

Getting Ready

Bunny’s First Woodland Christmas Watercolor – 11×14

Getting Ready.

My DIL and “biz partner,” Colleen, and I have been busy getting ready for an event this coming weekend for McKinneyX2Designs – the Mars Craft Show.

For those of you not from Mars :), it’s really a bigger event than you can imagine, and we are fortunate to be a part of it!

Colleen is been busy making these adorable little trees and festive holiday signs.

While I’ve been busy painting

Dancing Penguin Watercolor 11×14

and printing

and folding

and boxing.

We are excited to share our joy!  The Mars Craft Show features hundreds of local artisans spread out between the Mars Middle School and Mars High School (where you can find us – in the Auxilliary Gym).  A shuttle bus runs all day between the two buildings between 10am and 4pm on Saturday, November 17, 2018.

In addition to this event, we have two special birthdays coming up for a Pap Pap and granddaughter who share the same birthday.  I also have a short overnight business trip this week, so a lot going on.

I’m going to take a few days off from blogging, so if you don’t hear from me, know I am just busy and having fun and will be back soon.

If you like what you see here and are local, we hope you will visit us at the Mars Craft Show or Christmas in the Woods at Berry Vine Gifts this weekend.  If you are not local, please visit our Etsy shop or our website for more information.

Back to getting ready!

Cheers & Hugs,
Jodi

Baked Brie with Candied Bacon

Baked Brie with Candied Bacon.

Need I say more?

Gooey, buttery, melted baked brie smothered with smokey bacon candied with brown sugar and maple syrup and balanced out with tangy rice vinegar, coarse black pepper and a few shakes of hot sauce.

This heavenly appetizer recipe really puts the crack in cracker.

If you are looking for the next must-have appetizer to make or take to a picnic or party, look no further.  I can pretty much guarantee this will be a winner! It sure was with my family this past weekend.

Here is how I made it, adapted from a recipe found here.

Baked Brie with Candied Bacon

Ingredients:

  • 8 oz wheel of brie cheese
  • 8 slices thick bacon, diced
  • 1/3 cup brown sugar
  • 1 Tbsp rice vinegar
  • 1 Tbsp pure maple syrup
  • 1 heaping Tbsp coarsely ground black pepper
  • 4-5 drops Frank’s Red Hot Sauce (or your fave)
  • 1 box water crackers (or your fave)

Directions:

Preheat oven to 350 degrees F.

Cook diced bacon in a hot skillet until just crispy.

While bacon is cooking, stir together brown sugar, maple syrup, rice vinegar, black pepper and hot sauce in a small bowl.

Drain grease from bacon, and add sauce.  Simmer for 3-4 minutes until thick and bubbly.

Place brie in small stoneware casserole or baking pan.  Top with candied bacon.  Bake 10 minutes or until brie is warm and gooey inside.

Allow to rest for 10 minutes or so.  Serve with water crackers or your favorite cracker.

Enjoy!

Cheers & Hugs,
Jodi

Hoppy Easter!

Easter Bunny Watercolor 2018 11×14

Hoppy Easter!

For those celebrating, I thought I would share a quick watercolor I did this weekend of a magical Easter Bunny.

A bunny that is THE Easter bunny would have to be magical right?

In doing a bit of quick internet research, I learned the Easter Bunny originated in Germany in the 1500s, and came to the United States in the 18th century through Protestant German immigrants in the Pennsylvania Dutch area (not far from me in Mars, PA!).  They told their children about the “Osterhase,” who brought good children colored eggs, candy, and sometimes toys in nests they made in their caps and bonnets before Easter.

Whether you celebrate Easter or not, I hope this magical watercolor bunny brings a smile to your face and joy to your day.

Cheers & Hugs,
Jodi