Red Velvet White Chocolate Cookies

For my penultimate wedding cookie table cookie recipe, I present….

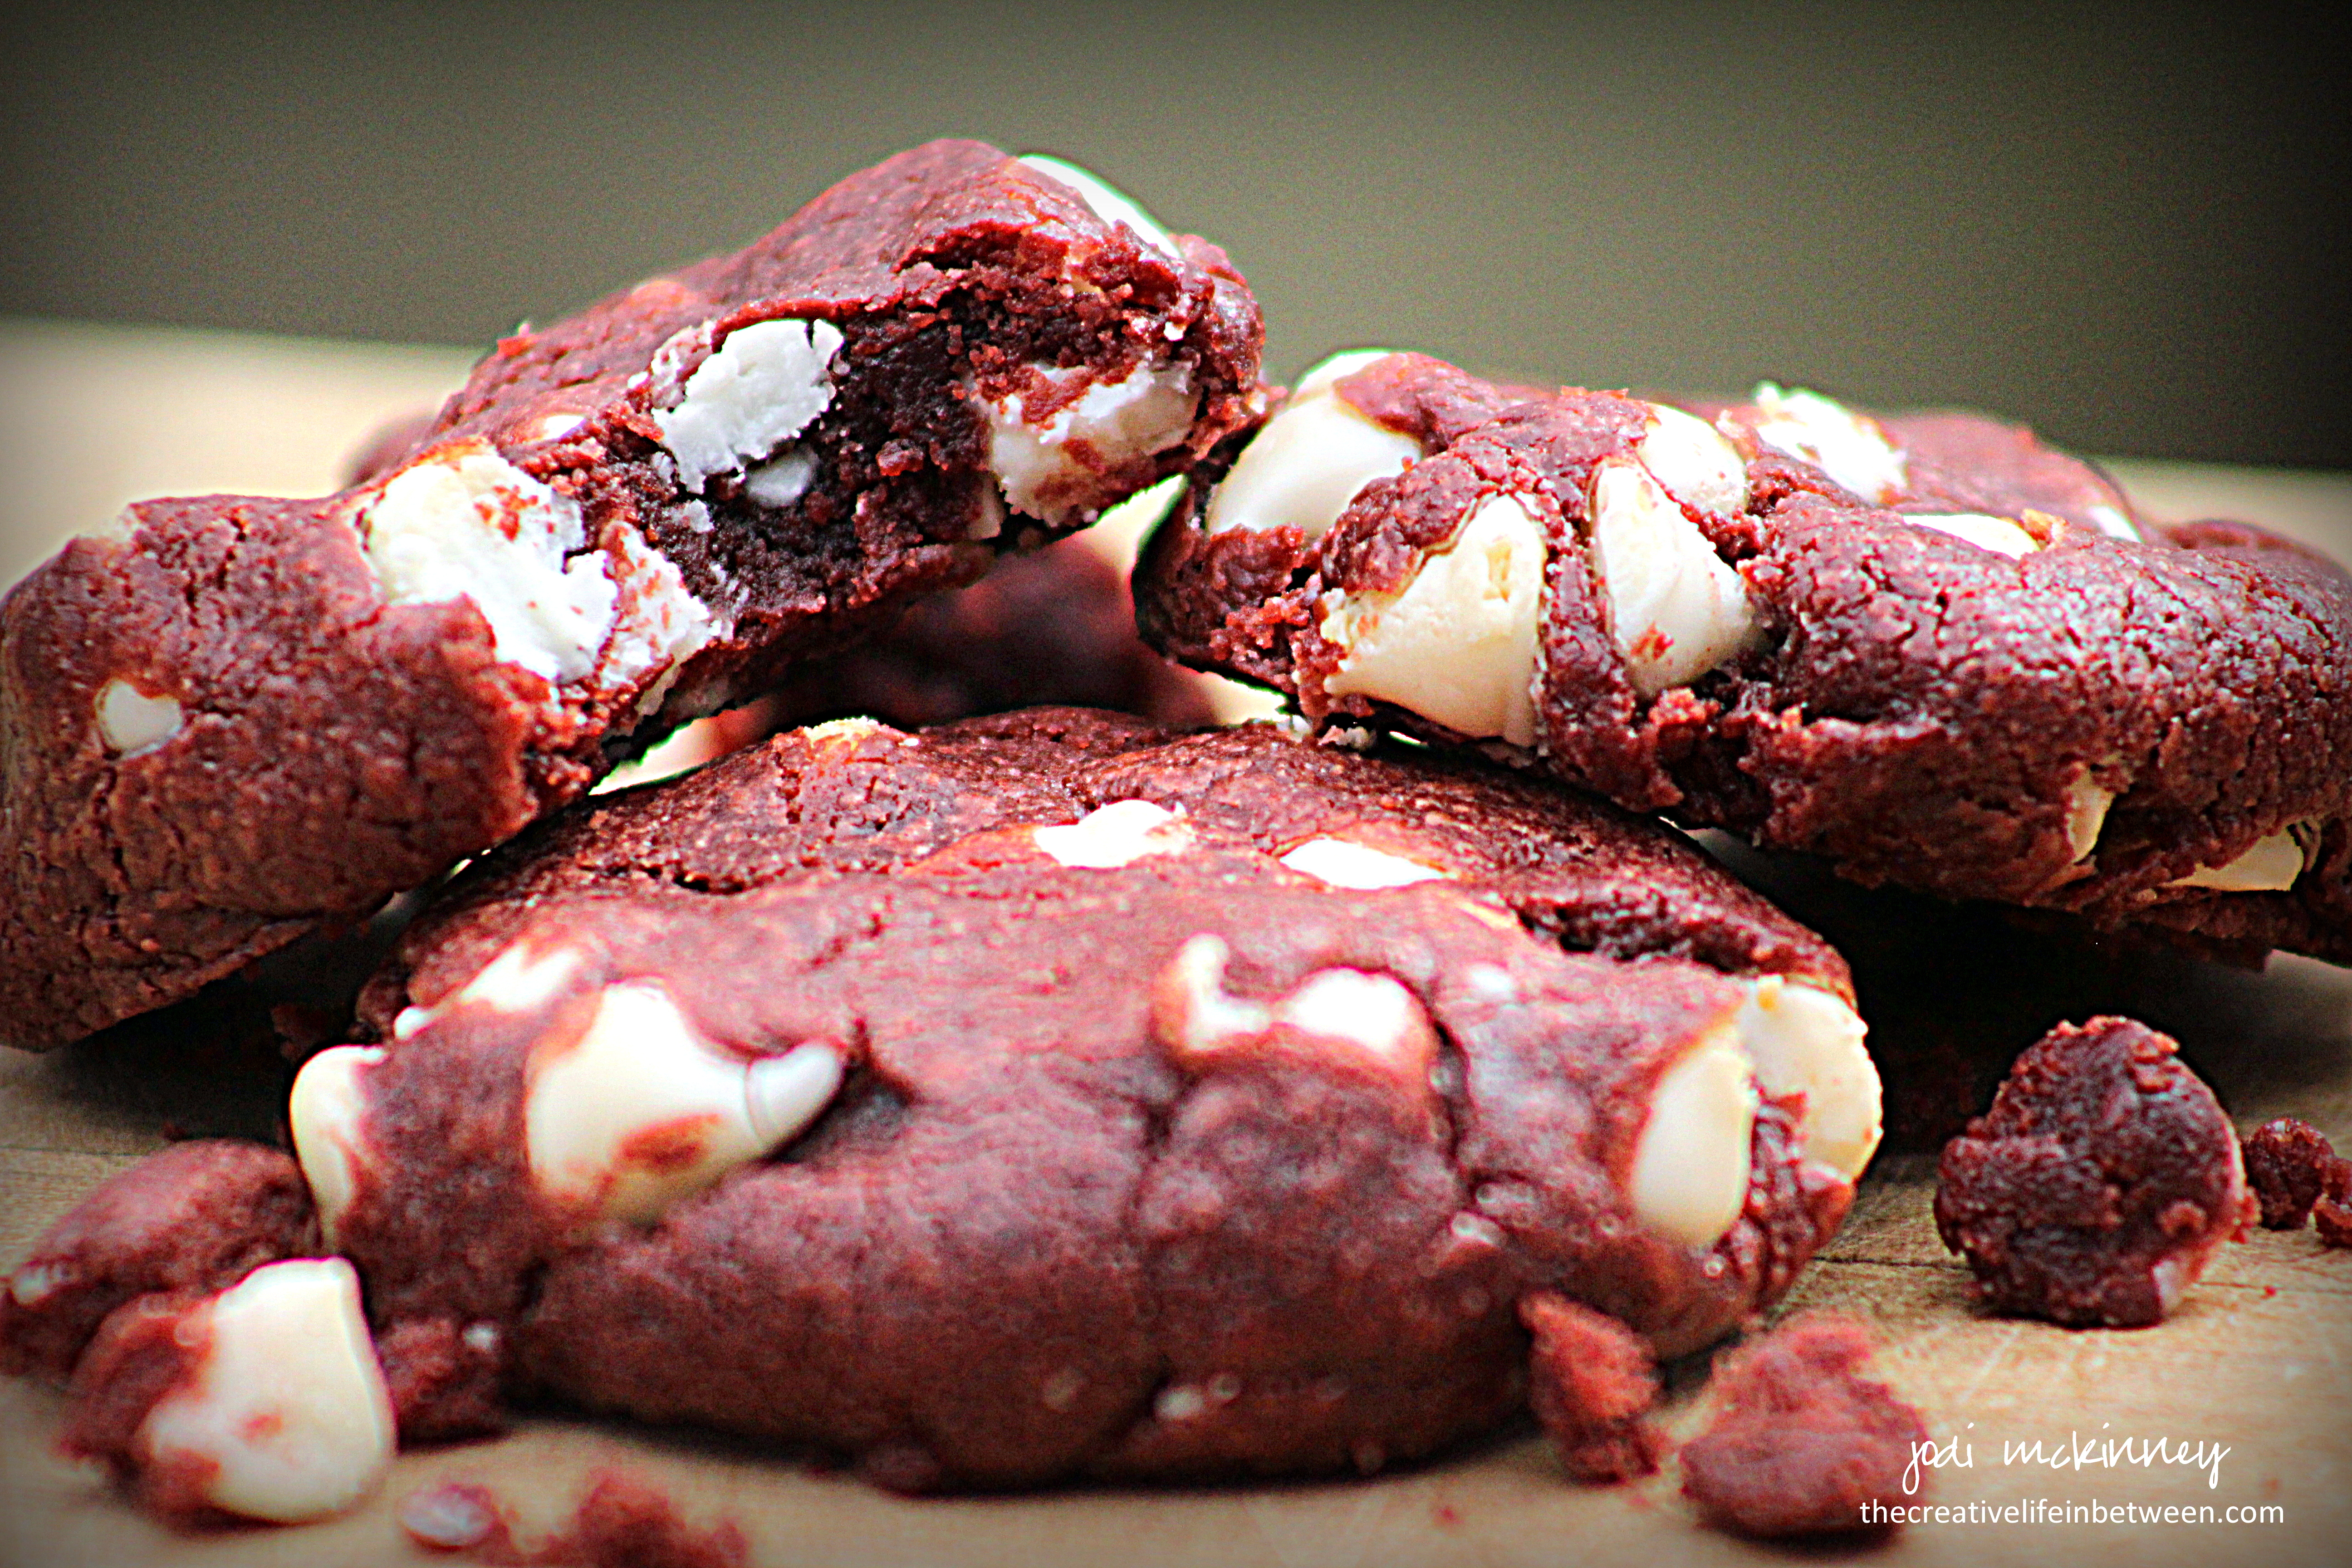
Red Velvet White Chocolate Cookies.

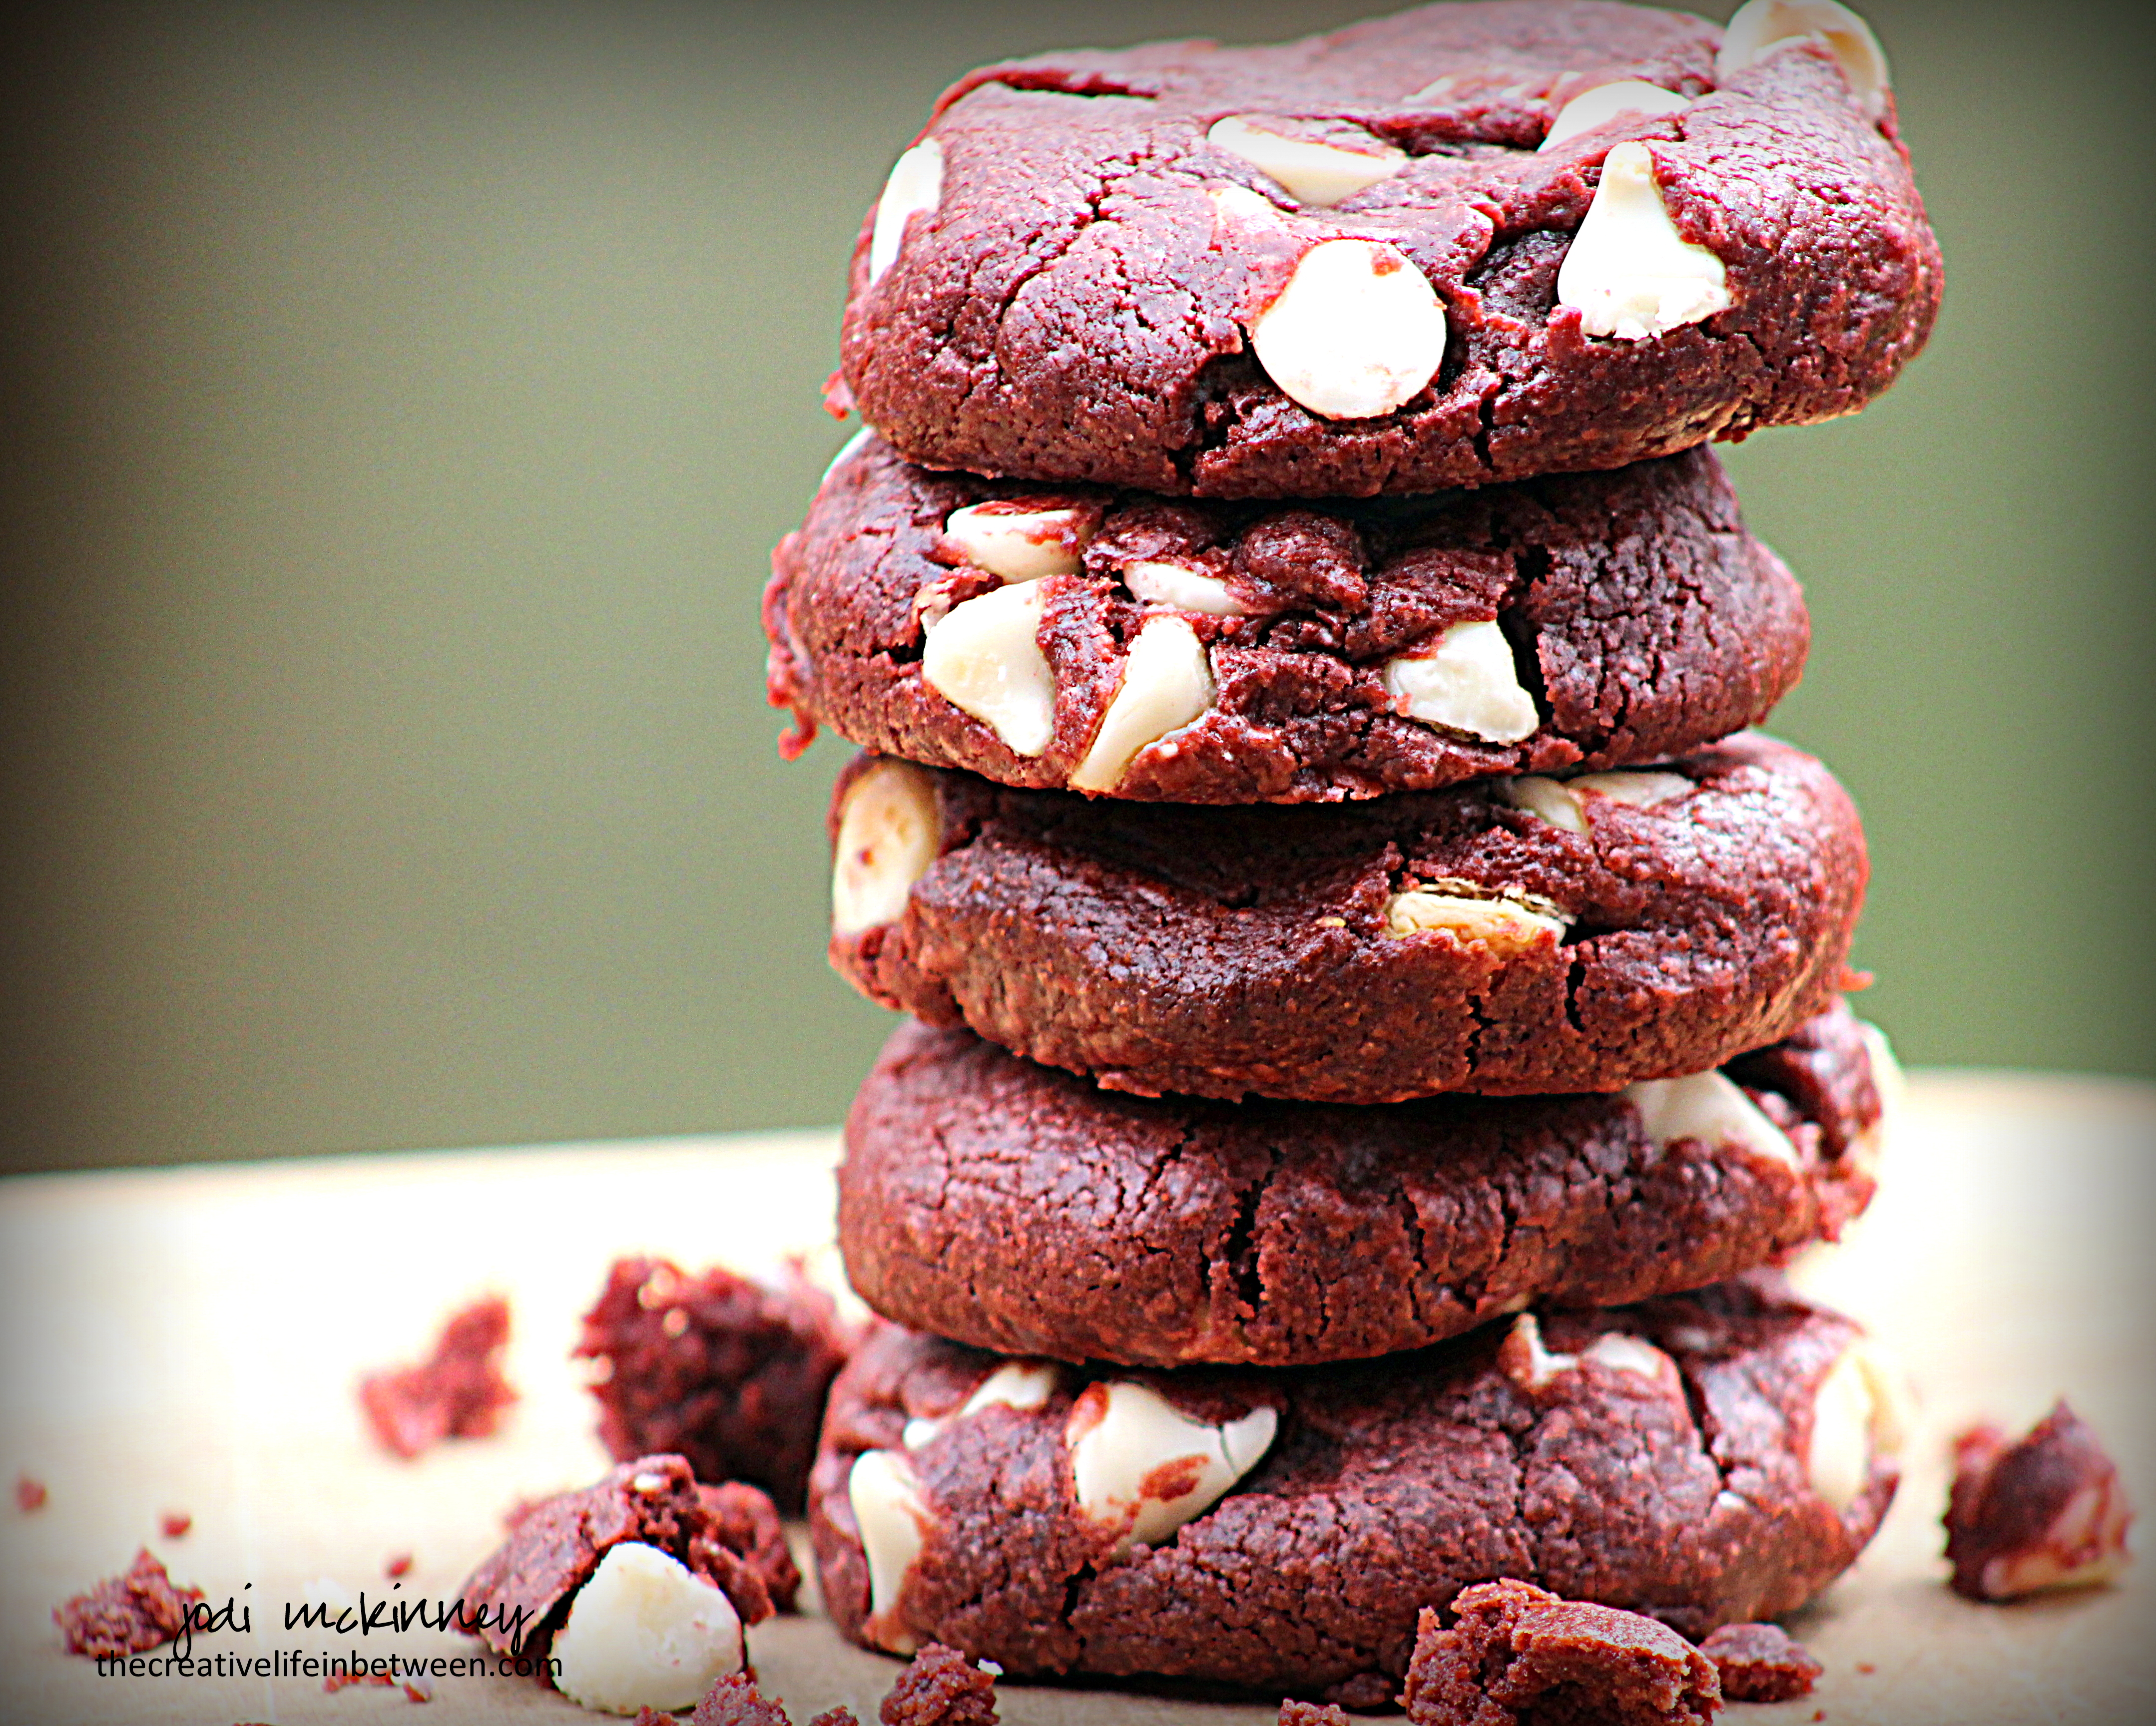
I was so excited to find this simple recipe that uses Bisquick baking mix and creates such beautiful and delicious cookies.

Won’t they look pretty next to the Lemon Crinkles?!

Red velvet lovers rejoice!

Red Velvet White Chocolate Cookies

  • Servings: approx. 3 doz.
  • Print

Ingredients:

  • 1 cup butter, softened
  • 2 cups brown sugar, packed
  • 4 tsp. vanilla
  • 2 eggs
  • 4 tsp. red food coloring
  • 3 1/2 cups Bisquick mix
  • 1/2 cup unsweetened baking cocoa
  • 2 cups white chocolate chips

Directions:

In large mixing bowl, beat butter and brown sugar until light and fluffy.  Beat in vanilla, eggs, and food coloring.  Add Bisquick and cocoa just until combined.  Gently stir in white chocolate chips.

Refrigerate for 2 hours or overnight.

Preheat oven to 350 degrees F.  Drop dough by rounded tablespoonfuls about 2 inches apart on baking stone or cookie sheet.  Bake for 8-10 minutes.  Do not overbake.  Cool on stone/sheet for 5 minutes.  Remove to cooling rack to cool completely.

Enjoy!

Cheers & Hugs,
Jodi

Lemon Crinkle Cookies

Lemon Crinkle Cookies.

Amidst all the chocolate and peanut butter and pecans and raspberry and apricot, we needed a fresh, bright, citrusy, spring cookie for the wedding cookie table.

This light, delicate Lemon Crinkle Cookie is just the ticket!

A tangy zip of lemon juice and zest in a small little puff rolled in powdered sugar and “crinkled” will make a lovely  contrast in flavor and color.

It’s wedding week, and we are so excited!

Hope you will give this lovely cookie a try.

And while we are talking about cookies…. my friend Sherrie told me a joke this week that I thought would be fun to share given all the cookie recipes I’ve been sharing lately….

Why did the cookie go to the hospital?

……………………………………………………………………………….Because it was feeling crummy! 😝😝😝🍪

Lemon Crinkle Cookies

Ingredients:

  • 1 8-oz package cream cheese, softened
  • 1/2 cup butter, softened
  • 1 1/2 cups sugar
  • 2 Tbsp freshly grated lemon zest (2 large lemons)
  • 2 Tbsp freshly squeezed lemon juice (from same 2 lemons)
  • 1 tsp vanilla extract
  • 1 tsp lemon extract
  • A couple drops of yellow food coloring
  • 1 tsp salt
  • 1 large egg plus 1 large egg yolk
  • 2 tsp baking powder
  • 2 1/4 ups flour
  • 1 cup powdered sugar (to roll cookies in before baking)

Directions:

In the mixing bowl of electric stand mixer, combine cream cheese and butter until creamy and smooth.  Beat in sugar, lemon zest and juice, vanilla and lemon extract, food coloring and salt.  Mix until well combined, light and fluffy.  Add egg and egg yolk and beat for 1-2 minutes on medium until creamy and light.

Gradually add in baking powder and flour on low speed until just incorporated.  Dough will be quite sticky.  Cover bowl and refrigerate for several hours or overnight.

Preheat oven to 325 degrees F.

Roll dough into 1 inch round balls and then roll in powdered sugar.  Place balls about 2 inches apart on baking stone or cookie sheet.  Bake 10-12 minutes until cookies puff and crinkle.  Do not overbake.  Cookies should not brown.  Cool completely on wire rack.  Cookies are wonderful when frozen or refrigerated for a “cool” taste. 

Enjoy!

Cheers & Hugs,
Jodi

The Colors of Spring

The Colors of Spring.

Tulips in Apricot…

and Crimson…

and bright, sunny Yellow.

Daffodils and Hyacinths in soft pastels of Coral and White.

A strikingly perfect Purple Delphinium.

Azaleas in bursts of Orange.

And the delicate Pink of this flower I do not know the name of that I call the snake flower.

Just a few of the beautiful colors of Spring soaked in at a brief stroll through the last days of the Spring Flower Show at Phipps Conservatory in Pittsburgh, PA this past weekend.

Such a sight for sore winter eyes.

Happy Spring!

Cheers & Hugs,
Jodi

Raspberry Dark Chocolate Shortbread Cookies

Raspberry Dark Chocolate Shortbread Cookies.

Is anything more divine than tart, sweet raspberry and velvety, dark chocolate?

Then combine it with a flaky, buttery shortbread cookie?!

Heaven in a bite – right?!

These little gems are the most recent cookie baking project for the wedding cookie table.

I think you might want to make some of these too!

Raspberry Dark Chocolate Shortbread Cookies

Ingredients:

  • 1 cup butter, softened
  • 1 1/3 cup sugar
  • 2 tsp. vanilla extract
  • 4 cups flour
  • 1 cup raspberry jam
  • 16 oz. dark chocolate, melted

Directions:

Cream butter, sugar, and vanilla until creamy with electric mixer.  Gradually add flour and combine until dough forms.

Refrigerate dough at least 2 hours.

When ready to bake, preheat oven to 350 degrees F.

Roll dough into 3/4″ balls.  Place on baking stone about an inch apart.  Press small indentation in center of dough with your finger.  Place a 1/4 tsp. raspberry jam in indentation.

Bake for approximately 12 minutes until lightly browned on edges.  Let cool 5-10 minutes on baking stone, the remove to cooling rack to cool completely.

Once cooled, melt chocolate and spoon into plastic bag.  Snip corner and drizzle on top of cookies.  

Enjoy!

Cheers & Hugs,
Jodi

Pecan Sandies Shortbread Cookies

Pecan Sandies Shortbread Cookies.

Wedding Cookie Table baking continues as we approach the last few weeks until the wedding!

I couldn’t resist trying a Pecan Sandie Shortbread Cookie to add to the selection given that I overbought pecans for the Pecan Tassie recipe.

And Oh How Gloriously Buttery, Nutty Deliciouso these turned out!  Be still my nut-loving shortbread heart!  (Oh Rob – you are going to LOVE these!)

Anyone who loves Keebler’s Pecan Sandies, you are in for SUCH a TREAT with this recipe!  Can I get an Hallelujah?  Can I get an Amen!

Hope you will give this simple, yet extraordinary recipe a try!

Pecan Sandies Shortbread Cookies

  • Servings: approx. 6 doz.
  • Print

Ingredients:

  • 1 cup butter, softened
  • 1 cup vegetable oil
  • 1 cup confectioner’s sugar
  • 1/2 cup white sugar
  • 1/2 cup brown sugar
  • 2 eggs
  • 2 tsp. vanilla extract
  • 1 tsp cream of tartar
  • 1 tsp baking soda
  • 1 tsp salt
  • 4 1/4 cups all purpose flour
  • 3 1/2 cups toasted pecans (Coarsely chop 3 cups and reserve 1/2 cup whole)

Directions:

In a large electric mixer bowl, combine softened butter, vegetable oil, and sugars until creamy.  Beat in eggs, one at a time, then add vanilla.  Continue beating at high speed until light and fluffy.

Add cream of tartar, baking soda and salt until combined.  Add four one cup at a time and slowly combine.  Remove from mixer, and fold in 3 cups chopped toasted pecans.

Place dough in Ziploc bag in refrigerator and chill for several hours or overnight.

When ready to bake, preheat oven to 375 degrees F.

Roll dough into 1 inch balls.  Roll top half of ball with sugar, flatten slightly, and add a pecan half to center.

Place on baking stone or cookie sheet lined with parchment paper, and bake for 8-10 minutes until lightly golden brown.  Do not overbake.  Remove to cooling rack to cool.  

Enjoy!

Cheers & Hugs,
Jodi


Pecan Tassies: Wedding Cookies

Pecan Tassies:  Wedding Cookies

If I were standing at a wedding cookie table and was told I could only choose ONE cookie from all the varieties on the table…

every single time…. I would choose a Pecan Tassie.

That’s just me.  Now I know my friend Mary would pick the Hershey Kiss Brownie Bite.  Nick would pick the Chocolate Chip.  My friend Wayne would go for the Carrot Cake Thumbprint.  Jake would likely take the Peanut Butter Cup Cookie.  Hubby – he always goes for the Apricot Kolache….  Always – anything apricot.

So this week, as I continue to bake cookies for the wedding cookie table, I made my faves, and I happily continue to bake.

If you could only pick one cookie from the cookie table, which would yours be?

Pecan Tassie Cookies

Ingredients:

  • Cookie Crust
    • 1 cup butter, softened
    • 6 oz. cream cheese, softened
    • 2 cups flour
  • Pecan Filling
    • 1 1/2 cups brown sugar
    • 2 tsp. vanilla
    • 2 eggs
    • 1 1/2 cups chopped pecans

Directions:

Prepare cookie crust by blending cream cheese and butter.  Stir in flour and work with your hands to form a ball of dough.   Wrap tightly with plastic wrap and refrigerate for several hours or overnight.

When ready to bake, preheat oven to 325 degrees F.

Divide dough into 48 balls and place into mini muffin pans.  Press balls in with Mini Tart Shaper (the most genius baking invention ever!) to form shell for filling.

Combine brown sugar, eggs, vanilla and chopped nuts.  Scoop into mini tarts filling 1/2 to 3/4 full.

Bake 12-18 minutes – depending on your oven – until lightly browned.

Cool and gently remove from pans.

Enjoy!

Cheers & Hugs,
Jodi

Peanut Butter Cup Cookies

Peanut Butter Cup Cookies.

The wedding cookie table baking continues with another classic.

Most everyone loves a little cookie cup with a Reese’s Peanut Butter Cup in it – right?

So many wonderful little treats you can bake in mini muffin pans!

Peanut Butter Cup Cookies

Ingredients:

  • 1 cup butter, softened
  • 1 cup white sugar
  • 1 cup brown sugar
  • 1 cup peanut butter
  • 2 eggs
  • 2 tsp. vanilla extract
  • 4 Tbsp. milk or half & half
  • 1 tsp. salt
  • 2 tsp. baking soda
  • 3 1/2 cups all-purpose flour
  • 70-80 miniature Reese’s Peanut Butter Cups

Directions:

Preheat oven to 375 degrees F.

Cream together butter, sugars, and peanut butter until light and fluffy.  Beat in eggs, vanilla, and milk.  Mix in salt and baking soda, and finally flour just until incorporated.

Roll dough into 1 inch balls and place in ungreased nonstick mini muffin pan.  Bake 7-8 minutes.

Remove from oven, and immediately press a miniature Reese’s peanut butter cup into each ball.  Cool  and carefully remove from pan.

Enjoy!

Cheers & Hugs,
Jodi

Hershey’s Kiss Brownie Bites

Hershey’s Kiss Brownie Bites
might just be the ultimate  little treat
for the inner chocoholic in
all of us (well – 99.999999% of us… Hard as it is to believe – there is an itsy bitsy, teeny tiny  population of people on this earth who do not like chocolate!)

But for the rest of us….
Imagine a bite-sized scoop of Ghiradelli Double Chocolate Brownie mix
baked to perfection of fudgy center with slightly hardened and cracked outside
in a mini muffin baking pan (be sure to line) and topped off with a smooth, creamy milk chocolate Hershey’s Kiss.

Not only are they sheer decadent delight, they are about as easy to make as desserts come.

I have started baking for my son’s wedding next month.  We have a unique tradition in our little part of the world that requires an overflowing cookie table at weddings.  The cookies are eaten for appetizers, dessert (along with wedding cake), and supplied to take home in to-go boxes.  I’m happily in charge of the cookie table for the wedding, so a baking I will go.

I started with these little brownie bites and will be stocking the freezer with chocolate chips and apricot kolaches and lots more in the coming weeks!

Wedding cookie table or not, you are going to want to try these.  Your friends and family will thank you, and you won’t be sorry!

Hershey's Kiss Brownie Bites

Ingredients:

Directions:

Preheat oven to 325 degrees F.

Line mini-muffin baking pan with foil mini-muffin liners.

Prepare brownie mix according to package directions by combining mix, water, oil, and egg.  Scoop batter into foil liners to 3/4 full.

Bake for approximately 12 minutes.  While brownie bites are baking, unwrap Hershey’s kisses.  Remove from oven and immediately insert a Hershey’s kiss into the center of each brownie bite.  Press gently.  Allow to cool.  The kisses take a while to set, so be careful.

Enjoy!

Cheers & Chocolate Kisses,
Jodi

The eARTh without ART is just…. “eh”

Acrylic Abstract Painting 16x20 Jodi McKinney

Acrylic Abstract Painting 16×20 Jodi McKinney

On a recent evening out with friends, we passed a little ‘hole-in-the-wall’ diner in the Bloomfield section of Pittsburgh that had a sign above it saying, “The earth without art is just ‘eh’.”  It caught our attention, and it has been in my mind ever since.

This crazy acrylic painting evolved over the course of several days.  While far from fine art, it was a fun, creative experiment.

It started out being blue and brown and white to match a recent bedroom redo.

The next day it became an ocean and sky scene… then back to an abstract the following day with drips of gold.

Around the fourth day, I decided it needed some red.  The red was too bold, so I added white to tone it down and “pink” it up a bit.

And on and on it went until I splattered white and tar gel with a toothbrush on and decided it was time to quit.

It has all kinds of crazy things going on over many layers, but there is something about it in the end that I kinda like.

Maybe because it reminds me that….
the earth without art is just “eh!”

Cheers & Hugs,
Jodi


Simple yet Complex

north-park-lake-11-18-16

North Park Lake, Wexford, PA – November 18, 2016

Life can be so simple
yet so complex.

Much like nature.

And either way…
it is a beautiful thing!


Cheers & Hugs,
Jodi