
“There is no greater agony than bearing an untold story inside you.”
– Maya Angelou
“There is no greater agony than bearing an untold story inside you.”
– Maya Angelou
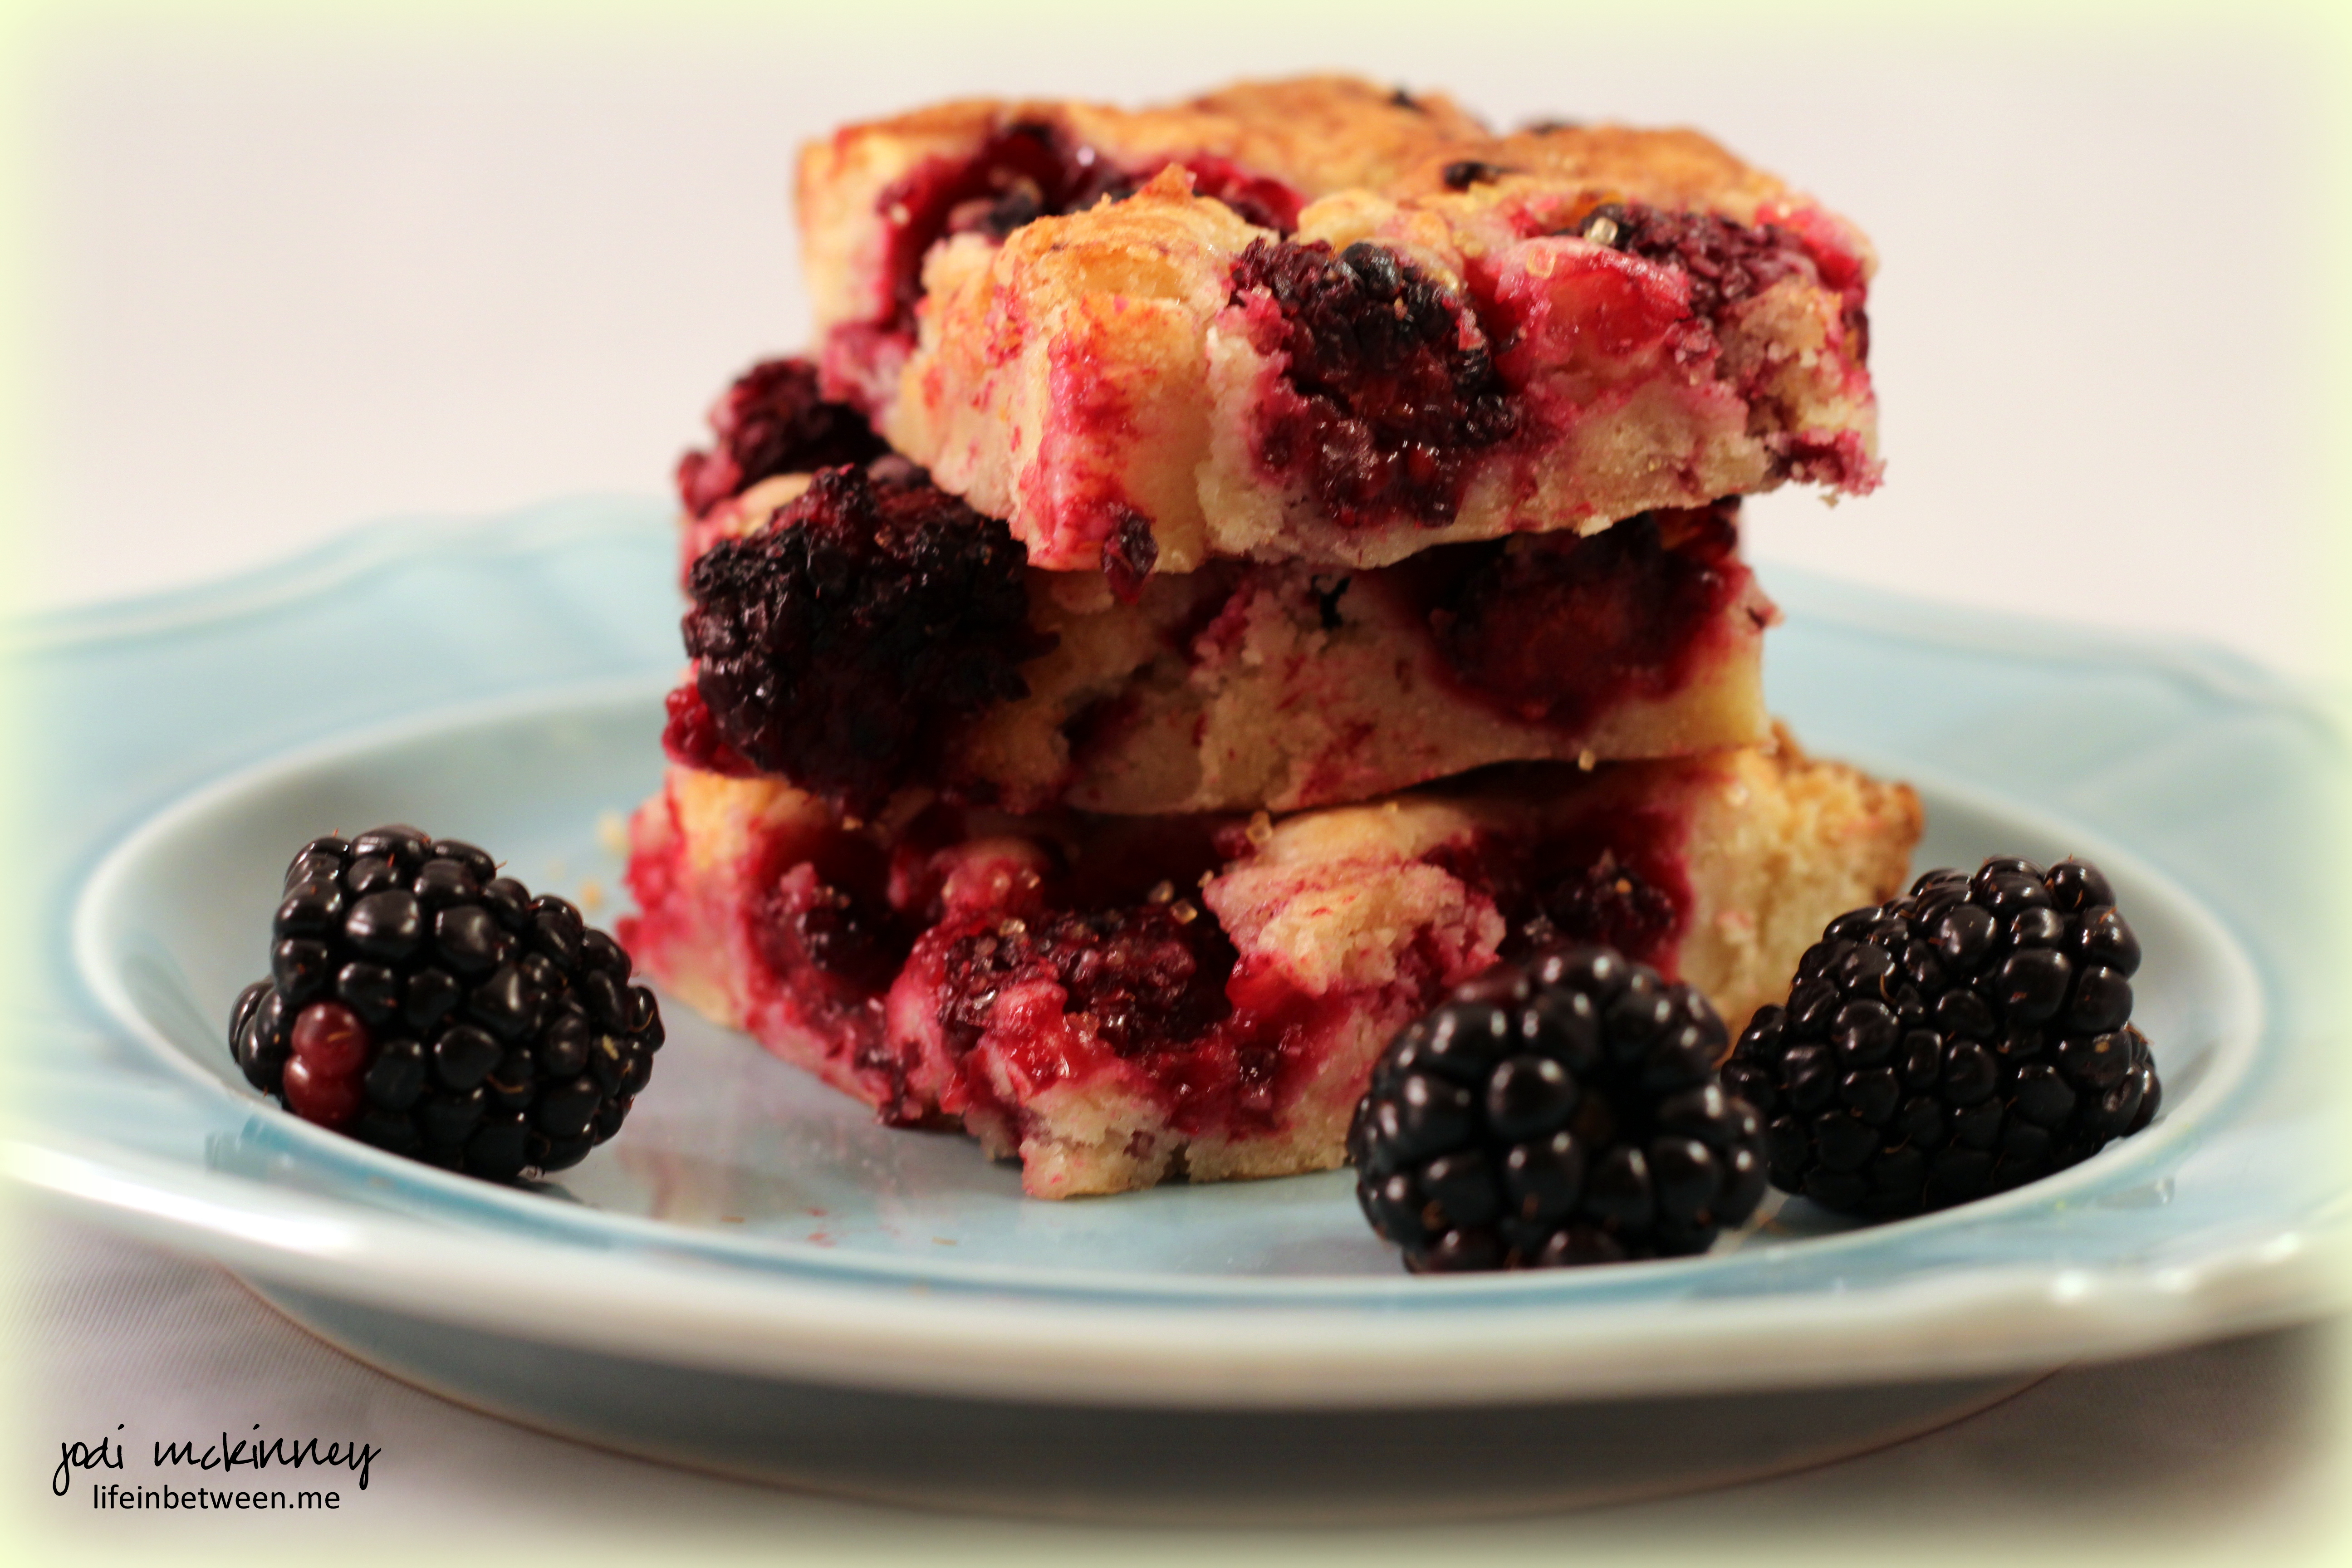
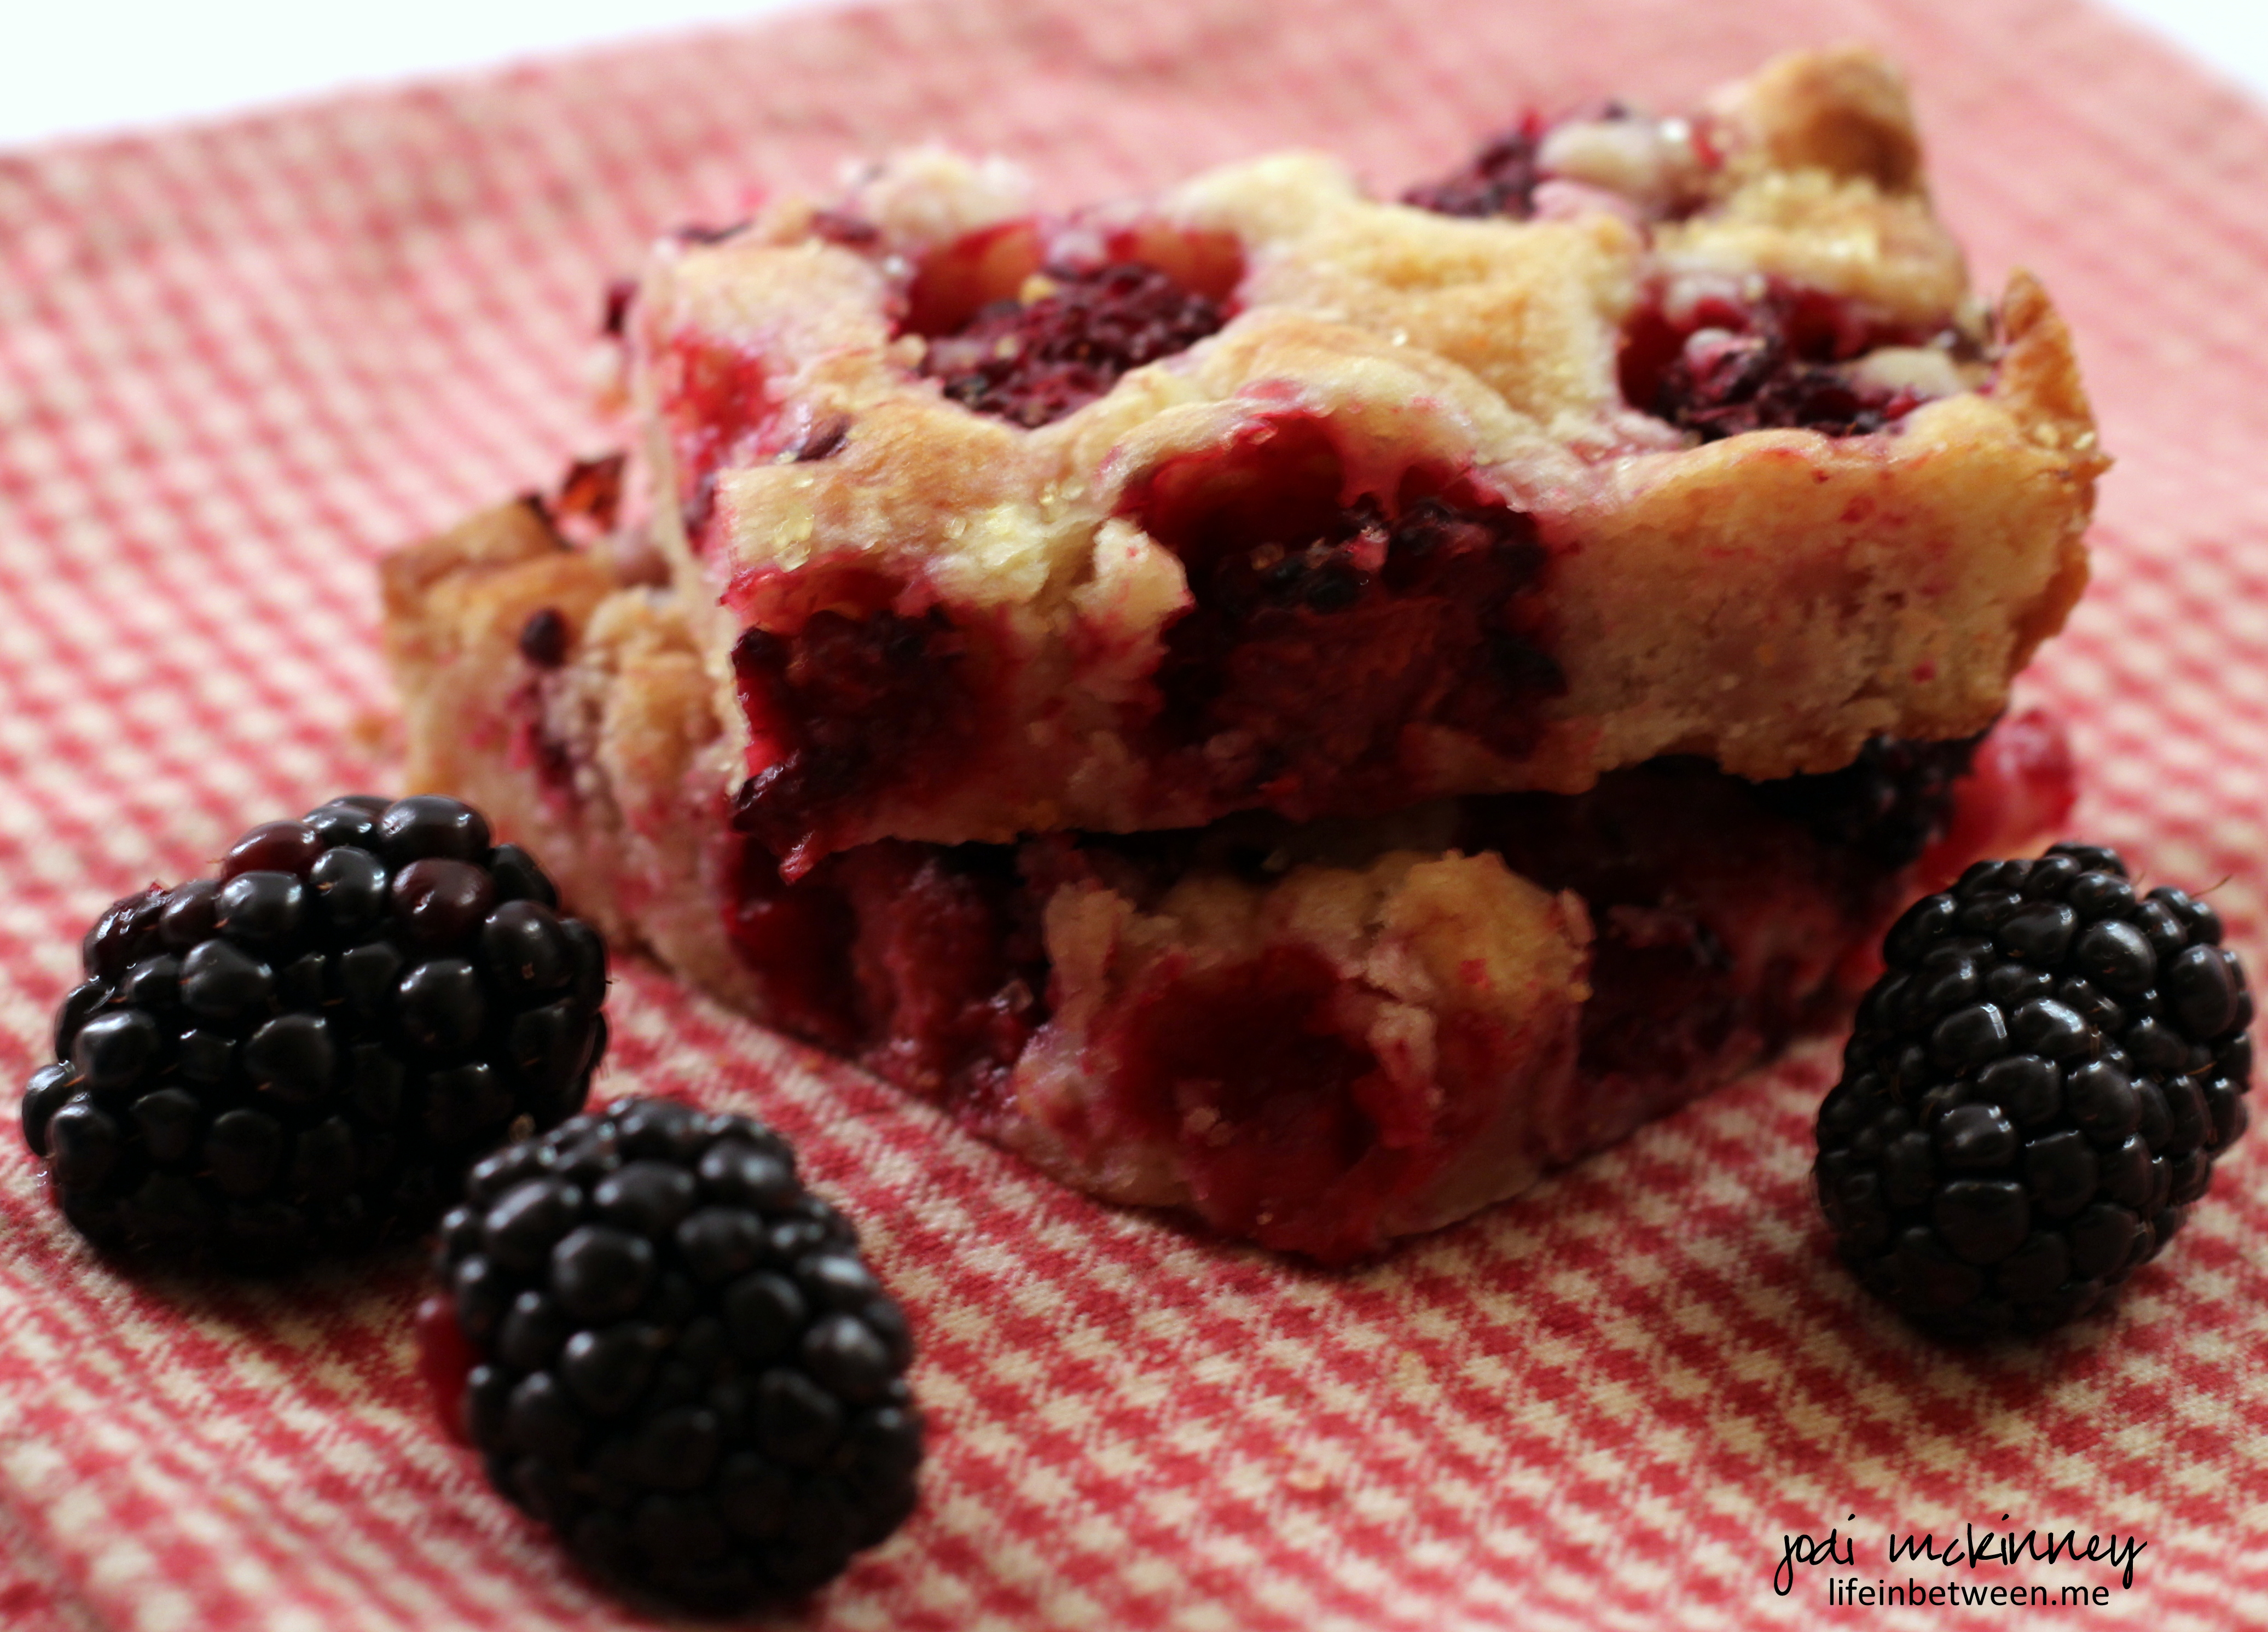
My son, Nick declared these Blackberry Blondie Cookie Bars “the best dessert” I’ve made in a long time! (I think he ate four last night – and he usually has extreme self control over sweets) Score! 🙂
Anyway, I have literally been longing to bake something…
I had a big, juicy carton of fresh blackberries in the fridge I bought to eat with my morning cereal, but when I found this recipe for Blackberry Blondies from Nicole Weston at BakingBites.com, I knew this is what I wanted to make. Thanks for sharing Nicole!
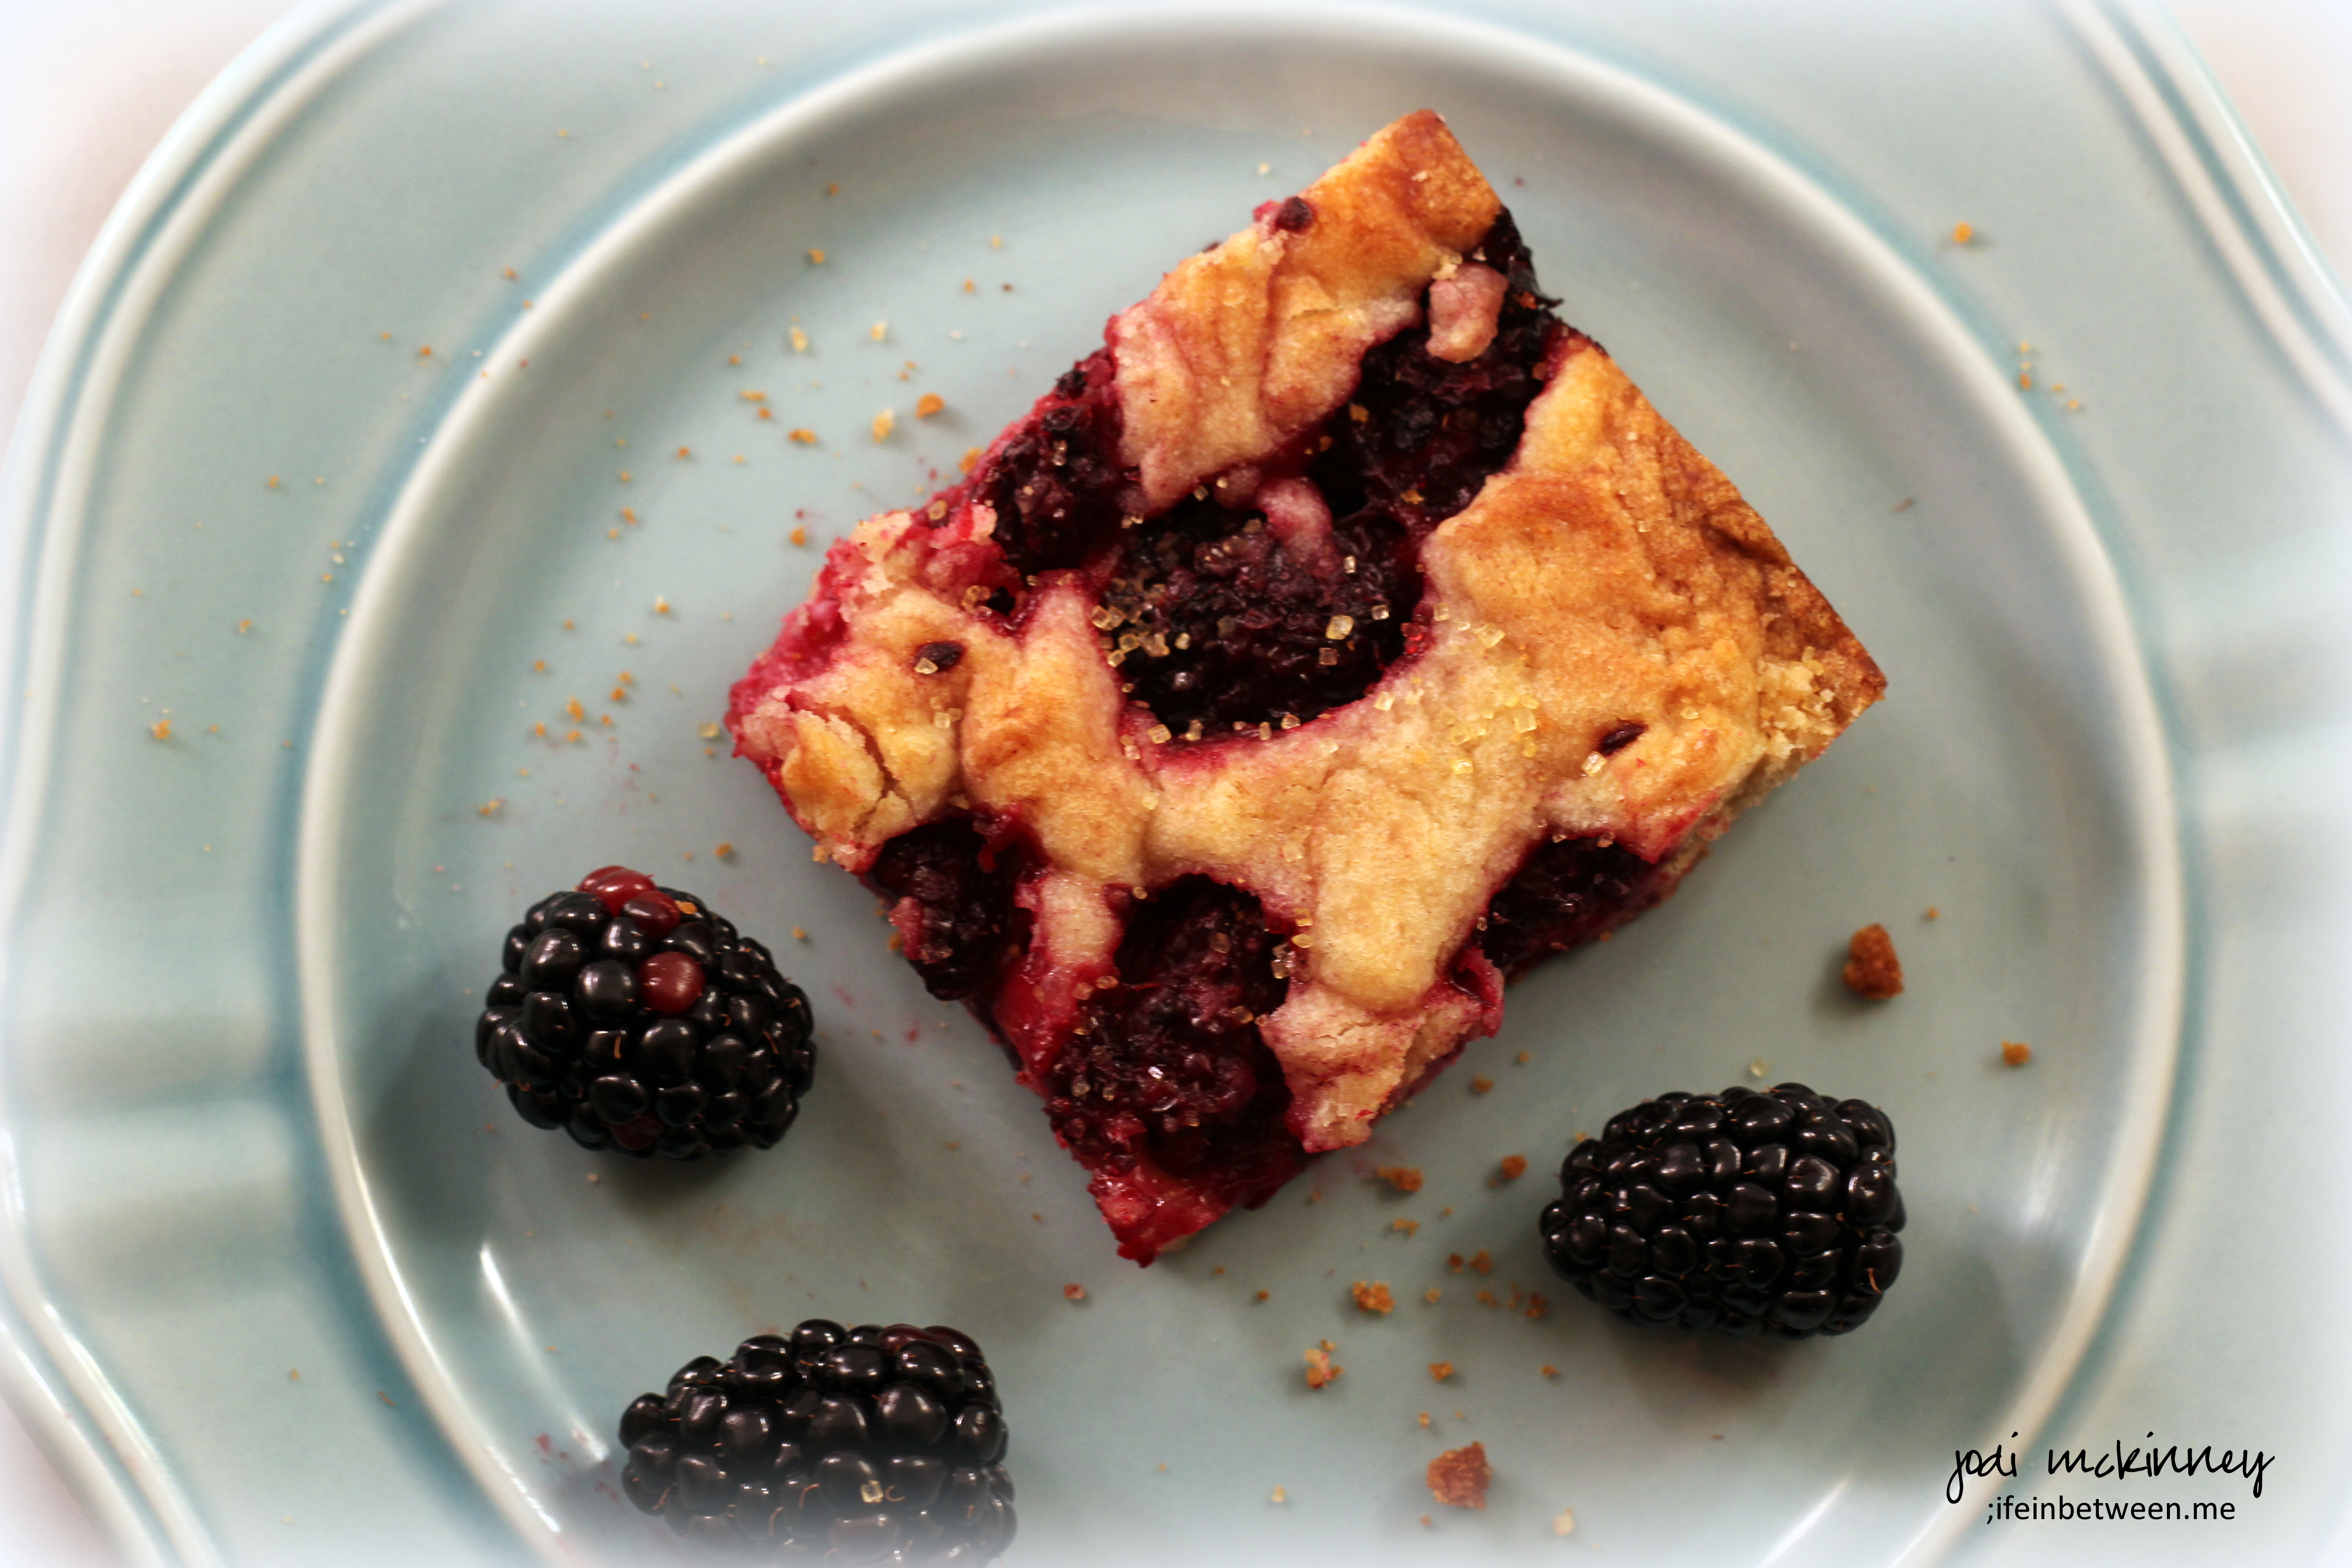
Blondies are basically the opposite of brownies in that they are the same idea of a bar-type cookie, but typically vanilla flavored instead of chocolate. Blondies can be plain or they can be the base for many different additions – like these yummy blackberries.
And since this recipe uses fresh, vitamin-packed blackberries (not a sugar-laden preserve or fruit filling) – they are a teensy bit healthy – eh? 🙂
I only had a bite of one, so I could know what they taste like, and it was so worth it! YUM! (And yes – I did go to the gym today)
These remind me of blackberry cobbler in a cookie. How divine is that?!?!
Here is the recipe from Nicole at Baking Bites with just a few small tweaks I made. I was out of vanilla extract (seriously don’t know how that happened!), so I used all almond extract, and you know what? I don’t think I would change it.
Hope you will try, and hope you enjoy. Let me know if you do.
Blackberry Blondies
1/2 cup butter, melted and cooled
1 cup sugar
1/4 tsp salt
1 large egg
1 tsp almond extract
1 cup all purpose flour
1 1/2 cups fresh blackberries
Preheat oven to 350F.
Line a square 8×8-inch baking pan with parchment paper and lightly grease.
Whisk together butter and sugar in a large bowl until well combined.
Beat in salt, egg, and almond extract until well combined.
Stir in flour and mix just until fully incorporated.
Gently fold in blackberries.
Transfer dough to prepared pan and spread carefully into an even layer.
Bake for about 35-40 minutes, until bars are set and golden.
Cool completely in the pan before cutting.
Makes 16.
Cheers & Hugs,
Jodi
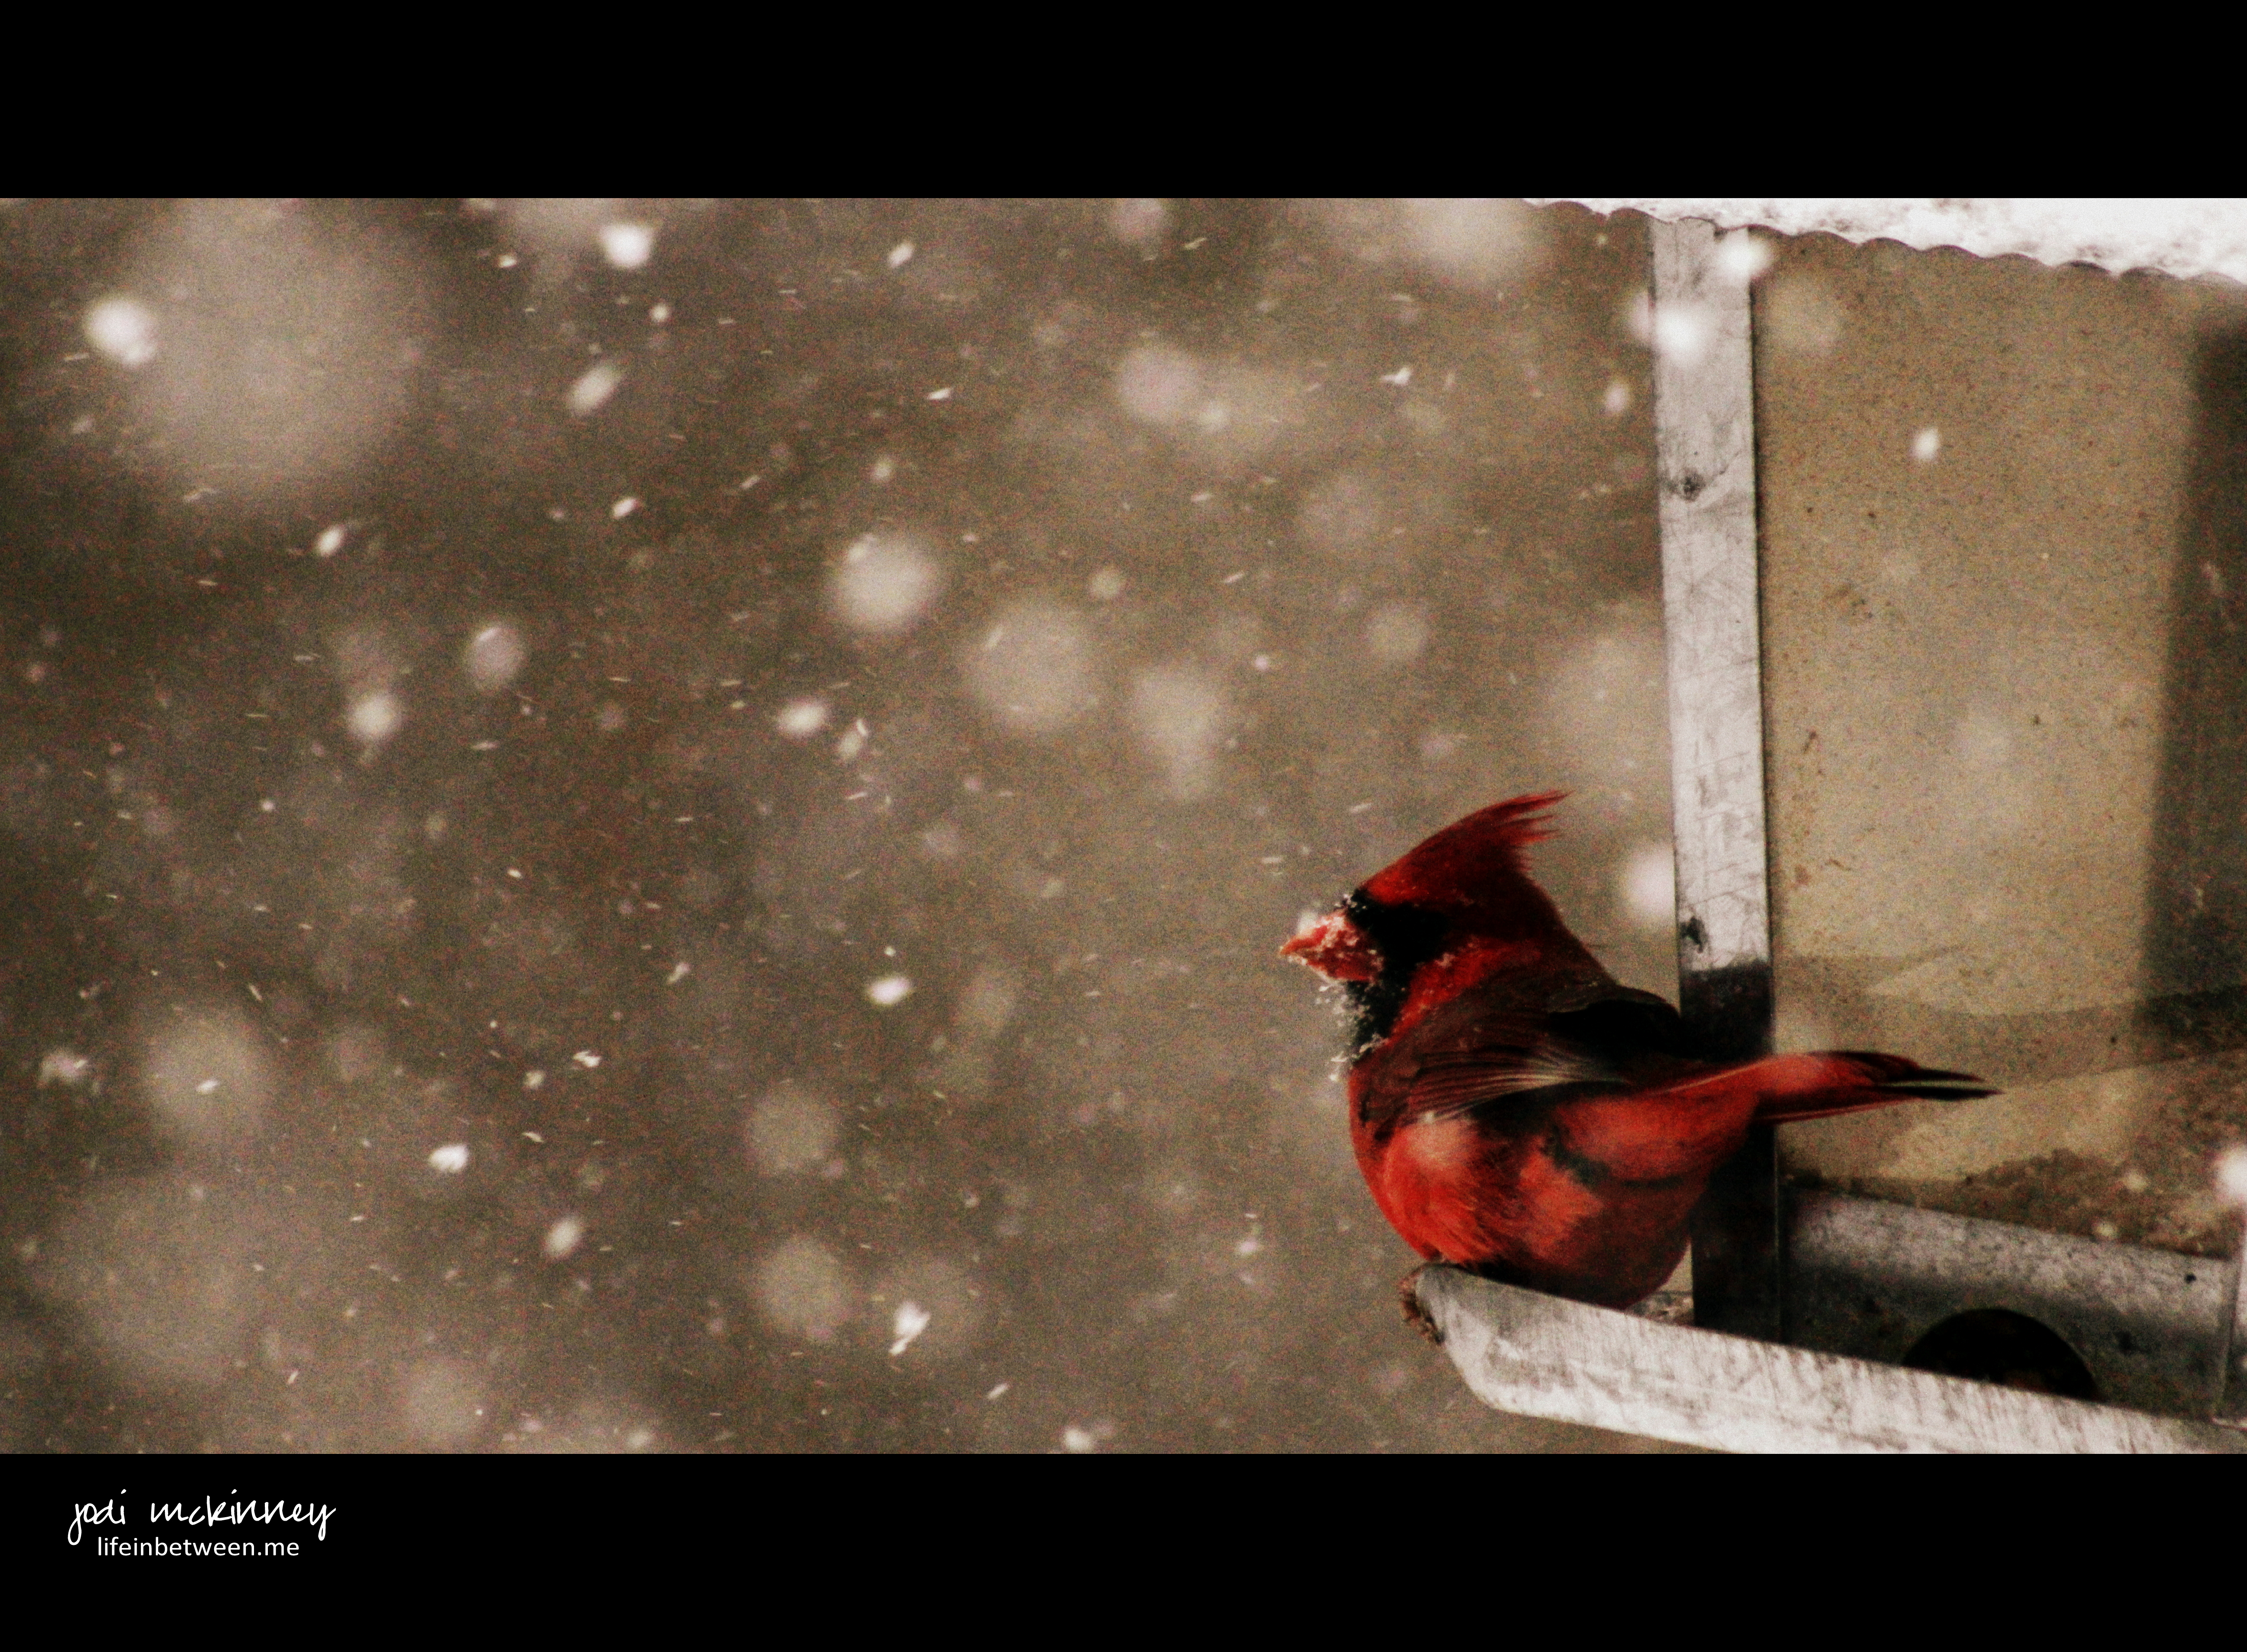
I swear this cardinal is blowing a raspberry at us saying “Na Na Na Na Poo Poo – It’s Monday Again!”
Oh Monday…
You are a beginning,
and you are an end.
Like a glass that is half empty to one,
and half full to another.
You are just another day,
but oft with dreaded suspension.
Let us hang on to the hope,
that comes with your inception.
– – – – – – – – – – –
Cheers & Hugs,
Jodi
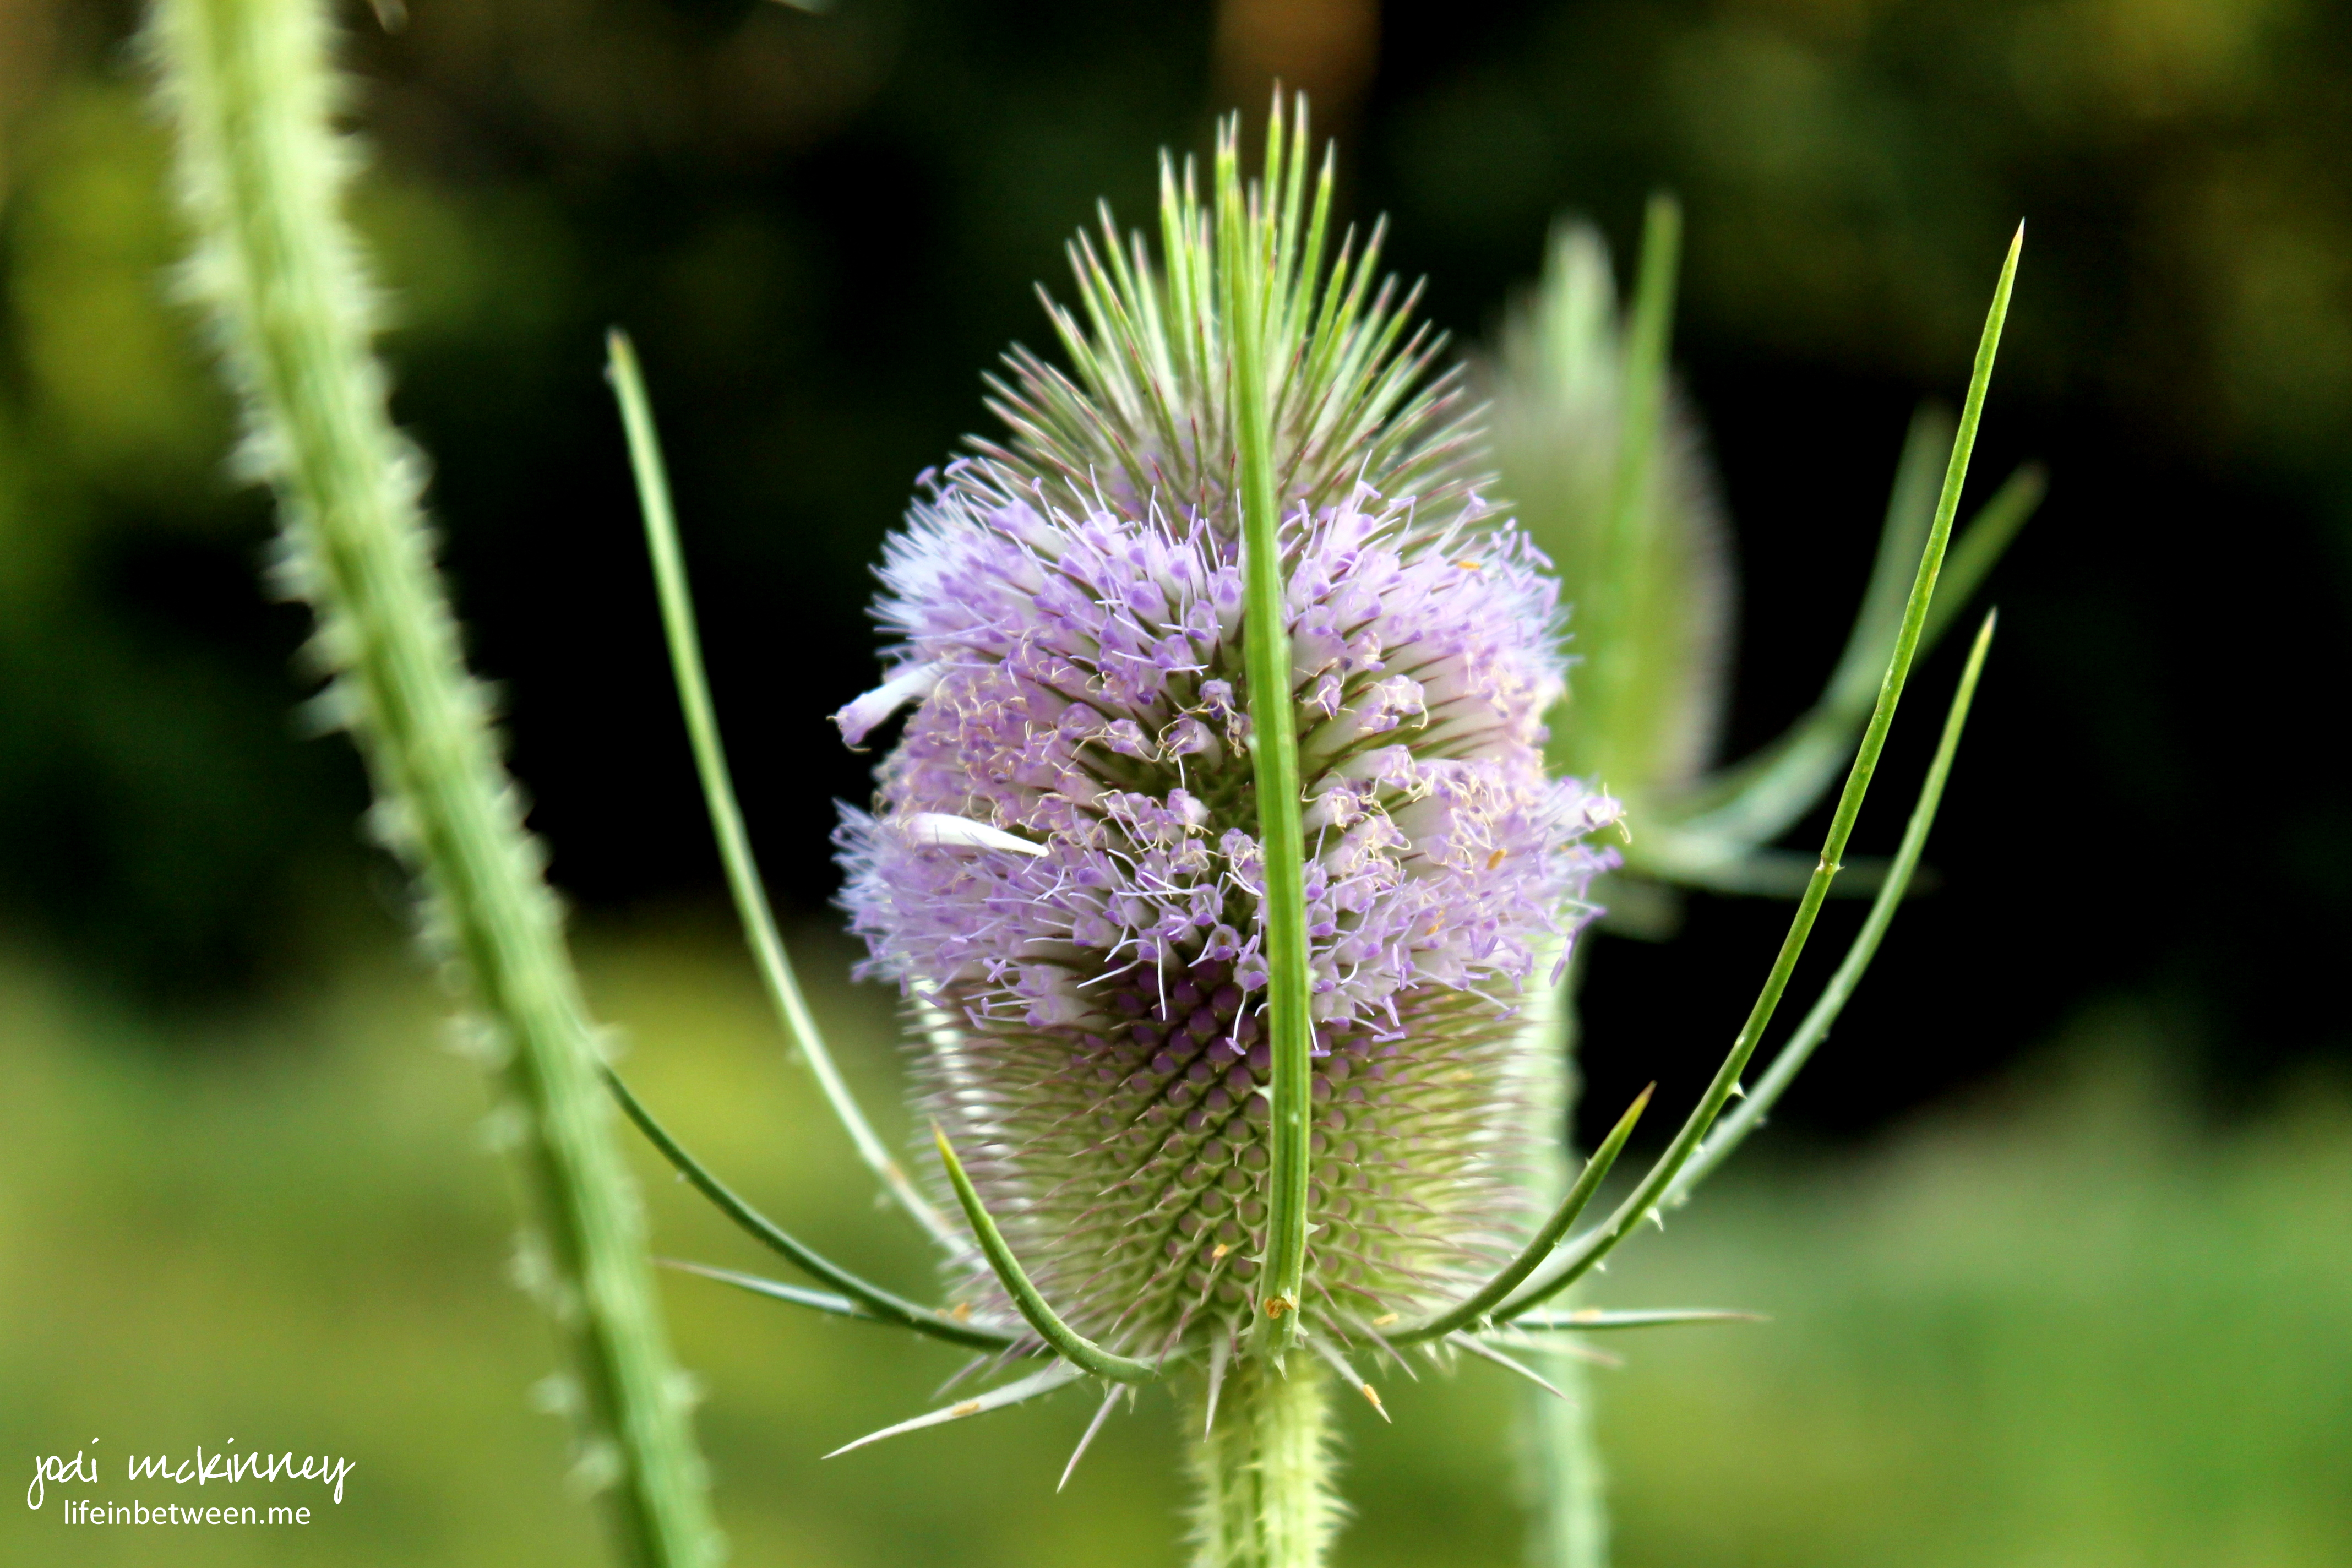
Sometimes we blossom and bloom and exude radiant brilliance.
Other times our thistles and thorns protect us and guard us and hide us.
Reach, stretch, discover, grow.
Bloom where you are planted.
Evolve with your seasons.
Never be afraid to express yourself.
This week’s Weekly Photo Challenge asked us to post a photo to “Express Yourself.”
As I contemplated the subject, this photo I took a few months ago on a walk spoke to me. It inspired me to express myself – as this thistle – in all of its ages and stages does.
Cheers & Hugs,
Jodi

In the winter months of life,
there comes a balance between hanging on and letting go.
Should we stay or should we go?
Do we get to choose?
What do we have to lose?
My Marty’s 92-year old Aunt lost the second love of her life this week. Her near 93-year old fiance.
Rest in Peace dear Tilford. Thanks for loving Aunt Francie. Thanks for bringing her such joy in the winter years of her life. You will be missed. You were a good man.

Christmas 2007
Hugs,
Jodi

Time to get HAPPY! Right? Enough whining about the cold! 🙂 I’ve made the turn and thank so many of you for your support and great tips.
And it is Friday!
What’s making you happy today?
A while back I wrote my Top 25 List of Things that Make me Happy – and those are still tops and all still apply, but today in particular, let’s see…. What is making me happy today?
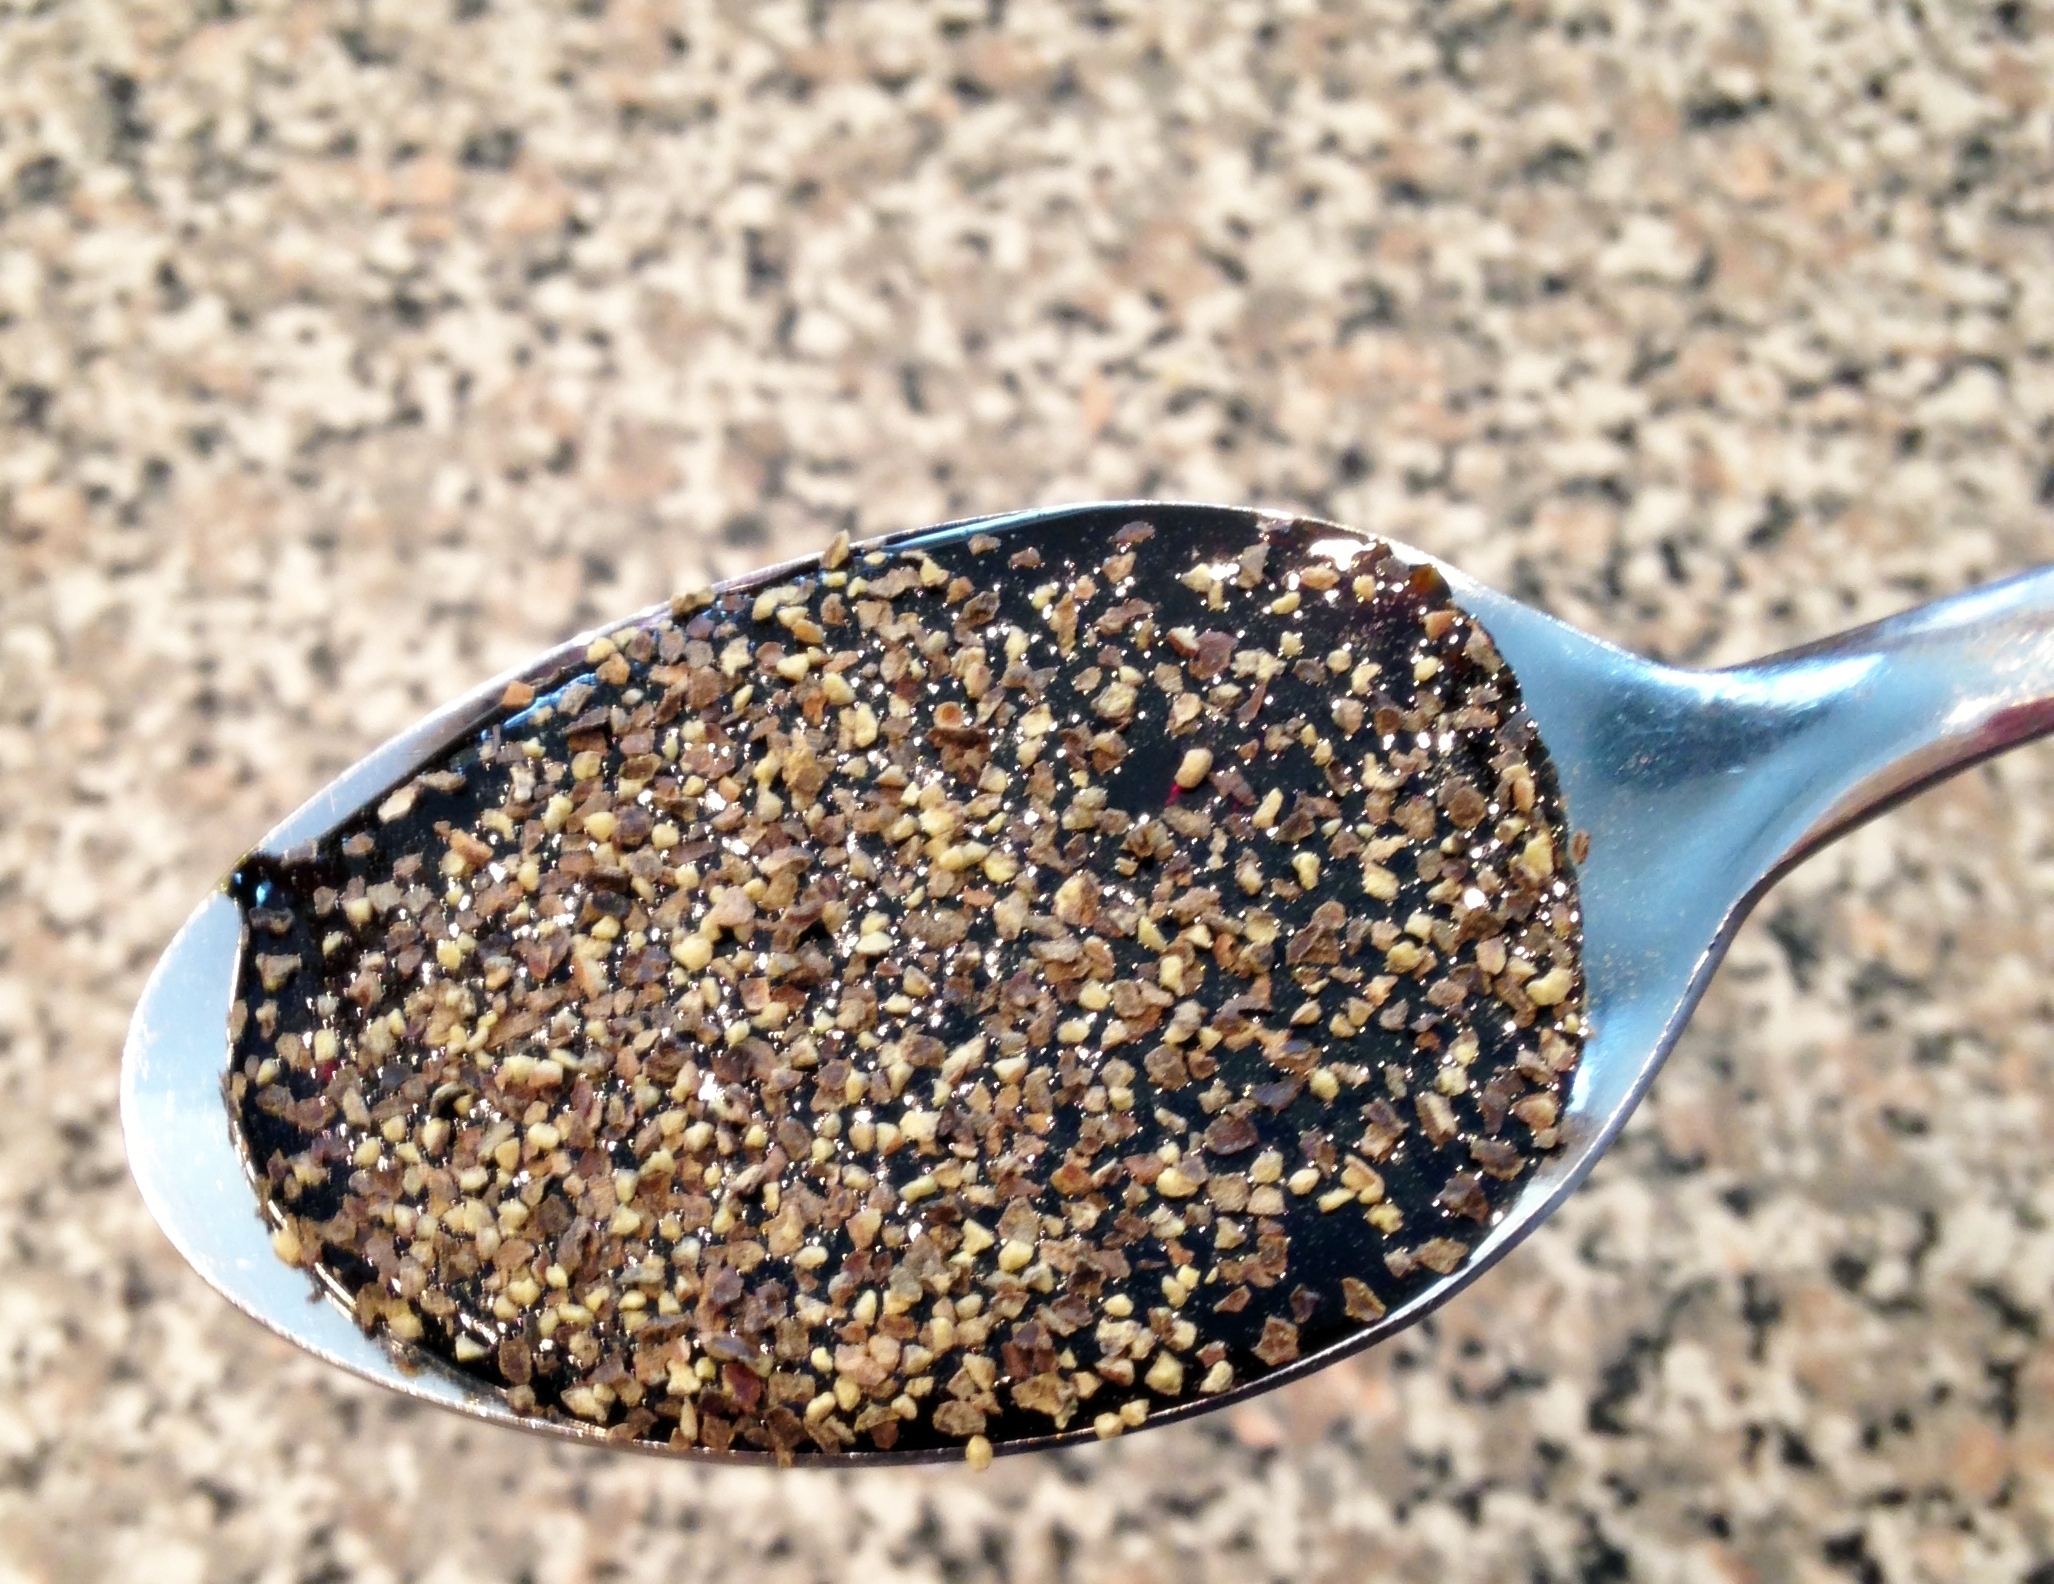
Marguerite’s Mom’s Cure for a Cough: A spoonful of molasses covered in black pepper
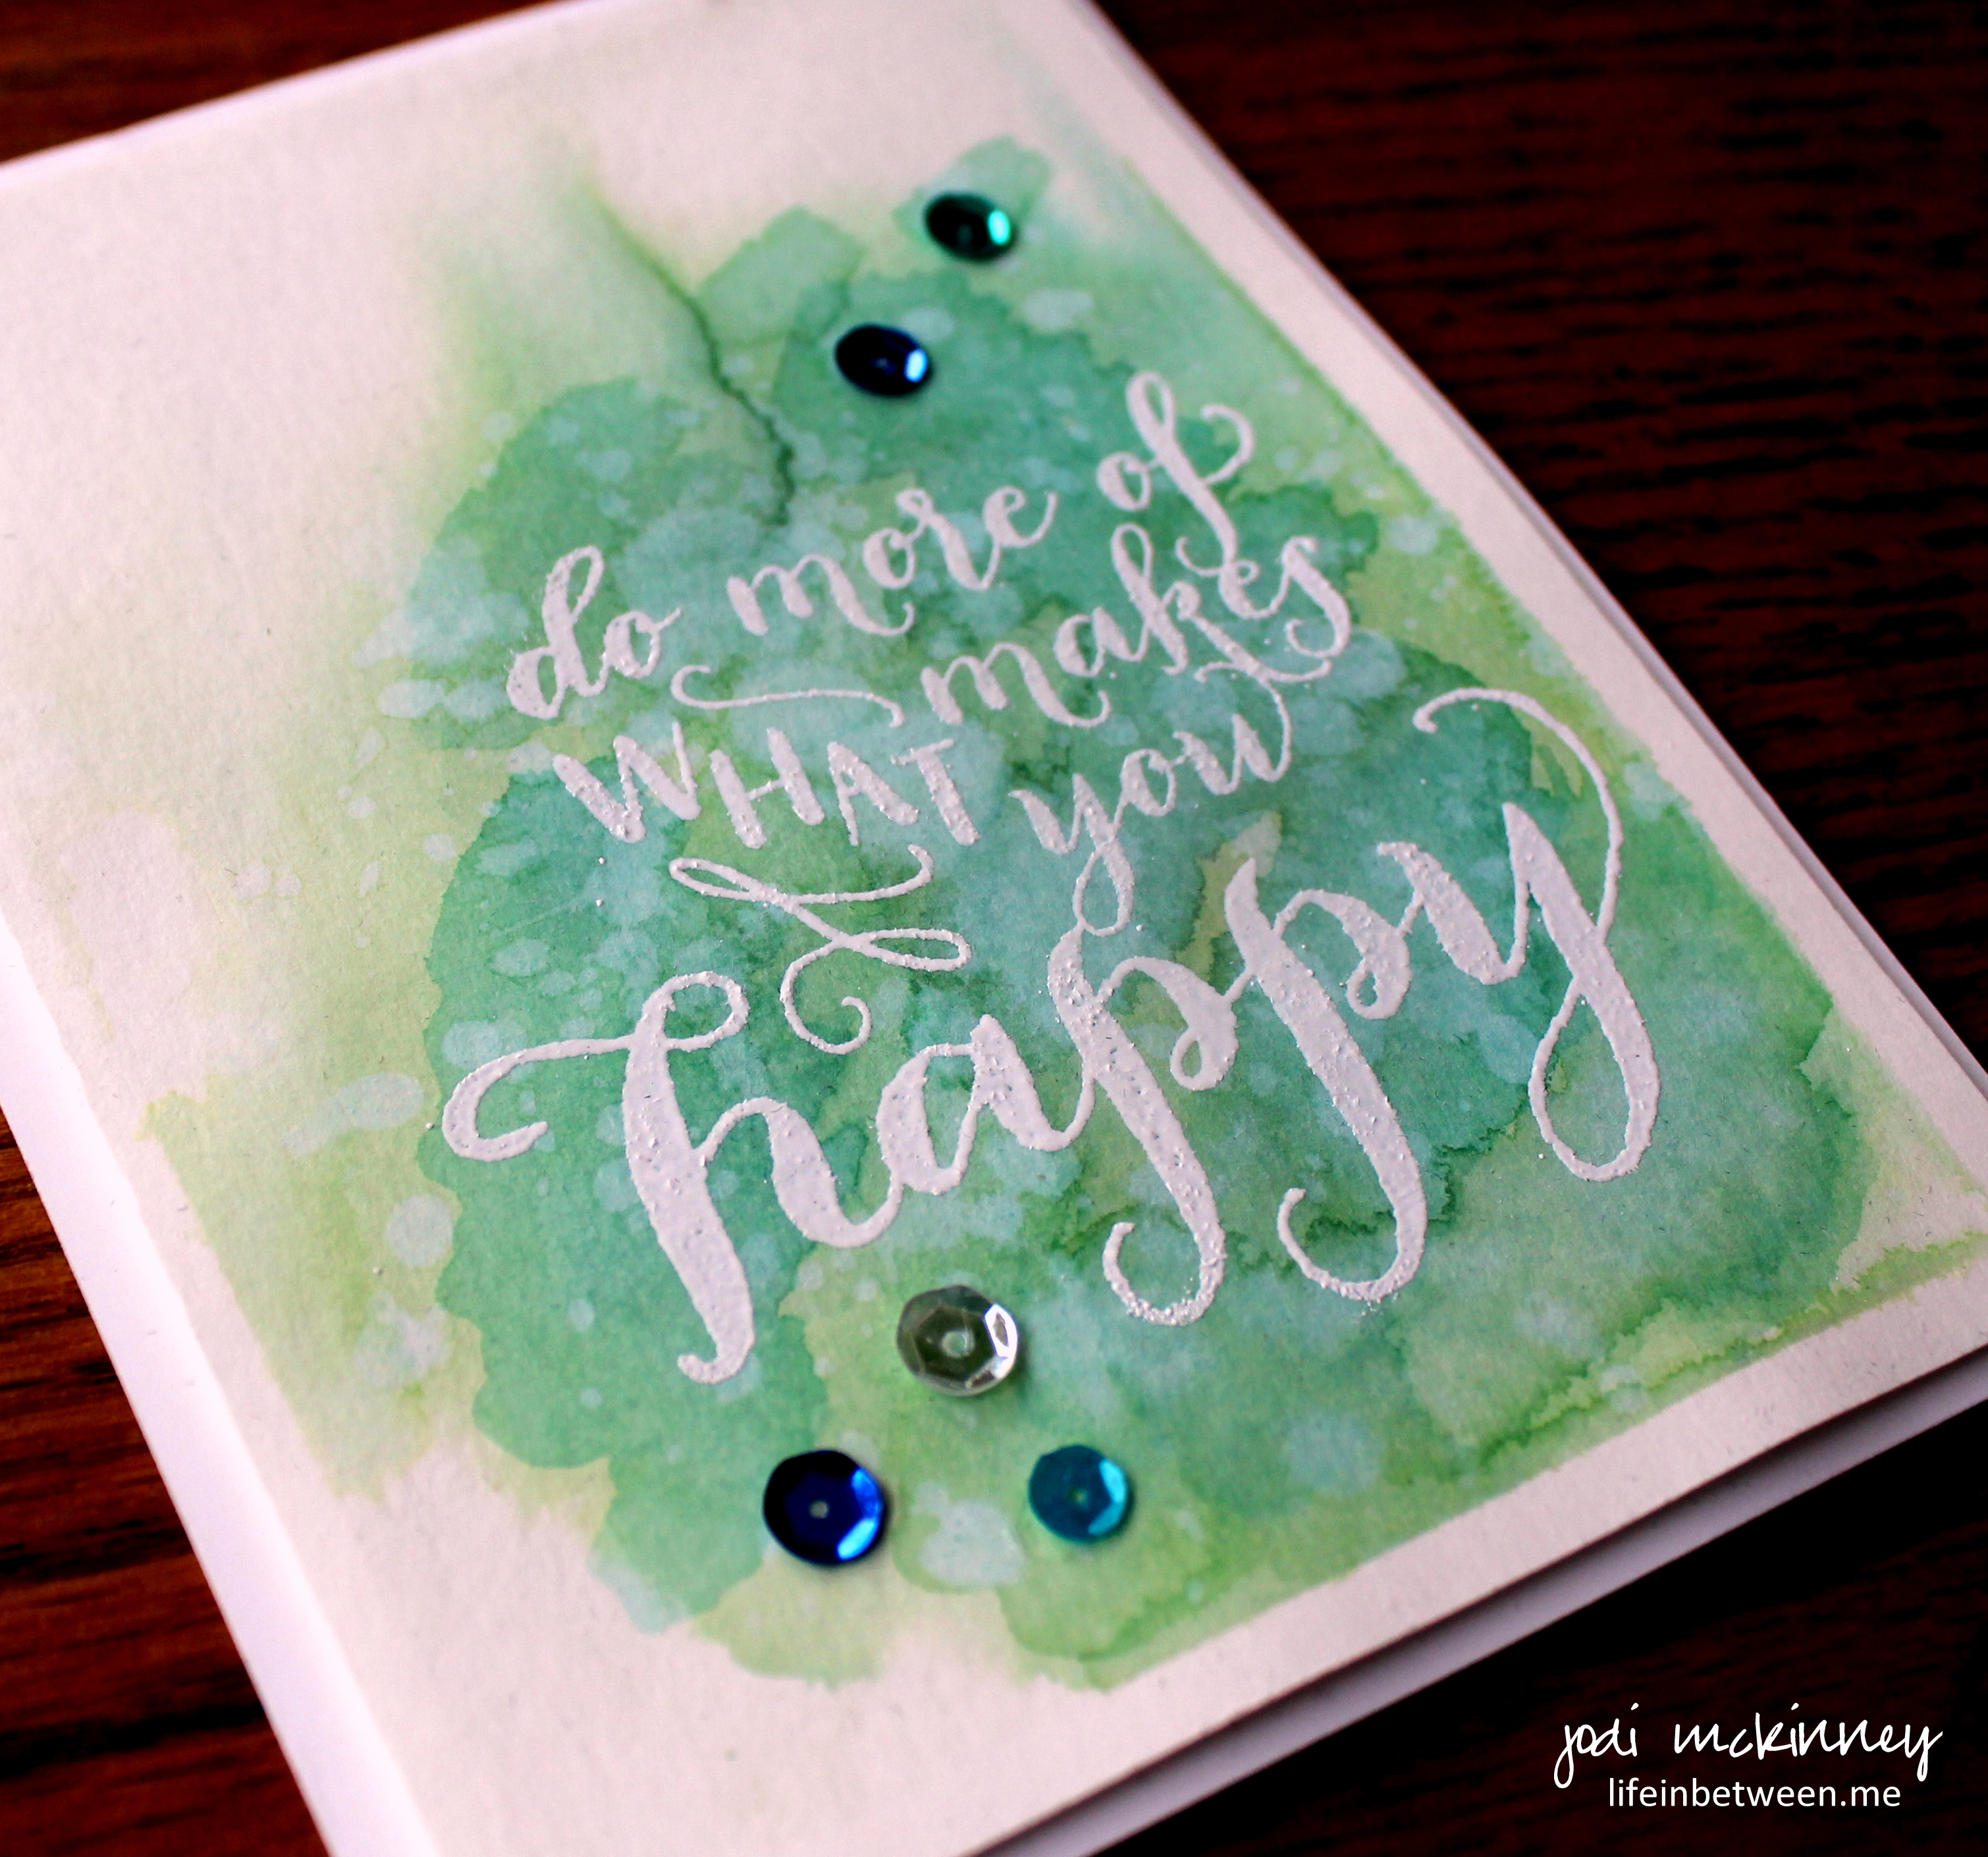
I really enjoyed making this card for The Paper Players Challenge this week PP#228 (and just in the nick of time!).
While on the couch this week, I caught a great video tutorial for this watercolor technique by Kristen Werner.
I love how clean and simple it is – a technique I strive to excel at that I often struggle with.
The challenge this week is to make a card where the sentiment is the focal point and to keep it clean and simple.

I used the Stampinup Happy Life Stamp set, watercolor paper, some Tim Holtz Distress Inks and assorted sequins for this card.
So as I am writing this post, a song is running through my head and making me smile. Music is so remarkable like that – right? Almost everything reminds me of a song. Can anyone relate? So who remembers this one? Kinda silly, but hey – c’mon get happy! 🙂
Who’s wigglin’ with me? 🙂
Cheers & Hugs,
Jodi
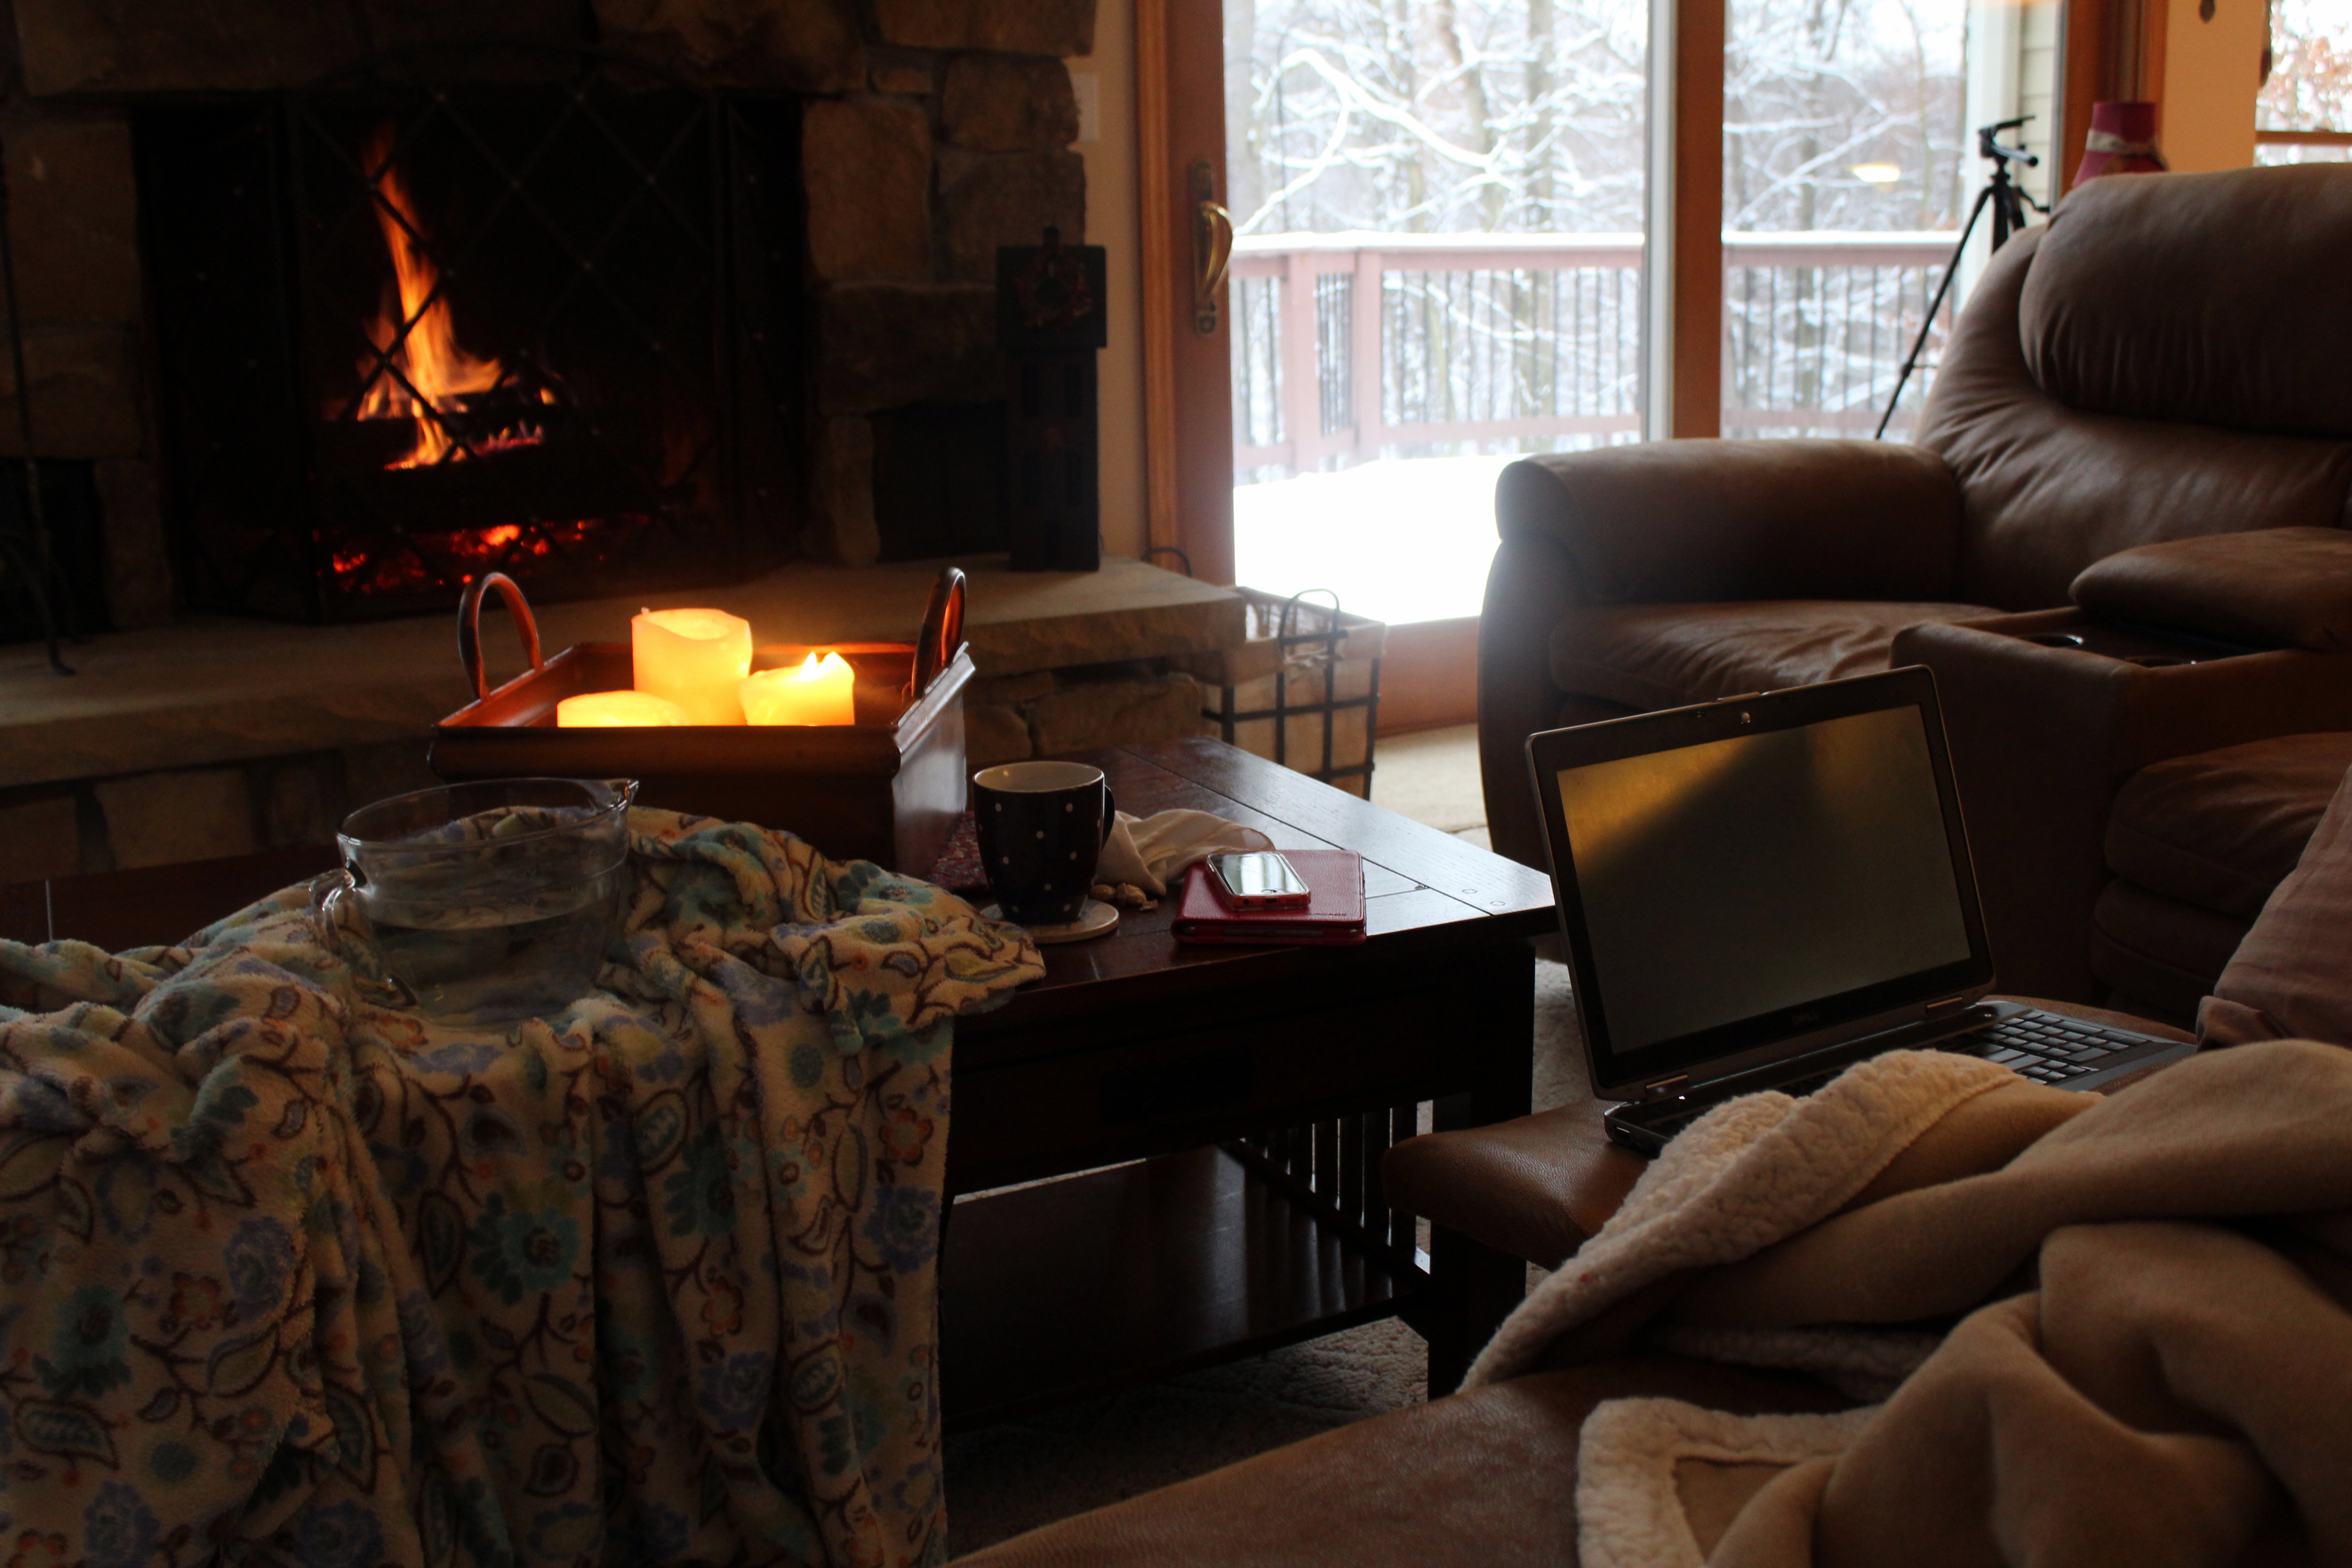
I have been hanging out night and day on the couch for the past few days. Hit hard with what I’m guessing is the “common cold.”
I don’t get this down and out very often thank goodness, but I have been so grateful for all the well wishes and suggestions and advice on how to feel better.
Since it is that time of year and many of you might be experiencing the same, I thought I’d share some of the advice I’ve received. See what you think of some of these tips, and let me know if you have others! I think there is at least one that might surprise you.
Here are my TOP TEN TIPS to Remedy the Common Cold:
BONUS TIP: Couch foot rest serves as a great computer “table” (see photo above) so you can lay on couch and read email, blogs, watch Amazon Prime (i.e. “Transparent”) and snooze in between. 🙂
Hot Toddy Cheers & Virtual Hugs Only,
Jodi

Make a card!
Hi Friends – Yesterday was a “sick day” for me.
It doesn’t happen often, but this head cold has got the best of me right now. I have a whisper of a voice (and for those that know me well know what a challenge this is for me – you know – my quiet, reserved nature… NOT!). My throat just aches, and I am so sick of honey lemon cough drops I could throw up, but they help soothe and quiet the hacking cough. My stuffed up ears are cracking and popping, and I would like to poke holes in them to release the pressure. What a whiner – eh?! Good thing I don’t get sick very often!!
I spent most of the day snuggled with Mikey on the couch watching the snow fall and binge watching crazy stuff on television between cat naps.
I was glad I had this card made and photographed and ready to go for the Friday Mashup Challenge (#193) for today’s post.
The challenge is to:

I decided not to add a sentiment to the front of the card since it already has a lot going on, and this is the simple inside:
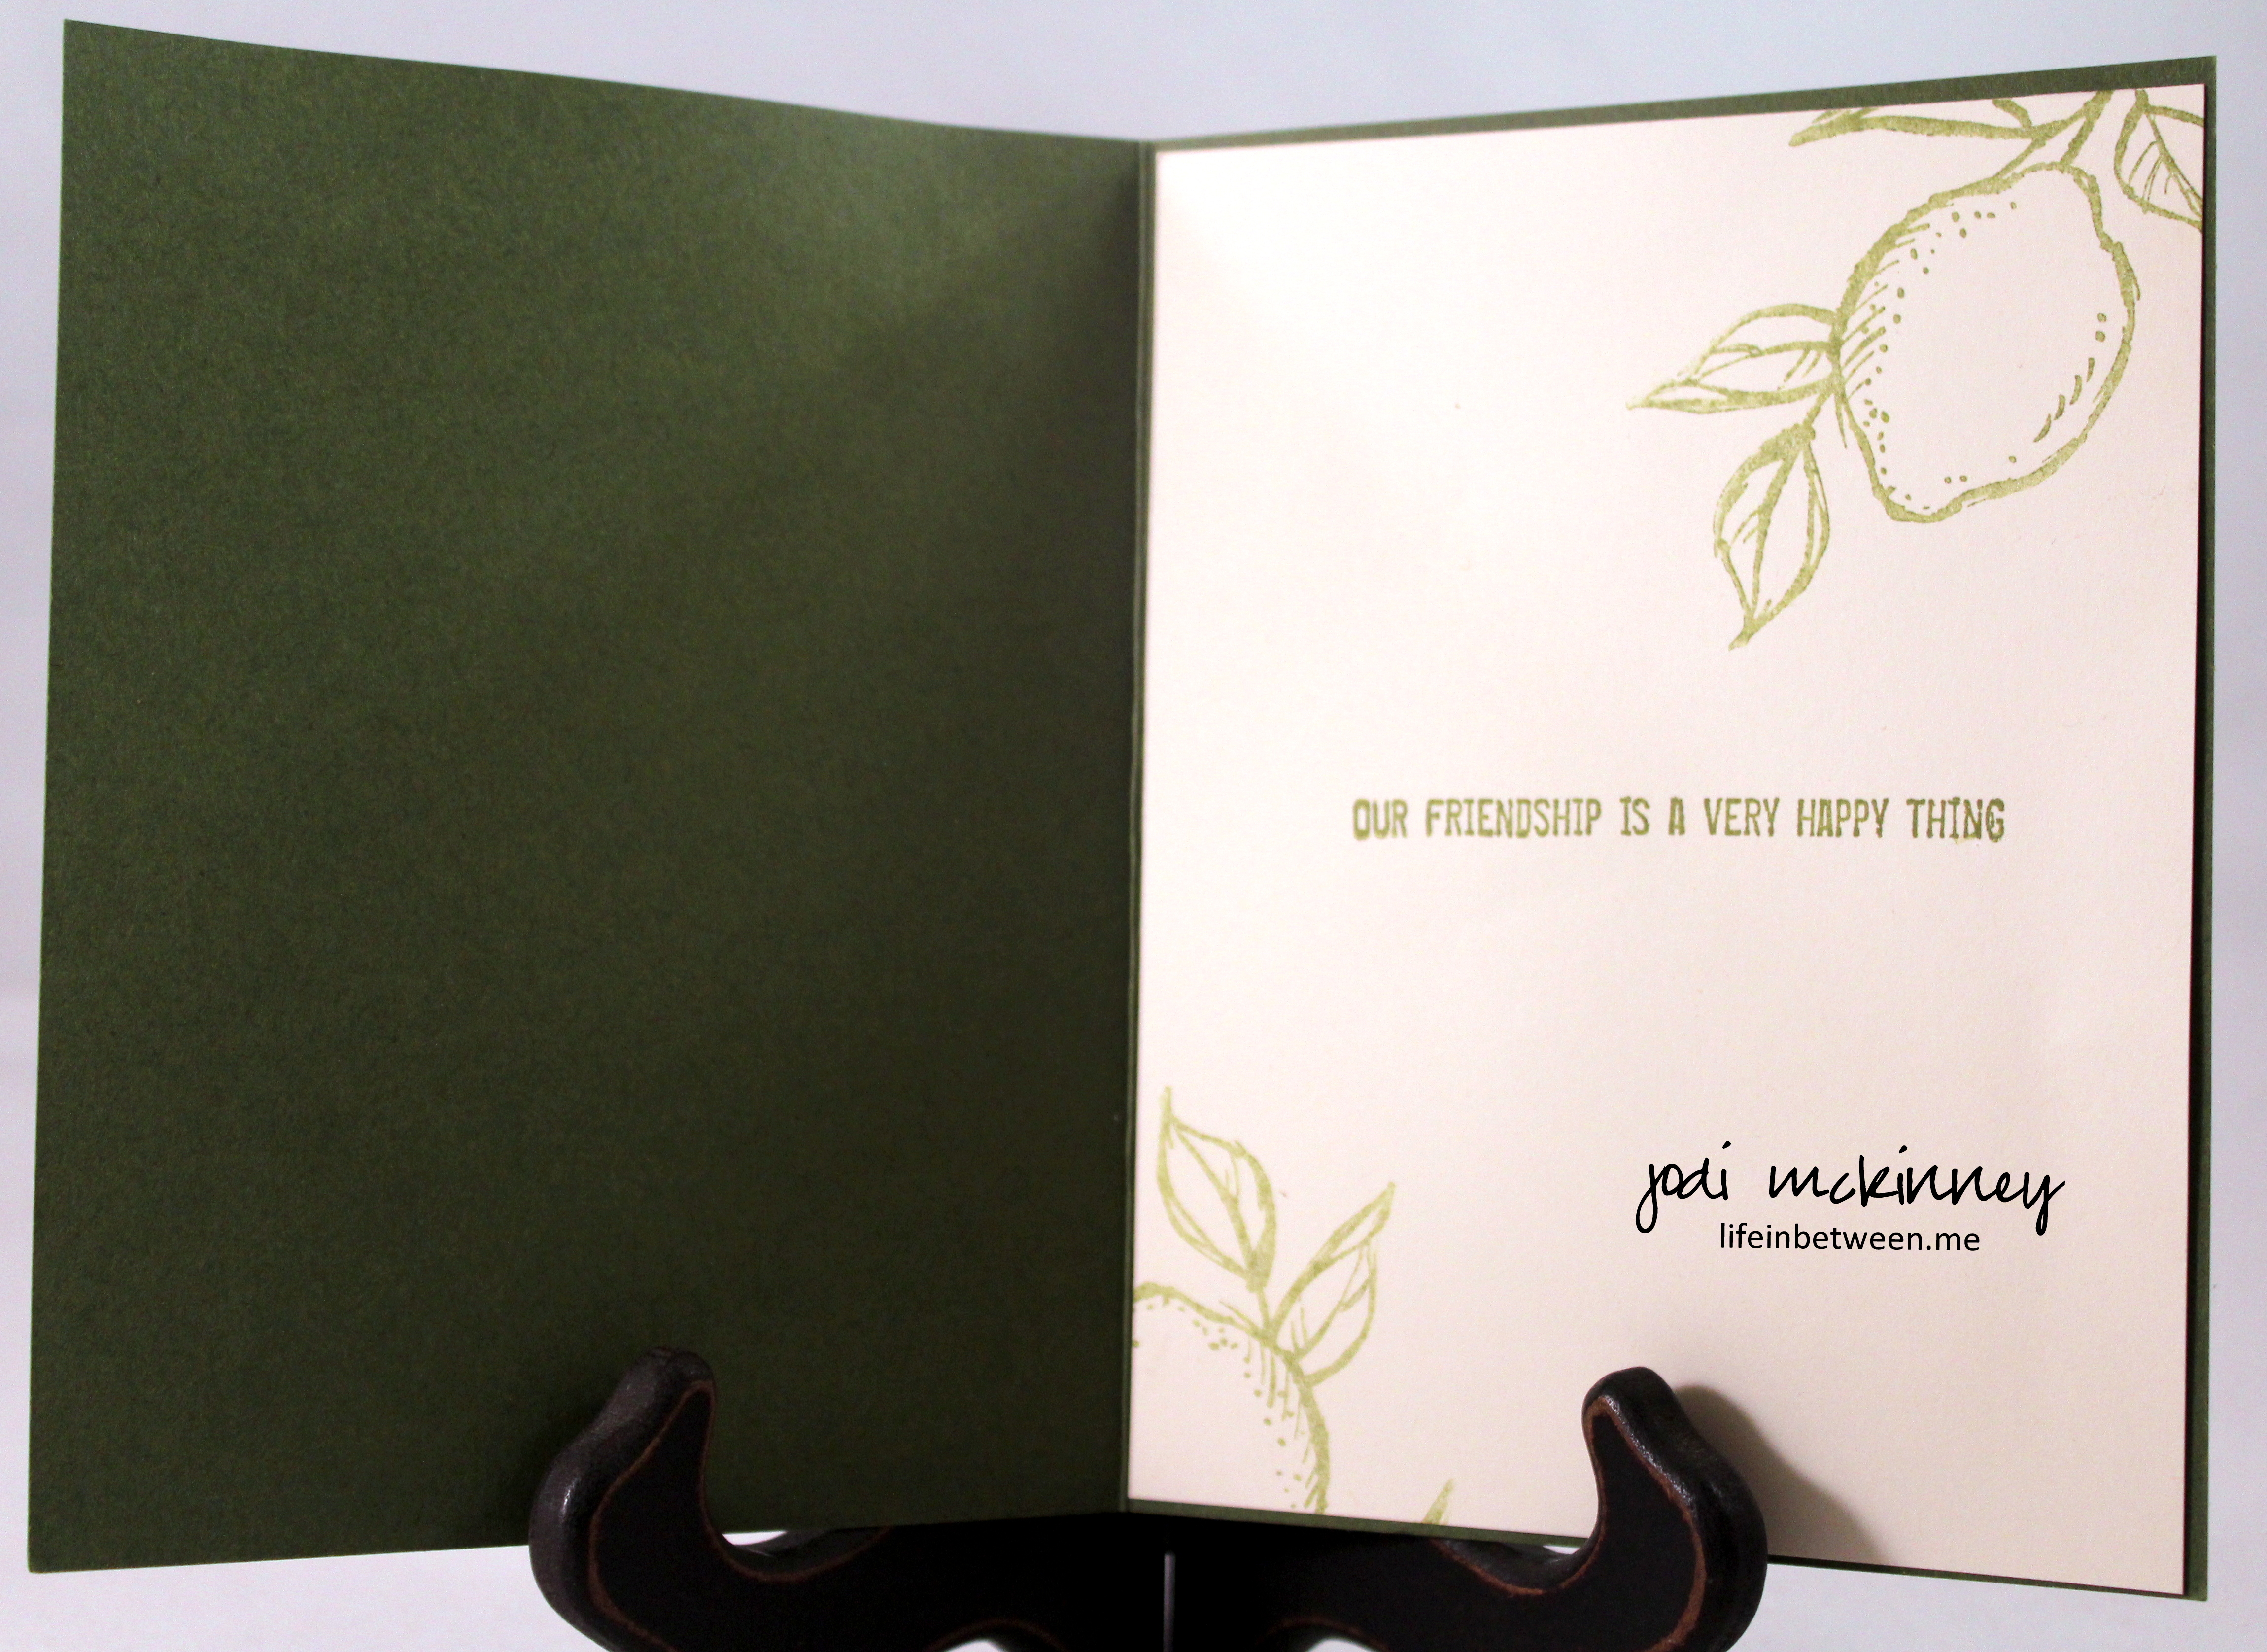
For my card, I used Stampin Up Old Olive and Very Vanilla Card Stock, the SU Love Life Stamp Set (same one that had the cute little bird I featured here), the SU En Francais Background Stamp, and had fun with the technique and challenge. I colored the lemons in with a Crushed Curry Marker and the leaves with Old Olive, and some thin black lines and some accents with a white gel marker. I finished it off with a button and some twine.
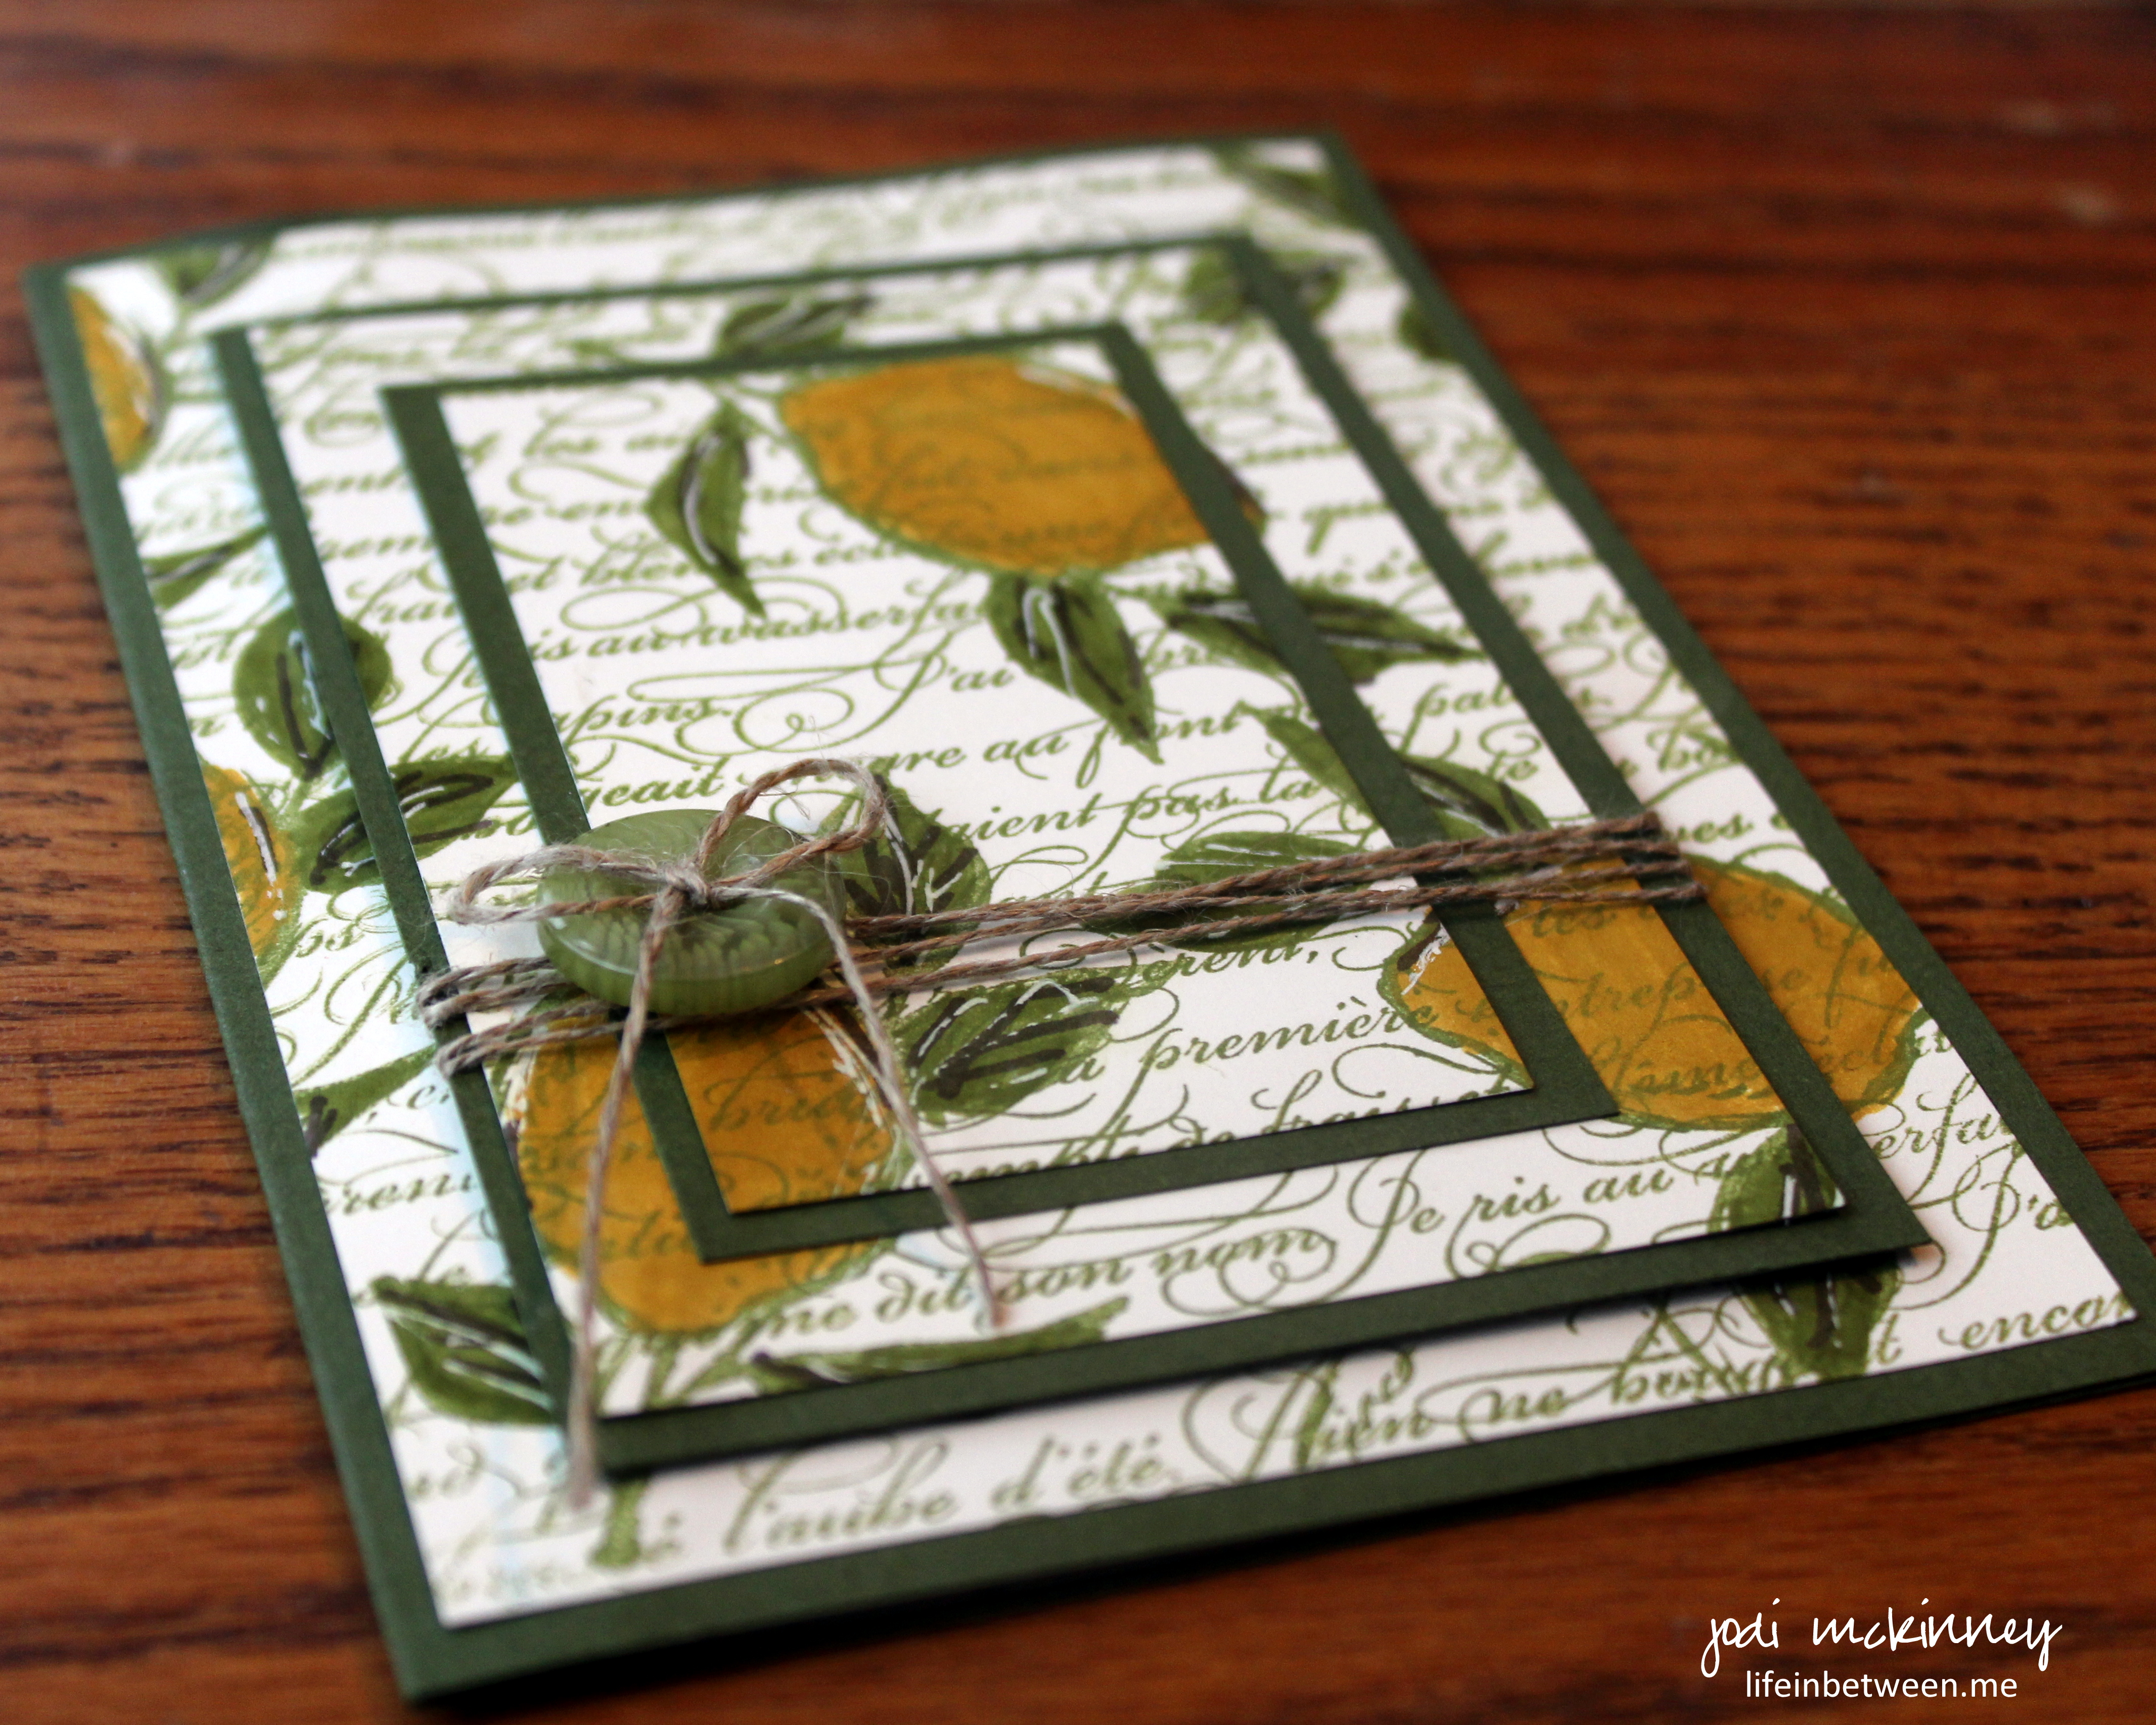
I really enjoyed the technique of triple layering, and besides being much easier than it looks, there are so many possibilities and variations you can do with this.
…. like life…. right?…
Cheers & Hugs,
Jodi
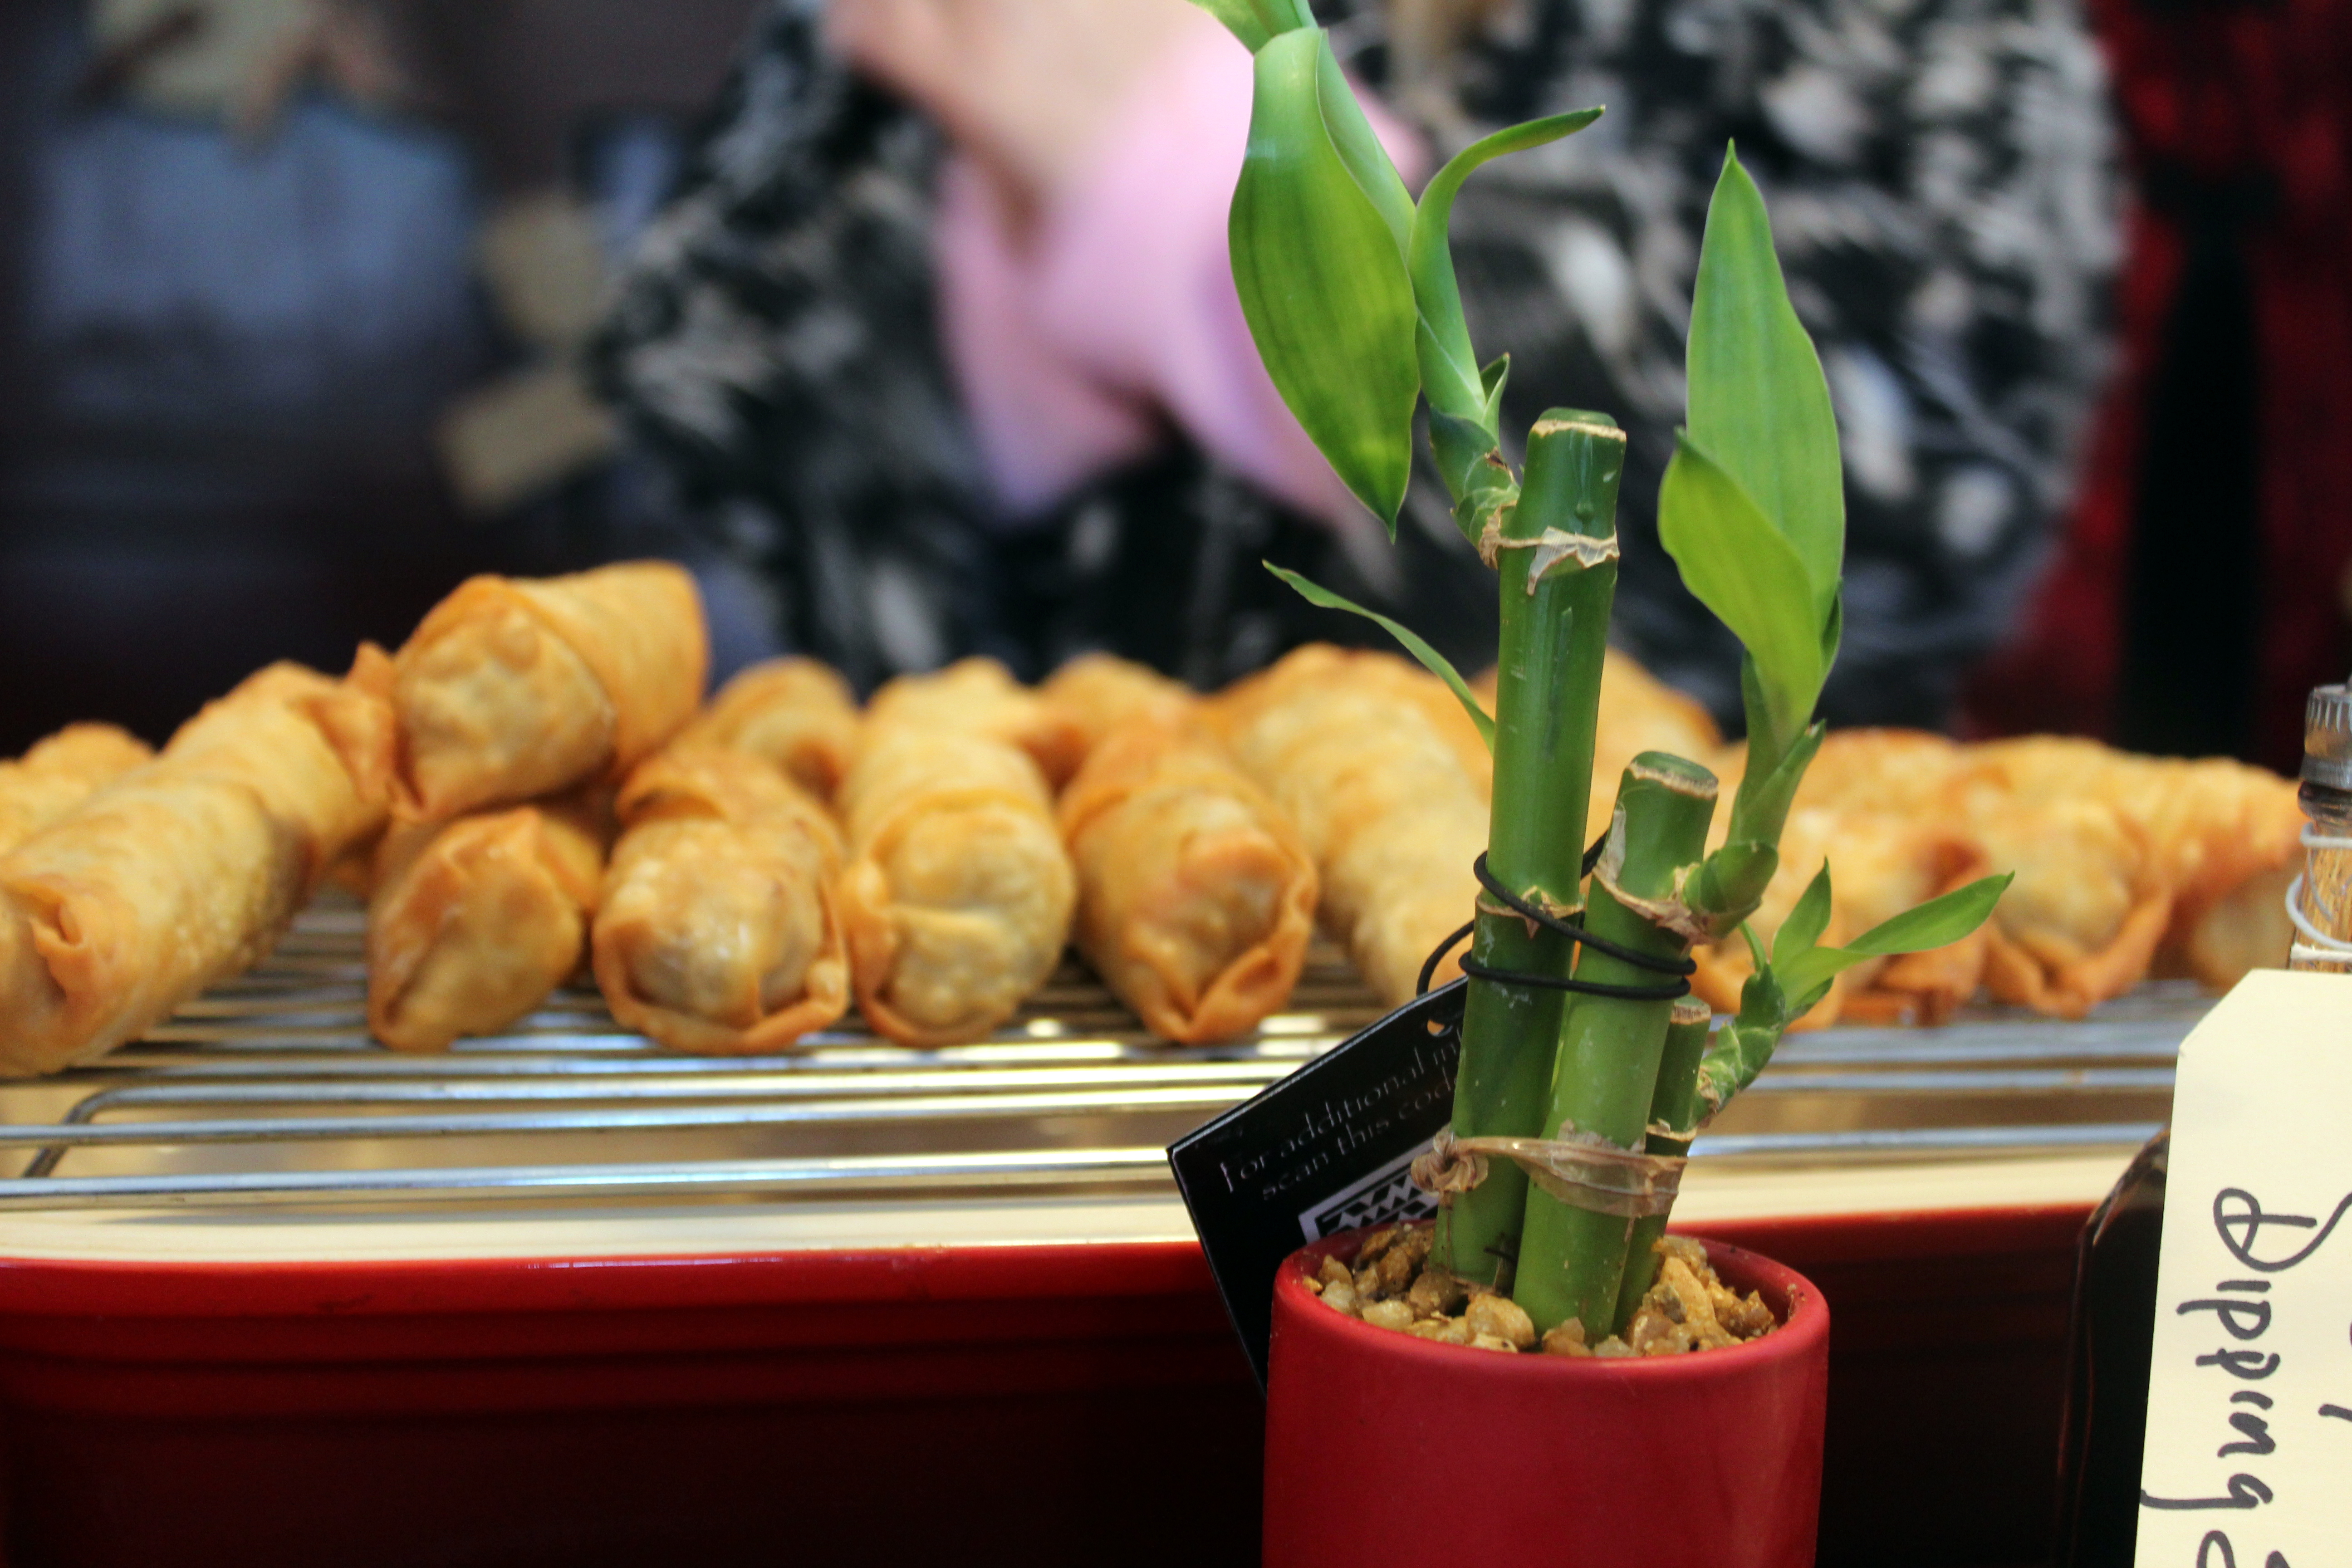
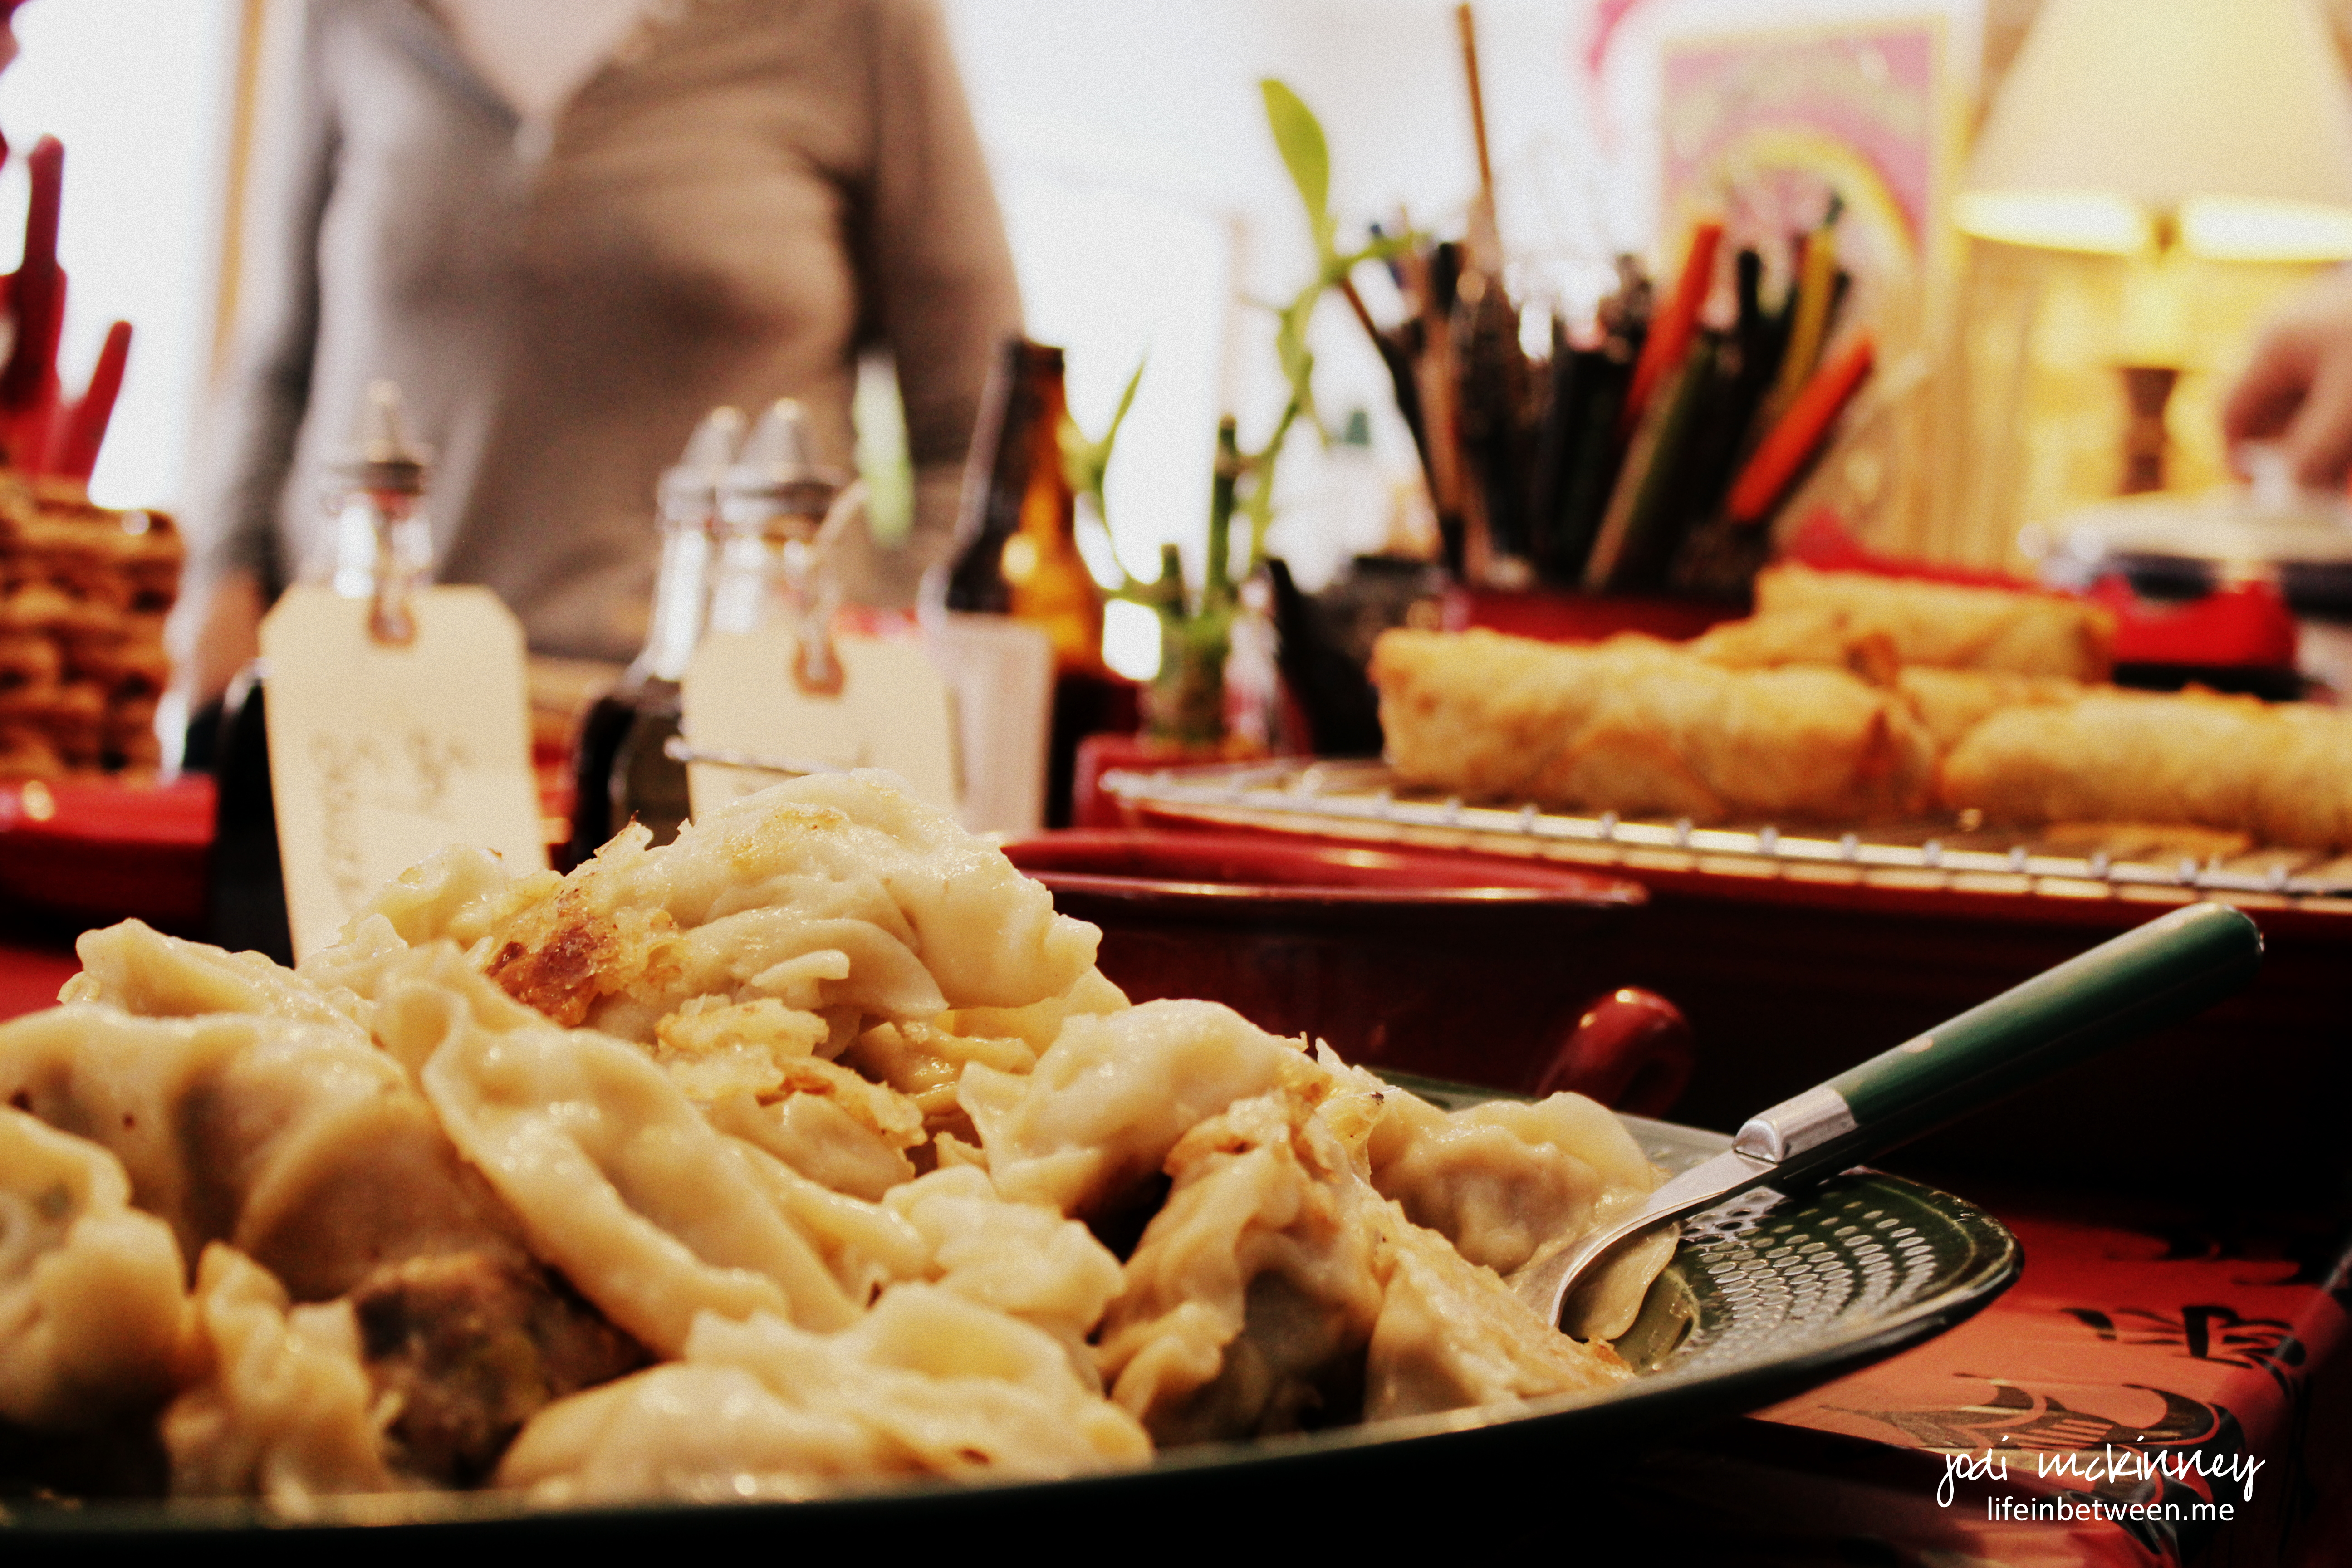
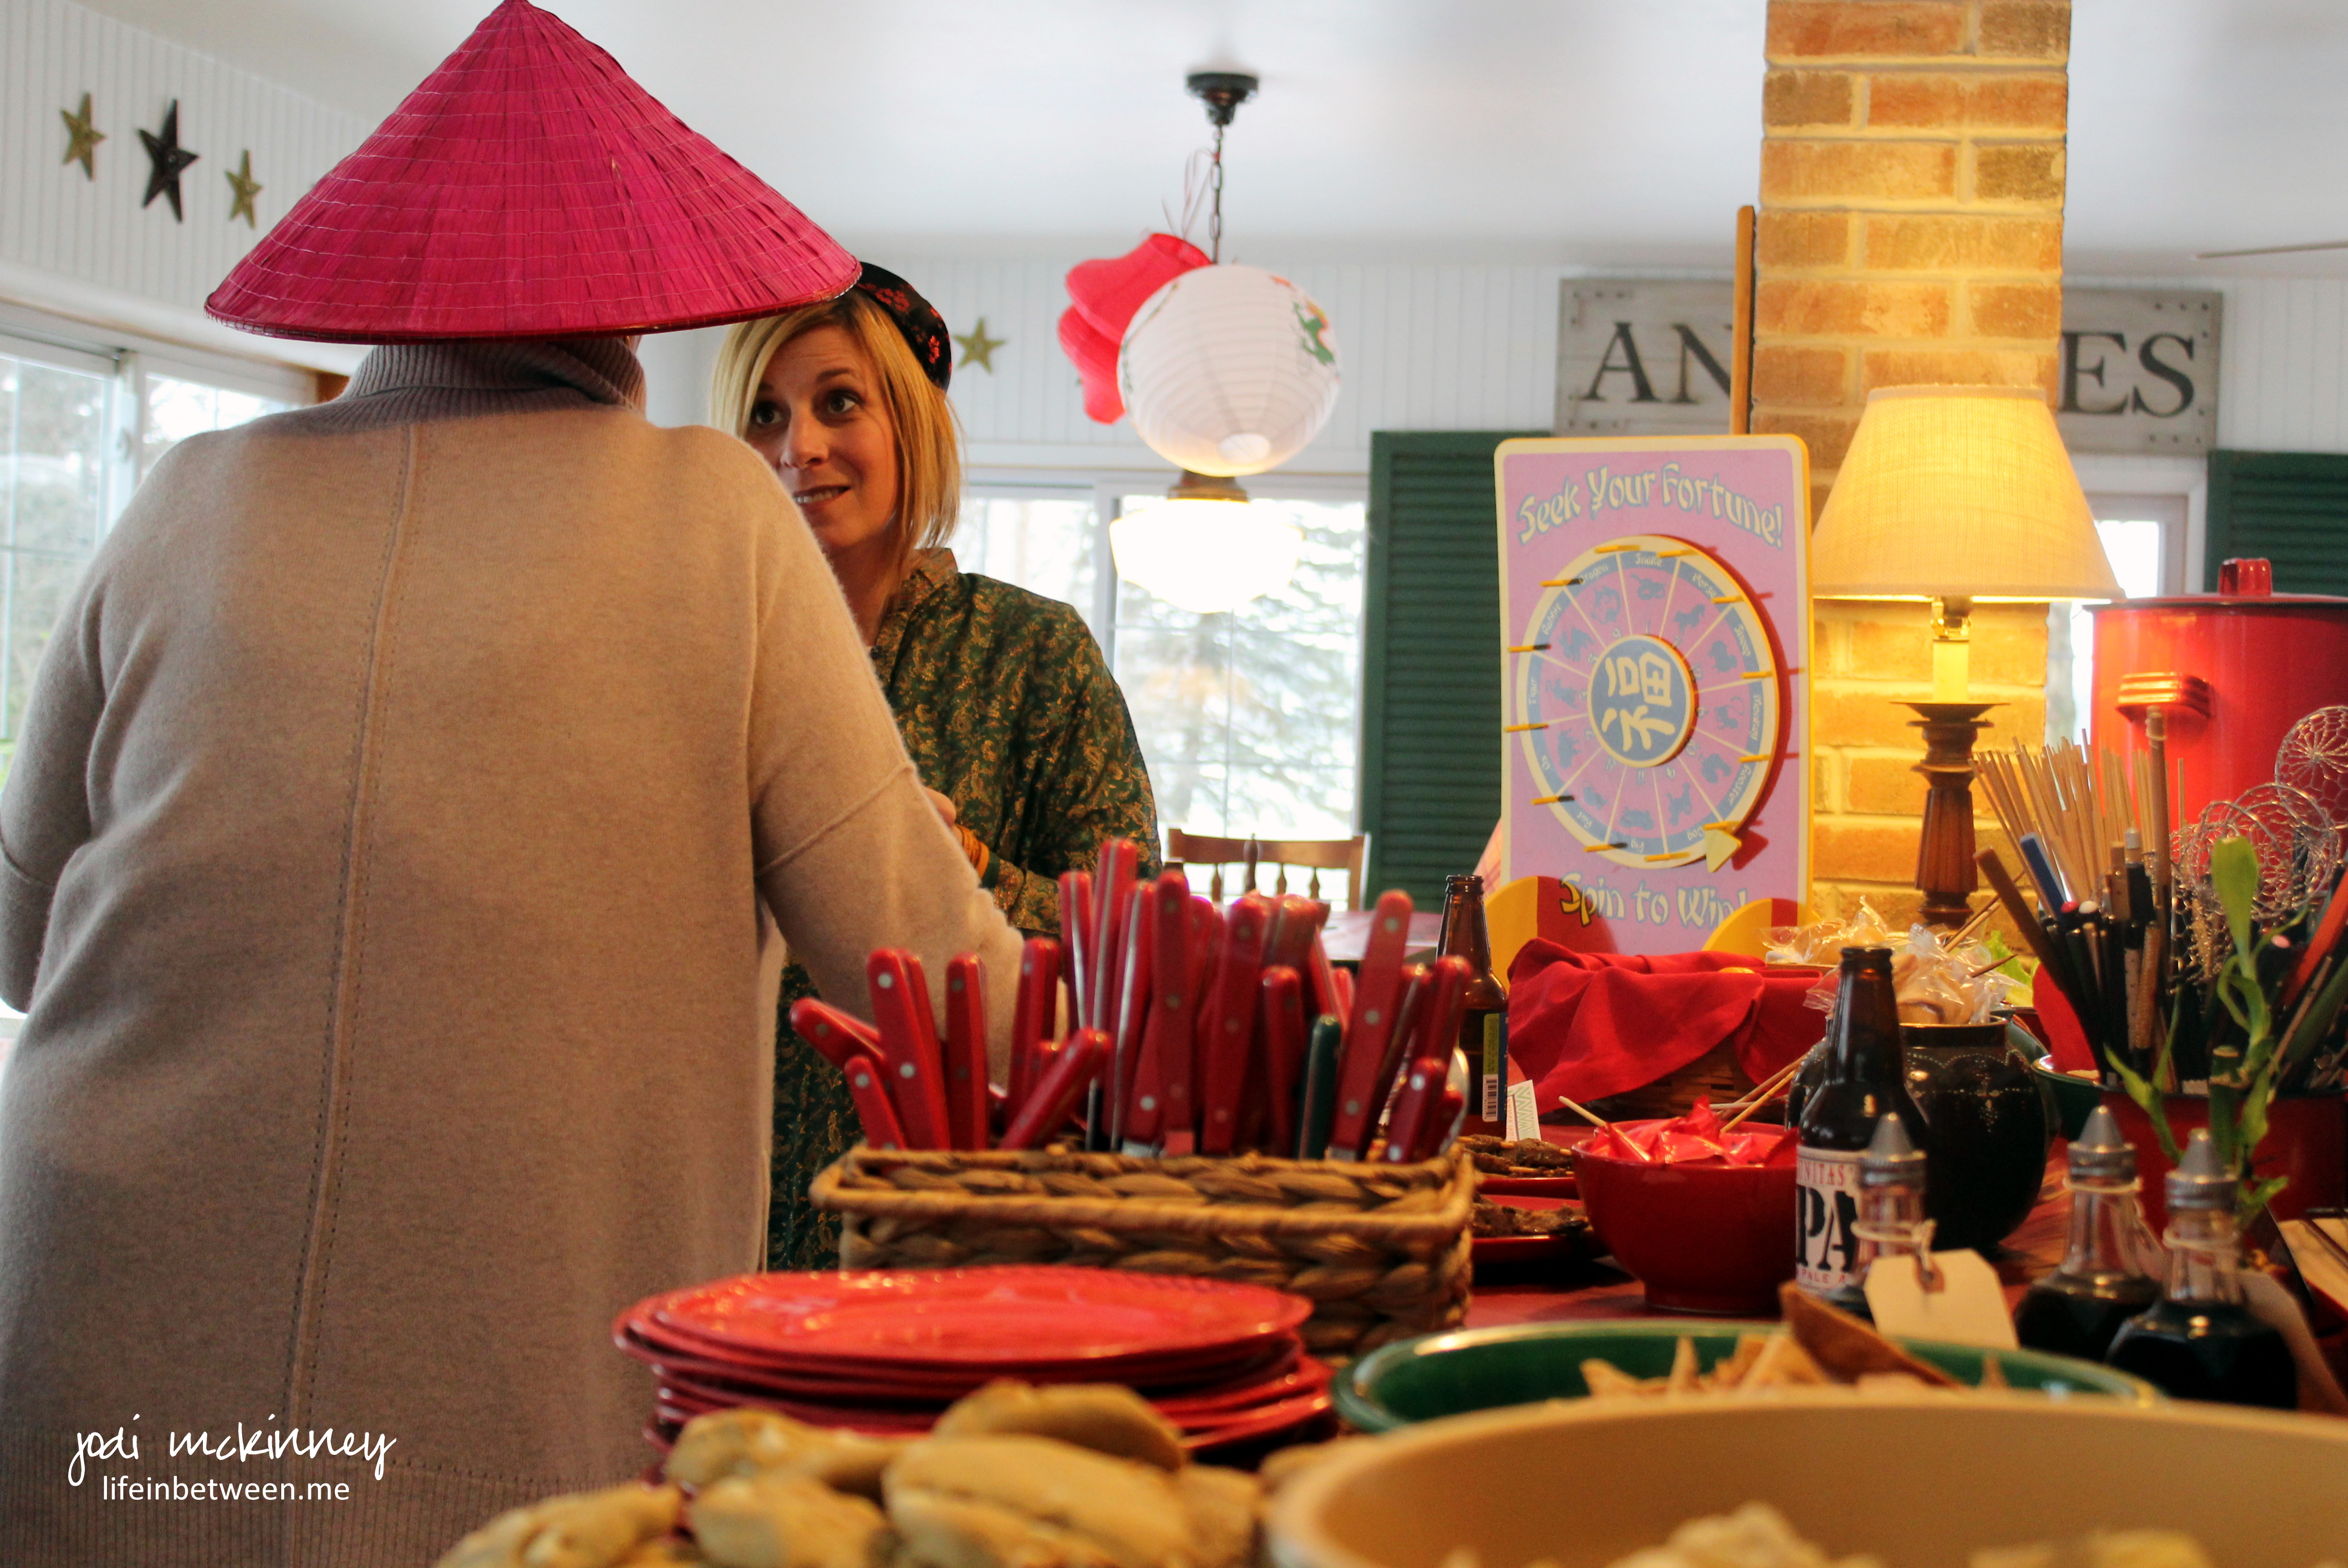
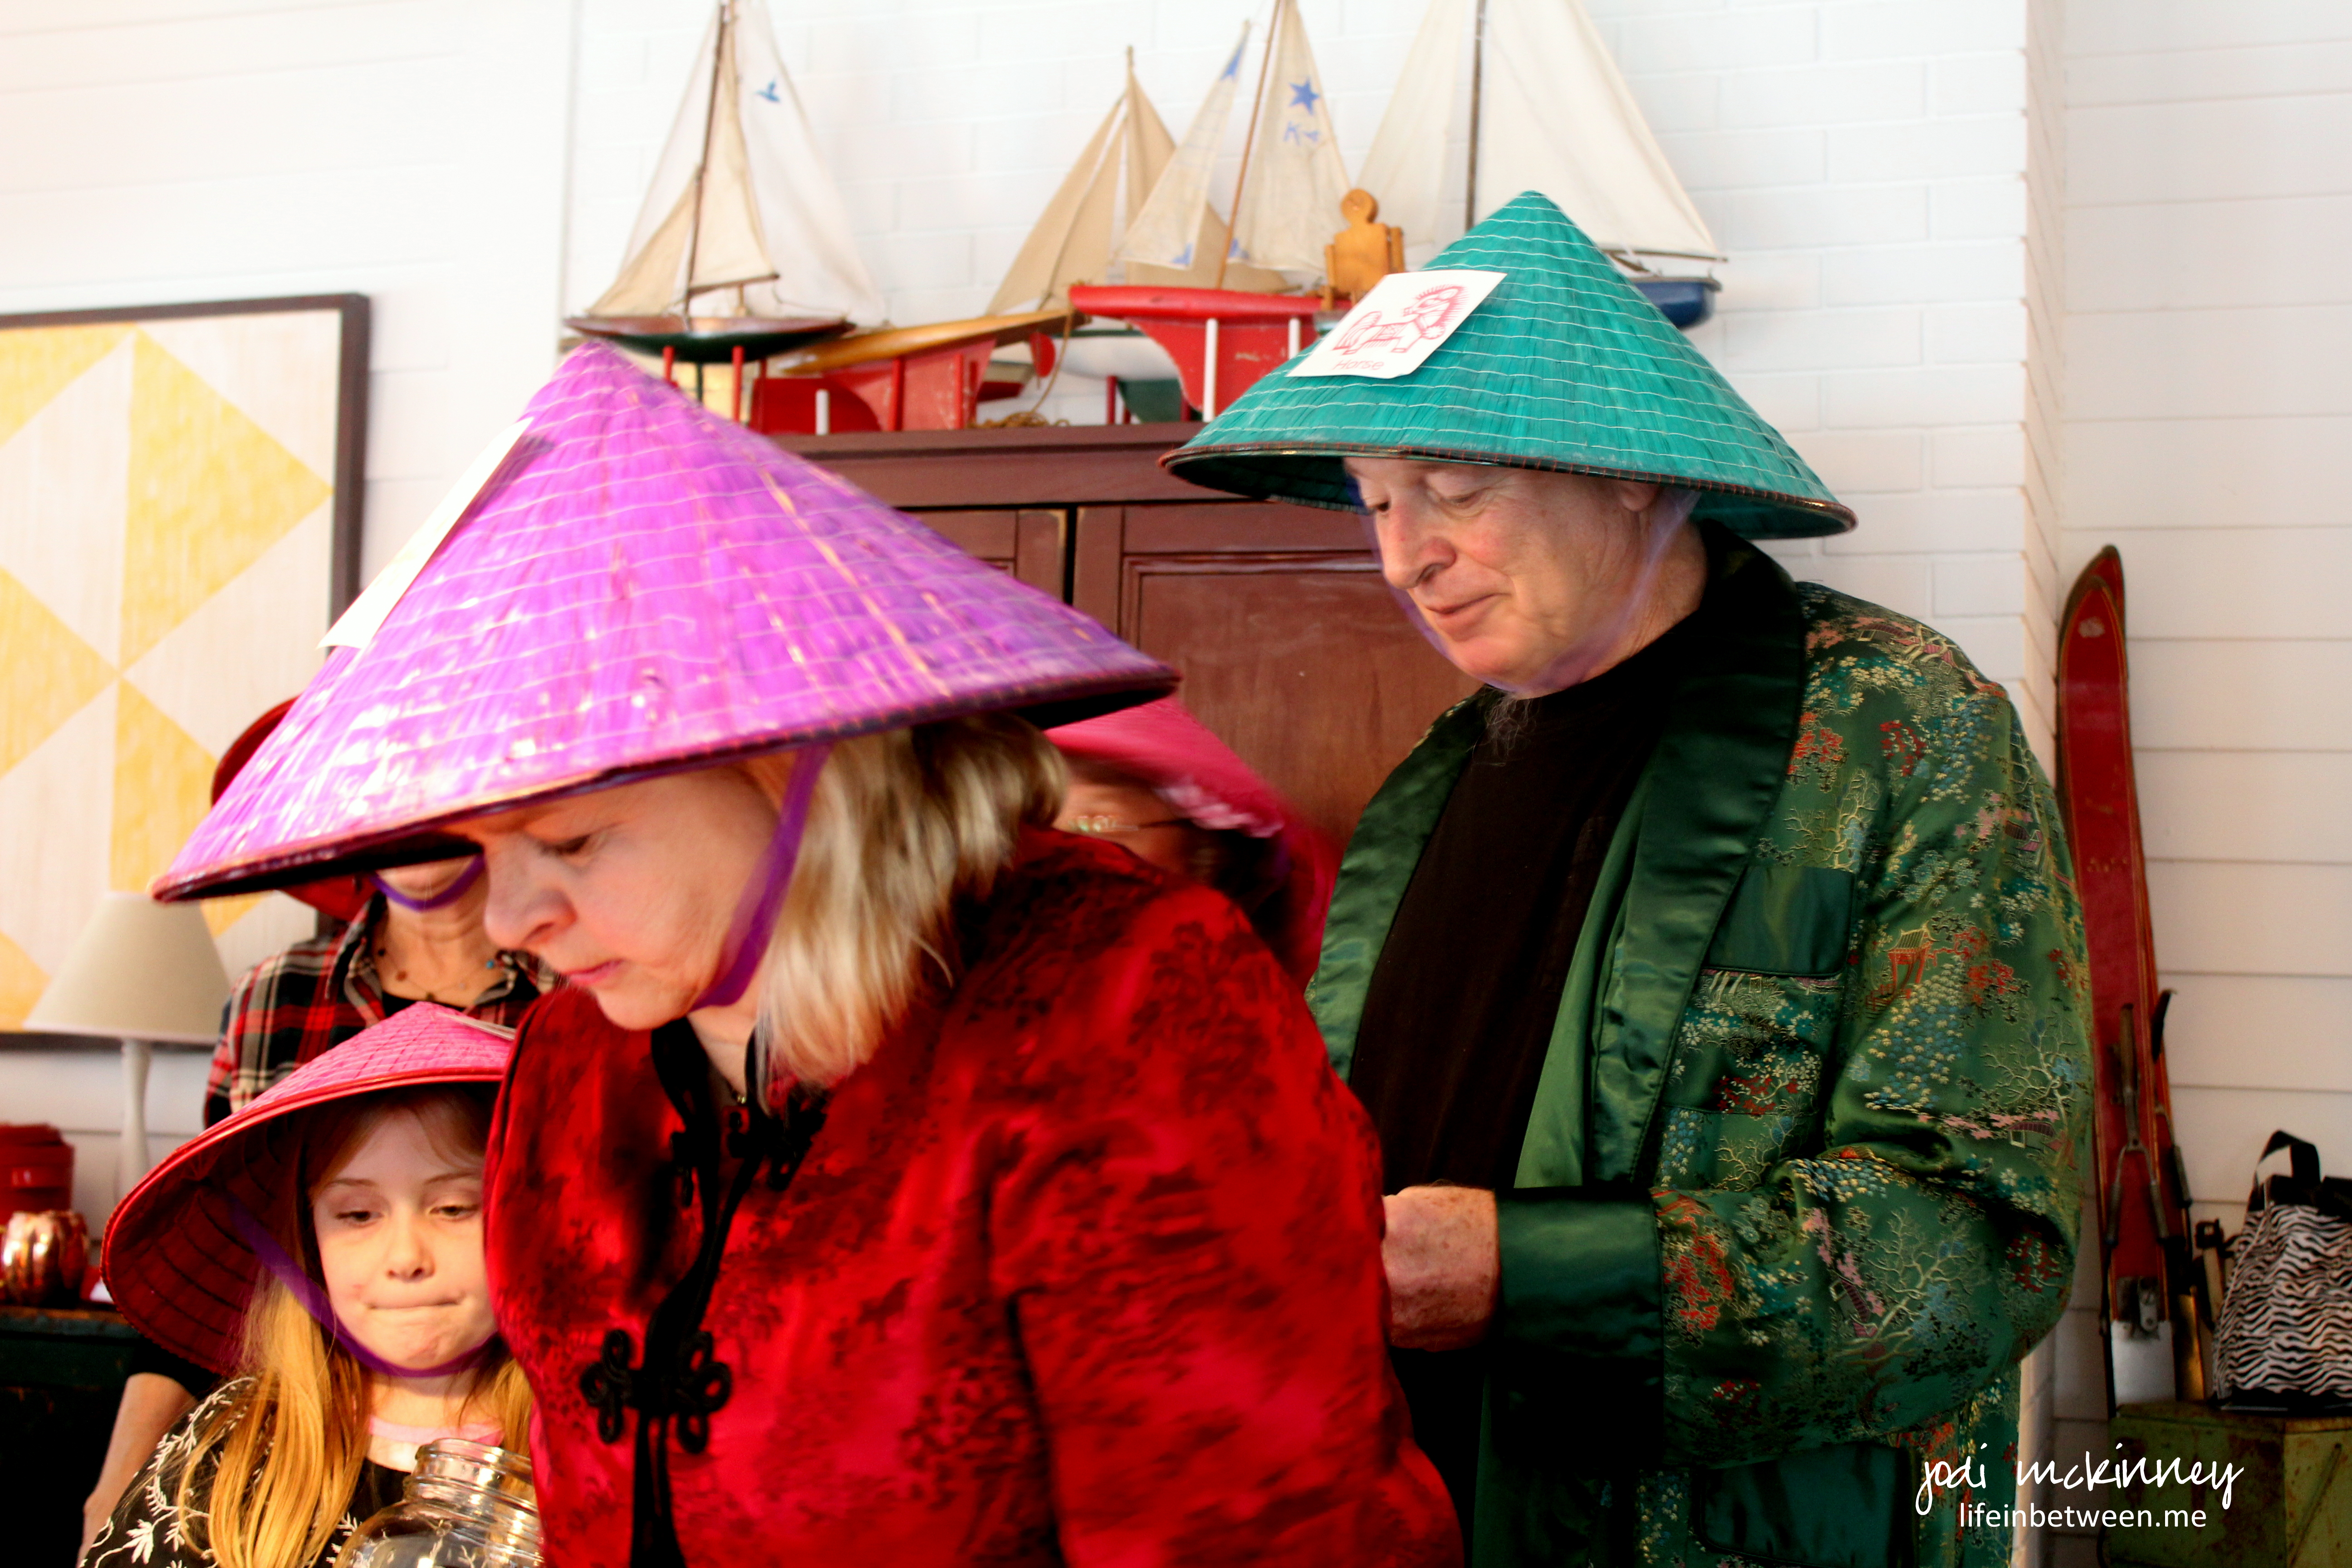
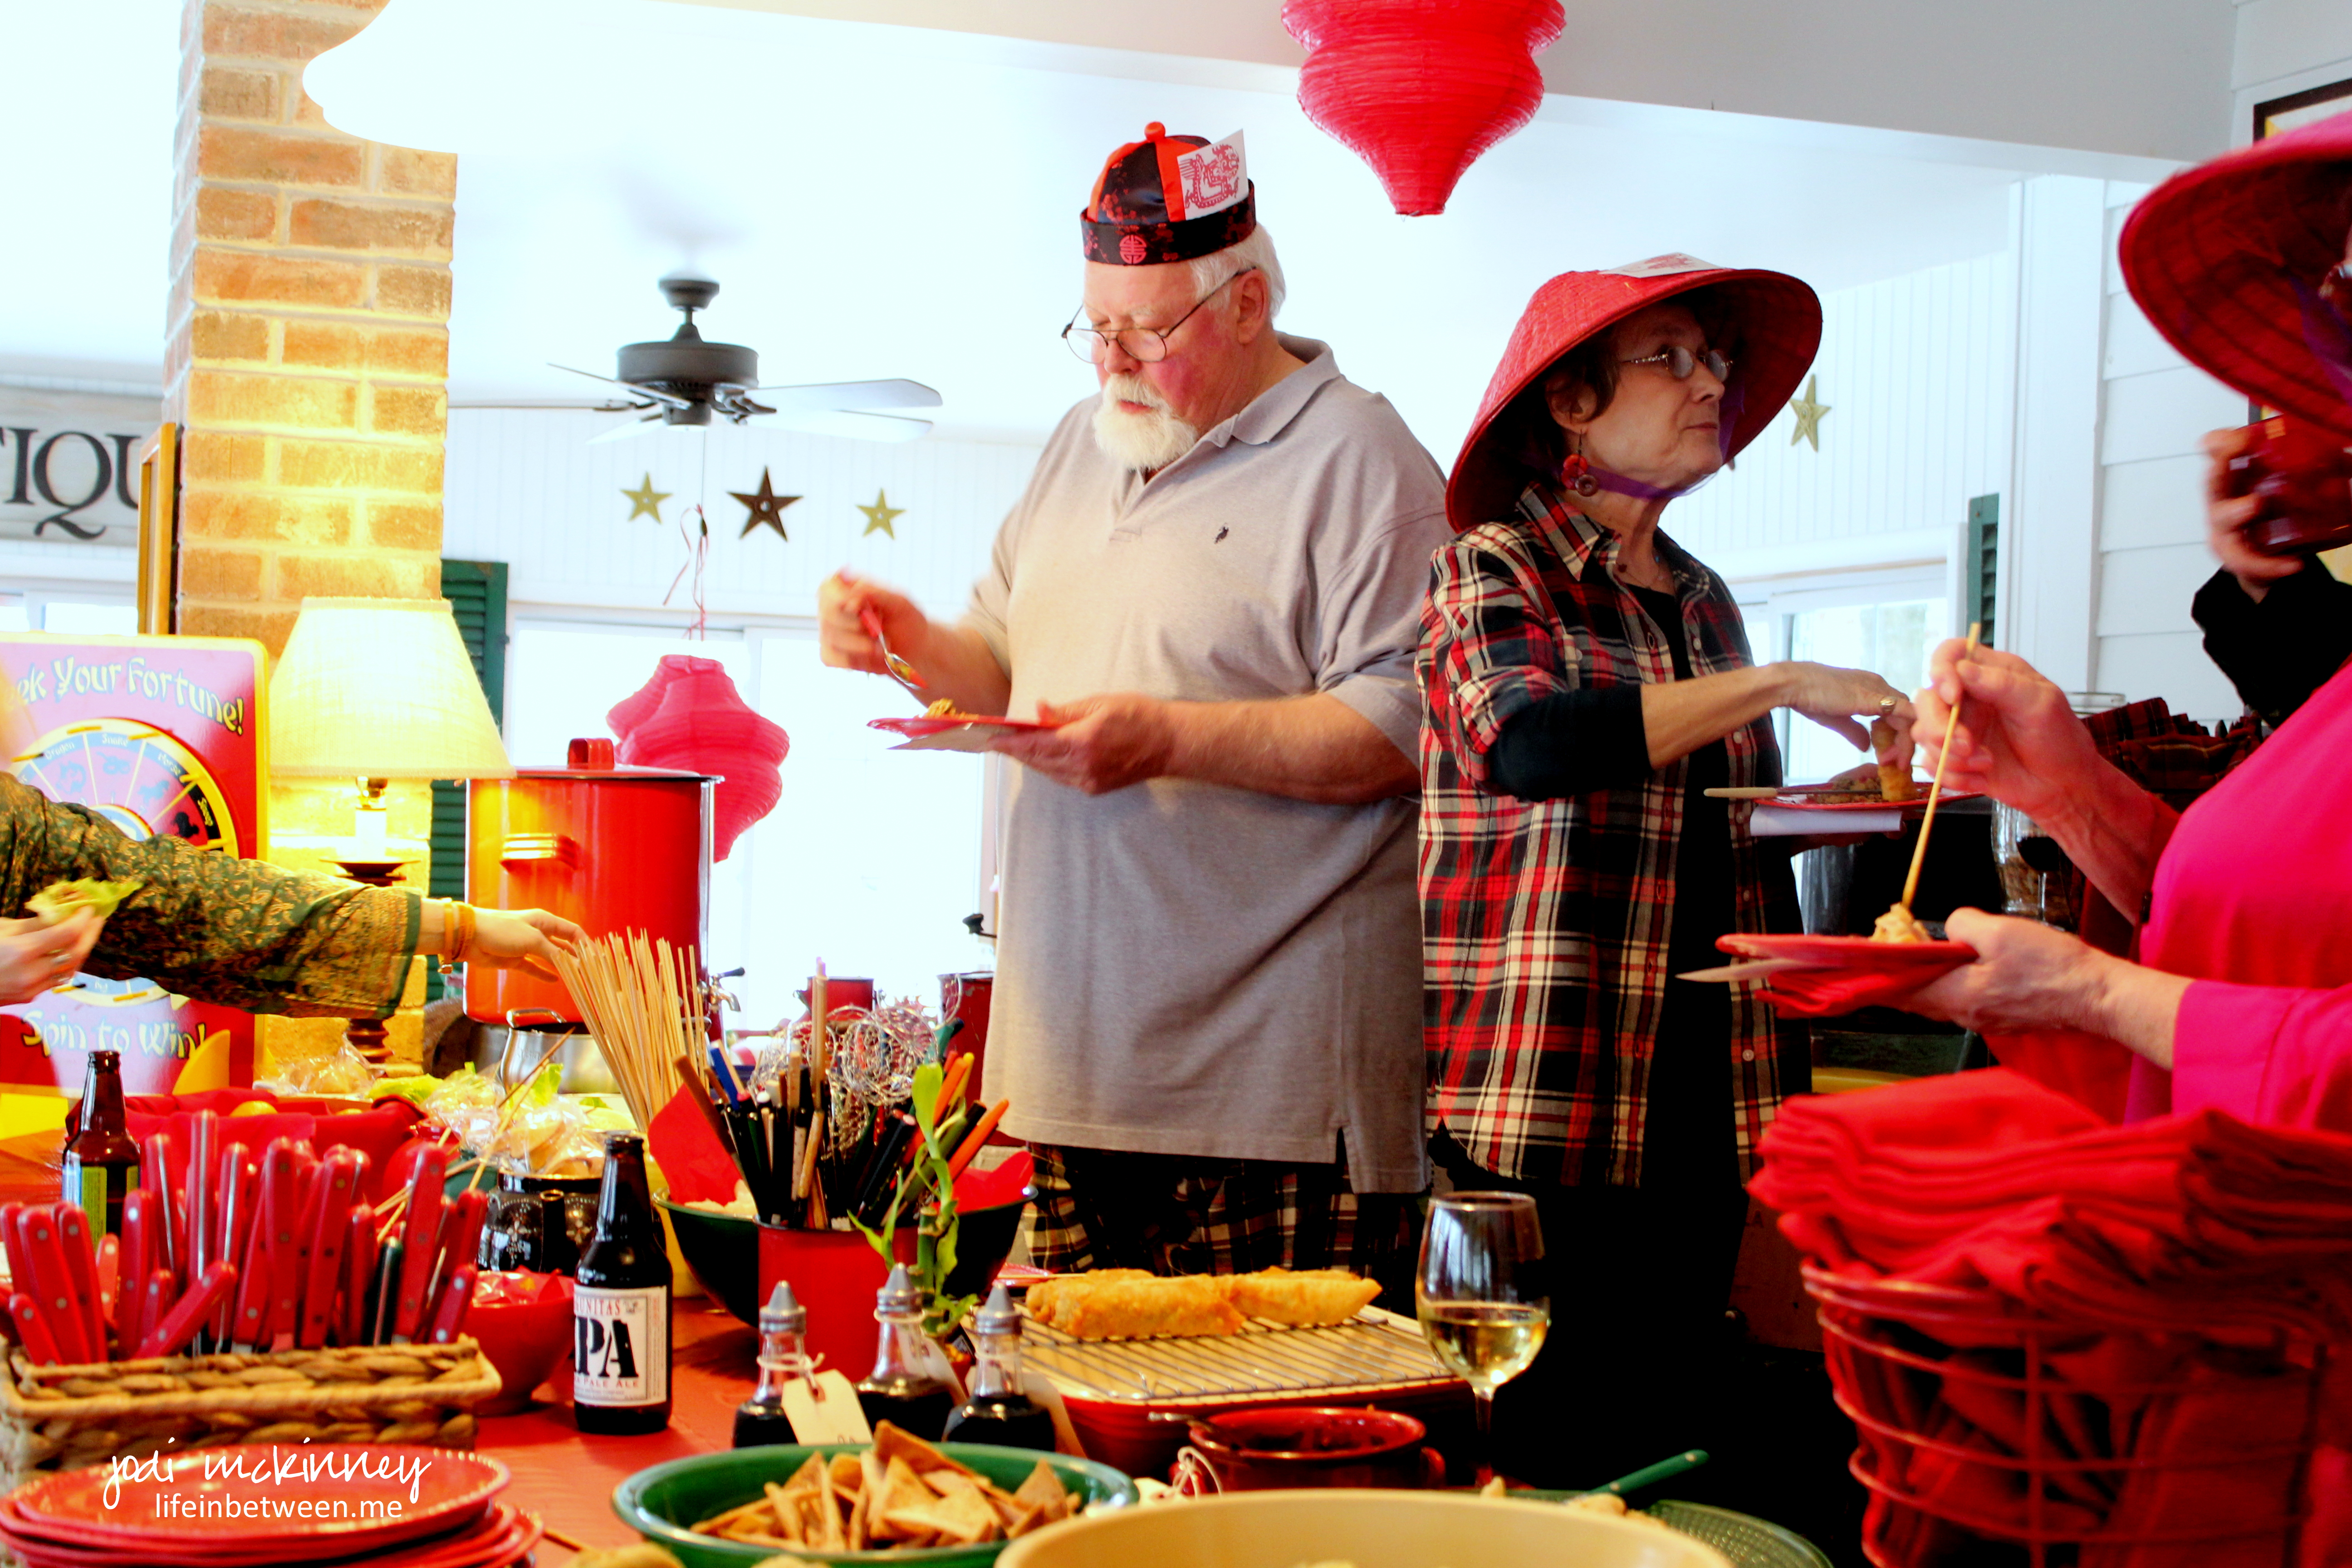
We had a great time this weekend celebrating Chinese New Year! (a couple weeks early – but as our Host “Oh Rob” would say, “Who has more fun than us??!!)
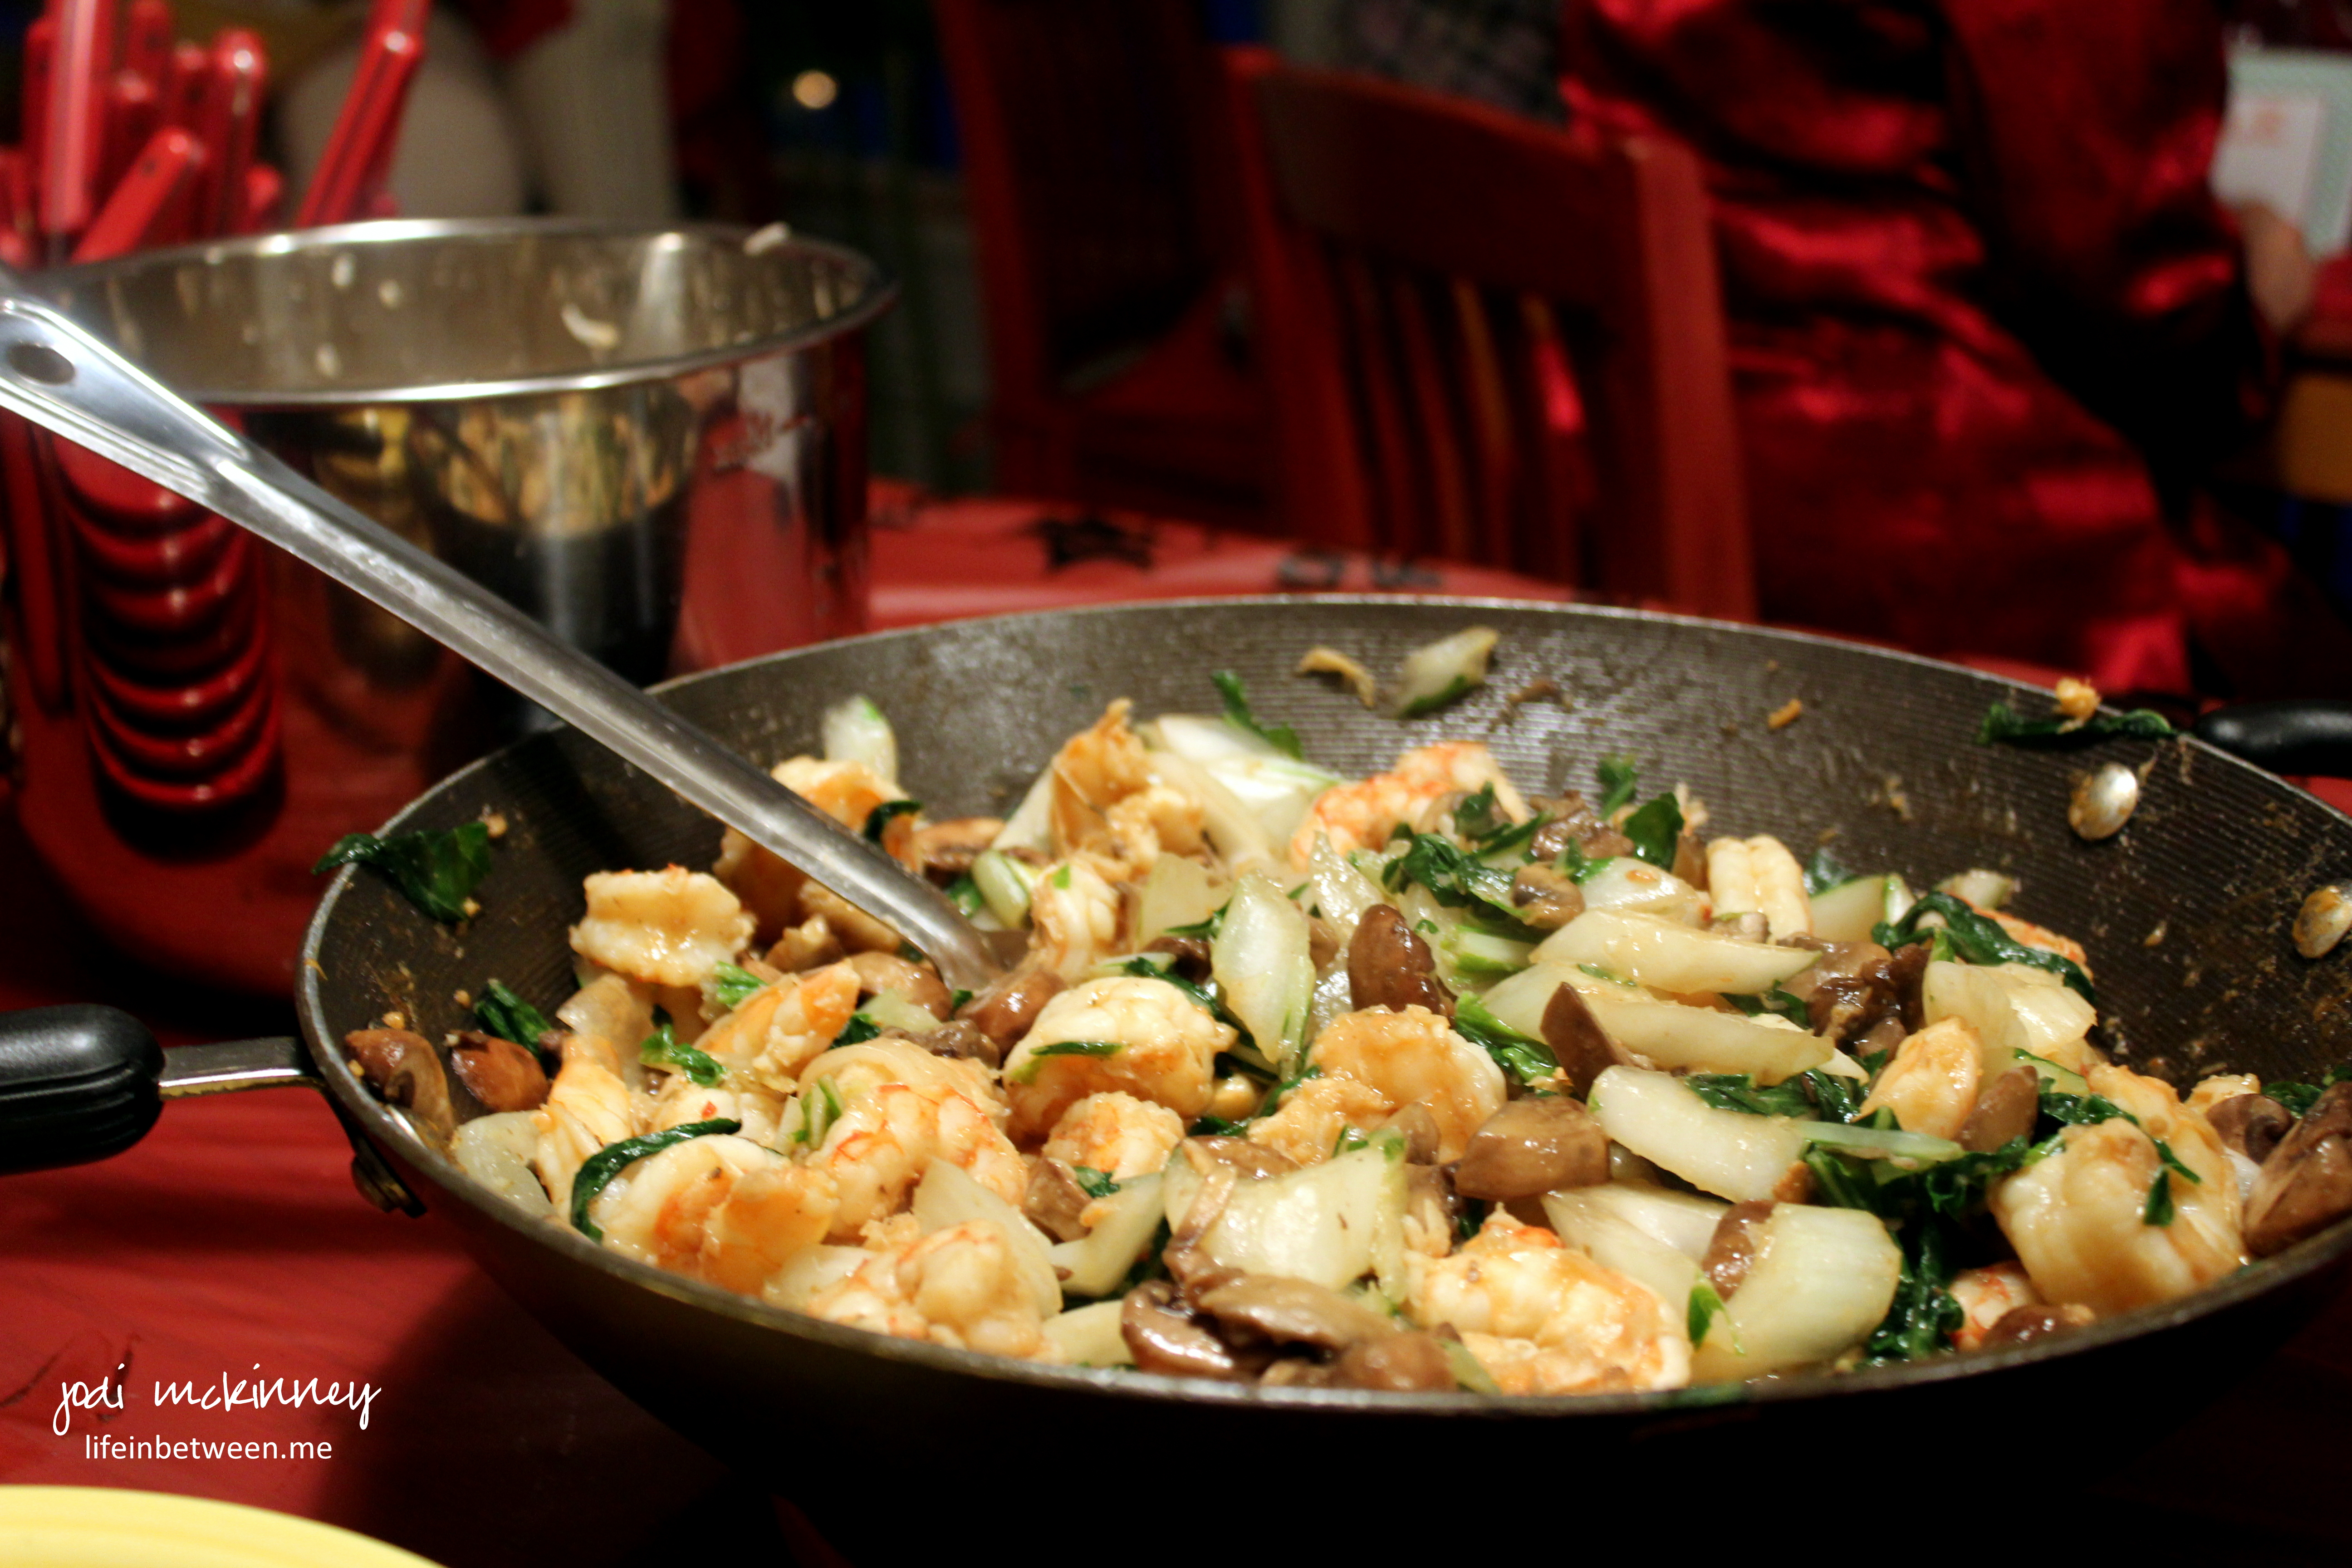
Such yummy food… like these crunchy egg rolls,
the MOST AMAZING homemade dumplings and dipping sauces,
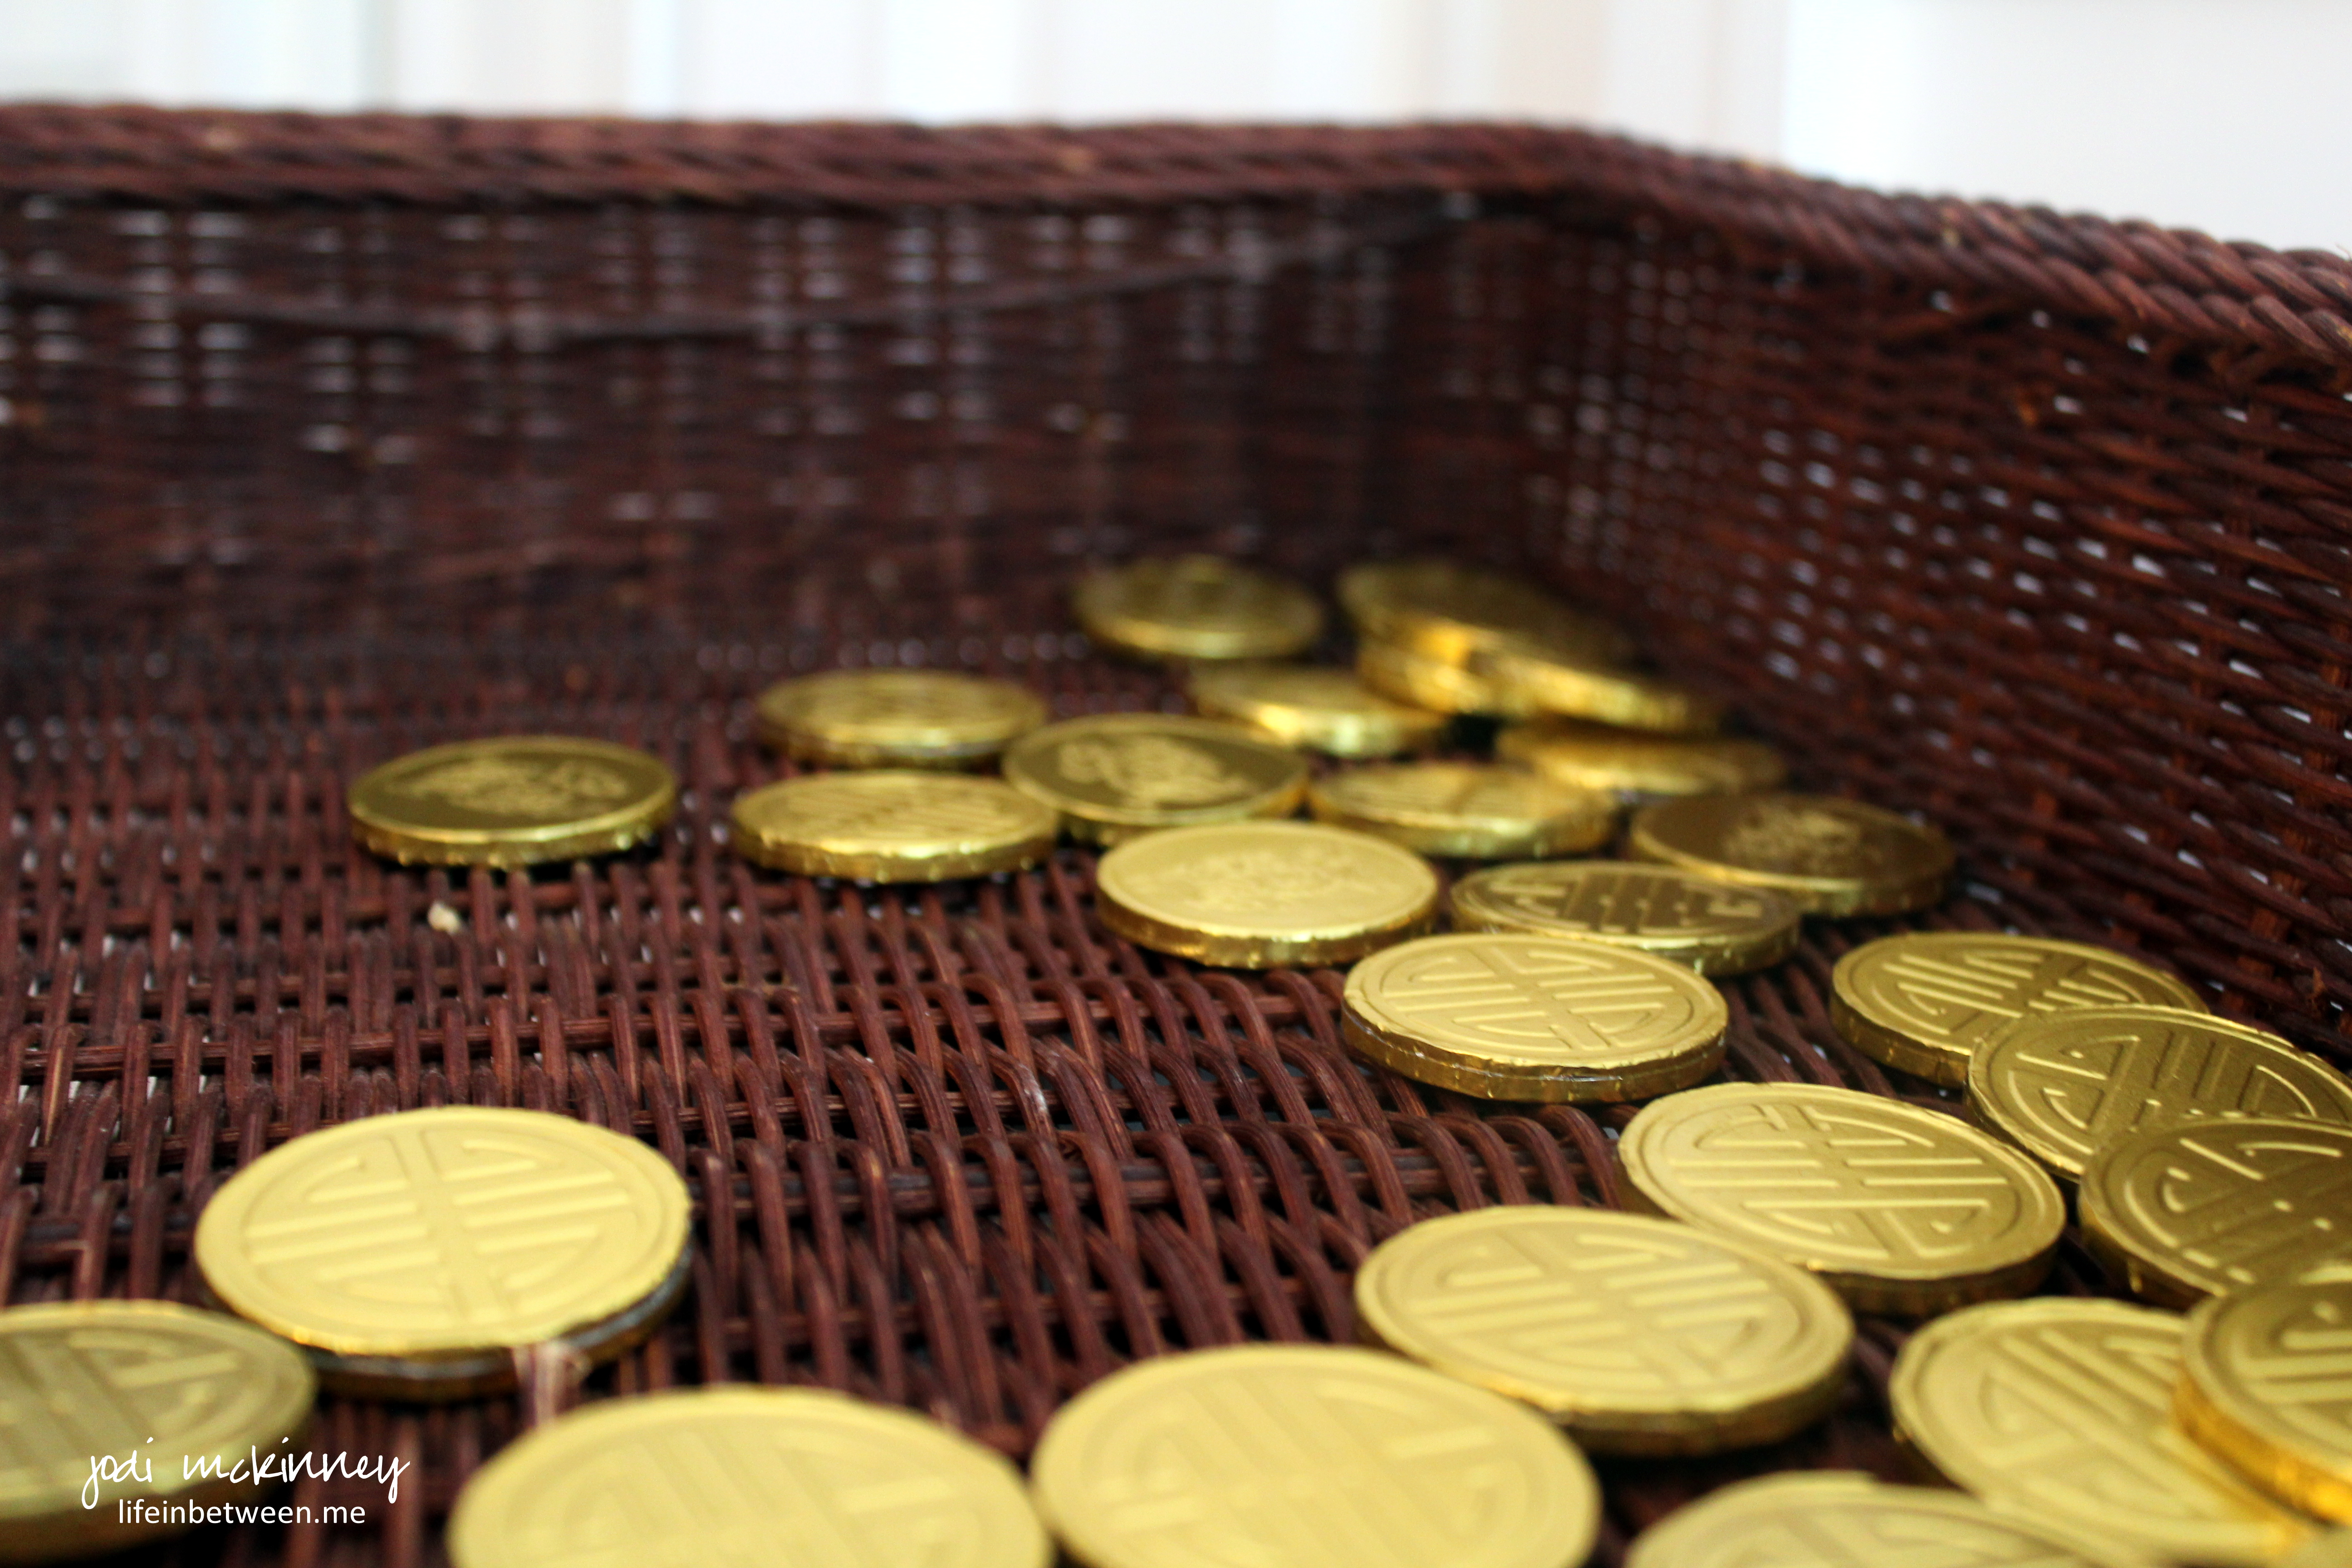
fresh crisp lettuce wraps, oranges (for good luck), and of course fortune cookies,
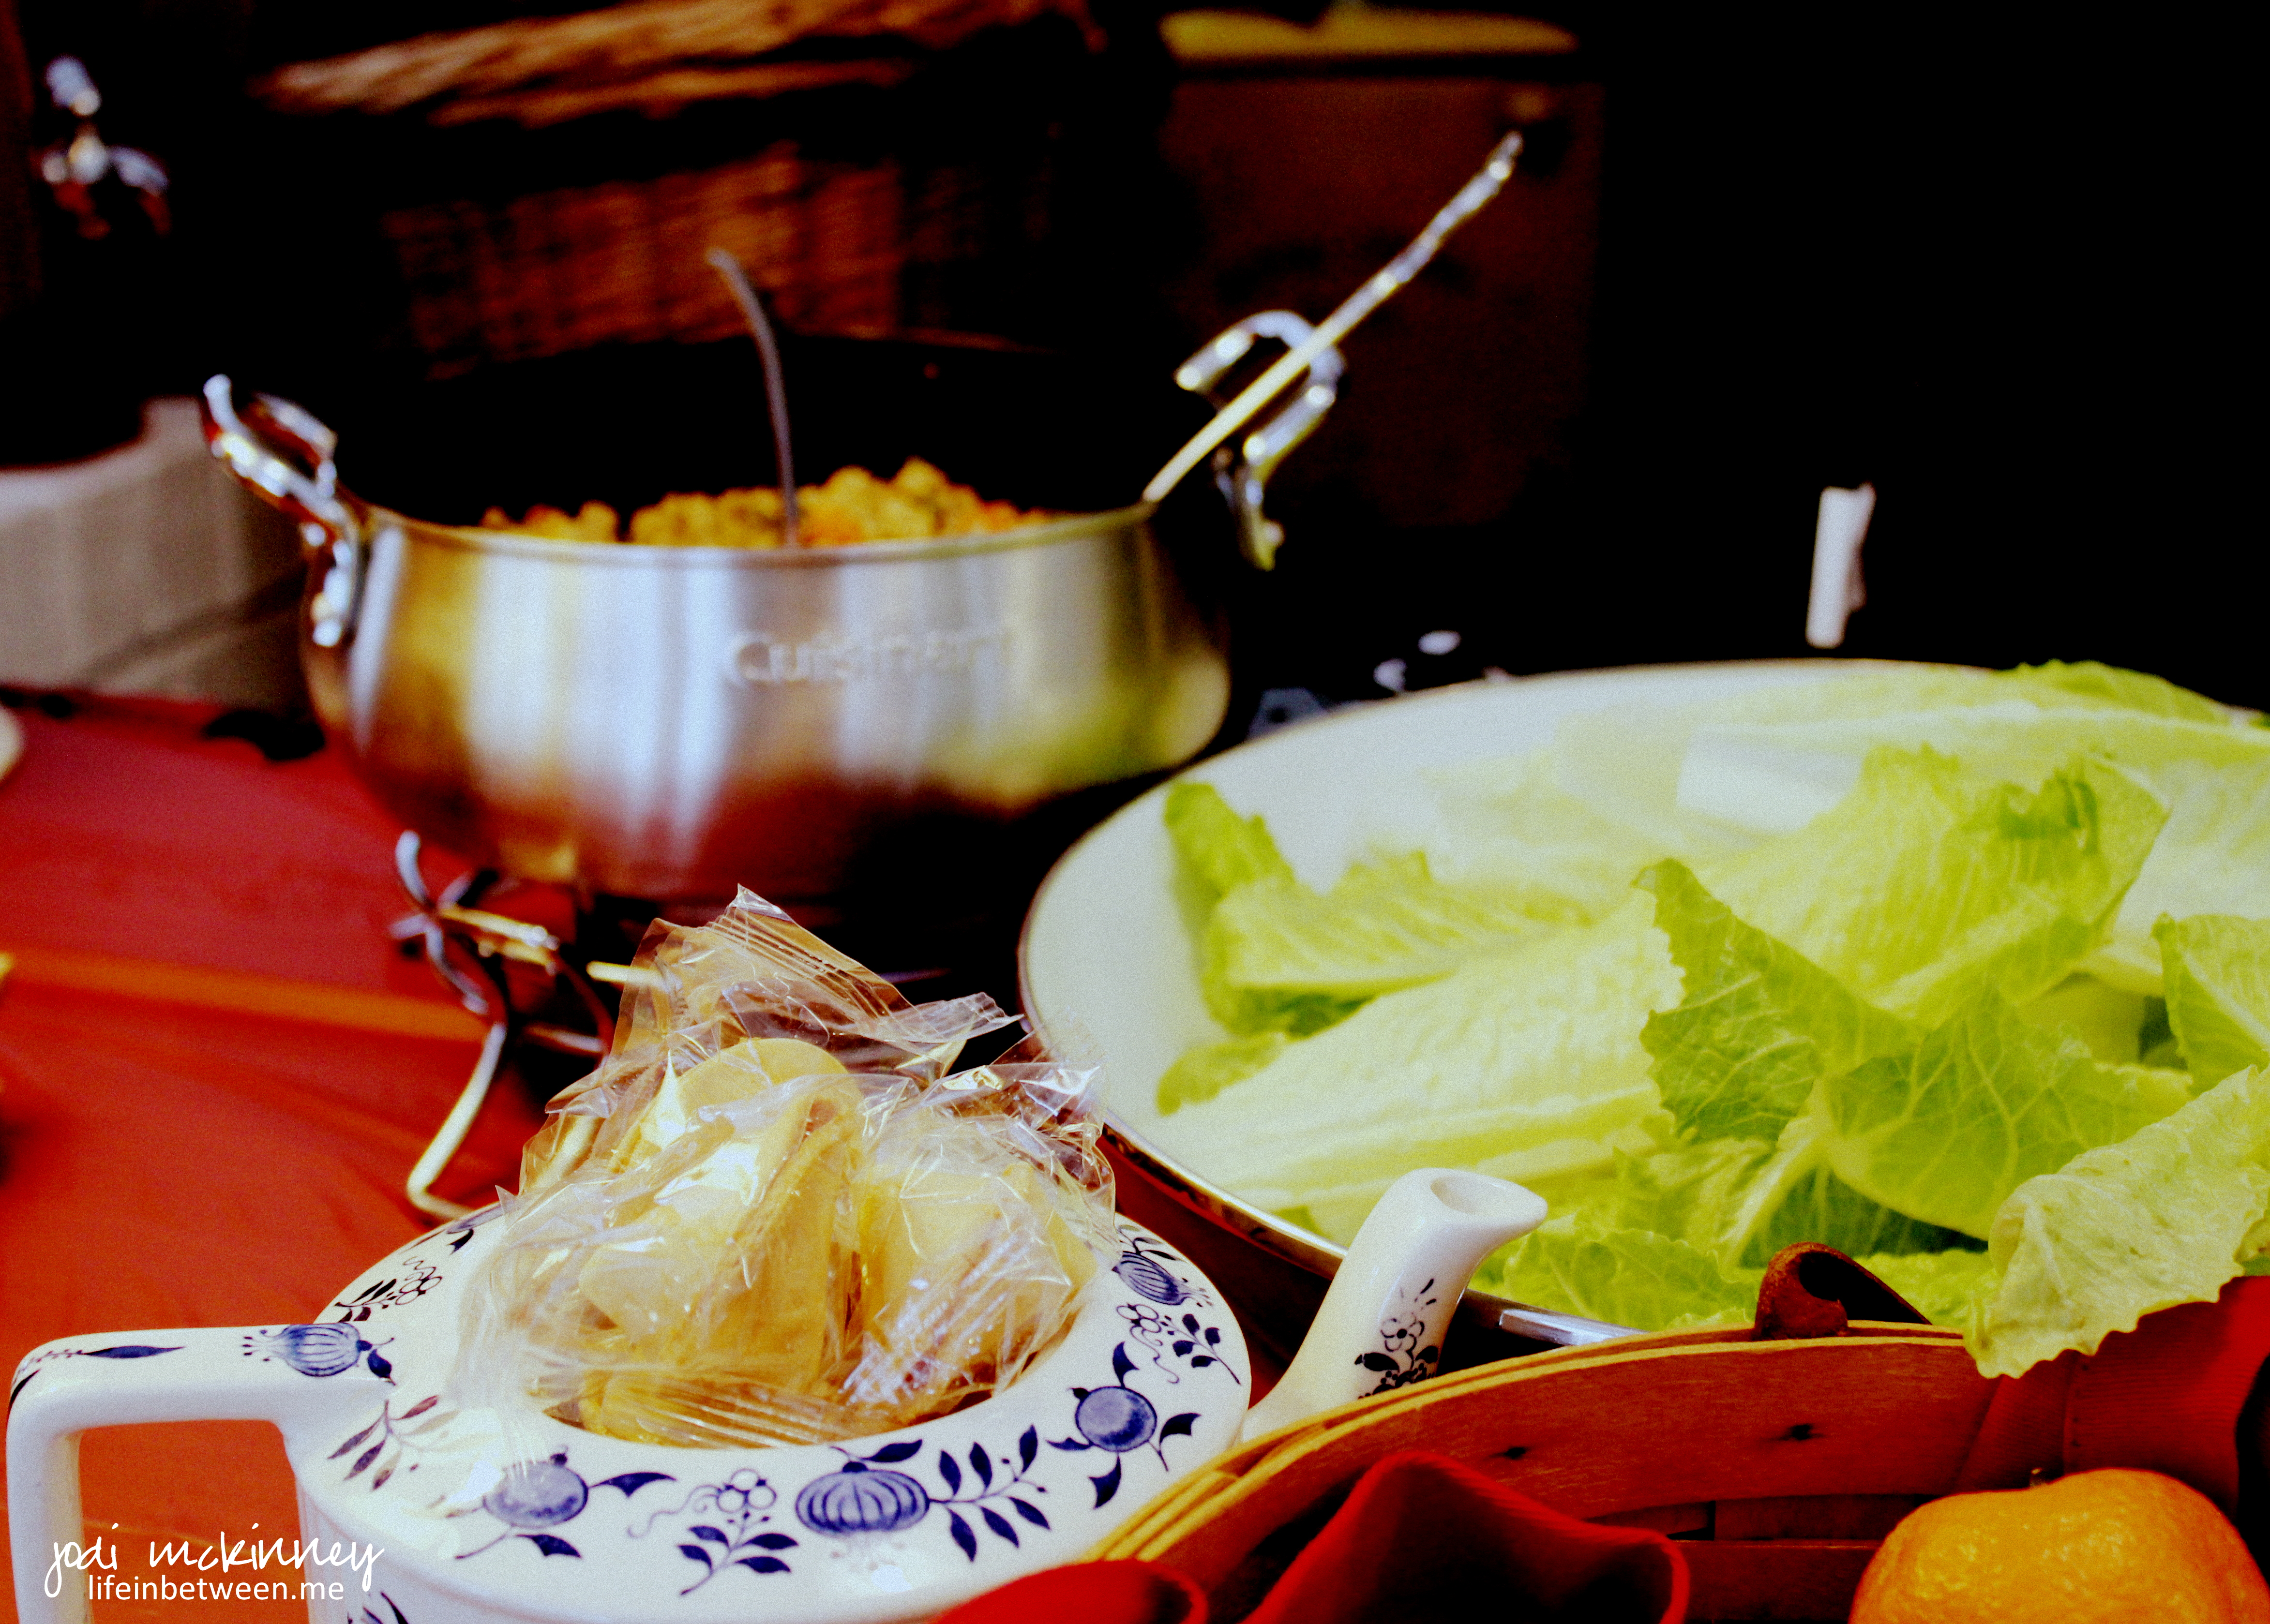
along with tender tangy teriyaki beef skewers to start of the festivities.

And after our bellies were satisfied with tasty treats and wine and Moscow mules,

and we all received our special hat and learned what animal our birth year represented (I’m a tiger in case you couldn’t have guessed – LOL!)

and we were wished good luck by our happy hostesses (Mimi and Ella) in matching smiles and attire.
We learned a new game that, though we all had heard of, none of us had ever played.

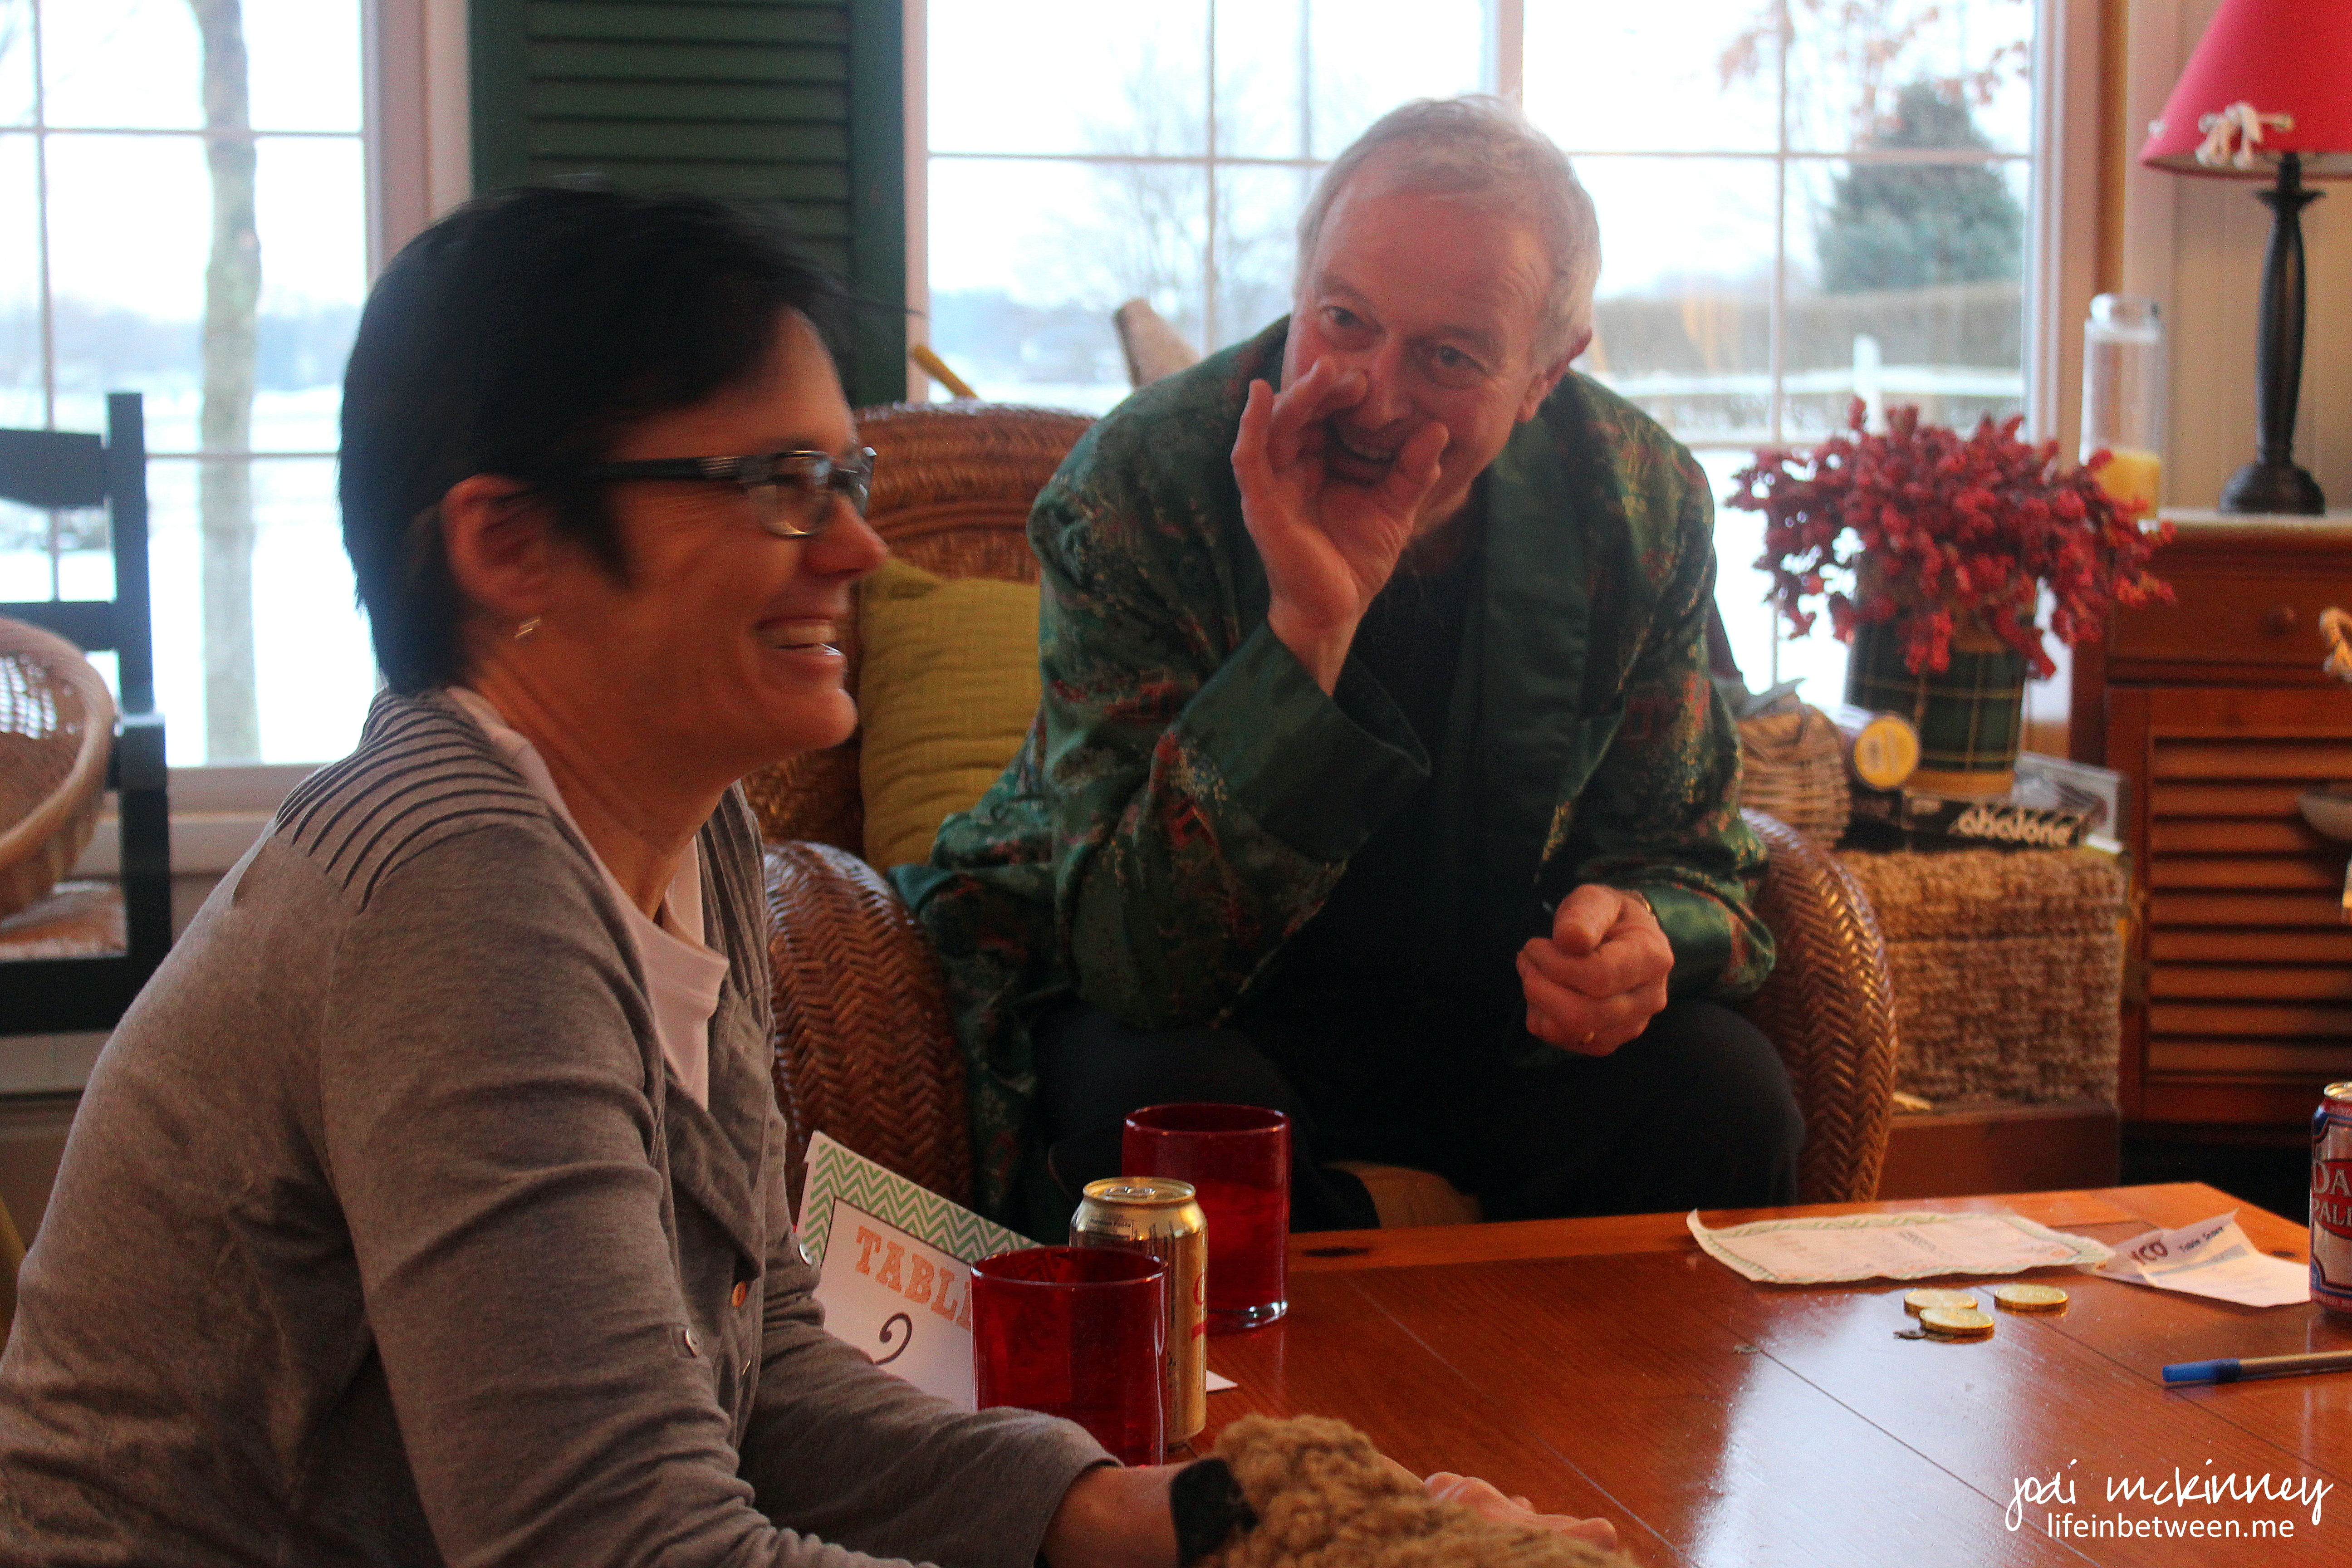
and though we don’t believe it has ANYthing to do with Chinese New Year,

we patiently listened to the instructions,

fought to hang on to the “Bunco Sheep,”
and had a great time.
Then, of course, it was time to eat again!
So fresh veggies got tossed into…

Chicken Stir Fry…

and Shrimp Stir Fry, with lots of fluffy steamed rice.
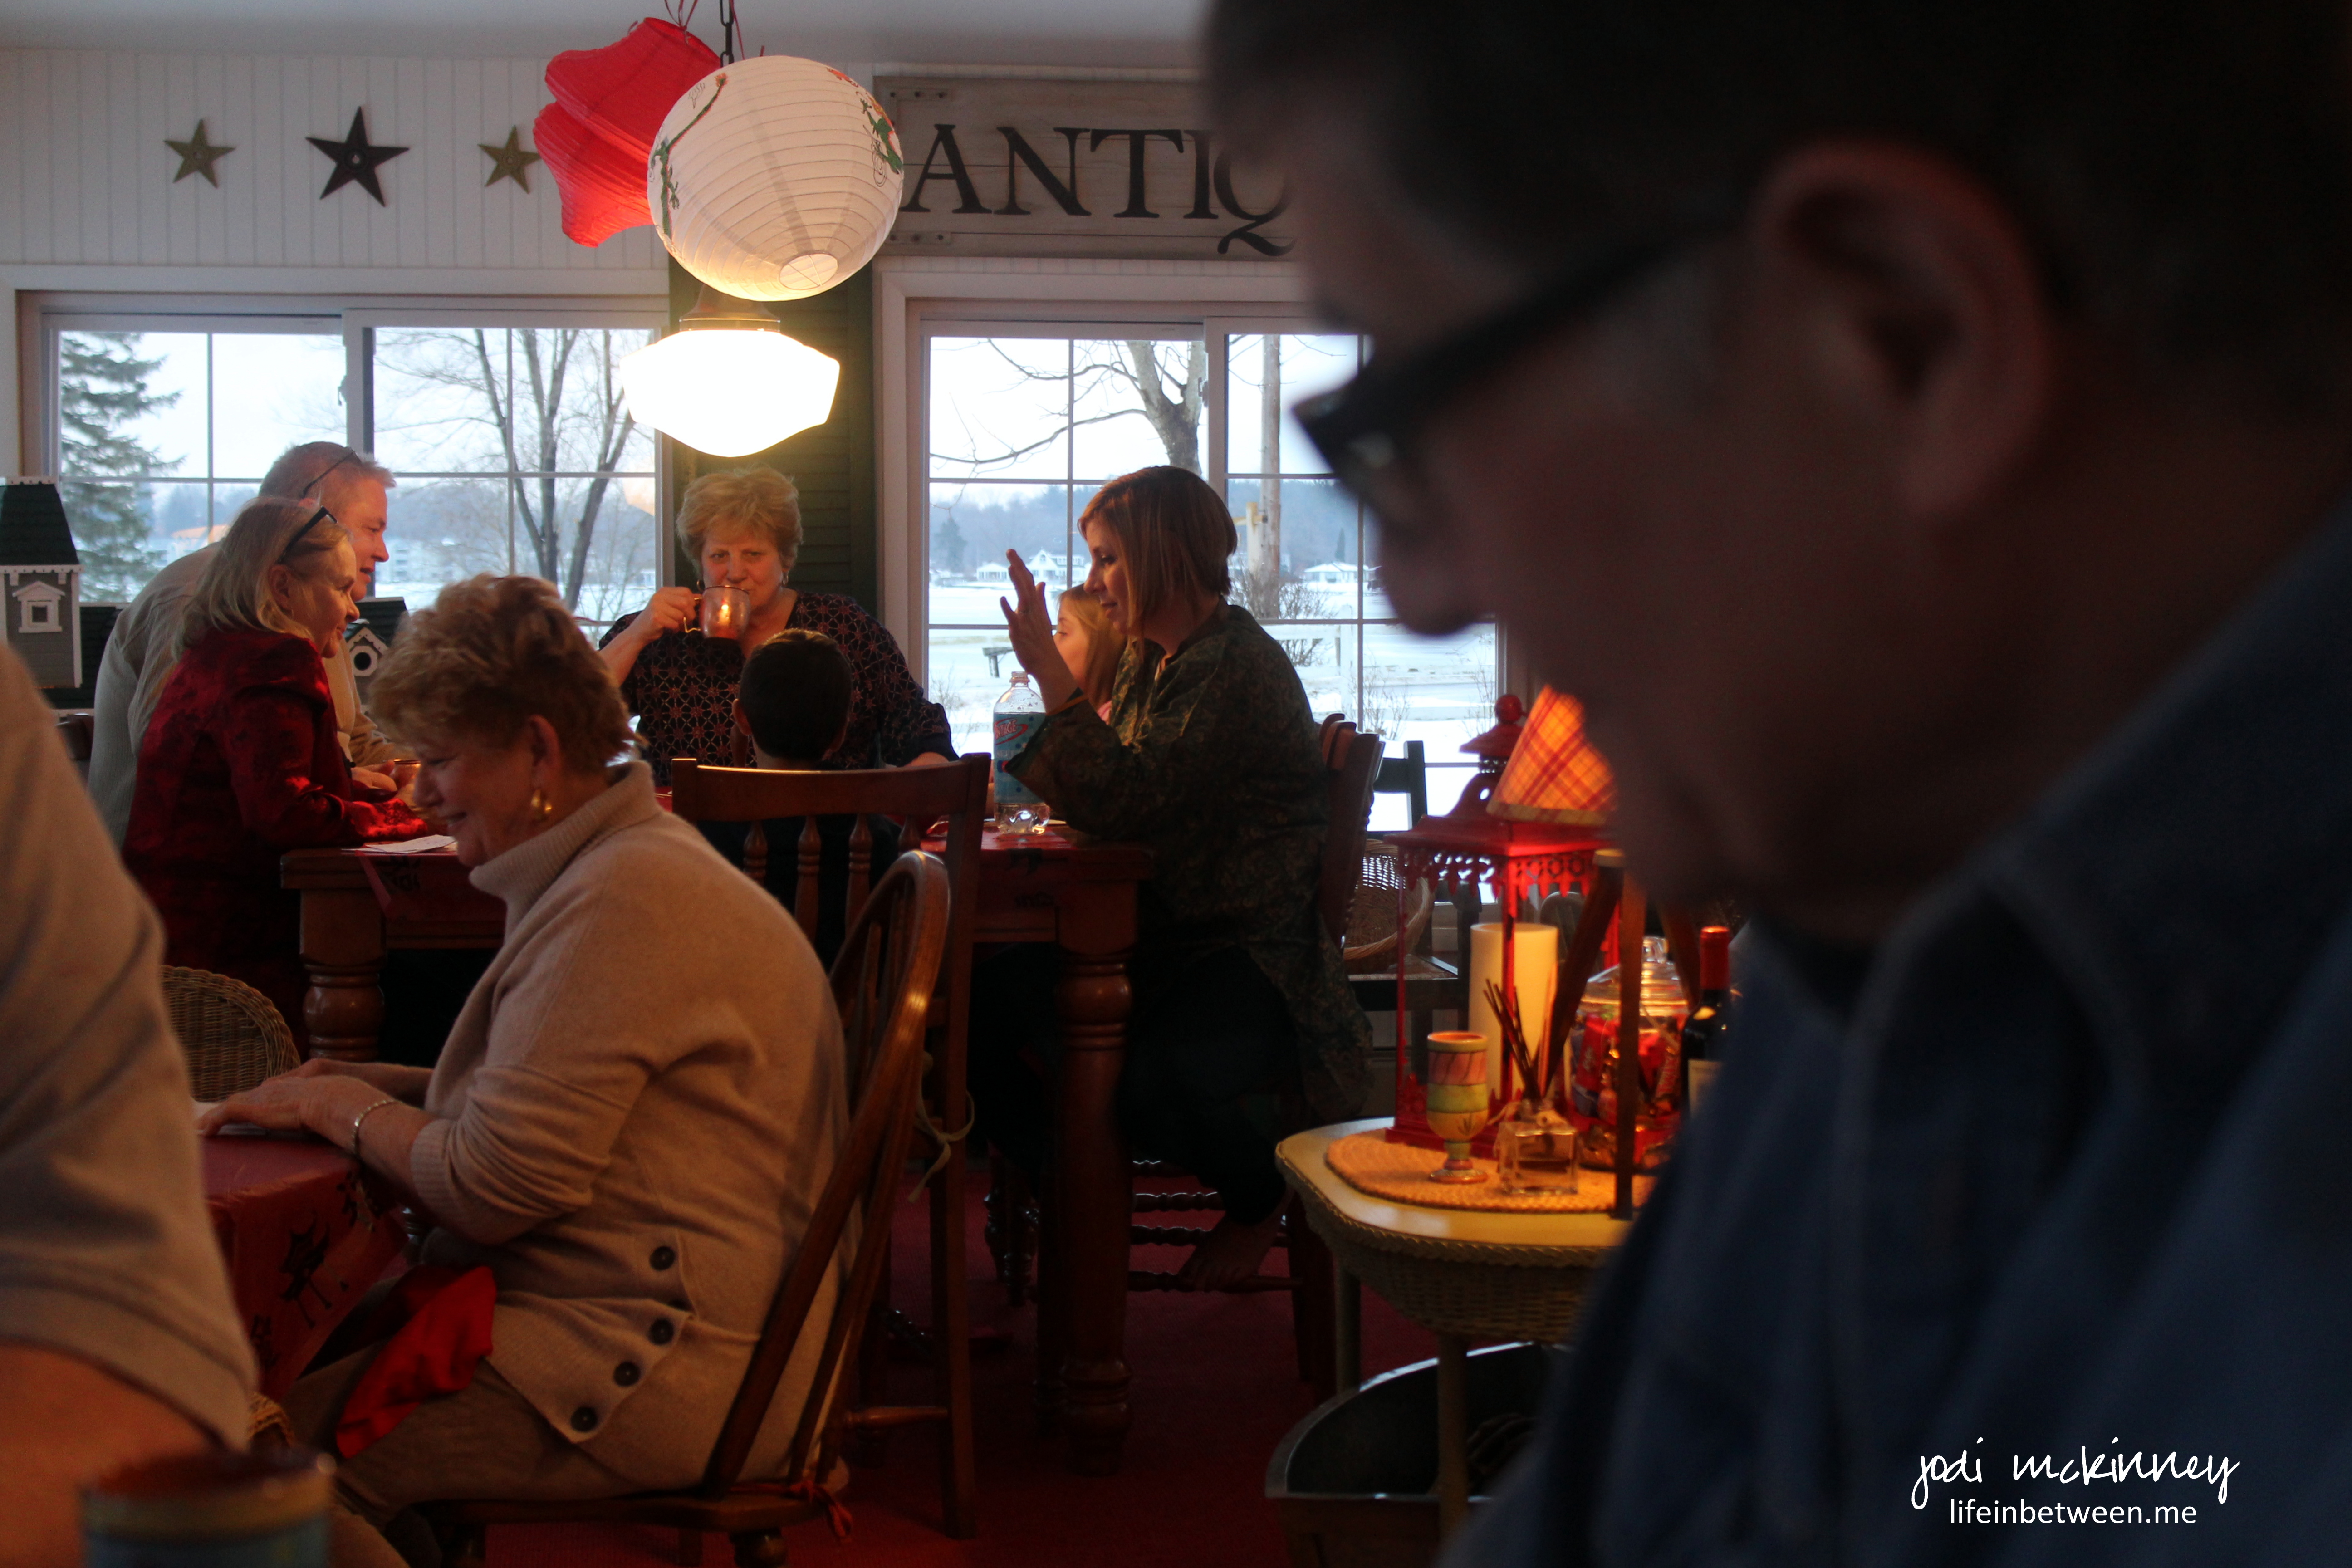
We visited some more,
hugged some more,

and ate some more,
and more…
until the end of the evening, when we we lit Chinese lanterns,

and made wishes,

while we watched them float away over the lake – carrying our hopes and dreams for good luck in 2015.

Thanks for a wonderful time Joyce and Rob! xoxo
Cheers & Hugs for a Happy New Year,
Jodi
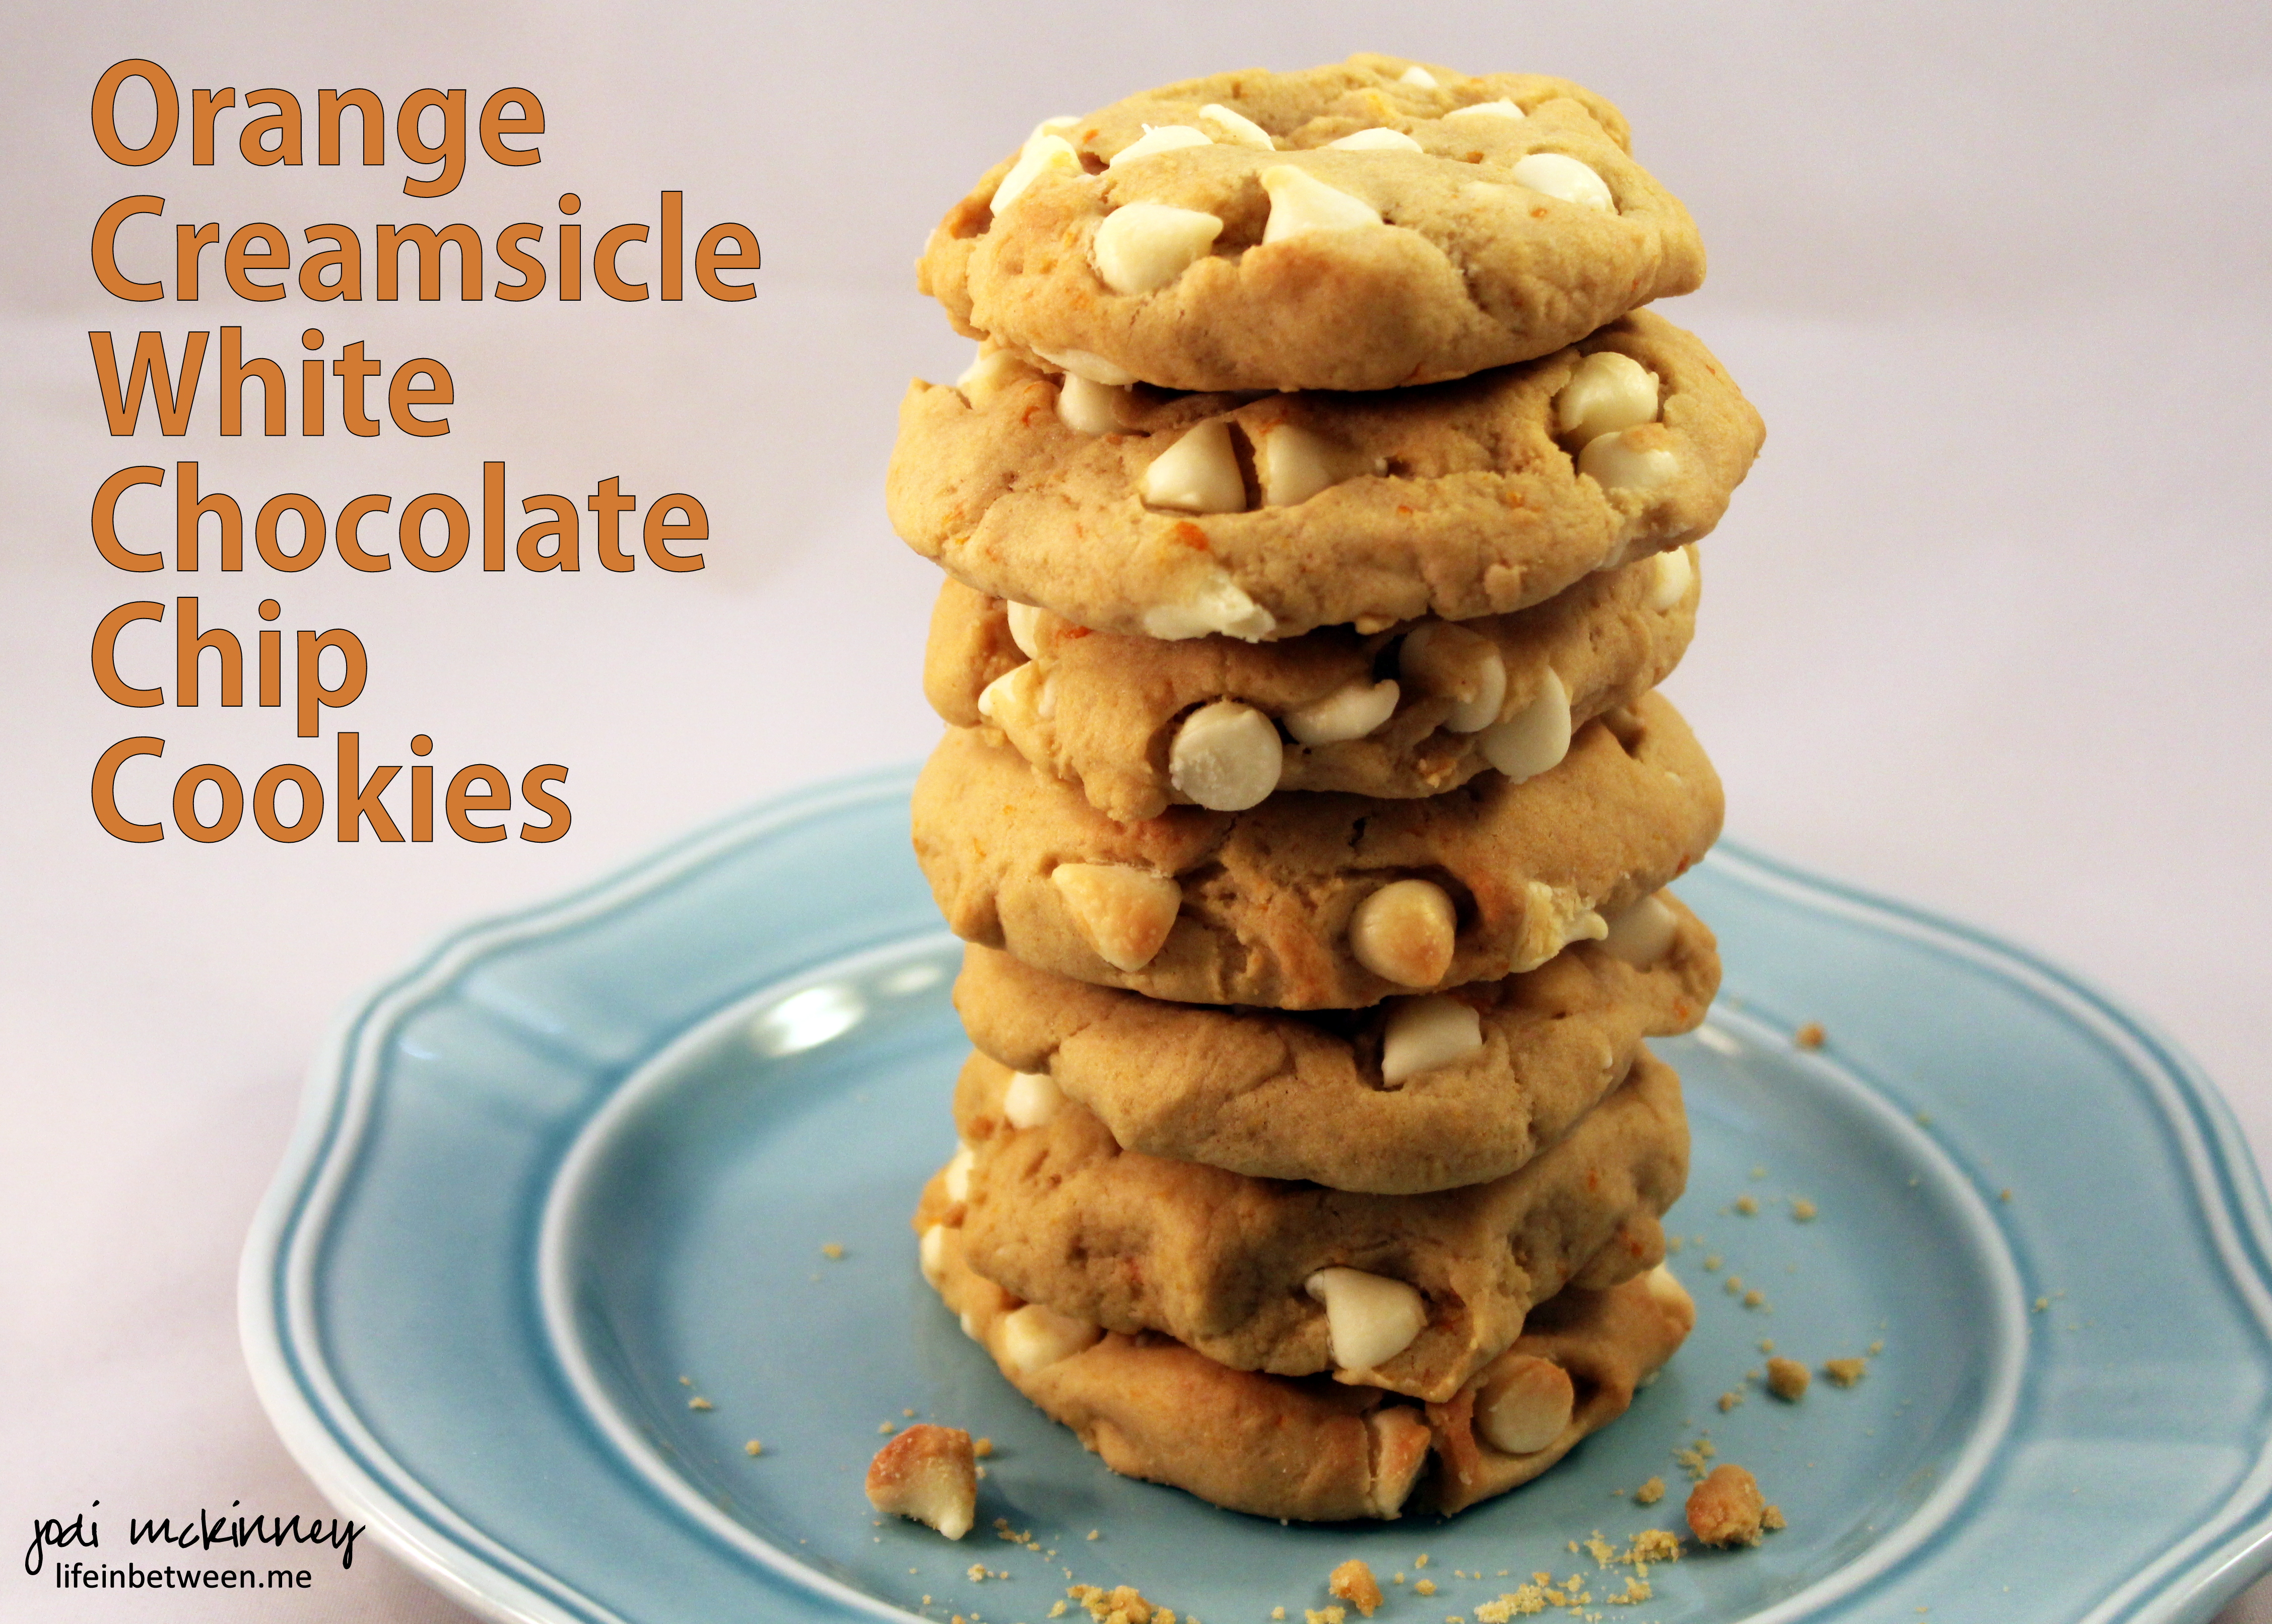
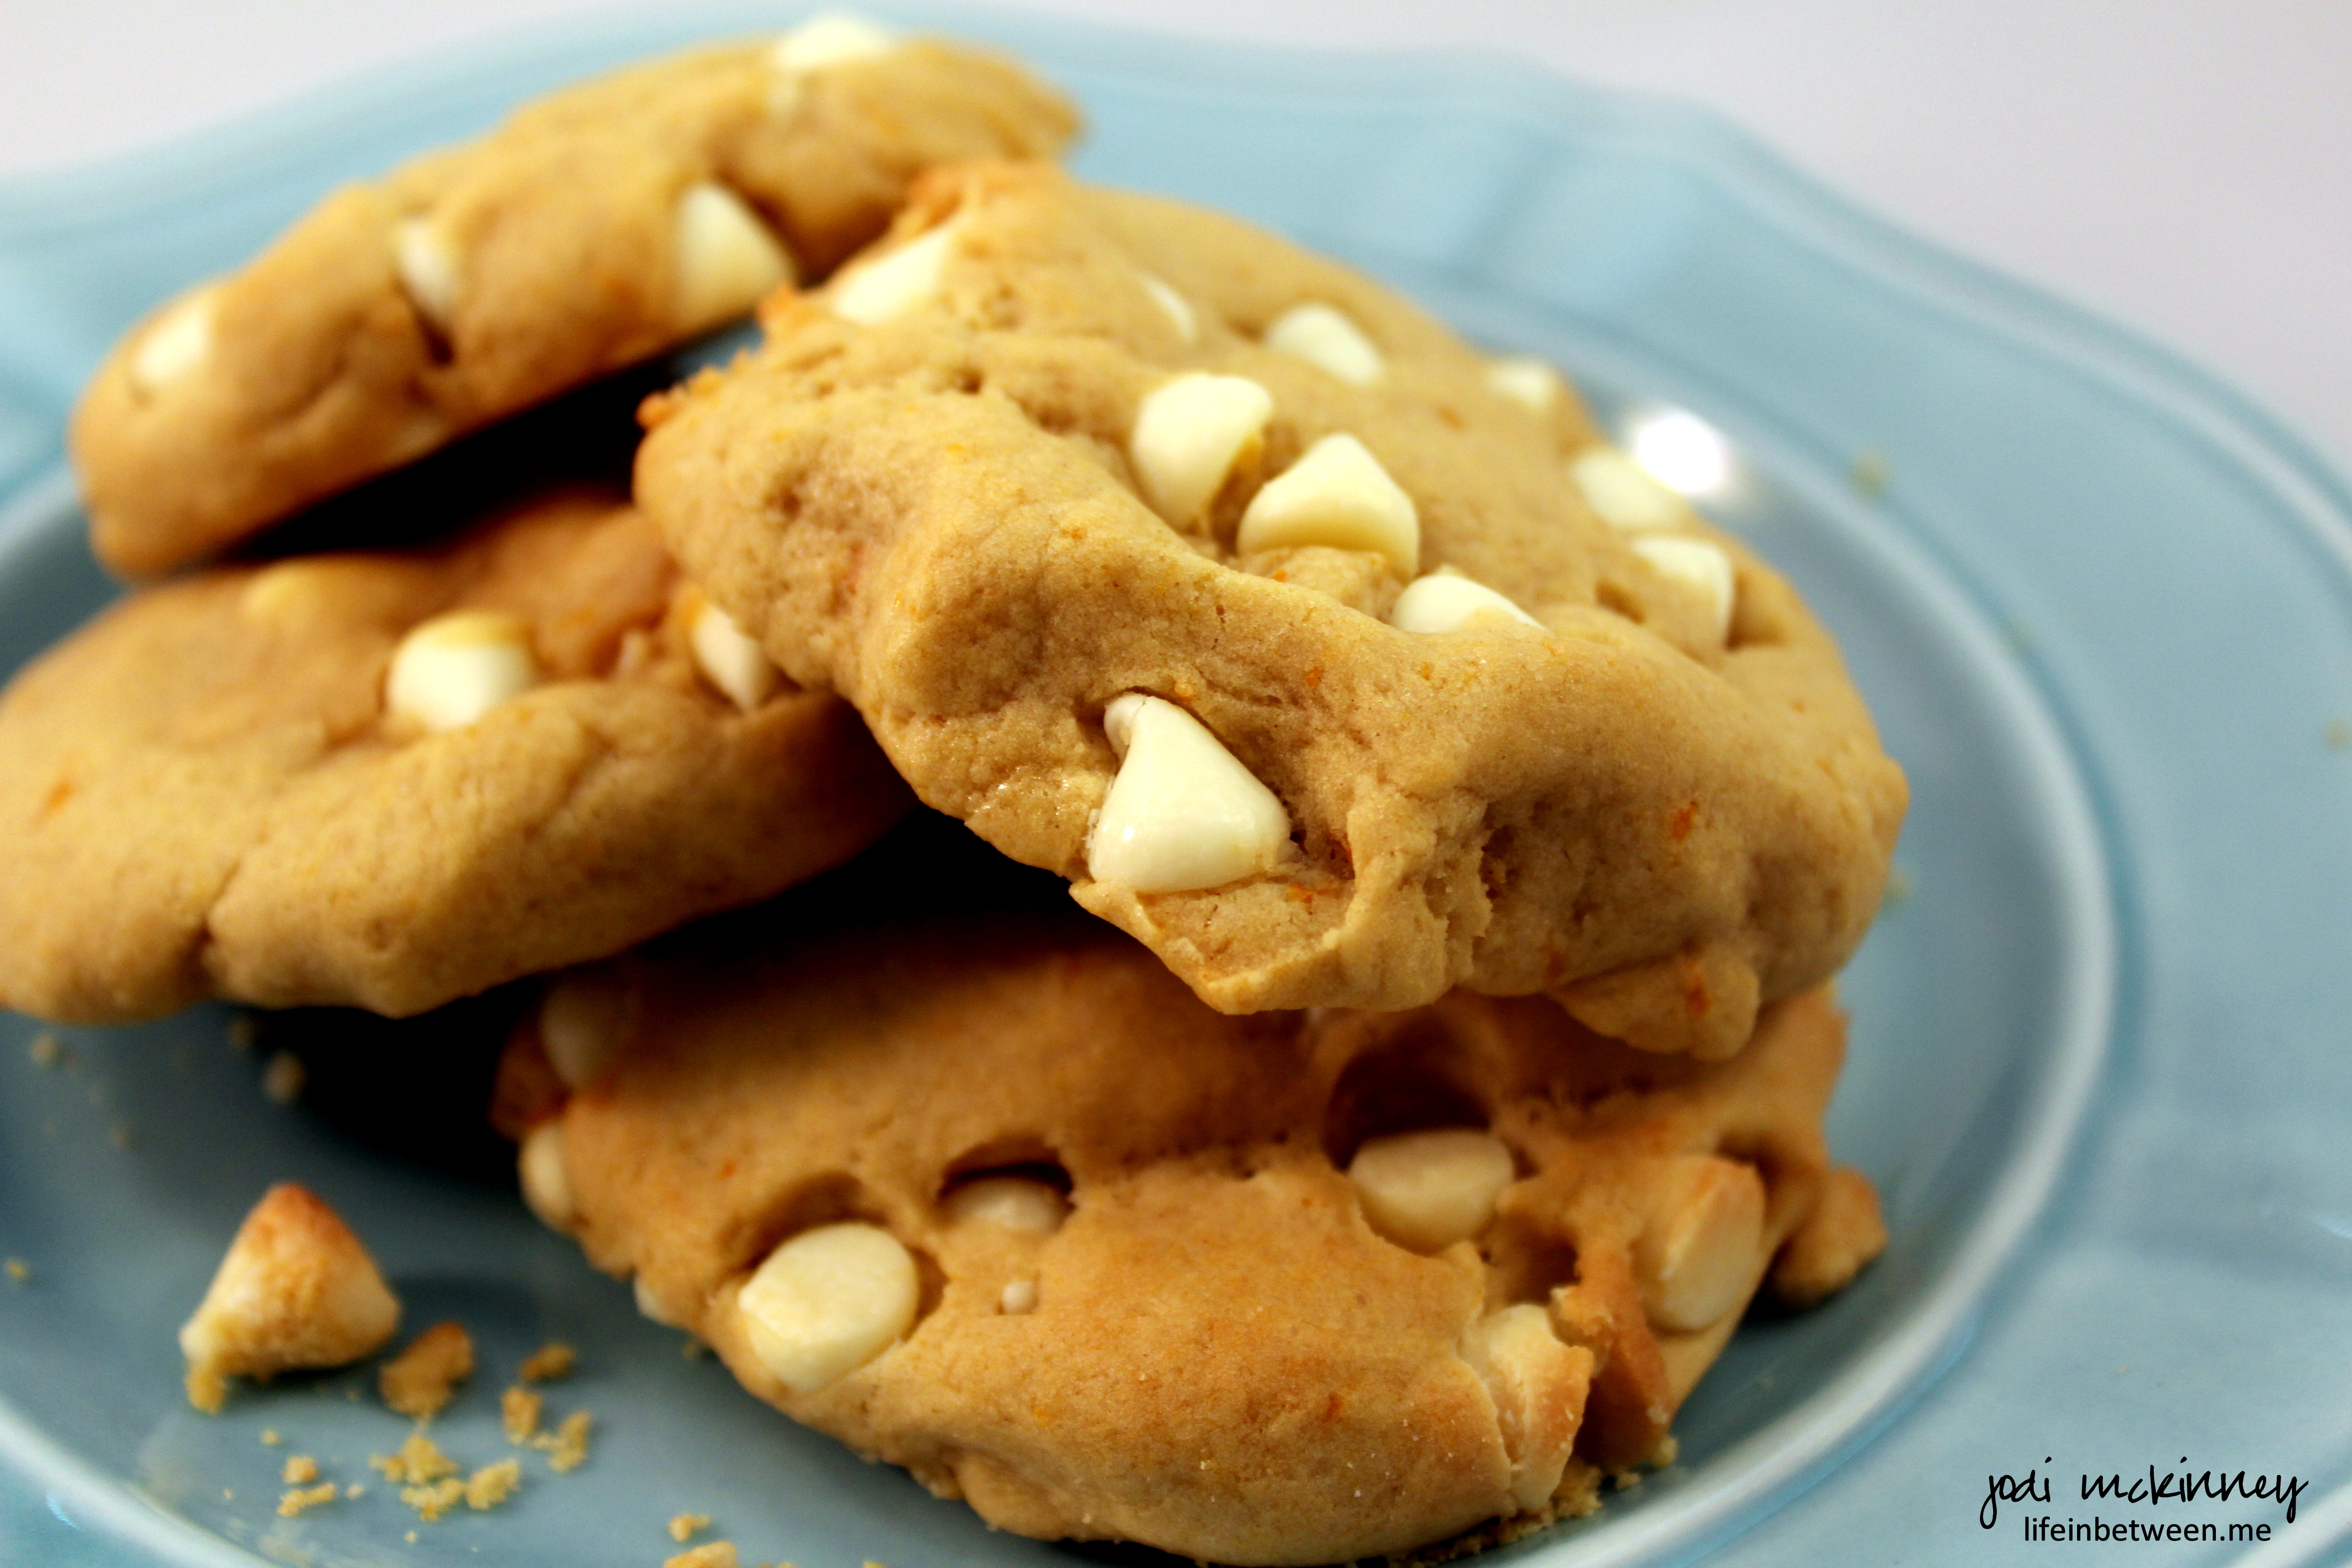
As promised yesterday, today I am sharing the other orange cookie recipe that I made this weekend: Orange Creamsicle White Chocolate Chip Cookies.
And they really taste like Orange Creamsicles! Remember that yummy ice cream treat we used to get as kids? A little orange citrusy tang, but oh so ice creamy!!
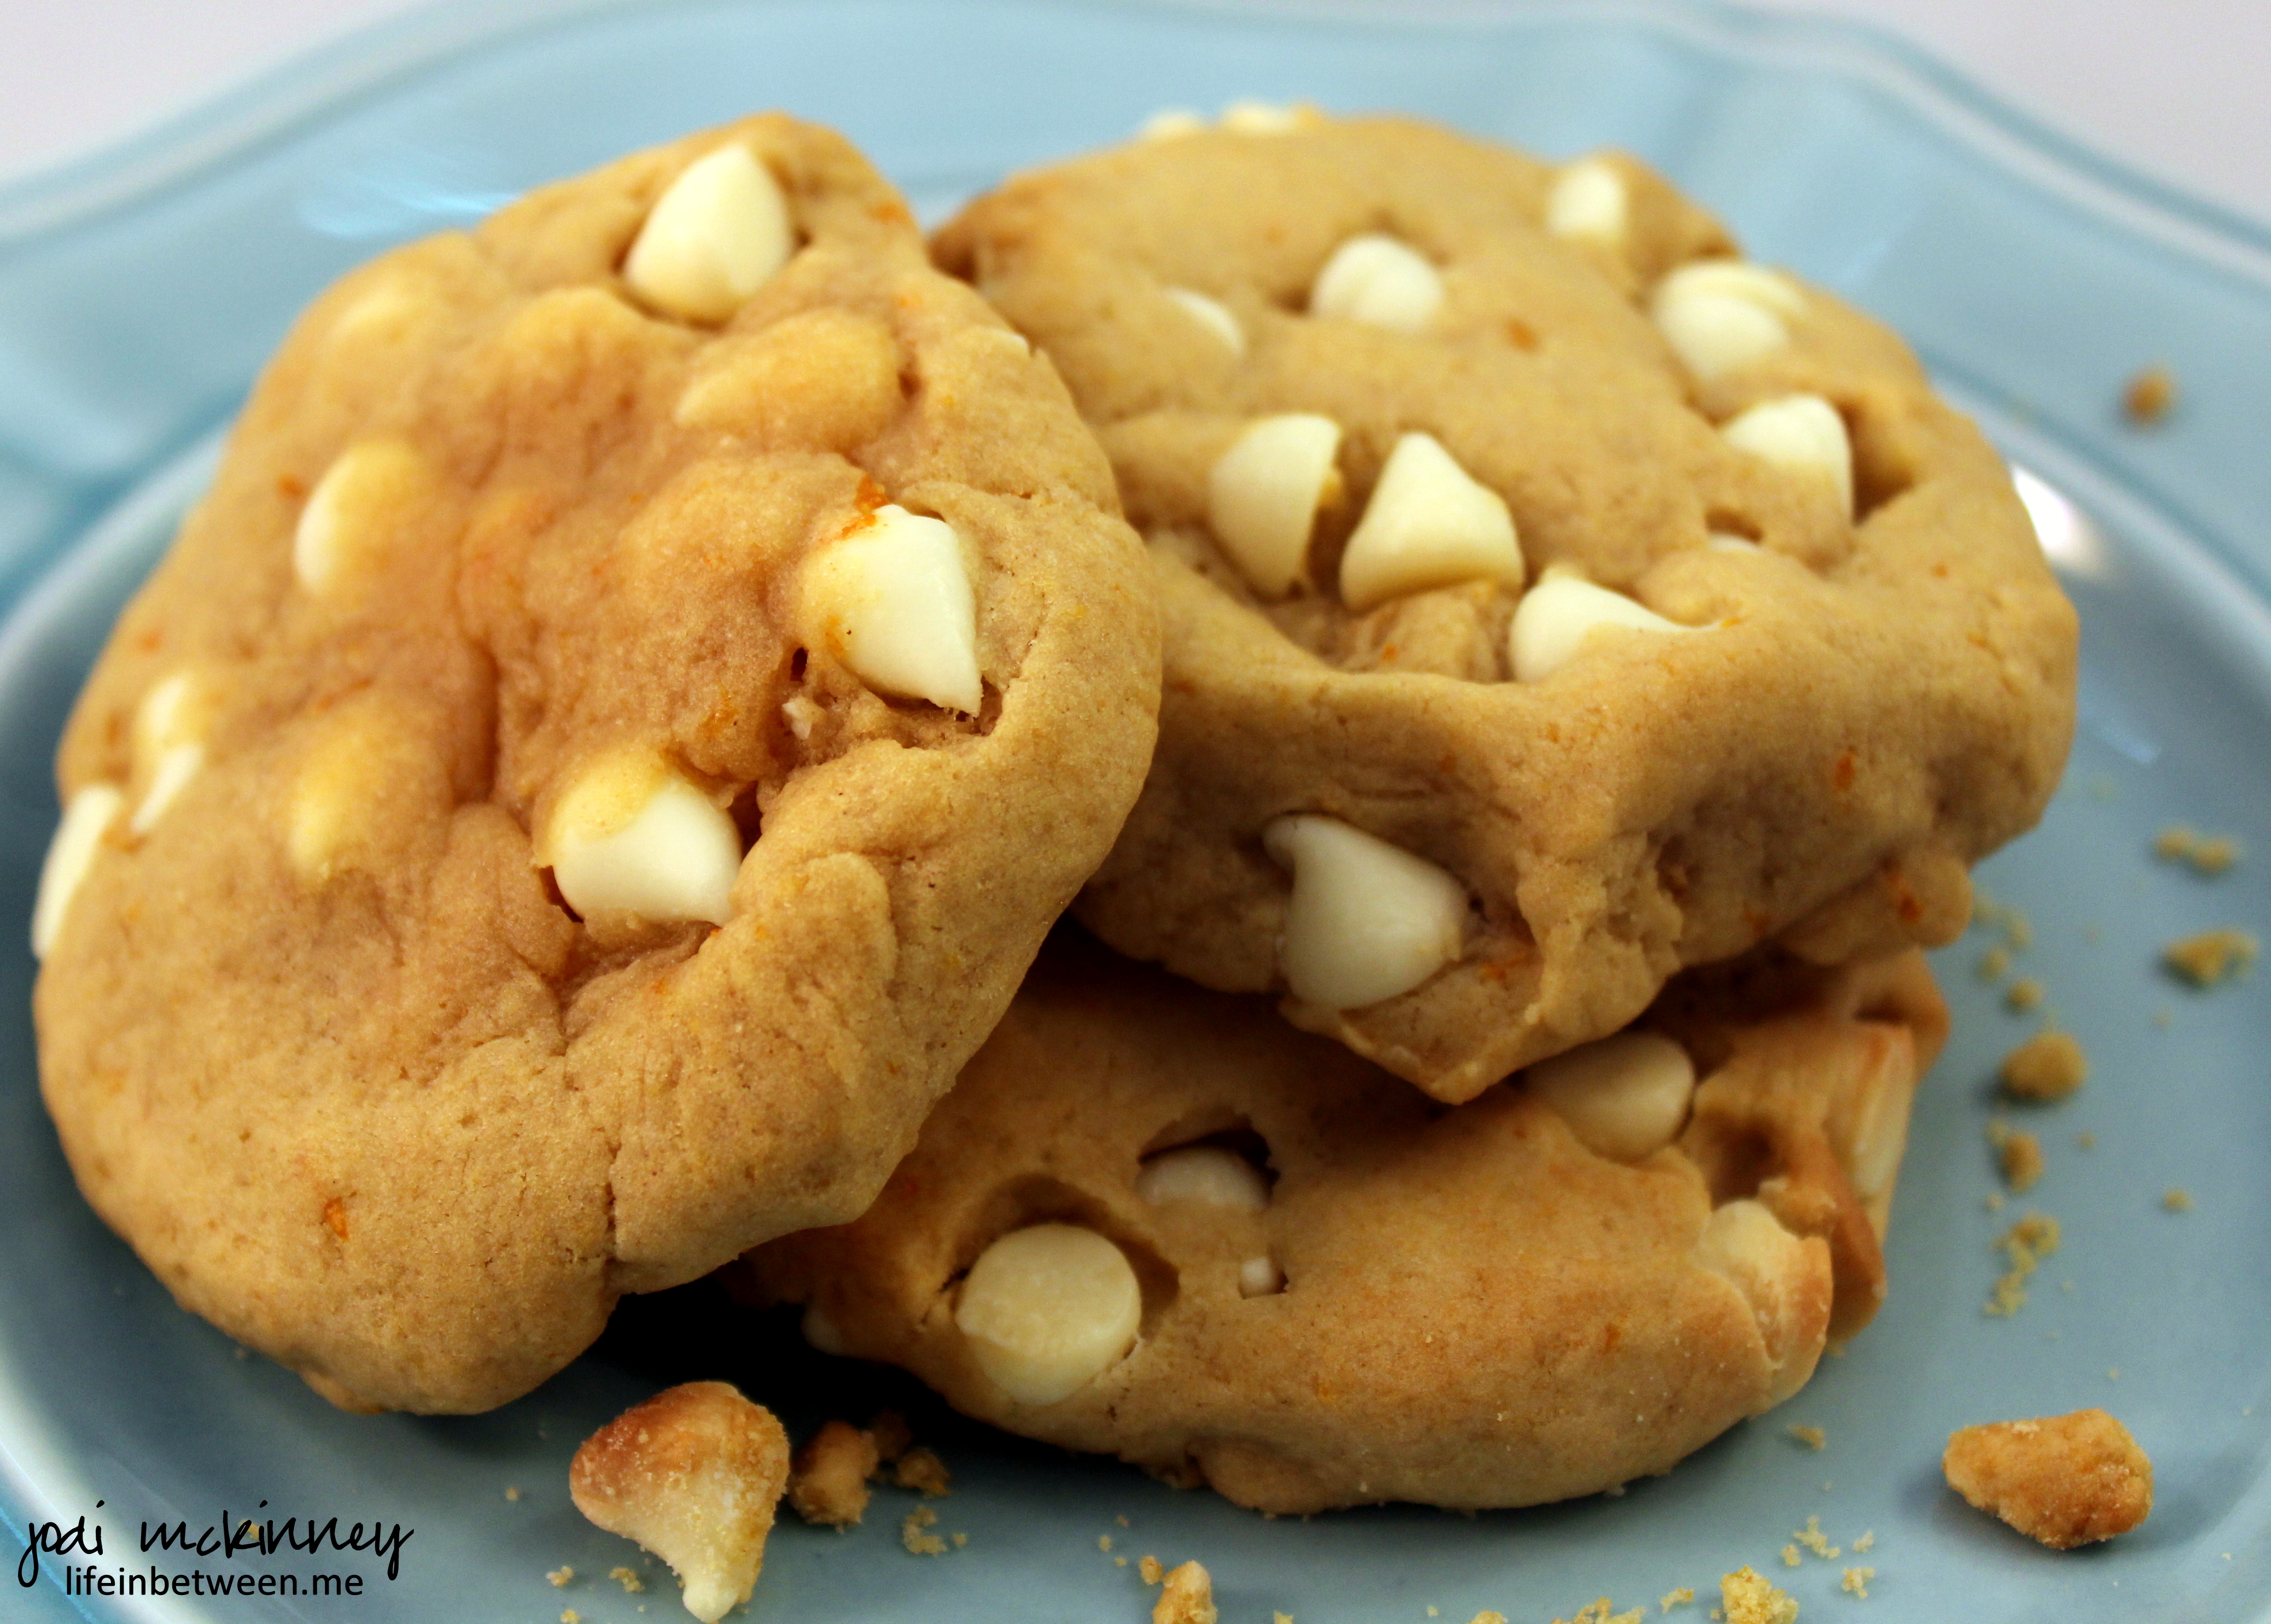
I have never made a cookie recipe that called for cornstarch before, but I love how tender these cookies turned out – just a tiny bit crispy on the outside, but softbatch-like on the inside.
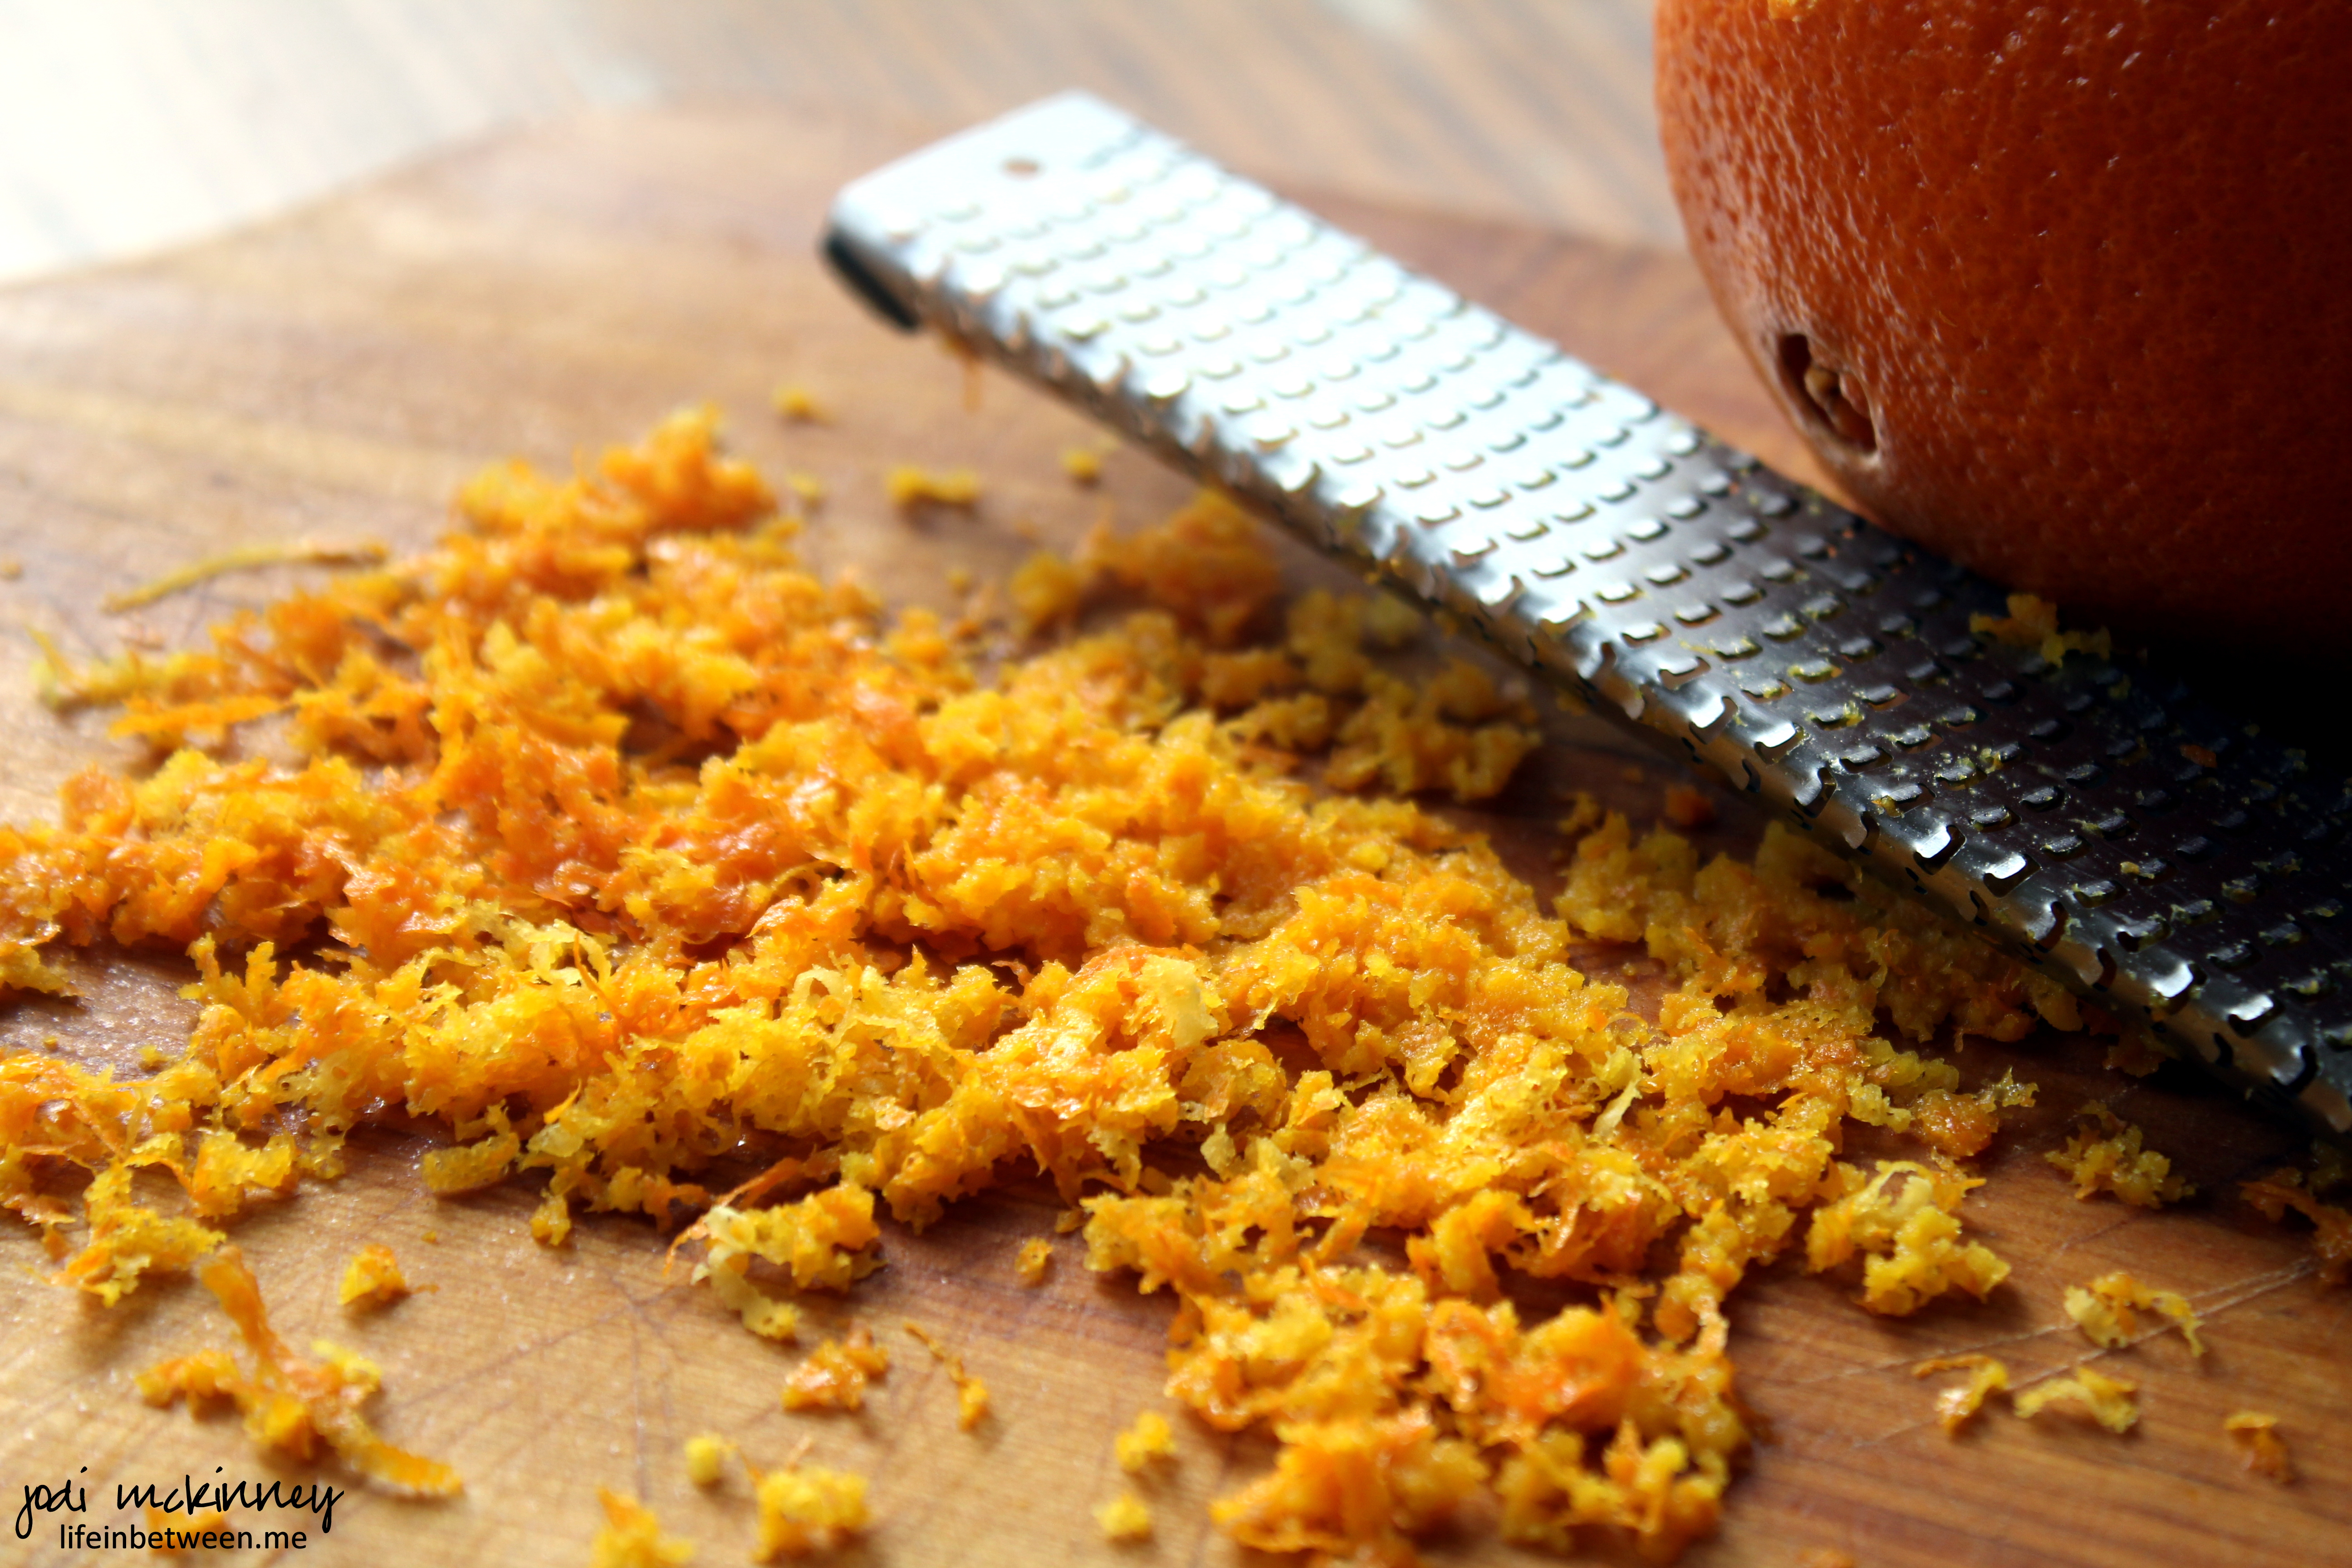
They also get their intense flavor from using three extracts: vanilla, almond, and orange, as well as a couple tablespoons of freshly grated orange zest.
The creamy flavor comes from the addition of half and half and from the white chocolate chips.
I took both these and the Orange Slice & Oatmeal Cookies to our Chinese New Year’s Party yesterday, as oranges are supposed to bring good luck.
Come back tomorrow to see some highlights from that great celebration. (Here’s a little sneak peek – appetizer time with tender teriyaki beef on skewers.)
Here’s today’s cookie recipe:
ORANGE CREAMSICLE WHITE CHOCOLATE CHIP COOKIES
INGREDIENTS: (As adapted from Averiescooks.com)
1/2 cup butter, softened
3/4 cup light brown sugar, packed
1/4 cup granulated sugar
1 large egg
2 teaspoons vanilla extract
2 teaspoons almond extract
2 teaspoons orange extract
2 tablespoons half-and-half
2 tablespoons freshly grated orange zest
2 cups all-purpose flour
2 teaspoons corn starch
1 teaspoon baking soda
pinch salt
12 ounce bag white chocolate chips
DIRECTIONS:
With electric mixer,cream together butter, sugars, egg, and extracts on medium-high speed until very light and fluffy, about 5 minutes.
Scrape down the sides of the bowl, and add the cream, zest, and mix on medium speed until incorporated, about 1 minute.
Scrape down the sides of the bowl again, and add the flour, corn starch, baking soda, and salt, and mix on low speed until just incorporated, about 1 minute. Do not overmix.
Add the white chocolate chips, and mix on low speed until just incorporated.
Form heaping two-tablespoon mounds. Place mounds on a large plate, flatten slightly, cover with plastic wrap, and refrigerate for at least 3 hours, or up to 5 days, before baking. Do not bake with warm dough because cookies will spread and bake thinner and flatter.
Preheat oven to 350F. Place mounds on baking sheet, spaced at least 2 inches apart (I bake 8 cookies per sheet) and bake for about 8 to 9 minutes, or until edges have set and tops are just beginning to set, even if slightly undercooked, pale and glossy in the center. Do not overbake because cookies will firm up as they cool. Baking longer than 10 minutes could result in cookies with overly browned undersides.
Allow cookies to cool on the baking sheet for about 5 minutes before transferring to a wire rack to finish cooking. Cookies will keep airtight at room temperature for up to 1 week or in the freezer for up to 4 months. Unbaked cookie dough can be stored airtight in the refrigerator for up to 5 days, or frozen for up to 4 months.
