One week from today is Jackie and Matt’s wedding. Another one of “our children” is getting married… (sigh)
Where did the time go?
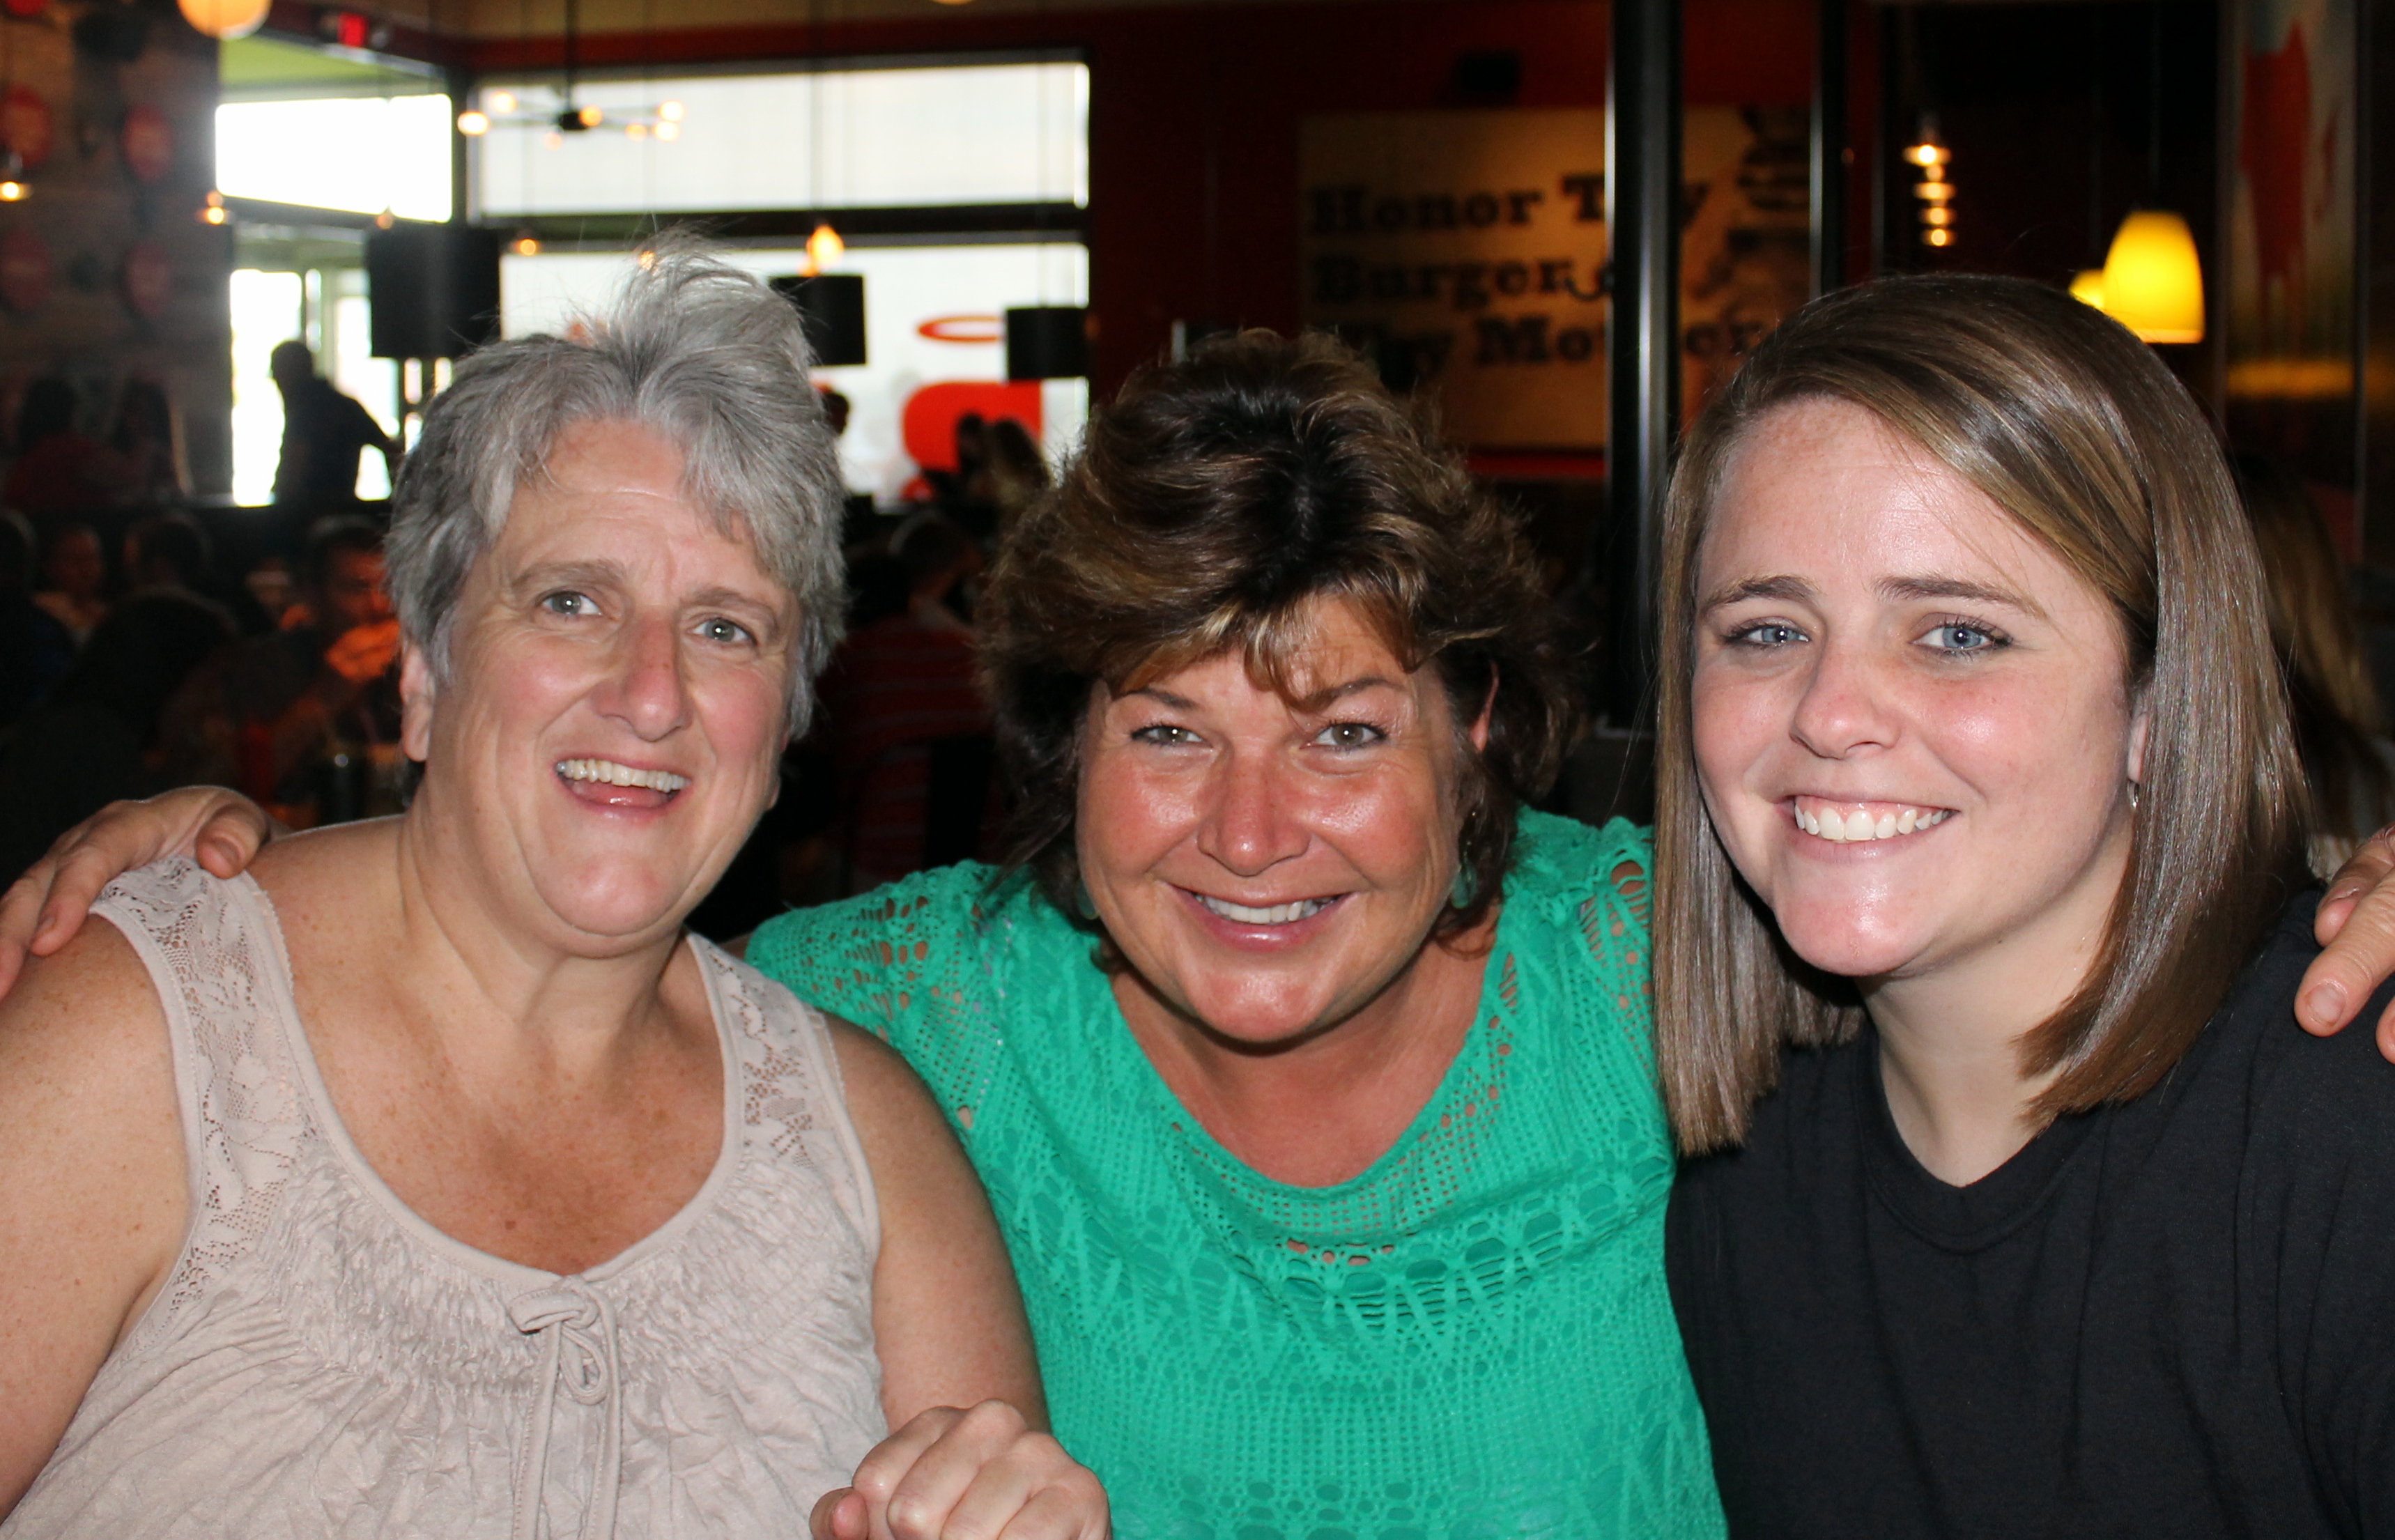
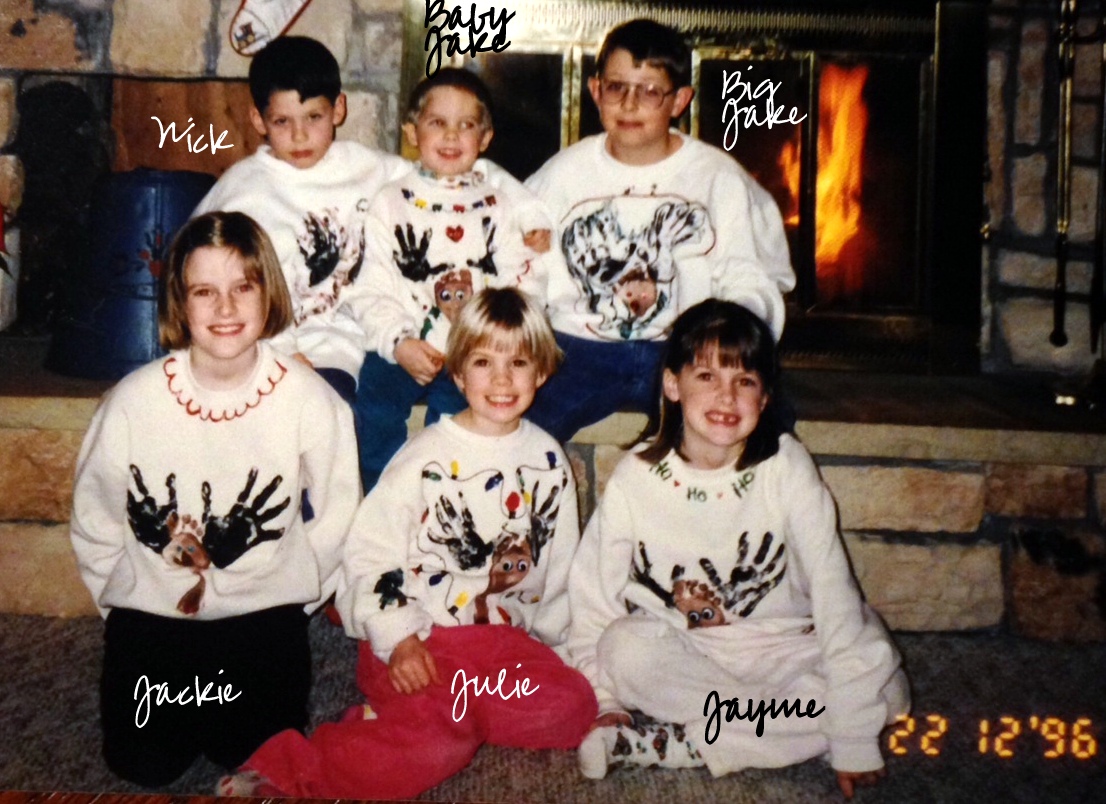
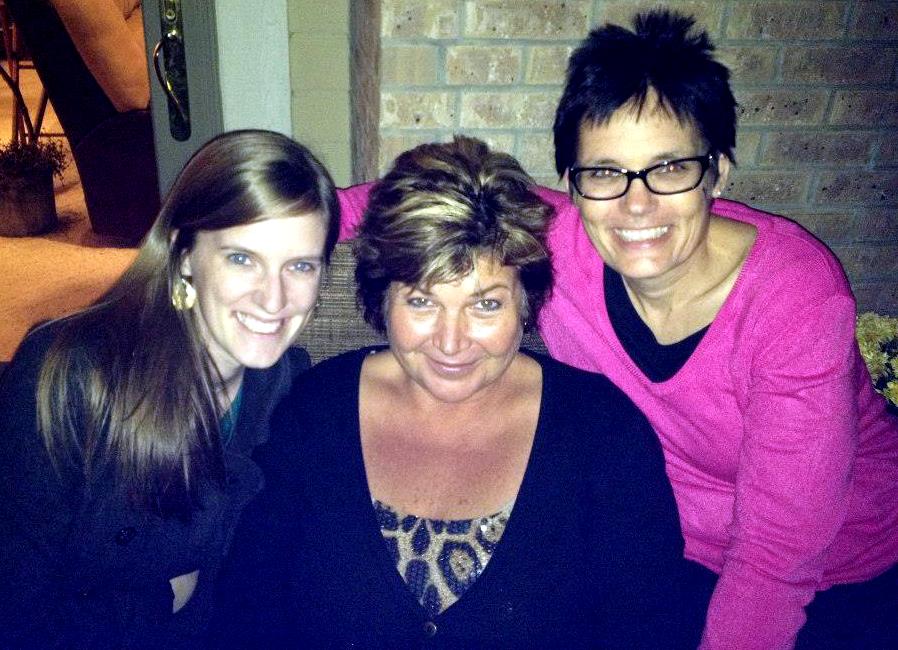
When I met my BFF, Jill, we were pregnant with Nick and Jayme and had two little babies. I had Jake. She had Jackie.
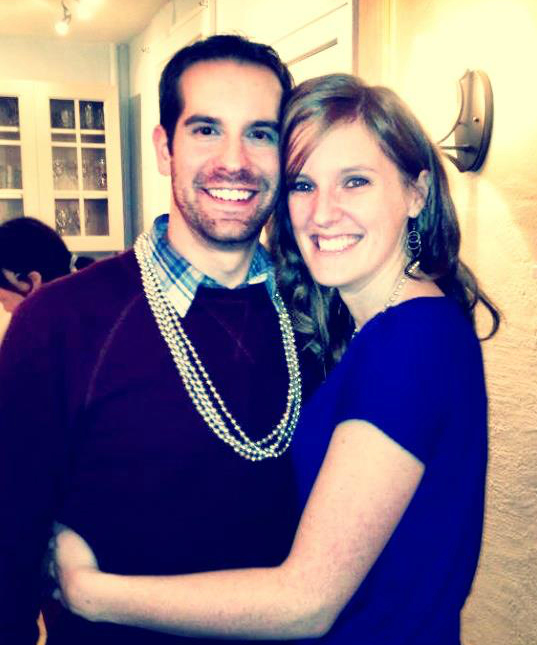
Last year Jake married our beloved Colleen. This year Jackie gets to marry her dear Matt.
I can still picture our two little toe heads and the wonderful times we shared as we weaved our way through diapers and bottles and strollers and trips to the mall (just to get out of the house)….
to being homeroom moms together and planning holiday parties and the best obstacle courses for field day…
to PTA meetings, playgroups, the best themed birthday parties and homemade Halloween costumes…
to Jill & Jodi’s Junque craft shows, and then re-entering the workforce, being parents of teens, then sending them to college and empty nesting…
and now weddings.
It is a great life to share with friends like we are, and I am so excited to celebrate our Jackie next week.
One of the shower gifts I gave Jackie was this simple little “Wedding Survival Kit.”
I put all the items in a cute little keepsake box that Jackie can use for whatever she wants.
You can customize it to suit your special couple and make a sweet, personalized gift.
A crayon – to “color” all the days of your marriage bright and sunny
A rubber band – to remind you to always be flexible
A candle – to help the glow of romance always be part of your love for Matt
A paper clip – to help you hold it all together
A penny – to give you extra “cents” to know which battles are worth fighting and which are not
Some tape – to remind you little things can be “fixed”
A highlighter – to highlight all of the wonderful moments you and Matt will have
A glue stick – to help you “stick it out” during the rough patches
A battery – to help you recharge after a long day (or week…or month…)
A button – to remind you that sometimes you need to “button your lip”
A safety pin – to help you pin-point your problems and solve them
A dental pic – to always pick out the best in Matt
A q-tip – to dig out all the bad things in your relationship
A band-aid – so you can tackle those high heels in August
Can’t wait to celebrate your day next week at this time Jackie!
Love ya!
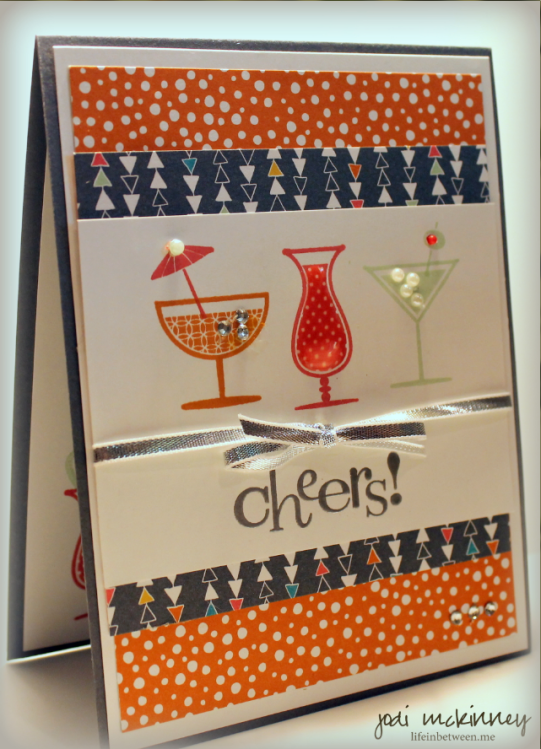
Cheers & Hugs,
Jodi