I wonder what those of you that happen upon my blog must think…..
Do you say – what the heck is this blog about?
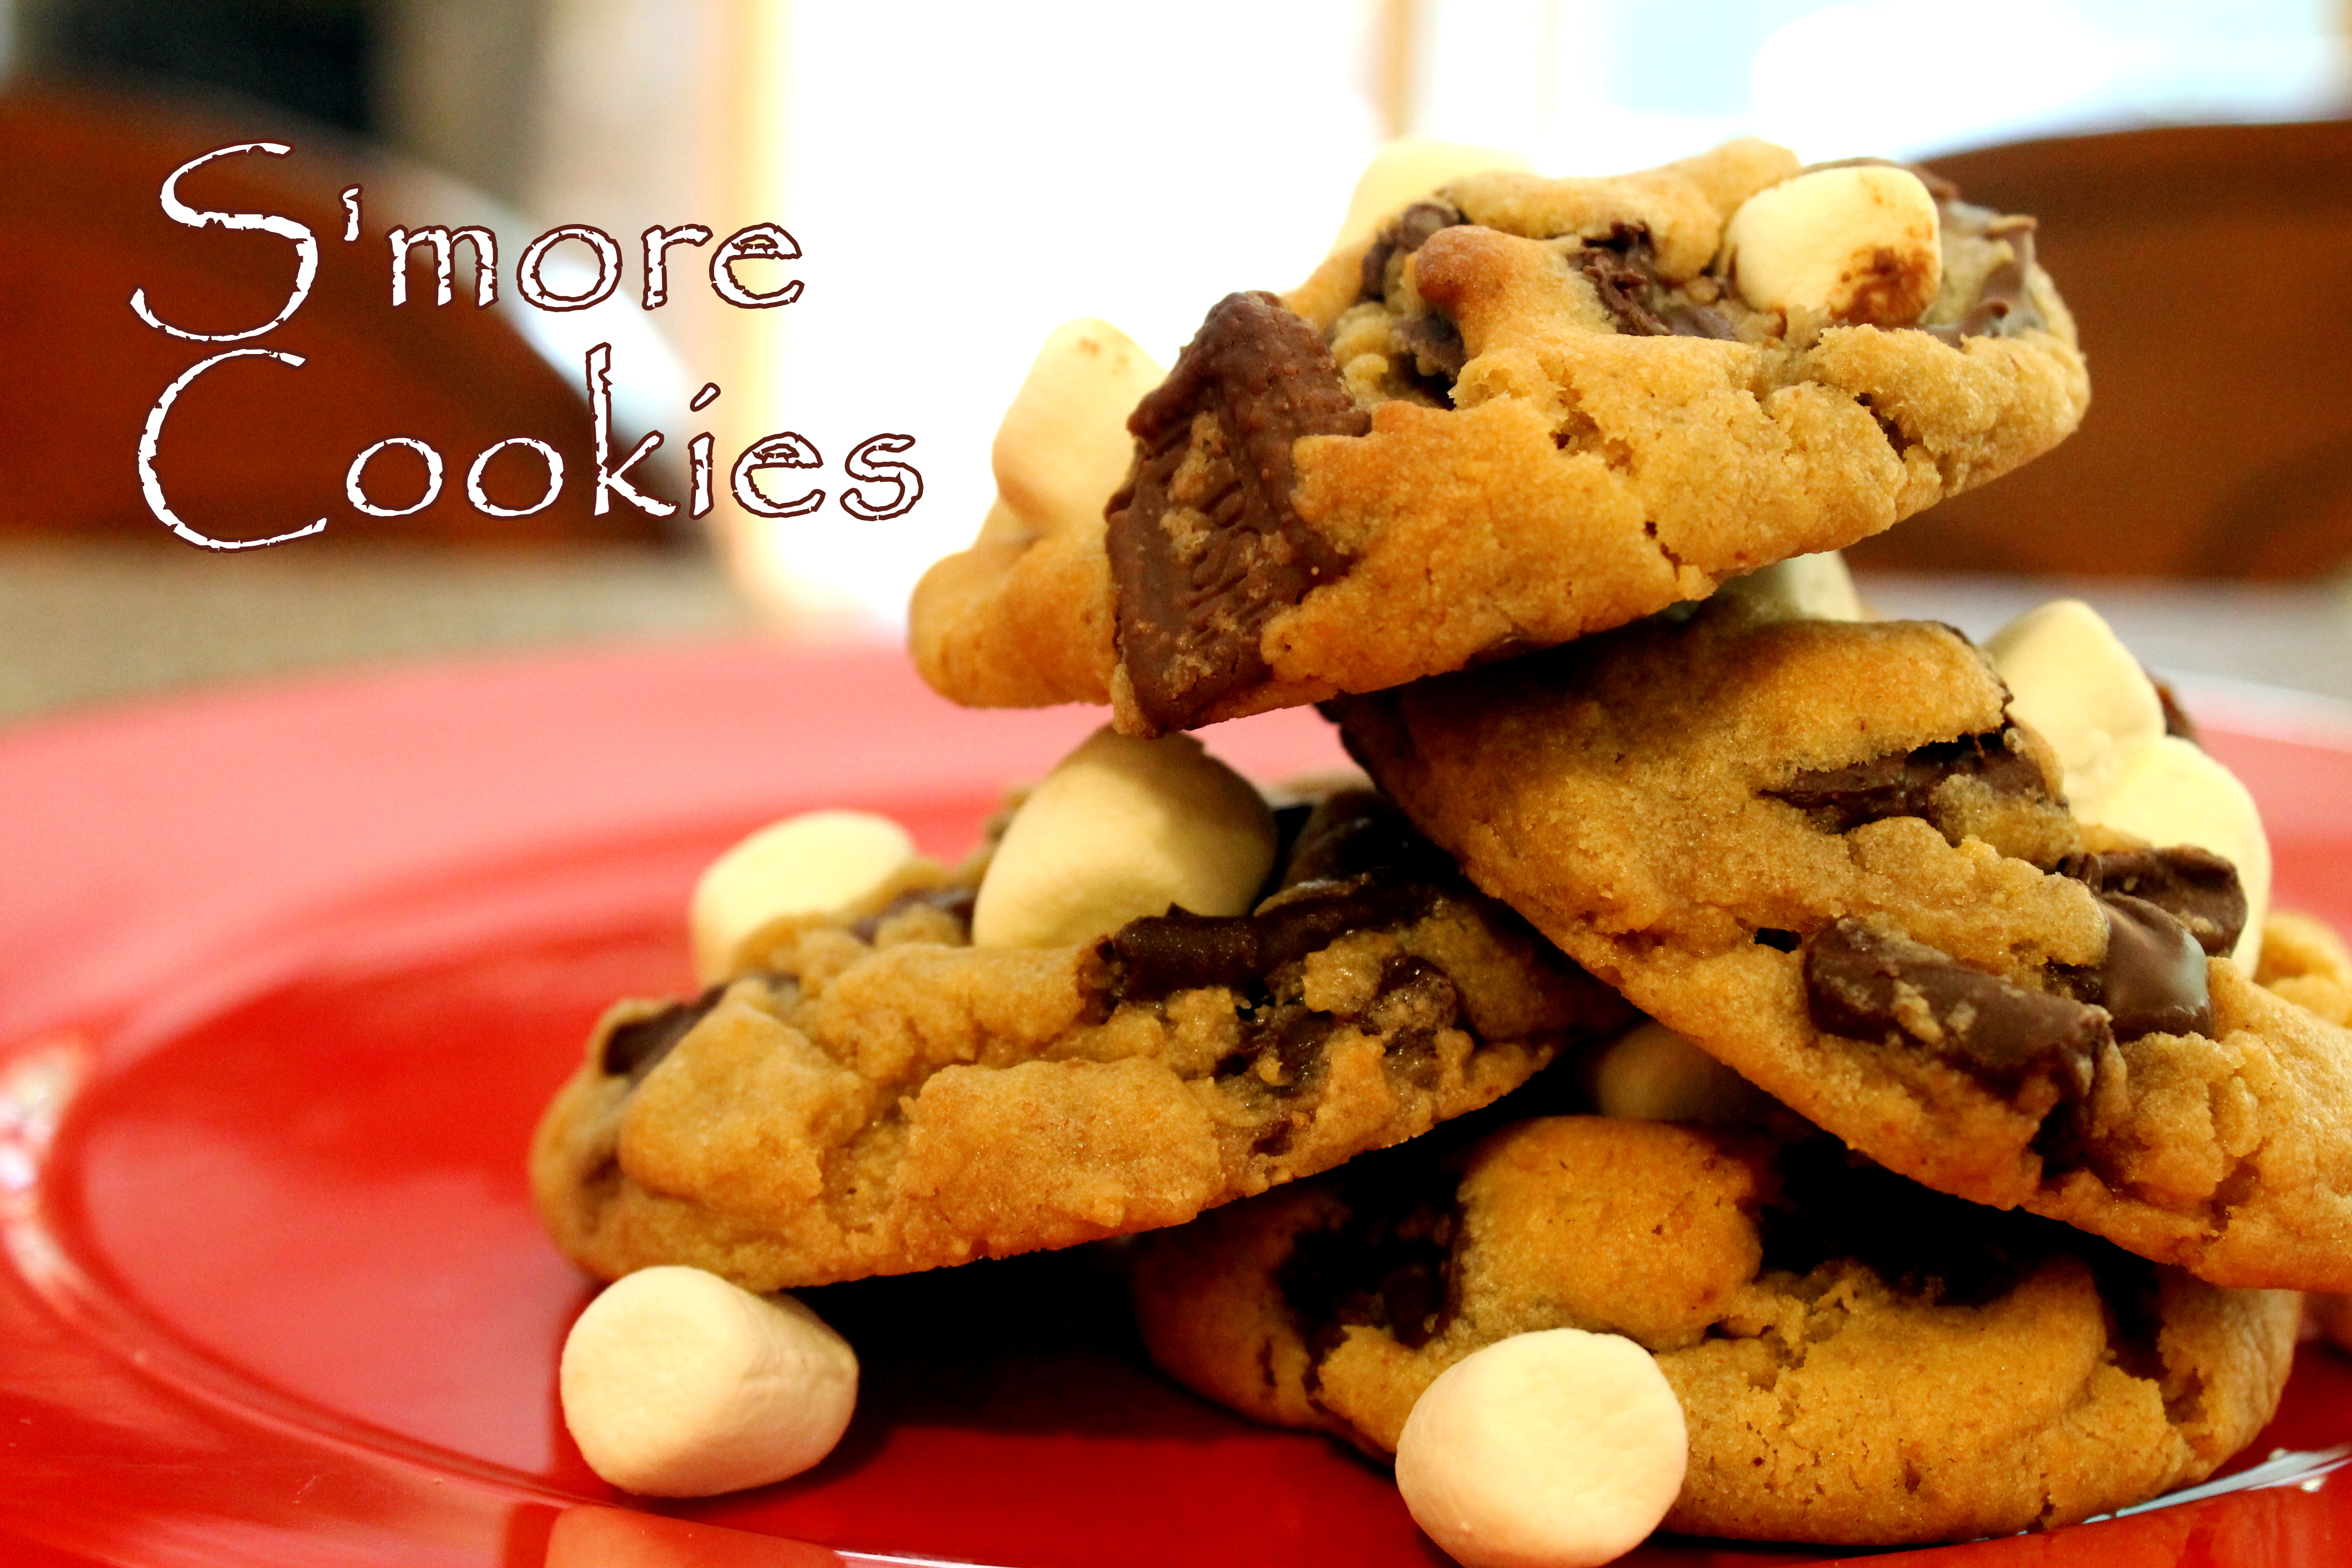
One day this Jodi chick is baking and sharing recipes…

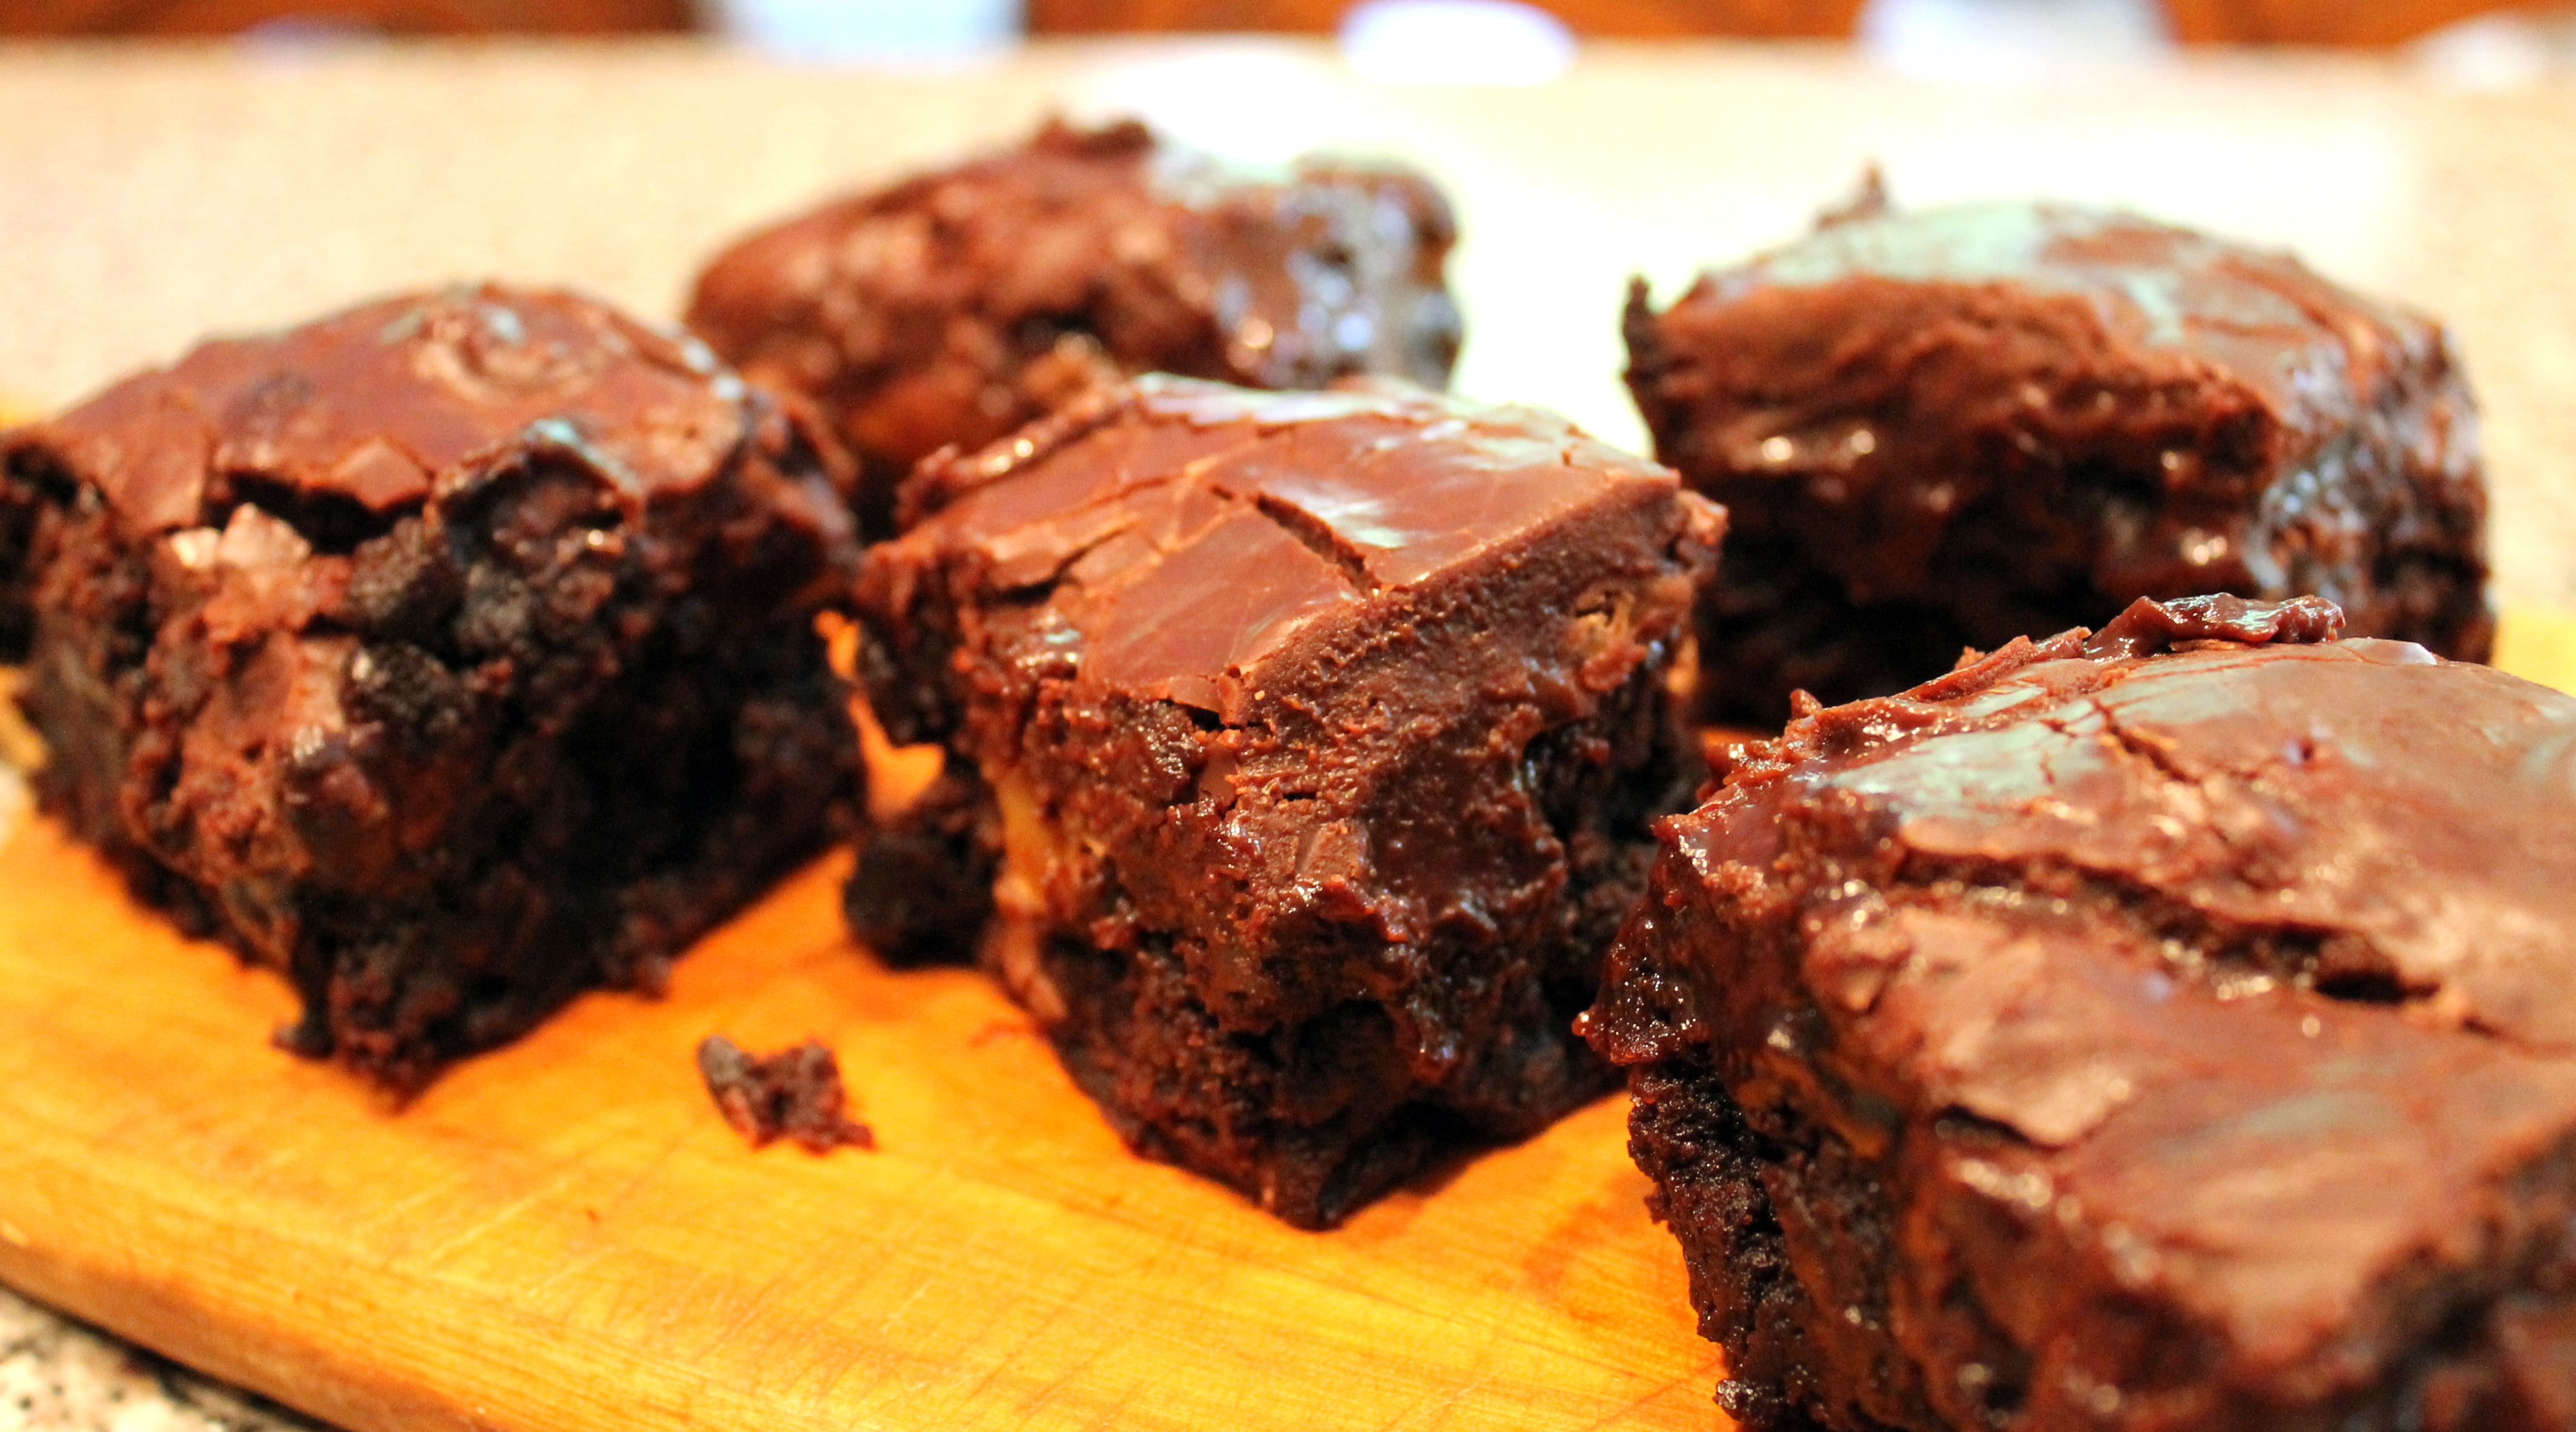
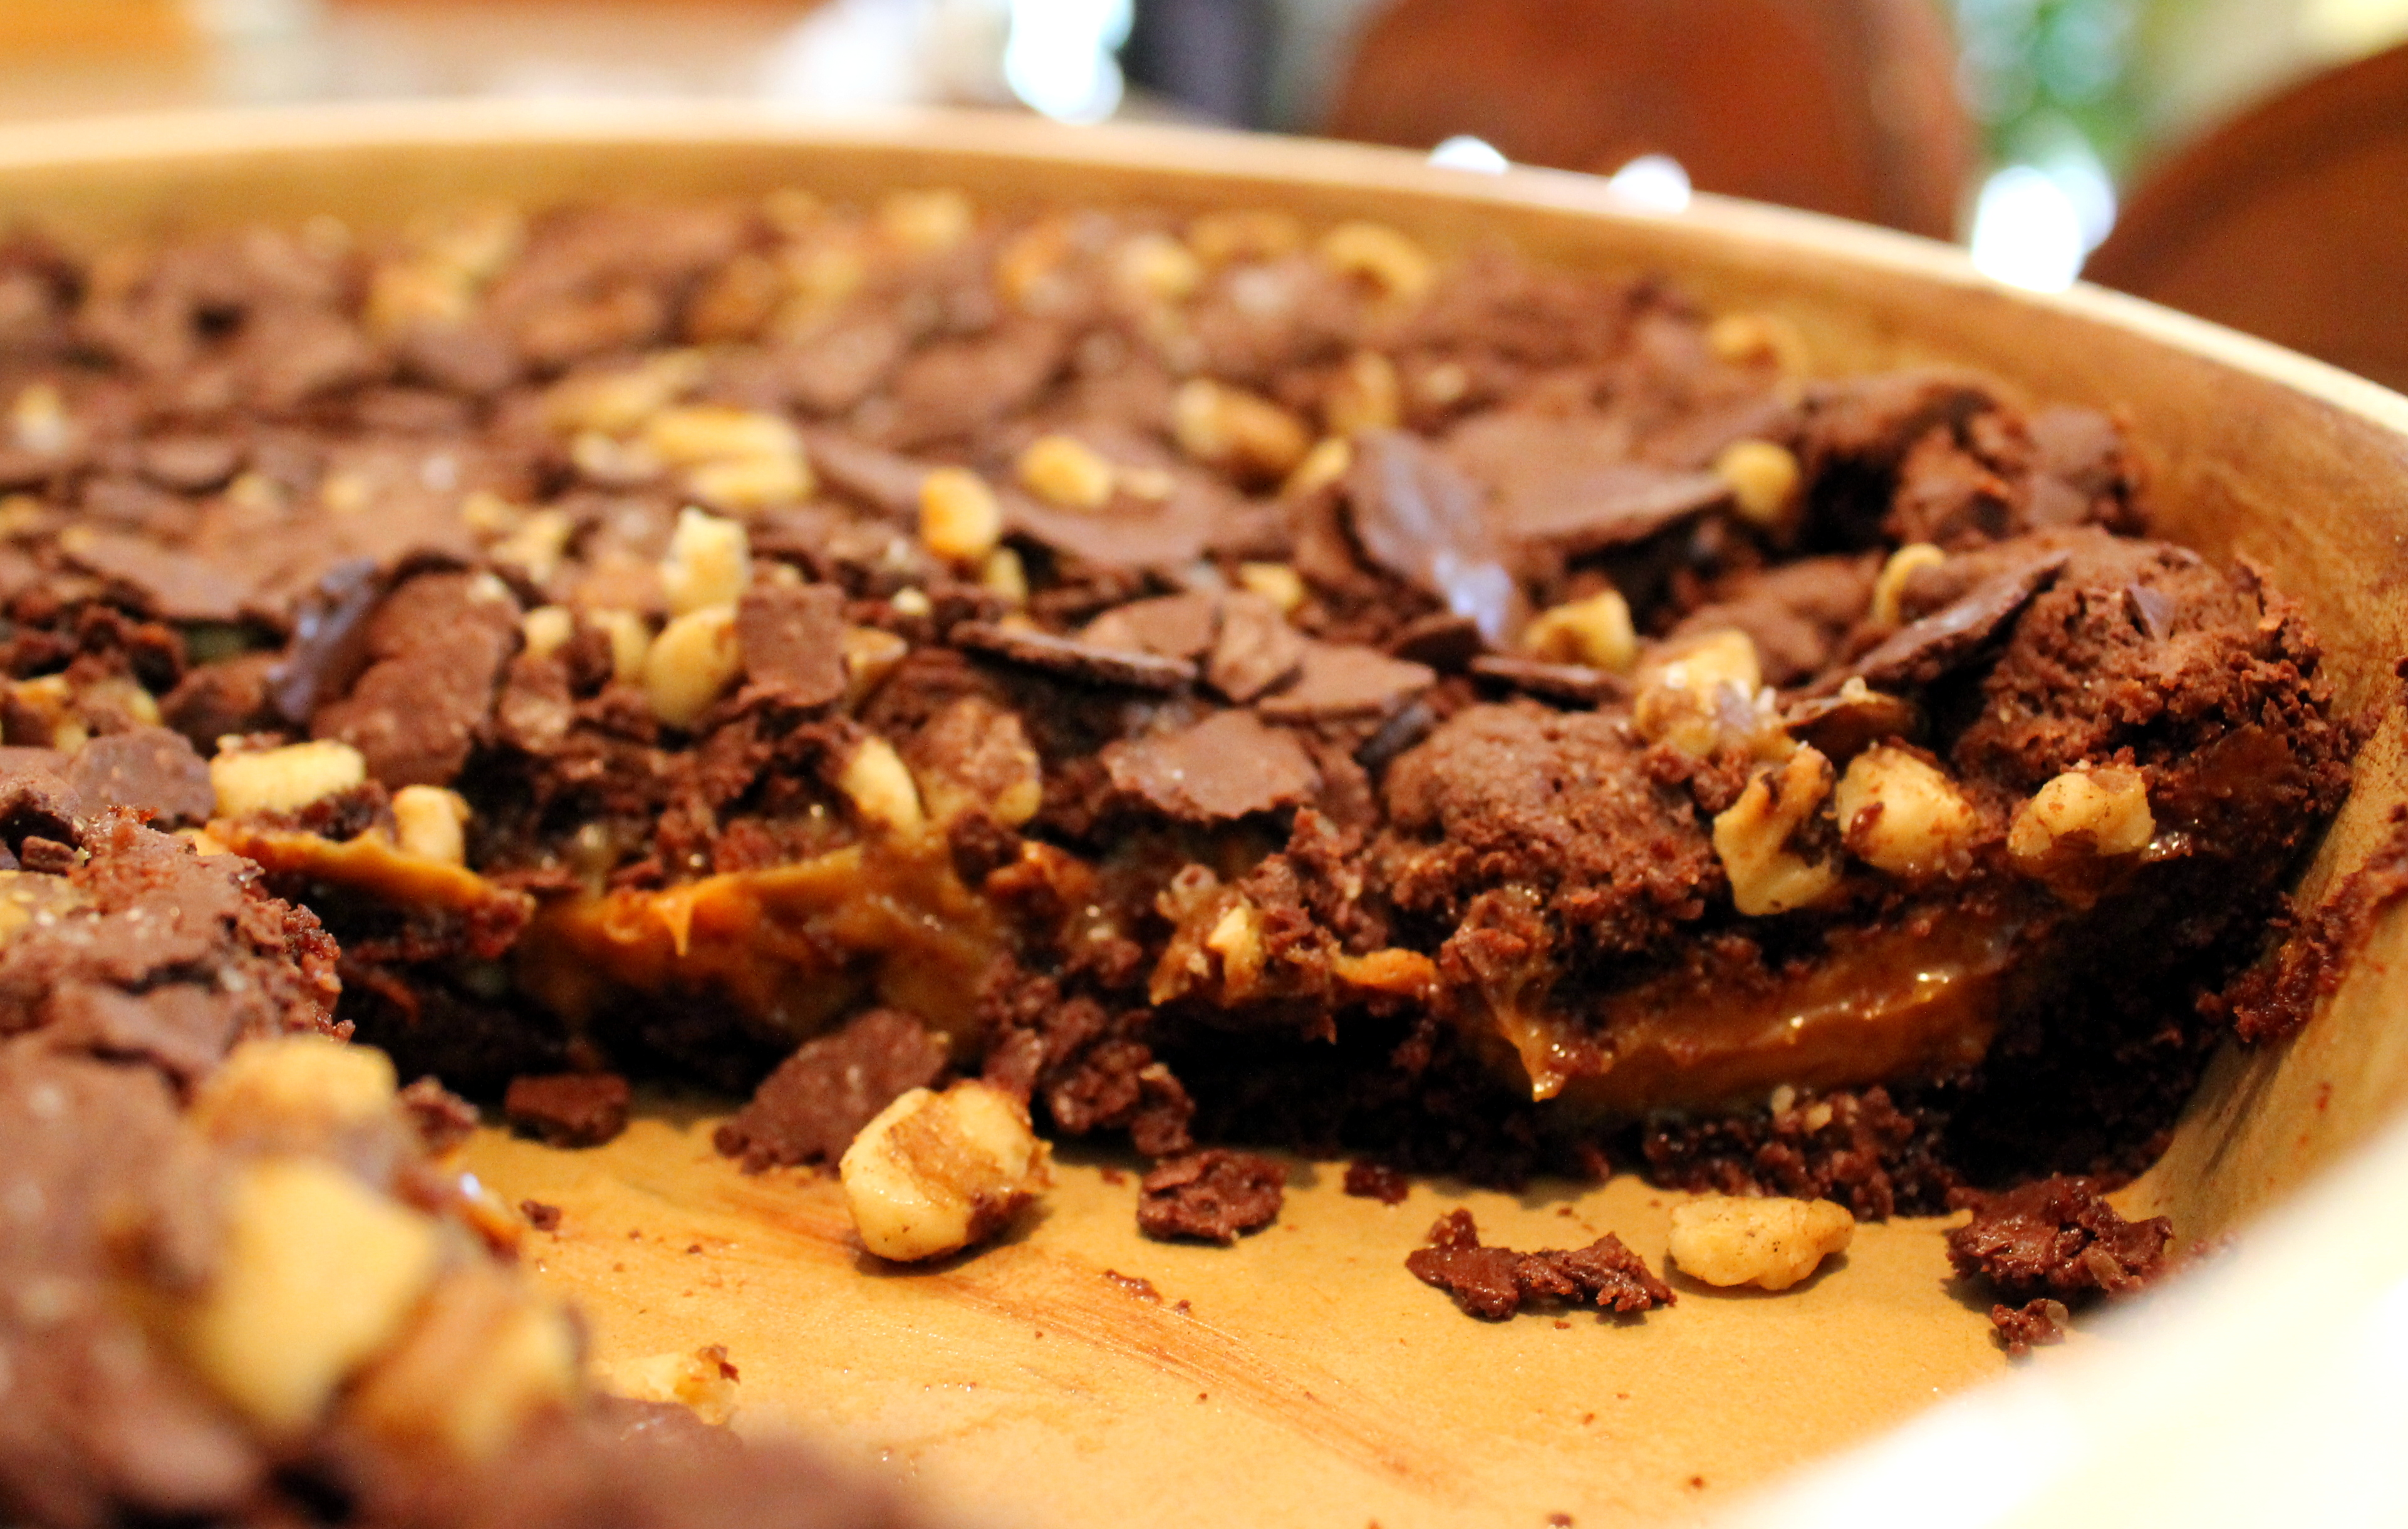
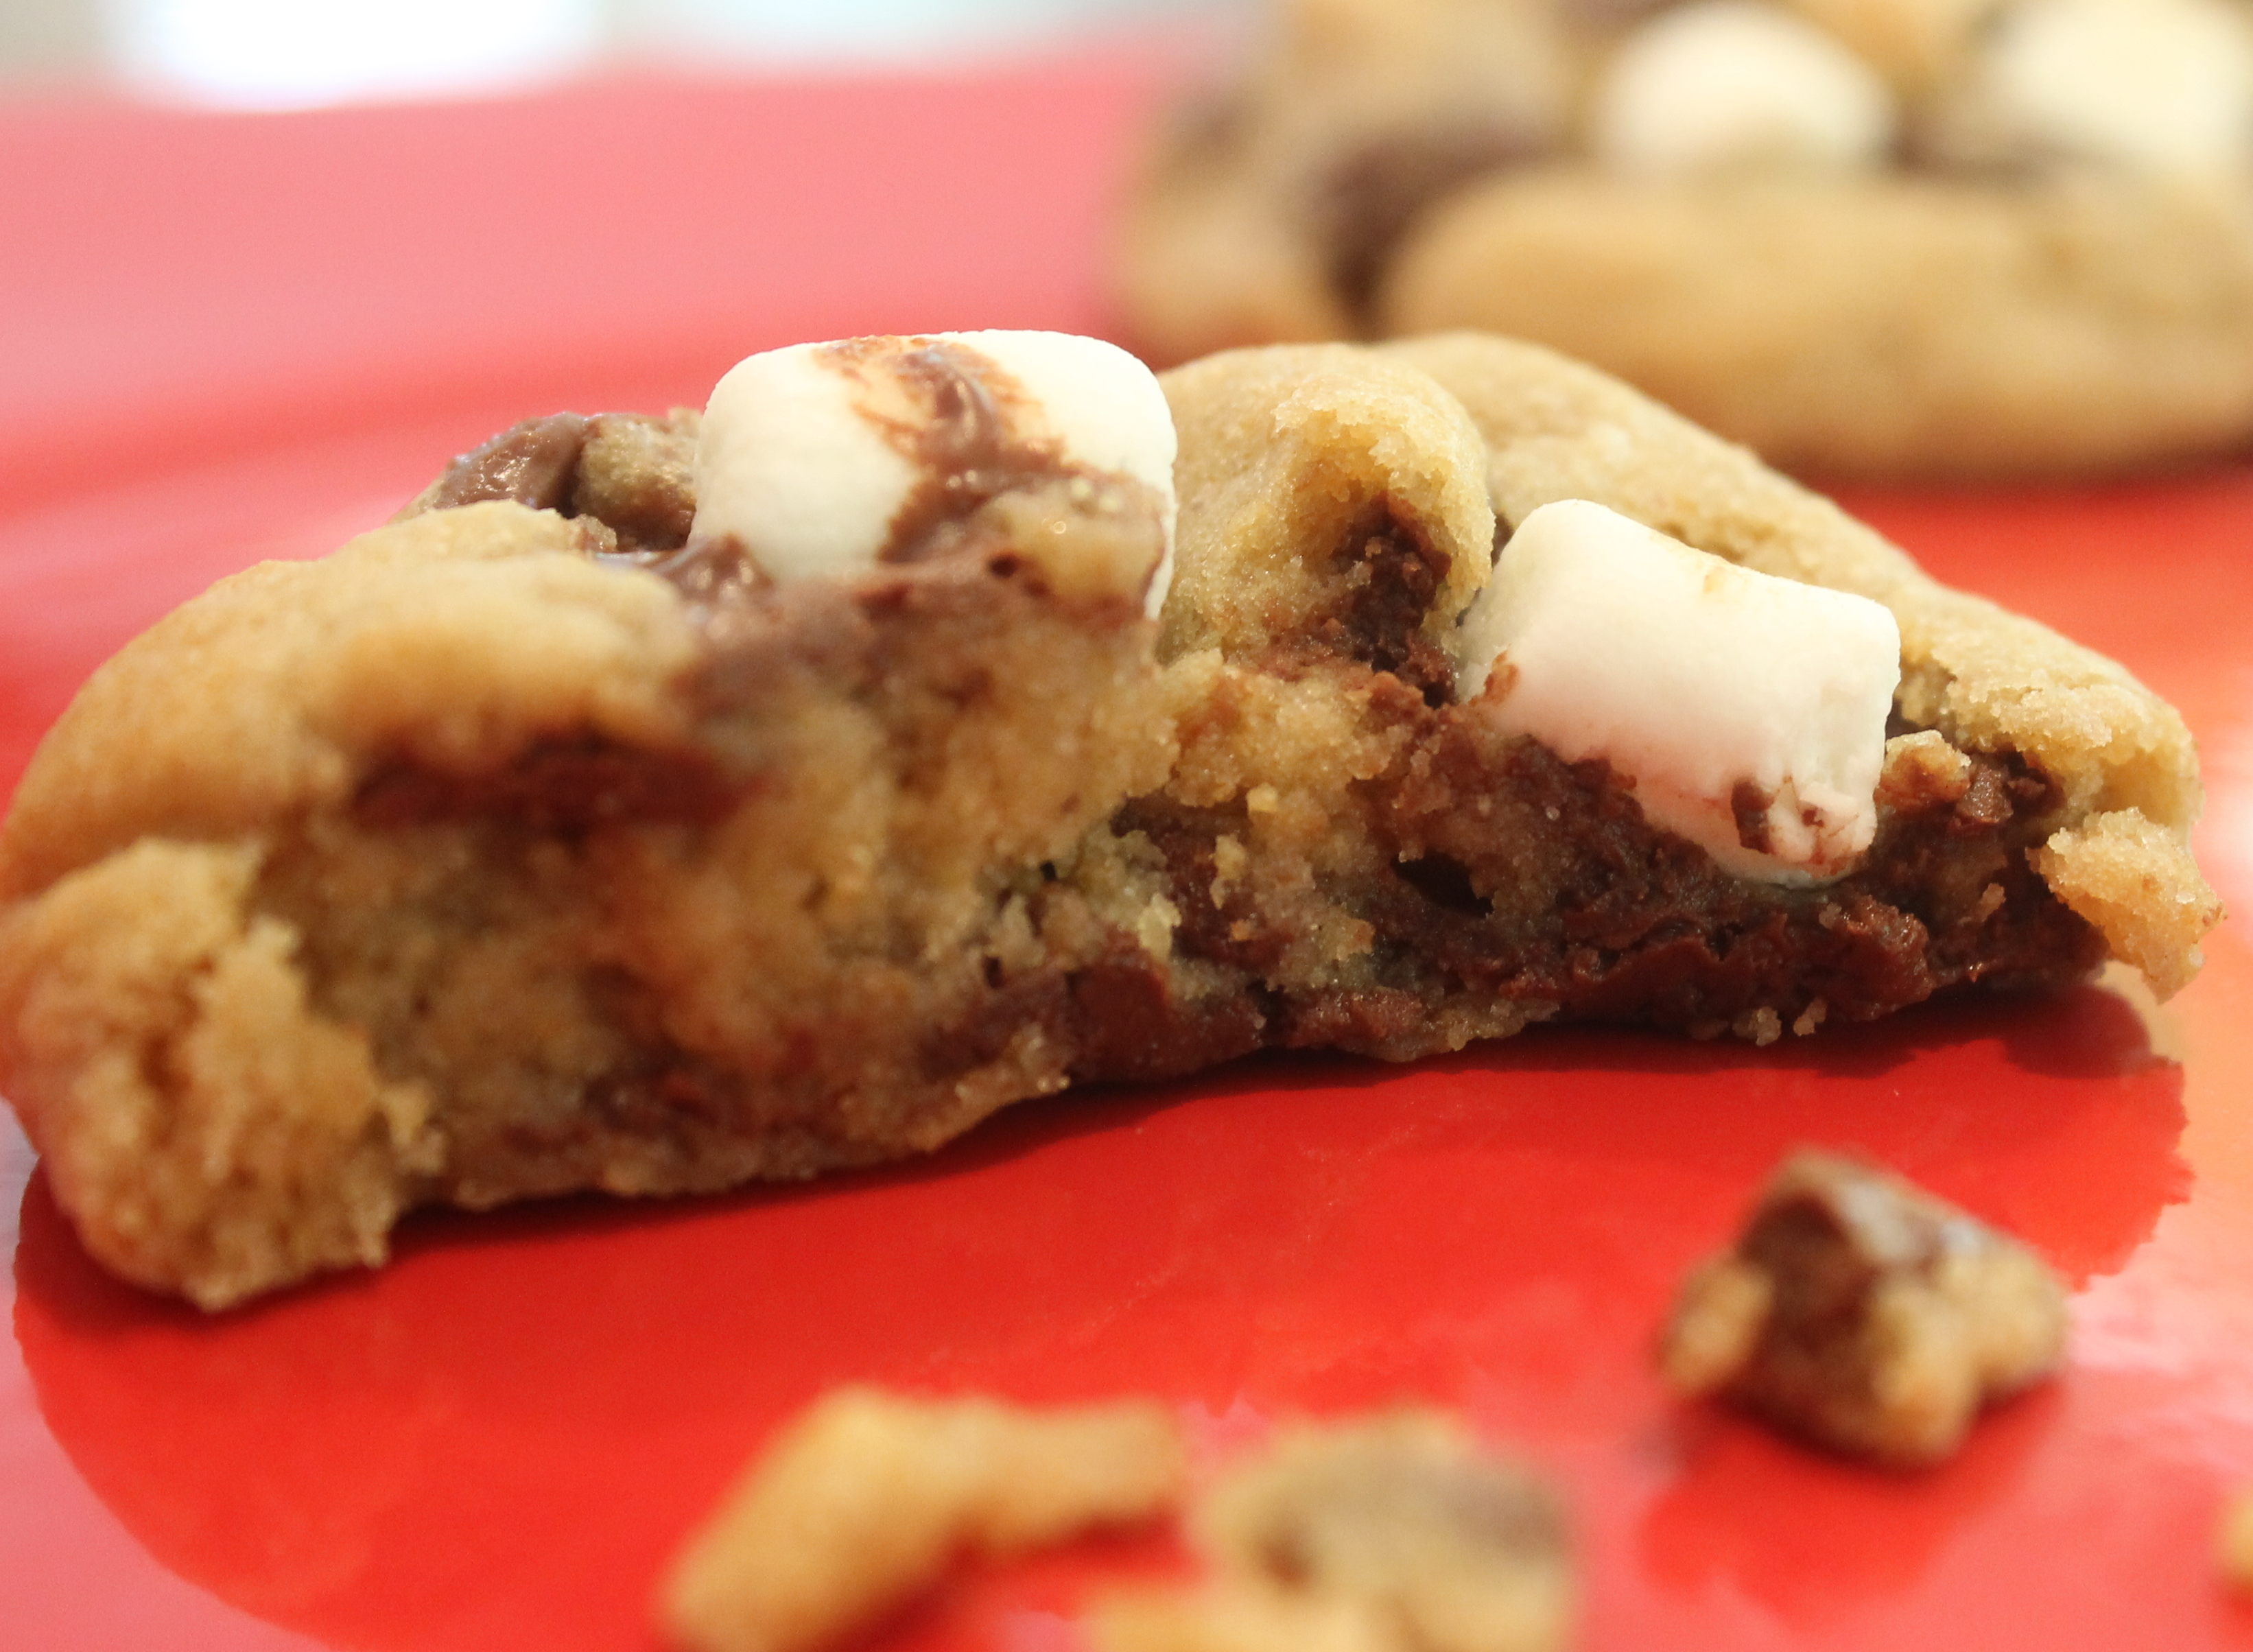
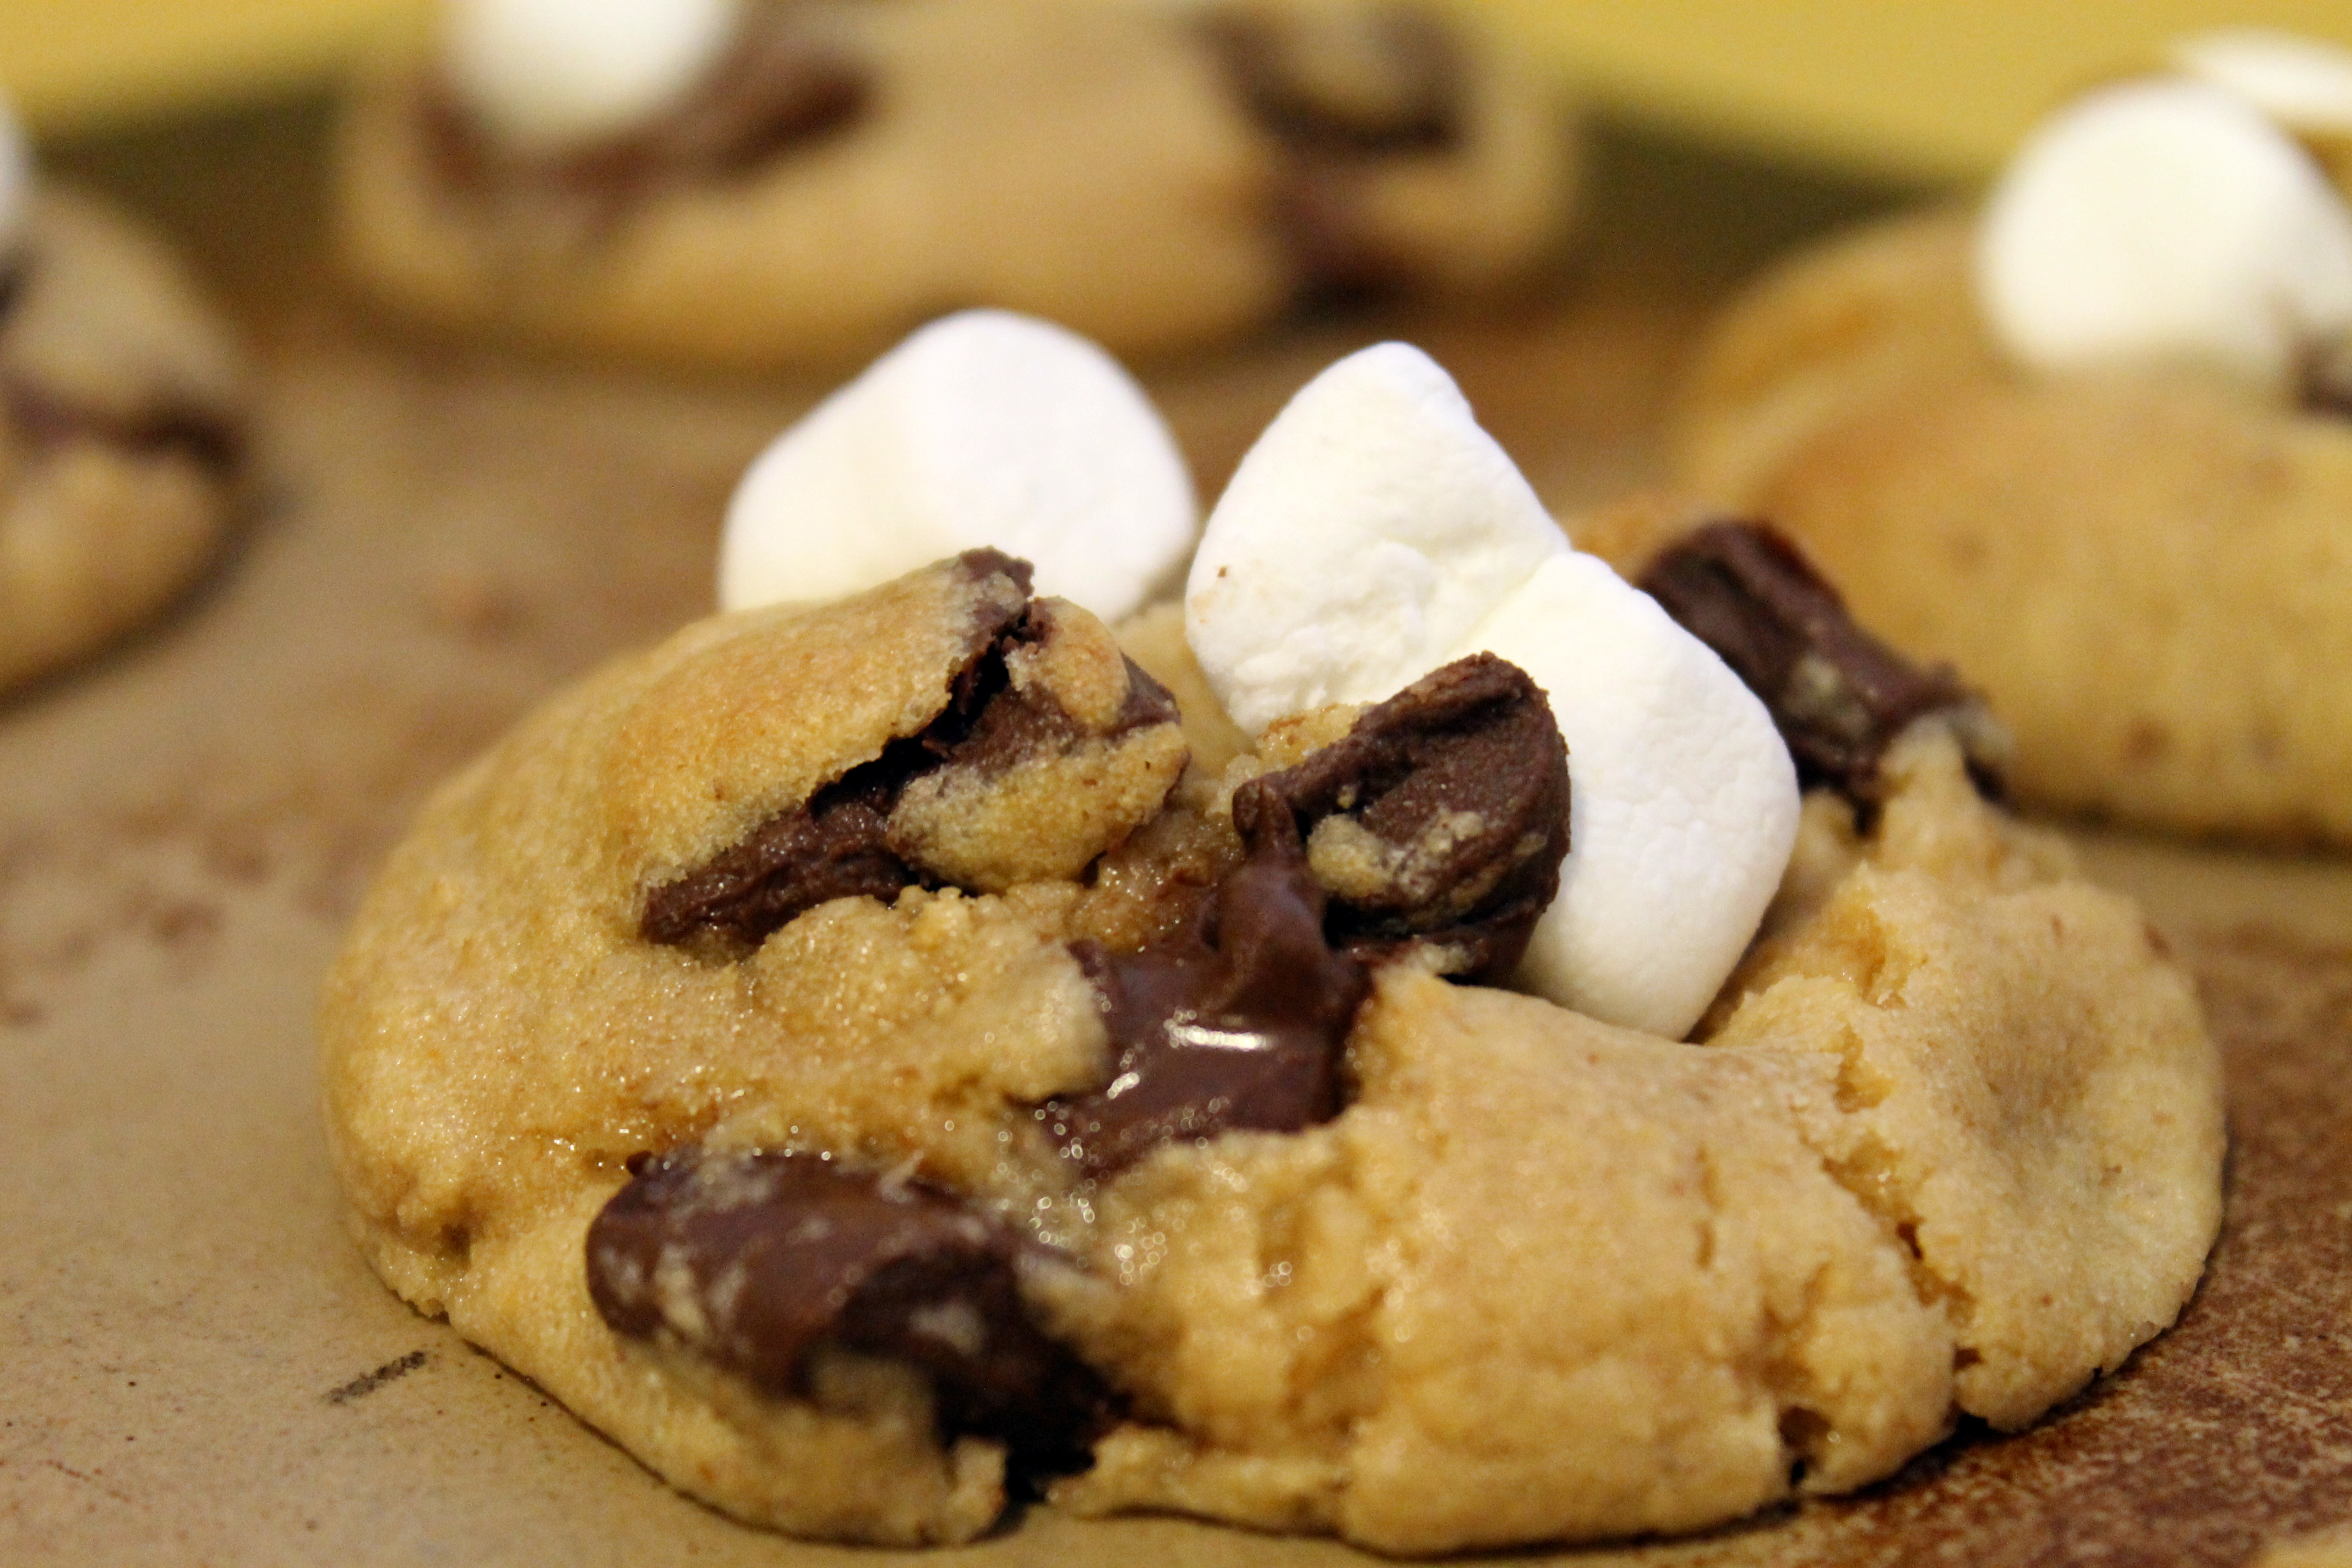
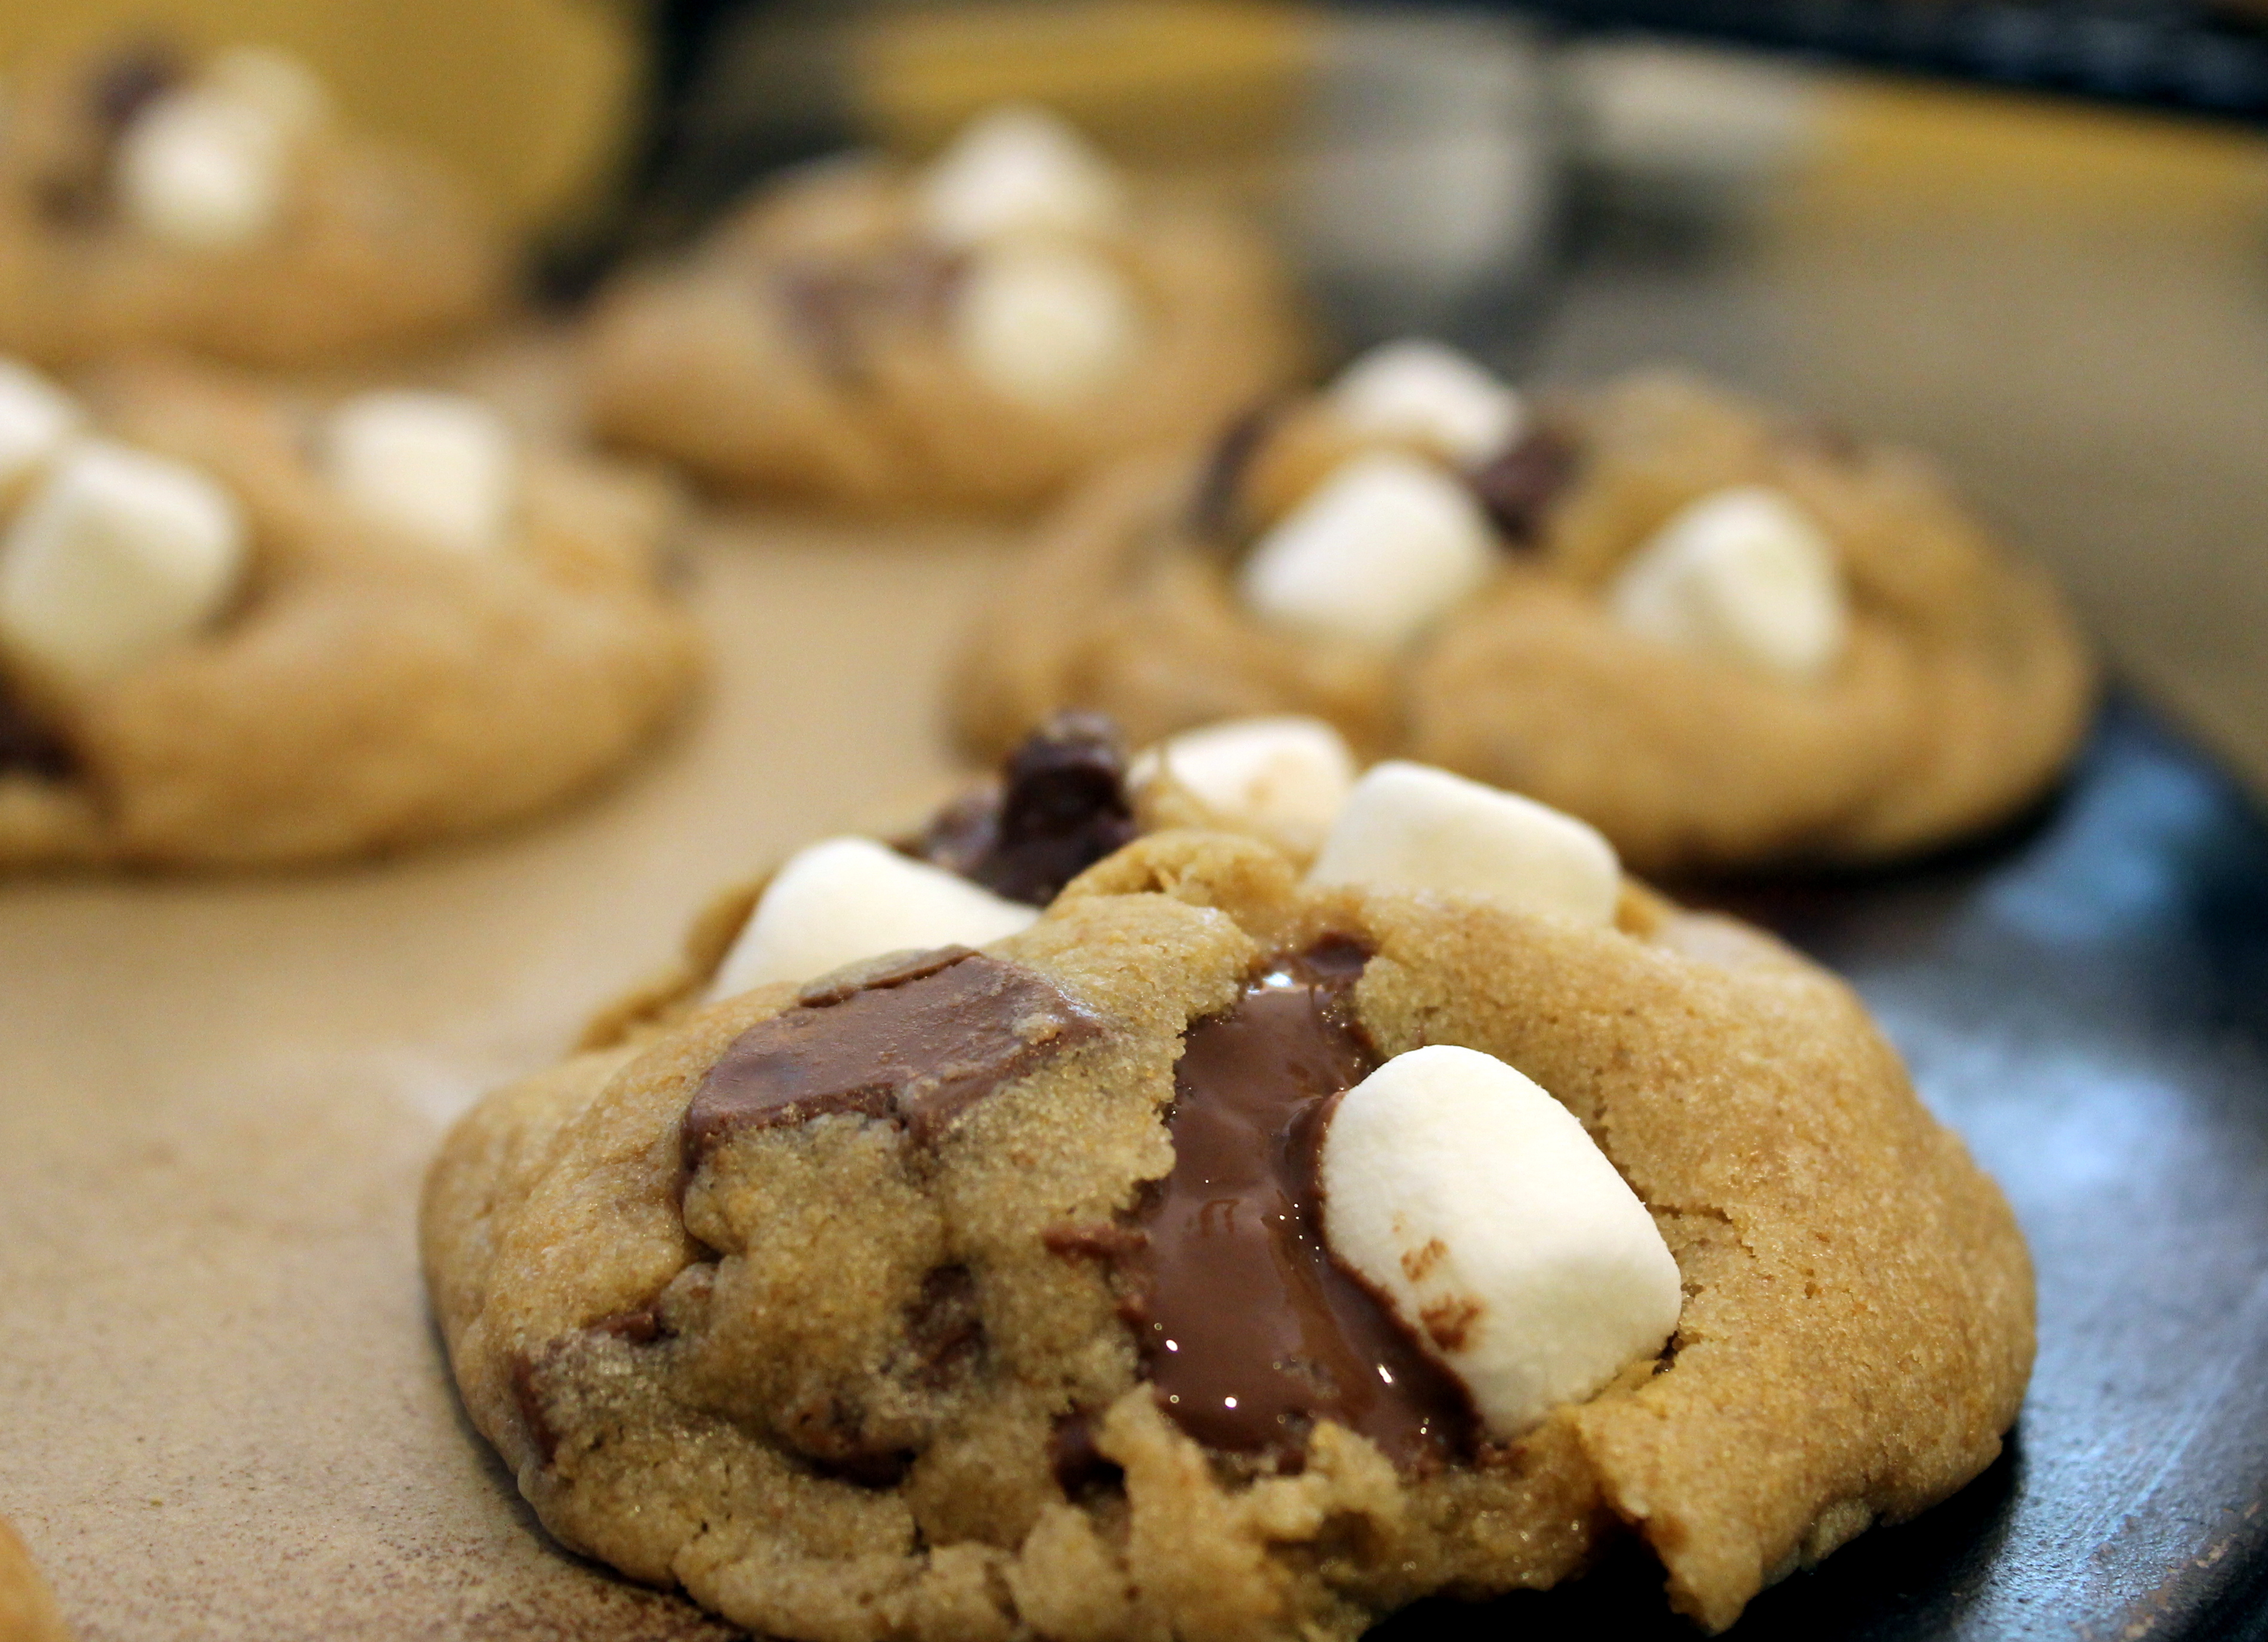
S’more Cookies Please!

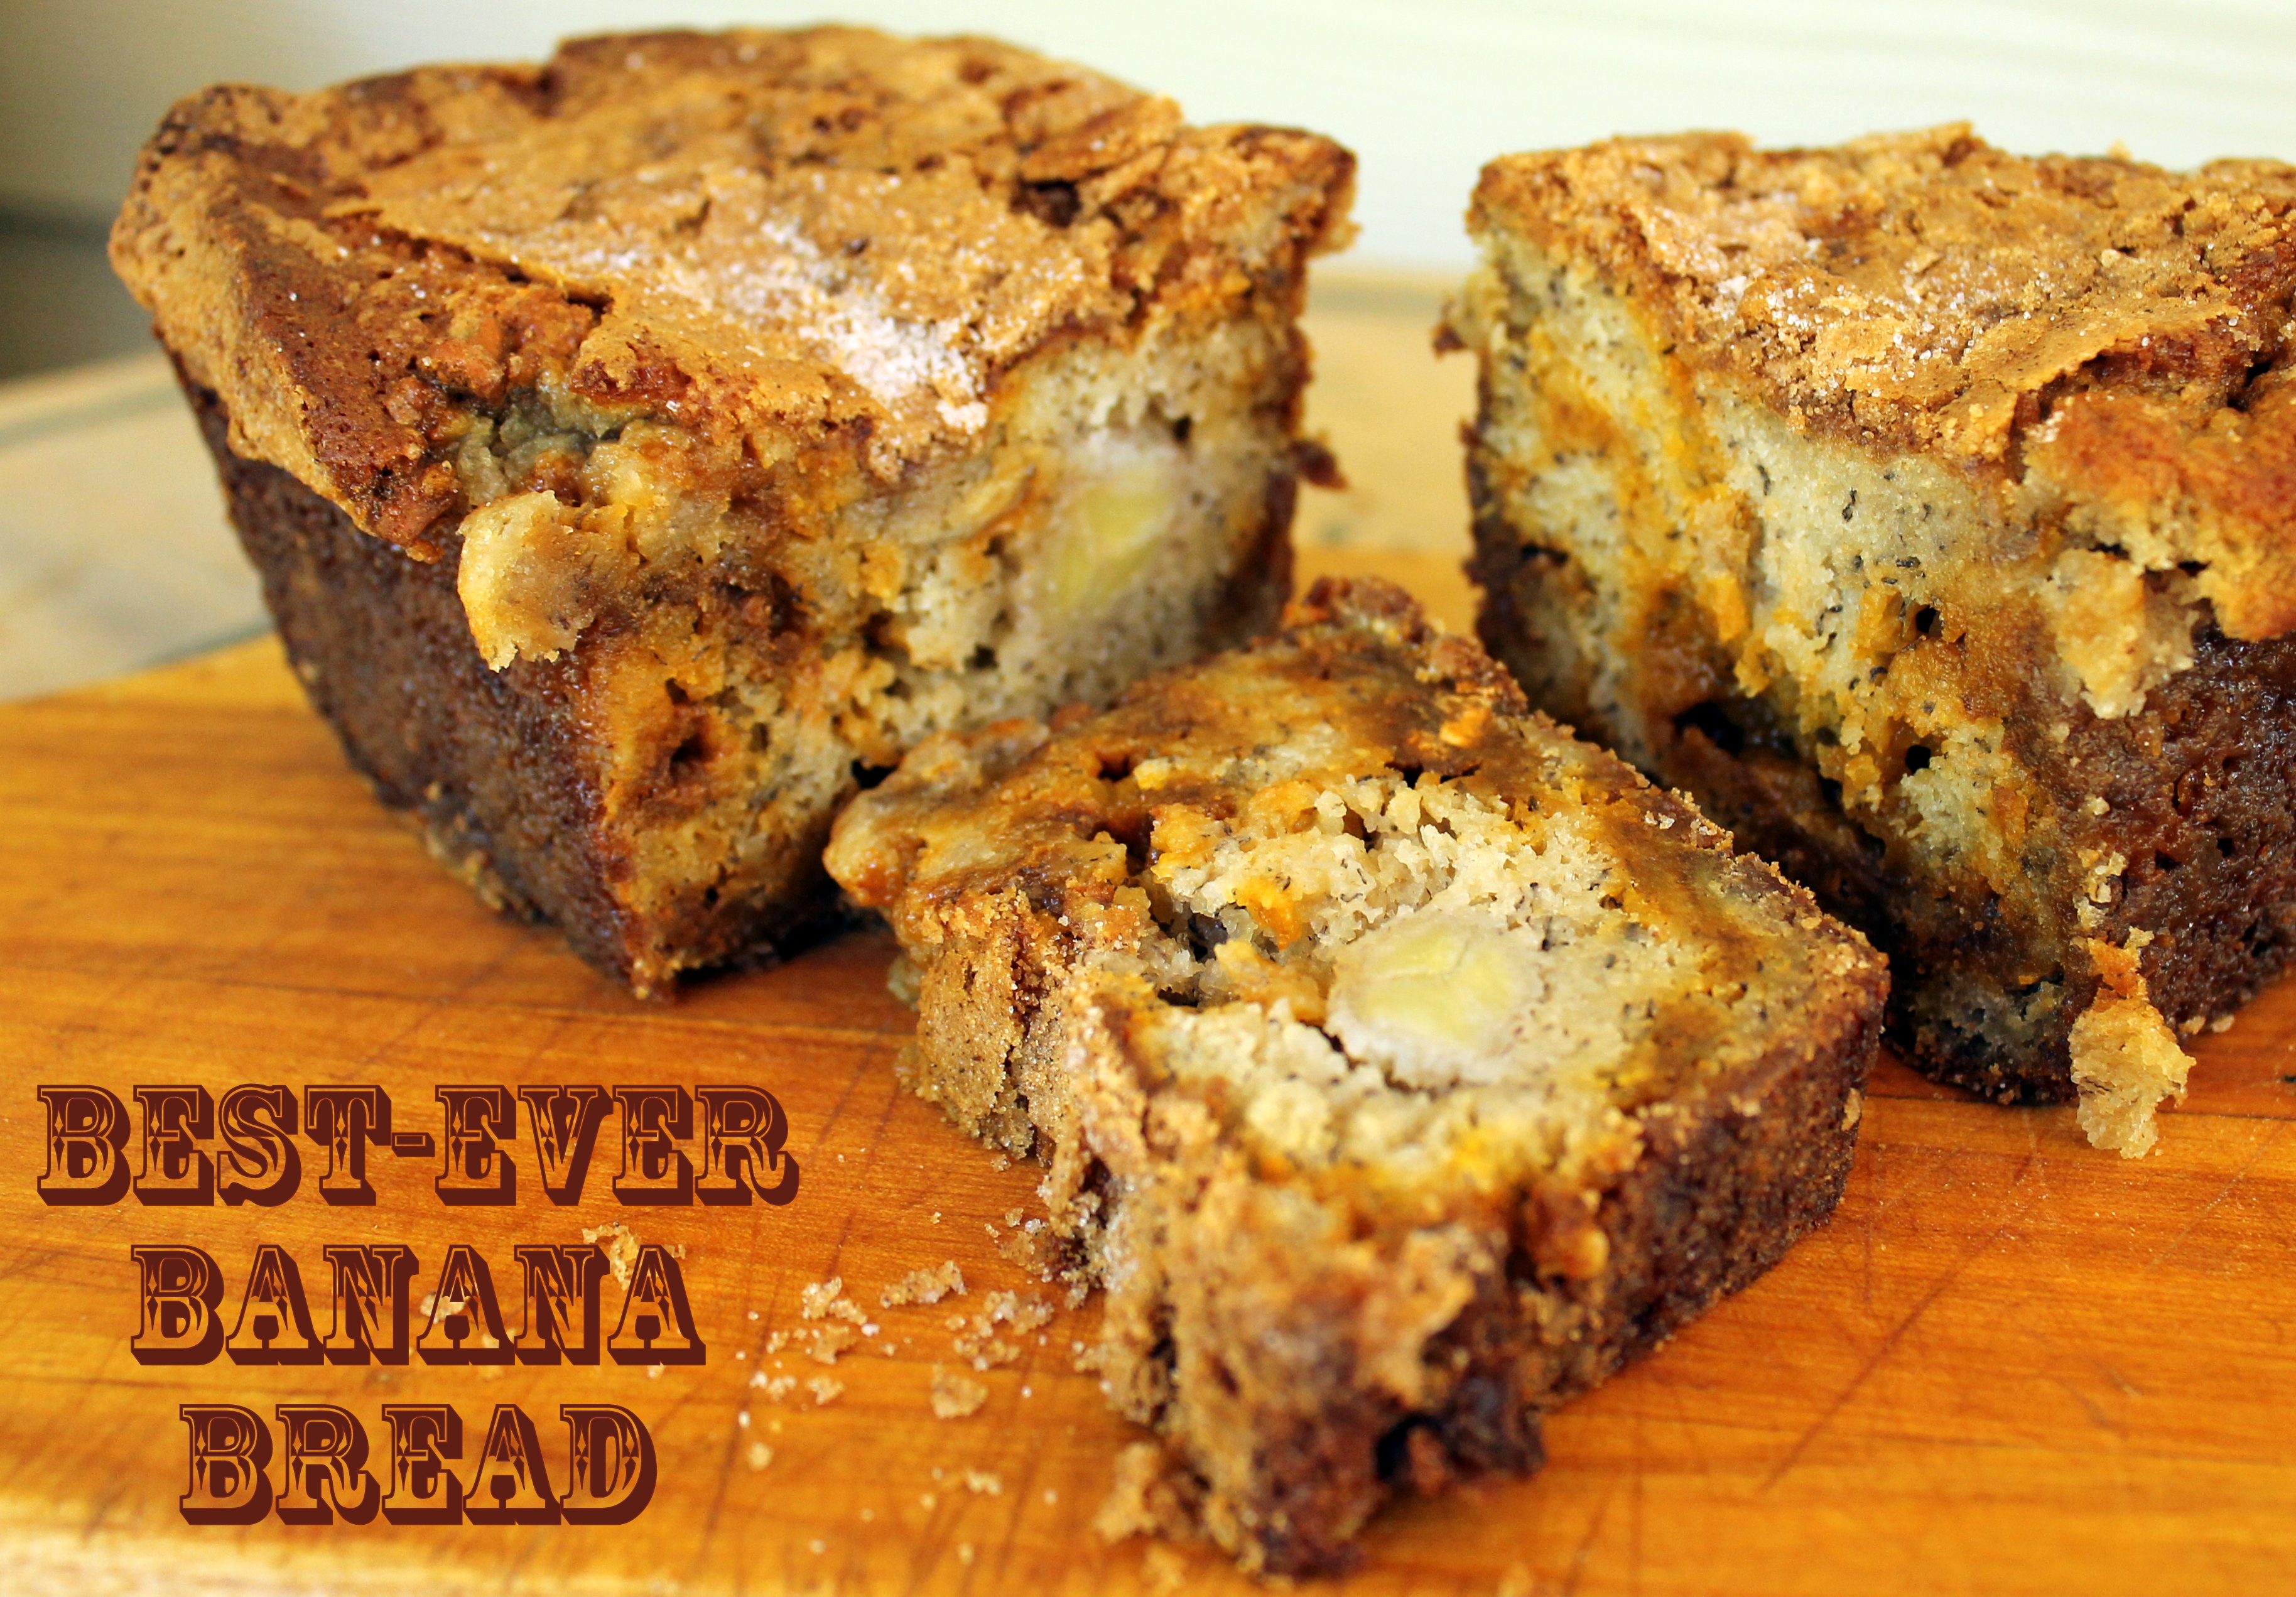
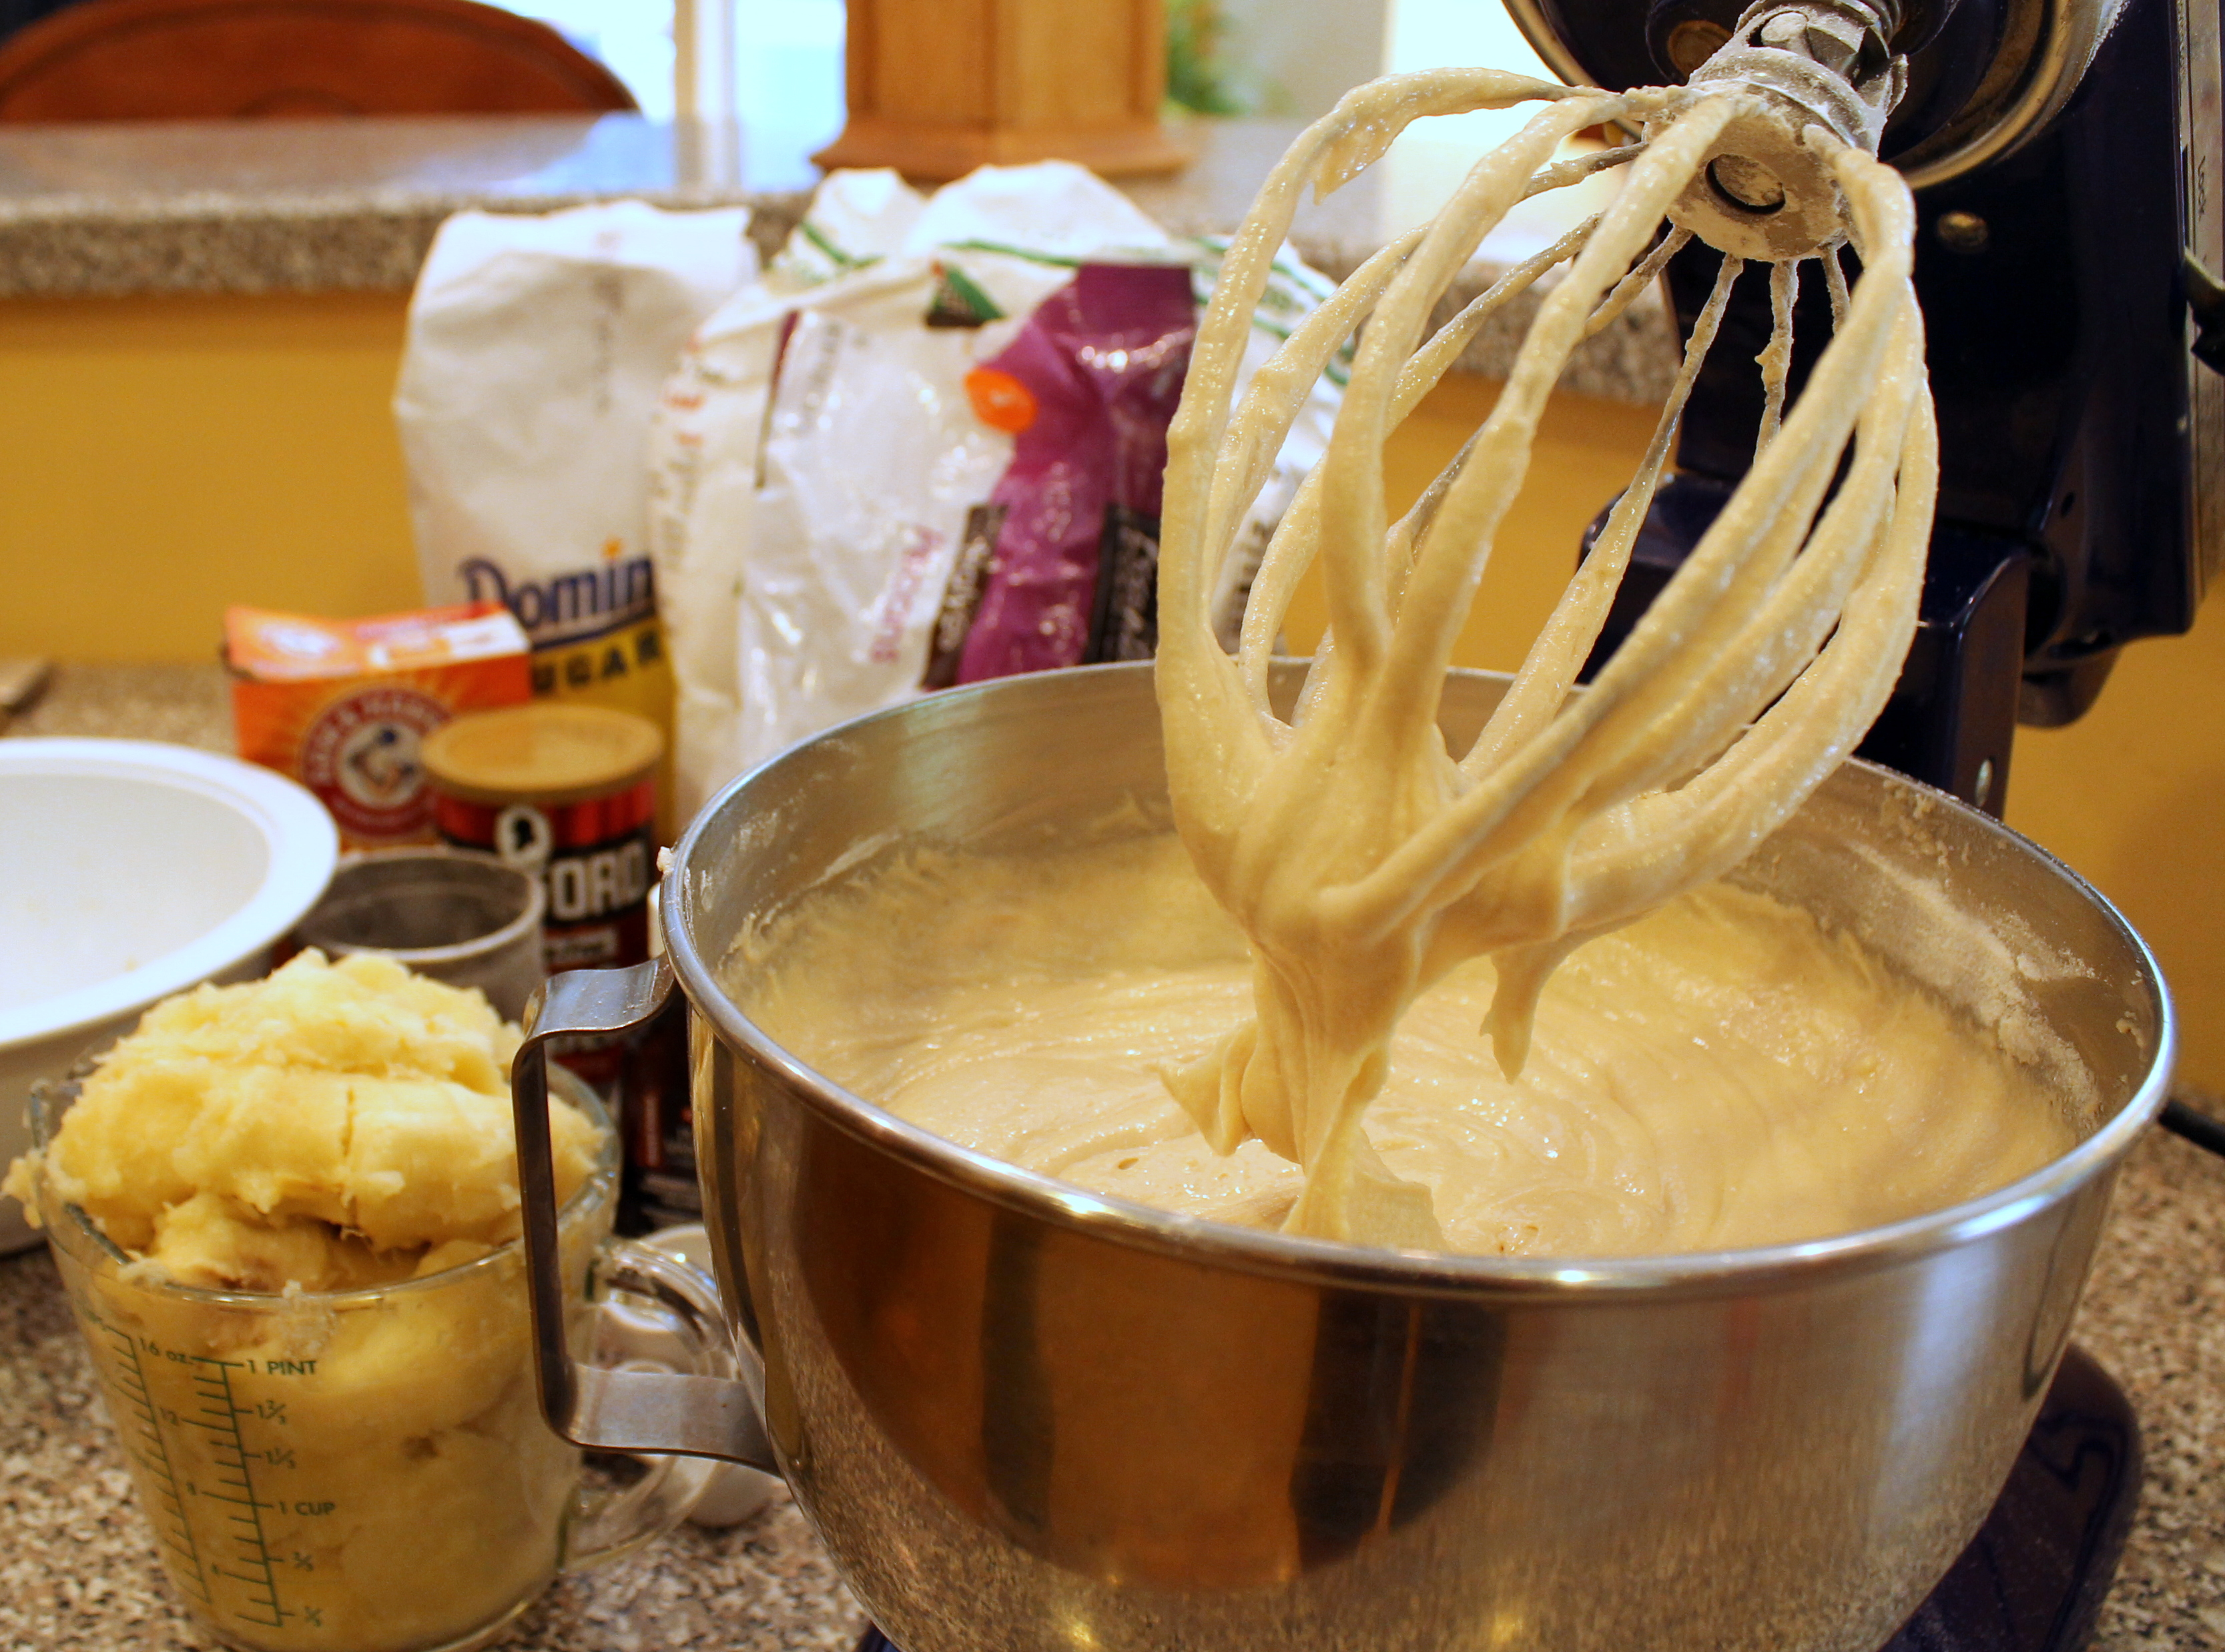
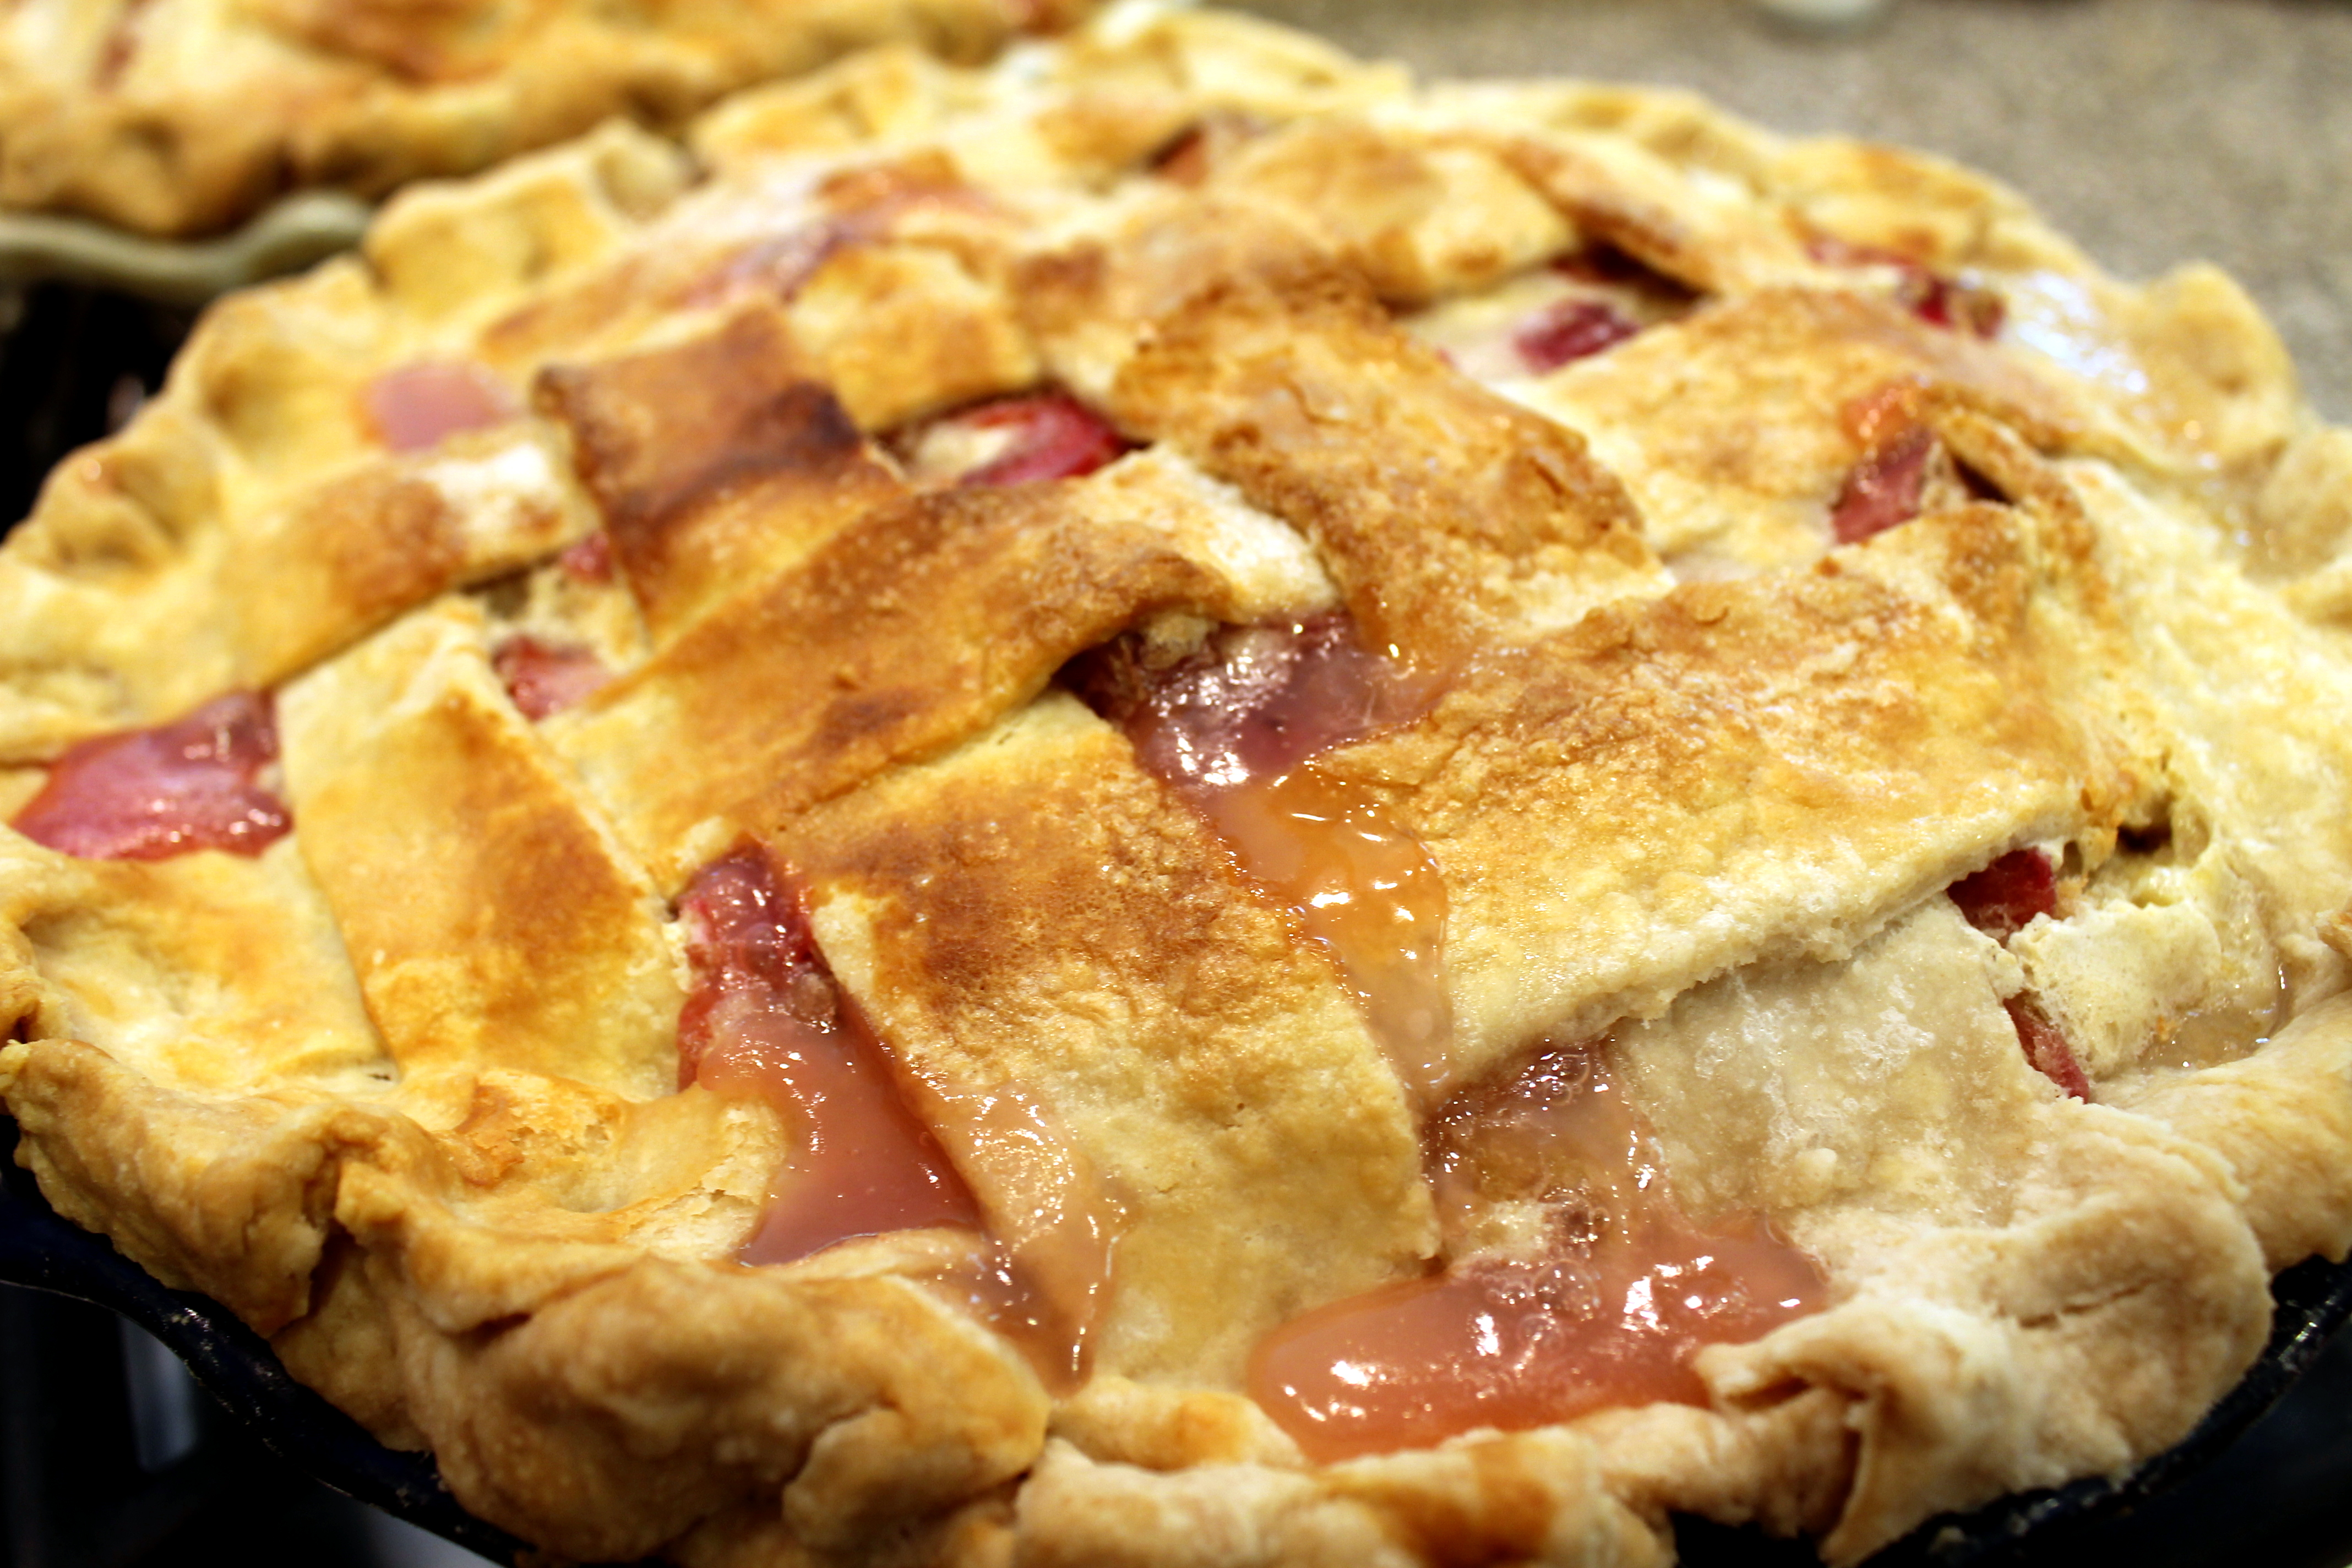
Homemade Haluski – Peasant Food Fit for a King
Another day stamping and gluing and cutting and sewing and card-marking…

Birthdays are for the Birds!

Ain’t it good to know you’ve got a Friend!
I also love to take photos and consider myself an amateur student of photography…

Hummin’ the Hummingbird Tune!

Sunday at the Pittsburgh Zoo
and writing and telling stories gives me such joy.

Remembering Grandma – Stella Star
I thrive on encouraging people – it’s in my DNA (or at least my DISC profile – LOL!)….

Remembering Moments
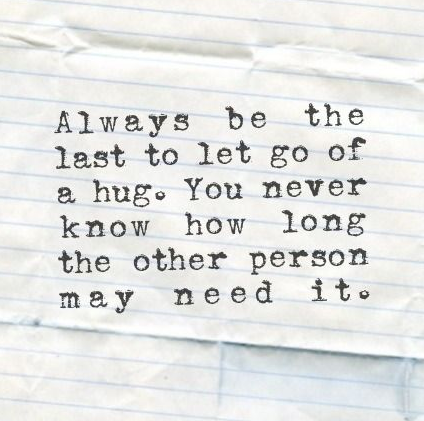
Hugs
and if I just could find the time to make 1/1,000,000th of the DIY ideas I’ve pinned on my Pinterest boards for decorating or gift-giving…

Wedding Survival Kit
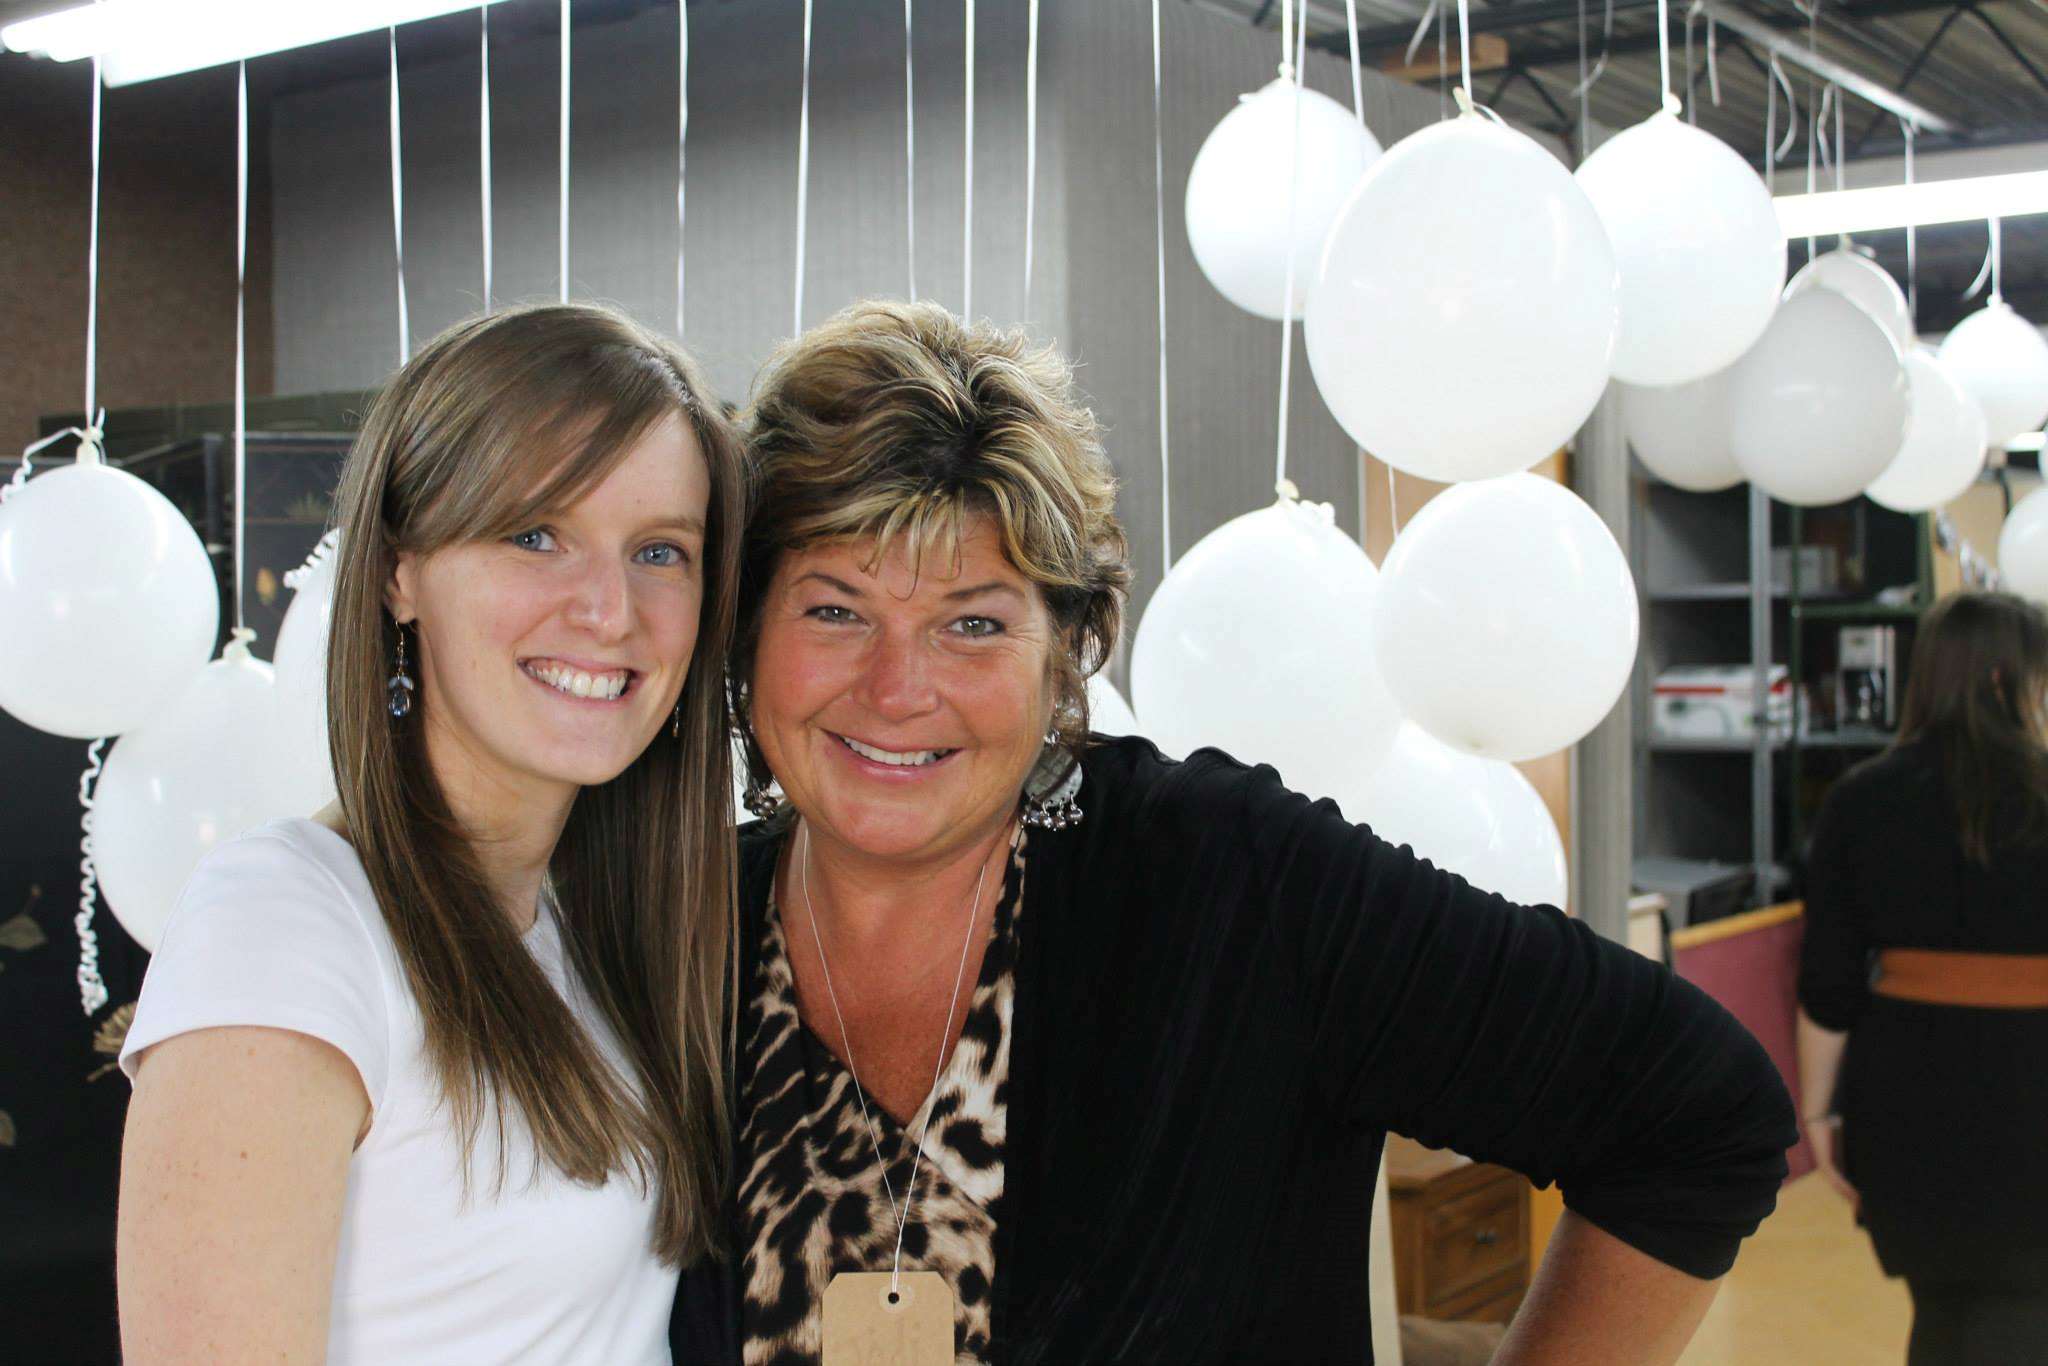
I adore spending time with my family and friends…

The Day We Almost Caught a Fish

Girlfriend Camp
I tinker with gardening…

The Great Tomato Caper
and I truly seek to discover and learn new things always – it keeps me (ahem) young and alive…

A Visit to Four Points Alpacas
I enjoy doing so many things (and am so fortunate to work a full-time job I love too!) that I just wish there were more hours in the day…
or at least wish that I was one of those people that only needed 3-4 hours of sleep a day (tried it for a while – didn’t work out – dangit!)
I sure am a jack of many hobbies and master of none.
But it is fun to be that way – eh?!?
And I love sharing the journey with you – my supportive friends that have encouraged and continue to encourage me to write my blog – and those that have become new friends along this journey.

Tough Mudder
It is so exciting to see new friends subscribe, and comment, and “like” daily.
So on this Labor Day Holiday – I just thought I would share some of these faves from the 100+ posts I’ve shared so far from this labor of love blog I call LifeInBetween.me.
It was really hard to pick favorites, as I have LOVED writing and sharing every single one of them.
What is your favorite thing I write about?
I’d love to hear from you.
Happy Labor Day! Make every thing you labor over a labor of love!
Cheers & Hugs,
Jodi