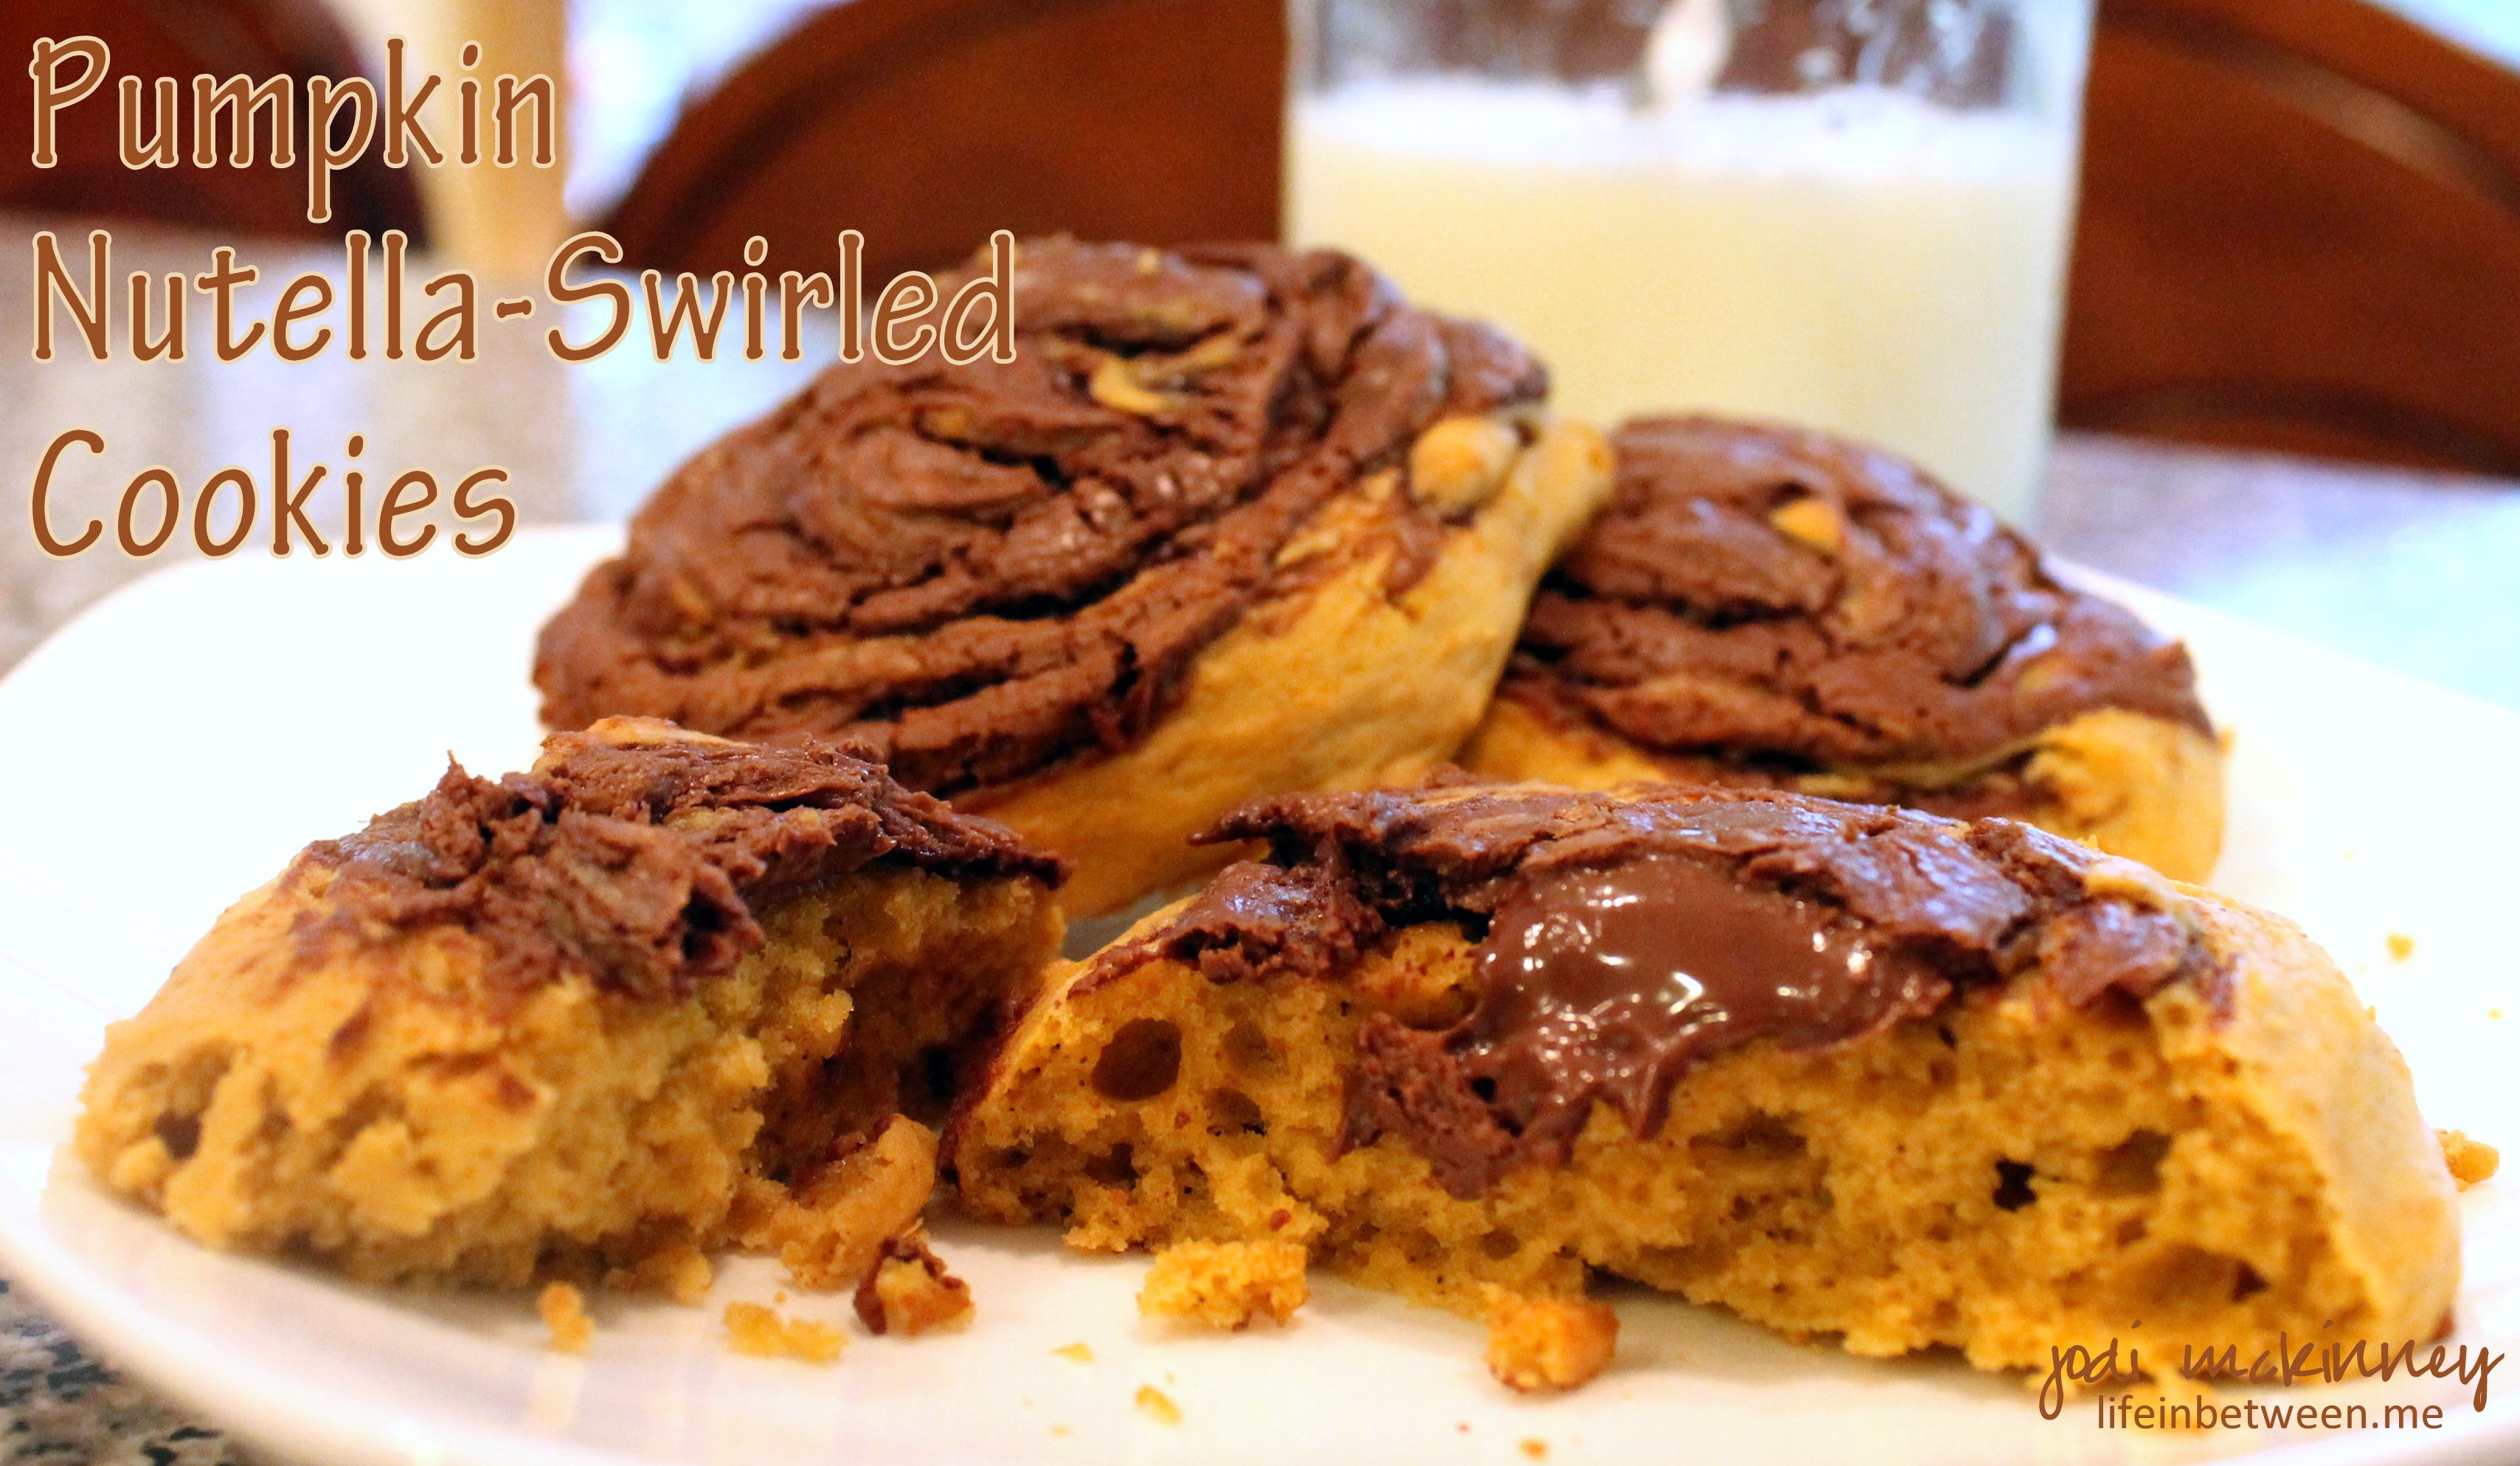
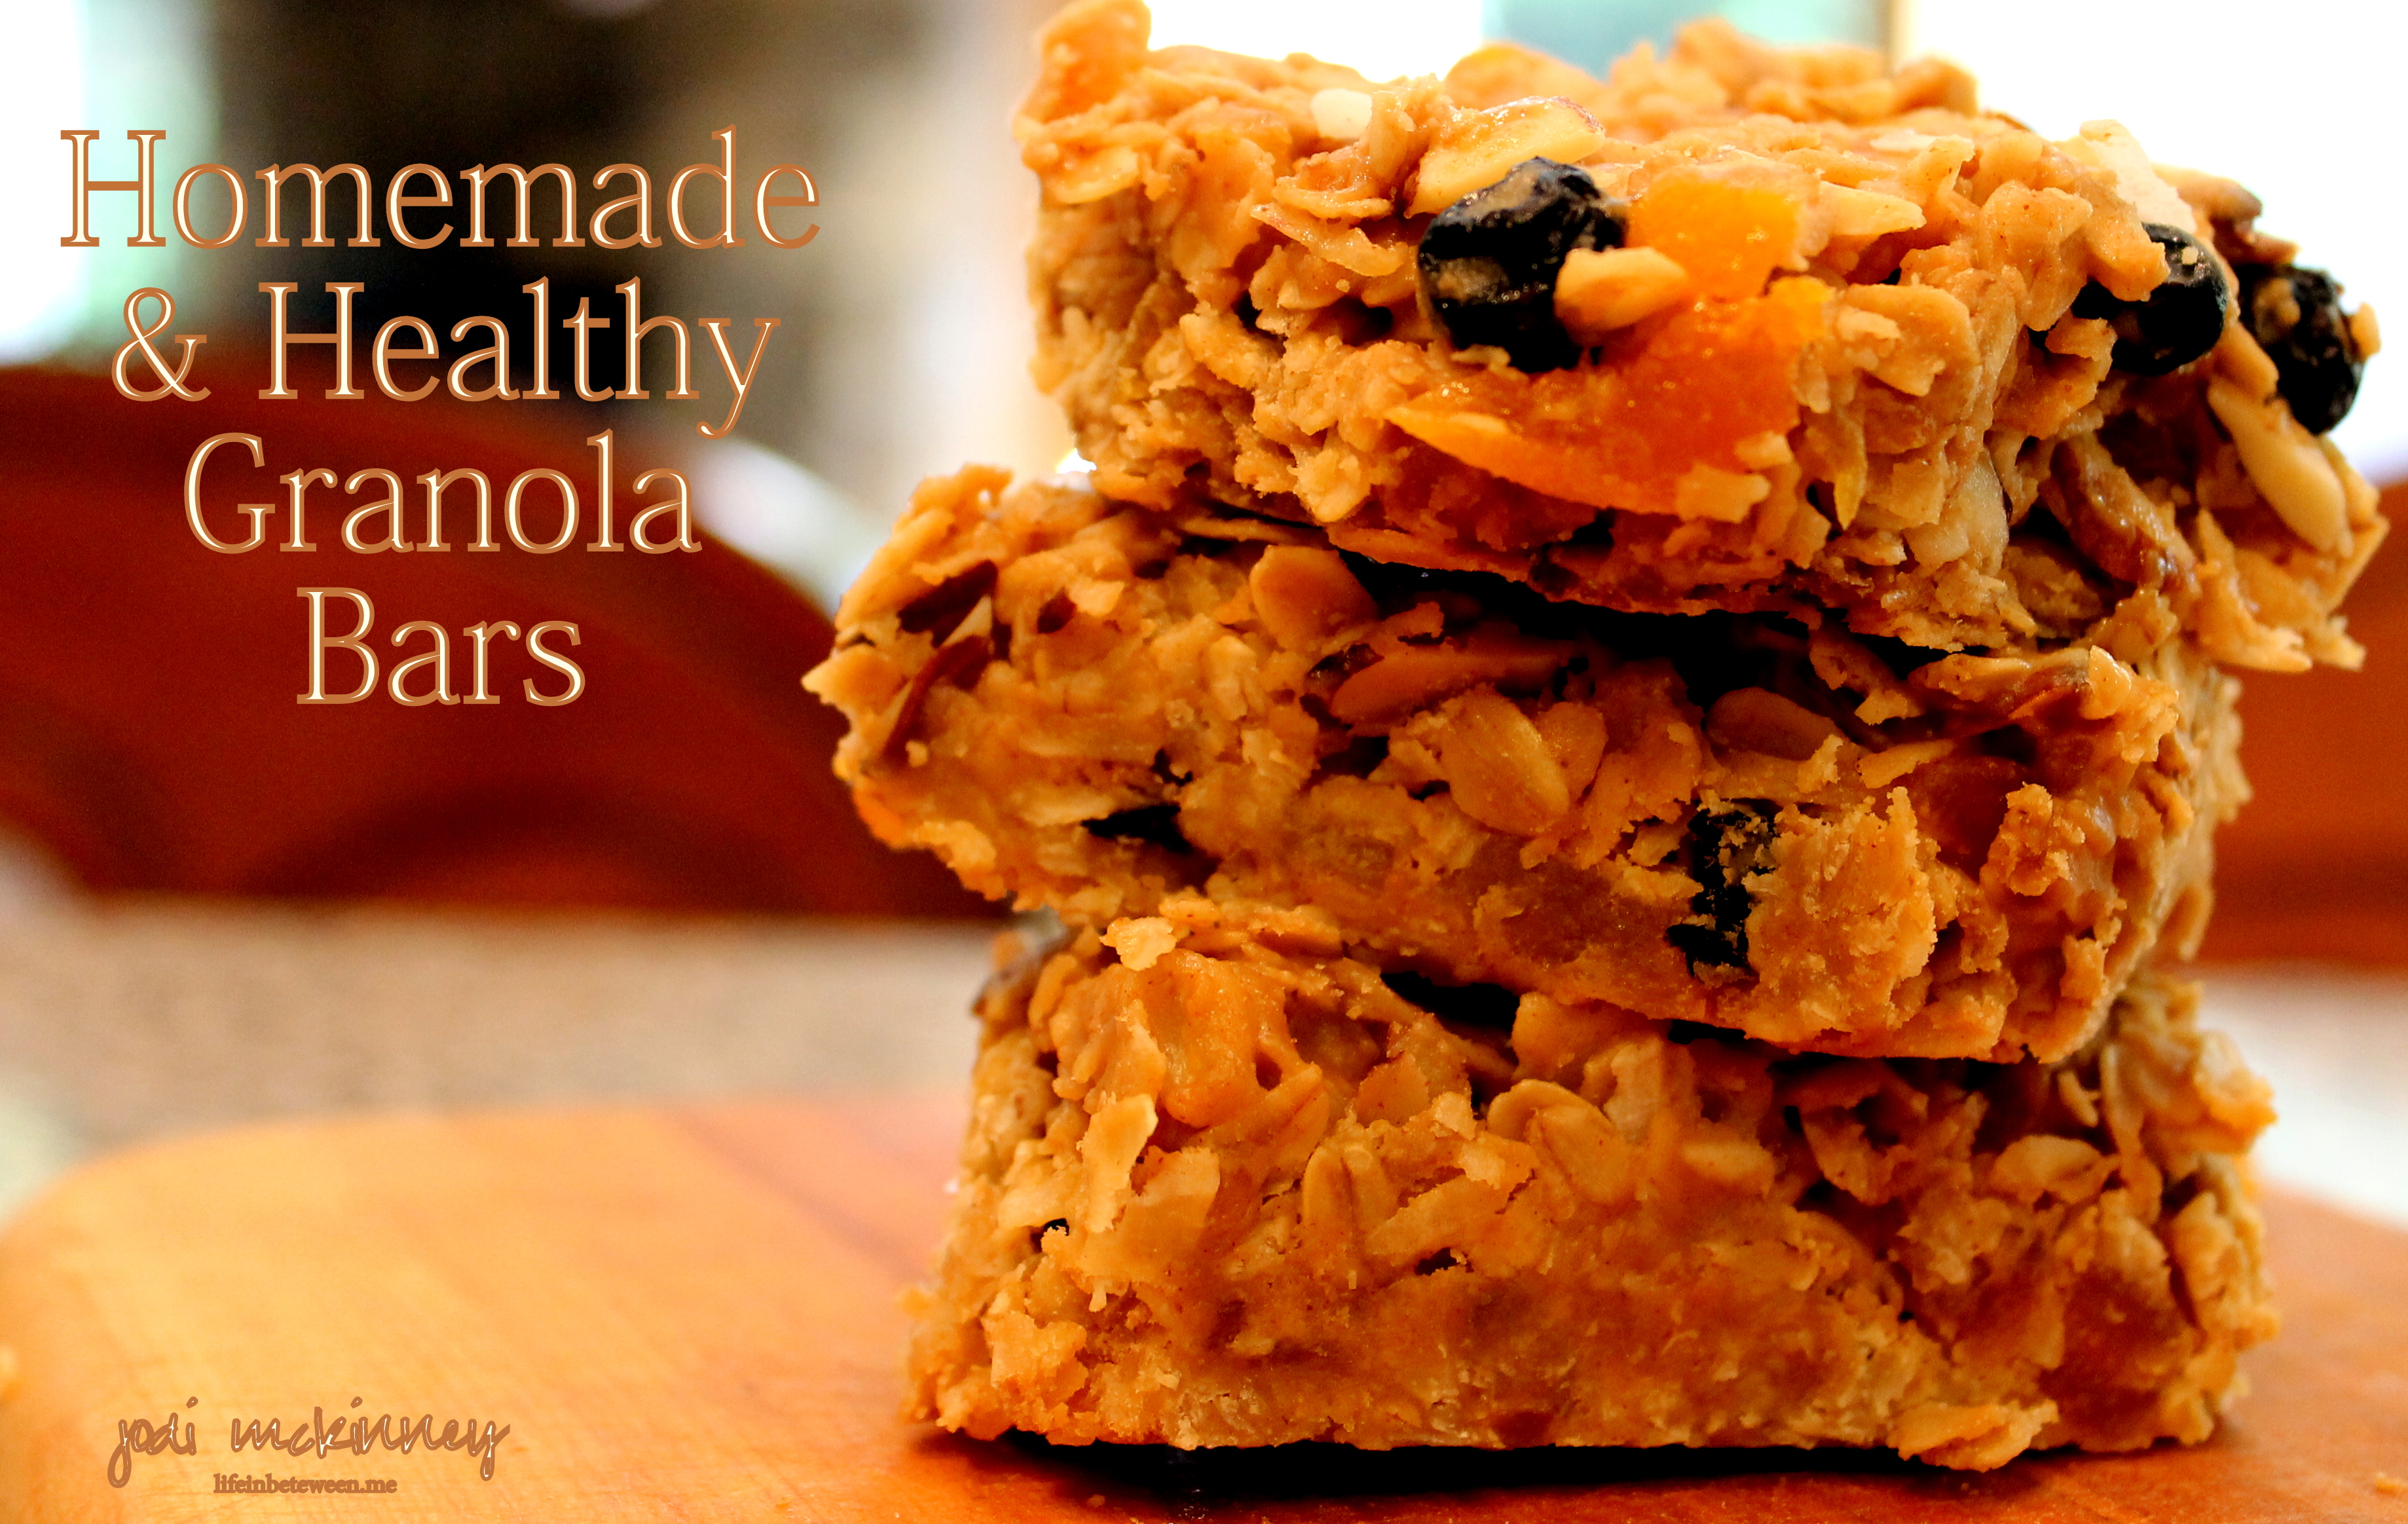
It’s pumpkin time! Yippee-Skippee!
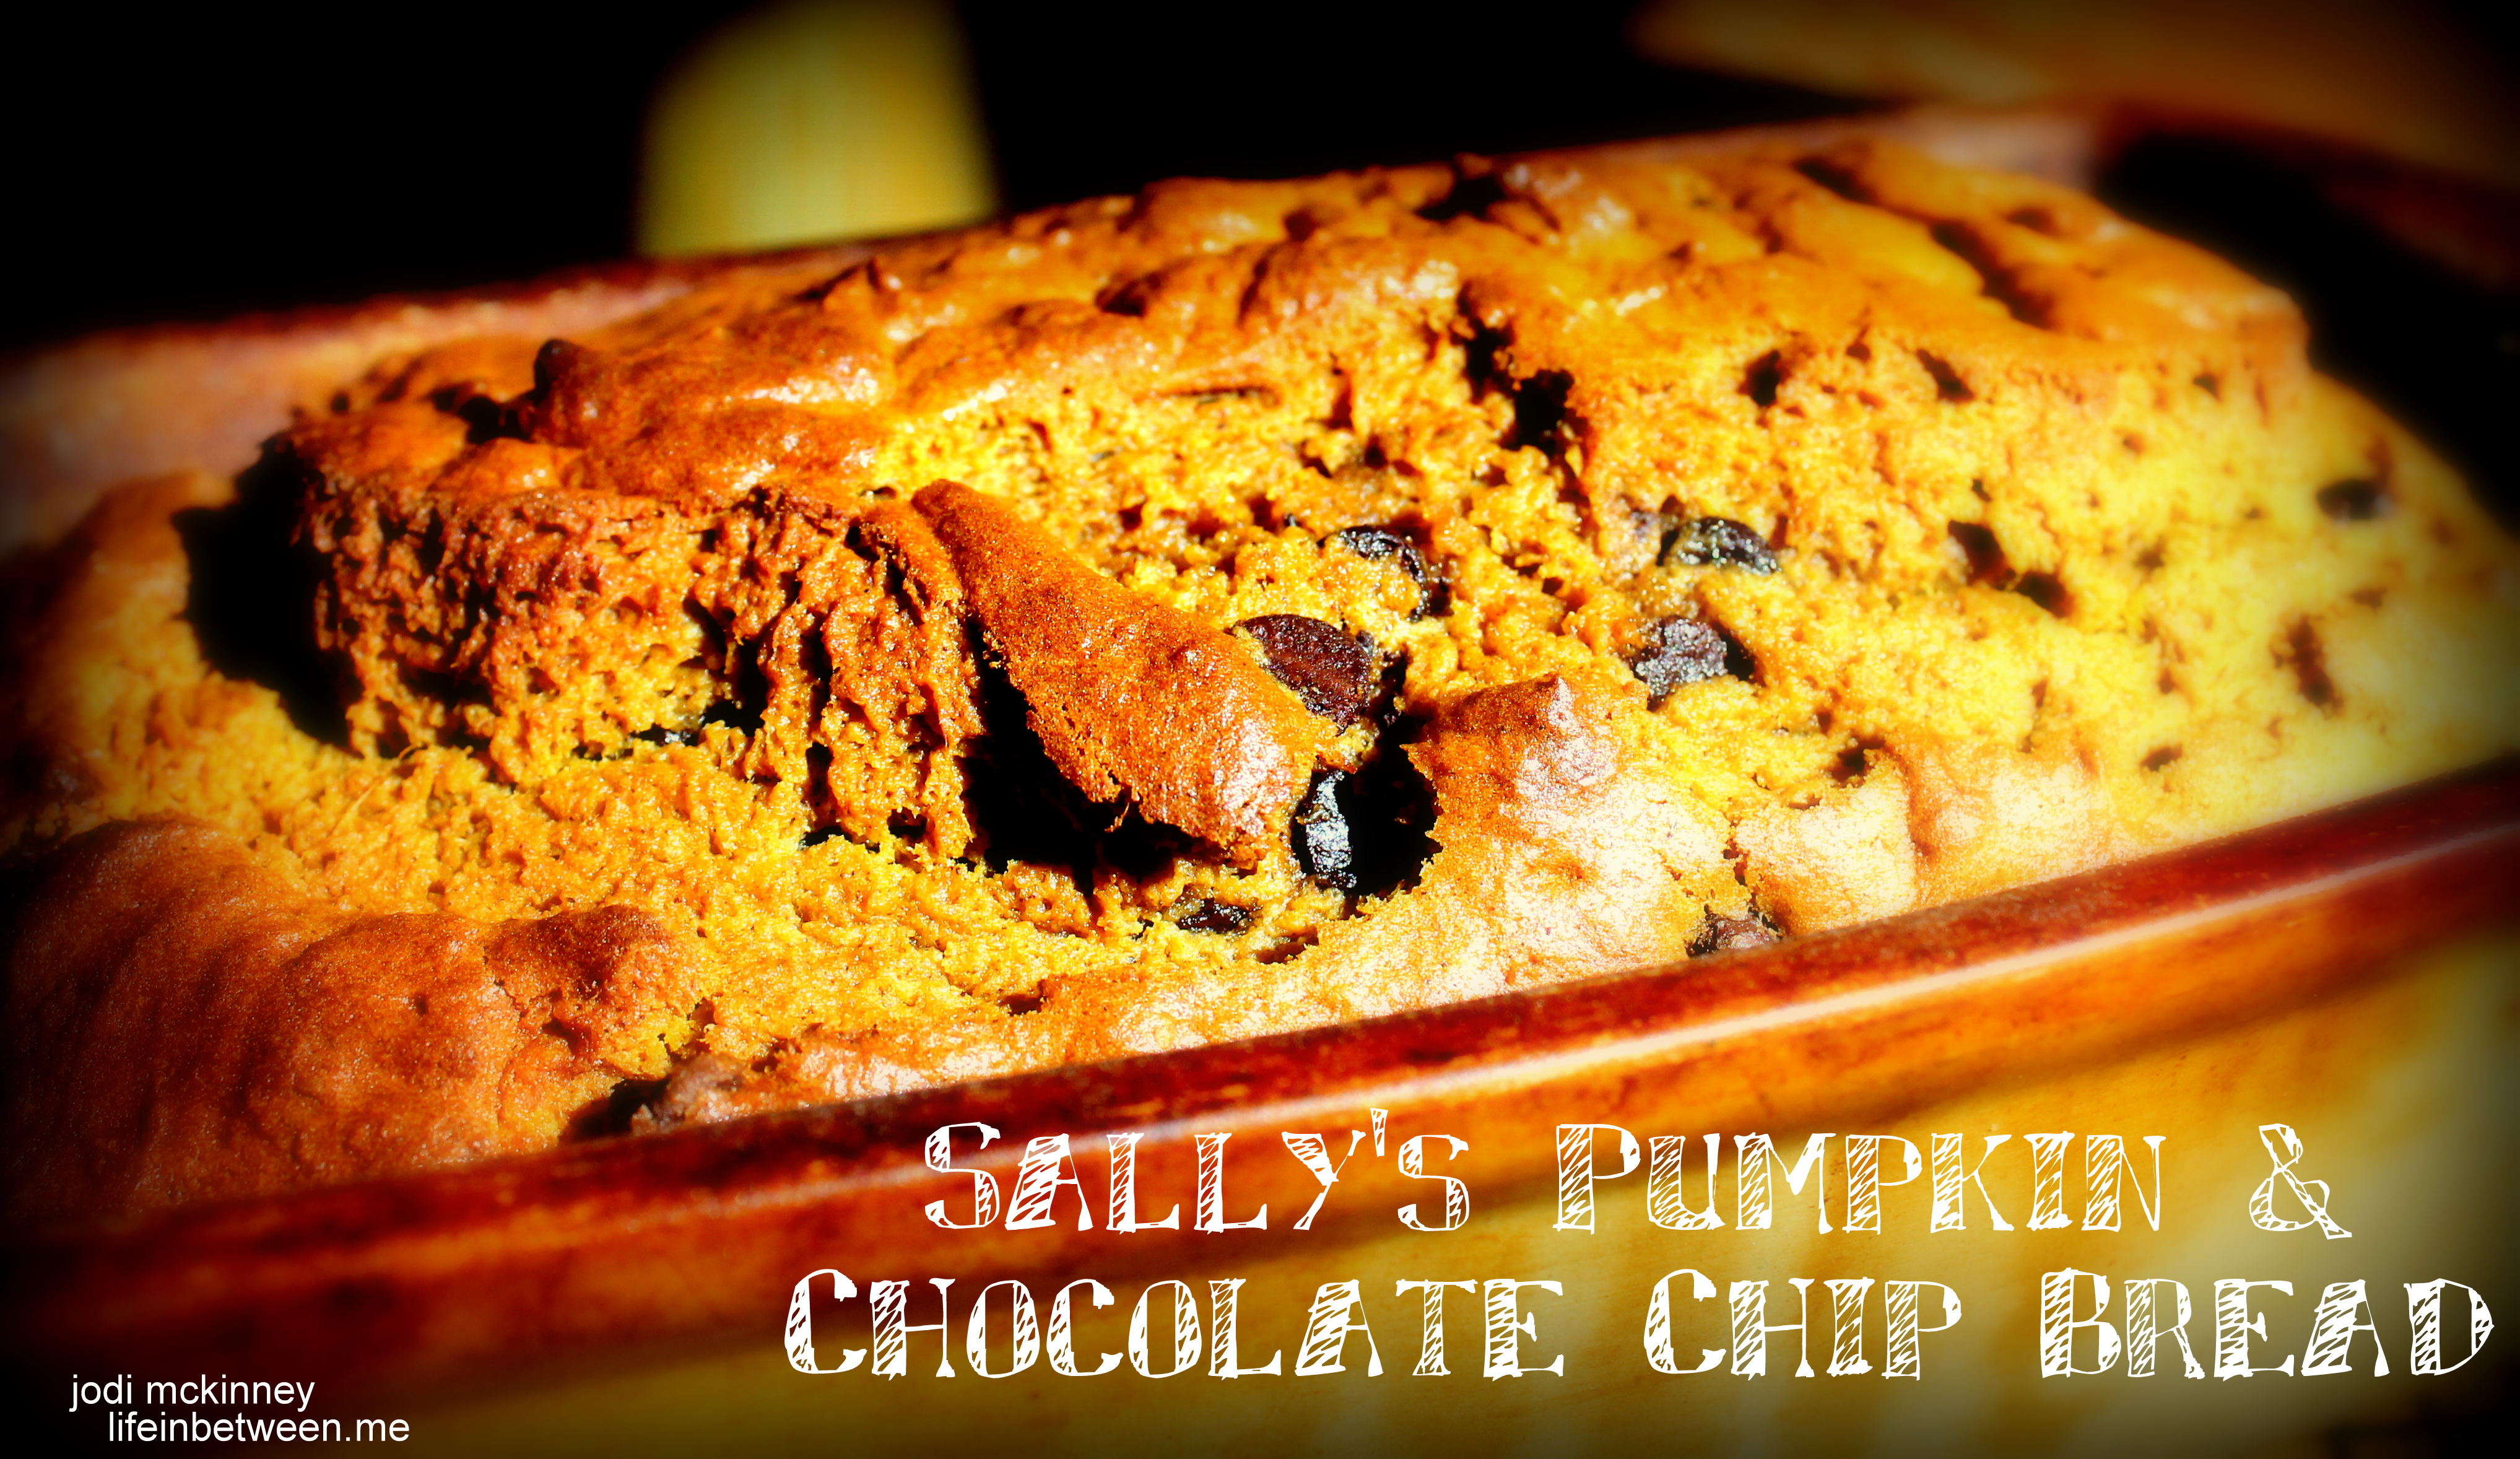
Here is another pumpkin recipe I found and tried this past week for a yummy, moist bread by one of my favorite baking bloggers: Sally’s Baking Addiction. Be sure to check it out! Sally also recently published a cookbook, and this recipe is in it. (and she is only 29 years old!)
I’ve been following Sally’s blog long before lifeinbetween.me was even a twinkle in my eye (though I could be Sally’s mom).
She is such an inspiration – sharing a “sprinkle of fun and adventure” in every post.
 Sally is getting married soon to a lucky guy named Kevin who “makes her happier than cupcakes.”
Thanks for a great blog, Sally, and best wishes on your upcoming wedding!
So we didn’t eat the entire loaf of bread ourselves at home, I sent half of it to work with Liz this past week to share with some of her work friends who follow my blog.
Look at these adorable smiles Liz got for sharing with them.

That is why I bake!
So thank you for the smiles ladies!
You made my day. 🙂

Here is Sally’s recipe, or go directly to her website here.
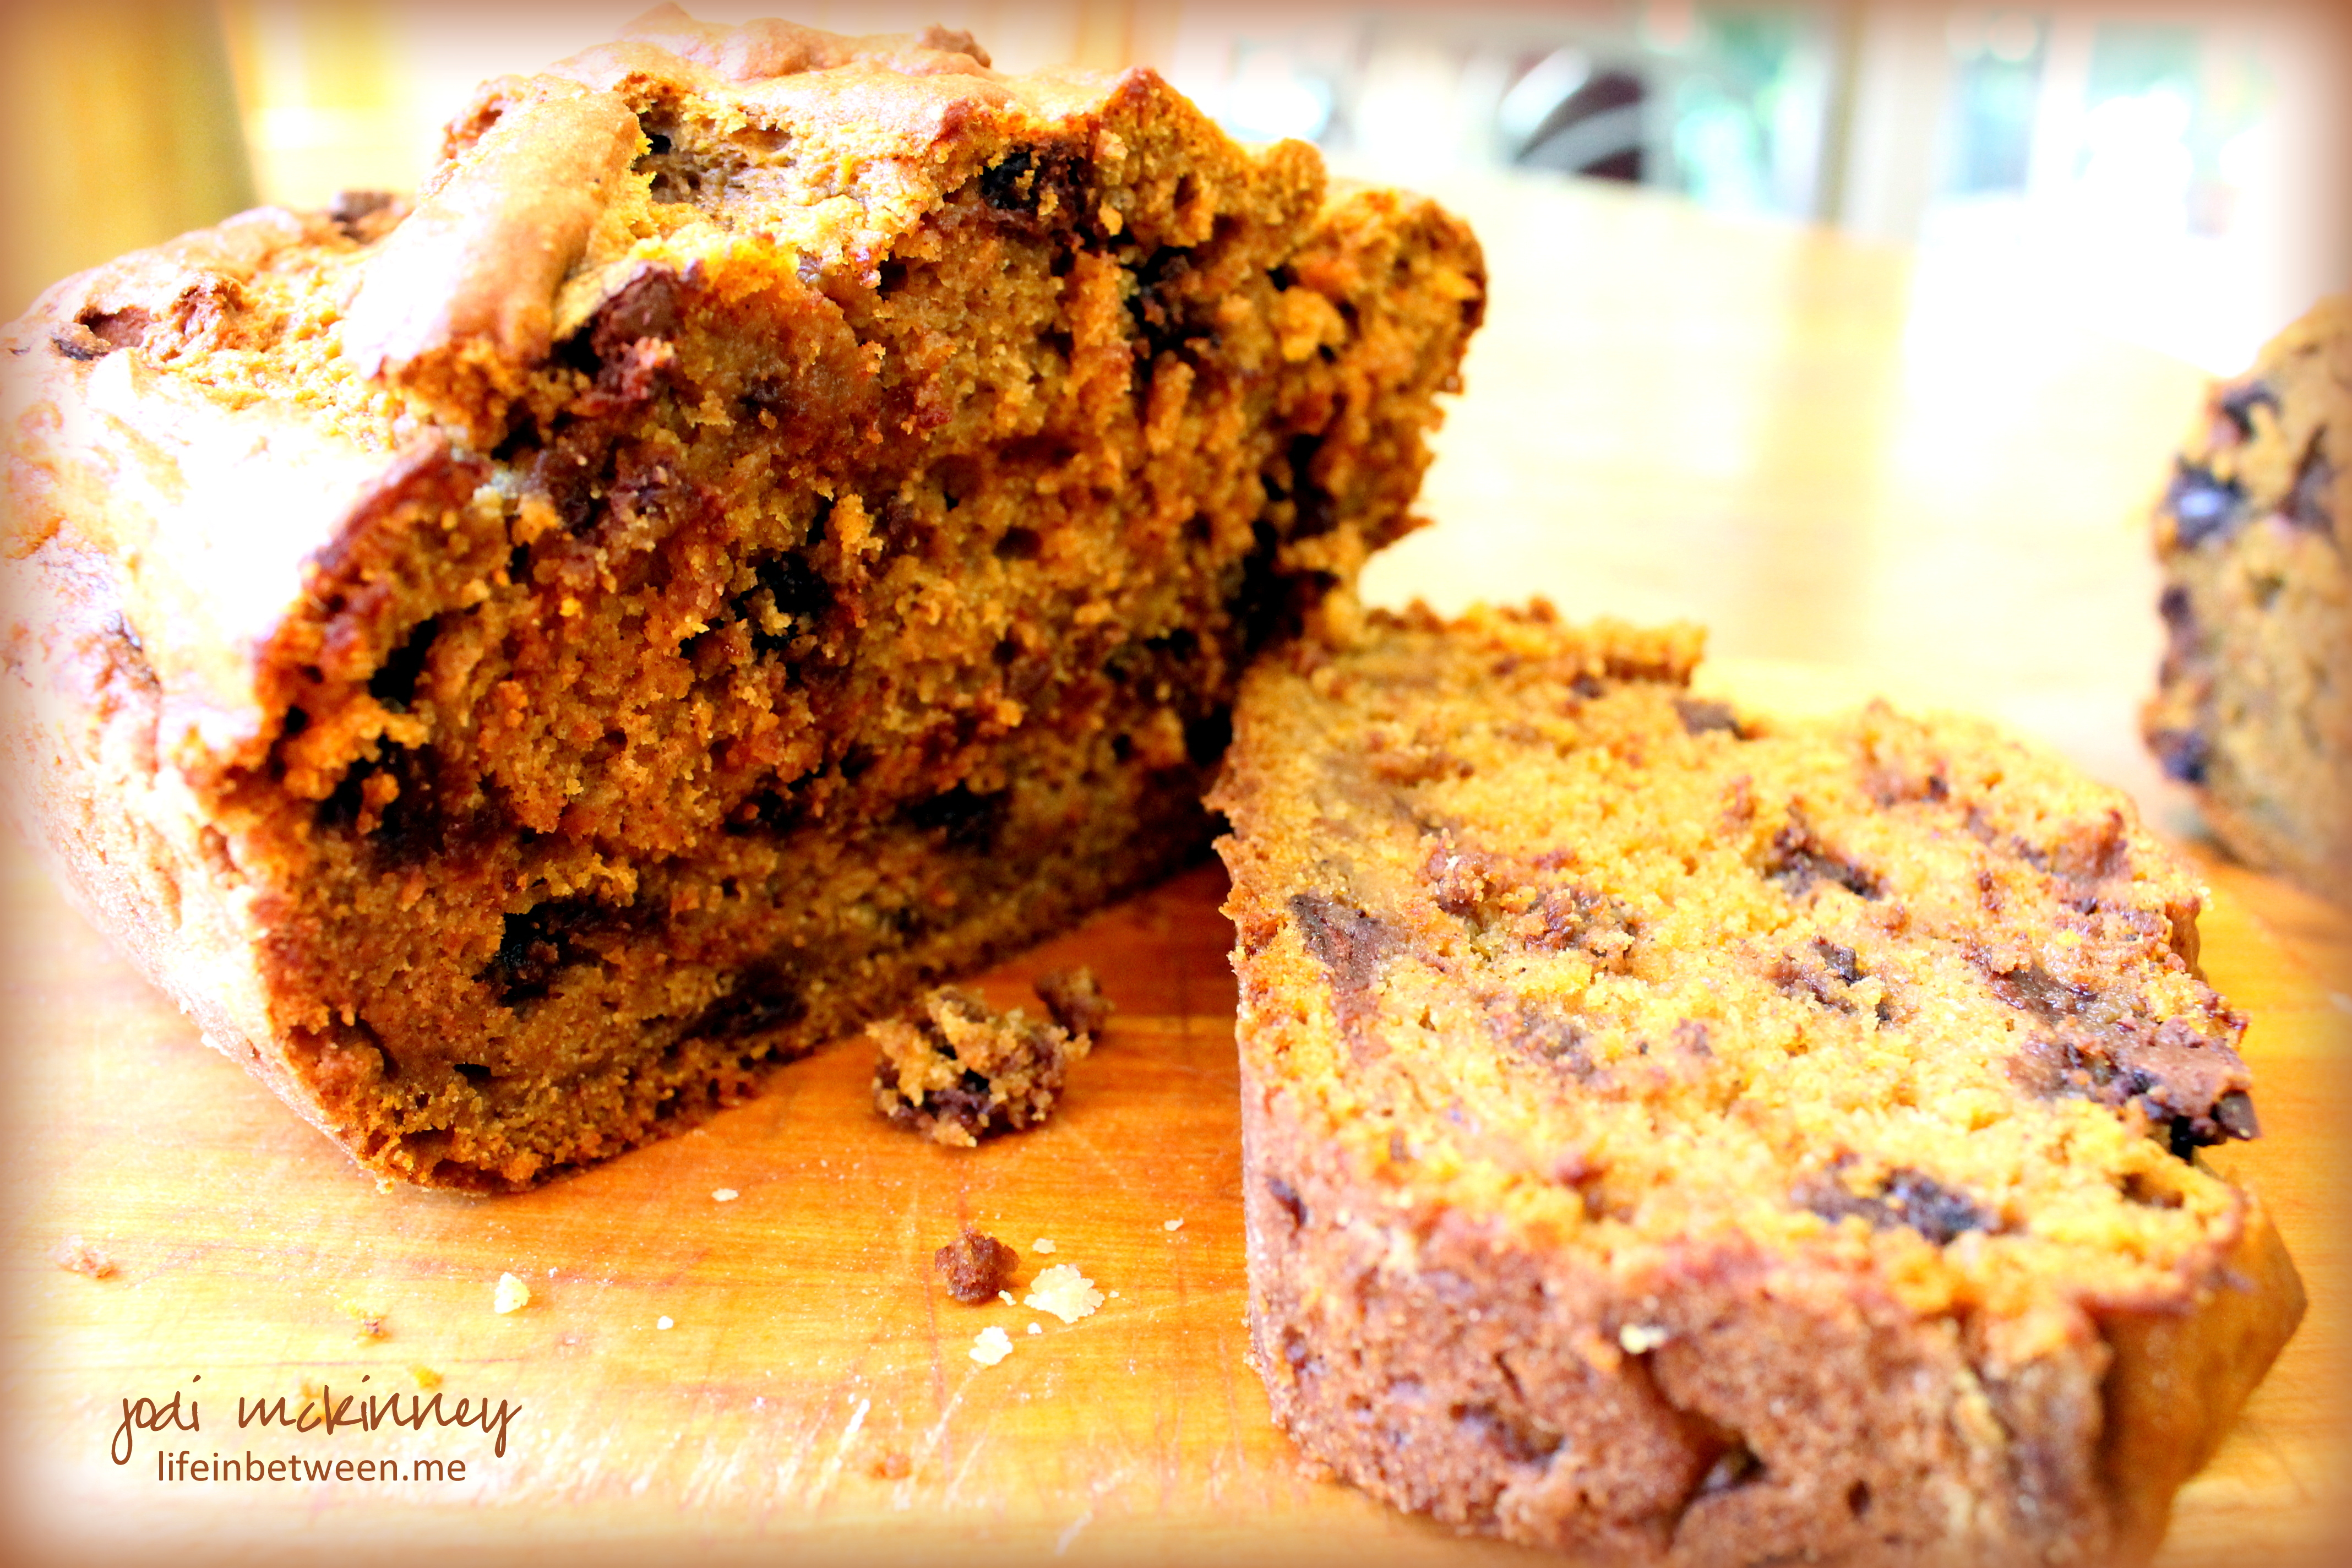
Sally’s Pumpkin Chocolate Chip Bread
Ingredients:
- 1 3/4 cups flour
- 1 tsp baking soda
- 2 tsp ground cinnamon
- 1/4 tsp ground nutmeg
- 3/4 tsp salt
- 2 large eggs
- 3/4 cup granulated sugar
- 1/2 cup brown sugar
- 1 1/2 cups canned pumpkin puree (you could certainly use fresh if you want to work that hard!)
- 1/2 cup melted coconut oil (you could substitute vegetable or canola oil if you desire)
- 1/4 cup freshly squeezed orange juice
- 2/3 cup semi-sweet chocolate chips (feel free to change it up with cinnamon chips, butterscotch chips, milk chocolate chips, white chocolate chips, nuts, raisins, or a combination)
Adjust the oven rack to the lower third position and preheat the oven to 350F degrees. Spray or grease and flour a 9×5 inch loaf pan (baking stone) with non-stick spray. Set aside.
Whisk the flour, baking soda, cinnamon, nutmeg, and salt together until combined in one bowl. In another, whisk the eggs and sugars together until combined. Whisk in pumpkin, oil, and orange juice. Combine wet and dry ingredients and gently mix together. Do not overmix – lumps are allowed. Gently fold in chocolate chips (or your desired add-in).
Pour batter into the prepared loaf pan. Bake for approximately 1 hour. Loosely cover bread with foil halfway through baking to prevent top from getting too brown. Bread is done when a toothpick inserted in center comes out clean with only a few small moist crumbs.
Allow the bread to cool completely in the pan on a wire rack before removing and slicing. Makes 1 delicious loaf!
Cheers & Hugs,
Jodi