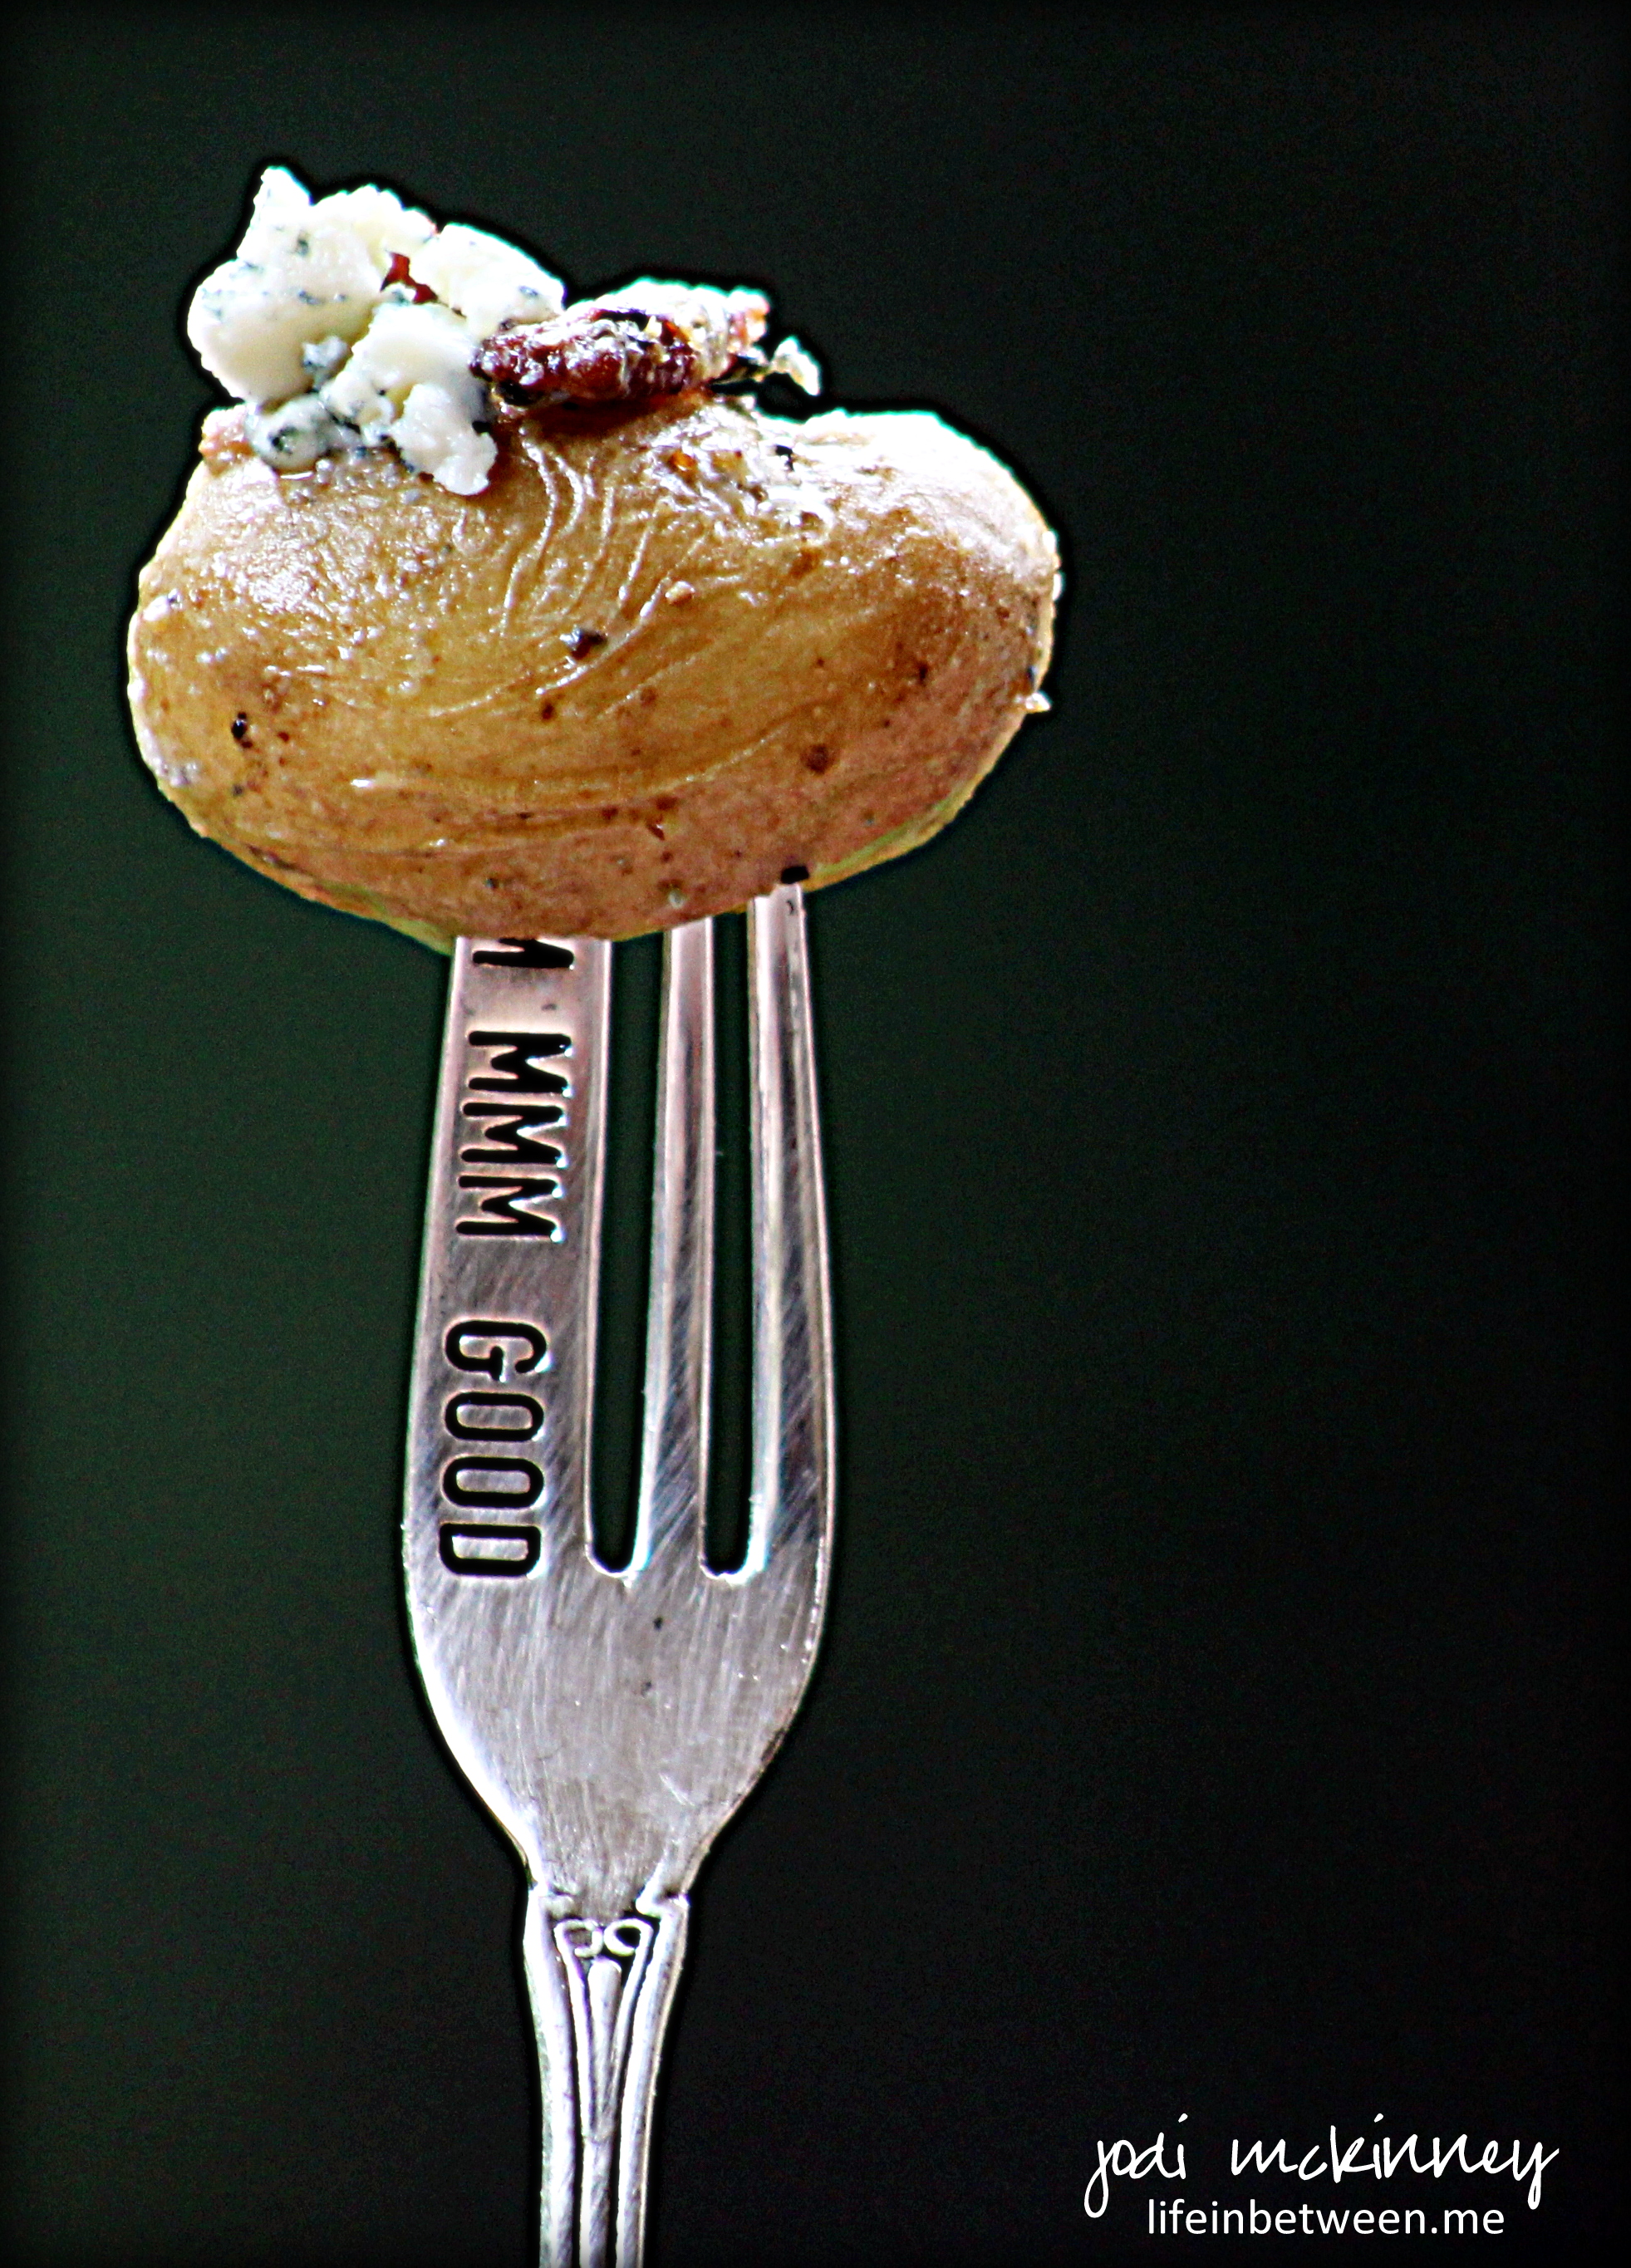
Can you imagine any more amazing way to make potatoes?
Garlic, Crisp Smokey Bacon, and Creamy Blue Cheese?!?!
If you are looking for a SIMPLE, but KNOCK-OUT potato dish to serve for special company, with a steak for dinner, or to take to a potluck, get ready to make a lot of new friends with this dish and make your tummy VERY happy too!
My friend Janet came over for dinner the other evening, so I wanted to step up the potatoes a little and thought of this. We had them with marinated grilled London Broil, Sauteed Fresh Green Beans and Fresh, Sweet Cantaloupe. YUM!
And if you don’t like Blue Cheese (I realize some people do have an aversion for this cheese that I absolutely ADORE), you can substitute Cheddar or Swiss, or Monterrey Jack, or your favorite cheese – or – you can even eat them without cheese. They are good that way too.
Here’s the recipe. I dare you to not like this!
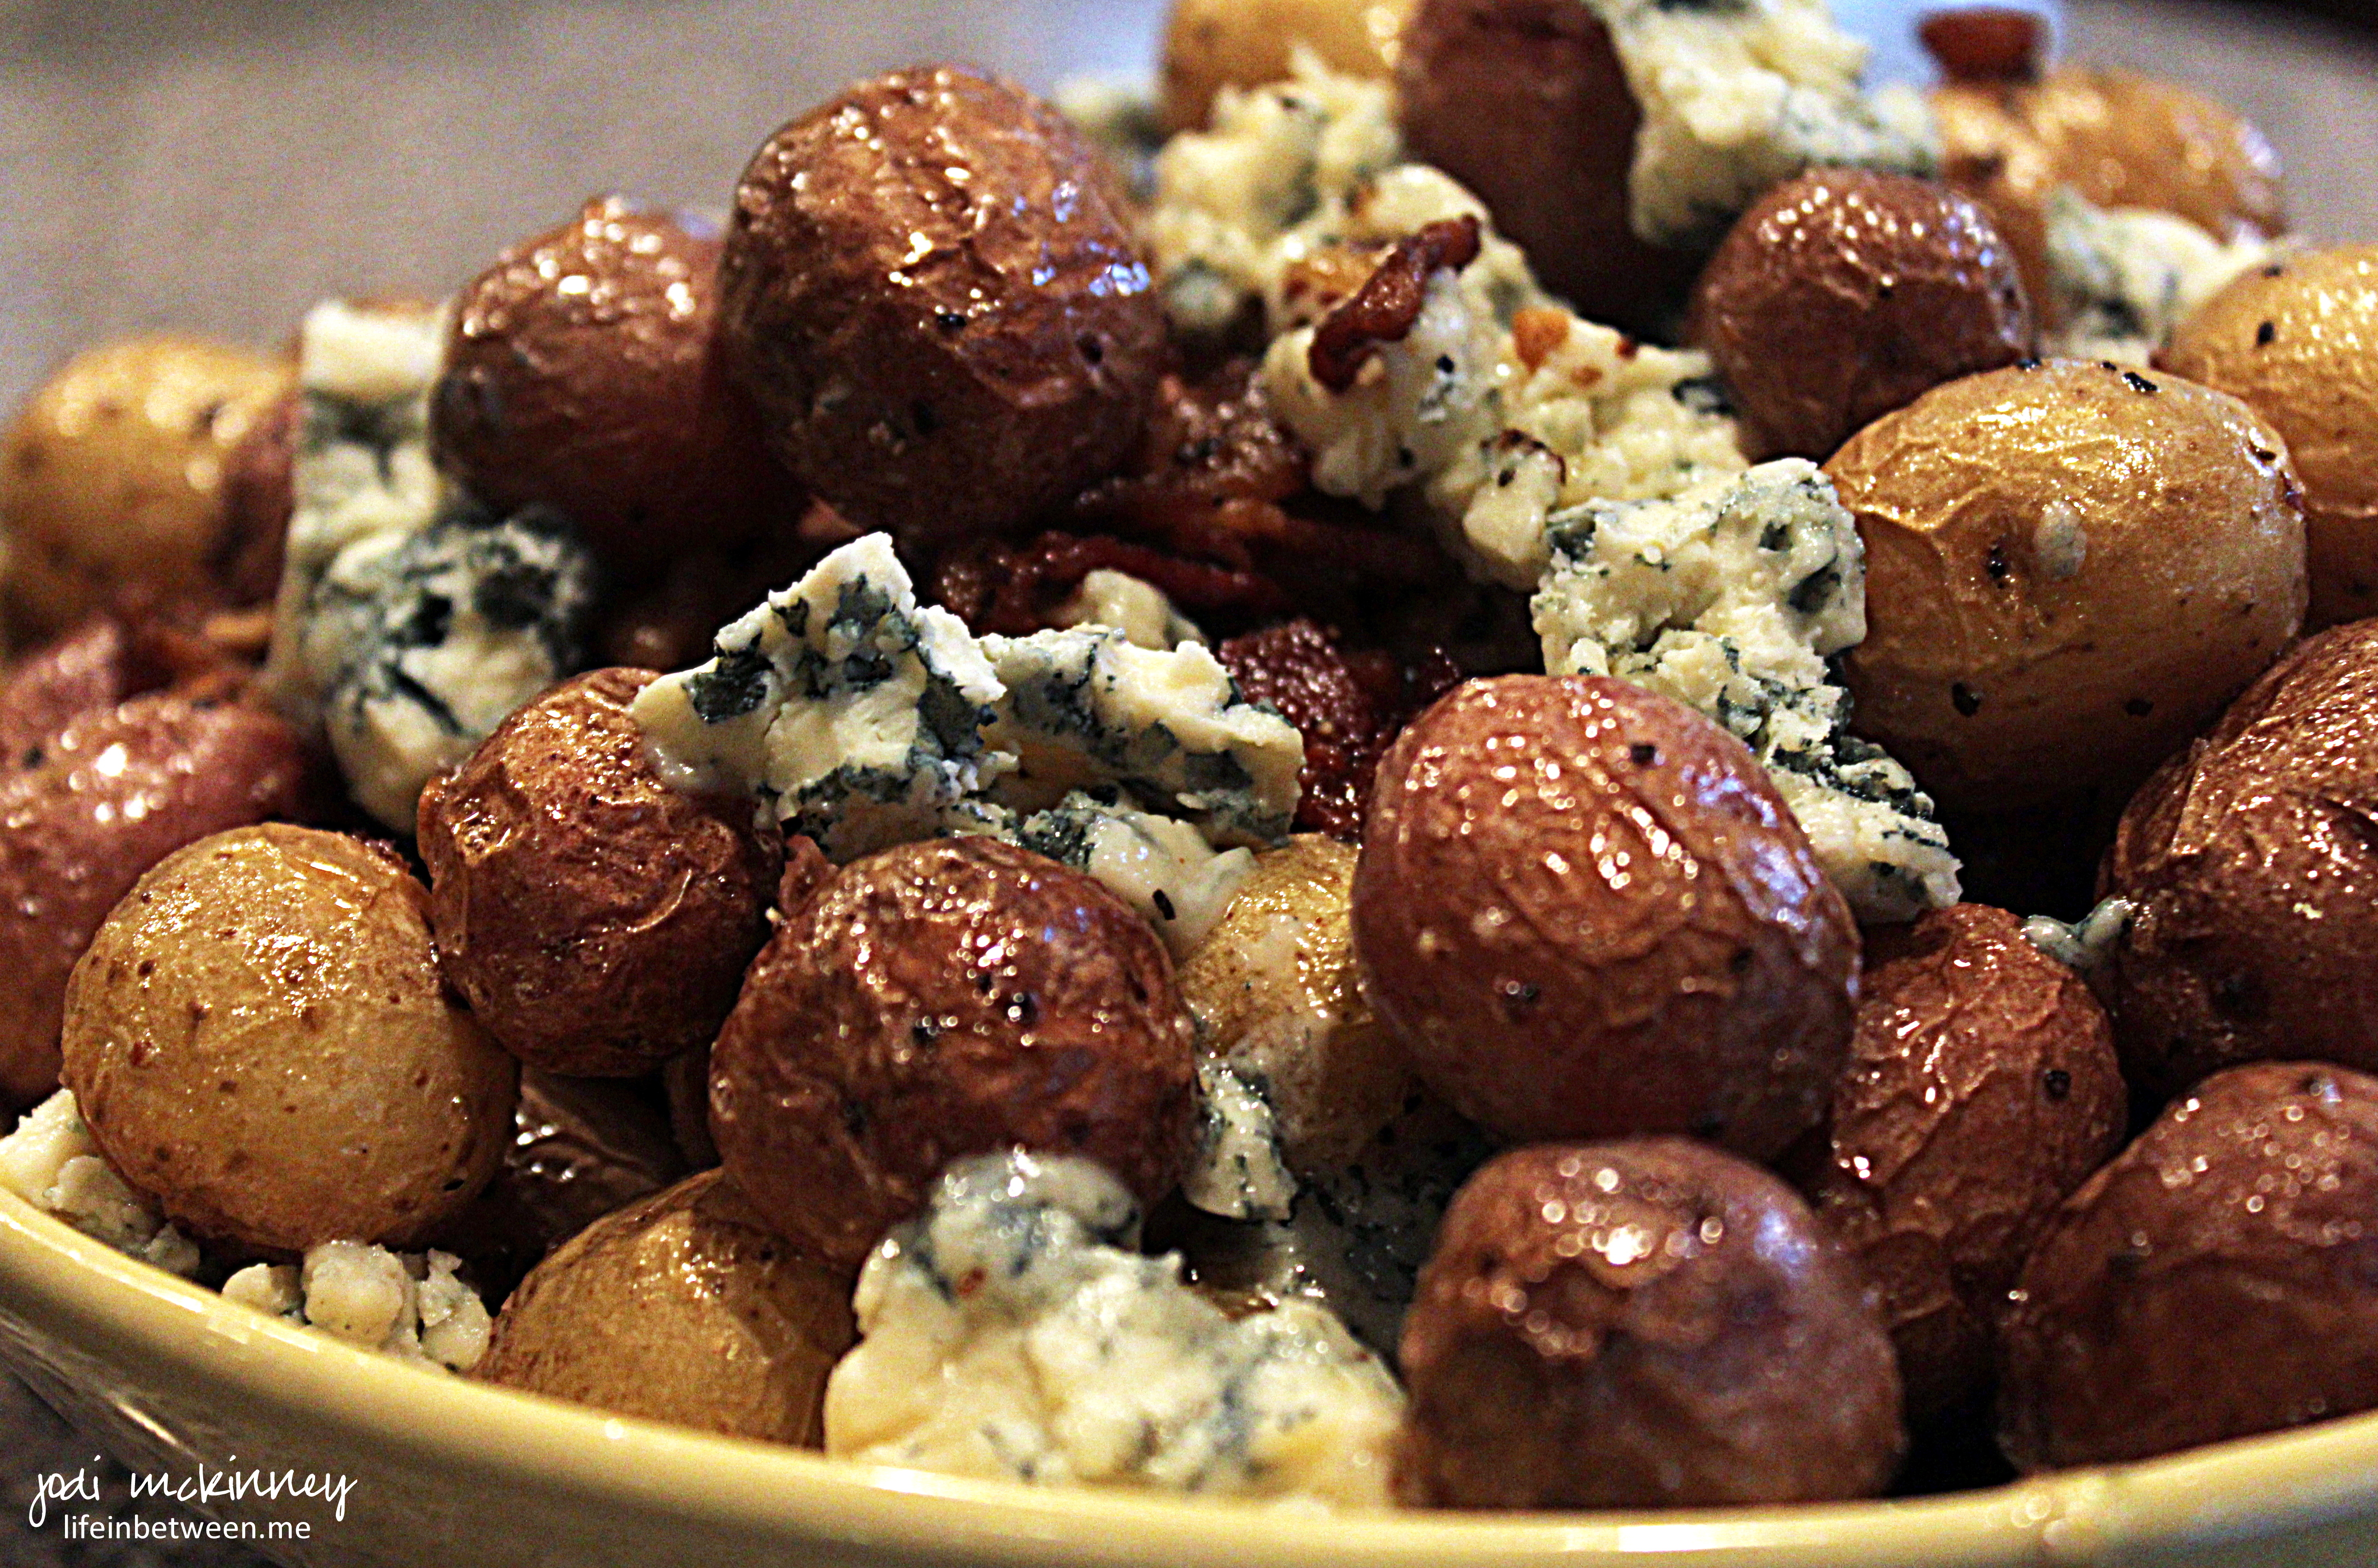
Roasted New Potatoes with Garlic, Bacon & Blue Cheese
Ingredients:
- 3 lbs Baby New Potatoes – I used 1.5 lbs of Yukon Golds and 1.5 lbs of Red
- 8-10 Strips Thick Sliced Bacon – I used Peppered Slab Bacon
- 4 Large Cloves Garlic, Minced
- 2-3 Tbsp Olive Oil
- Salt & Pepper to taste
- 4-6 oz. High Quality Blue Cheese, Crumbled
Directions:
- Preheat oven to 450 degrees F.
- Dice bacon into small bite-sized pieces and fry in skillet until cooked well, but not too crisp as it will continue to cook and crisp when you roast the potatoes in the oven.
- Drain the diced bacon on paper towels, and remove all but 1 Tbsp of bacon drippings from pan.
- Add Olive Oil, Garlic and Potatoes. Mix to coat potatoes. Sprinkle with salt and pepper, and stir fry for 3-4 minutes. Add bacon back in, and stir.
- Place all in a shallow baking dish and roast at 450 for 20 minutes or until potatoes are done.
- Remove from oven and crumble blue cheese over all. Stir to coat, and ENJOY!
Cheers & Hugs,
Jodi