Last night, I made my favorite old-fashioned homemade pie.
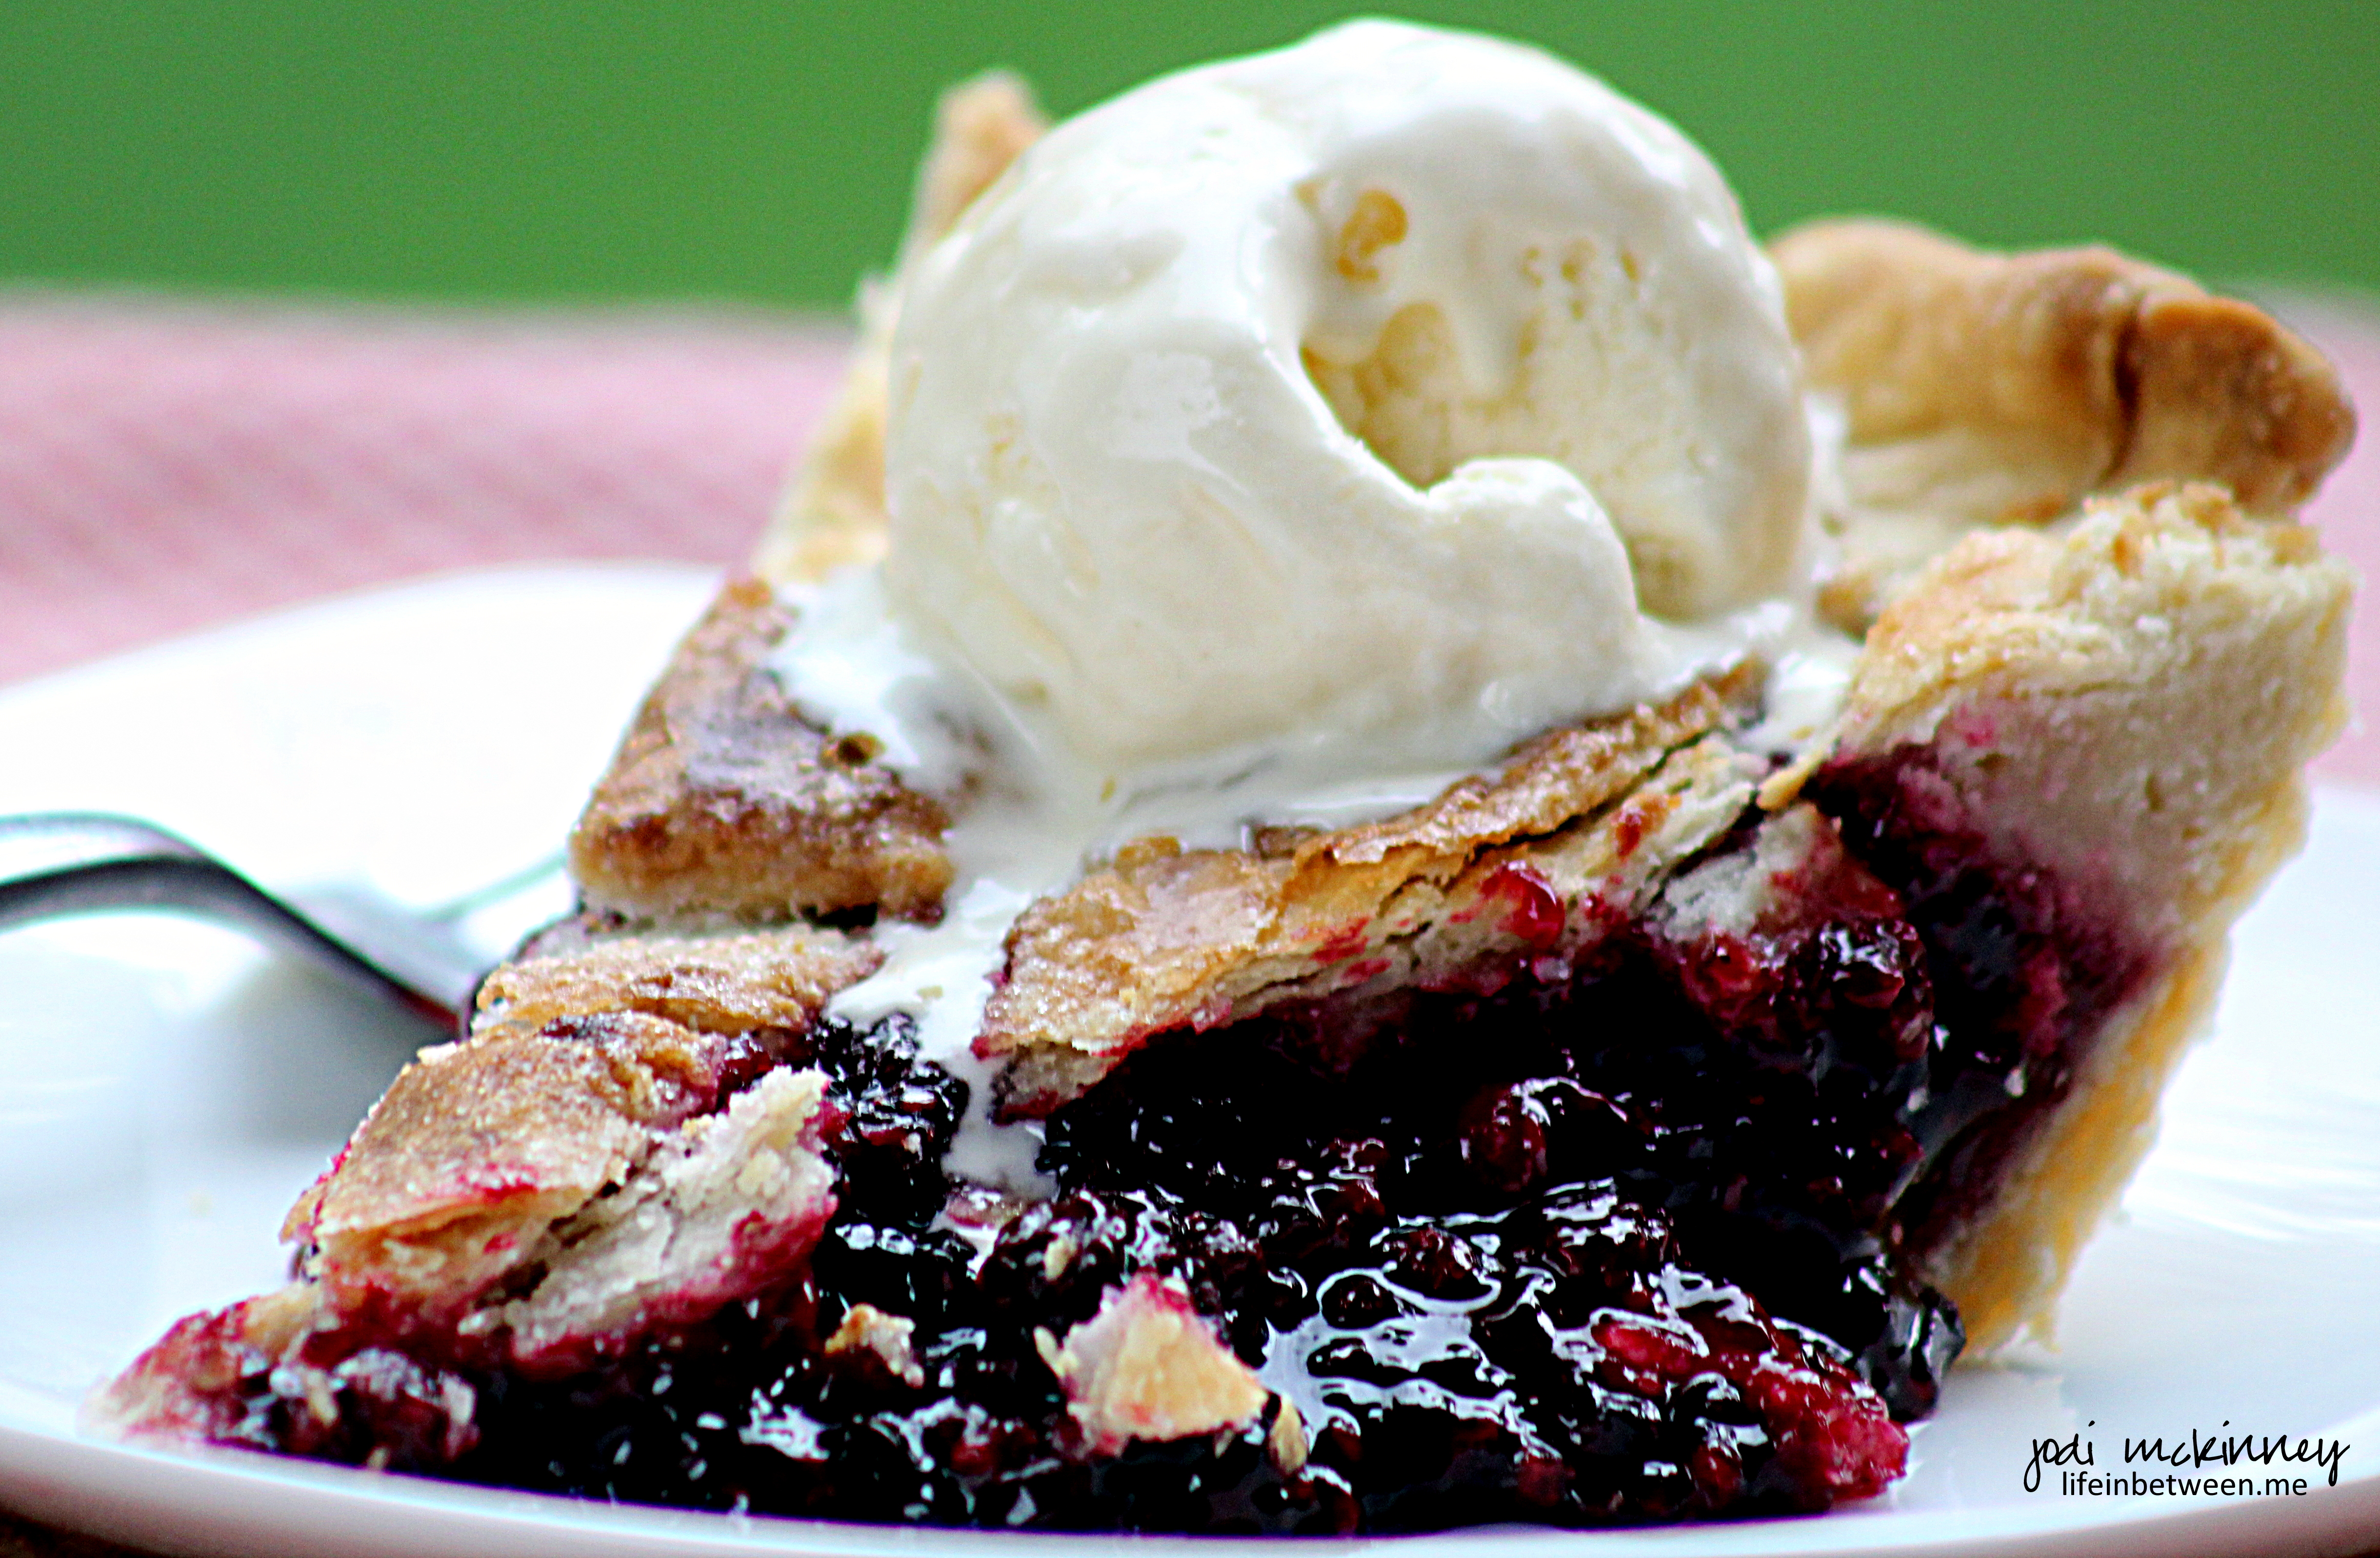
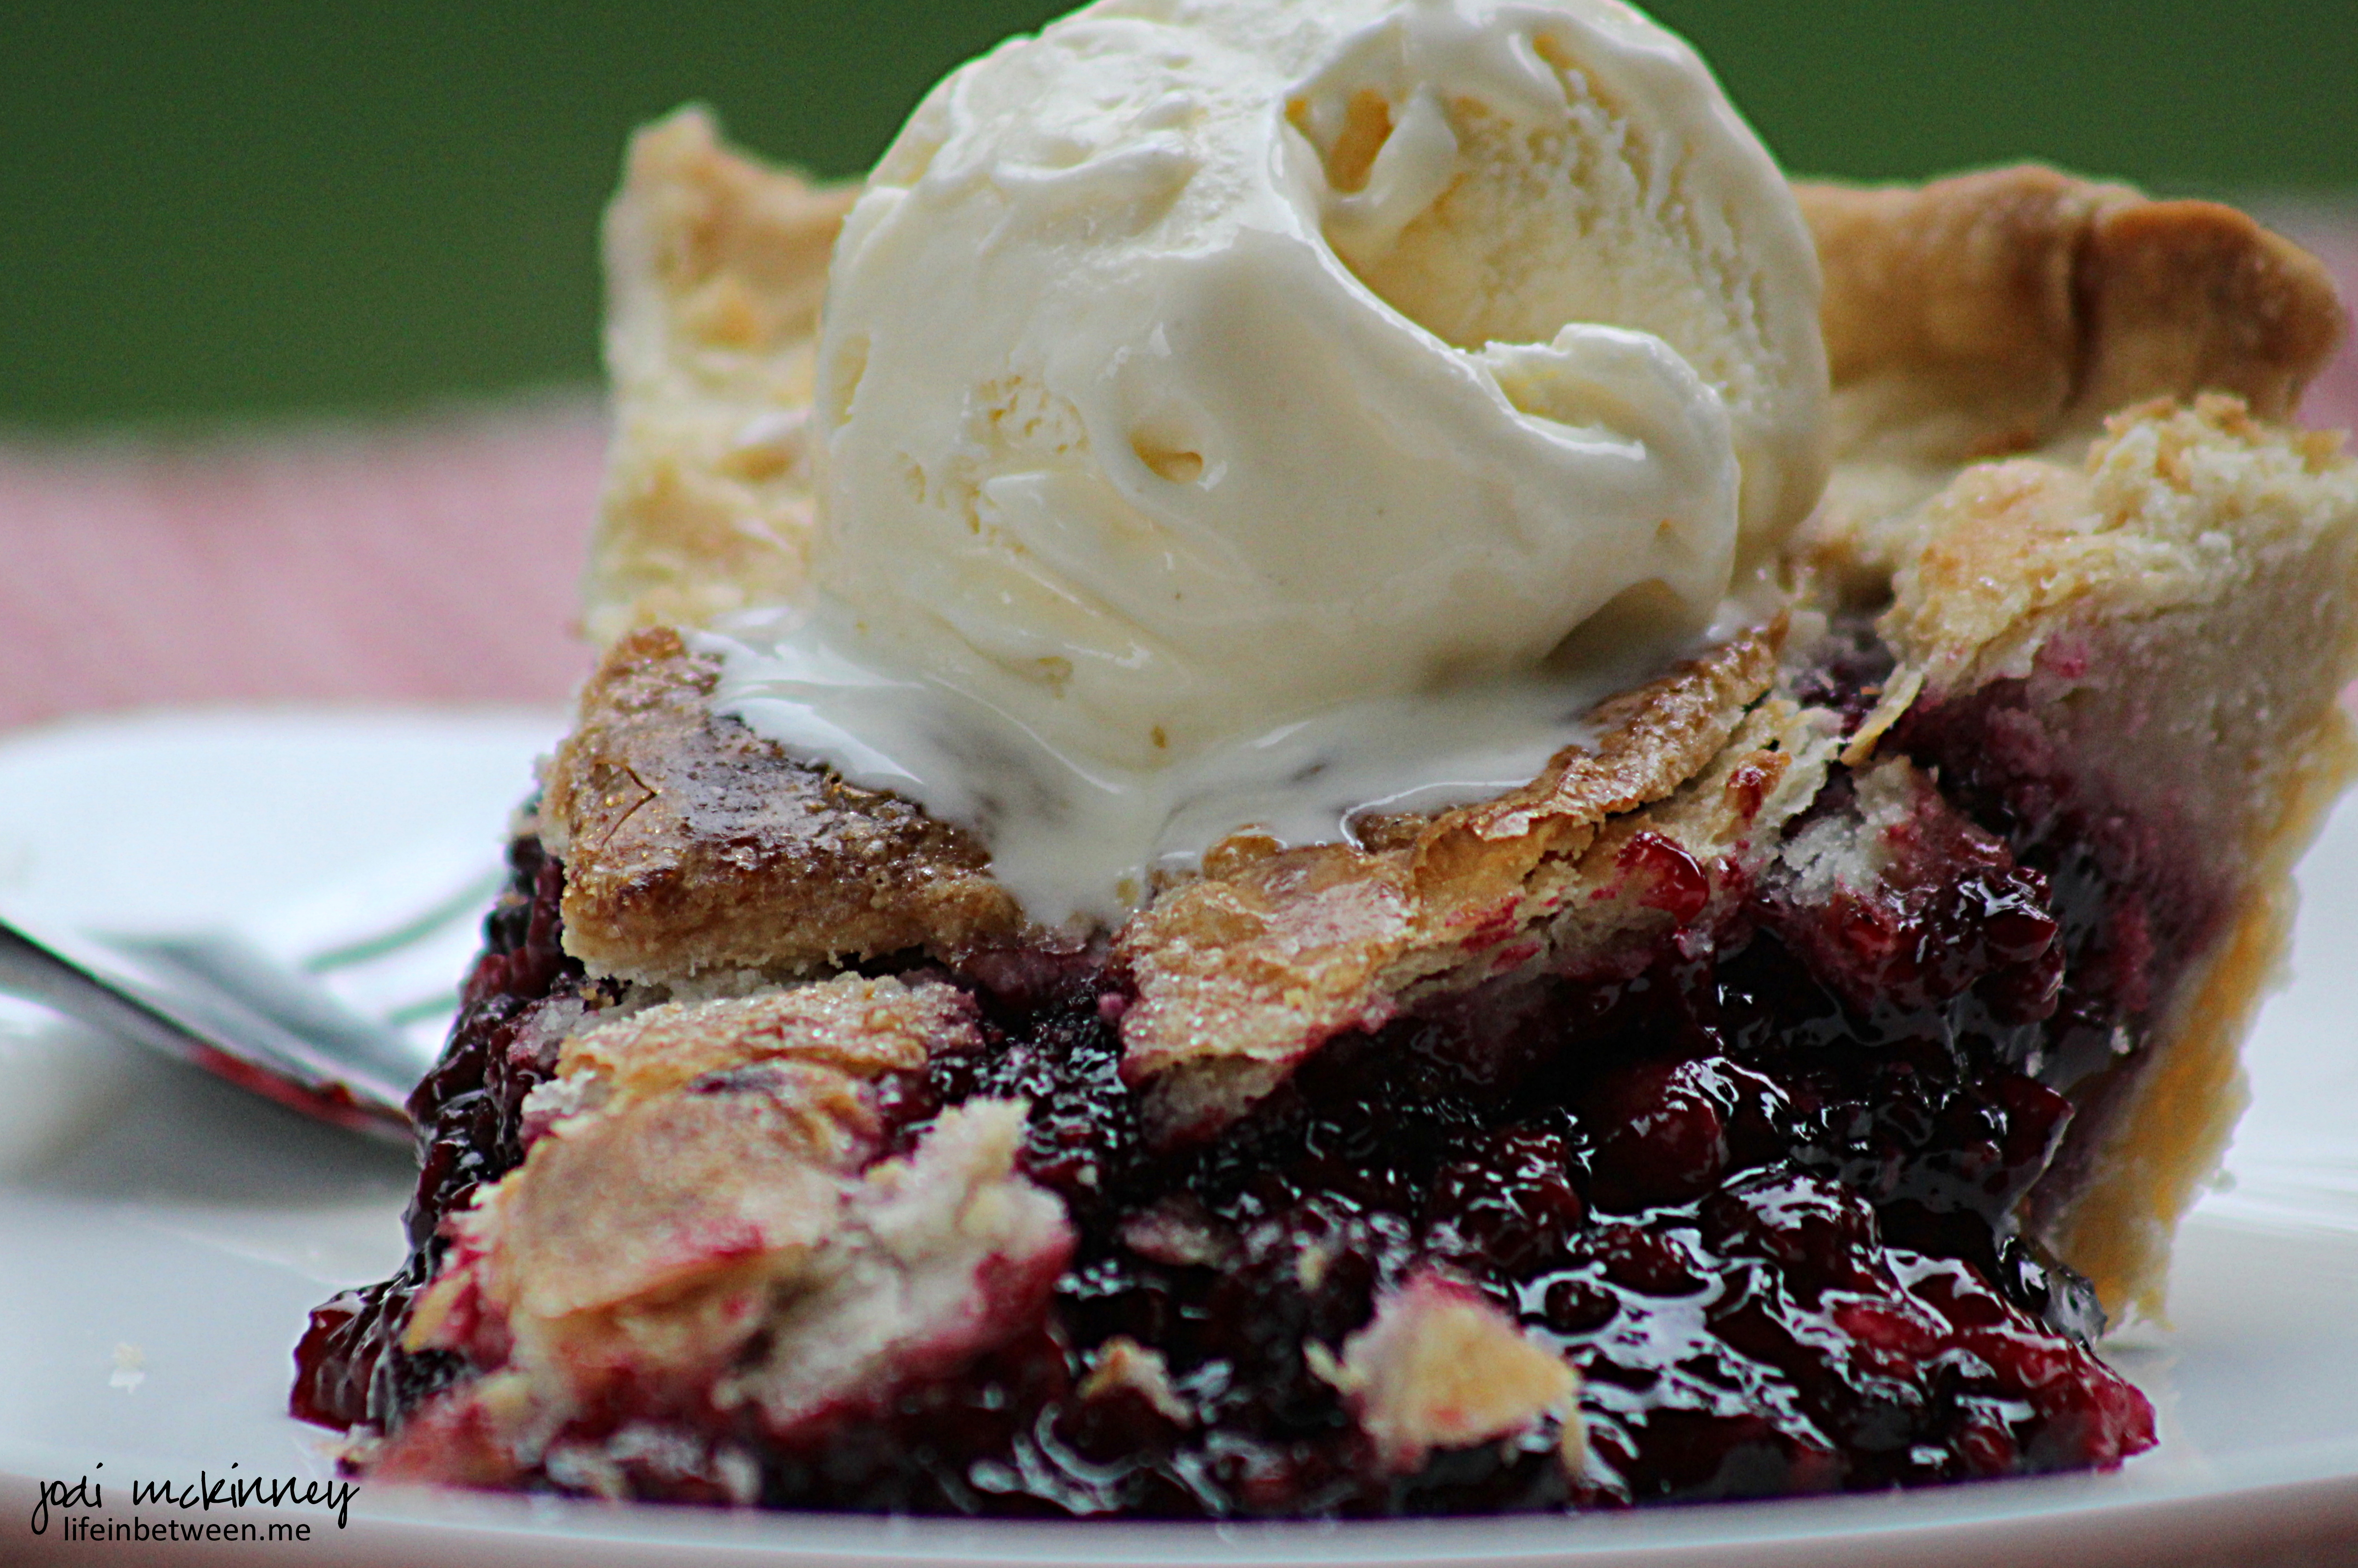
Fresh Blackberry Pie.
Baking this pie brings me joy for so many reasons…
It reminds me of hot summer days spent at Grandma’s house where she did her best to tame the wild blackberry bushes that framed the edge of the woods that surrounded her house.
I remember picking them with her (begrudgingly at the time) and eating more than I put in the bucket or bowl I was assigned to filling.

I remember the way the house…
and the porch…
and even the yard smelled when the pies were baking as fans were blowing and windows were wide open in Grandma’s non air-conditioned home.
I can picture her wiping her brow with the tea towel that was on her shoulder…
I can hear the joy in Grandpap’s voice when he came home from work and smelled it too.

Any time I bake a pie, it also brings back warm memories of my mother-in-law and time spent with her and my sister-in-law and the entire family as we made dozens of pies in assembly-line fashion.
I recall the guys sitting on the porch pitting cherries or peeling apples or blanching peaches or cleaning berries while us girls were in the basement mixing filling and rolling out crusts.
My mother-in-law is the one that taught me the secret and magic to the perfect pie crust, and it is one of the things that hubby brags on me about. It always makes me smile when I think of this simple pleasure.

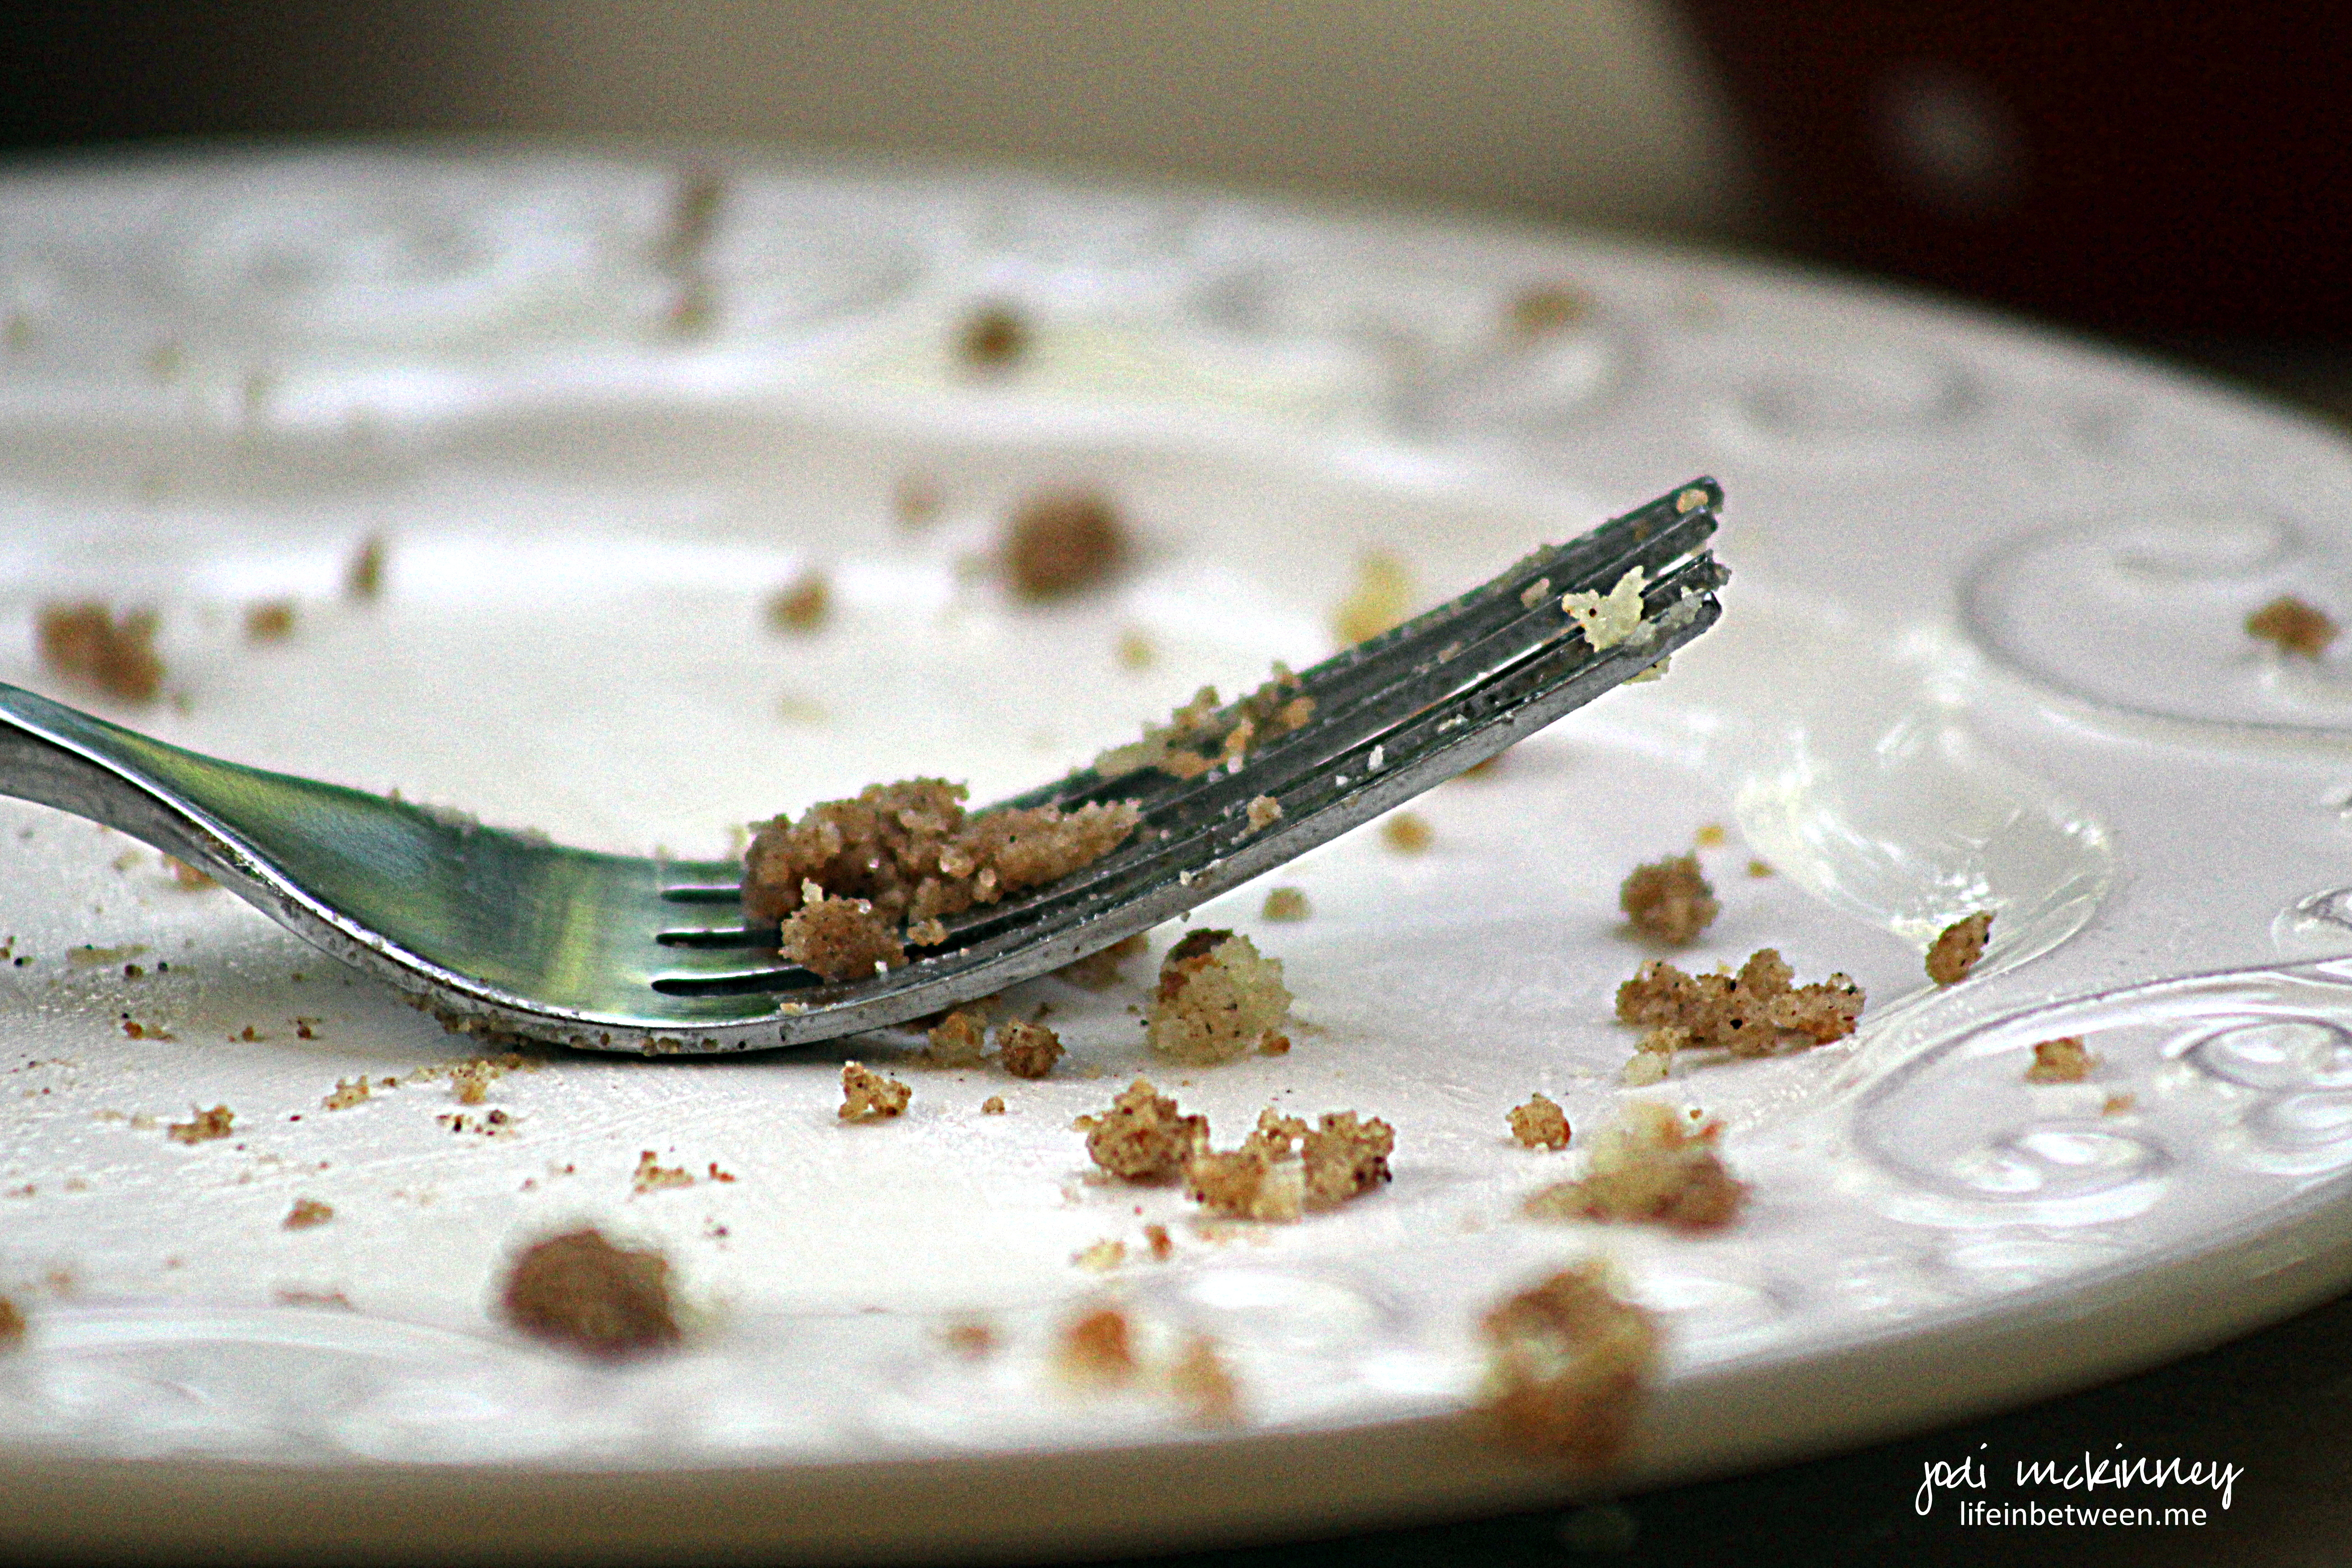
And then there is the joy my family expresses when eating a perfect pie that makes my heart soar.
I have to admit, I had two bites before asking who would finish my piece (still trying to lose 20 more pounds!), and it was GLORIOUS! Might have even been worth skipping dinner for!

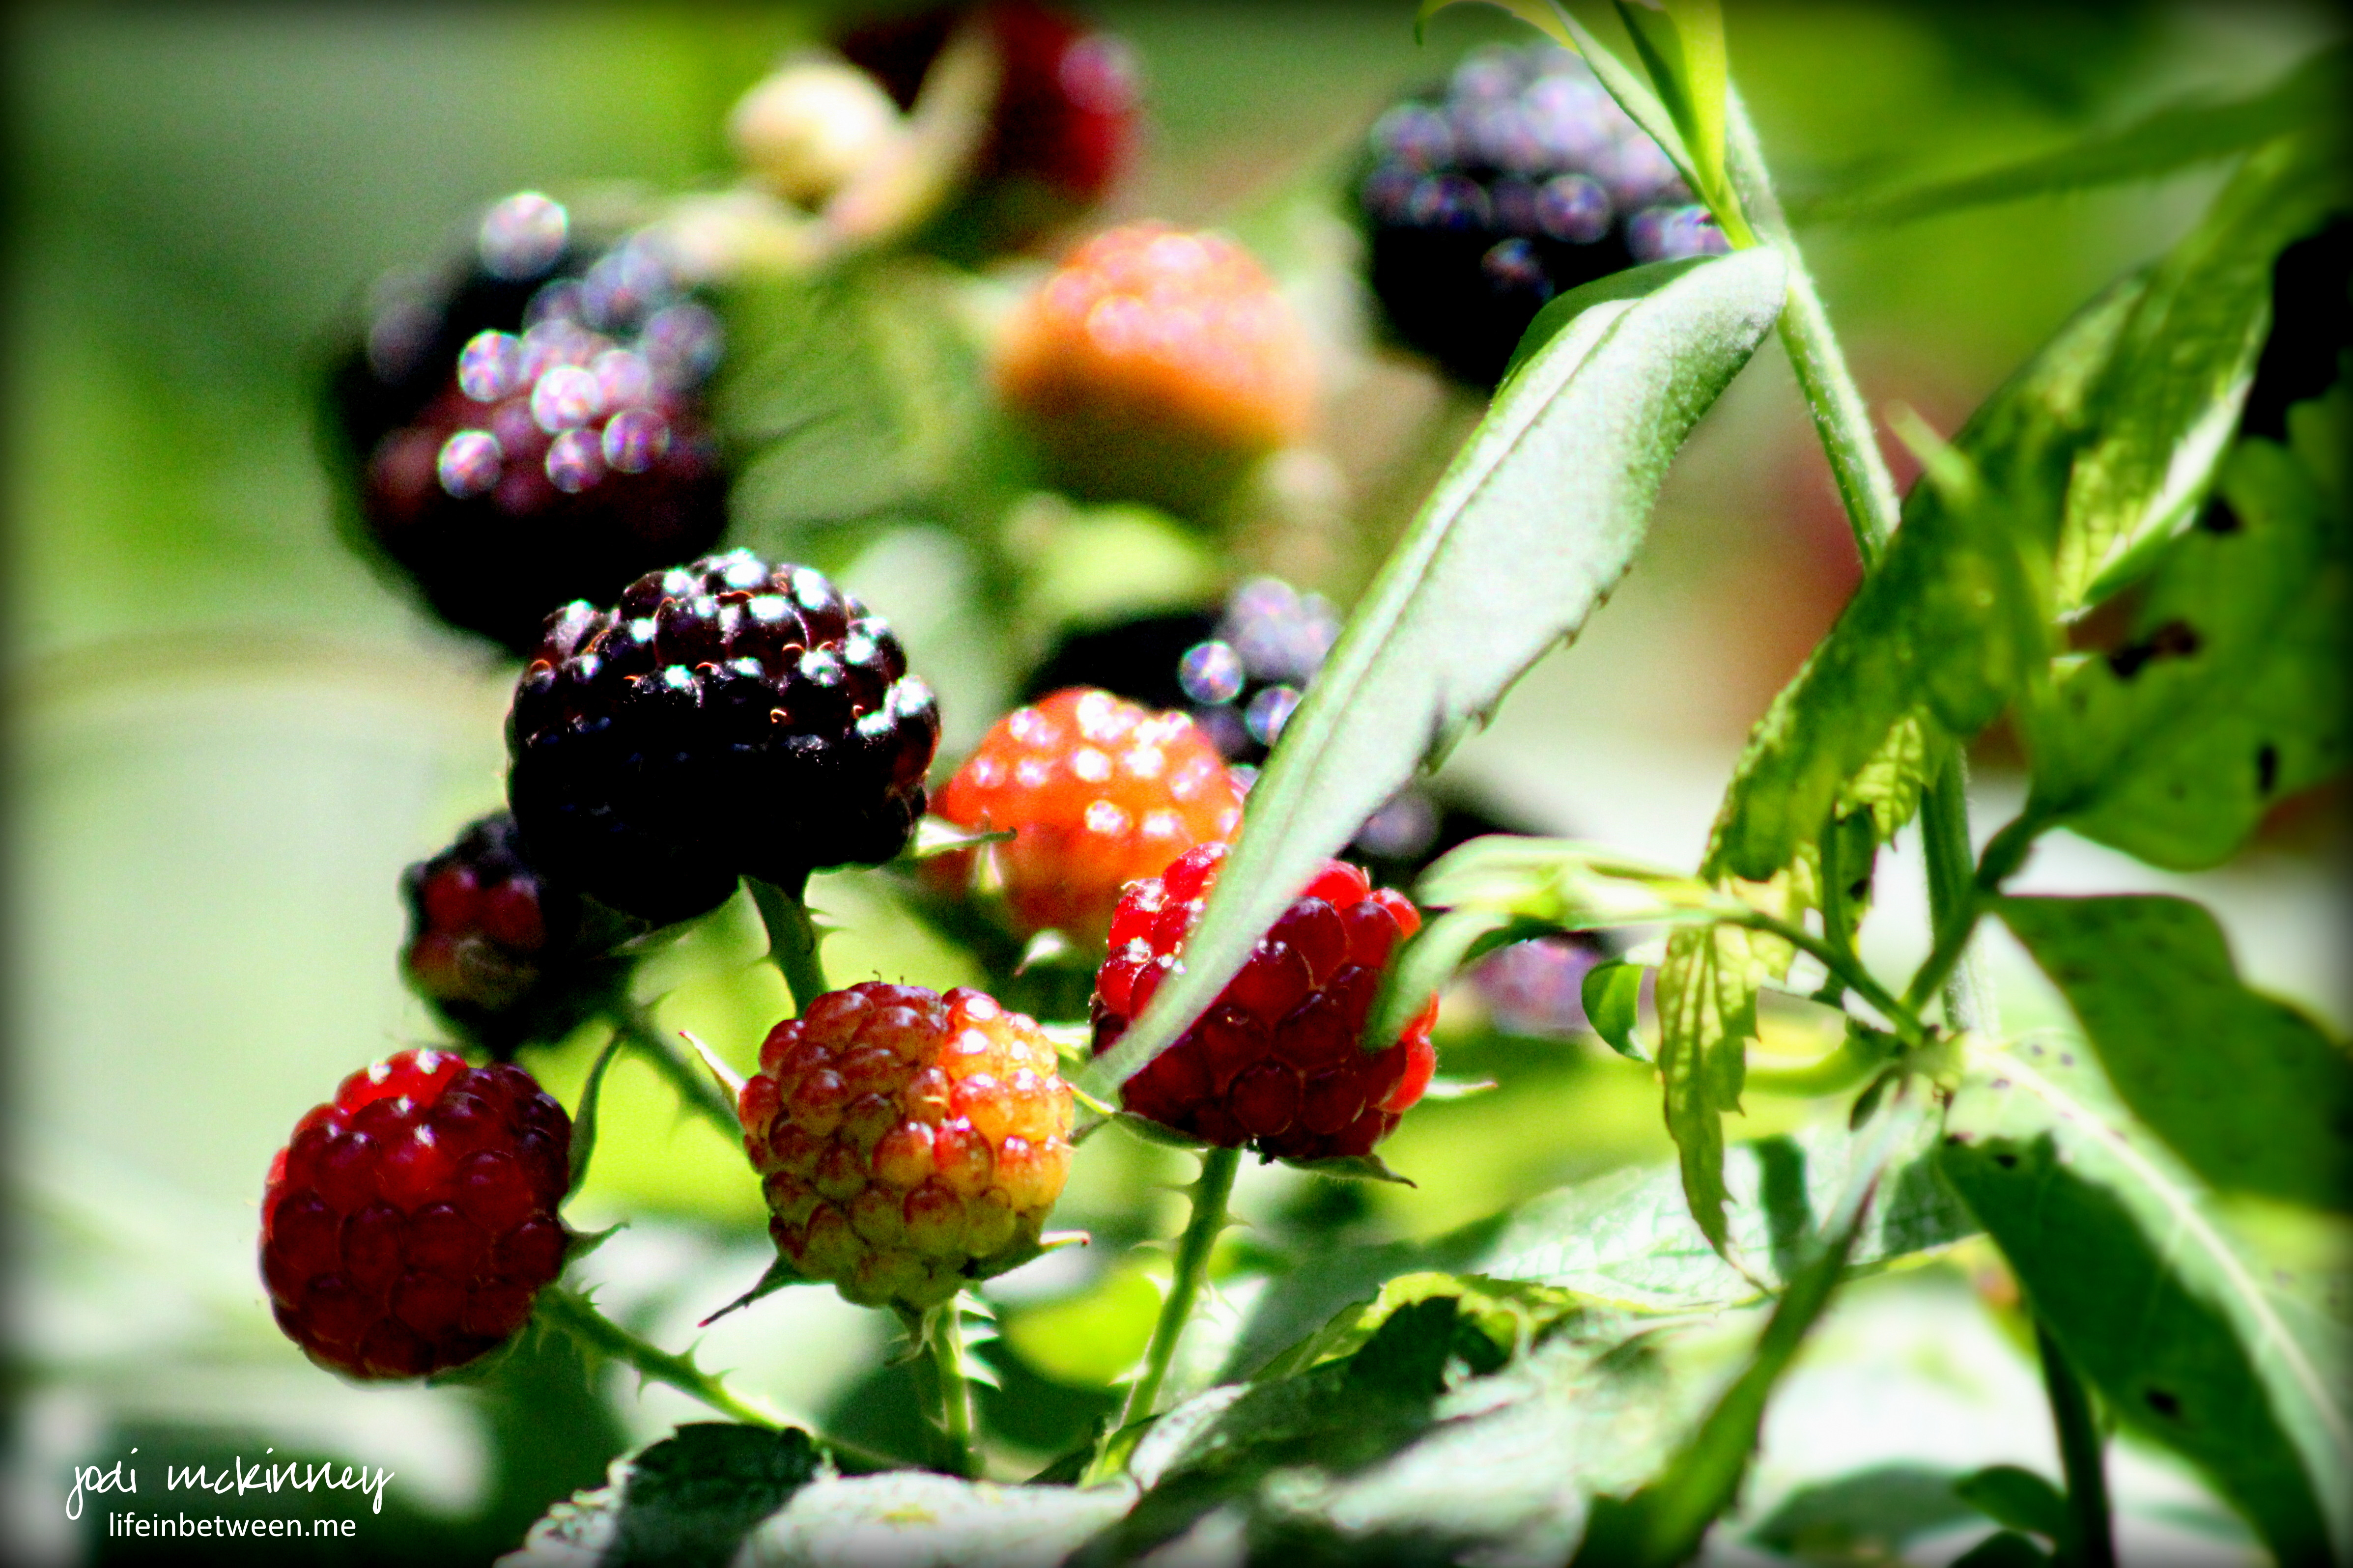
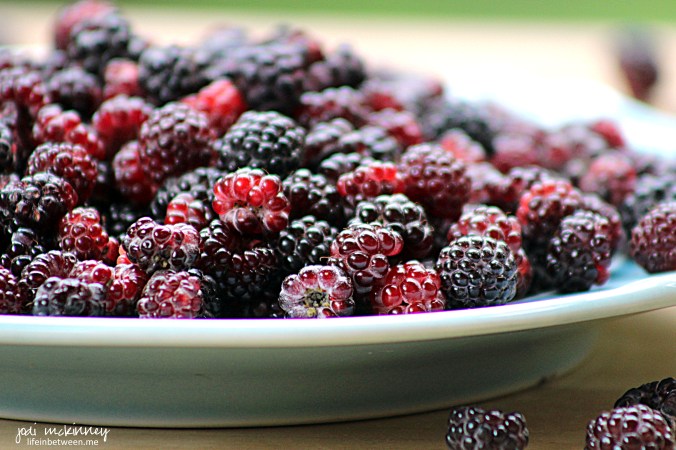
It took me about a week to pick enough berries to make this pie.
You see, you have to try to beat the birds and the deer and the rabbits and all the other critters that also love these sweet and tart bursts of summer sunshine when they ripen.
And then you have to battle the thorns and the poison ivy that seems to love to grow in the same area as the berry bushes.

I collected them by the handful on walks to the mailbox or around the yard.
I would then lay them on a cookie sheet and flash freeze them, toss in a Ziploc bag after frozen, and wait until I had enough to make this glorious pie.
And it is SO WORTH IT!
Have you ever made a fresh homemade old-fashioned wild blackberry pie? If not, I so urge you to give it a try.
I’m guessing your family will thank you, and I’m also guessing you may just begin creating some pretty amazing memories for them like I have when I recall some very special family times from my past.
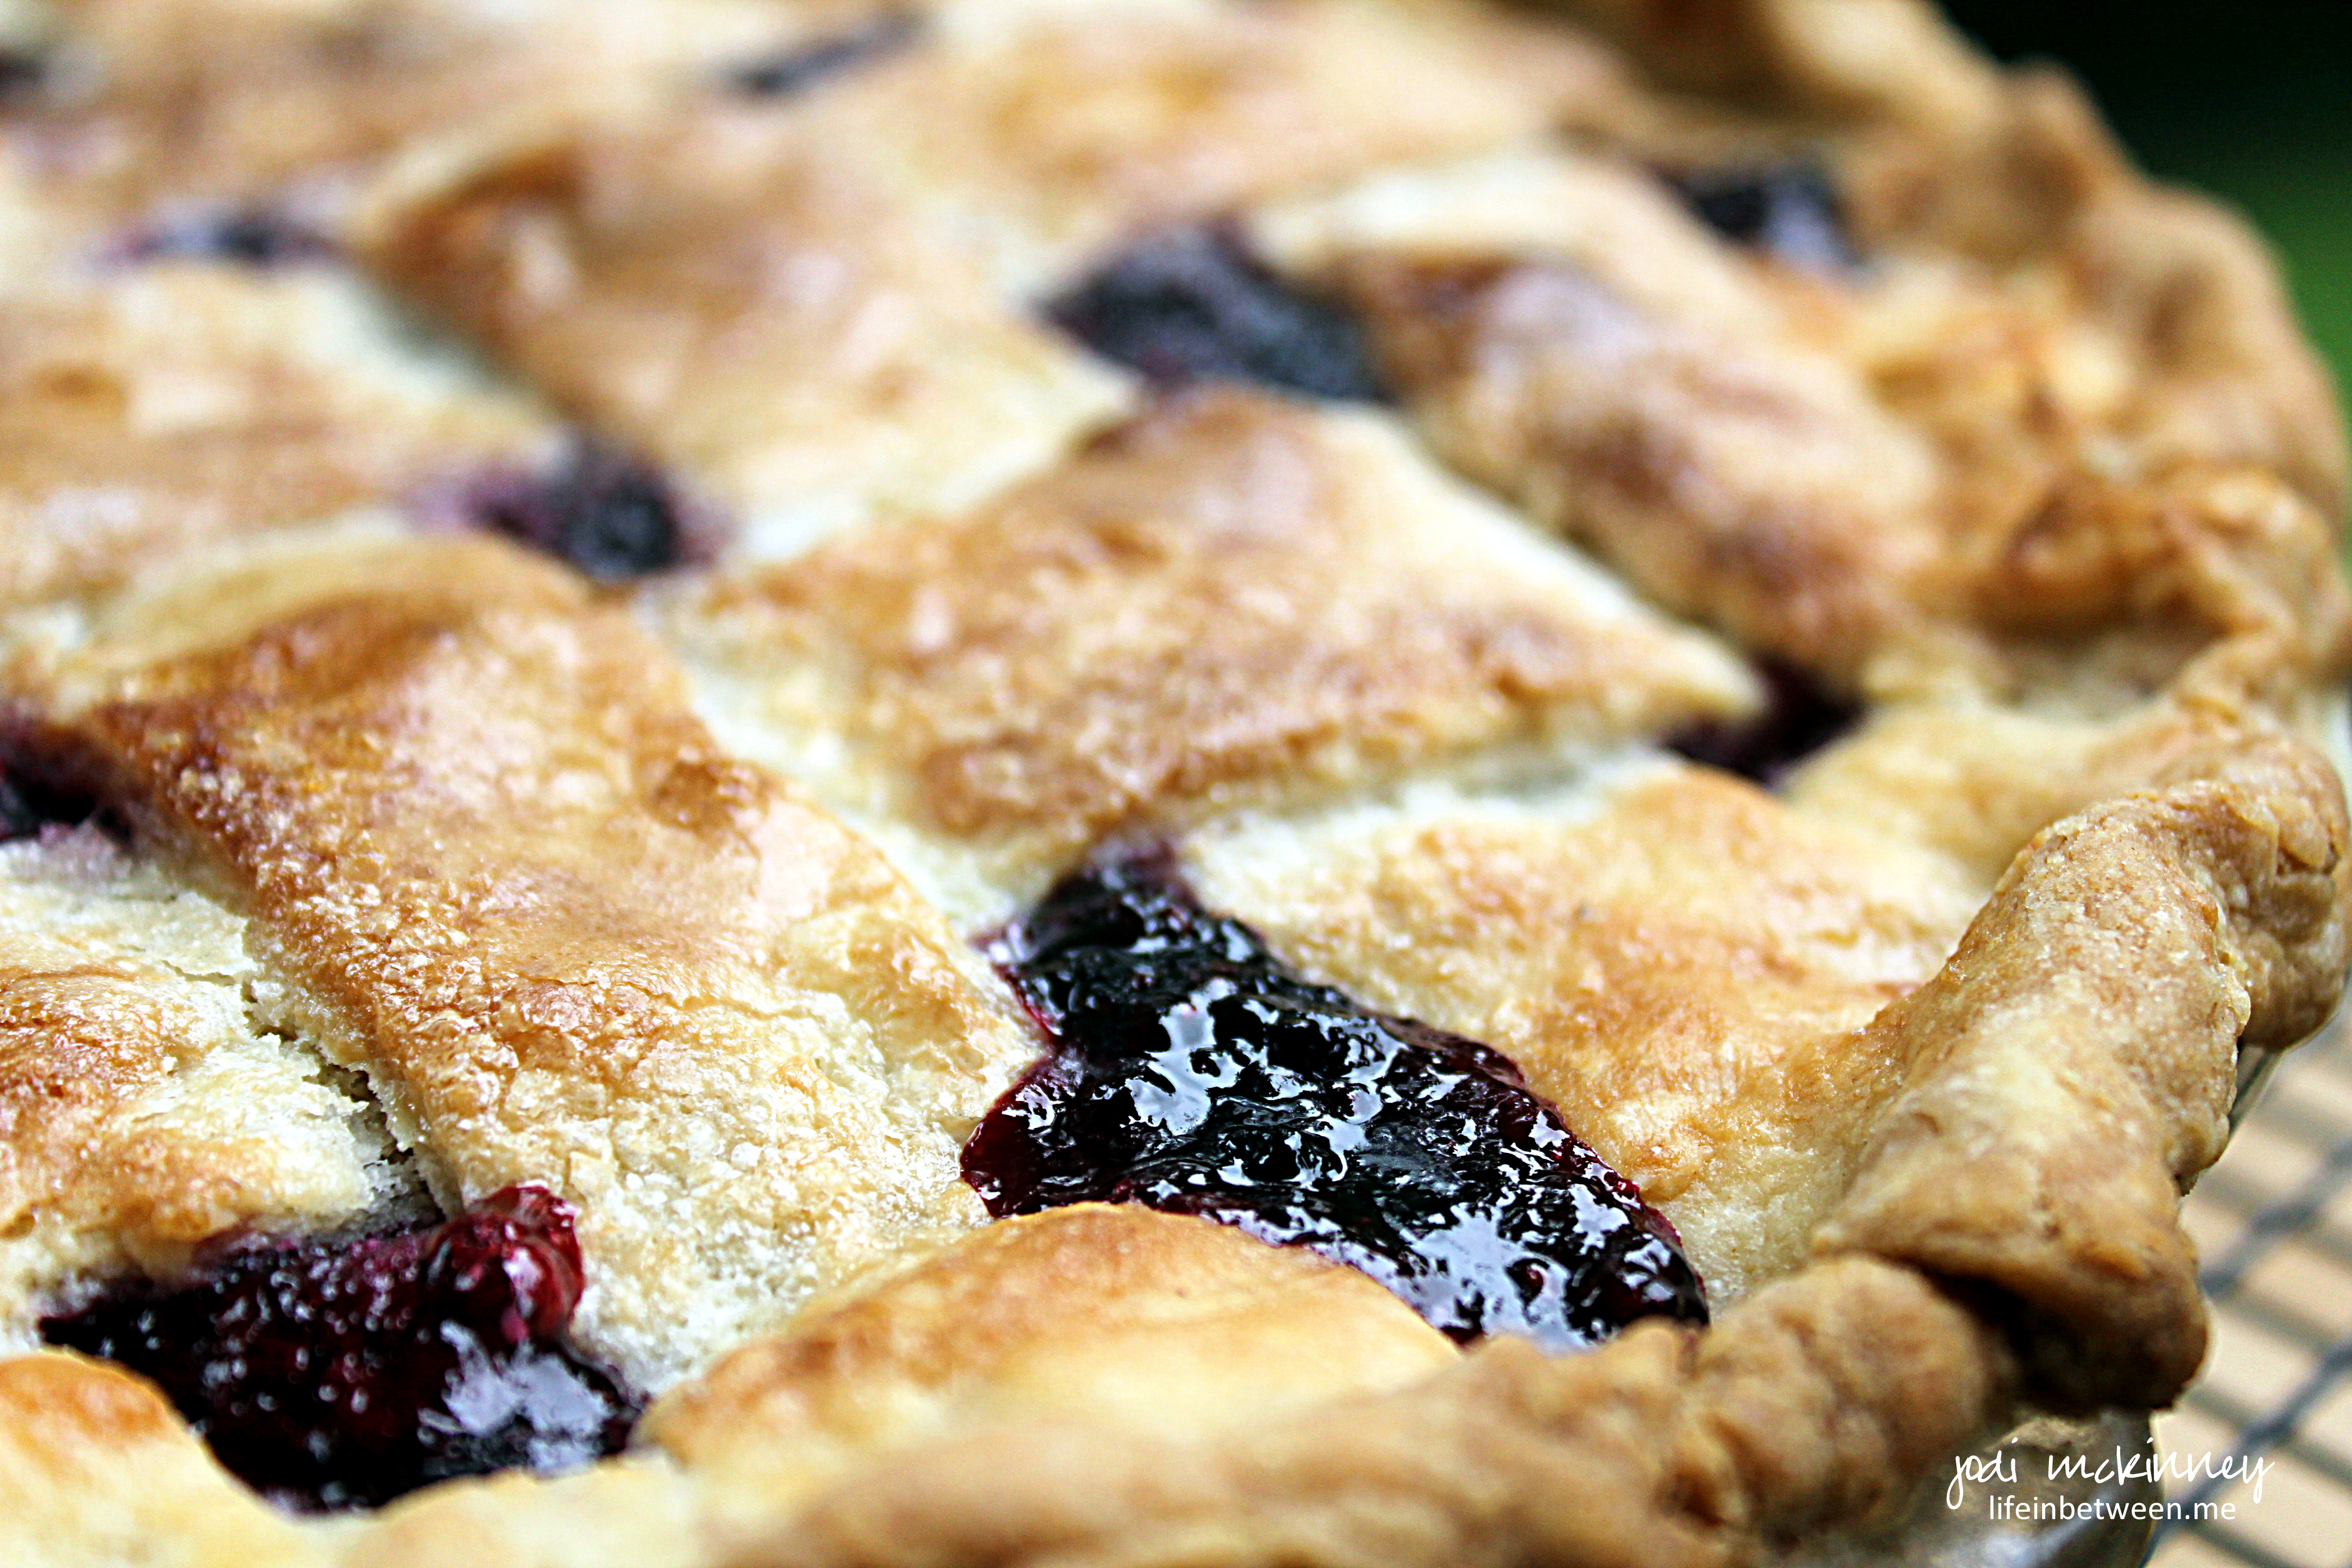
Fresh Old-Fashioned Blackberry Pie
Ingredients:
- 4 cups fresh wild blackberries (or frozen if not available)
- 1 1/4 cups sugar
- 3 1/2 Tbsp Minute Tapioca
- Dash of salt
- 1/2 Fresh Lemon (juiced)
- 1 Tbsp butter
- 1 Double Crust Recipe (See our “Secret Family Pie Crust Recipe” here)
- 2 Tbsp milk
- 1 Tbsp sugar
Directions:
- Preheat oven to 400 degrees F.
- Prepare Pie Crust.
- Line 9 inch pie pan with bottom crust.
- In large bowl, mix blackberries, sugar, tapioca, salt and lemon juice.
- Pour berry mixture into pie pan.
- Dot with butter.
- Cover with top lattice crust.
- Brush with milk, and sprinkle sugar over top crust.
- Cover edge of pie with strips of foil to prevent crust from burning.
- Bake for 45-50 minutes or until berry mixture begins to bubble up in between top lattice crust. (Remove foil for last 10 minutes of baking to brown edges.
Enjoy!
Cheers & Hugs,
Jodi