Fresh Peach and Blueberry Greek Yogurt Cake

Peach Blueberry Greek Yogurt Cake 1

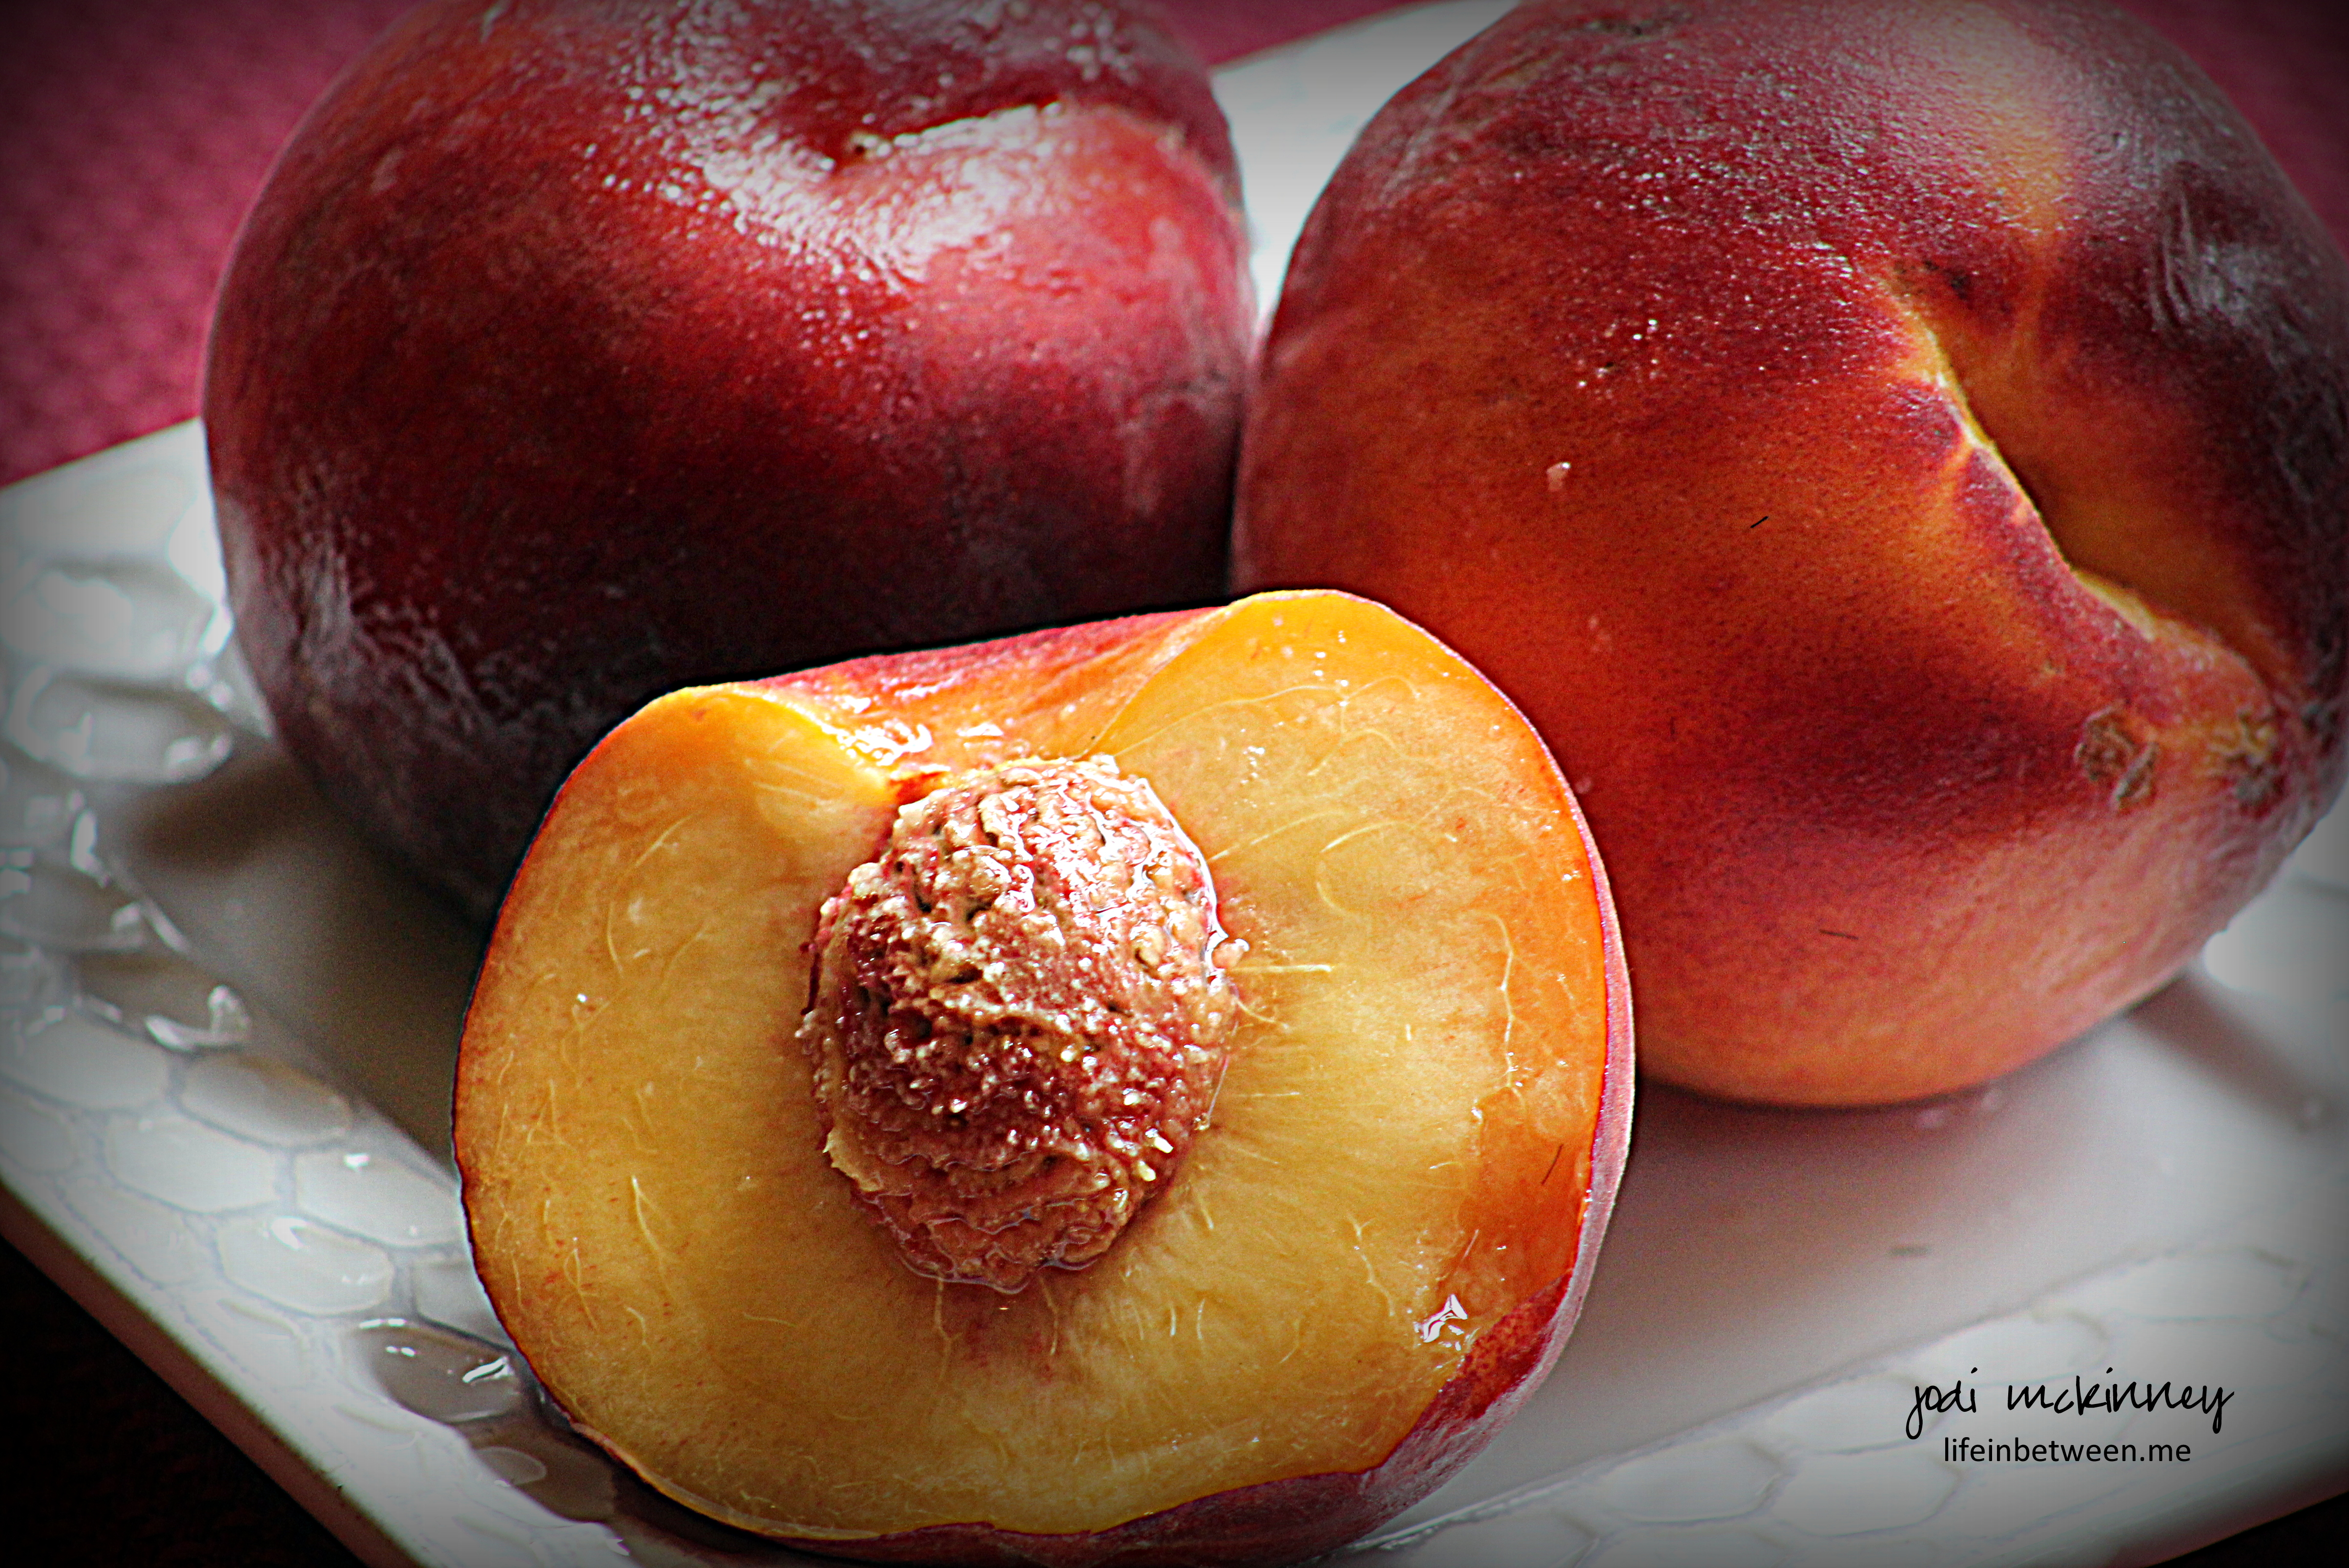
Sunday was a rather rainy, oppressively humid, relaxing, fabulous, lazy, stay-in-the-house kinda day.  What better kind of day to bake a beautiful treat like this Greek yogurt cake with fresh, juicy, ripe peaches…

Peach Blueberry Greek Yogurt Cake fresh peaches

and tart, tangy, locally-grown blueberries…

Peach Blueberry Greek Yogurt Cake fresh blueberries

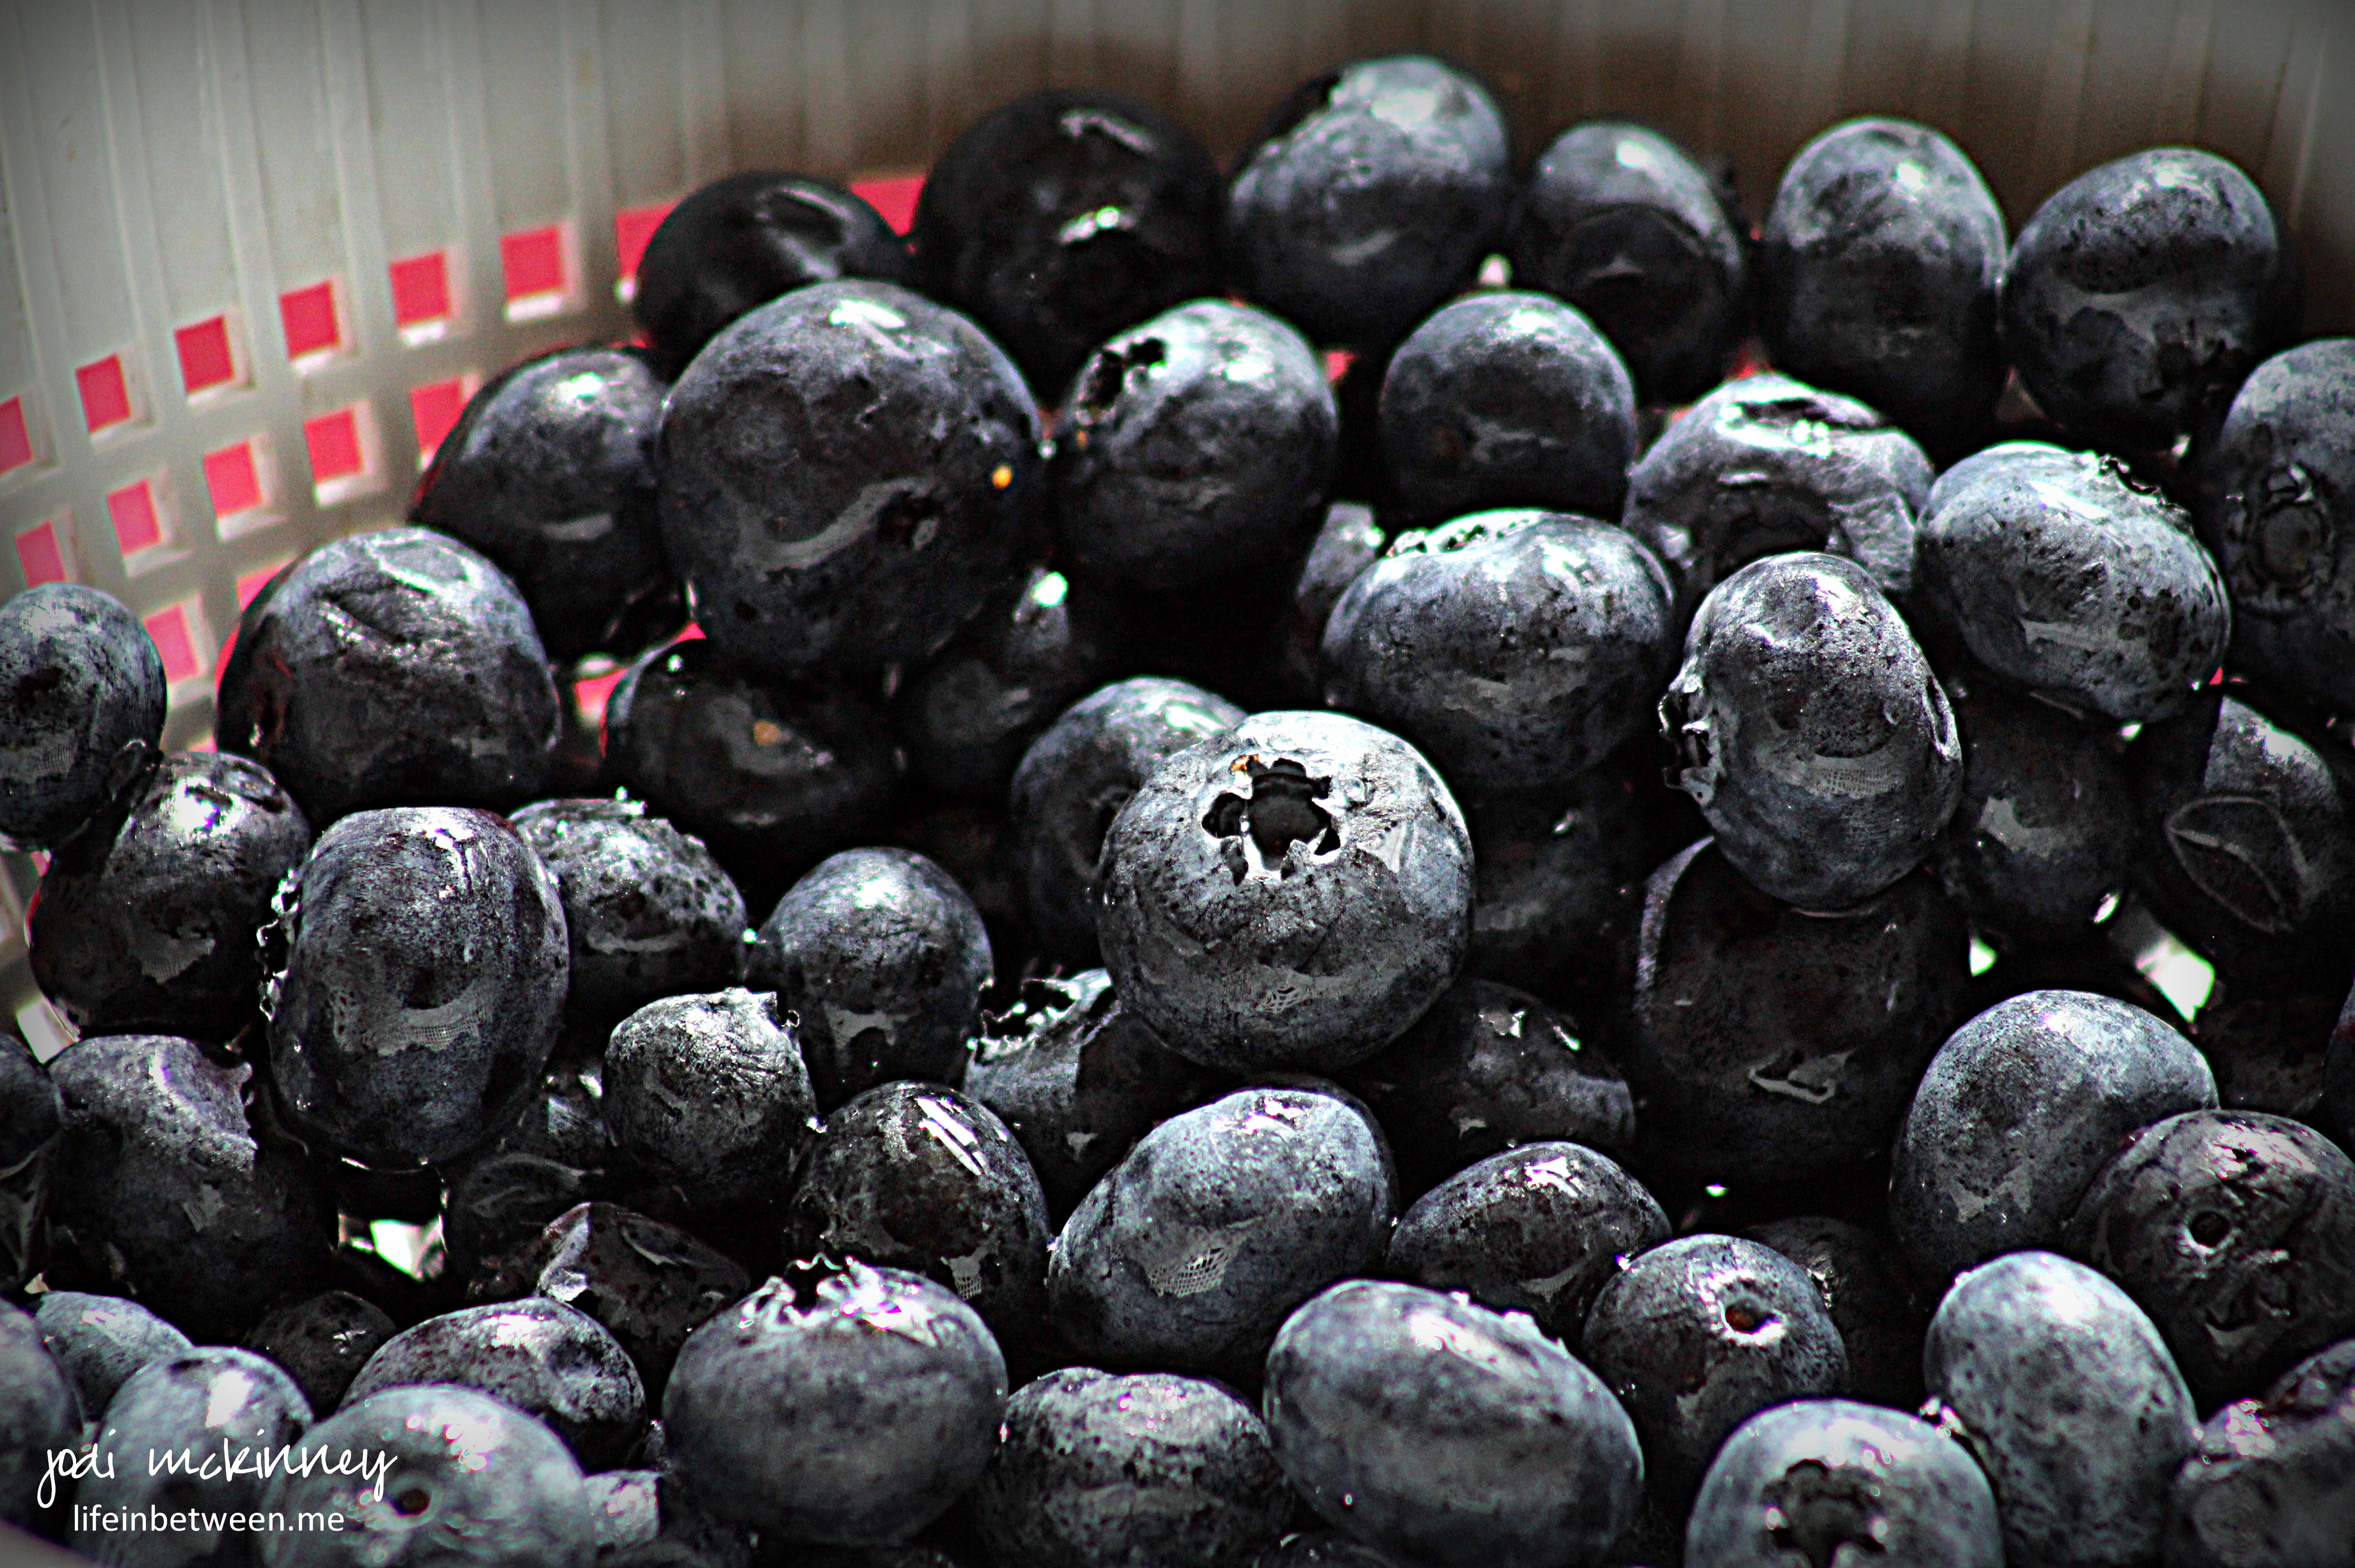
for a lovely dessert!

Peach Blueberry Greek Yogurt Cake slice

OH How Yummy…

Peach Blueberry Greek Yogurt Cake

and OH How Beautiful!

Peach Blueberry Greek Yogurt Cake 2

Moist and sweet – but not too sweet, bursting with fresh summer fruit flavor, delicious warm or cold, amazing alone – and possibly even more amazing with a dollop of whipped cream or melting vanilla ice cream.

Hope you’ll give this a try.

Here is the recipe slightly adapted from JuliasAlbum.

Fresh Peach and Blueberry Greek Yogurt Cake

Ingredients:Peach Blueberry Greek Yogurt Cake 1

  • 1/2 stick (1/4 cup) butter, softened
  • 1 cup sugar
  • 2 eggs
  • 1 tsp vanilla
  • 1/2 cup Greek vanilla yogurt
  • 1 tsp baking powder
  • 1/2 tsp baking soda
  • 1 1/2 cups all-purpose flour
  • 3 fresh, ripe peaches, sliced into wedges
  • 1 cup fresh blueberries
  • 1 Tbsp raw or granulated sugar
  • 1/4 cup powdered sugar

Directions:

Preheat oven to 350°F. Spray the side and bottom of a 9″ springform pan with Pam cooking spray.  Line bottom with parchment paper, and spray it too.

Cream butter, sugar, and eggs until light and fluffy for approx. 2-3 minutes on high speed of an electric mixer.  Add vanilla and Greek yogurt, and continue beating for another minute.

With the mixer on low, add baking powder, baking soda, and then flour, and mix just until combined.

Pour batter into the prepared pan. Top with two of the peaches, sliced, and two-thirds of the blueberries in any design you like.  Sprinkle the fruit with sugar.

Bake for 30 minutes.  Pull cake out and add the third peach, sliced, and the remaining blueberries.  Return to oven, and continue baking for 15-20 more minutes until cake is golden, and a toothpick inserted into the center comes out clean.

Allow to cool in pan for about 40 minutes, and then release cake from the springform pan.   Sprinkle with powdered sugar, and serve warm or cold.  Enjoy!

Cheers & Hugs,
Jodi

Blueberry Shortbread Tart

blueberry shortbread tart 2

I thought it would be nice to make a sweet treat this past weekend for the guys since I had been away for awhile.  I didn’t have enough blueberries to make a pie, but I had a nice amount to make this yummy blueberry shortbread tart.

blueberry shortbread tart 1

What could be bad about a shortbread crust, some jam and blueberries, fresh lemon juice and zest, and a crumbly topping?!?!

blueberry shortbread tart 3

It went together easily, only took 30 minutes to make, and was a hit!  (Hubby said it reminded him of a toasted blueberry Pop-Tart (and that was meant as a compliment – lol!)

I can’t recall the last time I bought Pop-Tarts, but this is a tart, and it is filled with fruit, and it is baked, so I guess that pretty well qualifies it to taste a bit like it.  I can imagine this would also be great with many other fruit fillings (aka Pop-Tart flavors) –  Cherry, Raspberry, Blackberry, Peach, Apple & Cinnamon, Strawberry, or Peach – to name a few.

My guys topped theirs with a scoop of vanilla ice cream, because, well…. just because!

It was a great dessert to end a hot summer day and meal of grilled sausage sandwiches with onions and peppers on hard rolls, fresh sweet corn on the cob rolled in butter and sprinkled with Old Bay Seasoning, and a cucumber and tomato salad fresh from the garden drizzled with tangy red wine vinegar, salt and pepper.

Hungry yet?!

Blueberry Shortbread Tart

Ingredients:blueberry shortbread tart 2
  • 2 sticks butter,  room temperature
  • ½ cup sugar
  • ¼ cup brown sugar, packed
  • 1 Tbsp lemon juice
  • Zest of 1 lemon
  • 2⅓ cups all-purpose flour
  • ½ tsp salt
  • 1 cup blueberry preserves or jam
  • 1 cup fresh blueberries
Directions:

Preheat the oven to 350 degrees F.

Grease 9-inch tart pan.

Beat butter, sugars, lemon juice and zest with electric mixer approx. 3 mins until well incorporated.  Add flour and salt, and mix until well blended and forming clumps.

Press 2/3 of the mixture evenly into the prepared pan and going up sides.

Spread with the blueberry preserves or jam evenly over the dough, leaving a ¼-inch border.  Sprinkle with blueberries.

Crumble the remaining dough into large crumbs and  sprinkle evenly over filling.

Bake 30 – 40 mins. until lightly browned.


Cheers & Hugs,
Jodi

*recipe slightly adapted from Erren’s Kitchen

Cinnamon Chip Scones

cinnamon chip scones watercolor 5x7 arches 140lb cold press, raw sienna, cad orange, burnt sienna, burnt umber

cinnamon chip scones watercolor 5×7 arches 140lb cold press, raw sienna, cad orange, burnt sienna, burnt umber

I first shared this recipe I am “almost famous” for about two years ago here.

I made them twice this week for two different occasions, so when time came for me to decide on a watercolor painting for #WorldWatercolorMonth today – Cinnamon Chip Scones it was.

My painting does not do these amazingly yummy scones justice, but trust me, you and anyone you serve these to will LOVE them.

Here is what they really look like.

cinnamon chip scones

Cinnamon Chip Scones

Ingredients:cinnamon chip scones

2 3/4  Cups Flour
1/4 cup Sugar
1 Tbsp Baking Powder
1 tsp Baking Soda
Pinch of Salt
2 tsp Cinnamon
1 tsp vanilla
1 1/2 Sticks Cold Butter
3/4 – 1 Cup Buttermilk (easy substitute is 1Tbsp white vinegar added to 1 cup milk)
1 10 oz. bag Hershey’s Cinnamon Chips
Coarse Raw Sugar for Sprinkling


Directions:

Preheat oven to 400 degrees F.

In a large bowl, mix together flour, sugar, baking powder, baking soda, salt, and cinnamon.  Cut butter into small cubes and cut into dry ingredients with a pastry blender until coarse crumbs are formed.  Pour in vanilla and buttermilk, and mix with pastry blender just until incorporated.  Pour in bag of cinnamon chips.  Dump dough onto counter and gently shape into a 15″ x 3″ rectangle.  Cut dough in half, then each half in half, then each quarter in half, so that you have 8 rectangles.  Cut each rectangle on the diagonal to form 16 triangular shaped scones.

Place on backing stone or cookie sheet, brush with some milk or water, and sprinkle with coarse raw sugar.  Bake at 400 degrees F for 10-15 minutes.  Cool for a few minutes on stone or cookie sheet, then remove to cooling rack to cool completely.  Best served immediately.

Cheers & Hugs,
Jodi

Fresh Peach & Blueberry Streusel Muffins

fresh peach and blueberry struesel muffins

Do you know a muffin man?  One that might live on your lane?

If so, you might want to make him this yummy Fresh Peach and Blueberry Streusel Muffin recipe this weekend for Father’s Day brunch.

After all, we would be muffin without our dads – right?

fresh peach and blueberry struesel muffins 3

Silly nursery rhymes and puns aside….   I was excited to try out some new silicone muffin “pans” I got on clearance at Tuesday Morning a while back, and they did not disappoint.

No need for liners, the muffins popped right out, and clean up was SUPER easy!

The pair of baking pans I bought were slightly odd-shaped I came to find out when I tried to stand the finished little buggers up.  They are wider at the top and quite narrow at the bottom.  (They are likely shaped for some other baking delicacy, but the muffins still tasted AMAZING even though they could stand up straight on their own! Hence my inspiration for the picture to the left.)

These muffins are bursting with fresh fruit flavor and moist from the addition of creamy vanilla yogurt and milk.

And who can pass up a crumbly topping swirled with icing?!

fresh peach and blueberry struesel muffins 2

Peaches are just coming in season around our neck of the woods.  Mixing the tart burst of blueberries with the sweetness of ripe peaches is a muffin combination that is sure to make for happy tummies when you bake these for your family or friends or even just for you!

Fresh Peach and Blueberry Streusel Muffins*

Ingredients:fresh peach and blueberry struesel muffins

Muffin Batter:

  • 1 stick (1/2 cup) softened butter
  • 1/2 cup brown sugar
  • 1/4 cup white sugar
  • 2 large eggs
  • 1/2 cup vanilla yogurt
  • 2 tsp vanilla
  • 1 3/4 cups all-purpose flour
  • 1 tsp baking soda
  • 1 tsp baking powder
  • 1/2 tsp cinnamon
  • 1/2 tsp salt
  • 1/4 cup half and half or milk
  • 1 cup peaches, peeled chopped
  • 1 1/2 cups blueberries

Crumb Topping:

  • 1/3 cup brown sugar
  • 1 Tbsp white sugar
  • 1 tsp cinnamon
  • 1/2 stick (1/4 cup) softened butter
  • 2/3 cup all-purpose flour

Glaze:

  • 1 cup confectioners’ sugar
  • 3 tablespoons half and half or milk or Italian Sweet Creamer*
  • 1/2 tsp vanilla extract

Directions:

Preheat the oven to 425 degrees F. Spray muffin pan with nonstick spray.

For muffin batter, beat butter on high speed in electric mixer until smooth, about 1 minute. Add sugars and beat on high until fluffy, about 2 minutes. Add eggs, yogurt, and vanilla, scrapping down the sides of the bowl as needed. Beat until mixture is combined.  Add, baking soda, baking powder, cinnamon and salt and beat 30 seconds or so to combine.  Add flour and mix until well combined.  Add milk and mix until no lumps remain.

Add a teaspoon of flour to the blueberries to coat and do the same to the peaches.  This helps them to no all sink to the bottom of the batter when baking.

Fold fruit gently into batter.

For the crumb topping, combine sugars, cinnamon, and flour.  Mix in softened butter until thick and crumbly.  You can use a spoon or fork or even your fingers.

Divide the batter evenly among the muffin cups, filling them all the way to the top or even a little over. Divide the crumb topping among each of the muffin cups, crumbling with your hands to make some big chunks.

Bake for 5 minutes at 425, then lower temperature to 350 and bake for an additional 20 minutes or until a toothpick inserted in the center comes out clean. Remove from oven and cool.

Make glaze by mixing the confectioners’ sugar, milk and vanilla together. Drizzle over muffins when most of the way cool.

*slightly adapted from SpoonfulofNature

Enjoy!

Cheers & Hugs,
Jodi


Cream Puff Cloud

cream puff cloud coconute cream recipe 2

This heavenly cream puff cloud dessert has been a family favorite for a long time.

My sweet father-in-law used to request it every year for his birthday, and Hubby loves it too!

So when we had my Dad and Mom II over yesterday to celebrate Dad’s birthday, I made this special dessert that I made the first time we celebrated Dad’s birthday together (again) six years ago when we reunited.

Cream Puff Cloud Coconut Cream slice recipe

Dad loves coconut cream just like Hubby does and Pap did, so this is something I love making for my special guys.

Dad ate his first piece, and then asked for a second “little” slice.  He sure knows the way to my heart! 

And if you are not a coconut cream fan, this cream puff cloud DELIGHT is wonderful in a French Vanilla or Chocolate version too!

It is light, simple, and amazingly delightful!

cream puff cloud coconute cream recipe

Years ago, when my boys were young and I was a stay-at-home mom, I sold Pampered Chef kitchen tools as a little side job that got me out a bit, helped me make some extra money for the family, and provided Hubby and I with some amazing FREE trips that I earned for achieving sales bonus levels!  This was one of the recipes I made at cooking shows I did in people’s homes, and it was ALWAYS a huge hit.

I hope you will add this recipe to your collection of “special occasion desserts.”  It is so wonderful to have recipes that are easy, but delicious and impressive.

Happy Birthday Dad!  It was so wonderful to celebrate with you.  I love you!

Cream Puff Cloud

Ingredients:Cream Puff Cloud Coconut Cream slice recipe

  • Cream Puff Shell
    • 1 cup water
    • 1 stick (1/2 cup) butter
    • 1 cup flour
    • 4 eggs
  • Filling
    • 1 small package Instant Coconut Cream Pie Filling (or French Vanilla or Chocolate or your Fave!)
    • 1 1/2 cups Milk (any kind you prefer from Skim to Half and Half)
    • 1 12 oz. Cool Whip
  • Garnish
    • Toasted Coconut – for Coconut Cream Pie Filling
    • Fresh Strawberries and/or shaved chocolate for French Vanilla Pie Filling
    • Shaved Chocolate for Chocolate Pie Filling

Preheat oven to 400 degrees F.

For Puff Pastry Shell:  Microwave or boil water and butter.  Once boiling, remove from heat and add flour.  Stir until batter comes away from sides of bowl/pan.  Add eggs, one at a time, beating with whisk until batter looses shine.

Spray a Deep Dish Baker or 10 inch quiche pan with Pam cooking spray.  Spread batter on bottom of pan and slightly up sides.  Bake for 20-30 minutes.  Shell will puff up and then shrink back when cooled.

Cool completely.

For filling, combine pudding and milk in large bowl, and chill to set.  Fold in 3/4 of the Cool Whip.  For coconut cream version, I also add 1/2 cup toasted coconut.  For chocolate, I add a 1/2 cup chocolate chips or chocolate chunks.

When shell is cooled, pour filling into shell.  Garnish with remaining cool whip and any additional garnishes you prefer.  Chill until serving.

Enjoy!

Cheers & Hugs,
Jodi

Old-Fashioned Dutch Apple Pie

dutch apple pie slice alamode

One of my favorite things to bake (besides cookies) is pie.  And what is more “all-American” for summer holidays and celebrations than apple pie?  Not sure why it is considered so “American” really – that is just what “they say.”  (Actually there are many theories…  which you can certainly feel free to Google, but let’s talk about baking and eating this amazingly yummy dessert!)

dutch apple pie cut

I made it this weekend to take to a party celebrating the Memorial Day holiday, family get-together, and birthday treat for my BFF, Jill.

When I make a pie to take somewhere, I almost always make a second one for home.  Hubby loves pie more than almost anything, and Grandma always taught me if you are going to go to the trouble and make the mess it takes to make one pie, you might as well make 2 or 3 or…. well – as many as you can!  🙂

So here is my recipe for old-fashioned, all-American Dutch Apple Pie.  I have tweaked it a bit from an old, worn-out cookbook I’ve had for about 30 years called , “Farm Journal’s Complete Home Baking Book.”  This is one of the very few cookbooks I’ve hung on to for it’s tried and true recipes.

I guarantee you will be a superstar if you bake and take or serve this all-star pie!

Dutch Apple Pie

Ingredients:dutch apple pie slice alamode

Directions:

Preheat oven to 400 degrees F.

Prepare pie crust and place in bottom of fluted 9 inch pie stone or pan.

Mix apples, sugar, flour, and cinnamon thoroughly until juices begin to form.  Pour into pie crust.

In a bowl, combine flour and sugar.  Cut butter in small pieces and work into flour/sugar with a pastry blender until a nice crumbly mixture forms.  Sprinkle and mound all over top of apple filling.

Cover edges of pie crust with foil to prevent from over-browning and bake for one hour.  Remove foil for last 10 minutes.

Cool completely and serve with ice cream, cool white or even a slice of sharp cheddar cheese if you please.

Enjoy!

Cheers & Hugs,
Jodi

Fresh Red Raspberry Puff Pastry Tart

red raspberry puff pastry tart 1

If you are looking for a fresh, light, simple, yet surprisingly impressive dessert to take to a holiday picnic or serve for a simple weekend dinner party, I’ve created this quick, but scrumptious and beautiful fresh red raspberry puff pastry tart using fresh fruit combined with the convenience of frozen puff pastry.

red raspberry puff pastry tart

For the Memorial Day holiday weekend (or Fourth of July or Labor Day), you could use some blueberries in this one too for a red, white, blue theme.

red raspberry puff pastry tart 2

Here’s my easy peasy recipe that is bound to to get rave reviews!

Fresh Red Raspberry Puff Pastry Tart

Ingredients:red raspberry puff pastry tart 1

  • I pint fresh red raspberries
  • 1/4 cup apricot or raspberry or your favorite jam (I used apricot, because it is what I had, and it made a nice combination of flavors)
  • 1 sheet Pepperidge Farms Frozen Puff Pastry (thawed 40 mins. at room temperature)
  • 1 Tbsp Honey
  • Powdered Sugar for Garnish

Directions:

Unfold and place sheet of puff pastry on baking stone or baking sheet and turn up edges on all sides to create a crust edge.  Poke center with fork 6-8 times to prevent center from raising up too high.  Bake at 400 degrees F for approximately 15 minutes or until golden brown.

While still warm, spread jam on bottom of baked puff pastry. Place half of fresh raspberries on top and mash with a fork.  Allow to cool completely.

Once cooled, place whole fresh red raspberries on top.  Drizzle with honey, and sprinkle with powdered sugar.

To serve, cut into 6 pieces and garnish with a dollop of whipped cream or vanilla ice cream.  

Hope you enjoy!

Cheers & Hugs,
Jodi

Sprinkle Birthday Cake

sprinkle birthday cake

Oh the sprinkles were plentiful this past weekend as we celebrated our daughter-in-law, Colleen’s birthday.  Here is the wonky cake I made that I mentioned yesterday when I posted my sprinkle birthday cake watercolor card I made.

sprinkle birthday cake cut

It might have been a bit wonky, but it was soooo yummy!  This white, vanilla cake filled with colorful, celebratory sprinkles is really worth the extra effort to make from scratch!

sprinkle birthday cake slice

And serve it with some fresh churned birthday cake ice cream (like we can get around here from Bruster’s Ice Cream), and you will really be sparkling!

Sprinkle Birthday Cake*

Cake Ingredients:Sprinkle Birthday Cake thumbnail

  • 3 and 3/4 cups (431g) all-purpose flour
  • 3/4 tsp baking powder
  • 3/4 tsp baking soda
  • 1 tsp salt
  • 1 1/2 cups (3 sticks; 345g) butter, softened
  • 1 3/4 cups (350g) granulated sugar
  • 4 large eggs
  • 2 large egg whites
  • 3 tsp. (15ml) vanilla
  • 1 1/2 cups (360ml) buttermilk (or buttermilk substitute:  1 1/2 cups milk mixed with 1 1/2 Tbsp vinegar)
  • 3/4 cup (142g) rainbow sprinkles

Vanilla Frosting Ingredients:

  • 1 1/4 cups (2.5 sticks; 287g) butter, softened
  • 5 cups (580g) confectioners’ sugar
  • 1/3 cup (80ml) heavy cream or half and half or milk (all work)
  • 3 tsp (15ml) vanilla
  • 1/8 tsp salt
  • Additional sprinkles or other decorations

Directions:

  1. Preheat oven to 350°F (177°C). Grease and lightly flour three 9-inch cake pans.
  2. Whisk flour, baking powder, baking soda, and salt together in a large bowl. Set aside. Mix butter on high speed of mixer until smooth and creamy – about 1 minute. Add sugar and beat on high for 5 more minutes.  On medium-high speed, add 1 whole egg at a time, beating well after each addition until all 4 whole eggs are mixed in.   Beat in vanilla.
  3. With the mixer on low speed, add the dry ingredients in three additions alternating with the buttermilk, beginning and ending with the dry ingredients, and mixing each addition just until incorporated. Do not overmix. The batter will be smooth, velvety, and slightly thick.
  4. In a separate mixing bowl, beat the 2 additional egg whites until thick, foamy, and soft peaks form- about 3 minutes. Gently fold into the batter. Finally, gently fold sprinkles in.
  5. Pour batter evenly into each cake pan.  Bake for approximately 25 minutes or until a toothpick inserted in the center comes out clean.   Allow cakes to cool completely in the pans set on a wire rack.
  6. To make frosting, beat the butter on medium speed in mixer until creamy – about 2 minutes. Add confectioners’ sugar, cream, vanilla, and salt with the mixer on low. Increase to high and beat for 3 minutes. Add more confectioners’ sugar if frosting is too thin, more cream if frosting is too thick, or a pinch more of salt if frosting is too sweet.
  7. To assemble:  Place one cake layer on serving plate. Evenly cover the top with frosting. Top with second and third layers and repeat. Spread remaining frosting on sides.   You can tint small portions of the frosting to make decorations or use decorator frosting and decorate with additional sprinkles.  

Jodi’s Cake Tip:  If at all possible, I always try to bake my cake at least one day ahead of time or even the night before serving so that it can be frozen.  I bake the layers, cool, and then place each un-frosted layer in a large Ziploc bag and freeze.  For one thing, this makes the cake much easier to frost.  But secondly, and most importantly, freezing the cake, even if only for a few hours overnight, makes for a much moister cake.  I learned this by accident when I used to always make cakes fresh the day of serving thinking that was best, and then had to do ahead one time years ago because of time constraints.  It was the first time everyone ooooohhhed and awwwwhhed over the cake.  I’ve frozen ahead ever since.

And here is the birthday girl blowing out the candles.  A bit blurry, but a quick snap with my iPhone after we sang.  I love doing special things for this special girl!

colleen sprinkle birthday cake

Cheers & Hugs,
Jodi

*FULL Credit for this recipe goes to Sally’s Baking Addiction Funfetti Cake.

Fresh Red Raspberry Chocolate Chunk Bread

Fresh Red Raspberry Chocolate Chunk Bread

I obviously cannot get enough of the red raspberry and semi-sweet chocolate combination as evidenced by today’s AMAZING recipe – Fresh Red Raspberry & Chocolate Chunk Bread.

You may recall my “almost-famous” Fresh Red Raspberry and Chocolate Chunk Cookies.  If you haven’t tried these – you seriously do not know what you are missing.

I’ve also shared my recipe for Chocolate Chunk and Fresh Red Raspberry Muffins – TO DIE FOR!  And the outrageously extraordinary Chocolate and Raspberry Custard in a Jar that I copy-catted from Firebird’s Wood Fired Grill Restaurant for my son, Nick’s birthday recently.

But I must say – this bread is rocking my world right now.  I could not believe how awesome it turned out.  It is pretty much just like the cookies, but in the form of bread (which means you can more easily justify eating it for breakfast – if not any other time of the day!)

Fresh Red Raspberry Chocolate Chunk Bread 2

I sliced the end off for the photo thinking I would take a little taste to make sure it is edible and then just toss that tough old crusty end to avoid the calories – but…  I just couldn’t do it.  Even the crusty end was delicious beyond words!

Fresh Red Raspberry Chocolate Chunk Bread 3

I’m telling you friends – you really want to try this one!

For yourself – for the people you love – and for those that you want to love you!

I can’t wait to hear what you think.

Get baking!

Fresh Red Raspberry Chocolate Chunk Bread

Ingredients:Fresh Red Raspberry Chocolate Chunk Bread

2 cups plus 2 tablespoons all-purpose flour
3/4 cup light brown sugar, packed
1/4 cup granulated sugar
1 teaspoon baking soda
pinch of salt (6 shakes!)
1/4 cup butter, melted
1 large egg
3/4 cup buttermilk (to make easy buttermilk – mix 1 Tbsp vinegar with 1 cup milk and let set 5 min)
1/4 cup canola or vegetable oil
2 teaspoons vanilla extract
2 cups fresh red raspberries
2 tablespoons all-purpose flour
3/4 cup semi-sweet chocolate chunks or chips (I used Nestle Chunks)

Directions:

Preheat oven to 350F. Spray one 9×5-inch loaf pan with floured cooking spray, or grease and flour the pan; set aside.

In a large bowl, add flour, sugars, baking soda, salt, and whisk to combine; set aside.

In a medium microwave-safe bowl, melt butter about 45 seconds on high power. To the butter, add the egg, buttermilk, oil, vanilla, and whisk to combine.

Pour wet ingredients into dry and stir until just combined.  Do not over mix or dough will be “tough.” It is ok if batter is lumpy.

In a medium bowl, add the raspberries and 2 tablespoons flour.  Toss lightly to combine Coating the berries in flour helps to reduce their sinking while baking.

Add the raspberries to the batter and fold very lightly to combine.  Gently fold in chocolate chunks.

Pour batter into prepared pan and bake for approximately 1 hour.  You may want to cover halfway through with tented foil to prevent top from becoming too brown.  I did.

Allow bread to cool in pan for about 15 minutes before turning out on a wire rack to cool completely before slicing and serving.

*Original Recipe Found and Slightly Adapted from Averie Cooks

Enjoy!

Cheers & Hugs,
Jodi

Fresh Orange Date Walnut Bread

Orange Date Walnut Bread 3

I was looking for something new to try baking early yesterday morning before I settled into work for the day.

It was a cool, rainy day after a wonderful stretch of warmth and sunshine.  I was in the mood for a nut bread, but after traveling most of the week, I didn’t have a lot of fresh ingredients on hand.

Orange Date Walnut Bread 1

I found a bag of dates, but I wanted to “Springify” a date and nut bread recipe up a bit, so I thought fresh orange flavor might just do the trick.  Adding a bit of freshly squeezed orange juice and fresh orange zest was just the ticket to brighten up this lovely bread.

Orange Date Walnut Bread 2

It’s nice to have something like this on hand for a quick breakfast with coffee, a nice little treat for a guest or a late night or after dinner urge for something just a bit sweet, but not too.

I’m sure this would freeze well and be great to pull out when needed.

Hope you enjoy your weekend!

May it be bright and fresh and Springy, but a little nutty too!

Fresh Orange Date Walnut Bread

Ingredients:Orange Date Walnut Bread 3

3/4 cup sugar
1/2 cup butter, softened
1/2 cup sour cream
1/3 cup fresh orange juice
1 Tbsp freshly grated orange zest
2 eggs
1  3/4 cups all-purpose flour
3/4 tsp baking powder
 3/4 tsp baking soda
1 cup chopped dates
1 cup chopped walnuts


Directions:

Preheat oven to 350°F. Grease bottom only of 9×5-inch loaf pan. Set aside.

Beat sugar and butter at medium speed with mixer, scraping bowl often, until creamy. Add sour cream, orange juice, orange zest and eggs; continue beating until well mixed. Add flour, baking powder and baking soda; beat at low speed until well mixed. Gently stir in dates and walnuts.

Pour into prepared pan. Bake 45 minutes or until toothpick inserted in center comes out clean. Let stand 10 minutes; remove from pan. Cool completely.

*Adapted from LandoLakes Recipe

Cheers & Hugs,
Jodi