Easy Festive Thin Mint Cookies

Easy Festive Thin Mint Cookies.

Do you do holiday cookie baking?

Are you a traditionalist where you do the same cookies each year or do you like to try new and different things?

I’m a little of both.  There are some things that I feel it just wouldn’t be the holidays without…

Like Grandma’s Apricot Nut Bread, Chocolate Chip Cookies, Homemade Chex Mix, and Apricot Kolaches.

But I love to try new things.

Sometimes I’m in the mood for spending hours in the kitchen…

and sometimes I want to bake/not bake.  You know what I mean?

That is how I was feeling yesterday, so when I saw this TWO-INGREDIENT, No Bake “Cookie” recipe, I had to give it a try.

And wow did they deliver!  It is crazy how they taste exactly like Girl Scout Thin Mint Cookies!

It’s really barely a “recipe,” but here is how you make them.

Easy Festive Thin Mint Cookies

Ingredients:

Directions:

Melt Andes Mint Chocolates.  Dip Ritz Crackers in melted chocolate.  Sprinkle with festive sprinkles if desired.  Allow to dry on waxed paper.

If you are looking for something quick and easy that everyone will love, I hope you will try these.  Enjoy!

Cheers & Ho Ho Holiday Hugs,
Jodi

Macadamia Toasted Coconut Chocolate Chip Cookies

Macadamia Toasted Coconut Chocolate Chip Cookies.

Can you EVEN????

OH is this a GOOOOOD one!!!!

Toasted coconut, salty crunchy macadamia nuts, and semi-sweet gooey bits of chocolate in one cookie!

This one is rich, so when you are really in the mood, a bite into this cookie is going to be an experience you will not soon forget!

Here is how I made them.

Macadamia Toasted Coconut Chocolate Chip Cookies*

  • Servings: 5 doz large cookies
  • Print

Ingredients:

  • 2 cups (4 sticks) butter, melted
  • 1/2 cup sugar
  • 2 1/2 cups packed brown sugar
  • 2 eggs
  • 2 egg yolks
  • 4 Tbsp. milk
  • 4 tsp. vanilla extract
  • 2 tsp. salt
  • 2 tsp. baking soda
  • 5 cups all-purpose flour
  • 4 cups semi-sweet chocolate chips
  • 2 cups shredded coconut (toasted**)
  • 1 1/2 cups macadamia nuts, coarsely chopped

Directions:

Beat melted butter and sugars with electric mixer until creamy, then add eggs and egg yolks and beat until well combined.  Add milk and vanilla and beat until well combined.  Then add salt, baking soda and flour mixing just until incorporated.  Remove bowl from electric mixer stand and stir in chocolate, then toasted coconut, and macadamia nuts with a wooden spoon until evenly distributed through the dough.

Place cookie dough in refrigerator for several hours or overnight to chill completely.

When ready to bake, preheat oven to 375 degrees F.  Scoop dough out and roll into golf-ball sized balls.  Place on cookie sheet or baking stone and bake for 10 minutes.  Rotate baking stone/cookie sheet and bake for 2 more minutes.  Let cool 10 minutes before removing to wire rack to cool completely.  These freeze beautifully.

**To toast coconut, spread the coconut flakes out on a sheet pan or stoneware bar pan in a thin layer. Bake at 375 degrees F. Check the coconut every 5 minutes and stir until the coconut is your desired color. It takes about 10-15 minutes.

Enjoy!

Cheers & Hugs,
Jodi

*Recipe adapted from Mrs. Fields

Toffee Coffee Oatmeal Cookies

Toffee Coffee Oatmeal Cookies.

It’s been a little while since I posted a cookie recipe here at The Creative Life in Between. 

I tried to focus on watercolor painting for most of July in honor of #WorldWatercolorMonth – being an Ambassador and all.   < curtsy bows 😉 >

But those that know me well know that I almost always have some kind of fresh baked cookies in the house – for “just in case!

In fact…. I’m kinda known  – – in some very small, insignificant circles – –  for my creative culinary cookie craftiness.

This and my fluent grasp of the Ubby Dubby language are the talents I always say I would use if I were in the Miss America Pageant – HA!!!!

Well – I’ve been saving up and have a couple really good recipes to share!  So this week is going to be cookie recipe week.

I made this cookie recipe for a recent party at my house, and they were a huge hit!

This cookie is a wonderful chewy, but crisp on the edges dream of milk chocolate, toffee, oatmeal, and a hint of coffee for good measure!  O….  M….  G….  !!!

Get ready for a new addiction!  This is one I have trouble passing up and is dangerous to keep in my house!  Bake them if you dare!

Toffee Coffee Oatmeal Cookies*

Ingredients:

  • 1 1/3 cup firmly packed brown sugar
  • 1 cup (2 sticks) softened butter
  • 1 egg
  • 1/4 cup strong coffee (cooled)
  • 2 tsp. vanilla
  • 3 cups Quaker oatmeal (either quick or old-fashioned, uncooked)
  • 1 1/2 cups all-purpose flour
  • 1 tsp. salt
  • 1 tsp. baking soda
  • 2 8-oz. packages milk chocolate toffee bits
  • 1 cup coarsely crumbled sugar ice cream cones (about 5 cones)

Directions:

In large bowl with electric mixer, beat sugar and butter until creamy.  Add egg; beat well.  Beat in coffee and vanilla.  Add salt, baking soda, and flour until combined.  Remove from electric mixer and stir in 3 cups oatmeal with wooden spoon.  Stir in toffee bits and crumbled sugar cones just until well incorporated.  Refrigerate dough for several hours or overnight to chill.

When ready to bake, preheat oven to 350 degrees F.  Roll tablespoons full of dough into round balls (golf ball sized) and place on baking stone or parchment lined cookie sheet.  Bake 12-14 minutes just until golden brown.  Allow to cool on baking stone for additional 5-10 minutes.  Transfer to cooling wire racks to cool completely.  Freeze well.

Enjoy!

Cheers & Hugs,
Jodi

*slightly adapted straight from the Quaker Oats recipe!

Peanut Butter Marshmallow Fluff Thumbprint Cookies

Peanut Butter Marshmallow Fluff Thumbprint Cookies.

These cookies!
Ooooooh these cookies!

Imagine…. a peanut butter crinkle cookie loaded with a scoopful of sweet, heavenly, gooey, magical Marshmallow Fluff so that you taste it in every peanut-buttery bite.

When I saw these cookies featured on Cara Wong’s Instagram feed, I knew I had to make them.

Cara is a sweet lady who lives in McKinney, Texas with her comical, coffee-loving husband and best friend Joseph.  She loves to cook and bake almost as much as she loves her MeeMaw and Joseph.

I’ve become addicted to watching Cara’s daily adventures in search of the best coffee, burgers and meatloaf in town and daily experiments in baking and cooking.   The milkshake-sipping and singing visits with MeeMaw, Cara’s beloved grandma who played such an important role in raising Cara (much like my own Grandma) just warm my heart.  MeeMaw now lives in a memory care facility where Cara visits her regularly brightening both of their days almost as much as they do mine when they sing You are My Sunshine or Amazing Grace.

But I digress.

Back to these cookies…  these glorious nuggets of amazing deliciousness….

These may be my new personal favorite ever.

They are just such a unique combination that I cannot imagine anyone not liking.

Cara took MeeMaw’s old-fashioned peanut butter crinkle recipe and decided to try marshmallow filling.  She used Smuckers Marshmallow Topping (which I had never heard of).  I used a jar of Marshmallow Fluff, which I just happened to have on hand (who knows why?), and they turned out absolutely amazing!

Here is the recipe, shared by Cara, which I adjusted only by subbing Marshmallow Fluff for the Marshmallow topping.  I urge you to try these, and I can’t wait to hear what you think.

Peanut Butter Marshmallow Fluff Thumbprint Cookies

Ingredients:

  • 1/2 cup (1 stick) butter, softened
  • 3/4 cup creamy peanut butter
  • 1/3 cup granulated sugar
  • 1/2 cup brown sugar
  • 1 egg
  • 2 tsp pure vanilla extract
  • 1 tsp baking soda
  • 1/2 tsp salt
  • 1 2/3 cup flour
  • 1/2 cup additional granulated sugar for rolling balls in
  • 1 7.5 oz.  jar Marshmallow Fluff

Directions:

Preheat oven to 375 degrees F.

Cream butter, peanut butter, and sugars until light and fluffy.  Scrape bowl.  Add egg and vanilla extract, baking soda and salt.  Mix until well combined.  Add flour, and stir until well combined.

Roll dough into 1″ balls.  Roll balls in granulated sugar to coat.  Place on baking stone or ungreased cookie sheet about 2 inches apart.  Bake for approximately 9 minutes, until just beginning to brown.  Remove from oven, and use your thumb or a utensil to indent a “crater” for filling.  Allow to cool.

Heat up Marshmallow Fluff 10 seconds at a time just until you can stir.  No more than 20-30 seconds total.  Fill centers with Marshmallow Fluff.

Enjoy!

Cheers & Hugs,
Jodi


Baking Lady Locks Cookies

Baking Lady Locks Cookies

We’ve talked about it before…. the Pittsburgh Wedding Cookie Table.

As we say around here, “It’s a ‘Burgh Thing.”

And no respectable wedding cookie table would be without Lady Locks.

As much as I love baking cookies, I have never truly mastered the esteemed Lady Lock.

But one of my best buddies has….

She baked them for my first son’s wedding, and she baked them for my second son’s wedding.  So when I offered to help bake some cookies for my oldest daughter-in-law’s sister’s upcoming wedding, I asked Tracy if I could pay her to bake some Lady Locks.

Her reply…

“How about I teach you?”

When I told my daughter-in-law we were going to make them this past Sunday, she was so excited.  She had been googling the recipe to give them a try, but was a bit hesitant to tackle these, so she wanted to join in the lady lock baking lesson too.

Now my grandma made these every year for Christmas and for special occassions like family weddings.  I tried her cryptic recipe a few times years ago, but they never came out quite right.  At one point in time I had her special lady lock pins, but somehow they are nowhere to be found.  (I likely tossed them out of frustration after trying several times!)

Fortunately, Tracy still has her grandma’s, which were handed down to her mom and then her.  I found a local store in the Strip District of Pittsburgh, In the Kitchen, that carries them and sells them online for anyone interested in purchasing (which I did).  It’s important you get the correct kind.  Expert old-time bakers were able to make these on clothespins (and some people still call them clothespin cookies), but I can’t even imagine!

Baking these are not for the light of heart or spirit.  Though they are made from just a few simple ingredients you likely have in your pantry, these tasty little buggers are a bit tedious to make.  (Especially when you double the recipe and have a 1-1/2 year-old helping!)

Tracy generously allowed me to share her Mom’s recipe here, which was a COMPLETE success!  (Probably because she did most of the hard work….. after all…. my granddaughter did need to take a few breaks to swing and play in the pool and eat lunch and join Pap Pap for a tractor ride during the 5-hour bake-a-thon!).  Colleen, her mommy, was a trooper rolling and tapping and filling the whole time – even while 8 3/4 months pregnant (this girl never ceases to amaze me!).

We filled half of our 200 lady locks with pink-tinted vanilla filling and the other half with white almond-flavored filling.  They both are melt-in-your-mouth divine.

Here is the recipe.  The best ever, full-proof success lady locks recipe.  Thanks Tracy!

Lady Locks Cookies

  • Servings: approximately 100
  • Print

Cookie Shell Ingredients:

  • 3 cups flour
  • 1 lb butter
  • 1 cup water

Filling:

  • 1 1/2 cups Crisco
  • 3 1/2 cups Powdered Sugar
  • 3/4 cup canned Evaporated Milk
  • 4 1/2 Tbsp. flour
  • 3/4 tsp. salt
  • 1 1/2 tsp vanilla

Directions:

Mix flour and butter with pastry blender like when making pie crust to form crumbly mixture.  Stir in water until dough forms.  Shape dough into 2 balls, cover with saran wrap, and refrigerate for one hour.

When ready to bake, preheat oven to 350 degrees F.

Prepare the Lady Locks Pins by rubbing your hands with Crisco and then rolling the pins in your hands to grease them.  (You only have to do this for the first batch – they will be greased enough after that from each subsequent baking.)

Roll out dough to 1/8″ thick on floured surface.  Cut dough into 2″ x 1-1/2″ rectangles.  Wrap each rectangle of dough around Lady Locks Pin pinching edges well to seal.  To do this is a bit tricky.  You must pinch the dough together, then roll it in your hands and/or on a lightly flour-dusted counter (or both!) to get them smooth and even. Then take a butter knife and cut through the center of the dough on the pin to create two evenly-sized pieces – pushing  them apart about 1/8″.  (You will get two cookies from each pin).

Fill a cookie tray or baking stone with dough-wrapped pins about 1/4 inch apart.  Bake approximately 10 minutes until just lightly browned.

When they come out of the oven, you can allow them to cool a minute or so, then you need to tap the ends of the pin on the counter to loosen the baked dough and slide off the pin on the narrowest tapered side.  (It’s a bit like playing hot potato, but necessary to remove the shells from the pins.  Tracy says if you leave them cool too long on the pin, the will likely stick to them and break in the process of removing.)

Once you have baked all of your shells, and they have cooled, prepare the filling.

With an electric mixer, beat the Crisco.  Add 1-1/2 cups powdered sugar, and beat again.  Add 1/4 cup canned milk, and beat again.  Add flour.   Beat again.  Add salt.     Beat again.  Add 1 1/2 cups powdered sugar.  Beat again.  Add 1/2 cup canned milk.  Beat again.  Add vanilla (or almond extract).  Beat again.  If you are going to tint your filling, add food color, and beat one final time until incorporated.

Using a pastry tube or decorator with small tip, fill shells with filling.

These cookies freeze well, and actually taste phenomenal straight out of the freezer.

Do you have another favorite Lady Locks recipe?  I’d love to hear how you make them.

Enjoy!

Cheers & Hugs,
Jodi

Chocolate Chip & Dried Tart Cherry Cookies

Chocolate Chip and Dried Tart Cherry Cookies.

I have shared many versions of cookies here at The CreativeLifeinBetween.

In fact, in some homes (very few indeed), I am known as the Cookie Queen.

And it seems no matter what kind I make, the all-time favorite is the Chocolate Chip Cookie.

I often change it up a little, but when I add dried tart cherries, I know I am going to make at least one guy smile ( who happens to be my youngest son).

So this week, I made a batch that I hope will bring a smile to our busy family as we prepare for exciting days and years ahead.

New homes – growing families – lots of love.


Here is how I make them.

Chocolate Chip and Dried Tart Cherry Cookies

Ingredients:

4 sticks (1 lb.) butter, softened
1 1/2 cups packed brown sugar
1 1/2 cups white granulated sugar
2 tsp vanilla
4 eggs
2 tsp baking soda
2 tsp salt
5 cups all purpose flour
1 12-oz bags Nestle Chocolate Chunk Morsels (or your favorite)
8-oz  Dried Tart Cherries (I used Trader Joe’s)

Directions:

With electric mixer, beat butter and sugar together until completely incorporated. Add vanilla and eggs, and beat until light and fluffy. Add baking soda and salt, and mix another minute. Gradually add flour and beat until well incorporated, but do not overbeat.

Fold in chocolate chunk morsels and dried cherries.  Refrigerate dough for at least 2 hours or up to 2 days.

When ready to bake, preheat oven to 375 degrees F. With your hands, form a cookie dough ball about 1-1/2 inches in diameter.  Place on baking stone. Bake for 8-10 minutes. Do not overbake. Allow to cool on baking stone for 5-6 minutes, then remove to cooling rack to cool completely.

Enjoy!

Cheers  & Hugs,
Jodi

Red Velvet Oreo Chocolate Truffles (Cookie Balls)

Red Velvet Oreo Chocolate Truffles  (or Cookie Balls if we’re being less “fancy!”).

If you are looking for a simple, sweet, but festive little treat to share with friends or neighbors or with those you love, these little Red Velvet Oreo Chocolate Truffles might be just the ticket.

They are so simple to make, but turn out so elegant and delish!

You simply crush red velvet (or your favorite flavor) Oreo cookies in the food processor, mix with a block of cream cheese, and make into balls that you dip into chocolate.

Easy Peasy!

Sprinkles make them even more fun! (always!)

I gave little bags to neighbors with silly notes like “You are a SWEET neighbor” and “We LOVE having you for our neighbors.”  I shared others with friends and family.  They were a big hit!

Here is the recipe:

Red Velvet Oreo Chocolate Truffles (Cookie Balls)

Ingredients:

Directions:

Crush oreo cookies in food processor to fine crumbs.  Add softened cream cheese and combine until “dough” forms.

Roll dough mixture into approximately 30 one-inch balls.  Refrigerate for approximately 30 minutes.

Melt chocolate.  I put mine in a tall, microwave-safe cup for one minute, stir, and then microwave for 30 more seconds.

Dip balls into melted chocolate with a fork, allowing excess to drip.  Place on parchment paper.  Decorate with sprinkles if desired.  Allow to set approximately 30 minutes.

Enjoy!

Cheers & Hugs,
Jodi

Midnight Snack Attack Cookies

Midnight Snack Attack Cookies

Midnight Snack Attack Cookies.

Oh No She Didn’t!!

Oh Yes I did!!!

I made a cookie for those midnight cravings when you can’t decide if you want sweet or salty….. chips or peanuts….. a chocolate bar or a cookie……..

Yep…   I put it all together in one glorious cookie I’m calling the Midnight Snack Attack Cookie!

Midnight Snack Attack Cookies

I simply started with my go-to cookie dough recipe for chocolate chips, but reduced the flour a smidge to make these cookies a little crispier.  I then added some seasoned dry roasted peanuts and salty, crunchy potato chips with the semi-sweet chocolate chips.

The combination is HEAVENLY.

Use any kind of nuts you like.  How divine would these be with cashews or salty pecans??!!  I also think I would like to try them next time with barbecue potato chips.  I think it would really kick these up a notch!  Replace the chocolate chips with chopped Reese’s peanut butter cups or Butterfinger candy bars.

Go Crazy!  It IS a midnight snack attack fix after all…

Midnight Snack Attack Cookies

I received a gift basket of gourmet cookies for Christmas that had some fun combinations of cookies in them that inspired me to try these.  Can’t wait to hear what you think!

Here is my recipe.

Midnight Snack Attack Cookies

Ingredients:

4 sticks (1 lb.) butter, softened
1 1/2 cups packed brown sugar
1 1/2 cups white granulated sugar
2 tsp vanilla
4 eggs
2 tsp baking soda
2 tsp salt
4 3/4 cups all purpose flour
2 cups Nestle Semi Sweet Chocolate Chips
1 cup Planters Dry Roasted Peanuts
2 cups lightly crushed potato chips

Directions:

With electric mixer, beat butter and sugar together until completely incorporated. Add vanilla and eggs, and beat until light and fluffy. Add baking soda and salt, and mix another minute. Gradually add flour and beat until well incorporated, but do not overbeat.

Fold in chocolate chips and peanuts.  Place dough onto counter and gently add in potato chips, folding in with your hands and trying not to crush the potato chips too much.  Put dough in large Ziploc bag, and refrigerate for at least 2 hours or up to 2 days.

When ready to bake, preheat oven to 375 degrees F. With your hands, form a cookie dough ball about 1 inches in diameter.  Place on baking stone. Bake for approximately 11 minutes. Allow to cool on baking stone for 10 minutes, then remove to cooling rack to cool completely.

ENJOY!

Cheers & Hugs,
Jodi


Apricot Kolaches

This week leading up to Christmas, I am sharing a few of my favorite posts from the past.  It just wouldn’t be Christmas without baking Grandma’s Apricot Kolaches.  This year, I made them for our annual cookie exchange party.  Do you have classic cookie recipes you must make every year?

Apricot Kolaches & Christmas Cookie Baking

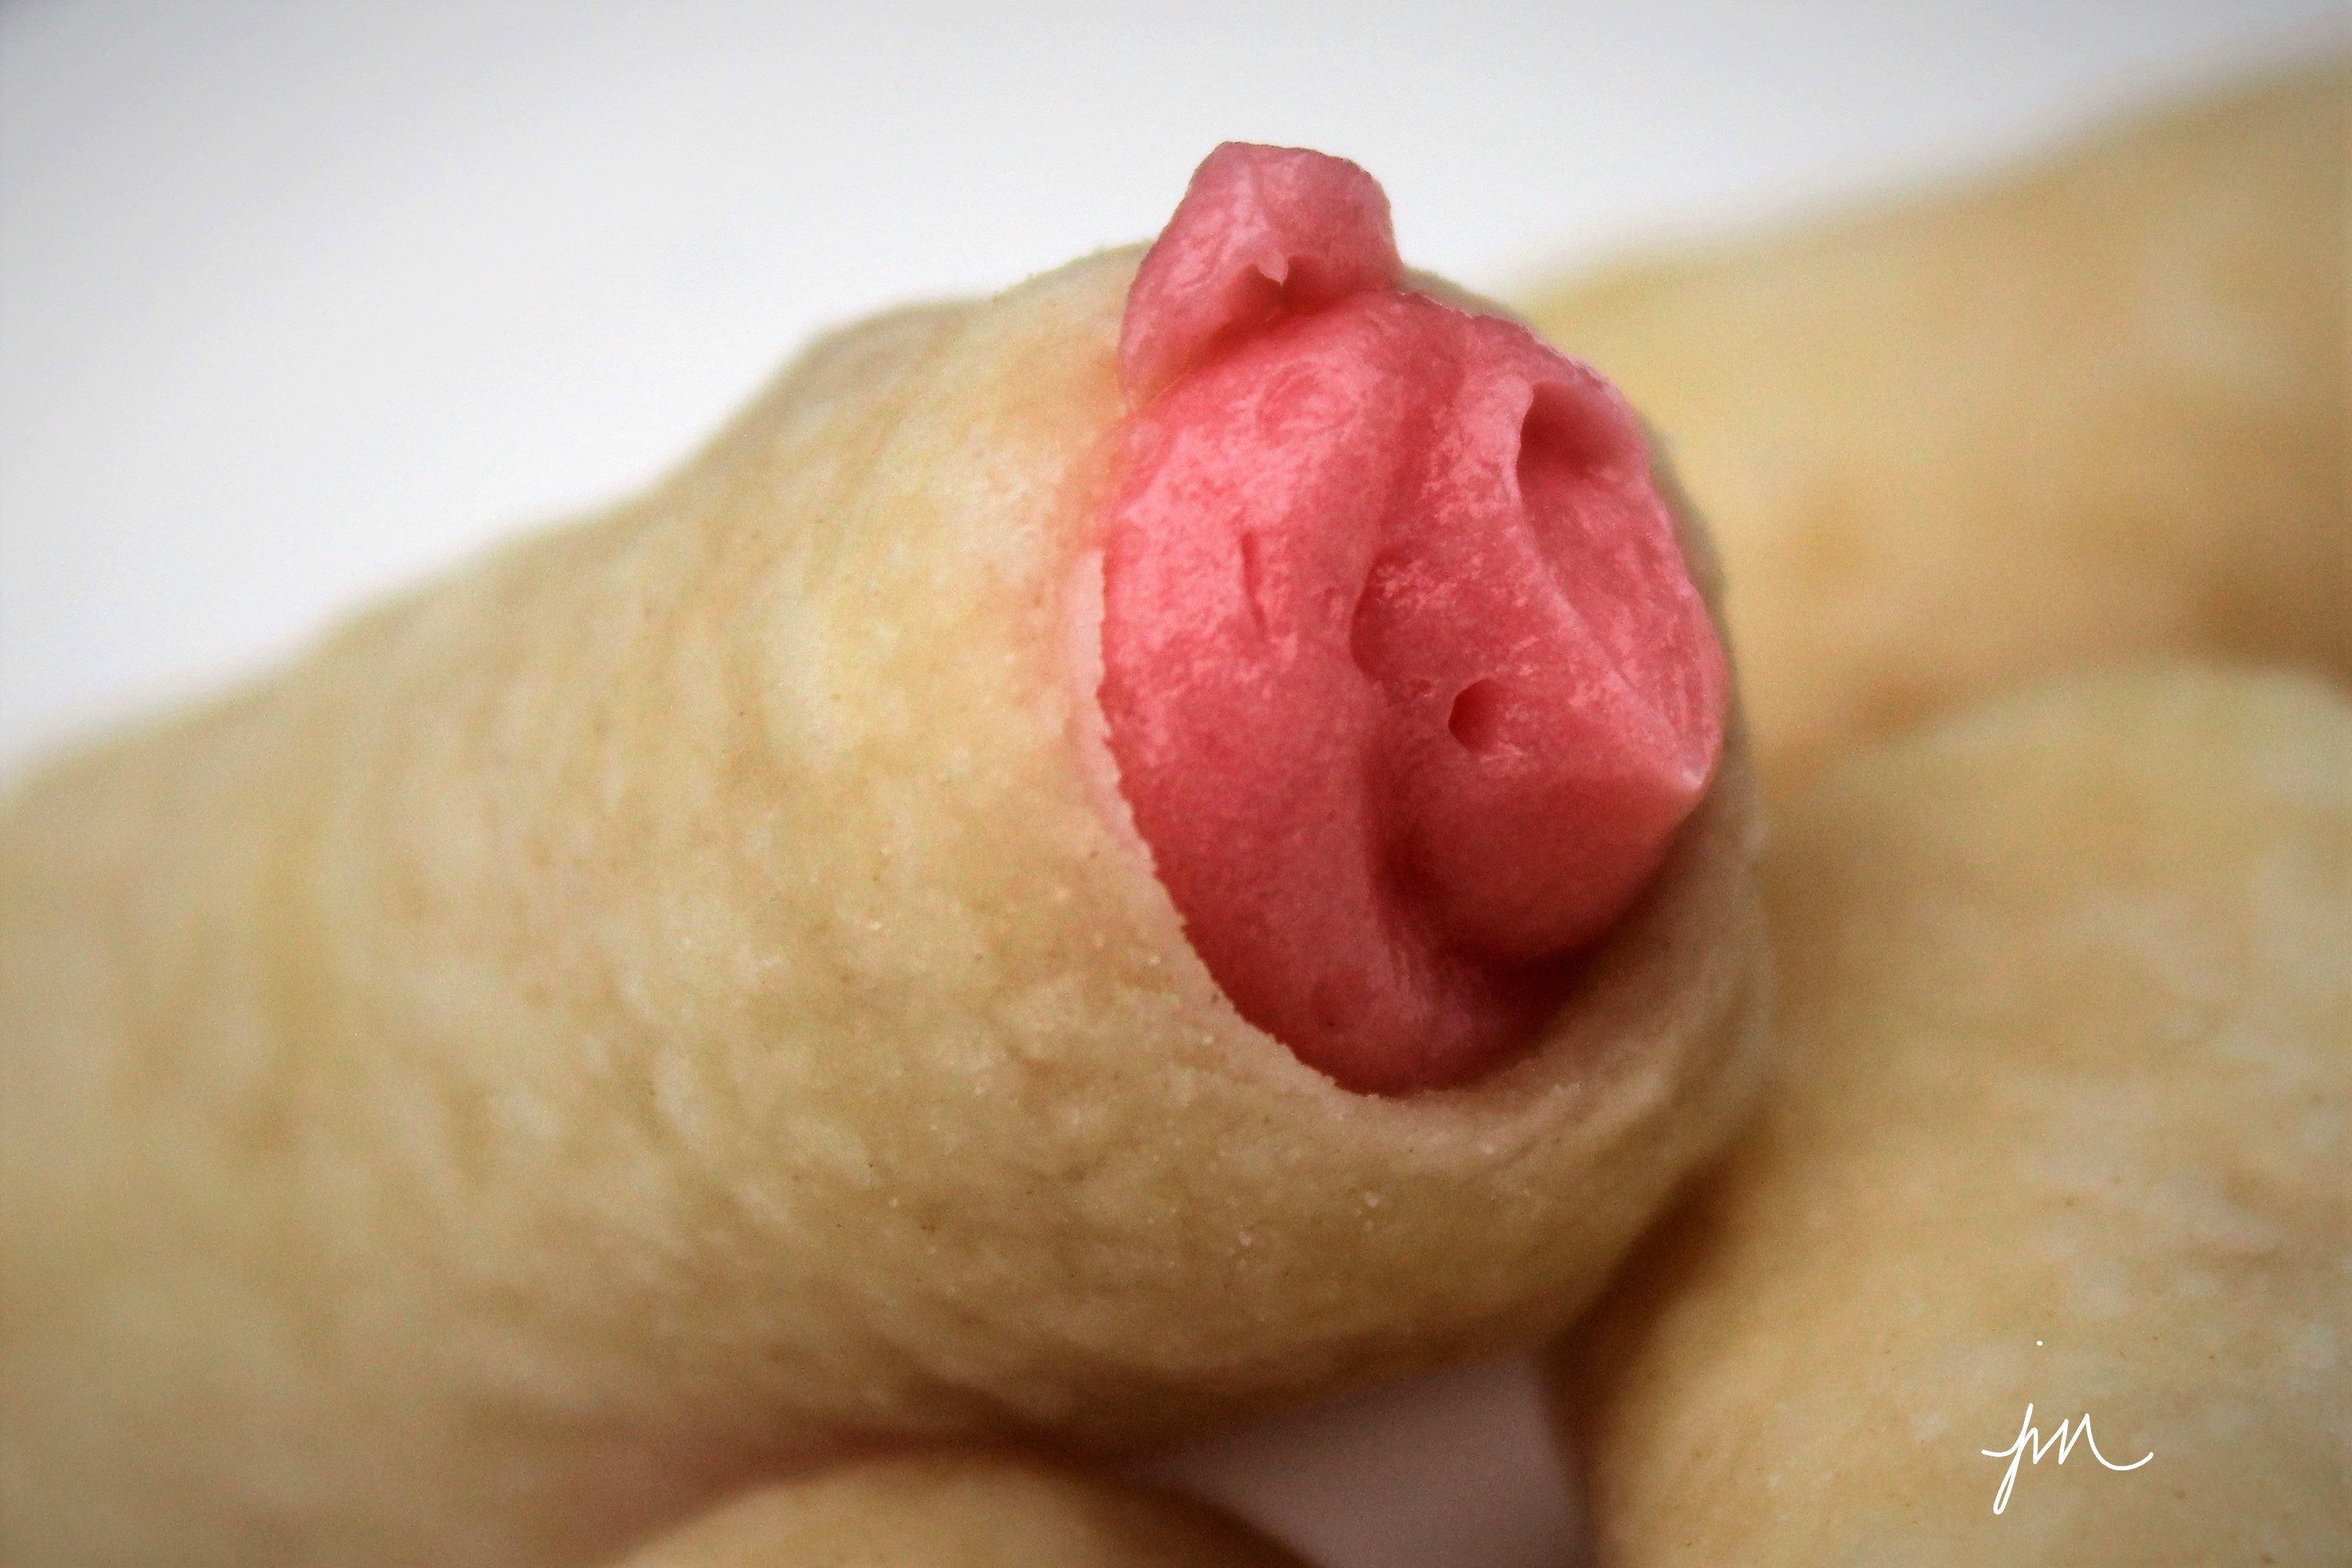
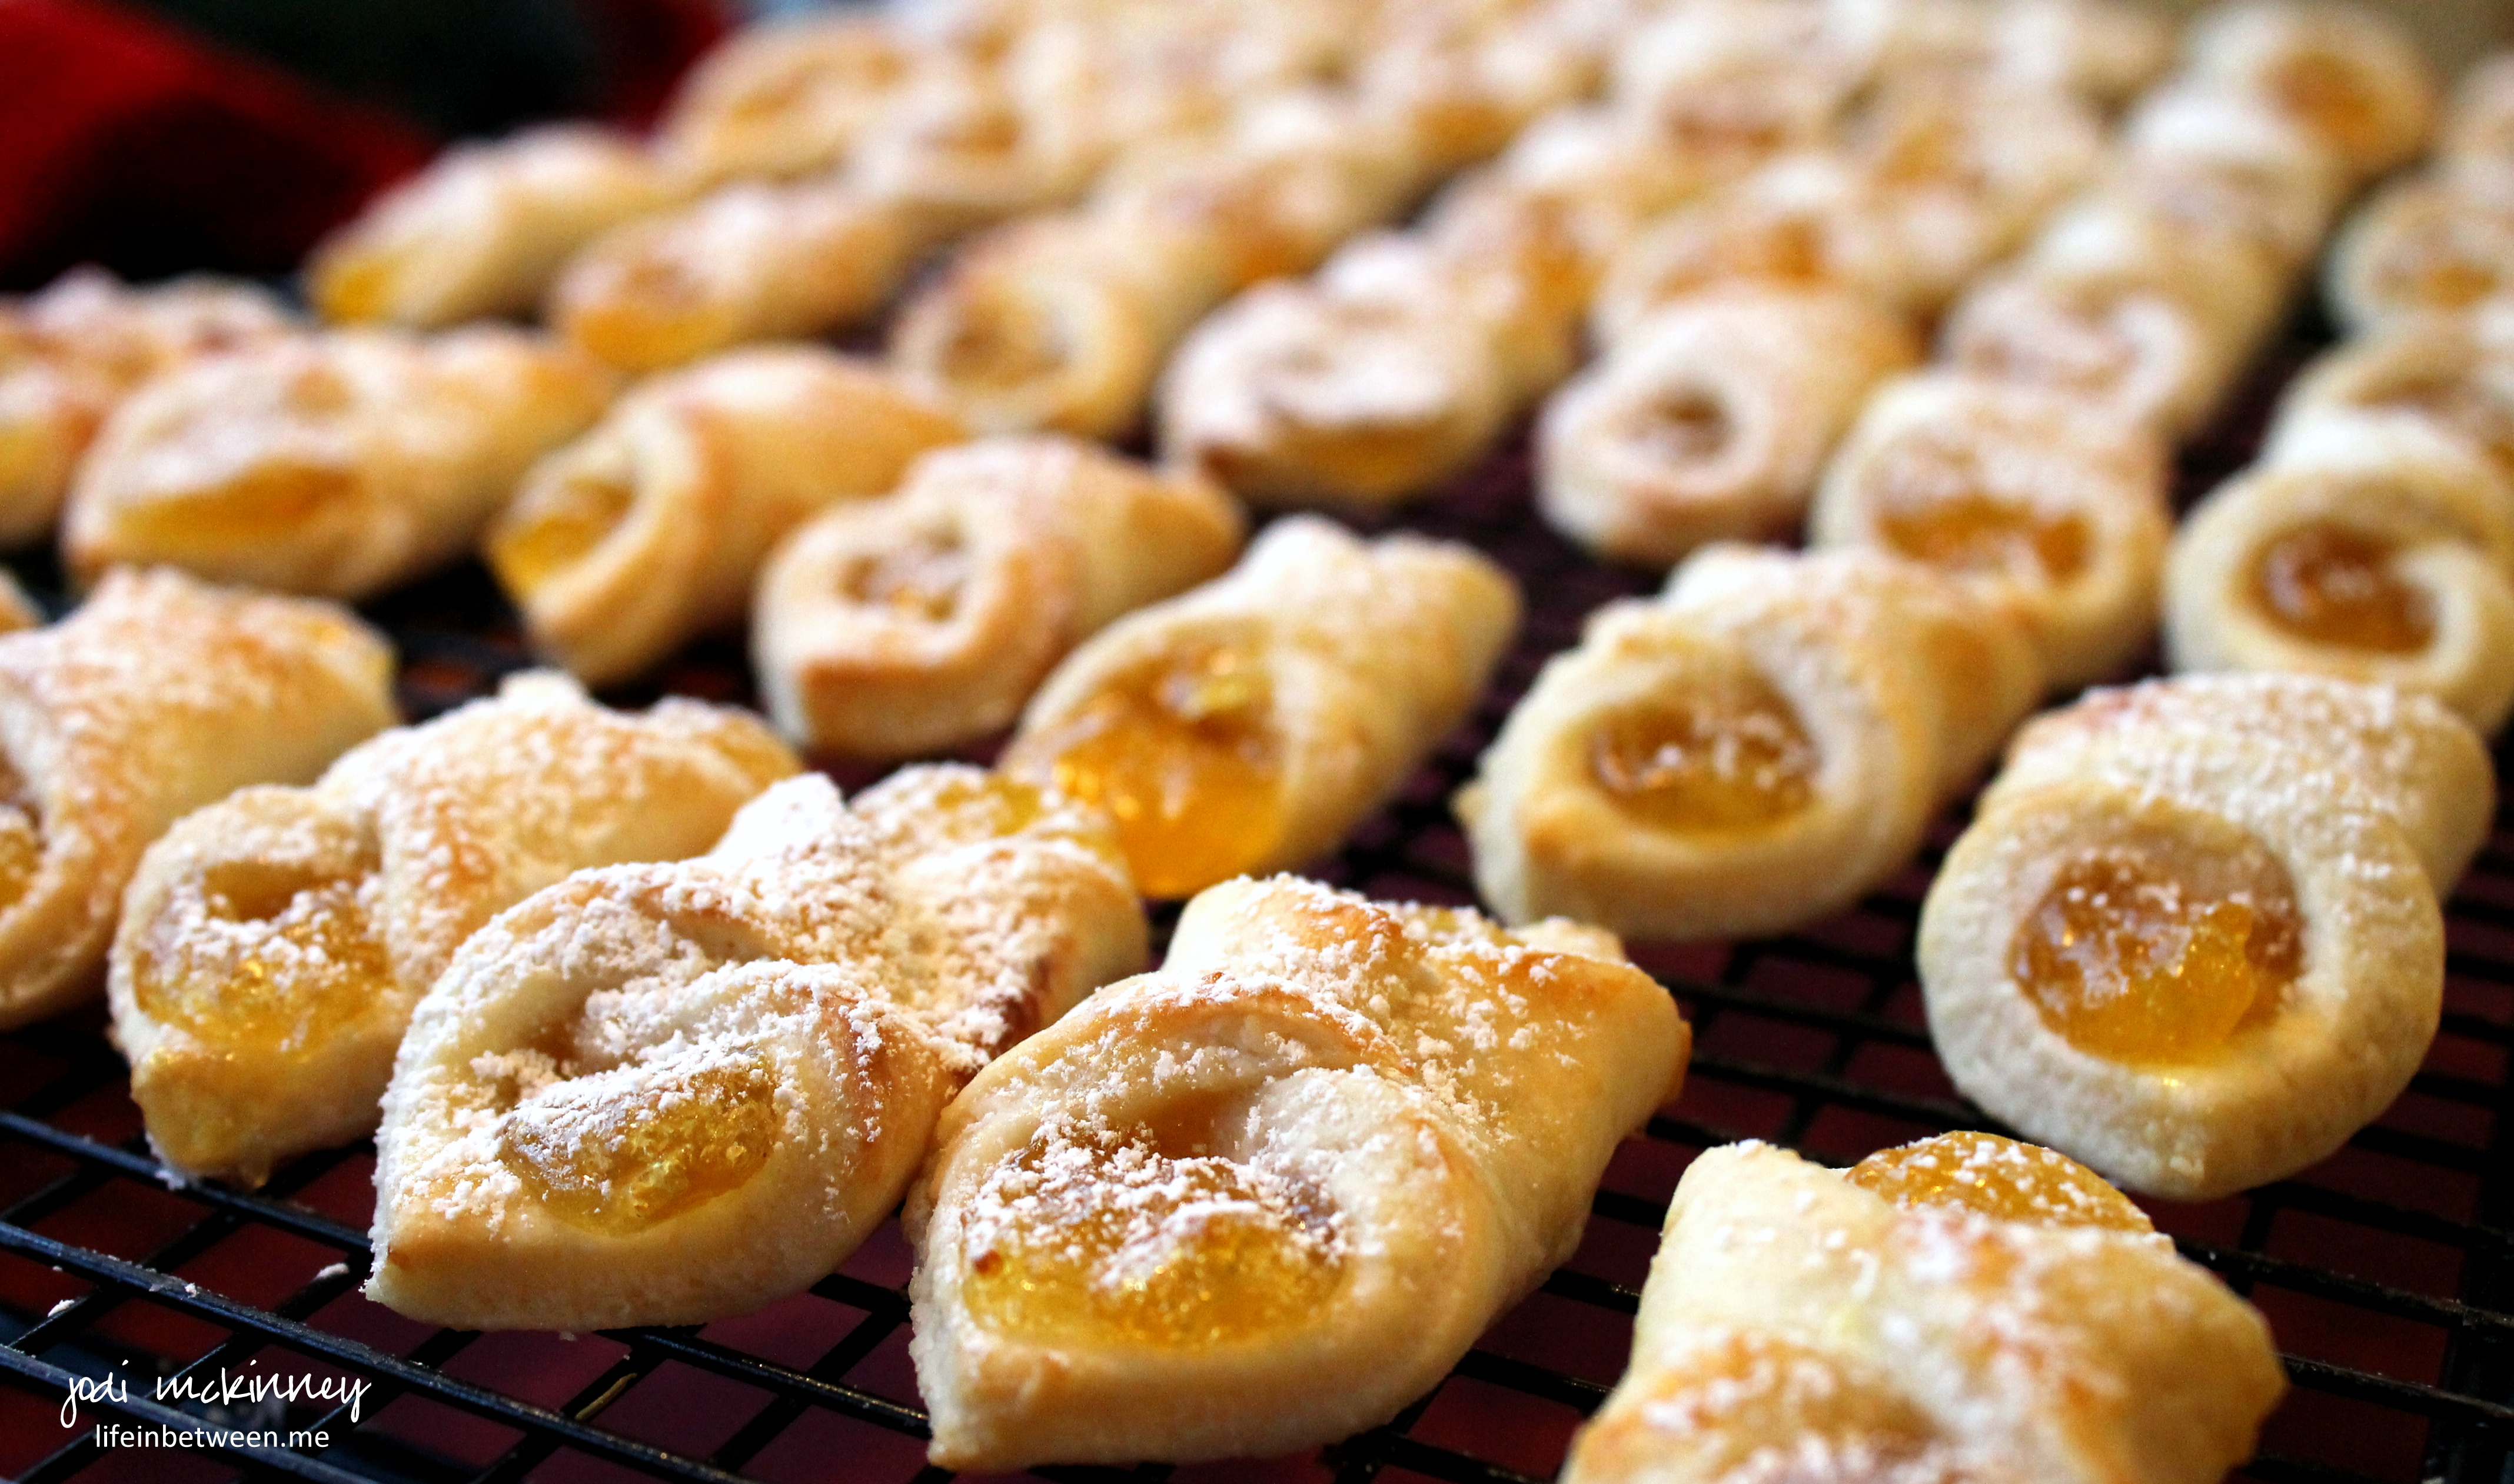
I finally got around to some Christmas cookie baking this weekend, and the highlight for my gang is the Apricot Kolaches.

apricot kolaches

Mine are not quite as perfect and beautiful as Grandma used to make, but they are getting thumbs ups around here.  Apricot Kolaches are a traditional Polish tender cream cheese pastry cookie with a sweet-tart apricot filling.  Grandma was 100% Polish, and her cooking and baking were like none other!

apricot kolaches 3

I remember Grandma painstakingly measuring each 2 inch by 2 inch square so that every singly one looked exactly the same.  I don’t have nearly the patience, but I smile remembering those days in the kitchen with her.  I can also now relate to the aching back and feet she had at the end of the day after rolling, cutting, filling, folding, baking, cooling, packing up…  And I wish I had a young Jodi to rub my feet and massage my legs with Jergen’s cherry almond lotion like I did for Grandma in the evening after an all-day baking session.

apricot kolaches 2

But the joy on Marty’s and Nick’s faces and the “Mmmmm’s” that escape their lips between bites make it all worth it!

(and then I have to hurry up and freeze some or they would be gone quicker than it takes me to clean up the dishes!)

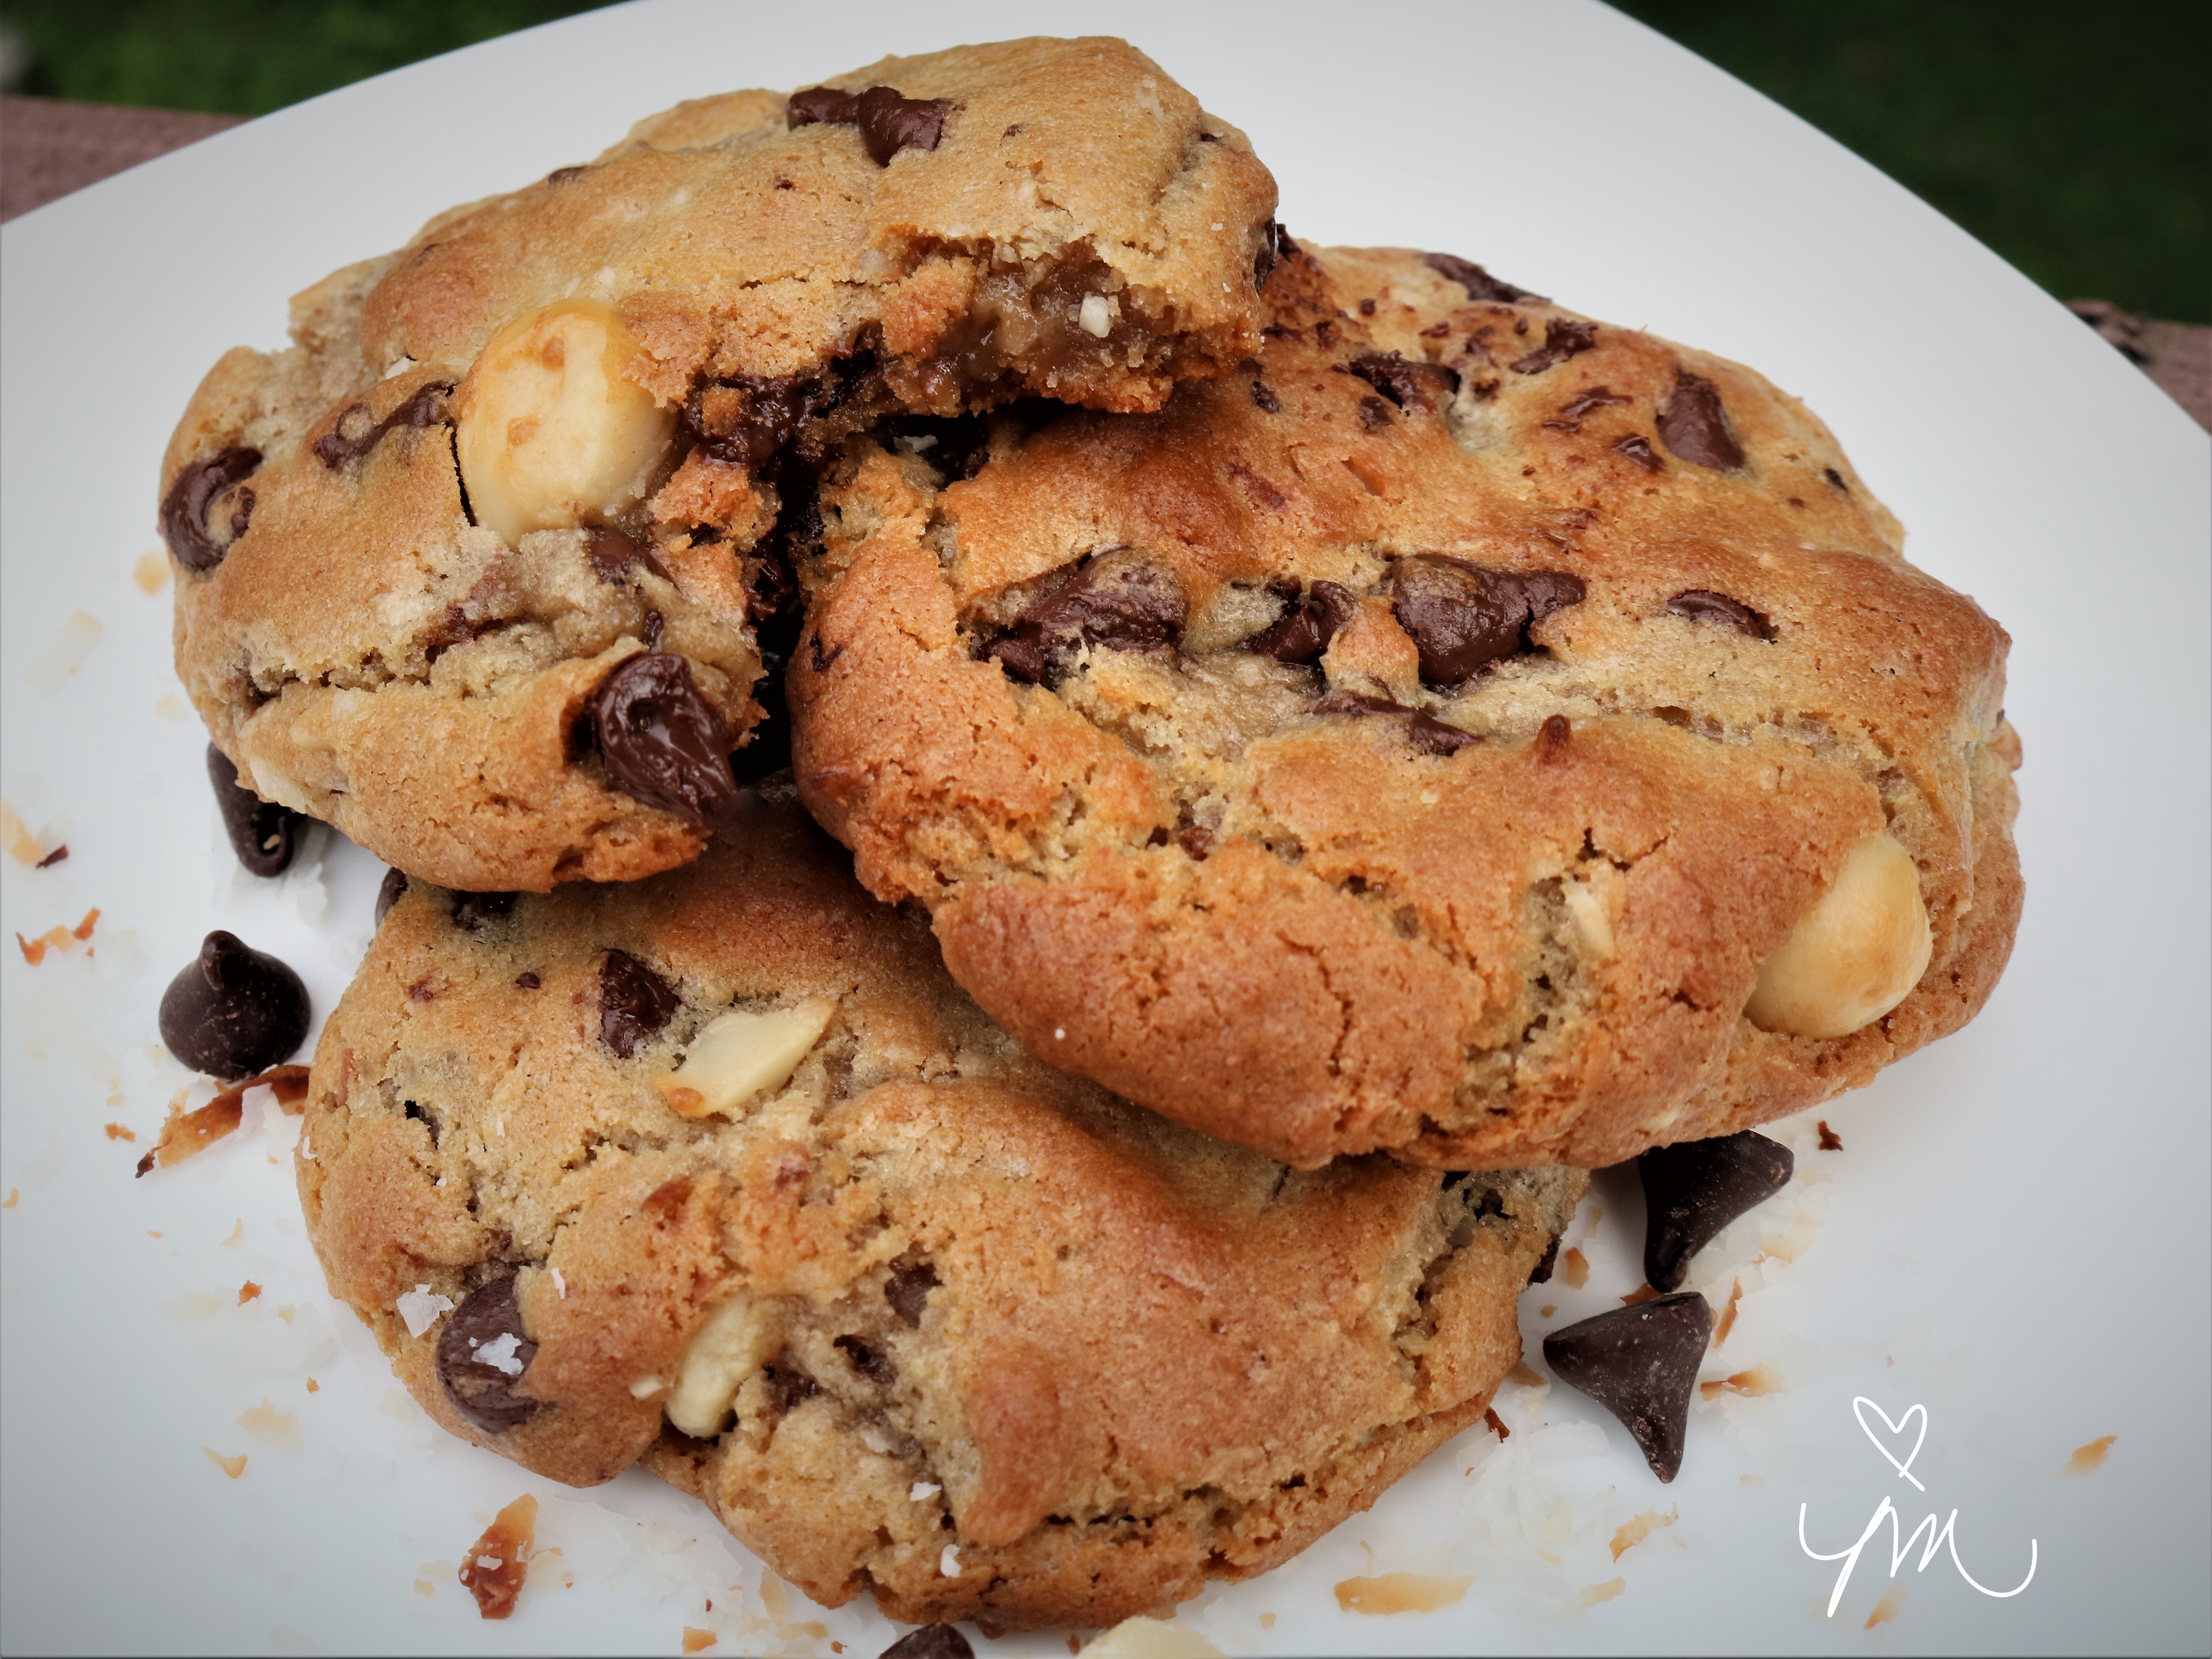
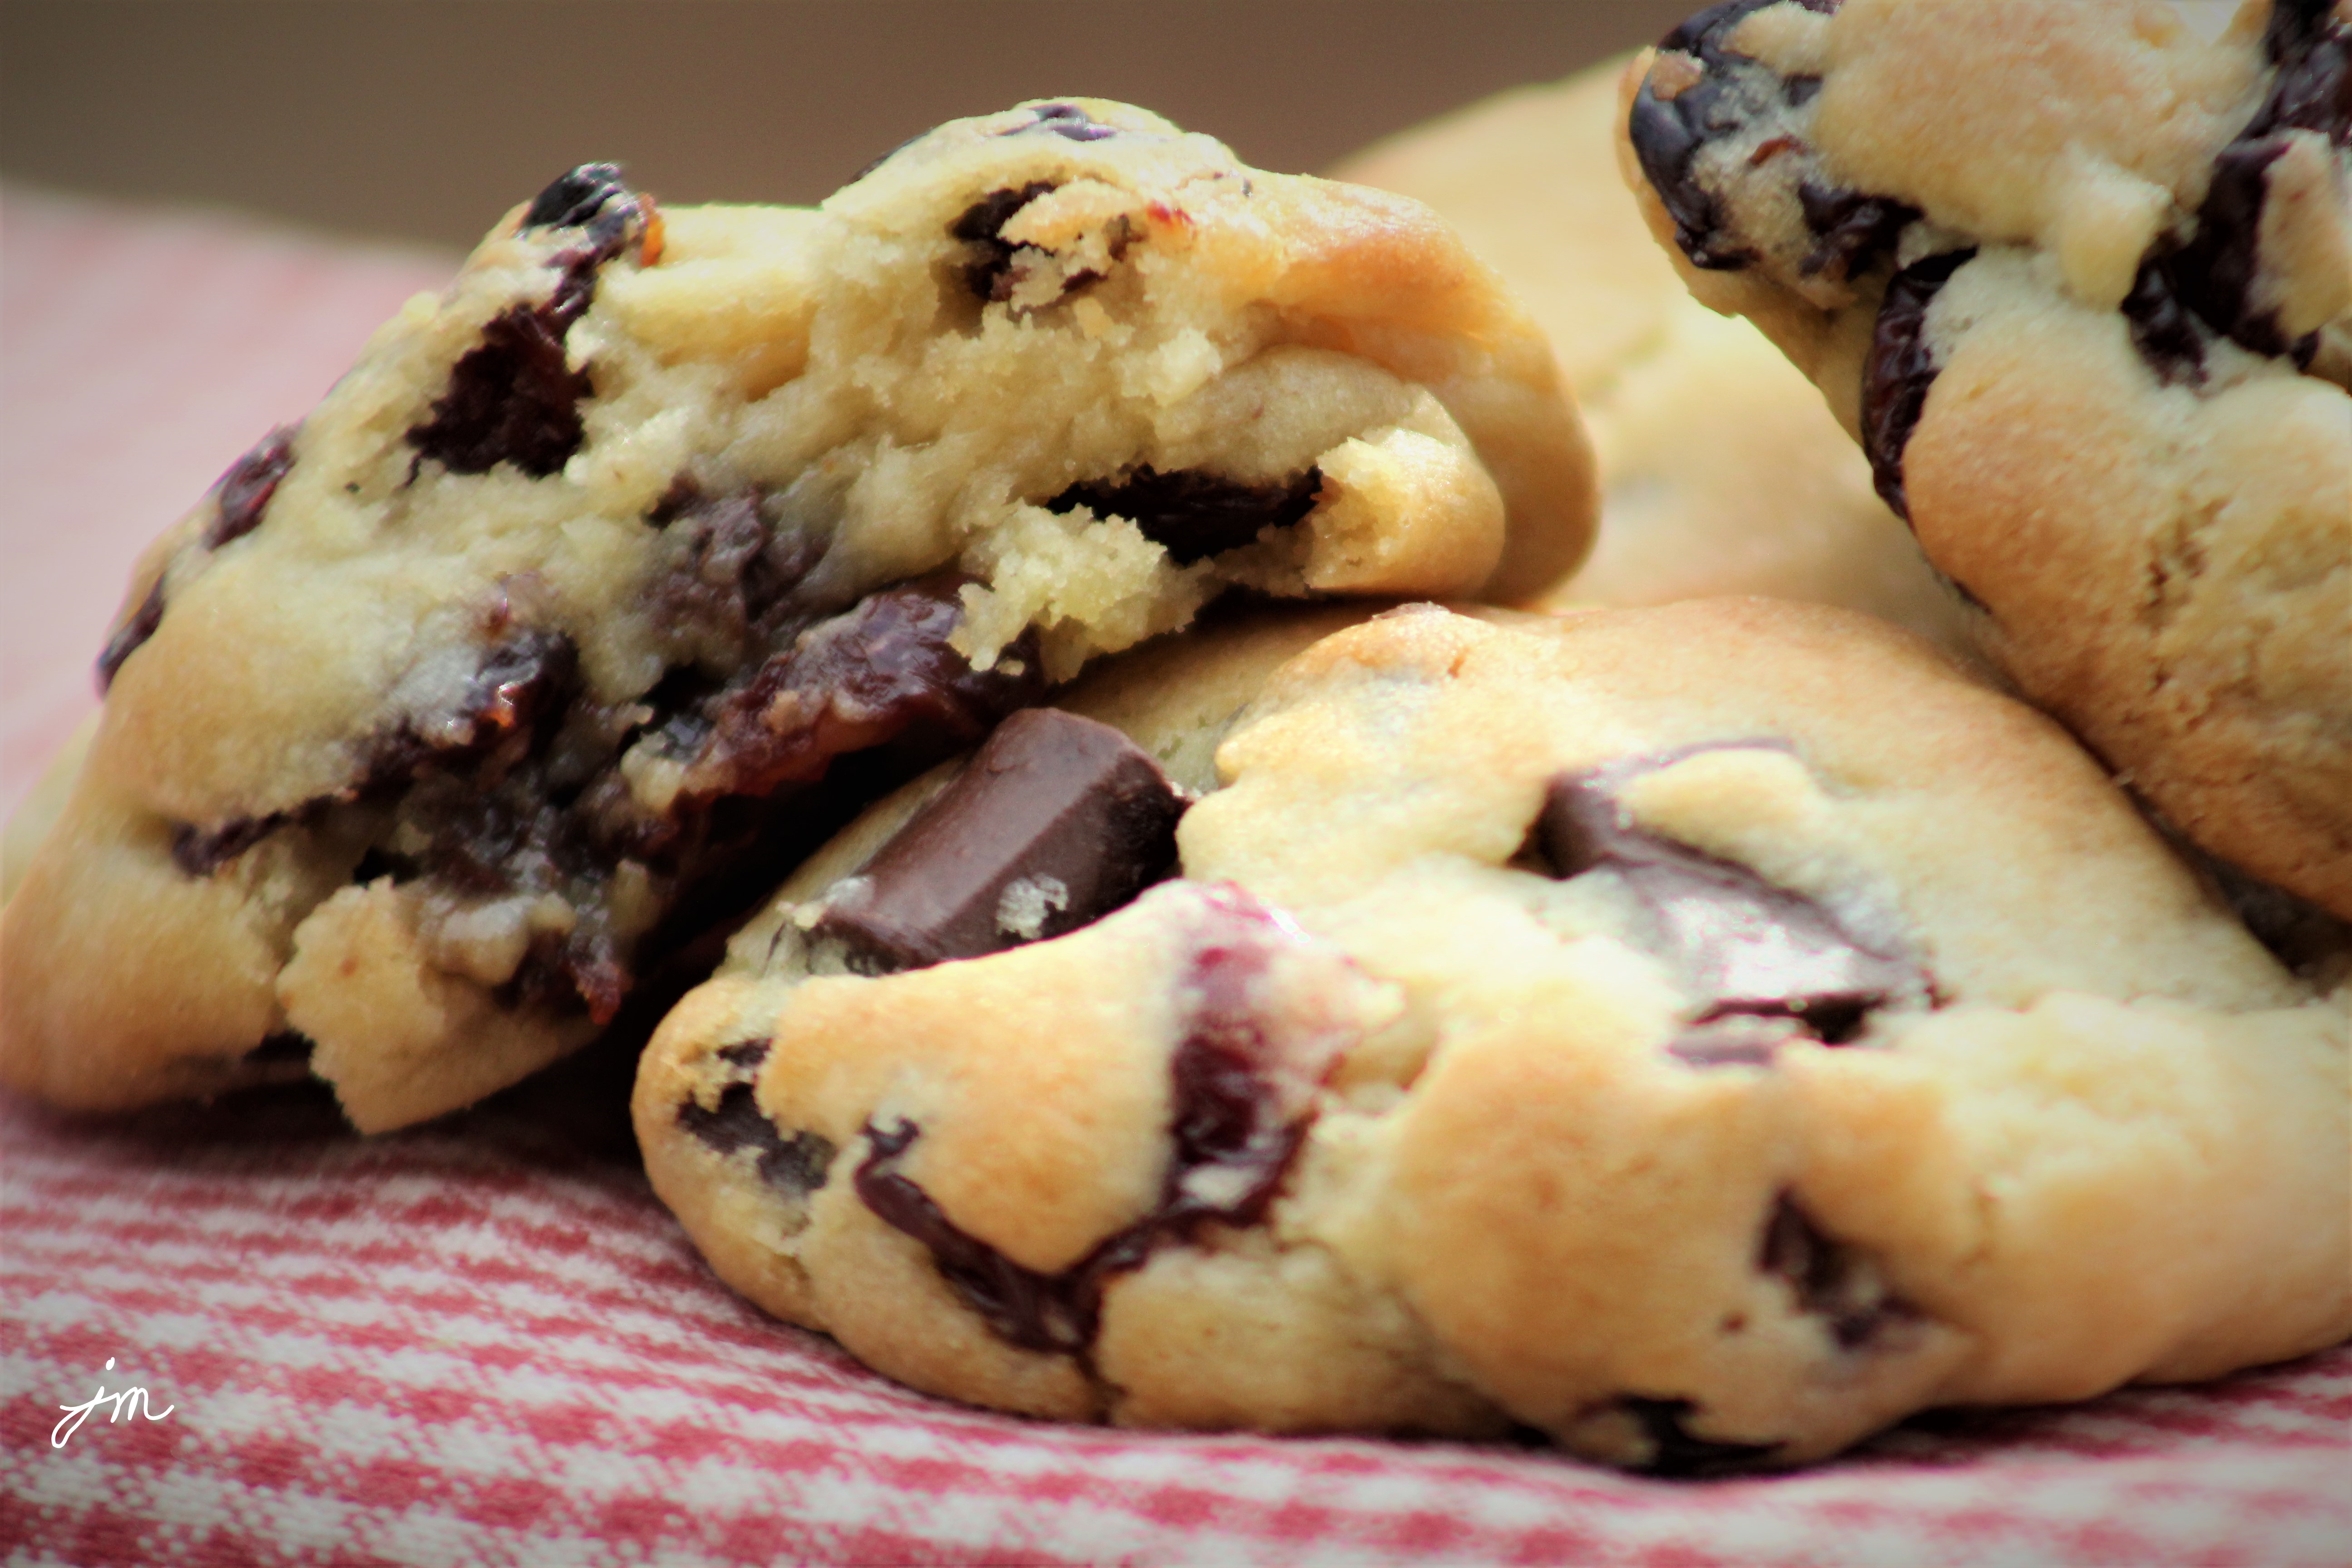
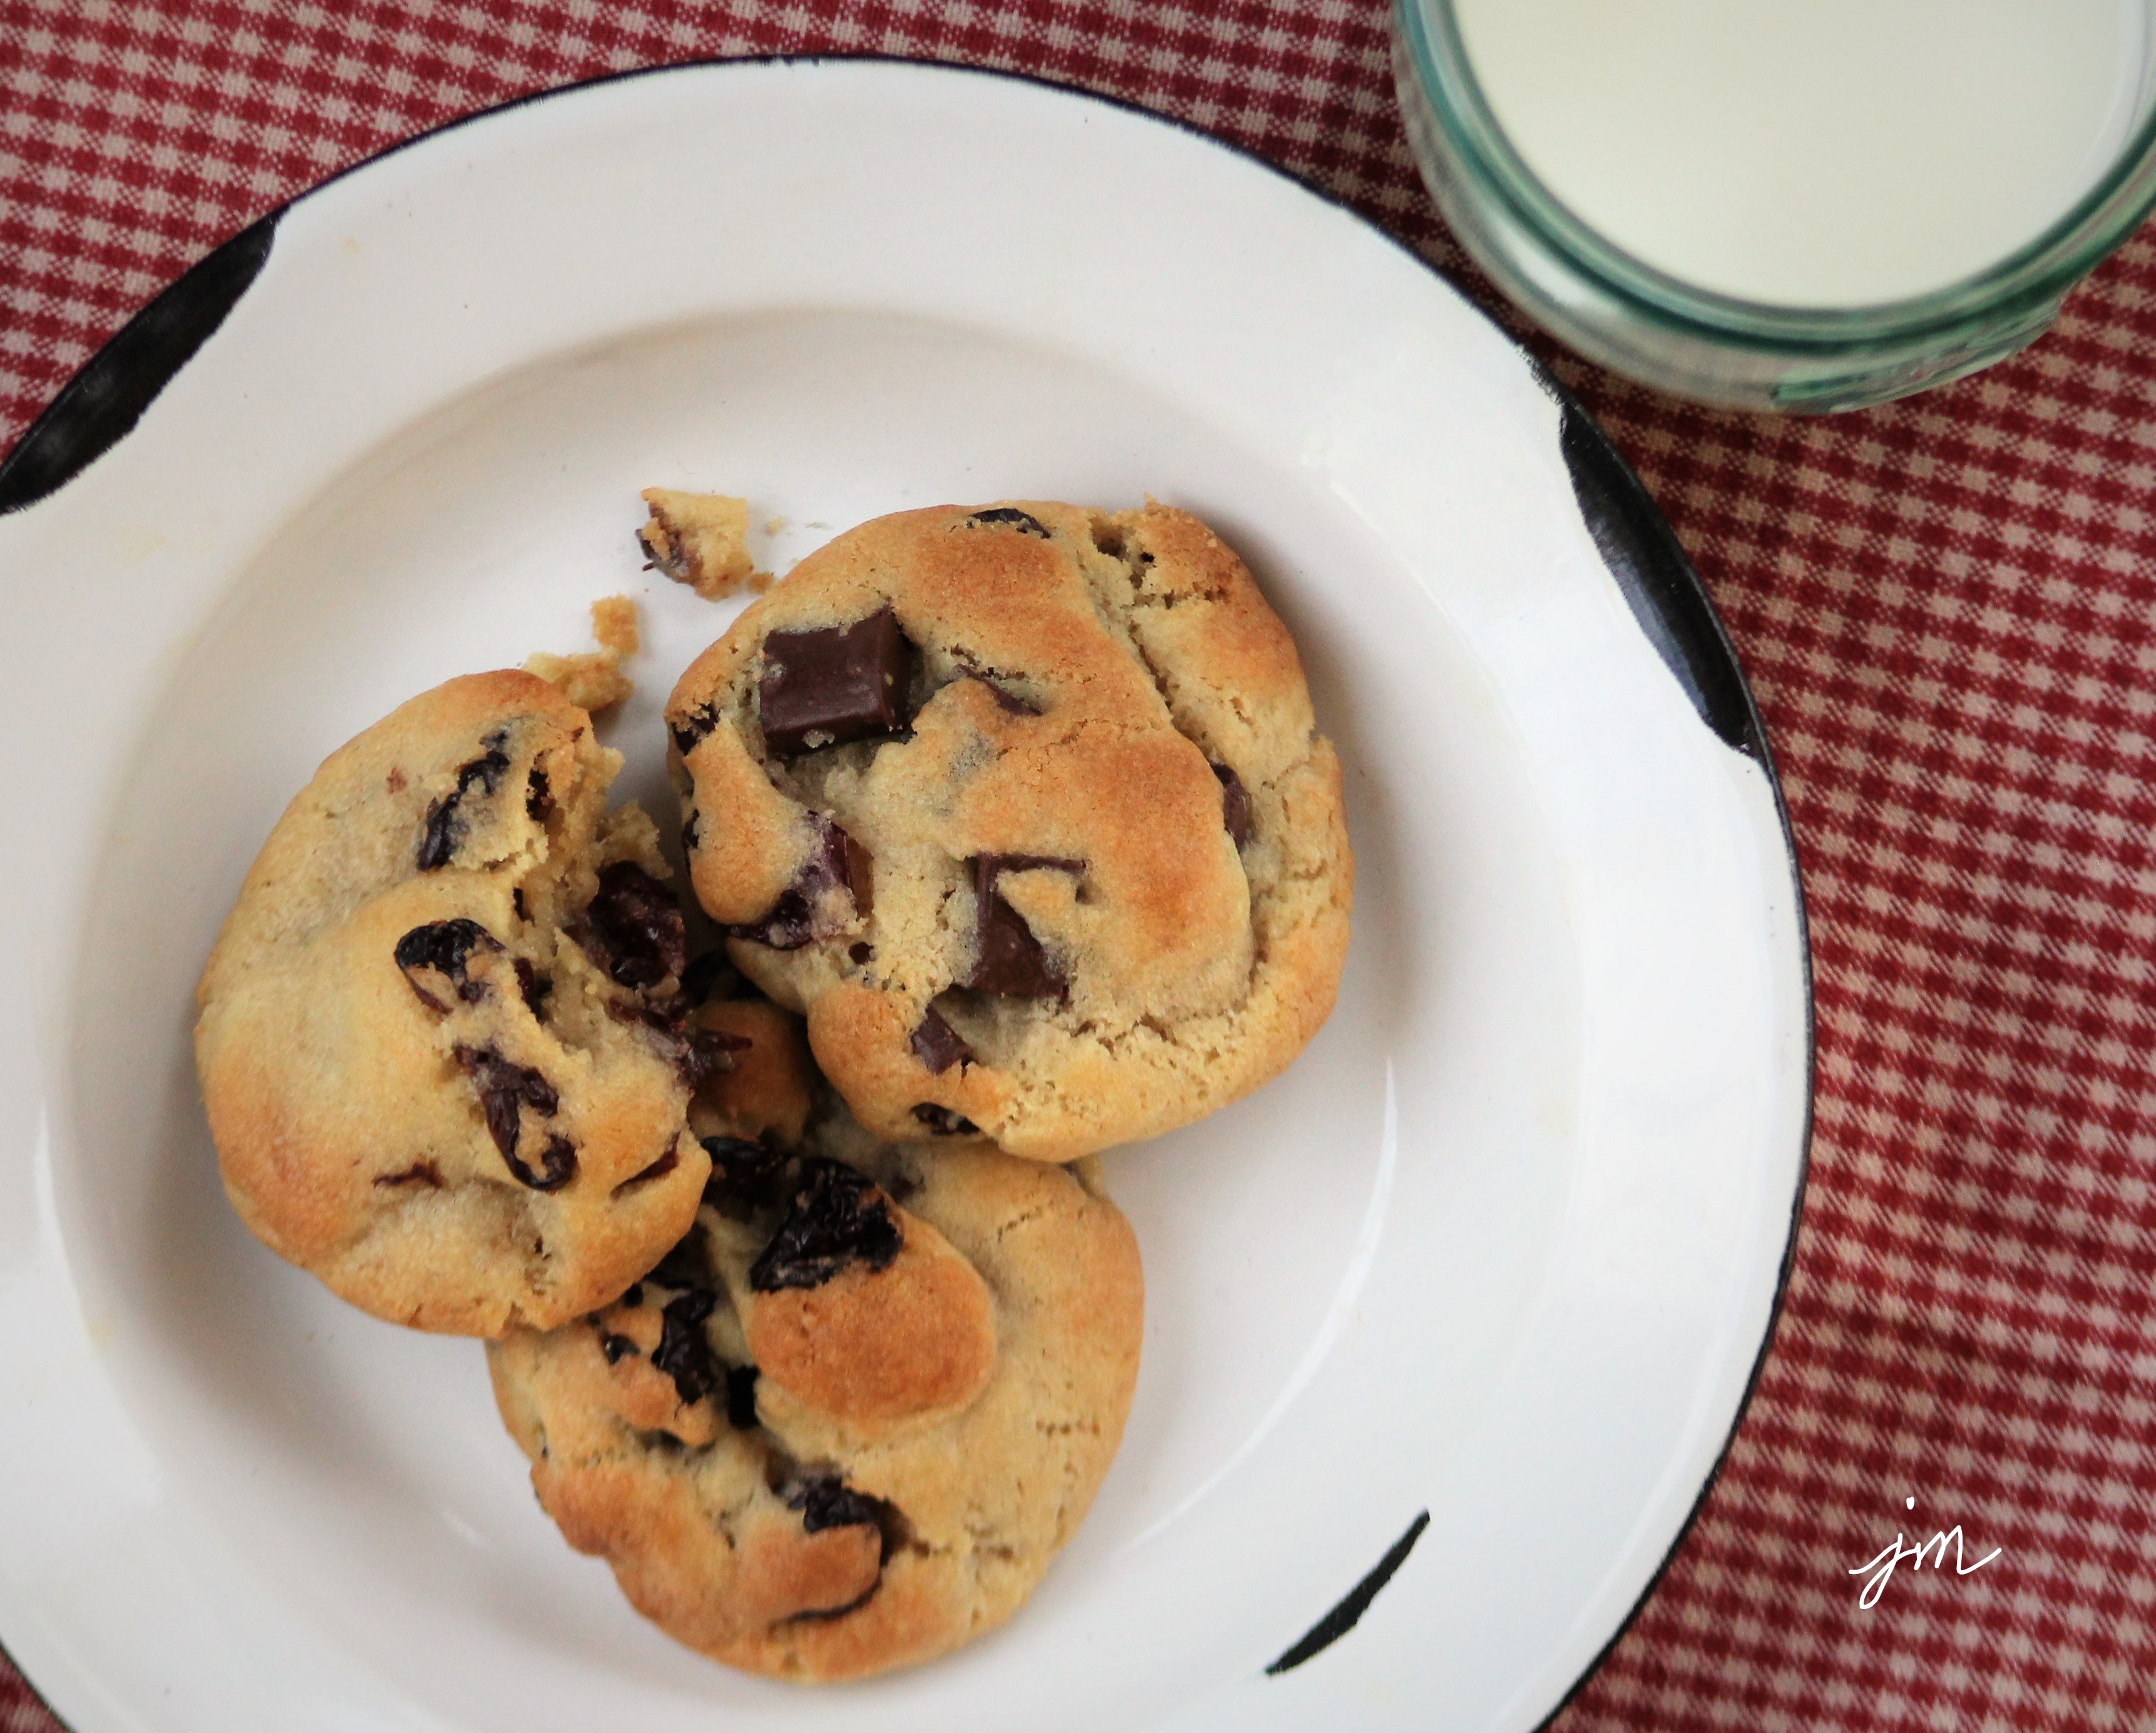
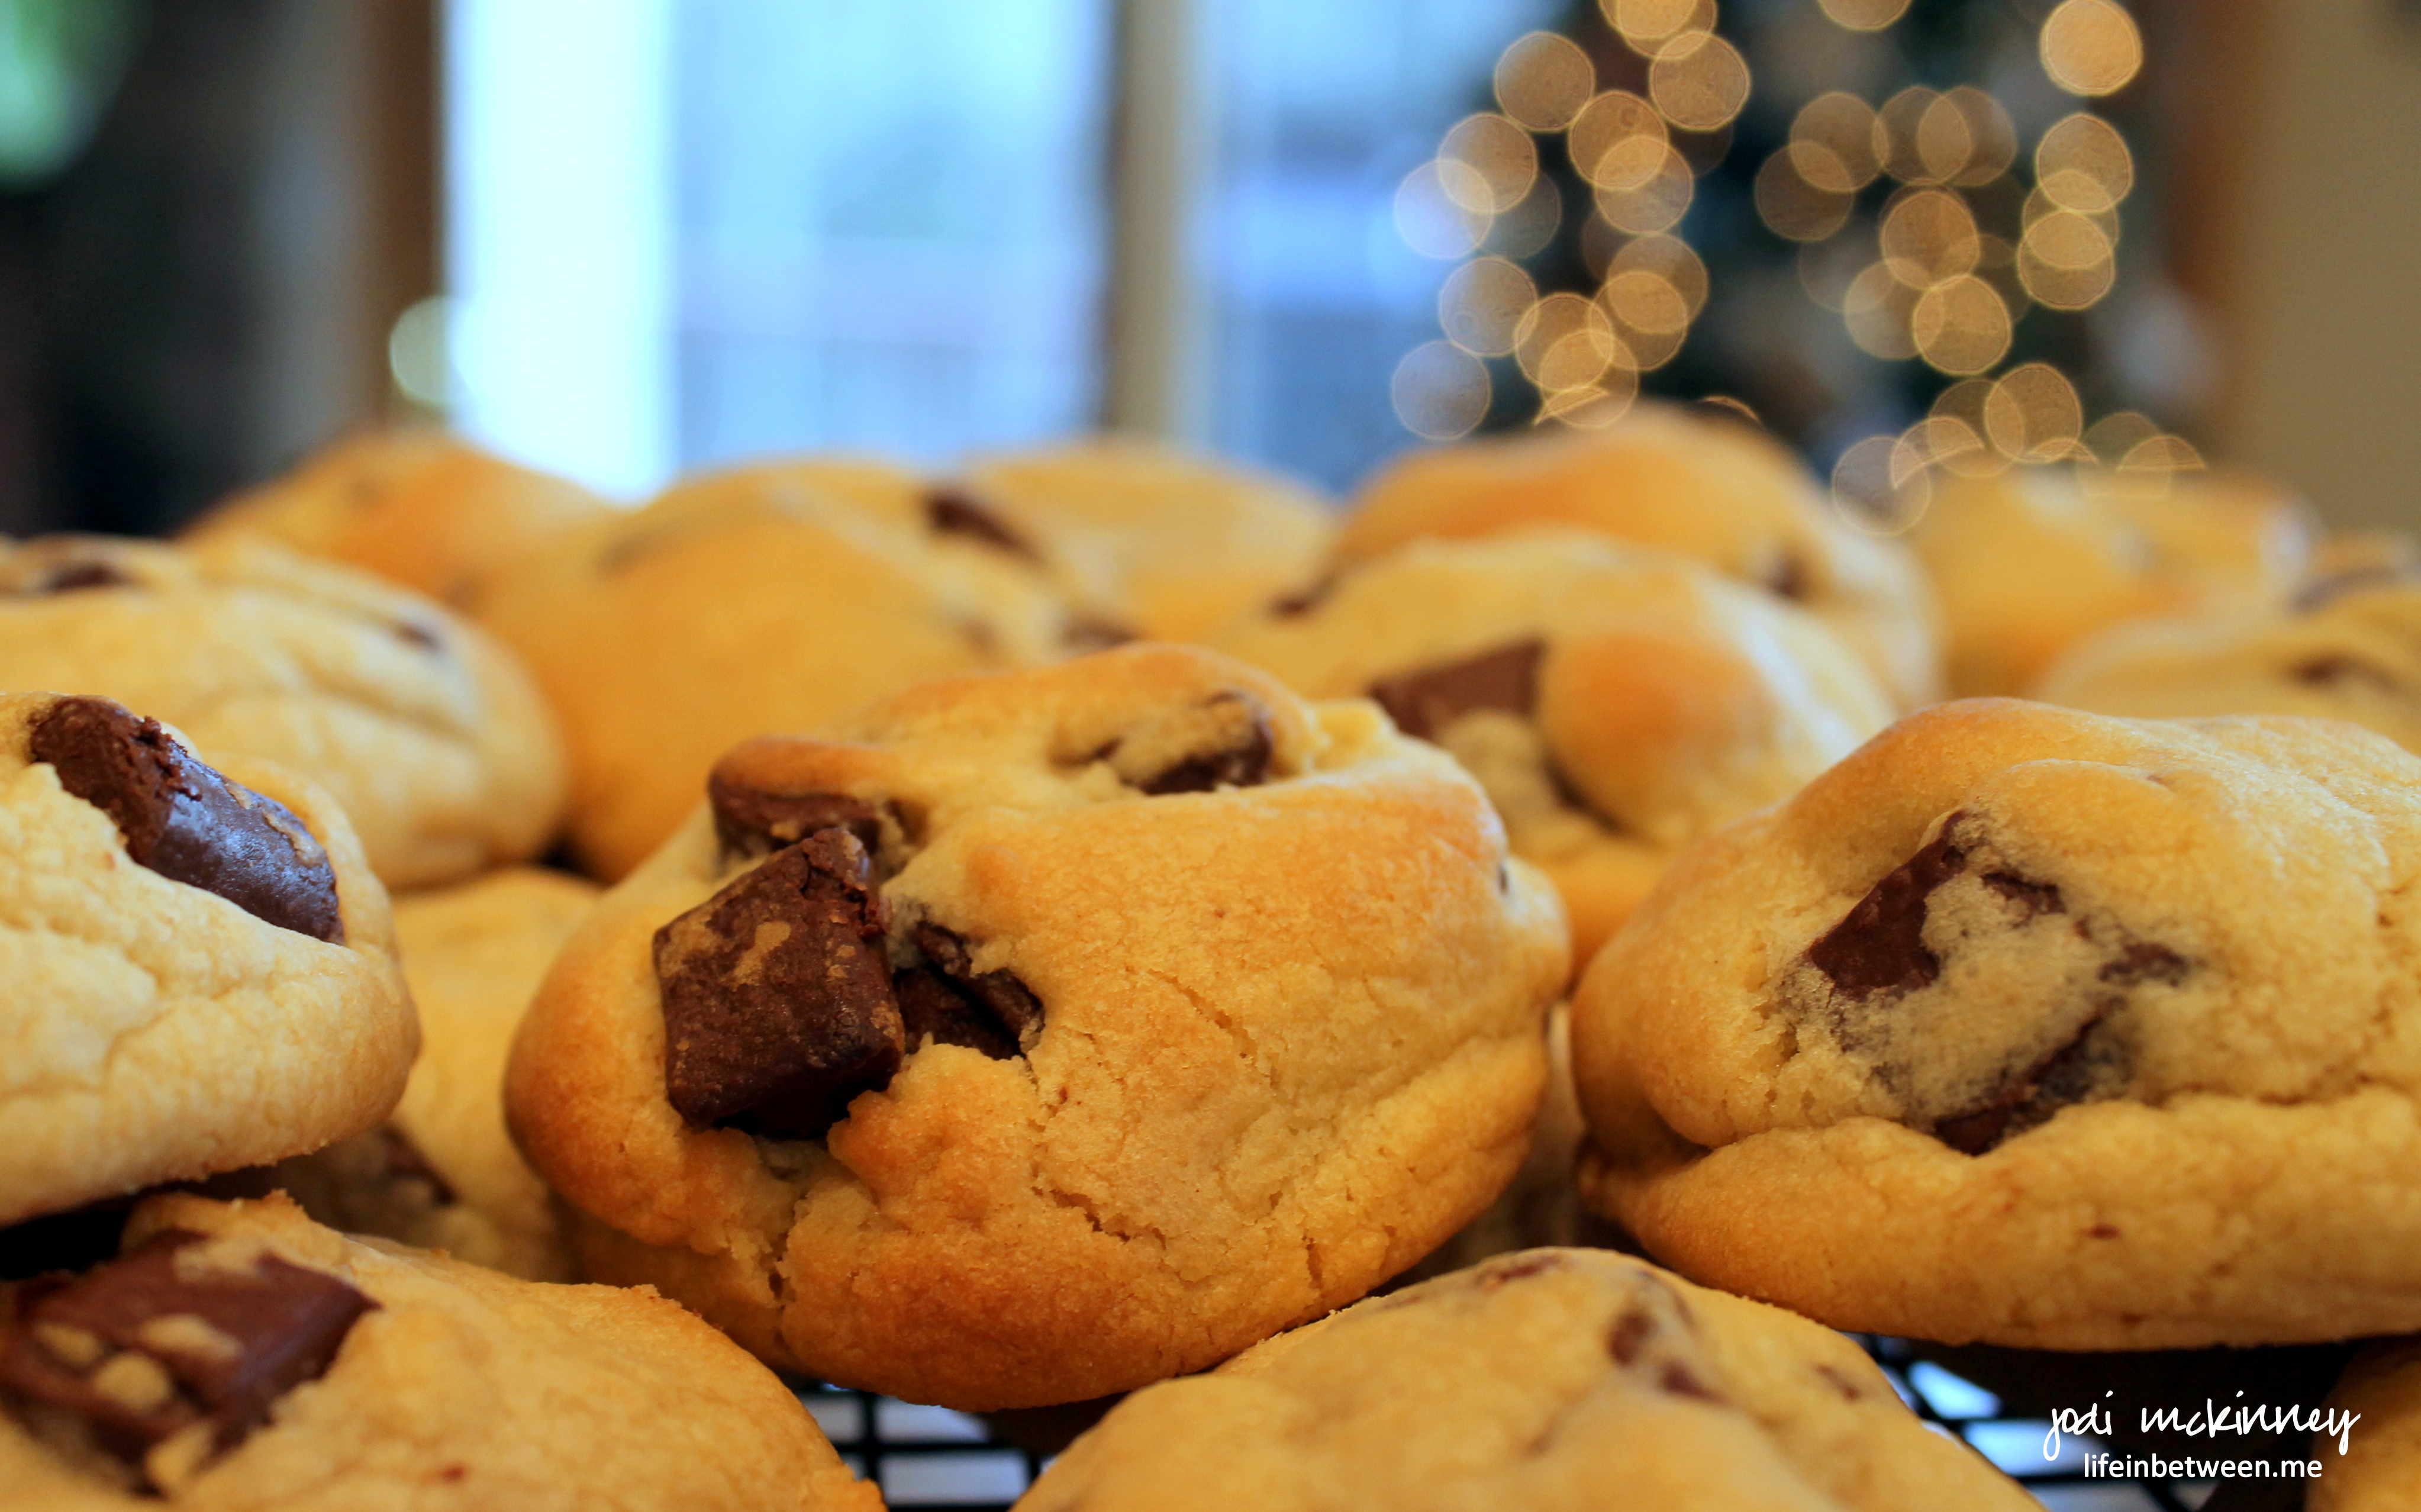
I also made some of my Jodi’s Almost Famous Chocolate Chip Cookies – a perennial favorite around here…

chocolate chip christmas cookies

…as well as some with dried blueberries and white chocolate chips using the same recipe (another of Marty’s faves).

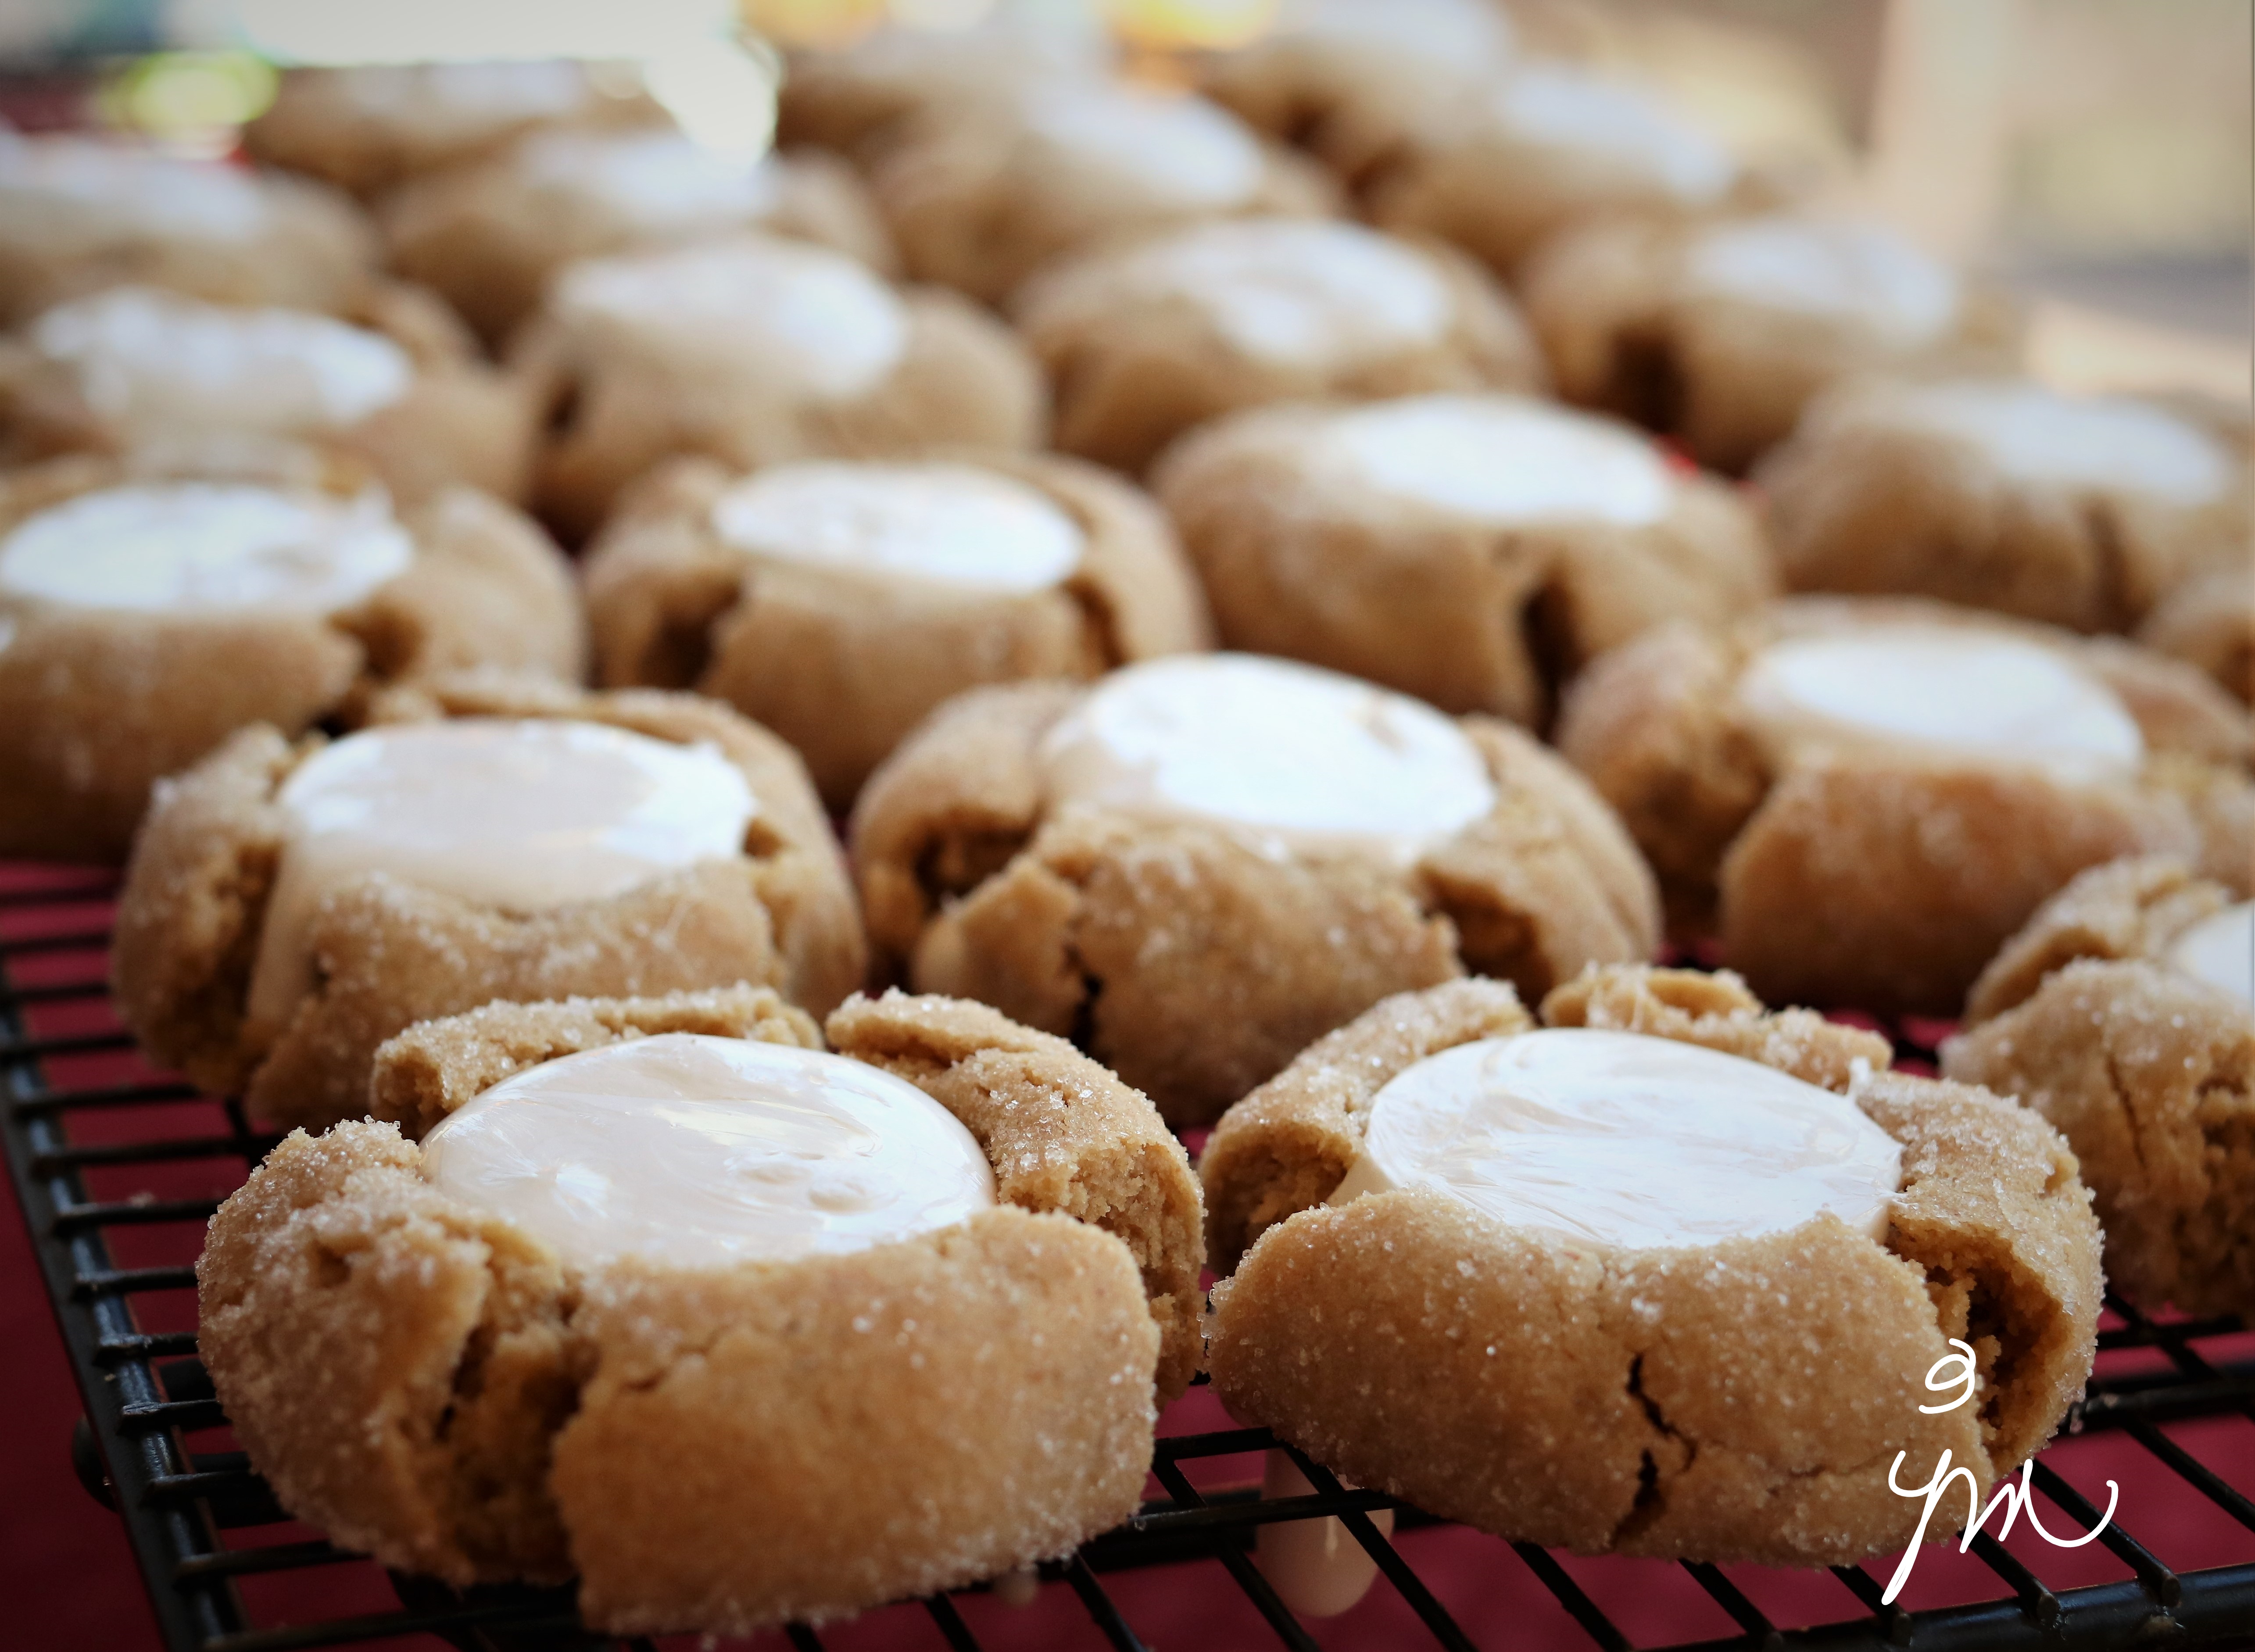
And it wouldn’t be Christmas without some Peanut Butter Blossoms…

peanut butter cup cookies

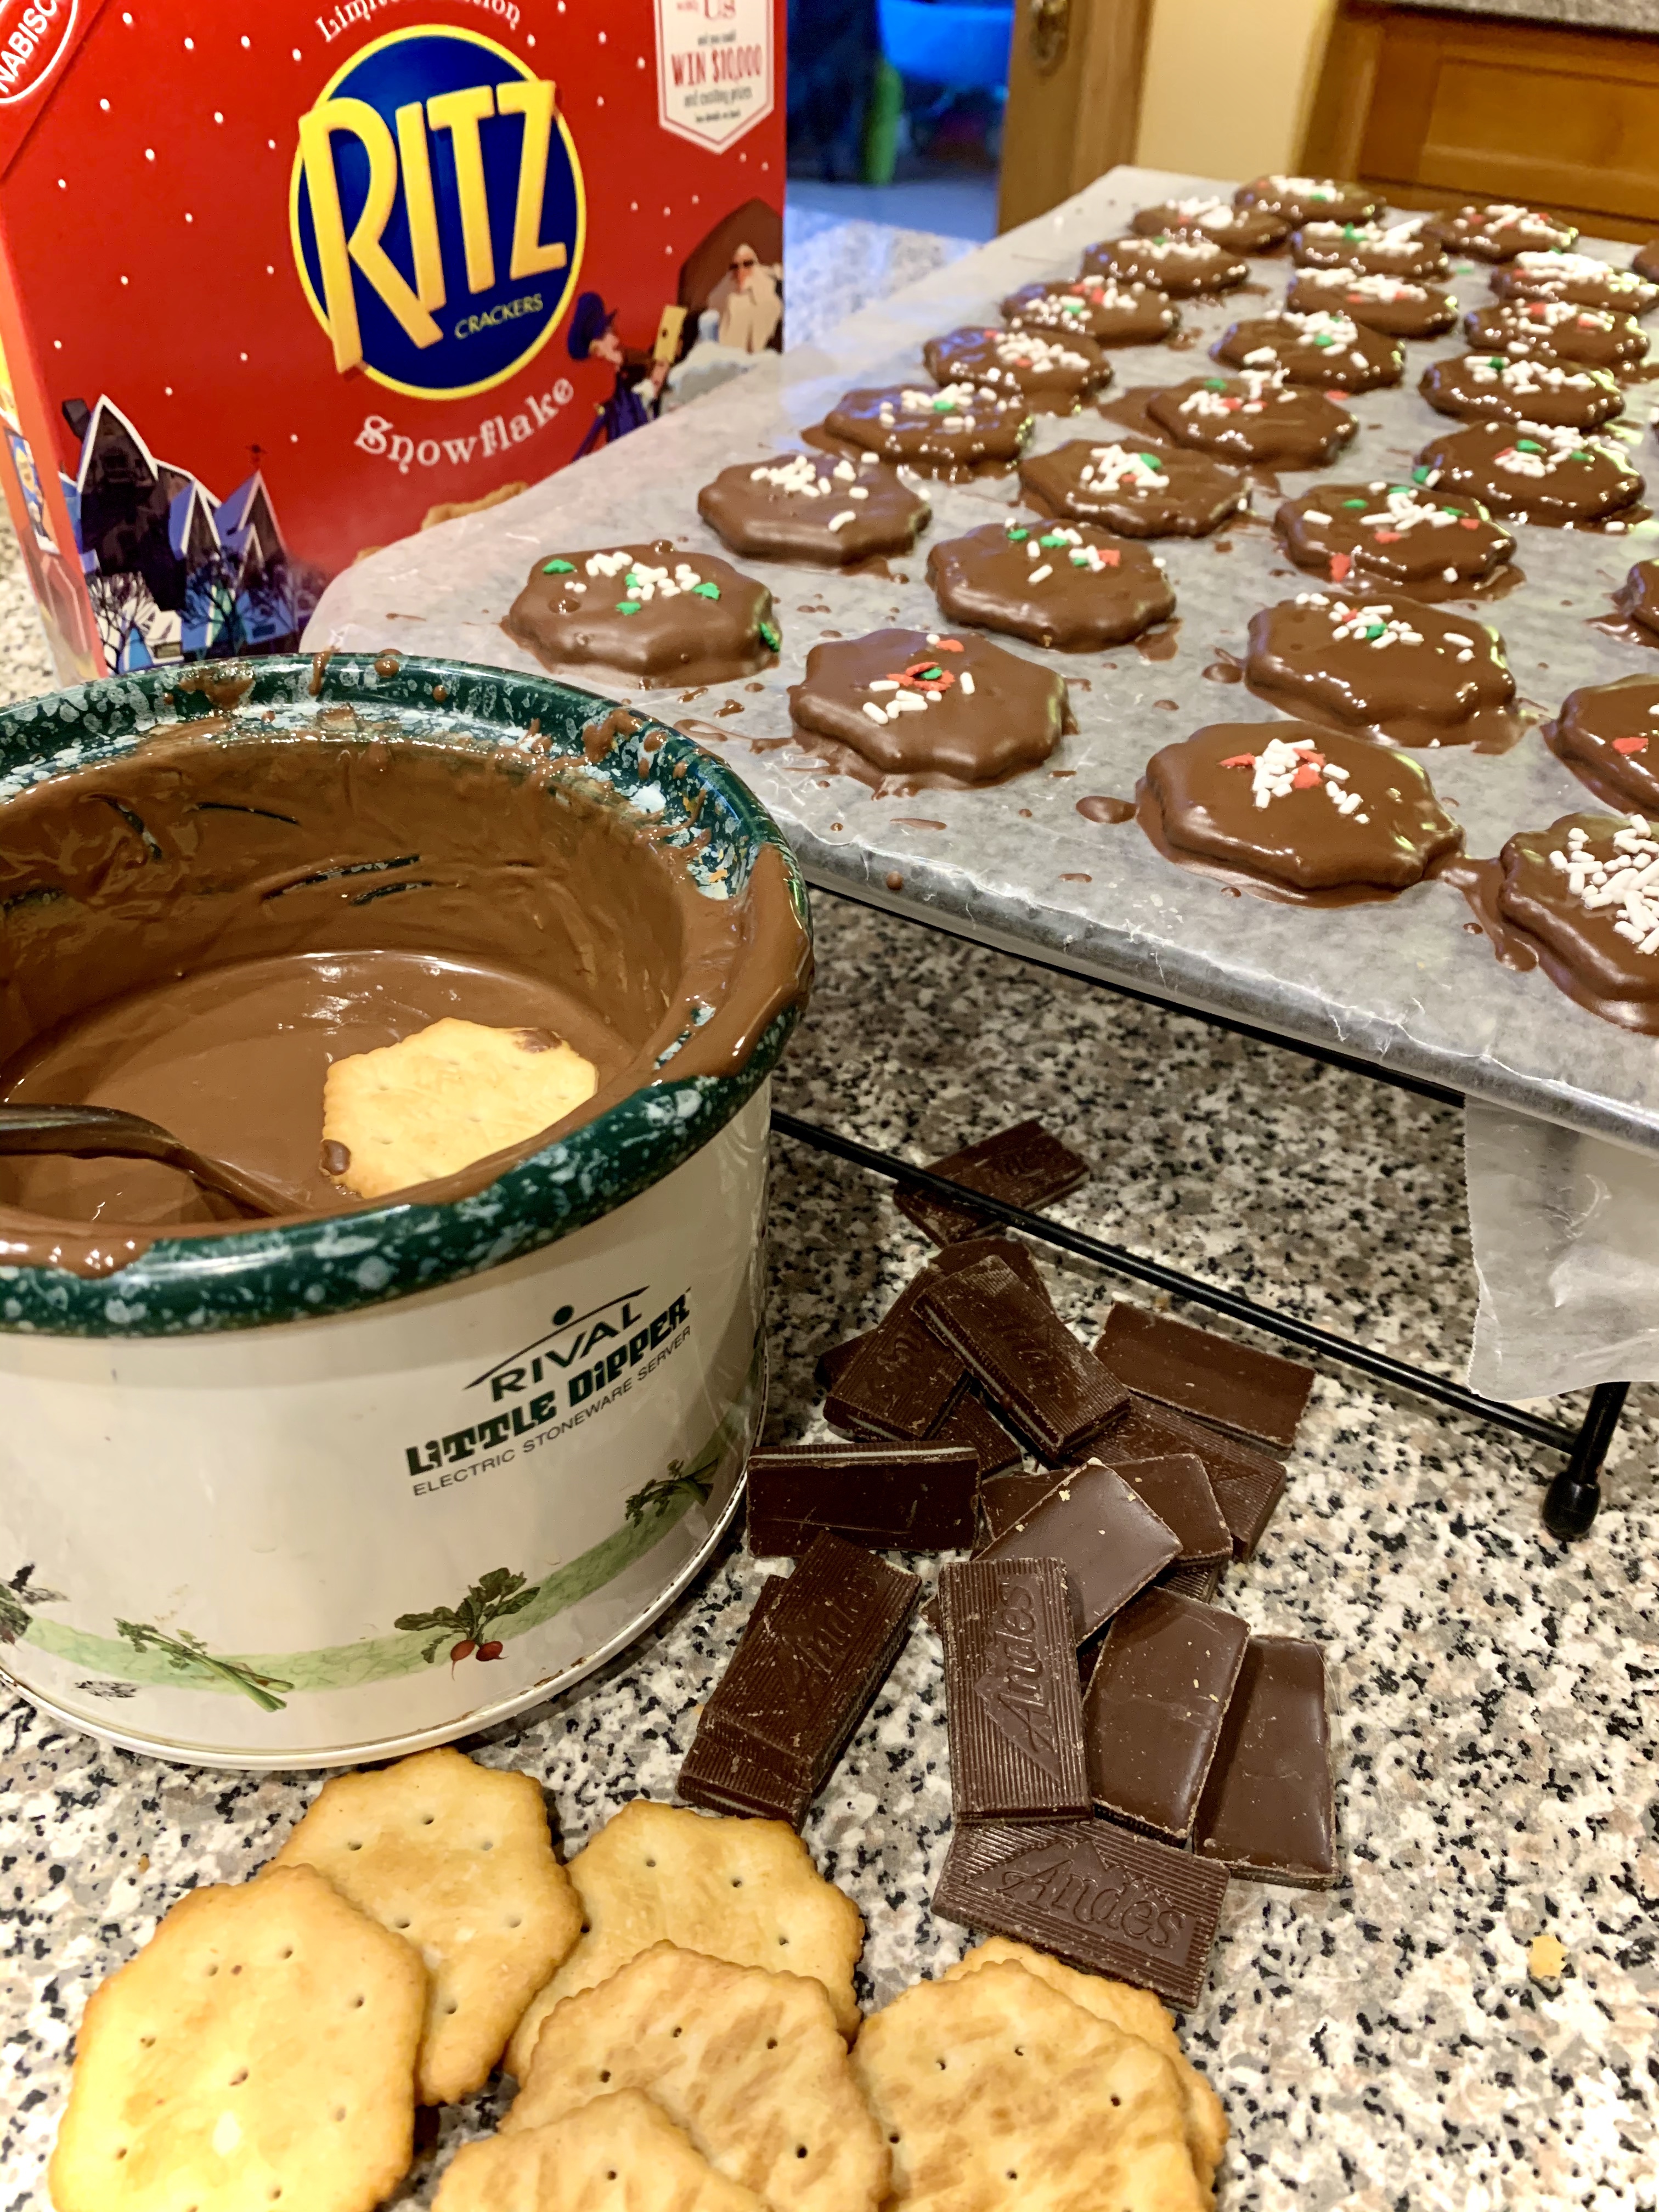
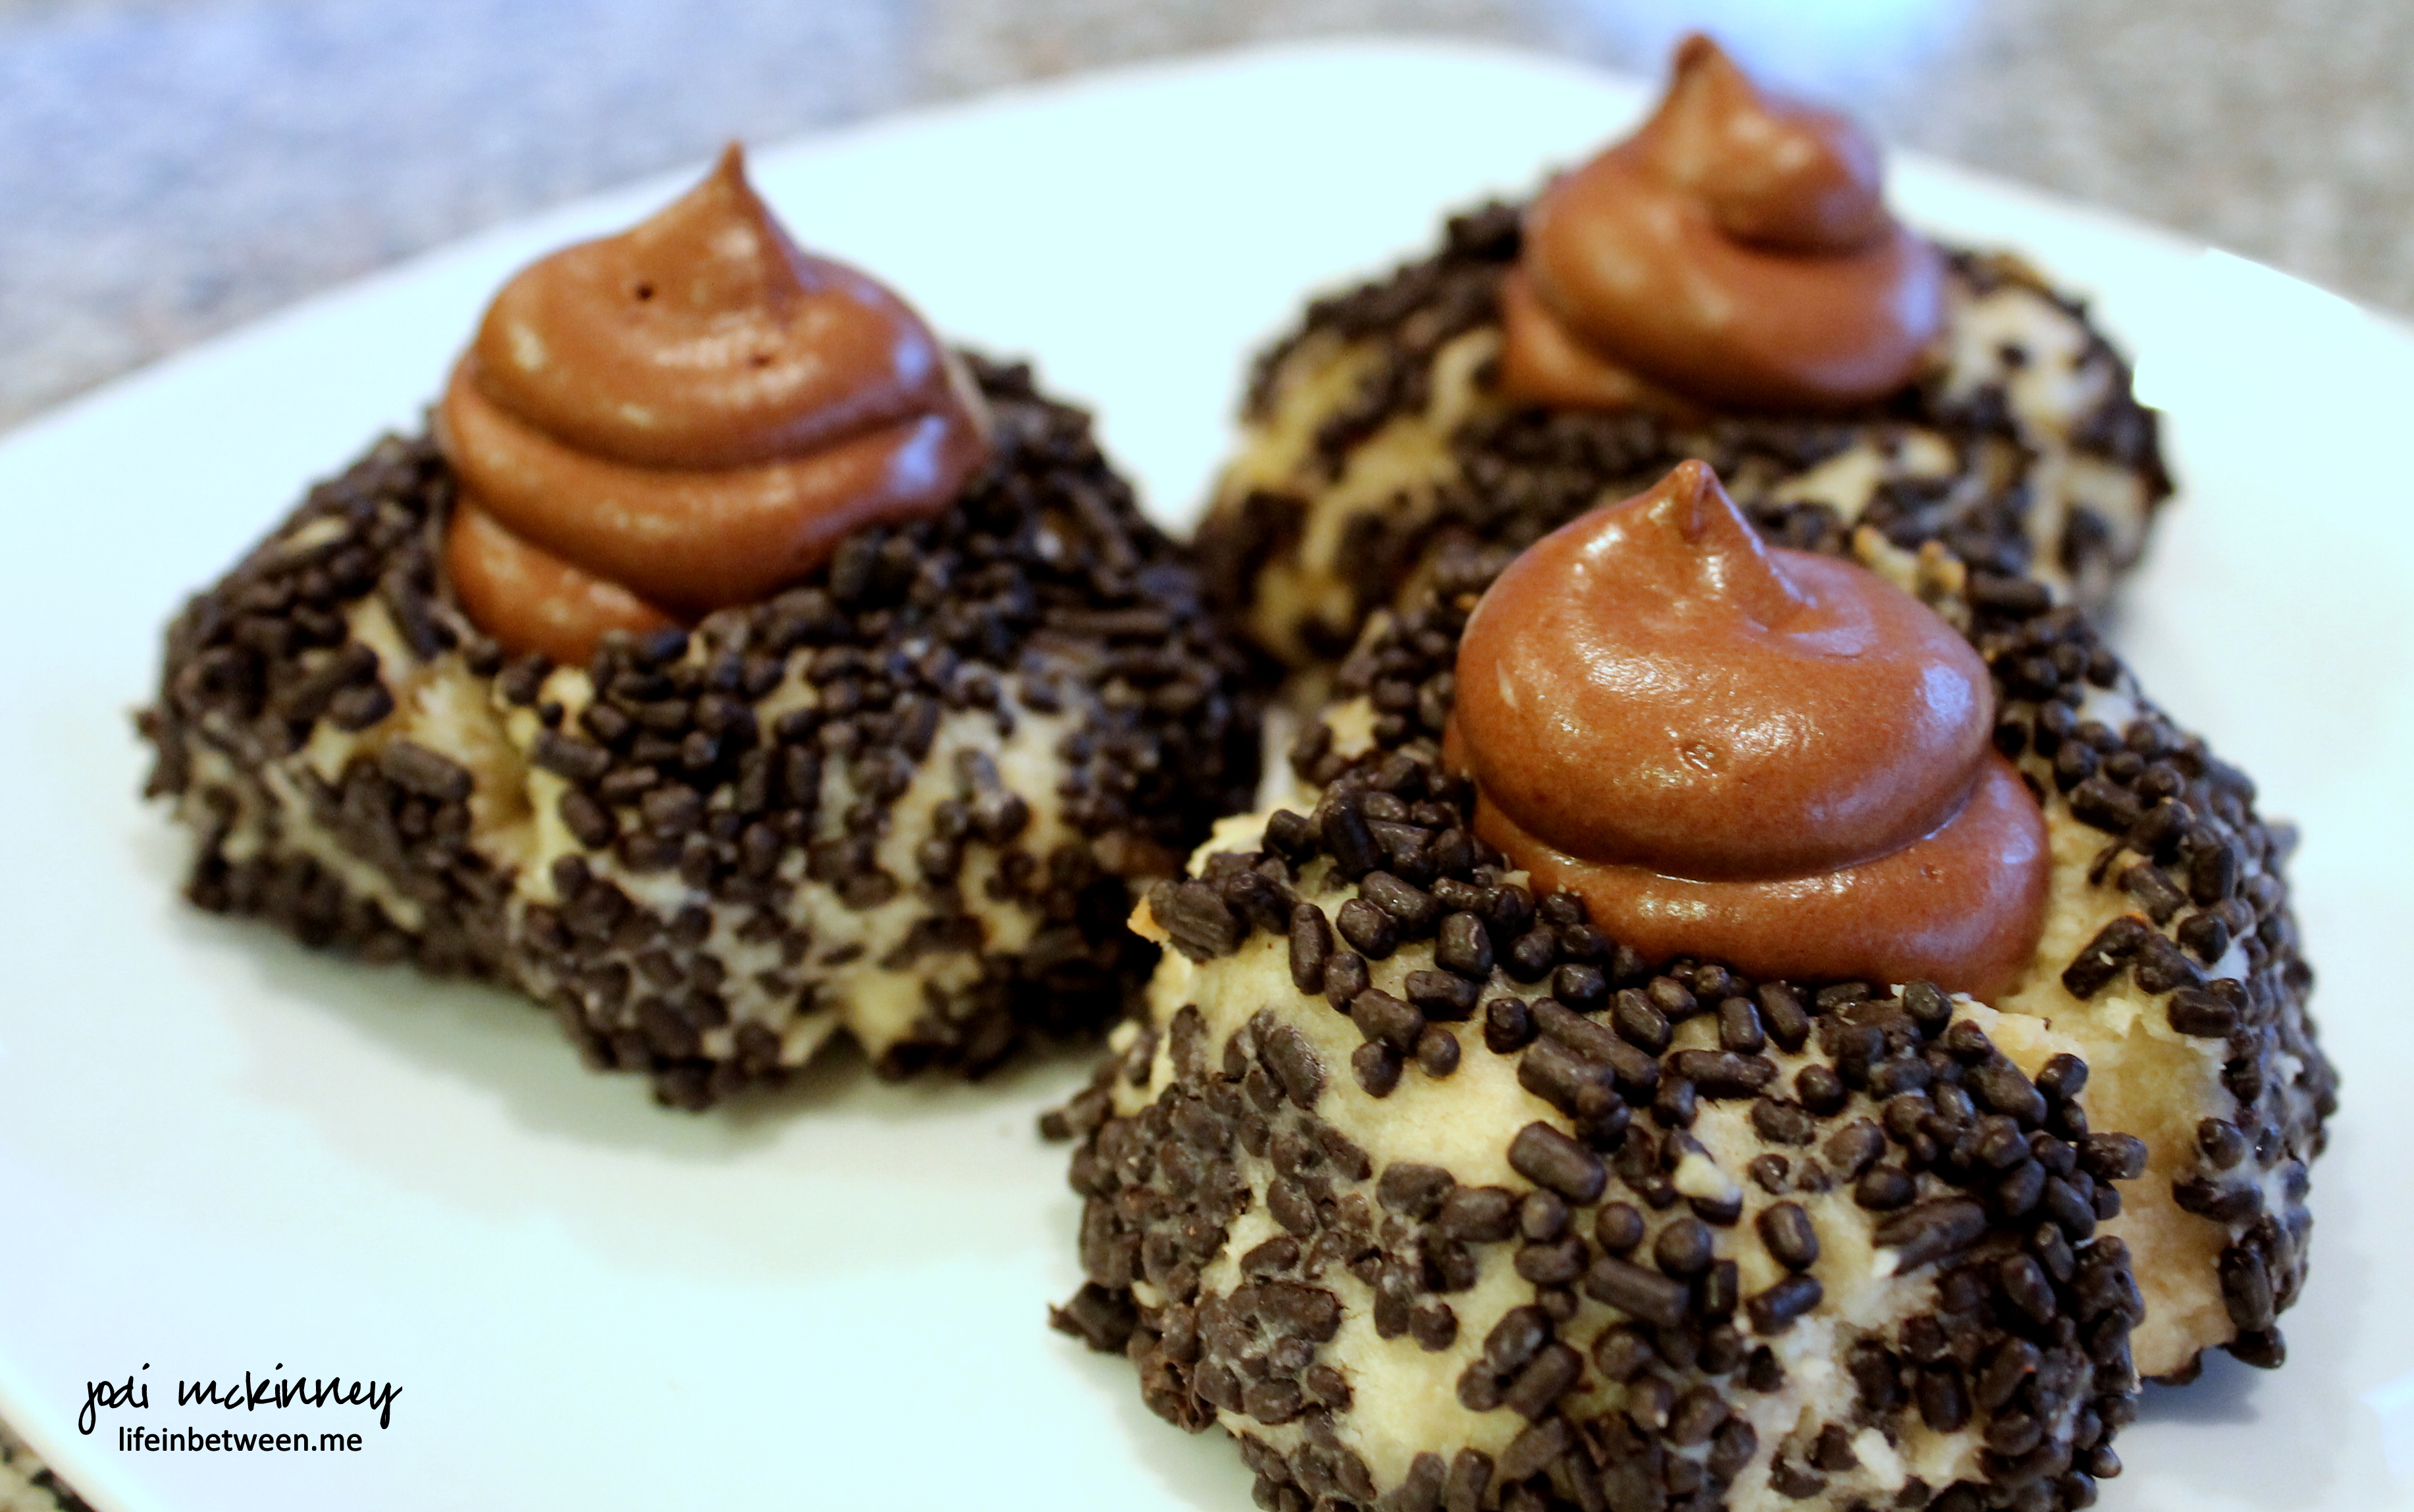
And gotta have some Pittsburgh Thumbprint cookies too.  I made a batch with chocolate fudge and another with colorful sprinkles and green icing centers.

chocolate pittsburgh thumbprints

Here is the recipe I use for the Apricot Kolaches.

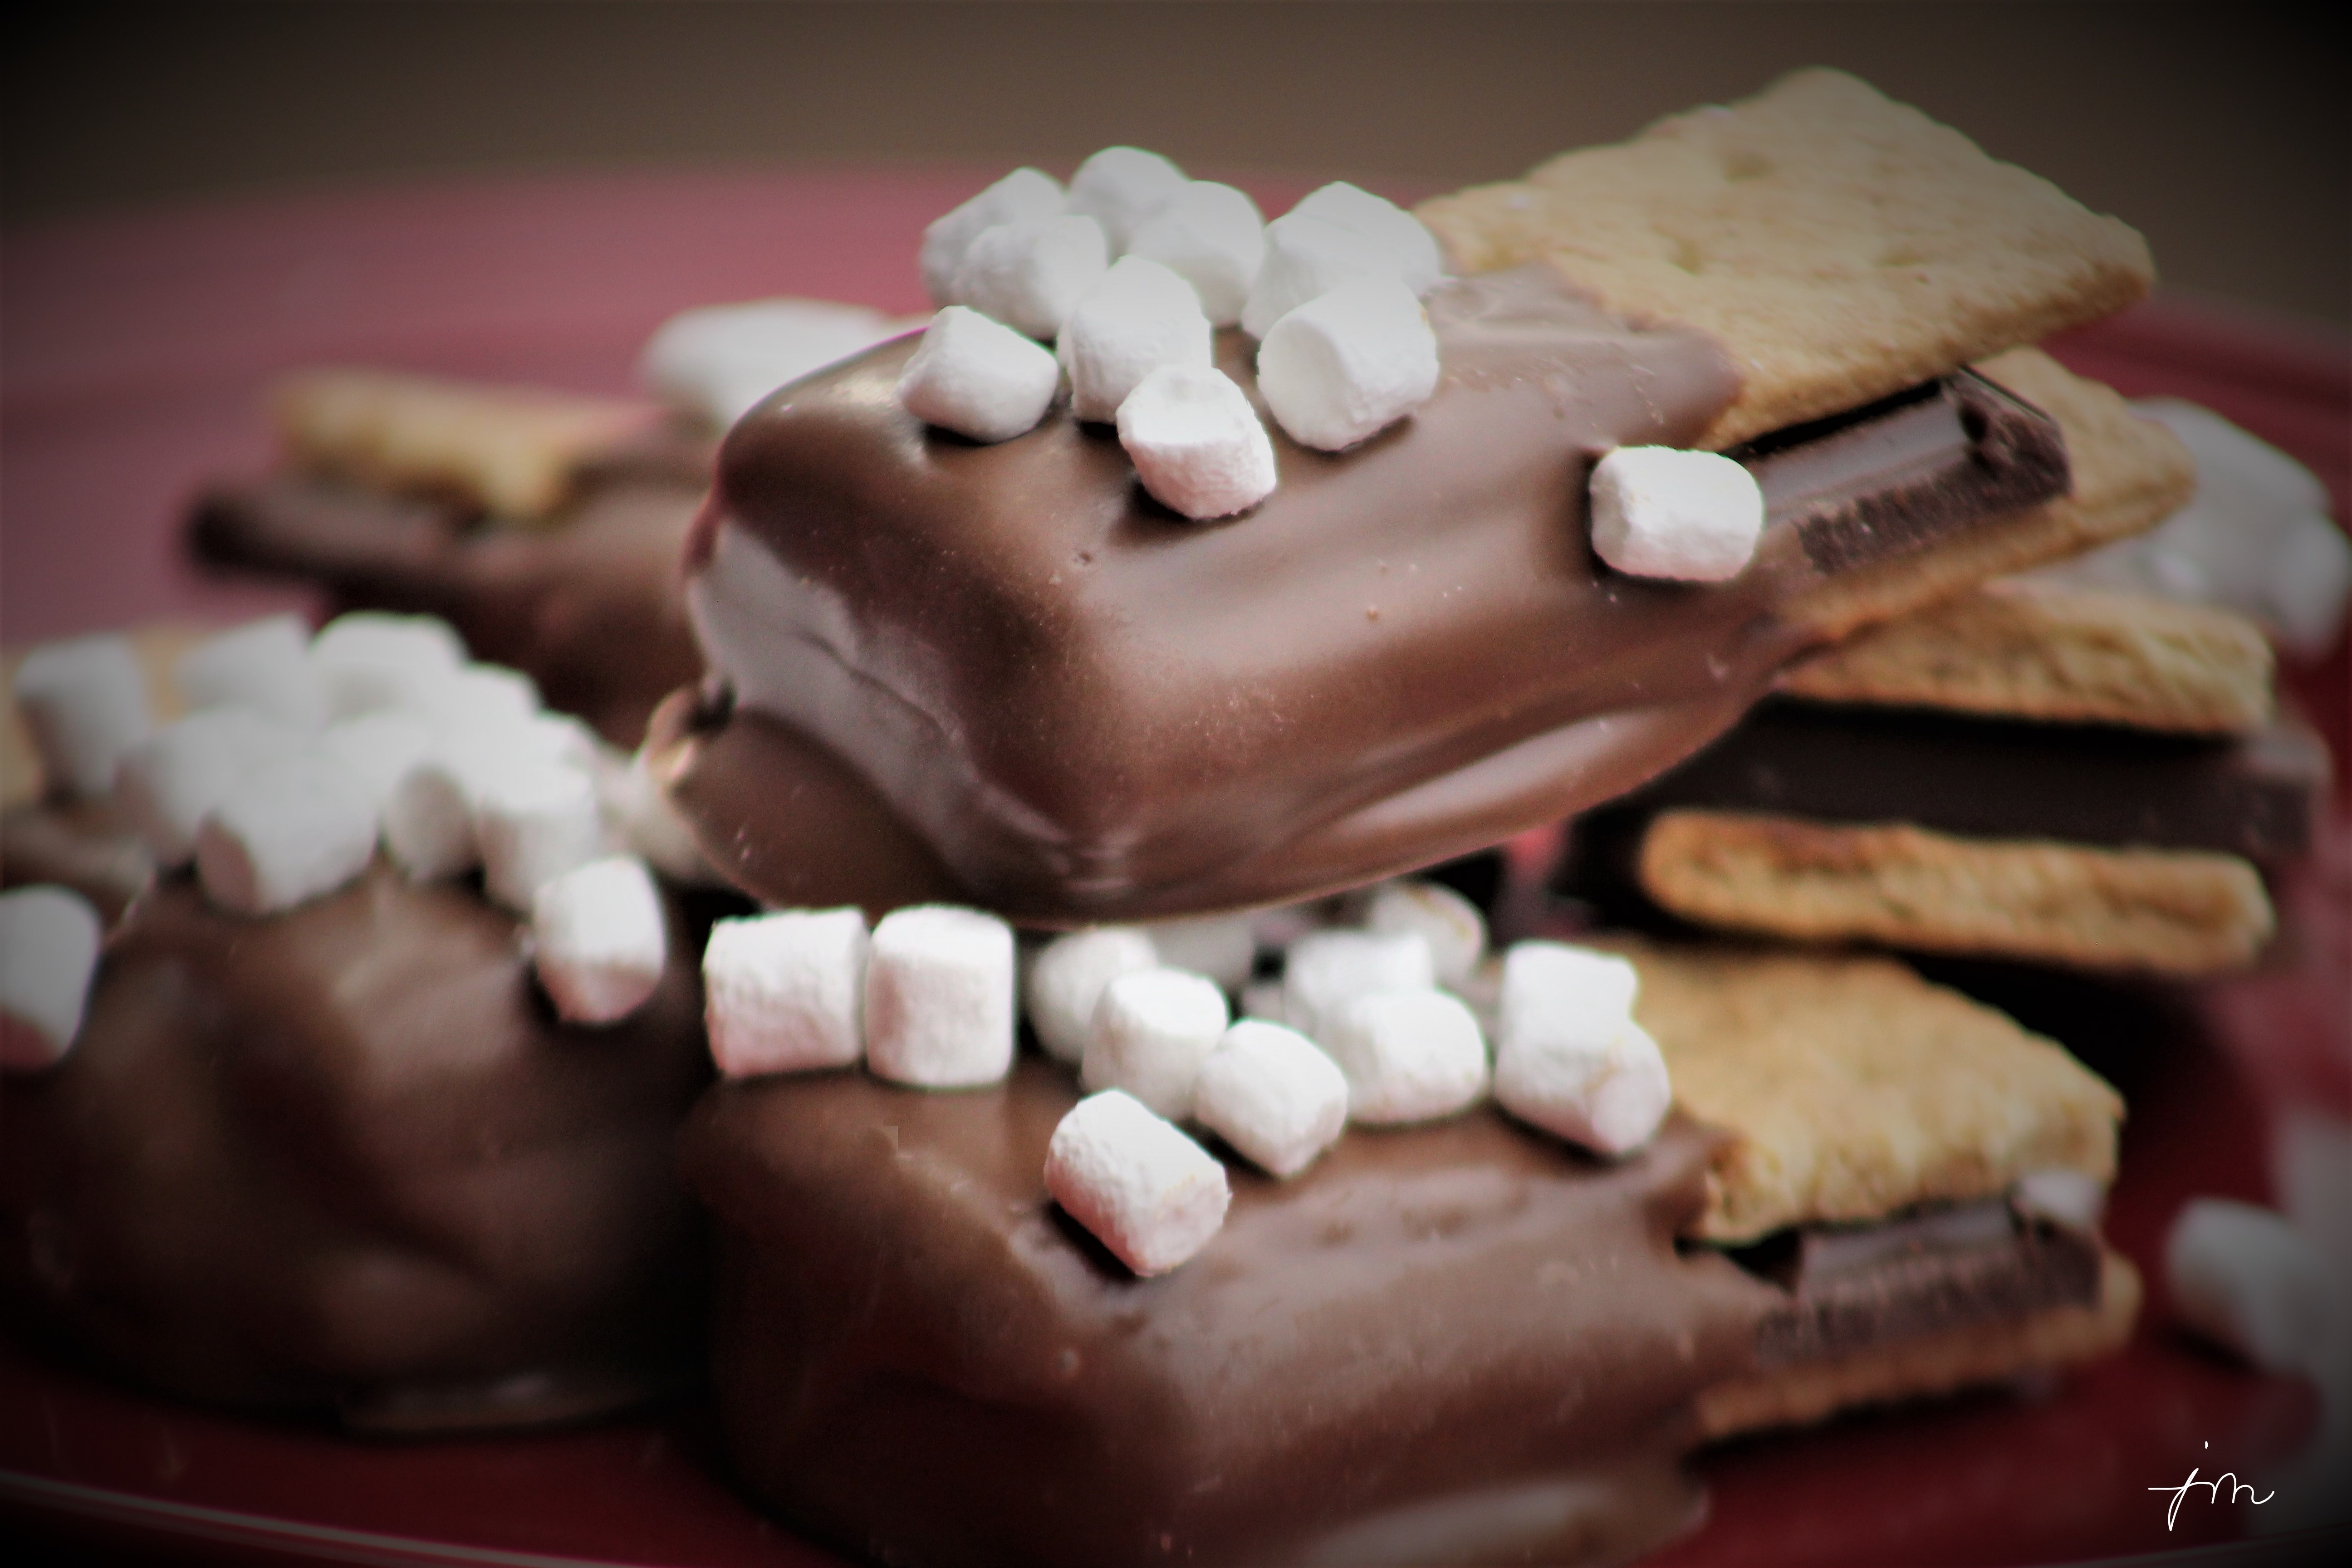
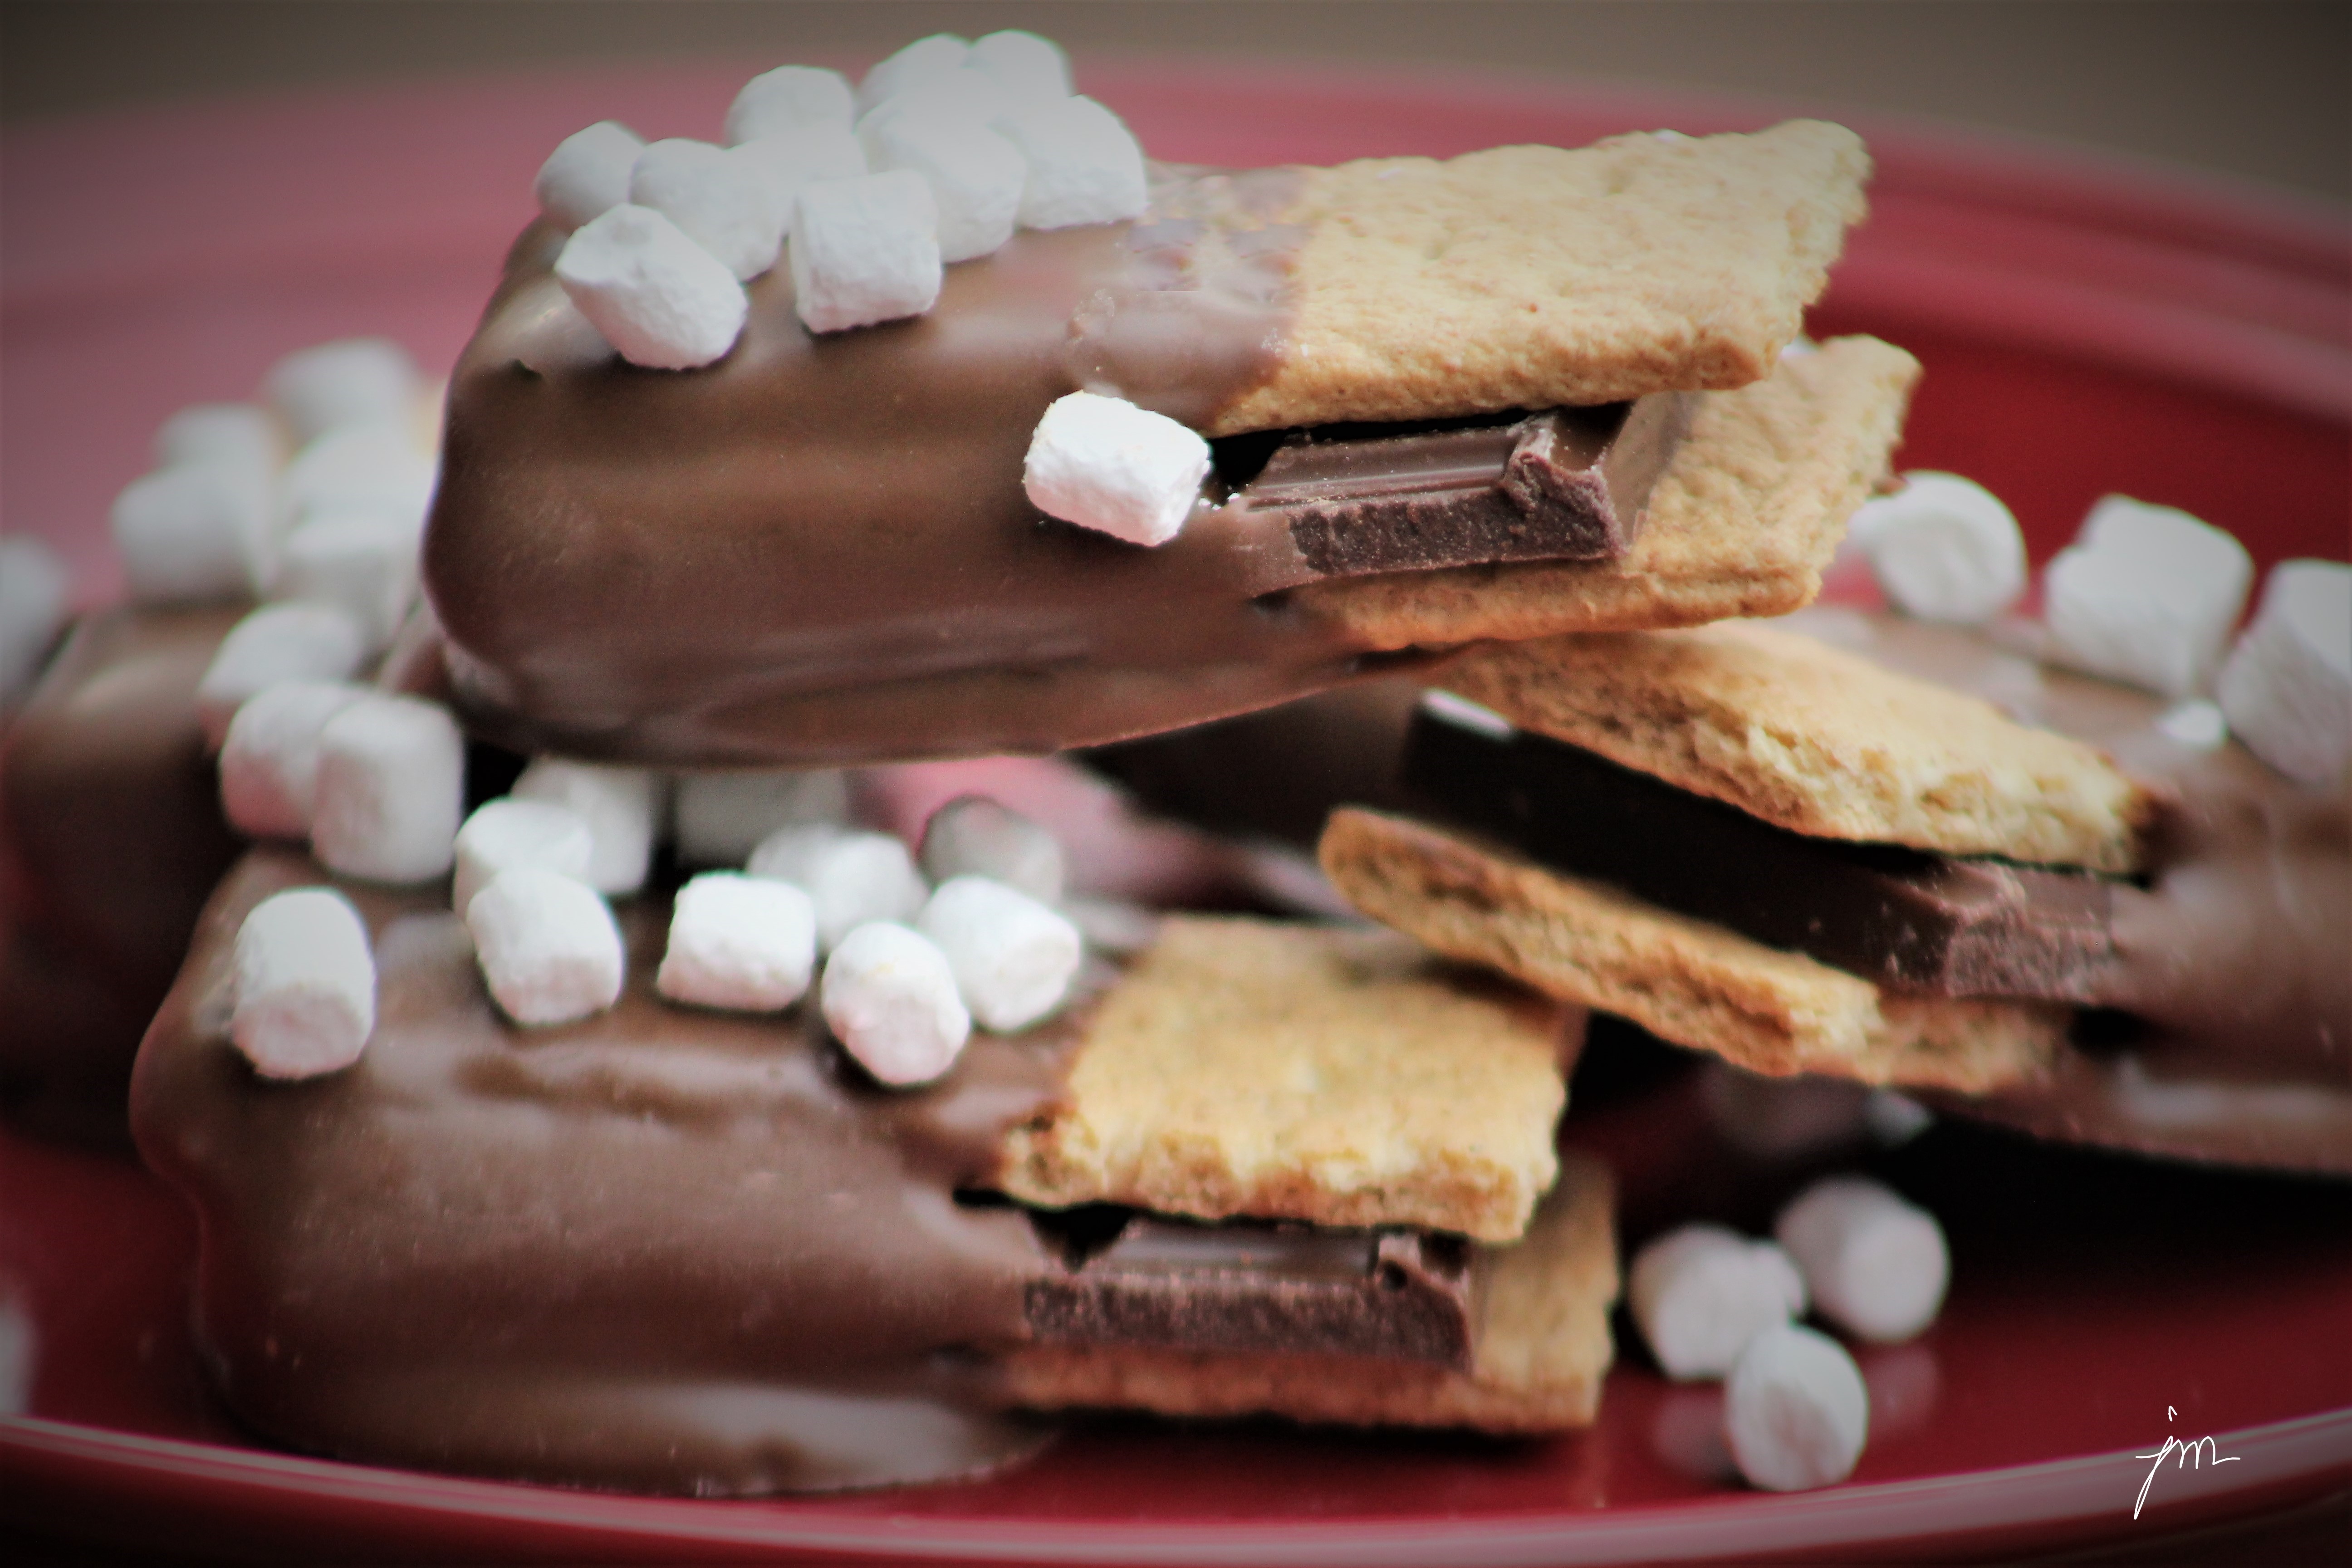
(The Chocolate Chips and Pittsburgh Thumbprints can be found by following the links to previous posts.)

apricot kolache making

APRICOT KOLACHES

2 8-oz blocks of cream cheese, softened
2 cups (4 sticks) butter, softened
5 cups all-purpose flour
1 1/2 cups apricot preserves or apricot filling (I use Baker’s)
1 Egg, beaten
Confectioner’s (Powdered) Sugar, for dusting

Beat cream cheese and butter on medium-high speed of stand mixer until light and fluffy, about 3 minutes.  Turn mixer on low, and gradually mix in the flour until a smooth dough forms.

Knead dough on lightly floured work surface, and gently form a ball.  Divide dough into fourths, flatten, and wrap each in plastic wrap.  Refrigerate at least 4 hours.

When ready to bake, preheat oven to 400 degrees F.  Line cookie sheet or baking stone with parchment paper.  Working with one piece of dough at a time (after bringing back to room temperature from refrigeration), roll out to approximately 1/8 inch thick rectangle.  Trim edges and cut dough into 2 inch squares.

Spoon about 1/2 teaspoon of apricot filling into the center of each square.

Fold one corner into the center, dab with the beaten egg, then bring the opposite corner into the center and press firmly to seal.

Place on parchment-lined cookie sheet, and bake for approximately 10 minutes.

Dust with confectioner’s sugar and cool on wire rack.

These cookies freeze well, and thaw quickly.

This recipe makes about a million ….  or at least feels like it when you are making them!  🙂
I hope you and your family will try these and enjoy them as much as we do.

Cheers & Sweet Hugs,
Jodi

S’More Cookie Bars

S’More Cookie Bars.

What S’more fun than S’mores?!

And what s’more perfect with hot cocoa or coffee than s’mores.

And what s’more delicious than campfire s’mores?

S’more cookie bars any time of year!

I love these adorable little cookie treats I learned from my daughter-in-law, Colleen, who first served them at a holiday cookie exchange she hosted a couple years ago.

They are simple.   They are fun. They are beautiful.  And best of all, they are SCRUMPTIOUS!

The teeny tiny miniature dehydrated marshmallows totally make them!  I purchased them locally at Make a Cake, a local, charming little cake and candy decorating shop, but they are also available online if you can’t find them near you.

Here is how to make them.

S'more Cookie Bars

Ingredients:

Directions:

After breaking all graham crackers and chocolate bars into rectangles, place one chocolate rectangle between two graham cracker rectangles forming a sandwich.

Melt Merckens milk chocolate one pound at a time in microwave.  Heat for 1 minute on high.  Stir well.  Heat 20-30 more seconds.  Stir well until smooth.

Dip each graham cracker and chocolate bar sandwich into chocolate – coating 1/2 – 2/3 of cookie.   Let excess drip, and place on sheet of wax paper to cool and harden.  Dip 4-6, place on wax paper, and sprinkle with marshmallows.  Working in groups allows the marshmallows to stick to the melted chocolate before it cools to harden.  Continue until all are coated and sprinkled with marshmallows.  Allow to cool and harden.

They are ready within 20-30 minutes to enjoy or store in an airtight container.

Enjoy!

Cheers & Hugs,
Jodi

P.S.  If you are local, I made these to share at the Berry Vine Gifts Christmas in the Woods Open House, which starts today, Friday, November 17th (10-6).  It also runs through the weekend, Saturday, November 18th (10-6) and Sunday, November 19th (12-4).  Come munch on one with a cup of cocoa while you browse the beautiful holiday handmade crafts, antique furniture, and gifts in this one-of-a-kind shoppe (including my art and Colleen’s rustic pallet signs!)