Zucchini Pizza Casserole

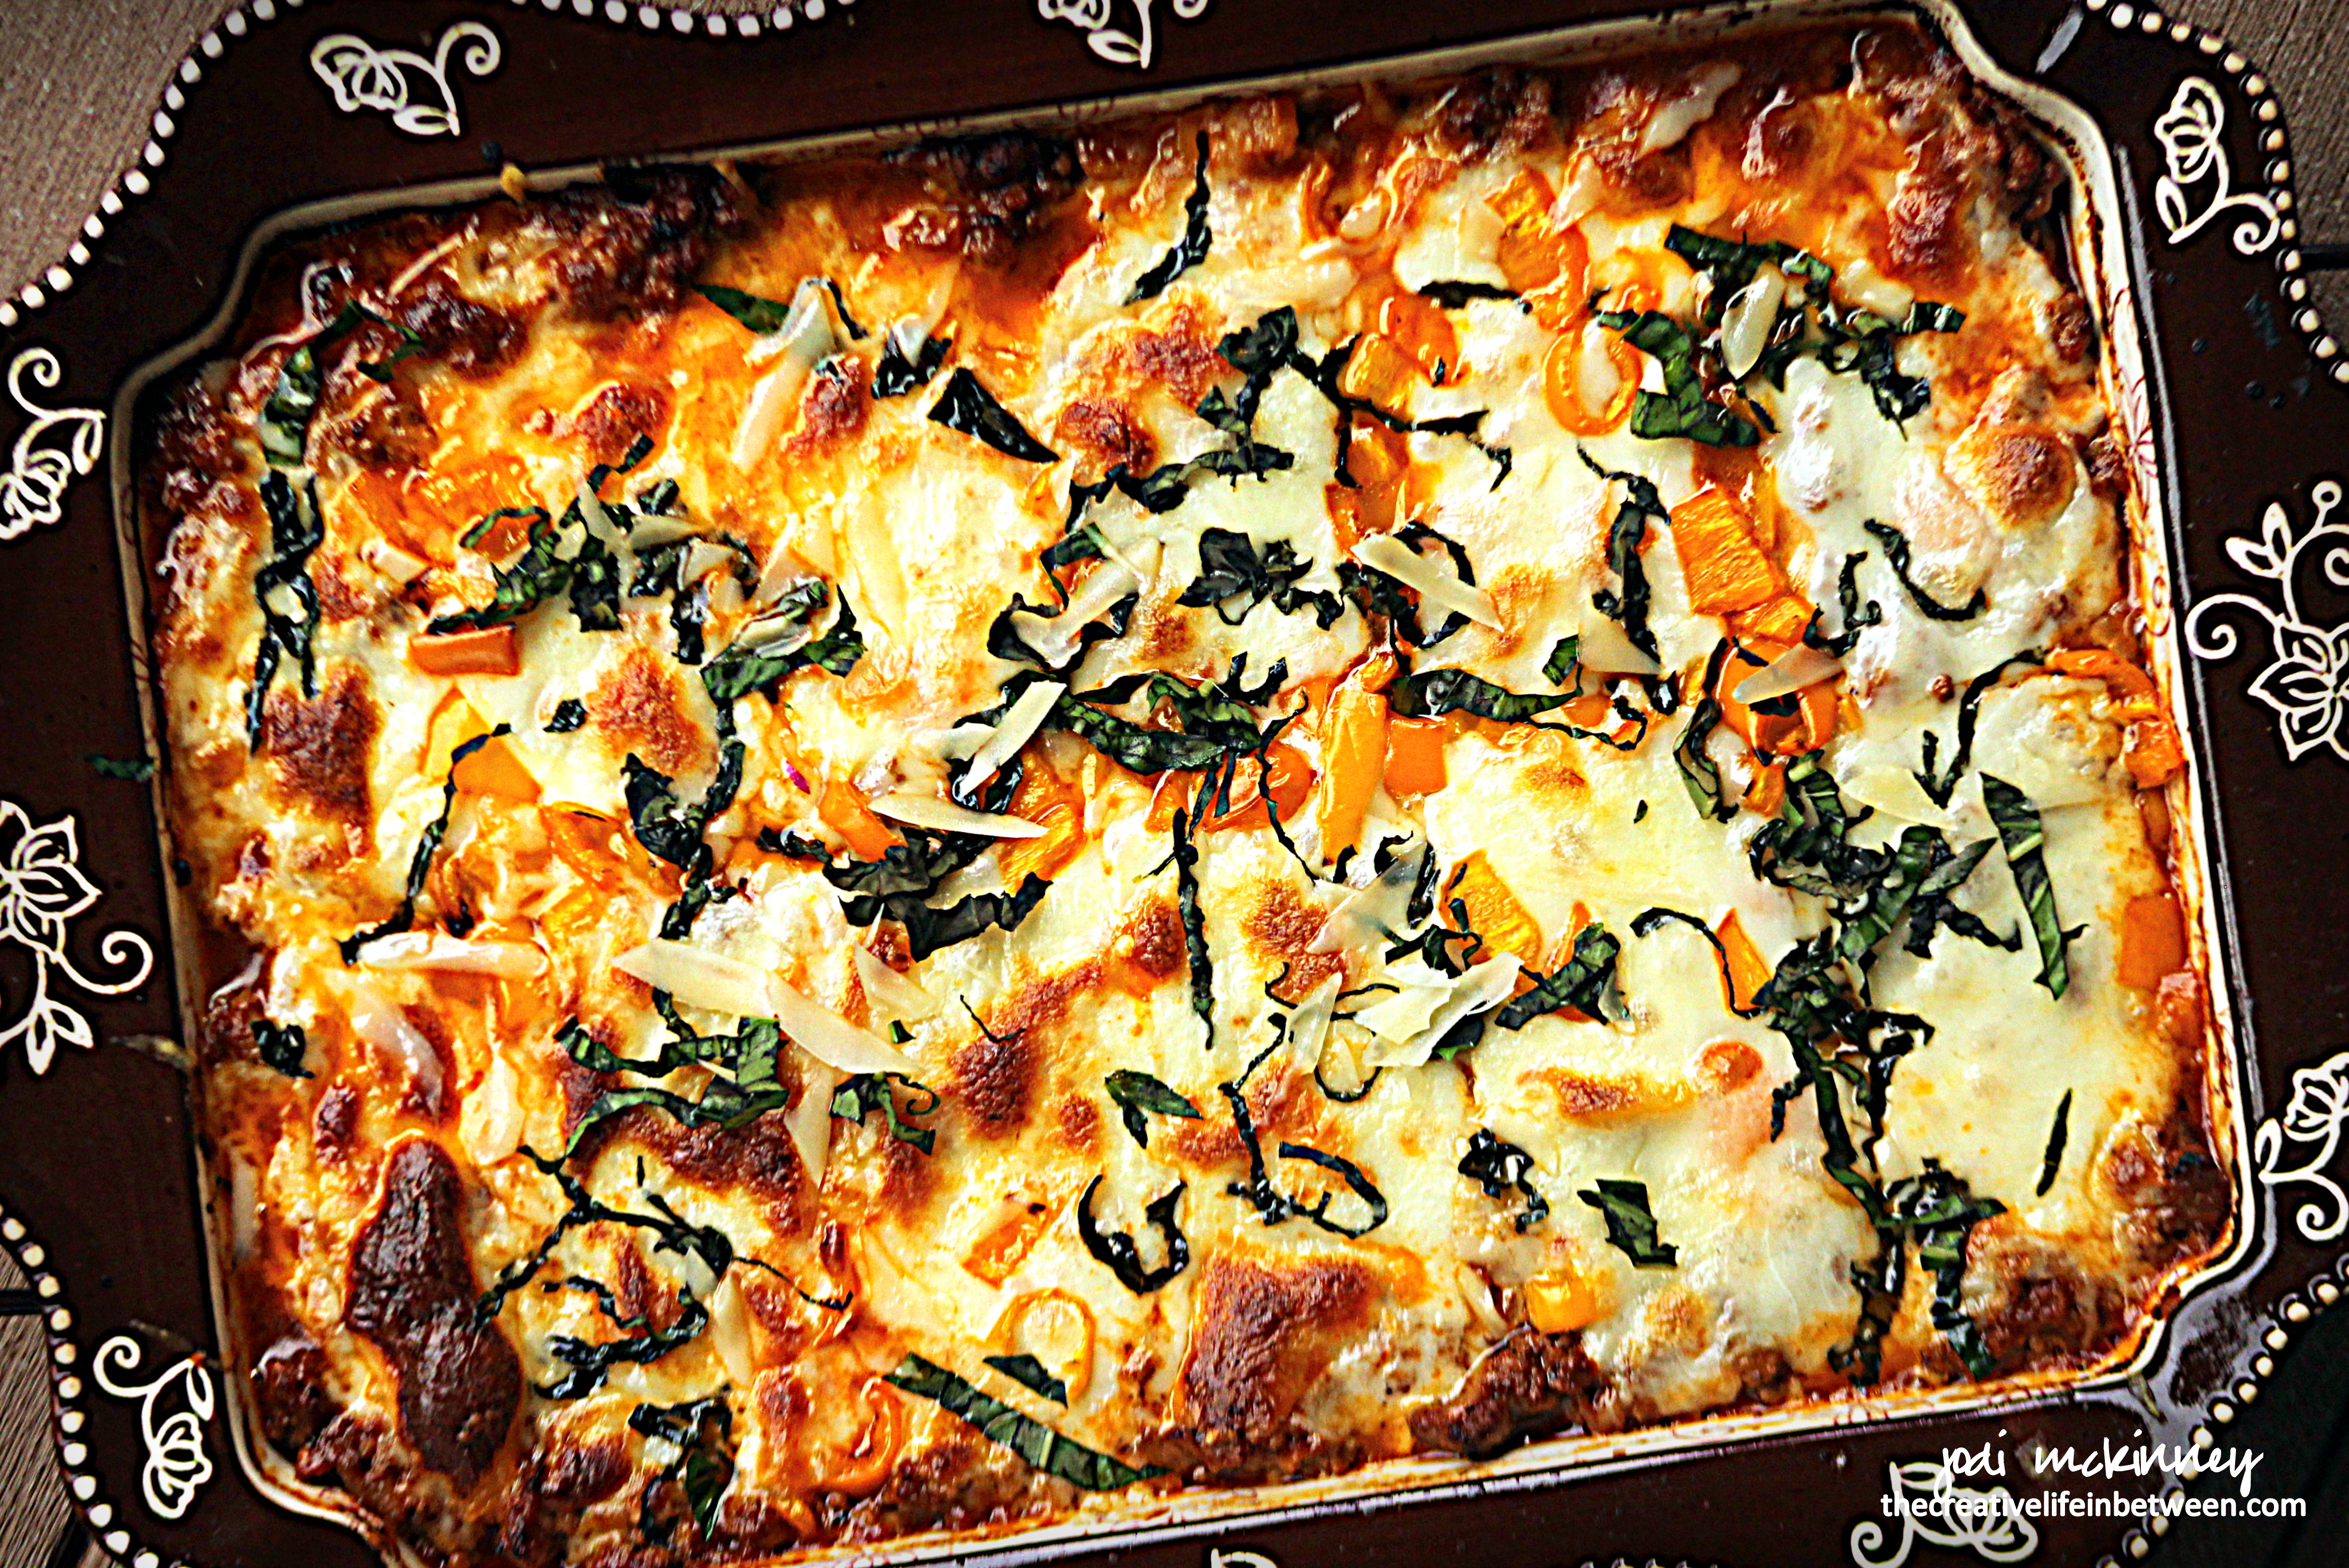
Zucchini Pizza Casserole.

Are you enjoying the abundance of garden fresh zucchini squash in new and creative ways?

There are oodles of zoodles.  There are breads and brownies.  There are soups and sticks,  fries and fritters  and frico.  There are even planks and boats.

Well – here’s one that is sure to be a crowd pleaser.  It is Hubby tested and two thumbs up approved here!

A version of this recipe was recently posted by a friend on Facebook in one of those hyperlapse videos that make everything look easy.  And in this case, it was!

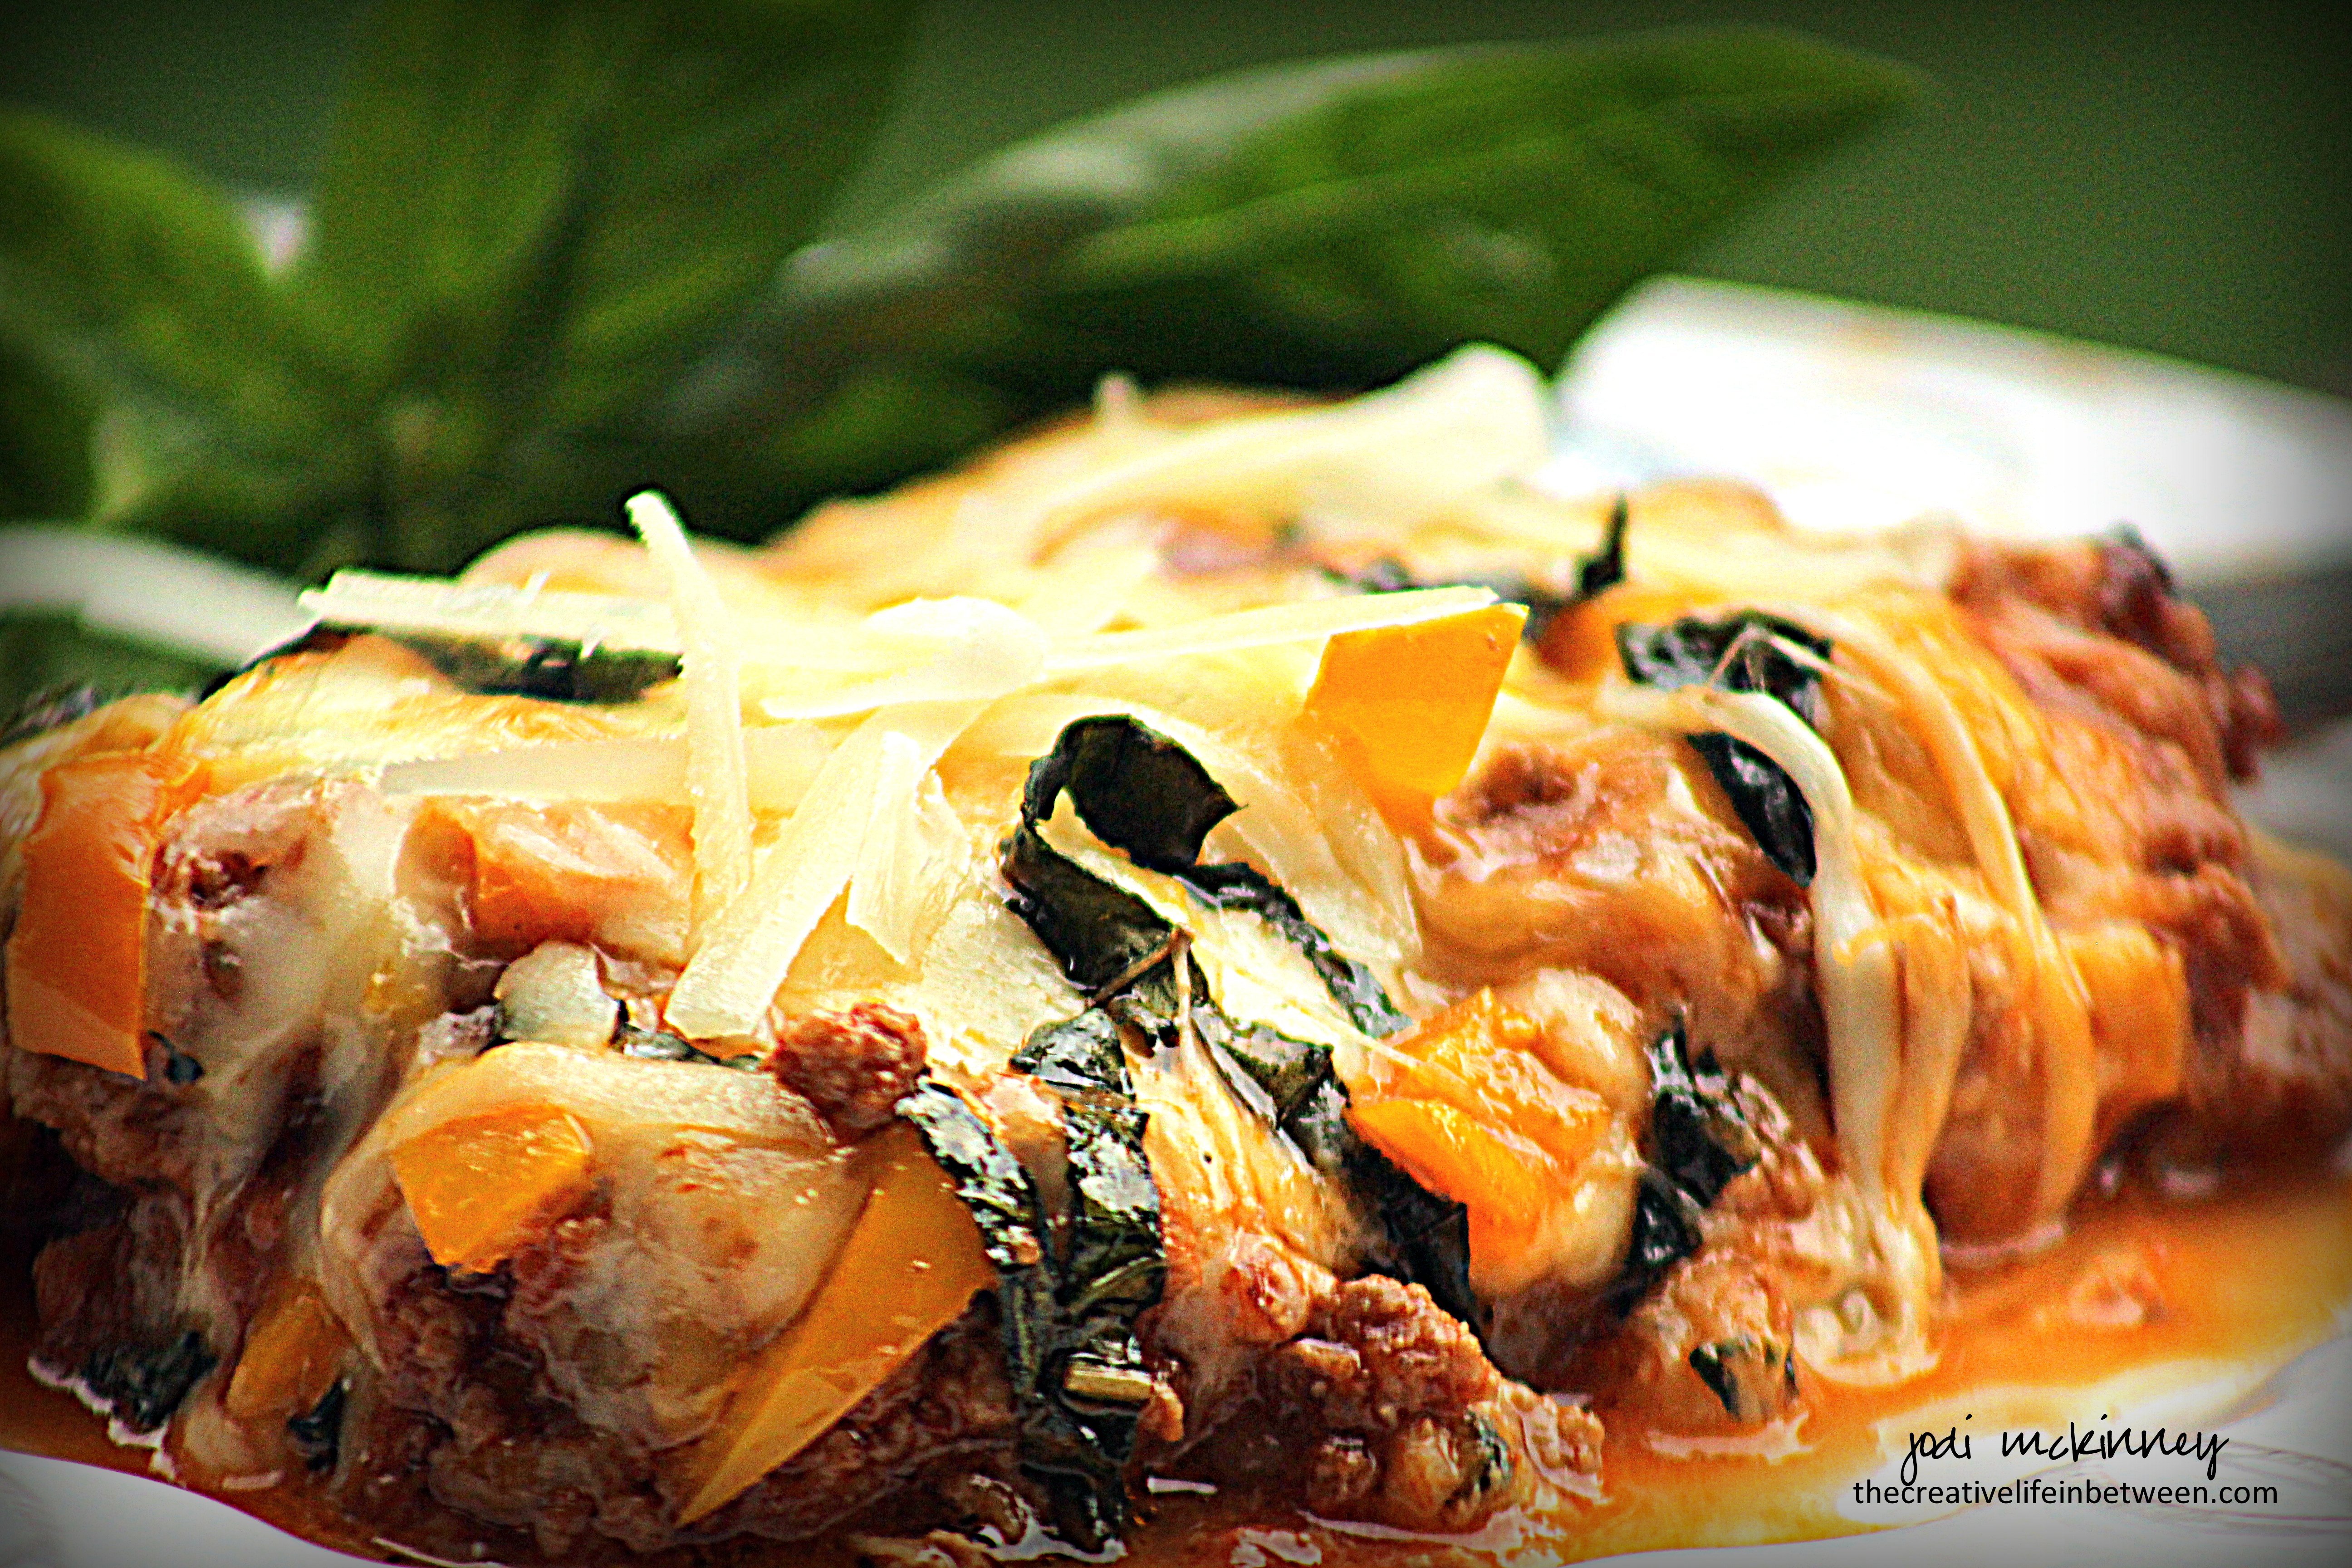
This is a wonderfully delicious, cheesy, gluten-free, low-carb way to get your protein and veggies all in one wonderful casserole.

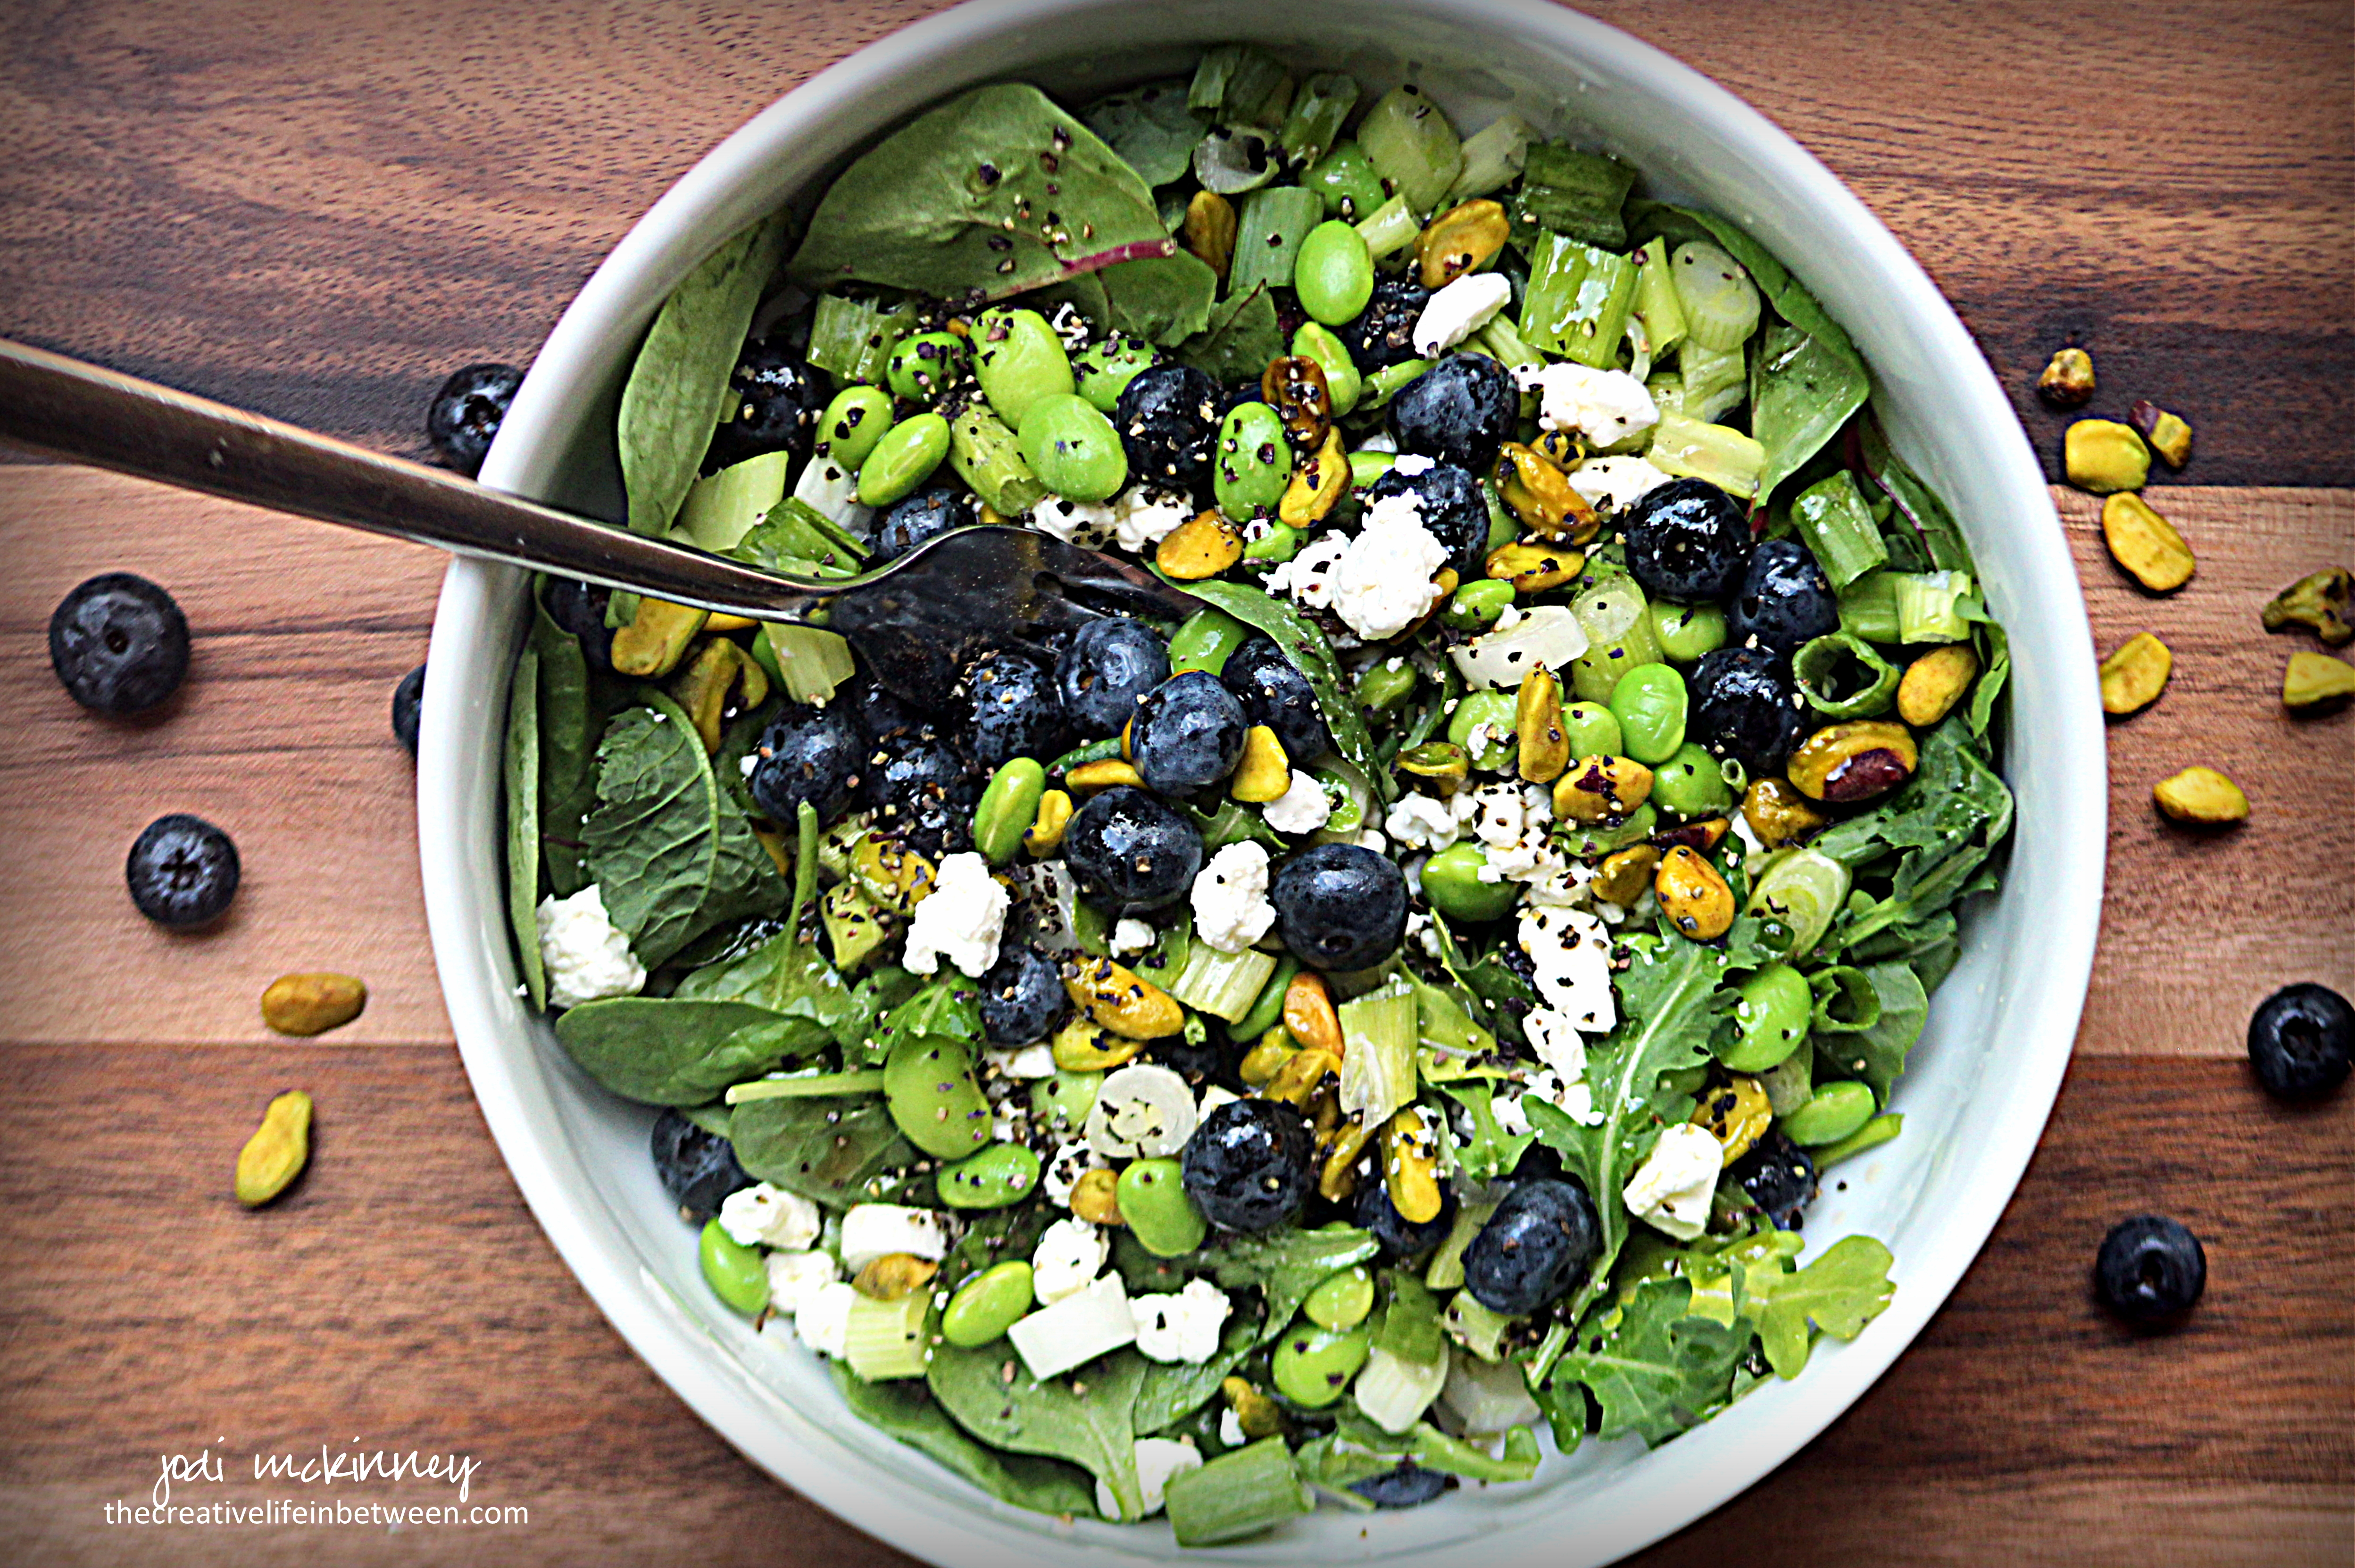
Serve it with a fresh green salad, and you will be all set.

We really, really, really loved this, and it made enough that we’ll be happily enjoying it for a few days!

Give it a try, and let me know if you like it as much as we did.

Zucchini Pizza Casserole*

Ingredients:

  • 4 cups shredded zucchini (do not peel)
  • 2 eggs
  • 1 cup freshly shredded Parmesan cheese
  • 1 cup shredded cheddar cheese
  • 1 lb fresh Mozzarella cheese, sliced thinly
  • 1 lb ground beef or turkey
  • 1 medium onion, chopped
  • 2 cloves garlic, minced
  • 1 (15oz.) jar of your favorite pizza or tomato sauce
  • 1 medium sweet red, yellow, orange, or green pepper, chopped
  • Salt and Pepper
  • 2-4 leaves fresh basil, chopped

Directions:

Preheat oven to 400 degrees F.  Place grated zucchini in a colander, sprinkle with about  1 tsp salt.  Let set for 10 minutes.  Squeeze out water.

In medium bowl, combine zucchini, eggs, 1/2 cup Parmesan, and 1/2 cup cheddar cheese.  Mix well and press into a greased 13×9″ baking dish.  Top with half of the mozzarella cheese slices.  Bake for 20 minutes.

While that is baking, brown ground beef or turkey with onion and garlic, and salt and pepper in a large saucepan.  Add pizza or tomato sauce, and stir well.

Spoon meat mixture over top of baked zucchini mixture.  Top with remaining 1/2 cup Parmesan, 1/2 cup cheddar, sliced mozzarella and chopped peppers.  Sprinkle with chopped basil.  Bake for 20 more minutes until browned and bubbly.

Let stand for 5-10 minutes before serving.

Enjoy!

Cheers & Hugs,
Jodi

*Slightly adapted from Taste of Home.

Homemade Dark Sweet Cherry & Basil Sorbet

Homemade Dark Sweet Cherry and Basil Sorbet.

What could be more refreshing on a hot August day than deliciously creamy sorbet?!

And who knew how easy it is to make?

No special equipment needed.
Simple ingredients.
Gourmet flavor!

You simply make a simple syrup from water and sugar and blend with fresh fruit (and herbs if you like).

I made mine yesterday with fresh sweet dark cherries and a hint of fresh basil, but imagine all the possibilities!  Cantaloupe, Raspberry, Blackberry, Blueberry, Pear, Watermelon, Honeydew, Pineapple, Kiwi, Mango…….  Maybe a  leaf or two of mint instead of basil.  Maybe a sprig of rosemary.  Maybe no herbs.  A dash of fresh lemon or lime juice would add a lovely kick.

Here is the recipe for this simple, refreshing, indulgence.

Homemade Dark Sweet Cherry and Basil Sorbet

Ingredients:

  • 1 cup water
  • 1 cup sugar
  • 2 fresh basil leaves
  • 4 cups pitted dark sweet cherries

Directions:

Make simple syrup by boiling water and sugar for 2-3 minutes in small saucepan until sugar is dissolved.  Remove from heat, and add basil leaves.  Pour syrup into a small glass bowl or measuring cup and refrigerate approximately 1 hour until cooled.  Remove and discard basil leaves.

Place cherries in a blender.  Pour simple syrup over cherries.  Blend on high until cherries are fully blended into syrup and no chunks remain.  Pour into glass 9×13 dish and place in freezer.  After one hour, stir with spoon from outside edges to center and mash together.  Repeat after two hours.

Remove from freezer and place sorbet in blender again.  Blend on high until consistency is creamy.  Pour back into glass dish and place in freezer for another 2 hours or until ready to serve.  Scoop out with ice cream scoop or spoon.

Enjoy!

Cheers & Hugs,
Jodi

S’Mores Cookies

S’Mores Cookies.

It’s been a tough week.
Have you been feeling it too?

It’s time to have some fun!

And what s’more fun than homemade cookies?

Especially when they are loaded with milk chocolate and graham crackers and tiny bits of marshmallow yumminess?

It was s’more fun to take my go-to chocolate chip cookie recipe and give it a s’mores twist.

Are you going to make s’more?
Hope you think they are s’more fun and delicious!

S'Mores Cookies

Ingredients:

4 sticks (1 lb.) butter, softened
1 1/2 cups packed brown sugar
1 1/2 cups white granulated sugar
2 tsp vanilla
4 eggs
2 tsp baking soda
2 tsp salt
5 cups all purpose flour
6 1.55 oz Hershey’s milk chocolate candy bars, coarsely chopped
6 honey graham crackers, coarsely chopped
1 cup mini dehydrated marshmallows

Directions:

With electric mixer, beat butter and sugar together until completely incorporated. Add vanilla and eggs, and beat until light and fluffy. Add baking soda and salt, and mix another minute. Gradually add flour and beat until well incorporated, but do not overbeat.

Fold in 4 of the coarsely chopped Hershey’s bars, 4 of the coarsely chopped graham  crackers, and 3/4 cup of the mini dehydrated marshmallows.  Refrigerate dough for at least 2 hours or up to 2 days.

When ready to bake, preheat oven to 375 degrees F. With your hands, form a cookie dough ball about 1-1/2 inches in diameter.  Place on baking stone. Decorate tops of cookies with reserved candy, graham crackers, and marshmallows.  Bake for 8-10 minutes. Do not overbake. Allow to cool on baking stone for 5-6 minutes, then remove to cooling rack to cool completely.

S’more Cheers & Hugs,
Jodi


Fresh Blueberry, Pistachio, & Edamame Salad with Goat Cheese

Fresh Blueberry, Pistachio, & Edamame Salad with Goat Cheese.

Summer is such a glorious time of fresh bounty.

Salads become meals made from fresh fruits and vegetables.  Like this yummy salad I made for lunch one day with some plump sweet and tart blueberries, crunchy pistachios, protein and fiber-rich edamame, and creamy crumbled goat cheese piled on a bed of greens.

All of this drizzled with a honey red wine vinaigrette is heaven in a bowl!

What is your favorite summer salad?  There are so many wonderful combinations and possibilities!

Fresh Blueberry, Pistachio, & Edamame Salad with Goat Cheese

Ingredients:

  • Mixed Greens (Kale, Arugula, Spinach Swiss Chard – any of your faves)
  • Fresh Blueberries
  • Pistachio Nuts, shelled
  • Edamame, shelled
  • Goat Cheese, crumbled
  • Green Onions, chopped (optional)
  • Red Wine Vinaigrette Dressing (homemade or your fave – this is how I make mine – it will make more than you need for one salad) 
    • 1/4 cup Red Wine Vinegar
    • 1/2 cup Olive Oil
    •  Tbsp Honey
    • Salt & Pepper

Directions:

In a bowl, place a handful of mixed greens.  Top with fresh blueberries, pistachios, edamame, goat cheese, and green onions (if desired).  Drizzle with Red Wine Vinaigrette Dressing.

Enjoy!

Cheers & Hugs,
Jodi

Apricot Glazed Pork Tenderloin

Apricot Glazed Pork Tenderloin.

Pork lovers get ready to swooooon!  This might be the most delicious way I have ever prepared pork tenderloin!

I made this yummy recipe earlier this week to go with the Roasted Brussels Sprouts with Bacon and Apples I featured HERE.

It was like a match made in Yum Yum Heaven!  I have to admit I moaned a few times eating it!

Hope you give it a try!

Apricot Glazed Pork Tenderloin*

Ingredients

  • 1 pork tenderloin (approx. 1 1/2 lbs)
  • Salt and pepper
  • 1 Tbsp dried thyme
  • 2 Tbsp butter
  • Olive Oil
  • 1/2 cup white wine
  • 1/2 cup chicken broth/stock
  • 1 Tbsp minced fresh rosemary
  • 2 Tbsp apricot preserves (heaping)
  • 1 Tbsp Dijon mustard
  • 2 Tbsp low-sodium soy sauce (as much as I LOVE salt, I always recommend low-sodium soy sauce)
  • 1 Tbsp Worcestershire sauce

Directions:

Preheat oven to 350 degrees F.

Melt butter and a drizzle of olive oil in a large oven-safe skillet.  When hot, add tenderloin(s).  Liberally season pork with salt and pepper and dried thyme.   Sear the pork on all sides.

When pork is beautifully seared and browned all over, add wine and chicken broth/stock to the skillet.  Cover and place in preheated oven for 15-20 minutes or until internal temperature reaches 140 degrees F.

Remove pork and place on cutting board.  Cover with aluminum foil, and let rest for 5 minutes.

In skillet, add apricot jam, Dijon mustard, soy sauce, Worcestershire sauce and rosemary.  Cook over low heat for 4-5 minutes allowing the glaze to thicken.

Slice pork tenderloin and drizzle glaze over top.

Enjoy!

Cheers & Hugs,
Jodi

*Original recipe found at AGoudaLife.com.

Roasted Brussels Sprouts with Bacon and Apples

Roasted Brussels Sprouts with Bacon and Apples.

When my friend, Janet shared a recipe yesterday on Facebook for Roasted Brussels Sprouts with Bacon and Apples by Mary from BarefeetintheKitchen, I knew I was making this for dinner last night.

I had just bought some fresh tiny, tender brussels sprouts, and I had bacon in the freezer and apples in the crisper.

And oh am I glad I tried this!  It was absolutely amazing!  A veggie side dish easy enough for an every night dinner as well as being delicious and “special” enough to serve to guests for a special occasion is perfection in my book!

Here is how I made it!  Please let me know if you try and how you like it.

Roasted Brussels Sprouts with Bacon and Apples

Ingredients:

  • 6 slices bacon, cut into 1 inch pieces
  • 1 lb fresh Brussels sprouts, trimmed and cut in half
  • 1 apple, cut into bite-sized pieces
  • Salt and Pepper
  • 1 Tbsp. Red Wine Vinegar

Directions:

Preheat oven to 400 degrees F.

Place bacon in a single layer on stoneware baking pan or shallow baking sheet.  Roast 10 minutes.   Remove bacon from pan and set aside.

Place Brussels sprouts in pan and toss thoroughly in bacon drippings.  Sprinkle generously with salt and pepper.  Roast for 10 minutes.

Remove pan from oven, and add apple pieces and bacon to Brussels sprouts in pan.  Toss to incorporate.  Roast an additional 10 minutes or until Brussels are browned and apples become tender.

Remove from oven, and sprinkle red wine vinegar on top of all.  Toss, and serve immediately.

Enjoy!

Cheers & Hugs,
Jodi


Honey Garlic Roasted Carrots

Honey Garlic Roasted Carrots.

Are you looking for a quick, easy, beautiful, AND delicious vegetable to prepare for an any-night dinner that is fit for company too?

These beautiful, colorful carrots are just the ticket.  They are as delicious and nutritious as they are beautiful.

Grab a bag of carrots and roast them up.

I hope you love them as much as we did!

Honey Garlic Roasted Carrots

Ingredients:

Directions:

Preheat oven to 400 degrees F.

Peel and cut carrots.  Place in shallow baking stone or pan.  Drizzle with olive oil.  Sprinkle with salt and pepper.  Drizzle with honey.  Top with rosemary and garlic.

Toss gently and roast for 20-30 minutes, stirring every 10 minutes.

Enjoy!

Cheers & Hugs,
Jodi

Blueberry Streusel Coffee Cake

Blueberry Streusel Coffee Cake.

What is a girl to do when a bestie friend comes home after a long time away?!

Well…. run over and visit and hug as soon as possible!  Right?!

But you can’t go empty handed!

So – what to bake to take?  I needed something quick, but yummy, that my sweet friend Janet and her Mom and Dad would enjoy…

I had some amazing fresh blueberries in the fridge I had recently bought at a local farm market, so I decided to make a blueberry cake.

And OH was it yummy!  (I know because I kept half for hubby and me and took half to them.  She is that kind of friend!  The best kind – that you can take half a cake to – LOL!)

I arrived just in time to serve it to them for dessert!

Oh the joy of friendship!  Oh the joy of baking and sharing!

Make this for yourself!  Make this to give away!  But make this amazing Blueberry Streusel Coffee Cake today!  (oh dear – am I still rhyming?! )

Welcome home sweet Janet!  Looking forward to our time together.

Here is the recipe I made as I adapted from LifeLoveandSugar:

Blueberry Streusel Coffee Cake

Ingredients:

Streusel:

  • 3/4 cup flour
  • 3/4 cup packed brown sugar
  • 1 tsp. cinnamon
  • 6 Tbsp. salted butter, melted

Cake:

  • 1/2 cup white sugar
  • 6 Tbsp. salted butter, room temperature
  • 1/4 cup sour cream (light sour cream works fine)
  • 1/4 cup milk (I used Skim)
  • 1 large egg
  • 1 1/2 tsp. vanilla
  • 1 1/2 tsp. baking powder
  • 1 cup all-purpose flour
  • 2 cups fresh blueberries

Glaze:

  • 1/2 cup powdered sugar
  • 1 Tbsp. milk

Directions:

Preheat oven to 350 degrees F.

Prepare an 8-9 inch cake pan by greasing bottom and sides with shortening and then placing a circle of parchment paper in the bottom.

Prepare streusel by combining ingredients in a medium bowl with a fork.  Set aside.

Prepare cake batter by beating sugar and butter in electric mixer for 3-4 minutes until light and fluffy.  Add sour cream and milk  until well incorporated.  Add egg and vanilla.  Finally, add baking powder, then flour just until thoroughly combined.

Spread half of the batter in prepared pan.  Top with half of the streusel mixture, then  3/4 cup blueberries.  Repeat batter, streusel, then 1 cup blueberries.

Bake for approximately 35 minutes or until toothpick inserted comes out clean.

Cool in pan for 20 minutes, then remove from pan.

Prepare glaze by  by combining powdered sugar and milk until a glaze consistency is achieved.  Add more powdered sugar or milk as needed.

Drizzle cooled cake with glaze, and top with remaining 1/4 cup fresh blueberries.

Serve warm or cold – plain or with a scoop of ice cream or whipped cream!

Enjoy!

Cheers & Hugs,
Jodi


Easy Grilled Sweet Corn on the Cob

Easy Grilled Sweet Corn on the Cob.

It is Fresh Sweet Corn on the Cob Season in our part of the world!

Corn is a vegetable we rarely eat – except in the heat of summer when it is fresh and sweet and bought the same day it was picked from a local farm stand.

After being in Arizona for a week recently, where it seemed everything we ordered had grilled or roasted corn in it (even a delicious deconstructed Caesar Salad), I had corn on the brain.

We had always boiled our sweet corn on the cob, but I fell in love with the magically charred kernels we experienced on our Southwest trip, so we decided to grill it this time.

O.M.G!  We LOVED it!  Oh how easy!  Keep the heat outside by using the grill.  And save clean up time with no pots of boiling hot water.

When I buy corn on the cob, even though is only the two of us now, I buy a full dozen.  We usually only eat about half of it, so we cut the rest off the cob and either freeze it in Ziploc bags for a fresh corn treat in the winter or save it for using in other recipes or reheating another day that week.

Here is how we did it.  Quick, easy, and oh so delicious!

By the way – I think the mistake many people make with corn on the cob is OVERcooking it.  Sweet corn on the cob truly tastes its best when you just cook it long enough to heat, but retain its wonderful sweetness, crunch and flavor.  Also, don’t look for the biggest ears of corn.  They could likely be tough.  Look for smaller, young, tender ears, and buy them from the farm or farm market – not the grocery store, where it could be several days old.  There is nothing like eating corn the day it is picked!

Roll it in some butter and sprinkle with salt and pepper for even more yumminess, but when you get fresh, sweet, seasonal corn, it barely needs anything else!

Here is how we made it.

Easy Grilled Sweet Corn on the Cob

Ingredients:

  • 1 dozen fresh ears of corn on the cob

Directions:

Heat grill to approximately 450 degrees F.

Husk corn, and clean of the silks as best you can.  Rinse under cold water.

Place cleaned ears of corn directly on grill for 5 minutes.  Turn and grill for another 5 minutes.

Serve immediately with sweet butter, salt, and pepper.

Enjoy!

Cheers & Hugs,
Jodi


Homemade Old-Fashioned Glazed Donuts

Homemade Old-Fashioned Glazed Donuts!

Seriously…….
could anything be more decadently delish?!

A tender ring of fried sweet dough
drenched in a glorious glaze?

I couldn’t resist making these,
and they did not disappoint.

Every once in a great while,
I allow myself to be treated to a donut….
a wickedly wonderful waste of calories.

But since it is only Hubby and me at home,
a dozen donuts AND holes
are way too much sugary goodness!

So after enjoying one each
(and a few holes – which are completely calorie free  – right?)
I shared the rest.

That really is my joy in baking…
giving it away.

Hopefully creating a brief smile…
a tiny treat or surprise for a loved one or friend.

These are soooooo worth making!
They are easy and quick to make.

I hope you will treat yourself and those you love!

Homemade Old-Fashioned Glazed Donuts

Ingredients:

  • 2 1/4 cup  cake flour  (no cake flour?  no problem!  make it easily by the cupful – take one level cup of all-purpose flour, remove two tablespoons, and then add two tablespoons of cornstarch back in)
  • 1 1/2 tsp. baking powder
  • 1 tsp. salt
  • 1/2 tsp. ground nutmeg
  • 1/2 cup  sugar
  • 2 Tbsp. butter, room temperature
  • 2 large egg yolks
  • 1/2 cup  sour cream or Greek yogurt
  • Canola oil, for frying

For the glaze:

  • 3 1/2 cup  powdered sugar
  • 1 1/2 tsp. corn syrup
  • 1/4 tsp. salt
  • 1/2 tsp. vanilla extract
  • 1/3 cup hot water

Directions:

In a bowl, combine flour, baking powder, salt, and nutmeg.

In the bowl of a stand mixer, beat butter and sugar together until sandy. Add egg yolks, and mix until light and thick. Add dry ingredients to the mixing bowl in 3 additions, alternating with the sour cream, ending with the flour.  Cover with plastic wrap and chill for 1 hour.

On a floured surface, roll dough out to about 1/2 inch thickness. Use a donut cutter to cut out approximately 12 donuts and holes.

Pour 2 inches of canola oil into a heavy bottomed pot with a thermometer attached. Heat to 325°F.  Fry donuts a few at a time, being careful not to overcrowd the pot. Fry on each side about 2 minutes, being careful not to let them burn. Let drain on a paper bag to soak up the excess grease.

For the glaze:

Mix all ingredients in a bowl with a whisk until smooth.  Dip each donut into the glaze. Place on a wire rack above a sheet of waxed paper to catch any excess glaze. Let sit for 20 minutes until glaze is set.

Best served the day they are made, but may be stored in an air tight container at room temperature for a few days.

Cheers & Sugary Sweet Hugs,
Jodi

Recipe found at:  Huffington Post’s “The Greatest Homemade Doughnut Recipes You’ll Ever Find.